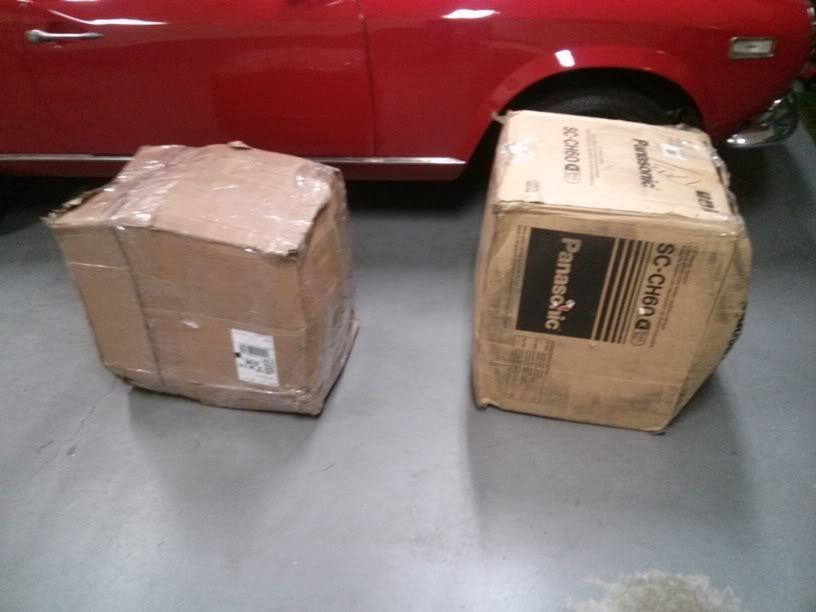
Whatever could be inside those boxes? ![]()
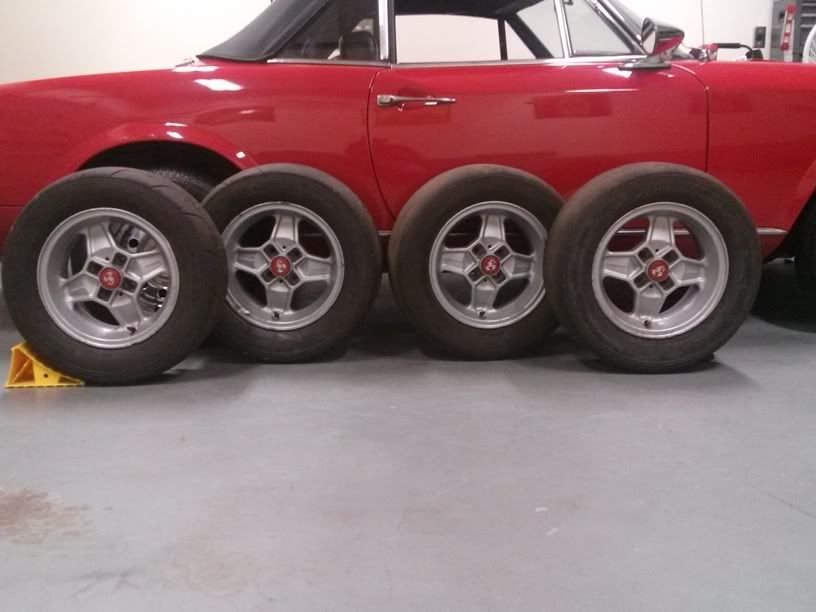
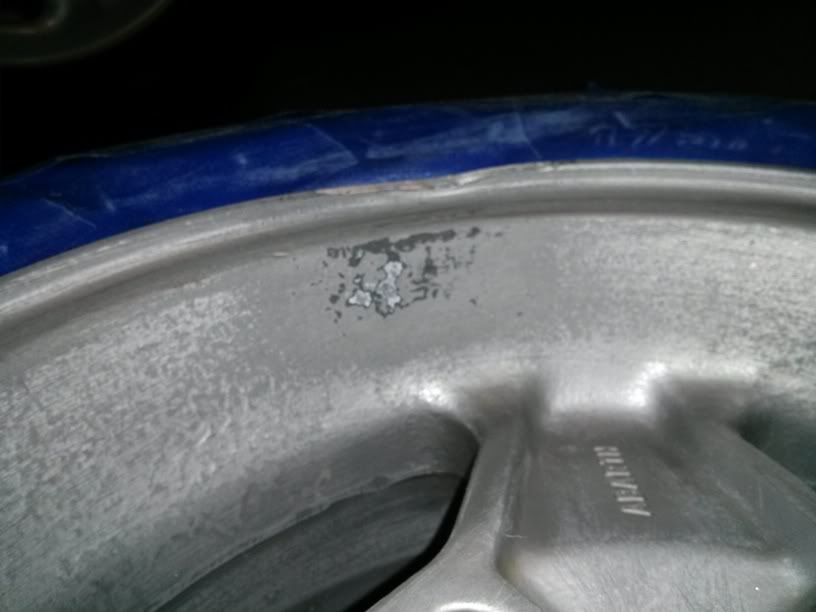
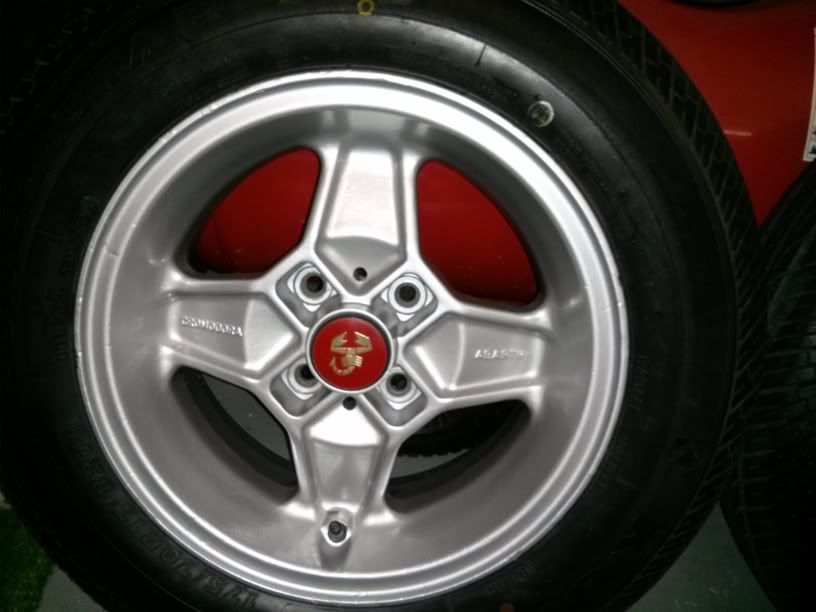
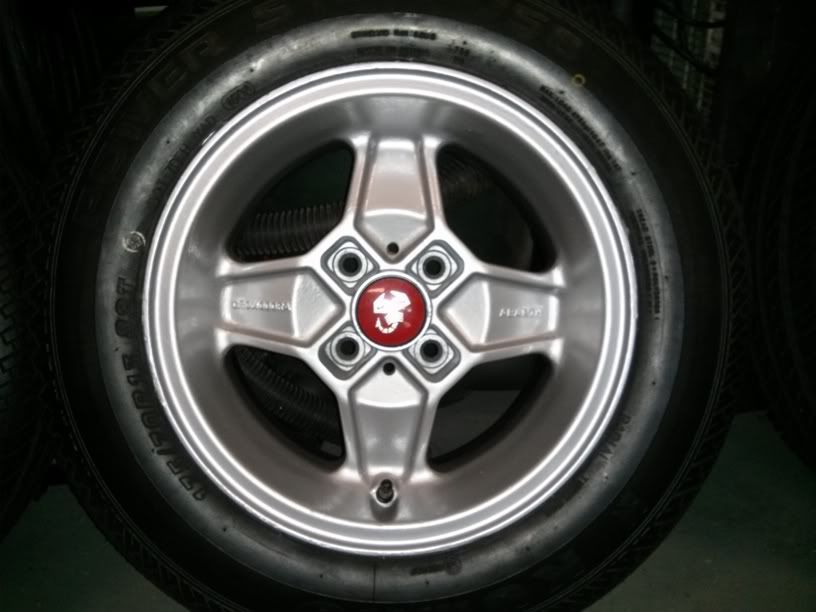
These are real 40 year old Italian made Cromodora CD30 Abarth 13"x5.5" magnesium wheels. They have gone through two other board members before finally arriving at the black hole of the car universe in this country, ATL. ![]() They were powder coated quite some time ago, and judging by the one spot I managed to chip off when removing the wheel weights, I'd say they were well cared for as there was no sign of corrosion. There is no spidering, worm tracks, or anything else to indicate they aren't useable. I dropped them off along with my old wheels with good new tires on them to the tire shop to get them switched around as I intend on using these on the street, and use the steelies with the Yokos if I ever do an AutoX.
They were powder coated quite some time ago, and judging by the one spot I managed to chip off when removing the wheel weights, I'd say they were well cared for as there was no sign of corrosion. There is no spidering, worm tracks, or anything else to indicate they aren't useable. I dropped them off along with my old wheels with good new tires on them to the tire shop to get them switched around as I intend on using these on the street, and use the steelies with the Yokos if I ever do an AutoX.
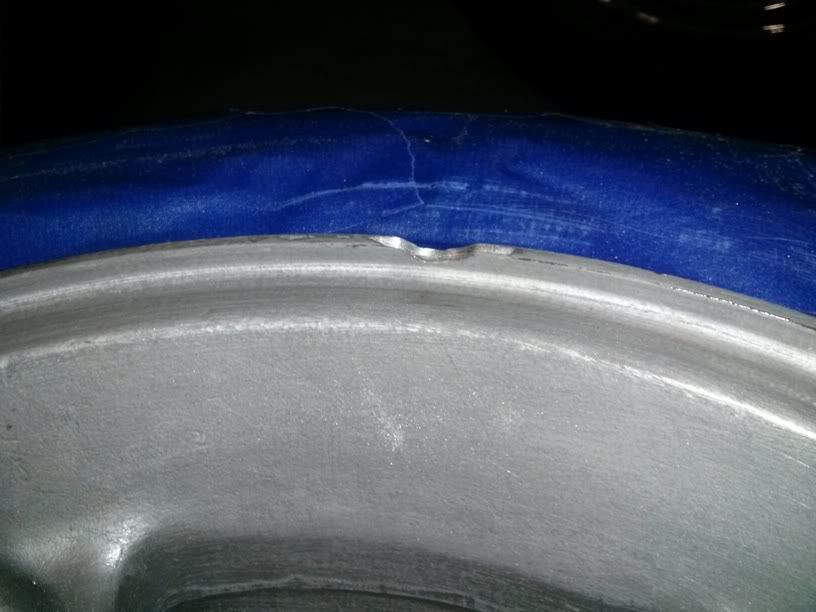
After I get them back I will begin sanding all of the imperfections and chips out of the powder coating, then filling, I will be doing some lip repair both beating out some bends and filling some rash/chips that was covered over with powder coat long ago, and then finally I will be repainting over the powder coating, yes I know it's not the 'correct' way to do it, but as long as I use the right surface prep and sealer it'll be fine, I'll learn something about wheel repair, and hopefully get them cosmetically back close to a 10/10.
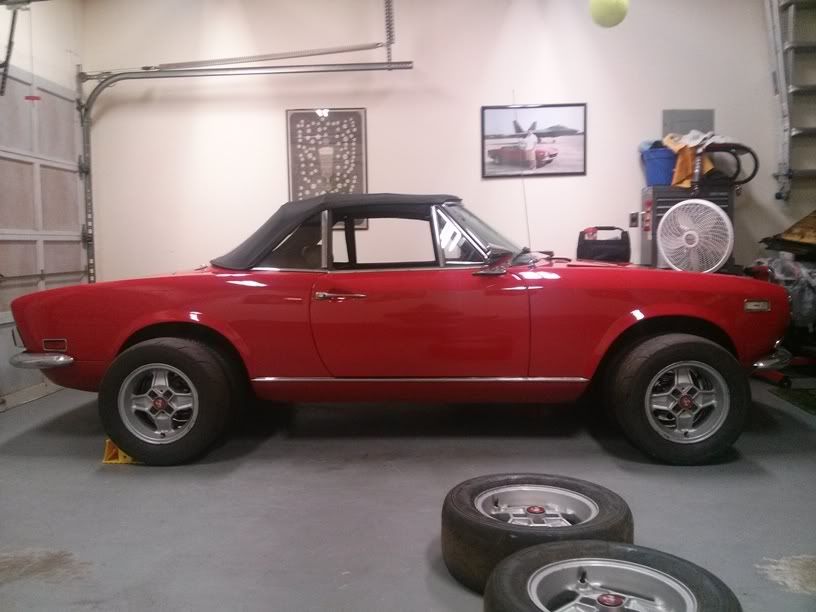
Two of the tires are usable, but the other two have so much cracking i'd be scared even to try and scrub them, but luckily my more or less brand new Kuhmos will fit on those rims just fine, I'm going to get them swapped over and then begin the slow process of straightening the lips on one of the rims, sanding all flaking powder coat, filling the couple of curbed spots and chips. Finally I'll put some paint over to clean them up, but the powder coat on them is in 95%+ condition on all of them so they just need a cleanup on the bare spots to stop any corrosion.
I'm going to get them swapped over Saturday early so I can start repairs in the afternoon, more than welcome to come take a look.
In reply to crankwalk:
Shop was too busy to get them swapped, won't be until Monday, I need to get all the repair materials together, most likely I'll be working on them on Friday.
Cromodora Abarth CD30s:
Step 1: Assess the damage, there were some bends in the lip on on wheel, and some chunks missing from the lip of another, I was able to use a wood block and a hammer and slowly straighten the outer lip, not perfect but way closer than it was. The missing chunks I dremmeled out with a sanding drum then used metal epoxy putty to fill the missing chunks...
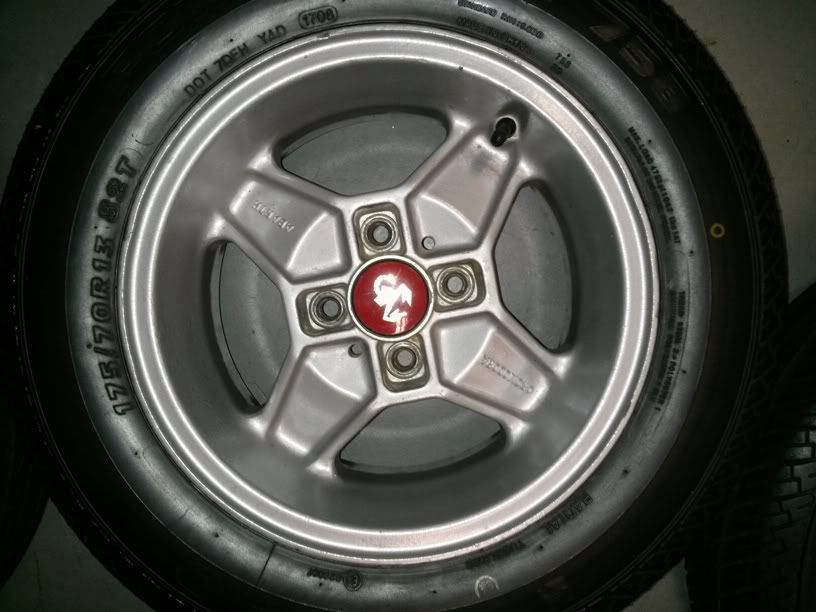
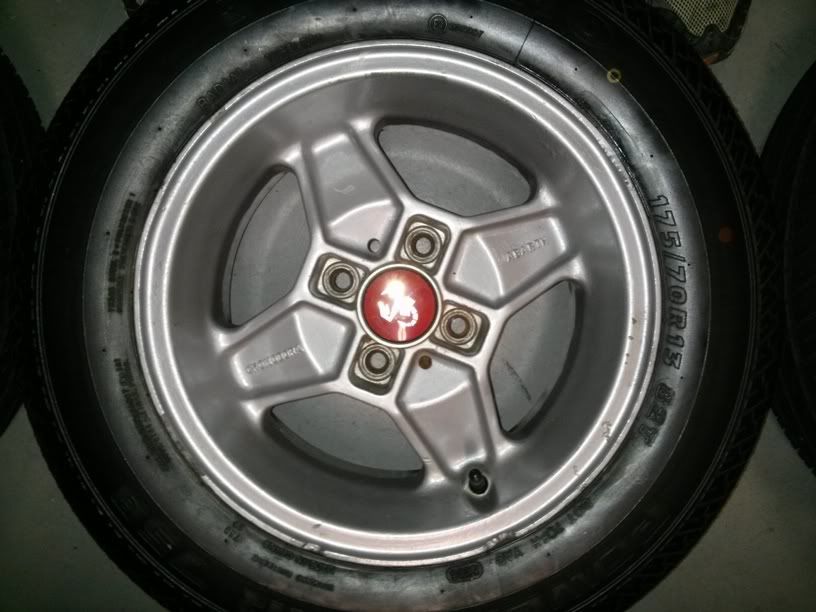
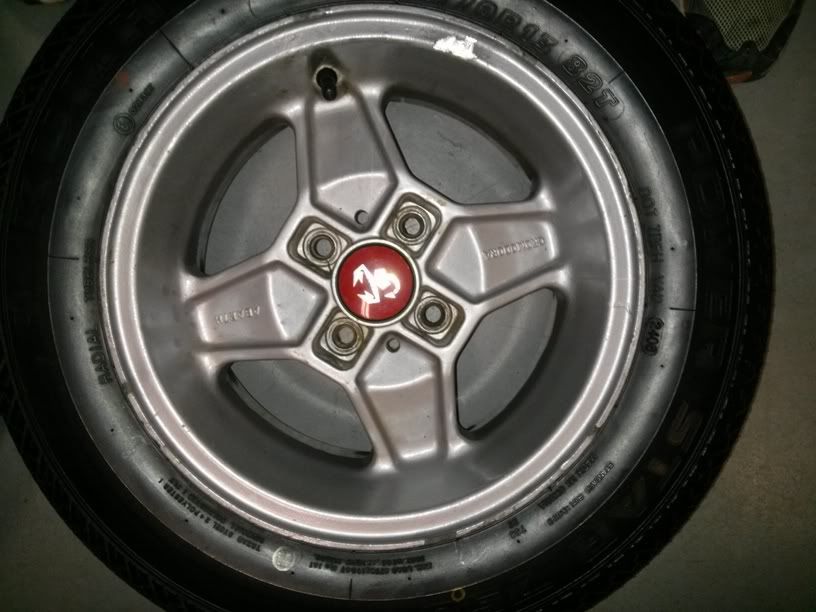
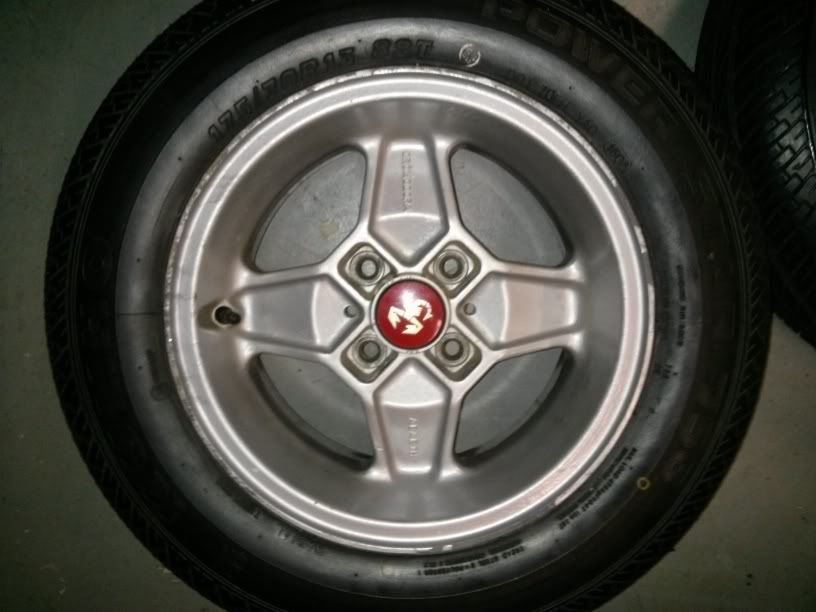
Step 2: Sand flaking powder coating areas off, get out the Dremmel and sand out the missing lip chunks...
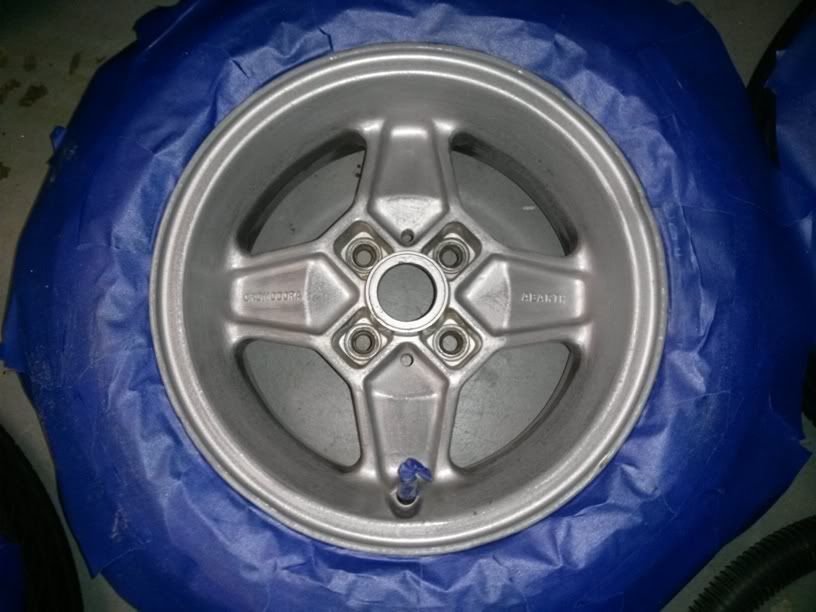
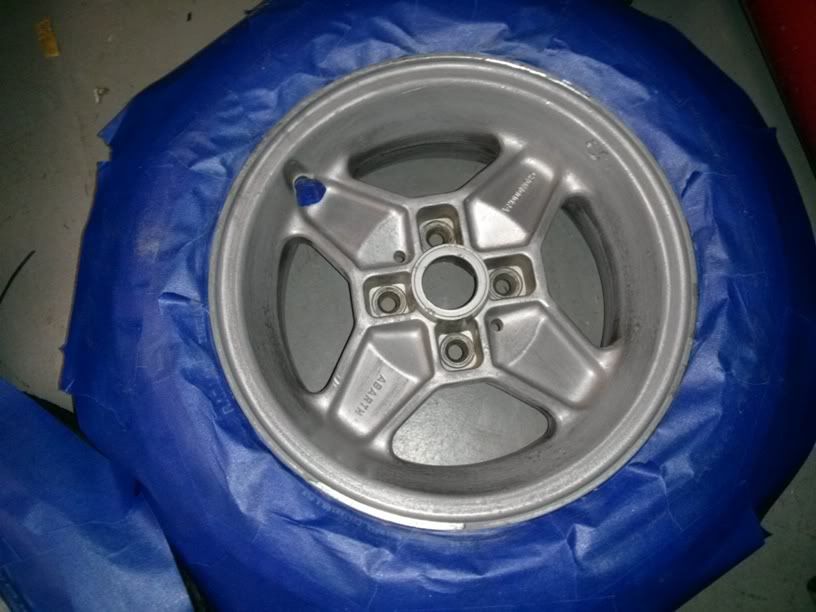
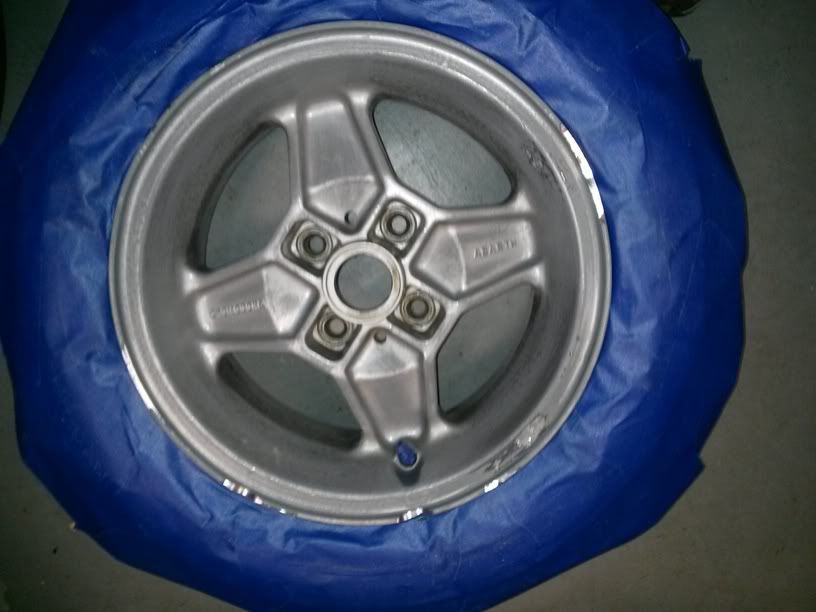
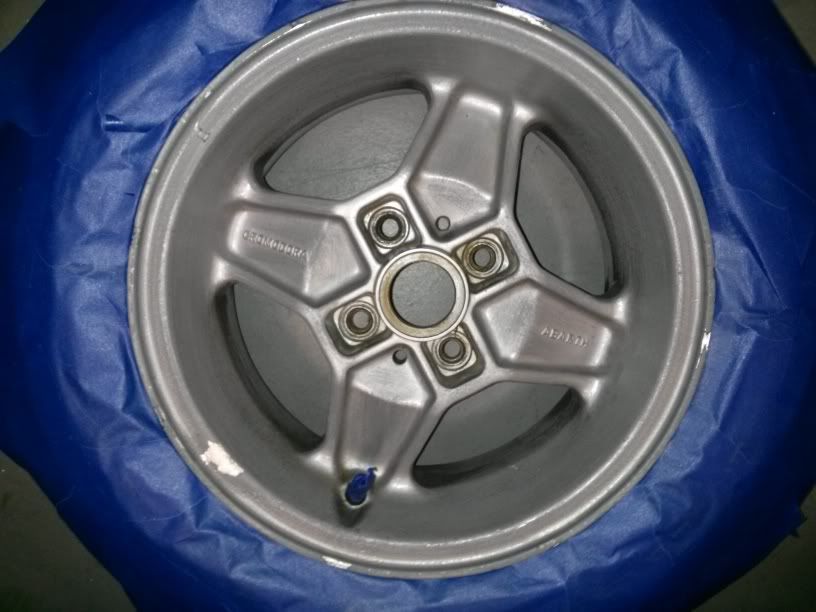
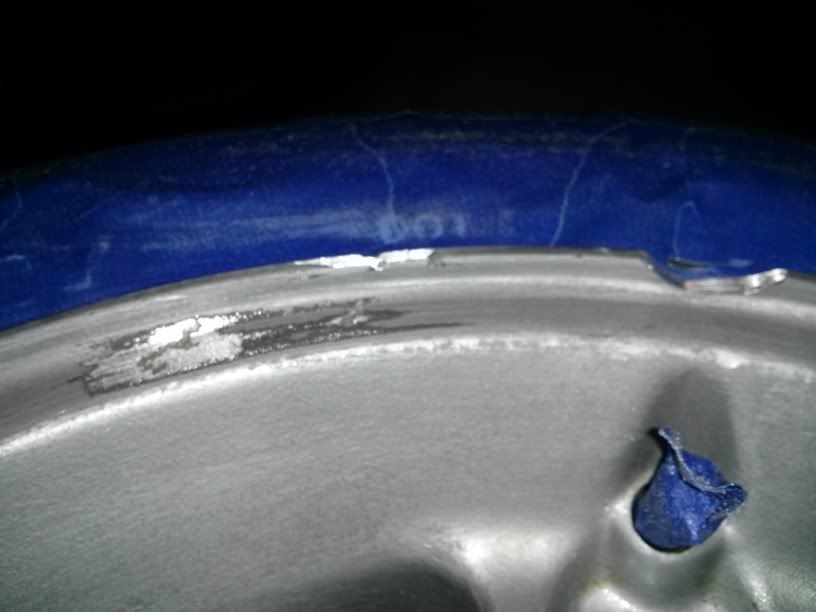
Step 7: Paint time! I used aluminum colored engine enamel since it's ceramic and highly resistant to just about anything and once it hardens very tough to scratch...
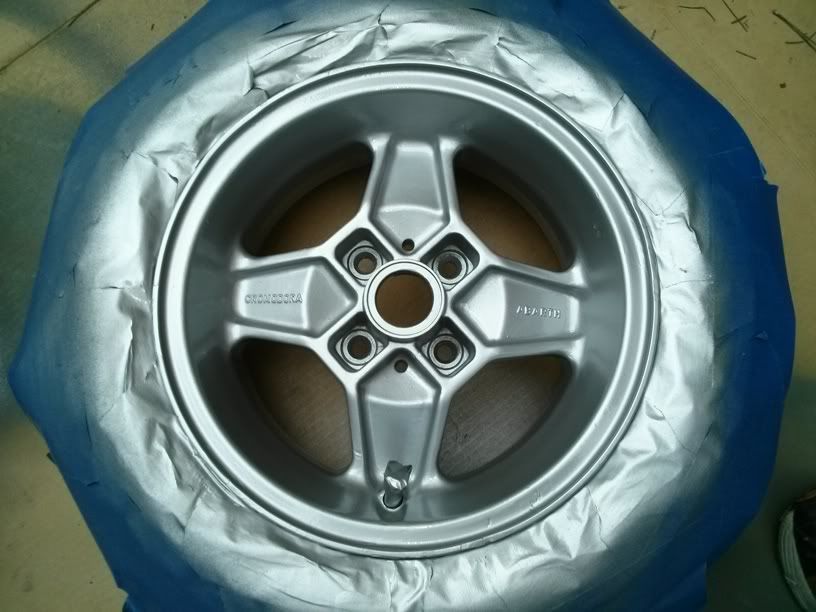
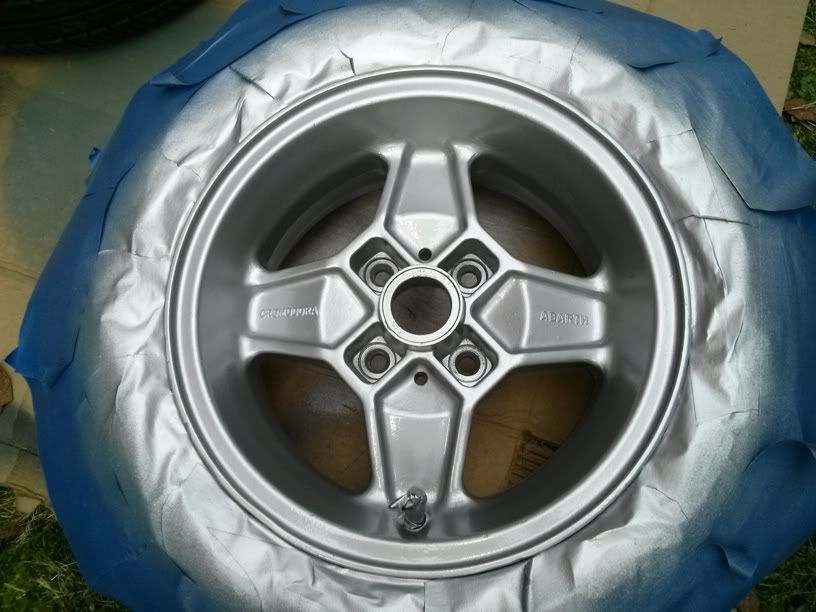
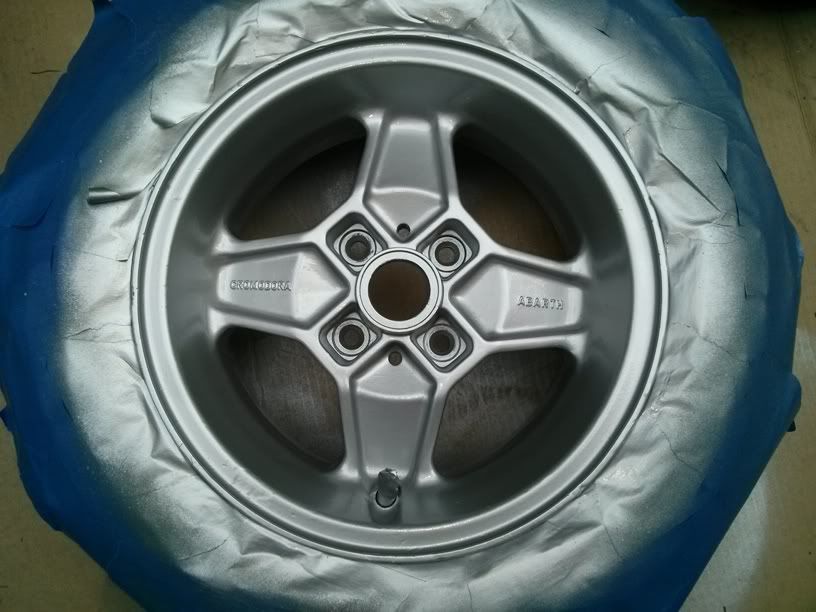
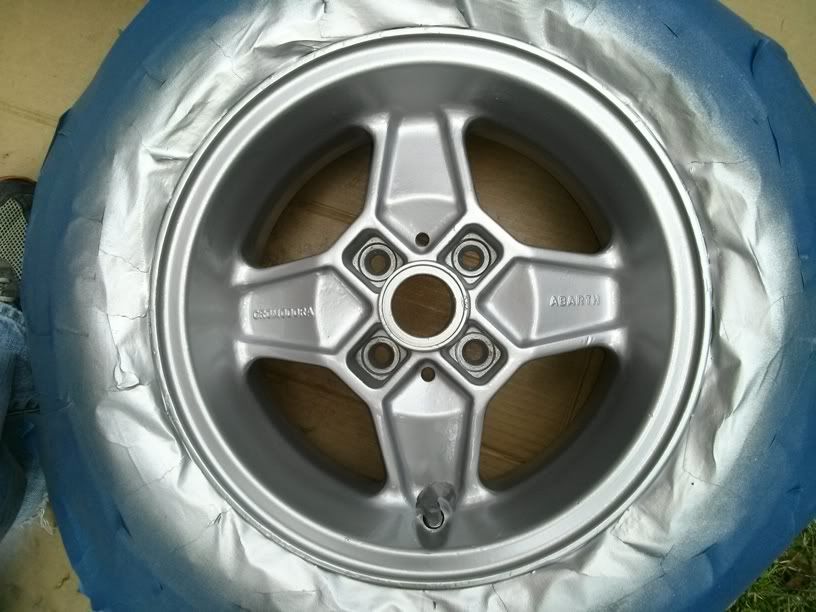
Step 8: After clearing over the paint with high temp clear wheel paint I removed the tape and put the caps back on. Oh and even though I didn't show it I did the same to the backside of the wheels:
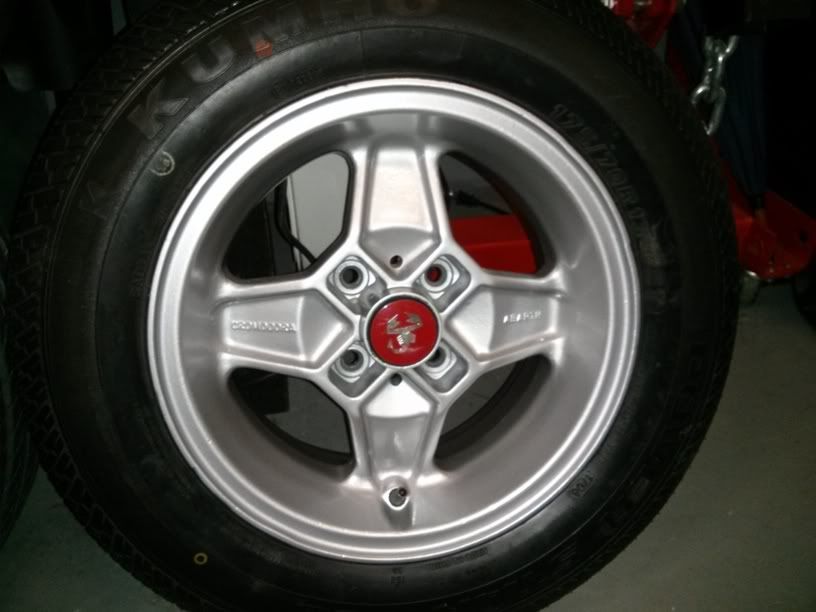
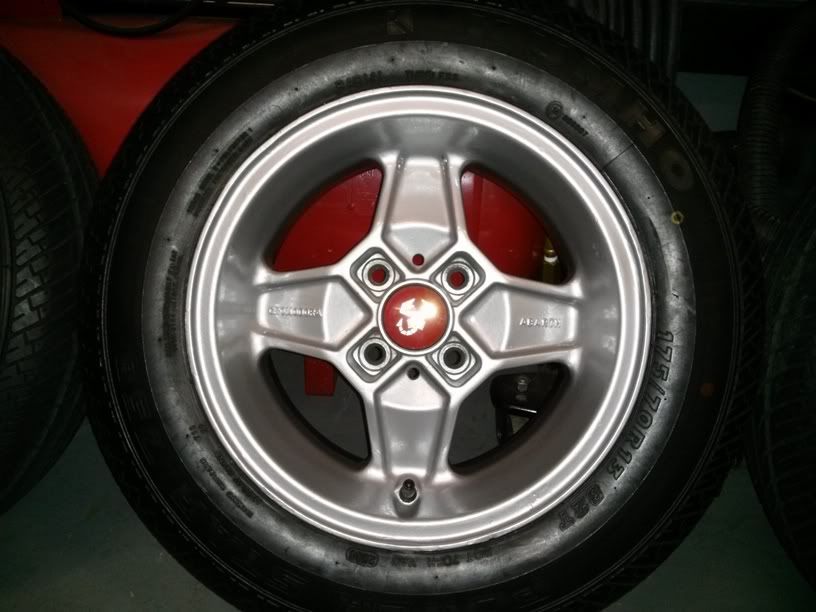
Well I didn't get to take the car up to Caffeine and Octane this morning like I'd planned, next month. Last night after getting the wheels on, I had 3 of the shouldered lug bolts I bought from Pep Boys actually cross-thread on my studs. I also don't like the fact that I now have wheels worth as much as I paid for the car, so this morning I swapped them in for a set of wheel locks. I know the haters will say you can pound a socket over them, but the way these wheels are where the bolt sits inside a little square recess, and the way these locks are made (very big outer diameter) there's no space to get a socket over them, I know because I checked after I got them on.
Raze wrote: the way these wheels are where the bolt sits inside a little square recess, and the way these locks are made (very big outer diameter) there's no space to get a socket over them, I know because I checked after I got them on.
Dont loose that key! :)
In reply to JThw8:
Its already in the car map pocket along with spare points and some tools to adjust the carb and swap points on the side of the road!
Muffler
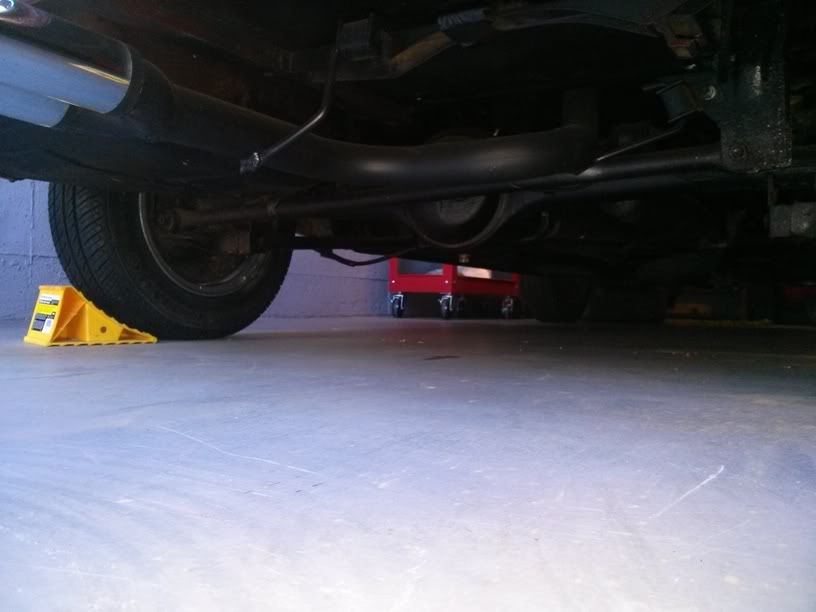
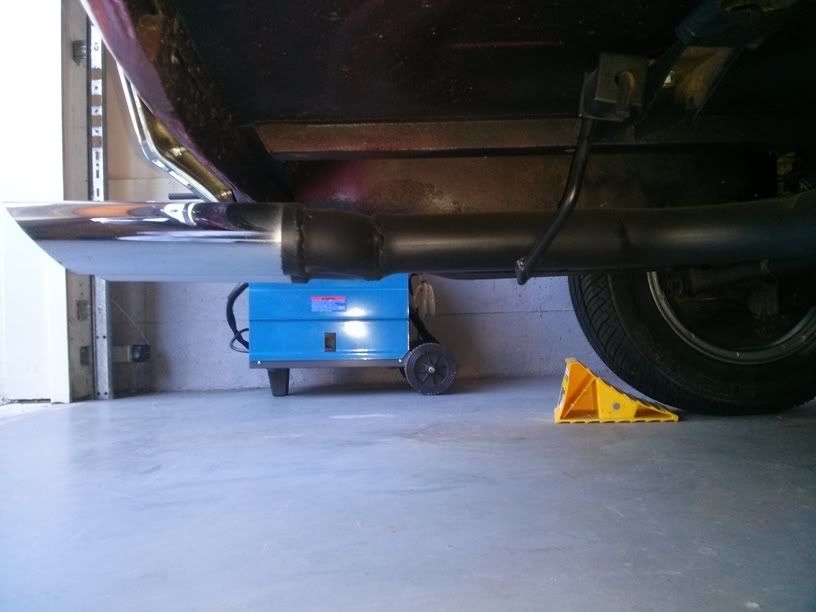
Ok, so when I got the car the exhaust was hanging off at the catalytic converter, I welded it up, and painted the full exhaust from header to tips in ceramic header paint. The good part was it no longer sounded like a tractor since it now runs nicely through the cat, a silencer, and then out the back. What that means is it's missing a muffler. Might sound like no big deal, but it's still loud, too loud. I want to get a muffler on there, but I'd like to keep the current configuration. That means from the turn to make it a center dump exhaust instead of a passenger side dump, I have 22" of total length to the end of the tips. The length of the pipe to the tips is only 14". Assuming I'll need an inch or two at the bend to weld up to the muffler means I'm only working with 12" or so (I can shorten the tips but I'd like to keep the full length at the present 22". I've included some pics, what do you all think? The inlet pipe is 2", and I can either use the y-pipe on the current tips, but that further shortens my muffler space to about 10". So what say you GRM? I'd be willing to modify a modern muffler if it's short enough, but short mufflers seem to be difficult with one inlet, two outlets...
You'll need to log in to post.