1 ... 5 6 7
HunterBenz
HunterBenz Reader
11/1/16 11:18 p.m.

Oh Kay, I got some serious work done these last few weeks. In tiny, airplane peanut sized doses of course.

As I drink some scotch and smoke the celebratory cigar, I'll give you guys the run down on my cluster of an under dash PS module and pedal install. There are a few tiny things to finish up but it is looking like it will all fit.

First I cut up the original steering column and installed the bits of the Vue column to get the steering column to play with the power steering module under the dash.

The biggest issues were the PS motor and the pedals/MC wanting to occupy the same space. I was eventually able to solve it by taking the computer off of PS motor and running it remotely and canting the PS motor just a bit.

Electric power steering box and computer.

I cut the steering column housing, ehhh, about there.

Original steering column cover.

Then I welded in the Vue locating column piece, ehhh, about right here.

Mating the elec power steering with the original steering column cover.

Then came the steering shaft itself. It actually mated up fairly well. I just made sure it was centered with some tape and magic and did this.

Aligning the steering shafts.

After tacking it up came the welding.

Installed into the steering shaftt upper bearing.

Yay, it worked!

Welded together.

I put my new column back together. I had to hold it all in place with a tie down and spent a very long time making sure it all fit.

How the setup sits for now.

Trying to figure out what to do next.

I then spent A TON of time getting the pedals in the right spot and dialing it all in. The clearances are a little smaller than I would have liked, but I confirmed I can remove each bit individually without removing something else. After tacking things in place, I got the pedal bracket built outside of the car.

Pedal bracket.

After a what seemed like a million ins and outs getting this fitting right. It is in!

Tacked in place.

Another angle.

I still have to finish some final welding sticking the bracket to the car, but it is pretty much done. On a side, my welding is getting better. I only electrocuted myself once trying to work with the sub panel!

My welding is getting better.

3doghouse
3doghouse GRM+ Member
12/7/16 4:28 p.m.

Very cool project. Just read through all 7 pages. Any updates?

brad131a4
brad131a4 Reader
12/7/16 6:52 p.m.

On your driveway just how wide is it. Just asking because I've driven a 1" rigid conduit under a 25' wide driveway. Not the funnest thing to do but a heck of a lot cheaper than cutting and patching. That would be plenty big enough to run a 50amp up to about a 90amp sub panel.

HunterBenz
HunterBenz Reader
12/9/16 7:20 p.m.

3doghouse: nothing right now. Been going through some stuff and just not able to spend time out in the garage at this time.

Brad: I'm not sure if that will work for me. It has to go under my deck and garage. Though I guess I could pull up some of the deck and just go for it. It would probably be around 20~25 feet for me too. Thanks

HunterBenz
HunterBenz Reader
5/29/17 4:44 p.m.

Well, I'm sure anyone that looked in on this one might think it was a lost project by now. Not so, I have been taking care of life drama and been out of the garage for a bit.

I got some time on it the past couple days and have been doing interior work. The boring part was measuring and remeasuring all the points and allignment points to make sure the collisions the car has been did not have any effect on important suspension pick-ups.

After that, I began taking paint off, stitching up some spots and repairing a few cracks/rust holes. For now it will be in primer while I finish up the rest of the interior. It will eventually be painted a light gray color to make spotting problems that may manifest in 45 year old metal easier. I still have about 1/3 of the interior left, but it is the hard 1/3.

Interior progress.

I also cut a hole in the trans/drive line area to work on mounting the Hurst shifter in an acceptable spot. Luckily, all I had to do is flip the shift handle over and it is pretty much exactly where I'd hoped it would be. The only part that might be a comfort problem is the cant of the shift handle that would normally push it toward the driver's side is now canting it the other way. I might take a press to it and take the natural cant out of it or make it lean toward the driver's side again.

Hole for shifter fitting.

There will be a bit of figuring there, and where the trans tunnel hits the firewall.

Other than that, I acquired a Painless wiring kit from my buddy with a '64 Vette we have been working on. He bought it and did not like it. I will have to edit the thing a bit, but it should work great. Faster than making my own harness at least.

HunterBenz
HunterBenz Reader
6/5/17 2:59 p.m.

Just a quick update because I thought you guys might be interested in the air compressor. But first, I worked up to almost the front floorboards, so interior is almost preliminary-ish done.

I went to a barn (I used to work on my cars in it before I got a garage) to picked up an air compressor. It is a Kellogg American from 1944. When I first went out to the barn years ago, I saw it hiding in a corner. I refurbed it a bit. It required VERY little work and it was very easy to do. It runs great now. Not all that fast, but it is air.

My 1944 Kellogg American.

On the way down the mountain I saw this guy on the side of the road. From the back, I thought it might be injured. After driving by, I saw he was just shielding the meal from other hawks. Pretty cool picture so I thought I'd share.

Sorry buddy, you chow.

Bad day for the squirrel.

conesare2seconds
conesare2seconds Dork
6/5/17 4:04 p.m.

Great to see you working on the Benz again.

DaewooOfDeath
DaewooOfDeath SuperDork
6/6/17 8:38 p.m.

Squirrel tartar looks delicious.

HunterBenz
HunterBenz Reader
6/24/17 12:40 a.m.

Work hours have shifted for me, putting me with less time to work during the day on this project. I've been trying to start with things that make less noise than power tools, grinding, cutting, and welding.

I've been trying to get my dang crank pulley bolt off with ZERO success. Just blasting it with an impact is getting me nowhere. I'm thinking I may need to take the engine back out and locking it somehow where the flywheel bolts up. Now, I've done stuff like that before, but I'm not sure I like putting that much torque on the entire crank. Am I just being paranoid?

jfryjfry
jfryjfry Reader
6/24/17 2:29 a.m.

Any chance it is a reverse threaded bolt???

HunterBenz
HunterBenz Reader
6/25/17 12:19 a.m.

It is not reverse thread. Though you did make me think there for a moment.

I think I am actually going to me able to make something to attach where the front pulley goes. That way I am not putting a lot of torque over the length of the crankshaft. I've heard of stuck crank bolts before, but this one is a little crazy.

Rwd4evr
Rwd4evr New Reader
8/20/17 3:30 a.m.

In reply to HunterBenz:

Hey how is it coming along now? i've been gathering parts for my fintail m119 swap. I really want to see the pics but you have them on photo bucket(which really sucks for this type of thread, since they go away and you can't see stuff people did years ago when your trying to do similar things.) and they aren't there now.

HunterBenz
HunterBenz Reader
8/29/17 7:39 p.m.

I have not stopped working on the car, just got a little annoyed with the photobucket thing and did not update this much. Shortly after the photobucket debacle, my wife decided a divorce was the best idea and I have been dealing with that. I'm fairly certain I won't lose the car, hell, it ain't worth more than scrap in its current shape.

Things I have done and will update with pictures when I have time...

-started a custom oil plate to put on a remote filter

-some paint stuff decided but no paint thrown

-some body work

-interior is getting closer

-painted some random bits

-Raspberry Pi for dash display and tuning the MS

One thing I am mulling over, the M119 has a oil bypass in the block, my highly calibrated hand says it feels like the 7 to 10 lb range. Putting on a remote filter I am debating on:

A:not using the block bypass and going eith a filter with a built in bypass.

B:get a non-bypass filter option and use the block bypass.

C:not use either bypass.

To be honest, C really ain' something I have been considering THAT much. Leaning toward B, but A is a simple and cheapest option.

Anyone have any recommendations on what to do for an oil filter? I don't really want to break the bank, but a neato, chengon, super go fast filter would be kinda cool, though not really necessary in my opinion.

Writing this, I will prob just get a decent remote screw on type deal and get decent filters when I go to do my oil changes. But I'd love to hear some opinions as I don't know a ton about the options out there. (But I do understand the concept and the how on oil bypasses.)

Thanks gents.

AngryCorvair
AngryCorvair GRM+ Memberand UltimaDork
8/30/17 7:55 a.m.

Keep your chin up!

HunterBenz
HunterBenz Reader
8/31/17 8:38 p.m.

Thanks AngryCorvair.

Well, I switched to Flickr and fixed all of the broken pictures. That took a bit. Both the kiddos are sick so I had some time between tending to their every need. It is pretty hot here lately, but we got it good compared to other areas. The weather is pretty much the only thing I like about California anymore.

On top of fixing the Photobucket Debacle 2017, I will also throw some updates out:

In a completely unrelated part of my life, I was introduced to the Raspberry Pi. It is a small computer that runs on Linux (I just happen to love that system). After looking at it, I saw it as a superb opportunity to run a digital cluster in the car, as well as serve as a tuning option. Most of the time, it will just boot to a digital cluster screen. For those times when I am feeling frisky, I can use a bluetooth or wired keyboard and mouse and point and click away. I have to admit, the little experience I have with the thing, I am pretty impressed.

I bought the CanaKit because it is pretty darn cheap and comes with everything to make a super easy start of things.

Raspberry Pi

This is what the little computer looks like assembled (don't let that fool you, assembly is basically putting the board in a plastic box that just snaps together).

Assembled Raspberry Pi

Here we have the GRM board running on the Pi. It is what I used to sort my Flickr photos after uploading them, make the post repairs, and even play a little Doom for good measure.

GRM Pi

Playin' doom.

I figured out a paint color. Here she blows:

Paint color.

I threw a test patch on the car for good measure... with a small plastic spoon. Whatever, I do what I want.

Paint color.

Gave the engine a good spray down to get all the crap off.

Pressure washed.

The trunk had a sweet '80s car phone antenna in the trunk lid. Kid of a bummer.

Trunk fixing.

It used to have an 80's phone antenna.

I finally got around to painting the mounts I made...

Painted my mount parts.

Soooon tactical.

It does not look like it, but they are all the same color. Super tactical as F OD Green.

OD Greeeeeen.

Even the crusty old VIN plate got a tactical treatment.

Even the VIN plate.

Aaaand the driver's side valve cover, it also got sprayed.

Driver side valve cover.

Also mega tactical OD Green.

Then I went suuuper nuts one day and even sprayed the valve cover fasteners, khaki brown.

Tactical as F!

Even the fasteners got painted.

I mentioned it above, I started on a plate to relocate whatever oil filter solution I choose. I used some of the left over plate metal from the trans adapter.

Oil samy plate started.

Bolted to the block.

Sammy plate on block.

I drew a diagram while I figured out what was going on with the factory oil canister. It is hard to see in the photo, but it is color coded and pretty spiffy. Haha!

Filter canister diagram... Chalk because racecar.

Next up I have to make a decision on what I am going to do for a filter option and finish the plate. I'm still chugging along on the interior and that is getting pretty darn close to finishing up.

Rwd4evr
Rwd4evr New Reader
11/20/17 2:45 p.m.

well i know squat about the rasberrypi but.... While looking into my options for more steering angle in my 450slc drift car i learned a few things. I will be shortening my steering arms(the part on the spindle) considerably to match up with the position of the tie rod placement for the s13 nissan rack, to be in its correct travel range. it is rear steer also like our oddball mercedes. The steering arms are bolt on on the slc, i would recommend swapping to these spindles, i plan to on my fintail when i get to it. some hybrid control arms will have to be fabbed up. maybe even just swap the whole r107 front subfame in. Both will be getting rack and pinion to facilitate the m119 swap. i have literally piles of Mercedes iron block 4.5 motors with the oil filter canister in the opposite direction, i have not looked at a canister from a m119 removed next to a m117 to see if this could work yet. Maybe just remote mount the original m119 canister with some fat hardline/stainless braided? I have tons of both in my shop though. If you need any parts or measurements let me know, you are steps ahead of me in lots of things i have planned and its all very helpful to see it coming together. Id love to help you anyway i can.

birchsgarageMB@gmail.com

HunterBenz
HunterBenz Reader
2/8/18 5:53 p.m.

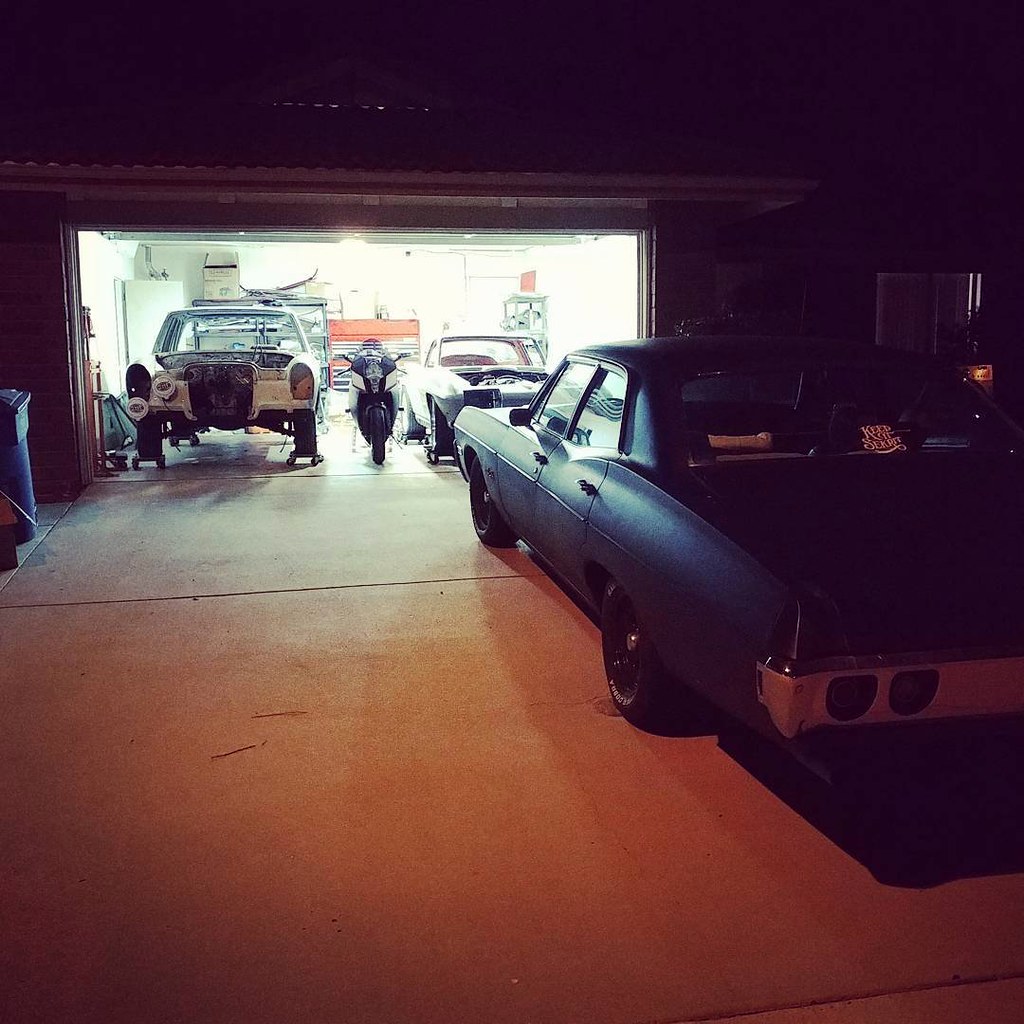
Things have been hectic lately. Divorce is almost final. I am mostly moved... still have a lot of car stuff to go. I'm hoping to be regularly working on the Benz again soon. The Vette is my buddy's ride, that should be on the road much quicker than the Benz.

AngryCorvair
AngryCorvair GRM+ Memberand UltimaDork
2/8/18 6:17 p.m.

In reply to HunterBenz :

That pic is full of win.

mazdeuce - Seth
mazdeuce - Seth Mod Squad
2/8/18 7:20 p.m.

Sorry to hear about the trials of life, but I just wanted to let you know that I get all excited every time I see this pop to the top. You've got a fan club hoping to hear the big Benz make some noise. 

yupididit
yupididit SuperDork
2/8/18 8:17 p.m.

In reply to mazdeuce - Seth :

Ditto 

Rwd4evr
Rwd4evr New Reader
6/3/18 10:01 p.m.

Hope your still cracking away! I lose my way on the build threads sometimes. Haven't said much on mine lately.  The Mercedes forum guys mostly don't give a shout about a E36 M3box 450slc turned drift car anyway!

HunterBenz
HunterBenz Reader
6/6/18 5:32 p.m.

Well, unfortunately, I am scraping this project. I don't have time to work on it anymore and am having more fun on the bike. Crashed the bike the other day and need cash to fix it.

Everything is for sale if anyone wants it, I'll take offers. I don't think there is much of a market for an unknown M119, so if someone local (Ventura County) wants it, come help take it out and it is yours. If you have a trailer and can tow the body to a metal scrap place, I'll even buy the beer. 

I am very bummed about it, but sometimes you just have to hit the reset button and move on. Sorry to those that were hoping to see this one get finished.

To lessen the disappointment, here is a video of the crash (I am mostly ok, so you can laugh at it and not even feel bad).

https://youtu.be/0nnxgL9SyP0


buzzboy
buzzboy Reader
6/6/18 6:19 p.m.

Damn, I was excited about this project. I recently scrapped my car in a similar state to yours but not as well built. It sucks but you can always hope the parts go on to be in another epic build.

Dusterbd13
Dusterbd13 MegaDork
6/6/18 6:40 p.m.

In reply to buzzboy :

Agreed with that sentiment. Unfortunately the parts you told me you were going on to be a failure of a project.

1 ... 5 6 7

You'll need to log in to post.

Our Preferred Partners
PL3DNKfM04mIaS01sOxFdWckByHP2gws4XSUHrBMLt3CtfhgVlf9Kiu7Z8ONh120