That's a sweet garage man!
^^ nice!
today I built a little protective shelter for my tire trailer. It looks weird, but that's because it folds down and out of the way when not in use (the leg is hinged, and the diagonal brace is removable, just held in place by the weight of the shelter. All if it was built with spare materials I had sitting around - 2 types of shingles, some wood, and some old gate hardware:
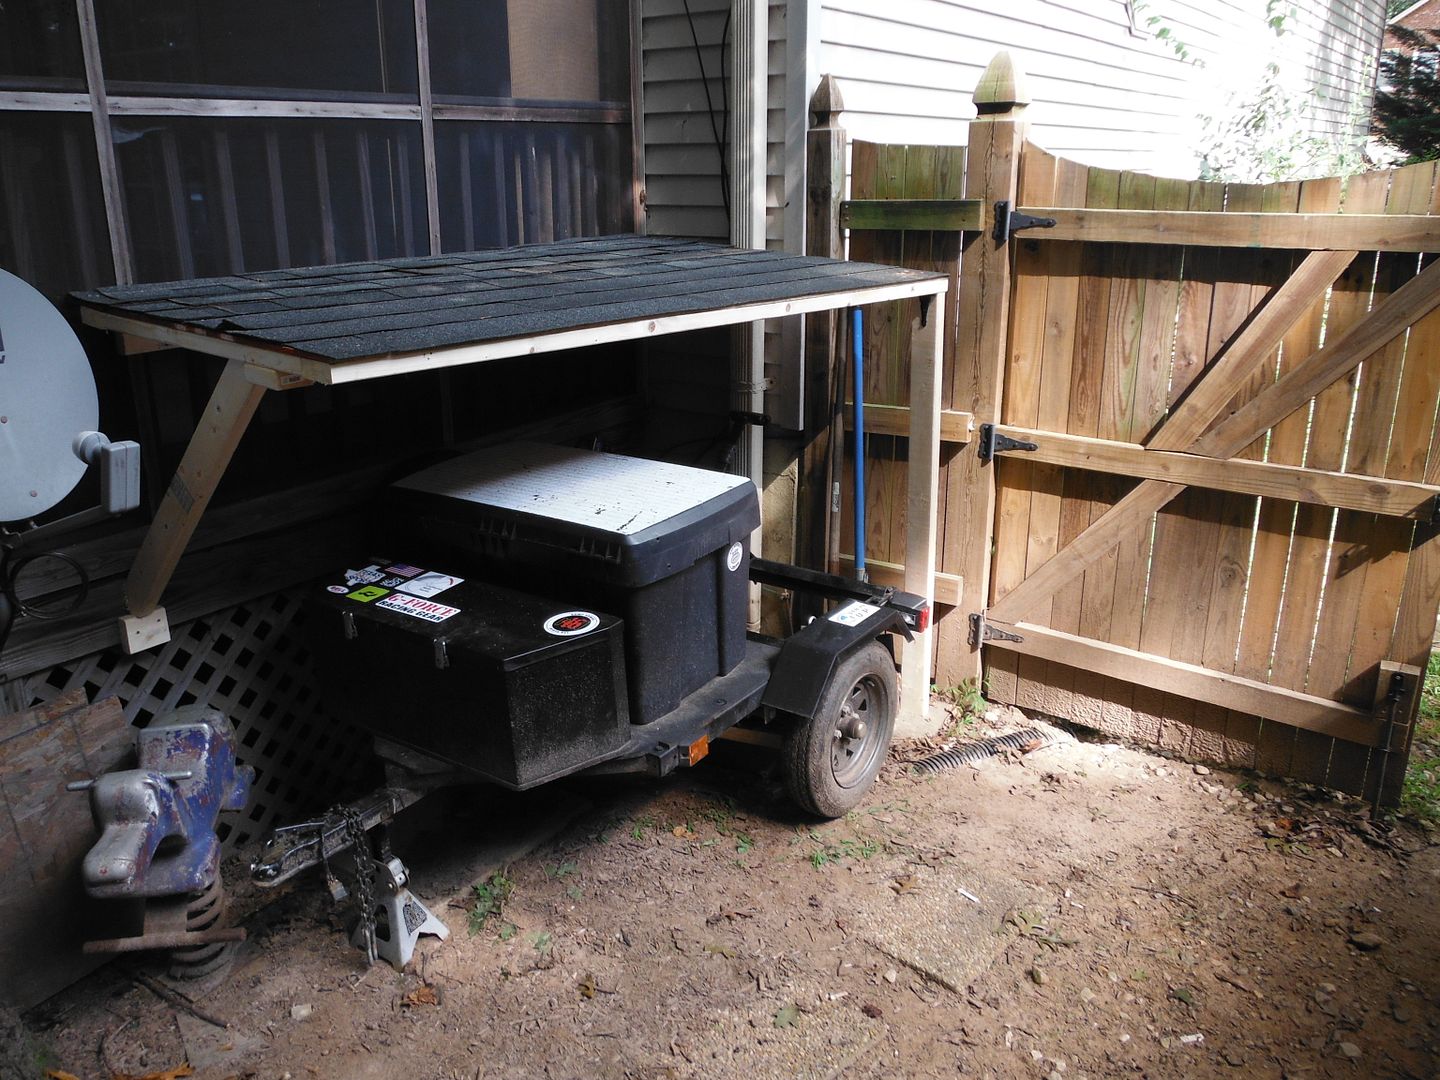
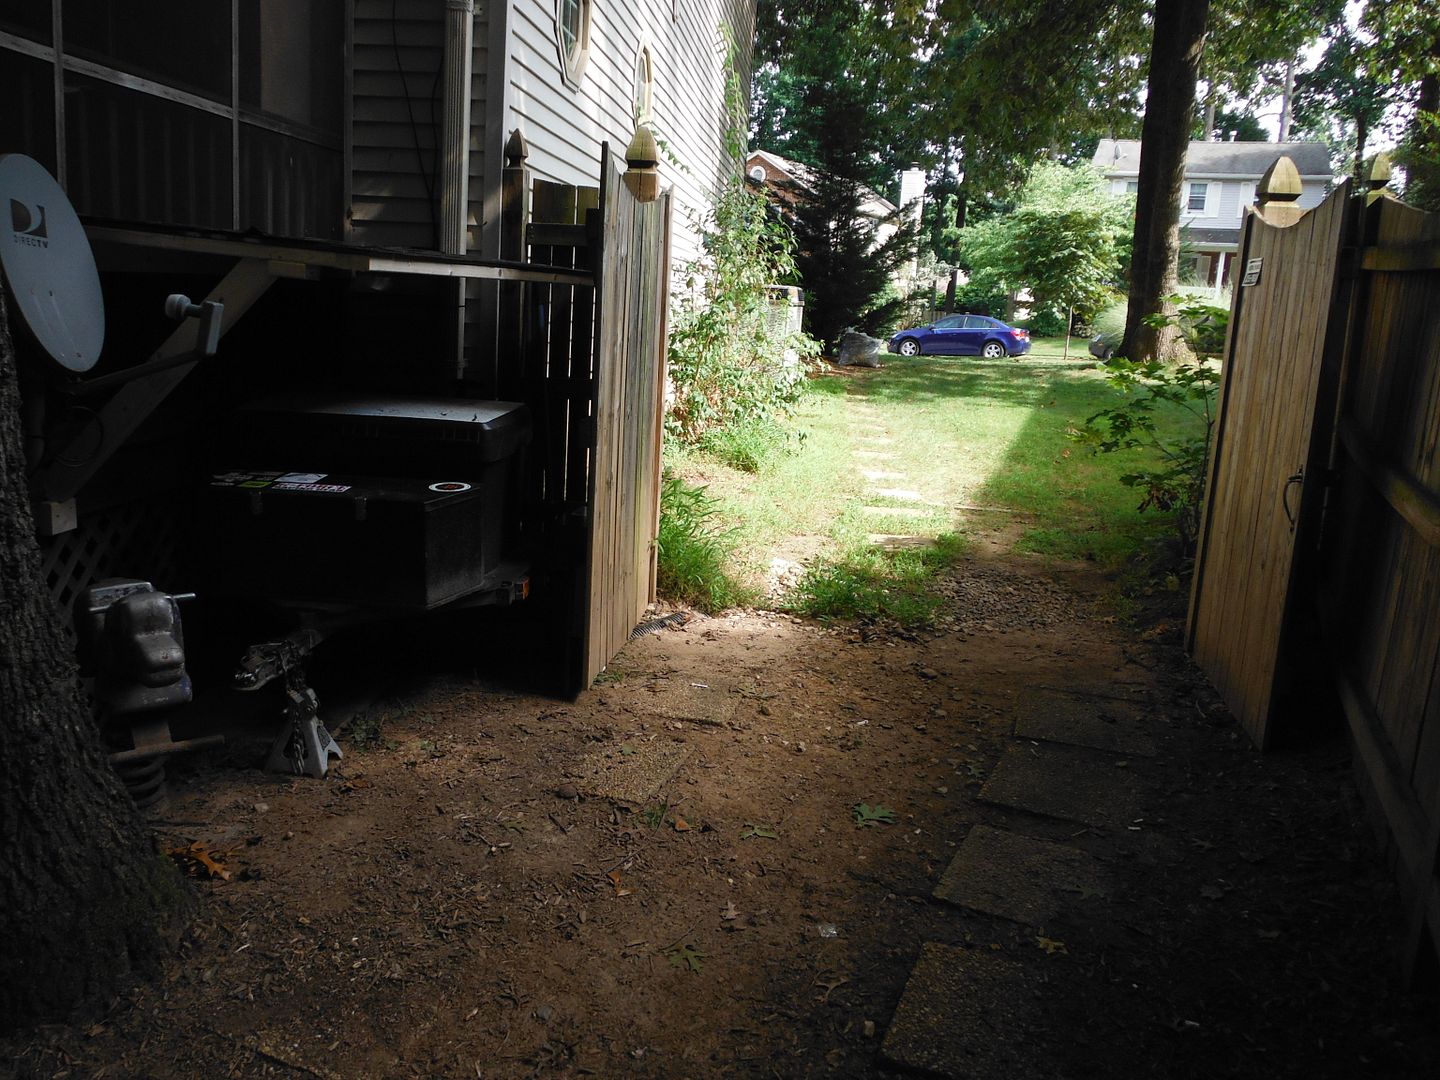
with enough room to open the double gate :)
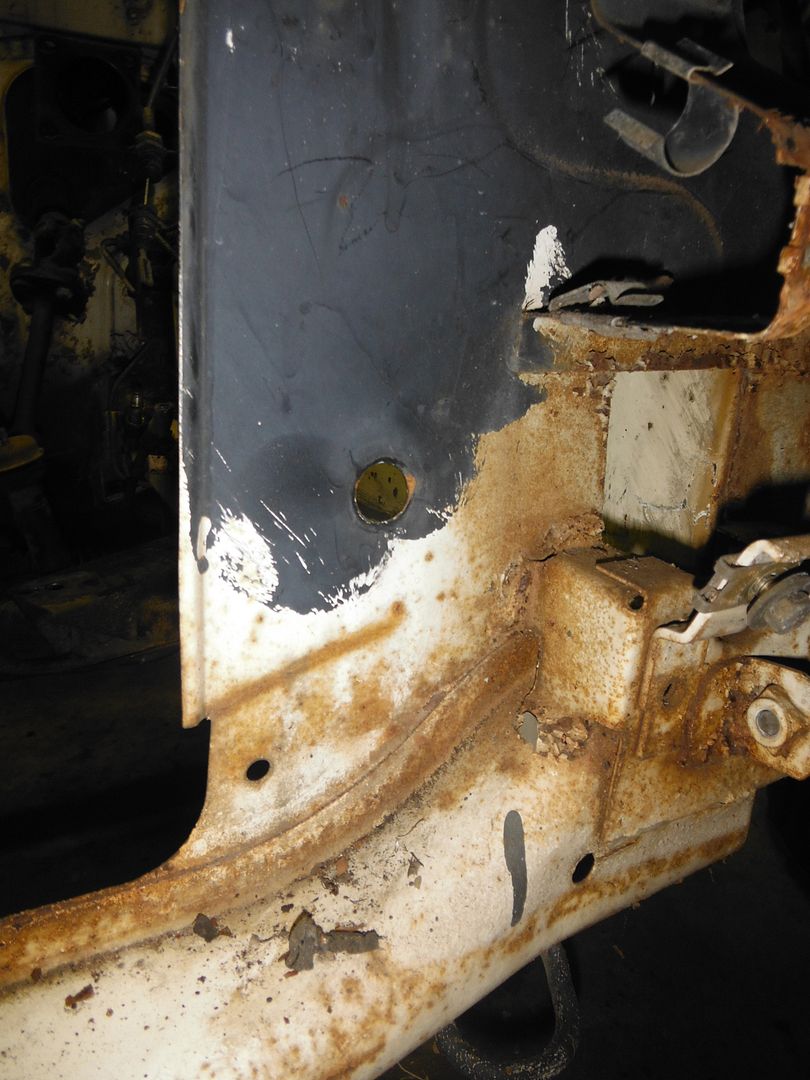
an interesting little point, and just kind of wondering if this is "factory" or something someone did later.
On the frame area behind where the grille of the car is, it looks like after the car was painted at the factory, but before the grille was installed, a factory worker with a brush and a can of black paint slathered black paint on that area of the car (probably so as not to have frame color - white - showing through the grille). This makes total sense, but it's kind of funny that it was slapped on in such a haphazard way (with even a few globs of black paint dripped down below where it wasn't meant to be. Seems very "un-German" to do something so sloppy on a BMW :)
I assume other e21s are like this as well?
After finishing my e36 radiator install in the e30 today, got down to a bit of work on the e21. The evening turned out to be 65 degrees (crazy for mid-August in DC) and quiet with nothing going on. Perfect for a few brews, some music, and car stuff.
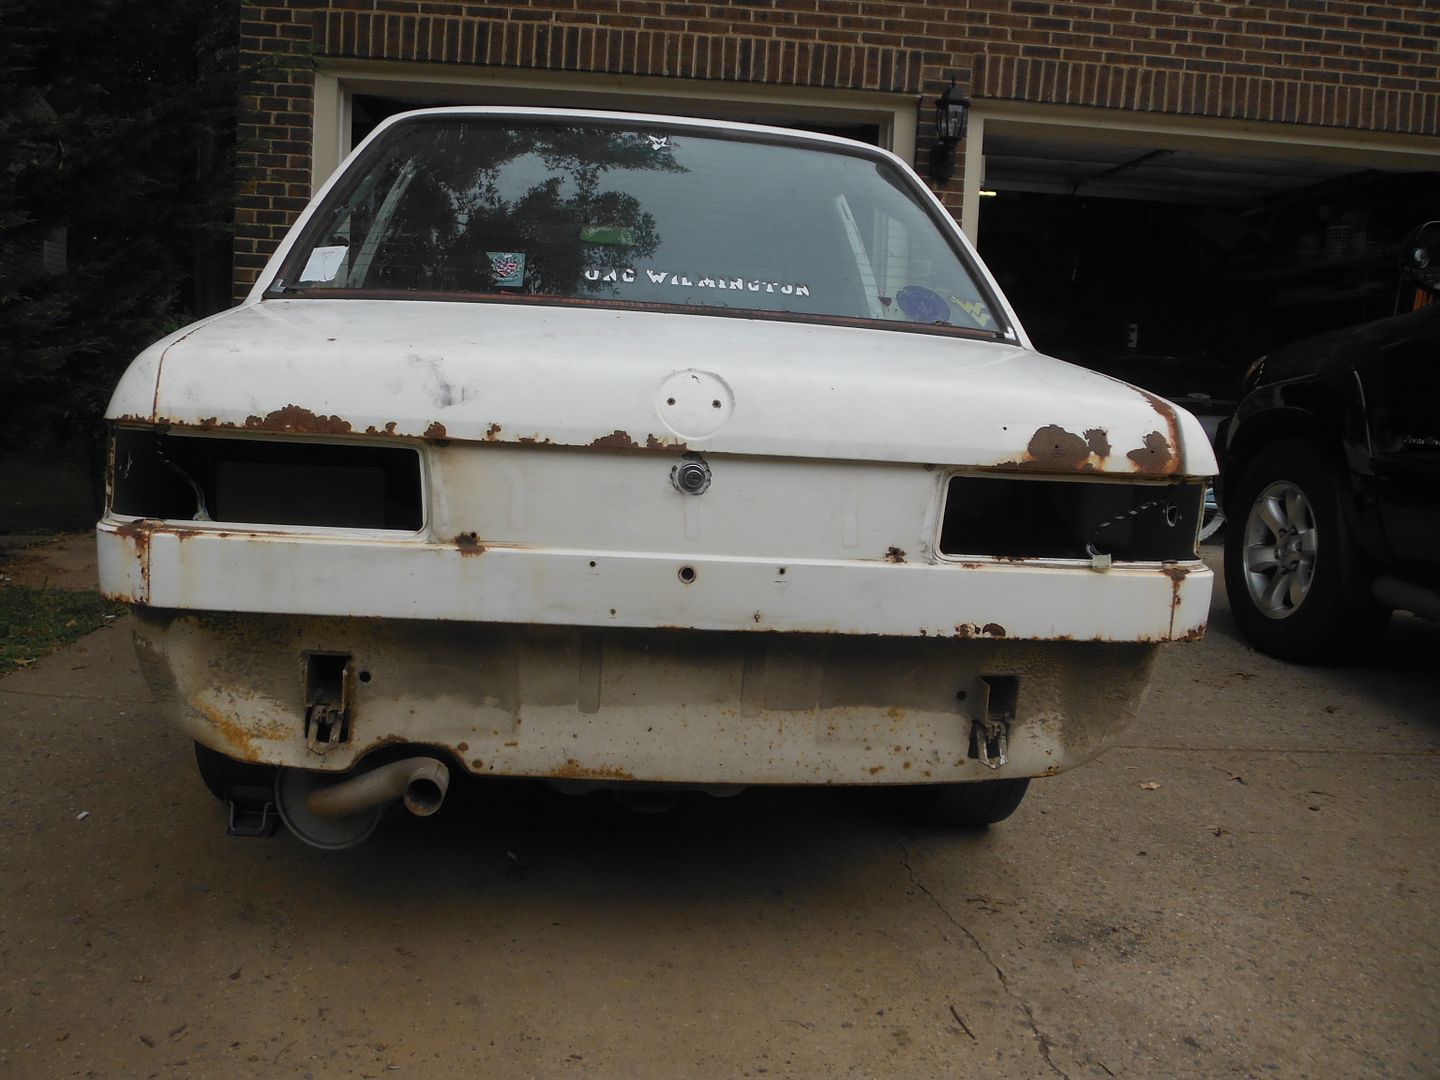
Earlier in the day I finally pulled the rear bumper, which was really simple. I continue to be amazed that on a car that is 36 years old every nut and bolt still comes off perfectly and easily, no matter if it is coated with 36 years of grime, rusty, or whatever. Still have yet to have one strip, shear, or otherwise be unable to remove one. Anyhow, bumper off, giving me another few inches of space in the garage with the door shut. The metal behind the bumper is in pretty good shape with a bit of surface rust in a few spots, but nothing too bad.
Also took the taillights and side markers off.
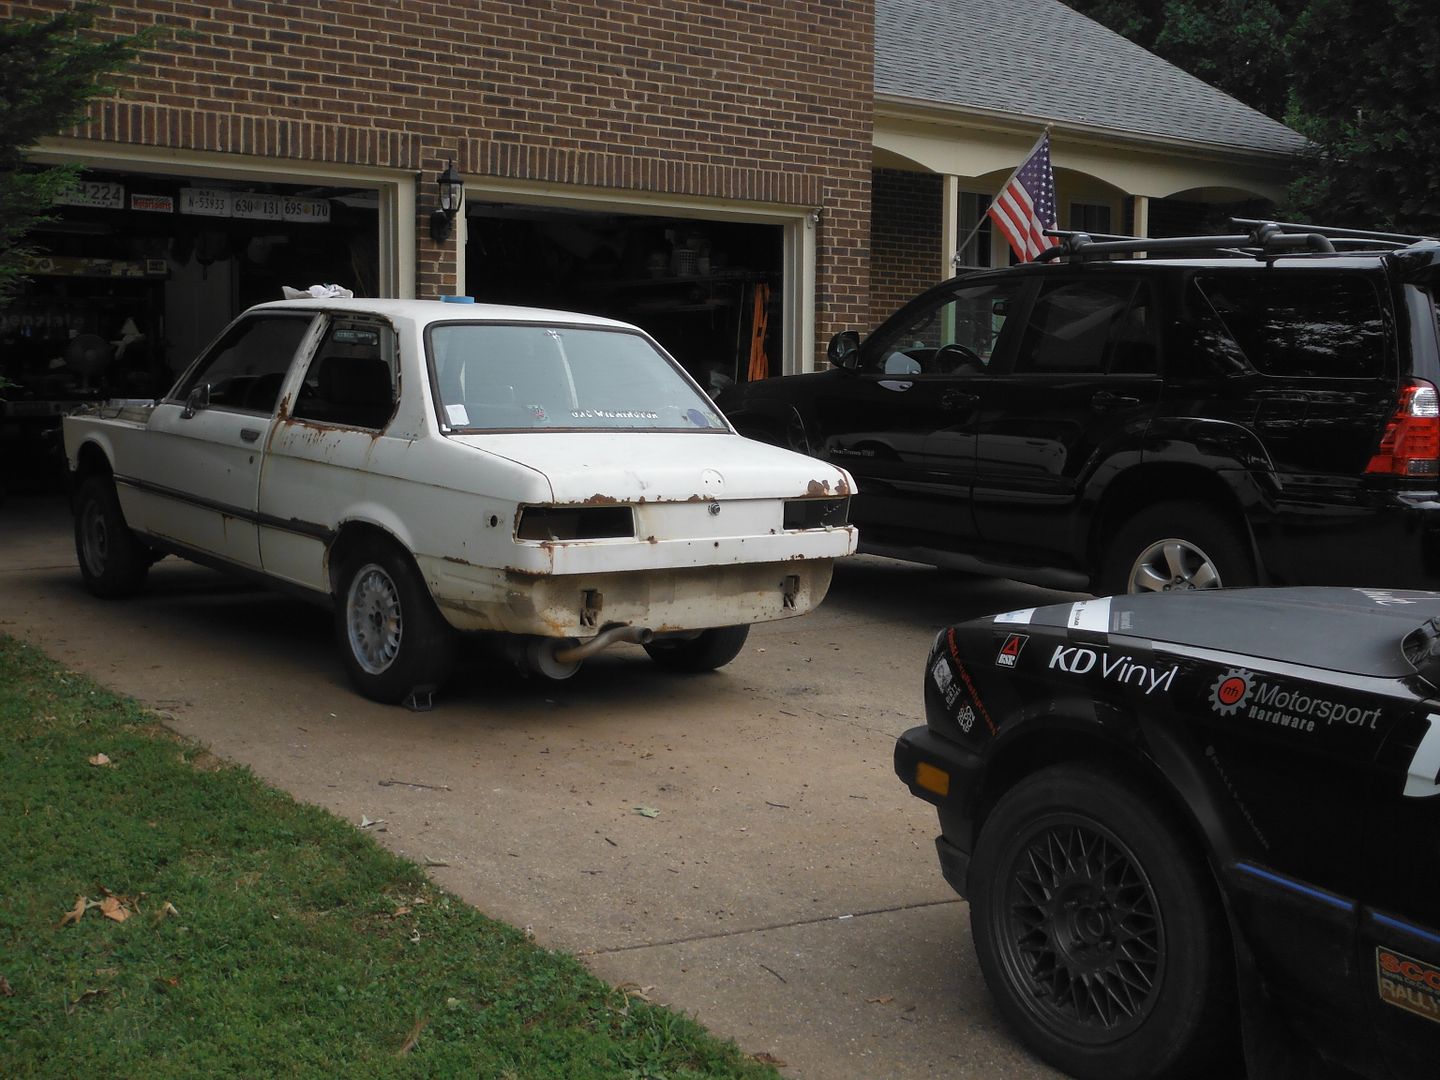
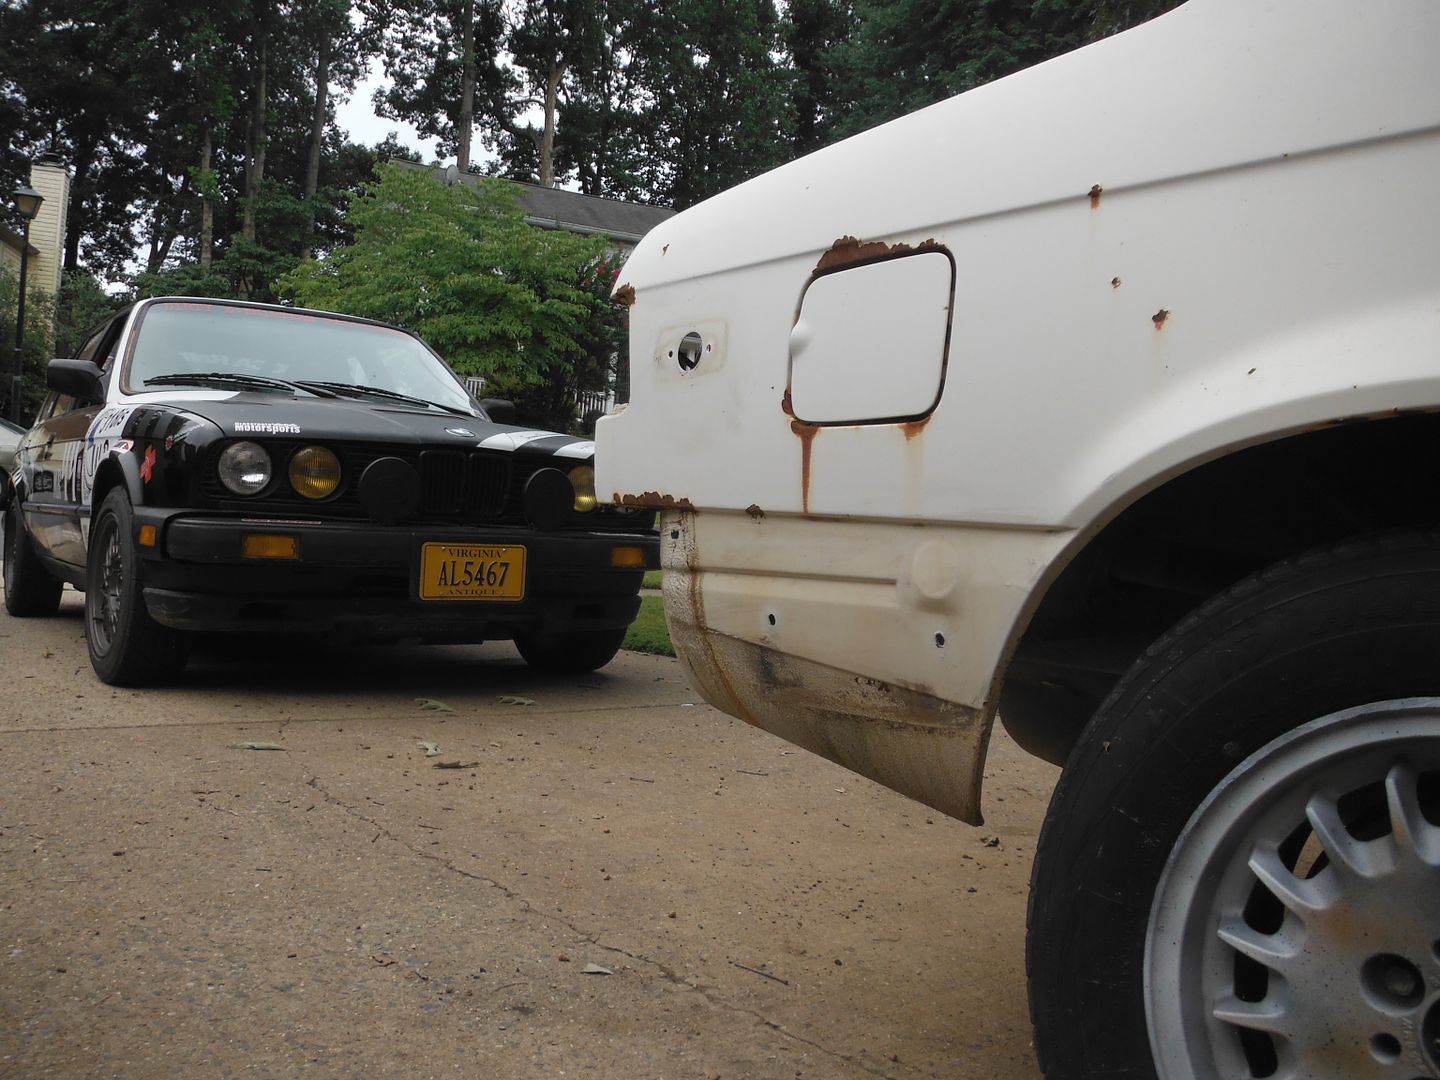
In the evening I took off all the door mouldings (a few rust spots behind them, but not too bad) and clips for them (all bagged so they don't get lost), took off the door cards and inside handles, the side mirrors (still in almost mint condition, amazingly), seatbelts, and various other interior things.
Good time to mention that I am picking up a driver's door, hood, and windshield from a local guy parting out an otherwise goner e21. My driver's door has a dent down the side of it and also dented under the mirror. Rather replace than fix. This hood should have less rust than mine (which isn't terrible in its own right).
Then spent some time taking out the HVAC fan and wiper assembly, which is a pain in the ass if you haven't done it before, but will be easy if I ever do it again, lol
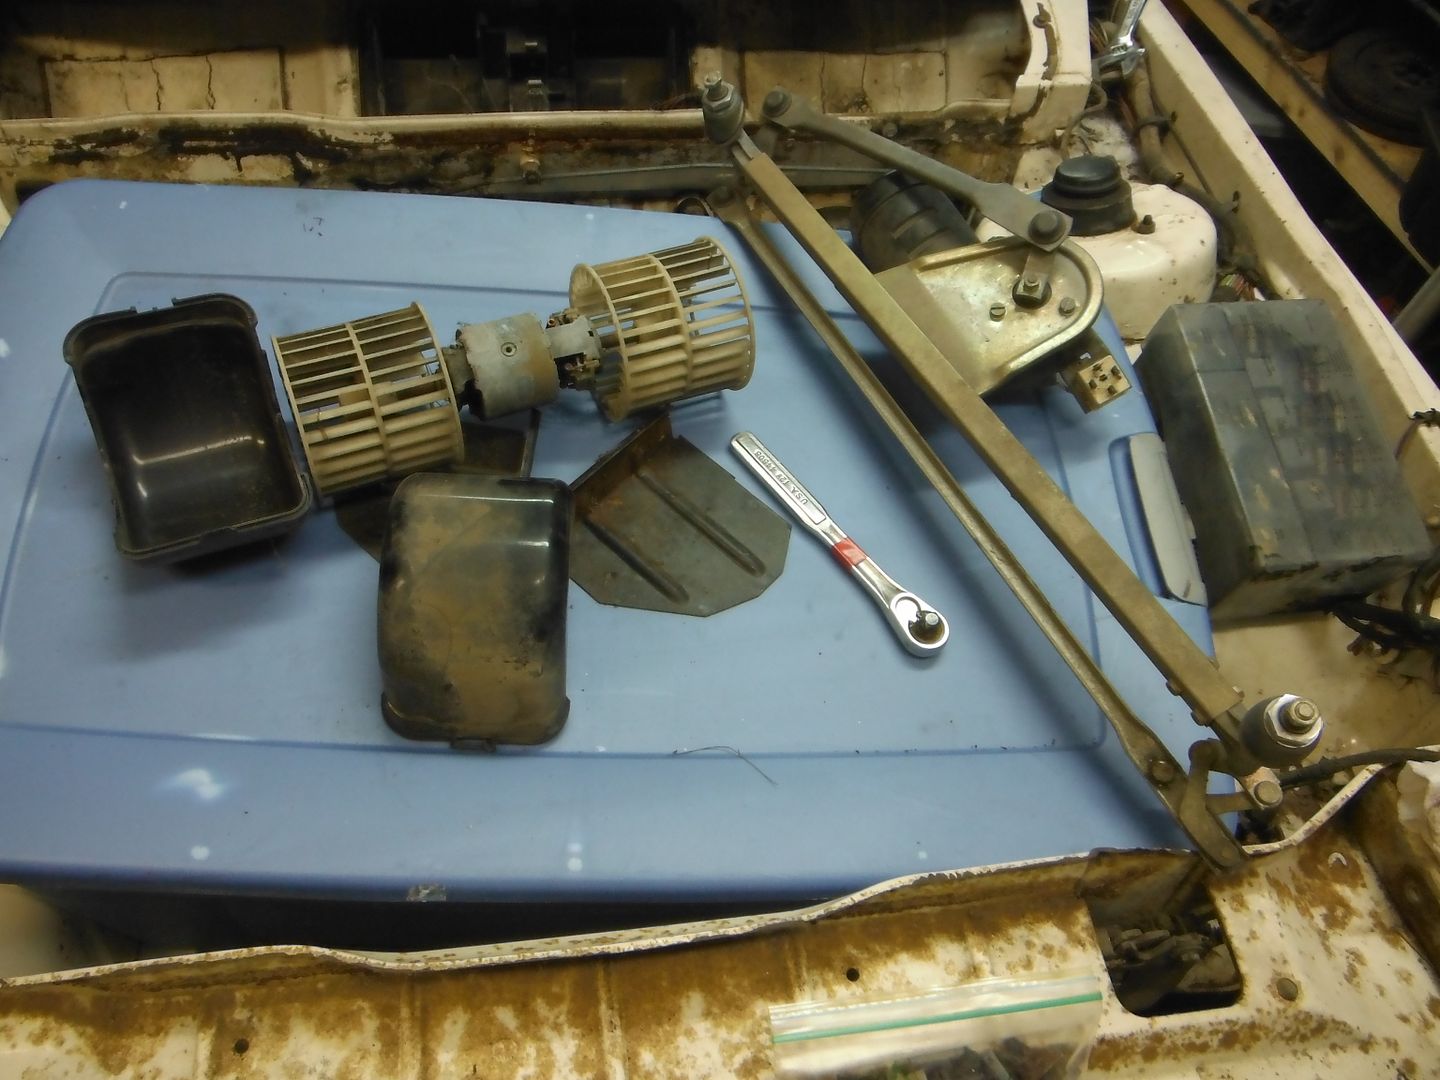
nasty in there, lots of debris, some old wasp nests, etc etc. But not rusty, so that's good.
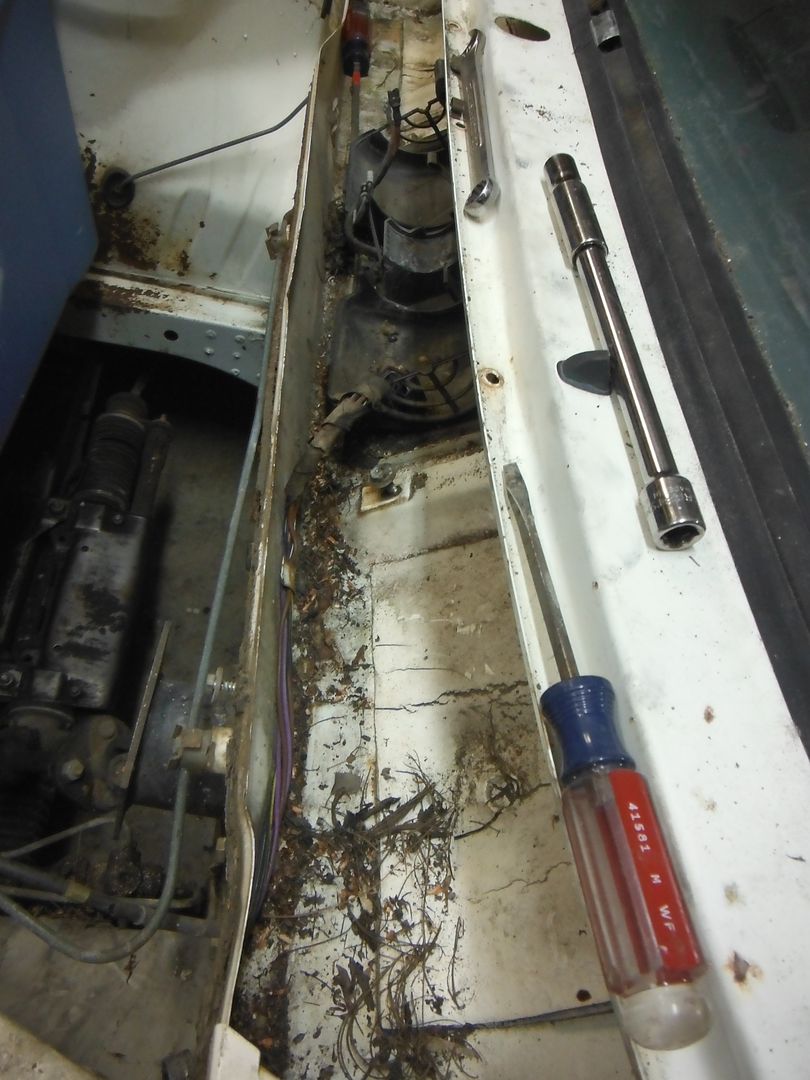
interior getting more bare, and not finding any surprises so far..
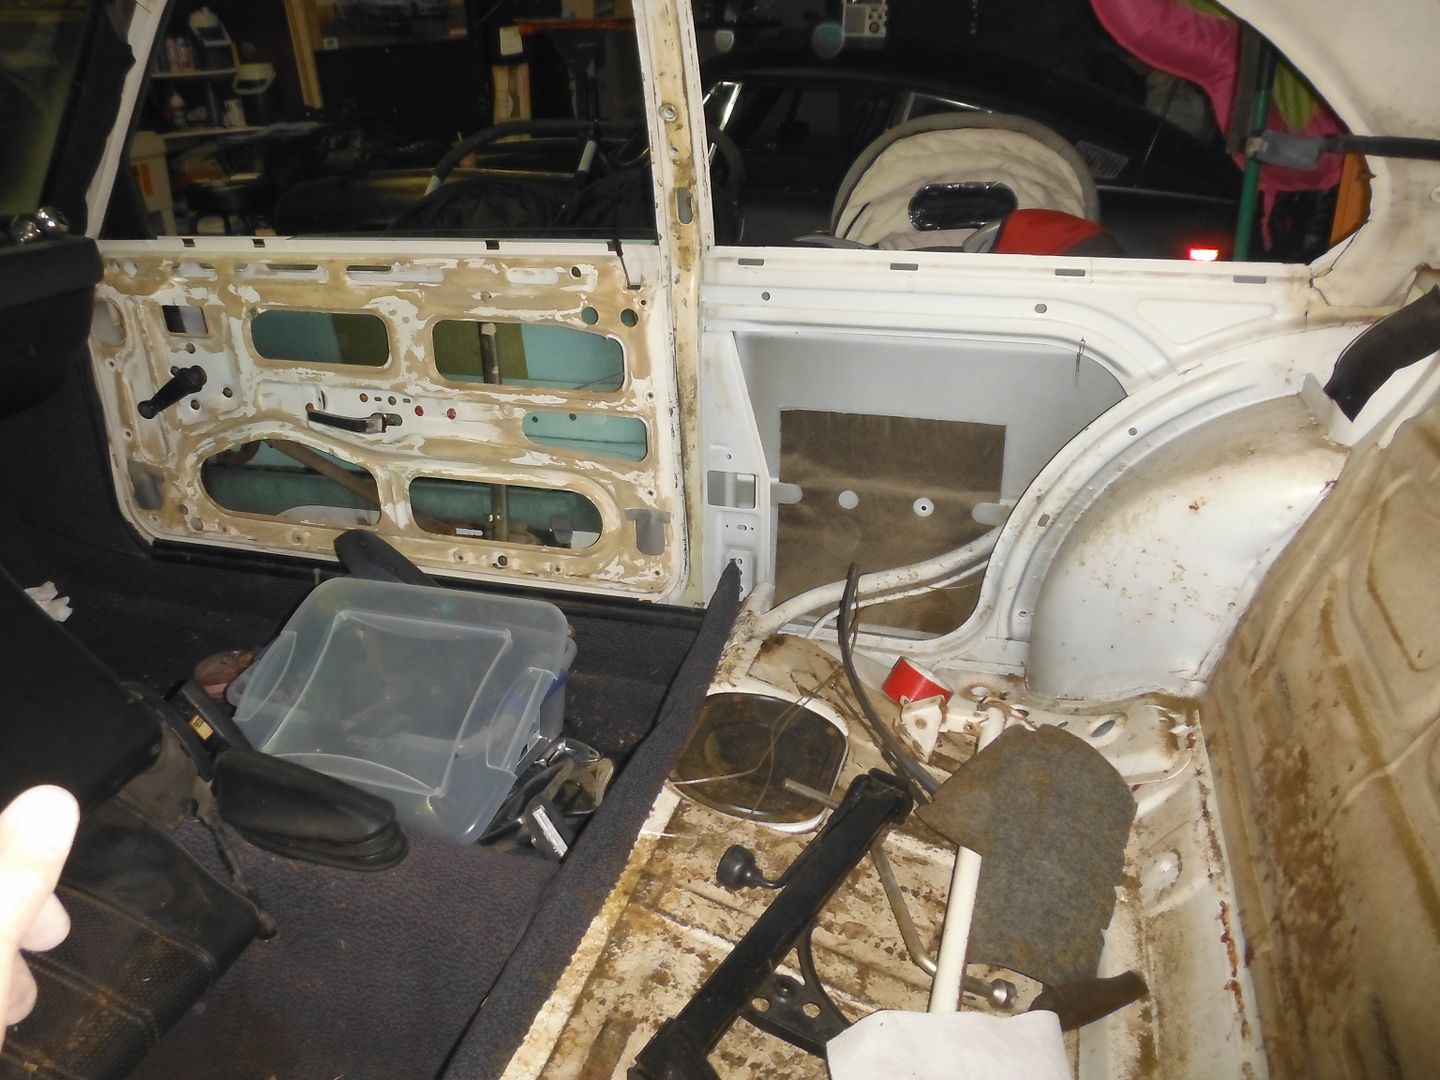
So I'm kind of ADD when it comes to bodywork. I tend to jump all over the car and do little areas to keep it interesting, and eventually "fill in the blanks" as I go along, lol.
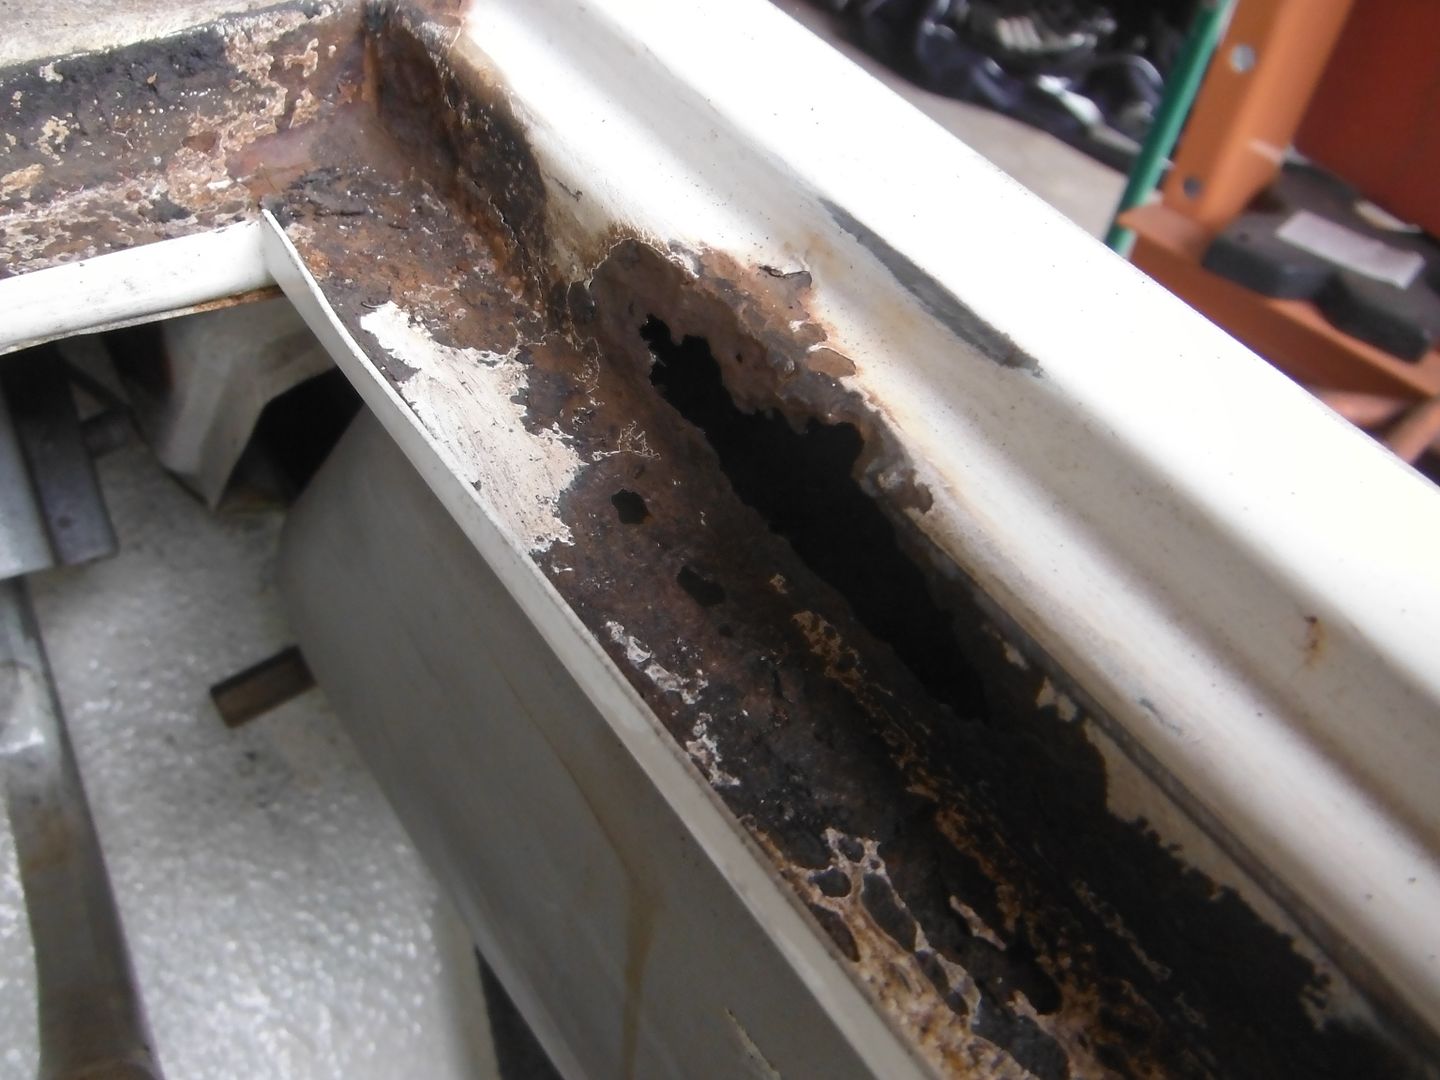
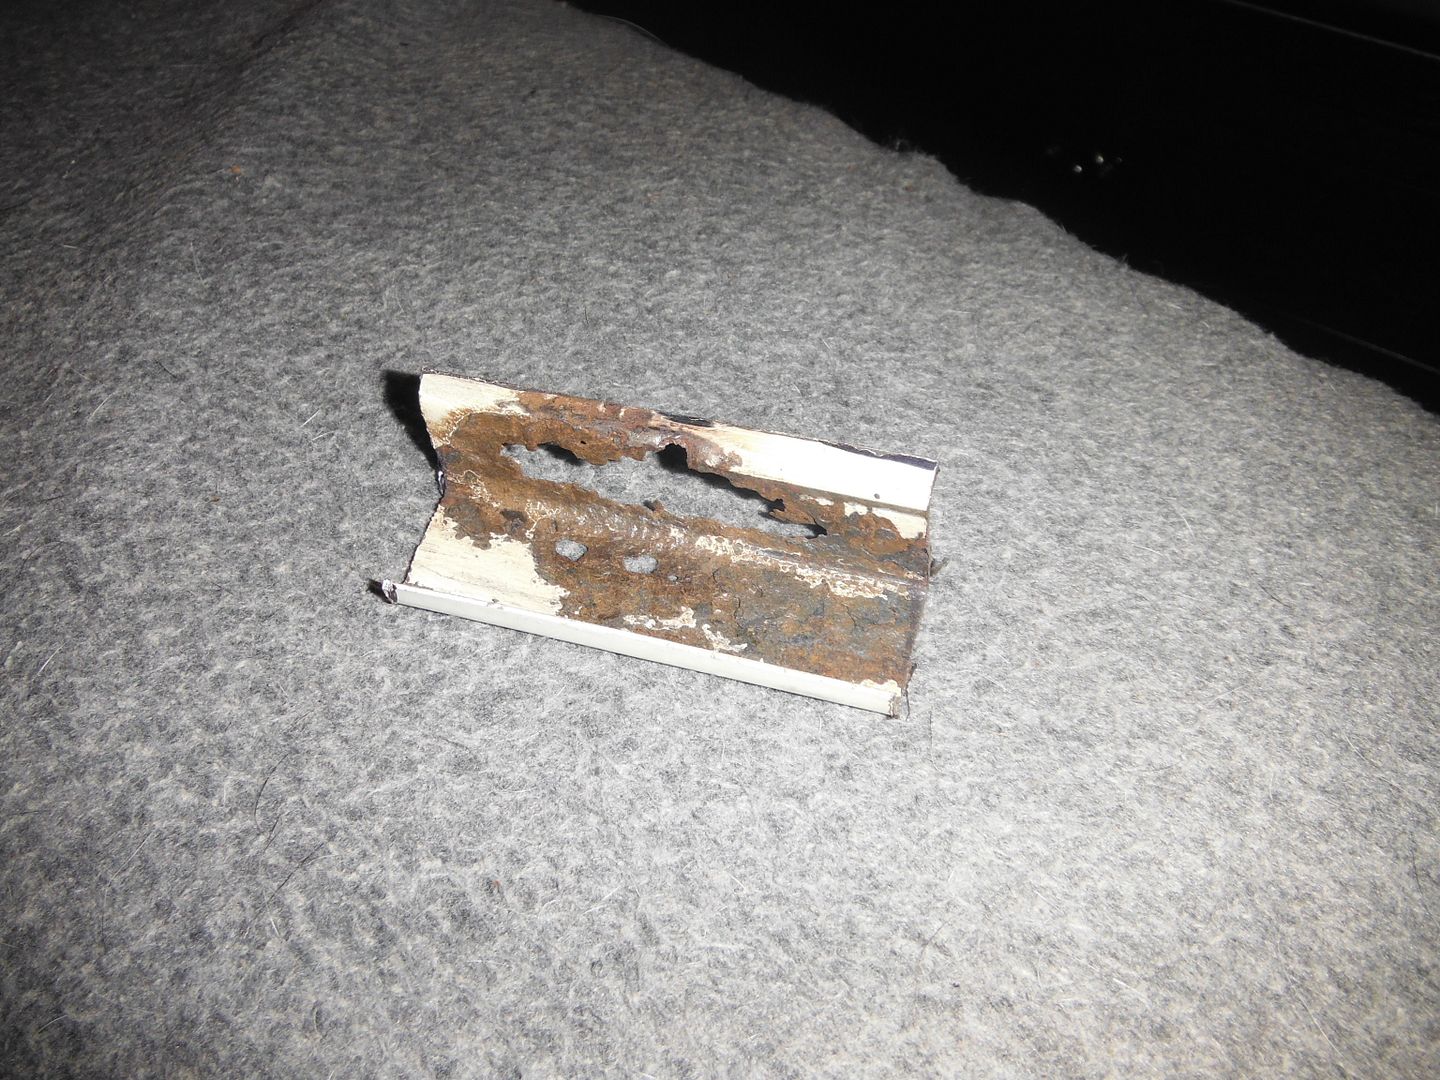
I've already done most of the trunk and taillight areas (no pics for some reason, oops) and they cleaned up pretty well except for some heavy pitting and pinholes under where the 320i badge was. Also some rust-through on one of the drain rails in a difficult area right over the fuel expansion tank thing. Ryan was nice enough to cut a 6" length out of his rusty parts car (somehow NOT rusty), so I'll cut this area out and weld the new piece in rather than trying to patch it.
yum
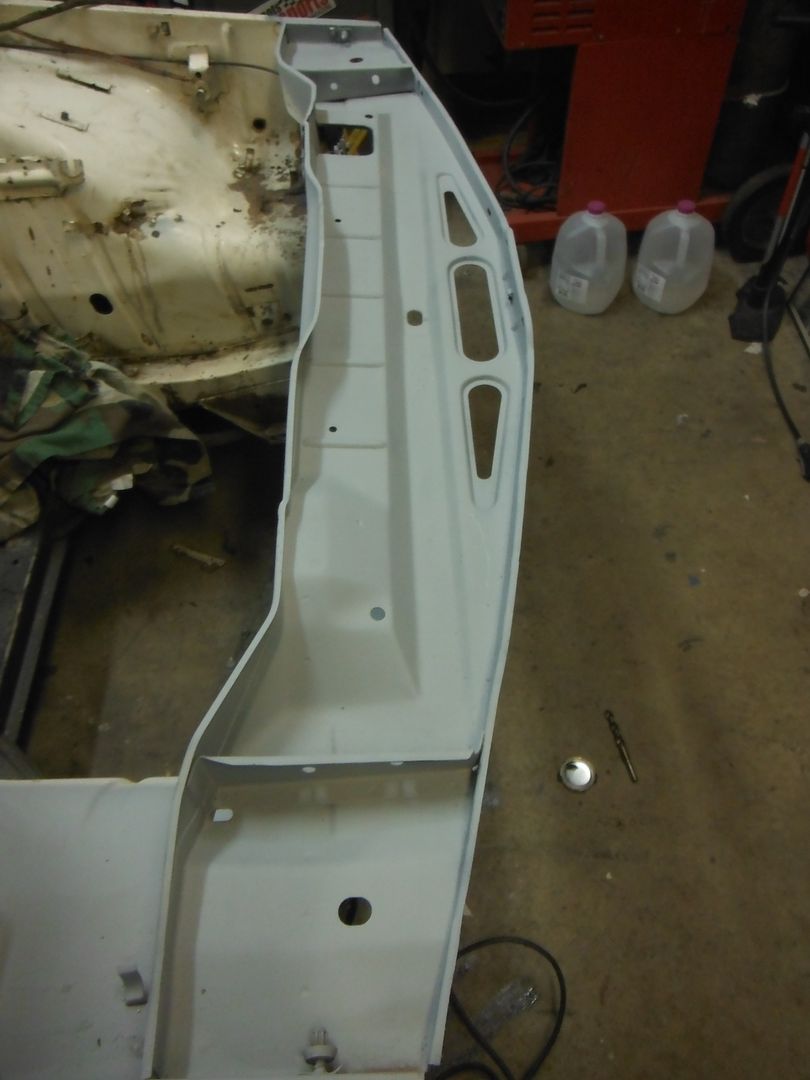
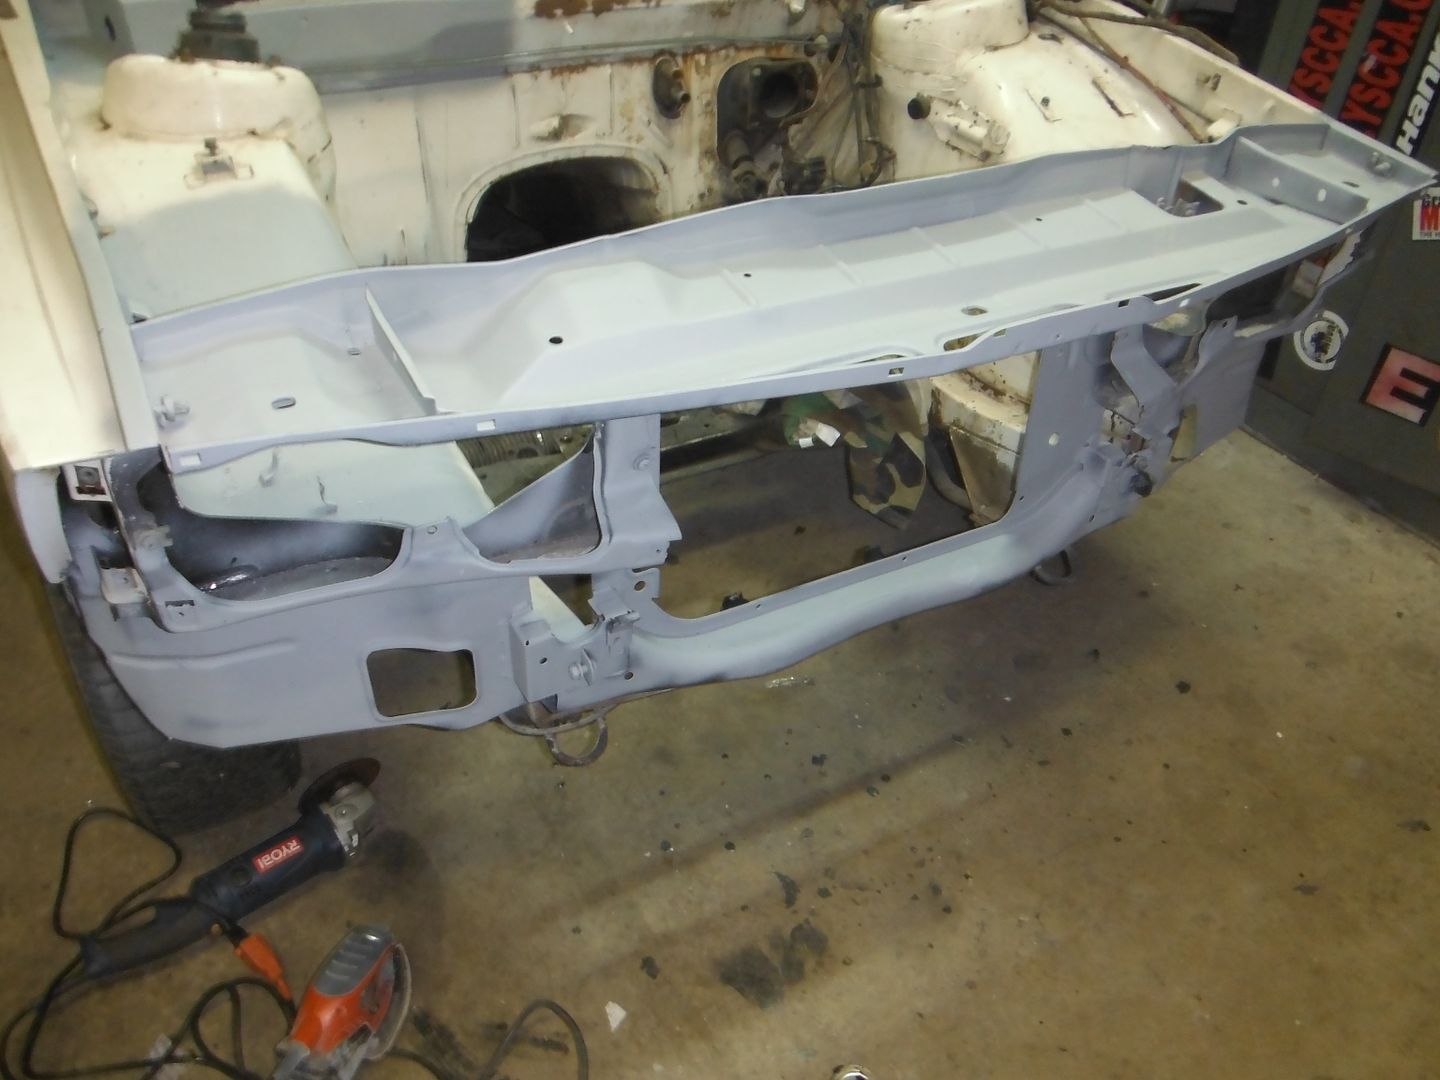
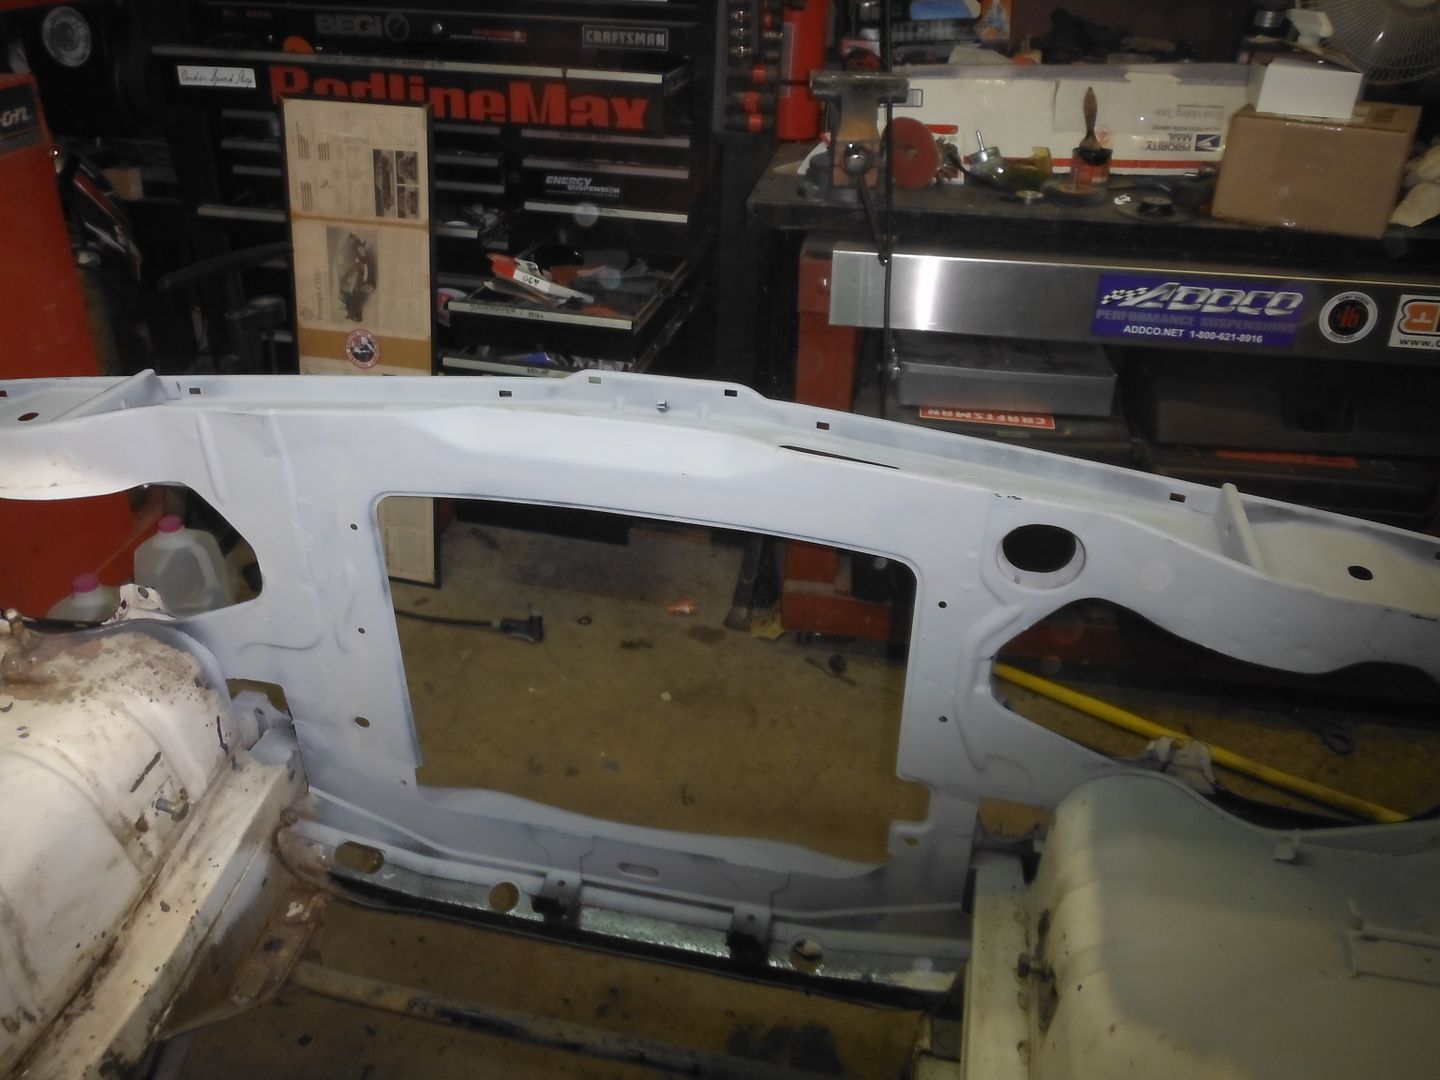
So also did the front radiator support and chassis front. Almost all just surface stuff, so I cleaned it up good, hit it with some POR-15 and primer, and should be good to go. That said, I'm a bit concerned with POR-15 as a basecoat since I've heard some rumor that paint doesn't like to stick to it all that well, even when scuffed up. I'll use the engine bay as a test case and see. Any thoughts on that from the peanut gallery? Bodywork and rust repair is not really my strong suit. On the e30 it didn't have to look good since that's a rallycross car. On the GT6 we just cut all the rot out and put in fiberglass panels and floors and called it a day forever. Here I want to do things the "right" way, or at least somewhat close to it!
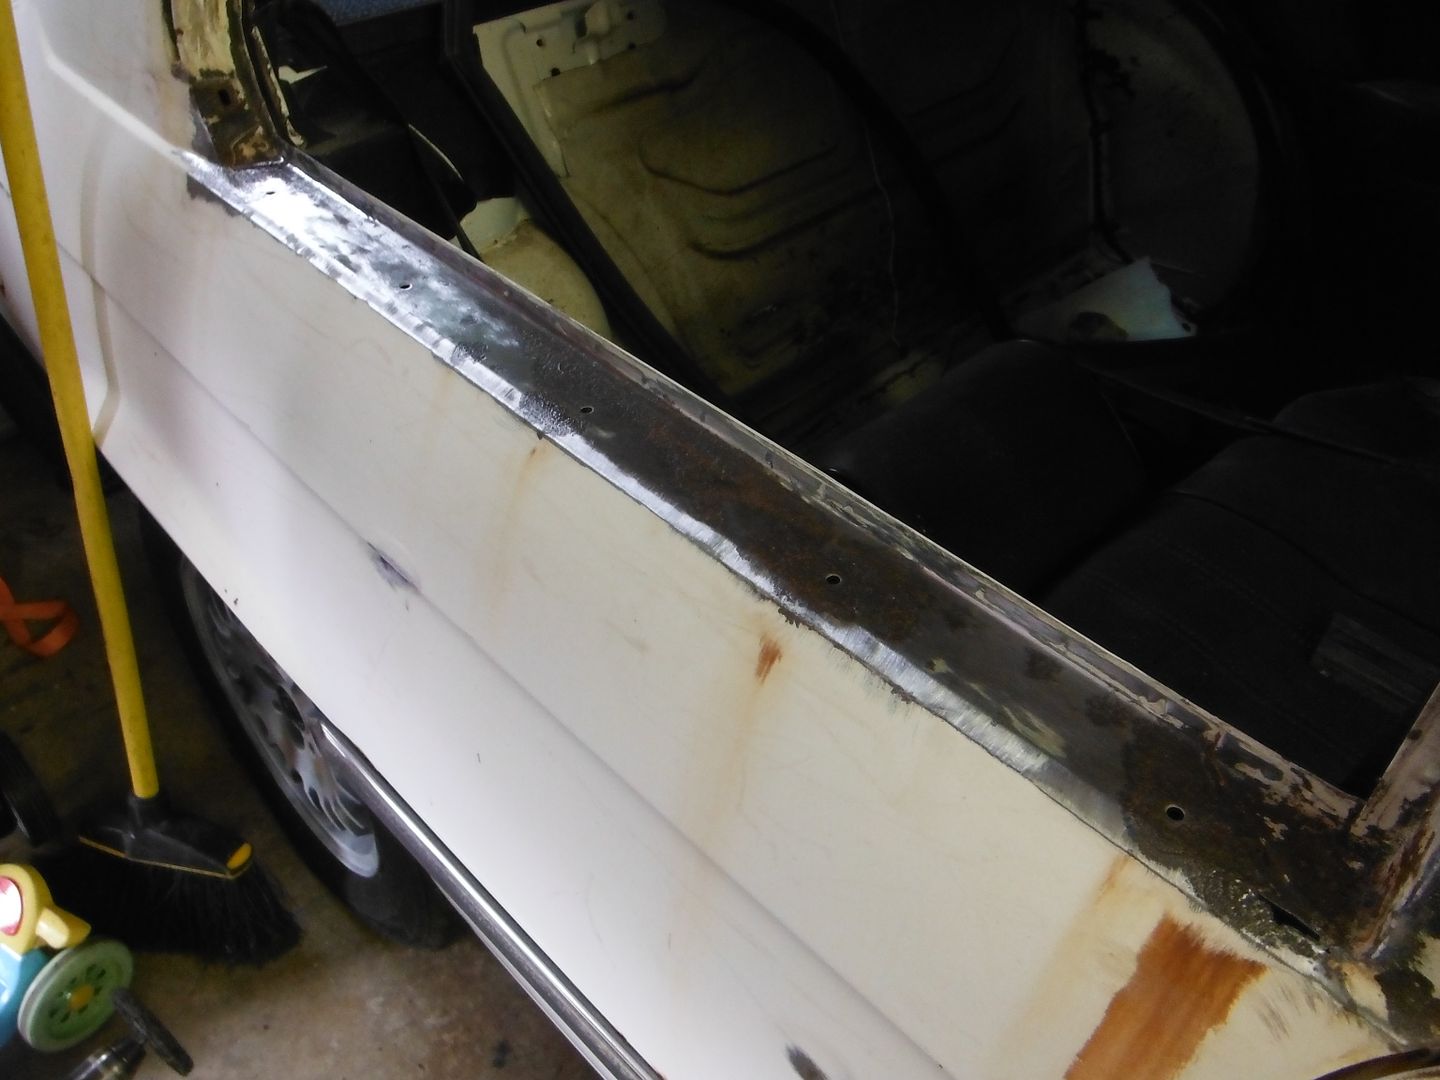
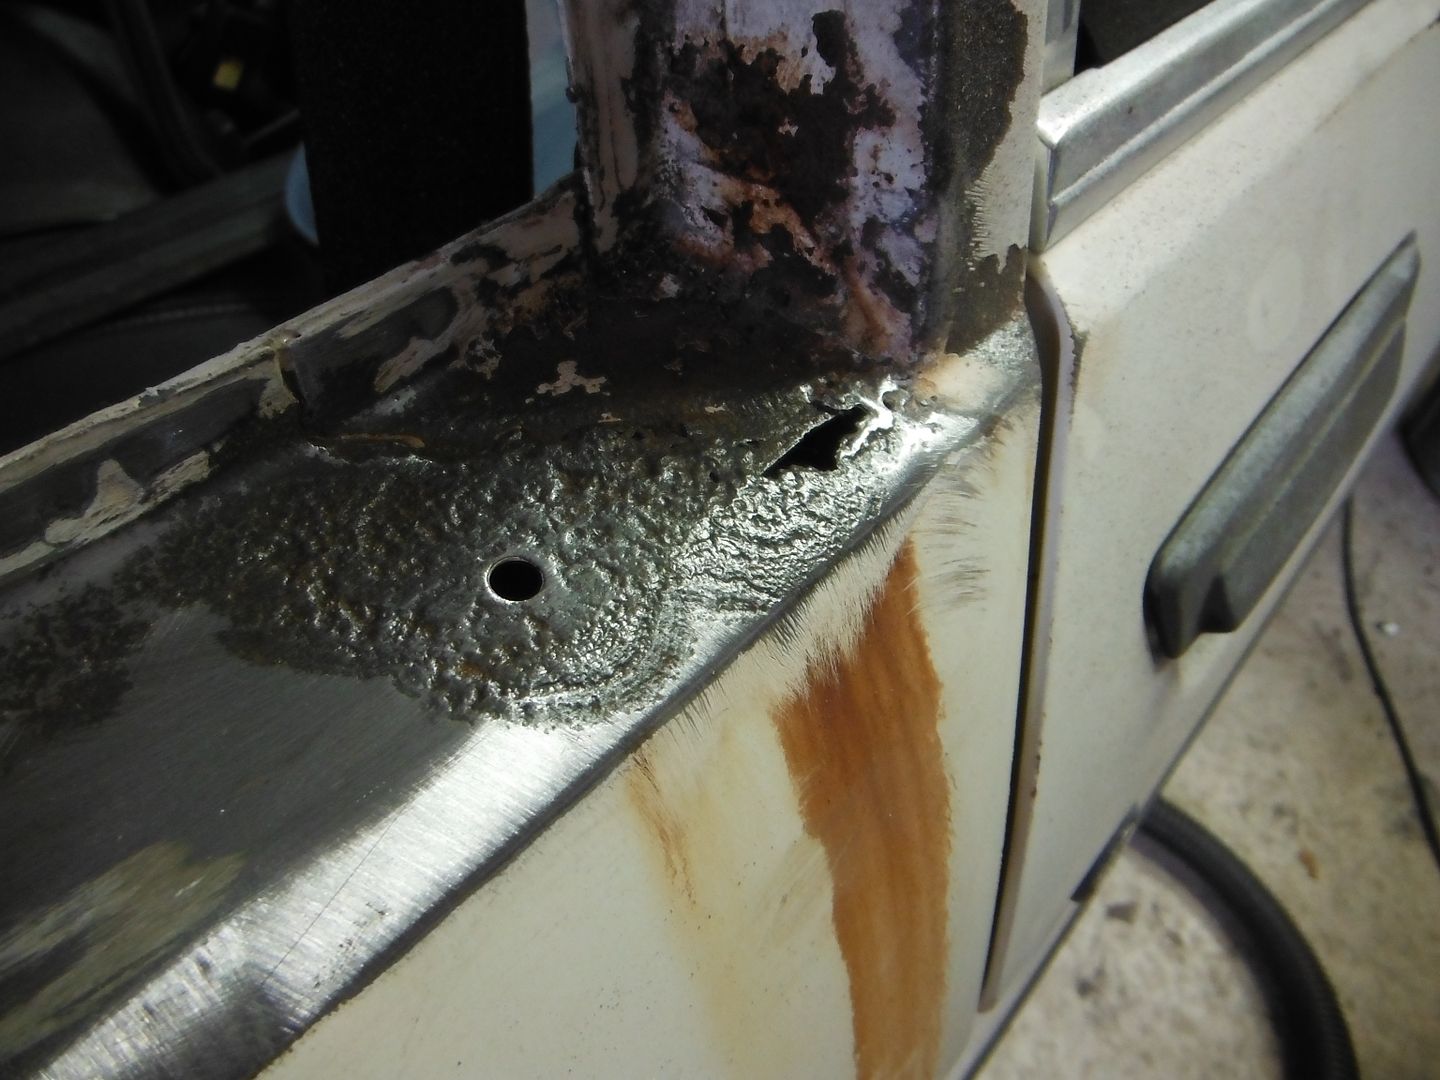
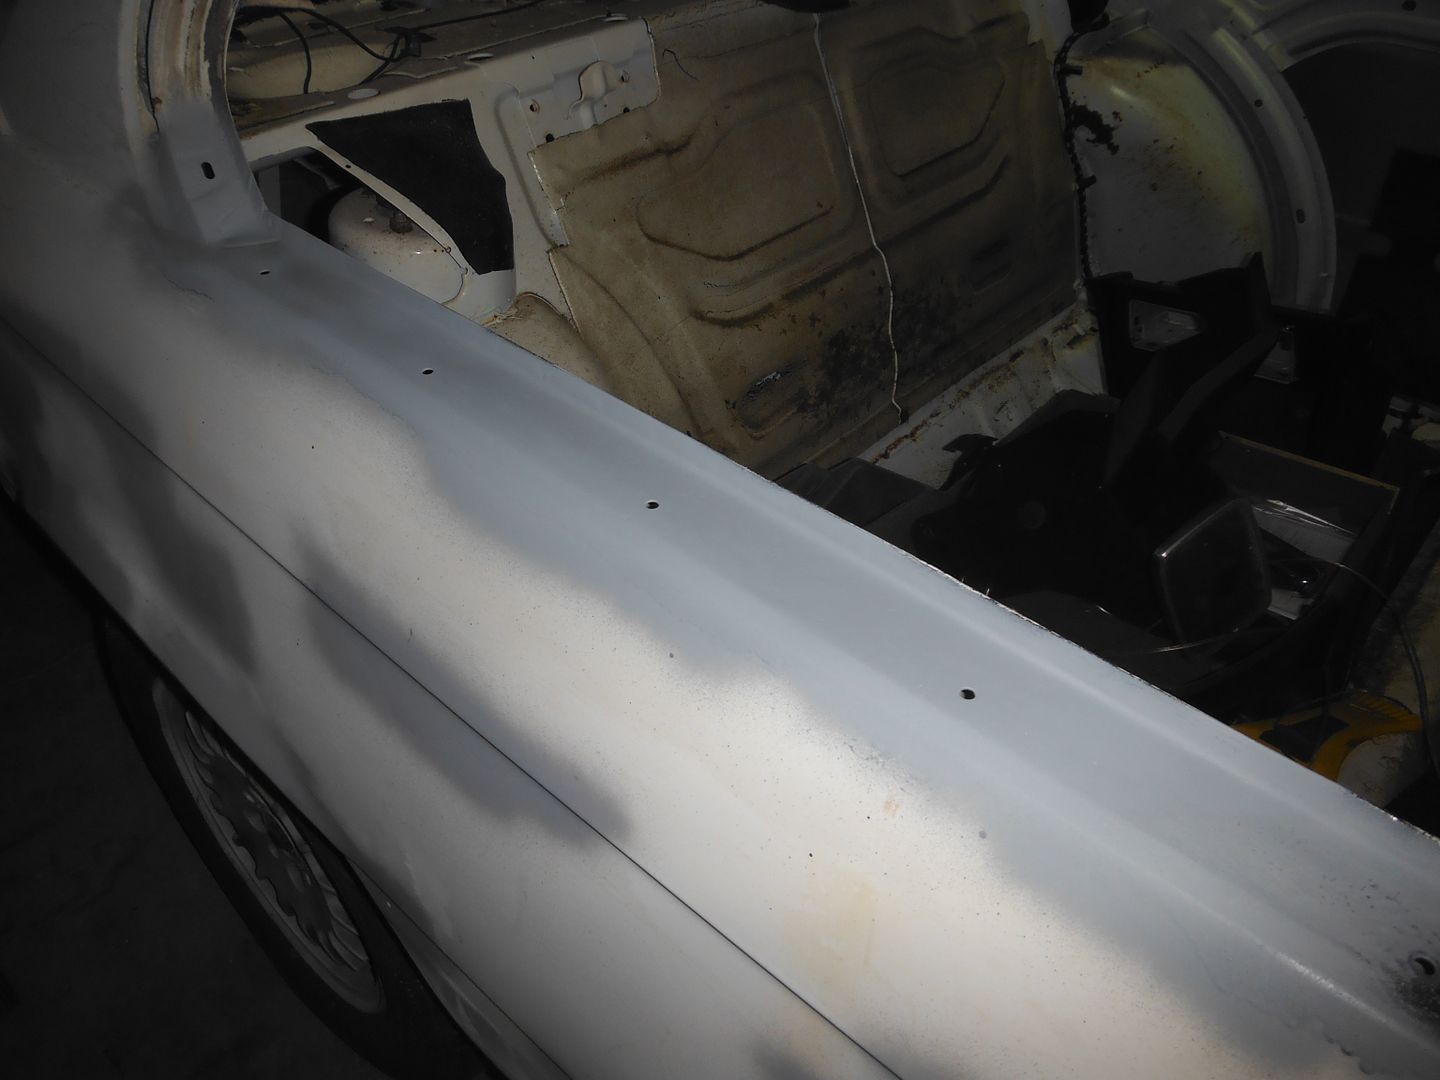
On the rear windowsill, where the worst rust on the car is/was, I ground everything down to bare metal, cleaned out all signs of rust, used some Metal Ready, and POR-15'd it. Then over a few days I filled and sanded a few times and it's looking pretty legit I think. I do have one small hole to patch at the front end.
after grinding/sanding
trouble spot
built up and primed
Tomorrow I get 3 tons of gravel delivered to clean up my side "driveway" to the back yard shed from being a mud pit, so I'll be doing manual labor. We'll see if the car gets any work. Taking the day off work with the wife and kids out of town, so who knows...
A few updates. I finished off the passenger-side window sill and it came out pretty good if I do say so myself. Also started with some welding and grinding on the other side (no pics)
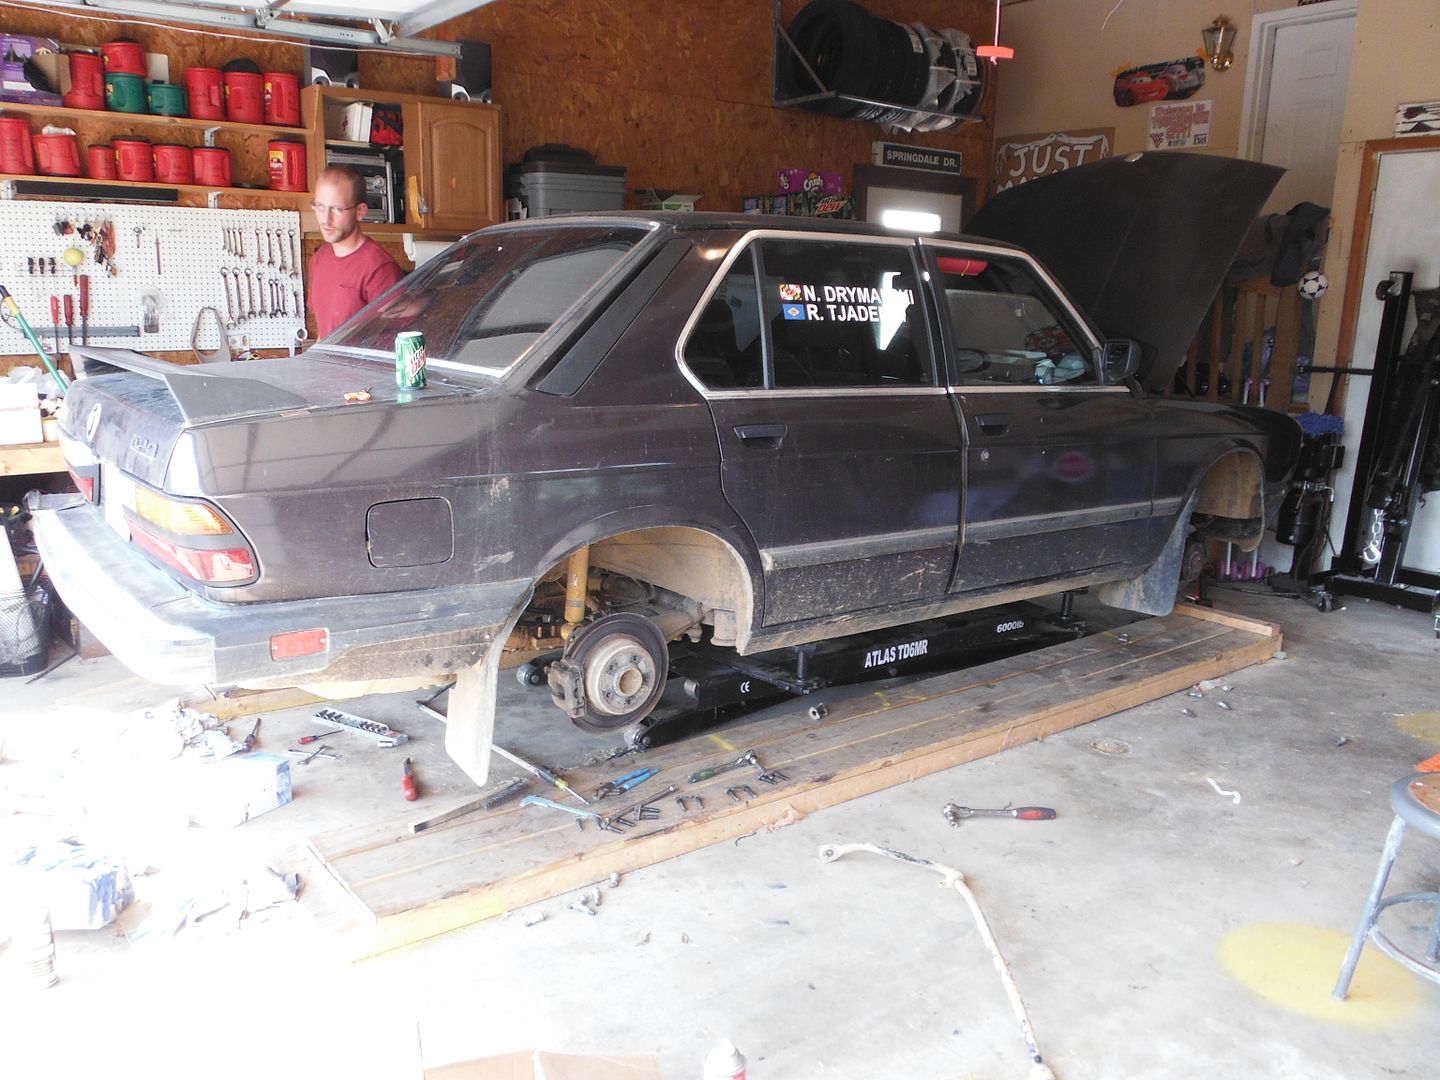
Today I ran out for double-bmw duty. First went out to Pat's to help him and Nick work on Nick's rallycross e28. I spent most of the time rebuilding the CV axles with Pat while Nick installed some swaybars. Need to get Nick ready for the rallycross in 2 weeks since he's one of the top cars in our class (just behind me and Roberto in the season points) so don't want him to have to miss an event or have stuff broken. dirty e-thirties honorary member and all ;)
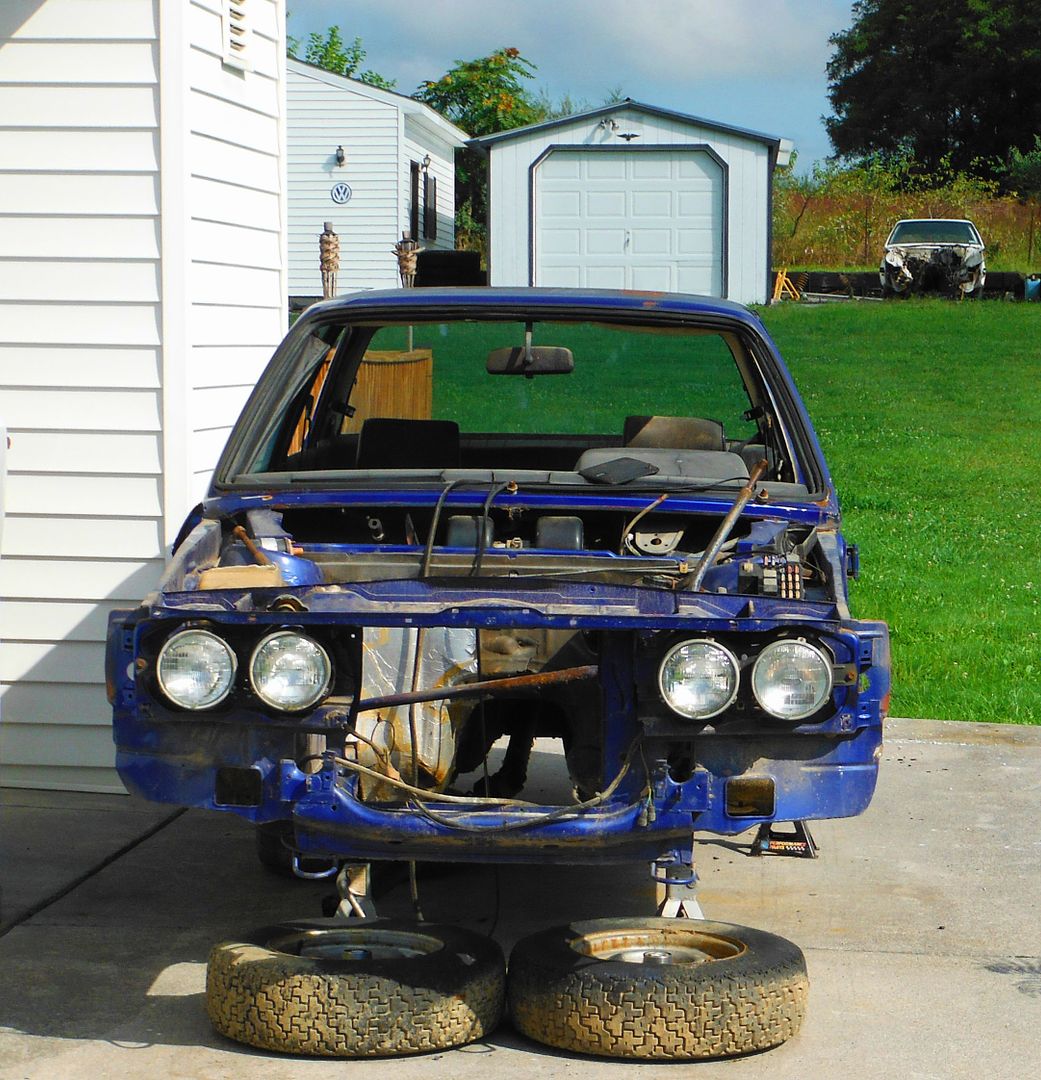
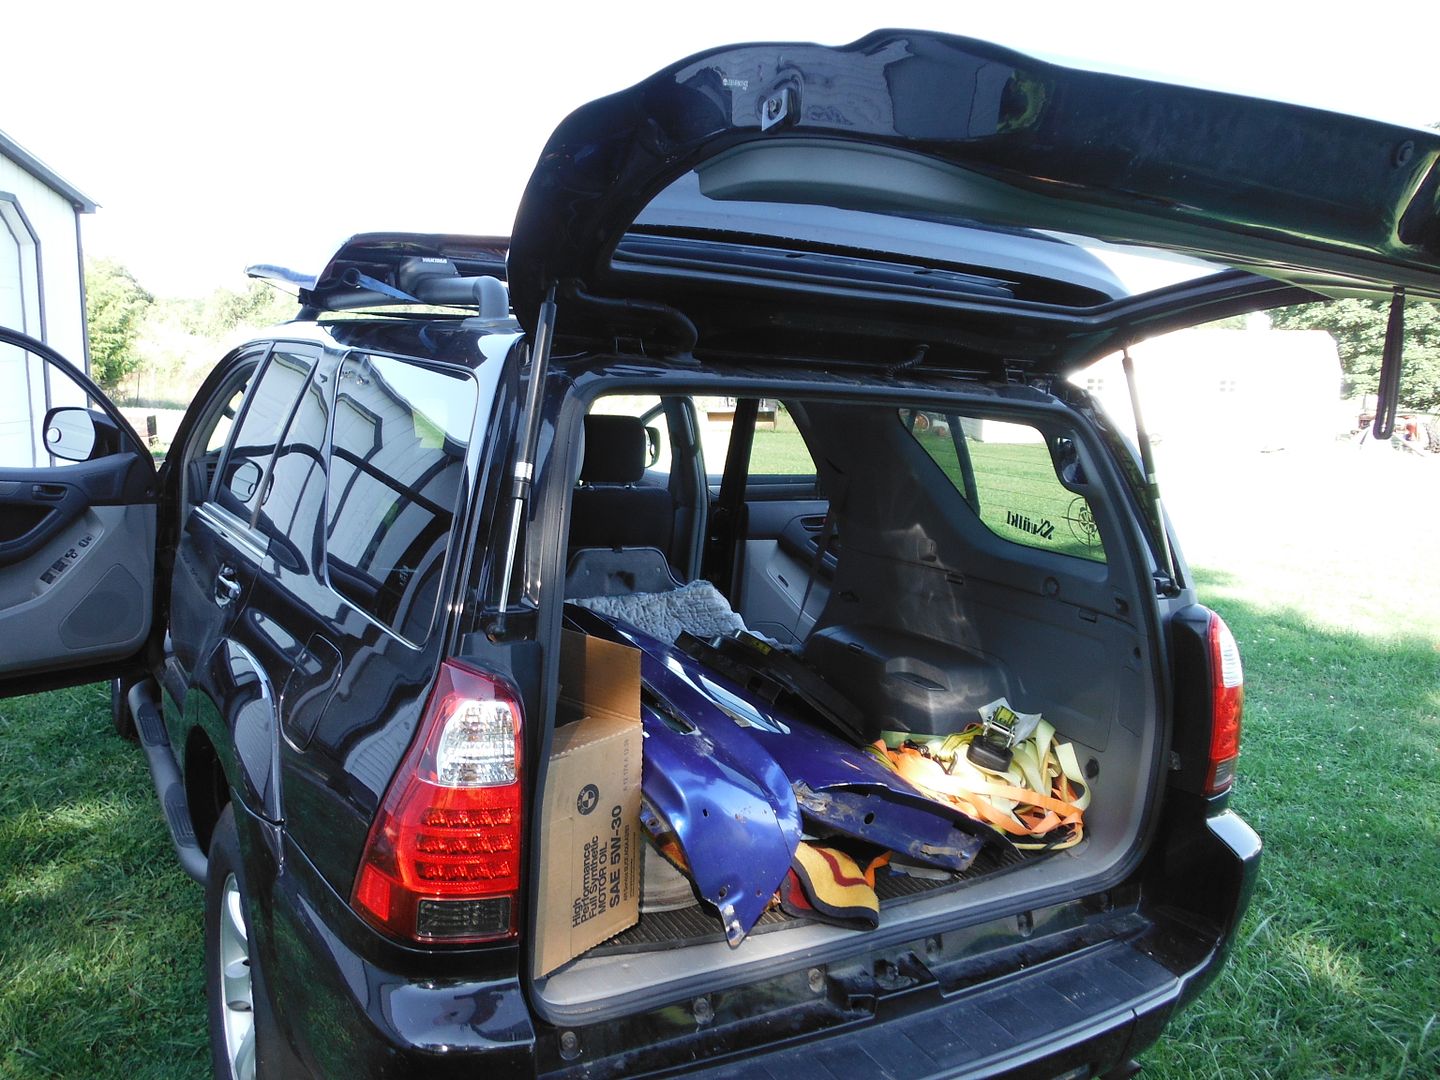
Then I ran by Ryan (dirty30 on r3v)'s place in Winchester to pick up a load of parts from the really nasty e21 he bought a few weeks back to part out. For very little cash I managed to pick up a hood (much nicer than mine), a door (less rust but more dents than mine, so not sure which if either I'll use), a windshield (mine has a small crack, so worth having a spare), windshield trim, etc (still new), and a BMW legit front lower valance in great shape other than one little ding in it, which is MUCH better than my beat-up and rusty one.
His parts car clearly had lived a few lives in several different colors....white, red, olive green, and most recently some metallic blue....so I'll have some sanding to do for sure, lol.
The parts car:
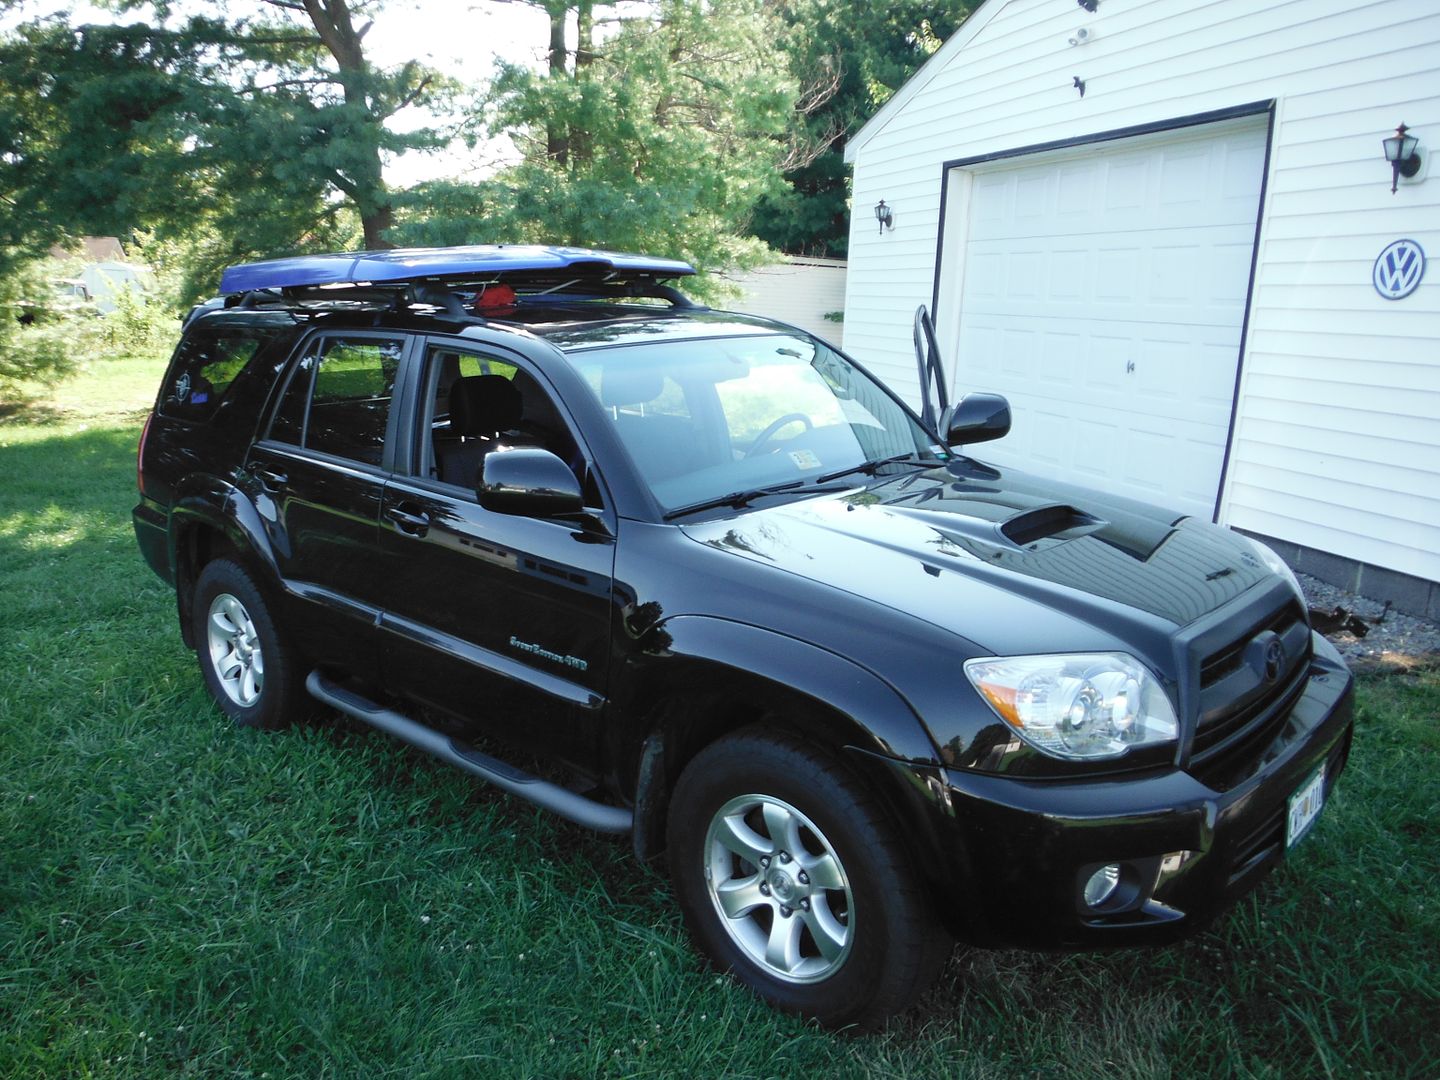
Loaded up in the truck
Getting the super-big e21 hood up on the roof proved interesting....it was just the right size to fit over my 48" Yakima bars though.
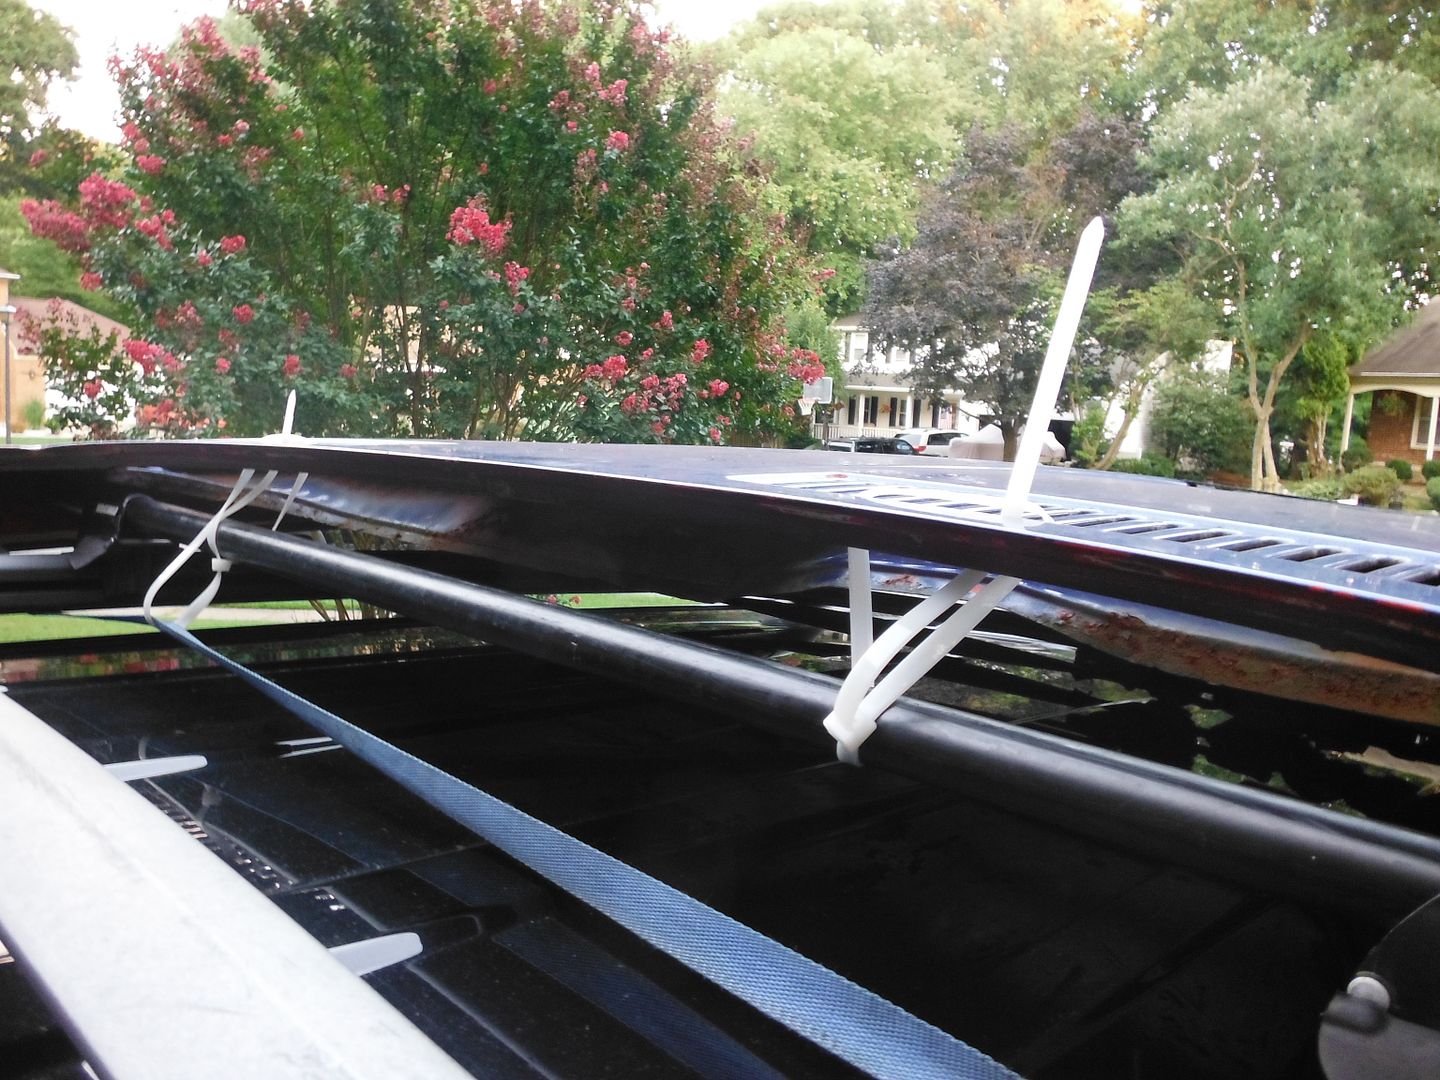
aside from my load straps, put on some heavy zip-ties on it as well, since I planned to do 80+mph on the way home, lol.
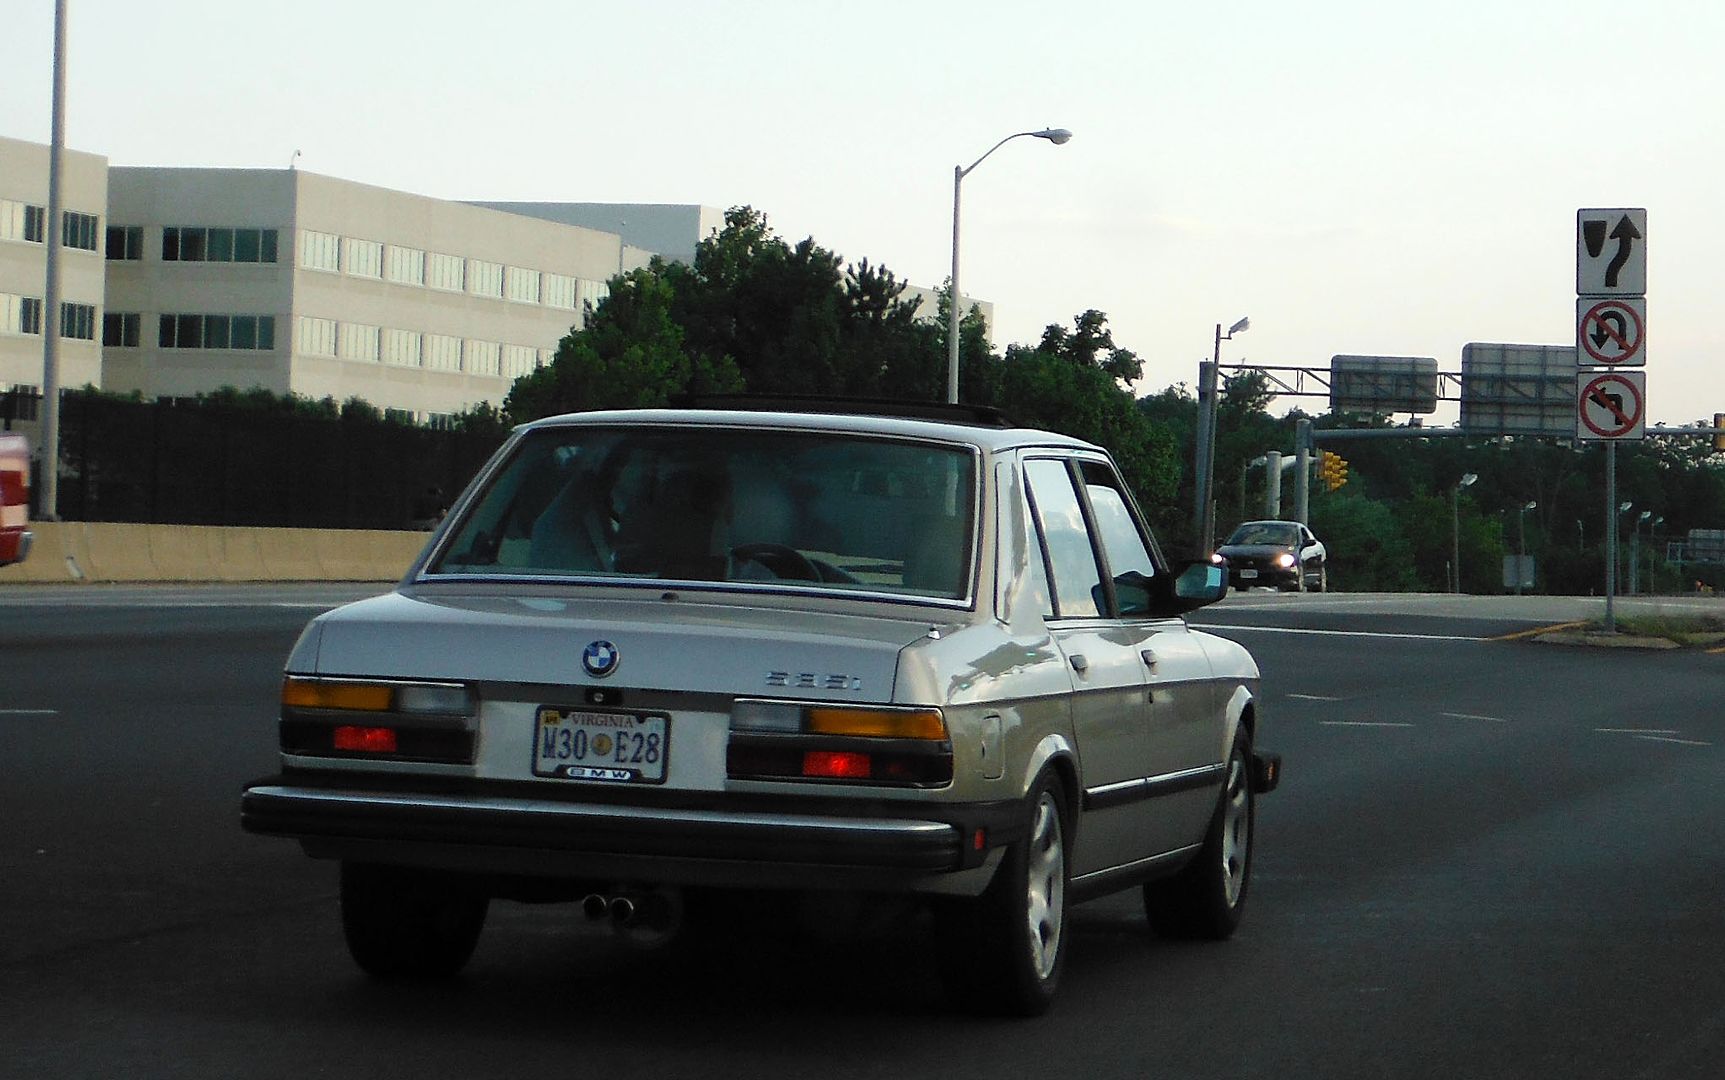
On the way home I rolled for a while with this lovely e28 535i that literally looked showroom-new.
So here's the stash:
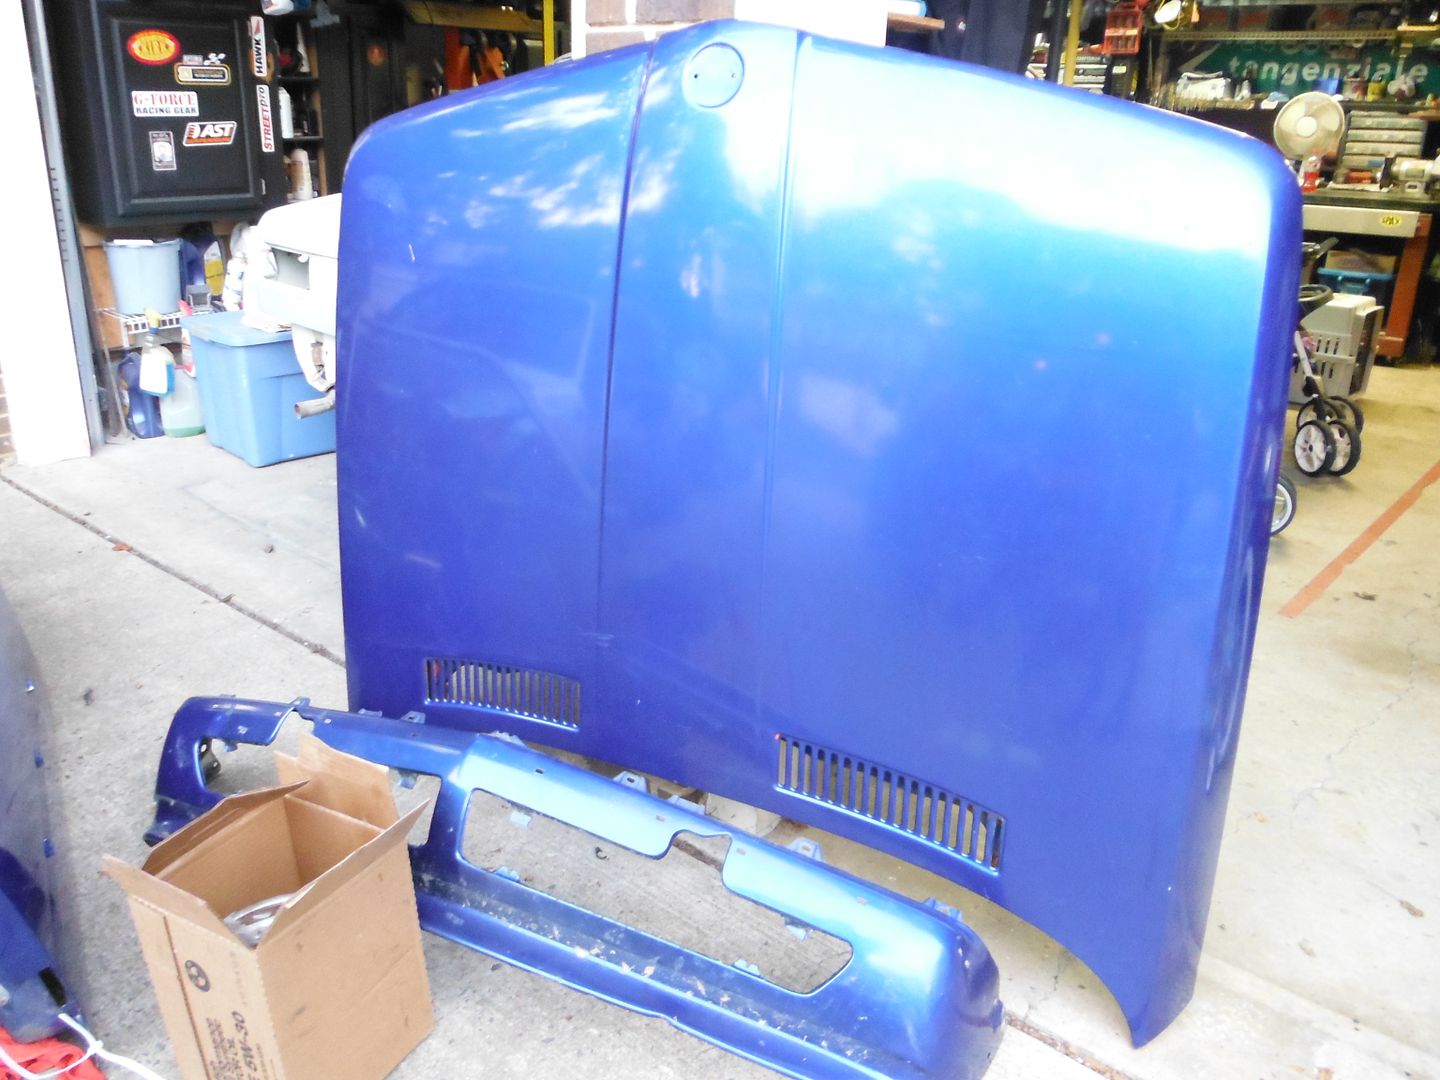
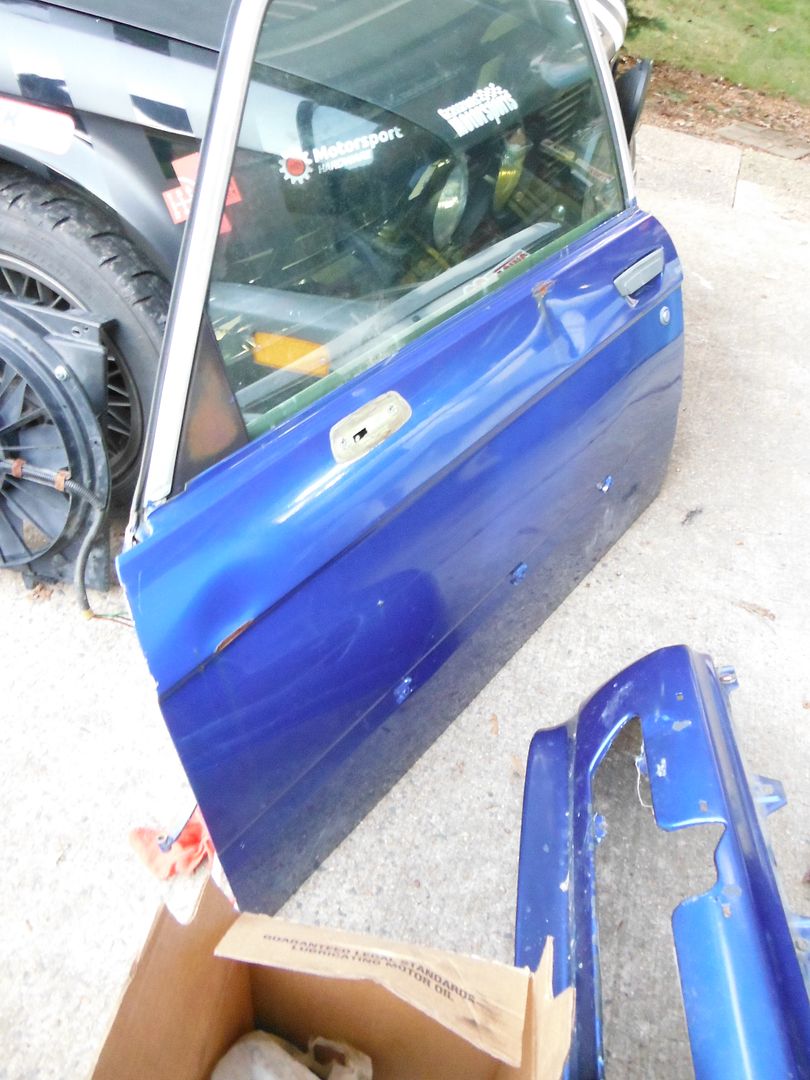
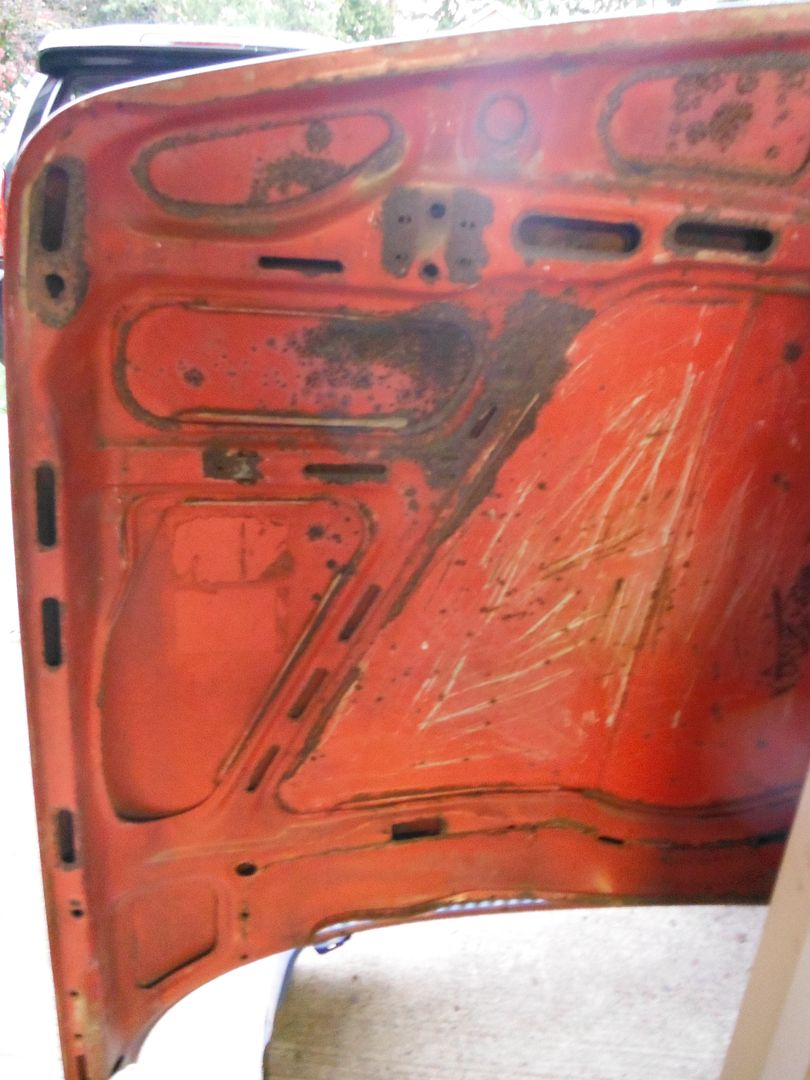
Hood looks good on the front and the rust on the (red) underside isn't as bad as it looks
After many other projects, got a few little things done today:
First, pulled the windshield now that I set up a rack in the shed to hold all the glass pieces. Happy to say that there is no rust around the windshield frame, it looks nice and fresh.
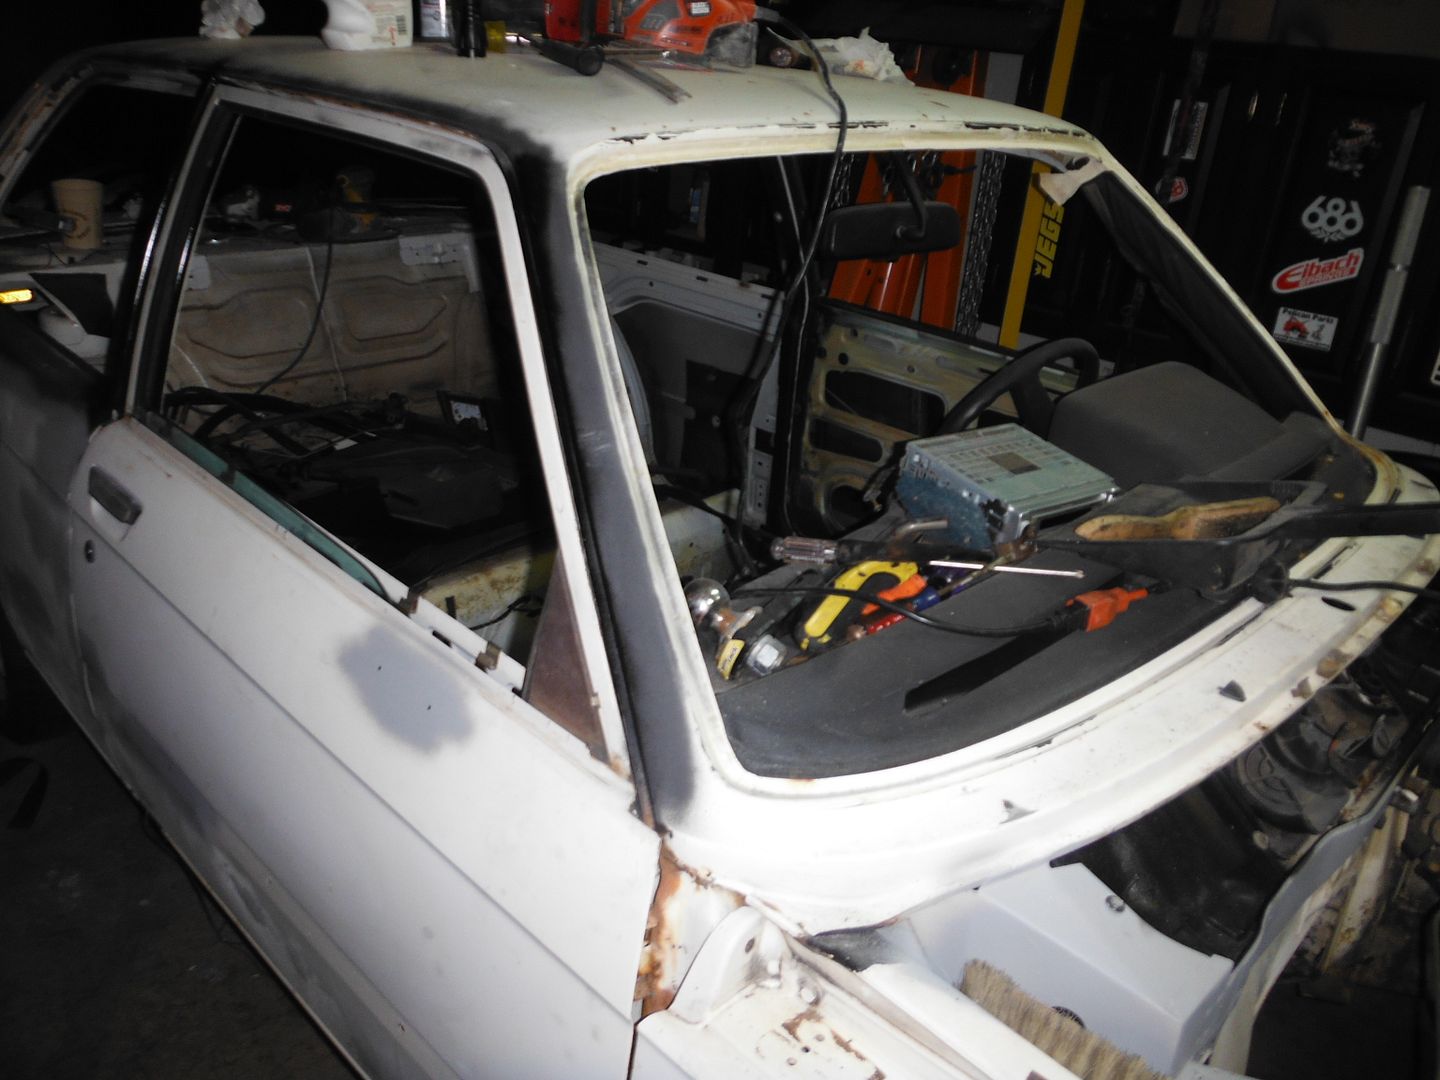
Also did some more detail rust work, this time on the passenger's roof gutter, a-pillar, and b-pillar. Got them all cleaned up and primed/painted and they look pretty good. Also pulled the chrome trim off the doors so I can paint under those pieces.
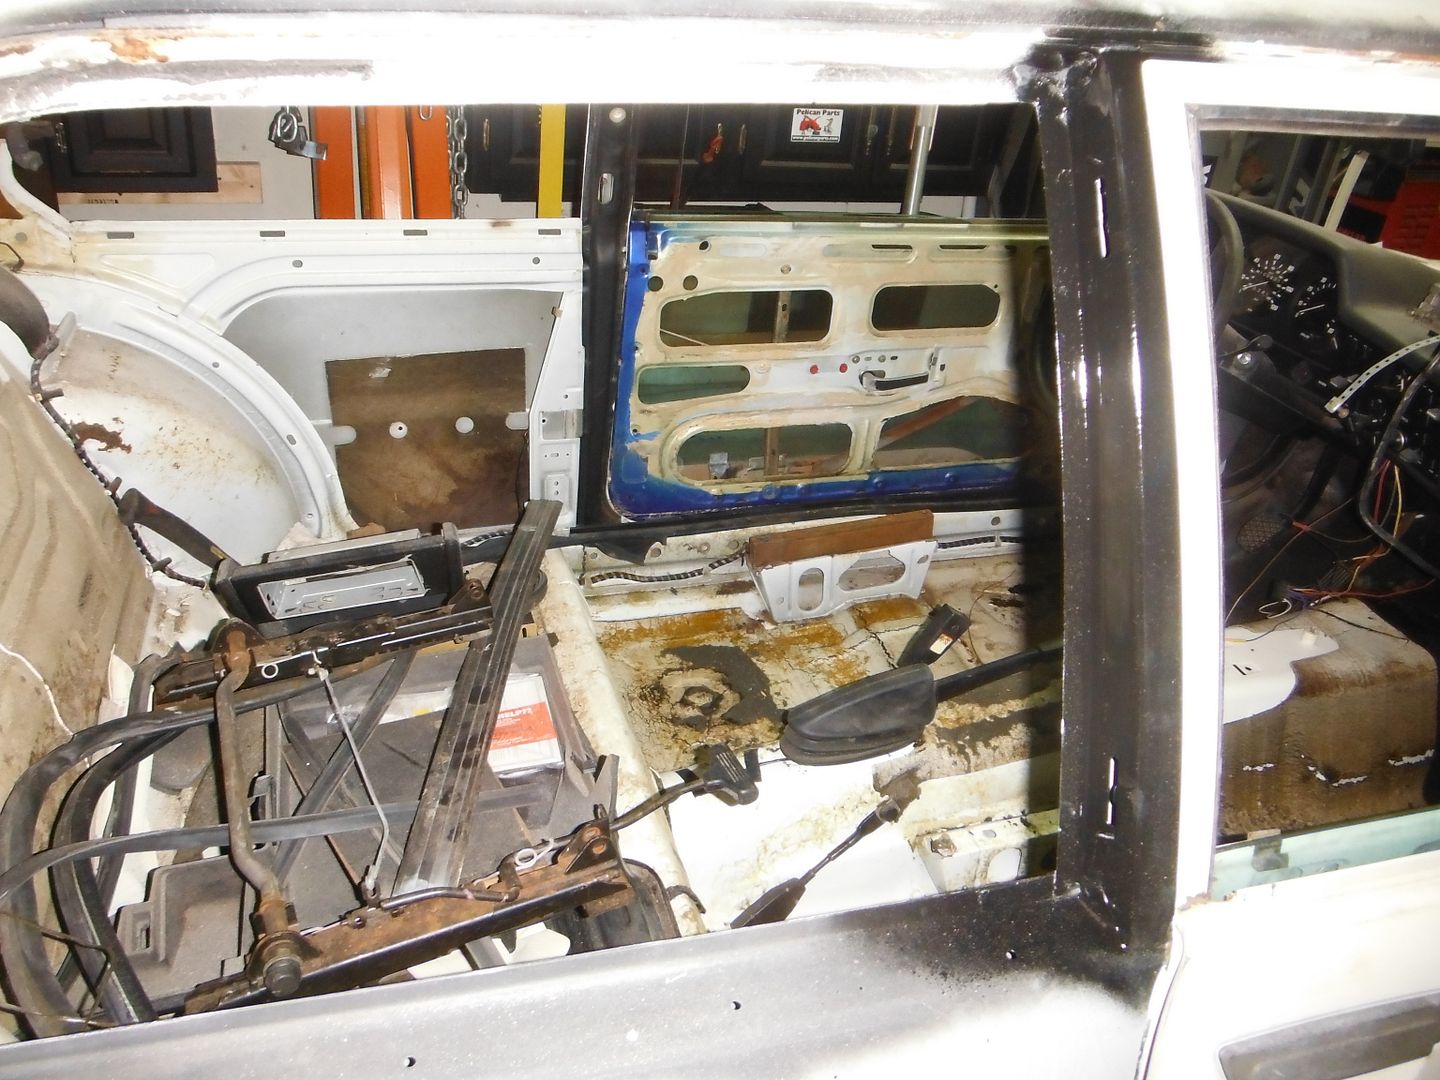
Then decided to pull the carpet. I've been holding off of this a bit only because it's always what results in bad things being found on old cars (like rust). In this case though was pleasantly surprised. As I mentioned earlier, this is a non-sunroof car and didn't seem to have any leaks after sitting for many years (interior was bone-dry after 2 weeks of heavy rain before I bought it). On the 320i I guess they went all-out with soundproofing/cushioning, because there was carpet, with a layer of foam under it, with a layer of heavy rubber/foam under that, and then the tar-coating on the floors themselves. The carpet was kind of dingy but not too nasty (got thrown out though) and the foam below it had kind of deteriorated so it is gone too now. The heavy rubber base layer is in really good shape, though on the passenger side there was some moisture under it (probably because it can't evaporate through the rubber). Not too much though and no mold. I'll air those out and clean them up good and re-use them I think.
Now to the floor itself. First of all, the p/o's widow said she "thought" that the floors had been replaced a number of years ago, but I can find no evidence of that. I'm quite certain they're original so maybe she meant some other part, who knows. In any case, there is almost no rust anywhere on them. The only rust I can find is in the gaps between the tar sheets, and it's negligible surface rust. Just to check I cut back the tar pieces about 1-2" around all the edges (where water would have been most likely to get in) and removed those strips. No rust underneath, only pristine, painted metal. This is great news that means I probably won't even take off the tar covering. I also checked the underside of the floorpan very carefully to see if any rust was starting on the underside, and there are a couple very small spots but otherwise the underside of the floorpan looks great as well.
I'll clean/sand all this in the next few weeks and will probably POR-15 the entire floorpan.
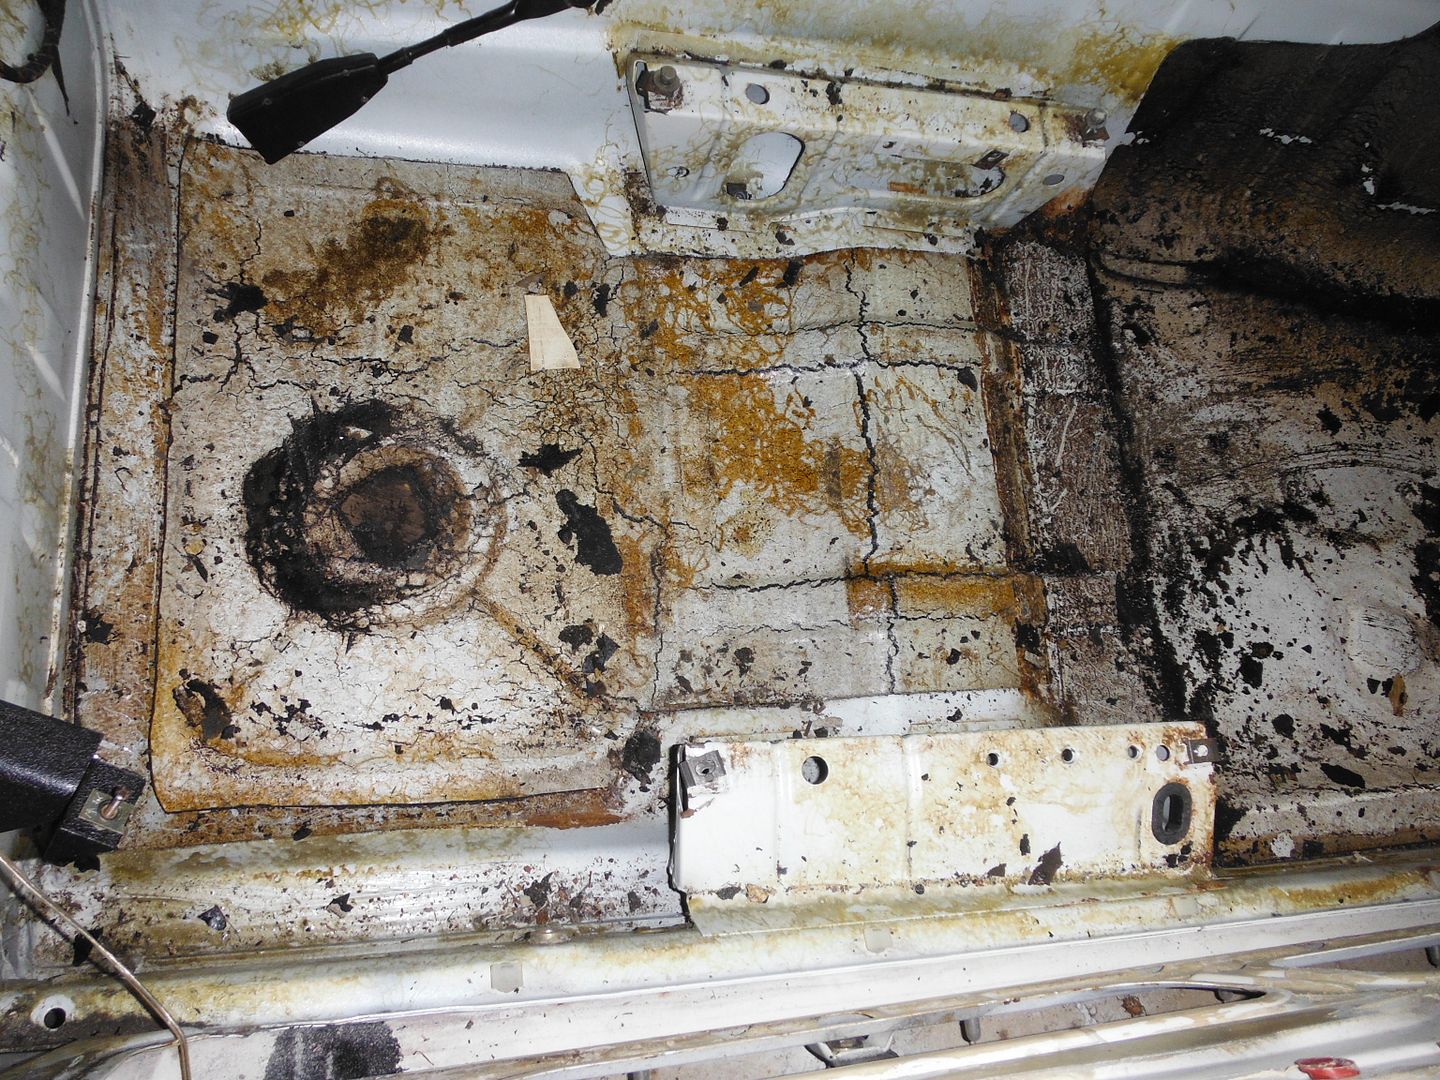
As mentioned earlier the p/o replaced the original seats with some later e21 seats (which, oddly, required a 2" steel "lifting block" on the outside footings on each seat). Wierd. BUT on the driver's seat the front two mounts are toast. The outer one is kind of bent and the inner one is totally ripped apart. Guess I'll be doing some welding there. But I would have anyhow since the plan is probably to use e30 Recaros or something similar when I put all this stuff back together. The e30 seat mount tracks are about 1" narrower than the e21, so some fab work will be in order. That's a long way down the road, however.
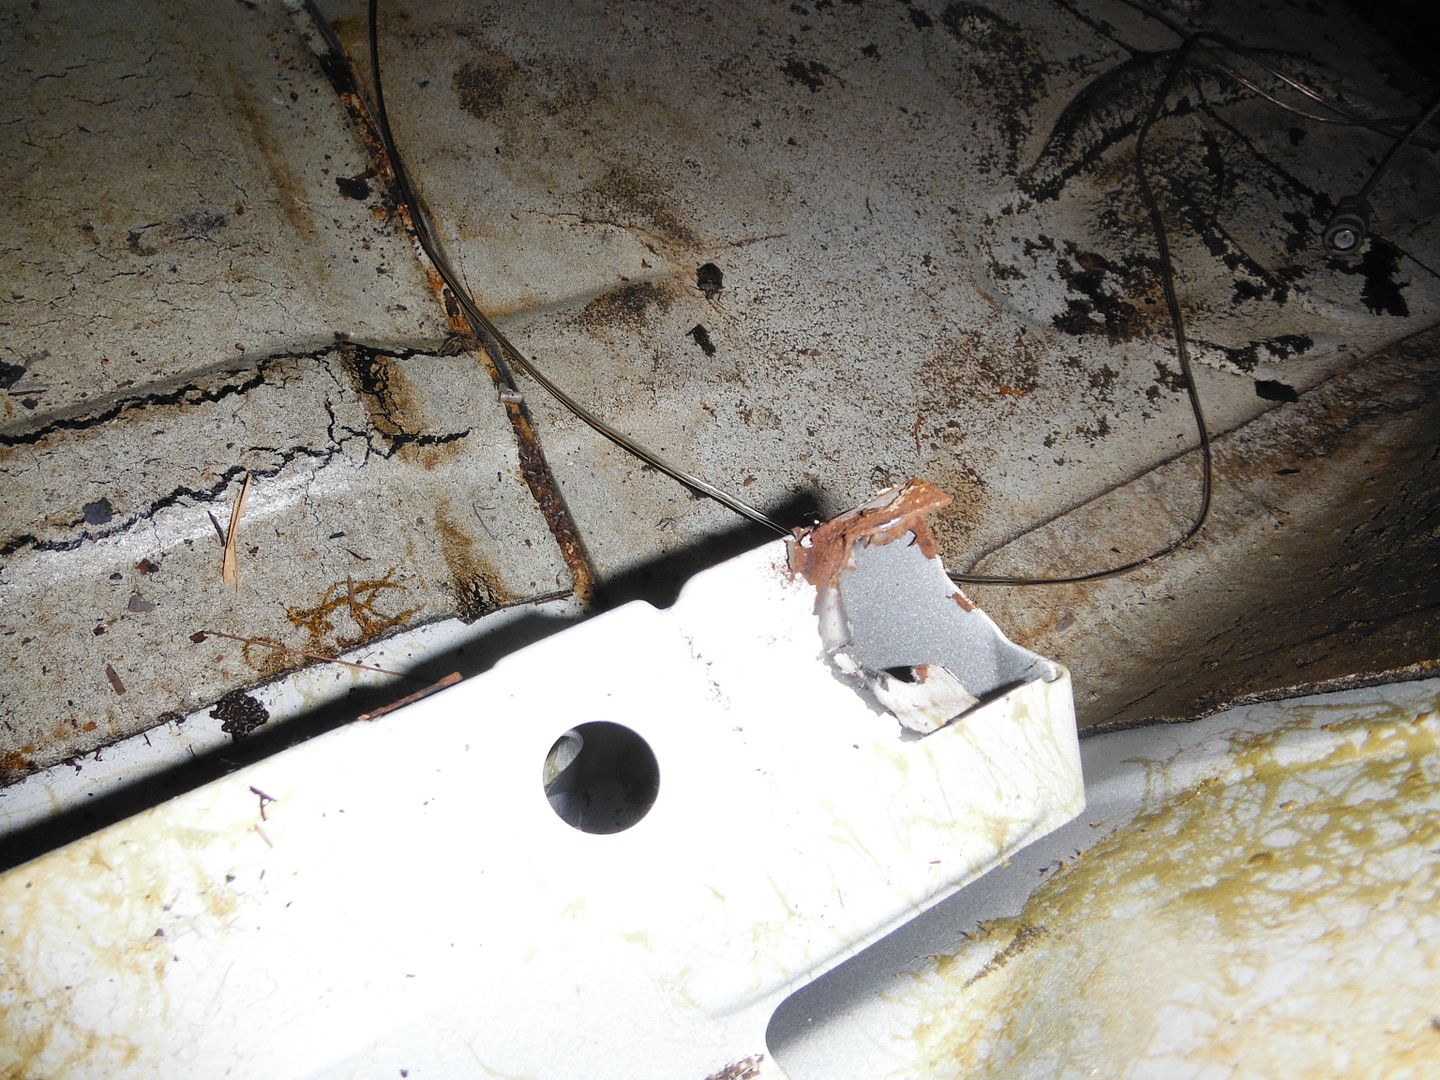
Good score on the parts, you have way more ambition than I to tackle one that rusty! Can't wait to see how it comes out.
re: POR15 and painting - yes, it can be done, but it needs a self-etching primer over the POR15 before the top-coat. That's what we (Robyn, mostly although our friend Manny did the actual painting) did on the nice ES, somewhat documented here: http://www.millpondminis.com/Volvo/?m=200603 (scroll down a bit).
Seven years later it still looks about the same as when we painted it, although the car maybe gets 500 miles/year.
Not too much interesting to report. Rallycross starts up this weekend again so I've been doing a few little things to the e30. In the evenings I've been doing mostly bodywork on the e21, which is not really very exciting, lol. I gutted both doors and cleaned up all the window/latch hardware, regreased it, etc and then put it all away in a bin for later re-installation. With all this out I cleaned out some surface rust in the bottoms of the doors and applied POR-15 generously to protect it in the future. Also sprayed the upper areas with Rustoleum just to prevent any surface rust, which there was a bit of.
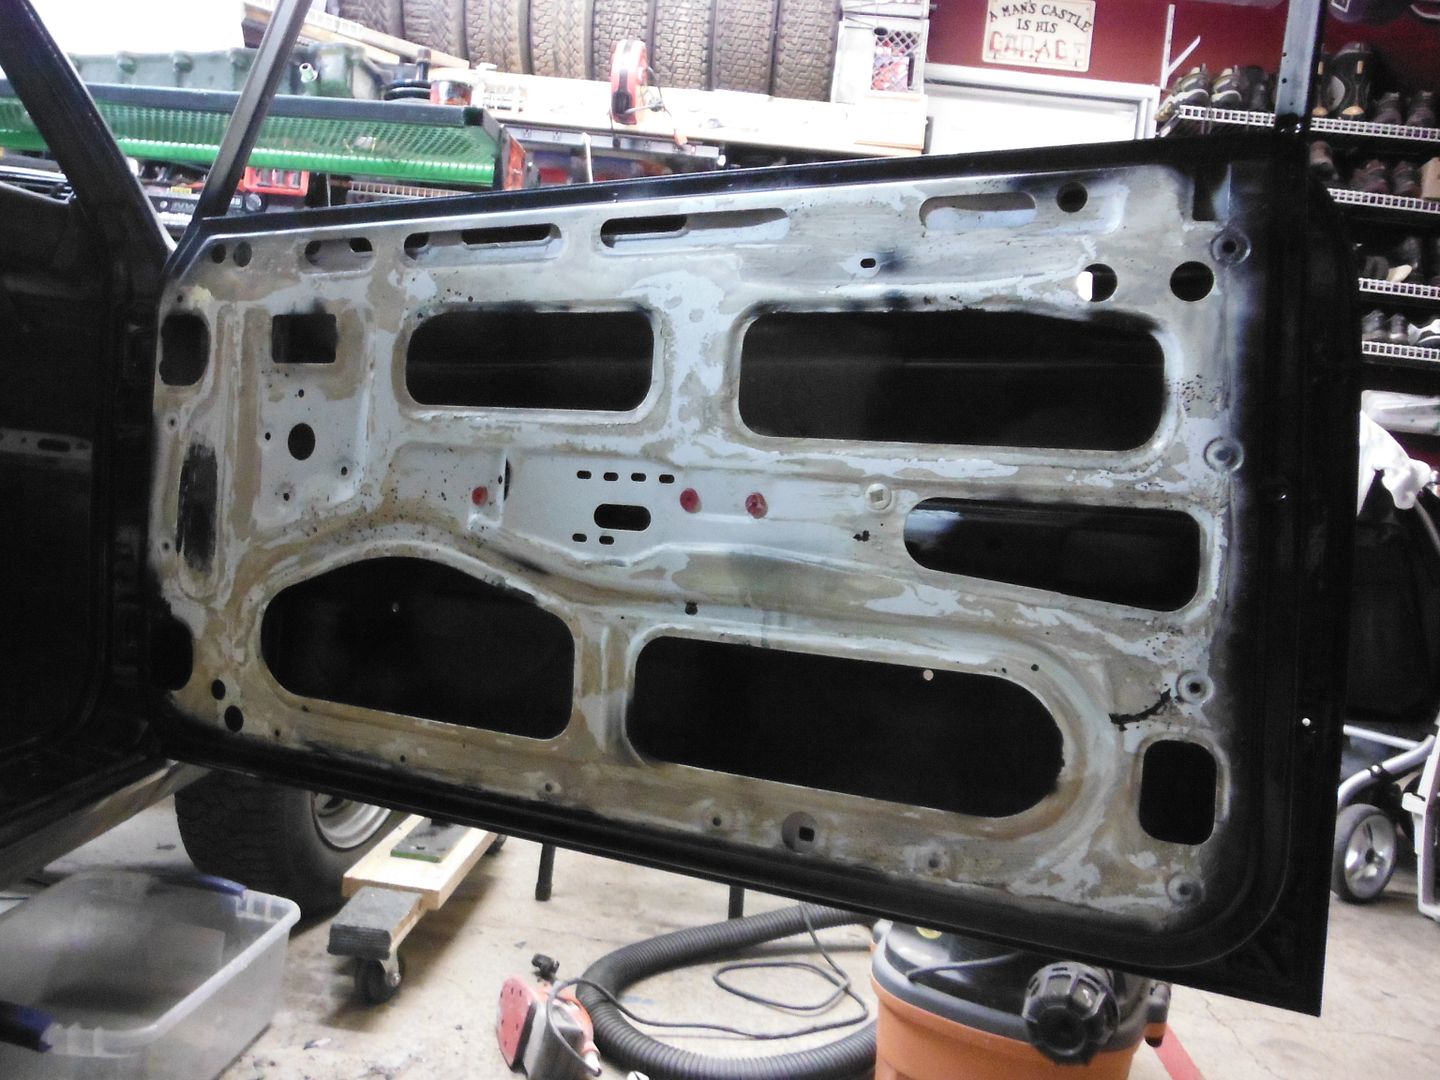
Then I applied some black silicone sealant to the "seam" down at the bottom to fill it and prevent any water hanging out in there, routing it to the drains instead. Kind of messy and not much to look so no pics. I'm sure you can visualize if you so desire.
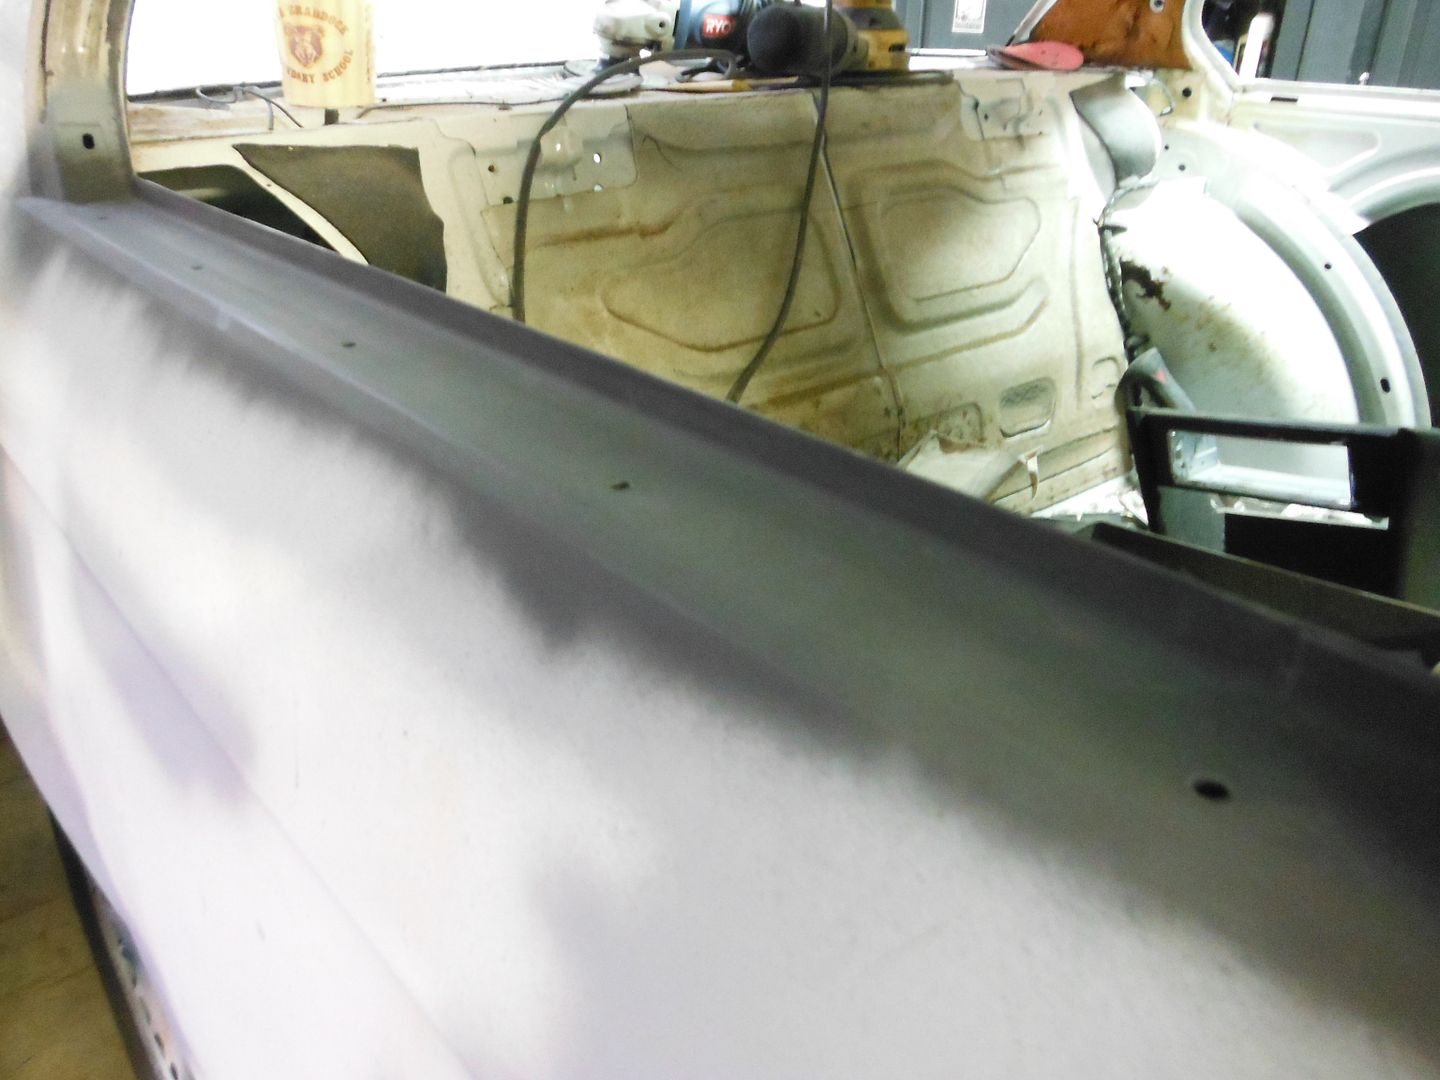
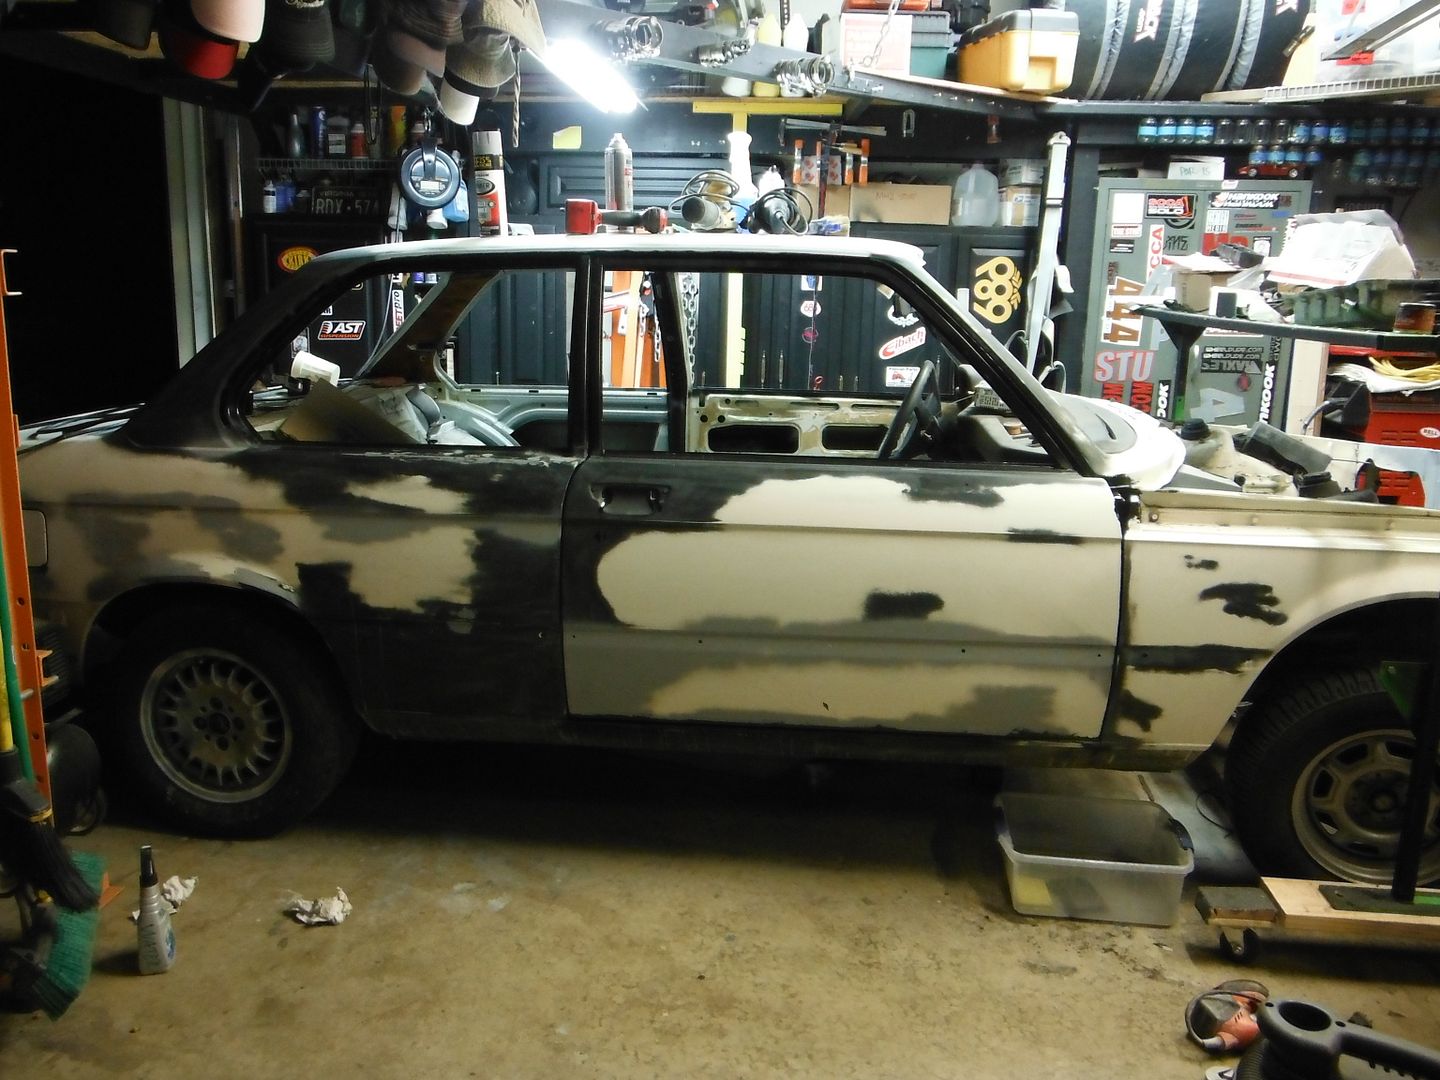
I've been working on the passenger side of the car since it's in better shape. Start easy and get back into the bodywork thing. This side has no dents, and not very much rust other than some small areas, mostly under the door-side bumpers. So all that is cleaned up, ground down, leveled, and about 80% of that side of the car is blocked with wet-sanding and smooth. Once I prime the whole car I'll block it again with some super-fine grit stuff but this is how it will be for a while.
I've also cleaned up the gutters and all the passenger window frames (inside and out), built up some pitting on the gutters, and sanded. Overall looks pretty good but it will get more work. The rear window sills on both sides are done. Holes welded up, built up and leveled, and sanded. So far no Bondo needed, but I will need some on the driver's door when I get to that side :P
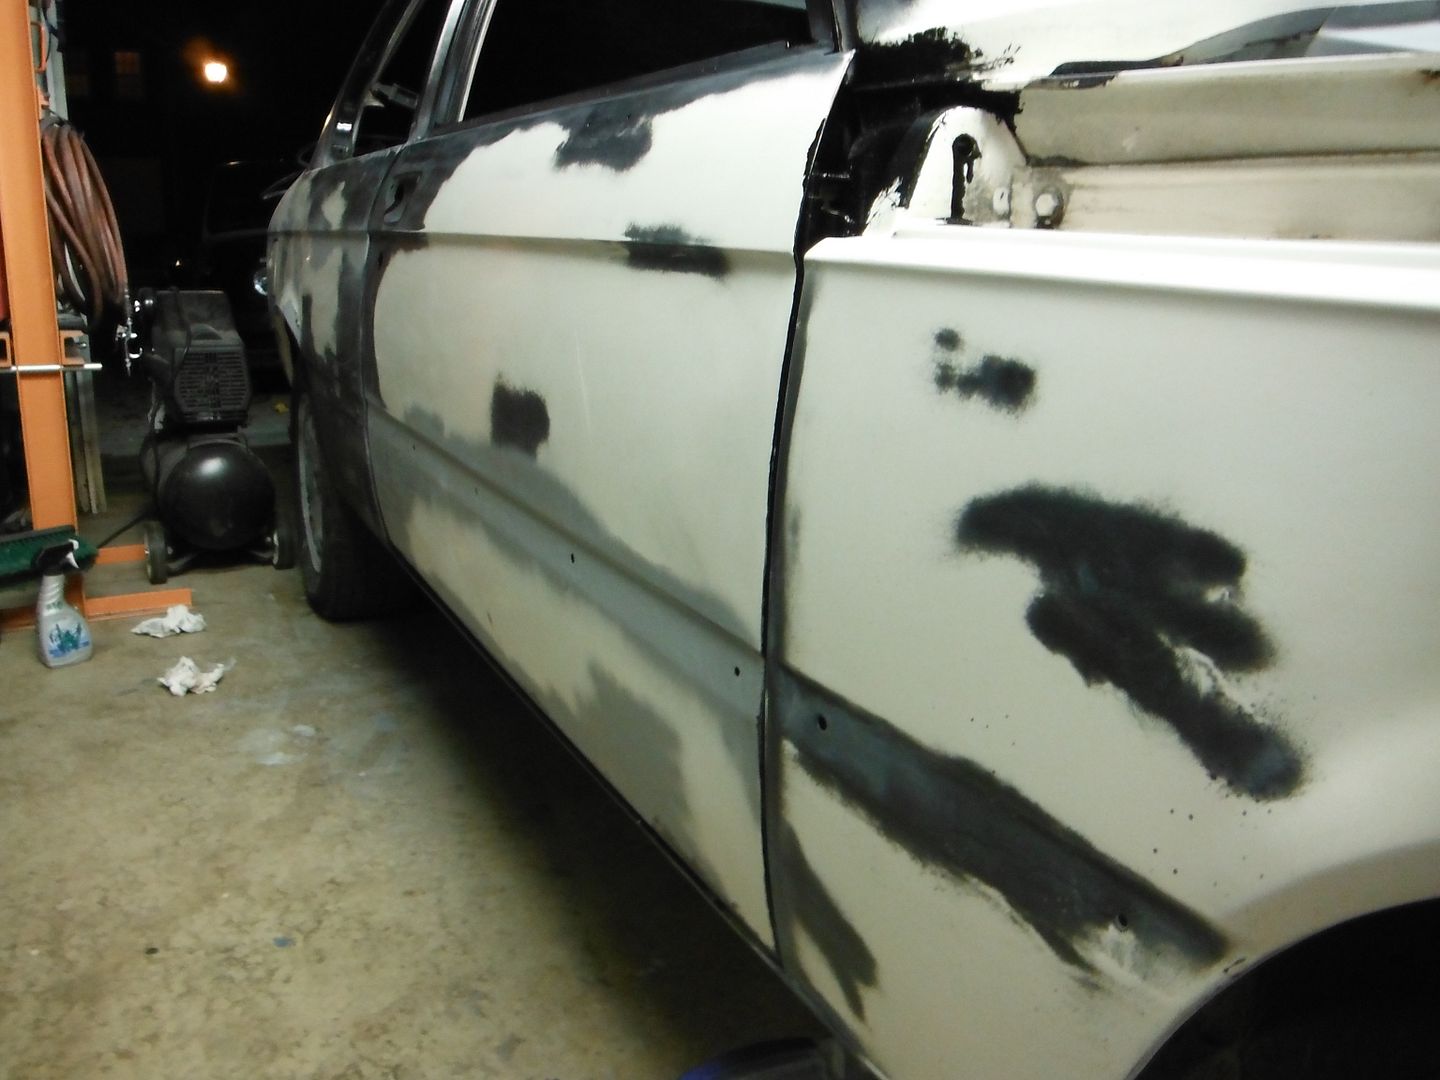
Some updates, but not much.
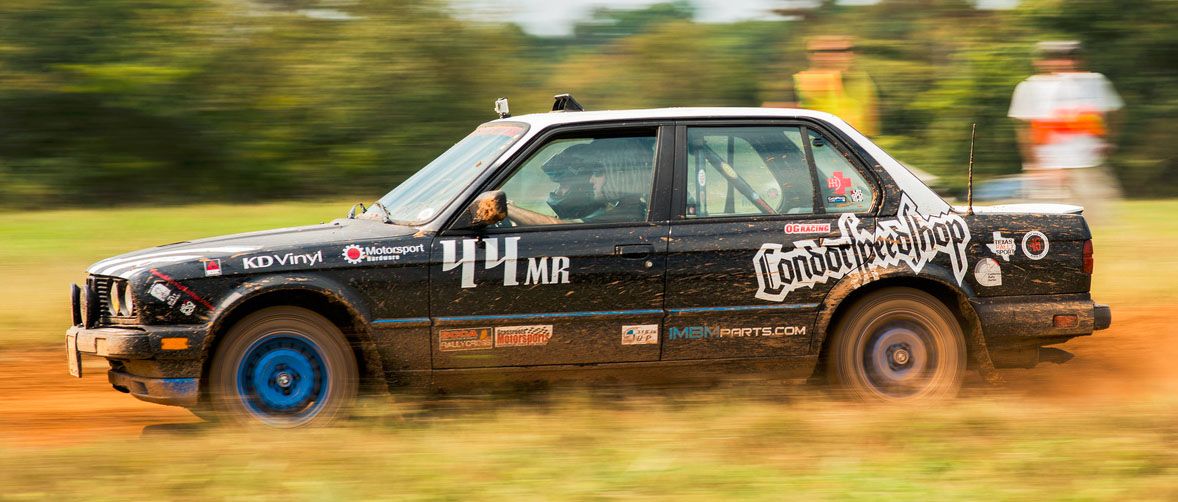
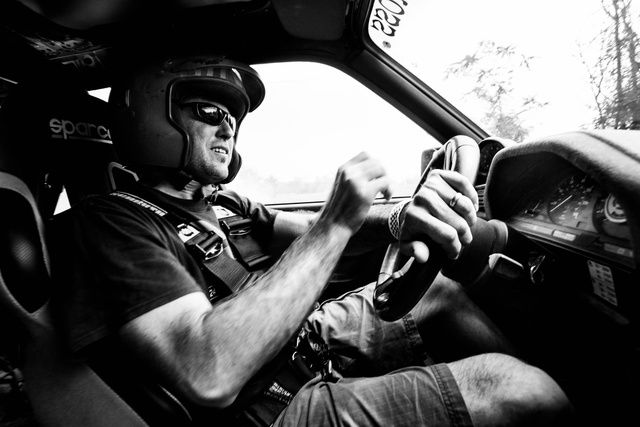
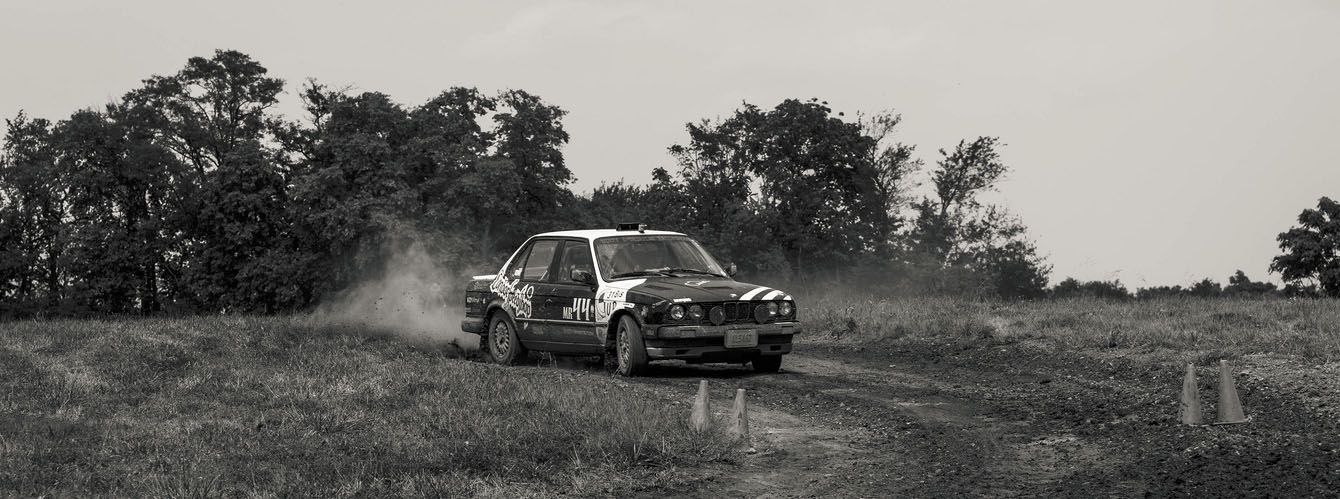
Last weekend we had rallycross, so back to the dirty e30..A few pics of that by Steve Philips of Jalopnik, who rode along with me and posted a couple pics on the blog.
I spent most of this weekend re-configuring my garage and moving large/heavy stuff around, but eventually got some stuff done on the car. Got the exhaust removed (PO had added a hangar that made it impossible to clear the subframe, so had to grind that off. Also got the DS and both CV axles removed. Have to say, I love how on the e21 (and e28 for that matter) the CV axles are bolted to the hub, as there is nothing I hate more than trying to get splined axles back into the hub.
<img src="http://i78.photobucket.com/albums/j85/irish44j/BMW%20320i%20e21%20build/DSCF7418.jpg[/img[
http://i78.photobucket.com/albums/j85/irish44j/BMW%20320i%20e21%20build/DSCF7415.jpg" alt="" />
Besides that did more sanding and priming, and the passengers side of the car is coming along nicely
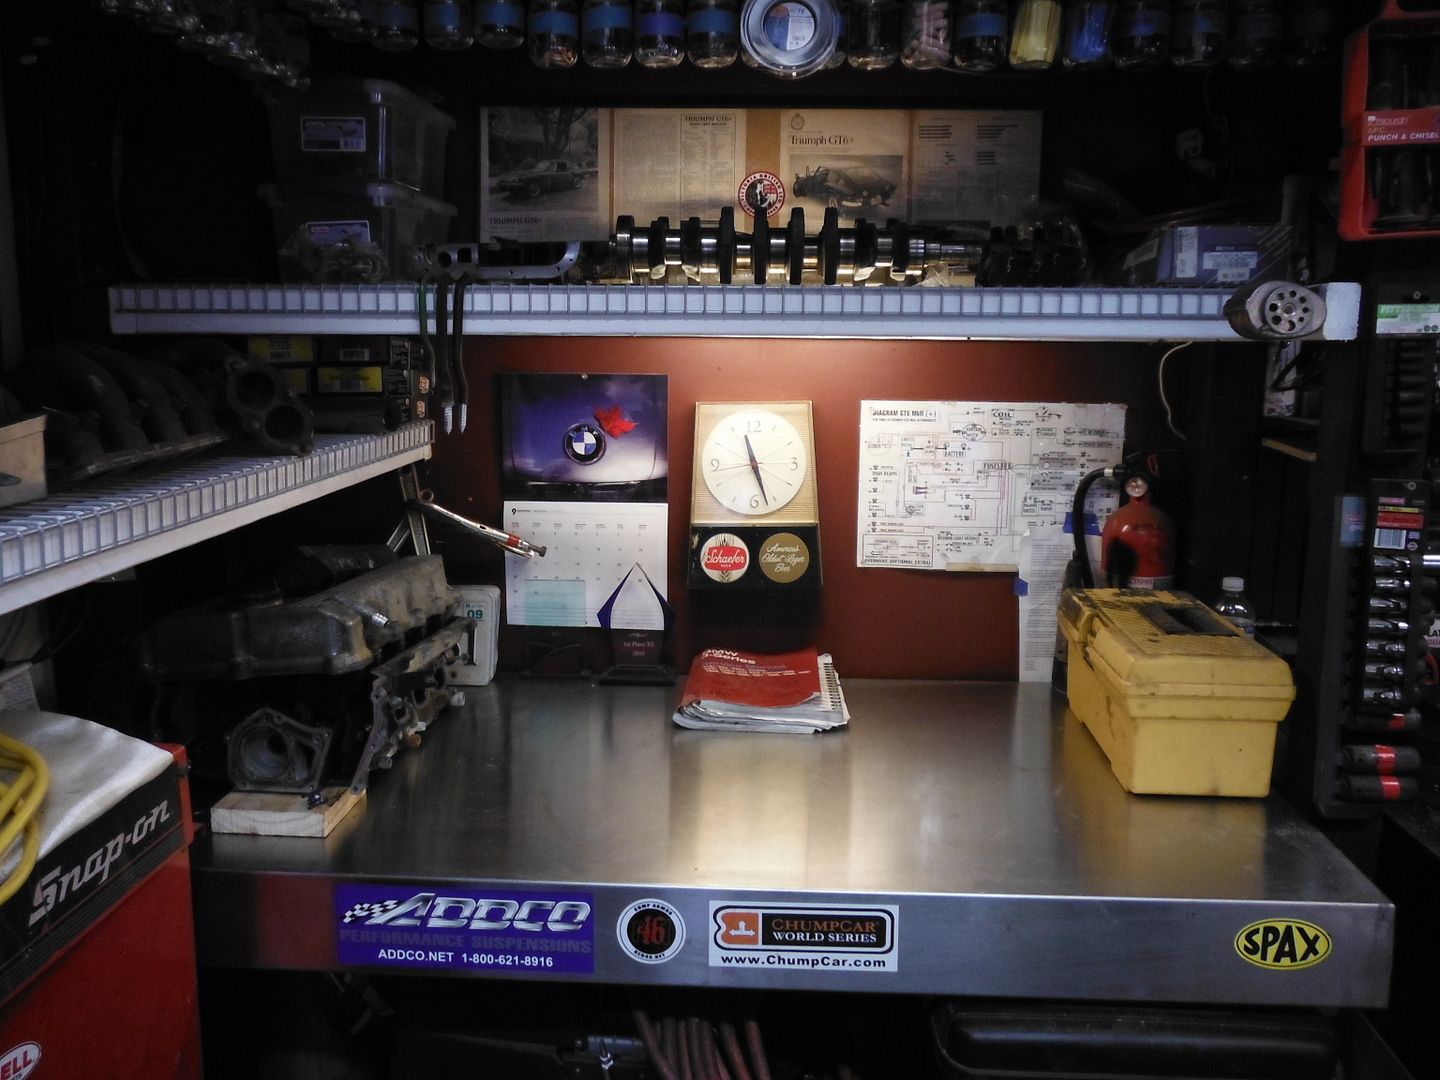
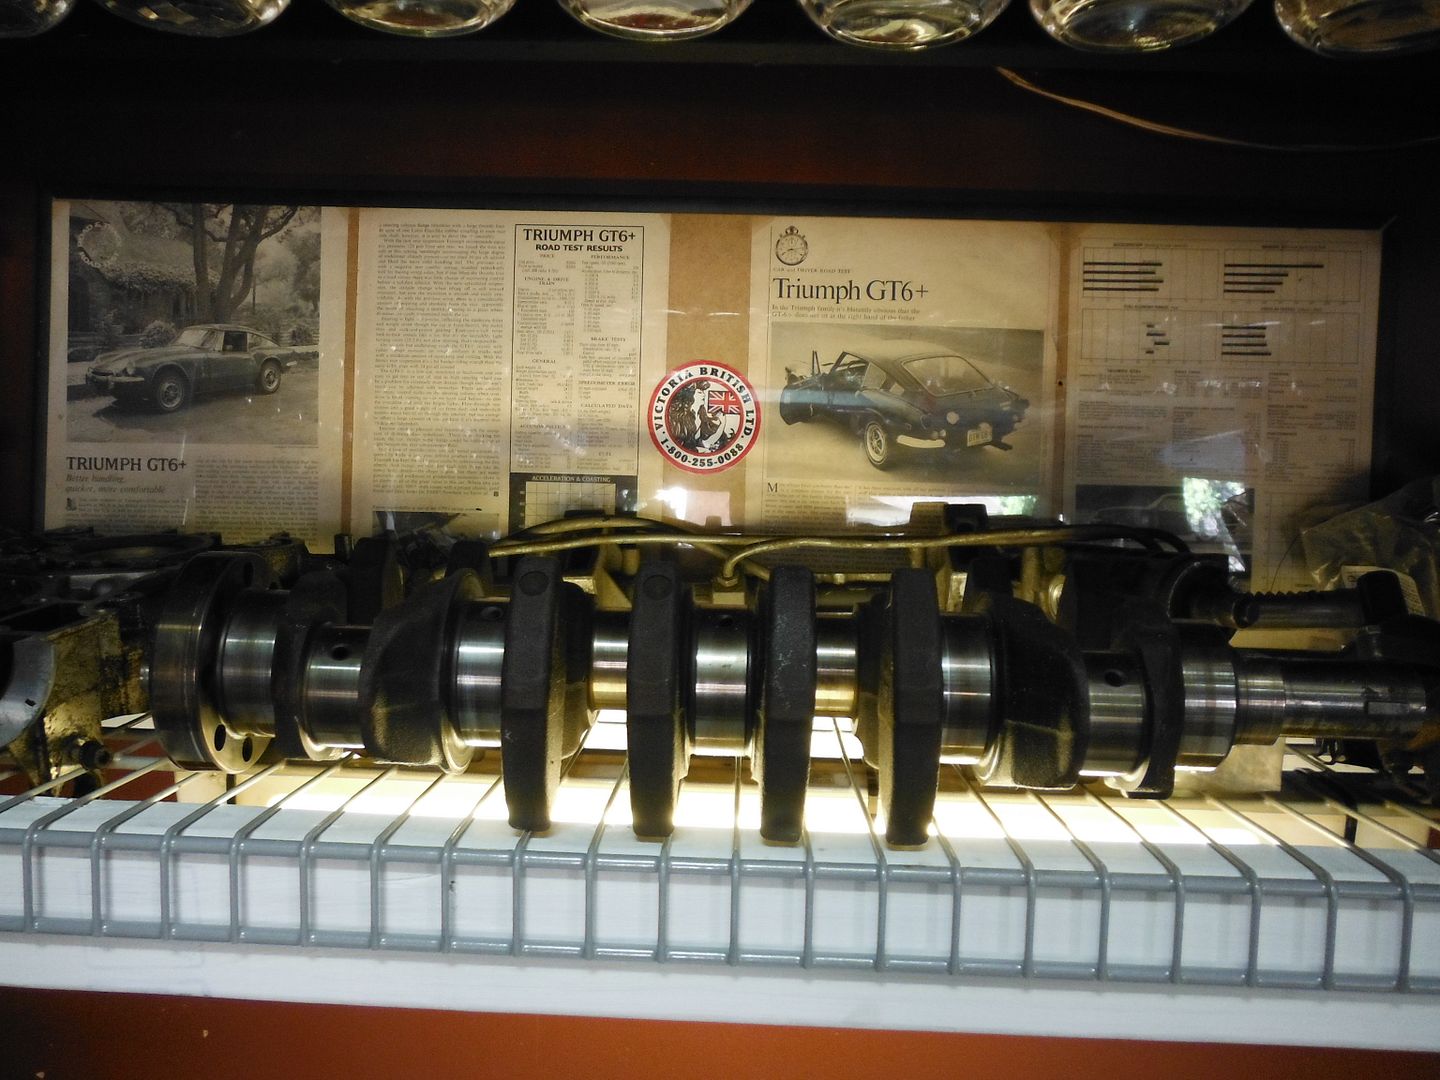
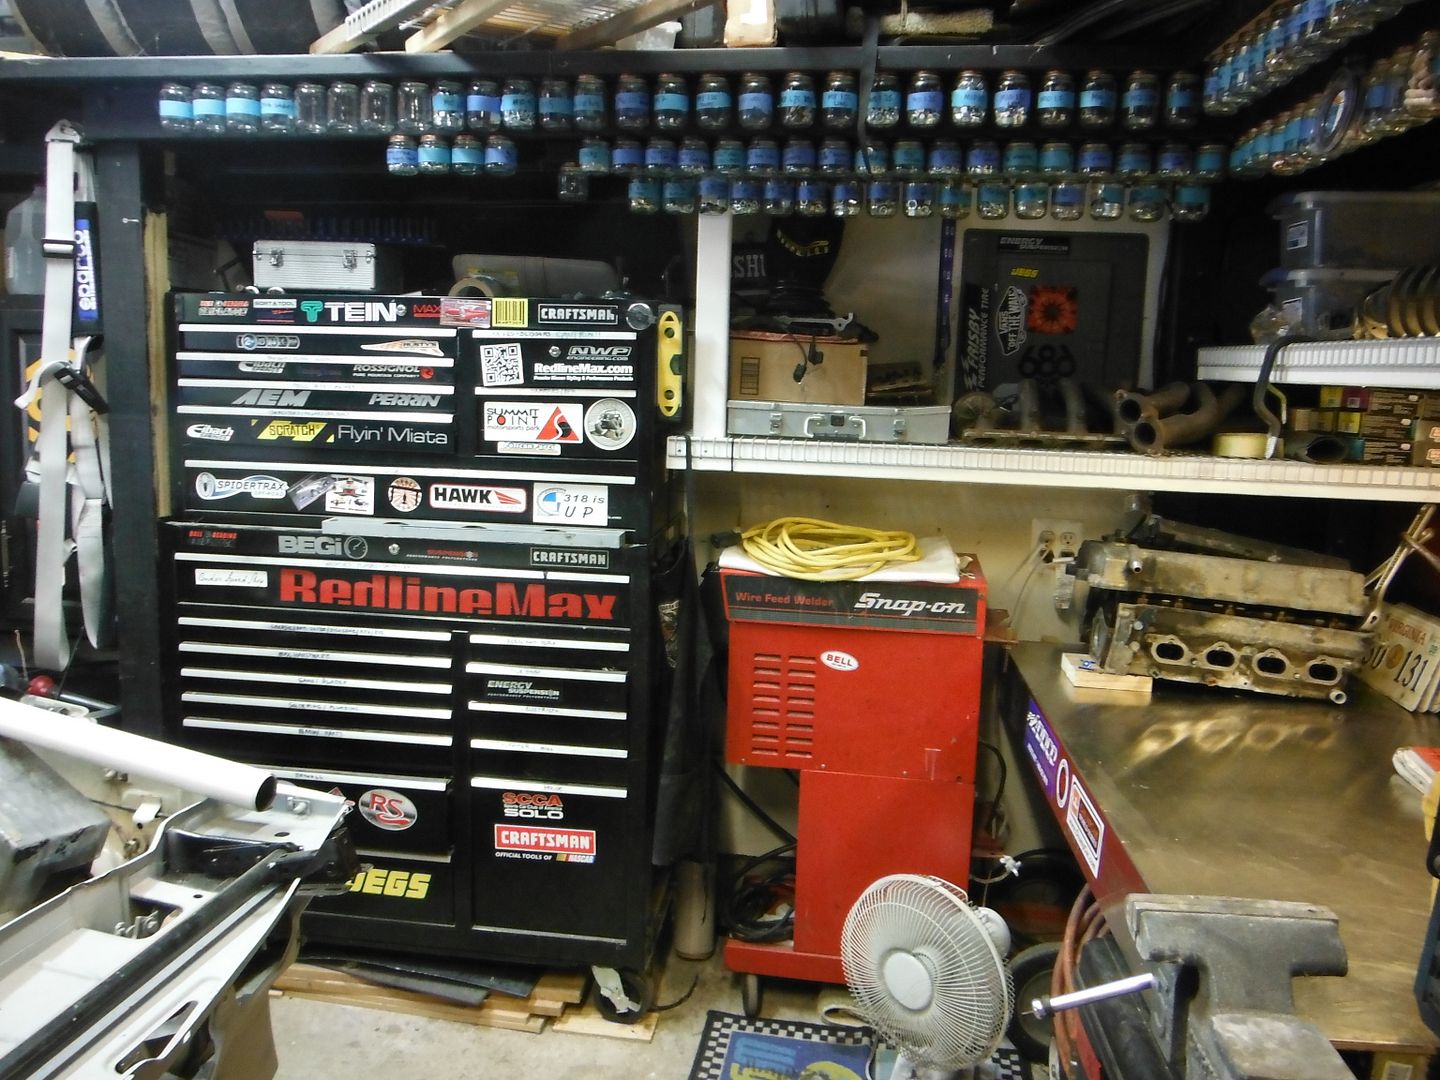
and a few shots of the new garage setup, which gives me a second "clean" bench so I can rebuild the M42 and keep all the dirty stuff on the main bench separate.
http://i78.photobucket.com/albums/j85/irish44j/Garage/DSCF7404.jpg
The new bench. Using an industrial kitchen countertop that I scored for free a while back.
So as the dirty-work meanders along, and I jump around to various things on the car with my automotive ADD and need to keep it interesting rather than just sand body panels for a whole month, lol...
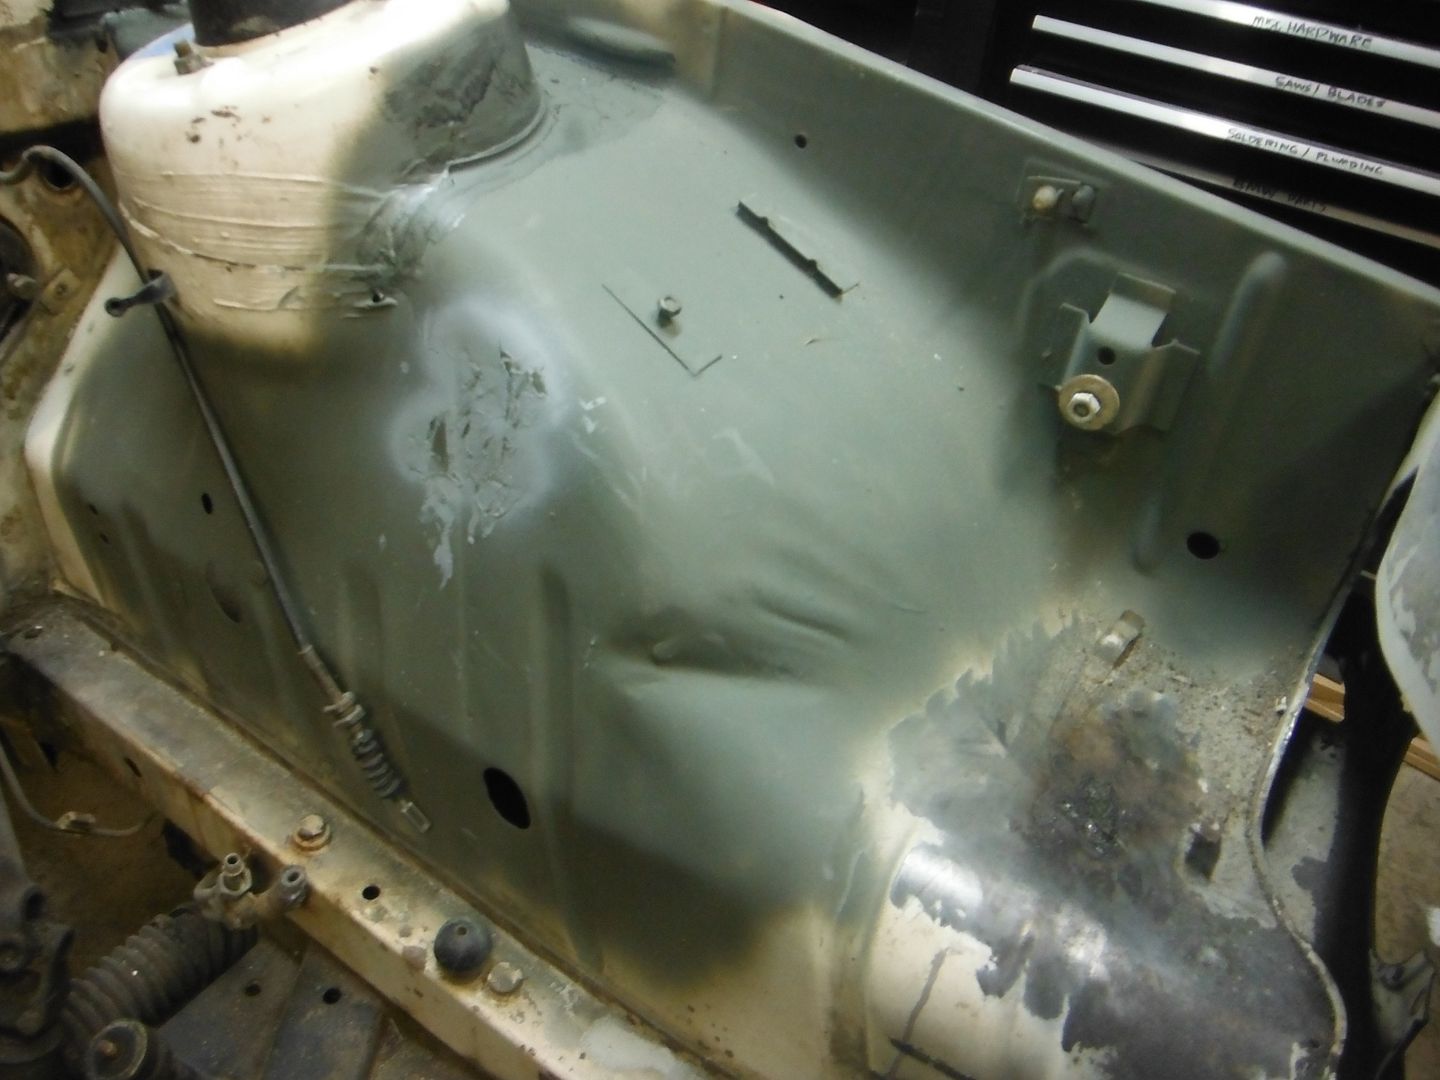
Had to patch up a hole in the sheet metal in front of the wheel well in the engine bay. Used a copper spatula and just weld-filled it and ground it down. Not totally beautiful, but good enough for government work, as they say. Really things like this are just a way to practice my welding and try to do things I haven't done before, being a relative rookie at welding. So I don't expect most of my welding stuff to come out looking professional, but I'm getting better (I think).
Cleaning up the driver's side. Got the grinder out and took off all the OEM brackets and stuff, since the M42 setup really isn't going to use any of them. I'll weld on M42-specific brackets (or fab them up) when the time comes.
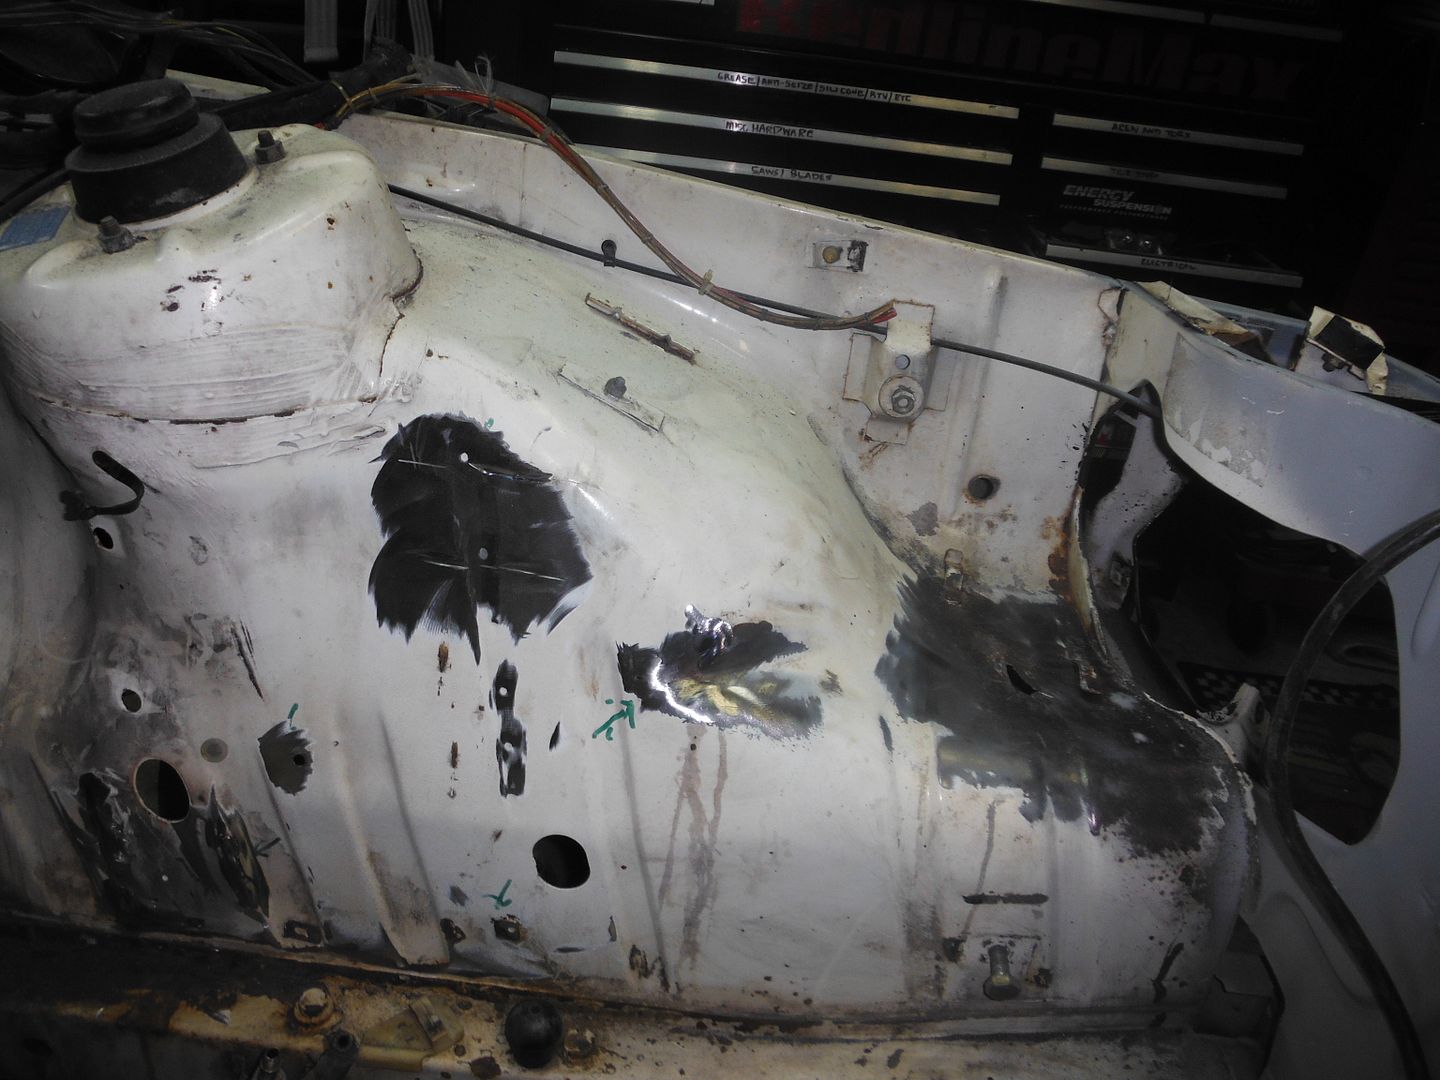
patched hole (bottom right)
grinded (mostly) smooth and primed
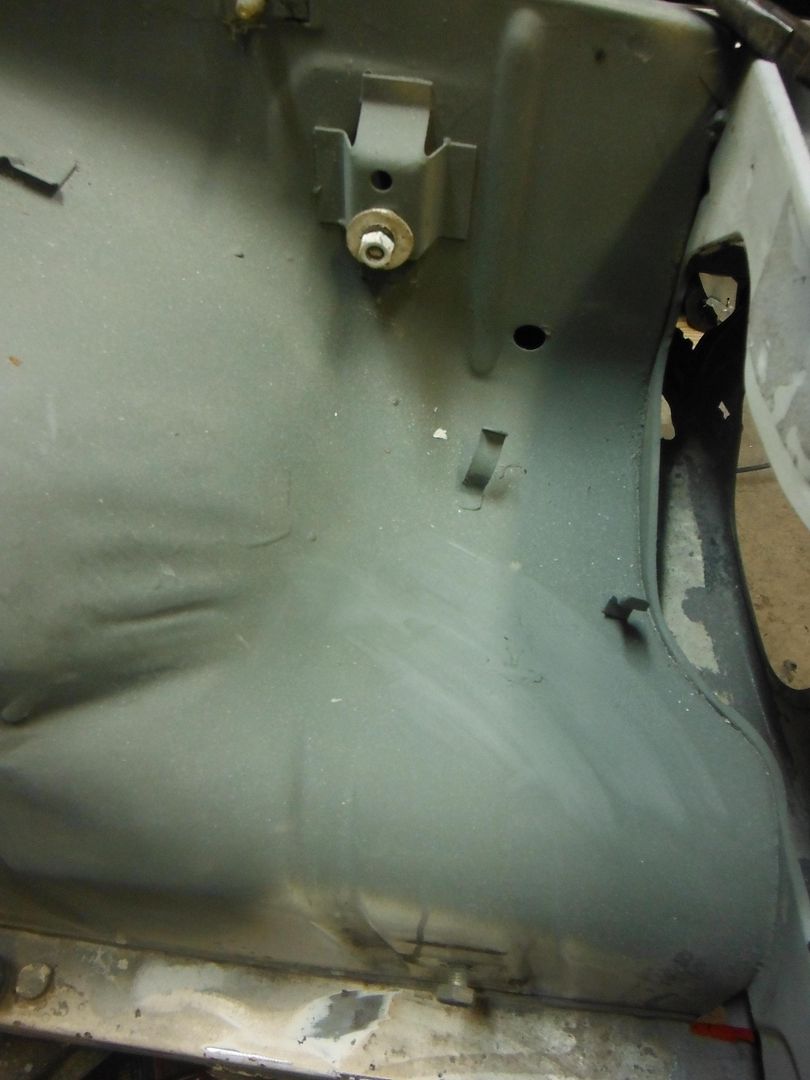
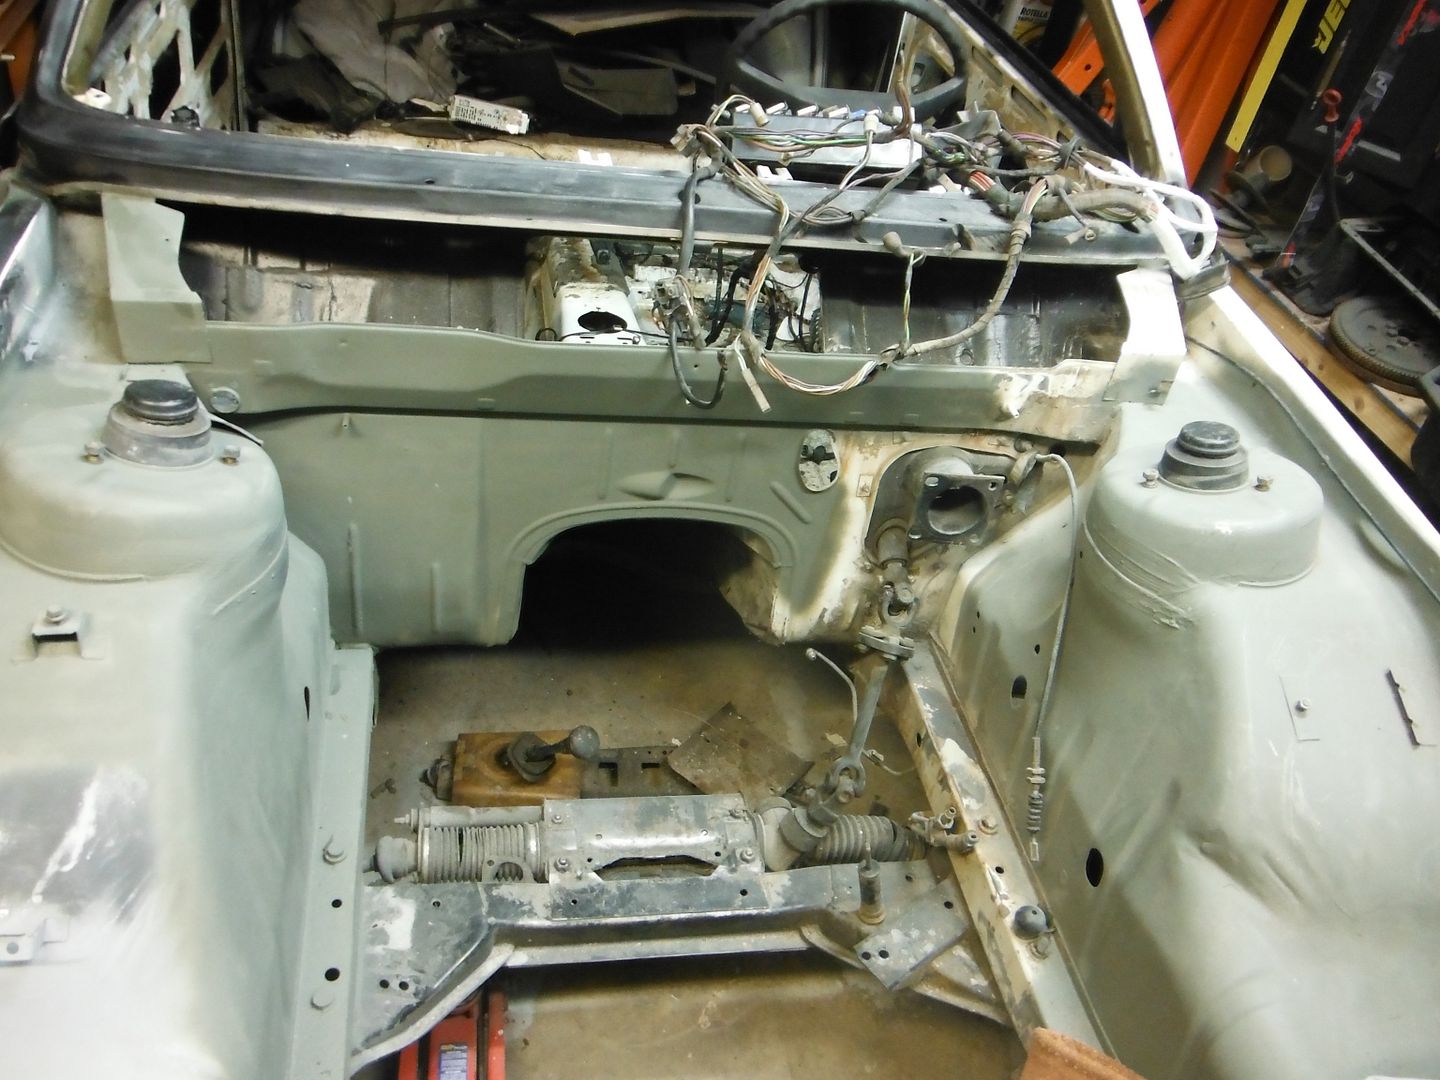
engine bay is coming along. I have to pull the steering at some point to get to that corner.
Then on to the inside for a bit. I plan to use e30 seats (or something else). Early e21s had big risers tack-welded to the floor for the seats. Those will come off, since I'll weld in some more appropriate mounts once I find out what seats I want.
So, ground the inner passenger one off first, which also revealed the previous rust hole I had found, by far the worst rust anywhere on the car.
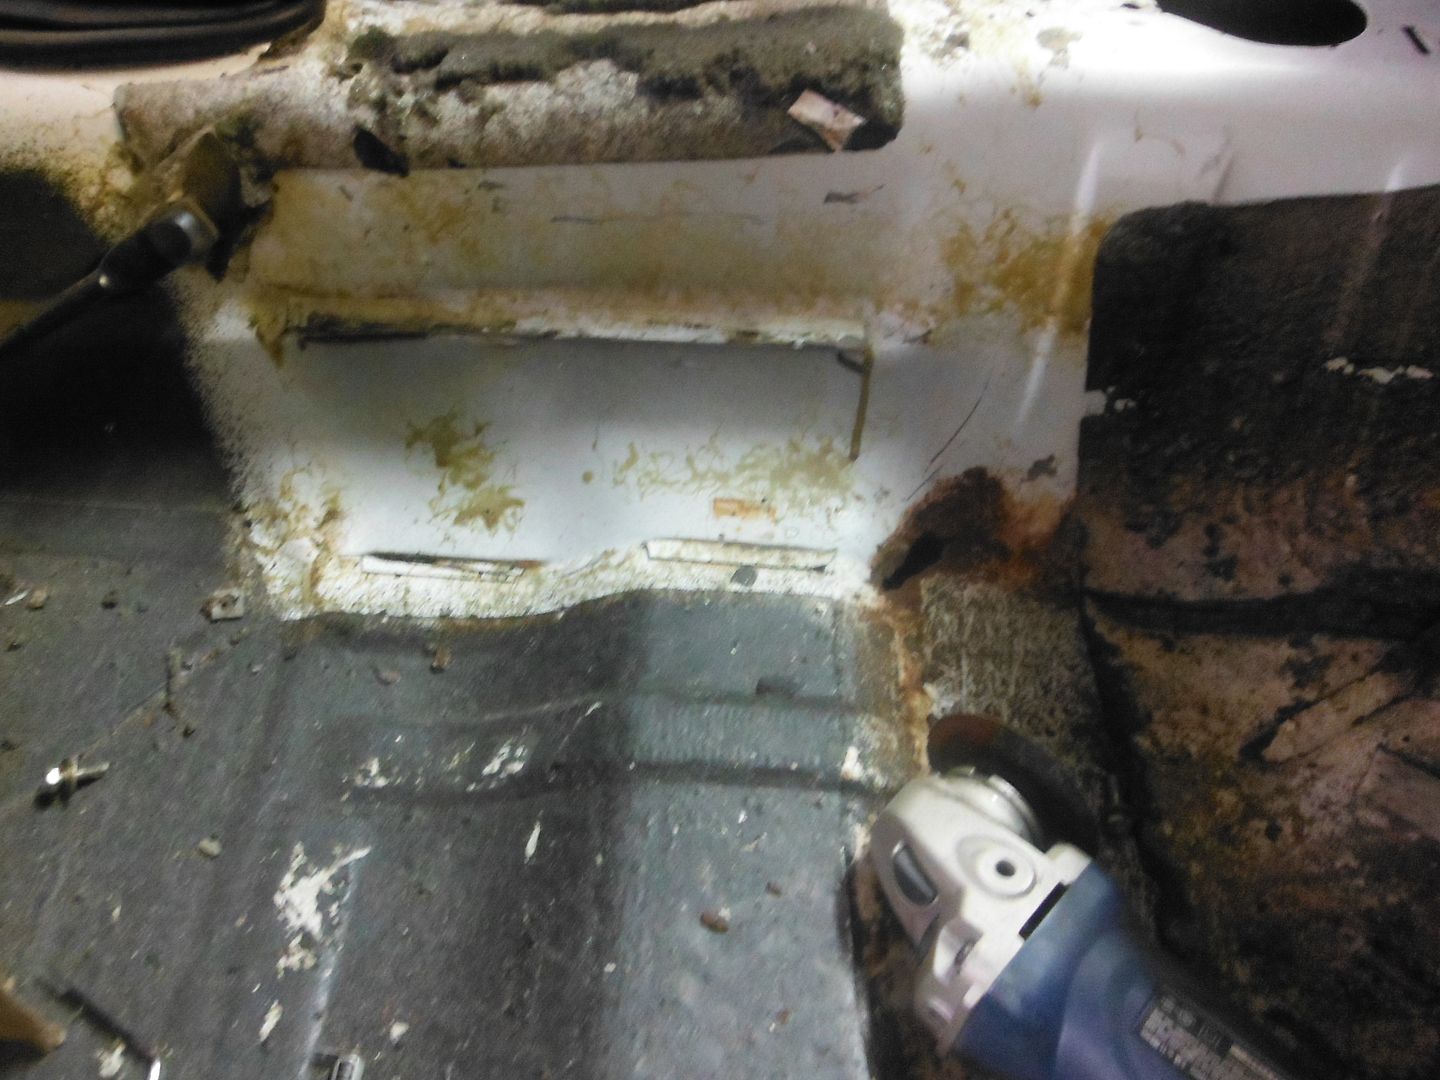
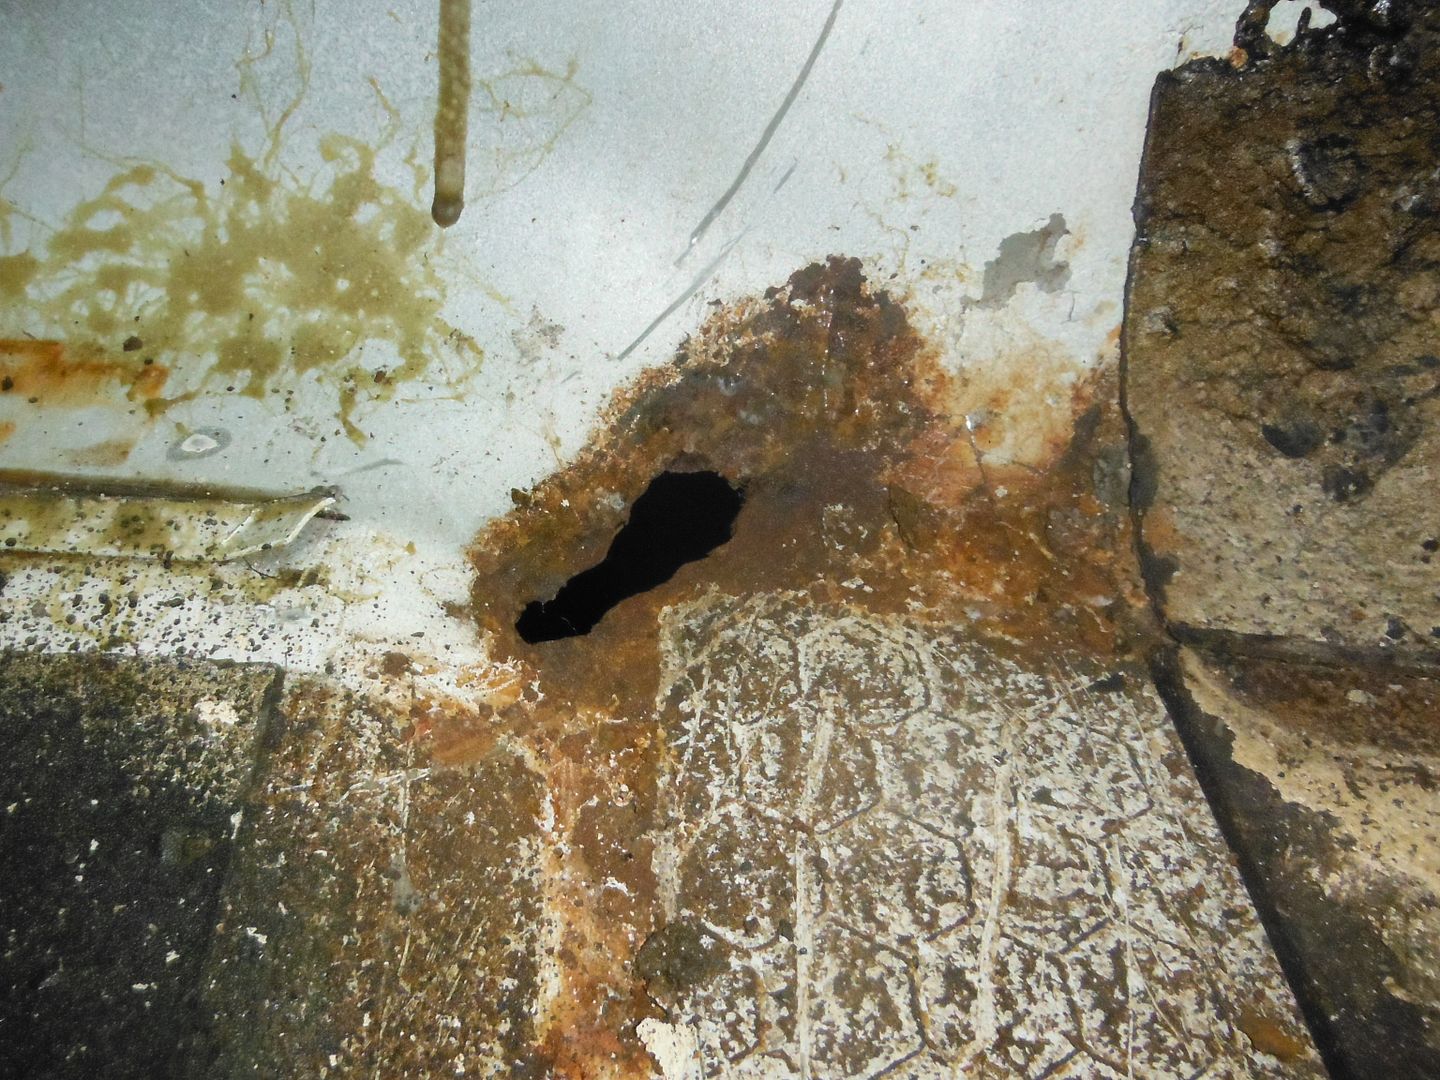
cutting it out. Will weld in a patch panel in the near future.
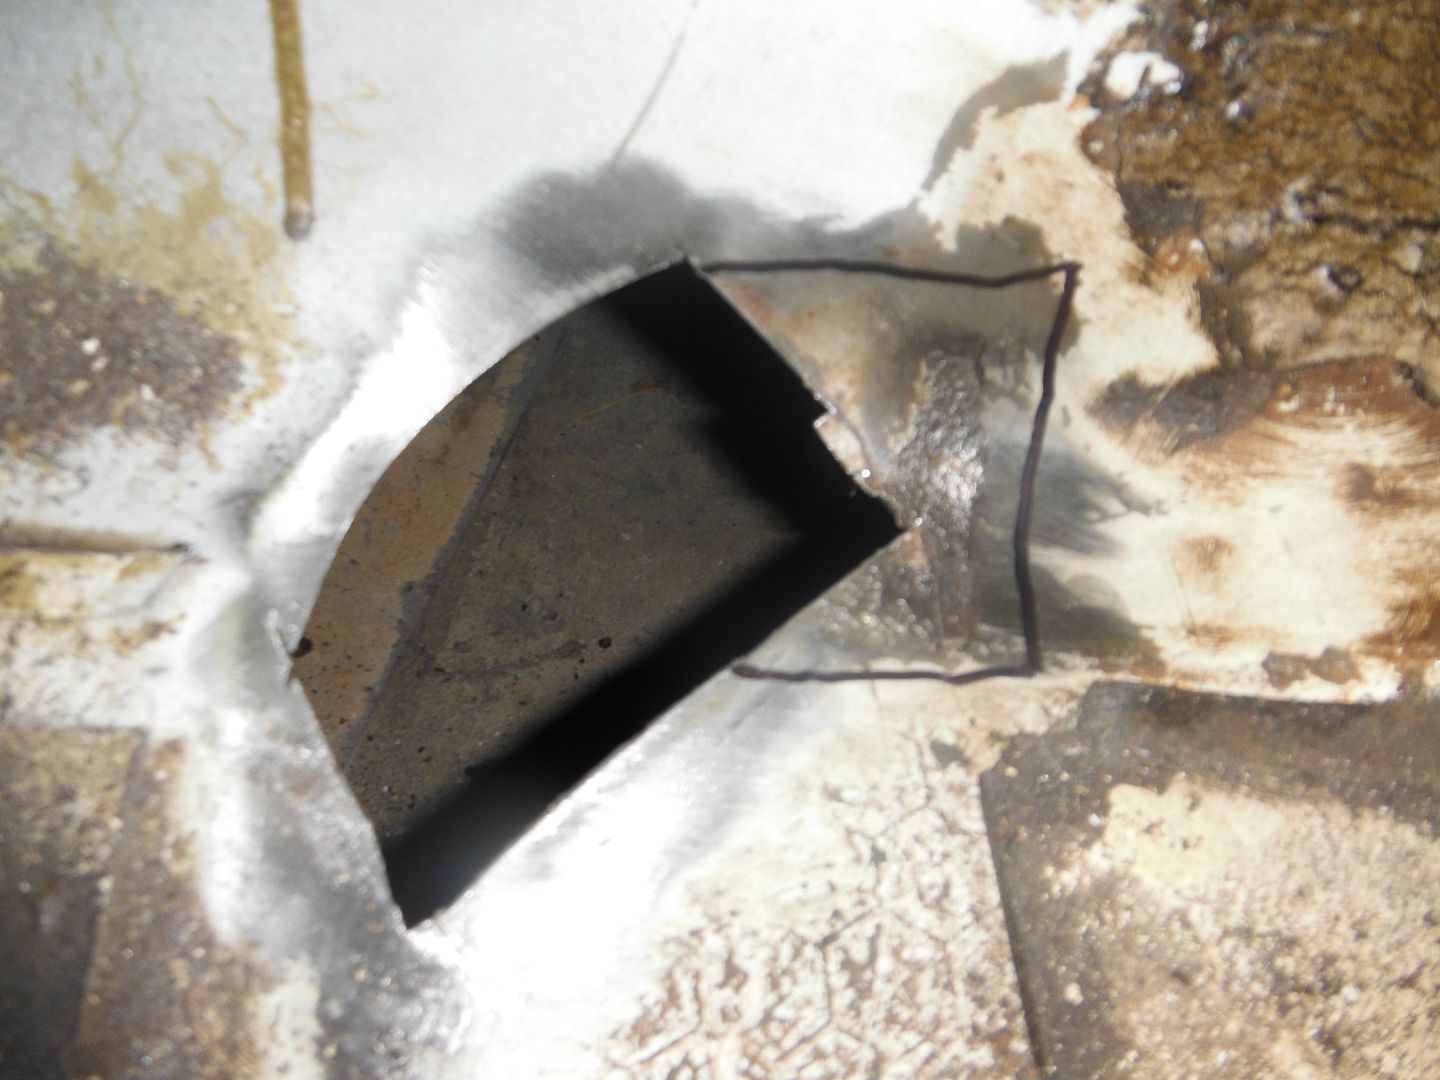
And since I ran out of cutting wheels and can't go farther on that today, let's move on to something else. Something quiet since the girls are asleep now.
Took out the dash, which was fairly easy once I found the two bolts hidden up under the HVAC venting. The e21 dash has less stuff under it than my e30, but actually took longer to get out. That said, it's much easier with no windshield in the way...
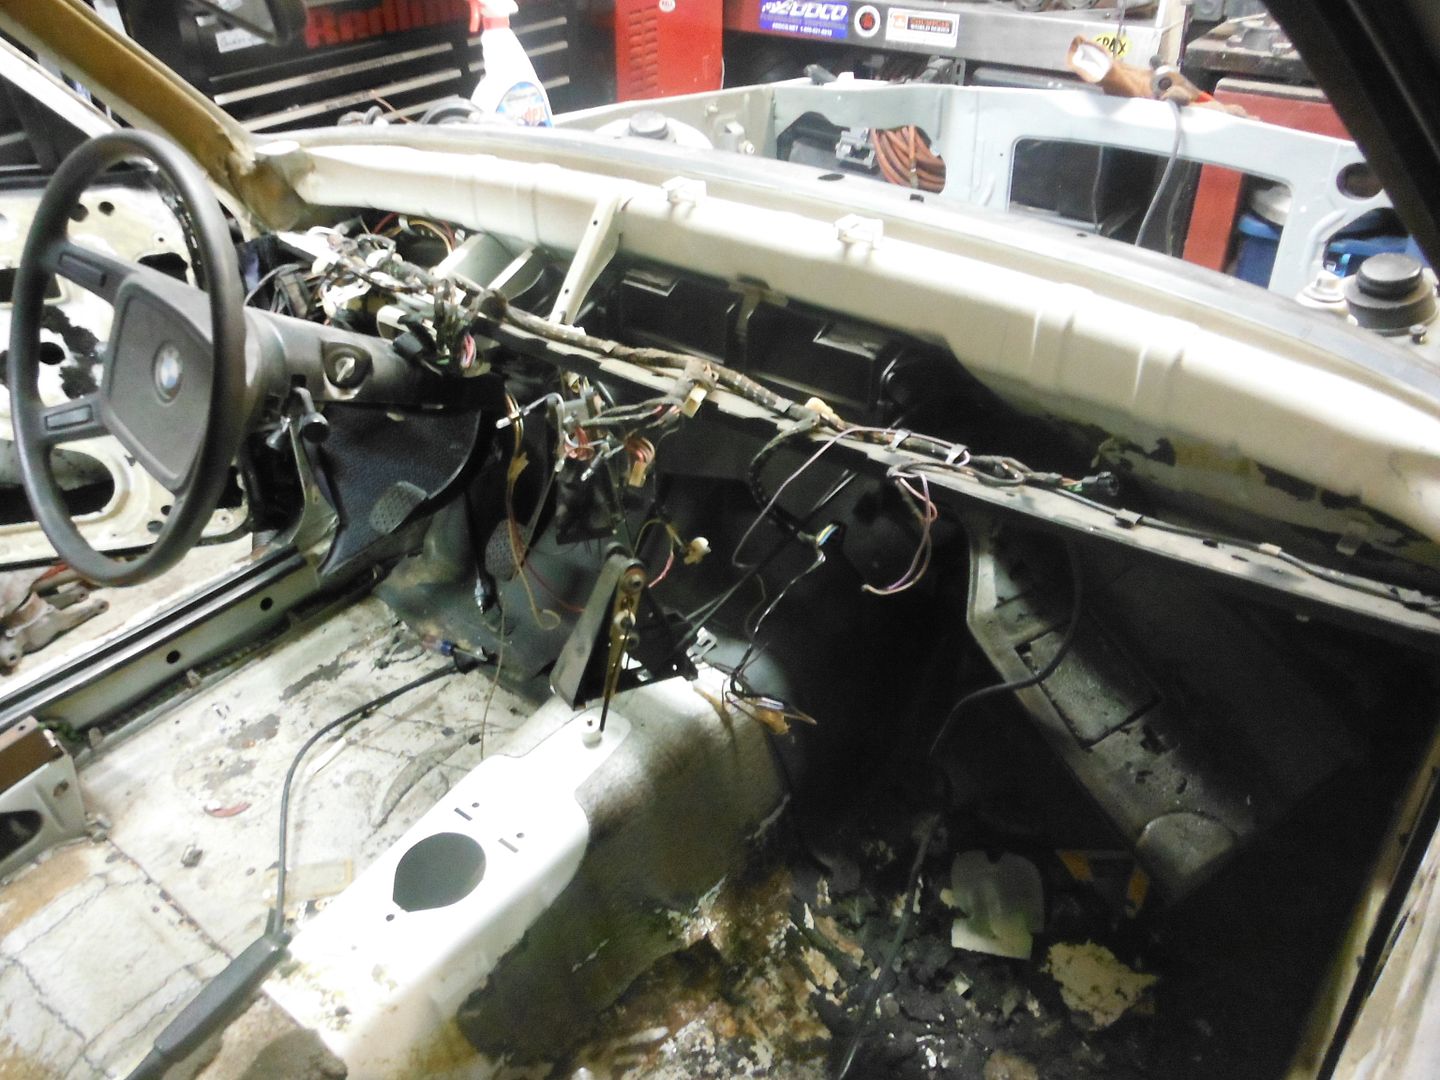
Here's something interesting. I've seen a lot of evidence that the p/o (R.I.P.) took really good care to keep the car totally original and in great condition (until it sat around for 6-7 years after he died). This is the most interesting. An old bottle of OEM-color touch-up paint stashed away behind the gauge cluster. Certainly an odd place to stash it, but whatever...
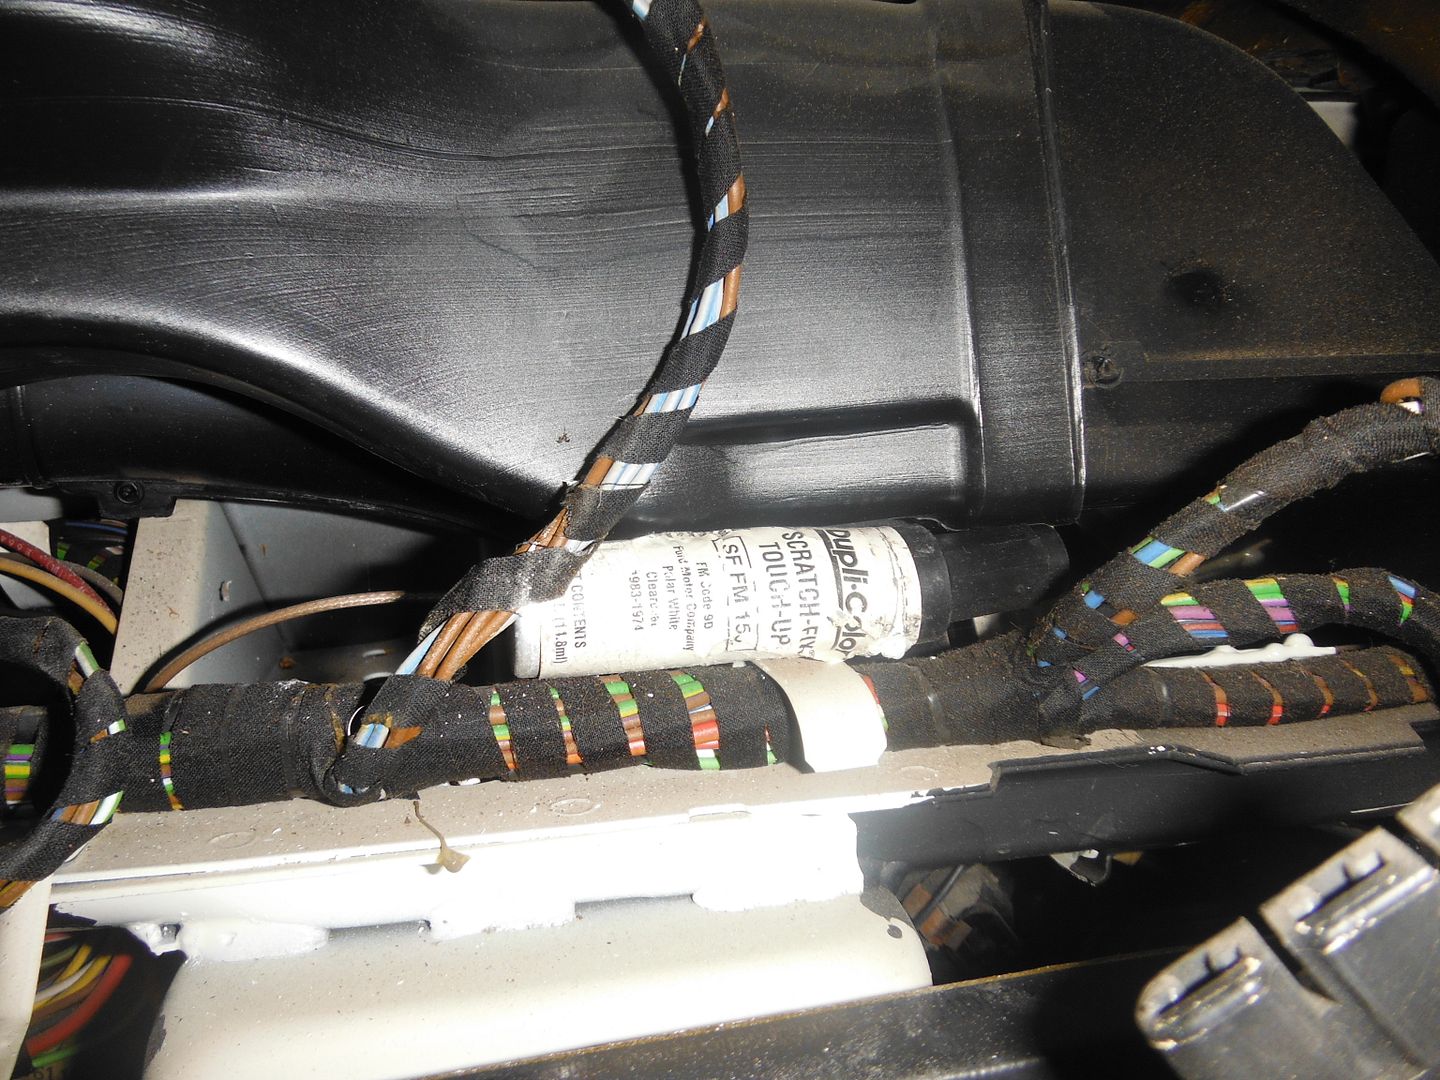
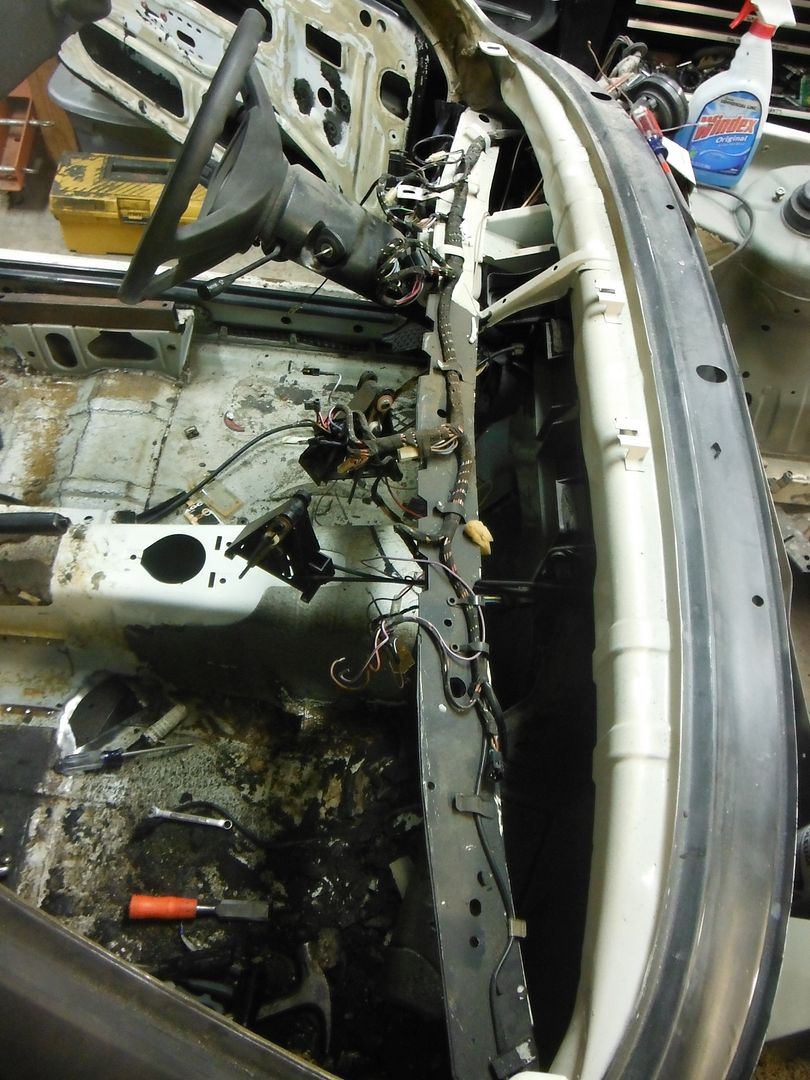
And wanted to check out the floor sheetmetal on this side, where there was some rust evidence as previously noted, so I tore up all the tar soundproofing. Never fun.....but has to be done. The good news is that there is no rust anywhere under it, save for a little bit of staining from where some paint chipped off. So that's a big plus.
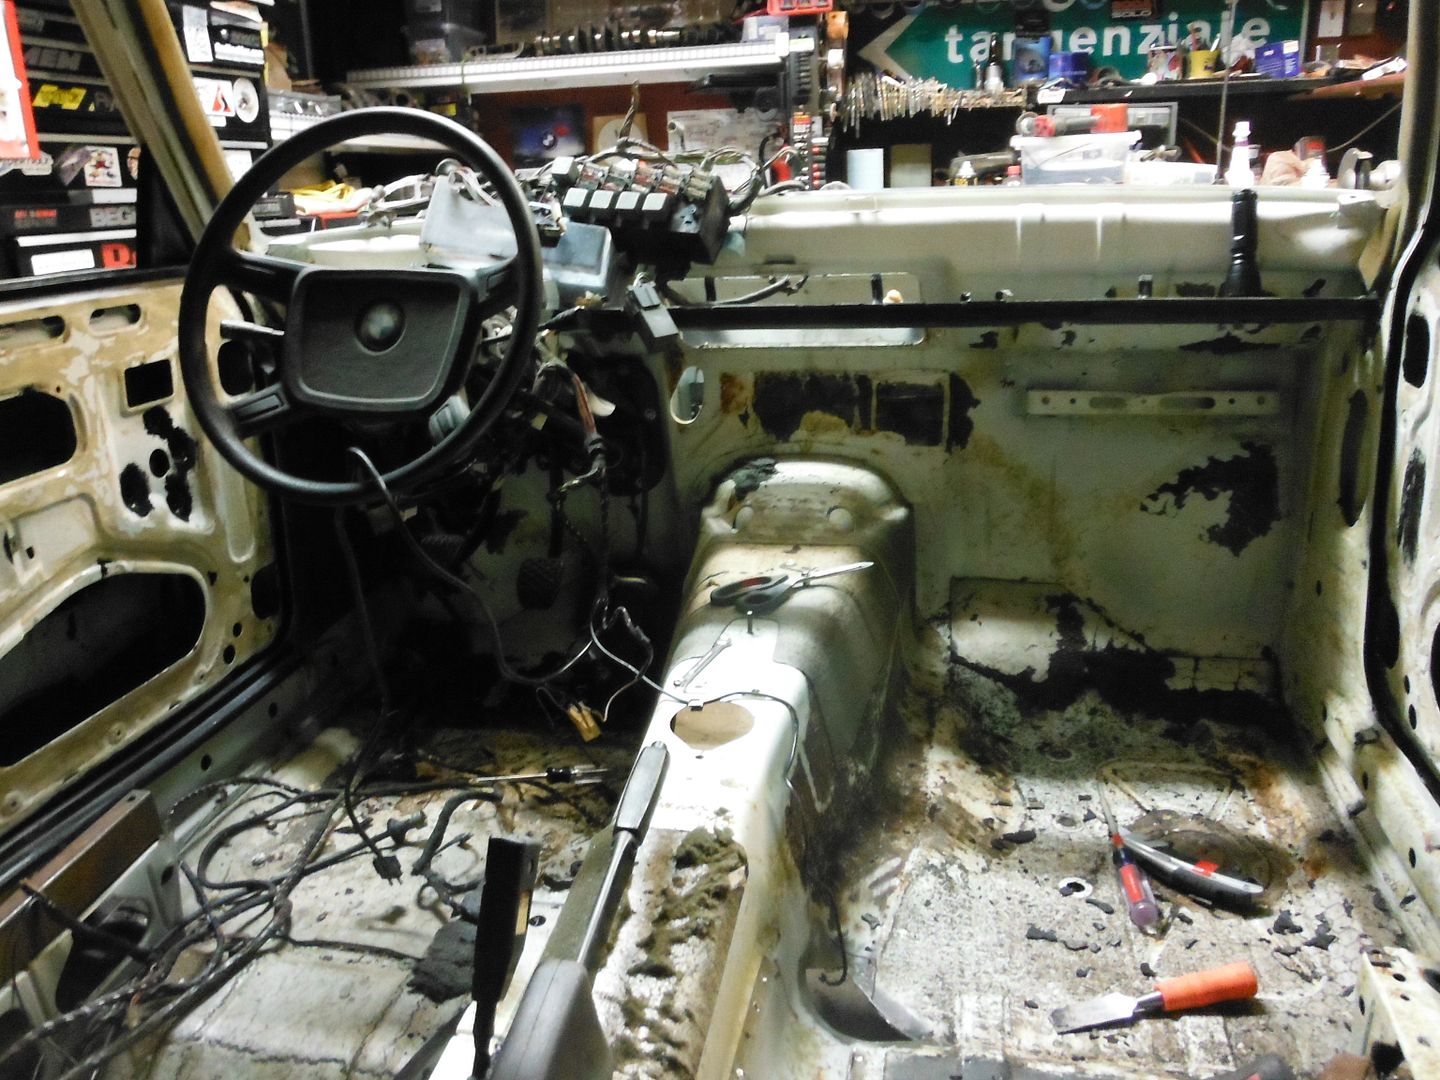
I was going to pull the whole wiring harness out, but after a bit of messing around I don't think I'll do that. Way too much of a pain in the ass to get it all through the firewall, and I don't see any real reason to do it.
Spent a few hours today taking care of that hole in the floor, using two hand-formed patch panels (had to use 2 separate pieces because of the 3 different curvature directions. No real good pics of the process (forgot, sorry), but here's one of it finished. It's not cosmetically perfect but it's very strong and has the correct contours that it will not show. All in all not a terribly difficult job for people who weld often, but it took me a while. Pretty pleased with how it came out though.
Also cut out the other seat riser. For this one I drilled the spot welds, which I should have done on the other one, duh.
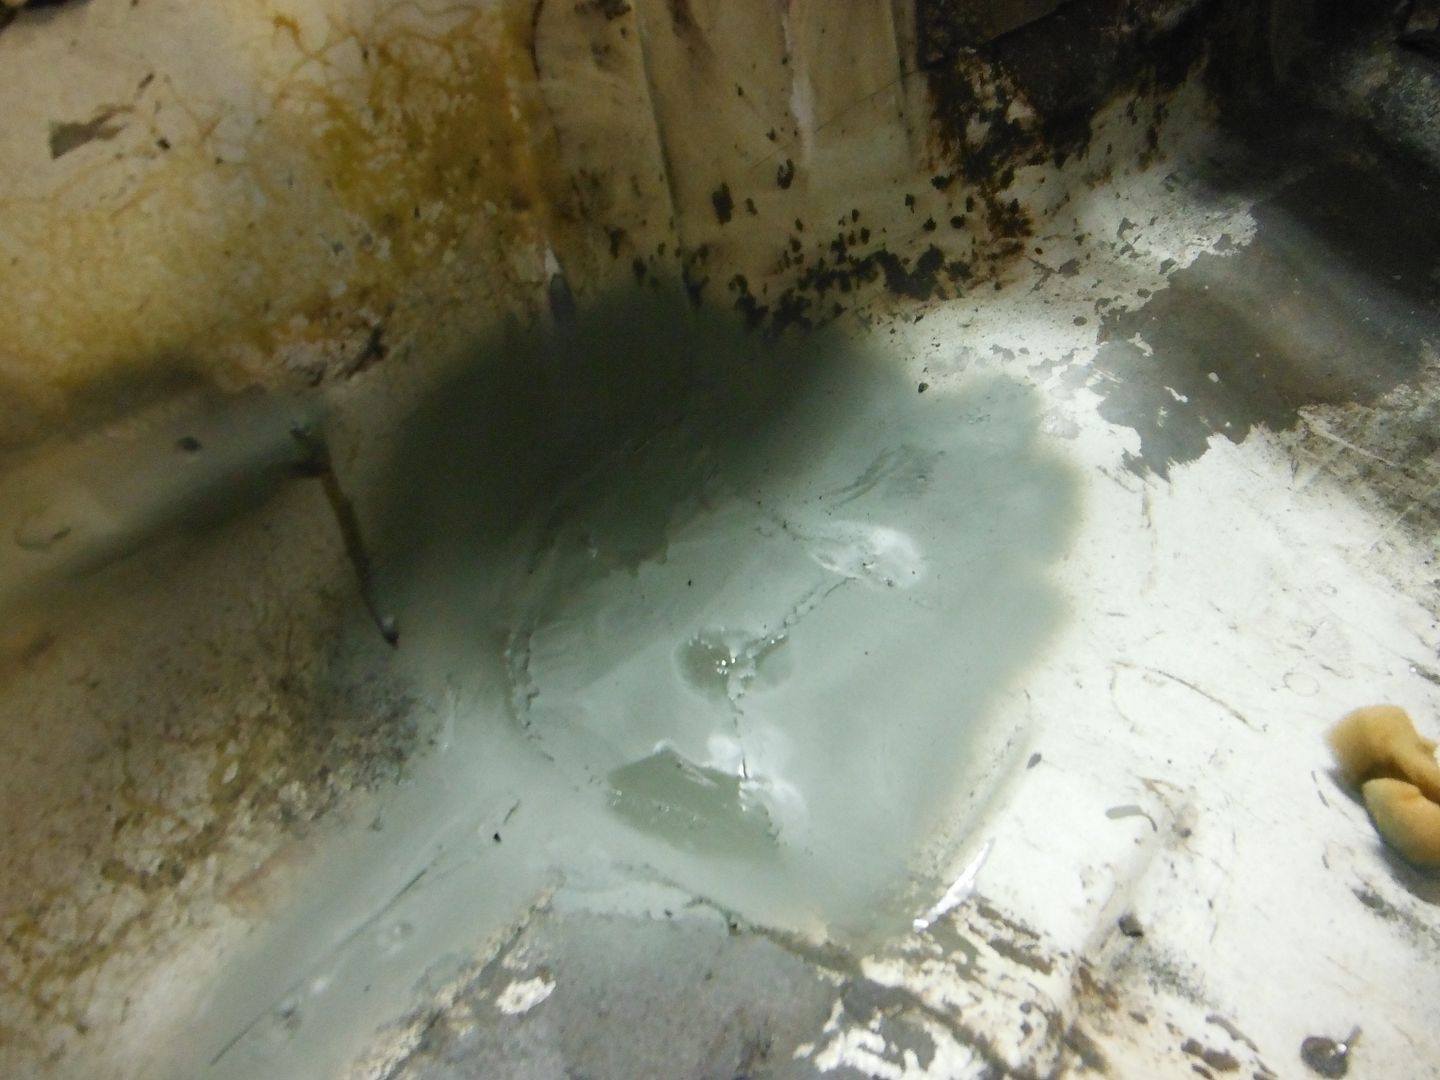
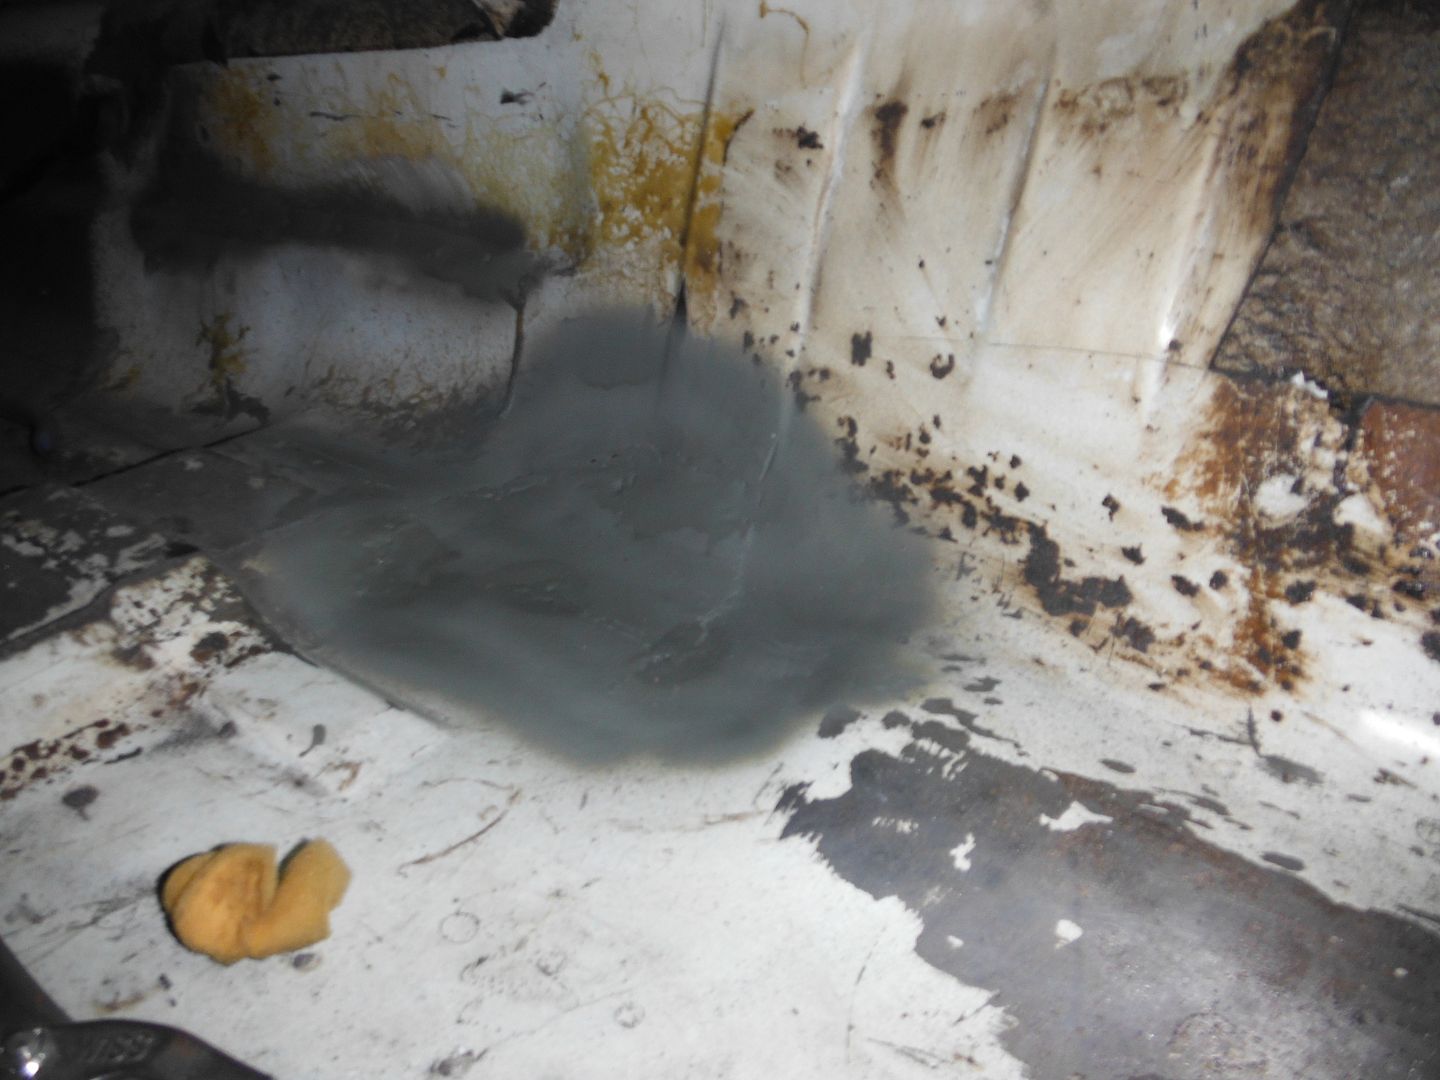
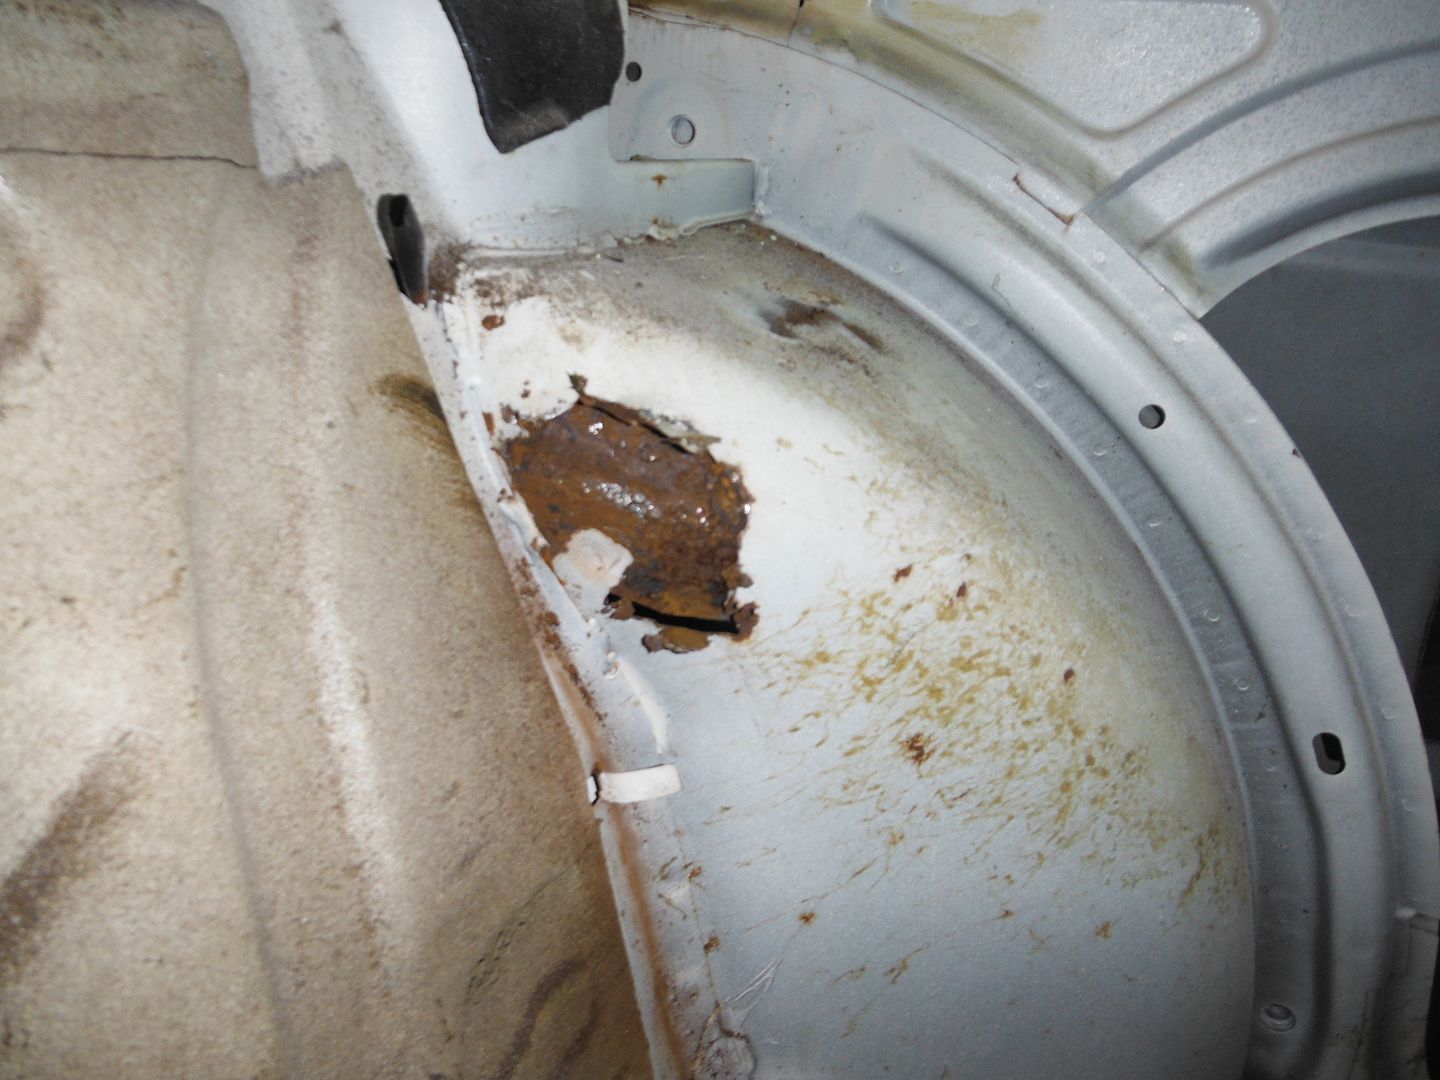
So I mentioned before that this was the worst rust on the car, but that isn't true. I almost forgot about it back there but the driver's rear wheel arch is going to need more extensive work. I won't know how much until I cut out some metal, but it will be a significant job. I can't believe how poorly-designed the wheel arch and shock tower are...they're like a water-trap that can only lead to rust, IMO. It is possible that I'll just buy a whole new inner fender and replace the whole thing, but I'll see how bad it is first and consider other DIY/less expensive options in the short term, IDK.
I ripped out as much metal as I could just with a screwdriver. The worst of it is here, and there is a bit more on the trunk-side, and a small section on top. Like I said, we'll see....this will be a winter project.
Since I have no patience, decided to to a bit of investigation on the strut towers.
On the driver's side I cut out part of the front section. First thing: this is the stupidest design I've ever seen on a car (and I work on British cars, so that's saying a lot). "Hey, let's put a gully between two pieces of metal where water can collect but cannot drain from." This problem could have been eliminated by simply having a relief drain where the two pieces (inner and outer fender) come together. Guess the guy responsible for good ideas was out sick that day of the design process.
So yep, there is rust in there.
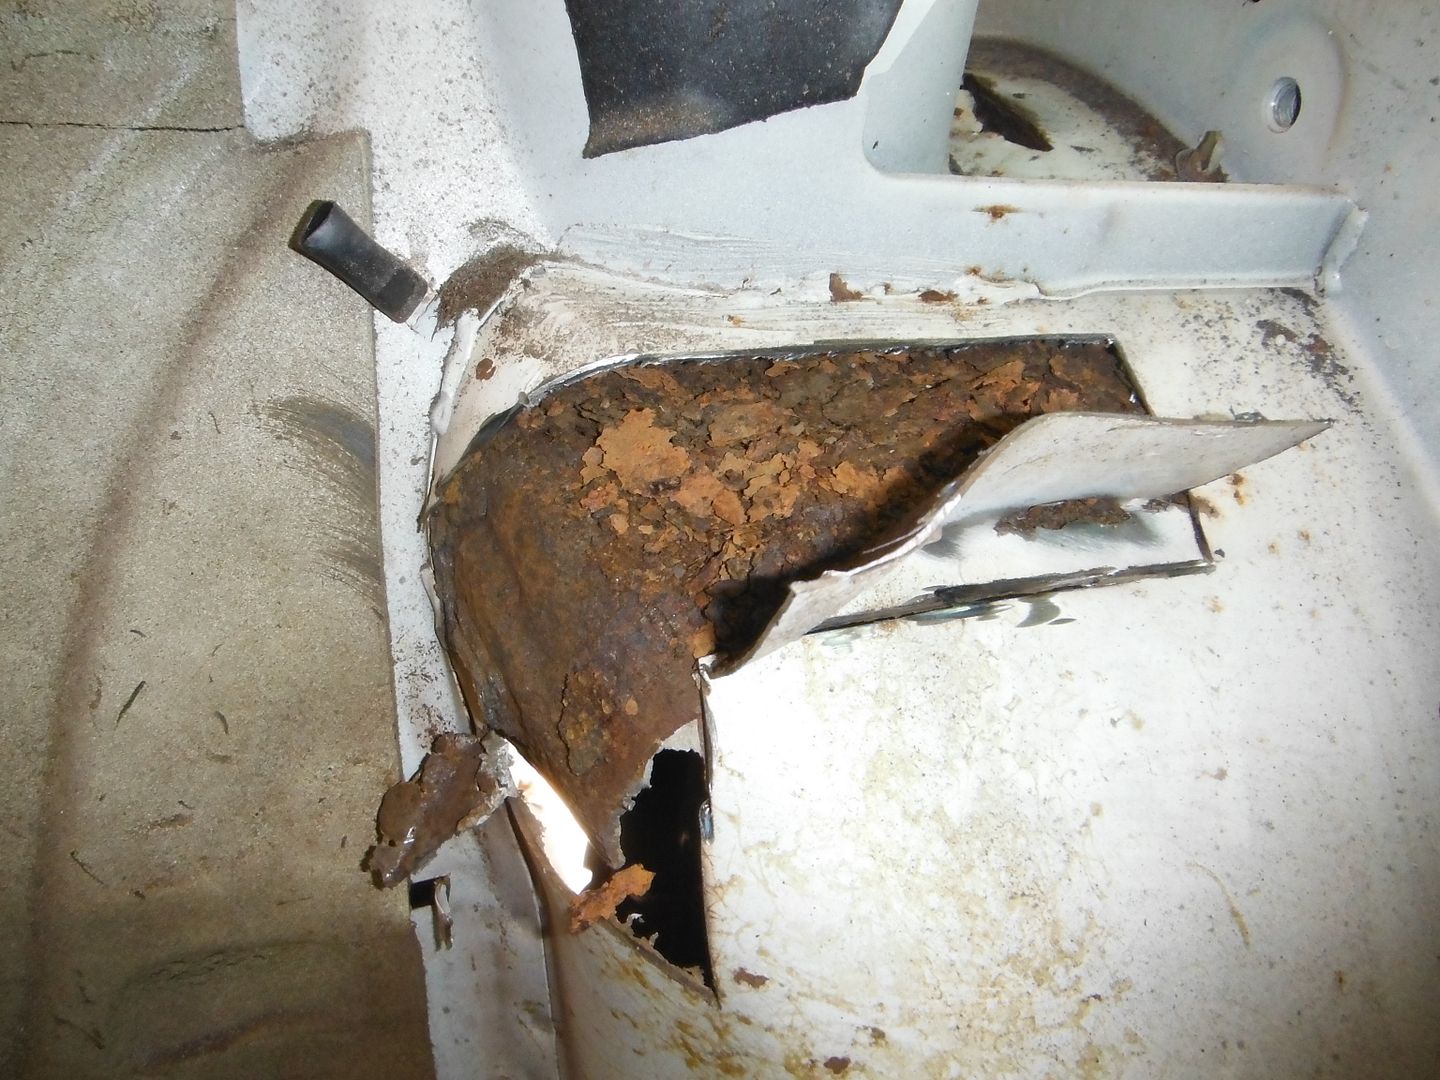
But once I cleaned it out I feel a bit better. A lot of flaking, but once cleaned out the inner fender piece seems very solid still, so it's not as bad as I expected. Will have to see if the rest of it is this way in the trunk. And the outer sheet metal is largely good other than the section I cut out. Looks like it just rusted through at the point in which the water sat the most, so as to let itself out.
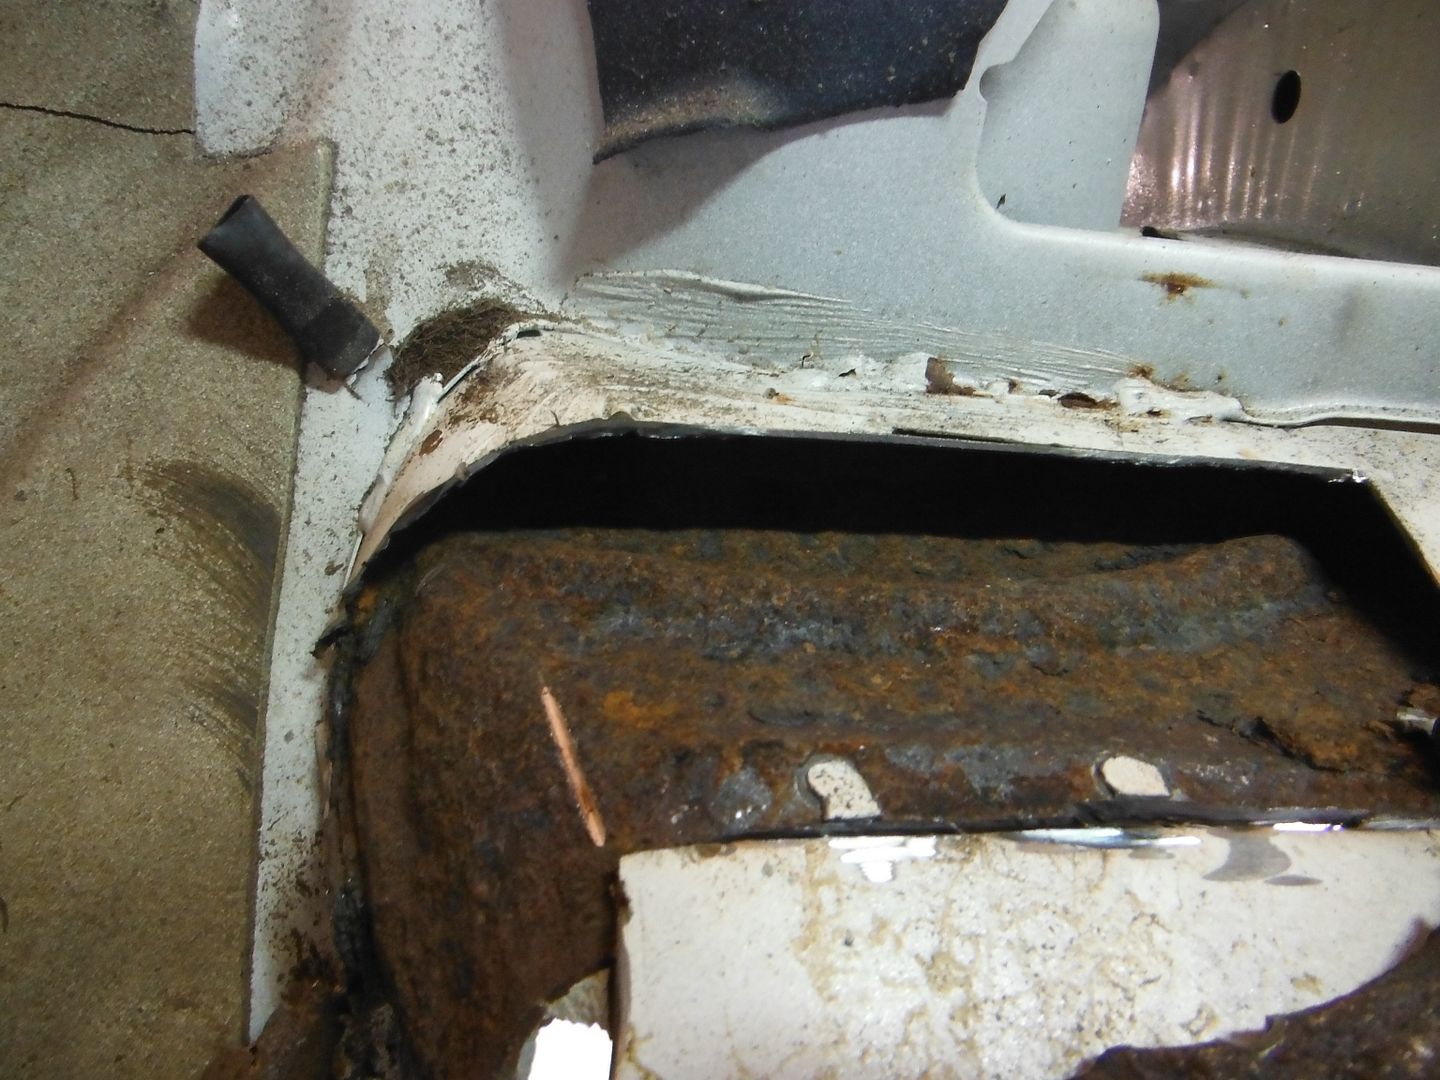
I have some ideas about what I'm going to do here, but will think them out a bit more before I post them up, since I'm not going to do them all that soon.
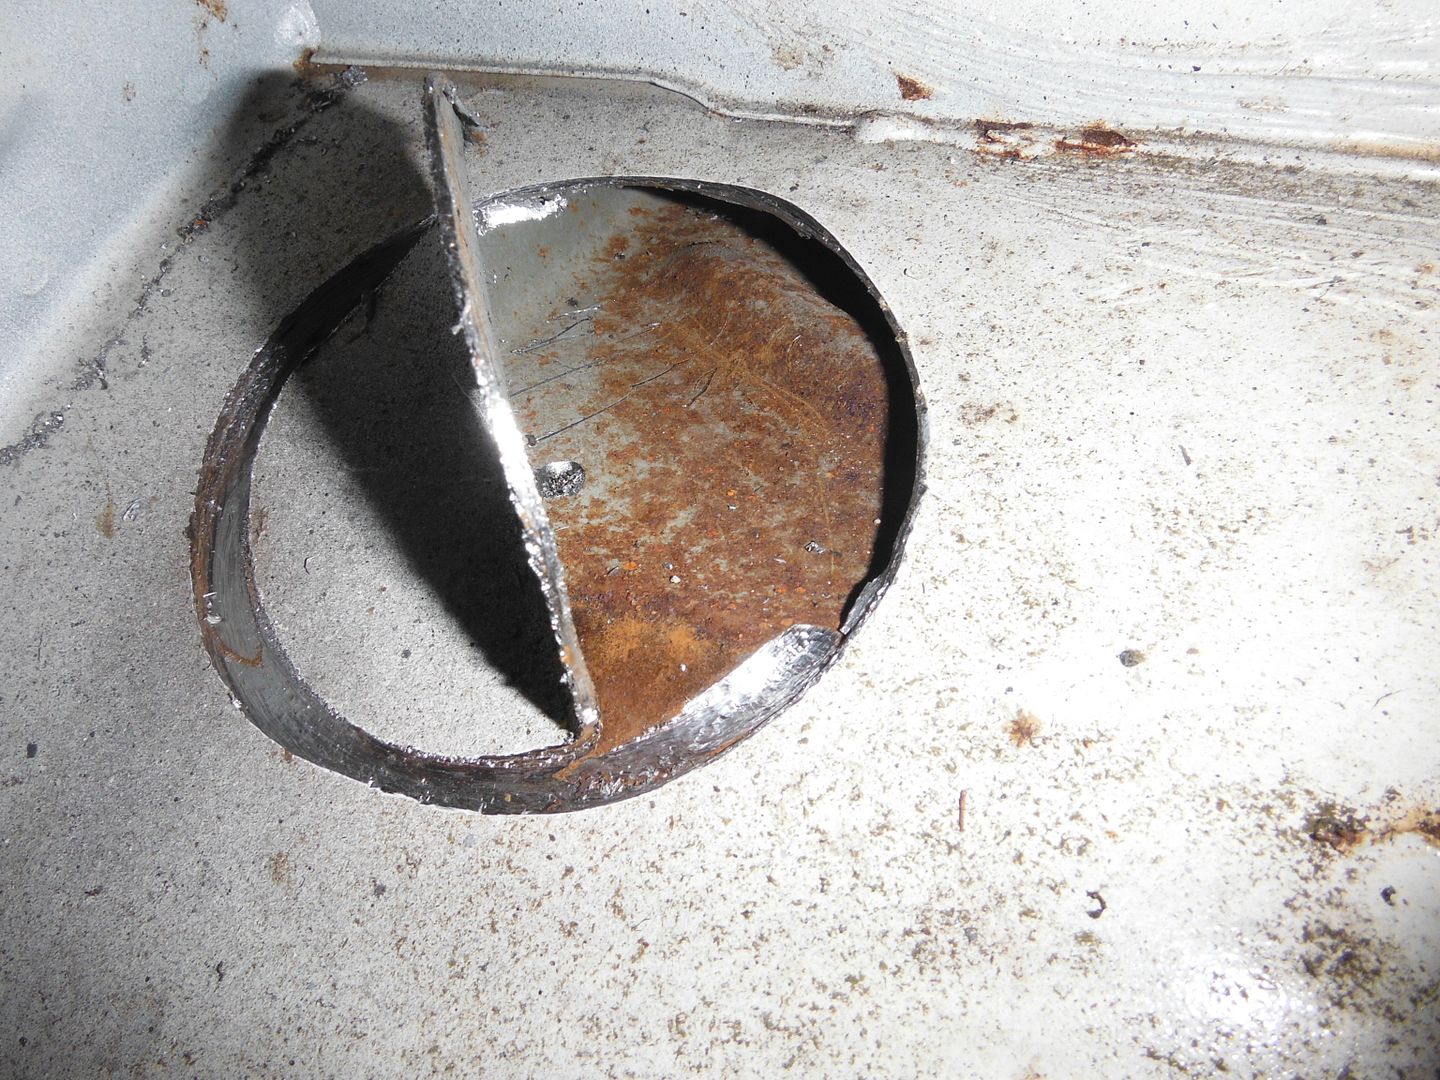
Also I cut a view-hole into the same area of the passenger side fender to check it out, since there is no rust-through evidence there in the top shell. Happy to report that on the passenger side the metal is good with only a slight bit of surface rust and no flaking at all. So that side won't need much if any repair. I may spray in some POR-15 to prevent any future rust there, however.
ok, time to watch some football. Maybe more work later today, we'll see.
Not much new to report. I've been doing a few other things in the last couple weeks and haven't accomplished much on the car. I did cut out a rusty area on the trunk side lip, right over the gas filler. It's really the only place on the drain lip that is like this, not sure exactly why....must have gotten some moisture under that rubber seal. Anyhow, I cut that out and I welded in a section of "good" metal cut from a scrap e21. Still need to clean it up a bit, so no pics yet :)
Other than that, as a federal worker, I got furloughed today so I should have plenty of time in the next week(s) to work on sanding and welding and other car stuff, in between some part-time shifts I picked up at the ski shop I work weekends at during the winter. So no expensive stuff for this car anytime soon (or any other car, for that matter). I did sell the Stahl header, so right now I've actually made a profit on this car by about $100 (including buying sandpaper and several cans of primer), lol.
Tonight packing up my gear for this weekend's ChumpCar race in Pittsburgh. I'm towing up the Chump e30 (325e) with the 4Runner since the usual tow rig is out of action. HOpefully all goes well and we don't have any major issues with the tow or the race :)
One of the girls is helping me pack. Well, not really helping.
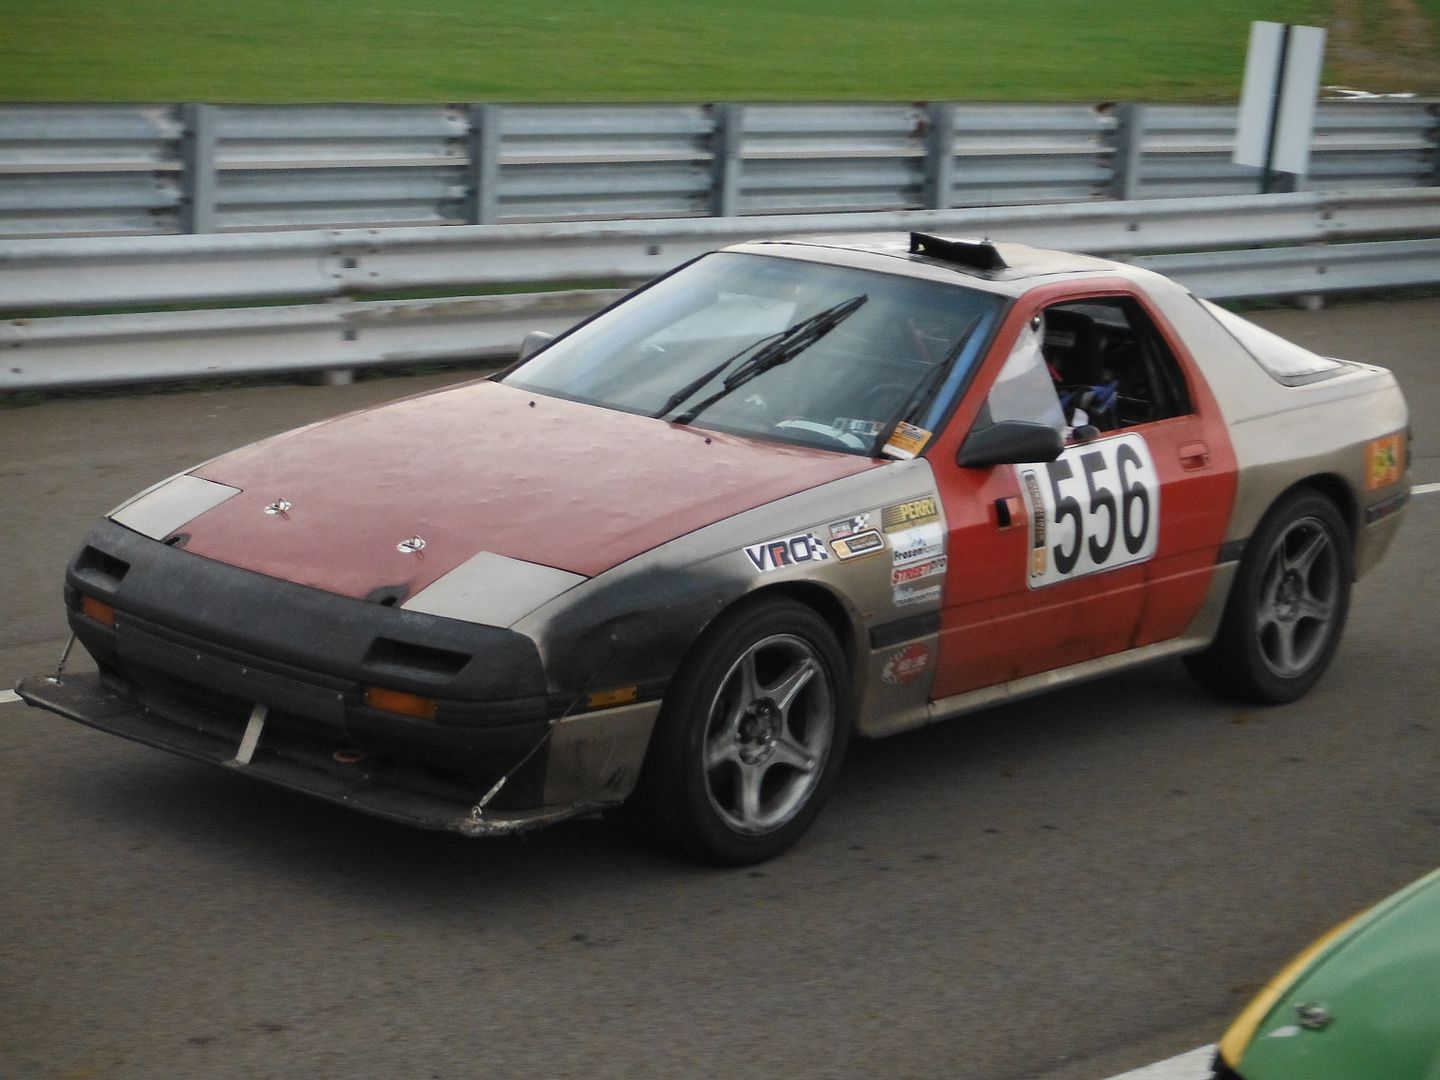
I will have to stop by and say hi at the Pittsburgh Race.
We have the Gold and Red and Black 2nd gen RX7.
P.S. Love your build threads!
Rob R.
wvumtnbkr wrote: I will have to stop by and say hi at the Pittsburgh Race. We have the Gold and Red and Black 2nd gen RX7. P.S. Love your build threads! Rob R.
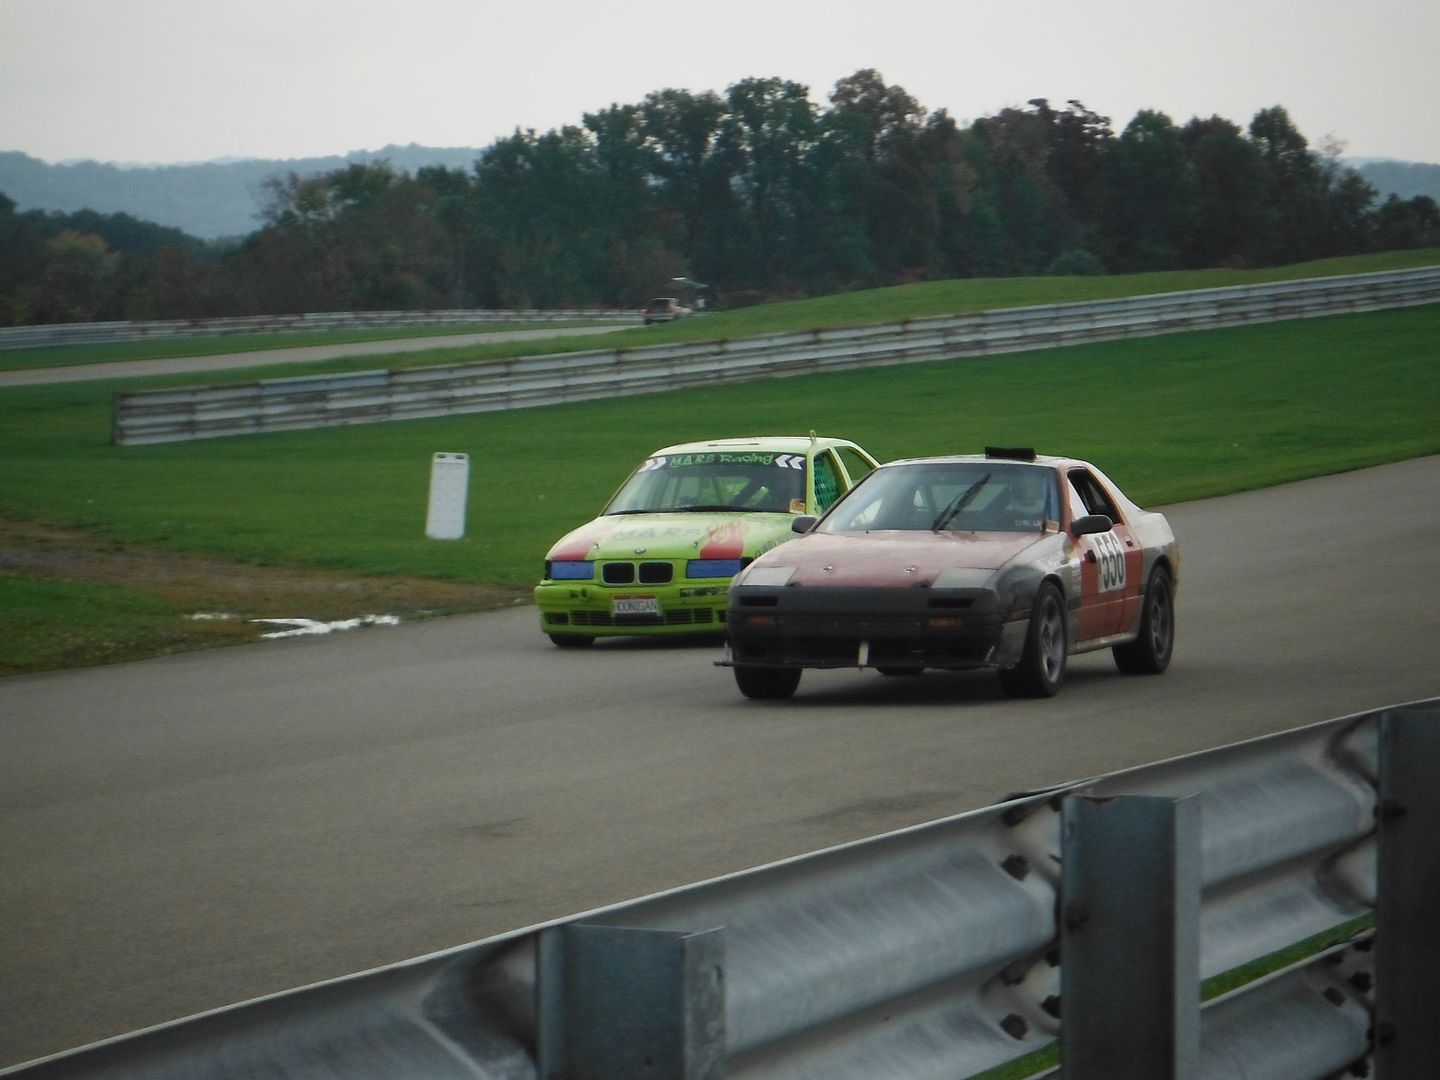
You didn't stop by, Rob! But I had some pretty good battles during the races with your car, since it was pretty similar in speed to ours on that track, it seemed. I think we finished pretty close to you guys (16th first day, 11th second day). How did you guys end up doing?
I drove first on the first day in the rain and fog, that was a lot of fun. Almost got taken out by someone coming backwards onto the track on the backside hill, lol.
got a couple pics of you guys:
This weekend's rallycross was cancelled due to 4" of rain on the red clay (which basically results in all the RWD cars getting stuck in giant ruts after 2 runs, lol). So with that rescheduled to next weekend, and it still raining cats and dogs here, had to find something to do, and get motivated working on the e21 again which I've been slacking on.
During my rust investigations, foudn that the passenger side floor drain was kind of rusty. Might as well replace, as it's sure to get worse. Plus it gives me more welding practice that I desperately need before tackling the rear wheel arch.
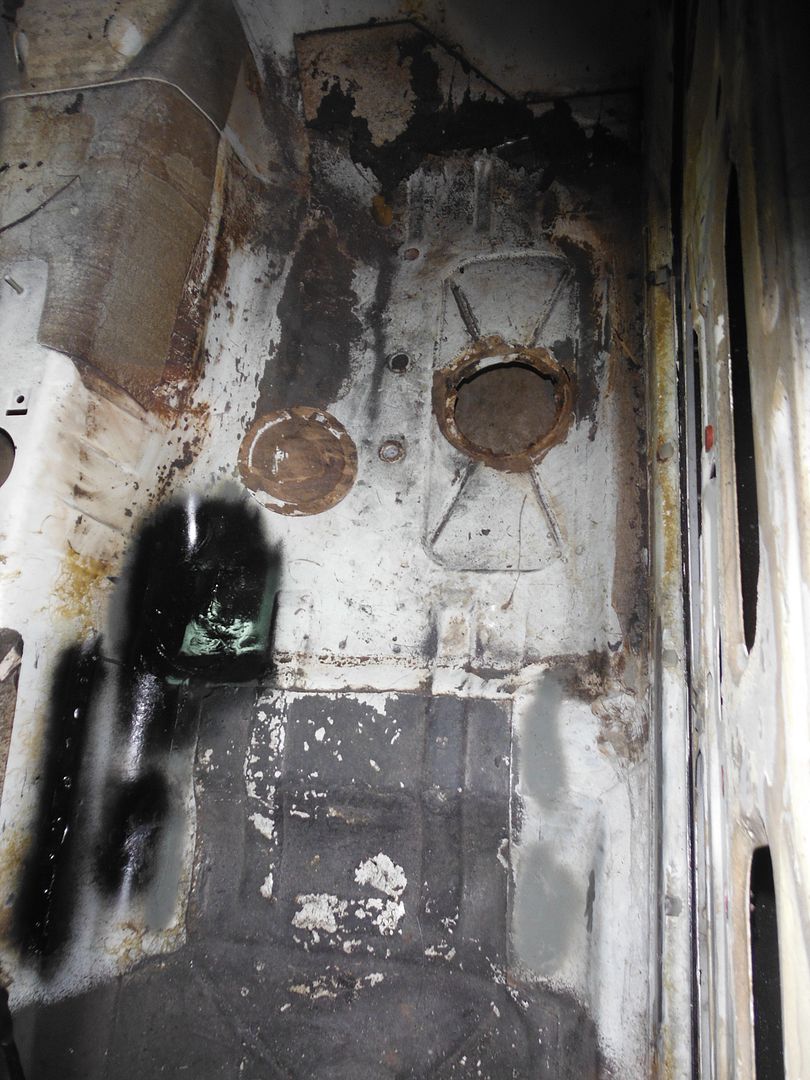
cut it out
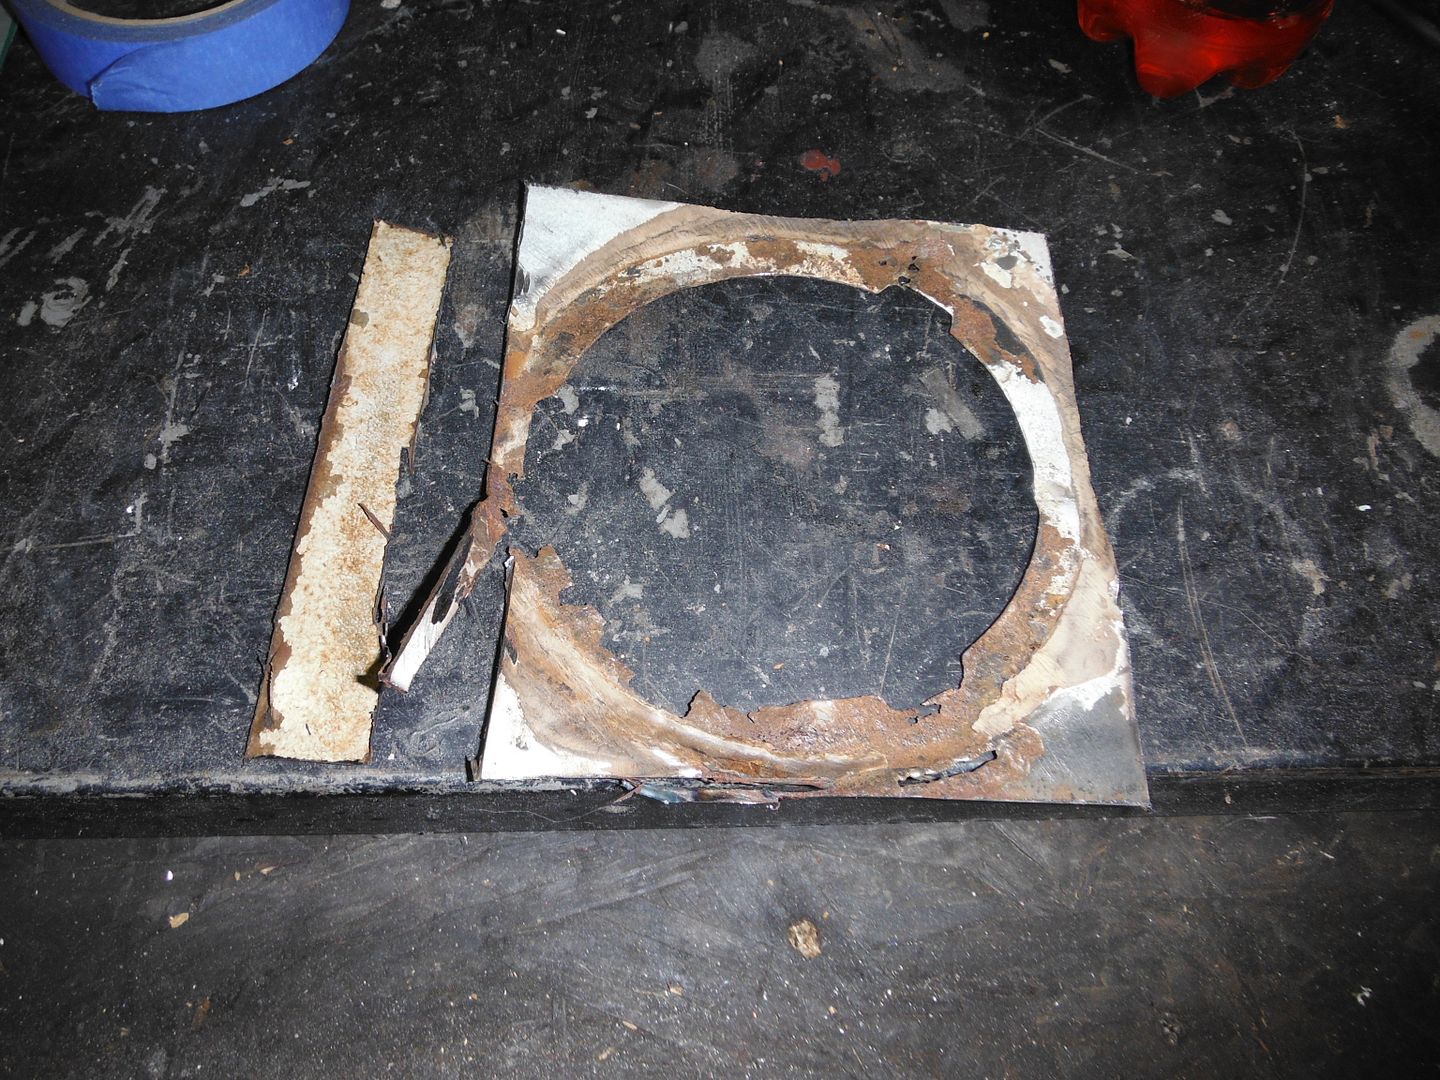
welded in some new metal. Not real pretty, but I don't care about the "look" of the floor metal since this car will get carpeting and stuff put back in. As long as it's solid and not rusty, I care not. Not planning to enter any car shows :) I will grind it smooth and clean it up of course, later this weekend.
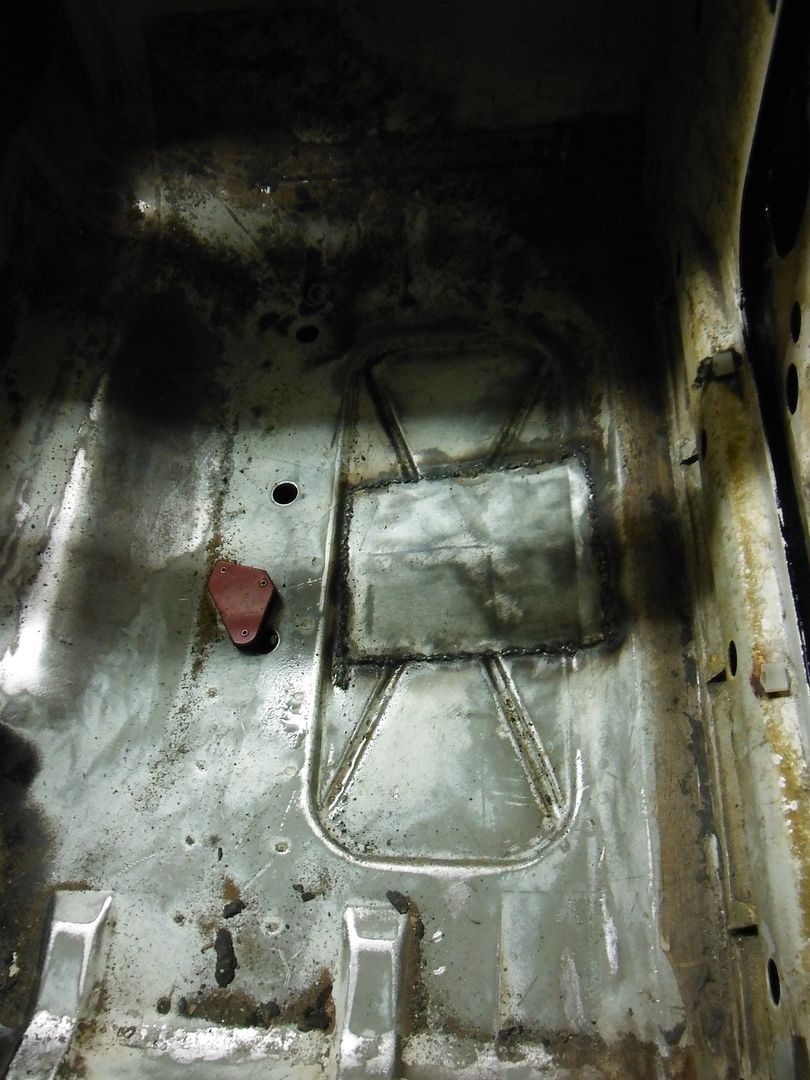
Ah what the hell, might as well post a not-too-exciting update.
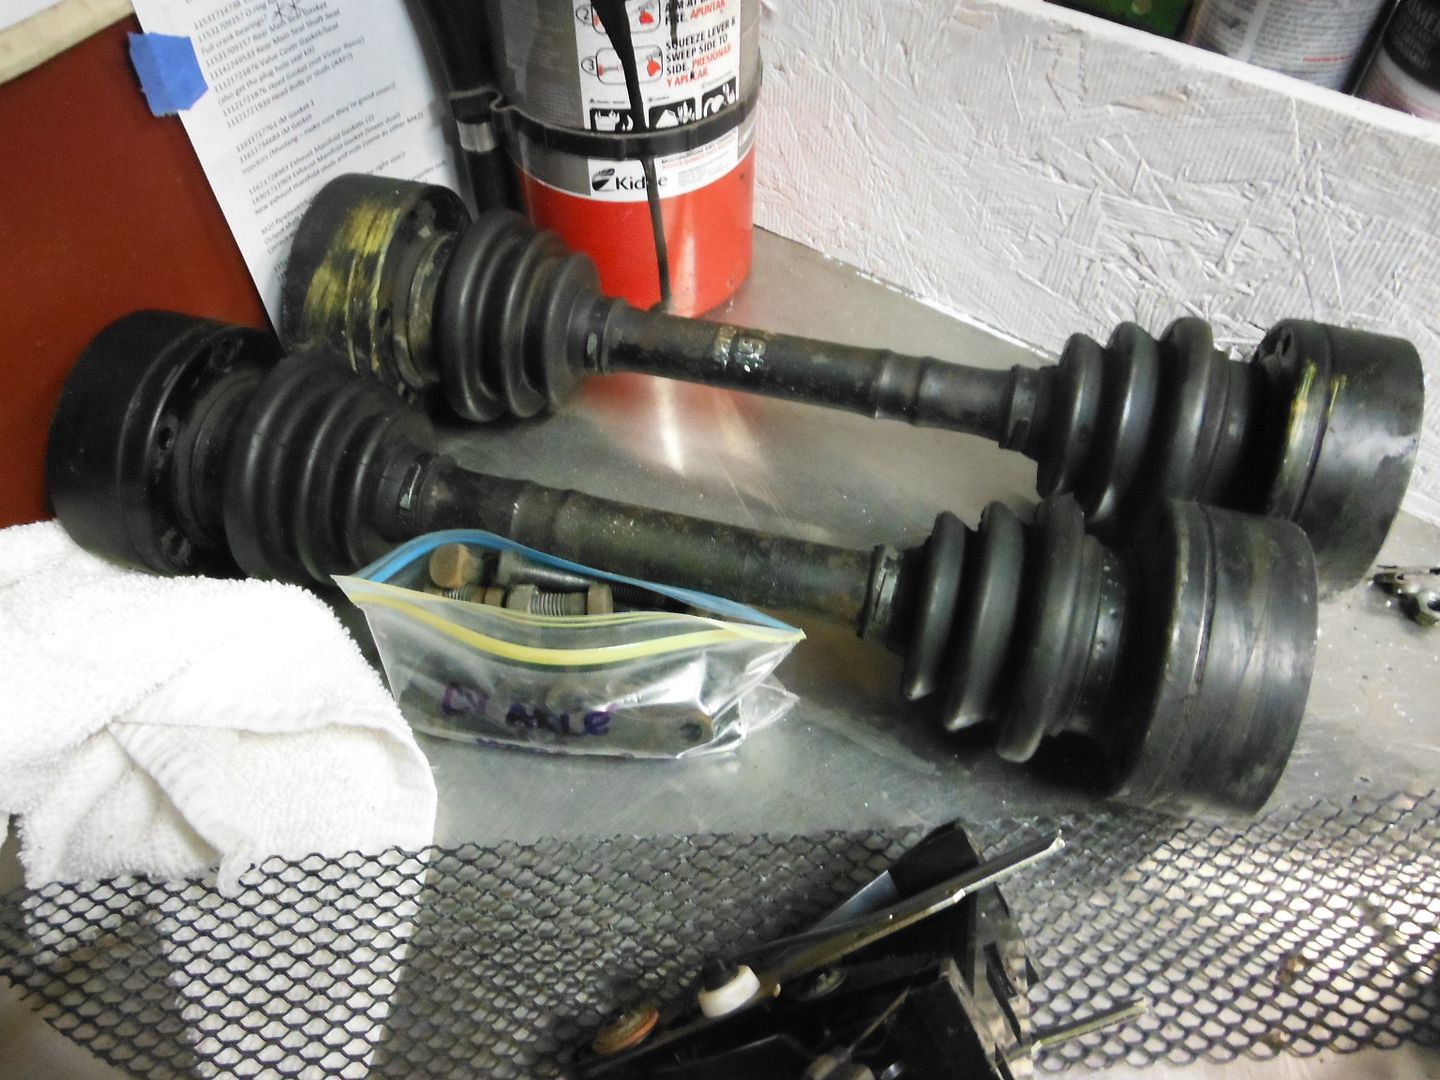
I've been finishing off that patch in the passenger floor (I hate welding thin sheet metal, by the way). Otherwise, tonight I got the gloves on and cleaned up the very gunky CV axles that have been sitting on the bench for a month. After a good cleaning they look pretty good and, though I thought the boots were no good, they actually look brand-new and are still pliable and not "cracky" at all. Guess sitting under the car out of UV light, coated with grease, protected them. One less thing to deal with (though I will pop them off and repack the CV joints with fresh grease).
Since it was also sitting on the bench figured I might as well take apart the HVAC and clean things out. Looks to be in pretty good shape, fully functioning, and the heater core looks very good (though I may pressure-test it if I can).
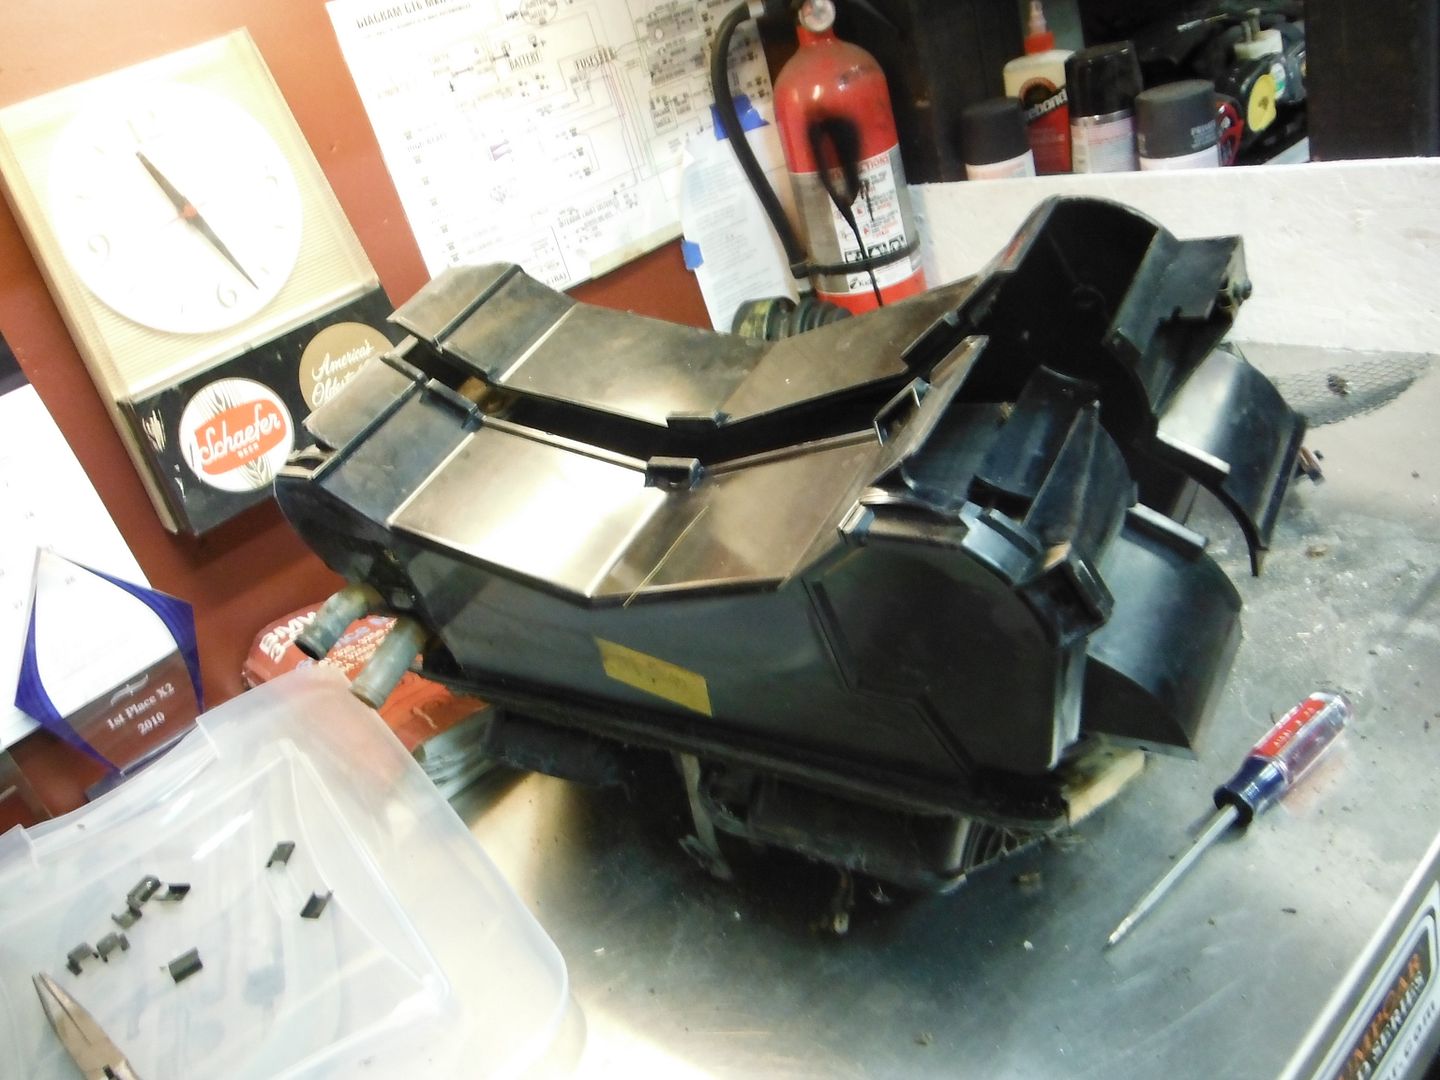
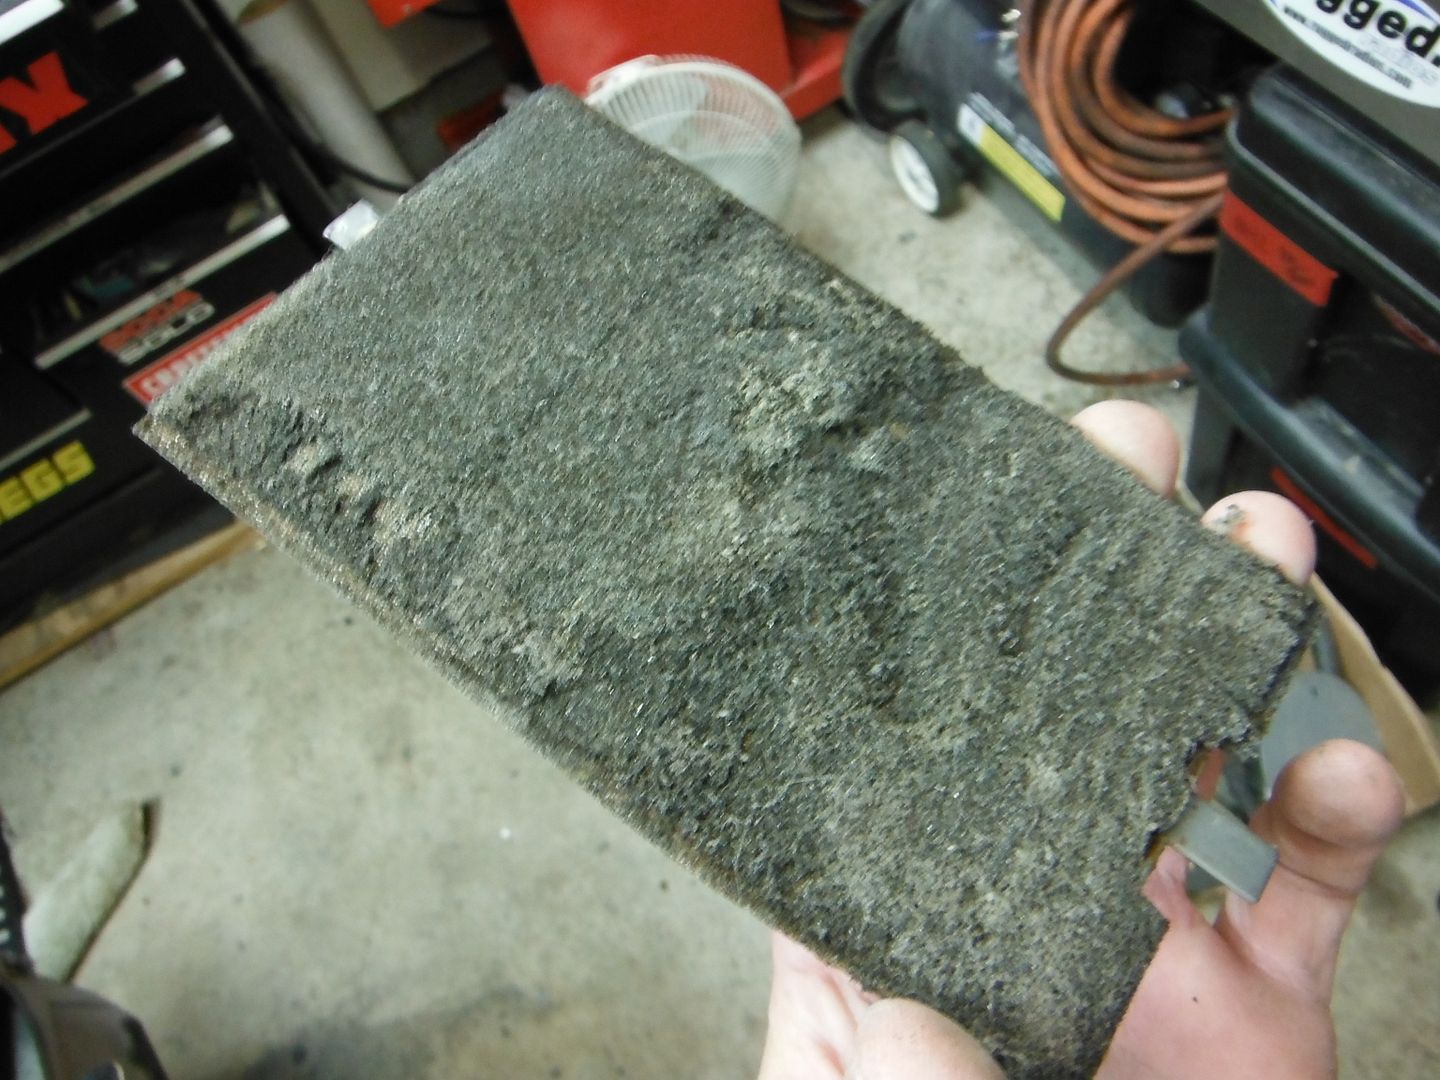
The only thing I think I really need to do here is replace the foamy stuff on each side of the vent "hatches." So I need to figure out what that stuff is and where I can get it. May just try to find some thin high-density foam sheets, we'll see. Suggestions welcome.
This stuff is basically disintegrating as I touched it...
Oh let's do some stuff.
Engine block fully apart now. I ordered new rings, seals, bearings, etc so those should be here in a few days. I want to get this engine buttoned up relatively quick because right now there are parts of it all over the place and frankly it's all just in the way of doing other things. Want it all back together so I can stick it on a dolly and stash it under the bench until the time comes to put it in the car.
In the meantime....it's pretty gunky but the rings and seals looked pretty good and the piston bores in the block looked good. I'm thinking someone else rebuilt this engine before because it has a very good hone on it (better than my other M42) and the sleeves overall look very good.
In the meantime, scrubbing the pistons in the big sink with Dawn. I don't want to play with solvents too much since many aren't good for aluminum, and they're not that bad...clean up pretty well with some good scrubbing and hot water.
before and after (ok, still have a bit more cleaning to do...)


oh, so here's the old thrust bearing for the crank. Worn to hell..stupid BMW cheaping out and only putting a 180* shell on it. WTF??

I have another crank to use that has much MUCH less wear on the bearing surface. Will put in new crank and rod bearings as well, obviously.

Also went to the dollar store and picked up $5 in materials to clean the block (I may use a power-washer, we'll see..)

what else....
some more body work. driver's side C-pillar, and some of the trunk surround among other things. So piecemeal since I get bored with sanding pretty quick, lol.

And finished up the passenger floor and POR-15'd it. Not a good photo, but came out fine I think. Carpet will cover up my sloppy welds :)

That's it for now. Maybe will get some stuff done this weekend (block cleaned and painted? perhaps.....).
Oh, and for those not following my rallycross e30 thread, I did manage to take 2nd in class last weekend (beating the points leader) to stay in contention for the championship in modified RWD class with 1 event left. Just have to win it :)
Ironically, I let another of the top drivers (who usually drives a V6-swapped MR2) drive my car and he proceeded to beat me in it and take first. More testament to the fact that I can set up a car very well for motorsports, but I need to drive harder!!
Engine Cleanup Time!
Now that I have the engine apart, I decided to clean it myself rather than throw away money at a machine shop. Most shops these days use a "steam cleaner" dishwasher anyhow rather than a hot bath, so I figure with some elbow grease this can be done.
Note that I plan to hone the piston bores later this week (after which I will do some more cleaning).
One of the advantages to having a little 4-cyl: the block fits nicely in a utility sink in the garage, giving me direct hot water access and drainage. Before I put it in I coated the cylinder bores with some WD-40 to keep flash rush away (and it worked), and since I have an extendable faucet (my old kitchen faucet, lol), I was able to basically keep water out of the cylinder bores for the most part anyhow.
So first I put the engine in and (both sides) sprayed it down with oven cleaner and let it soak.

Then I used a brass brush and some brillow to scrub it good and clean. Then degreased it afterwards just for good measure. Seems like it's pretty good and I need to get some engine paint and do the outsides of the block now.


Then I went to work on all the polished gasket surfaces (head gasket, oil pan gasket, timing case, etc). After I cleaned it as well as possible I block-sanded with 1000-grit wet-or-dry (slightly wet). This got the last remnants of gunk off of it and left me with a very nice and smooth surface. I can't feel any imperfections on any of the surfaces now, so should mate up nicely with the gaskets.


outer cylinder bores have some rust, but not as bad as the camera makes it look.

You'll need to log in to post.