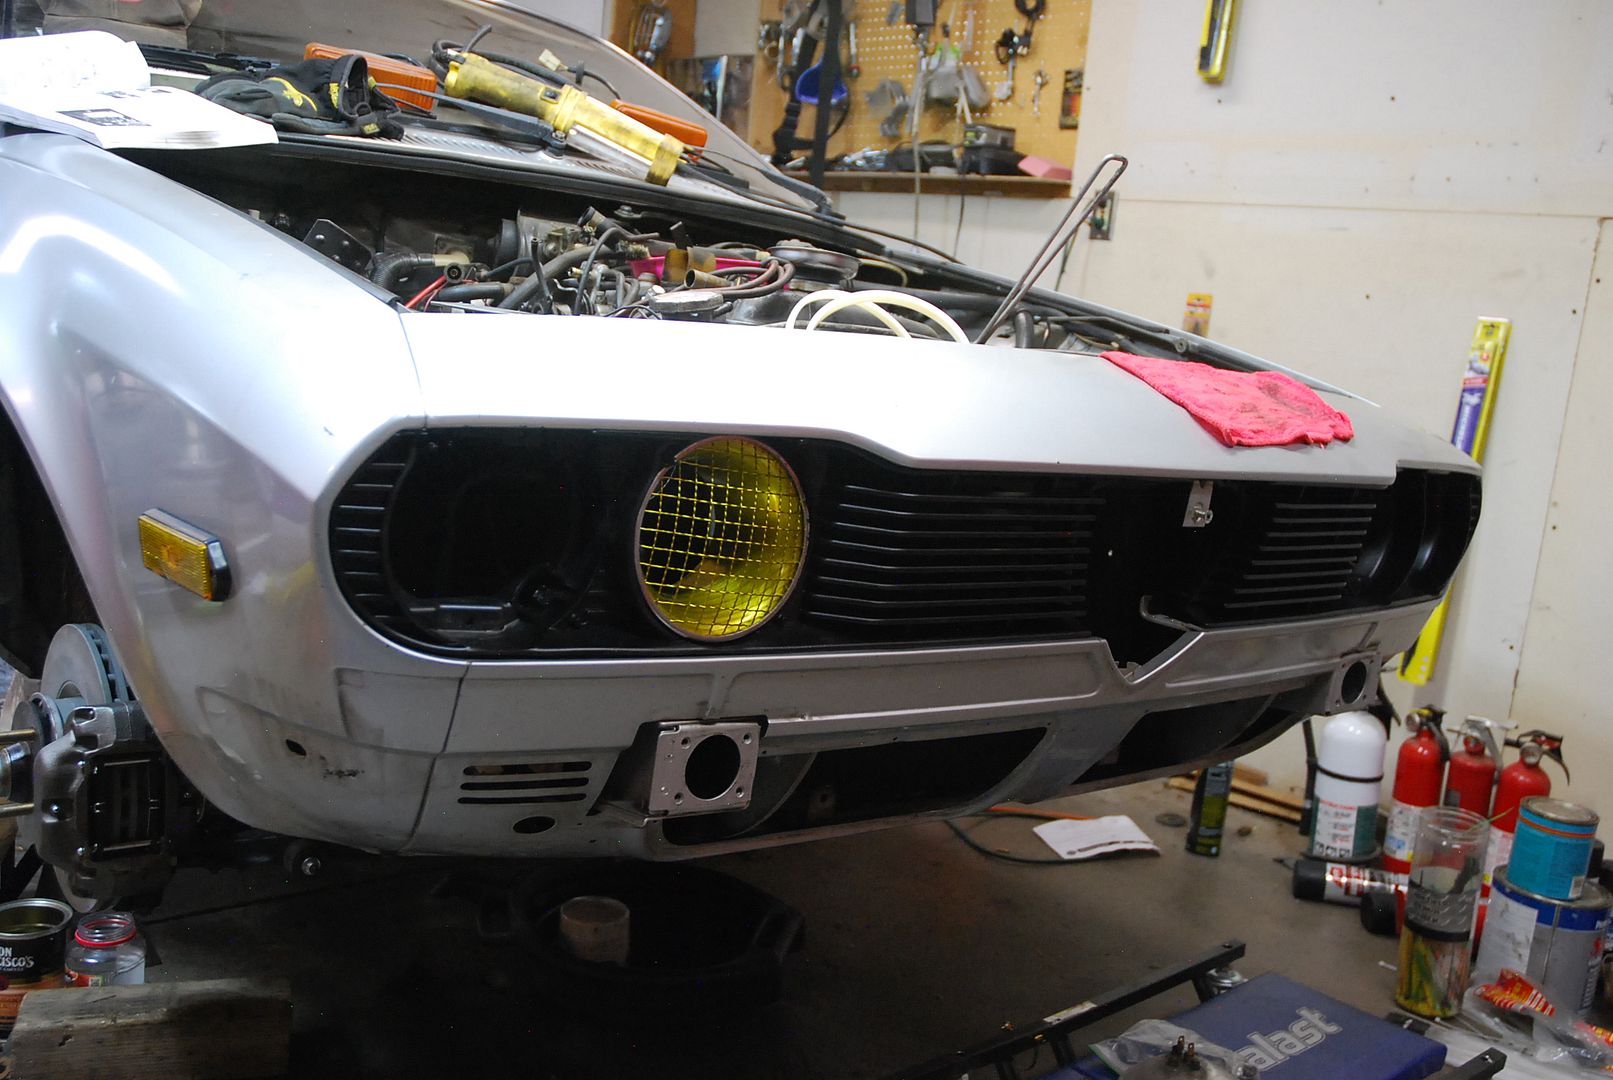
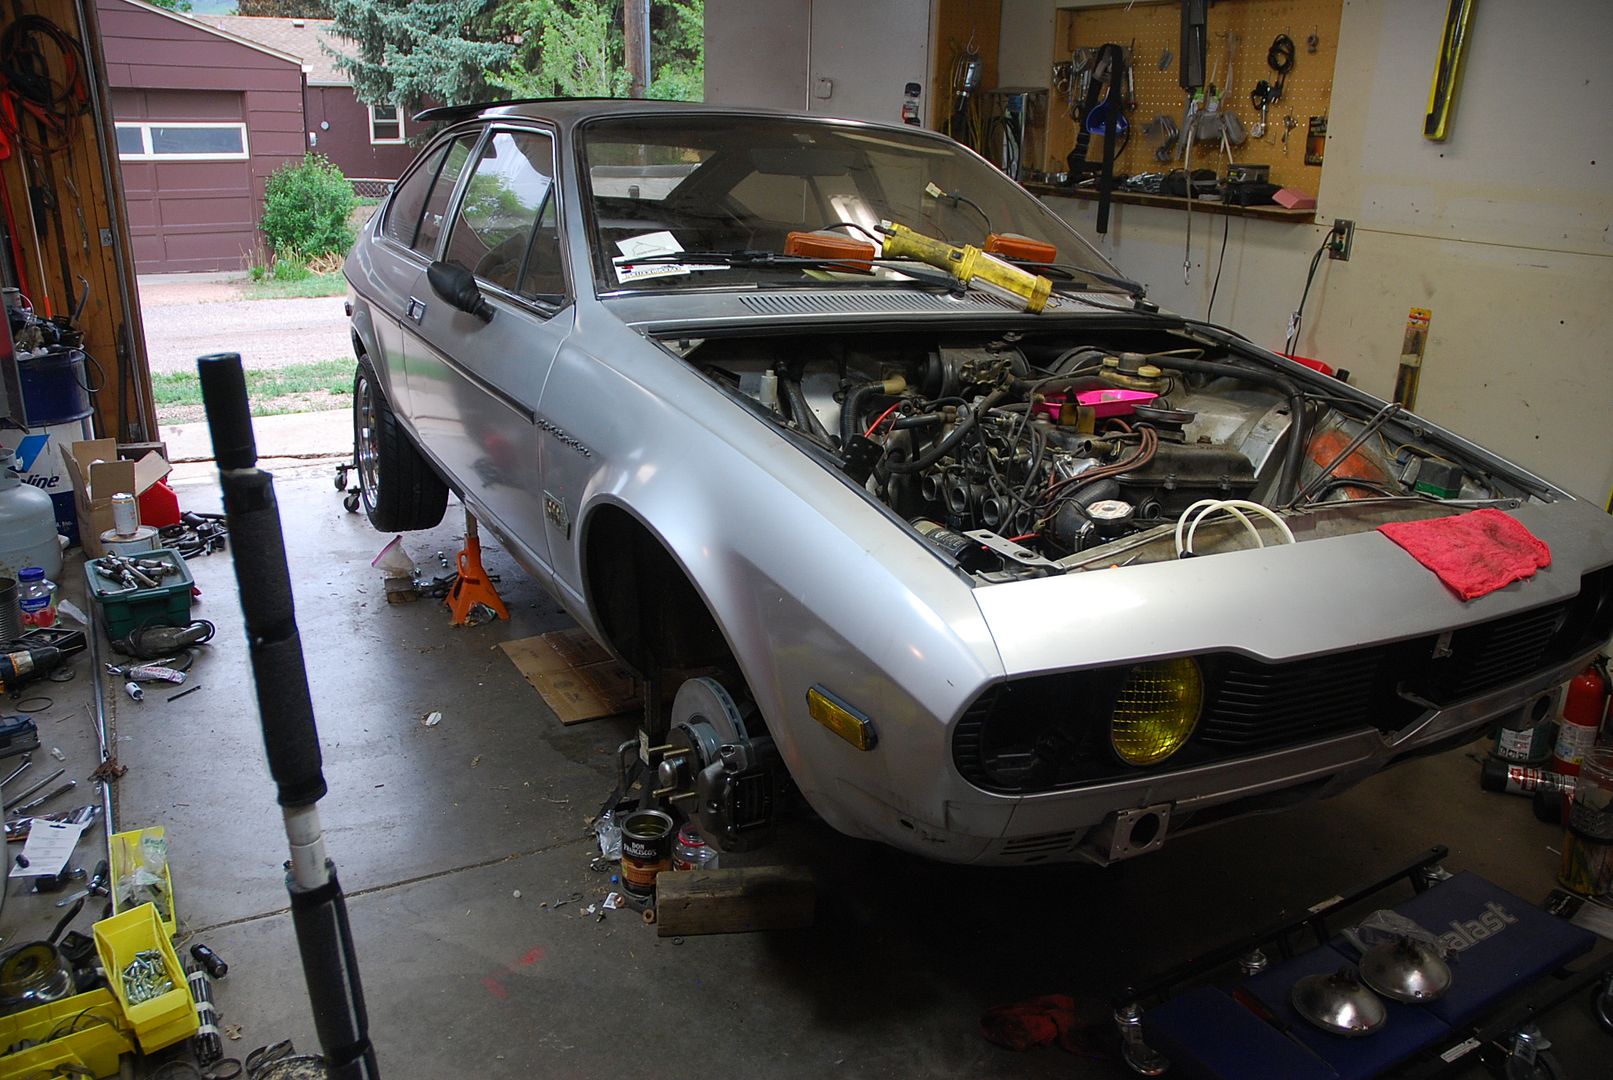
Little progress on the Alfa Romeo Alfetta GTV Sprint Veloce Mille Miglia today. Not much, but some, and on this car, anything forward is good.
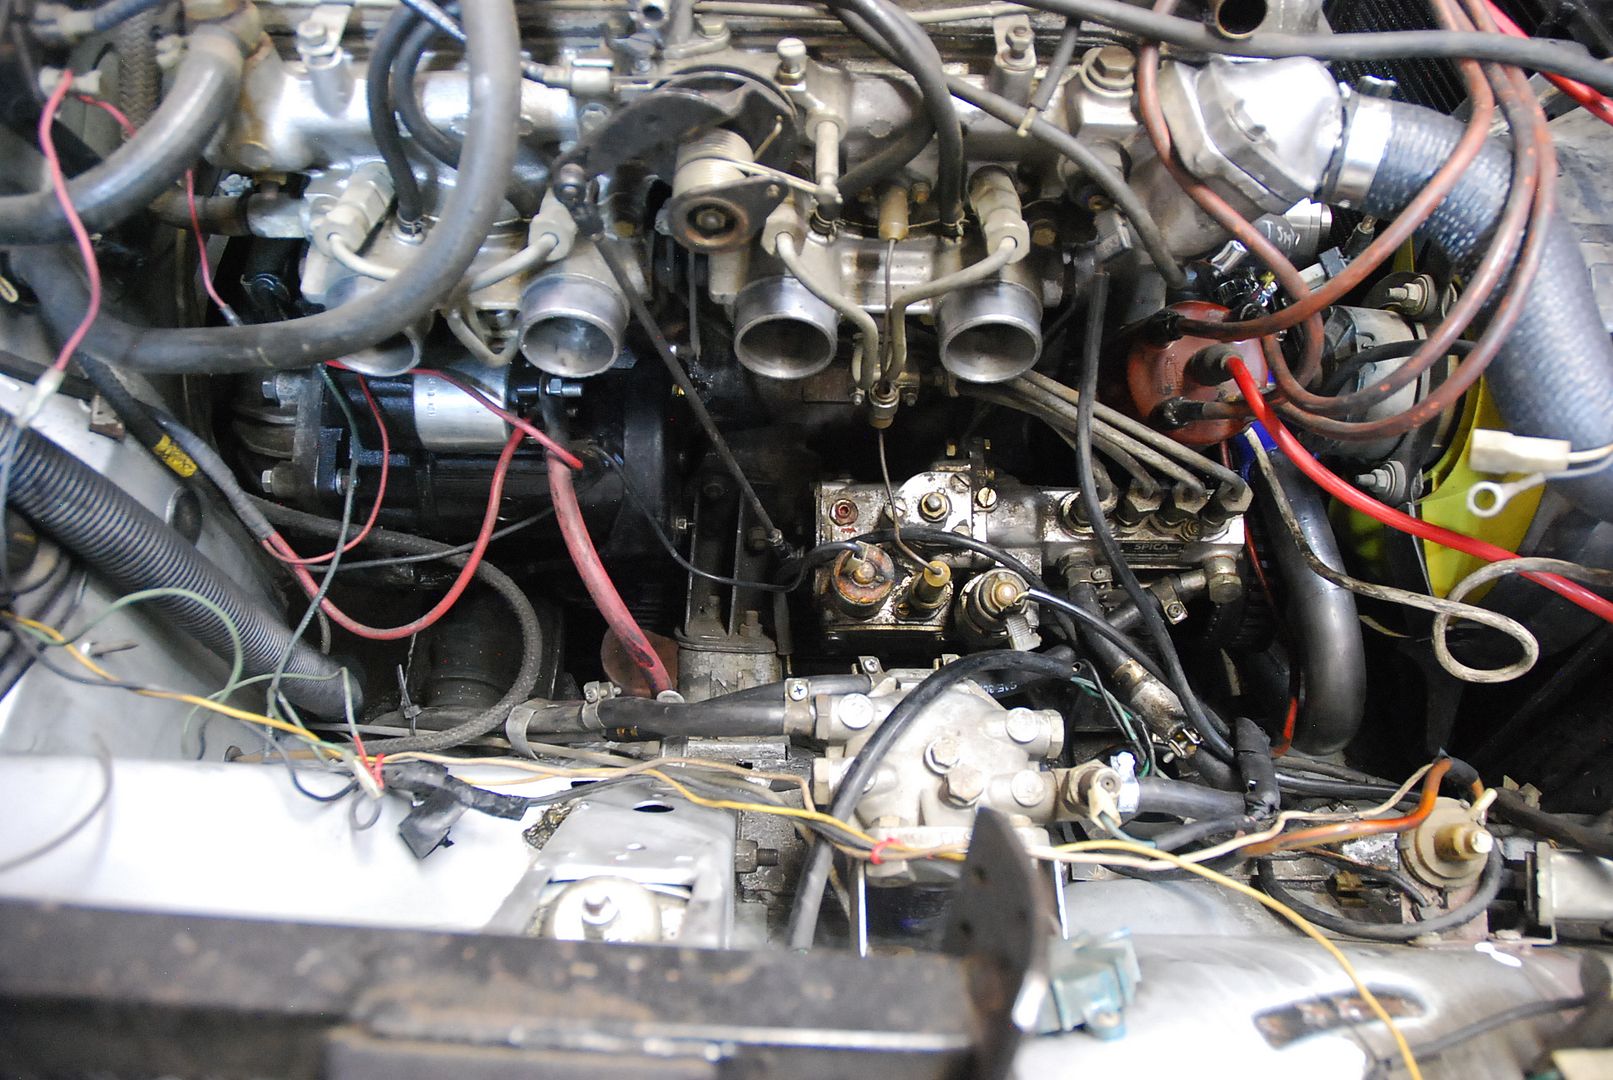
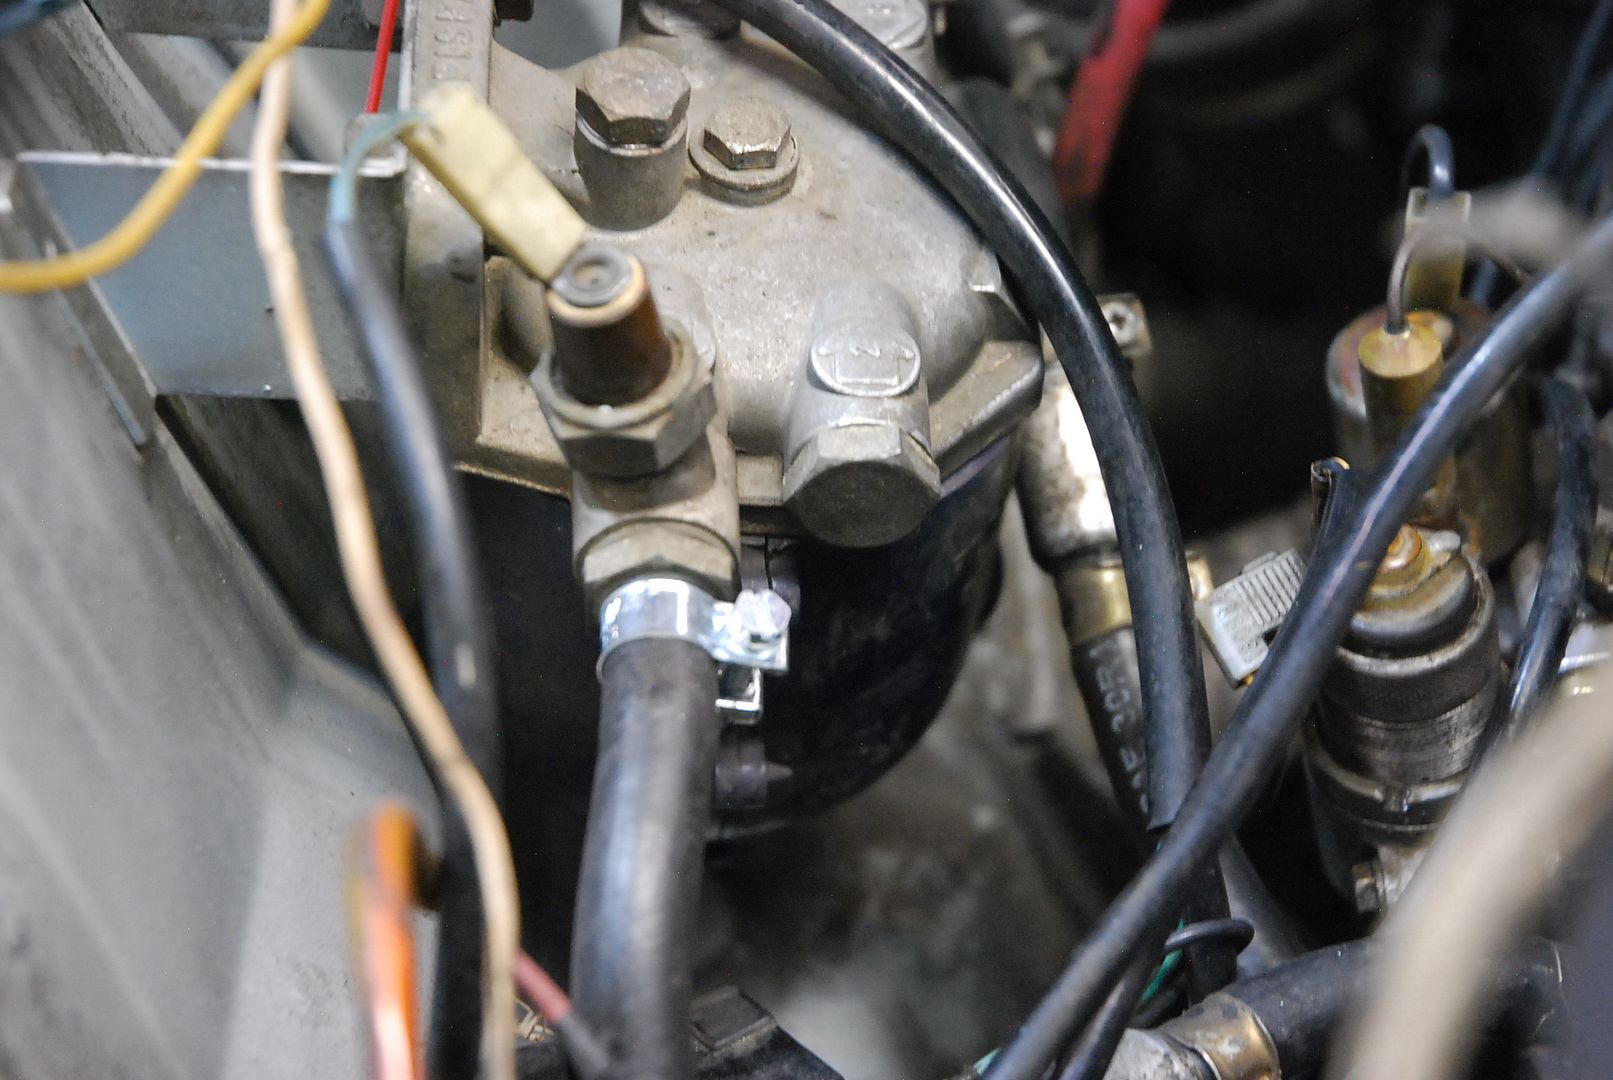
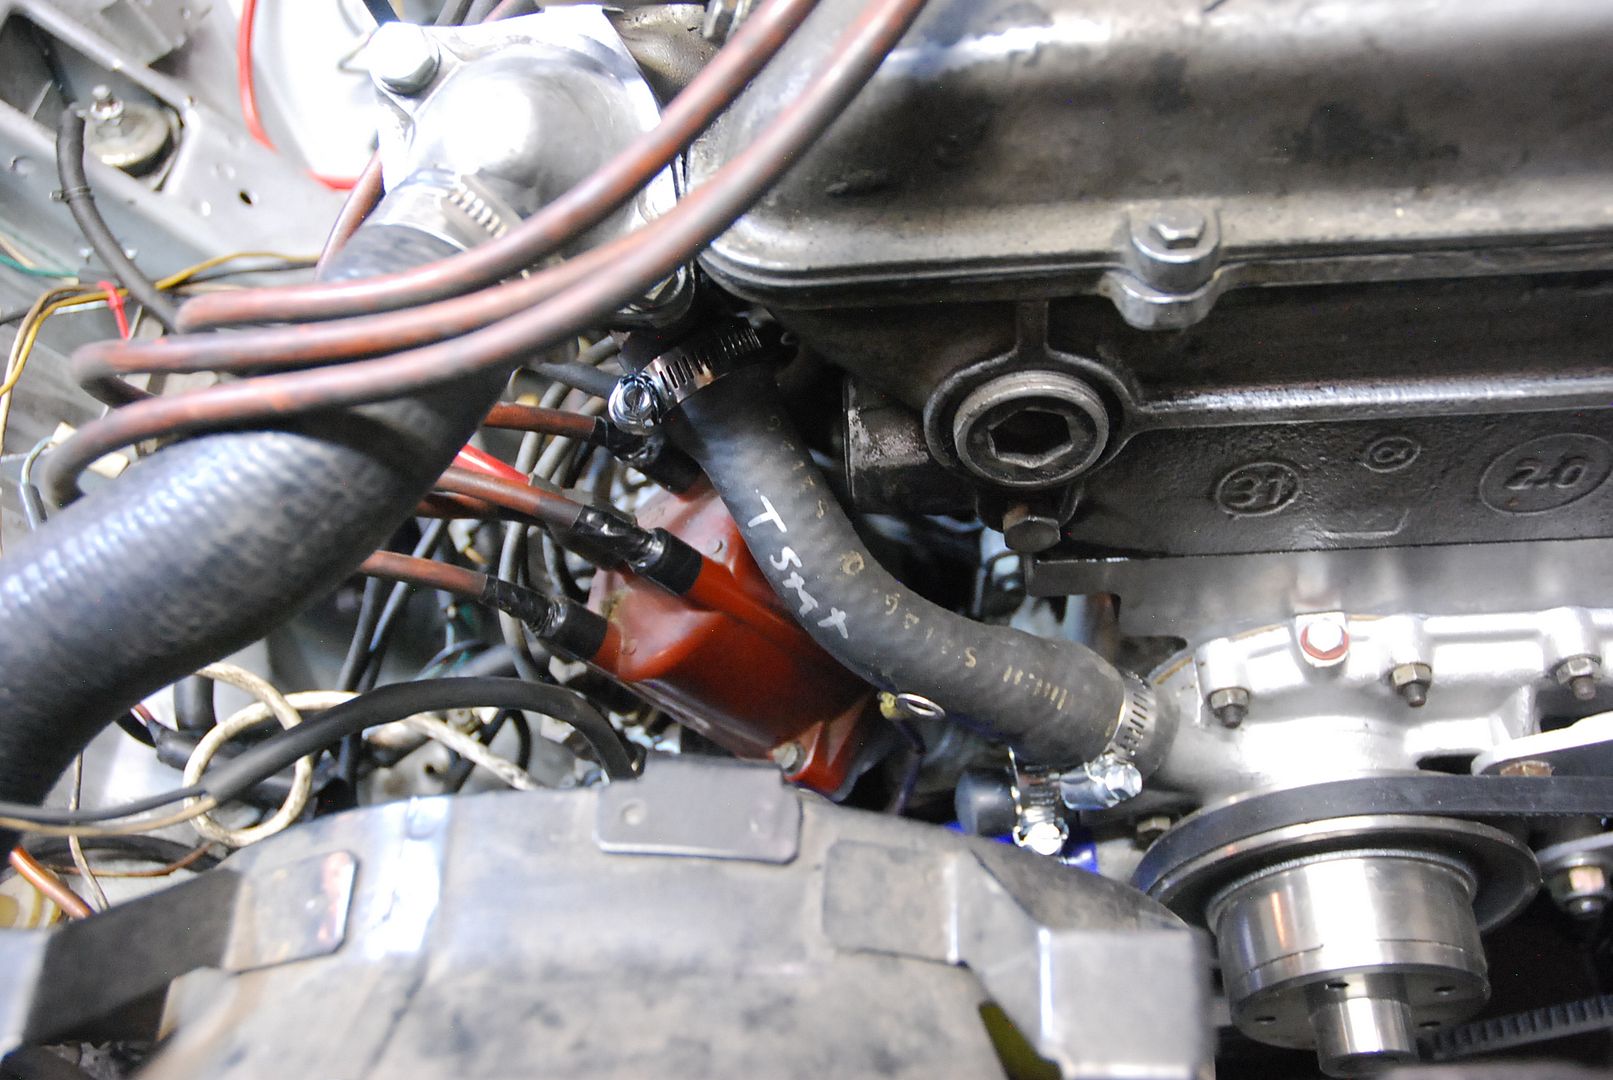
I got the thermostat installed, and drilled a small air bleed hole, because I'm not super familiar with Alfa Nord engines, and wanted to be sure it would not be a problem. Ahem. Not that anything else has been a problem...
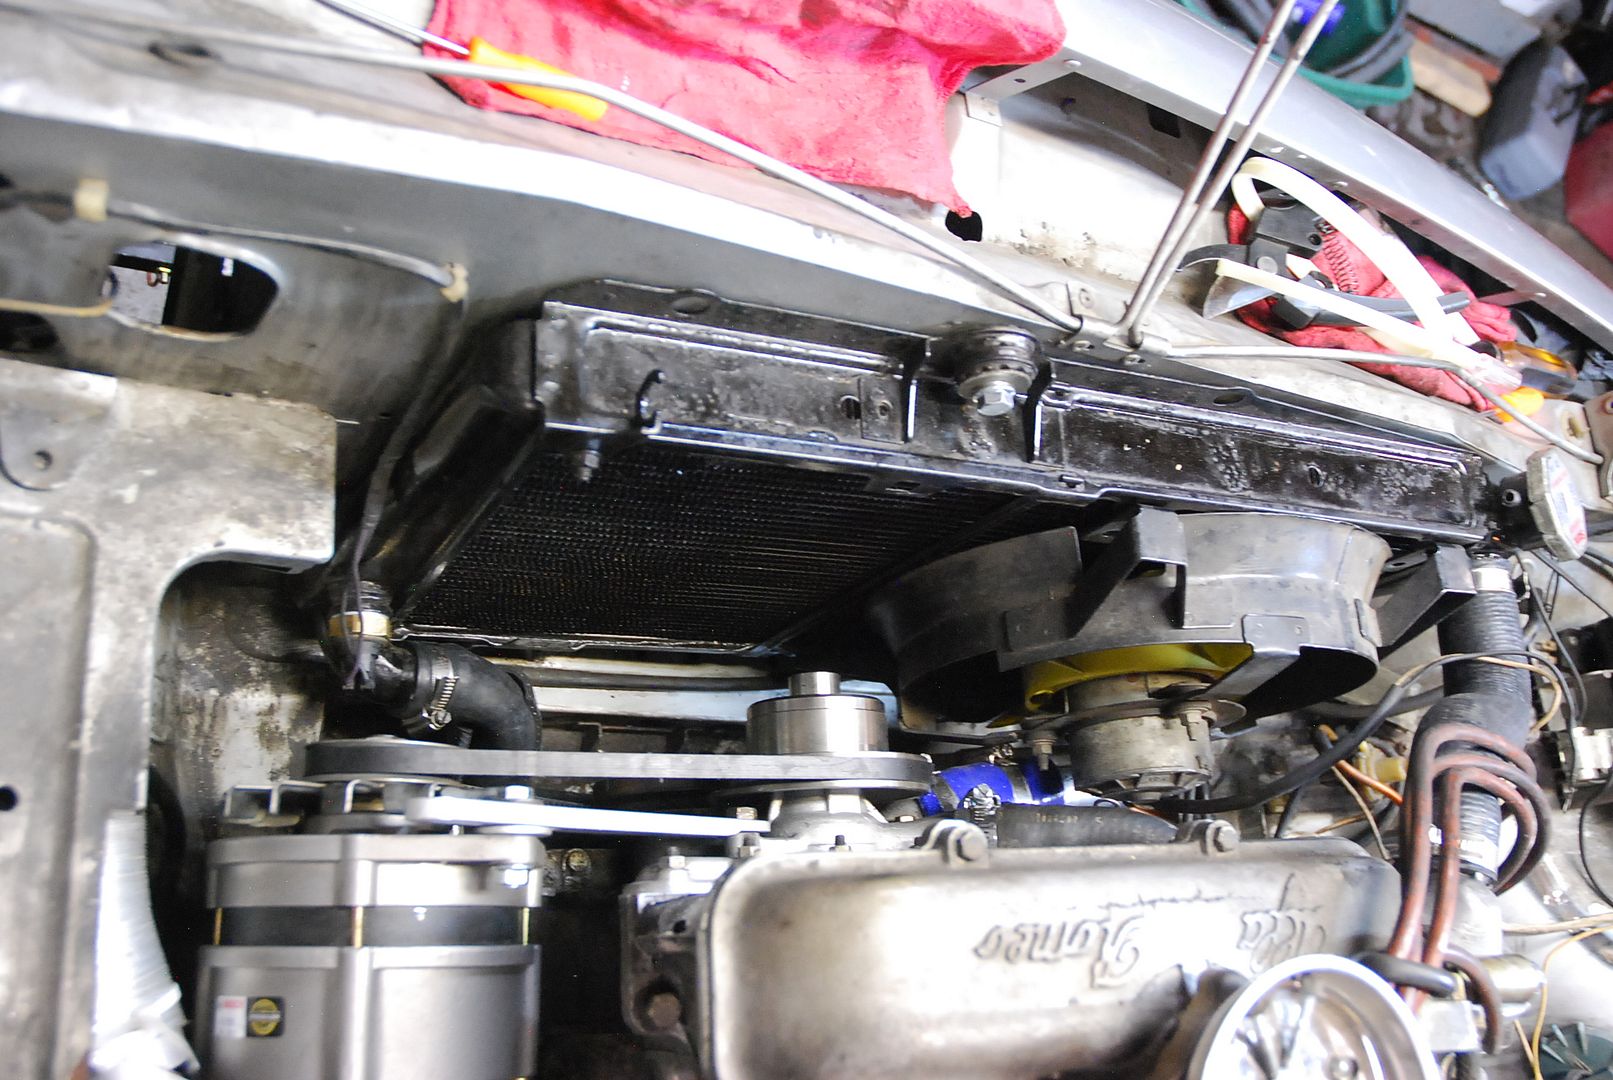
I started to install the top bolt for the radiator mount, which has a loose captive nut, that is a rectangle shape that is suppose to allow it to move for alignment, but not rotate so you can tighten it. When Flynn and I were removing it, it spun, which means you can't remove it, normally. We used an impact and spun it off, but no tightening it is a problem.
The rectangular nut has a slightly larger rectangular box it is inside, thus allowing the movement specified but not allowing it to rotate, or spin. The box, had been enlarged a bit for some reason in the past. When I started to thread in a new bolt, I discovered why. It was cross-threaded, and not just a little bit. Whoever cross-threaded it, drove it in deep, to the point where it would not even accept the bolt on the correct threads vs. the cross-threaded ones.
Simple, I'll chase the original (correct) threads with an 8mm x 1.25mm tap. Oh - I broke that tap the other week in my Porsche Recaro seat mount fixing those threads. Sigh.
A tap cuts new threads in bare metal, or is often used to repair damaged threads. As such, it's basically like a tapered bolt, with threads that cut into the metal. So, being that I'm trying very hard not to run to the store for every little thing, I put the broken tap on the grinder and made it's sharp cutting threads tapered. Not perfect, but hopefully good enough.
It worked great. I also went from beneath and in front of the semi-captive nut and used a punch and a hammer to 'tighten' down the larger rectangular box holding the rectangular nut from spinning. It worked. The nut can still slide around inside it's box, but not spin. Being that I wanted the radiator bolt to not loosen itself, but not be super tight (and enlarging the box it lives in again) I used some clear silicone RTV and very low strength loctite. It basically just prevents a bolt from loosening up from vibration, etc.
I used the same trick on the two thermostat housing bolts that often rust due to temperature, chemicals and differences in metals. There, it acts like the same low strength loctite, but also an insulator so the bolts don't rust in place.
I got some of the hoses finished as well - I used some surplus silicone hoses to cut into a straight for the lower radiator hose connector pipe piece that I modified (so it doesn't need a reducer (read, rare and hard to find) hose, and used some 1" straight heater hose for the thermostat bypass. However, it needs to have a bend, and if it was too long, to encourage a bend, it kinked. Shorter, it rubbed against the block which would cause the hose to cut and leak over time. so, I'll be ordering a custom 45 degree bent hose later. Sigh. The upper radiator hose (rad to thermostat housing) came out perfect with just a few cuts to trim it's length. Also reconnected the wires to the fan temperature switch in the radiator.
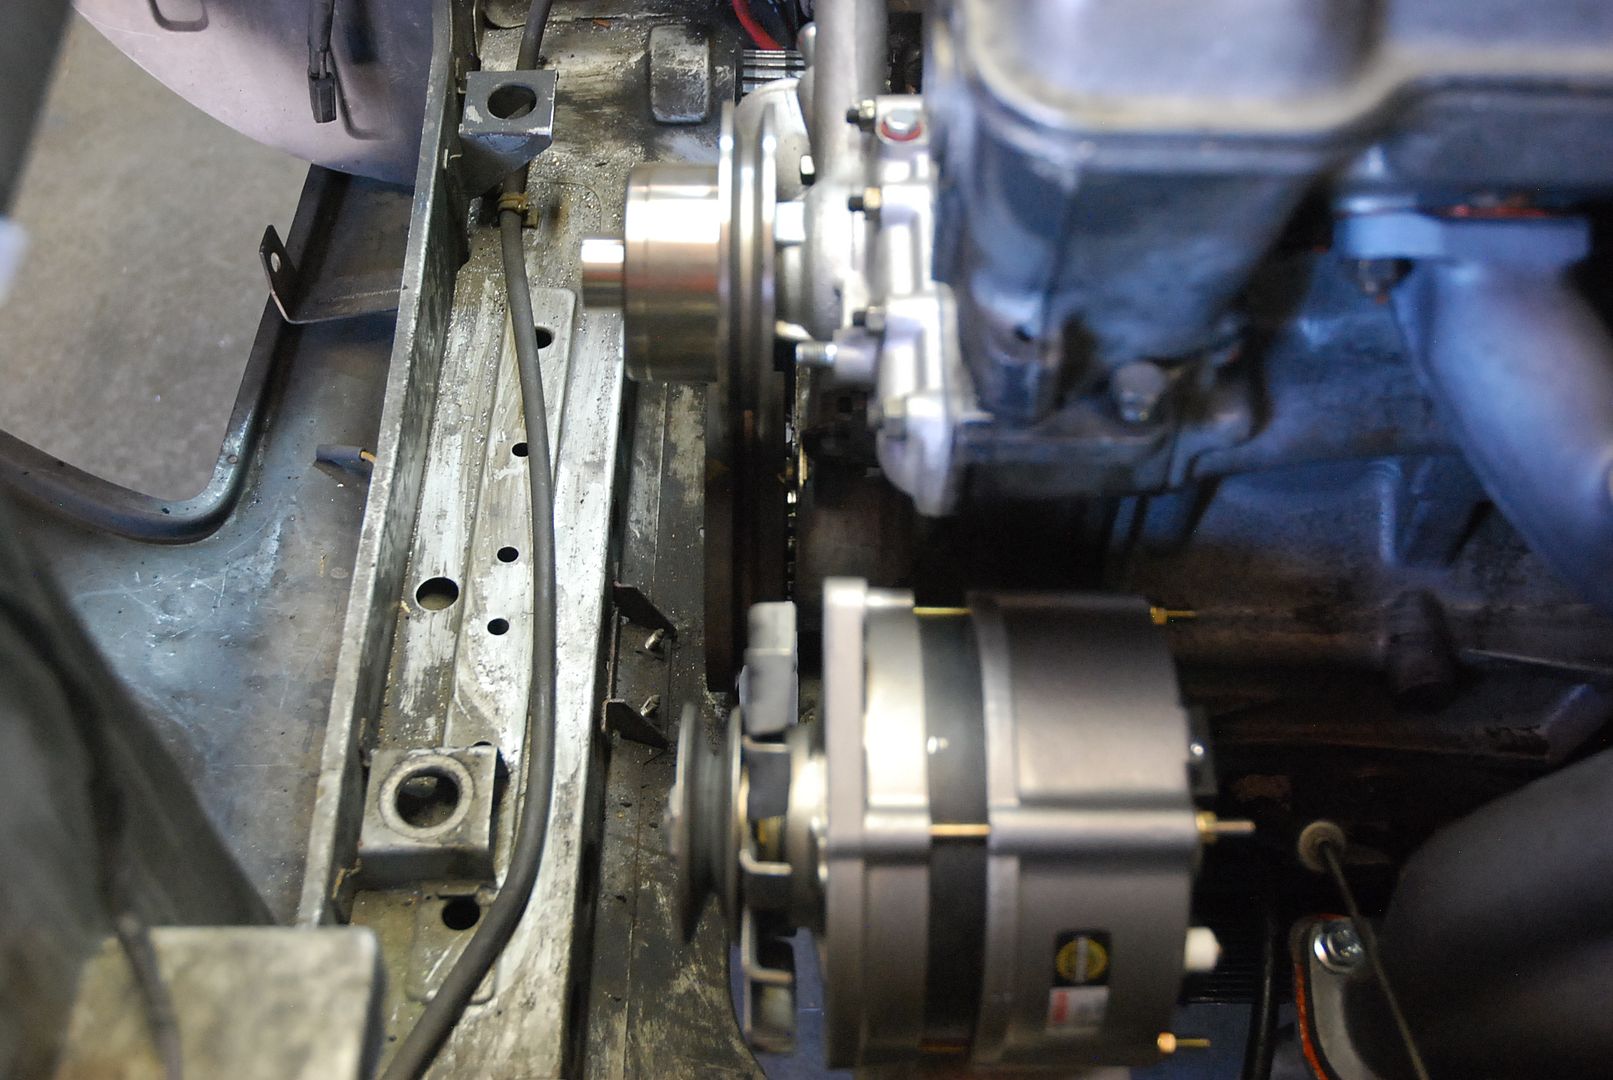
The alternator uses a cooling shroud on the back of it to suck in air, and needs a 2" flexible cardboard type tube ducted to it from the front radiator. I found some from an old VW that was just a smidge large in diameter, but the perfect length. However, it wouldn't fit through the hole in the front radiator support. I just cut four slits in it and made it reduce slightly, put it through the smaller hole, and then bend them back out. Done.
I also fixed the Fiat Spider shifter plate surround for the Fiat Spider I recently sold. I didn't have a template so I made a hole in the automatic metal shifter plate that ended up being too large. So the shifter boot with a foam seal would start to come up from underneath the transmission tunnel. I welded in some new small pieces of sheetmetal to make sure that doesn't happen.
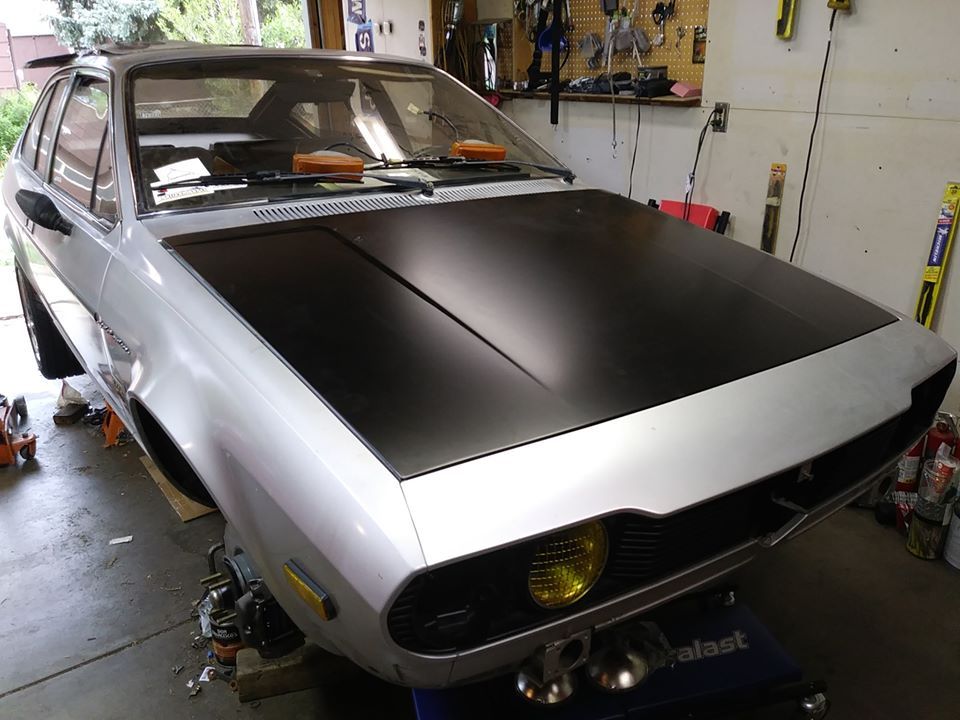
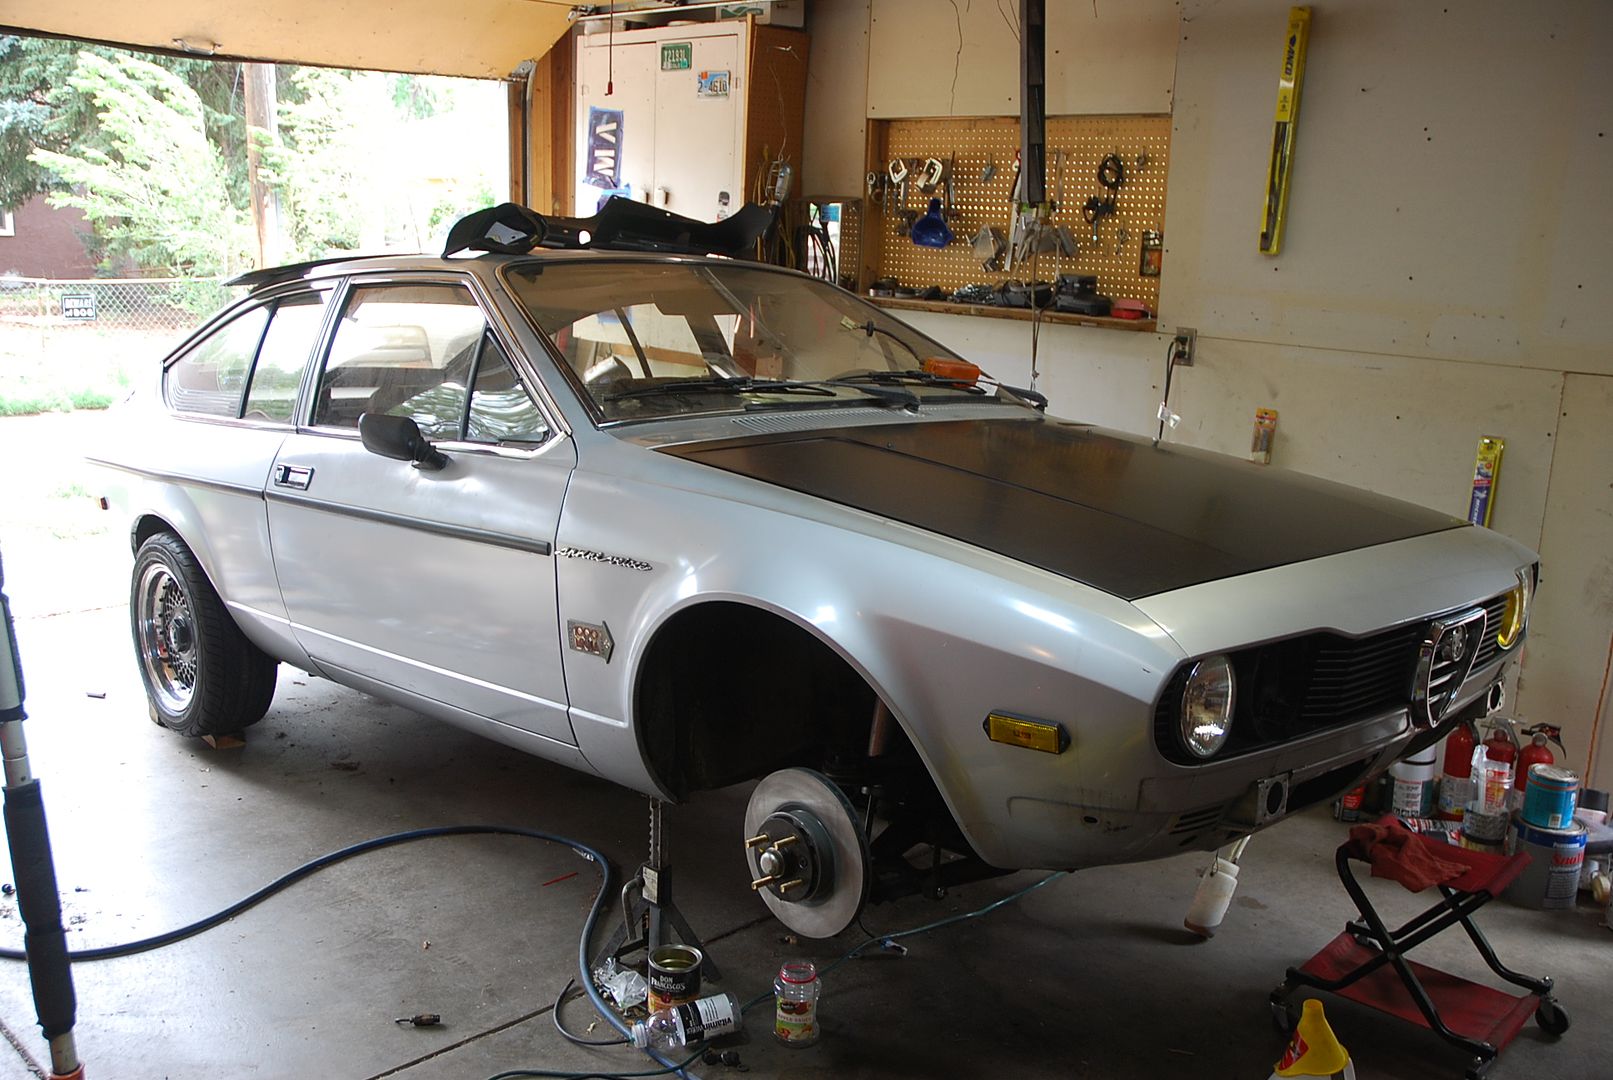
Tomorrow, hopefully to bleed the brakes, install the cooling fan and maybe install the hood (gasp)!
[URL=https://s61.photobucket.com/user/greggearhead/media/Alfetta%20GTV/DSC_0664_zps4unyvc1k.jpg.html]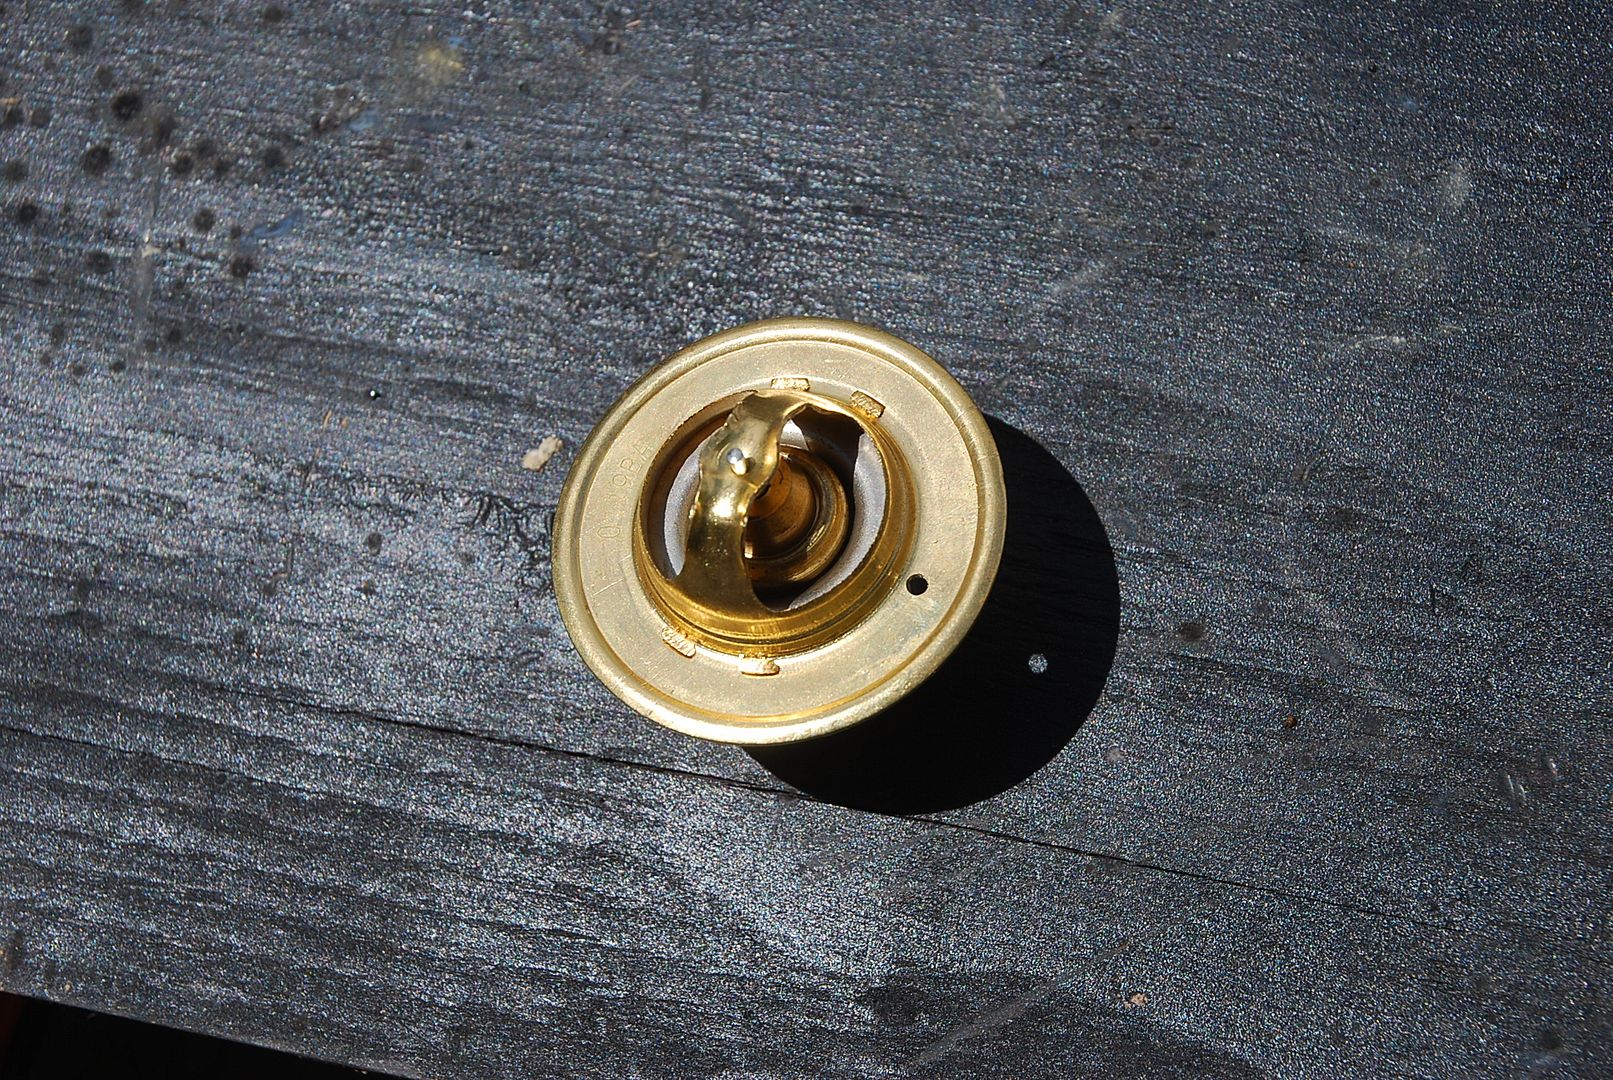 [/URL]
[URL=https://s61.photobucket.com/user/greggearhead/media/Alfetta%20GTV/DSC_0665_zpszk4doxy4.jpg.html]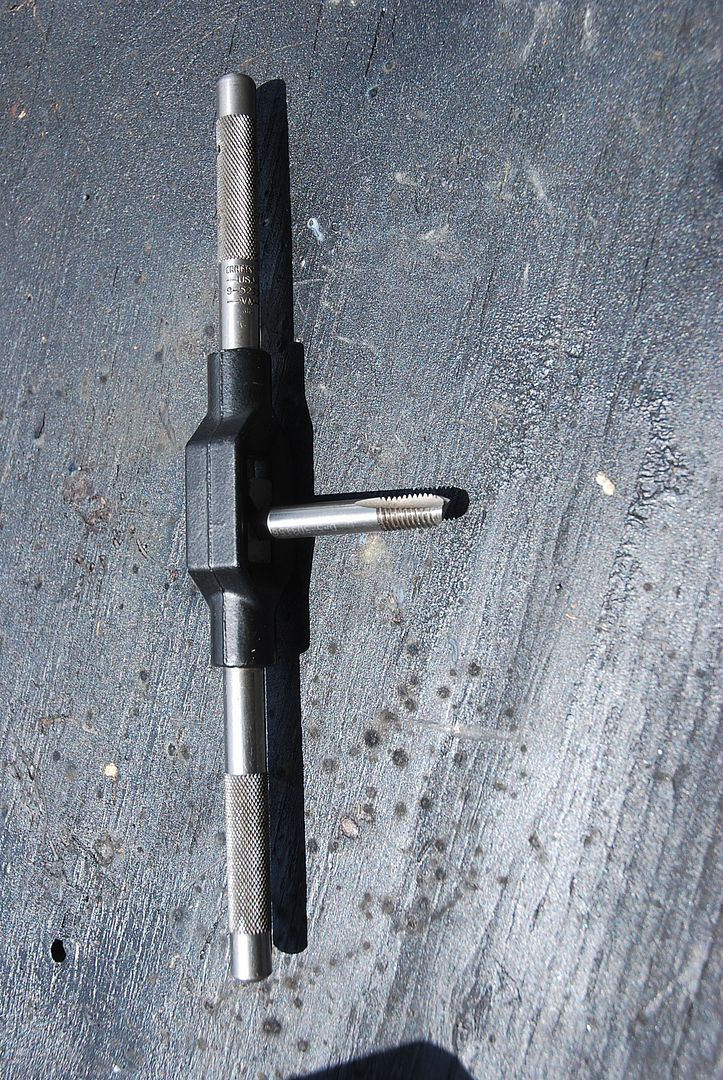 [/URL]
[URL=https://s61.photobucket.com/user/greggearhead/media/Alfetta%20GTV/DSC_0666_zpsshknrlap.jpg.html]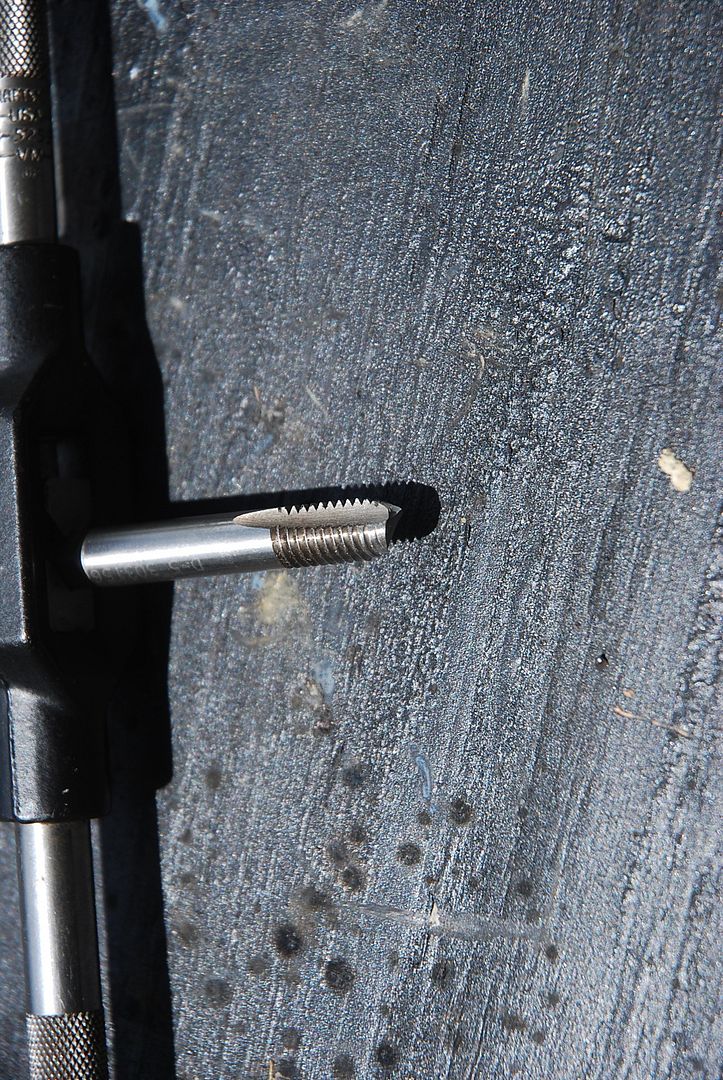 [/URL]
[URL=https://s61.photobucket.com/user/greggearhead/media/Alfetta%20GTV/DSC_0667_zpsl5lbeqr9.jpg.html]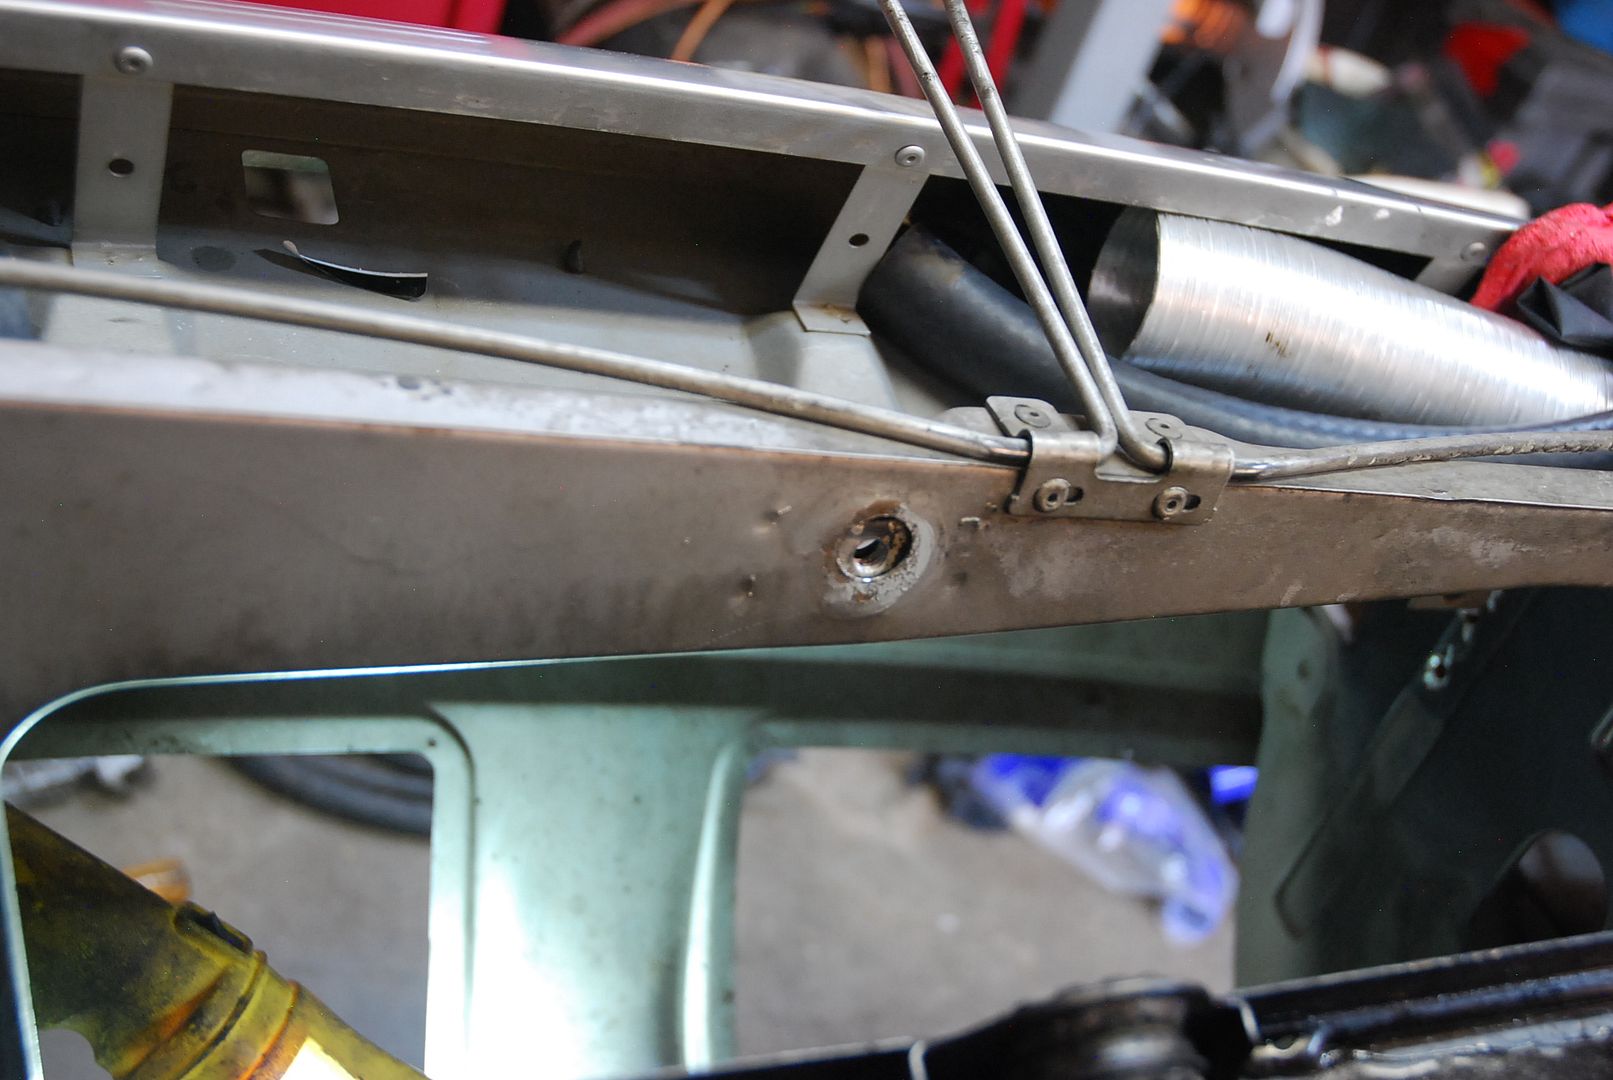 [/URL]
[URL=https://s61.photobucket.com/user/greggearhead/media/Alfetta%20GTV/DSC_0668_zpsf8iy5mqv.jpg.html]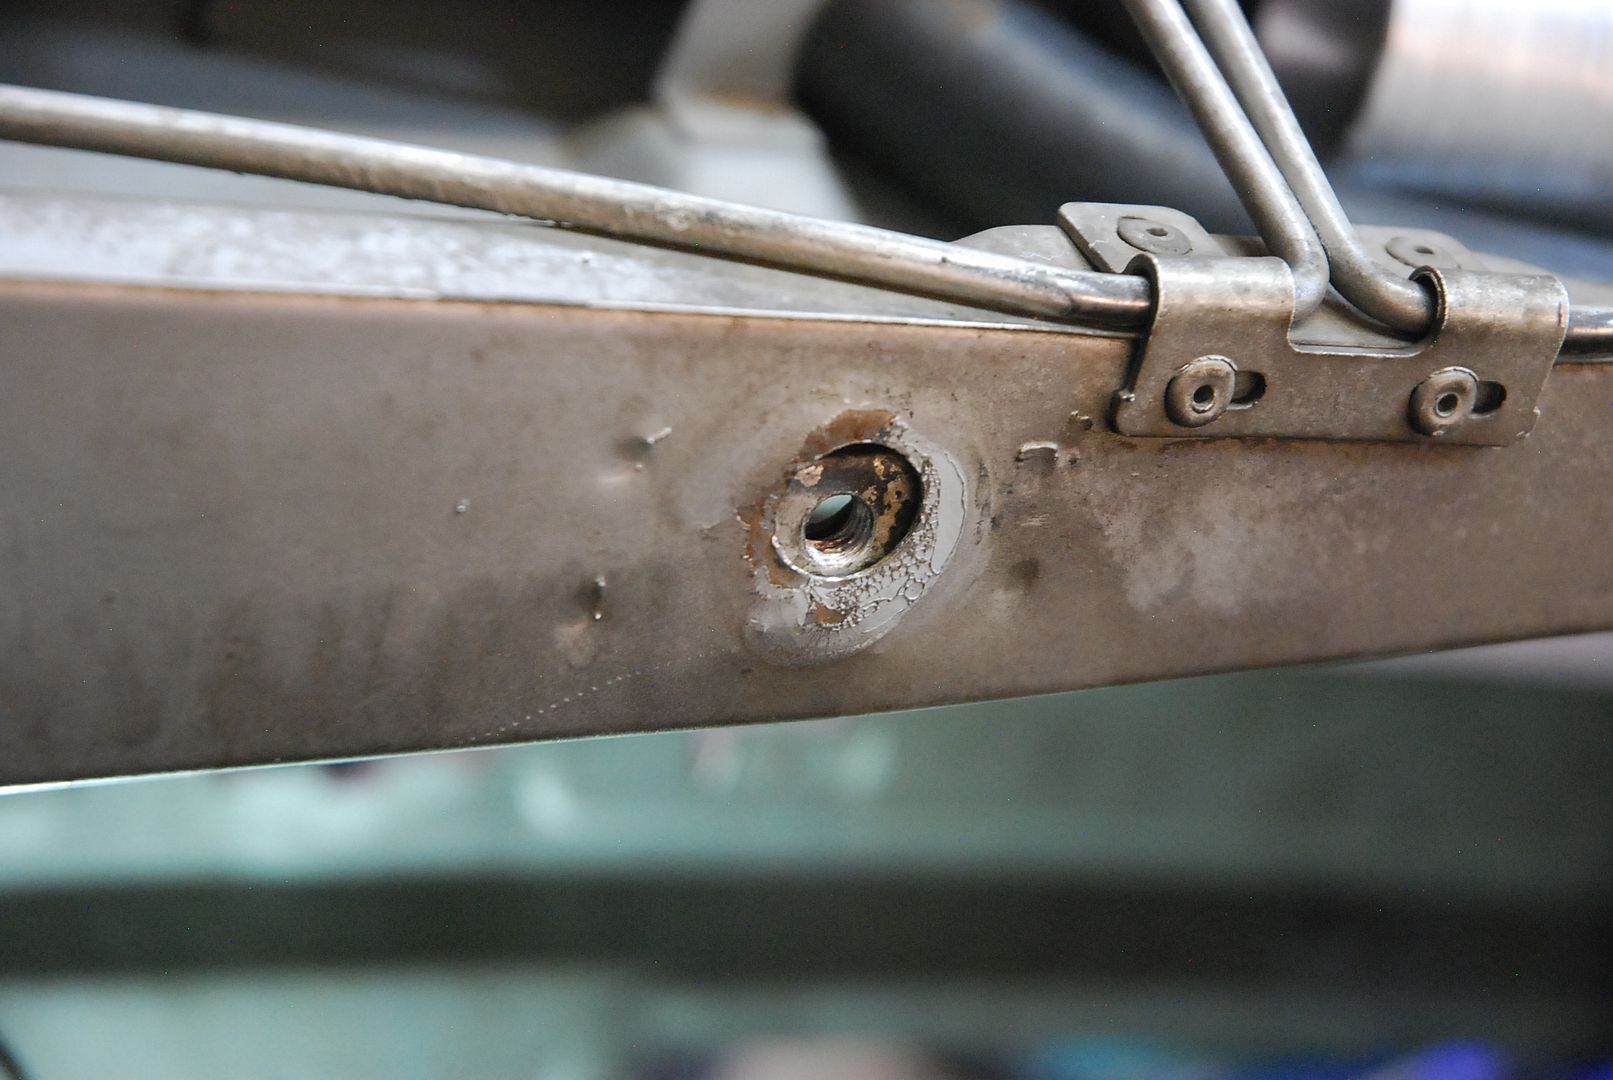 [/URL]
[URL=https://s61.photobucket.com/user/greggearhead/media/Alfetta%20GTV/DSC_0669_zpsspiy3mjo.jpg.html]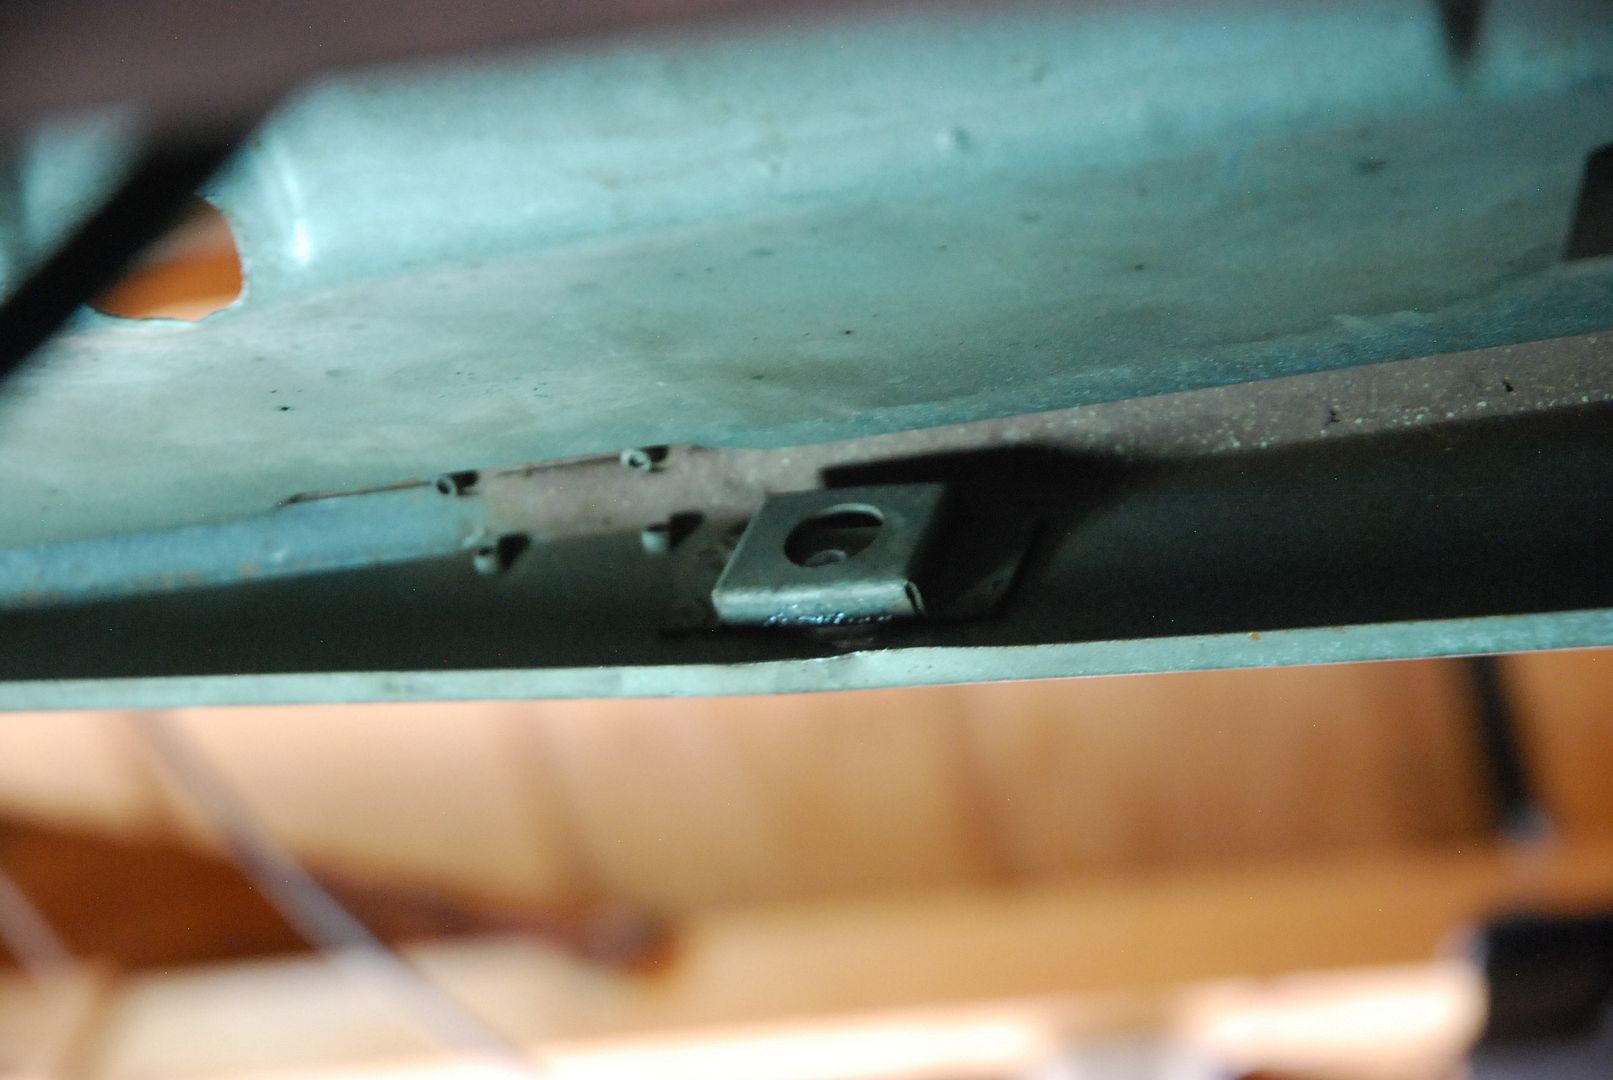 [/URL]
[URL=https://s61.photobucket.com/user/greggearhead/media/Alfetta%20GTV/DSC_0670_zpslywgsuh5.jpg.html]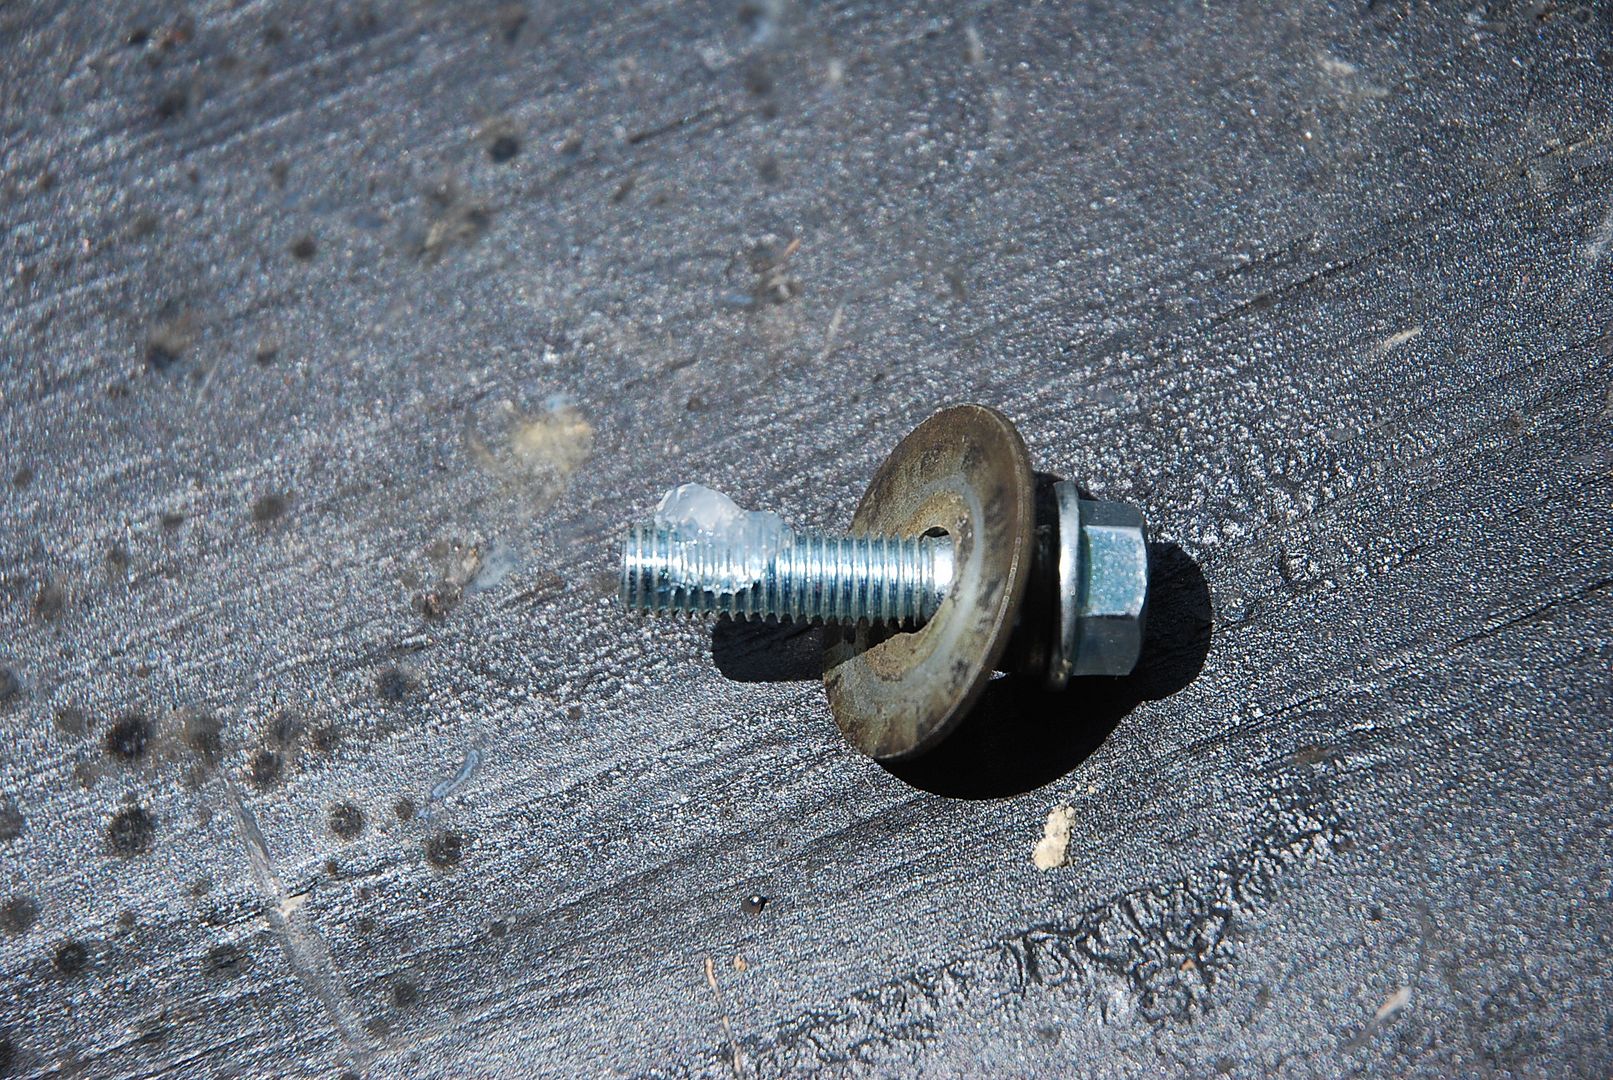 [/URL]


 [/URL]
 [/URL]
 [/URL]
 [/URL]
 [/URL]
 [/URL]
 [/URL]

 [/URL]
 [/URL]
 [/URL]
 [/URL]
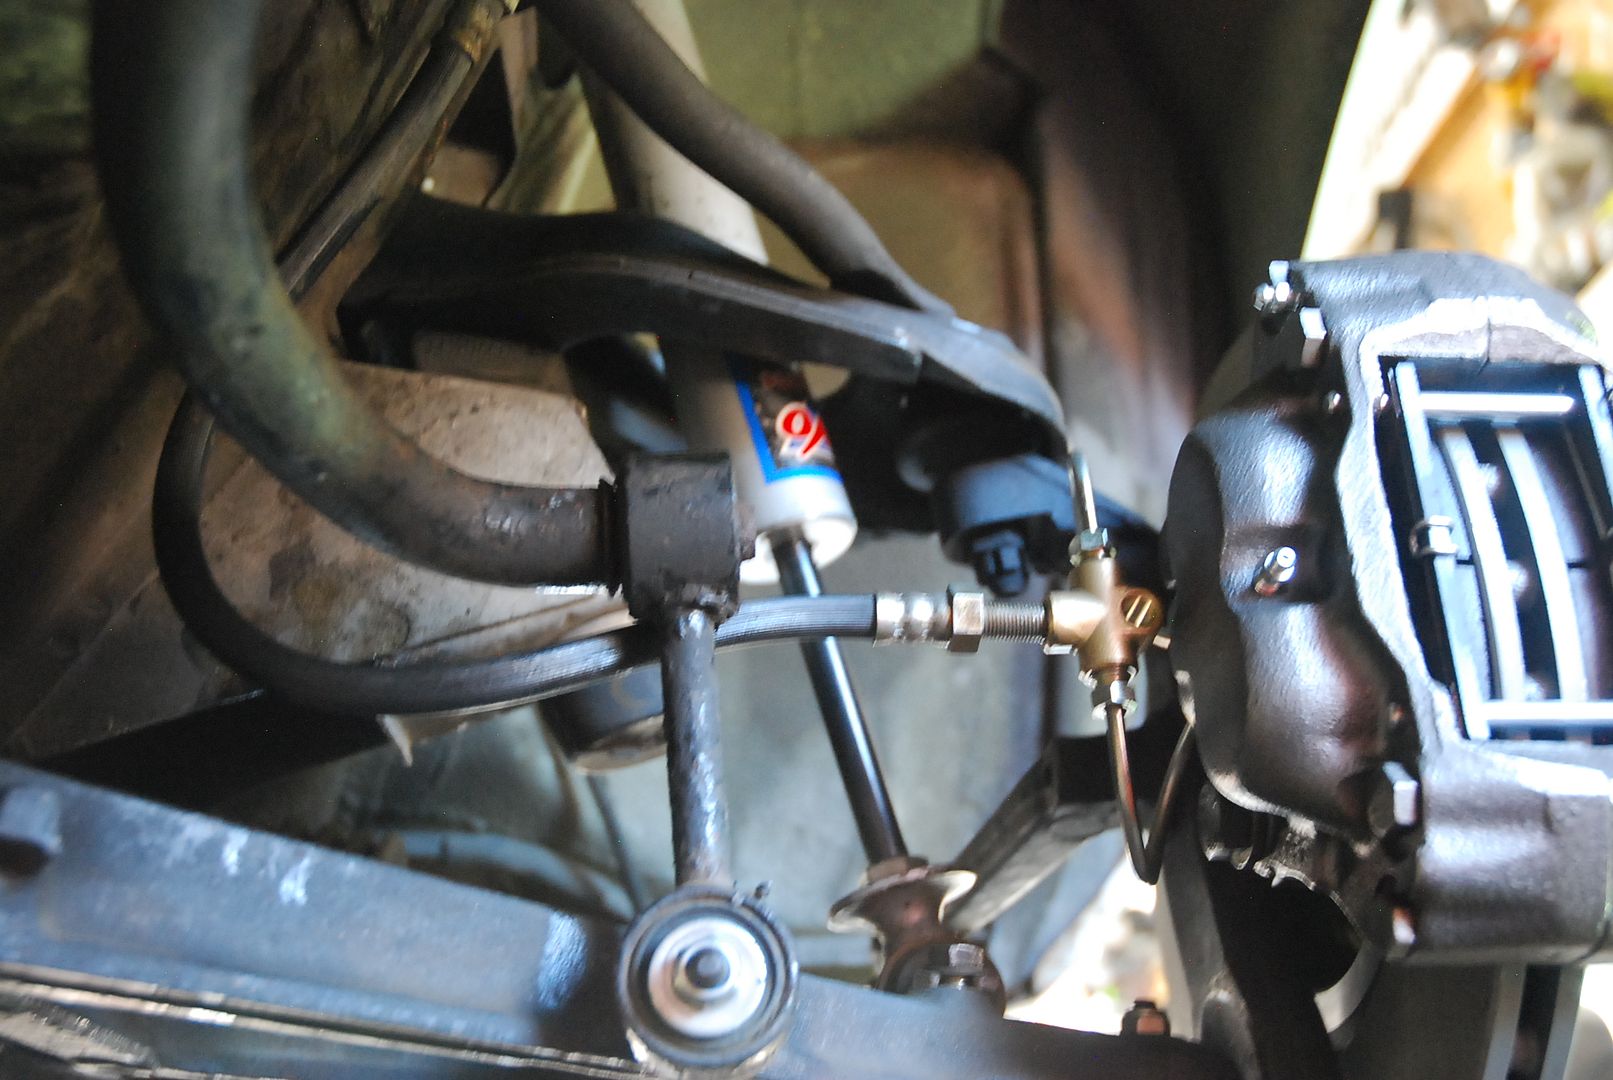
 [/URL]please be carefull about micky mousing your brakes.. check local hydraulics shop they can custom make the hard lines and flex lines, does not cost to mush $$$$
 sorry i was so wrong, have no idea what i was talking about


 [/URL]

 [/URL]
 [/URL]
 [/URL]
 [/URL]
 [/URL]
 [/URL]
 [/URL]
 [/URL]
 [/URL]
 [/URL]
 [/URL]
 [/URL]
 [/URL]
 [/URL]
 [/URL]
 [/URL]
 [/URL]
 [/URL]


