1 ... 29 30 31 32 33 ... 35
Hungary Bill
Hungary Bill GRM+ Memberand UberDork
3/1/17 1:40 p.m.

Yesterday's progress:

https://www.youtube.com/embed/53O-bw6ZW54

It's easy for me to think the worst when something doesn't go right. Especially when I was in as deep as I was with this car. I really had to calm myself down when the starter didn't move and think of the easiest and most likely possible scenarios before I started pulling stuff apart (it lives under the passenger exhaust manifold)

1) Charge the damn battery

2) get a wrench and turn the crank. Does the engine spin?

3) hit the starter with a 2x4. it might just be stuck from sitting so long

4) is there voltage at the starter?

and so on.

I made it as far as #2 before the problem resolved itself. It turns out the engine was just a bit reluctant to move after sitting so long, and the battery was just a little too weak to overcome its resistance.

Good times

Hungary Bill
Hungary Bill GRM+ Memberand UberDork
3/1/17 1:40 p.m.

The sequel to that video:

https://www.youtube.com/embed/f7eSGYg1p8A

Hungary Bill
Hungary Bill GRM+ Memberand UberDork
3/1/17 1:57 p.m.

Holy carp, I just tore "february" off my desk calendar. The deadline just got very real very quick

Here's some more pictures of yesterday:

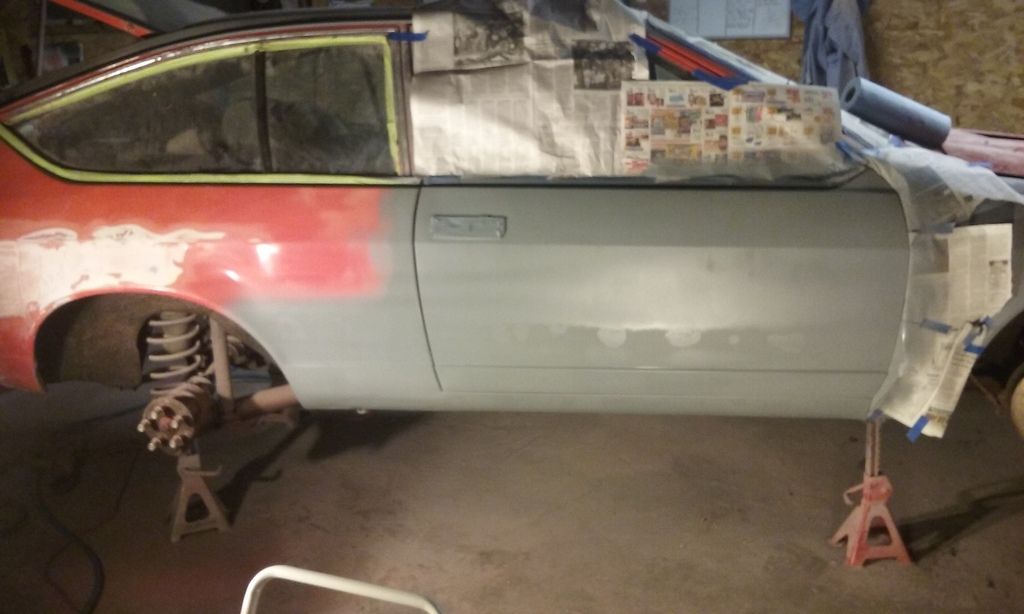
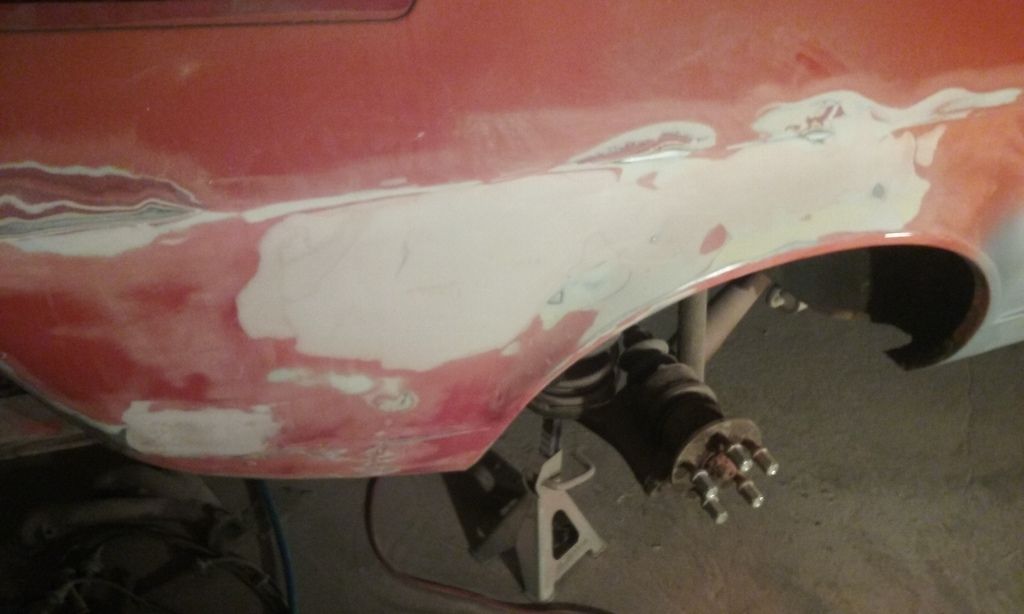
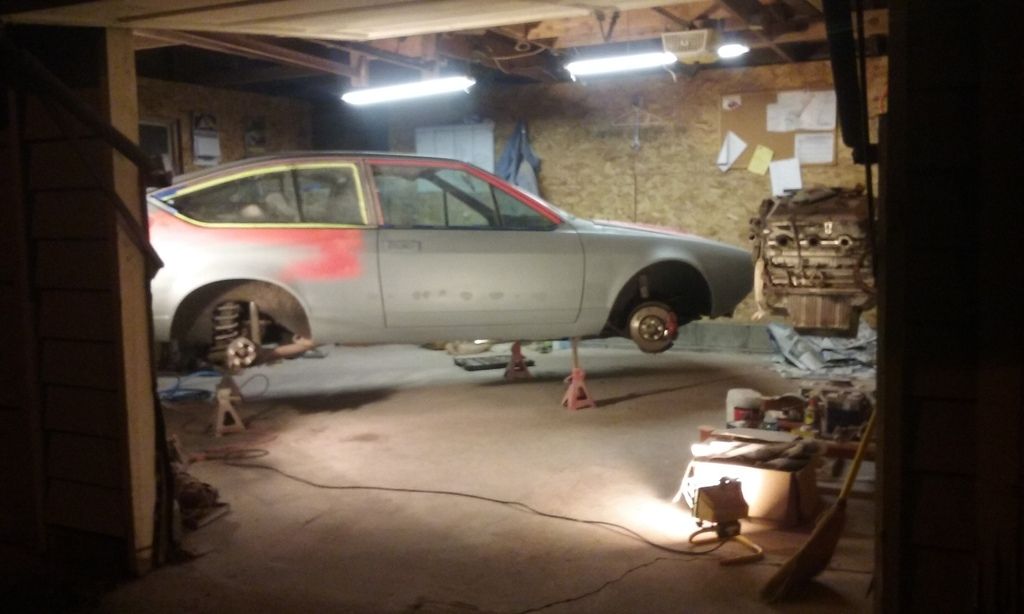
There's the passenger side, mostly done.

See the reaction etch primer has with the body filler? I was super worried when I saw this the first time on the 4-Runner. Now I just take it as normal.

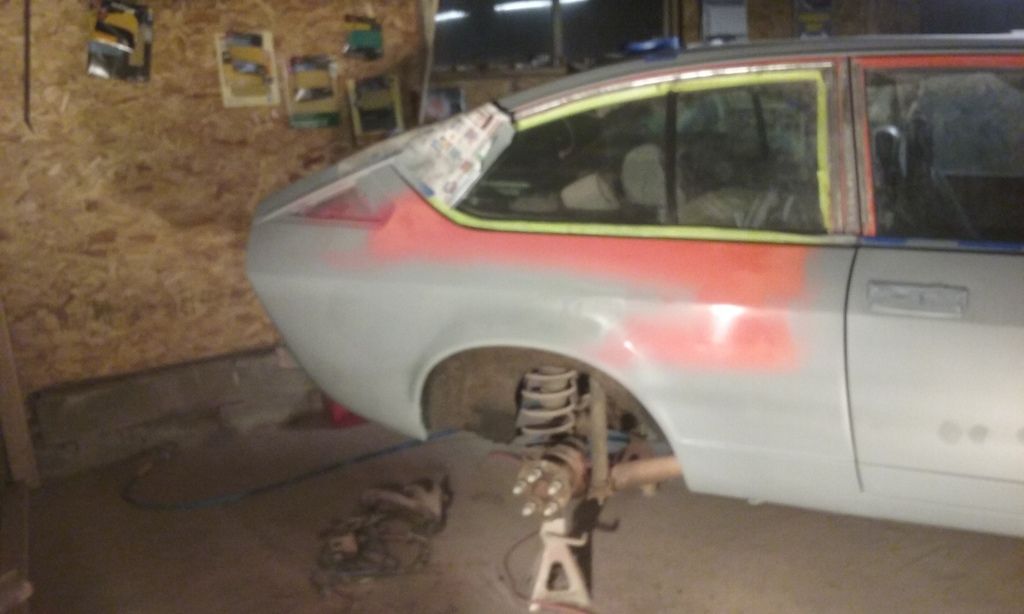
There's the driver's side all done.

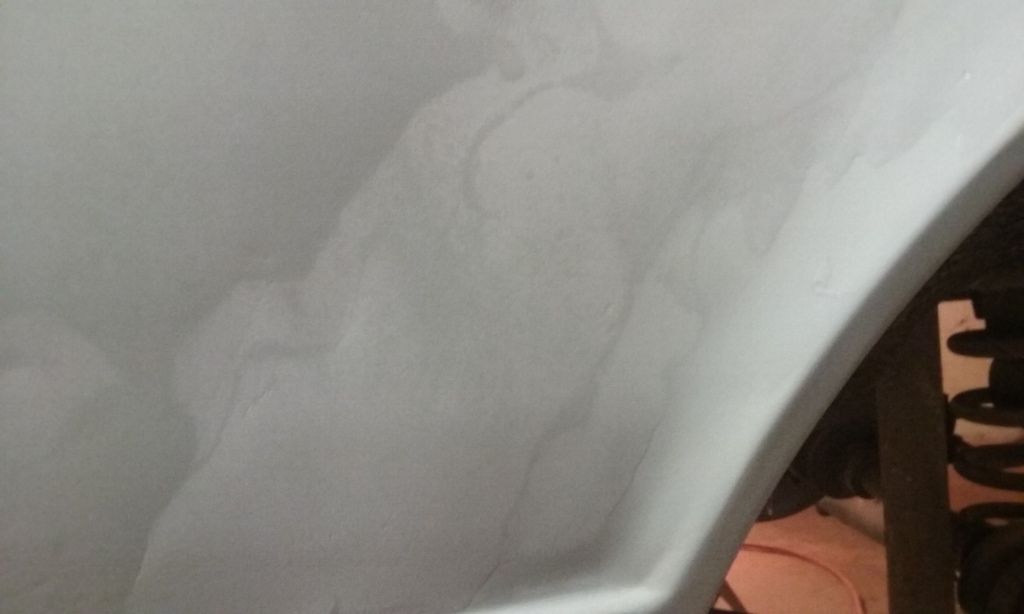
That wheel arch didn't turn out near as well as I thought it would. Looks like I still have a lot to learn (picture below)

The picture didn't do a very good job of capturing everything. There's a bondo "lip" or two that I need to rub by hand, and it's kind of wavy because I was having trouble getting my block sander in this area. Before I tore February off my calendar I was all set to spend some time touching this up. Now, though, I'm thinking I'm going to let it ride until the car is closer to rolling under its own power.

Good times.

m4ff3w
m4ff3w GRM+ Memberand UberDork
3/1/17 2:29 p.m.

Oil pressure = good!

Don49
Don49 HalfDork
3/1/17 4:14 p.m.

For curved areas like around the wheel openings you can use a piece of radiator hose rather than a flat block.

Hungary Bill
Hungary Bill GRM+ Memberand UberDork
3/1/17 4:49 p.m.
Don49 wrote: For curved areas like around the wheel openings you can use a piece of radiator hose rather than a flat block.

Genius!

Thank you for that one, I'll give it a try.

Hungary Bill
Hungary Bill GRM+ Memberand UberDork
3/2/17 2:36 p.m.

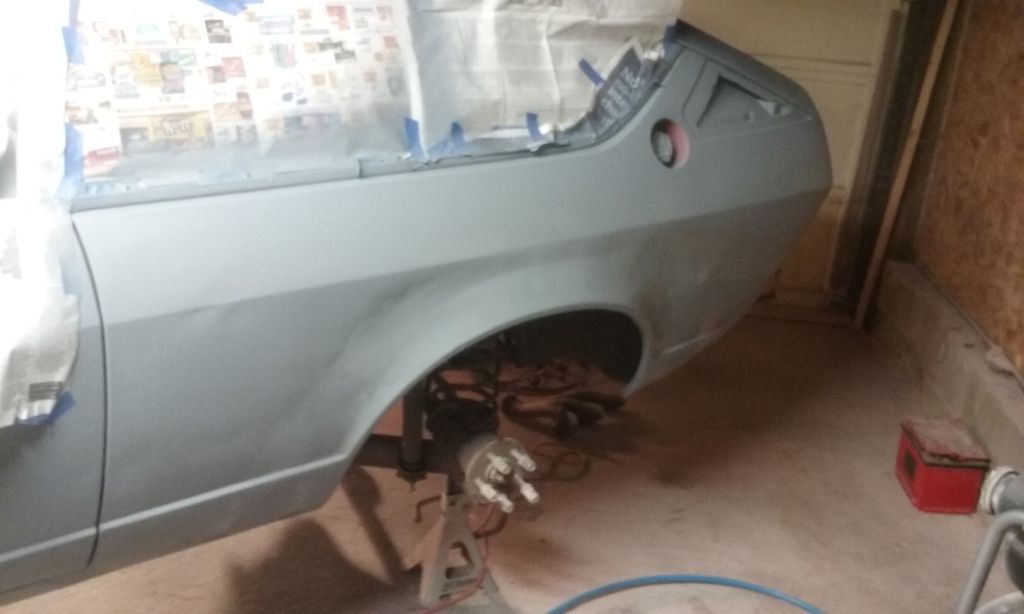
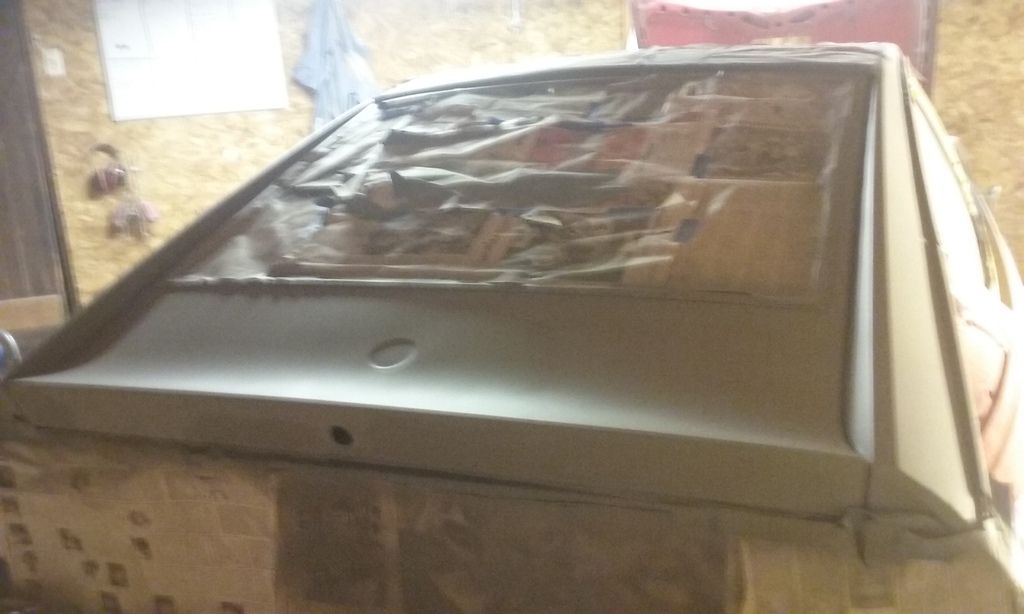
I have not tried the coolant hose trick on the driver's side yet, but I did get some work done on the passenger side and the rear hatch area:

That just leaves the tail end (near the taillights) as far as bare metal/bondo goes and the aforementioned coolant hose sanding of the driver's side.

easy money

m4ff3w
m4ff3w GRM+ Memberand UberDork
3/2/17 4:44 p.m.

Noice

Hungary Bill
Hungary Bill GRM+ Memberand UberDork
3/2/17 7:51 p.m.

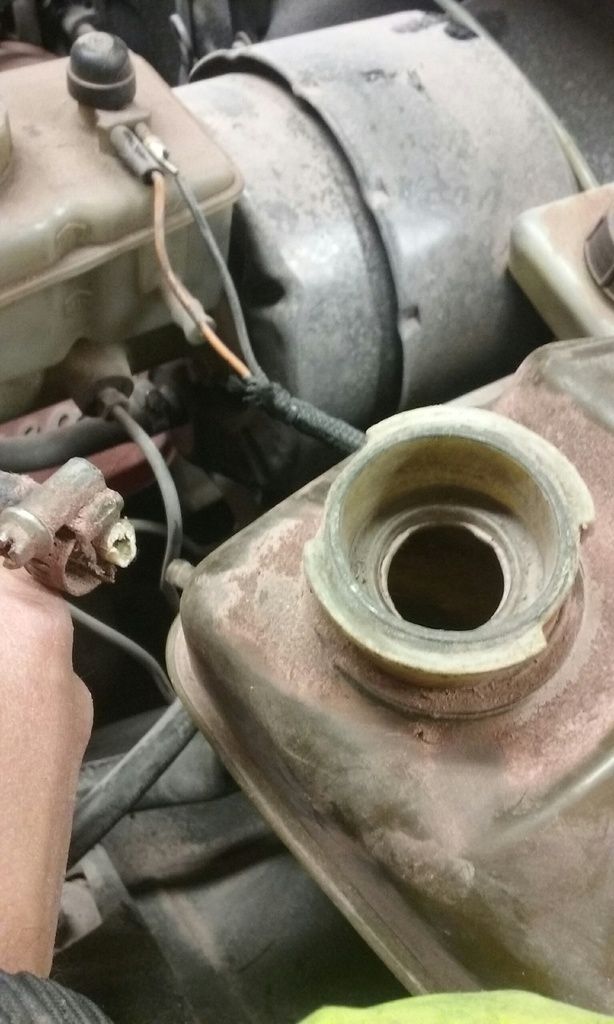
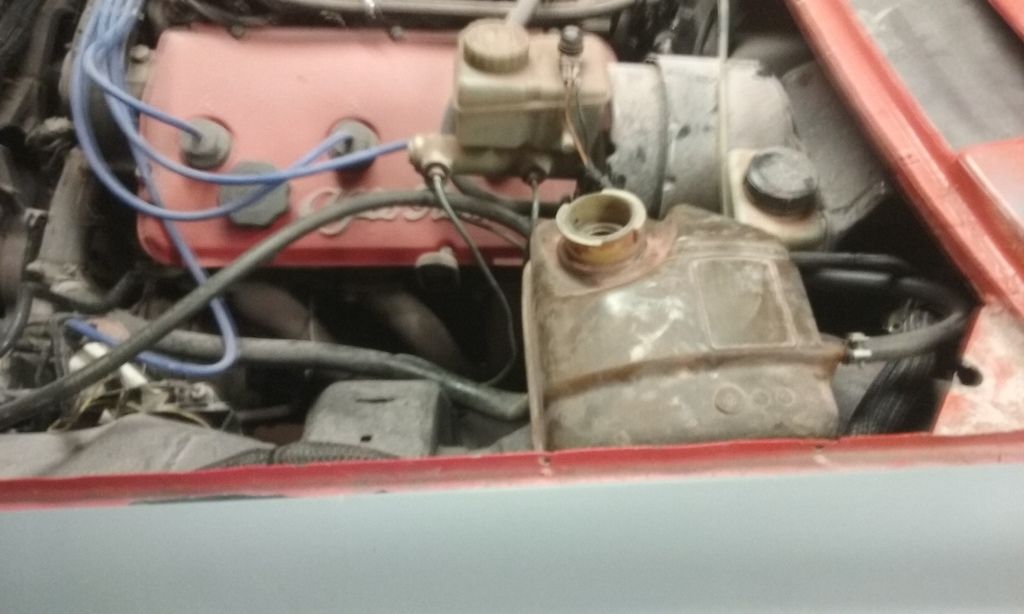
I also put that ugly plastic water tank in. If we can finish the aluminum, that'd be wonderful but I don't want it to be a game stopper when we can swap it down the road in 5-minutes flat

Of course the darn brittle thing broke its overflow hose attachment right away (and I have no idea how. I wasn't even touching it, I swear! )

There is exactly one bolt holding that beast in, and I dont even care

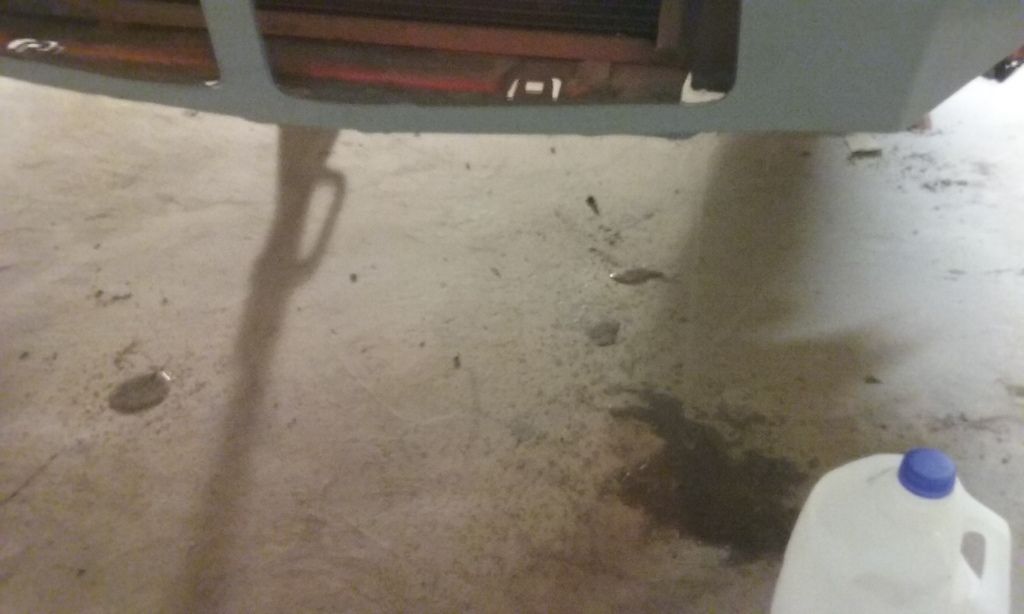
With the hoses hooked up and the cooling system now complete, I figured it'd be a good time to fill it up with water (end of the night, just trying to fill the last 5-minutes to stay productive)

I put three gallons in, and it came right back out

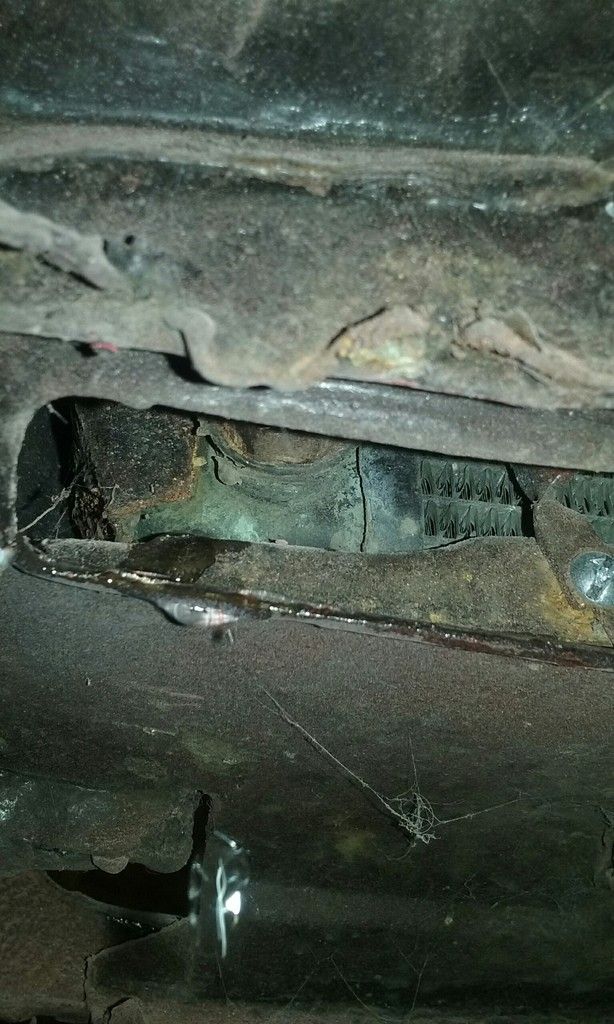
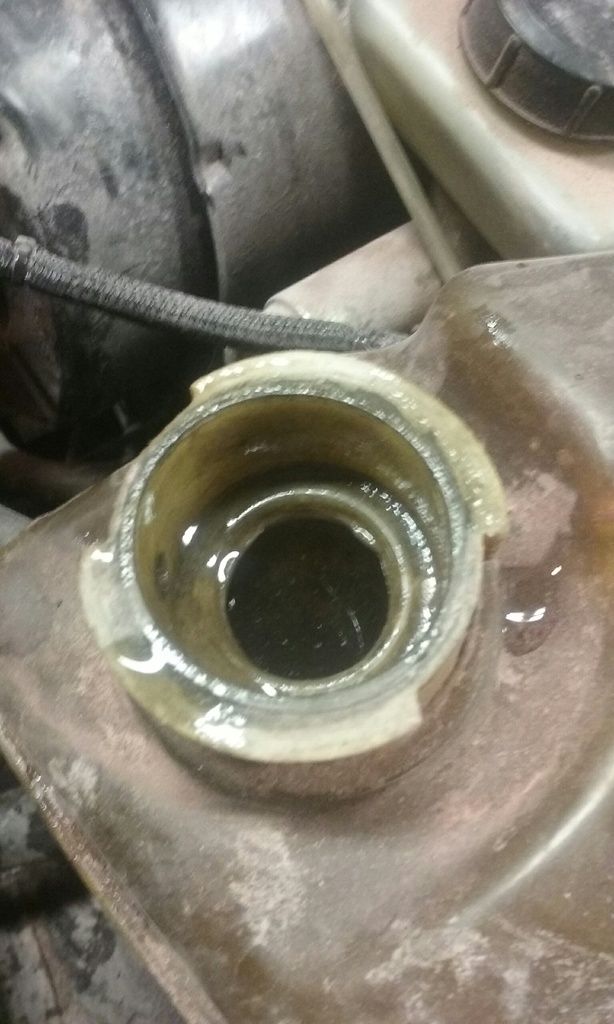
I cant tell if it's a core leak, or a leak from what looks to be a drain plug just inside that cubby hole there. I dont remember this beast leaking coolant the one time I drove it, so I'm hoping I just didn't tighten down that drain plug and all will be good.

If not, I'll pull the radiator and fill it up on the ground to check the core

Good times

Hungary Bill
Hungary Bill GRM+ Memberand UberDork
3/3/17 12:18 a.m.

Windshield wiper update.

So the wiper problem is this:

With the intermittent wiper control box connected (read: system 100% hooked up) the wipers never turn off. When I disconnect it, the wipers will turn off in the "off" and what I assume to be "int" switch positions (the switch isn't labeled).

With the wiper control box disconnected the wipers will work at a very low speed in the fastest two settings ("on" and "crack speed").

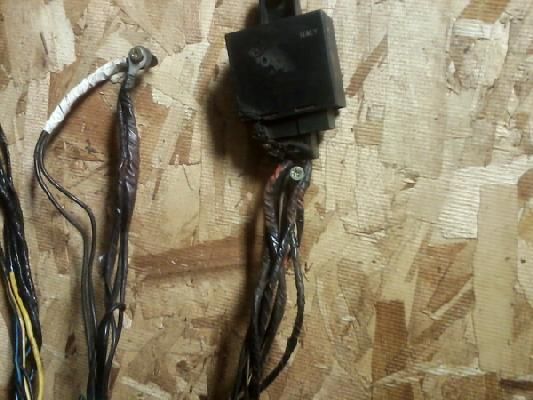
I remember experiencing the second scenario on my drive home from Slovakia. But the wiper wiring looked like this:

To me this means either there was a hacked wire fix by the previous owner, or there's a faulty component (probably the switch, as I've already replaced the intermittent wiper control box, and since the motor just responds to what it's given.

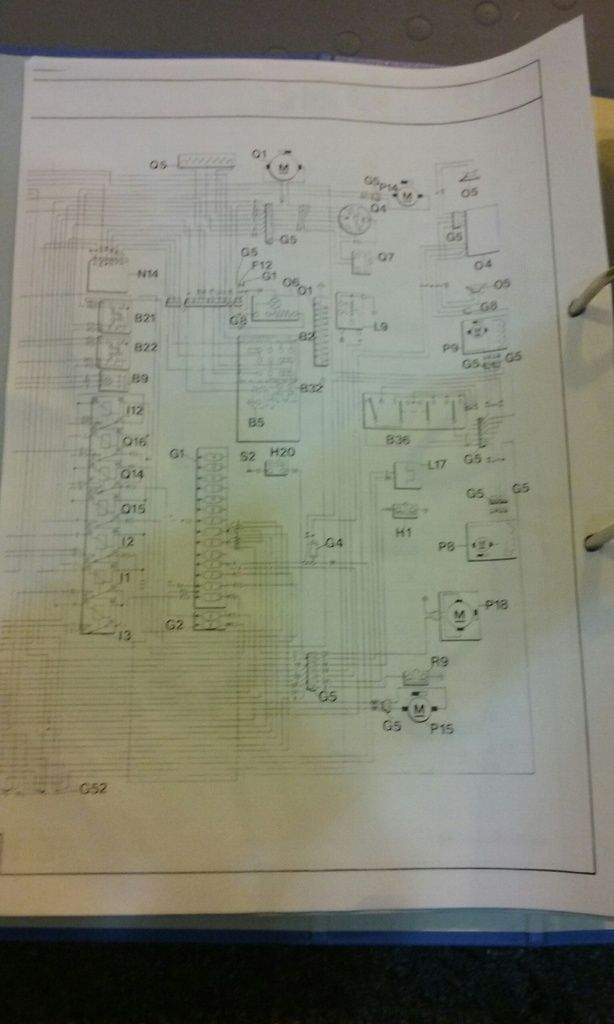
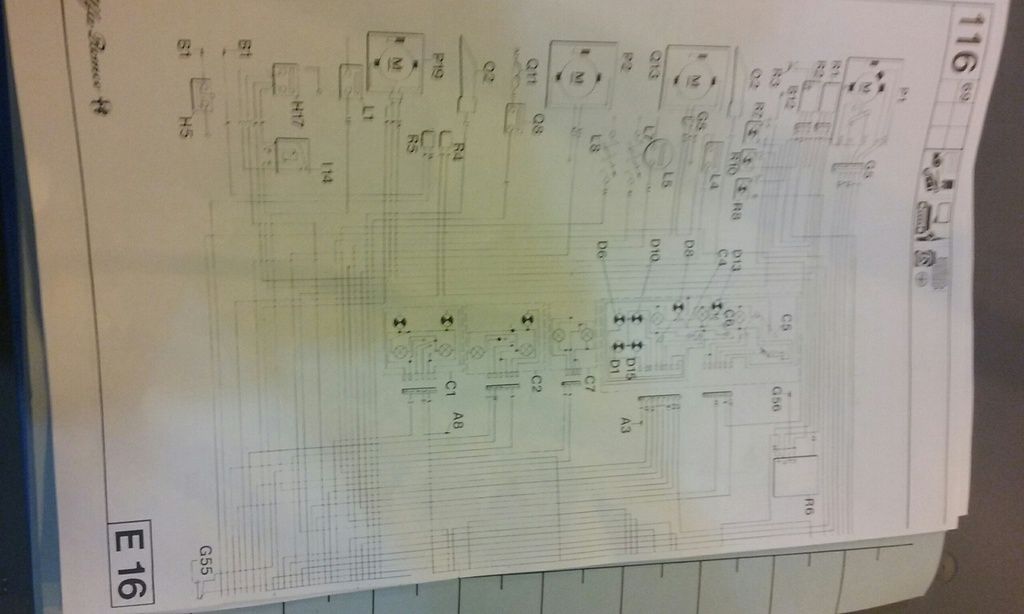
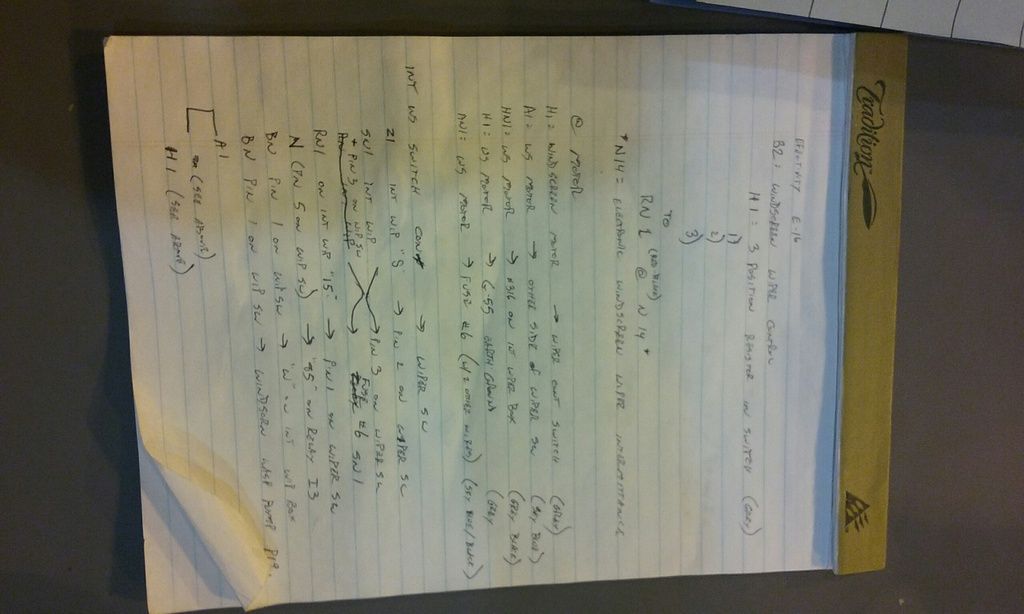
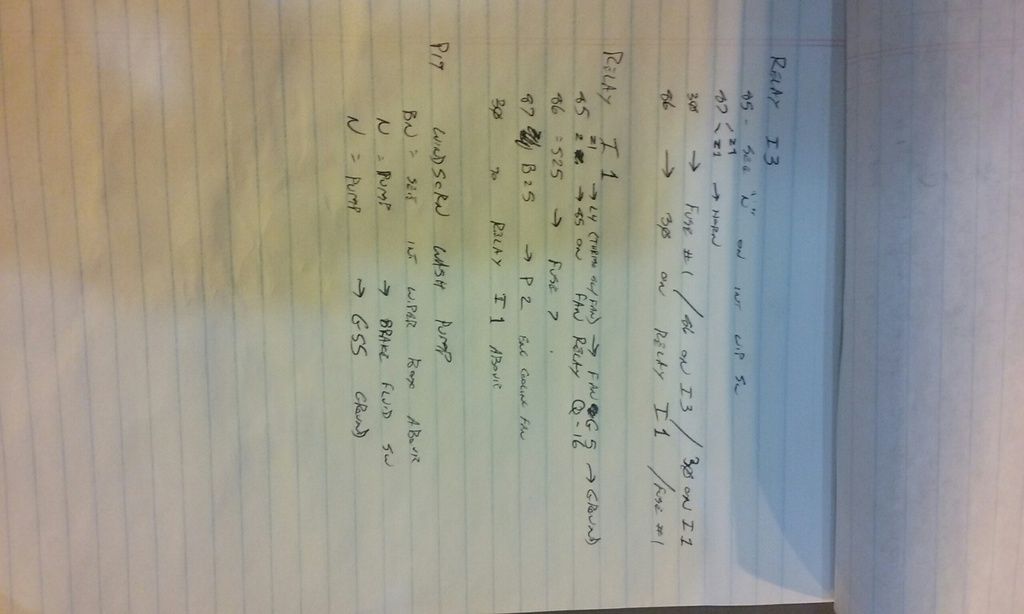
In the spirit of staying productive at work, I broke out the wire diagram for the system and wrote some notes on the pin-out so I can do an end to end check with my meter. This'll pretty much tell me what side of the fence I need to look at (component vs wires)

It's not exactly on the front burner, as the system does kind of work. But it'd be nice to have a completely functioning method of rain removal

Good times

PS

I don't know why photobucket flipped my images sideways but their editor isn't working so we're stuck with it.

Crackers
Crackers Reader
3/3/17 11:42 a.m.

Double check all your grounding points. I've had bad grounds turn random stuff on before.

Also, I think anyone that attempts body work should have this block set... Of course I realize you're on a tight schedule so it's probably not reasonable to wait for shipping. The hose idea is great. I'll probably use that at some time myself.

oldeskewltoy
oldeskewltoy UltraDork
3/3/17 1:07 p.m.

many ways to run boost... key to keeping it together is eliminating detonation.

On your pretty engine, I'd leave the ign wires. as to sequential injection... it will likely run a bit better/cleaner that way.

Hungary Bill
Hungary Bill GRM+ Memberand UberDork
3/3/17 3:02 p.m.

Crackers: I was thinking you're going to be right. the ground post isn't too far away from the box, I'll try to meter it back to the battery and make sure it's a good connection. I've had some odd stuff happen because of grounds, and this is feeling like it's gonna fit in the "odd stuff" bin.

Oldskewl: Hey, it's not a rotary!

I did some looking, and it looks like Yamaha R6 coils (COP) fit if you make a little grommet to help them snug up in the wells a bit. I'll have to do some looking to see what people do for cam position sensors, but I've already sourced suppliers for a distributor delete, and the 3-liter has a crank wheel. Should be good times

Hungary Bill
Hungary Bill GRM+ Memberand UberDork
3/3/17 3:07 p.m.

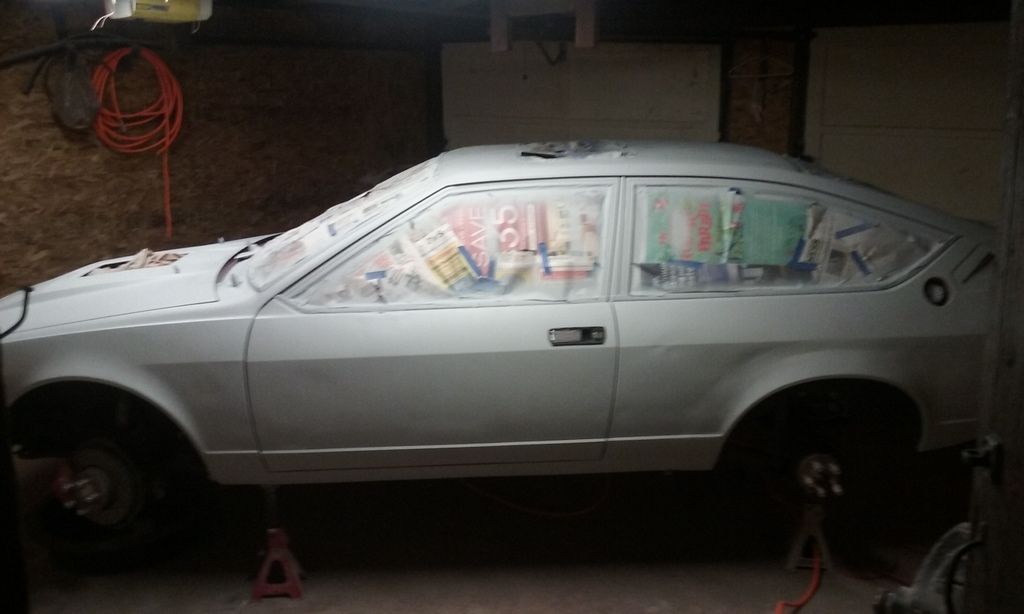
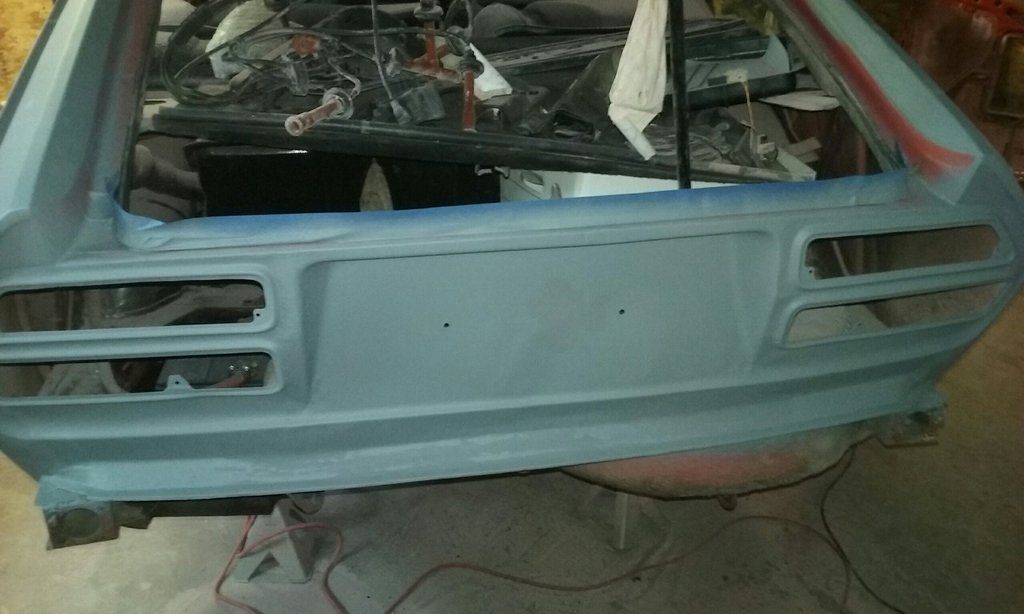
Yesterday's progress.

Got the back sanded and painted!

It aint perfect, but some of it will be hidden by the bumper, and the rest (rust damage mostly) just isn't worth the effort to make perfect

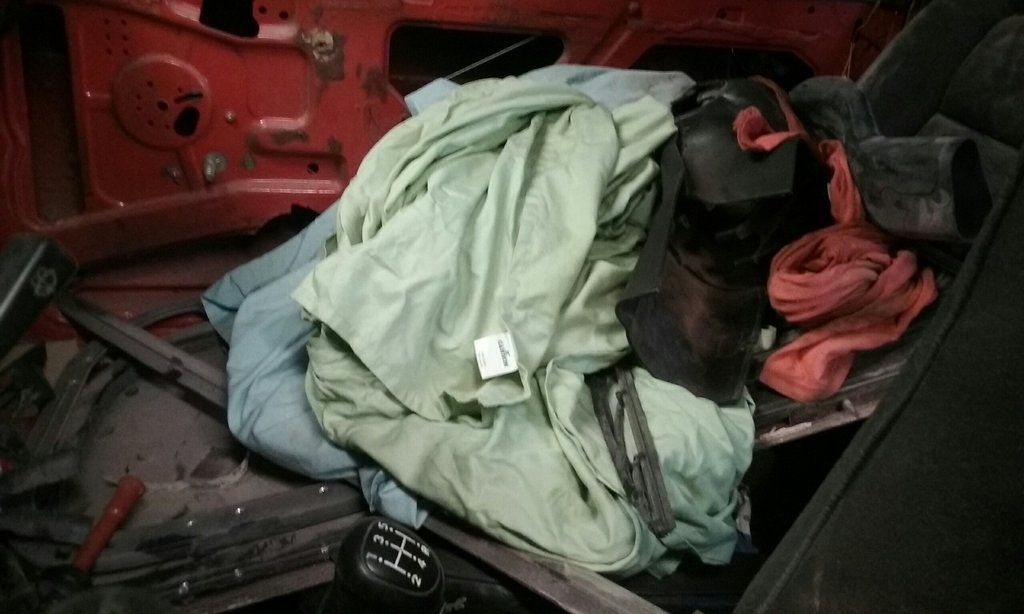
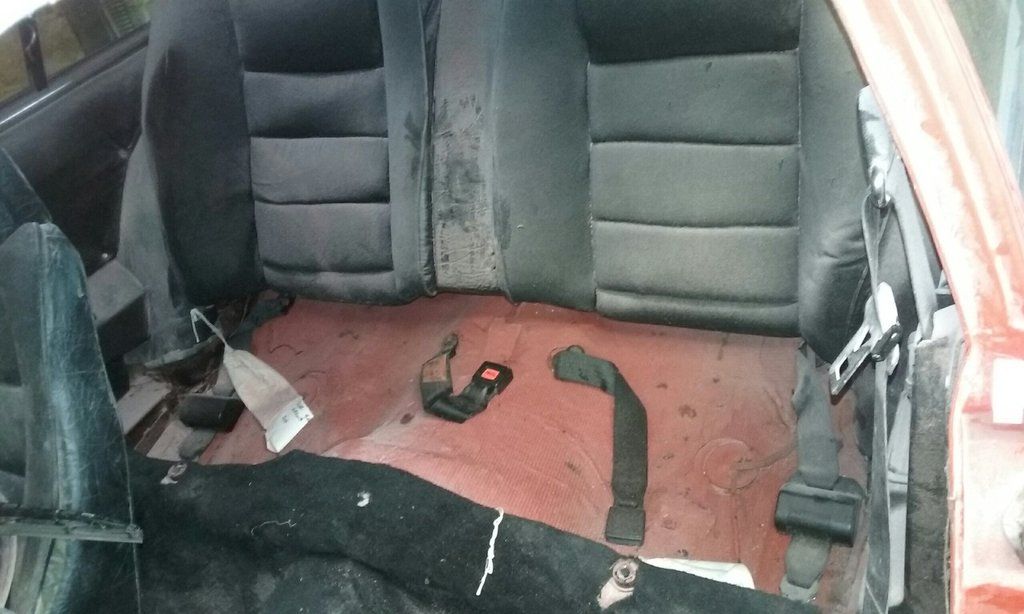
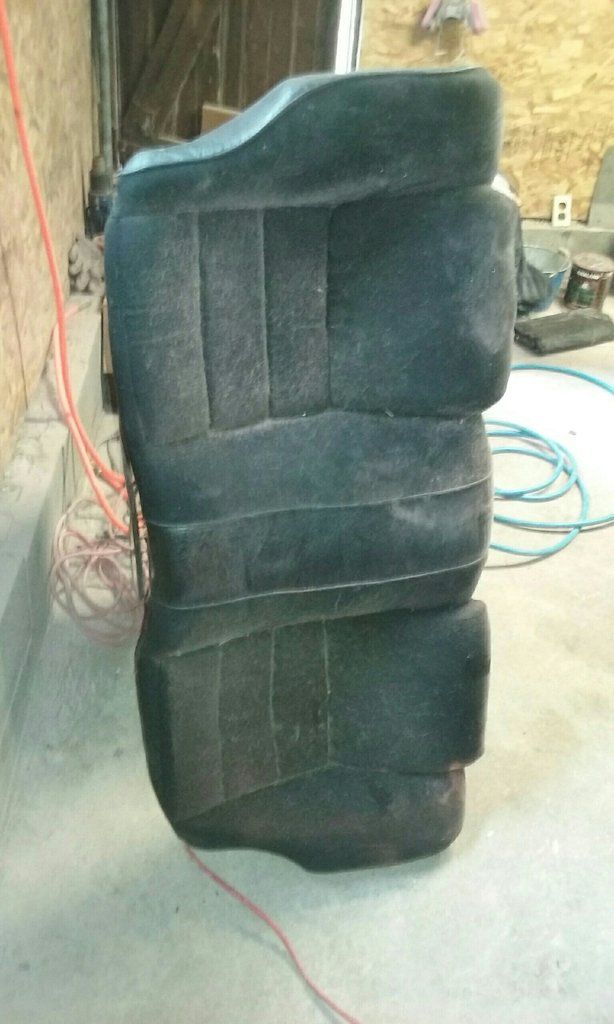
After that, I didn't have much time left so I thought I'd clean up and get the back seat ready to install (there was a lot of crap back there)

Good times

Hungary Bill
Hungary Bill GRM+ Memberand UberDork
3/7/17 8:39 p.m.

ok, weekend aftermath: Begin!

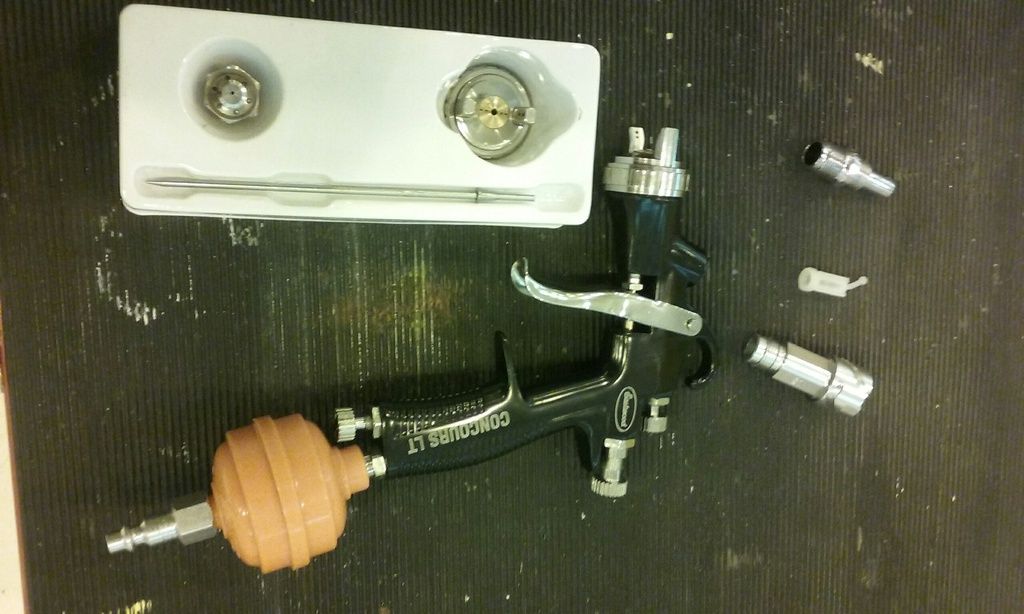
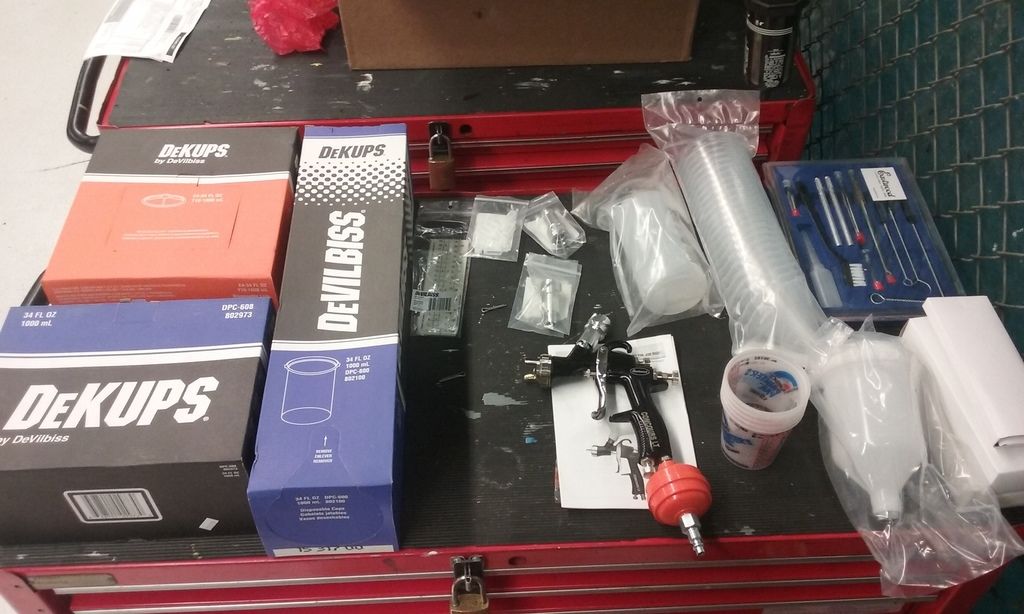
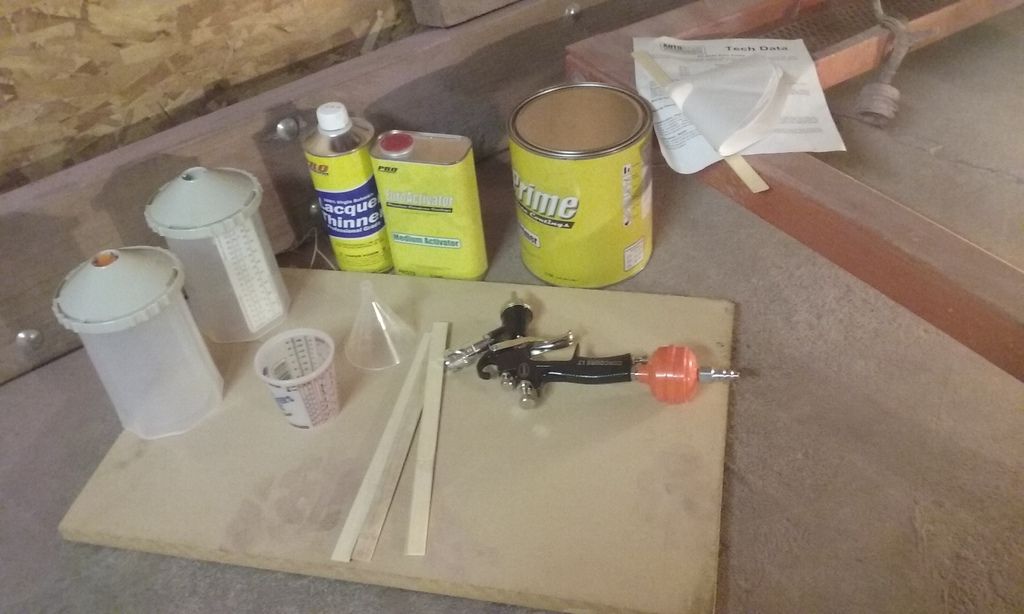
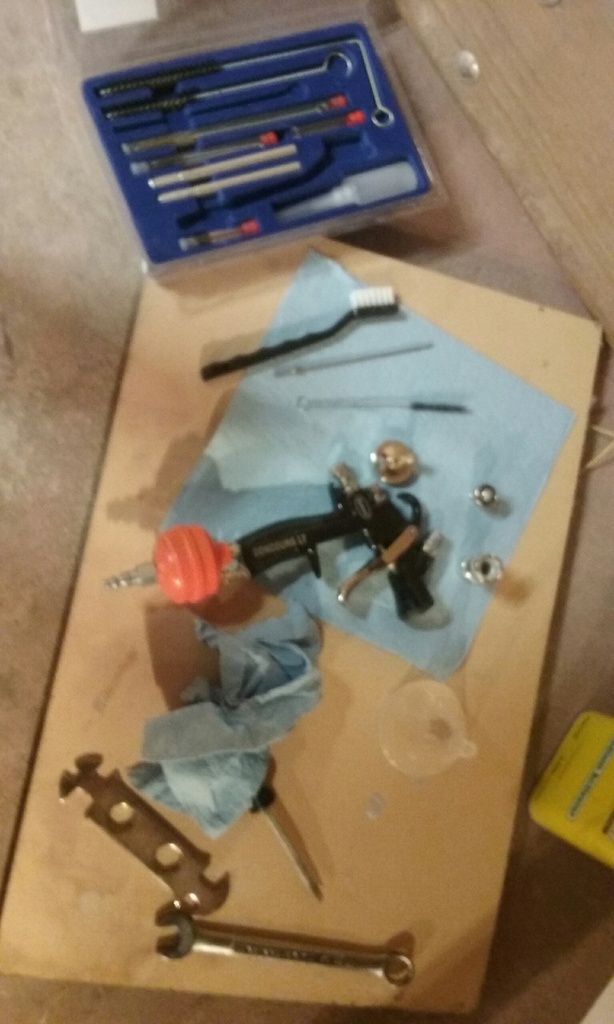
I brought my box of painting goodies in with me to work on Friday for just a quick "general familiarization". My lunch time was spent changing the needle set and fitting the deKups adapter:

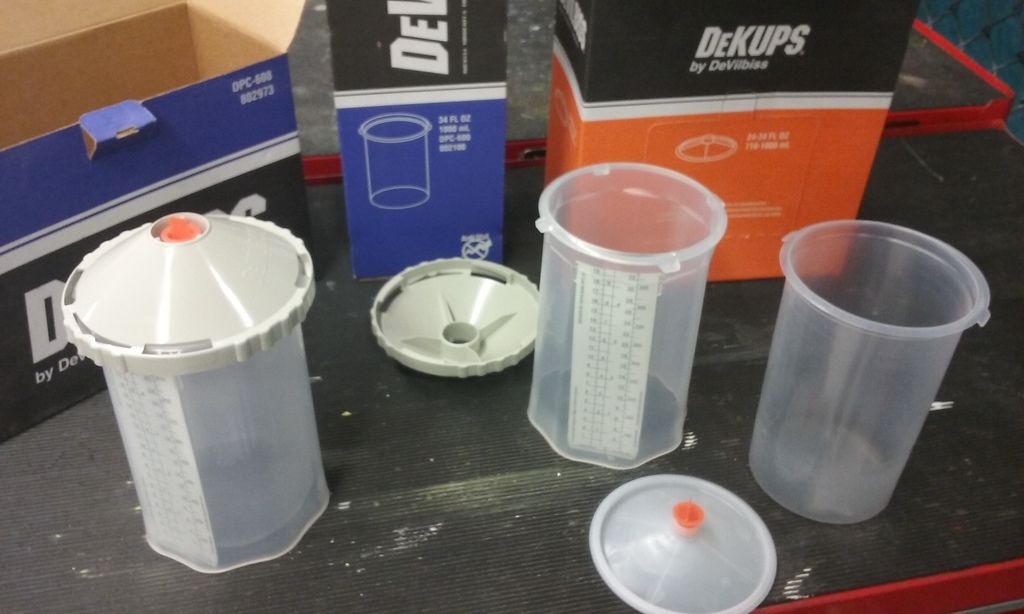
I'm glad I did it that way. It took me an embarrassing amount of time to get the feelies of "what does what" but when done I had the gun fitted with the 1.7 needle set. The adapter for the DeKups setup, and those WONDERFUL disposable cups set up (If you're ever going to shoot paint, I strongly recommend getting this setup. It's beauty, eh!"

The basic idea is you pour and mix in disposable liners. The liners have a holder fitted with a mix ratio chart and a quick disconnect cap. Just fill 'em both up and spray away. When it's time for a hopper change, it's click and clack and you're shooting again. Cleanup is a BREEZE too

Saturday:

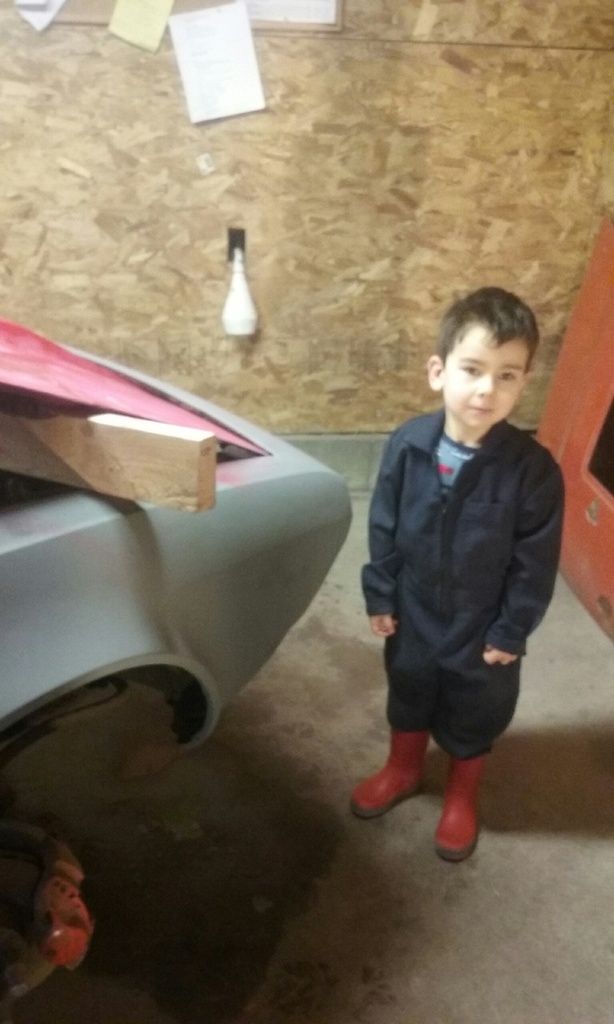
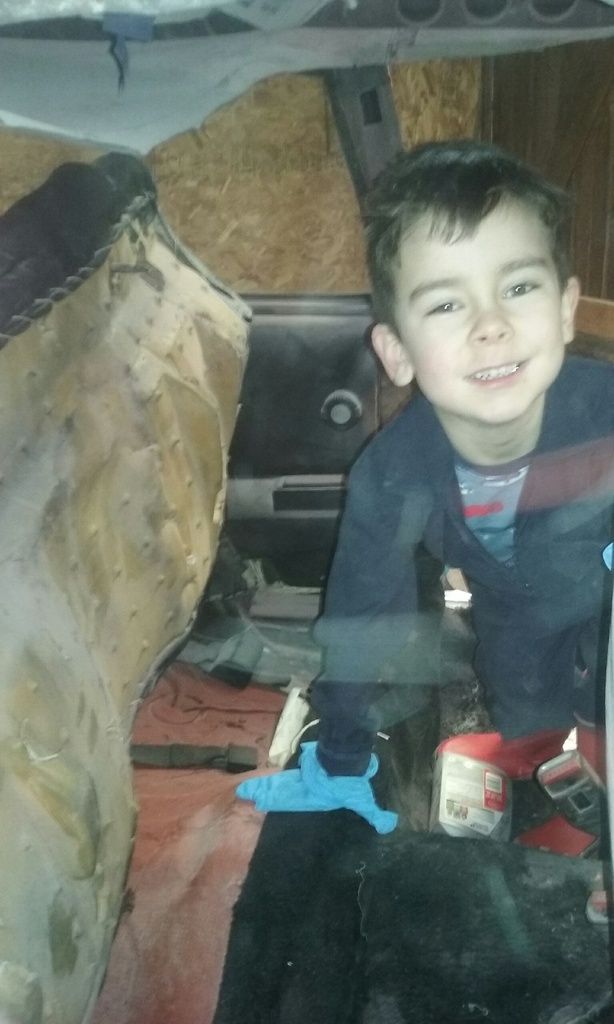
We had our saturdate in the morning (yay!). the kiddo helped me install that back seat, and then we decided to take turns making "vroo-vroom" noises. He was super impressed to hear the starter wirr, and asked to do it 3 or 4 times (Of course, I was happy to oblige)

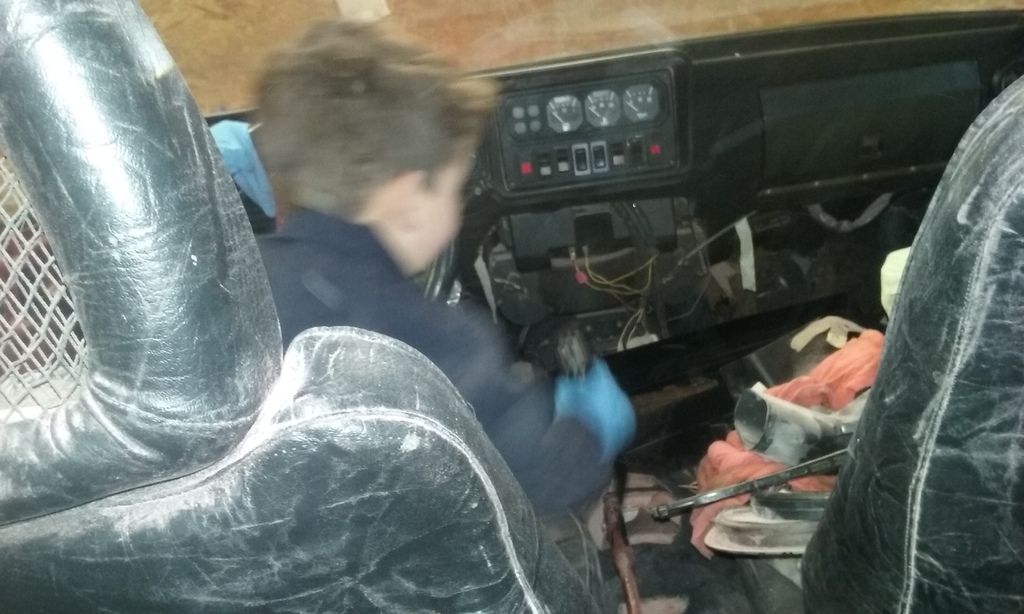
Because the kiddo was so stoked to have "his seat" installed, he opted to try it out first by letting me take the first shift in the driver's seat.

See those last two pictures? That is official, real deal steering and shifting action

Good times

Hungary Bill
Hungary Bill GRM+ Memberand UberDork
3/7/17 8:47 p.m.

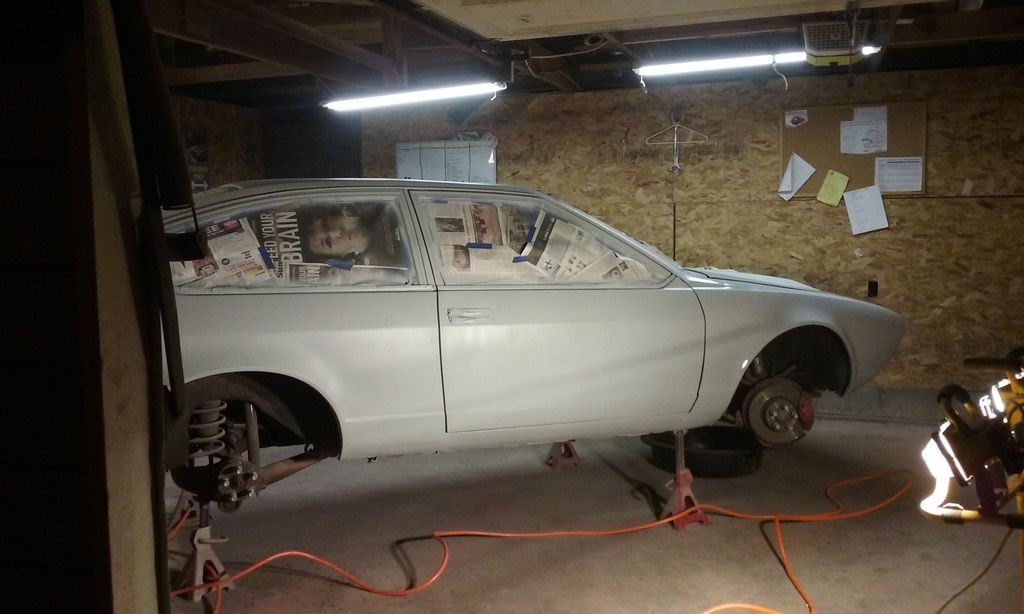
Sunday night I really just planned on masking and scuffing the entire surface of the car. But when I got done, I wasn't even remotely tired and it was only like 11pm so I loaded up the gun and started shooting high build primer:

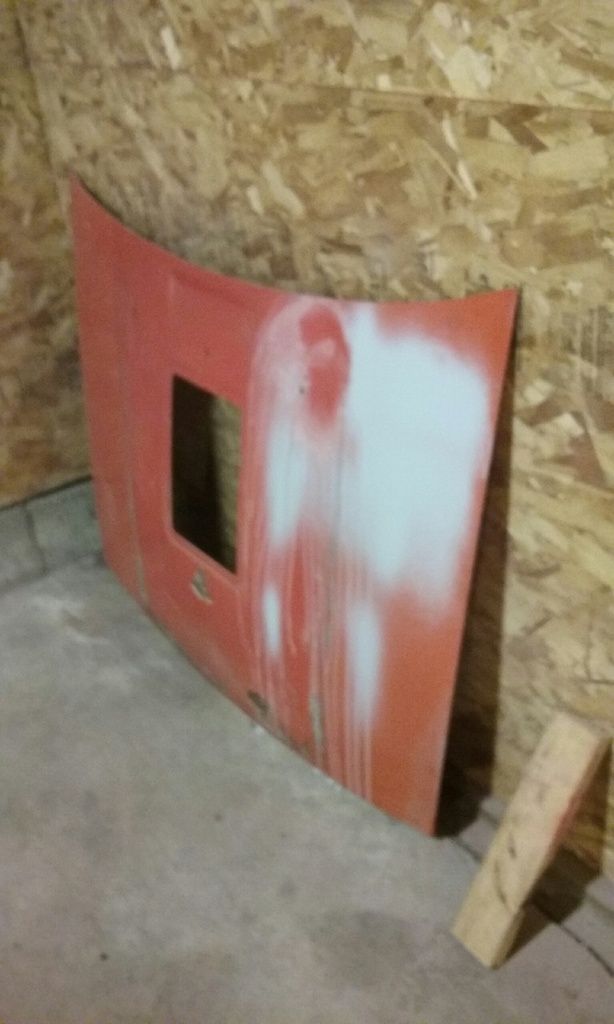
(the old hood makes for a great test panel)

Boom! done!

Pictures are deceiving. This crap is THICK! and it shoots slow. I think it was almost 1am by the time it was all said and done (cleanup included). Gluh. One thing's for sure, I definitely don't have the muscles for this yet. Holding my arm high and outstretched with a full hopper over the roof and hatch was a KILLER

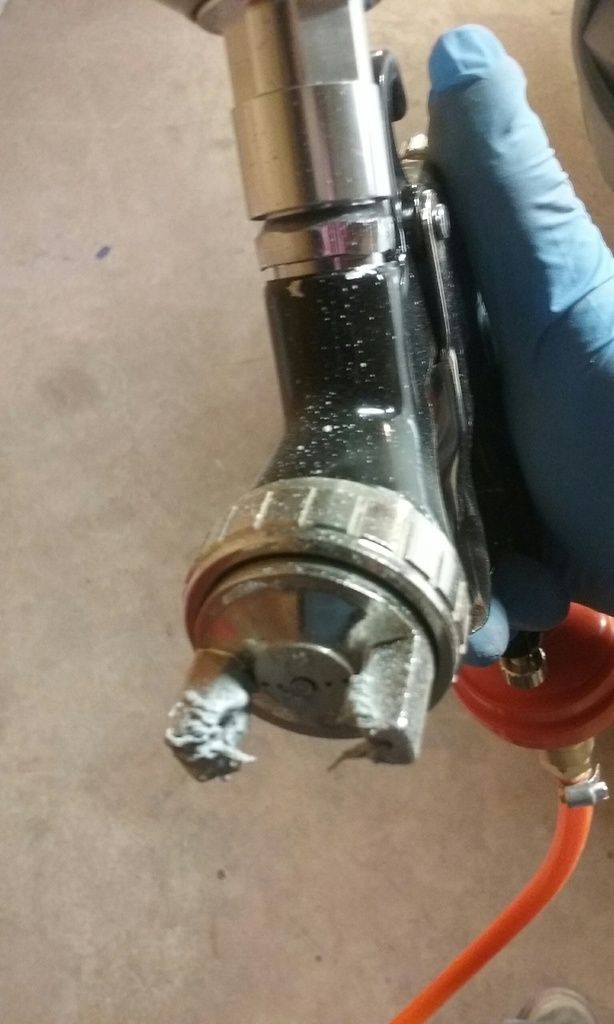
I took that picture (above) because I wasnt sure if it was normal or not. I'm running about 30psi at my wall mounted external regulator (while the trigger is pulled), all the guns knobs are turned almost all the way out with a 1.7mm needle set. The pattern is elliptical, so I figured it must be ok.

That last picture isn't a mistake. It was mostly sunny with a few clouds the next morning so we took our dog for a walk to her vet appointment. When we left the office this is what the weather looked like.

Washington state: If you don't like the weather, just wait 5 minutes!

Good times

Hungary Bill
Hungary Bill GRM+ Memberand UberDork
3/7/17 9:19 p.m.

Monday night I planned on just re-scuffing the surface and shooting a second coat of primer, but again when I was done I wasn't anywhere near tired...

First, here's the second coat (you can tell it's the second and not the first coat because I took the picture from a different angle )

Well, like I said: I wasn't even remotely tired, so I decided to start messing with the wires. the fuse box is a mess and I thought that might have something to do with the wipers not working, so I cleaned it up:
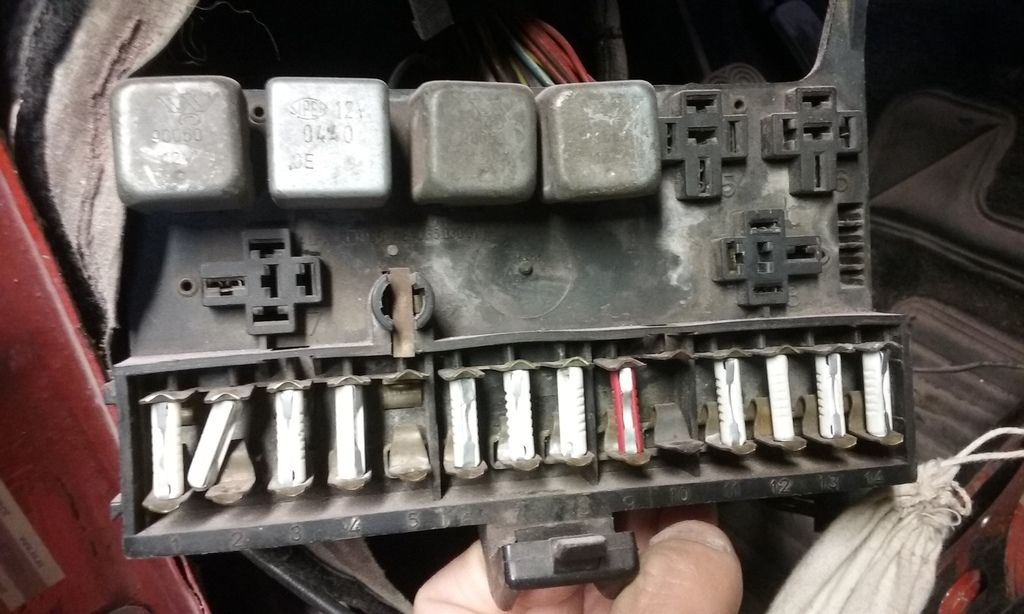
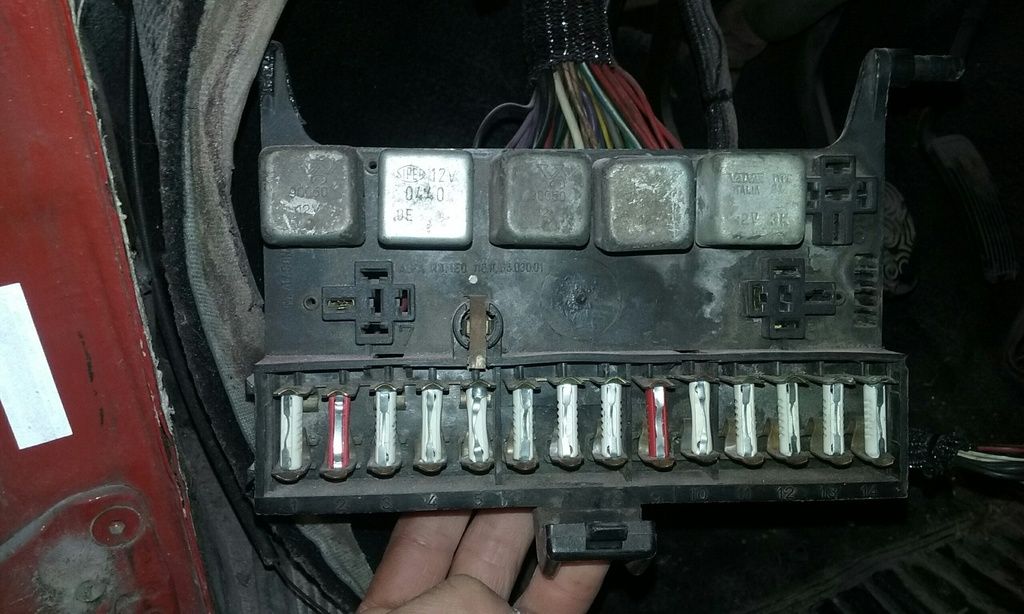
No change. The wipers are still doing their thing...

Moving on! The Eldest Hungarling and I have our first "key turn in anger" scheduled for Wednesday (tomorrow morning as I type this) and I figured I had better check to make sure the fuel pump worked. (why the fuel pump as opposed to checking spark or something, I don't know)

On the Alfa (and I'm sure other L-Jetronics) you turn the key on, and open the flap inside the MAF, the pump relay should click, and then you should hear the pump whir.

so here goes:
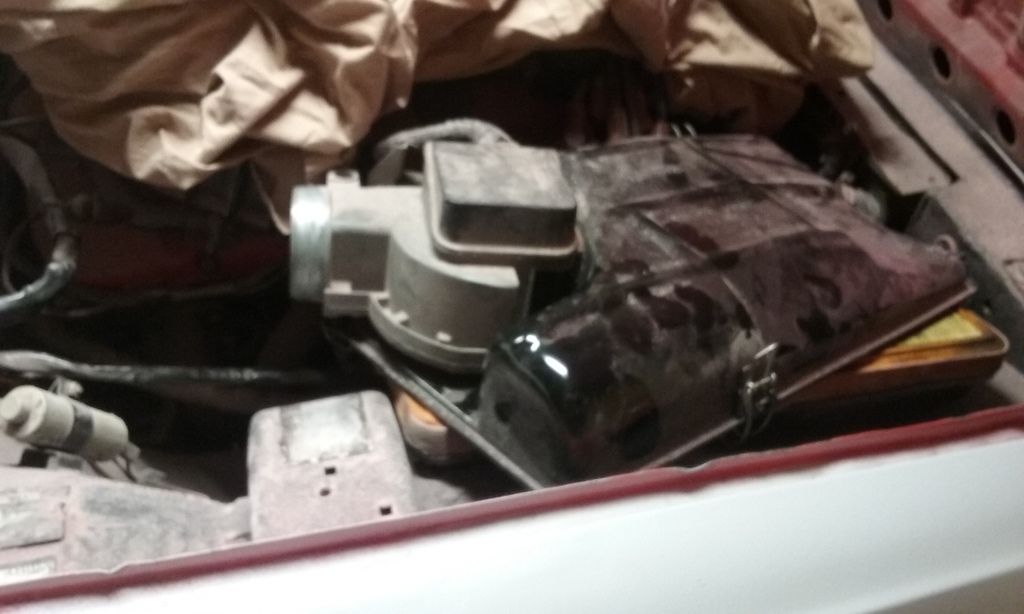
Click, no whir.

So out comes the books, and the multi-meter

I decide I should probably see if it's a voltage issue or a ground issue so I go straight to the pump and flip open the flap again
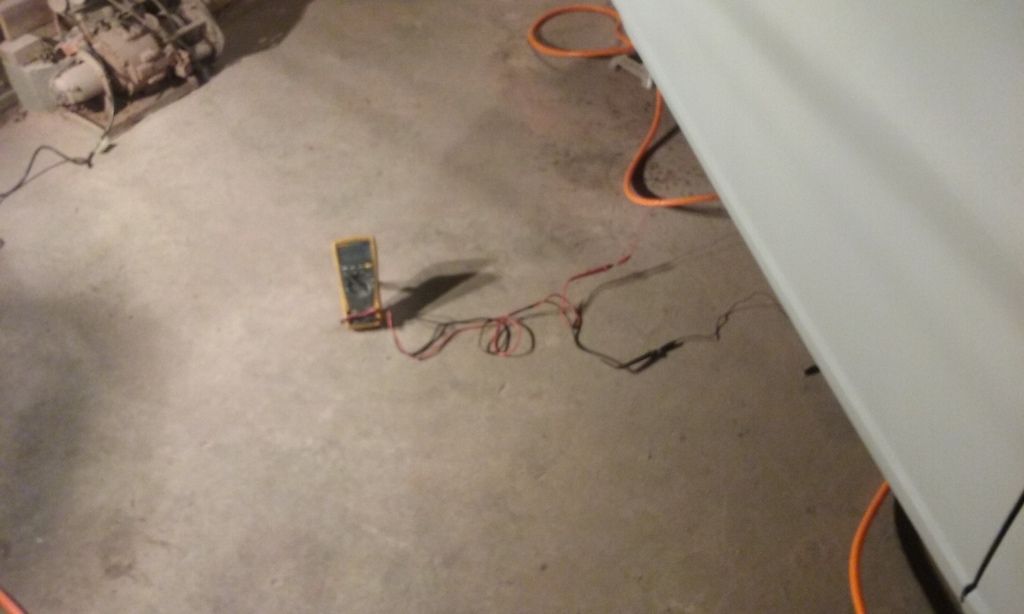
No juice (I was really hoping this would just be a bad ground). So I start with what I know:

  • I know the pump worked three or four years ago when I drove it

  • I know I messed with a metric ton of wires since then

  • I also know I promised that inertia switch a prompt removal if it didn't behave

So I start with the inertia switch, and sure enough it's misbehaving
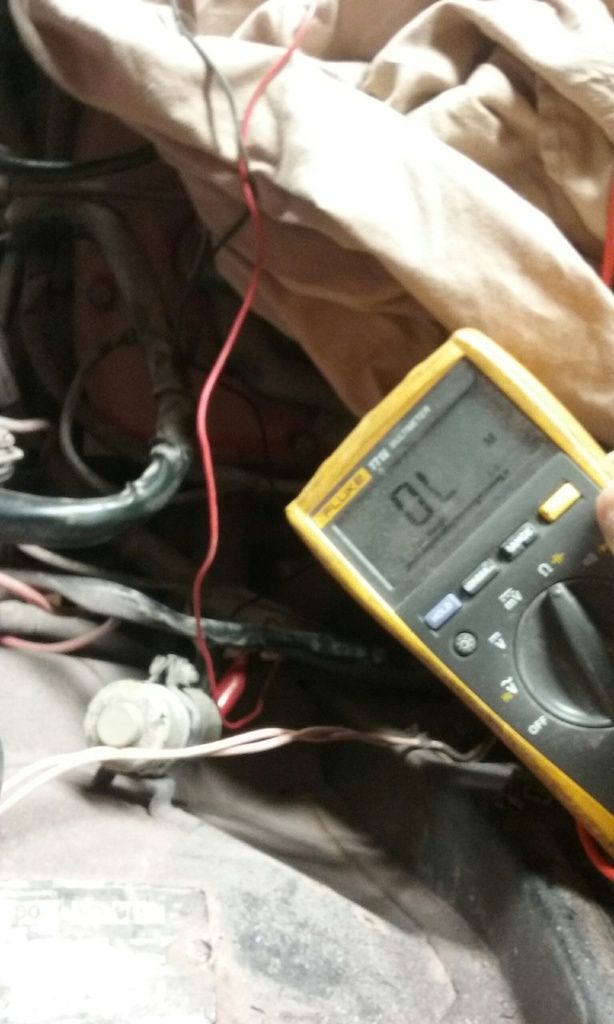
I go straight for the throat and cut the wires for a quick re-opcheck
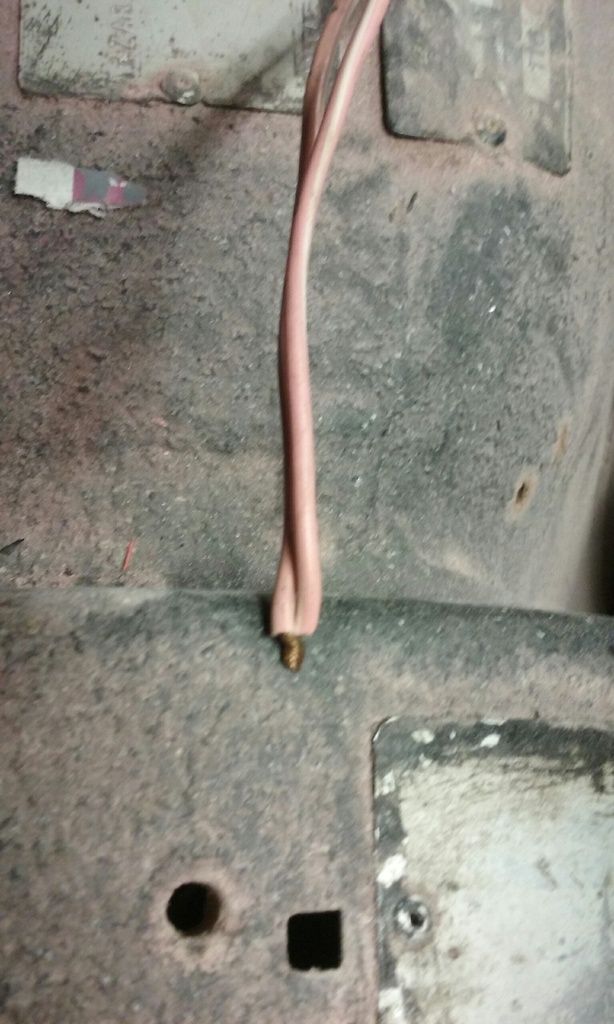
Still no dice (open, click, no whir). I butt splice the wires to the inertia switch (well, environmental splice) and stow them away neatly. I start probing with my meter, checking for continuity in the wires, when I come across two pink and white female lugs under the dash.

Odd, says I. Pink and white is exactly what I'm looking for, but how in the world did I get two females?

I probe them end to end and, sure enough, they're the ones I was looking for. So I pair them together for some hot female-on-female action.
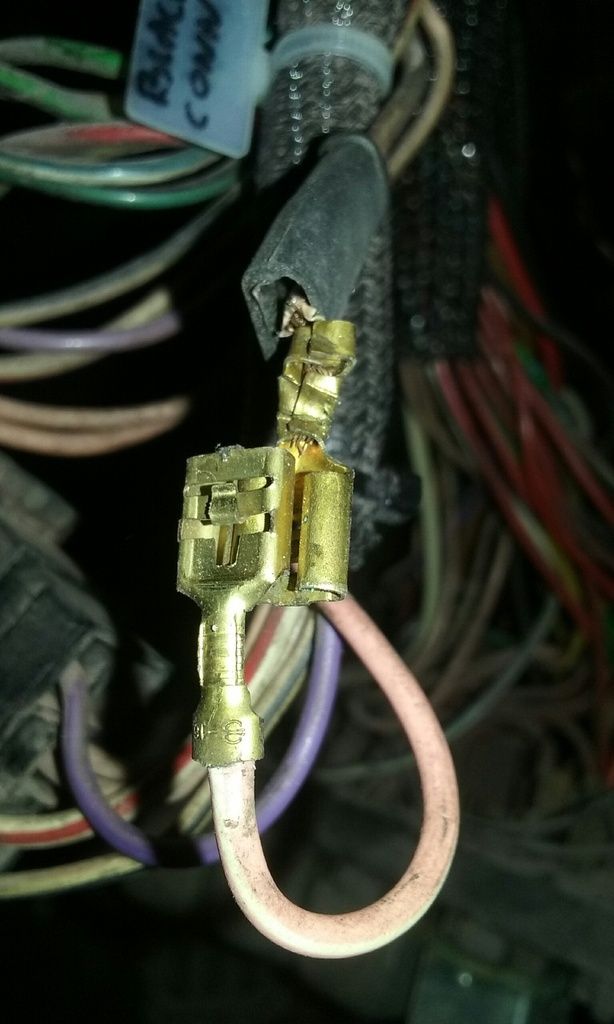
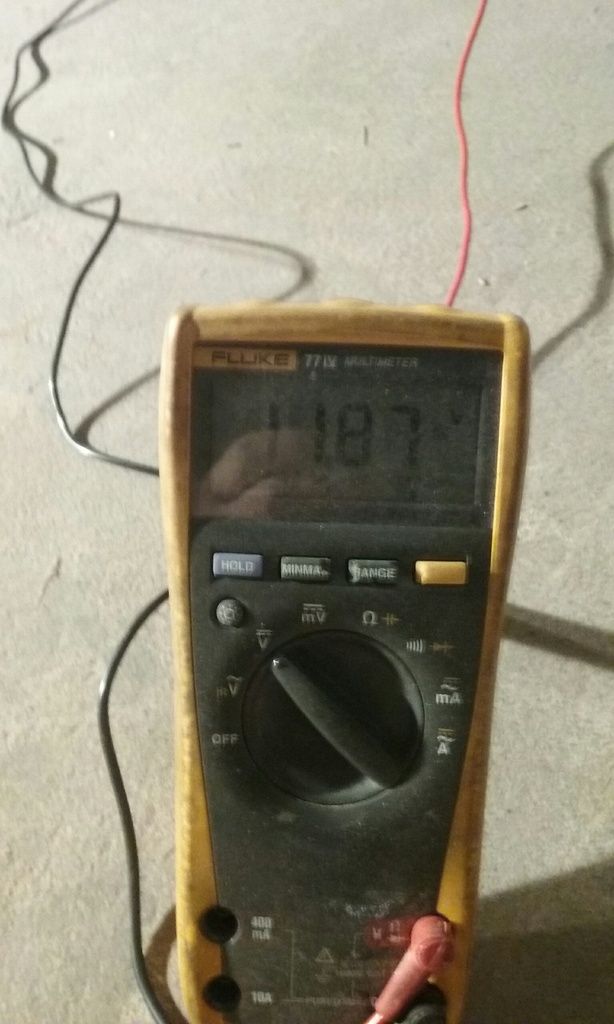
Open, click, whir, yay! We have a working fuel pump.

Another environmental splice (in place of those two female connectors), and then I zip tie the fuse box out of the way:
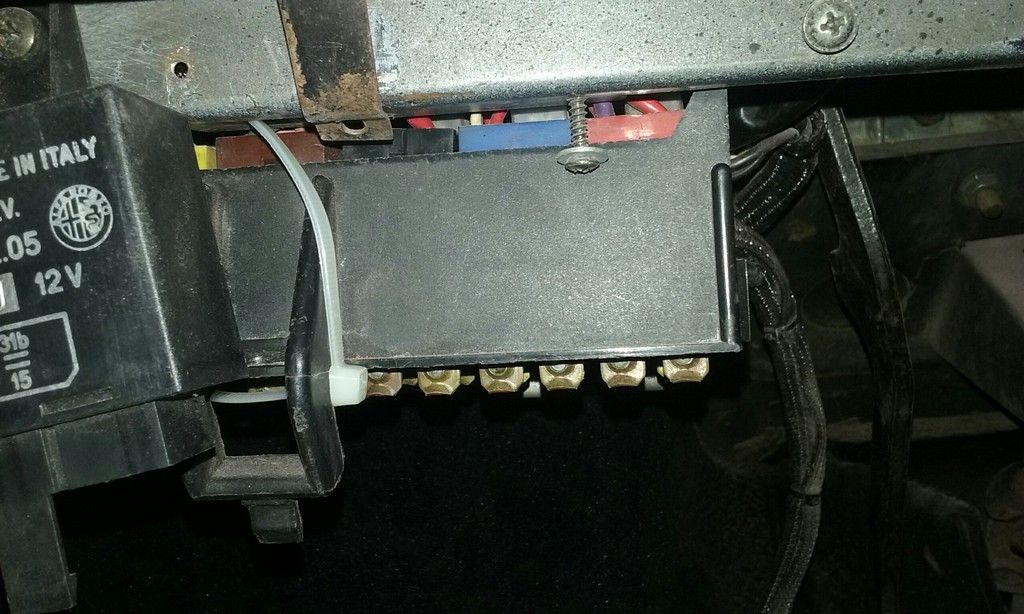
For the record, I can NOT figure out where in the heck this thing clips in to. One prong clips in to the hood release handle. The other? No idea. there's nothing there but a pedal box!!! So yeah. Zip tie was the answer I came up with (hey, it beats the original hemp rope I had )
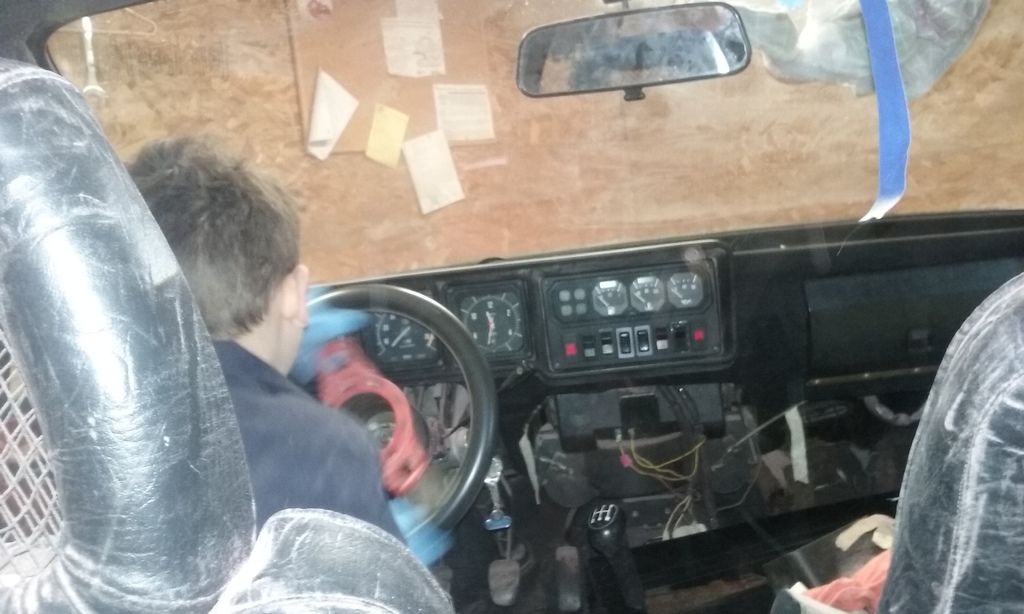
That last picture I call "getting closer!"

Good times

Hungary Bill
Hungary Bill GRM+ Memberand UberDork
3/7/17 9:21 p.m.

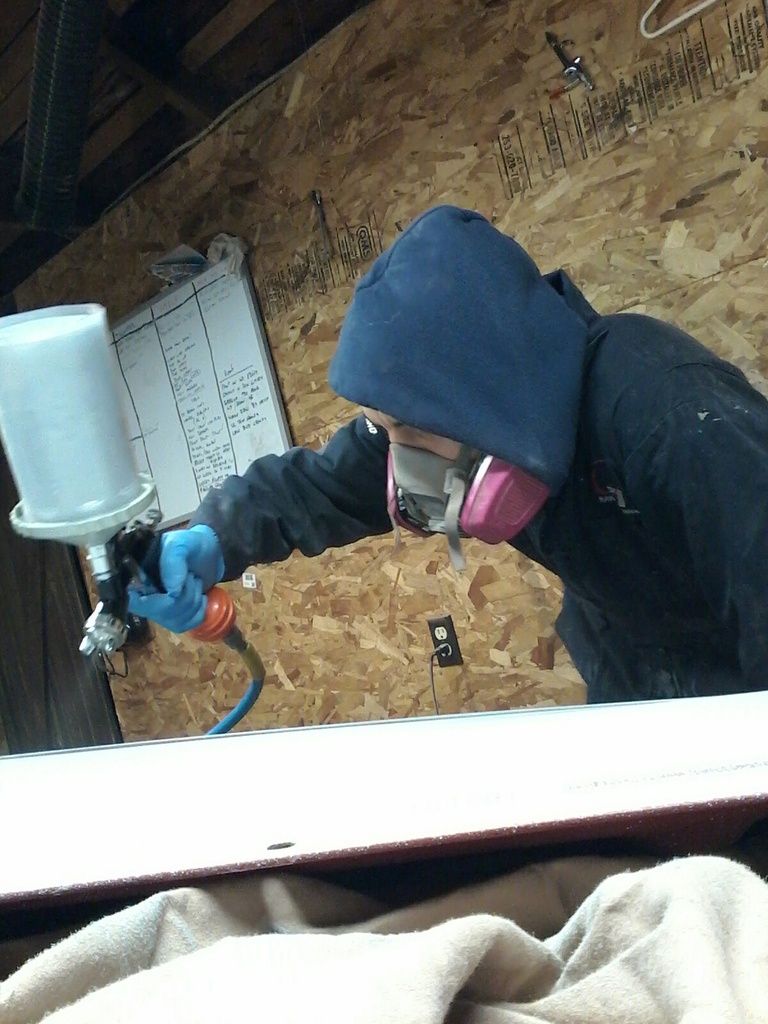
Oh, and I'm not above posing for an action shot

Hungary Bill
Hungary Bill GRM+ Memberand UberDork
3/7/17 10:30 p.m.

If you look at this one you can see a lot of the body work I skipped over, or just didn't have time to finish correctly. When asked about this in the future i'm going to call the car an eastern European "amateur rallye car rescue"

I'll refer to them as "battle scars" and say I rescued her from the salvage yard when the previous owner parked her and upgraded to a Lada VFTS

Hungary Bill
Hungary Bill GRM+ Memberand UberDork
3/8/17 7:37 p.m.

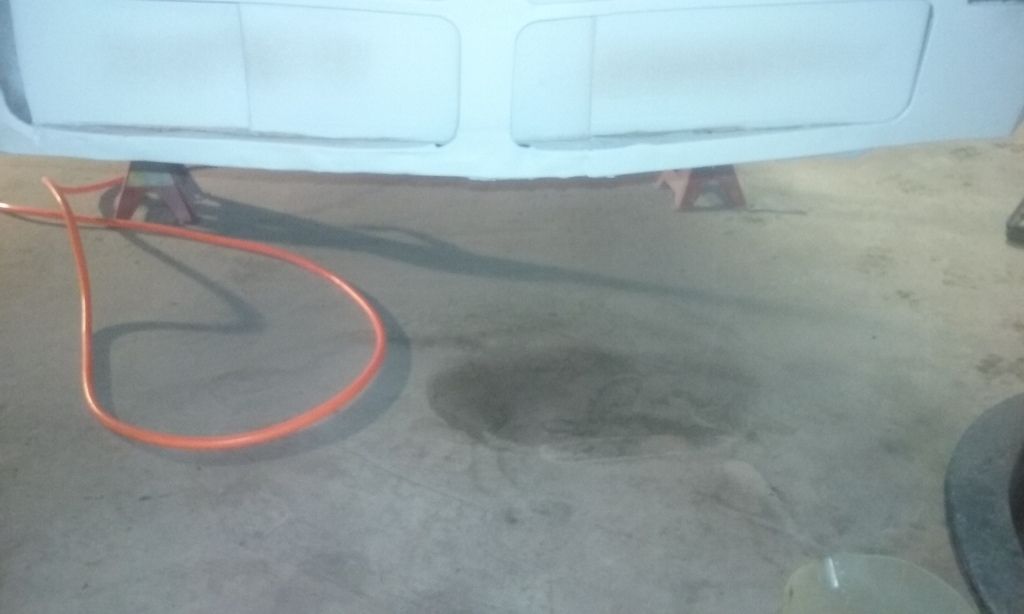
ok, so turn key is scheduled for Wednesday morning. That means I have to get gas in this beast and do some last minute checking before I turn the key with the kid.

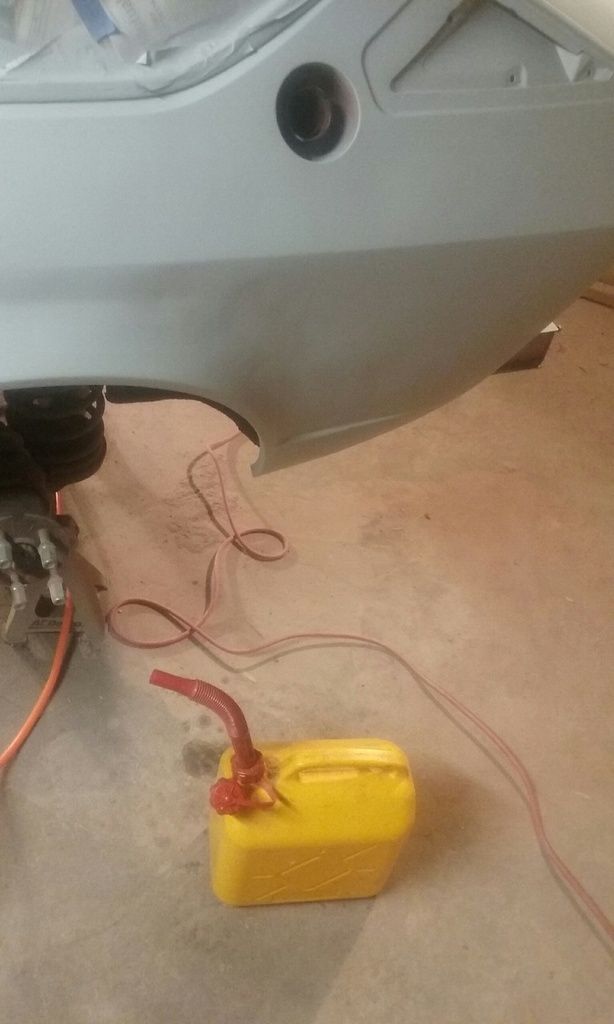
First up, add gas:

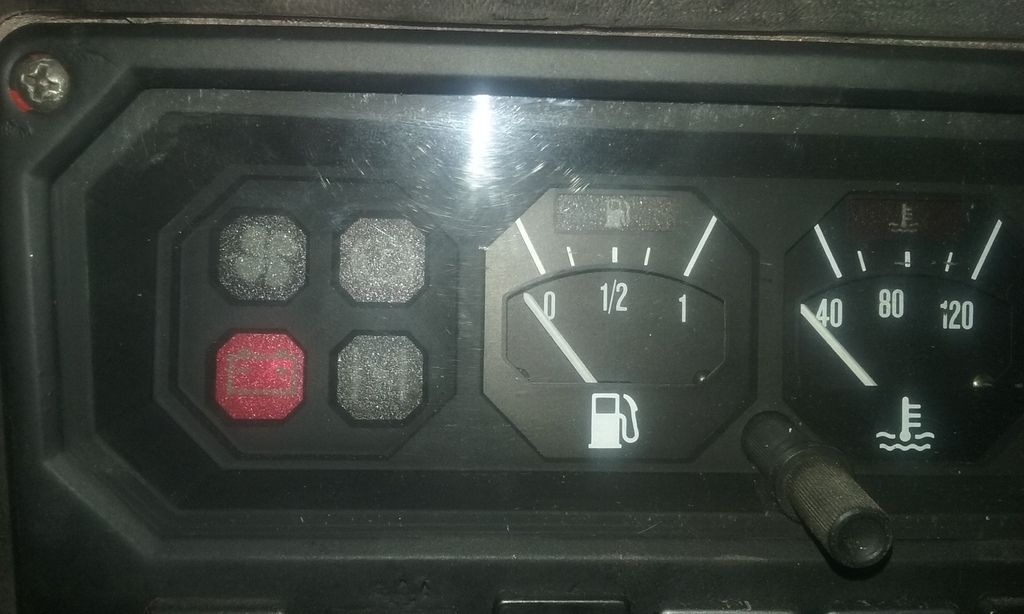
Gas in the tank (about 20 liters), gas light off, but no needle indication (noted for later).

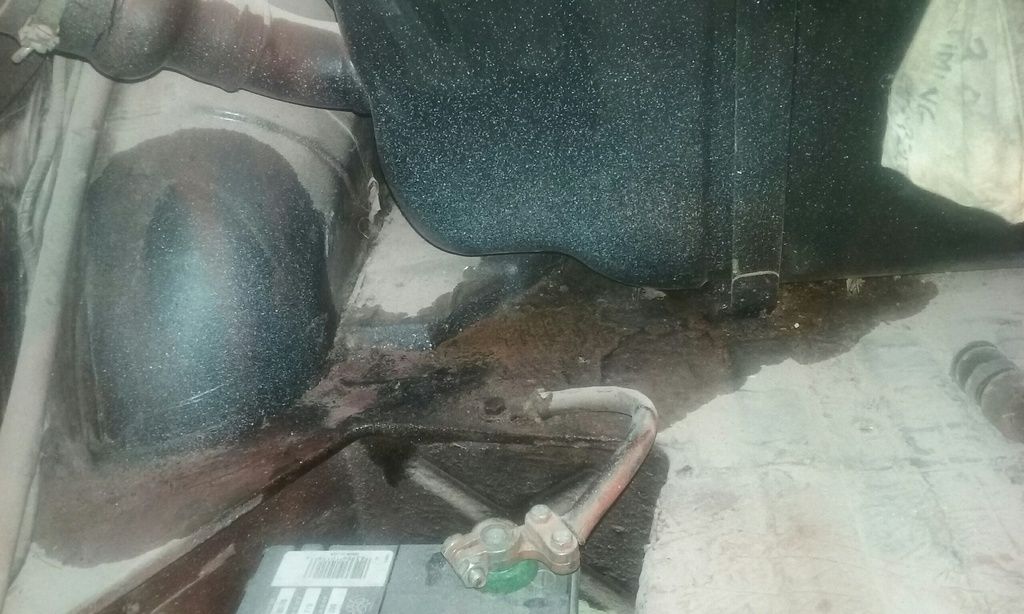
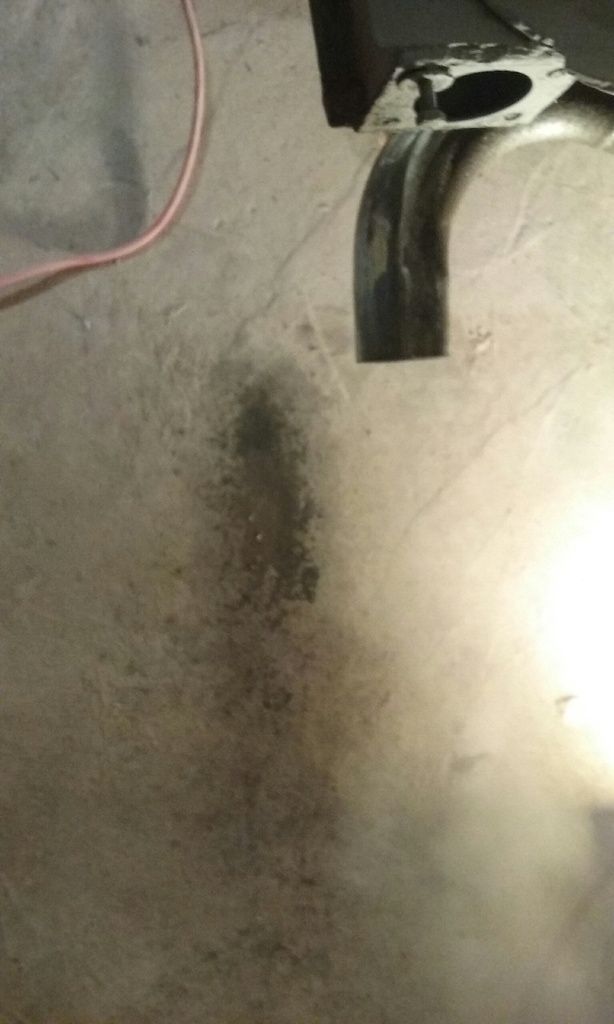
Also, I think I smell a gas leak

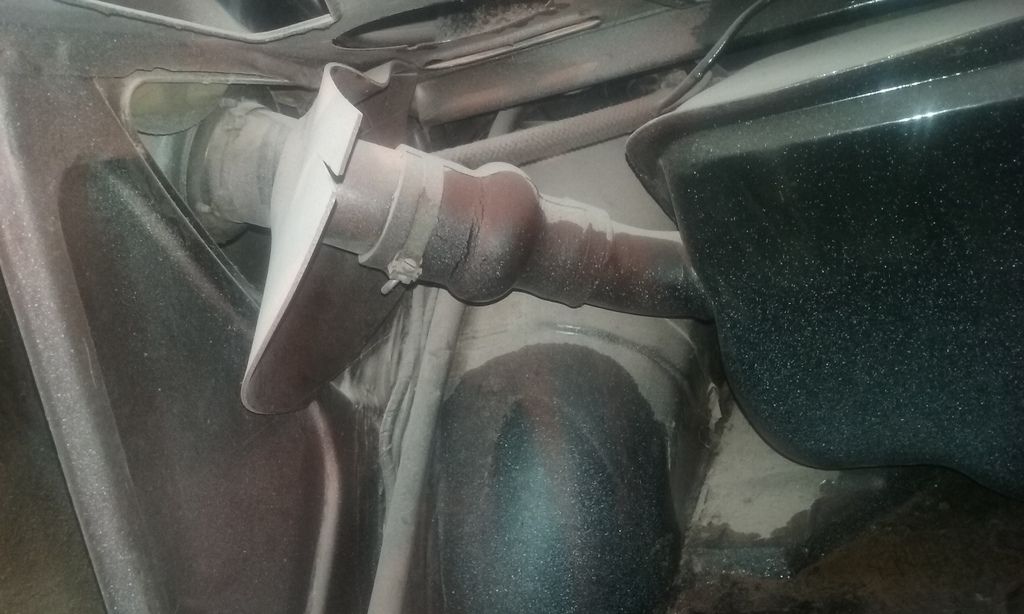
Would you look at that rubber filler neck? Wow, I don't remember smelling a gas leak the last time I drove this. Also "Dear Alfa Romeo, about your gas tank and battery location in the GTV6..."

I decide it's probably best to NOT disconnet the battery at this point. I just turn the key off and mop up the leak with shop rags.

Normally this would have been a show stopper, but Peter Morris (the guy in Vermont where I buy most of my second hand alfa parts) contacted me a few months back and asked if I wanted in on a group buy. He told me the rubber filler necks were "unobtanium" and lost were failing. If I wanted I could get in now for a price that was just above what was convenient for my budget at the time. So I bought two |

Man am I glad I did.

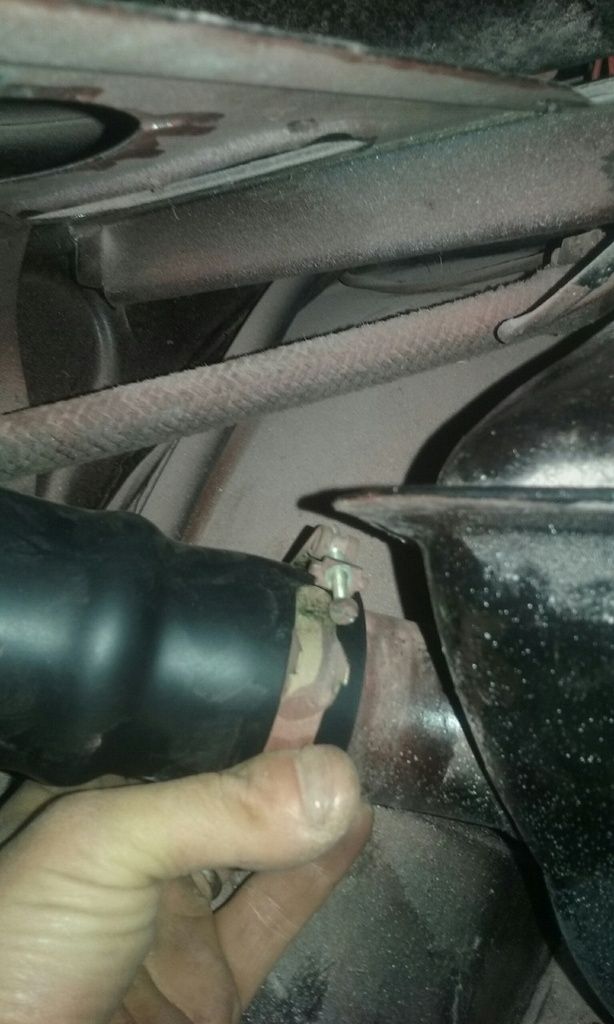
I have to get some new hose clamps though. This rubber is much thicker than the last stuff that was on there.

After that I went at the radiator. Since I was wanting to start the car the next morning I figured I'd better get it to hold some coolant or I wouldnt be able to run it very long. I ended up getting a turn and a half on that drain plug I mentioned. Now she's holding her water, without so much as a seep.

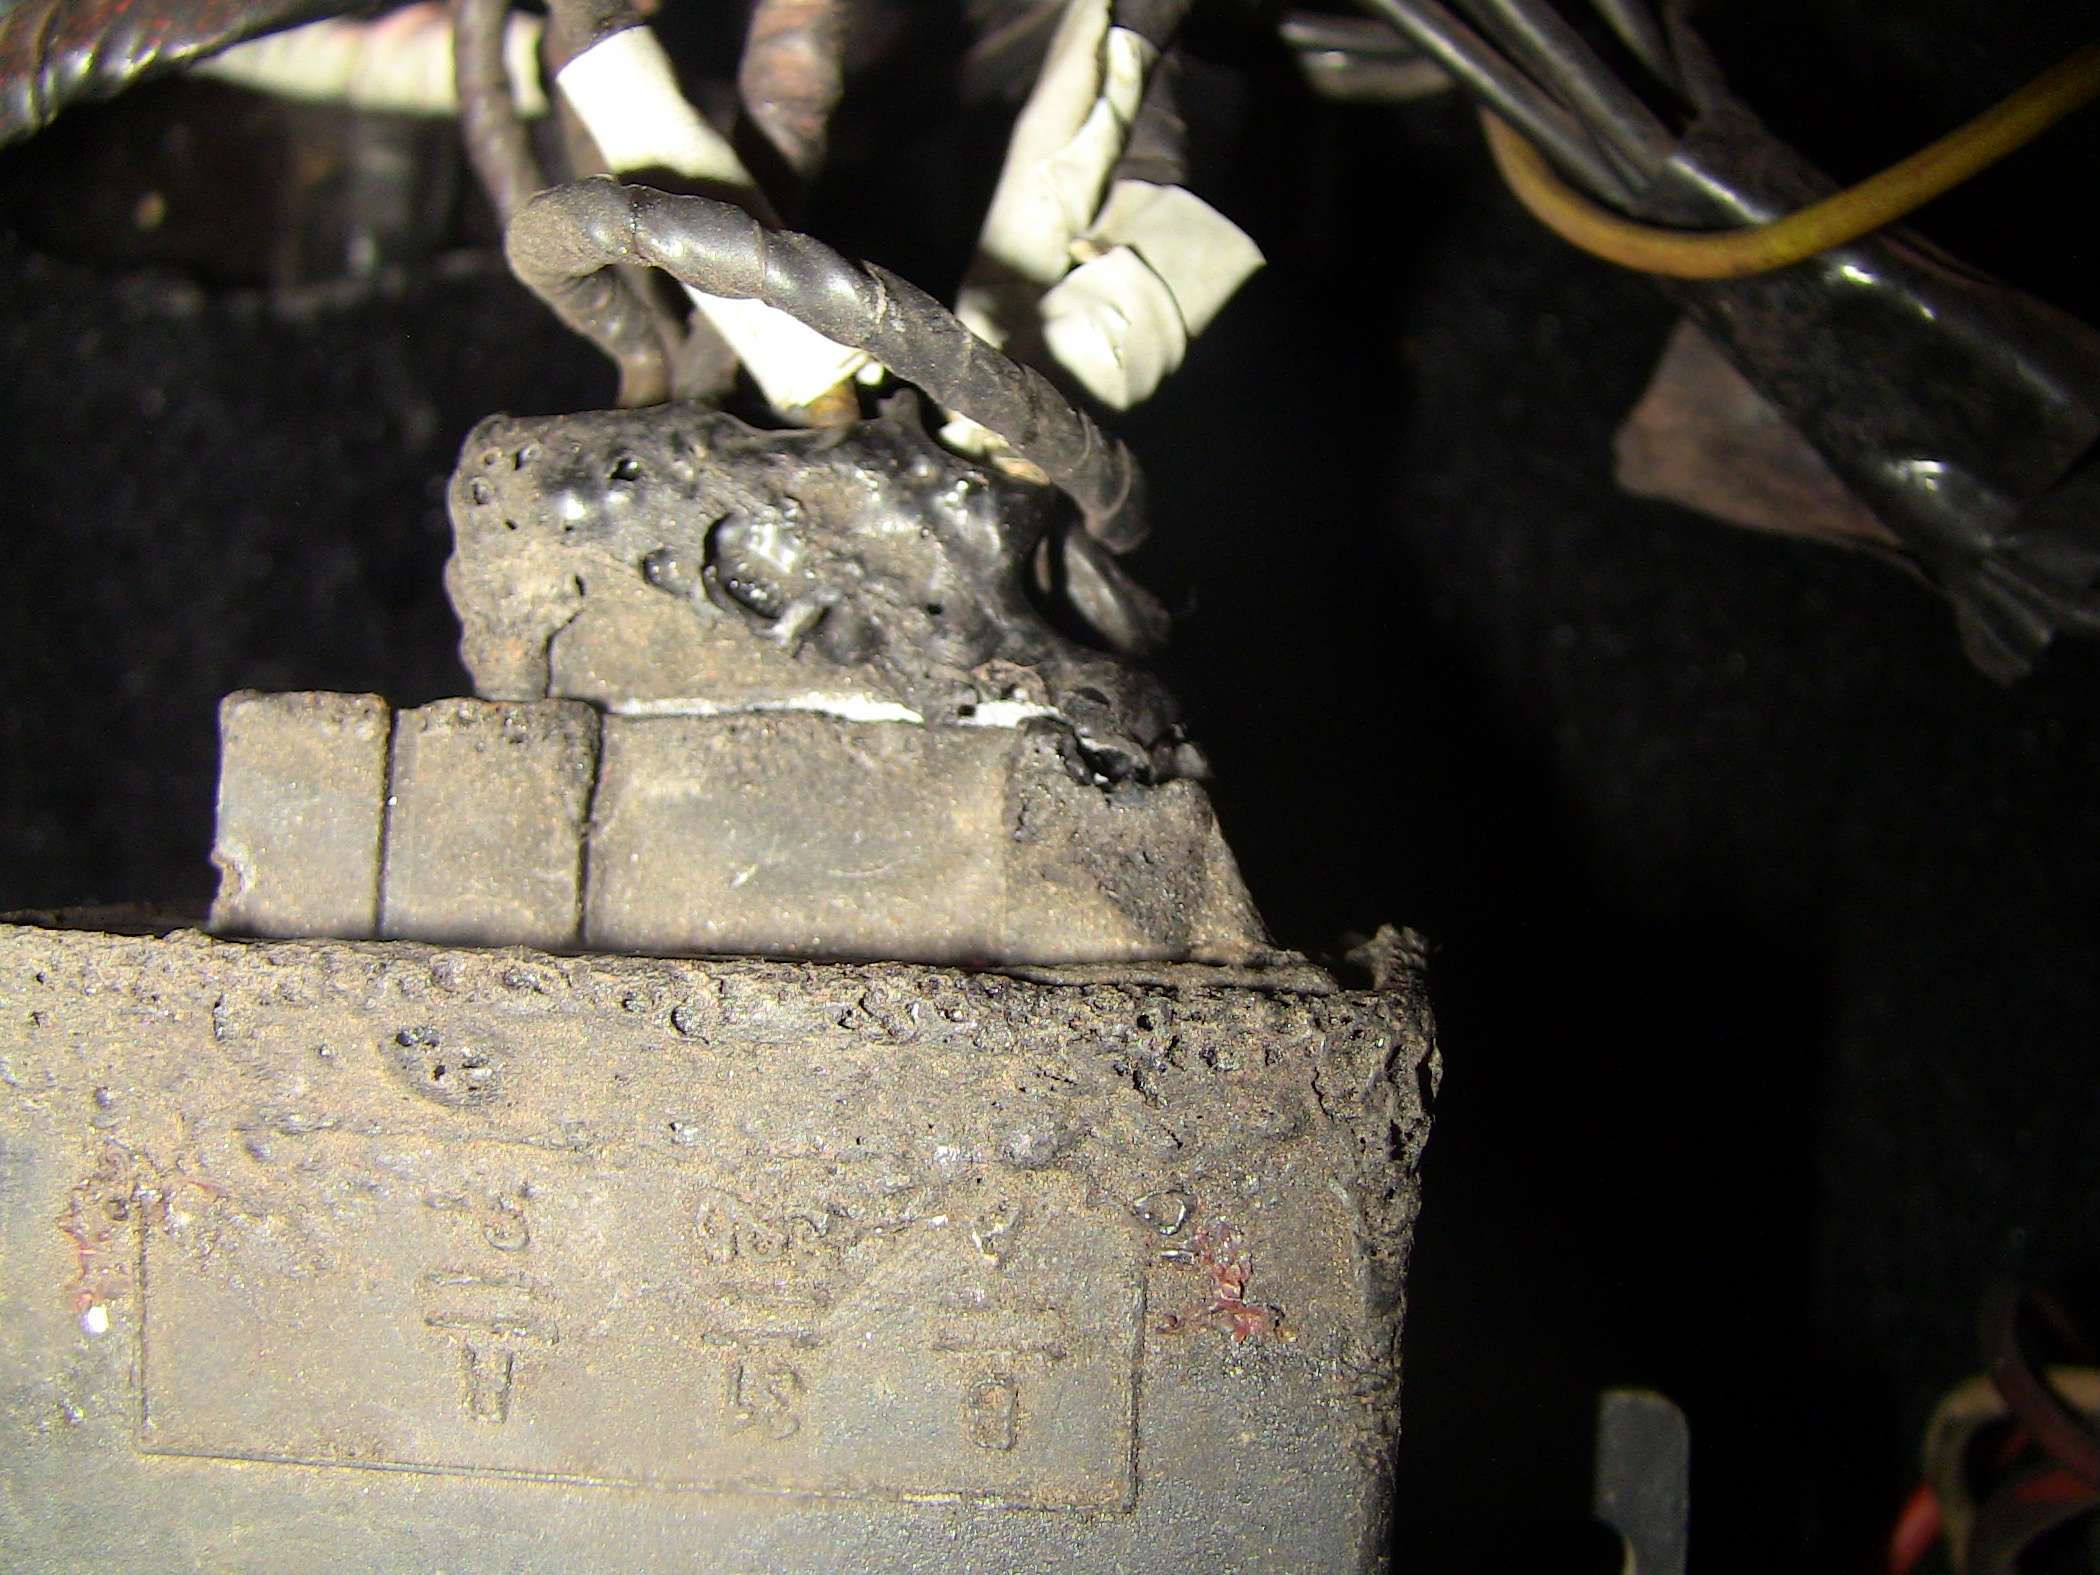
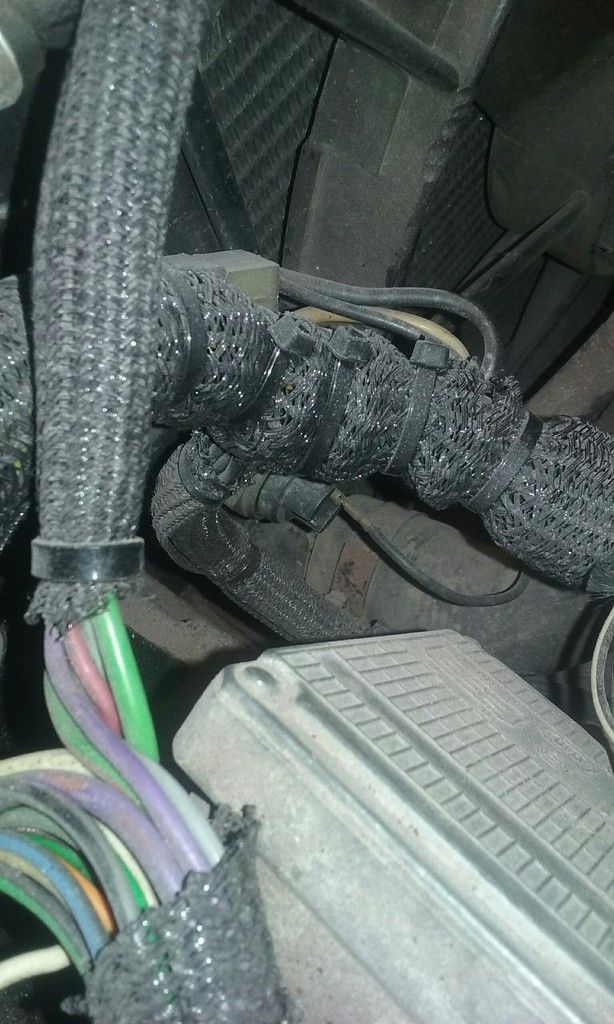
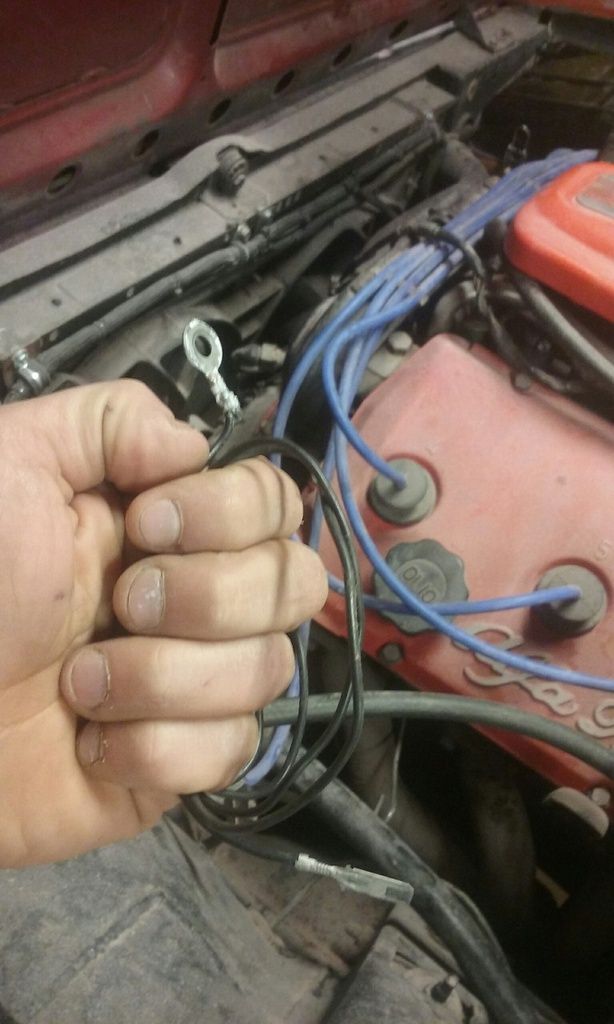
While looking around at the hoses (looking for leaks) I noticed my fan switch only had one wire going to it (see it there between the silver ignition box and the wire bundle?)

I had plenty of scrap wire to choose from (leftovers from my harness repair), so I grabbed an old ground wire that wasn't cooked to pieces to make the new ground leg.

I love it when a plan comes together.

Now the battery goes back on the charger. 2amps overnight and she's ready for her first start attempt. 9am this morning (video to follow)

Good times

java230
java230 SuperDork
3/8/17 7:51 p.m.

Ummmm it's past Wednesday morning!

Hungary Bill
Hungary Bill GRM+ Memberand UberDork
3/8/17 9:05 p.m.

Hey, it wouldn't be fun if I didn't leave you in suspense!

I'm just running a bit behind. I should have video of the carnage (car-nag? no?) uploaded late tonight

darn work anyways

Crackers
Crackers Reader
3/8/17 10:43 p.m.

The globs on the gun are definitely not normal. Your paint needs to be thinned down more. What kind of primer are you using? (Type not brand)

Having the fluid control open too far can cause your tip to gunk up too, but it should be dumping out paint and causing runs everywhere before getting that far if your viscosity is appropriate.

ETA: On review, for high build a 1.7 tip is probably too small. You can make it work by thinning it, but you will probably get runs if you still try to lay it down heavy. If your product will still set up properly with the extra thinner/reducer you can lay down more coats to make up for it.

Hungary Bill
Hungary Bill GRM+ Memberand UberDork
3/9/17 12:30 a.m.
Crackers wrote: The globs on the gun are definitely not normal. Your paint needs to be thinned down more. What kind of primer are you using? (Type not brand) Having the fluid control open too far can cause your tip to gunk up too, but it should be dumping out paint and causing runs everywhere before getting that far if your viscosity is appropriate. ETA: On review, for high build a 1.7 tip is probably too small. You *can* make it work by thinning it, but you will probably get runs if you still try to lay it down heavy. If your product will still set up properly with the extra thinner/reducer you can lay down more coats to make up for it.

I used Europrime AP-8040. 2-part acrylic urethane primer. I mixed at a 4:1 ratio with Medium activator before spraying my first coat, and on the second coat I mixed a little more activator in (and got better results, which goes exactly with what you were saying)

datasheet

I guess that explains the huge amounts of orange peel

After 2-coats, I did get it completely covered and I dont see any traces of any of the under layers poking through so I was planning on leaving it the way it is unless you think I should hit it a third time with something thinner.

I'll tell ya though, this stuff didn't run to save it's life. It was a lot like shooting drywall texture

I was wondering if the low temperature (around 38deg f) might have had something to do with the high viscosity too...

good times

Hungary Bill
Hungary Bill GRM+ Memberand UberDork
3/9/17 3:27 a.m.

this ancient video camera of mine wont connect to my ancient home laptop.

But I owe you guys an answer on yesterday's progress, so here it is

now... there are three videos and a post or two in between, but you get the idea

1 ... 29 30 31 32 33 ... 35

You'll need to log in to post.

Our Preferred Partners
B145tUotocSTMKzlT0tfnNu0liCbRuld0VaJiViTQTxBdDKKRJBxNBaUN5IFXiAD