I'll concur about the locker in a 2wd (or 4x4 in 2wd).
It's astonishing what a locked rwd can do that a non-locked one cannot.
I'll concur about the locker in a 2wd (or 4x4 in 2wd).
It's astonishing what a locked rwd can do that a non-locked one cannot.
ebonyandivory wrote: I'll concur about the locker in a 2wd (or 4x4 in 2wd). It's astonishing what a locked rwd can do that a non-locked one cannot.
like sweet smokey burnouts
In reply to MrChaos:
Most of my stuff can barely spin one tire. With TWO contact patches to overcome, forget it!
Now then, time for another larger project: Making the windows open! This van, like most cargo vans, doesn't have much airflow compared to a tent. That's because only the front windows open. Most people would be content with that, but most people aren't camping in them.
 I'm not most people.
While most Econolines have fixed windows like so:
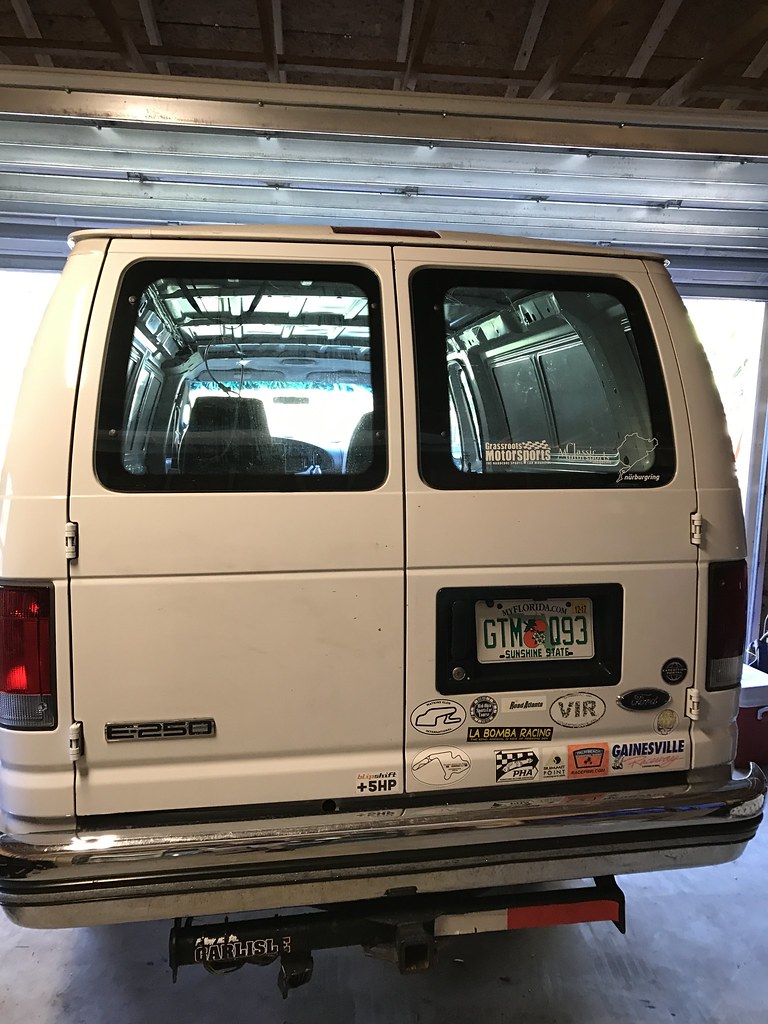
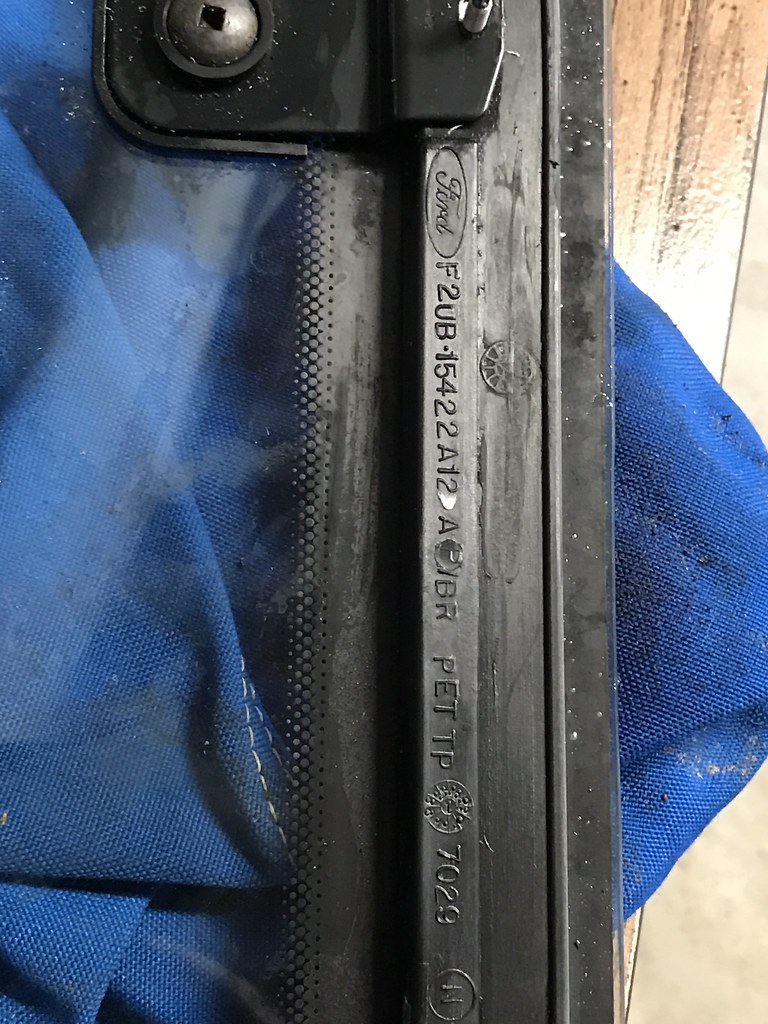
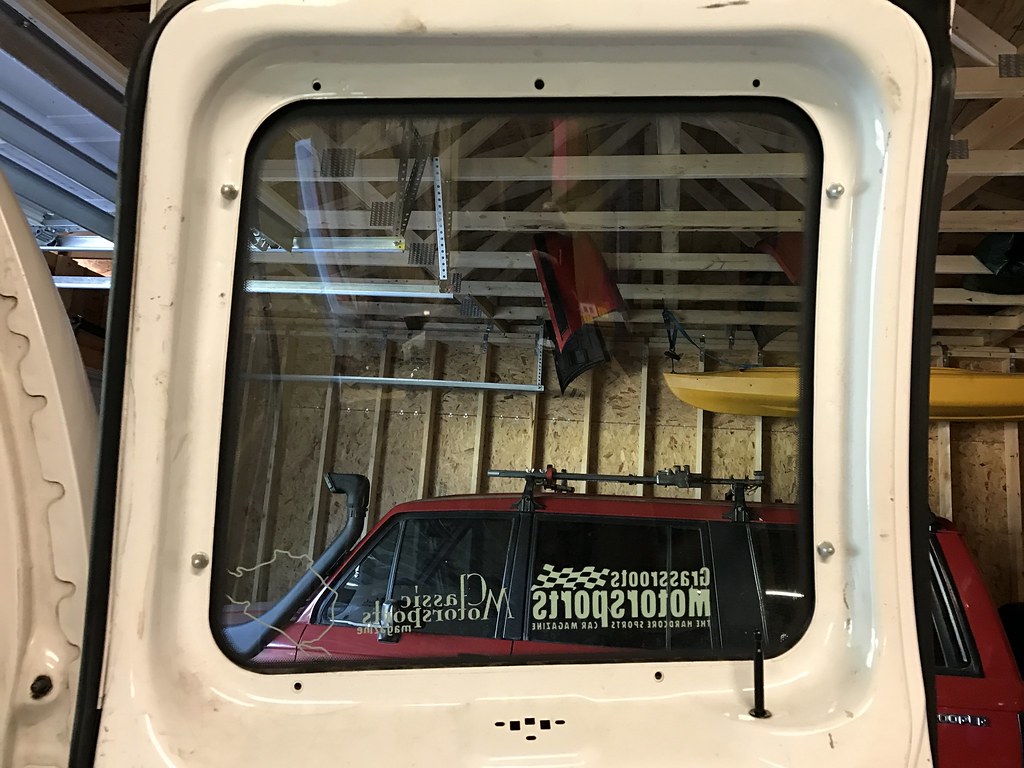 Some had pop-out windows all around. The internet seems to think Ford stopped making pop-out rear windows after model year 1994 or 6 or whatever because people were driving around with them open and inhaling exhaust, but I couldn't find anything definitive to support that. Either way, junkyards are so full of these things that it wasn't hard to find a full set of pop-out windows and all of their associated hardware. Total cost? If I remember correctly, about $100.
Step 1: Cut the old butyl tape.
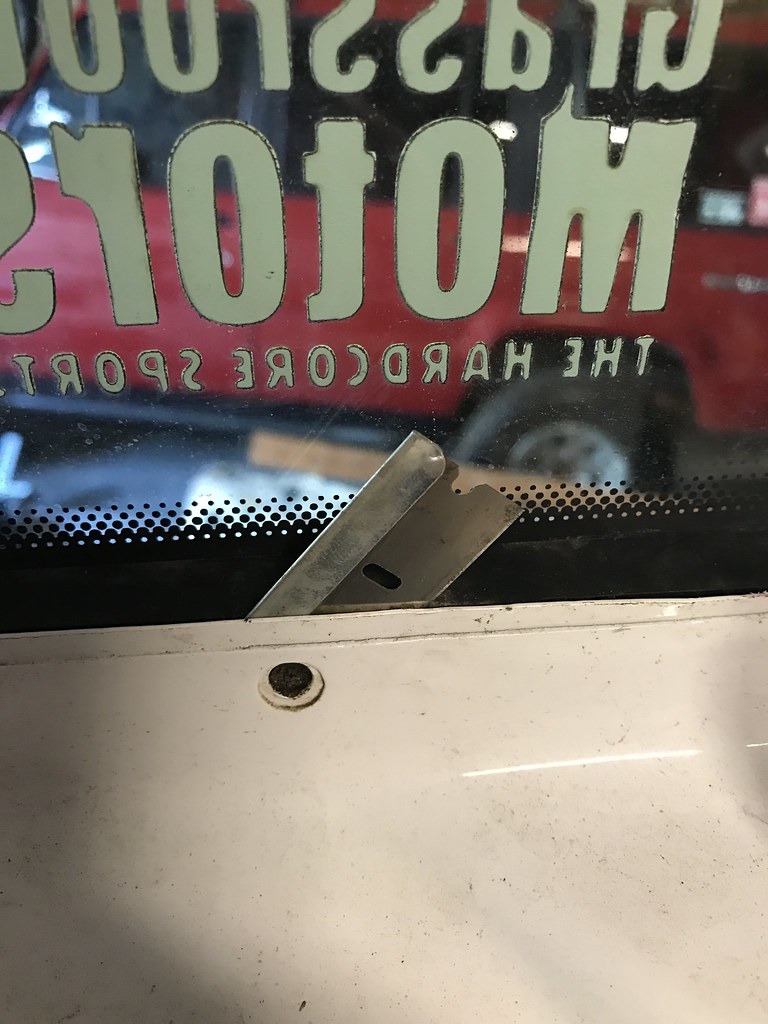
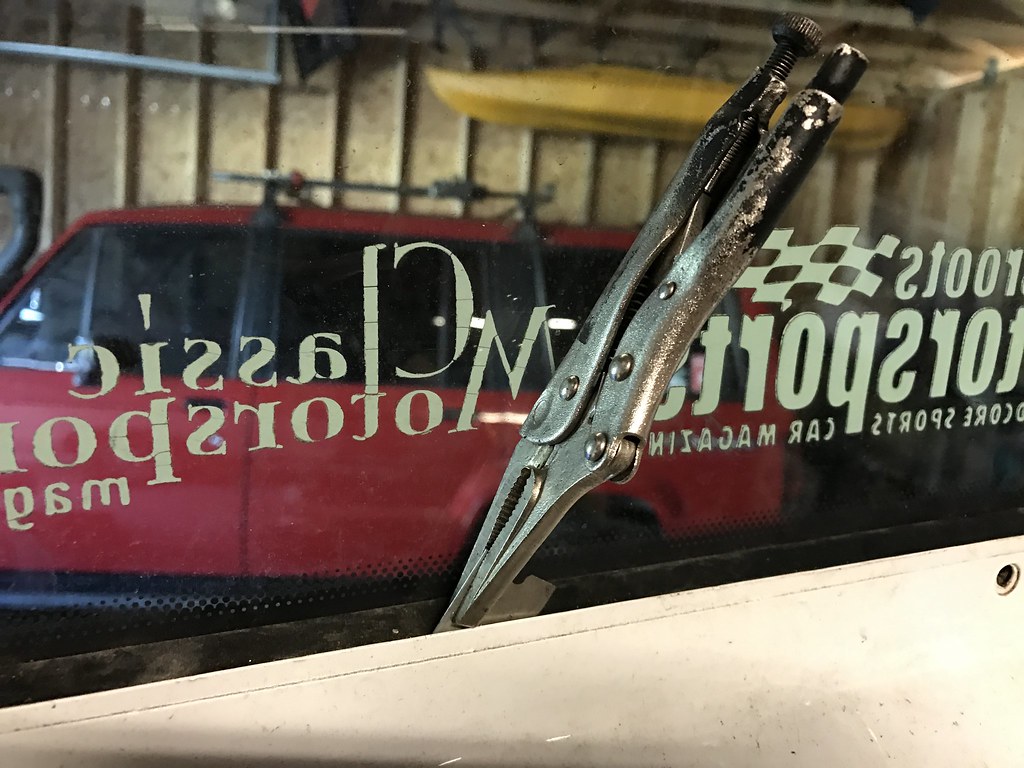
And after unscrewing a few nuts, you're window-free:
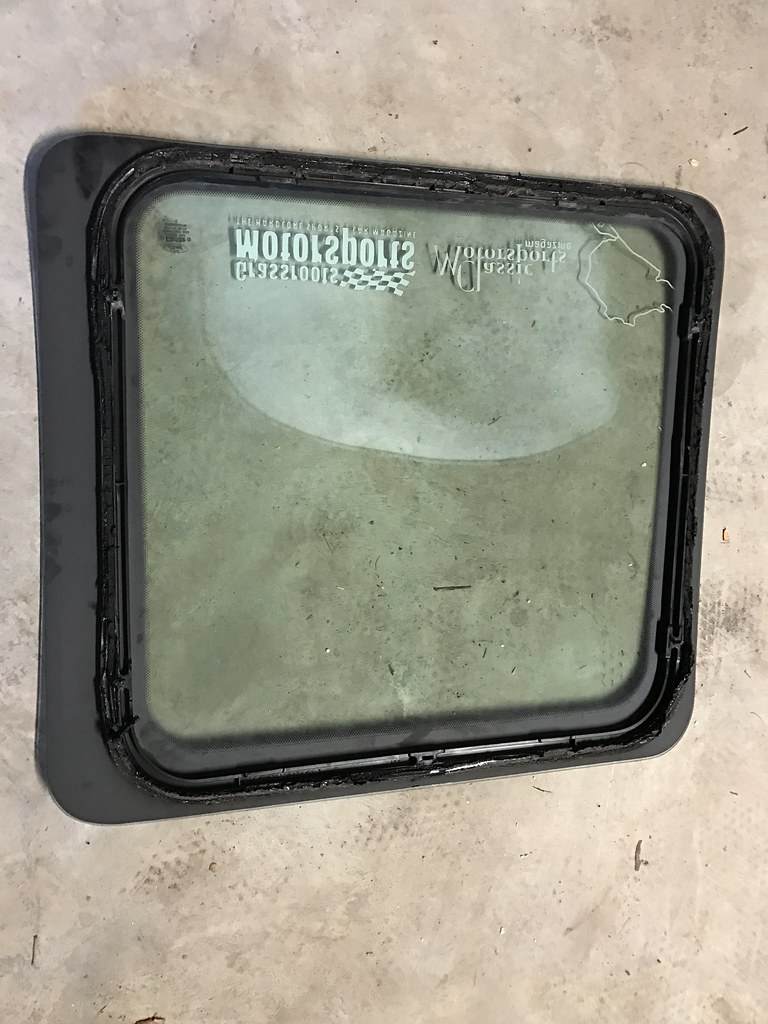
But, you've still got the old tape.
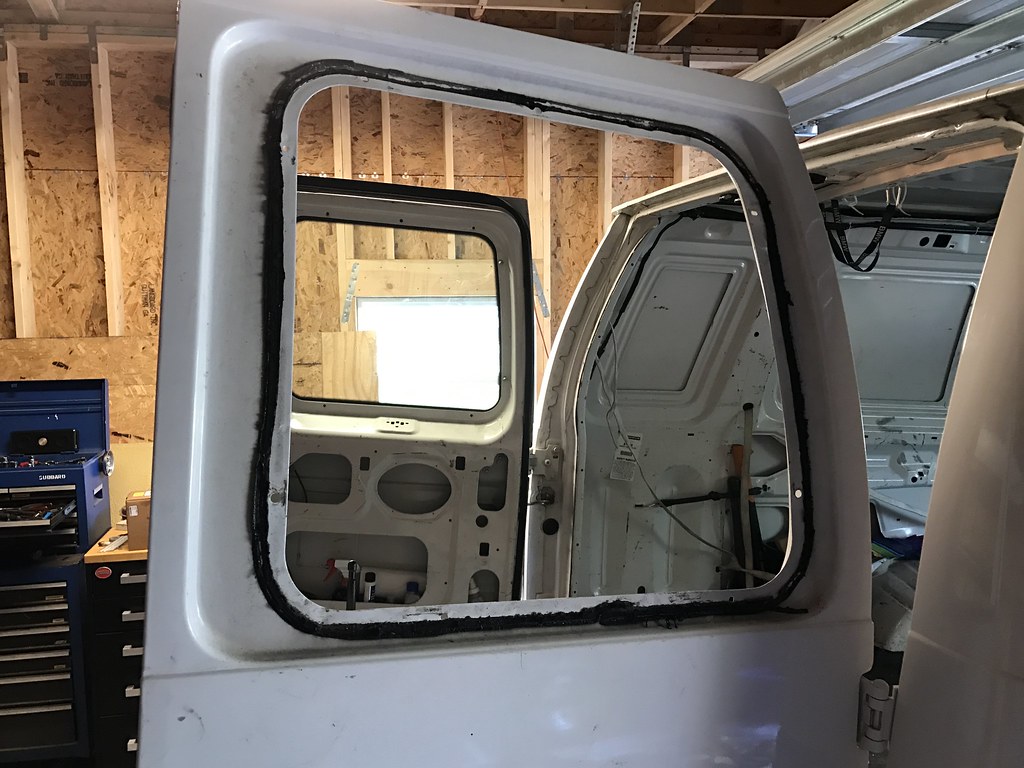
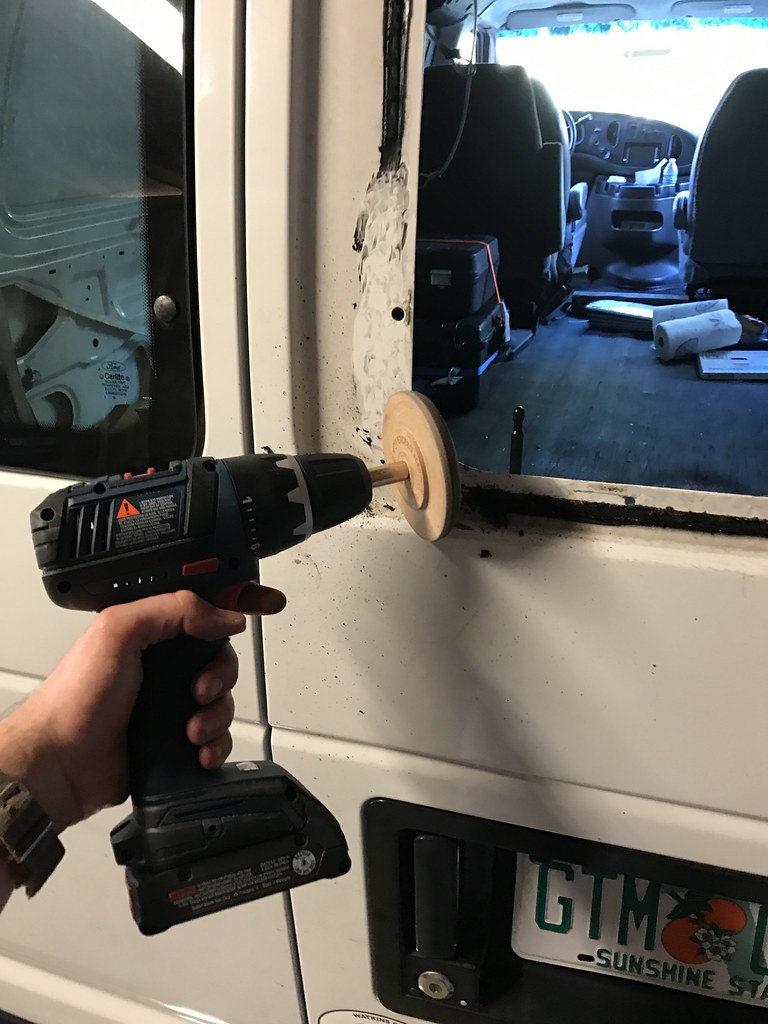
Clean that off with an eraser wheel and Prep-Sol (not at once!), and you're left with a nice, clean surface.
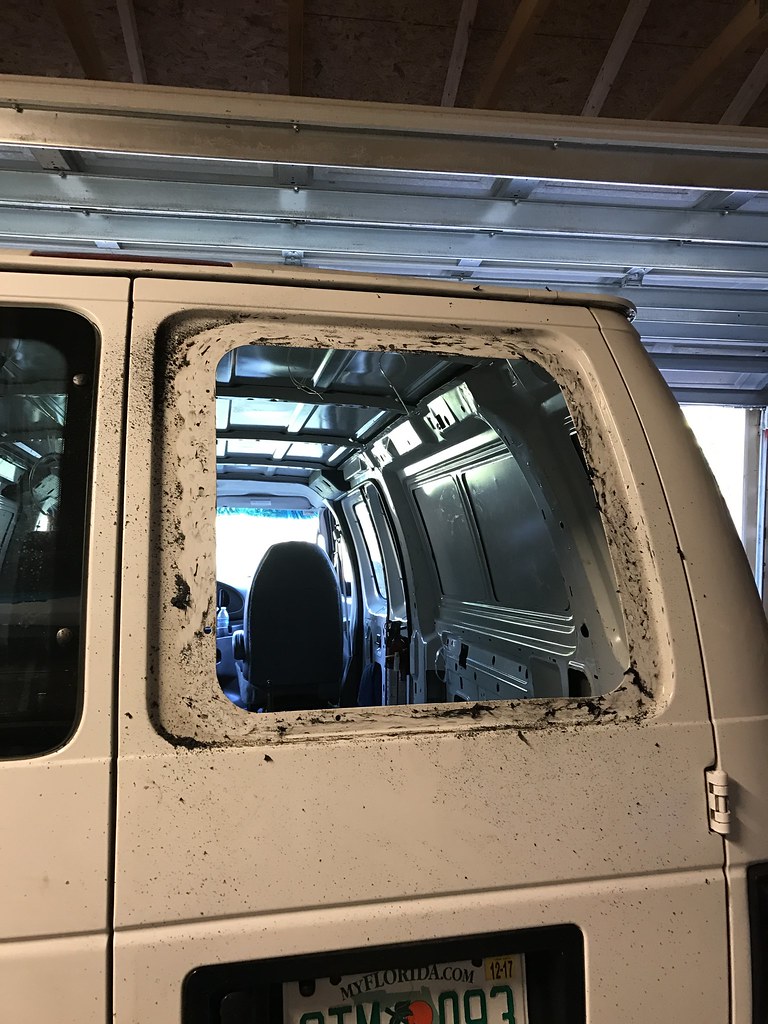
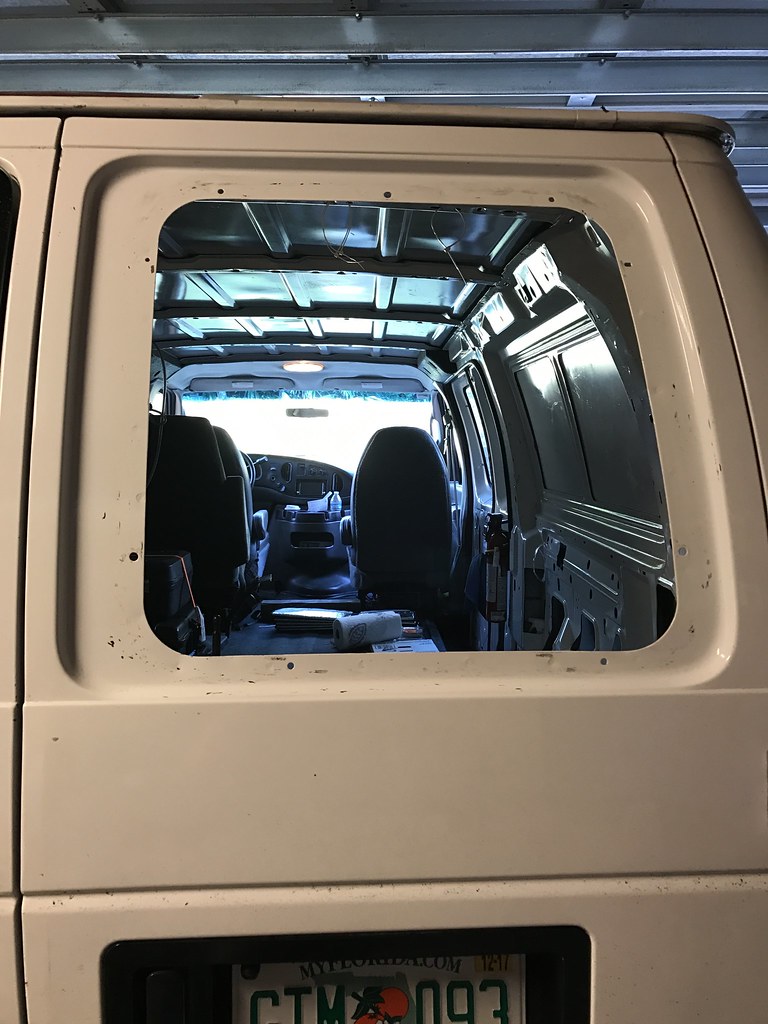
Next, we'll prepare our new window/frame combos.
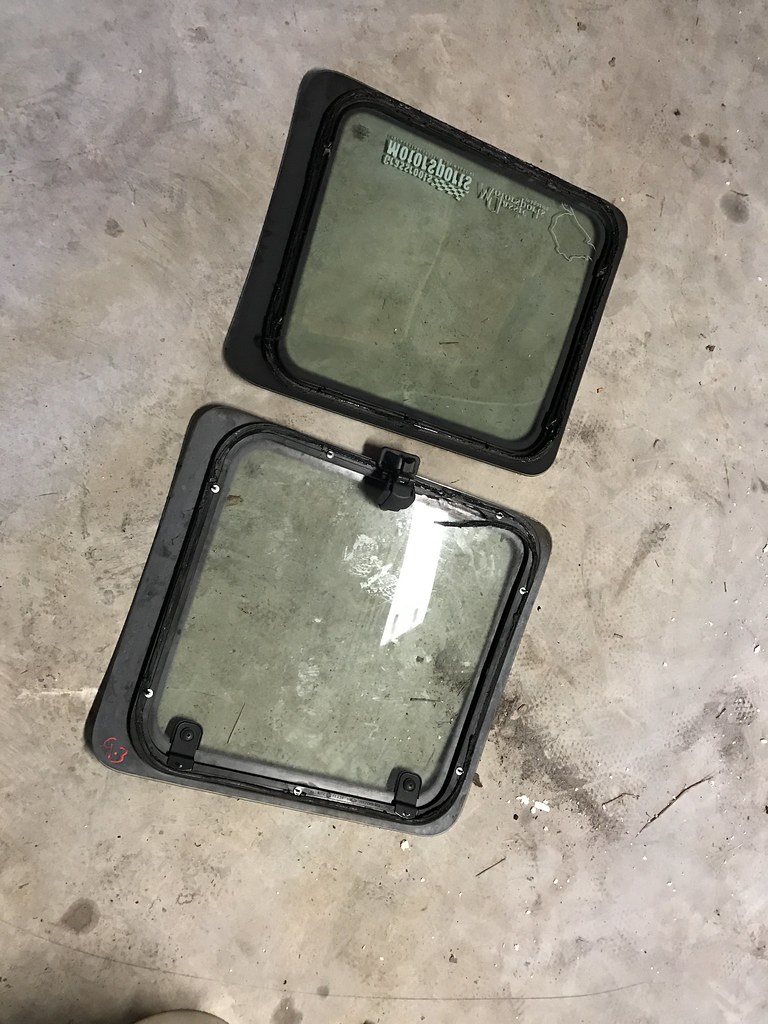 These have old tape on them from the junkyard, so use a screwdriver and more Prep-Sol to clean them, too. Don't scrimp on the prep work–they'll leak or rust or fall off if you do.
 Then, put new butyl tape on the window, pop it in, bolt it down, and you're done!
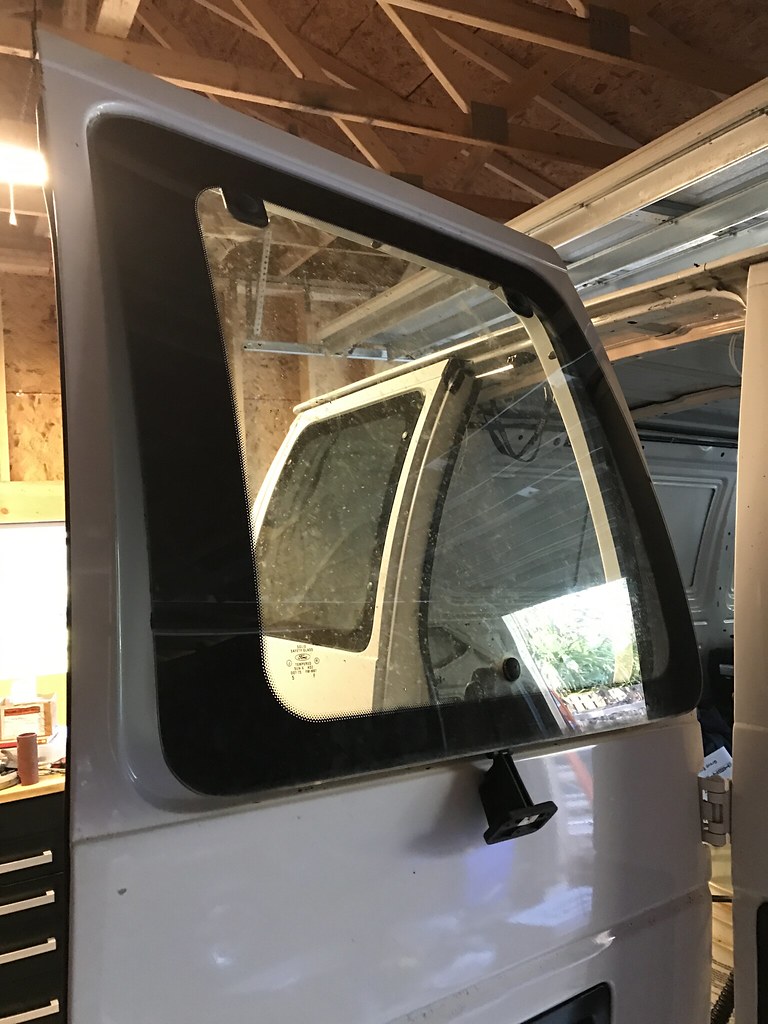
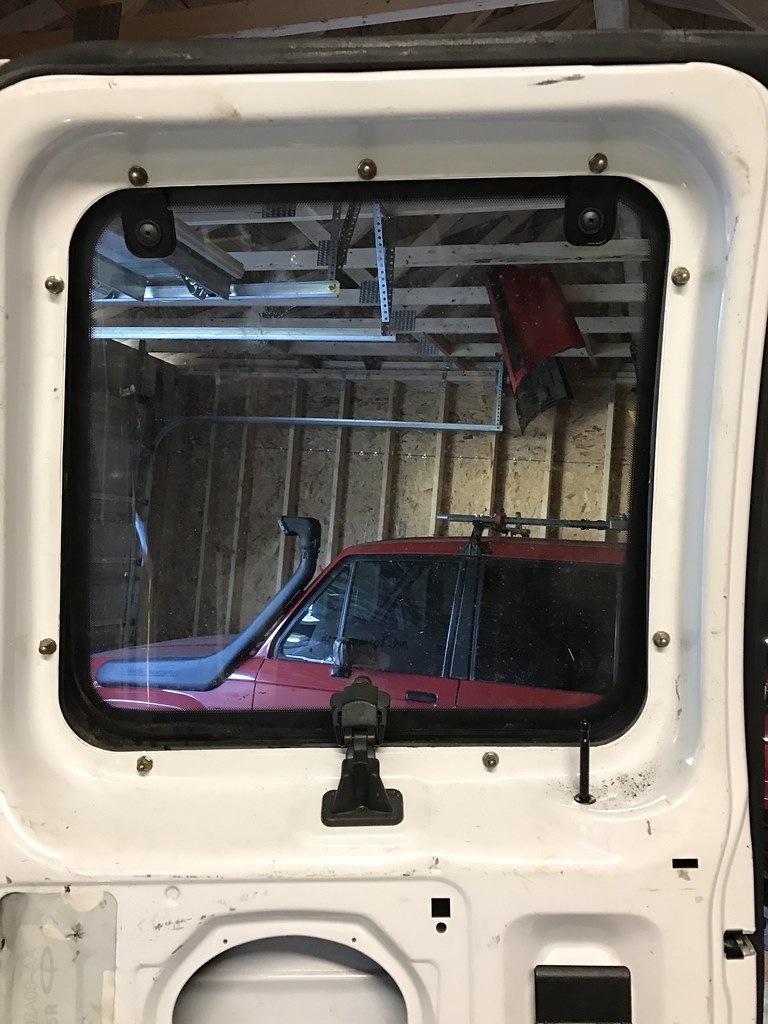
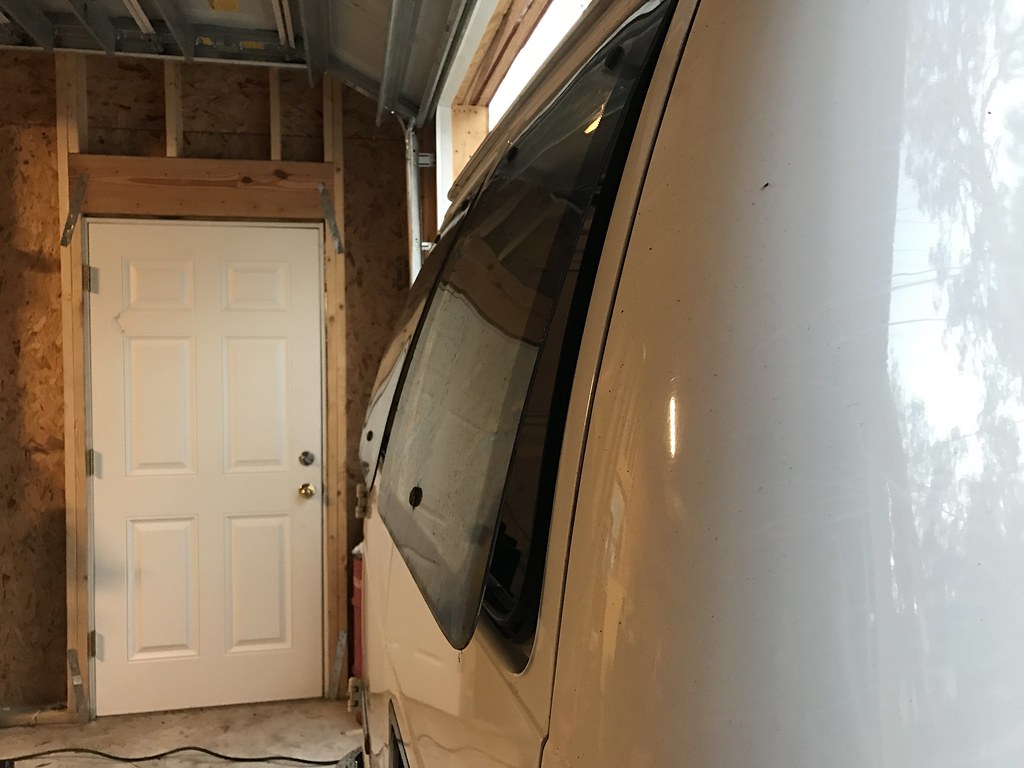
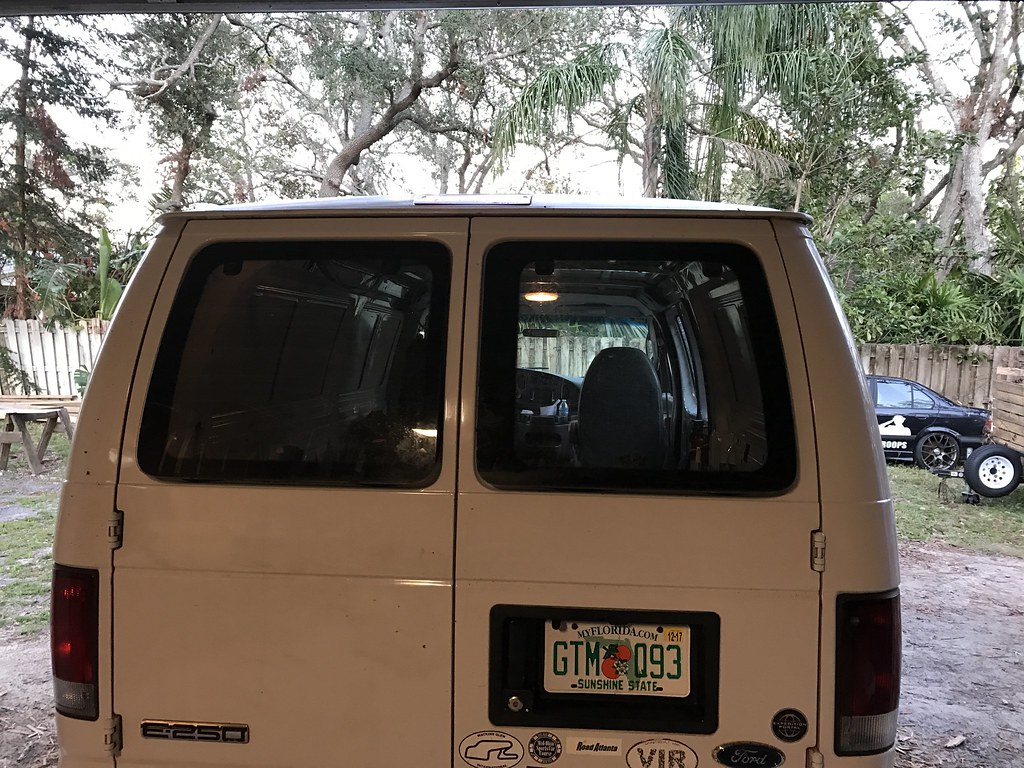
Then, it was time to finish installing pop-out windows. After I finished with the sides, Nicole walked out and asked about curtains. I already had a plan... TO THE LINEN CLOSET!
But first, my design goals:
Without further ado, here's how we did it:
Step One: Buy some magnets from your local Home Lowesnards. You'll need 16 strong bricks, and two little hook magnets. Buy a wooden dowel, too. Then go back in time and buy some cheap sheets for your freshman dorm. Use them for a few years, then put them in the back of your linen closet once they're worn out and you have a house and an adult-sized bed. That's it! You have everything you need.
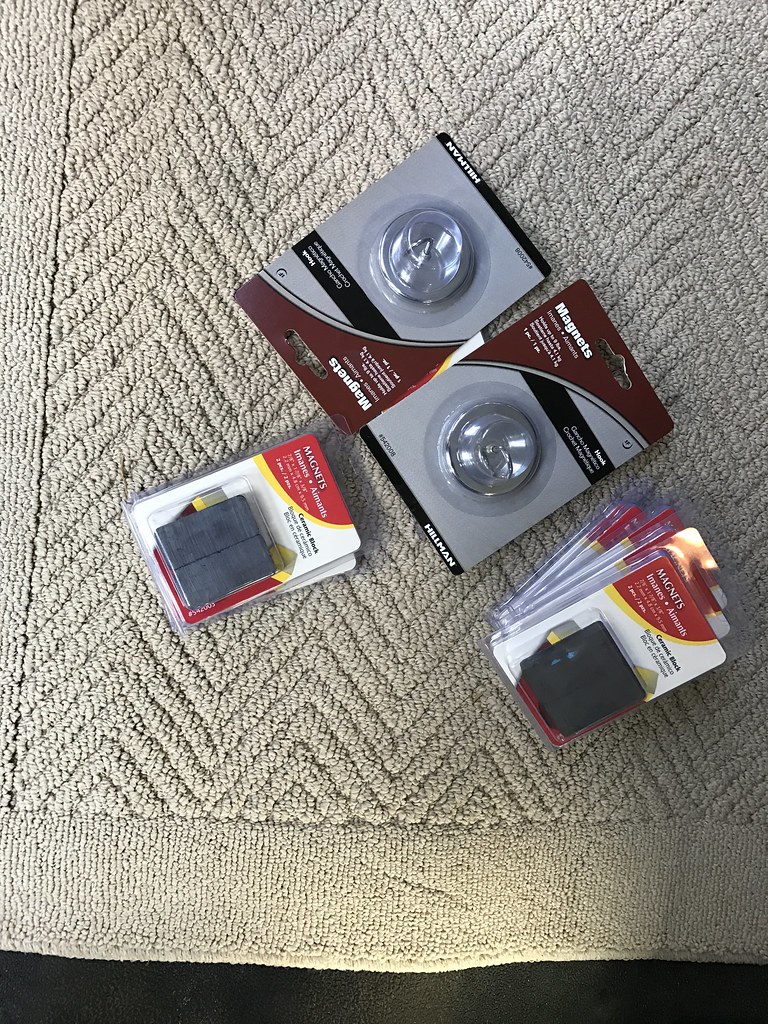
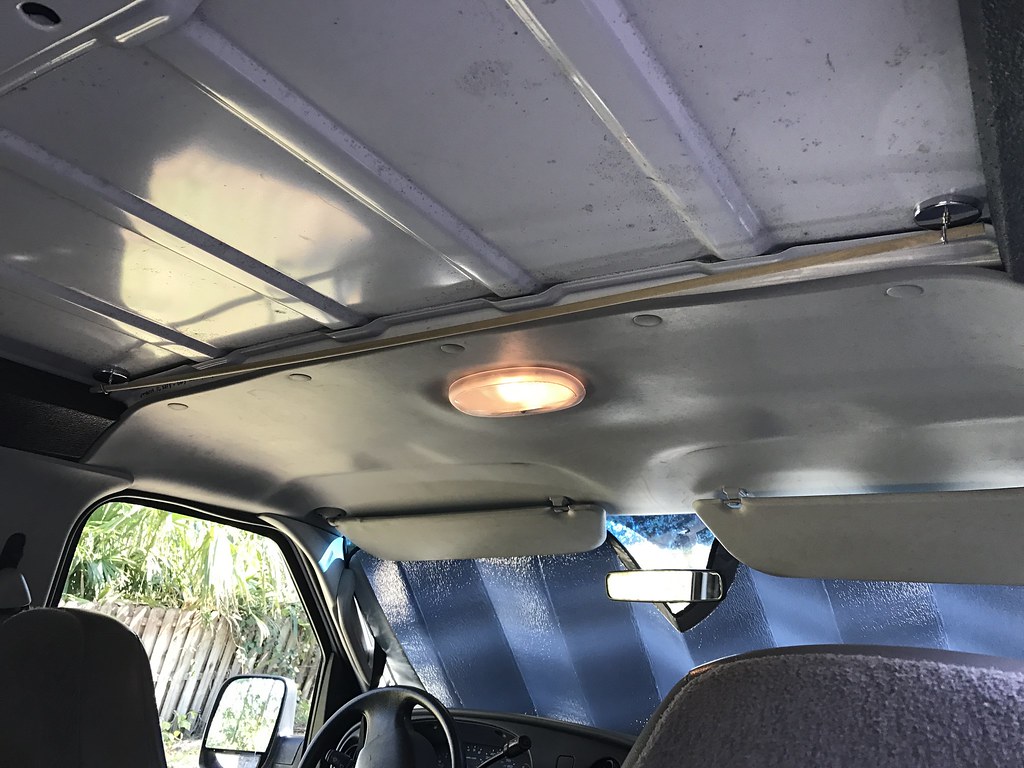
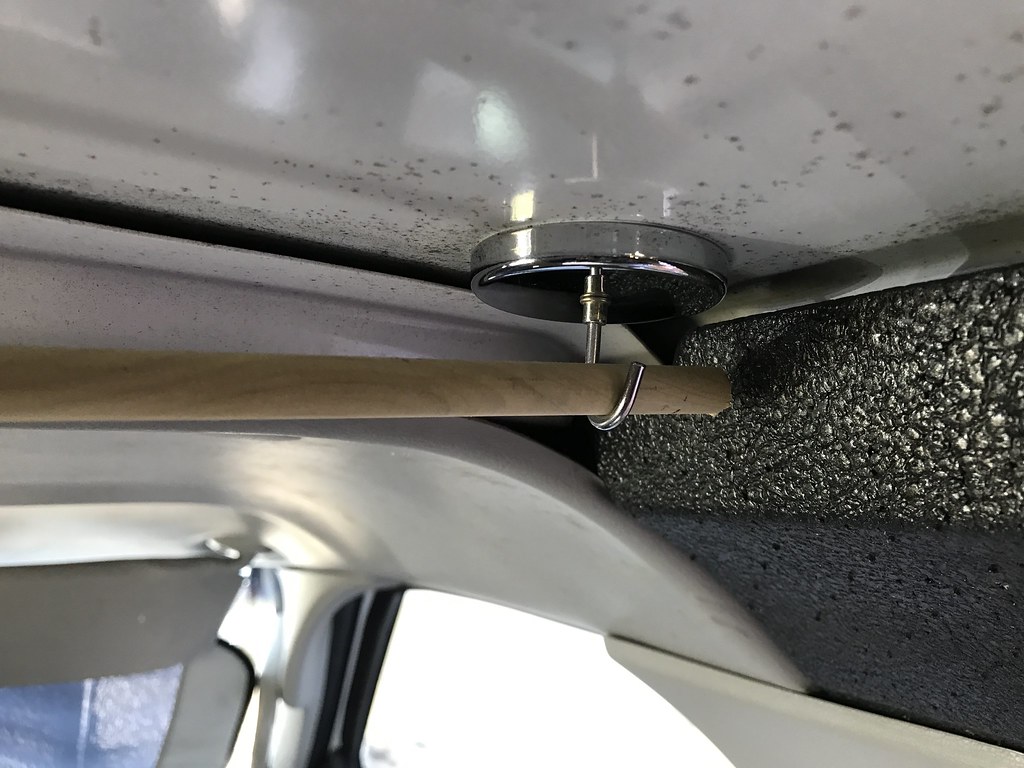
Step Two: Cut up your sheets!
Ta-dah! You've got a set of cheap, durable, rattle-free curtains that stow in a small bag when you're towing a race car.
Have you thought about screens for the pop-out windows? I'd figure that would be a priority down there in the land of flying things that suck blood... definitely a priority up here.
I like the folding futon idea, although I'd look into some sort of platform so you can store gear under it.
I've thought about screens, but honestly around here the bugs aren't too bad. The curtains keep them out fine.
And yes, the futon will be turned into a folding metal platform soon.
If you're doing much sleeping in there, consider a rooftop vent, as well. If you're feeling flush, get one with an extractor fan. All that hot air rises, and the pop-out windows you installed are too low to extract it.
Yeah, that's definitely on my list. Just gotta muster up the courage (and the $300) to cut the hole.
I am looking at picking up a ScanGauge II next, because I'd like to know my transmission temperature when towing. Does anybody know if it will read trans temp on this van?
In reply to Tom Suddard:
Looks like it should.
https://www.scangauge.com/x-gauge-commands/ford-lincoln-mercury/
Time to catch up on some updates...
I put in a battery-powered CO detector. It should add a layer of safety to sleeping in this thing.
Then, we went on a new year's eve kayaking trip to Juniper Springs with a few friends.
 Camp:
<img src="
 " />
" />
Naturally, it rained. No problem–the van is a living room wherever you go!
Here's the basic layout. These were taken after the long weekend, so things are a bit of a mess, but you get the general idea. Front has my chair, 12V fridge, blue bin of food and kitchen stuff, bucket, fan, light, etc. Rear has a bed, trash can, tie-downs, life jackets, water, umbrella, shovel, axe, and a tool box on top of a pelican case that acts as a table and stores more tools and supplies. It's not fancy, but it's super easy to reconfigure and dirt cheap. It works well enough that we don't have any immediate plans to build a "real" interior for the van.
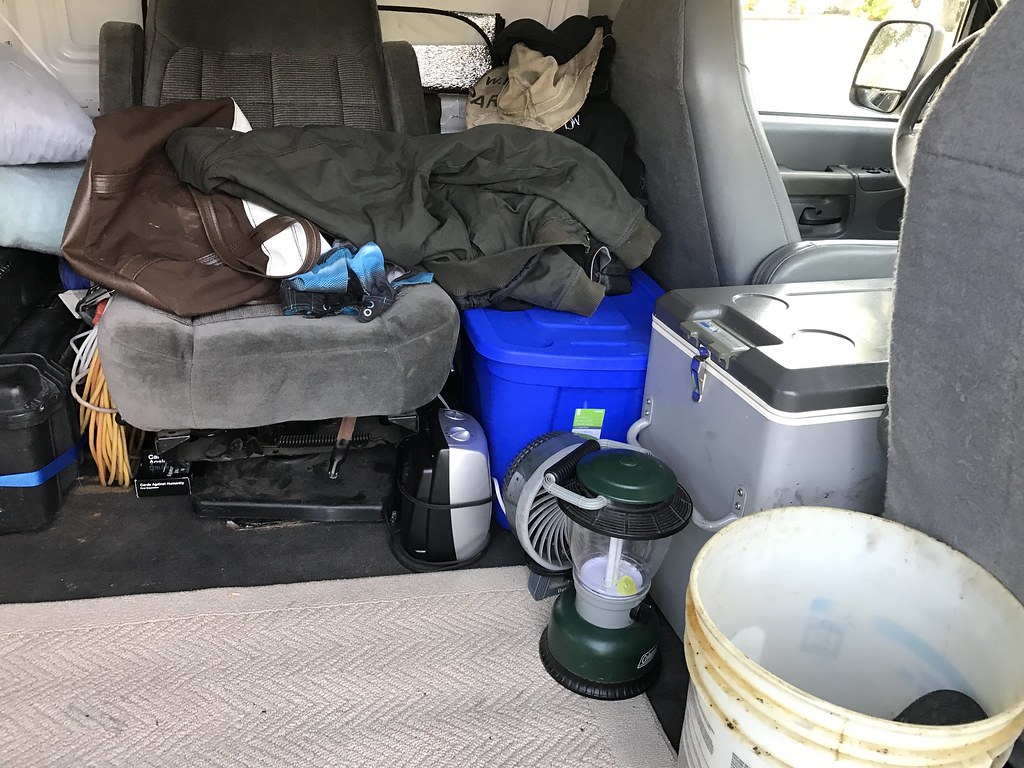
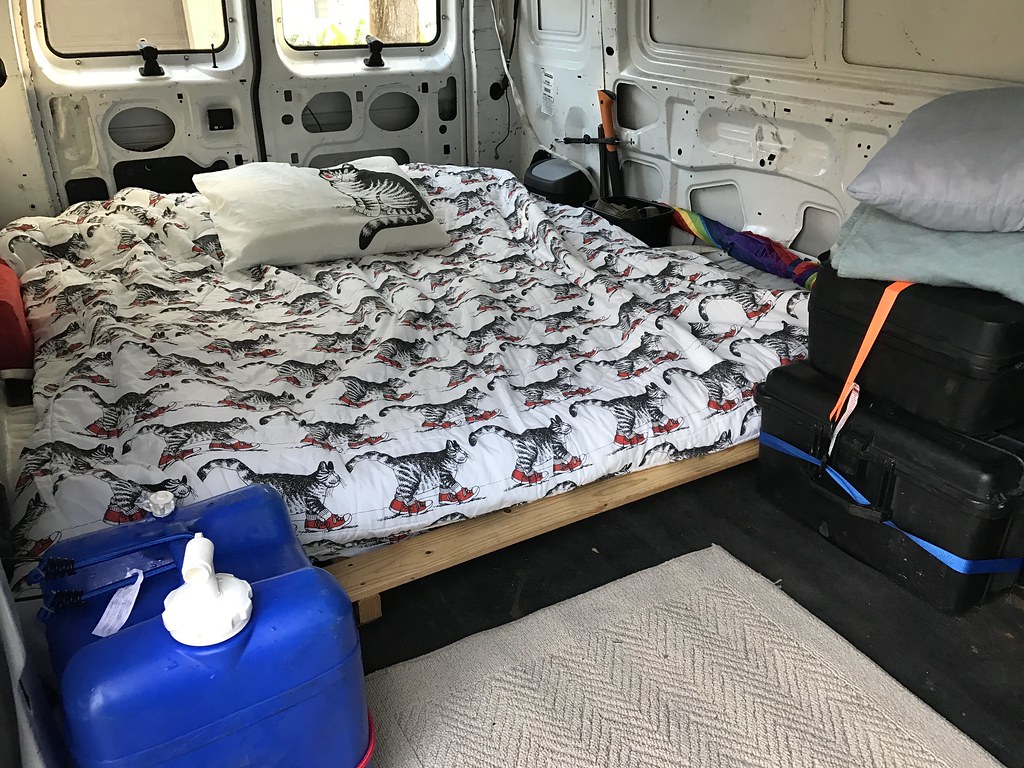
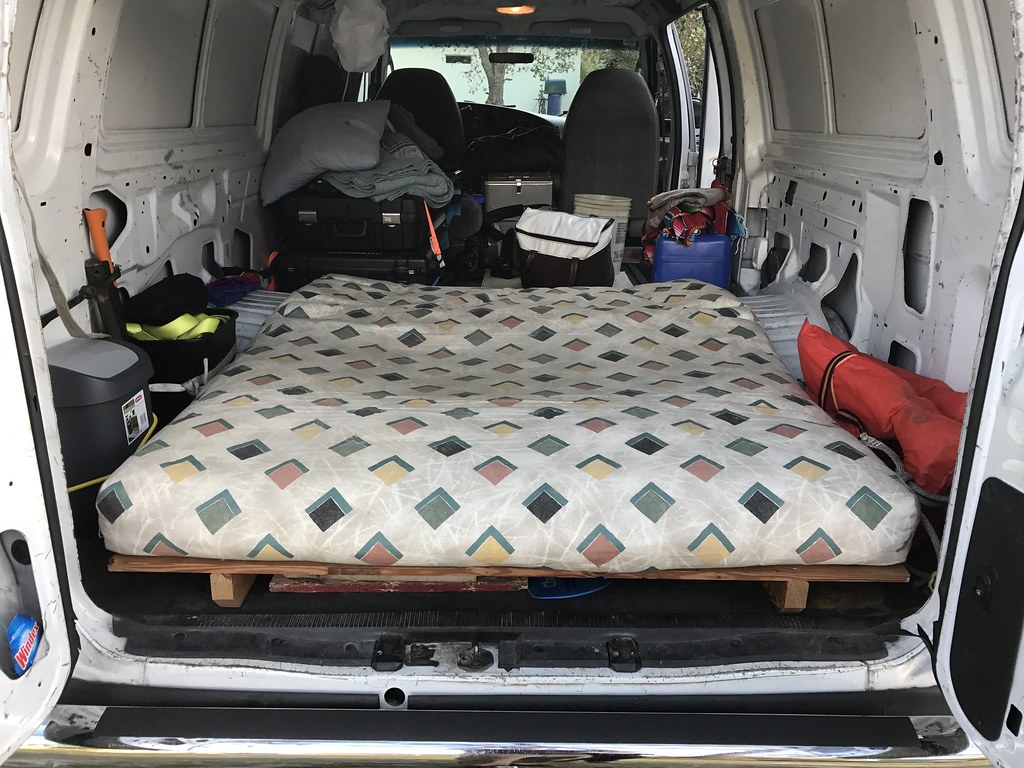
And yes, I vacuumed the poor thing. It was getting pretty dusty.
That's enough having fun... time to drill some more holes!!
I already covered my inverter installation, which is a great way to charge phones overnight, or run high-powered stuff while the engine is running. However, I often have a little bit of power when I'm camping, especially when I'm at race tracks. It's not 30 amp service or anything, but many times there's a 110 outlet I can reach with a 50' cord.
It would be awesome, especially in the winter, to be able to bring that power into the van safely, securely, and neatly. AKA without having to roll a window down and throw a cord into the van.
So I ordered one of these. It's a flush-mount power outlet with a 1' extension cord on the other side. Basically, it's the perfect way to bring power into the van without worrying about somebody popping the door lock open at the track, and without leaking heat in the winter.
(not pictured: touched up the edge with white paint so it doesn't rust)
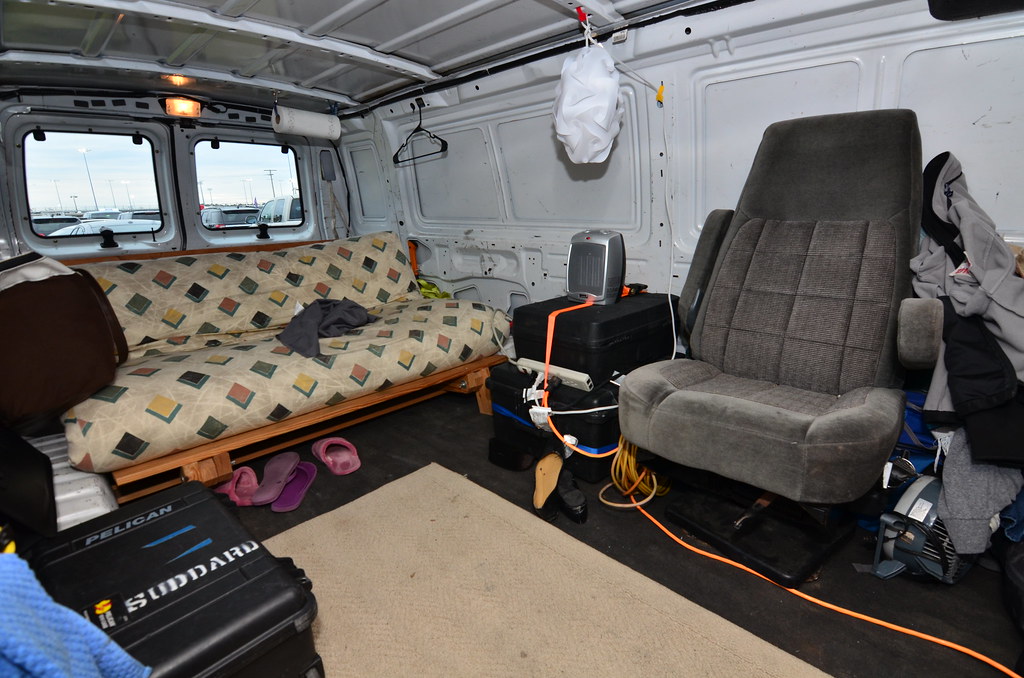
And shortly after installing it, we tested the new power cable out at the GRM Experience at the Rolex 24 At Daytona. It was really, really cold and wet that weekend, and we spent Saturday night at the track. The power outlet with a tiny space heater kept the van livable, though it's obvious that I need to add some insulation.
It's like a living room, but at the track! Notice my sweet feng shui lamp.
You'll need to log in to post.