With the recent brakes and new tires, the car was a lot better to drive, but it was still clunking and squeaking like crazy up front. For a long time, I suspected the rear motor mount and the transmission mount, so I ordered them up and tossed them in over the weekend. I have not seen a write-up on how to do this to a regular 2010-13 Mazda 3, so here you go! 
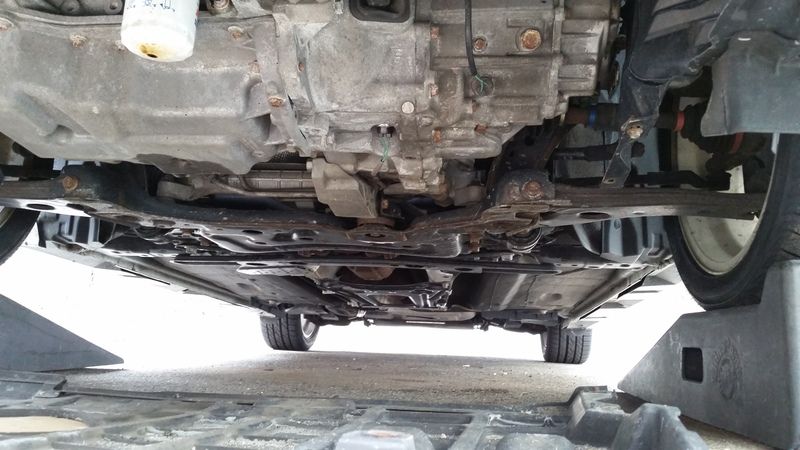
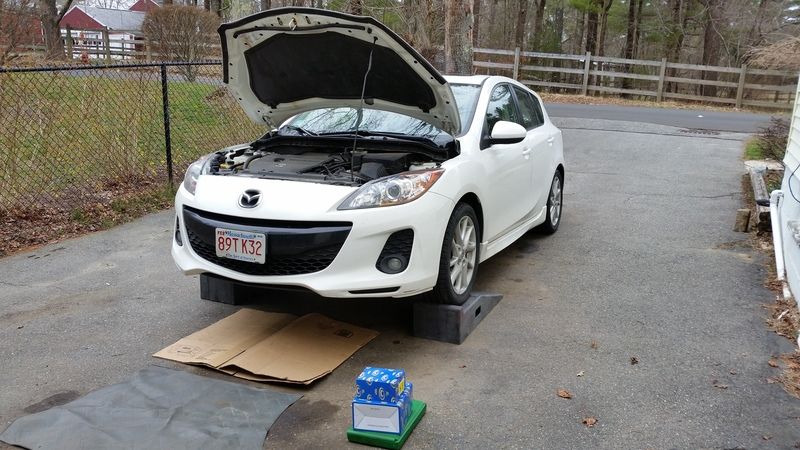 First step is to obviously get the car up in the air. You will need to remove the under tray, which requires a 10mm socket, an extension, and a panel puller tool or flathead screwdriver for two push pins that help hold the tray up.
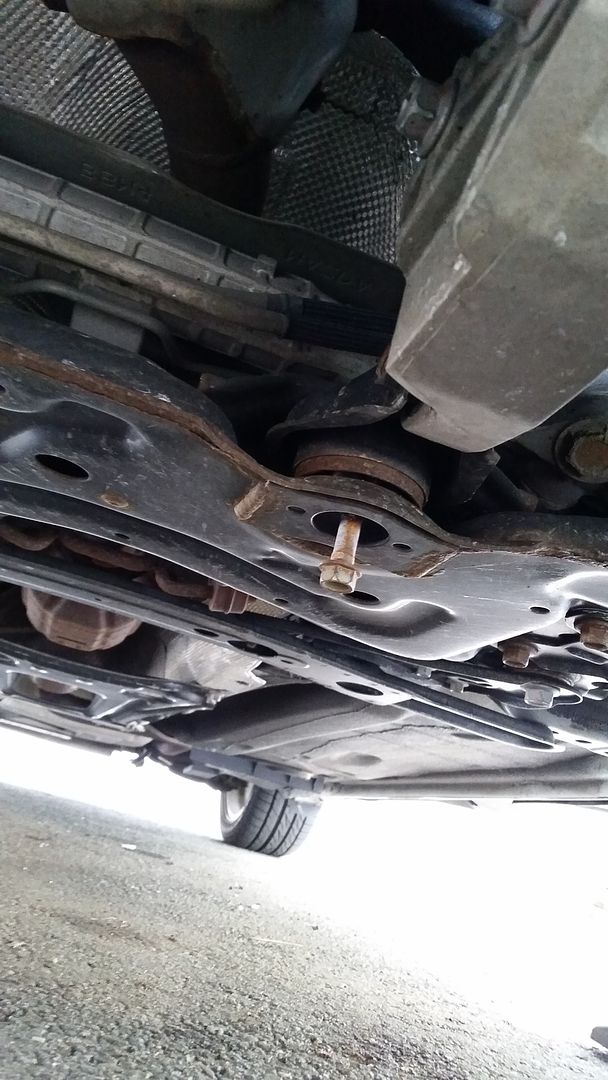
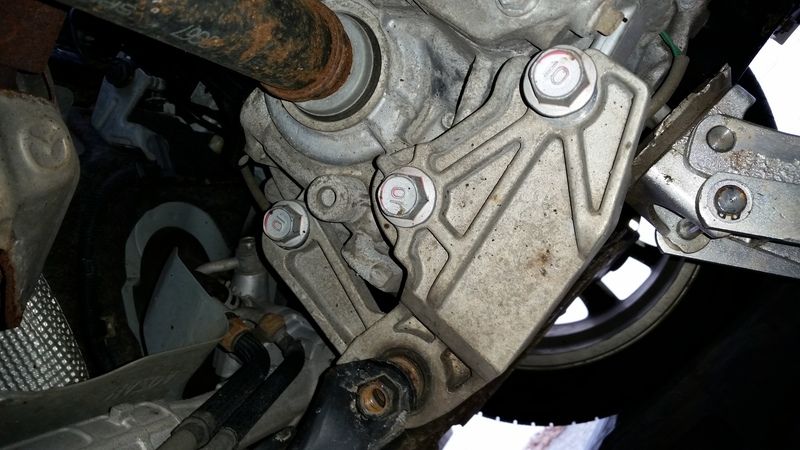
These cars have three mounts total: the driver's side has the transmission mount, the passenger side has a hydraulic motor mount, and there's a mount in the center under the car that acts as a pitch stop which attaches to the subframe. I ordered the parts from Rock Auto. Came to about $77 shipped for the transmission and rear mount. I checked the hydraulic mount for leaks, but it looked fine so I didn't bother replacing it.
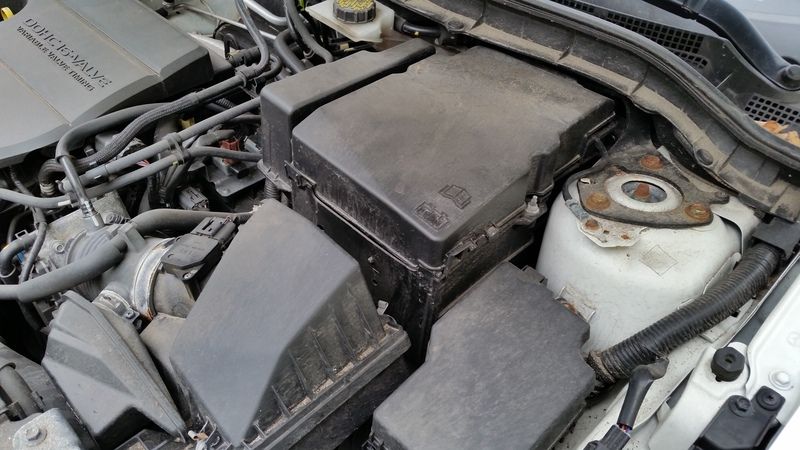
Pop the hood. See all this stuff? You have to remove a lot of it. The battery box/ECU holder, air box, and battery need to come out to access the mount. Basically, a 10mm socket removes most of that stuff.
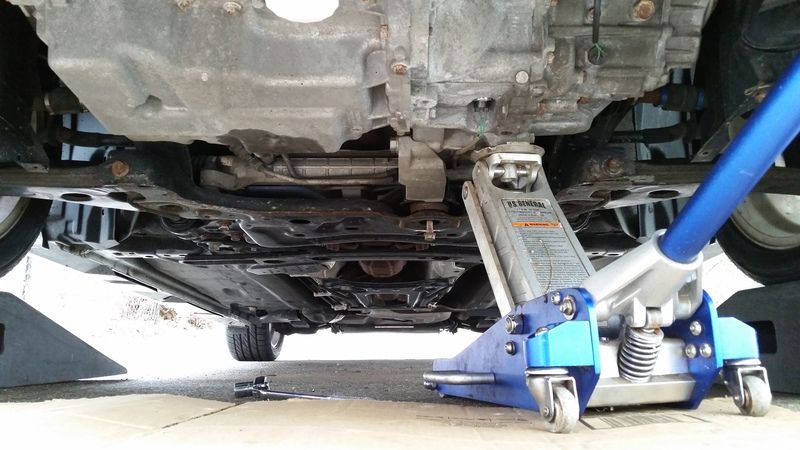
VERY IMPORTANT!!! Get a floor jack under that transmission! Find a decent place to position it and keep it there until the new mount is in. Your motor/transmission will not like you if you don't. Trust me.
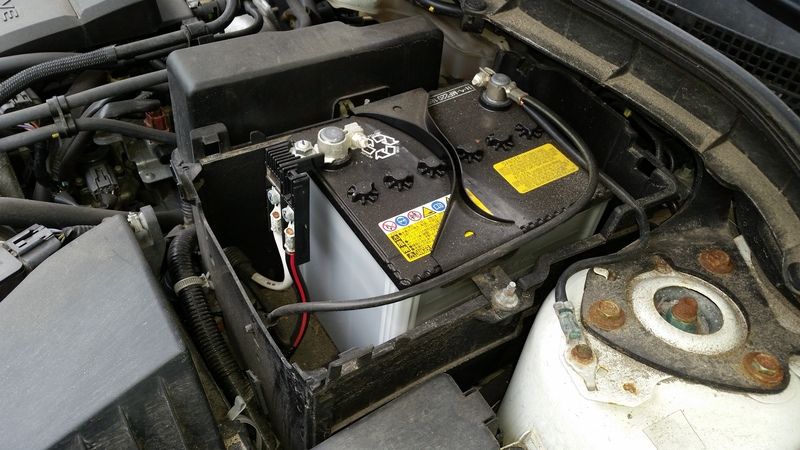 Pop the battery box cover off and remove the battery. The battery, hold down, and box itself are all 10mm bolts and nuts. Pretty simple.
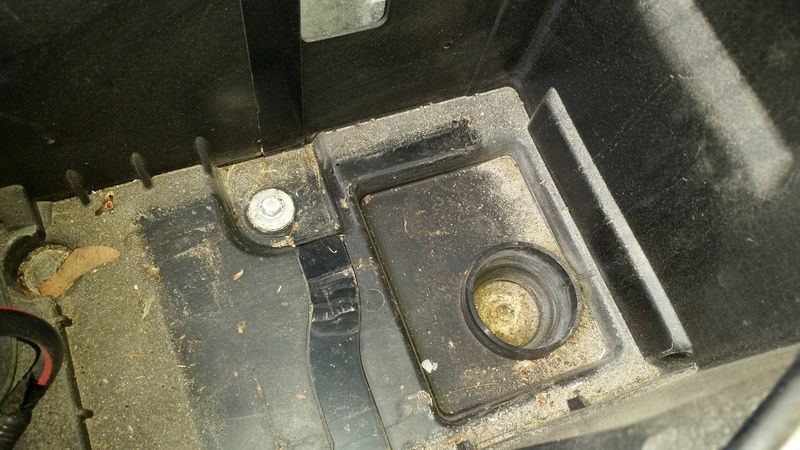
The inside of the battery box. Gross! The battery is OEM and has never been disconnected in over 108k miles! Remove the three hold down bolts.
Here's another shot of the inside of the battery box. The battery cables and the ECU wiring harnesses are attached to this panel of the box toward the front of the car. Push the pins in with a pair of needle nose pliers and remove them. Then, this front panel actually slides out. After that, you can remove the rest of the box.
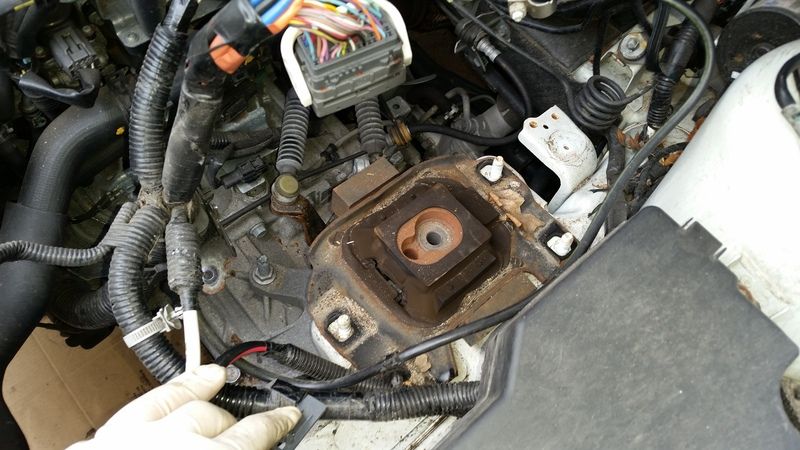
A view of the mount with everything out of the way. I forgot to take a pic of the airbox removal, but it's pretty easy. Remove the bolt to the core support, unplug the MAF plug, and loosen the clamp at the throttle body. Pop the two push pins out of the Transmission mounting bracket cage, and there you go. That big wiring harness up top is one of two that plug into the ECU. Lift the white lever up and it will plop out of the ECU. DO NOT pry it out! There's 4 nuts that hold on the mount to the unibody and one bolt that screws into the transmission itself. All of them are 17mm. The center one was really hard to remove; I had to use an impact gun to get it loose.
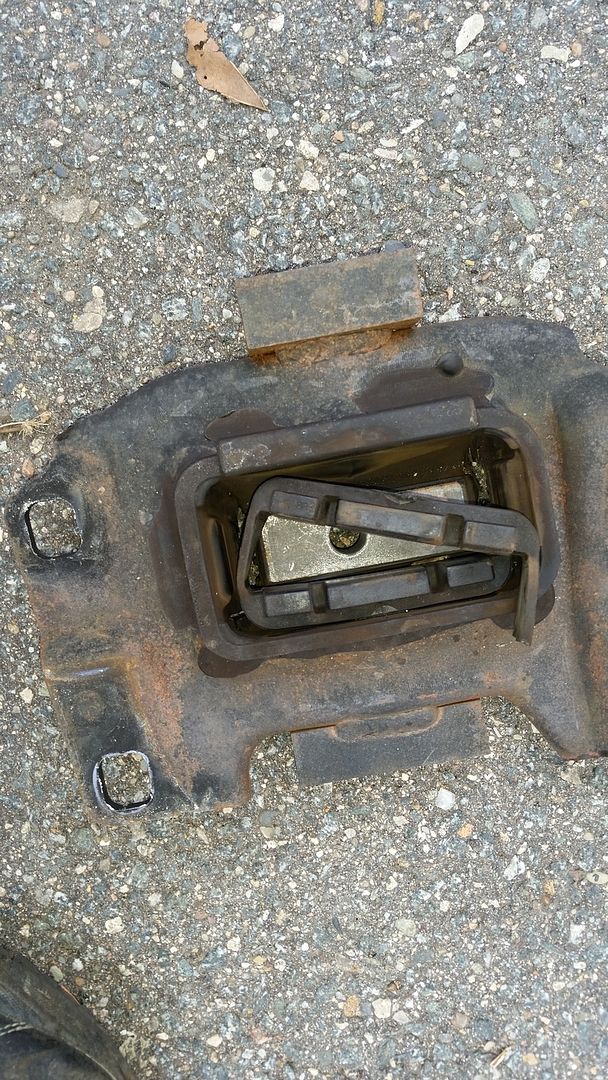
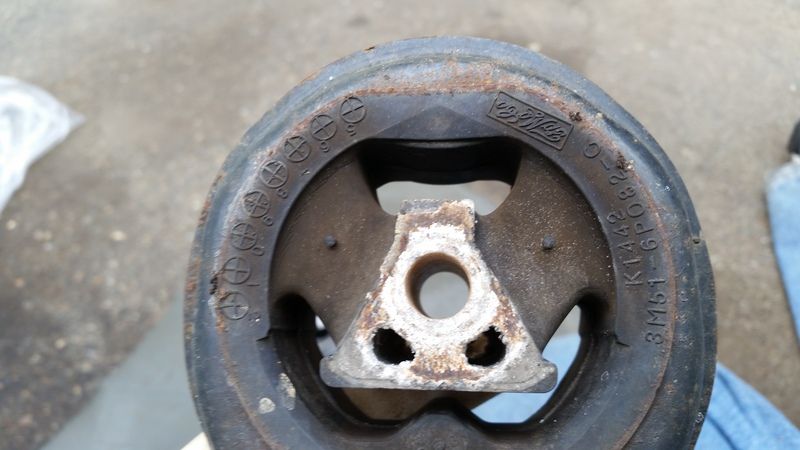
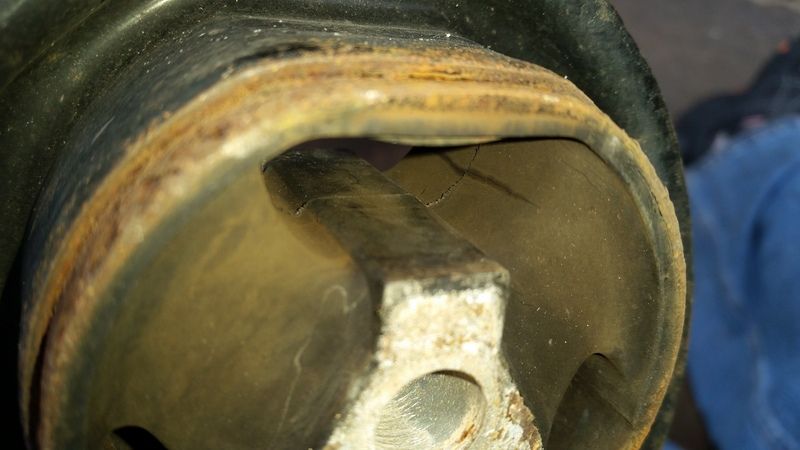
This is the old mount. It was shredded pretty bad. In addition, after removing the mount, I noticed some metal shavings under the mount. It was all kinds of messed up!
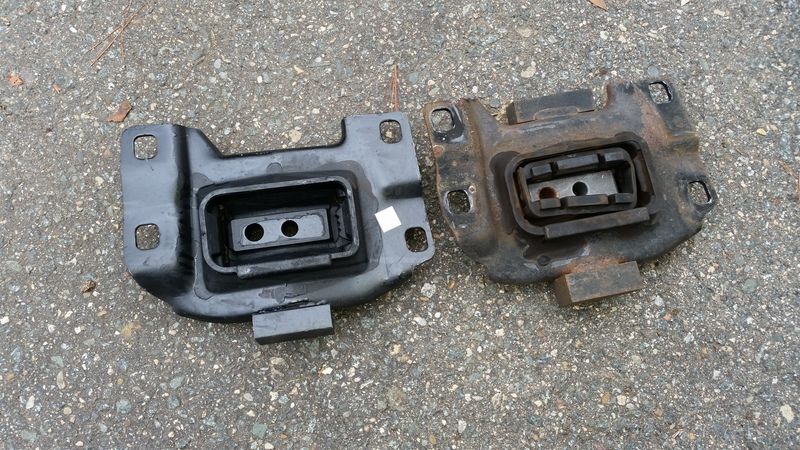
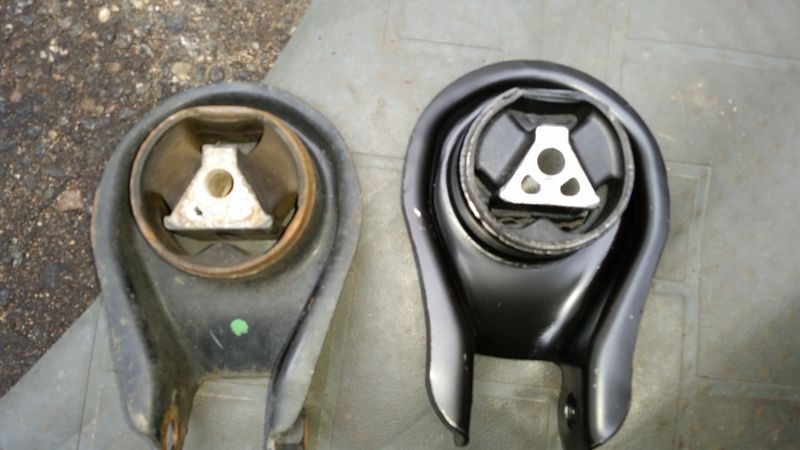
Here's the new mount next to the old one. Notice that the shredded part actually isn't part of the new mount. It has beefier rubber around the center section, though.
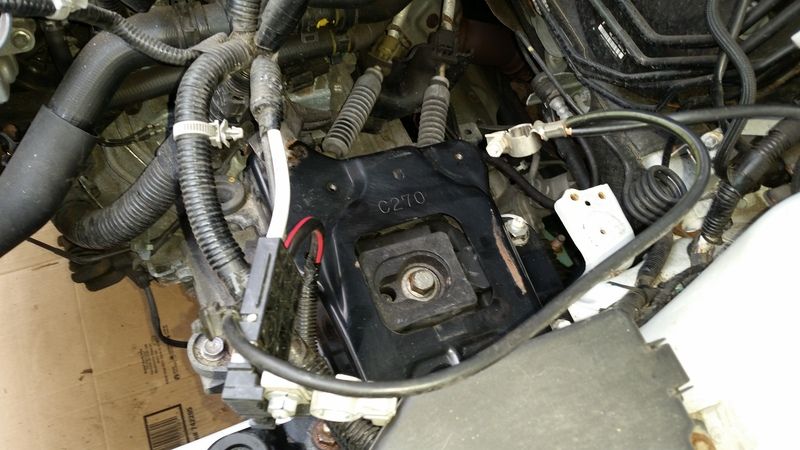
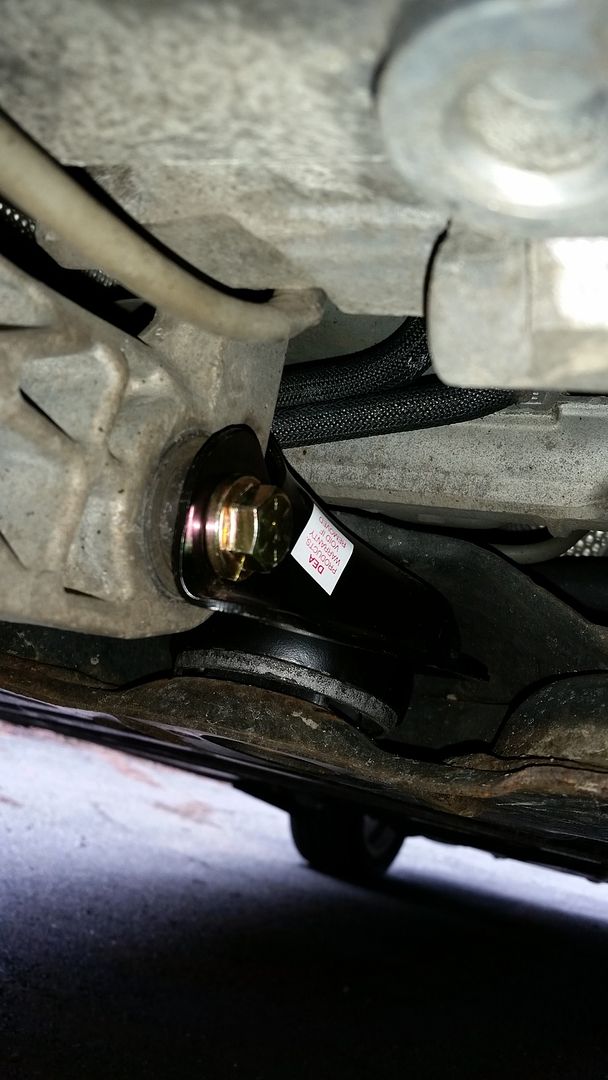
New mount installed under the "cage" that the battery box and air box attach to. The trickiest part of the whole install is lining up the mount to the transmission. There's a little dowel pin on the transmission that lines it up, and you have to get that in to line up the bolt hole. This is easier to do with a second person, but not terrible to do by yourself. Just make sure that jack is under the transmission! After that's done, just toss everything back in the way you took it out, and you are good.

![]() So, I was flying solo with the car. Luckily, it's been a great car and very easy to work on. This thread will serve as a log of all of the things I've done to it; basically, a maintenance log of sorts, but others can reference it too.
So, I was flying solo with the car. Luckily, it's been a great car and very easy to work on. This thread will serve as a log of all of the things I've done to it; basically, a maintenance log of sorts, but others can reference it too. ![]()


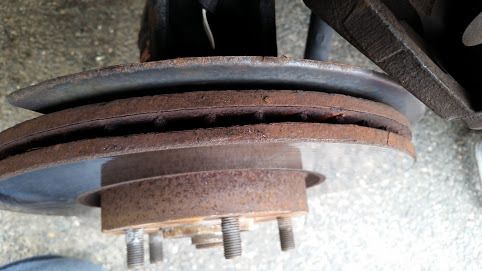
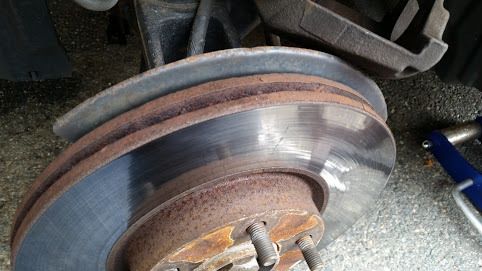
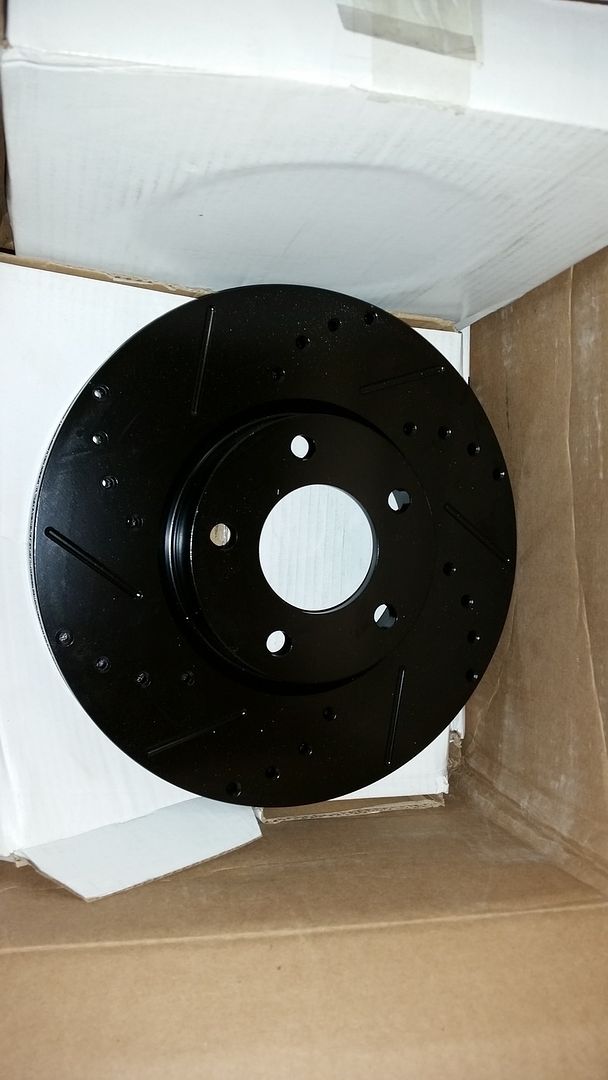
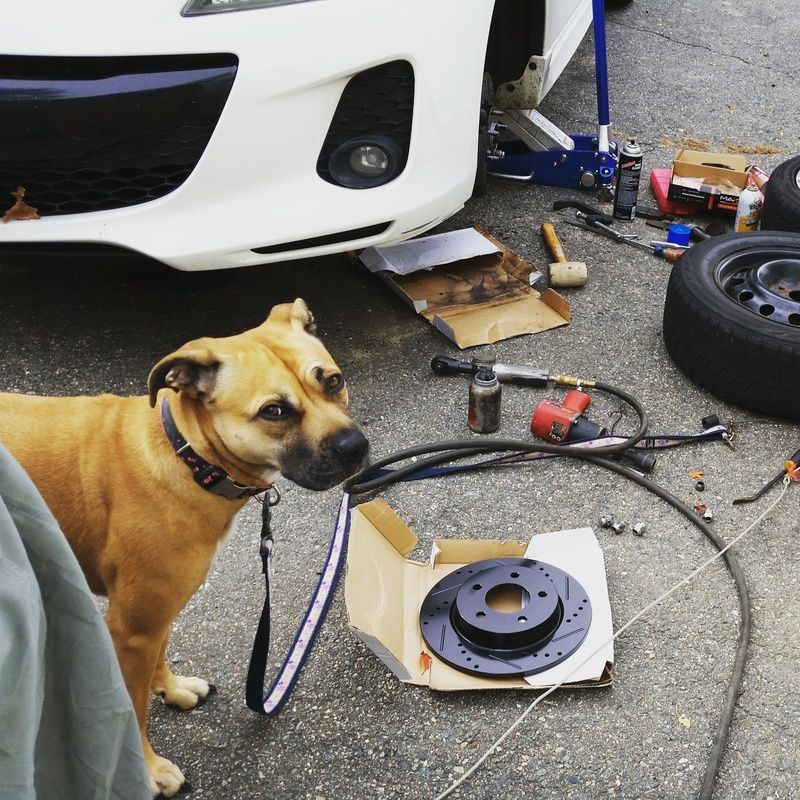 This is my dog Holly. She was helping me do my brakes. Holly thinks I am totally lame.

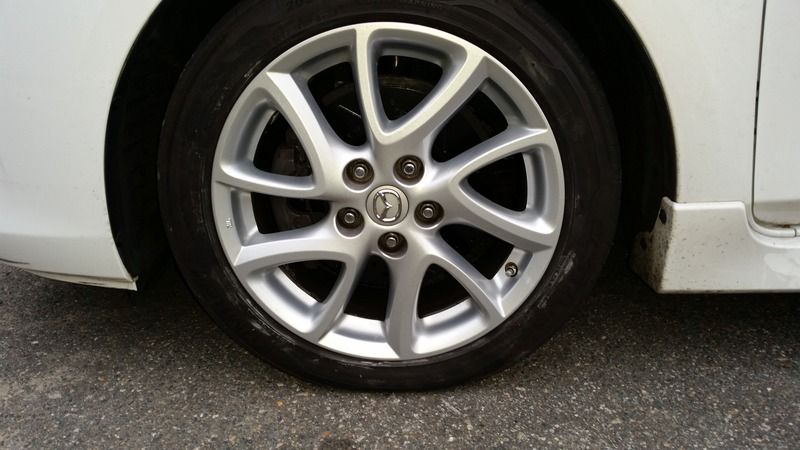
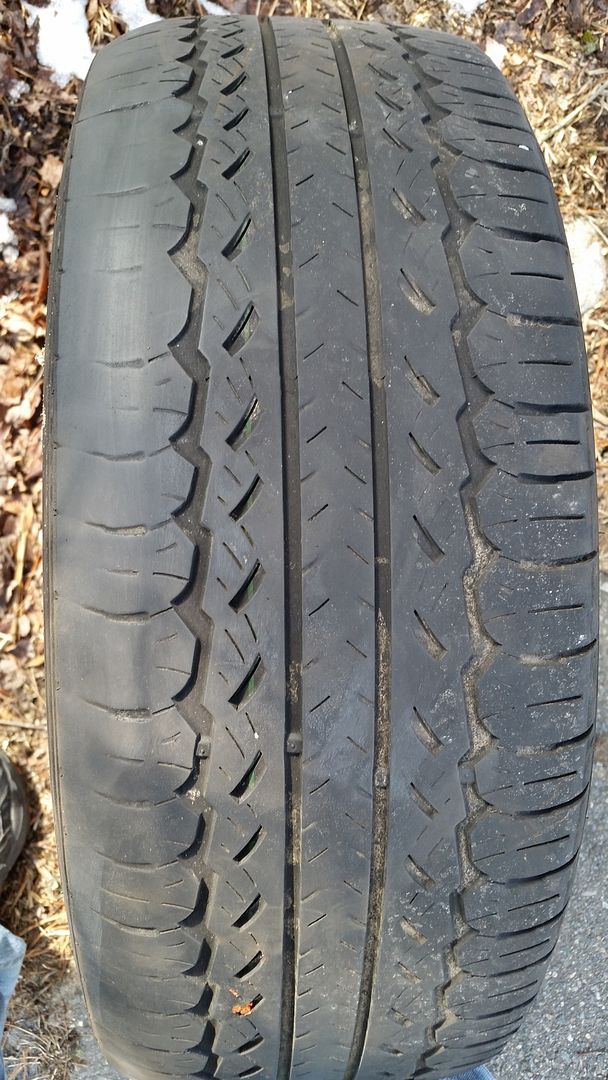
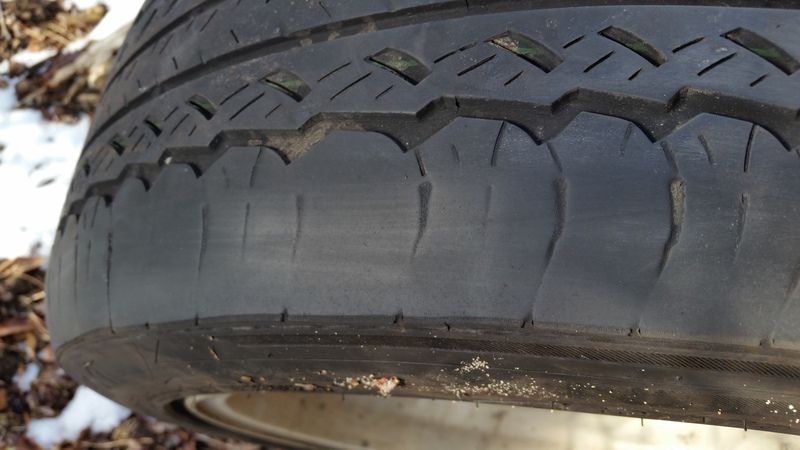
 First step is to obviously get the car up in the air. You will need to remove the under tray, which requires a 10mm socket, an extension, and a panel puller tool or flathead screwdriver for two push pins that help hold the tray up.

 Pop the battery box cover off and remove the battery. The battery, hold down, and box itself are all 10mm bolts and nuts. Pretty simple.




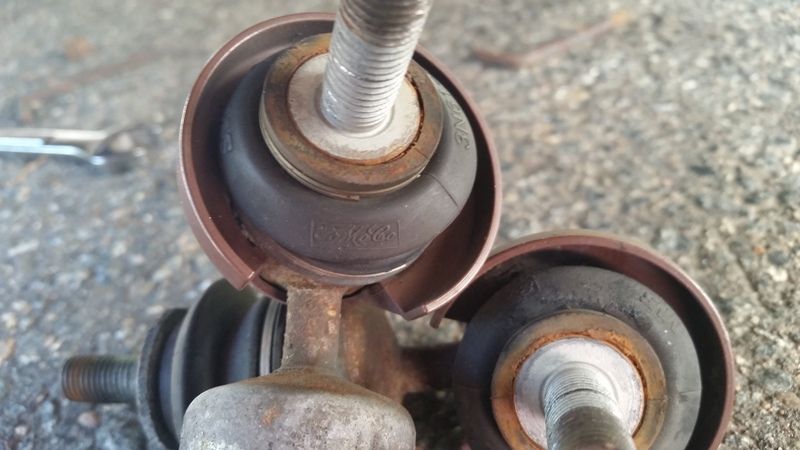
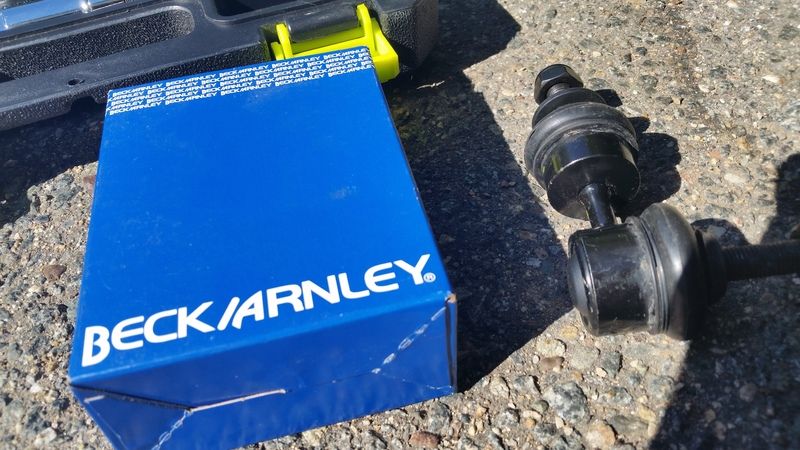 There's three types of end links: the factory style with the hex head rod/nylock nut, the Moog style that ditches the hex head rod for a two-nut approach (which you need crow's foot wrenches to install), and the adjustable performance ones that Whiteline and a couple of other companies make. The factory ones have a plastic ball, and most of the good aftermarket ones don't. I chose these Beck/Arnley ones because they were closer to the factory ones, but with metal balls on the joints.
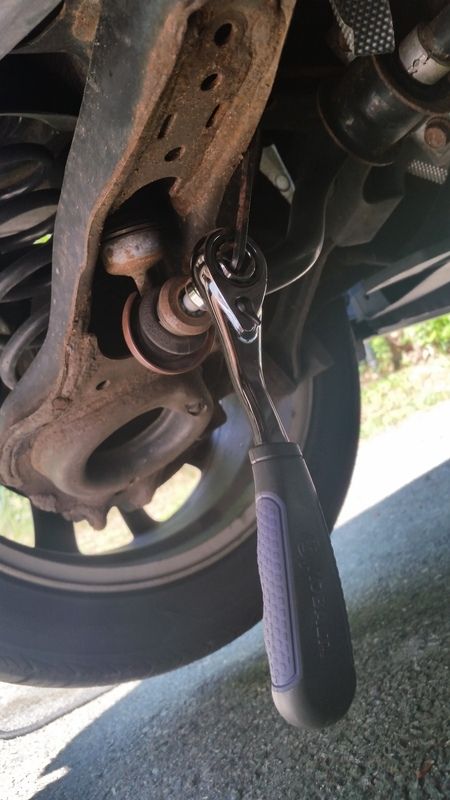
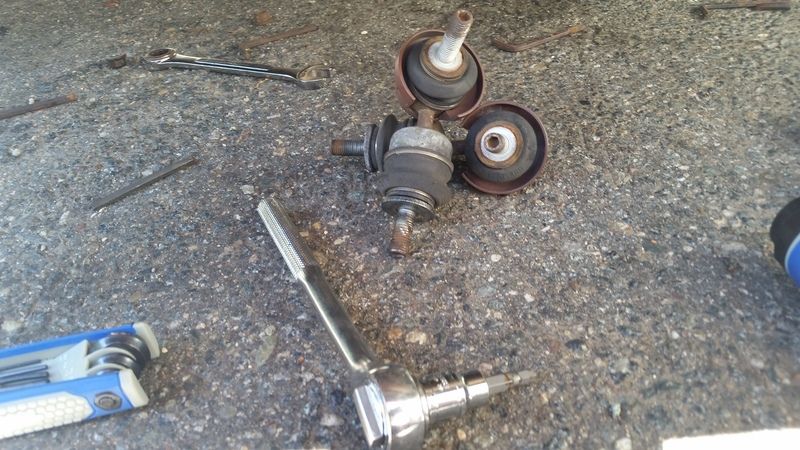
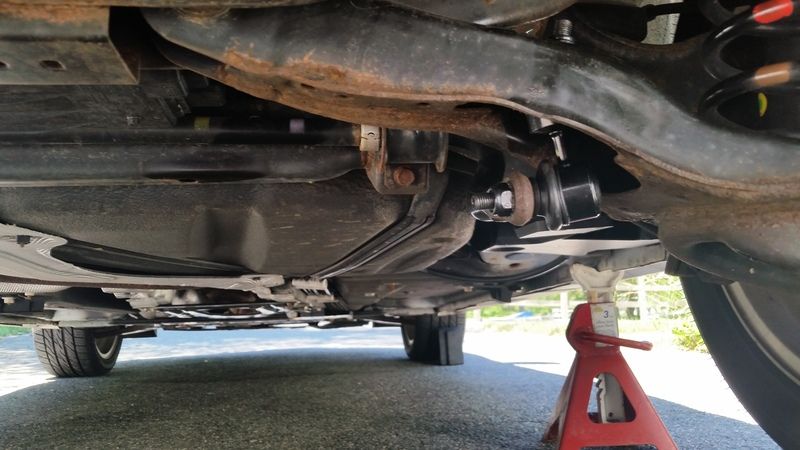
 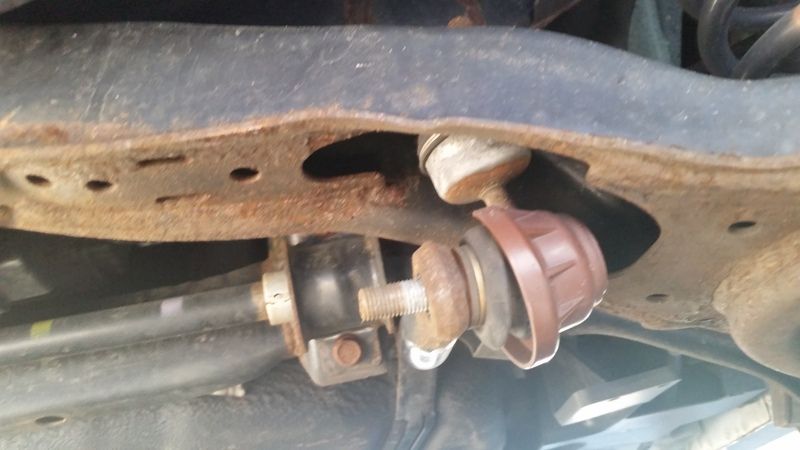 Installation is easy if you have the right tools. Jack the car up on the middle crossmember in the rear and put it on jackstands. The wheels can stay on. You'll need 14mm and 18mm gear wrenches (or a pass through socket set, more on that in a minute), your favorite penetrating oil, and a 5mm hex head, preferably a socket-style one (more on THAT in a minute as well!)