paranoid_android74
paranoid_android74 Reader
7/5/13 11:21 a.m.

I had some downtime in the garage yesterday waiting for a battery to charge, so I decided to take the plunge and grab some images for a project thread.

A little of the story first I guess. I bought the car for $700 two summers ago just to have something to wrench on as it had been years since I'd done it. It came from a German guy living up by flint. He did all the necessary rust repair, Waxoyld his work, did some suspension upgrades and was just getting to sorting the engine and lost interest. He and his wife bought a new Pontiac Solstice and the Midget was taking up garage space. I remember him saying "It should just need a good tune up and you will be fine". Nope, not even close.

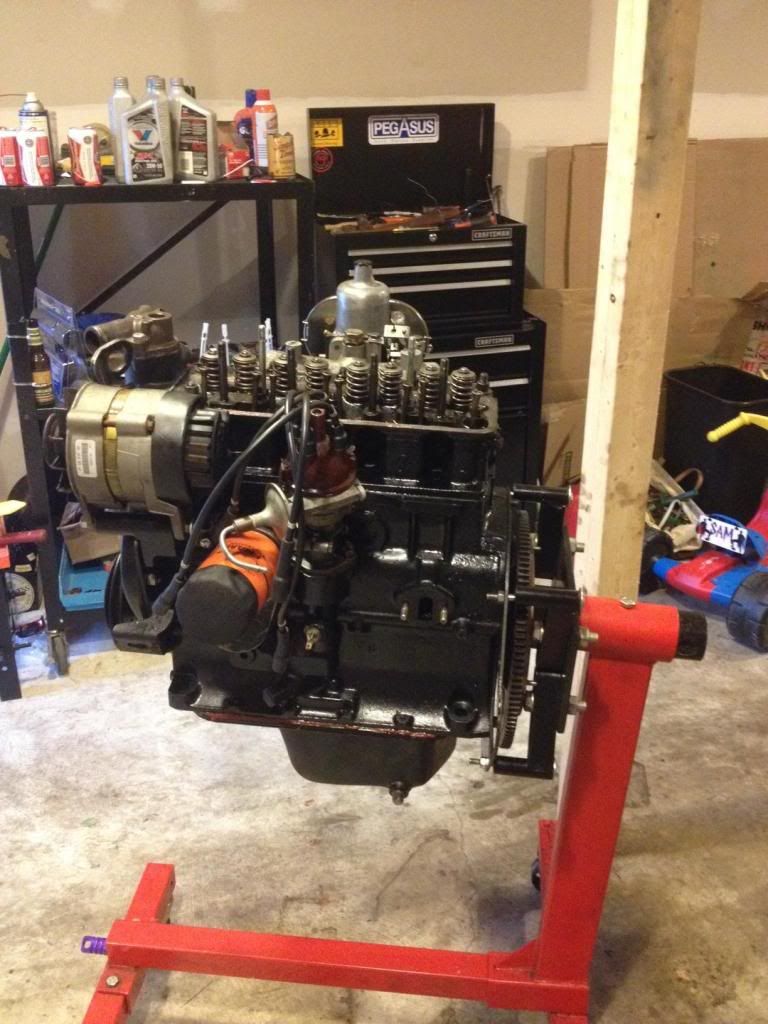
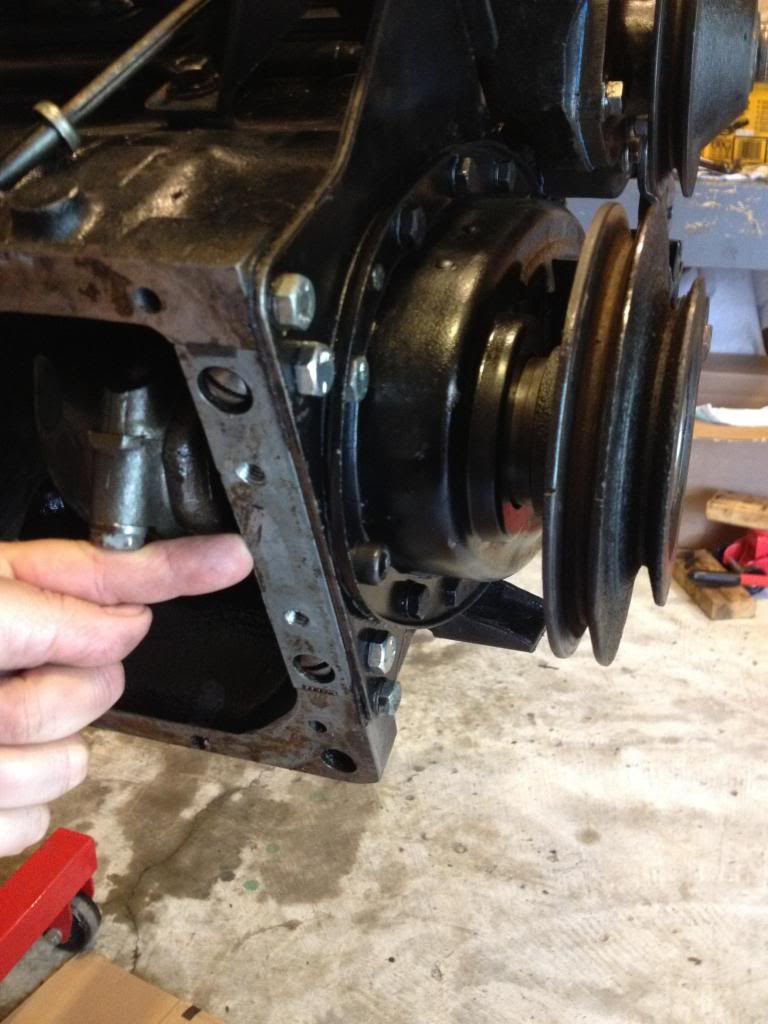
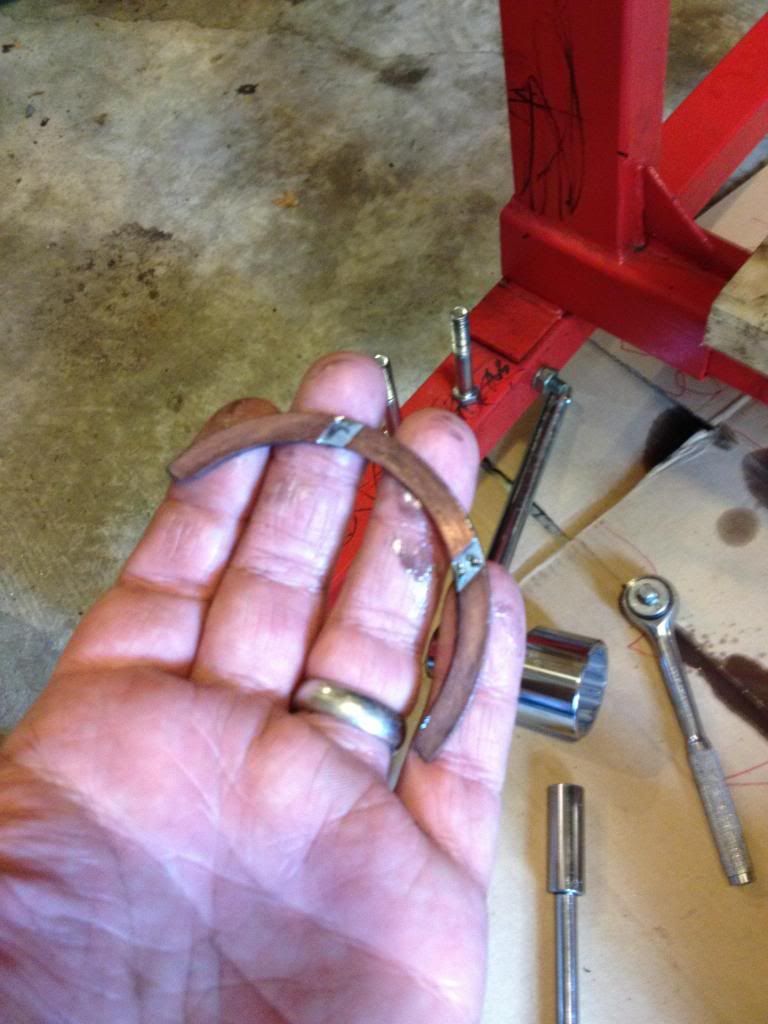
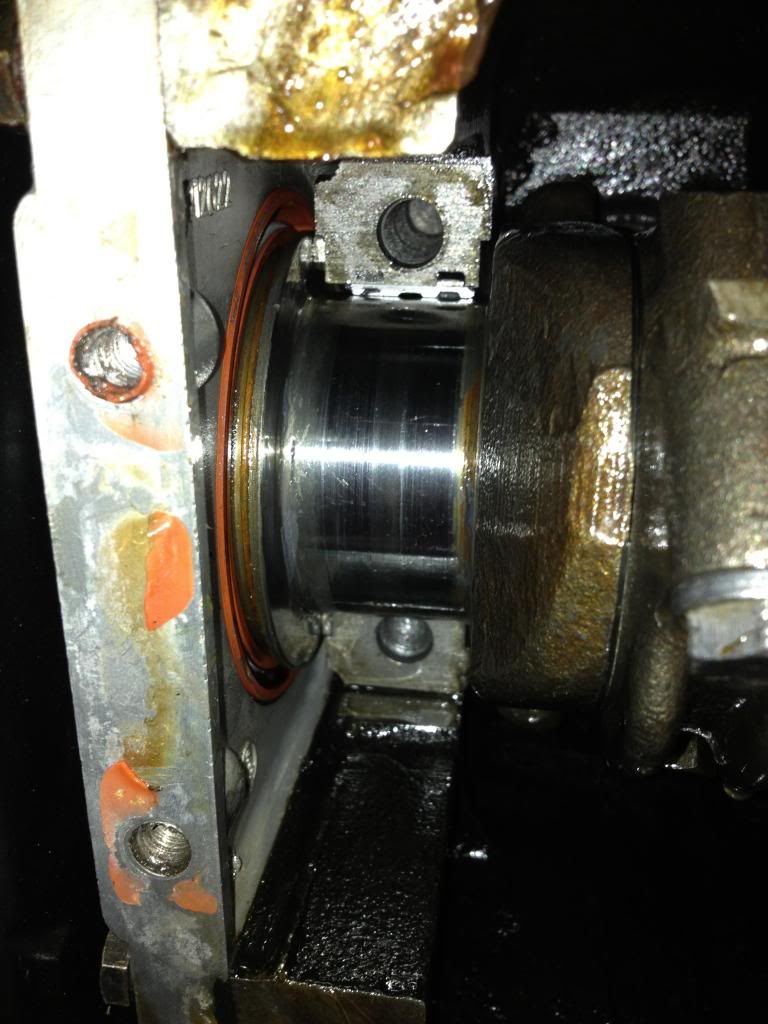
I spent the first summer trying to get it to run, much less run right. I took the VW Solex carb off that he had put on and built two ZS carbs into one working unit. Didn't help. I changed to a Weber 32/36 to no avail. Finally did a compression test and got 30/45/110/115. Pulled the head and found two severely damaged pistons in one and two. Time for my first engine rebuild!

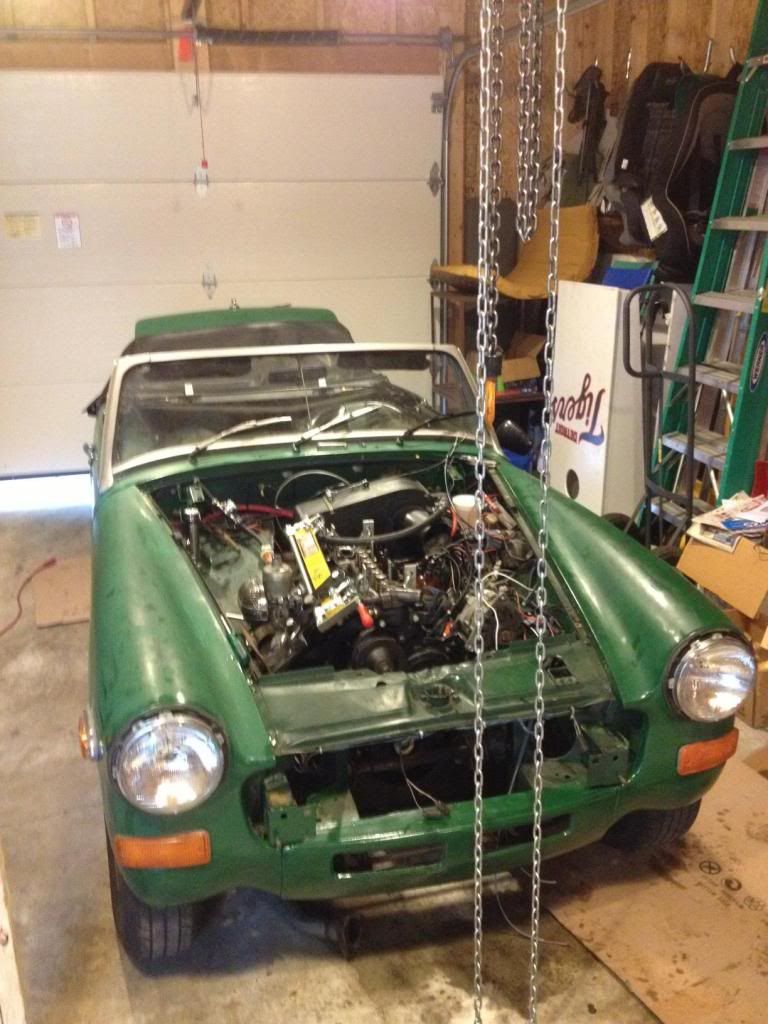
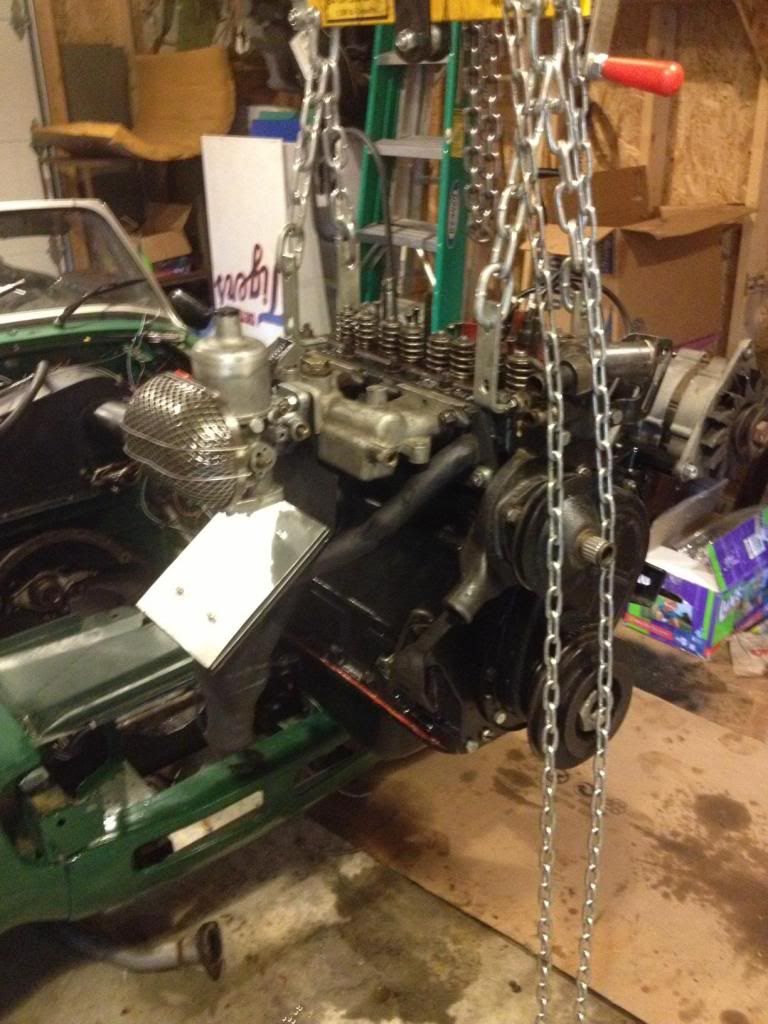
Ok so fast forward to this summer. Rebuilt engine is in and ten other things got sorted out along the way. I just got everything hooked up yesterday to get it to fire and, well, it hasn't yet. But I'm close!

So some pics:

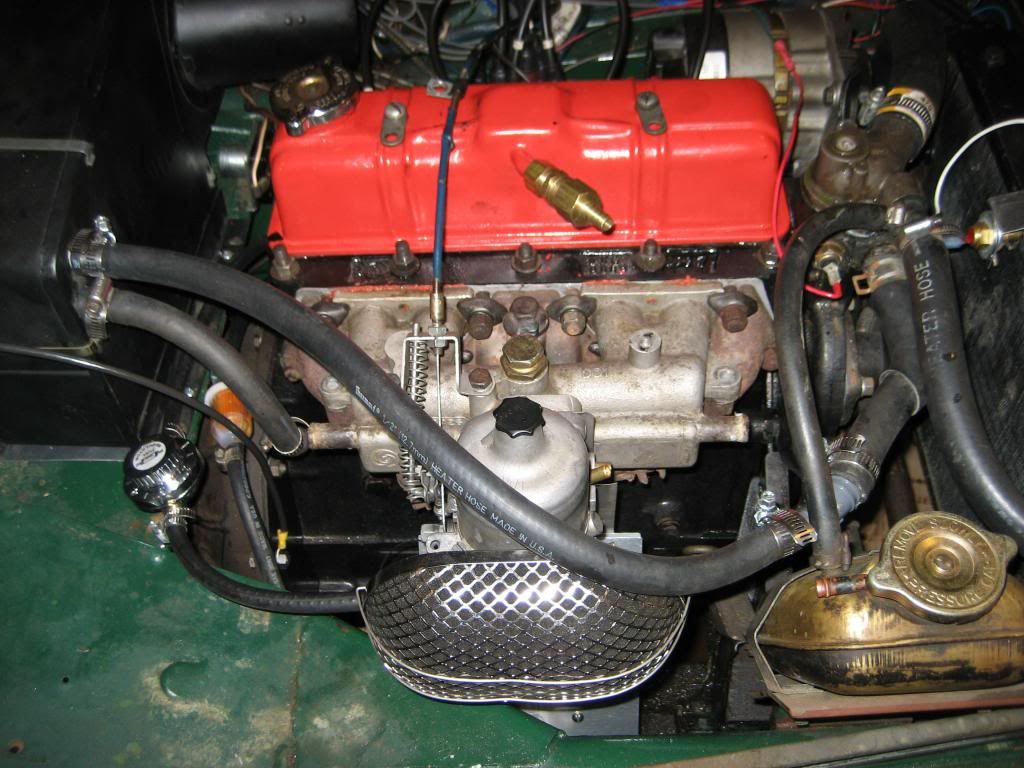
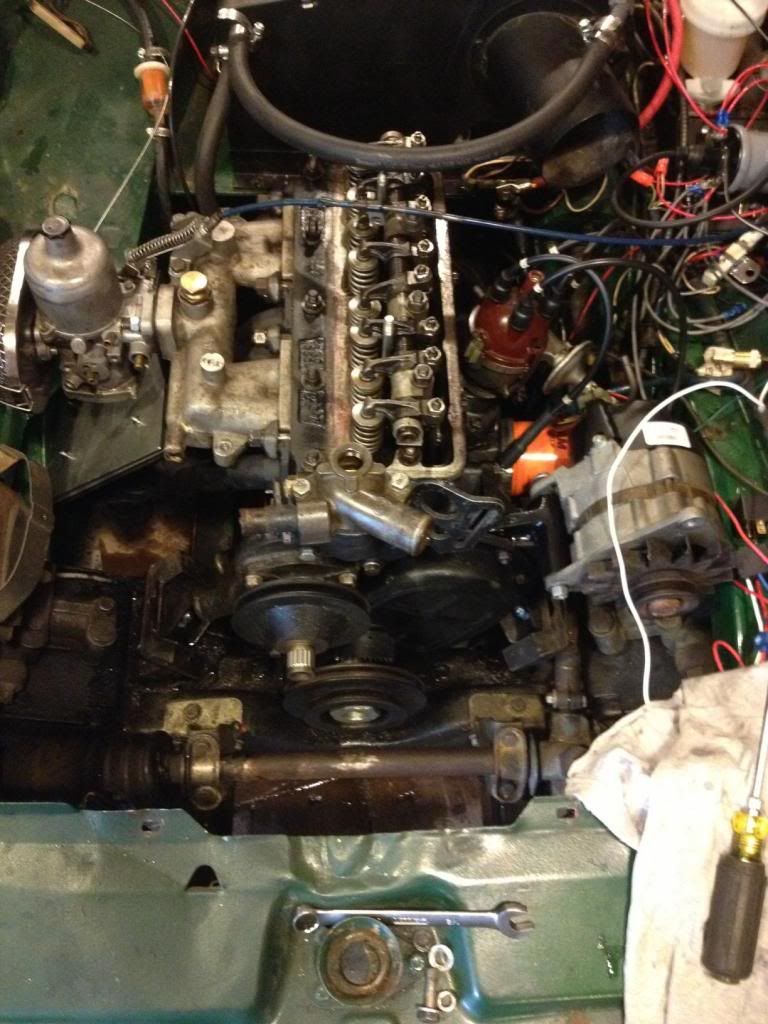
Side view of the engine. I went with an SU HIF 4 off an MGB fitted to a stock intake manifold. New fuel filter and pressure regulator. I blanked off the heater channel under the heater box and wired it into the relay and temp switch so it will run in parallel with the electric radiator fan.

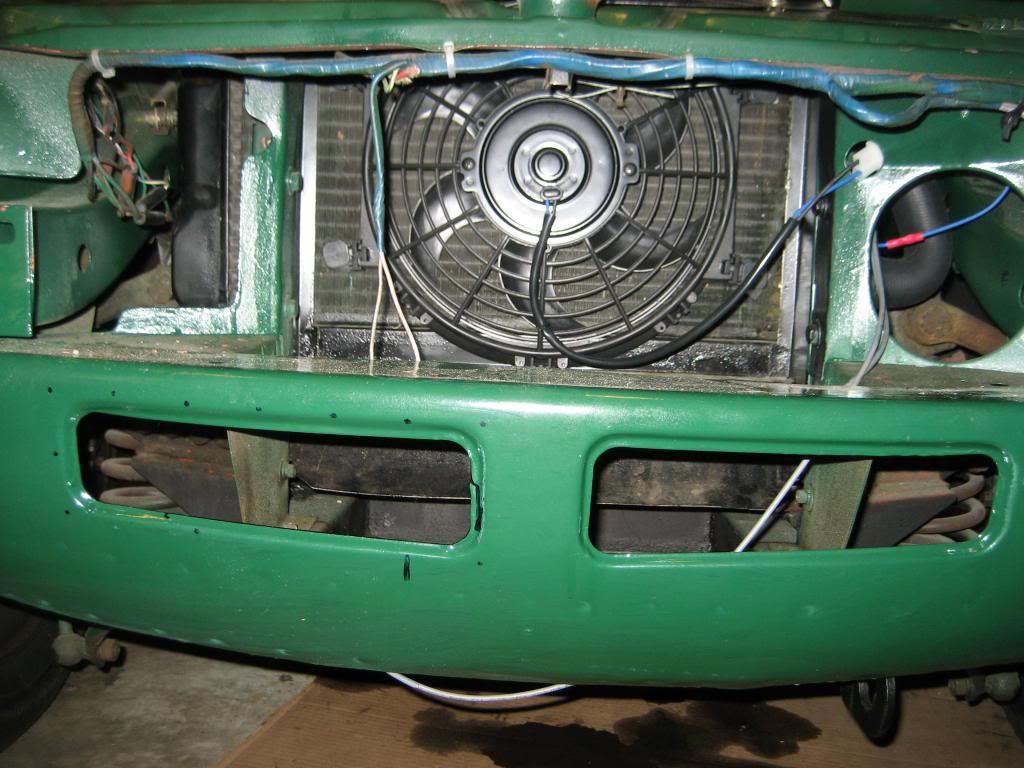
I started laying out rivet holes on the cowling openings to cover them with stainless mesh. Eventually I hope to put an oil cooler in this area, and add some ducting to the brakes and/or carb area.

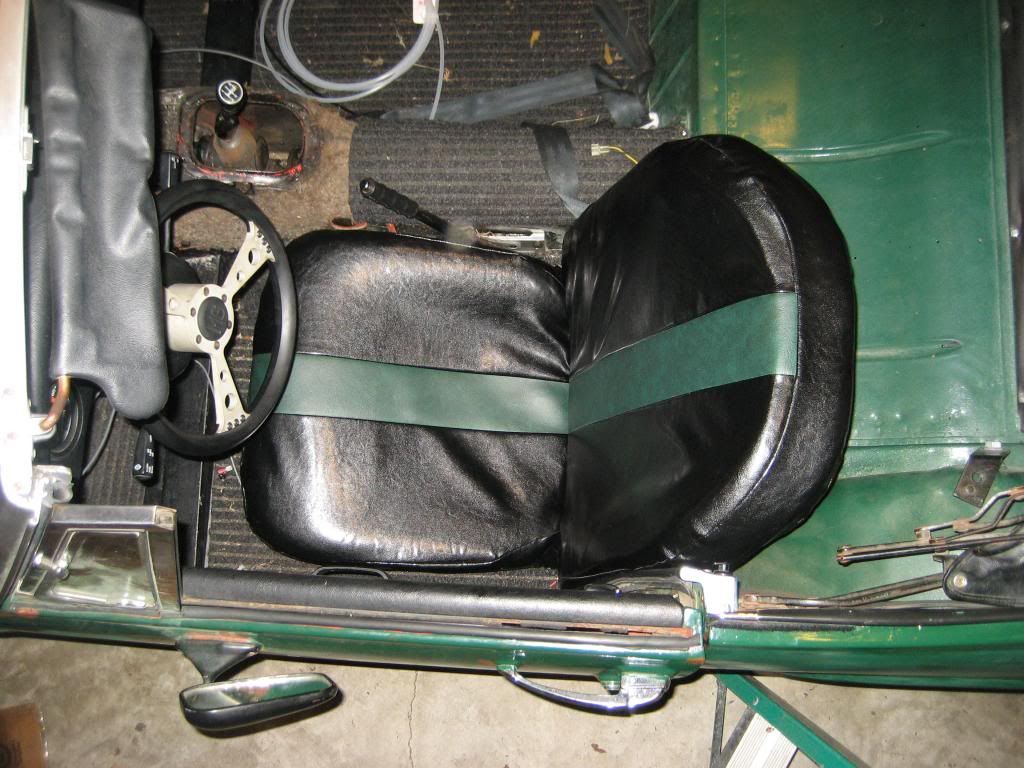
I removed the tan vynil colored seats as they were way nasty and didn't match. I made patterns from the original covers and sewed this newer one. It was WAY harder than I thought it would be, and will leave projects like this to the pros in the future.

One of the cooler things that came on the car! The previous owner made this steering wheel because he didn't like the original one. I will keep it! To the left of the wheel is where the heater control know was. I plan to put the battery kill switch in its place.

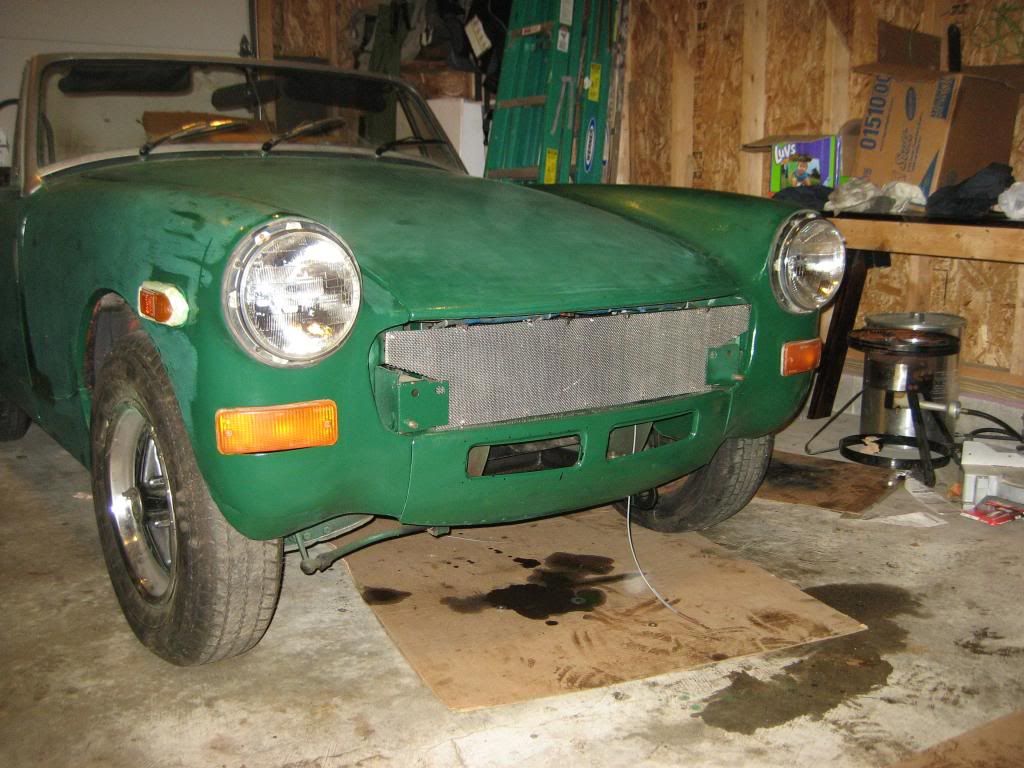
Front view with the bonnet in place. It isn't pretty, but it will work for now. I just riveted stainless mesh over the original inner grille piece. Originally this was a rubber bumper car, which looks hideous to me, so this is a step in the right direction. I'm trying to come up with a way to use the bumper mounts and hide them some at the same time. Any ideas? I thought maybe use one for a future tow hook location, or maybe fab some brackets for driving lights.

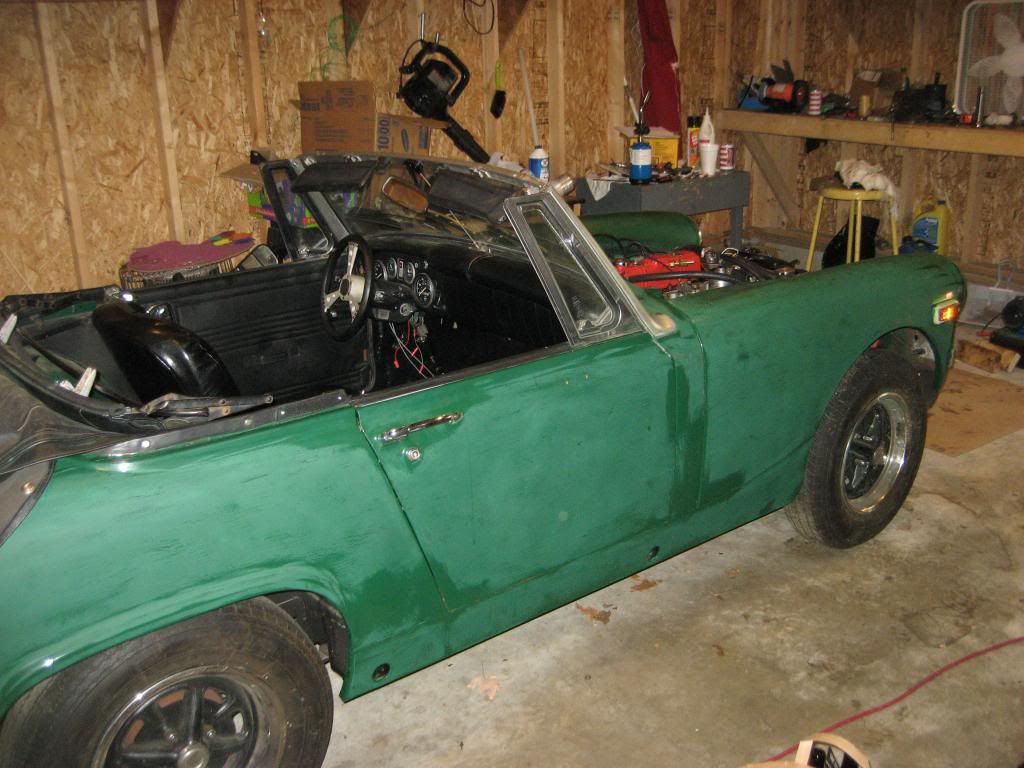
Side view. It desperately needs a paint job! Not something I really know how to do though. I will have to see about getting a decent coat on it somehow. Oh and it needs to be lowered- a lot!

So that's my project over the last few years. I hope I will be able to drive it this summer- it all depends on time and money!

paranoid_android74
paranoid_android74 Reader
8/9/13 8:06 p.m.

Well, today was a big day in the life of my little SpitfIdget!

Time for a Bud and some G. Love and the Special Sauce!

Fujioko (member here) was kind enough to stop by and see why I couldn't get this damn thing to run. After much tinkering around, pushing the car back and forth in gear, he determined the engine has gone from "blow" to "suck". That is, my camshaft timing is off. Blame that one on the engine builder (me). So we talked about trying to reorient the cam with the engine in the car, but decided to pull it as there are a couple other things I want to address but didn't in my haste to hear it run.

First one is an engine mount I missed on the carb side of the engine when I was installing it (dammit).

Second one is an aluminum piece bolted to the front of the block where the oil sump bolts up. I realized too late that one of the holes was stripped, causing a larger than expected oil leak.

Last one is a slightly oversized thrust washer that I thought would be ok and wear in, but it is making the engine way too stiff when turning it over. Probably not a big deal, but the next time I pull this engine I want it to be when I'm going to put a race prepped engine in

So, the pics:

Radiator is out with much spillage. Despite being small, it seems it holds more than I remember.

Load leveler bolted to the head, chain fall in place.

Thar she blows! I'm glad I didn't bolt the trans down tight in the trans tunnel. That would have made this very difficult to get out.

And Bob's yer uncle, engine is out and on the stand. It only took three beers and about two hours to do by myself.

If you are following this Fujioko, I'm ready for you

In all honestly this is the first car I pulled an engine from, rebuilt and reinstalled all by myself. I didn't grow up with a dad, or a friend for that matter that new how to do any of this stuff. So it has been me, my Hayne's manual and a lot of time spent on forums asking questions. If berkleying up the cam timing is the only thing I did wrong building the engine, I will put this experience in the win column!

fujioko
fujioko Reader
8/9/13 9:45 p.m.

Wow!

I just got home and you have the engine out already... I guess I should have stayed a few more minutes.

That is what I call motivation!

That is so cool, I'll give 'ya a call tomorrow.

paranoid_android74
paranoid_android74 Reader
8/11/13 1:17 p.m.

Yup, my wife and kids went to Grandma's for a sleepover, so I made the best of my time!

Sounds good...

fujioko wrote: Wow! I just got home and you have the engine out already... I guess I should have stayed a few more minutes. That is what I call motivation! That is so cool, I'll give 'ya a call tomorrow.
paranoid_android74
paranoid_android74 Reader
8/11/13 1:30 p.m.

A couple more updates...

Drained the oil from the engine and pulled the sump off.

First order of business was to remove this aluminum mounting block and re-tap all the 5/16 x 18 holes. Every one of them was stripped. Some trivia for you- those dark, rectangular pieces on either end of the aluminum block are wood. Go figure...

Next was to remove the too-tight thrust washers. I thought they would be ok, but they make the engine way too hard to turn over. The first one slid right out, worn right down to copper (oops!).

This one does not want to come out. I'm not quite sure how to get it out either... (It's next to the rear oil seal)

fujioko
fujioko Reader
8/11/13 8:17 p.m.

To get the thrust bearing out, use a small drift and tap on one side of the bearing. It should easily rotate out enough to grab it with some needle nose pliers. If you don’t have a small drift, I think a nail with the pointed tip cut off would also work. Worst case is to pull the crankshaft.

Looks like you’re making good progress. Did you use assembly lube when you put the engine together?

Jim

paranoid_android74
paranoid_android74 Reader
8/12/13 3:18 a.m.

I tried using a small screw driver and a hammer but that didn't budge it. I will try something else today.

Yes, I used CRC branded assembly lube.

fujioko wrote: To get the thrust bearing out, use a small drift and tap on one side of the bearing. It should easily rotate out enough to grab it with some needle nose pliers. If you don’t have a small drift, I think a nail with the pointed tip cut off would also work. Worst case is to pull the crankshaft. Looks like you’re making good progress. Did you use assembly lube when you put the engine together? Jim

You'll need to log in to post.

Our Preferred Partners
Zdth4dVozYG9At39l1nrmt4Bykla1LLpgVLGU7zwGnXAKeeR1t1UWgmm3bIqrmv6