Not much, but here's the second coat of rustoleum flat black on the inside of the tub. I'm thinking gloss, or satin for the areas exposed to dirt...this stuff is FLAT! The picture is with it still wet.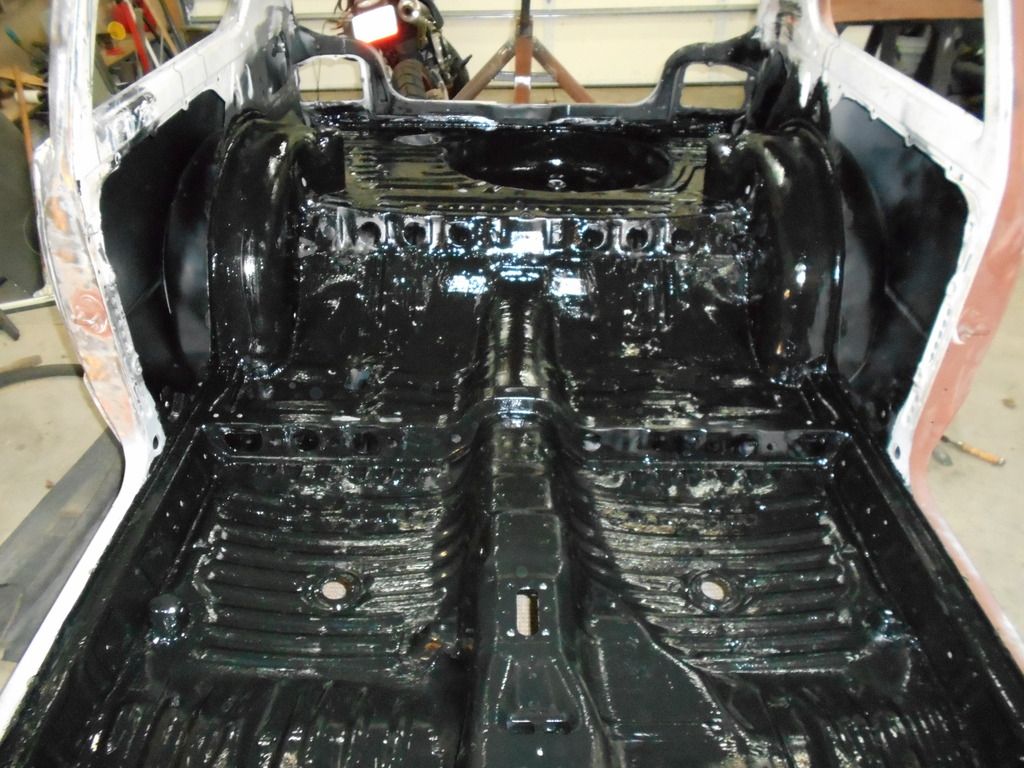
Seam sealing, and general picking is happening on the underside.
Interior 2nd coat, dry.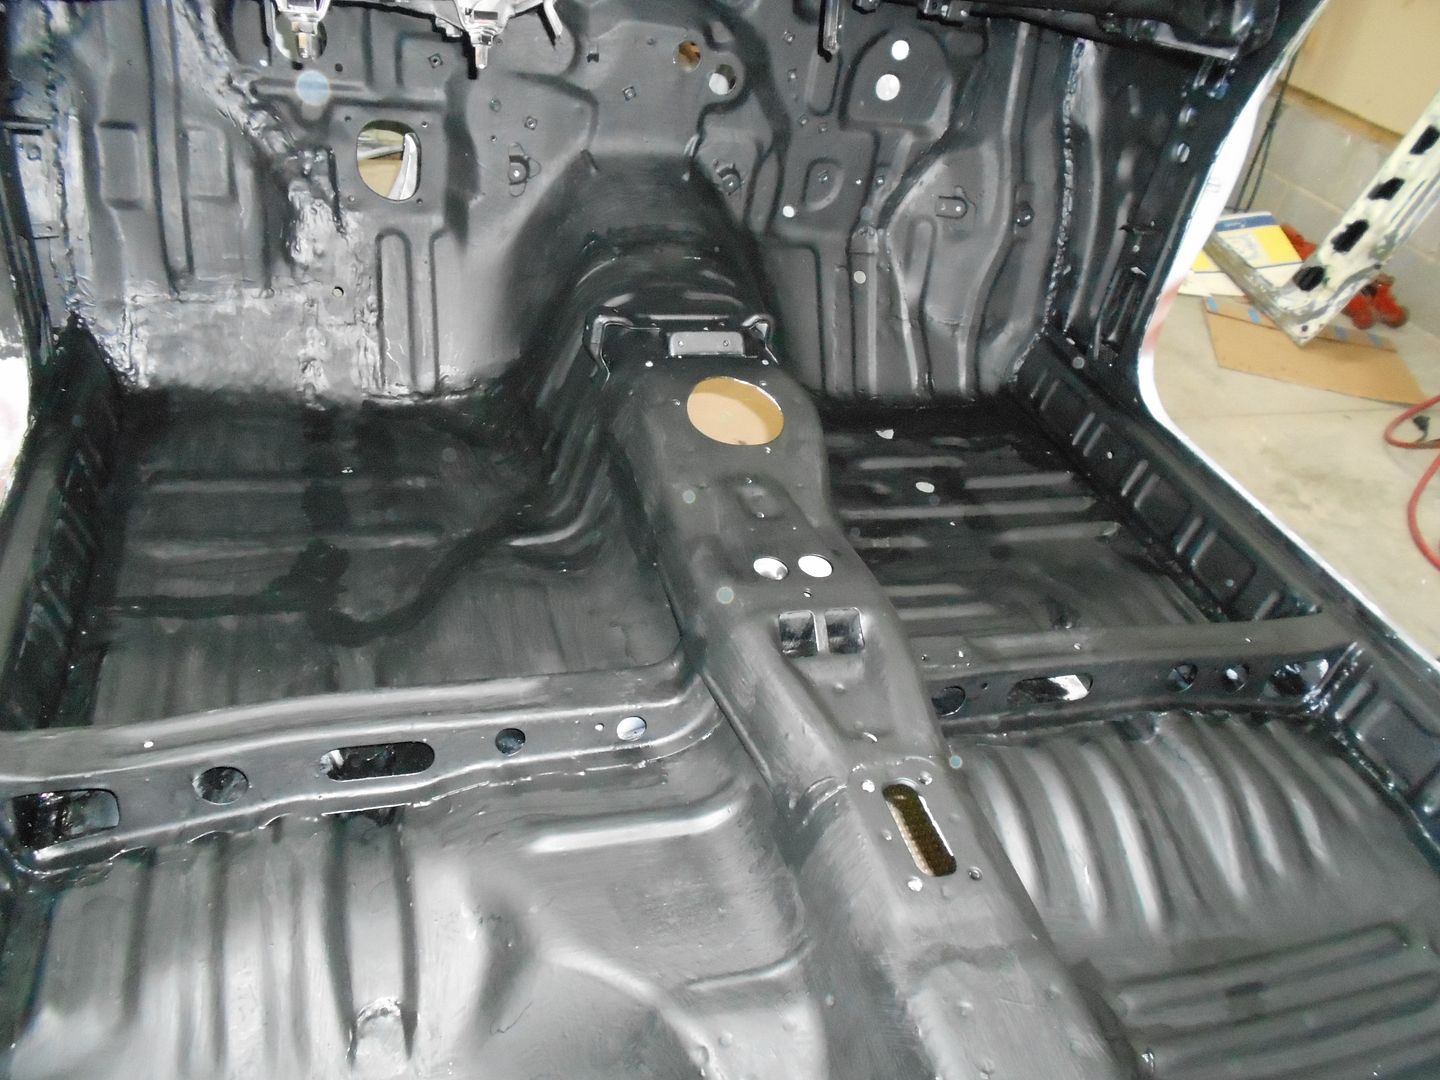 Undercarriage 1st coat, wet
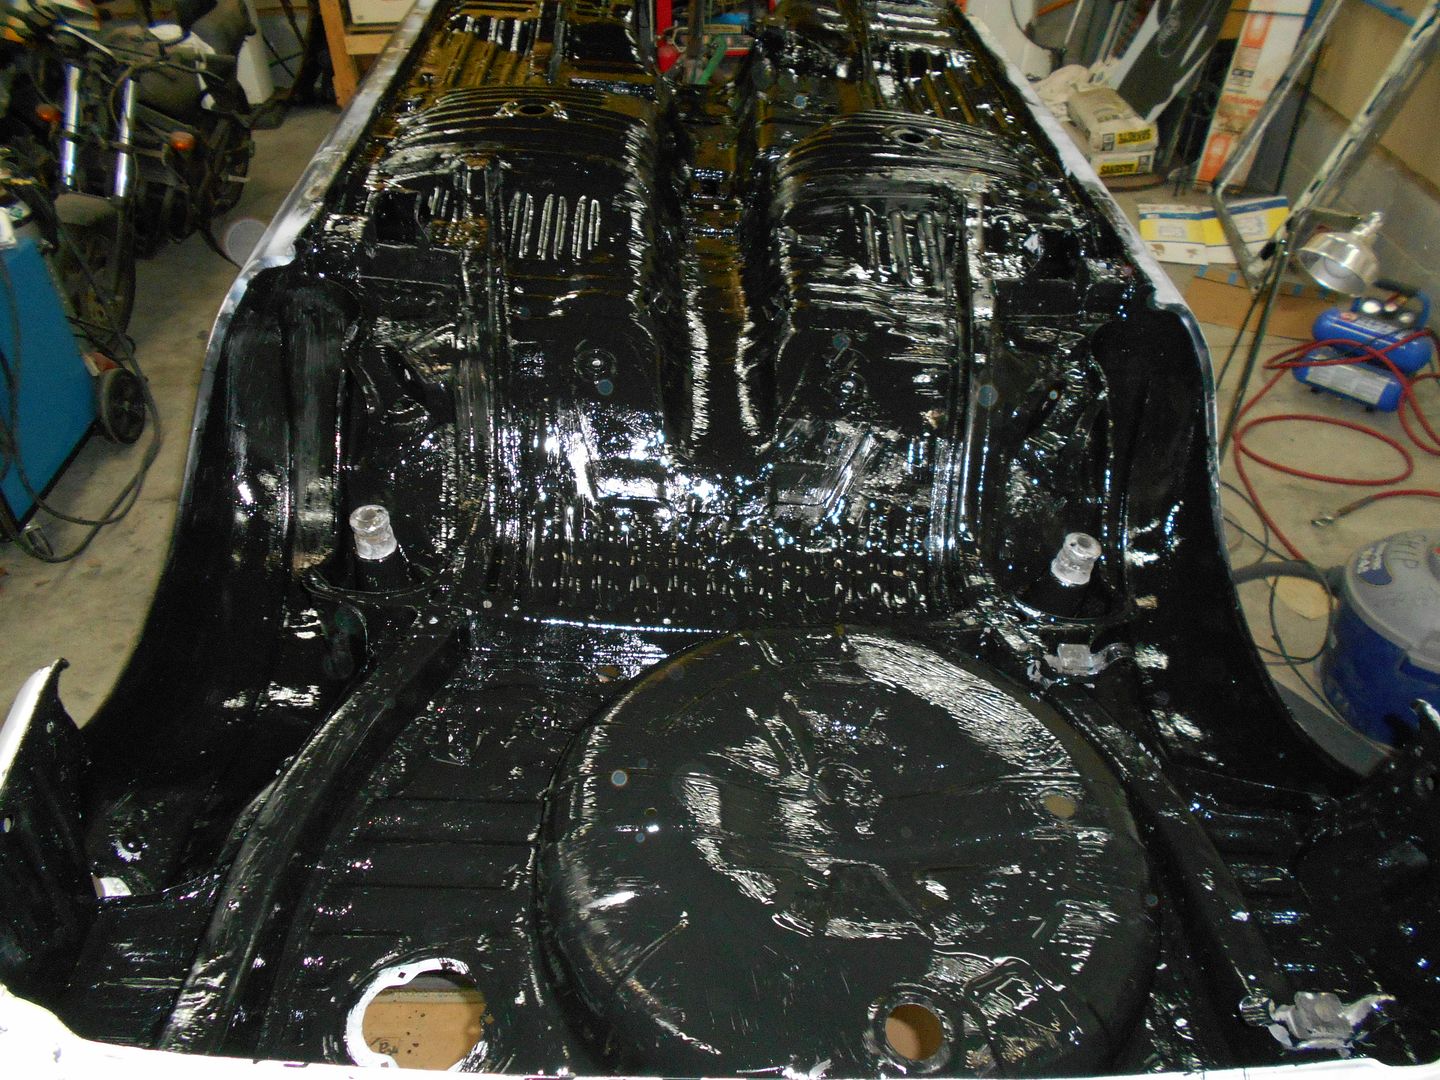 Almost 3 quarts of rustoleum gone. More later.
Teaser update:
My special lady friend and I just returned from a lovely tour of the Outer Banks, and the Carolinas. I have received word that there is a package on my coffee table that I believe could only be compressor gaskets- progress report soon.
The sander I wanted to fix along with the compressor was TOAST, so it was unceremoniously dumped in the bin.
Oh, and Merry Christmas, everybody!

Today started with the second coat of black on the undercarriage-this time in gloss. I started thinking maybe gloss would clean up easier-just like bathroom paint, and I want gloss on the cowl, so I got a gallon of Rustoleum. No pictures, I figure they all kind of look the same at this point. There are plenty of little details before I can call this phase done, but the list is getting shorter.
On to the compressor wrap-up:
Short version-I had a blown capacitor. Pulling the pump apart was a waste of time. I am no electrician, but have to dabble in everything from 3-phase on down at work. What I can add for the layman is this- capacitors store energy. In this case, they store it to kick the motor on. The best way for a novice to tell if one's bad is they "pooch out" when they are blown. Kind of like a cola you left in the freezer too long. That, or just take it to professionals like I did.
Longer version: I imagine the average GRMer knows about what I did about compressors-several, quite a bit more. This entry is for the rest of us. I have a Two stage compressor. The air goes in the big cylinder, gets pressurized, then goes to the smaller cylinder, and is compressed again. This is done by 4 chambers in the head,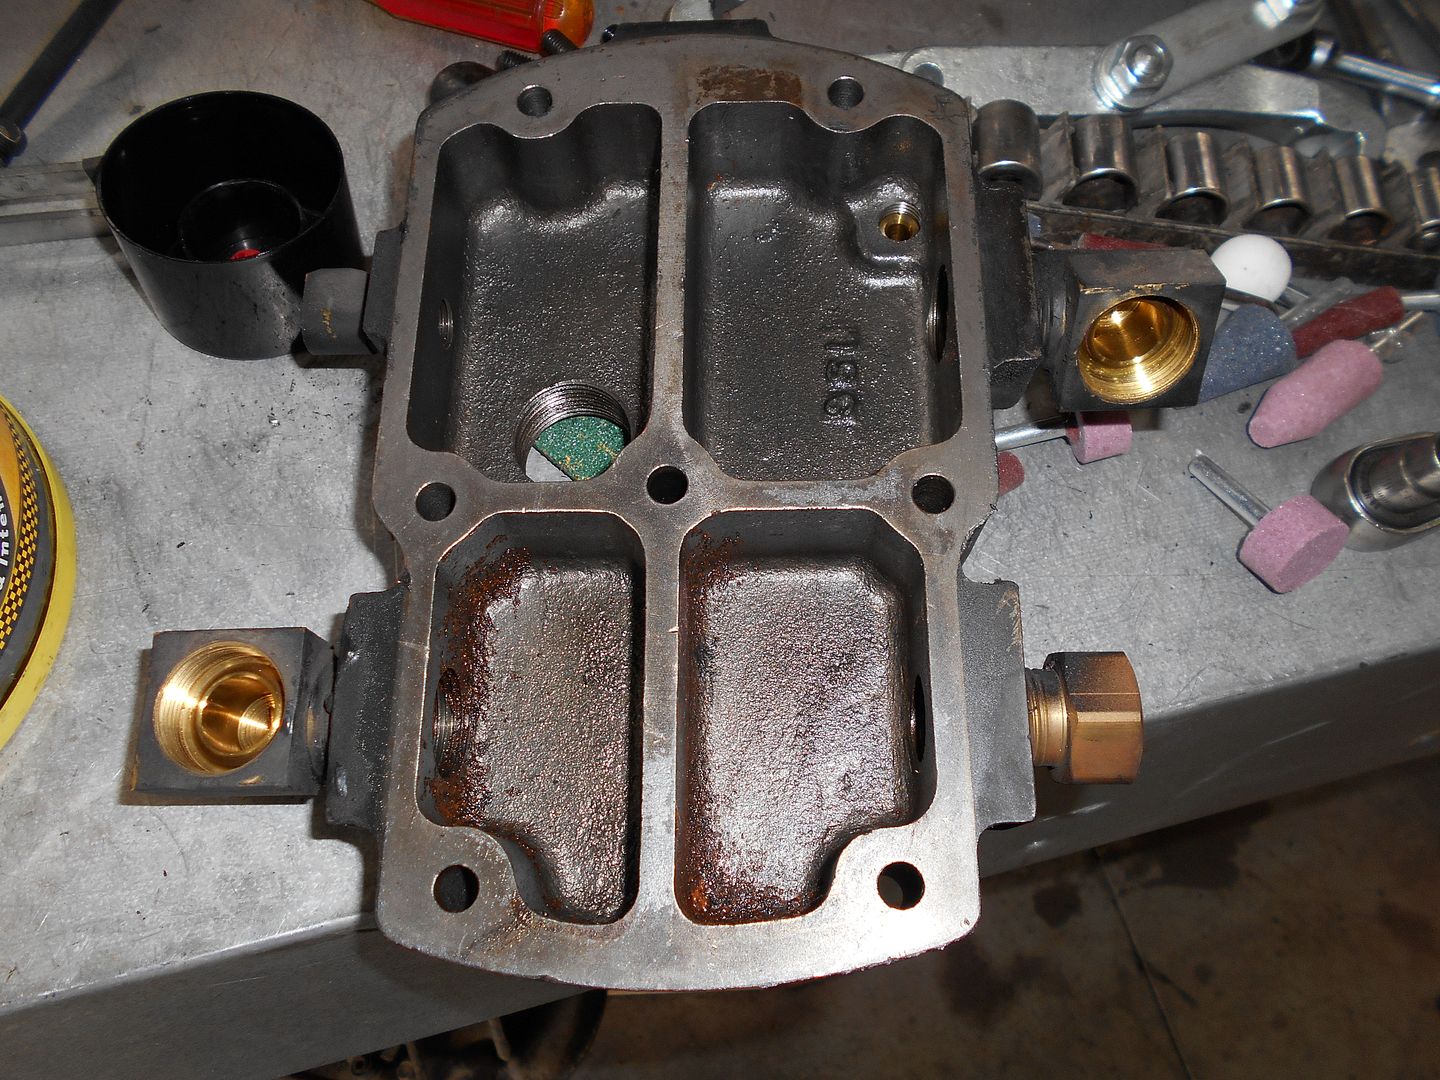 and a plate containing one way valves, or reeds as I'd call them.
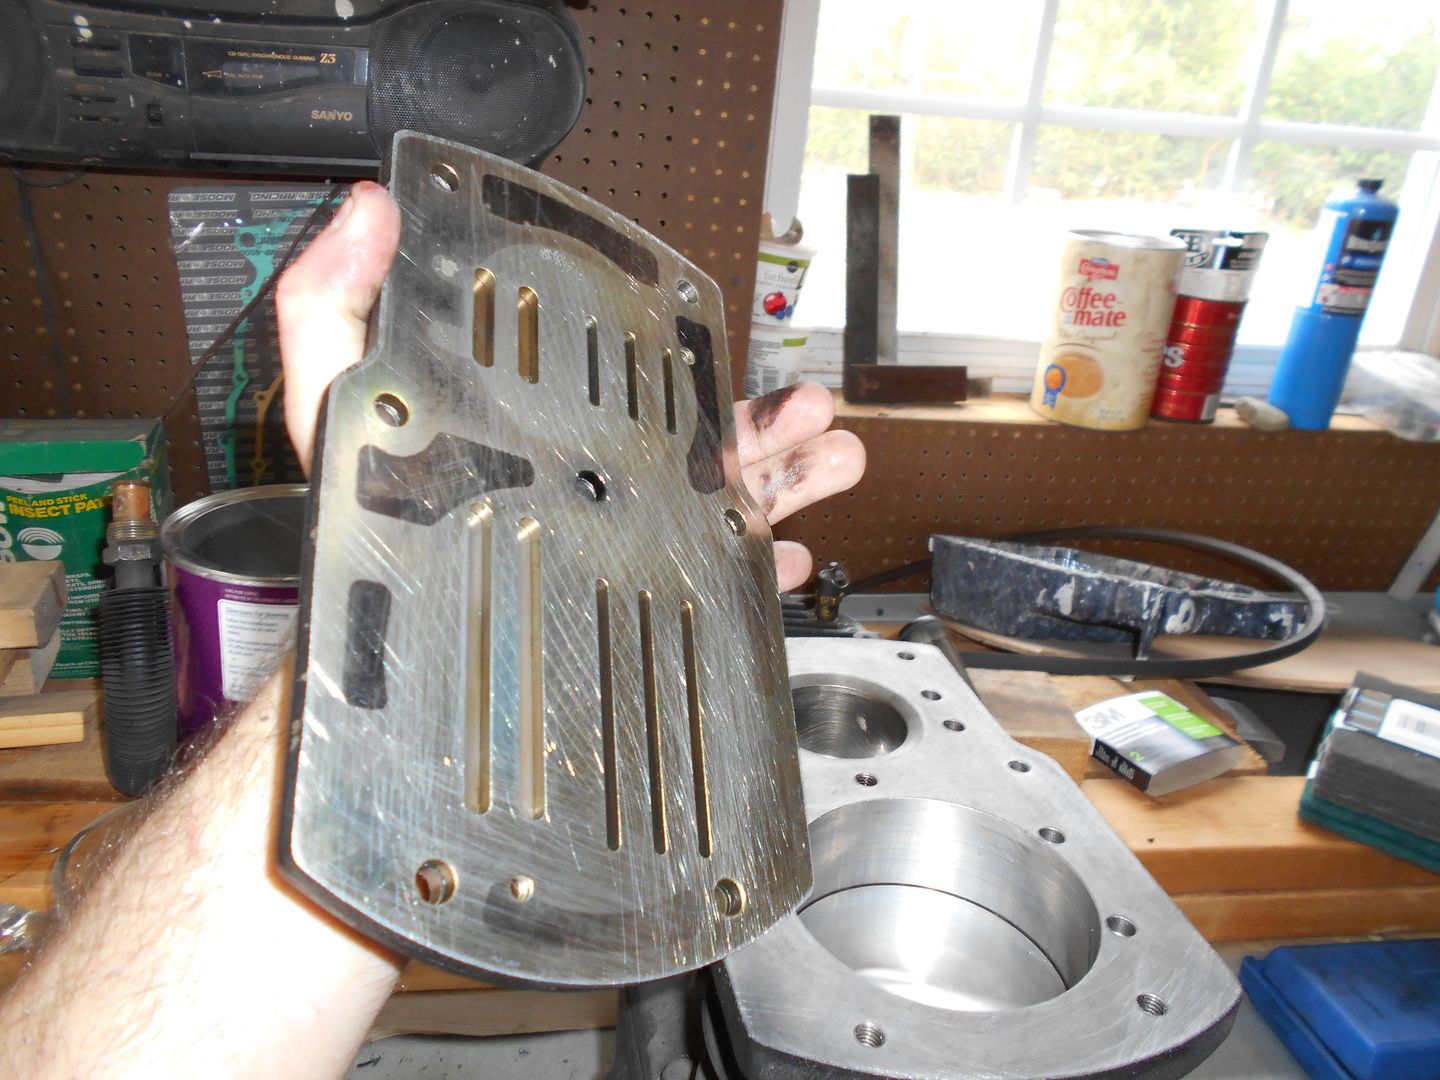 All this stuff looked fine, so I got new head gaskets-one below the valve plate, one above, and torqued everything to 20 ft/lbs. in a criss cross, just like any other head. I put the gaskets on dry, and dipped the head bolts in a little ATF (I didn't have any motor oil open). I did a fair amount of online research to come to these conclusions, but info is dodgy at best. One guy recommended anti seize on all mating surfaces, but I decided to just go with what I had learned to do on most cars. The bolts were all cheapie course thread, so I didn't feel I could go past 20 ft/lbs. I slapped it all back together, put new oil in the crankcase($!), and fired her up. What with the wet paint, I have not yet used it in anger, but soon enough...
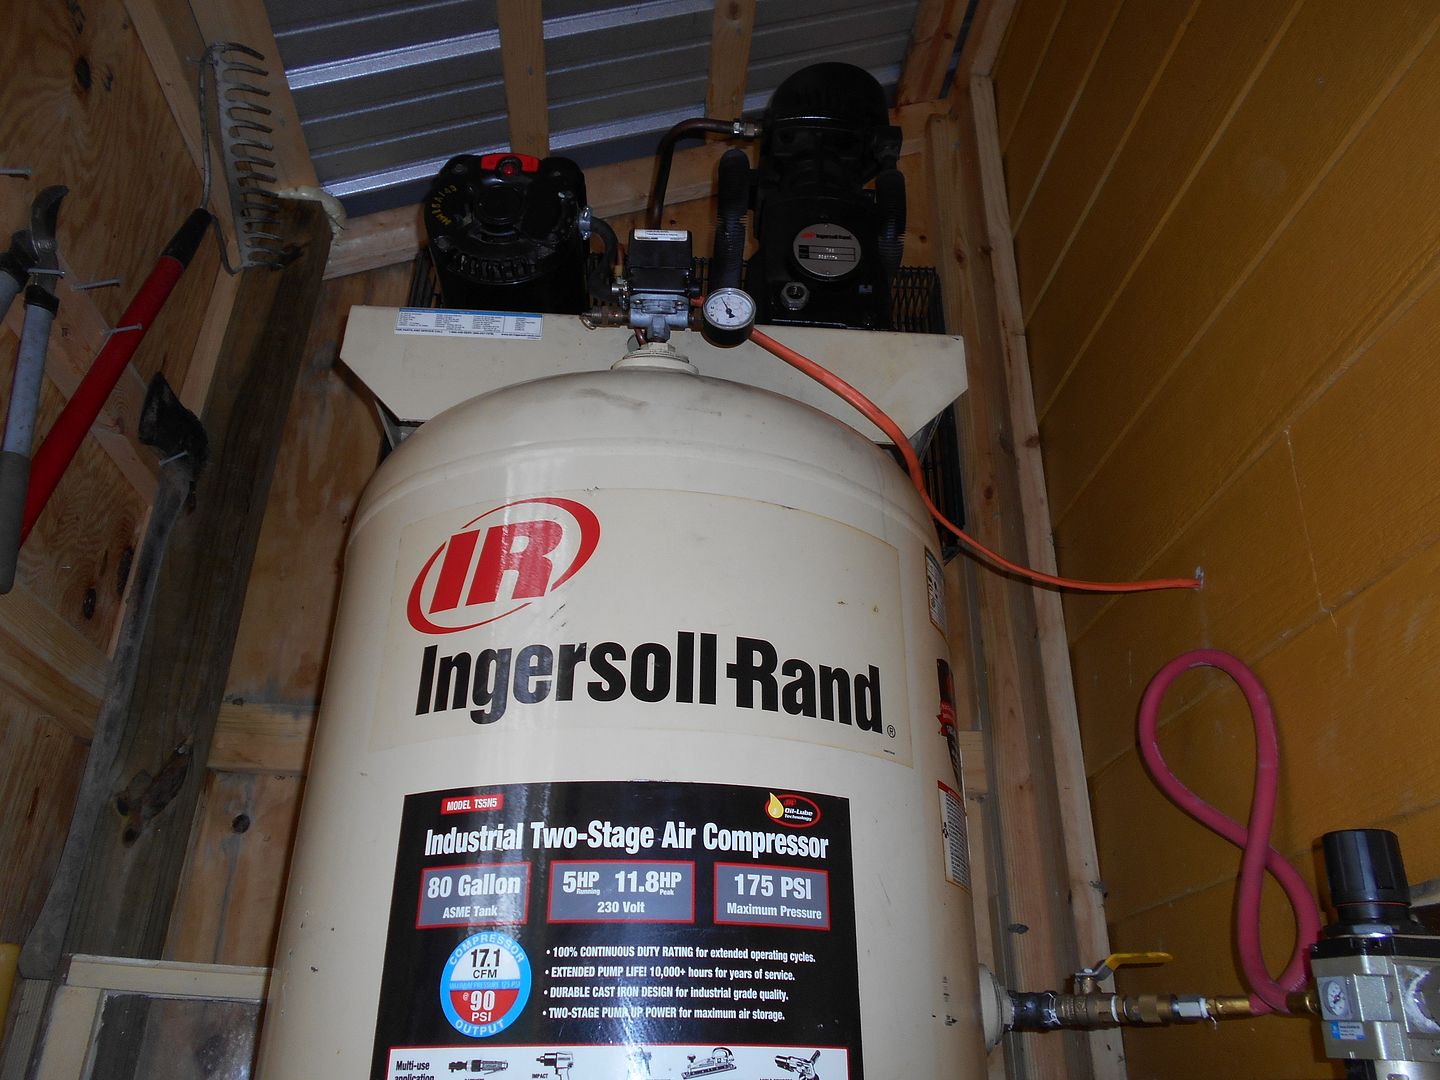 One other thing- Earlier,I said something about having some tricks up my sleeve for this. Well, for now they are going to stay there. I've got a car to get on its wheels. What I was talking about was a rumor I heard that basically said if you extend the copper line that comes out of the compressor and goes to the tank, and run it all crazy, like a moonshine still, it helped these things run much cooler. Maybe another day.
Stuff's been happening, but nothing worthy of a photo. I'm not sure this is, either, but here we go anyway. Last night,I broke out my hobby torch. Out of acetylene, just like my big torches. Today, I got acetylene, made a spacer for the lower 4-link mounts I trashed taking this stuff apart, and hit it with the heat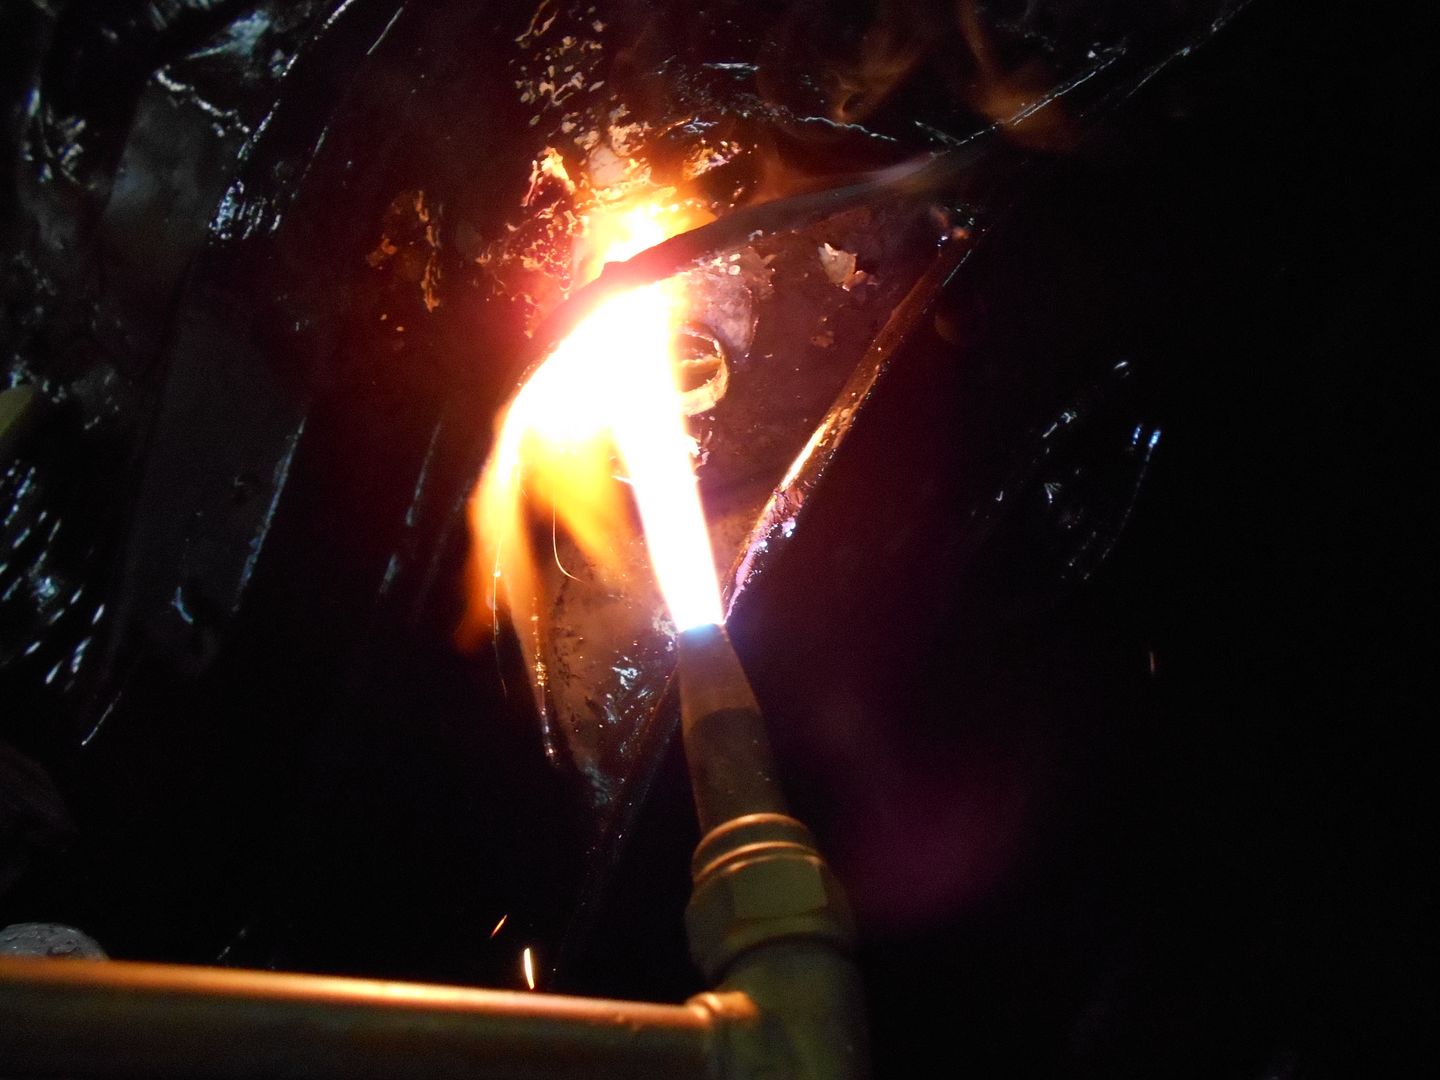 ...then beat them flat.
 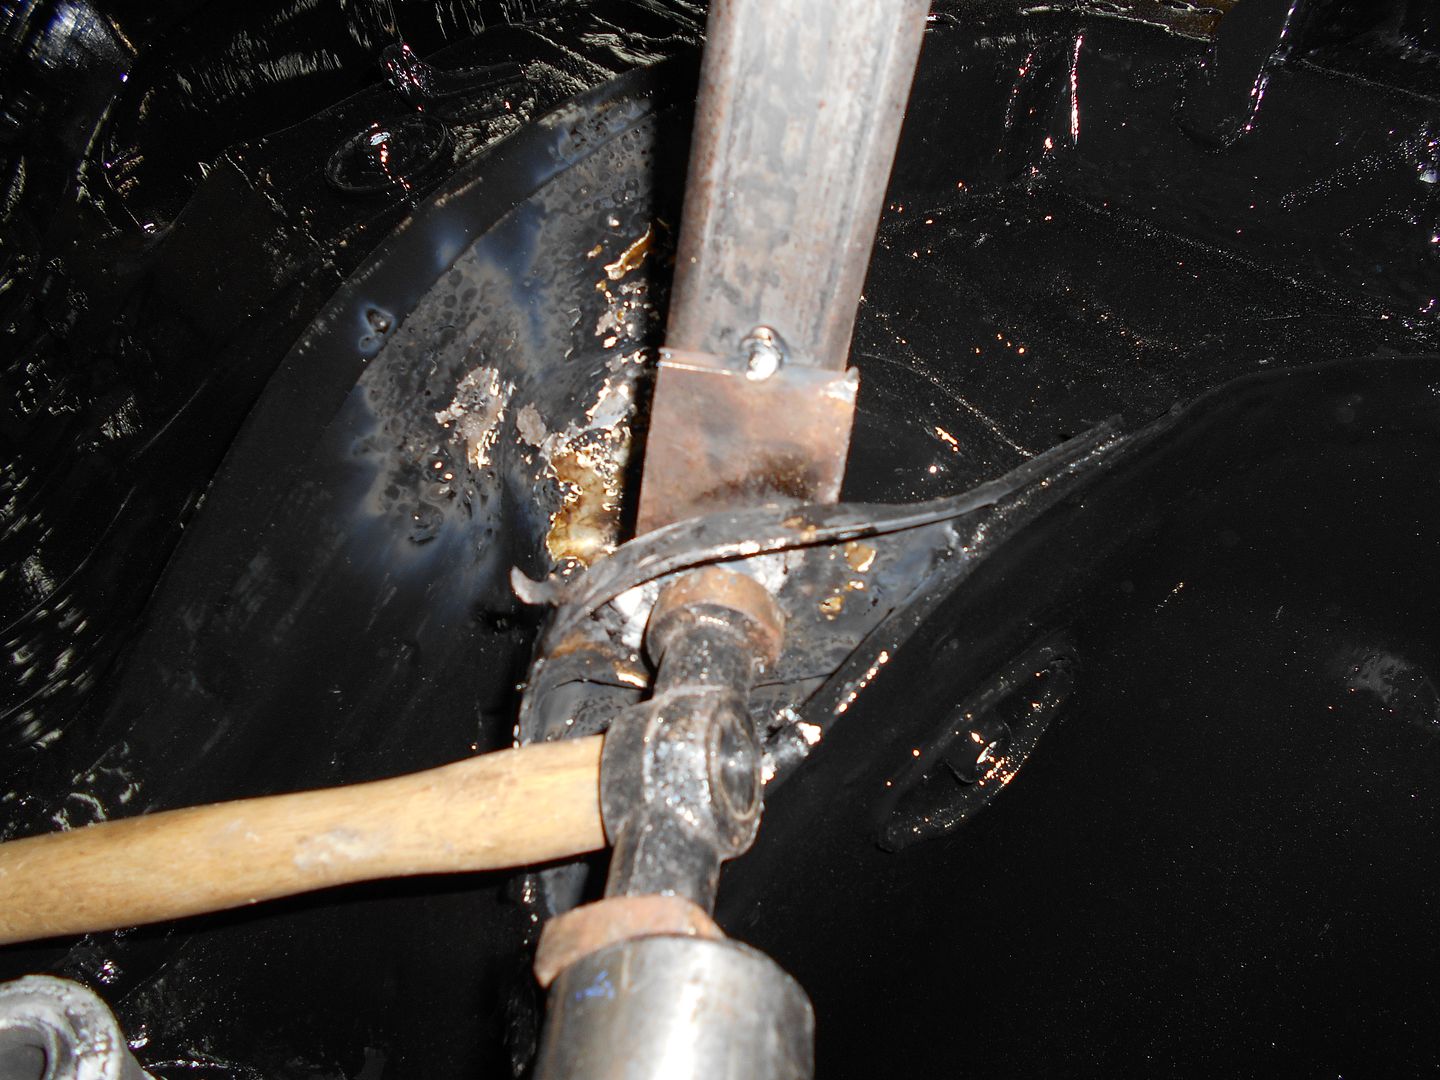 I gotta admit, taking the pictures was harder than doing the work. Next up, some light grinding, and some homemade 1/8" washers, and ready for paint. One step closer.
One day, consider a vacation to Puerto Rico and talk to some locals. I bet you could fill a spare suitcase with all kinds of rare Starlet bits and get to see some amazing Starlets at the drag strip.
My German teacher had one in high school in around 2000 and she was the original owner. Still not a lot of people cared that they were RWD at the time because they weren't fast enough to drift (that phase was coming in). This time period was great because you could get the most dirt cheap econobox that had a FR layout, still get great MPG, and just modern enough to start getting good features like EFI, 5 speeds instead of 4, etc.
Good luck with this thing. I can't see you dailying this after all this work. I'd be scared of getting rear ended and getting a check for $350 OR conversely insuring a Starlet for $10k agreed value. Take care and have fun!
Ha, like "I'm Big in Japan", I can tell people "They're cool in Puerto Rico."
PSA; My shop was open for a good while while I waited for the exhaust fan and slats. Squirrels could come and go as they pleased. One must have chewed through the hoses on my hobby torch. Make sure to turn those valves off, kids! Squirrels!
Not too much going on here, but glacial progress is still progress, Right? I've been working on the cowl. It is almost entirely hand sanding, and I have to watch the weather for those mid 50's and above days this TN winter brings about twice a week. That's not bellyaching. We have very mild winters, this one even more so. I feel very fortunate to get any bodywork done during winter. Here's the worst spot on the cowl today.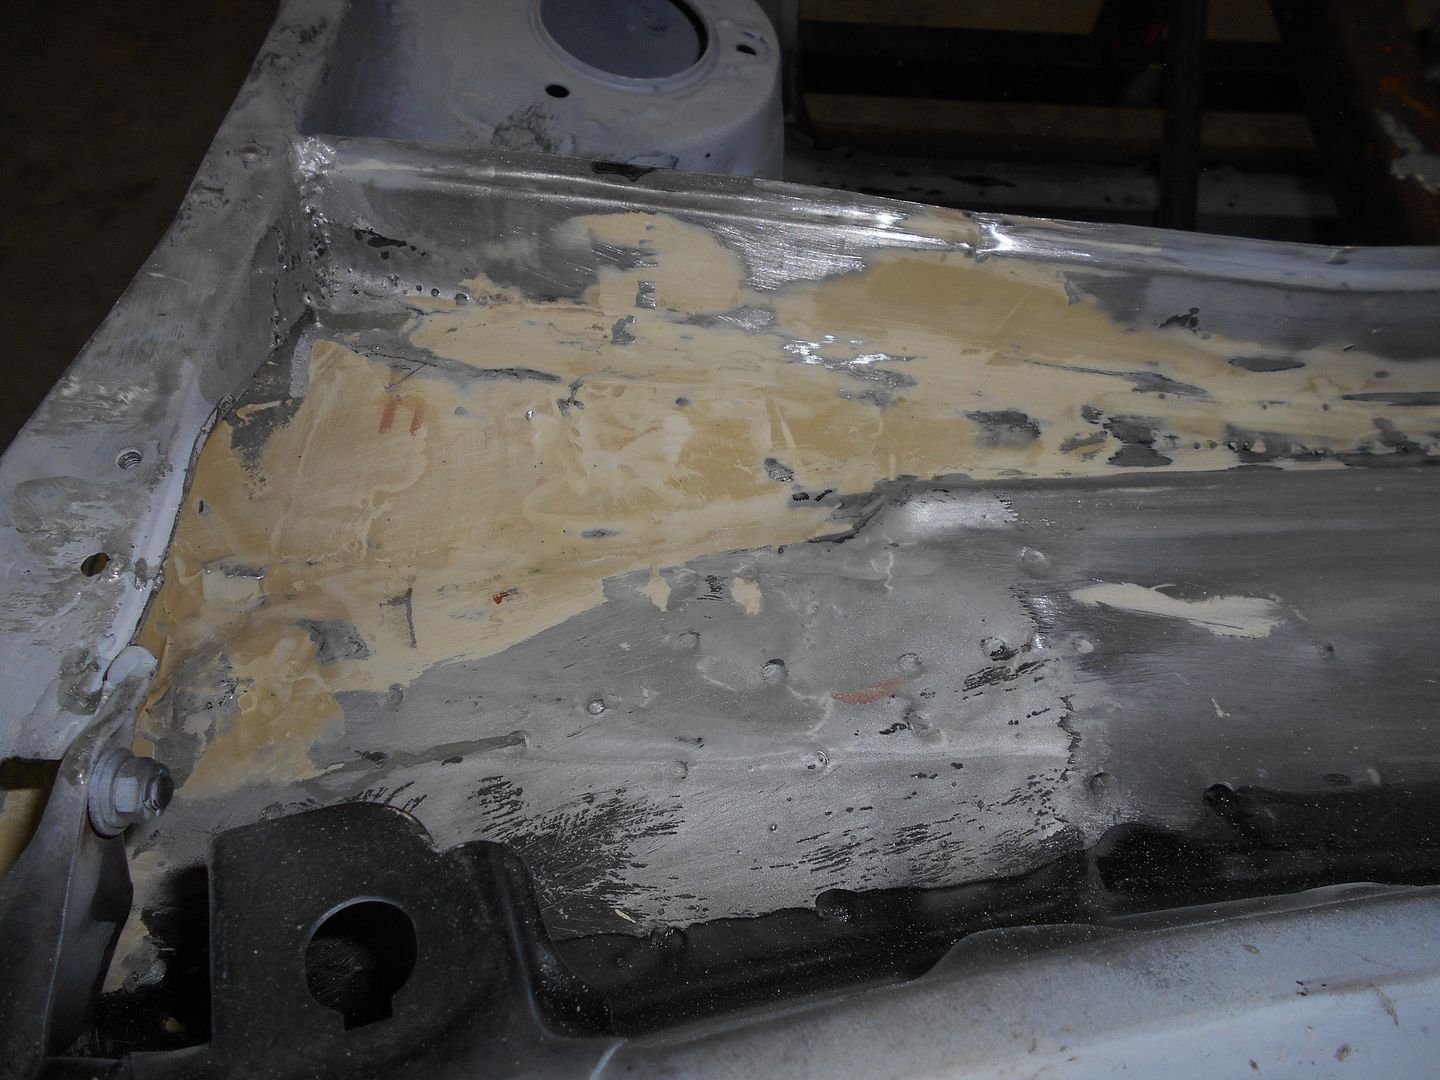 That might be a little blood in there from all the sharp edges...
As this is basically a rain gutter, I'm going for smooth, and downhill from the center. Wavy will not hurt my feelings a bit.
While its too cold for body filler, I've been stripping the quarters to (mostly) bare metal. Once again, the hack responsible for all that Bondo where there used to be a side marker has improved substantially since then. 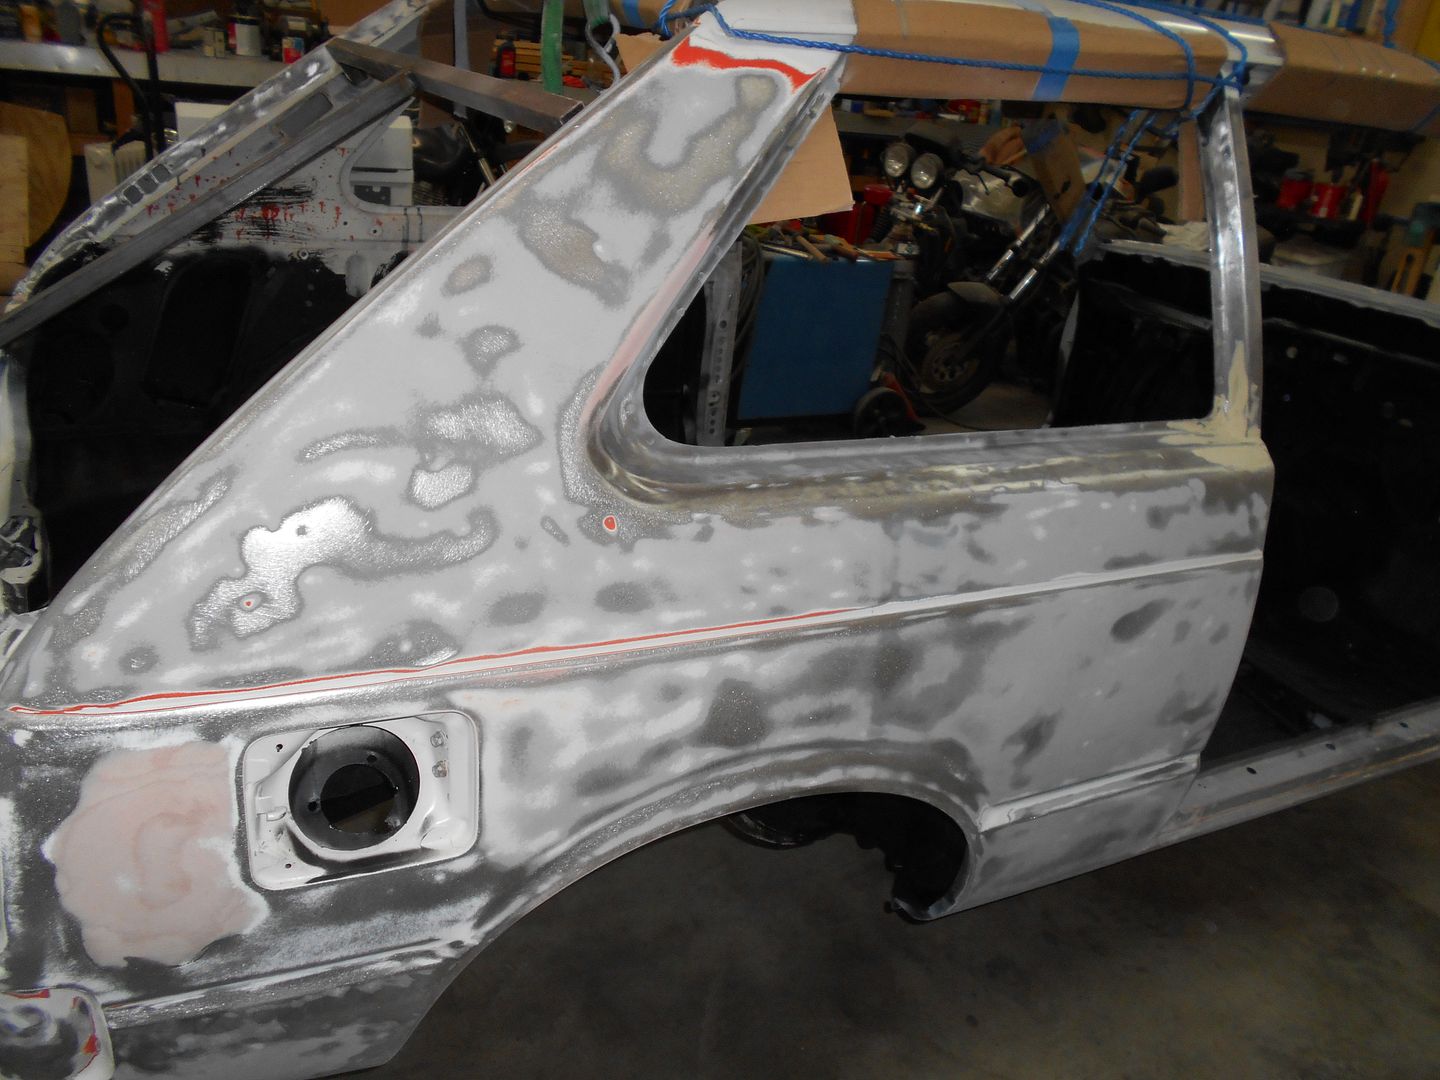
This was with 40 grit on the old DA. The compressor is holding up fine. No lag time whatsoever, but I need a drier before I go much farther.
I wanted to wait and post shiny black paint, and the outer cowl panel panel welded back on, but NOHOME's Hoffa thread
got me riled up, so here's a post to prove (to myself) I haven't stalled.
Cowl wet with primer;
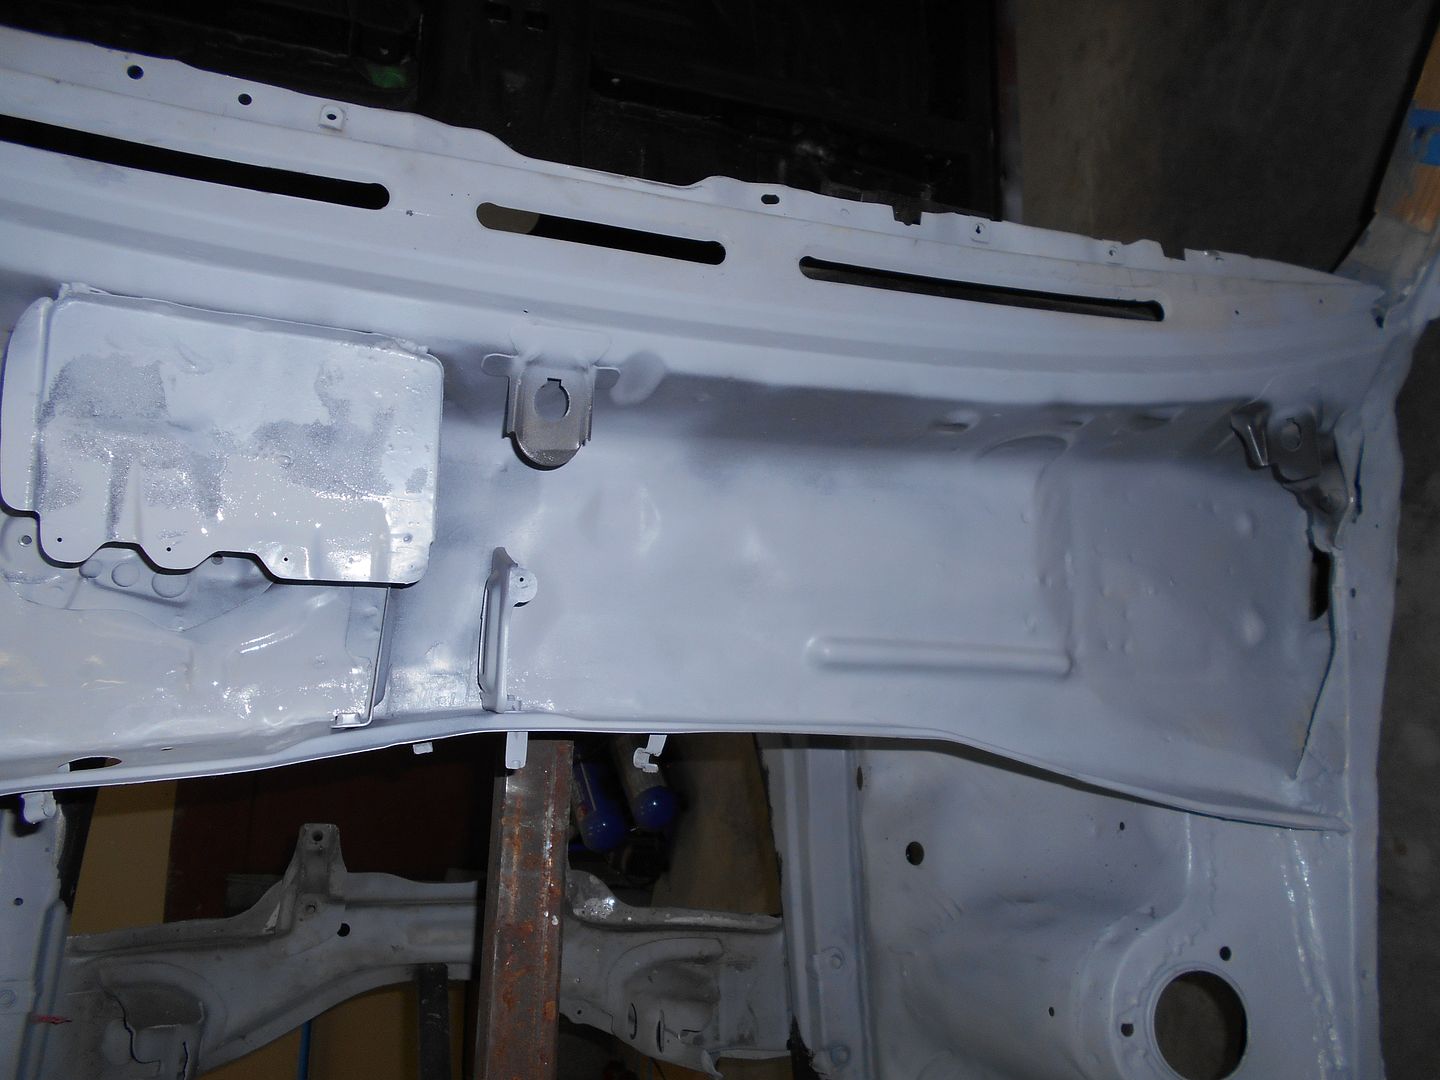 It took a looong time to get it where I wanted it. And my standards are LOW. For those who are unaware, HF sandpaper is cheap for a reason.It is garbage. Hand sanding that bit was like fighting in a straight jacket.
Engine bay also wet with primer. Both these things will be wavy, but I don't care. Smoothish and wavy is fine in my book.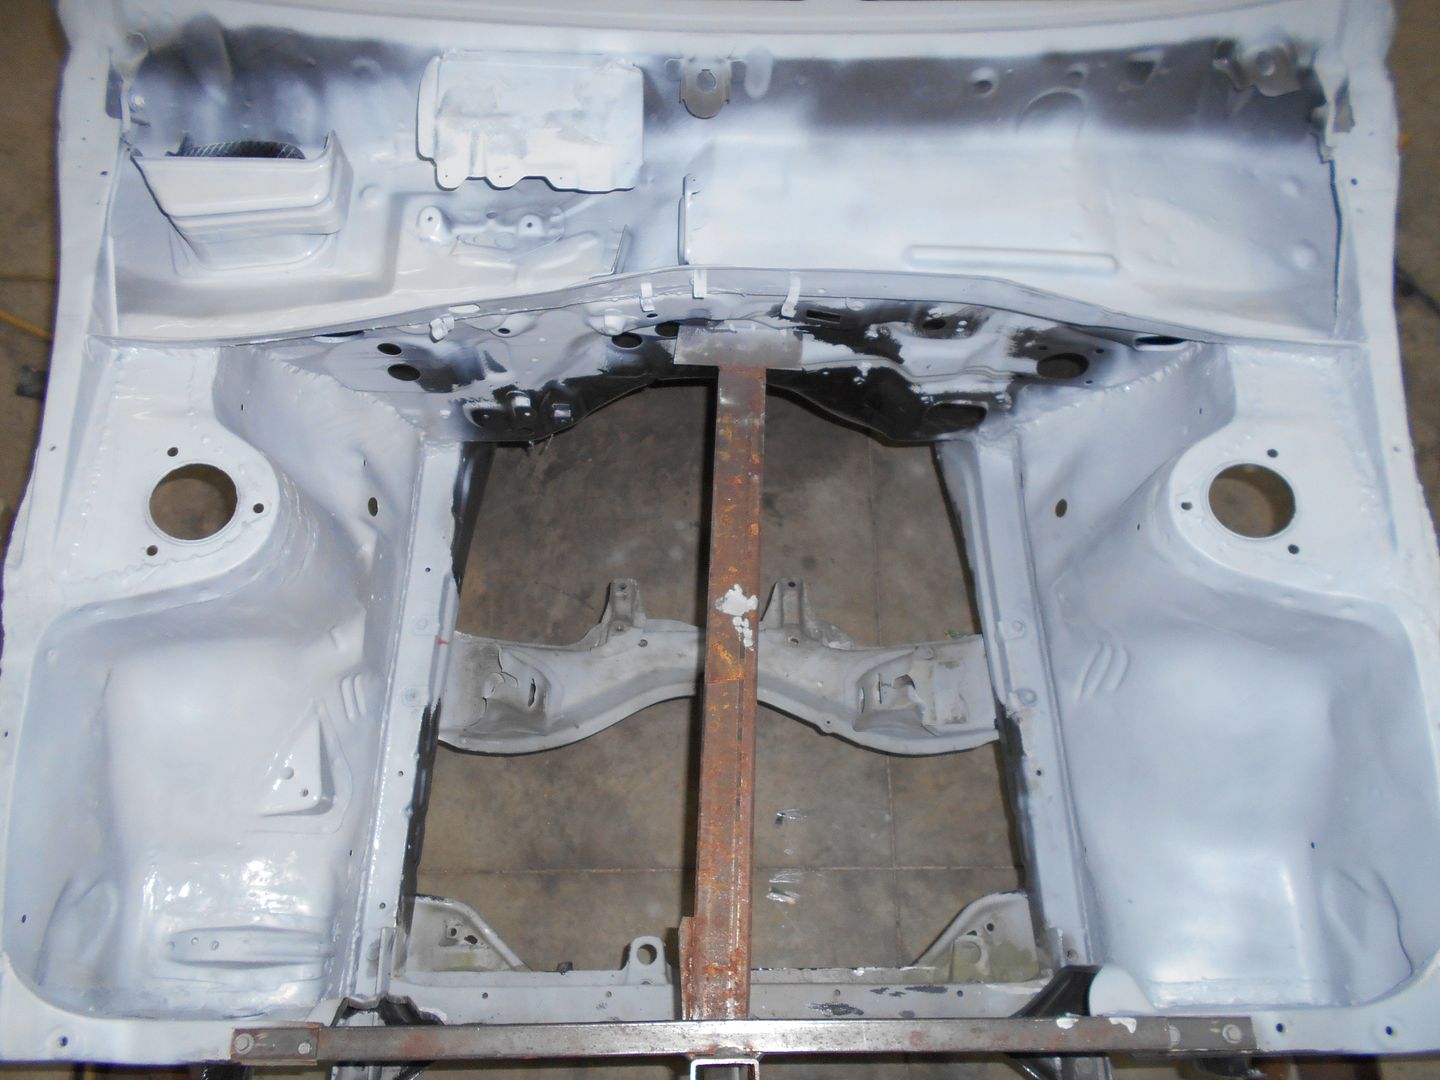 More to come.

NOHOME
PowerDork
1/14/16 5:47 p.m.
wheelsmithy wrote:
I wanted to wait and post shiny black paint, and the outer cowl panel panel welded back on, but NOHOME's Hoffa thread
got me riled up, so here's a post to prove (to myself) I haven't stalled.
Hey...you are one of the more diligent citizens around here. No need for you to feel guilty! Now, that Nocones guy

In reply to NOHOME:
At the moment, that may be true, but we are all one wrong turn away from project paralysis at any given point. I suspect Wiley NOHOME ways to motivate one and all may have been behind the Hoffa thread from the get-go. You are very appreciated, Sir.
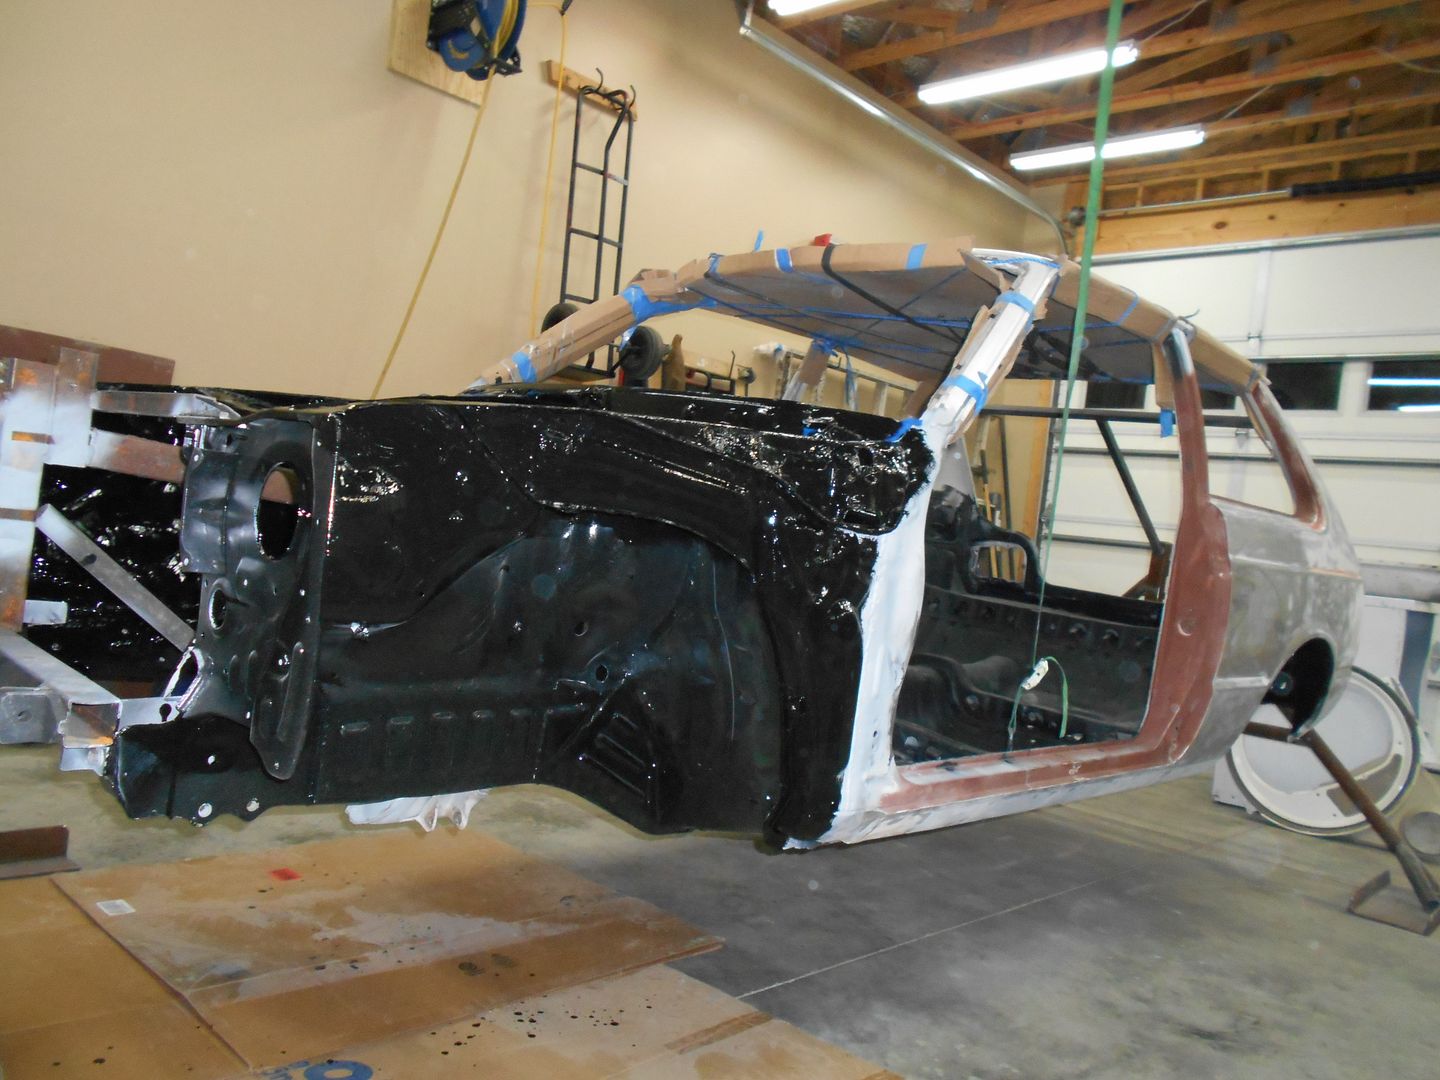
1st coat.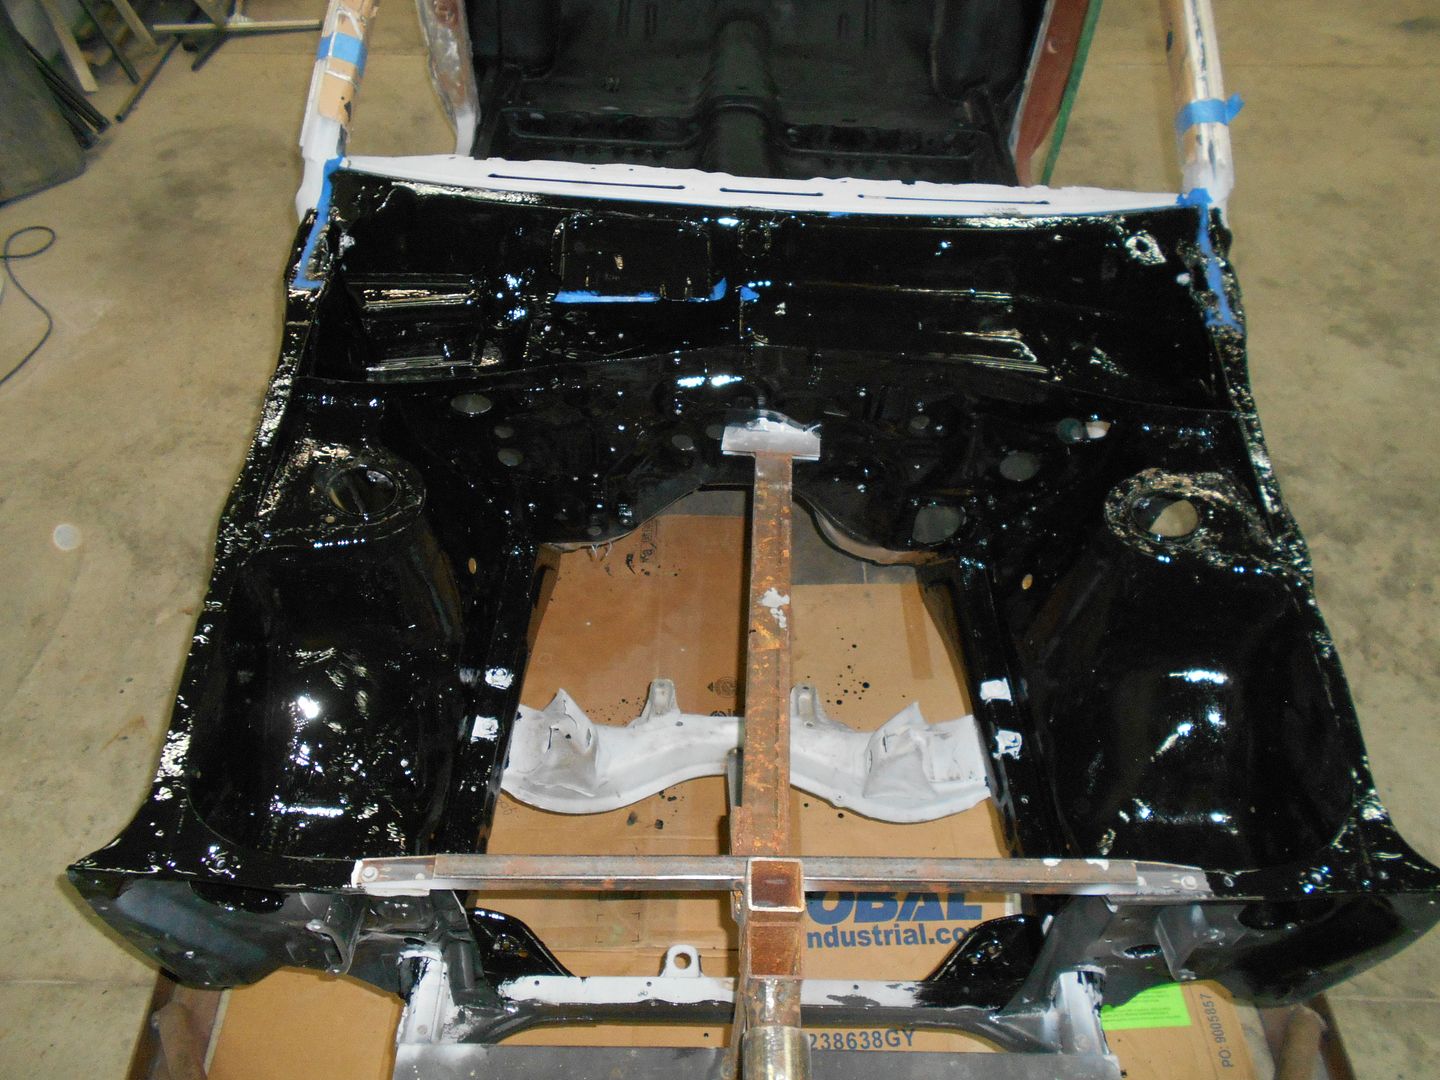 Both sides pretty much look like this.
Please tell me that the whole thing will be black on black with some black accents.

Dusterbd13 wrote:
Please tell me that the whole thing will be black on black with some black accents.
That is the one color scheme I can say with 100% certainty it will not be . I do not plan to do bodywork to the level required for a black beauty. In my younger days, I would have considered nothing else, but the roof is kind of dinged up, the body is reasonably straight, yet dinged up, and unless things change, this is to be my first automotive paint job. I'd love to go beige with brown interior for the horn rim and bowtie look, but I have most of the interior in gray. That reminds me, Duster, you seem versed in dying interior bits-advice?
The current plan is to play to the stock style, but update. There will be some exterior color visible inside- on the doors, rear fender humps, A,B, and C pillars, etc. Some colors kicking around in my head are light gray (think glossy primer), primary colors a-la a civic or rabbit from the early 80's think yellow, green, blue no metal flake, a cool blue Porsche used in the 50's on 356 coupes(think dullish, light blue with some black mixed in to dull it down more), and finally, I keep seeing a 70's Chevy truck blue that is just the right level of lame to make this thing POP! We'll see. Still a long way to go before all that. Oh, and a light mint green is also on my radar, or maybe back to the Dominoes theme?
What would you like to know about interior dye?
Do you have specific products you found durable for plastic and cloth? How about carpet? My color choice would be black were I to try this (see your influence?). I also have used dyes on cloth seats that made the cloth stiff. That is a concern.
I kind of thought Krylon plastic paint for the hard plastic bits. Thoughts?
Ooo, ooo, and something for the stock vinyl back seat, if you please.
I've been laid low by a sinus funk, and haven't made it out to the shop in days, but as I can't let this thread stagnate too long...The Big Brown Santa Came!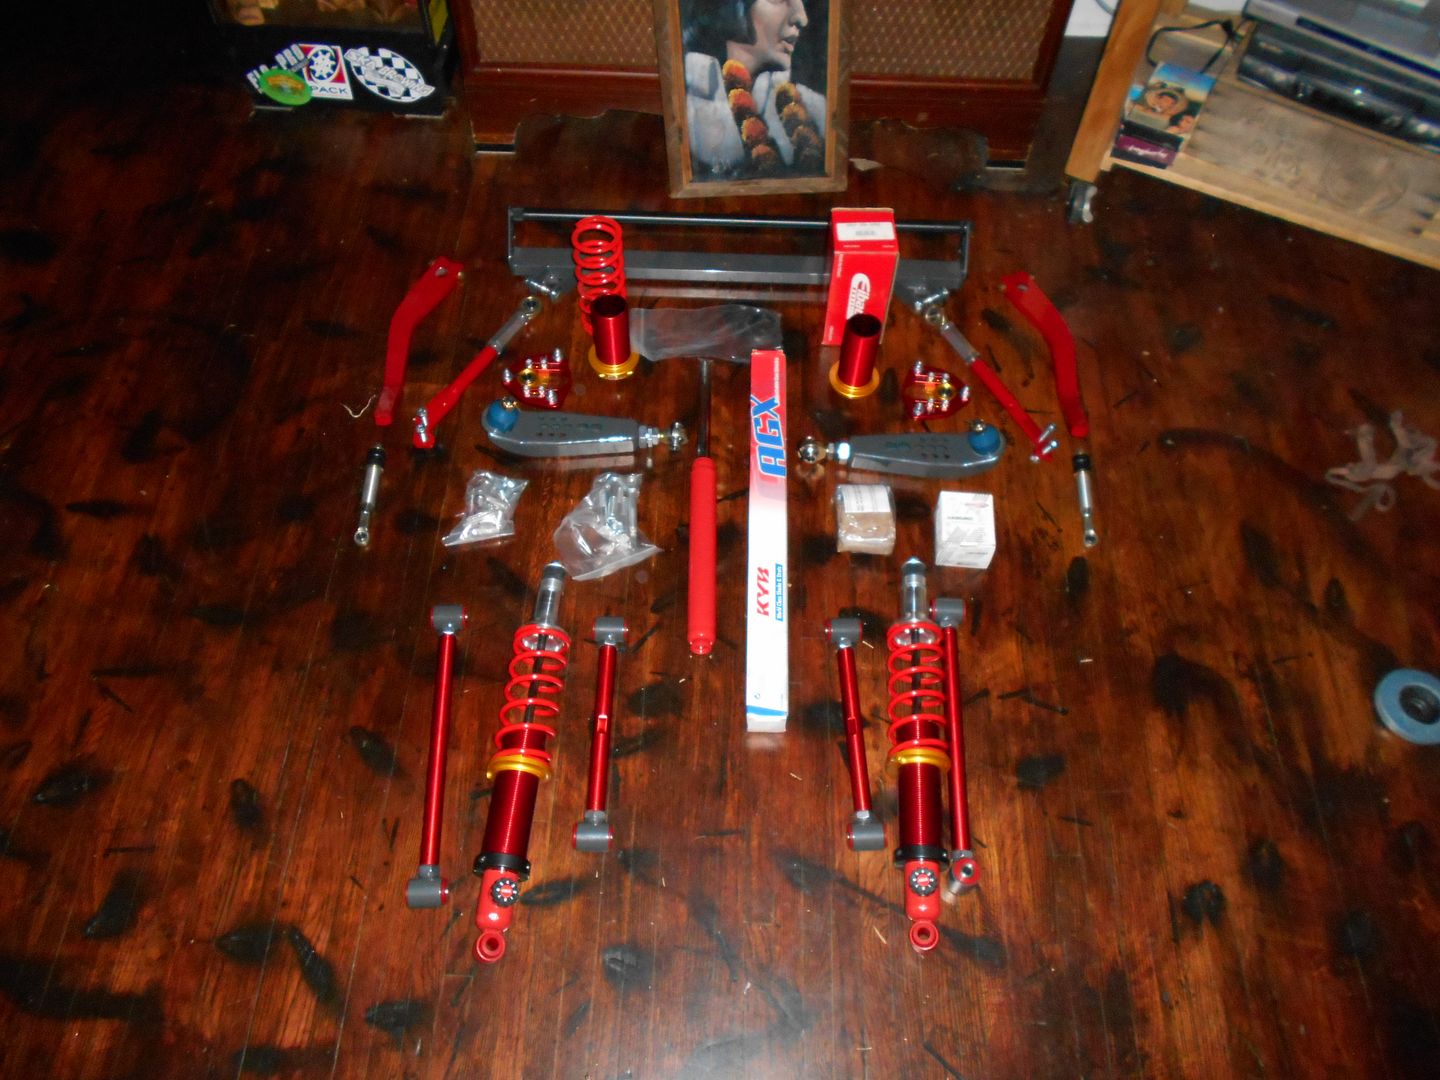 Pretty sure E approves.
With that, I just quadrupled what I have in an X-pizza delivery car. The action will re-commence soon.
I'll get you a link to a thread I did on interior stuff here: http://www.gmfullsize.com/threads/project-living-room-obs-eclb.218935/page-2
May help you start.
Oh Shiney bits! Cant wait to see it all together
In reply to Dusterbd13:
You are a scholar and a gentleman. Great read, and helpful in the extreme as always.
No problem. I've found that duplicolor works fine on carpets, and I did a write up in either the duster thread or the neon thread. Nothing I have found works well on cloth seats. There has to be something, I just ain't found it yet.
That suspension looks great!
crankwalk wrote:
That suspension looks great!
I concur. Techno Toy Tuning. I would recommend them to anyone. The parts are beautiful, arrived promptly, and were well packaged. Nice stuff.
I got a couple of hours in the shop, so I started tearing down struts.
AE 86 junkyard parts to be cut down and coil overed with the T3 kit: , and the old Starlet stuff to be shipped to California for $100 T3 store credit.
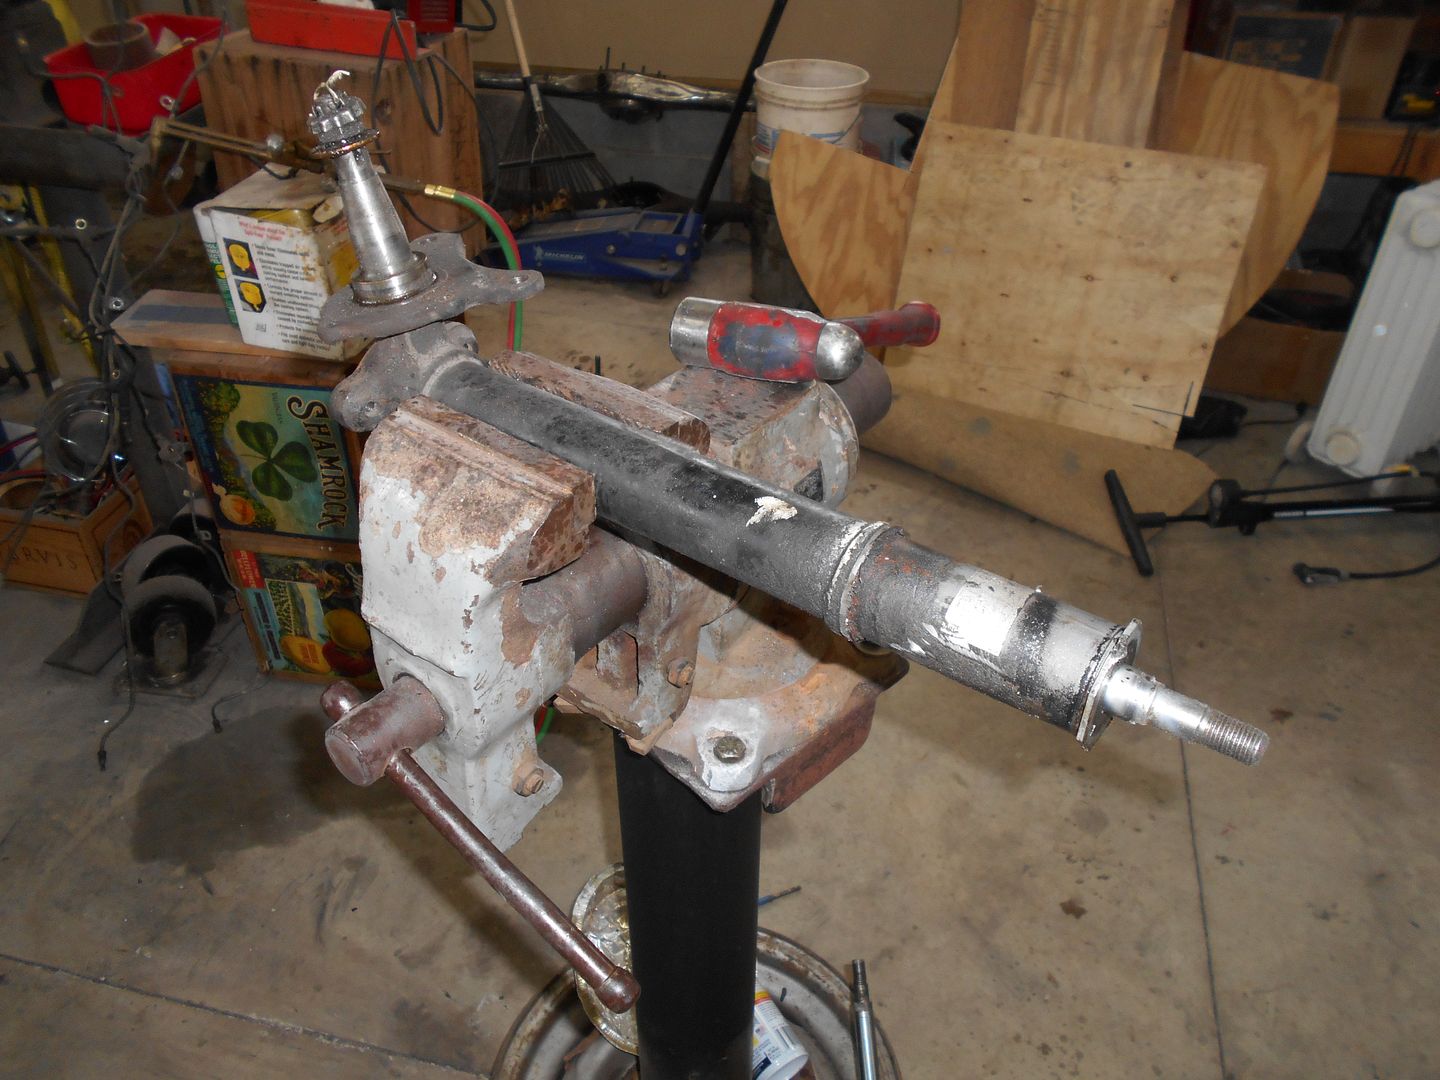 I didn't get too far, but left these soaking in PB Blast for the next session.
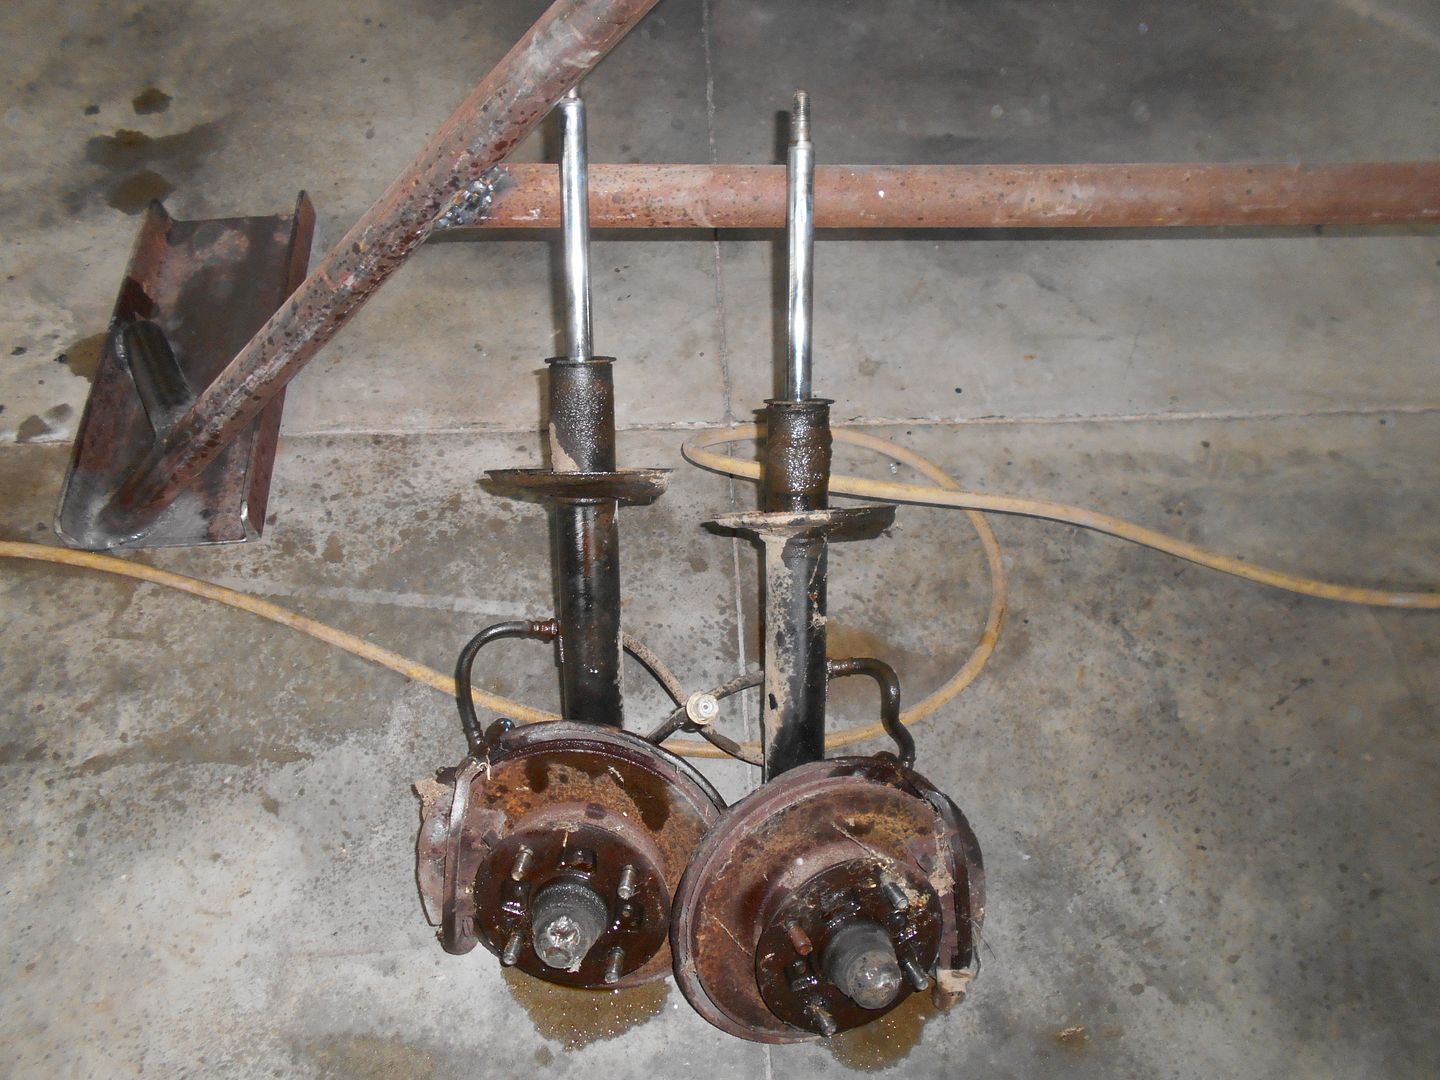 Oh, and placed a Rock Auto order for bearings, seals, tie rod boots and ends, and the like. The 4X4 shop said my axle would be ready for pickup Monday.


 Undercarriage 1st coat, wet
 Almost 3 quarts of rustoleum gone. More later.
 and a plate containing one way valves, or reeds as I'd call them.
 All this stuff looked fine, so I got new head gaskets-one below the valve plate, one above, and torqued everything to 20 ft/lbs. in a criss cross, just like any other head. I put the gaskets on dry, and dipped the head bolts in a little ATF (I didn't have any motor oil open). I did a fair amount of online research to come to these conclusions, but info is dodgy at best. One guy recommended anti seize on all mating surfaces, but I decided to just go with what I had learned to do on most cars. The bolts were all cheapie course thread, so I didn't feel I could go past 20 ft/lbs. I slapped it all back together, put new oil in the crankcase($!), and fired her up. What with the wet paint, I have not yet used it in anger, but soon enough...
 One other thing- Earlier,I said something about having some tricks up my sleeve for this. Well, for now they are going to stay there. I've got a car to get on its wheels. What I was talking about was a rumor I heard that basically said if you extend the copper line that comes out of the compressor and goes to the tank, and run it all crazy, like a moonshine still, it helped these things run much cooler. Maybe another day.
 ...then beat them flat.
  I gotta admit, taking the pictures was harder than doing the work. Next up, some light grinding, and some homemade 1/8" washers, and ready for paint. One step closer.
 That might be a little blood in there from all the sharp edges...
 It took a looong time to get it where I wanted it. And my standards are LOW. For those who are unaware, HF sandpaper is cheap for a reason.It is garbage. Hand sanding that bit was like fighting in a straight jacket.
  More to come.
 Both sides pretty much look like this.

 Pretty sure E approves.
 , and the old Starlet stuff to be shipped to California for $100 T3 store credit.
 I didn't get too far, but left these soaking in PB Blast for the next session.
 Oh, and placed a Rock Auto order for bearings, seals, tie rod boots and ends, and the like. The 4X4 shop said my axle would be ready for pickup Monday.


