Also, I can't find specs for the axial load rating of those outer bearings- I would make sure they're heavy duty enough to act as lower balljoints, since all of your bump loading is going through them axially in that design.
Also, I can't find specs for the axial load rating of those outer bearings- I would make sure they're heavy duty enough to act as lower balljoints, since all of your bump loading is going through them axially in that design.
Also also, in the picture where' you're hoisting the car- is it wearing those awesome fiberglass wheels that the turbo dodges got for a little while?
In reply to ¯_(ツ)_/¯:
Thanks for all the feedback. All good points for sure.
In the picture it just has 15" "Pumpers", as they were called, which are typical cast aluminum. The Fiberrides you are thinking of came only on the 89 Shelby CSXs. (which I do own as well. ![]() )
)
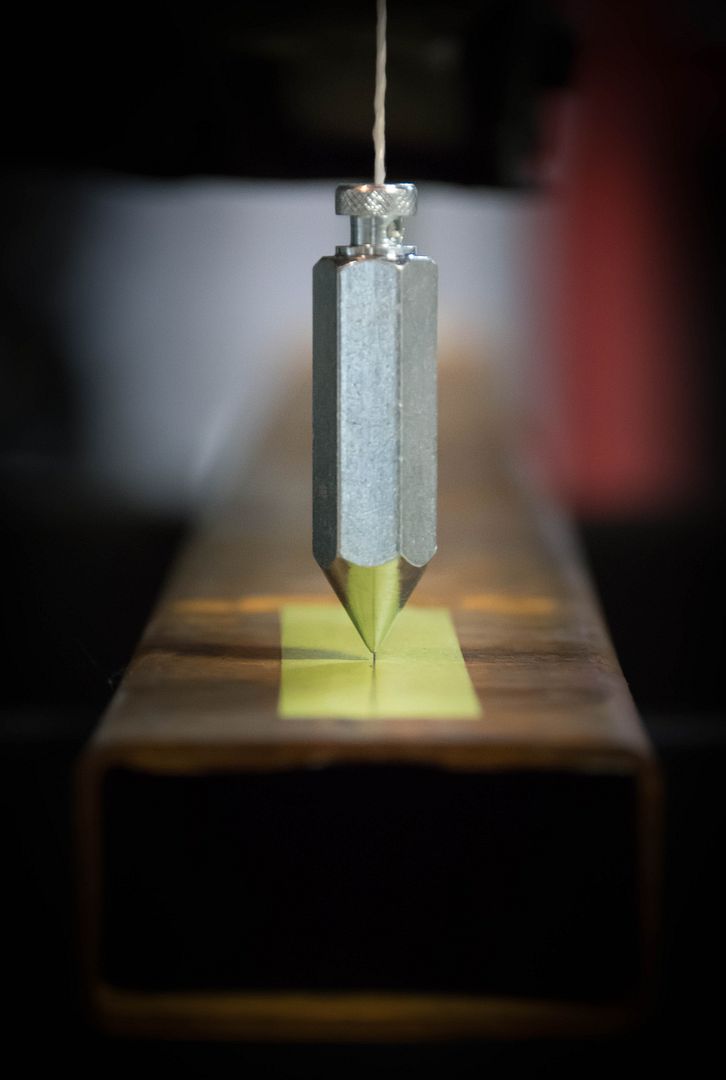
I've been making at least a little bit of progress this last month. I finally got it back into the garage to start operation front chop. Before I can complete the task a couple of small things needed to be worked out. The first was to mark the wheel centers so I can make sure everything lines up when I construct the new front end. When I made the assembly rack I set the car 6.5" above the top surface which was so I can use 2x4 steel to set the 4.5" ride height. For the wheel centers I used a piece of 2x4 steel 74" across which will also be the the new track width. This gives an 8.4" increase in track width from the stock 57.6" to 64". I felt this was a good gain while still not making the car look stupid.....well at least I hope, I still haven't modeled up any body work. ;) I also found a good use for all the control arm tubes I made a mistake on. They work great to hold up the old control arms at ride height when I take the wheels off. :D
The first look at the new track width.
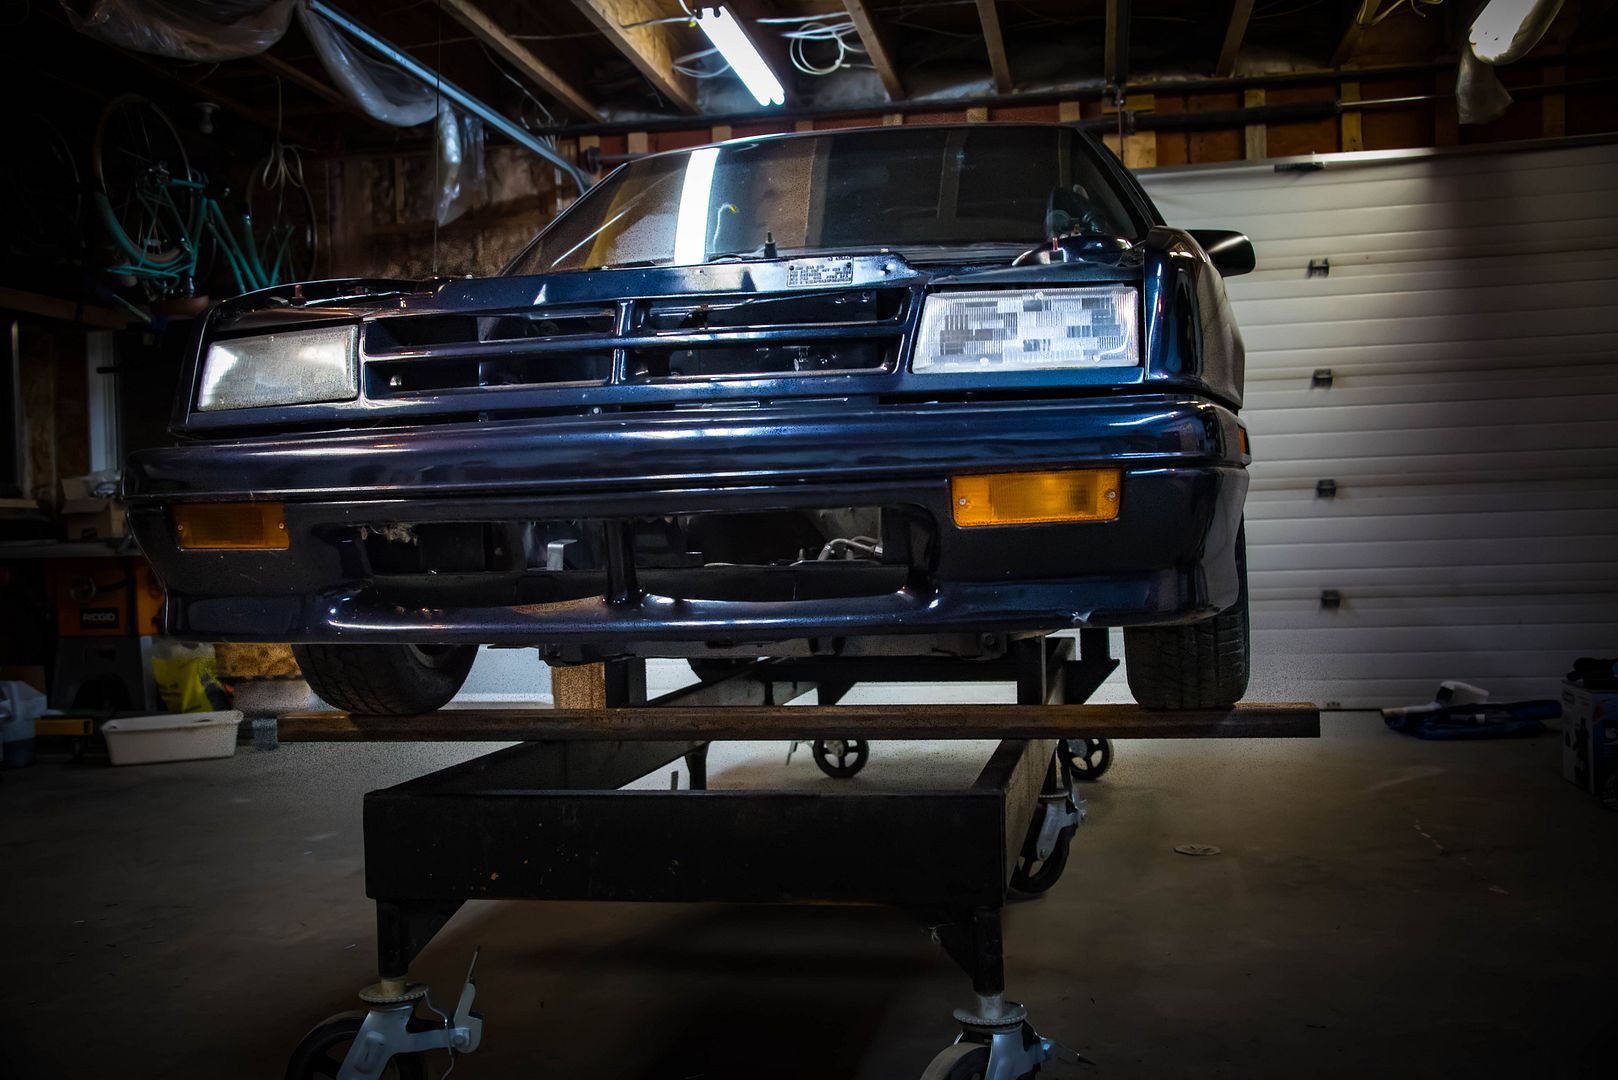
Setting the ride height to measure the wheel centers.
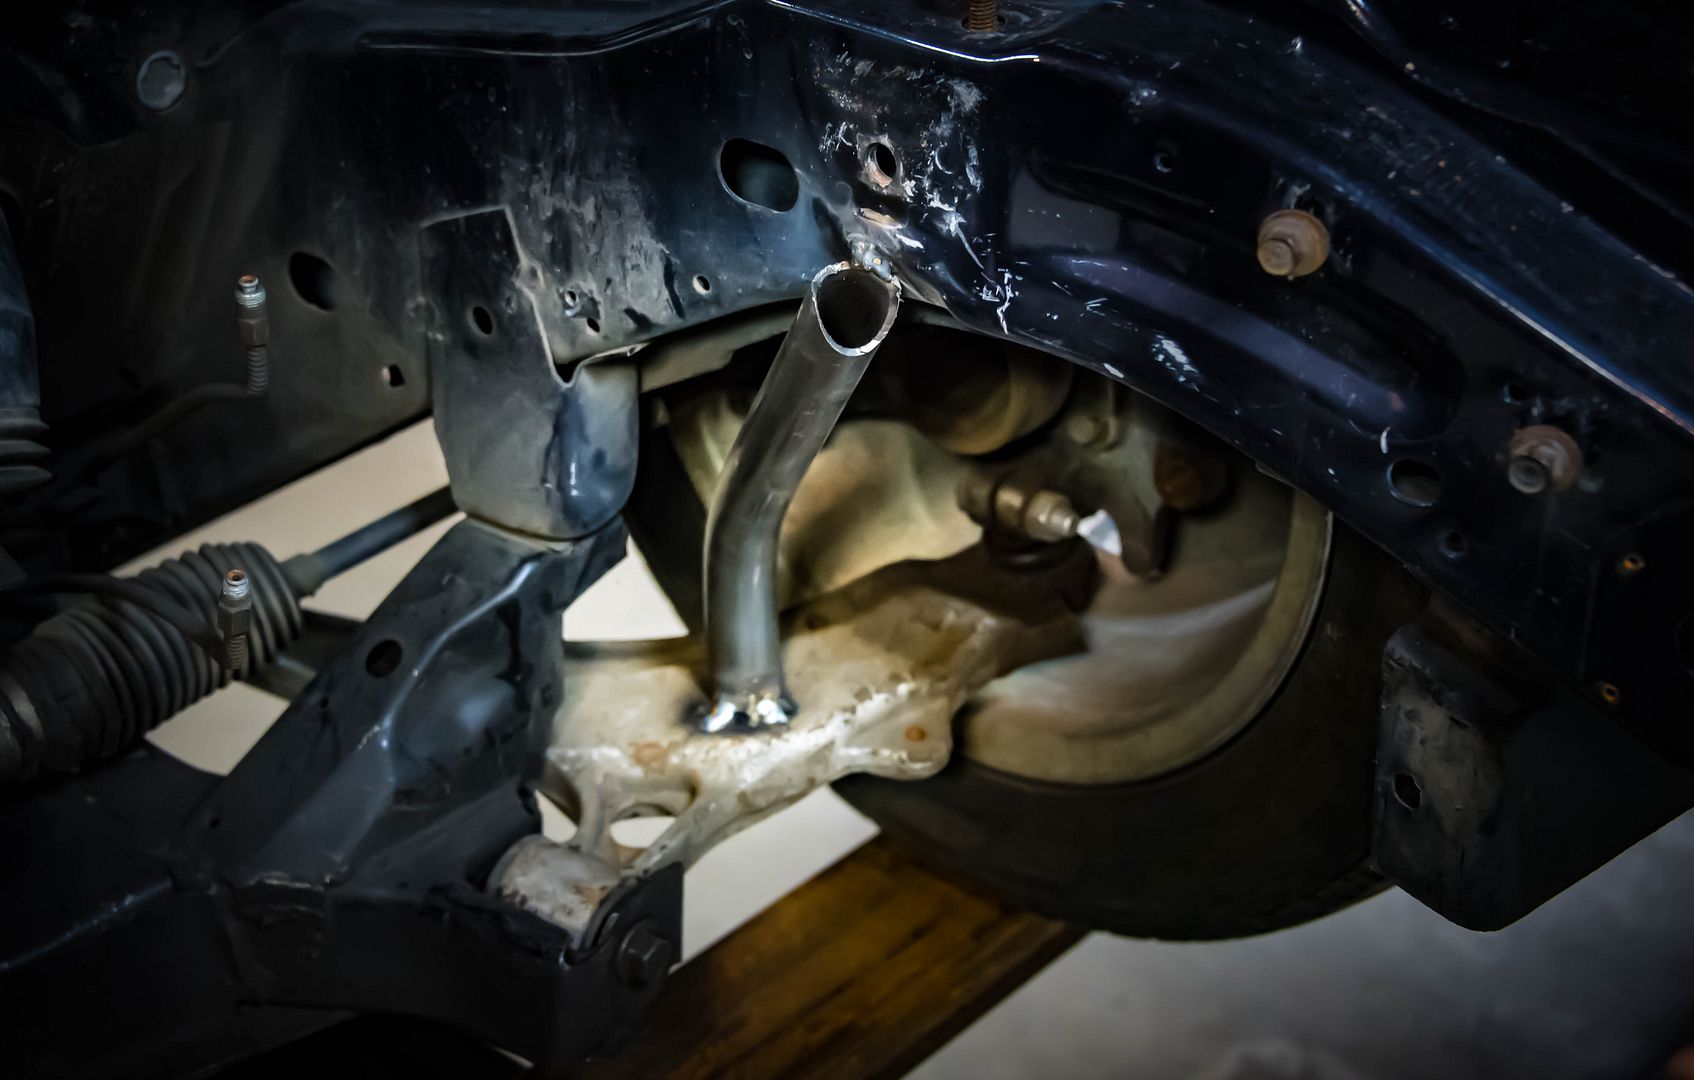
Locking in the wheel centers.
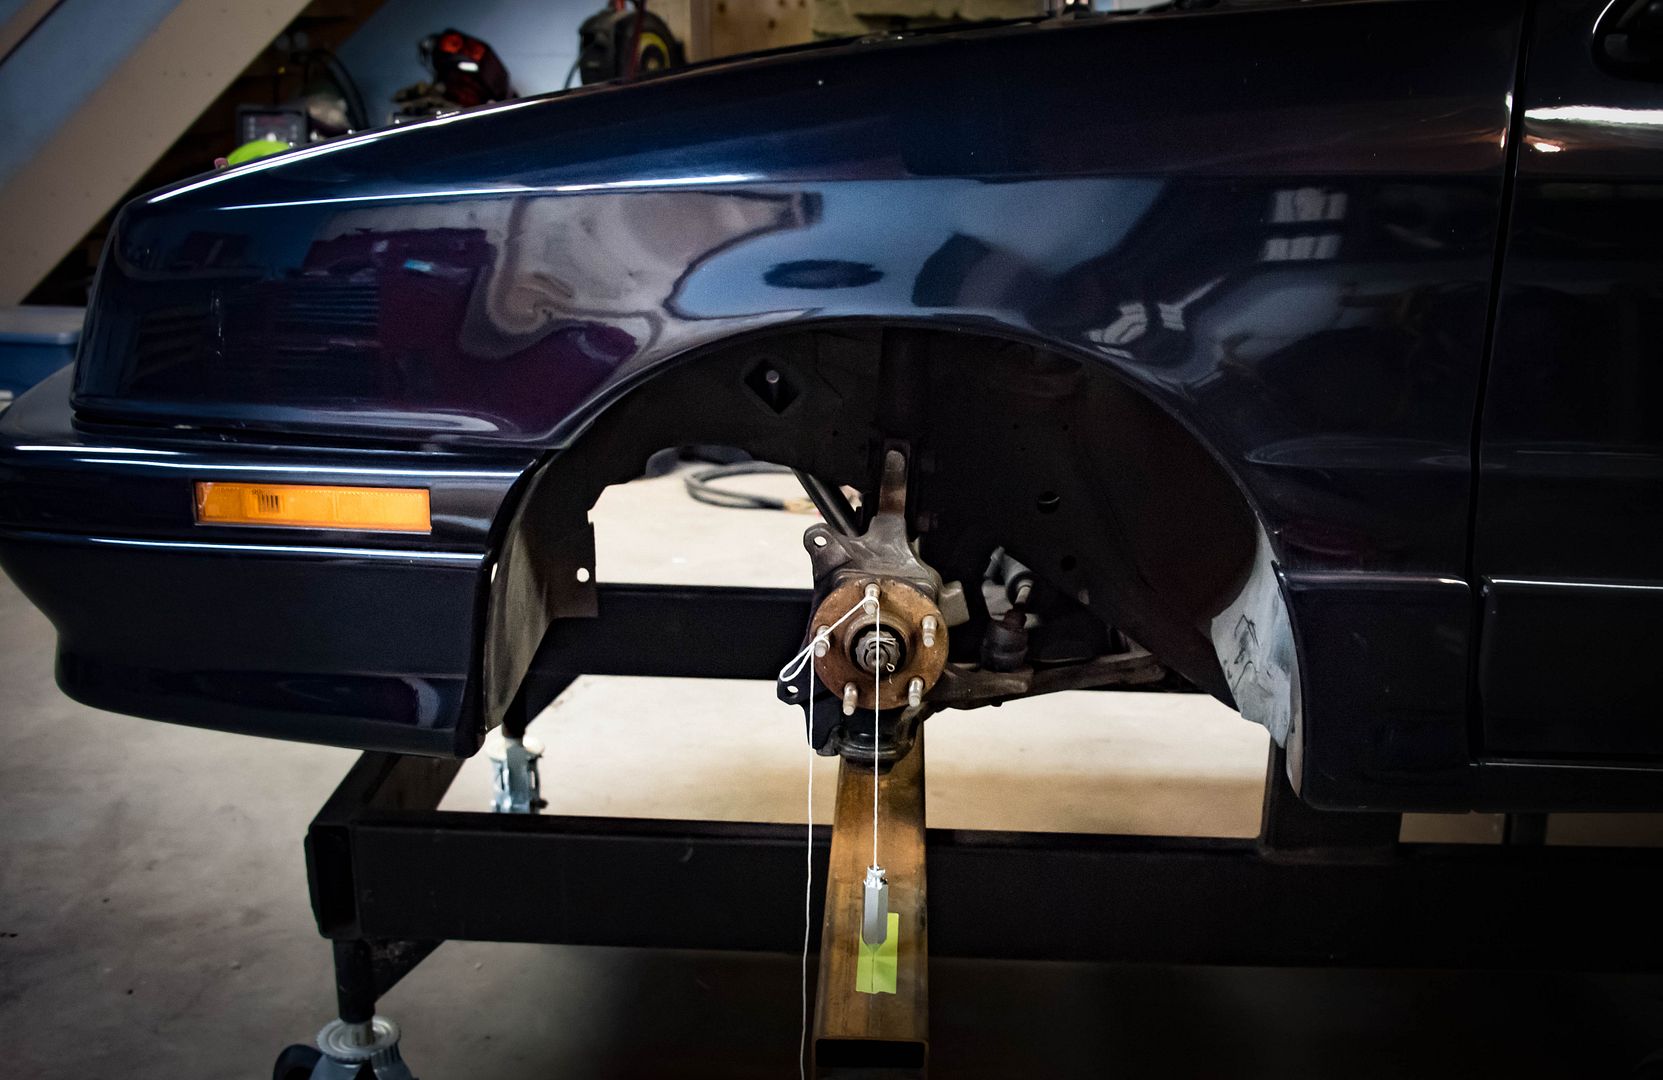
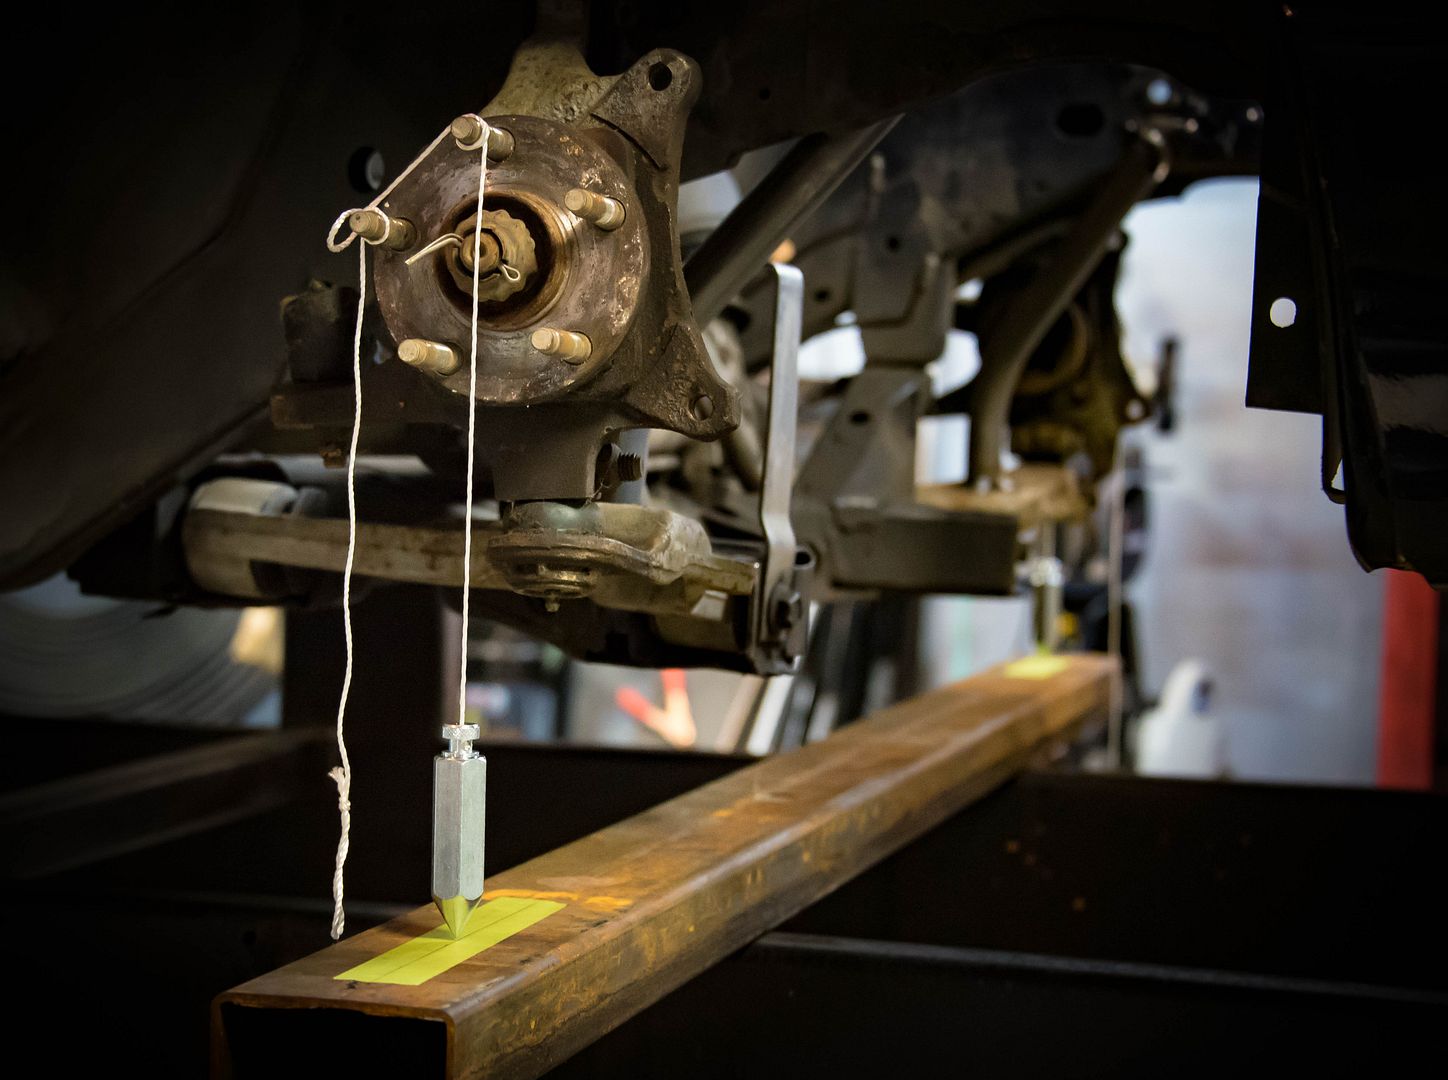
Goodbye Mr. K-frame and Macpherson strut suspension. We had some good times together but it's time to move on.
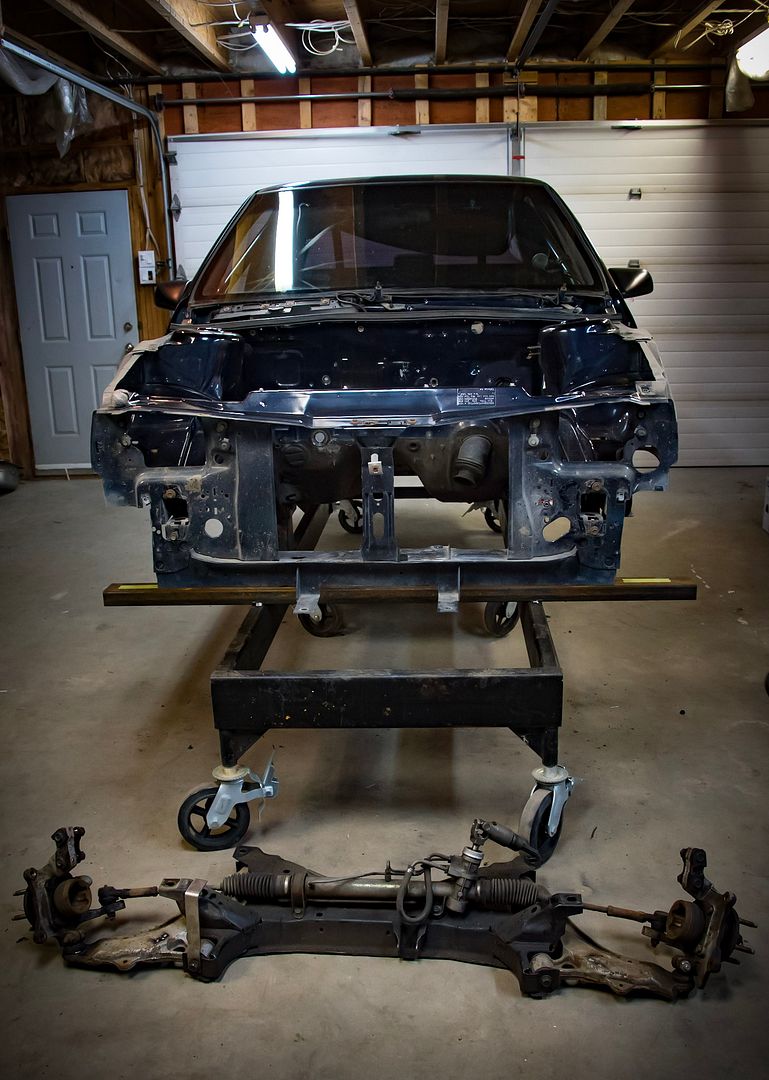
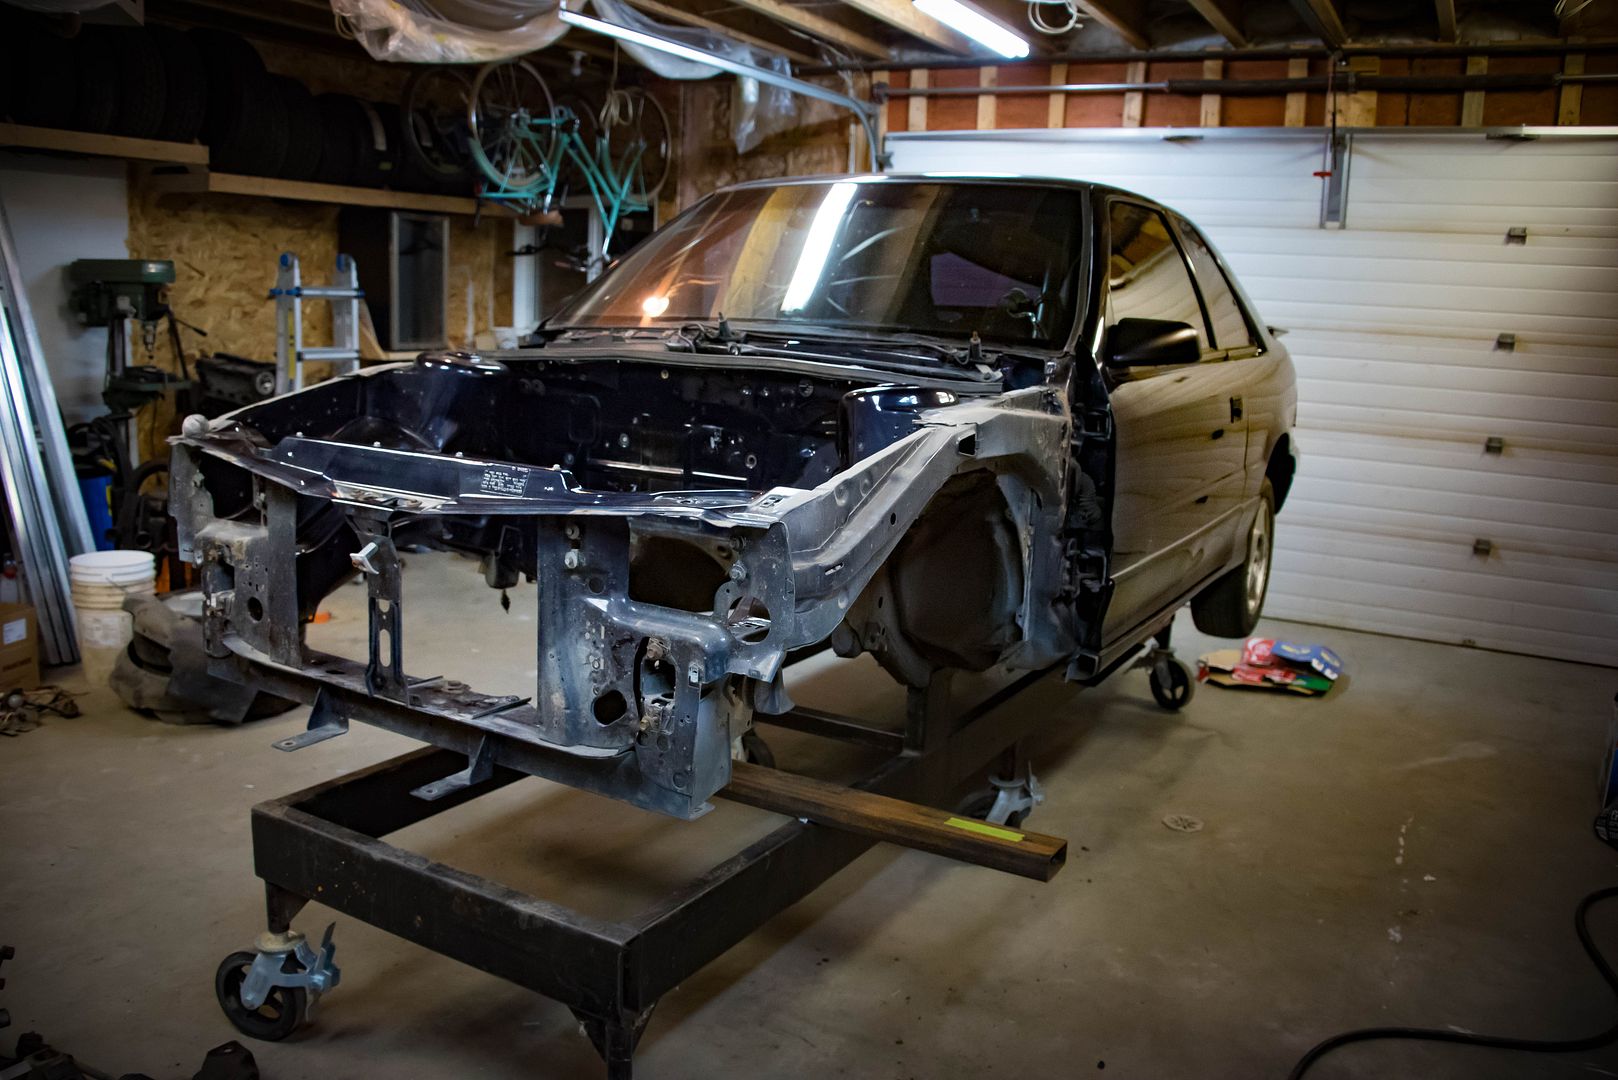
The next step was to make a fixture to hold some body work in place once the front structure was gone. I came across Project Binky on the youtubes, which I can't believe I've never seen before, and got the idea there to make something that attached to the assembly frame. I wasn't able to make it slide like there's but it should hold up the front end pieces fine. I still need to test it. :)
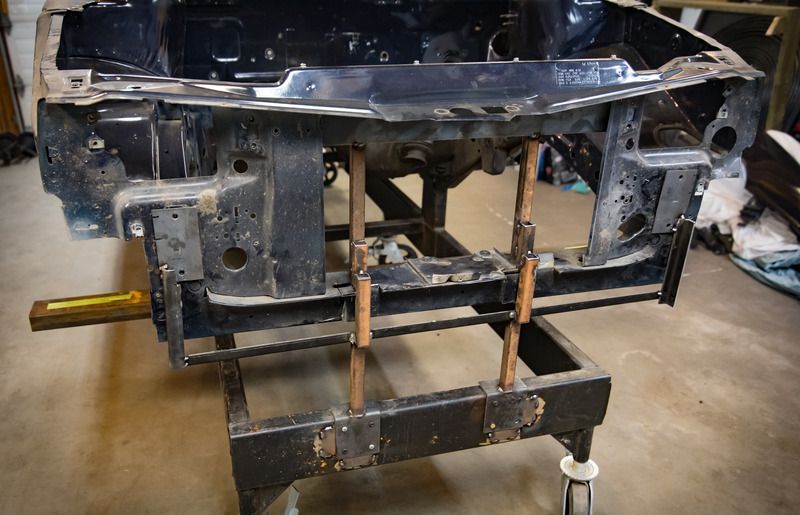
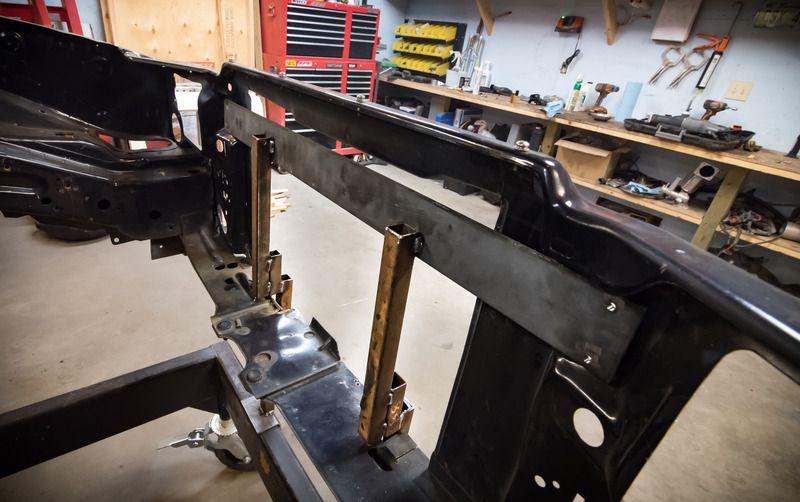
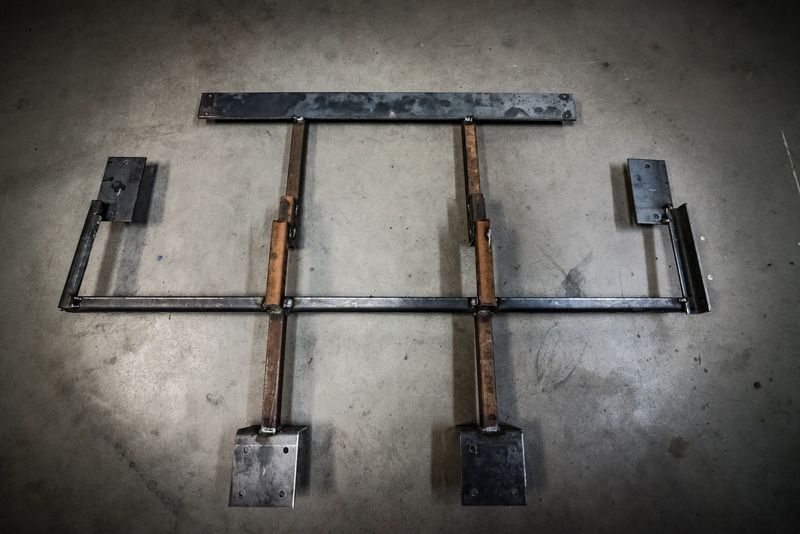
Wheel centers - Check Body work jiggy thingy - Check
Welp, not much left but to do a little choppy mc'choppity. ![]()
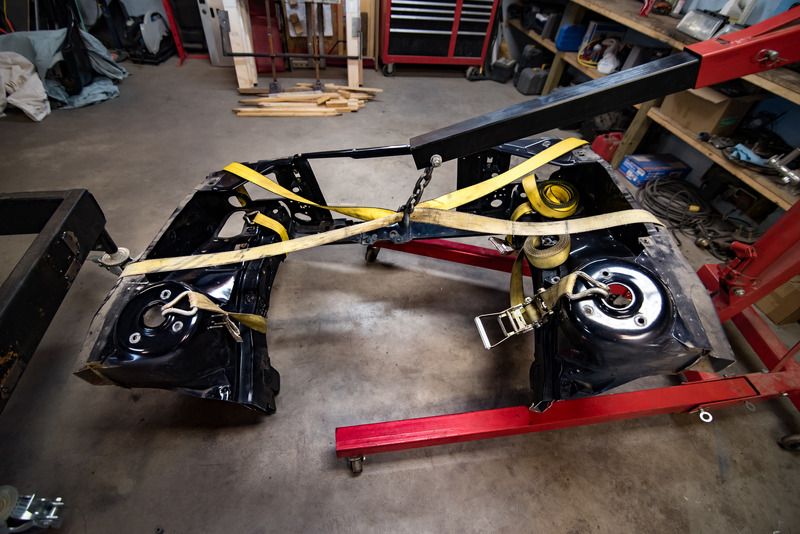
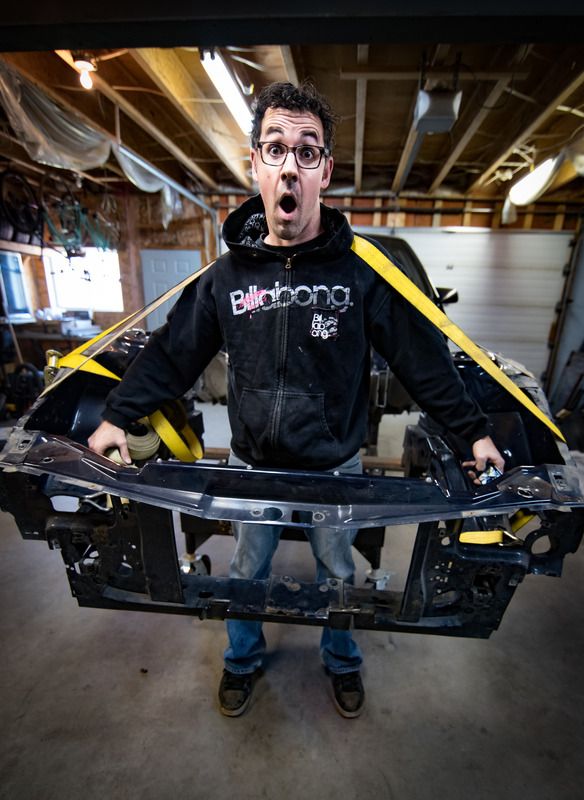
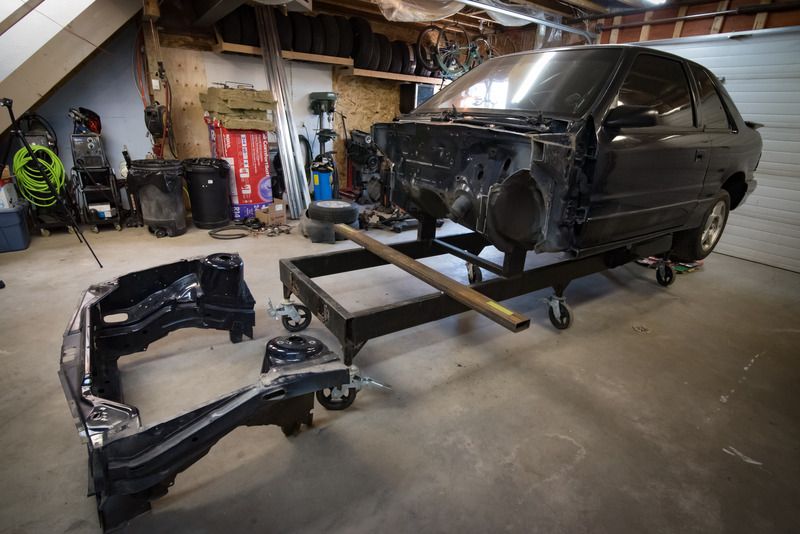
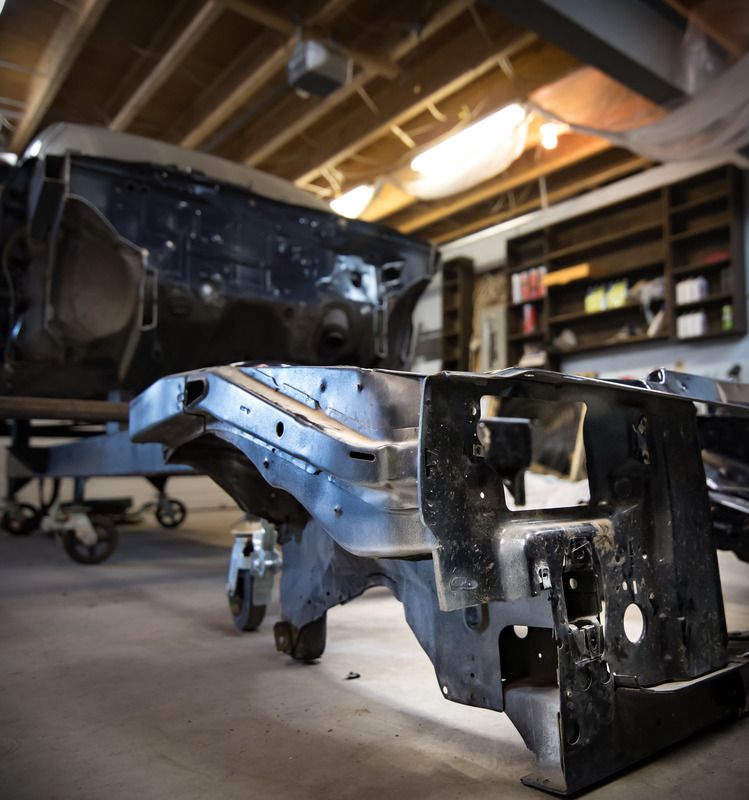
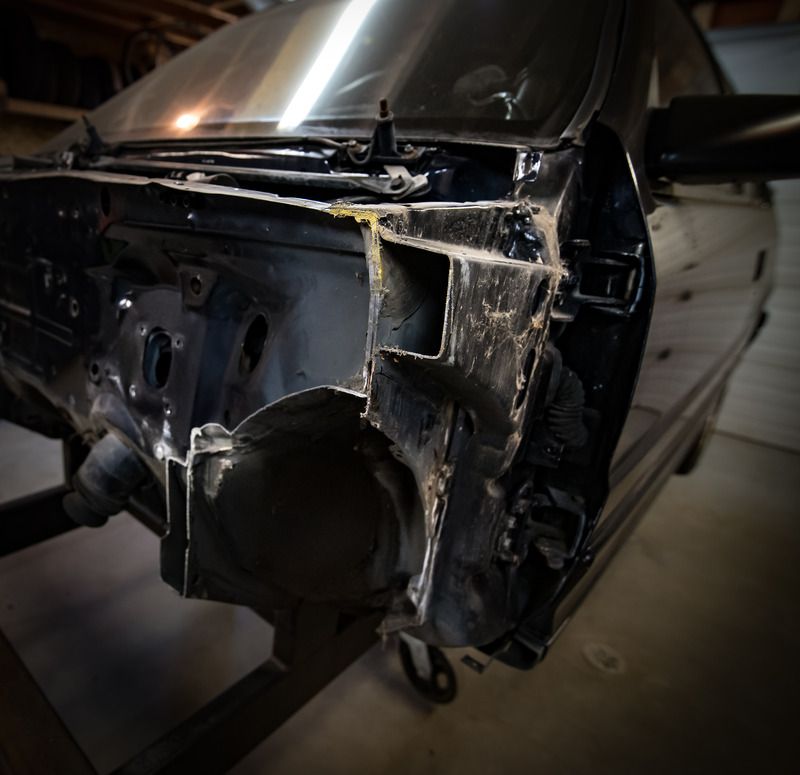
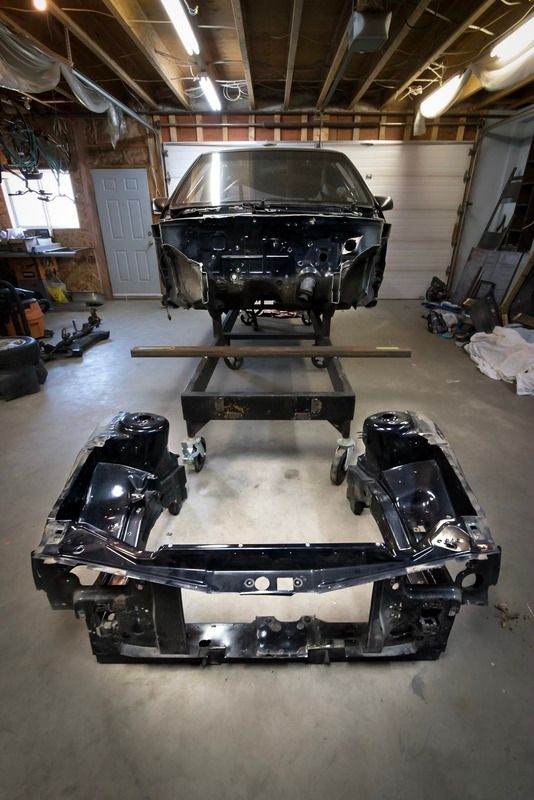
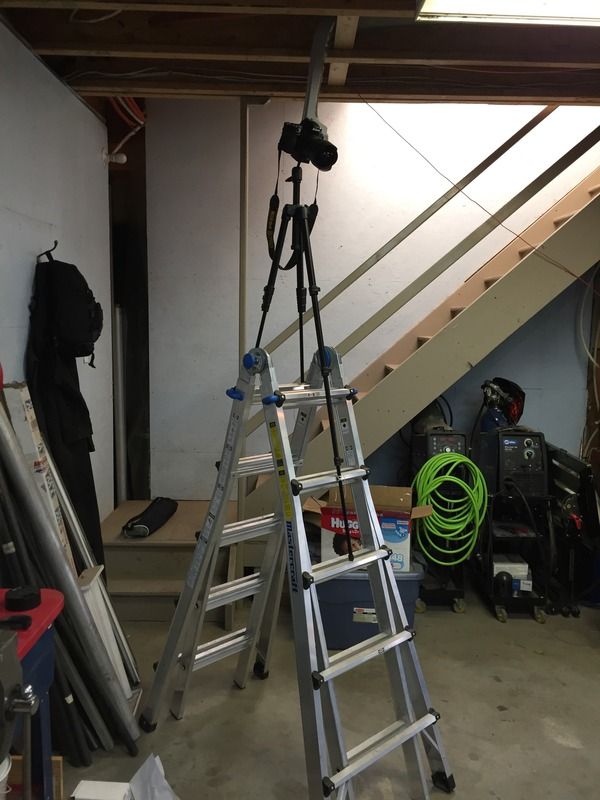
Here's my precarious tripod mount I used to make this riveting time lapse video of the procedure. A bit of string and everything looked good. ![]()
Time lapse front end chop video
This is great to watch. The engineering analysis is enlightening, to say the least. Just so I sort of have something to contribute to the conversation, what transmission is planned?
This is going to be one hell of a project. I love seeing custom designed and packaged bits like the intercooler/intake.
It looks like you are setting up for a low-travel high-roll setup (with those a-arm angles) might I suggest shooting for 1-2* MORE caster than KPI, this will allow the inside tire to gain +camber during corners and you can run less negative static camber.
Also, I would shoot for close to zero scrub, it may take away the steering feel and effort, but you will gain some grip from the lessened jacking-affect.
In reply to wheelsmithy:
Thank you, and since you brought it up I'll throw in the next post...... ![]()
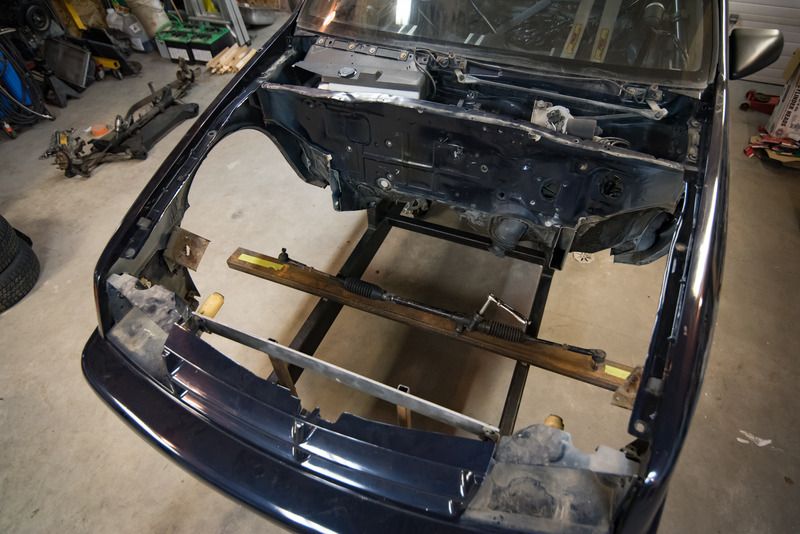
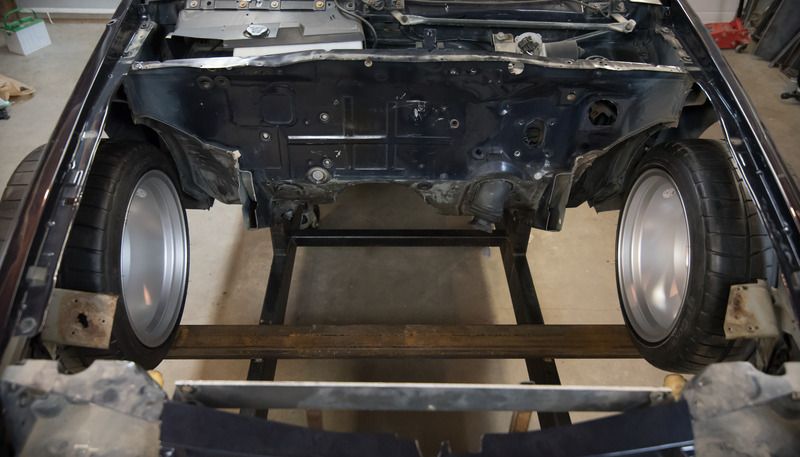
I got the panels back on and love how spacious things got once all the factory metal was gone. I'm sure it will fill up quickly but hopefully I can make things look streamlined and clean.
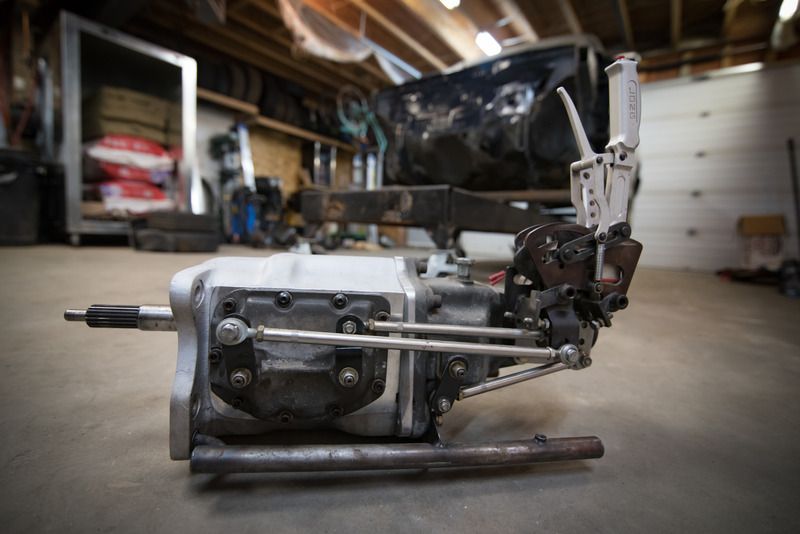
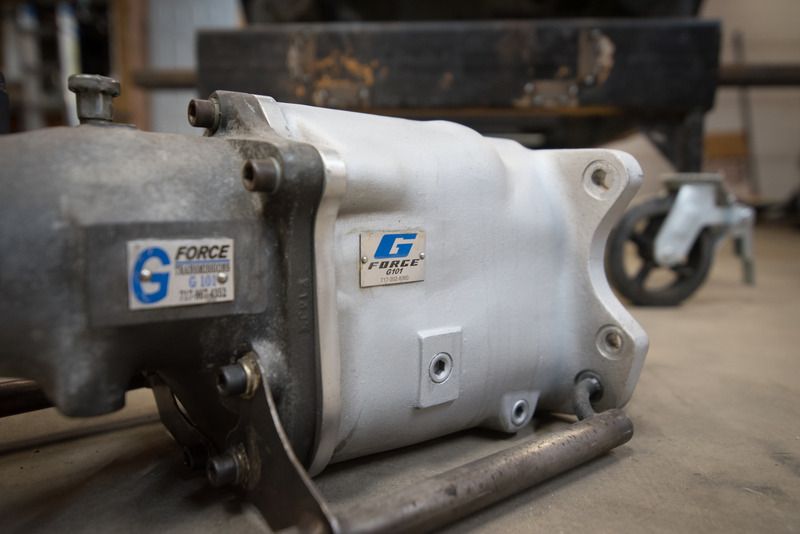
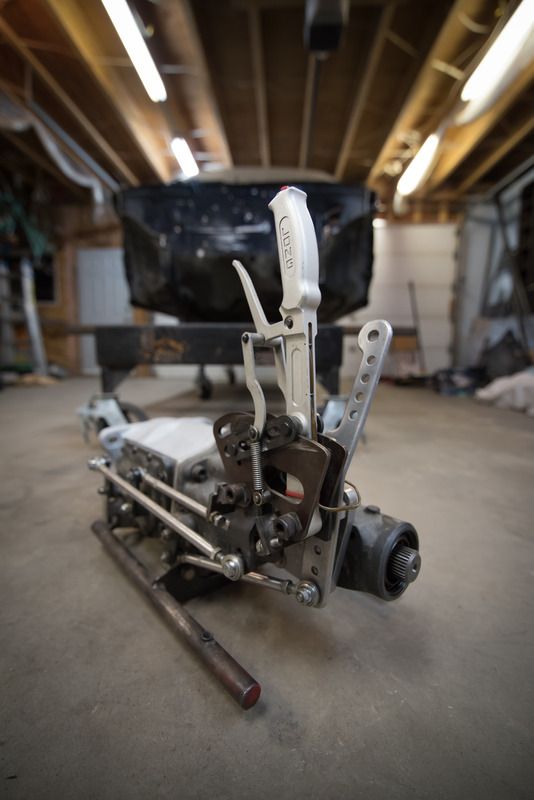
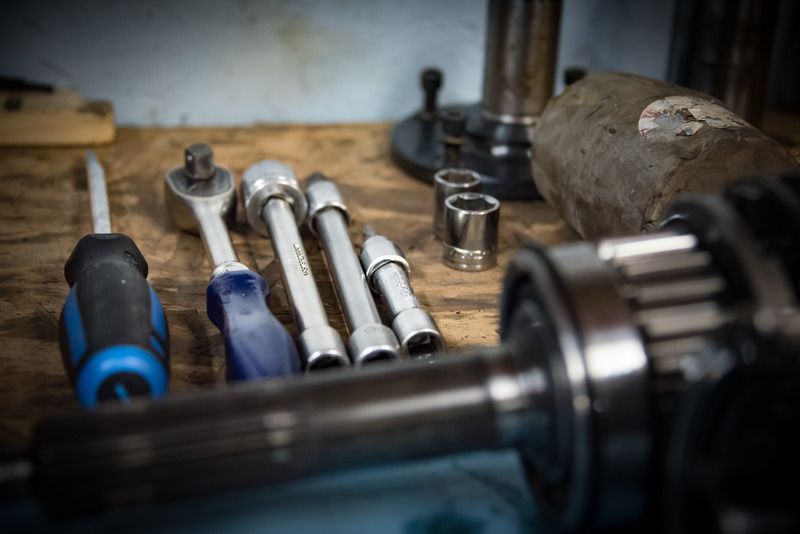
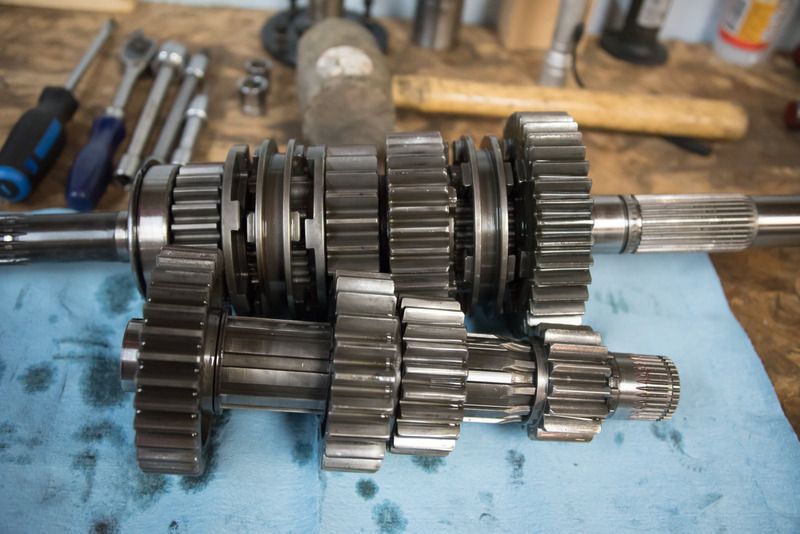
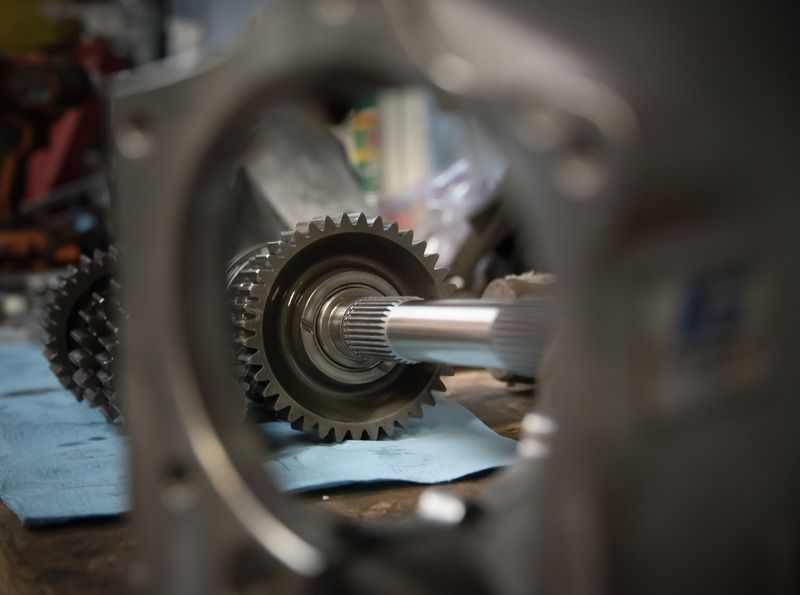
I also came across a used transmission that will fit the bill quite nicely. It will need a few new parts but I'll still be way ahead of the game with our current exchange rates. It's a G-Force G101 4-speed dogbox with straight cut gears. I'll be getting rid of the V-Gate shifter and will modify the sequential unit I designed for the A568. The ratio are 3.25-2.00-1.33-1.00 which should be very workable especially with the FD options of the Ford 8.8. It should have no problem holding my goals of 750 turbo 4 cylinder RWD horsepower.
As always here are some pictures. :D
In reply to Nessumsar:
Thank you for the input. I have a 3" static roll center with ~1:1 ratio of travel with the body. I have 2.5" of travel and didn't want it to go below the ground plane which is where I came to the 3".
At one point I was on the 1-2deg more than KPI train but somewhere I got off at one of the stops. I think I may have been worried about getting too much mechanical trail and found some articles that suggested just over 1/2 of your KPI. Your comments got me back on the subject and I think I'll try to get the extra degrees in there so thanks for sparking that up again.
The scrub radius was my compromise dimension. With everything packaged in I would need ~20deg of KPI to get zero scrub. When I tried a larger offset tire it did negative things to my camber curve while retaining my desired track width and I couldn't seem to get that back into check with the packaging constraints. Carroll Smith recommended ~10% of wheel width and I was just a tad over so I thought I would stick with it and retain a favorable camber curve which is ~1deg/1" of suspension travel. You win some you lose some.
Have you driven with a zero scrub radius car? Did you get enough feel from the mechanical trail that it felt stable at high speeds? By high I mean 140-150mph range. These are hard questions to find answers for on the interwebs. ![]()
I have not driven a car with such a setup. I am in the early process of designing a front subframe for my Nova and just reiterated some of the information I have come across.
If you have a few evenings to run through this thread, there is some great information regarding design theory and setups.
With 2.5" of bump travel are you planning to cycle the suspension that far through the corners and keeping it there via bump stops/shock valving/sway bar or do you plan to cycle it less through the corners?
All I can say is this thing is going to be berkin nuts once it's all said and done. Any idea how you're going to maintain traction going down the quarter?
In reply to Nessumsar:
Yes, I have that thread bookmarked and was reading it again after your question. ![]()
In a corner I don't expect it to cycle that far unless I hit a good bump. The suspension should contact the bump stops at 1.5" and progress another .5" so I guess the actual bump travel will be closer to 2". If I add the load transfer from 1.1g of braking and 1.1g of turning, which could never happen at the same time, I would get a bump suspension deflection of 1.64" with 550lb/in springs. That puts me just into the bump stops which will begin to stiffen the suspension but it also won't be possible to turn at 1.1g while braking at 1.1g. This is not accounting for anti roll bars. That was another fun one to find a starting point for. ![]()
In reply to Bill Mesker:
Well about all I can do is slap on some slips and play with the suspension. I don't want to tub the car but I figures I could fit a 28x10.5 in there. Traction control will help too though I'll have to experiment to see if it actually makes things faster. That being said I'm already miles ahead with the RWD setup vs. FWD.
In reply to Pat:
Thanks Pat, I heard this is where all the cool kids hang out. ![]()
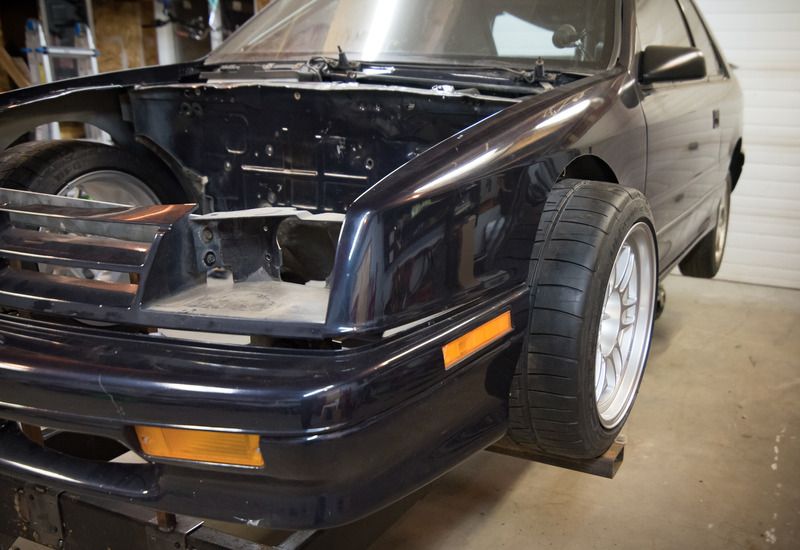
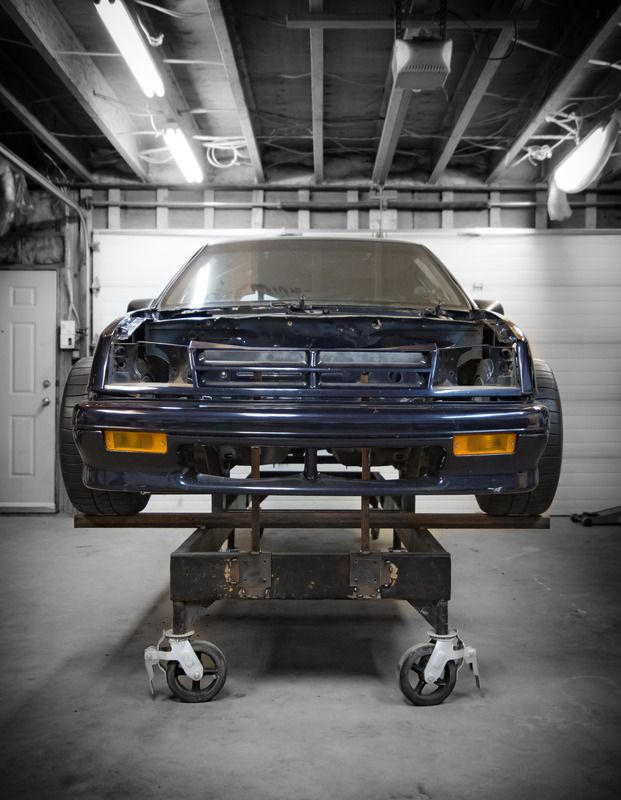
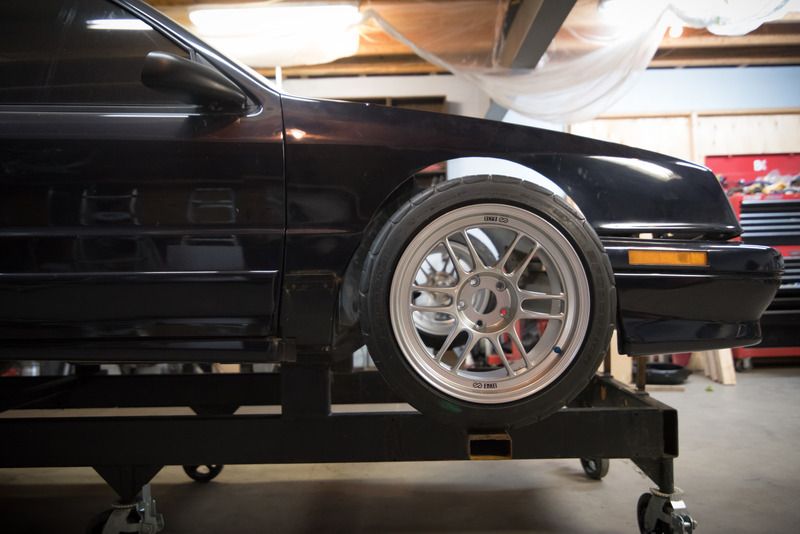
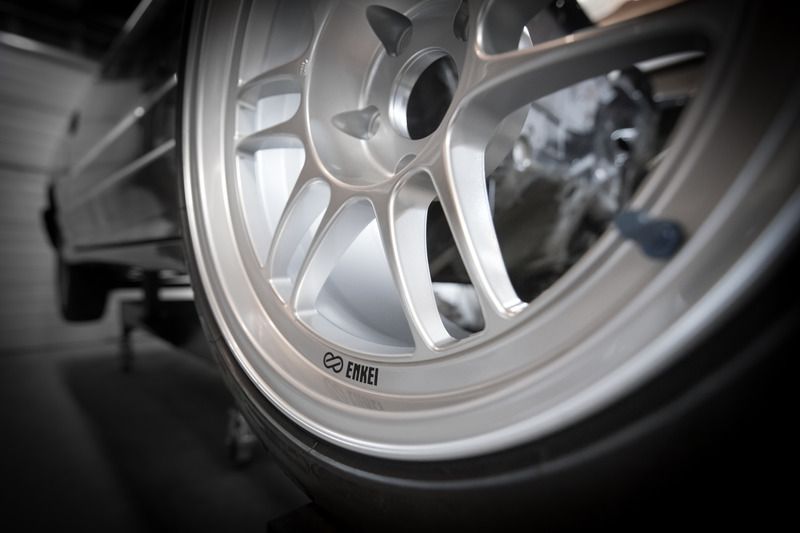
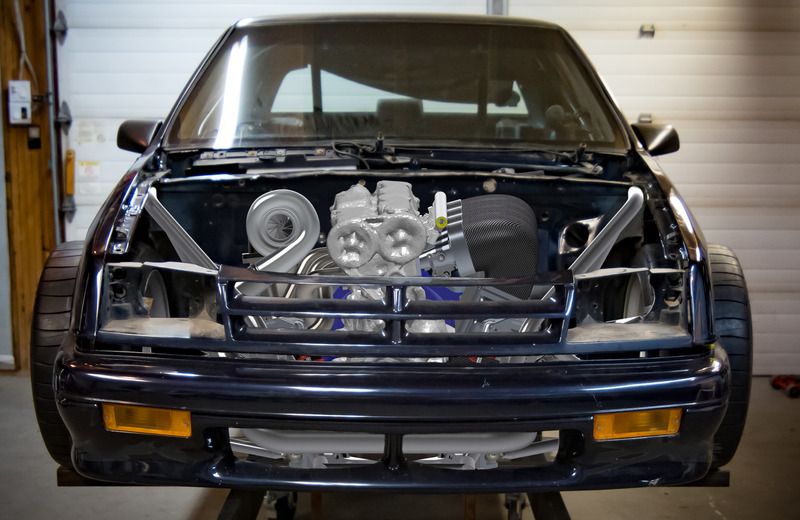
With the body work back on I wanted to get the wheels in to get a visual of the stance, start thinking about body work and, well, just see how cool or stupid things are going to be. ![]() I rigged up an ingenious, highly complicated wood structure to simulate the wheel while holding a sharpie. This isn't something you'll find in your mom's garage, this is a result of hours of engineering and design. With my complicated wheel combobulator I was able to mark out the wheel at ride height, bounce before bump stops and full bounce. It's always nice to put the computer models into true life perspective to see if things are actually making sense. Once marked the 'ol body saw came out and so did a chunk of fender. Now if I've learned anything through this it is that 255s will stand up quite nicely on their own with no fear of them falling over on the face of your brand new rims. That said once I got them sitting in the wheel wells and stood back I kind of liked it.
I rigged up an ingenious, highly complicated wood structure to simulate the wheel while holding a sharpie. This isn't something you'll find in your mom's garage, this is a result of hours of engineering and design. With my complicated wheel combobulator I was able to mark out the wheel at ride height, bounce before bump stops and full bounce. It's always nice to put the computer models into true life perspective to see if things are actually making sense. Once marked the 'ol body saw came out and so did a chunk of fender. Now if I've learned anything through this it is that 255s will stand up quite nicely on their own with no fear of them falling over on the face of your brand new rims. That said once I got them sitting in the wheel wells and stood back I kind of liked it. ![]() Well words are no good without pictures so.....
Well words are no good without pictures so.....
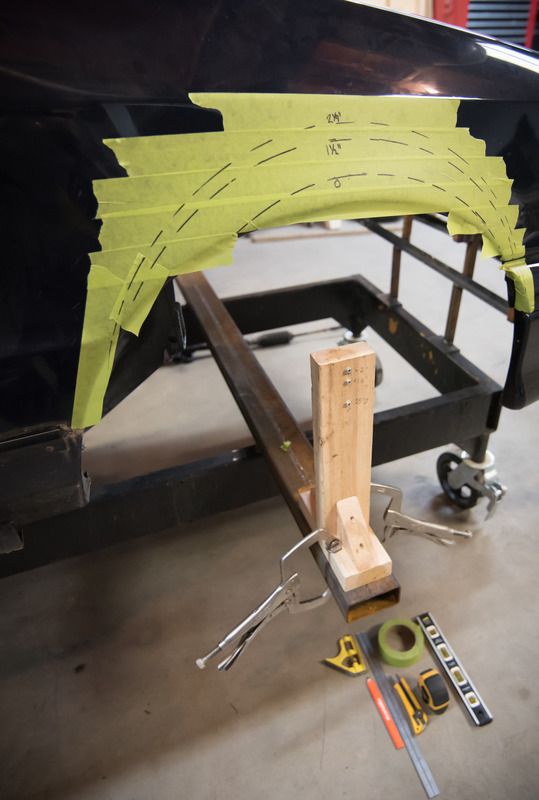
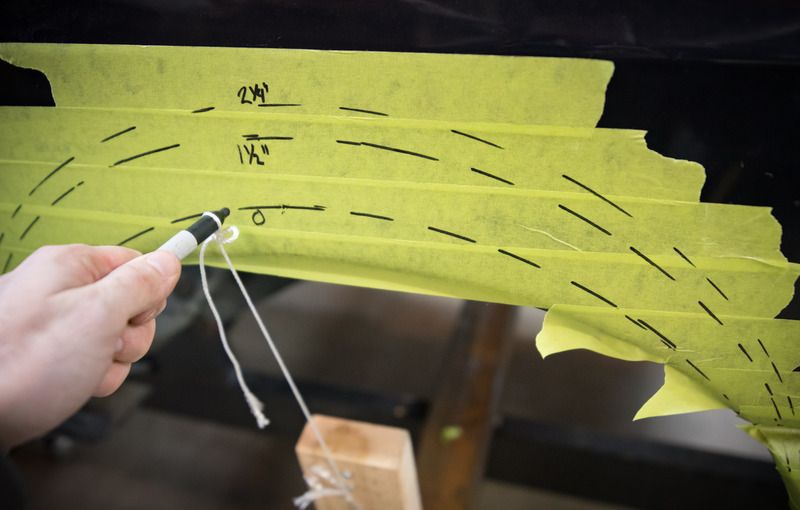
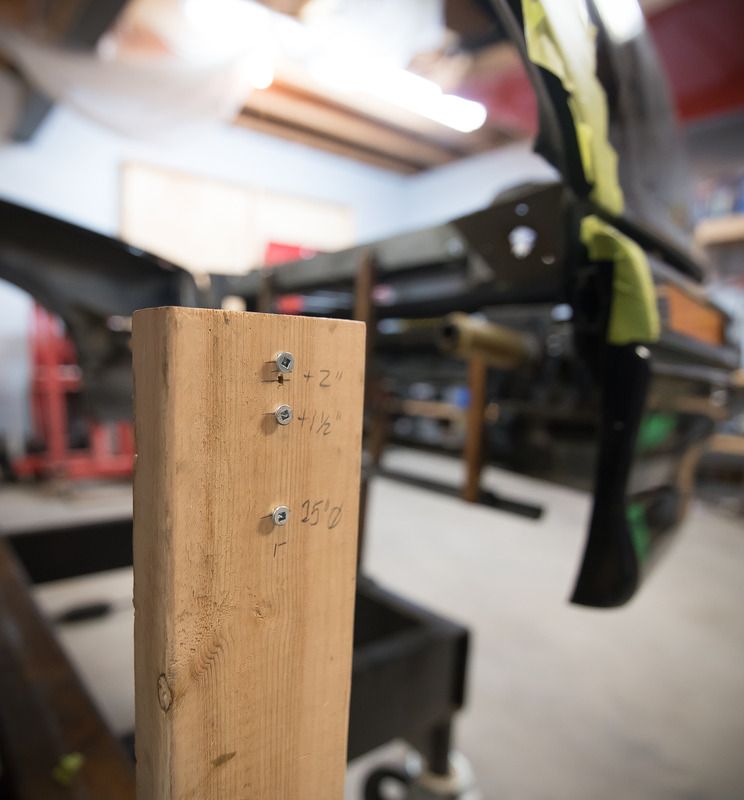
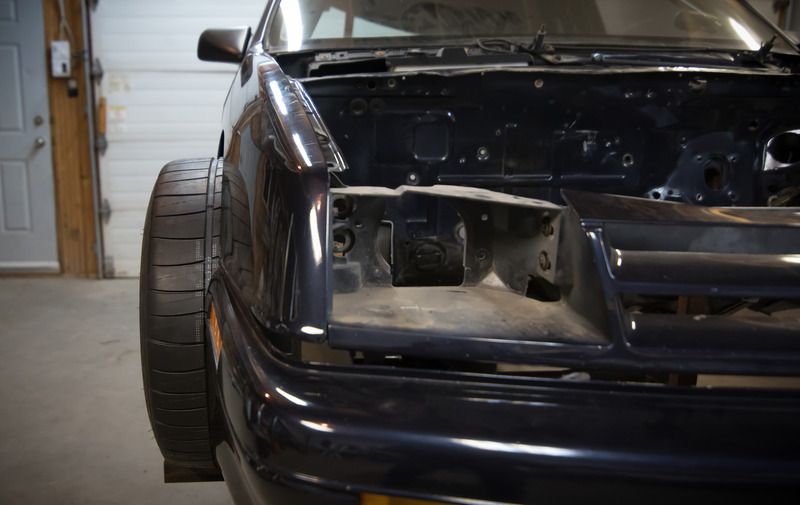
Thanks guys. I'm getting close to caught up on this thread so updates will start becoming slower but keep watching as the project unfolds. ![]()
Though I do have many tools, both electronic and physical, at my disposal there are always tools just too expensive to justify personally or through my place of work. When this happens you have to rely on the Googles to give you ideas that smarter people have already thought of. You can see in my models that I have a scan of the 2.4l engine. I don't have access to a commercial high quality scanner but I was extremely excited when my search for a budget scanner finally produced some results. I found a thread on using an X-box Kinect with some free software to produce scans. Even though I can't take any real measurements or attach any parts to the scans I create they have been very useful in spacial awareness and making sure I won't have interference with parts that I don't need 0.001" accuracy on. When I need to attach something in a CAD assembly I'm able to manually measure that needed face and embed my measured part into the scan. So far it's worked great and cost me ~$10 since I already had a Kinect. Even if you have to buy a Kinect and power cable you can have a 3D scanner for ~$40. Here is a video I shot of me scanning an LS bell housing.
Don't forget about pnumatic trail and spindle offset when designing your front uprights. You are not married to a high mechanical trail if you run high caster. I see you've already selected some relatively low offset wheels so unfortunately you can't bury the lower ball joint into the wheel like you could with higher offsets reducing kingpin inclination. Ive driven an FSAE car that had 0 KPI, ~0 scrub, 6* caster and about .5" of spindle offset. It had minimal mechanical trail and no scrub induced centering but pnumatic trail still provided significant feedback and we ran at an autox where I saw GPS confirmed 85mph on a 62" WB with good stability. I'm not sure if that would translate to a big car at big speeds however with adjustable A arms it's relatively easy to make a few different upright geometries to try things. You can even use large offset wheels with spacers to simulate drastically different KPI/Scrub radiuses.
I like the build so far and look forward to following it along.
You'll need to log in to post.