I was all about refinishing it too, but apparently some combination of the berkeleyery going on with the other floors, a sale at lumber liquidators, and something about insulation means we're doing another layer of hardwood over these. Works for me, should look good and will mean that the entire first floor will match.
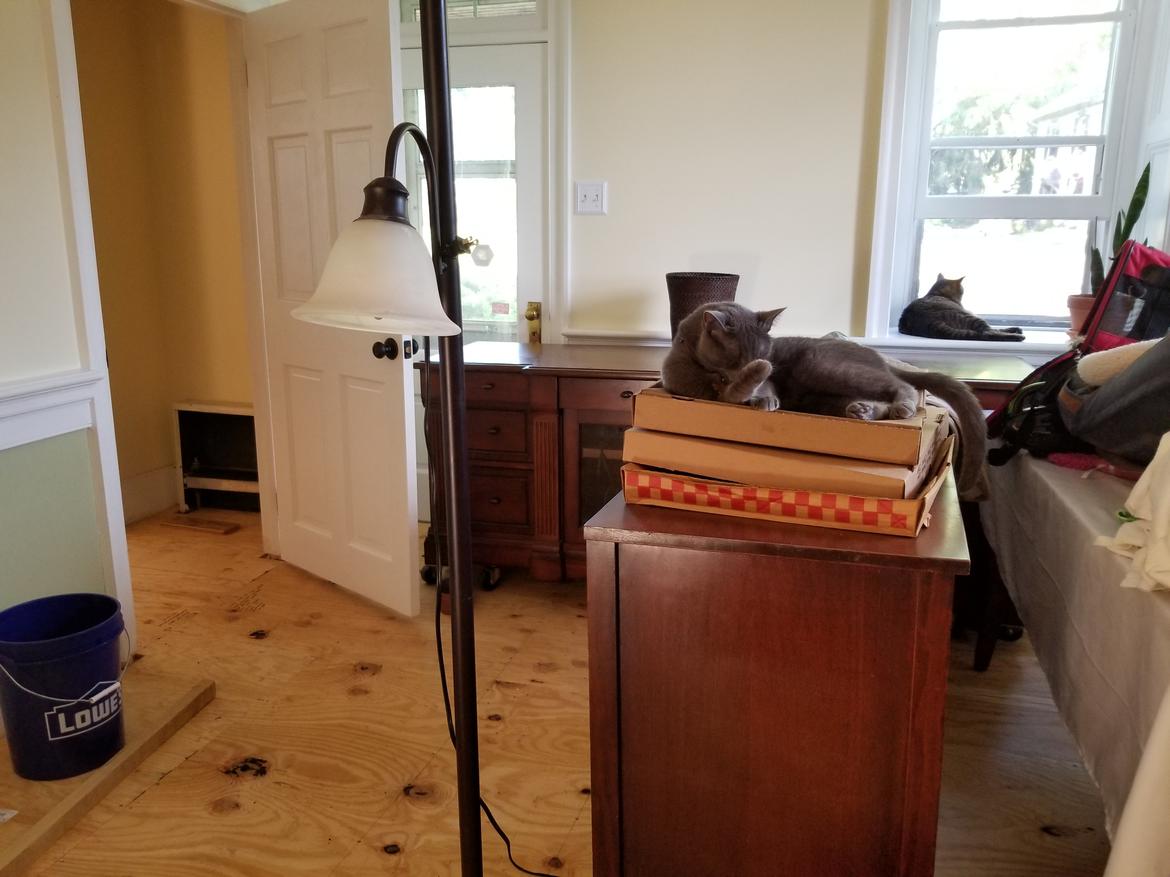
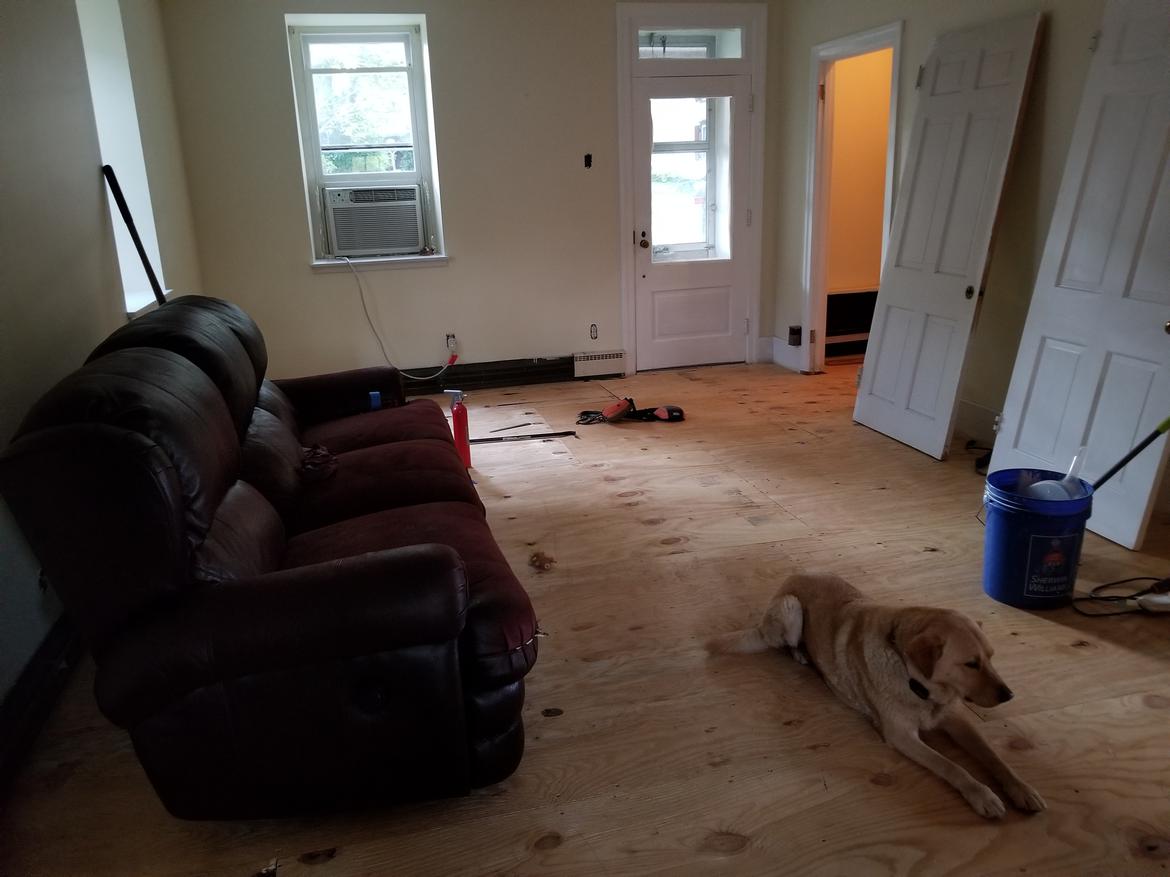
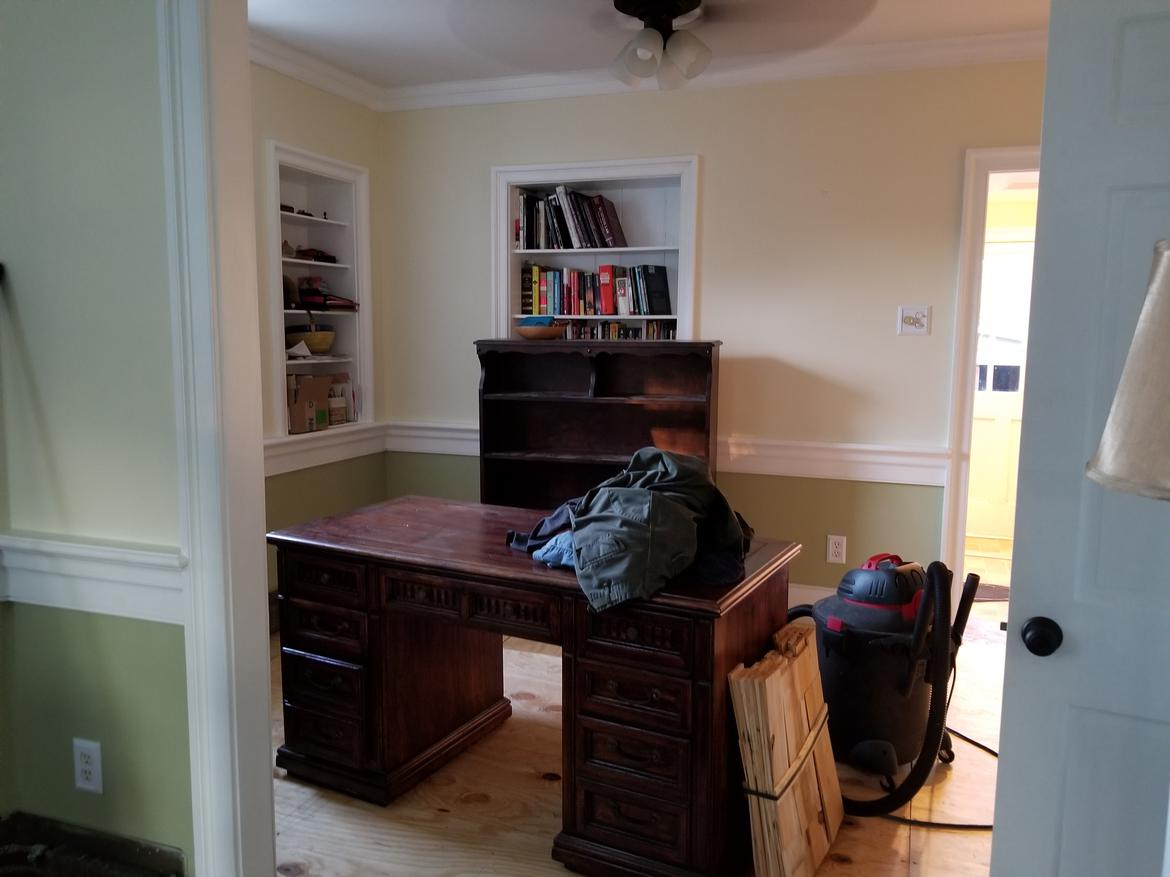
Carpets are gone. Plywood is down- it'll be a few weeks until hardwood goes on top, so for now this is the first floor:
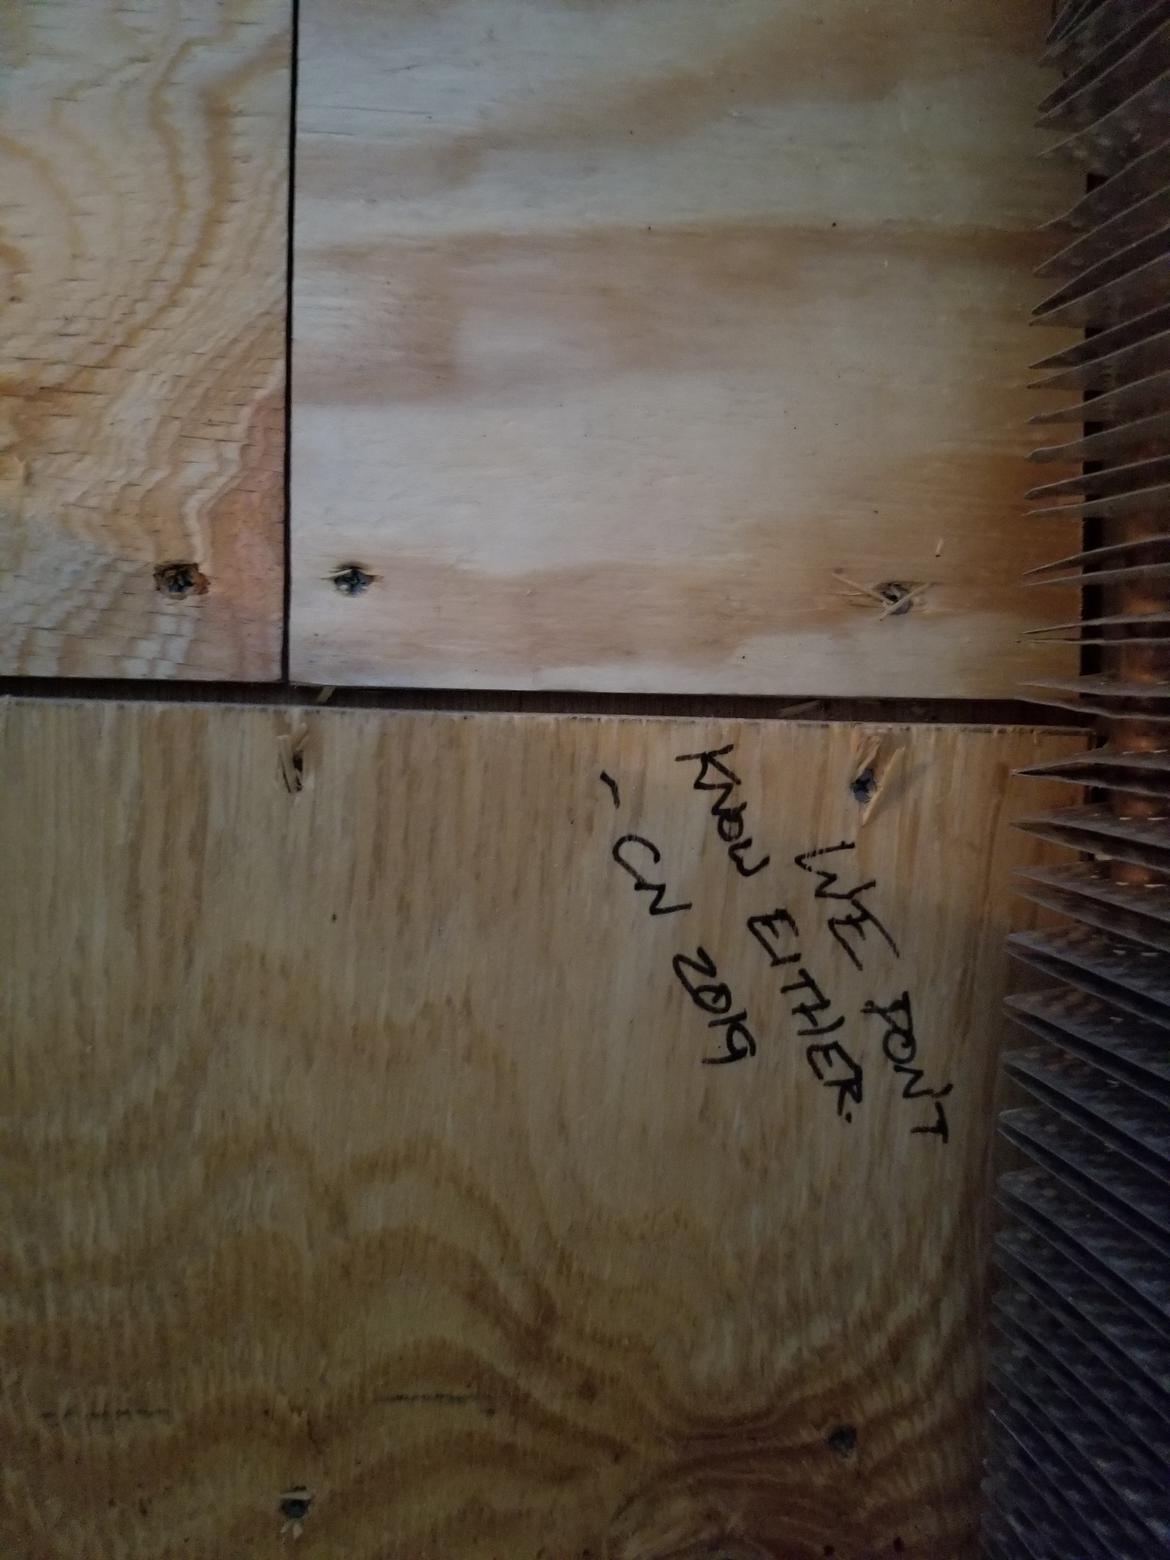
And since tearing up the carpet and some old plywood was difficult, I added notes to help out whoever eventually decides to rip out our work:
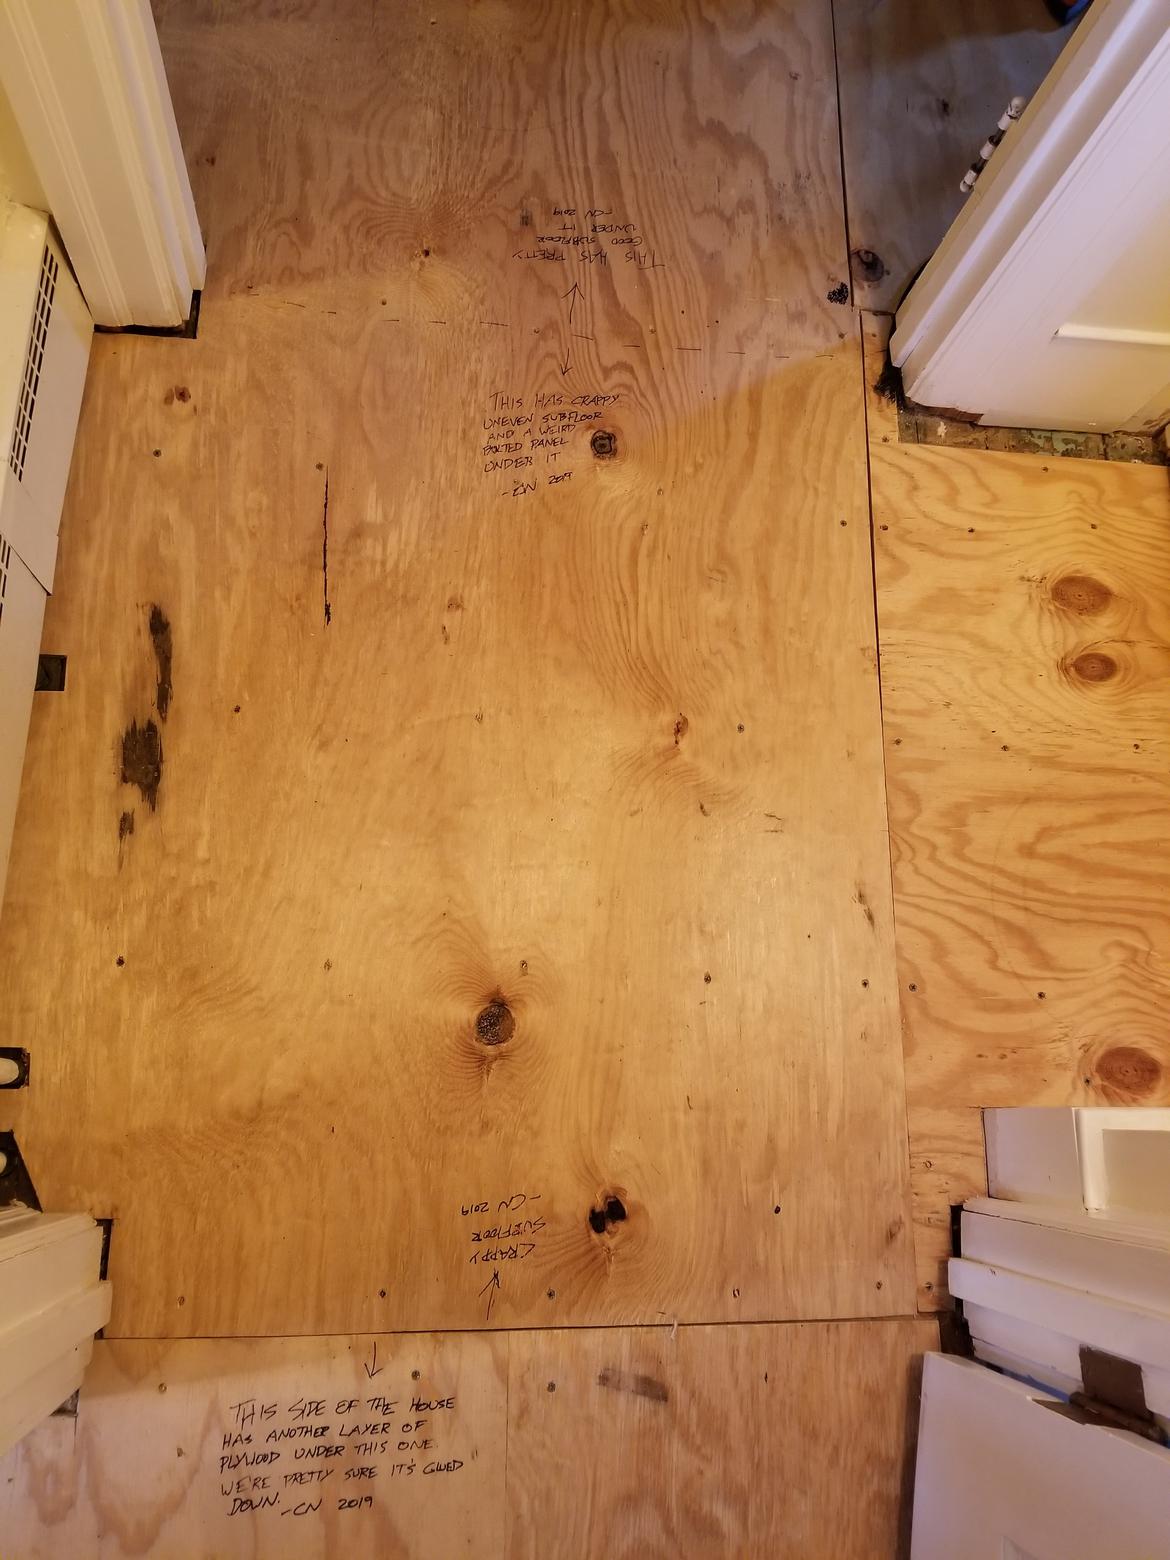
In some places I couldn't really help though:
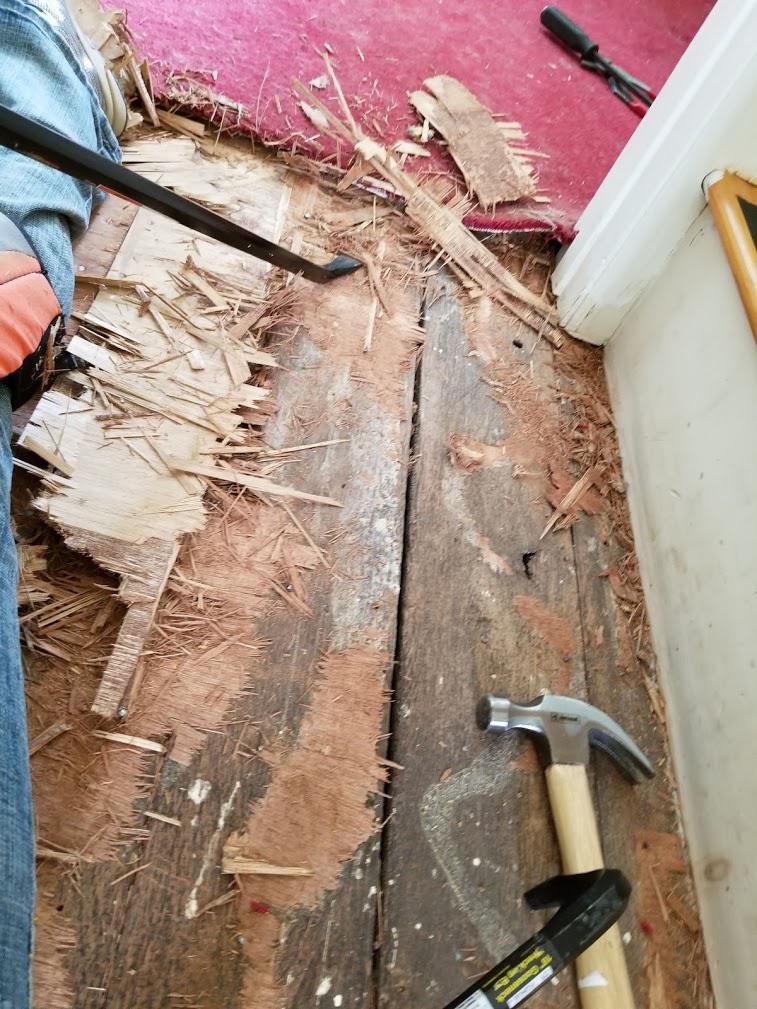
Also, from a bit earlier in the process- we removed a couple of glued pieces of plywood at the bottom of the stairs. It was THE WORST:
Mark a small section with "Do not open unless you plan to kill it."
Looking good though I know it's a ton of work.
The big advantage of a single smooth floor is the ability to roll a motor on a stand through the house. Good thinking.
I was only able to rebuild the NV3500 up in the game room......and that ain't happenin' ever again... Look forward to the NEW floor.....any tile perhaps in the kitchen?
In reply to 759NRNG :
We're planning on LVP in the kitchen and mud room/breakfast nook/laundry/whatever rooms at the back of the house, but it's waiting until the other stuff is done so we can drag building materials through there without worrying about hurting it.
In reply to 759NRNG :
Sorry, I hate when people abbreviate things without clarifying and I just did it myself! Luxury vinyl plank, basically imitation wood that's cheaper, maybe tougher, and comes with a pre-applied underlayment on each piece. Seems like a good choice for the floors that will constantly get beat up/spilled on/etc.
¯\_(ツ)_/¯ said:
Also, from a bit earlier in the process- we removed a couple of glued pieces of plywood at the bottom of the stairs. It was THE WORST:

In my experience there is no winning a battle like this. It’s bad enough when it’s nailed every three inches. But glued on, fugedeboutit.
I’ll be staying tuned for the review of LVP. We could use it in our house too.
¯\_(ツ)_/¯ said:
And since tearing up the carpet and some old plywood was difficult, I added notes to help out whoever eventually decides to rip out our work:

Very thoughtful of you.
Welcome to the old house rodeo. It builds character.
I'm surprised you kept that... um... wonderfully vibrantly red carpet as long as you did. I wouldn't have been able to hold out that long.
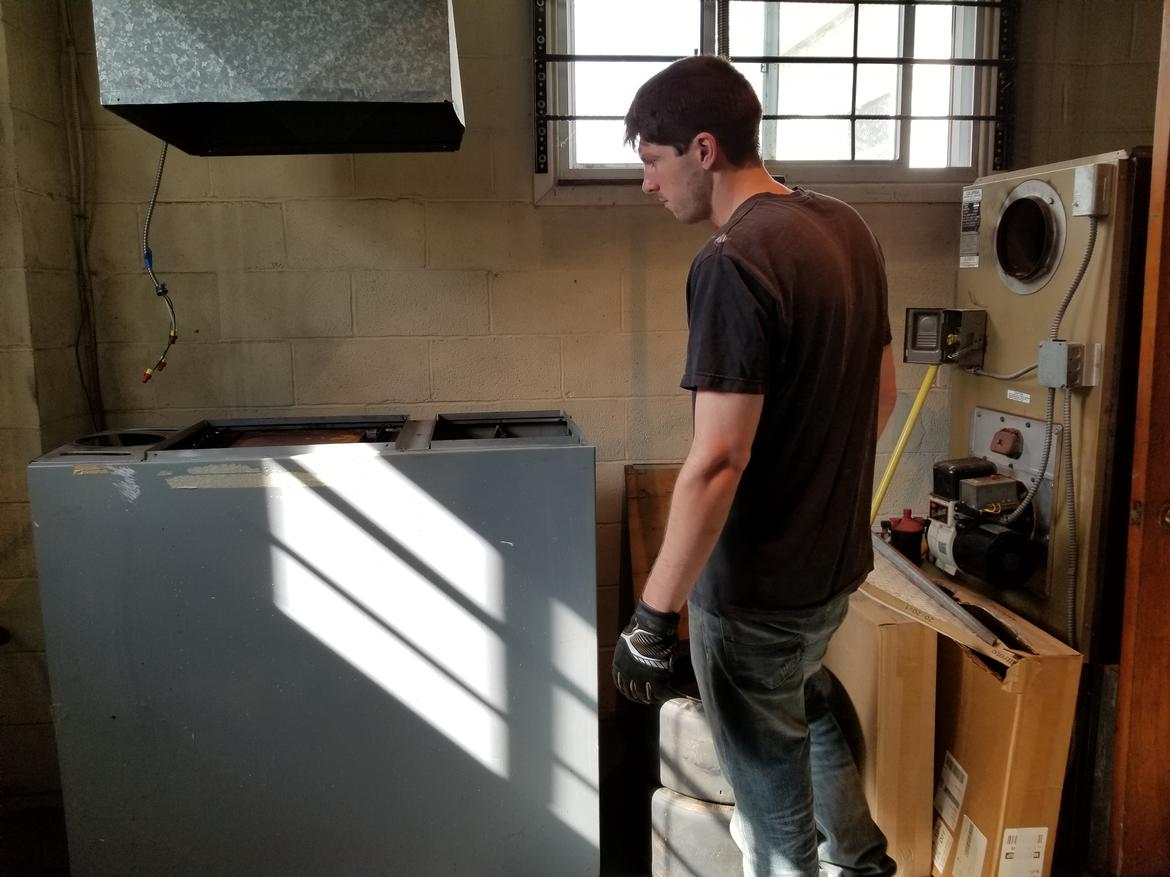
Step 1 of removing old dead shop furnace- remove oil lines.
Step 2- nearly get electrocuted because the switch inexplicably has wires from two different breaker panels running into it.
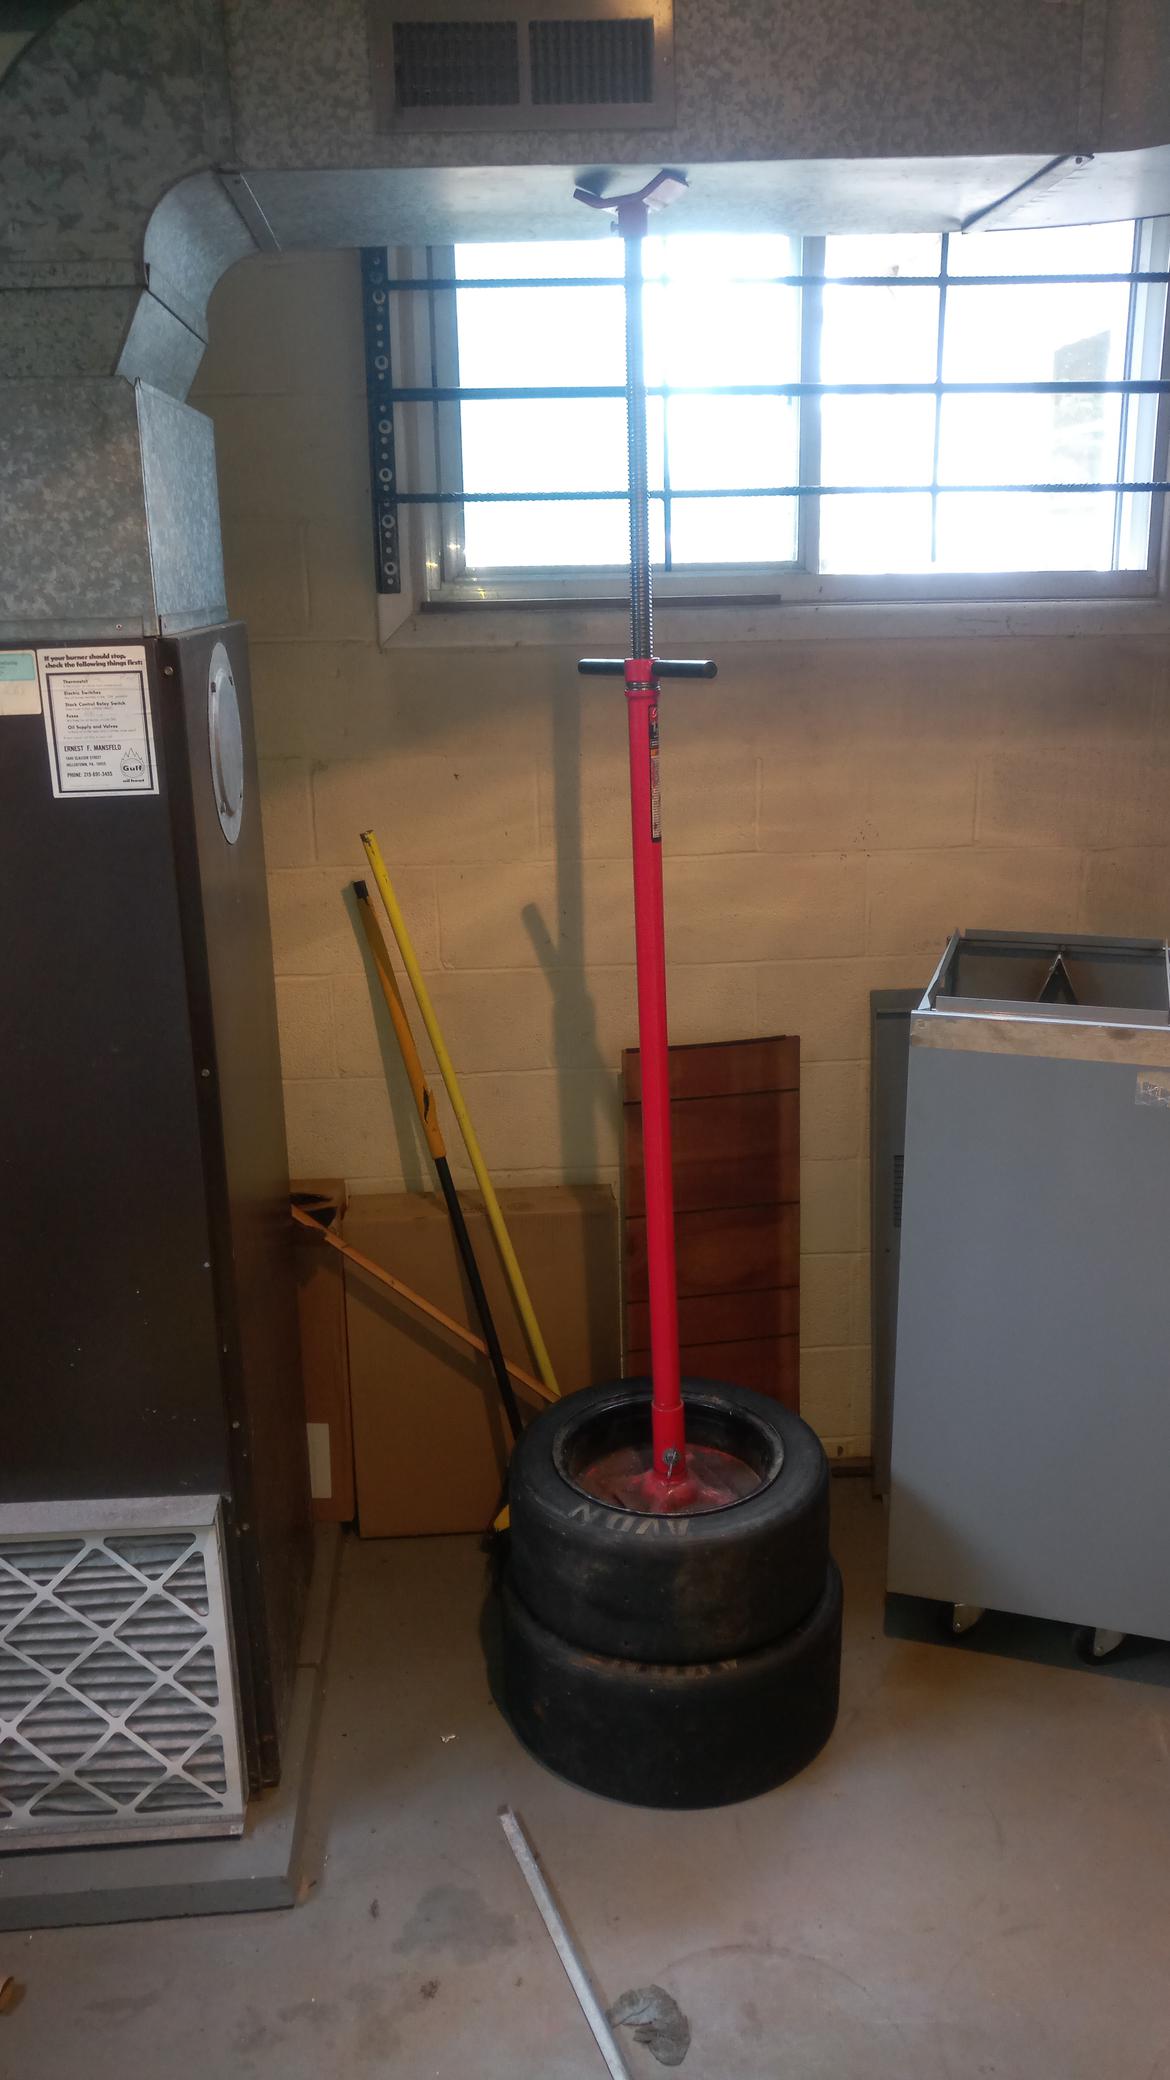
Step 3- get the ducts propped up somehow. Screw jack not tall enough, improvise:
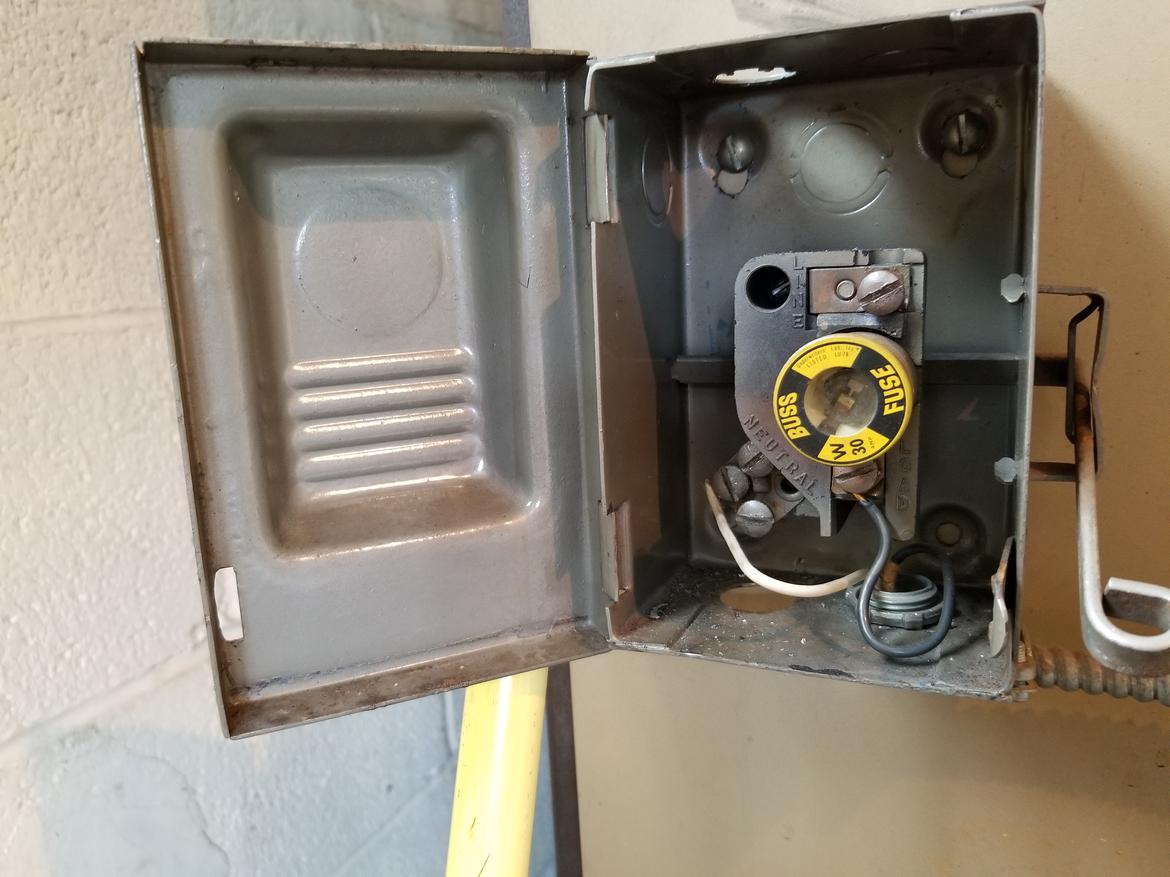
Anyone know if this switch is worth reusing, or should I get a new one?
Step whatever- scoot the big heavy bastard out of the way. I have no idea what it weighs, but it's certainly more than the new (used) one. I needed help for that part.
Then got the new (used) one roughly in place. I have no idea what I'm doing, guess I need to make an exhaust, ducts, some oil lines, and wire it back up:
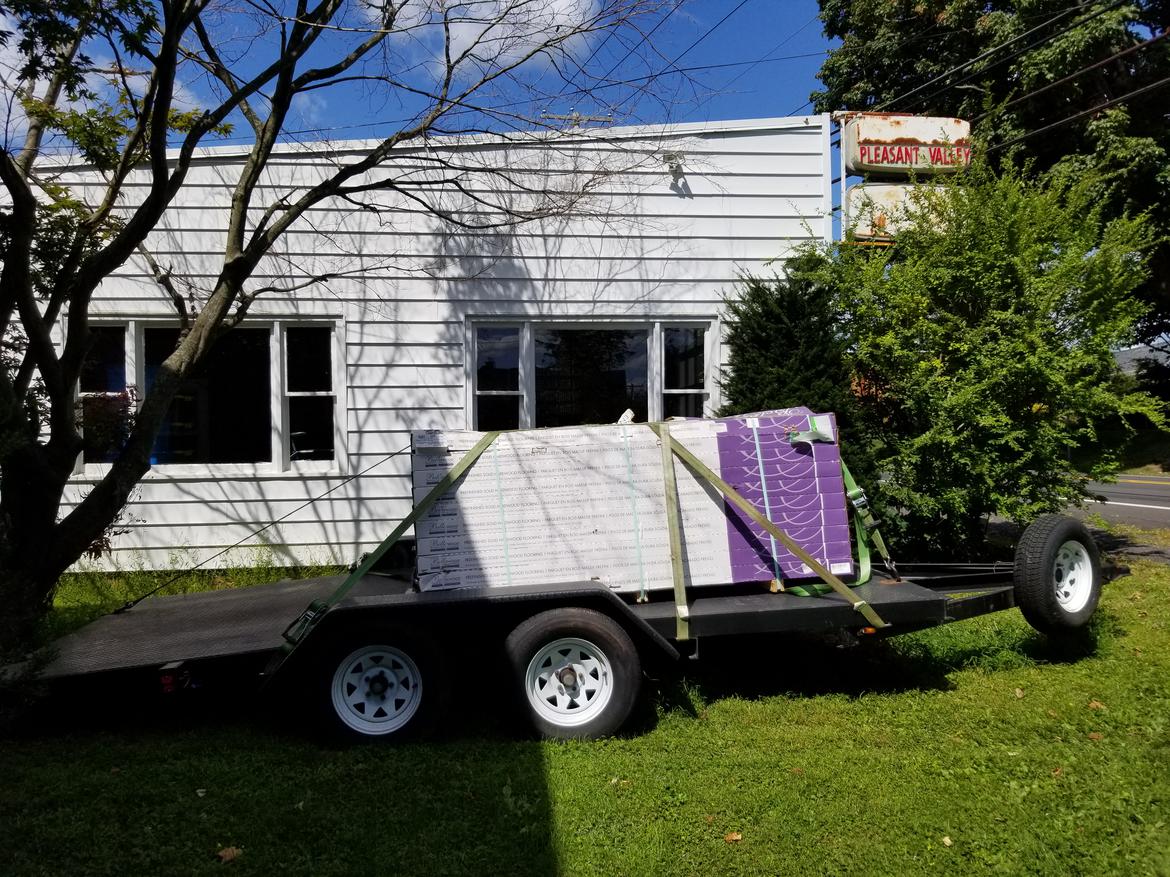
Back to the house side of things, we discovered that a car trailer is not necessarily a great tool for carrying 40 boxes of hardwood, but we made it work:
And now it has to sit all over the house for a while before we can install it- at least the cats seem happy that so much of our floor space is taken up by cardboard:

Your fused disconnect doesn’t look to be in bad shape. With the power disconnected you could exercise it a few times (on/off/on/off), then put a meter on it to see what condition the contacts are in. Set meter to ohms, connect leads to line and load terminals, then operate the switch. If your metered numbers are max and real close to zero, the switch is usable.
thats what I would do anyway :-)
In reply to paranoid_android :
I will do that- if it's usable (and I bet it is, did a perfectly fine job until the furnace died) I think I'm going to try to wall mount both that and the oil filter. On the old furnace everything was mounted to the side and exposed, it doesn't seem like that will work on the replacement so I need to come up with something else.
In reply to ¯\_(ツ)_/¯ :
When the furnace was installed, the hot air exit was just a couple pieces of ductboard, whose edges were cut with a shiplap knife to form the stack. It was wrapped around a frame made of that metal edging you use on drywall corners to support the AC coil.
It'd be more expensive, but it would probably way easier to install instead of knocking up a bunch of custom metal ductwork into a complex shape. I don't know what code is offhand however.
The cutoff switches looked to be just regular light switches wired up with some romex. One on the unit and the other in my basement stairway labeled with a red Emergency Cutoff switchplate. The whole thing then ran to a 15A breaker in the main panel.
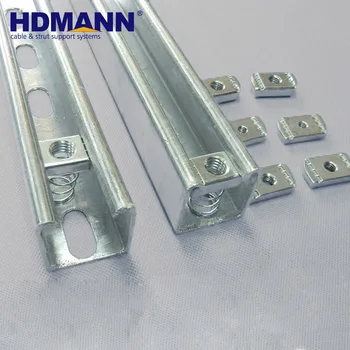
As an idea for mounting stuff, we use unistrut at work A LOT. The real name is structural channel (I think) and it can be gotten at the local home improvement places.
Looks like this:
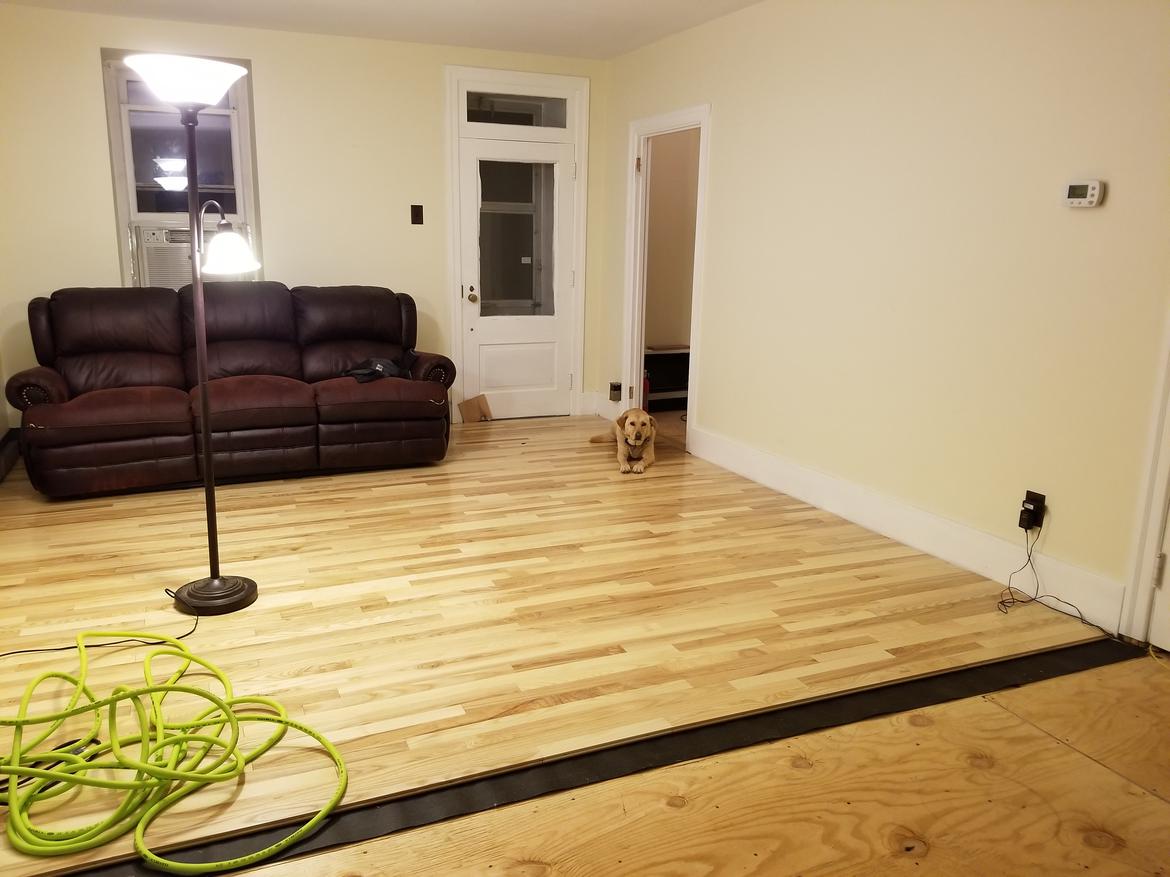
While someone is out at STPR in the mud and rain helping Josh and Jim kick butt...this job got started!
I do love light wood floors. Hard to believe that's the same house.
In reply to The0retical :
I’m pretty sure hardboard isn’t code on a furnace. Please don’t do it.
Instead take your dimensions to a big box store Home Depot, Lowe’s, Menards, and pick up what you need prefabricated for you.
Don’t forget to get an expansion joint or you’ll hear the ductwork expand and contract all over the house. Ask me how I know.
In reply to kodachrome :
What a difference! It's really brightens up the room!

The0retical said:
In reply to ¯\_(ツ)_/¯ :
When the furnace was installed, the hot air exit was just a couple pieces of ductboard, whose edges were cut with a shiplap knife to form the stack. It was wrapped around a frame made of that metal edging you use on drywall corners to support the AC coil.
It'd be more expensive, but it would probably way easier to install instead of knocking up a bunch of custom metal ductwork into a complex shape. I don't know what code is offhand however.
The cutoff switches looked to be just regular light switches wired up with some romex. One on the unit and the other in my basement stairway labeled with a red Emergency Cutoff switchplate. The whole thing then ran to a 15A breaker in the main panel.
Something like this?
 Wiring and plumbing is run, waiting on chimney bits and duct board.
Frenchy, don't worry- this is in a detached shop, not a house, and it's far from the loudest thing or biggest fire hazard in the building. The frame alone is way sturdier than the sheet metal duct that was there before.
I've got the shop furnace install pretty much finished but can not for the life of me get the oil line bled fully- have messed with a vacuum pump and cycled the furnace a bunch of times. Is there some trick I'm missing here? The lines are pretty long and the furnace is higher than the tank.
In reply to frenchyd :
Ductboard is way different than hardboard. It's good up to 450F on the unfaced side for the name brand stuff.
https://www.zoro.com/johns-manville-duct-insulation-2-x-24-x-48-17650/i/G3621746/#specifications


 Wiring and plumbing is run, waiting on chimney bits and duct board.


