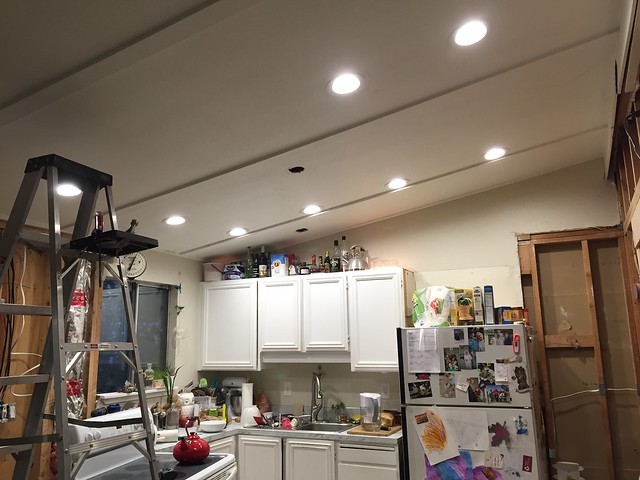
The Post: Final Chapter
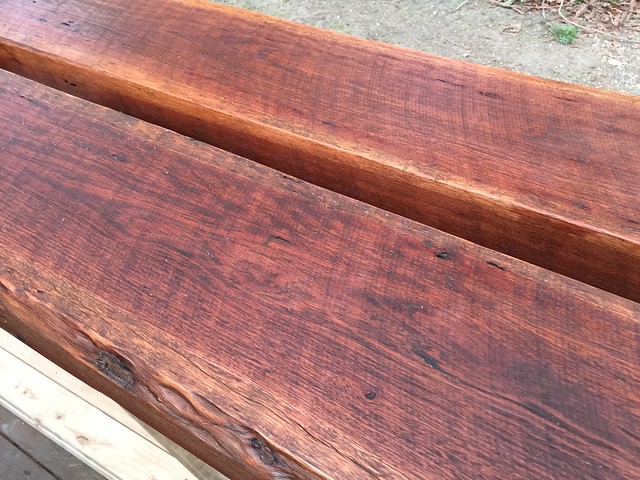
These two are ready to start their occupation after waiting in a warehouse for half a century. They even went and got all dressed up for the occasion.
 Untitled by craig richmond, on Flickr
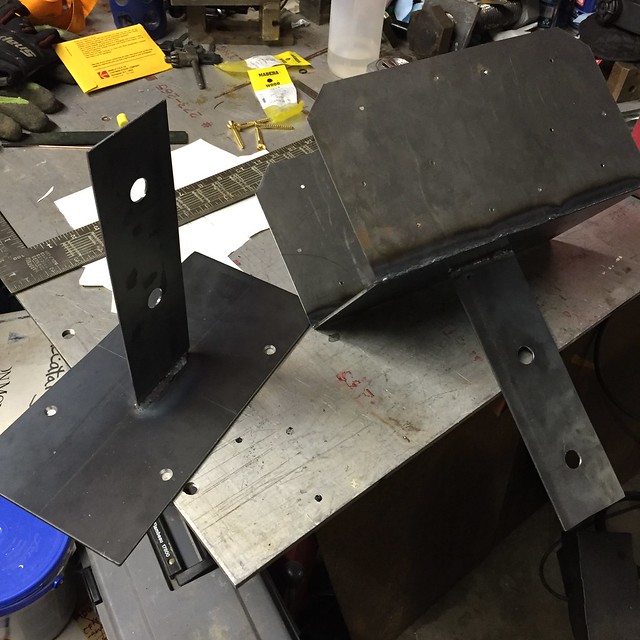
I used the belt sander to make sure the two brackets I made would sit flat in their respective homes, and then took final measurements to trim the mahogany. Cutting that stuff made me feel a little wrong, but the final product has made it all better. 
So ready to knock the planks into place, I gave the old SAAB spare tire jack a few extra cranks to see if I could get a little extra clearance. Instead I just watched the jack slowly taco. Turns out a spare tire scissor jack isn't meant to lift up your house. Hydraulic shop jack to the rescue.
 Untitled by craig richmond, on Flickr
I didn't take any photos of the act of putting the planks into place, probably because I was all lathered from moving them around by myself. I did take the time to write a message on the inside of one of the planks. It read: "This mahogany plank was harvested and milled prior to 1970 and has been installed as part of a kitchen remodel by Craig Richmond in April of 2016. It has been finished with teak oil." I love finding stories in things I take apart, so I hope this makes someone's day many years from now. I also hand planed a relief into each plank for the bracket tongues and also clearanced them for the weld beads at the attachment point.
Here is the two original braces and the third back-up for the SAAB jack, with the second plank up prior to drilling holes.
 Untitled by craig richmond, on Flickr
After the first plank was up, I used the bolt hole drilled in the tongue as a guide for drilling the bolt holes through the mahogany. This was hard work for my corded Hitachi drill, and even harder work for the 5/8" speed bore bit I used. Much smoke and heat was created. Did I mention that this was a brand new drill bit? After drilling the second plank through the holes already drilled in the first plank, the bit was pretty well shagged out.
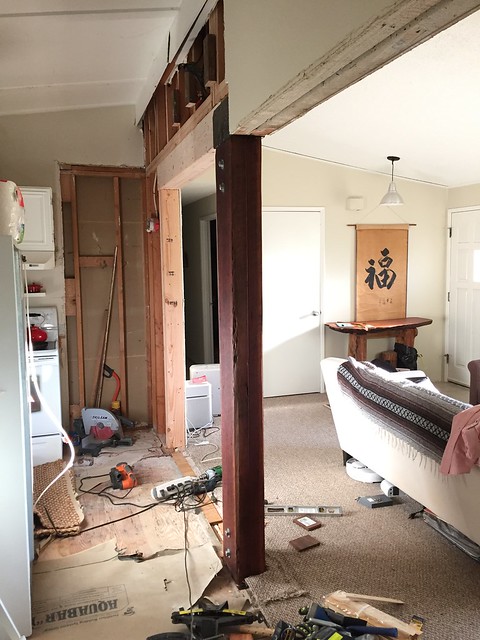
Finished product, after some shims:
 Untitled by craig richmond, on Flickr
 Untitled by craig richmond, on Flickr
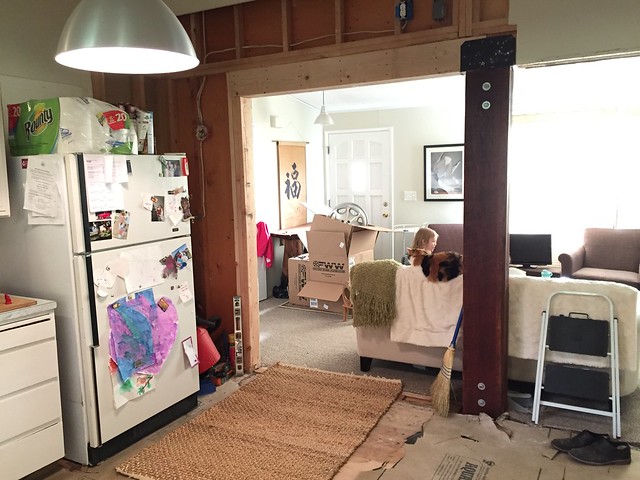
The sheet rock will cover all of the nailer plate of the bracket I made, so all you'll see is the post. For bolts, I used 5/8" all thread cut to length with the ends cleaned up on the old Logan lathe. The hardware will likely all get painted black at some point down the road.
The post looks spectacular - Far better than I ever imagined!
 Untitled by craig richmond, on Flickr
 Untitled by craig richmond, on Flickr
 Untitled by craig richmond, on Flickr
 Untitled by craig richmond, on Flickr
 Untitled by craig richmond, on Flickr
 Untitled by craig richmond, on Flickr
 Untitled by craig richmond, on Flickr


