RandolphCarter
RandolphCarter New Reader
3/12/22 3:48 p.m.

I saw David Wallens' sweet Skyway T/A build thread and was inspired to post up one of my own for my current BMX project.

I have a weakness for basket case / project bikes and, much to my wife's disappointment, frequently drag them home. This is the most recent, a 2008 Diamondback. I originally thought it was an Orion, turns out it's a Venom.


Crankwalk's thread about his Honda 1966 Honda CT200 Trail 90  had the following phrase - "It's mostly complete and needs everything at the same time." That describes this bike perfectly.

I started this about a year ago

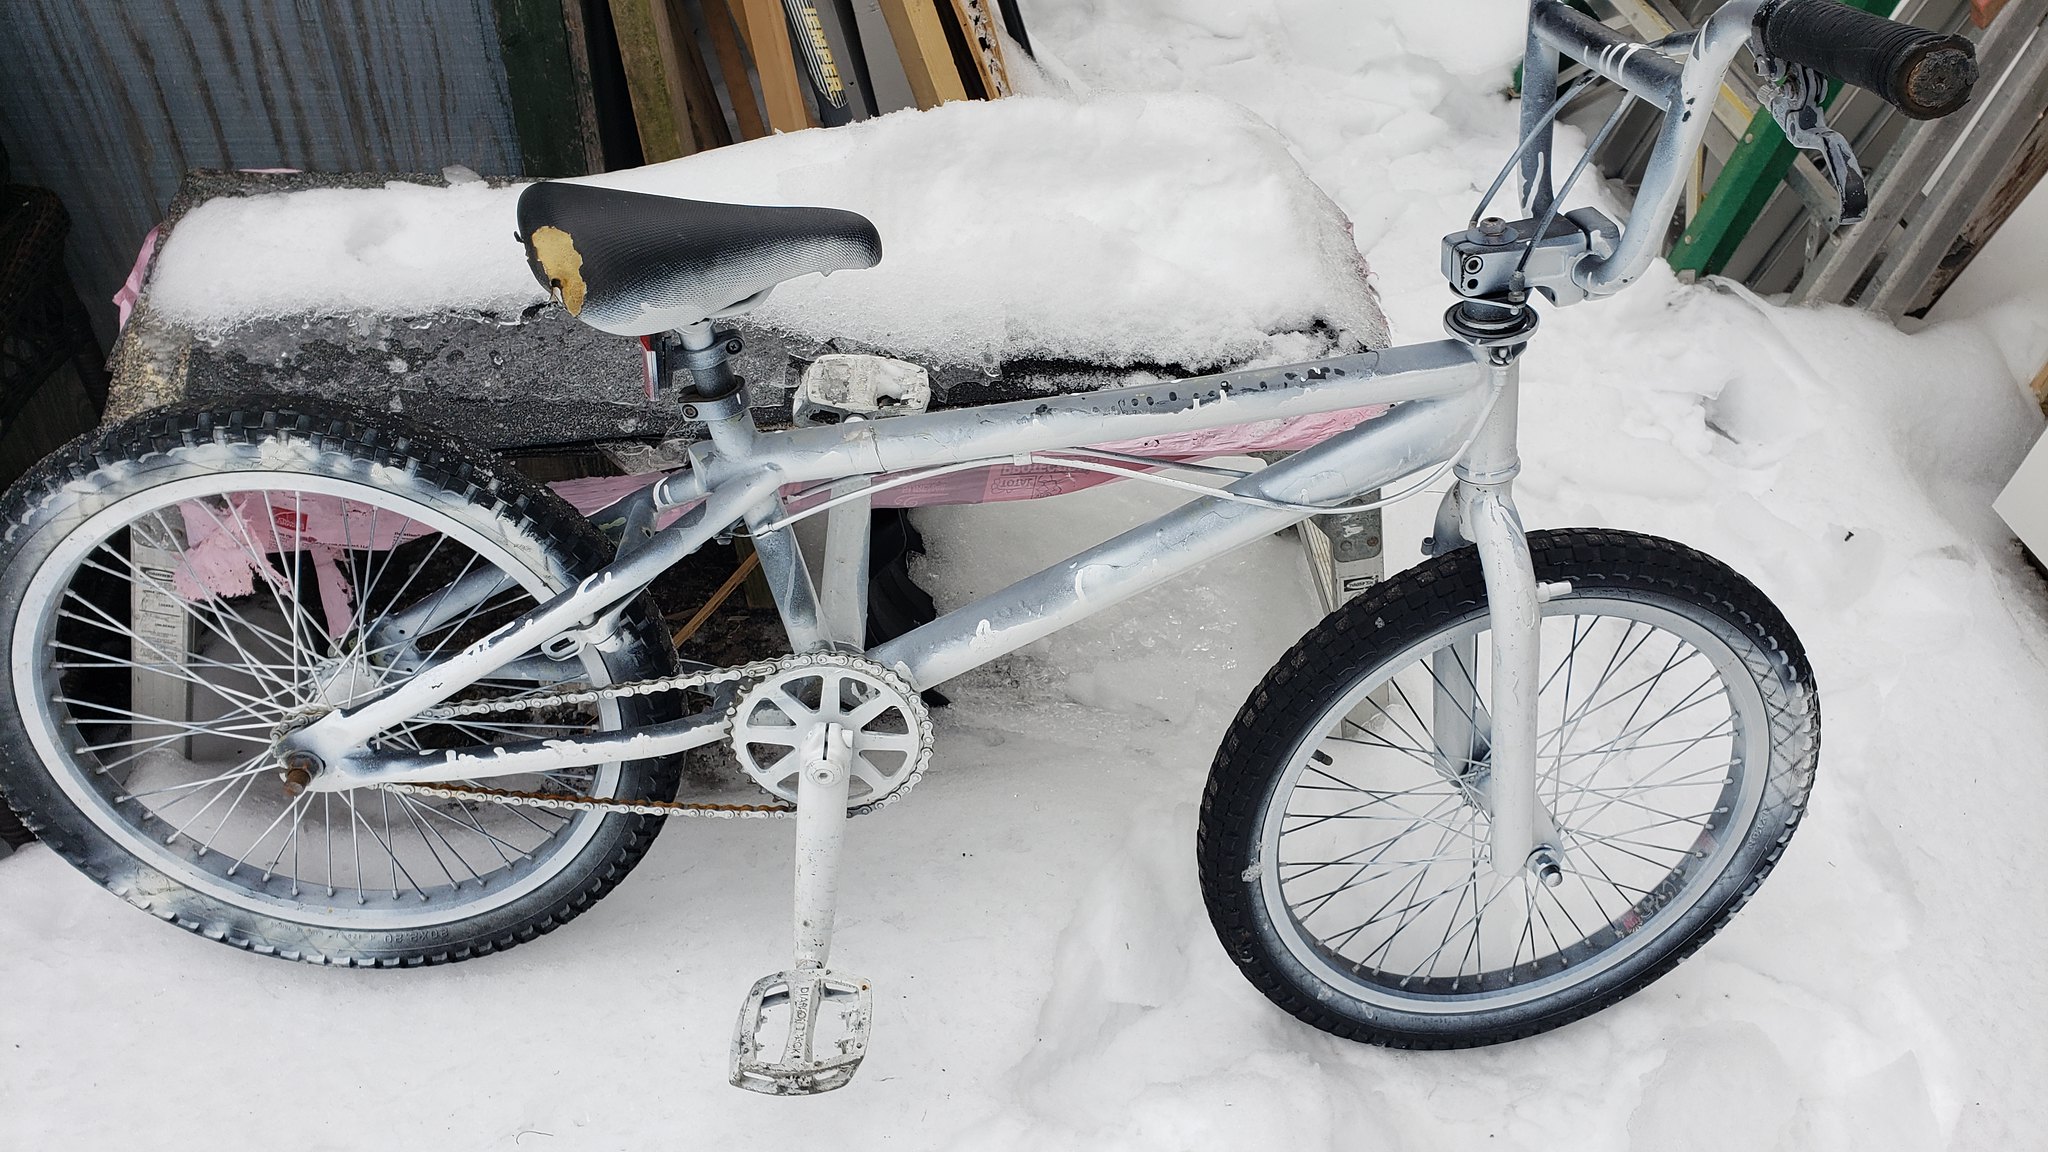
full bike:
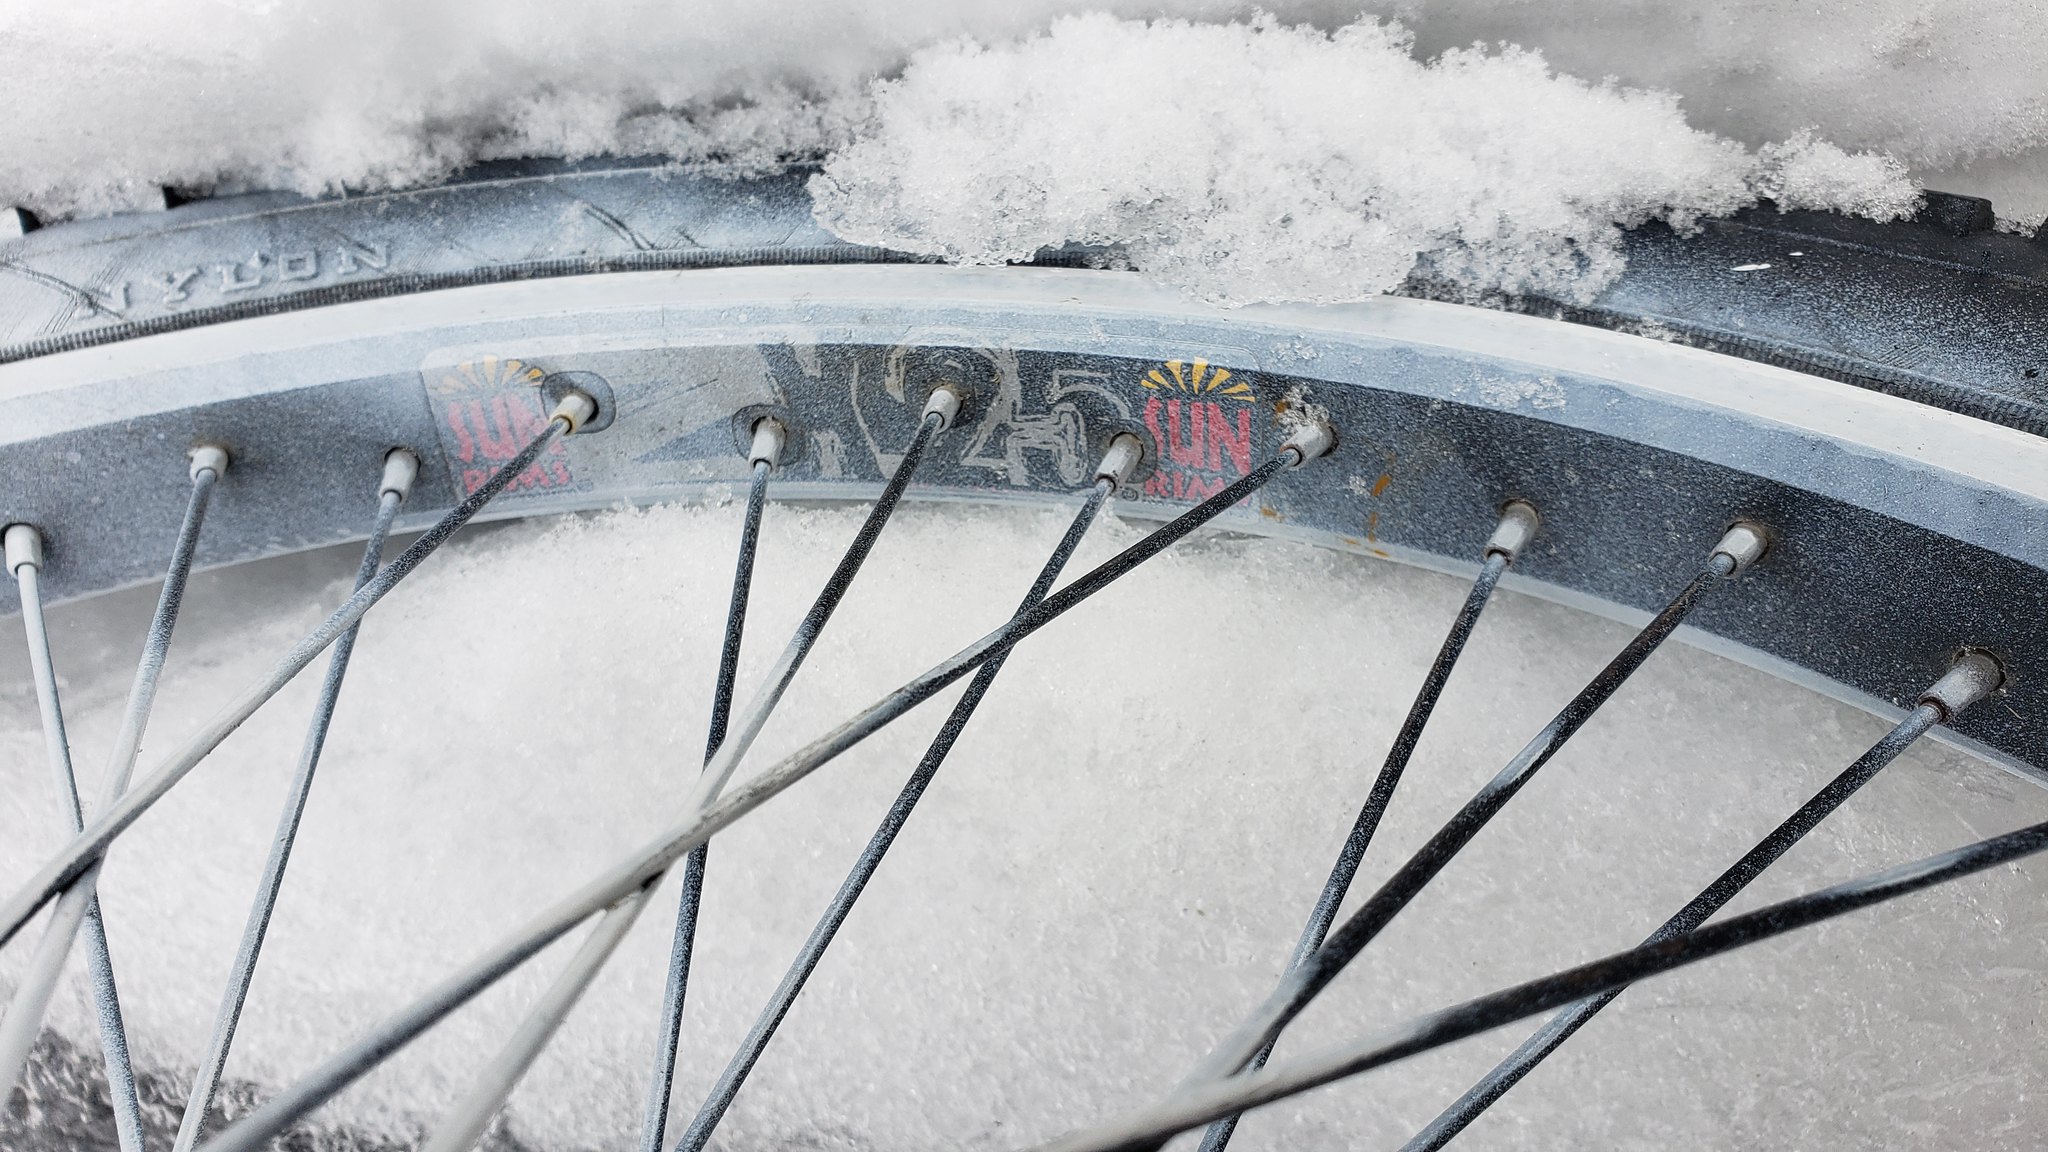
Sun X25 rims:
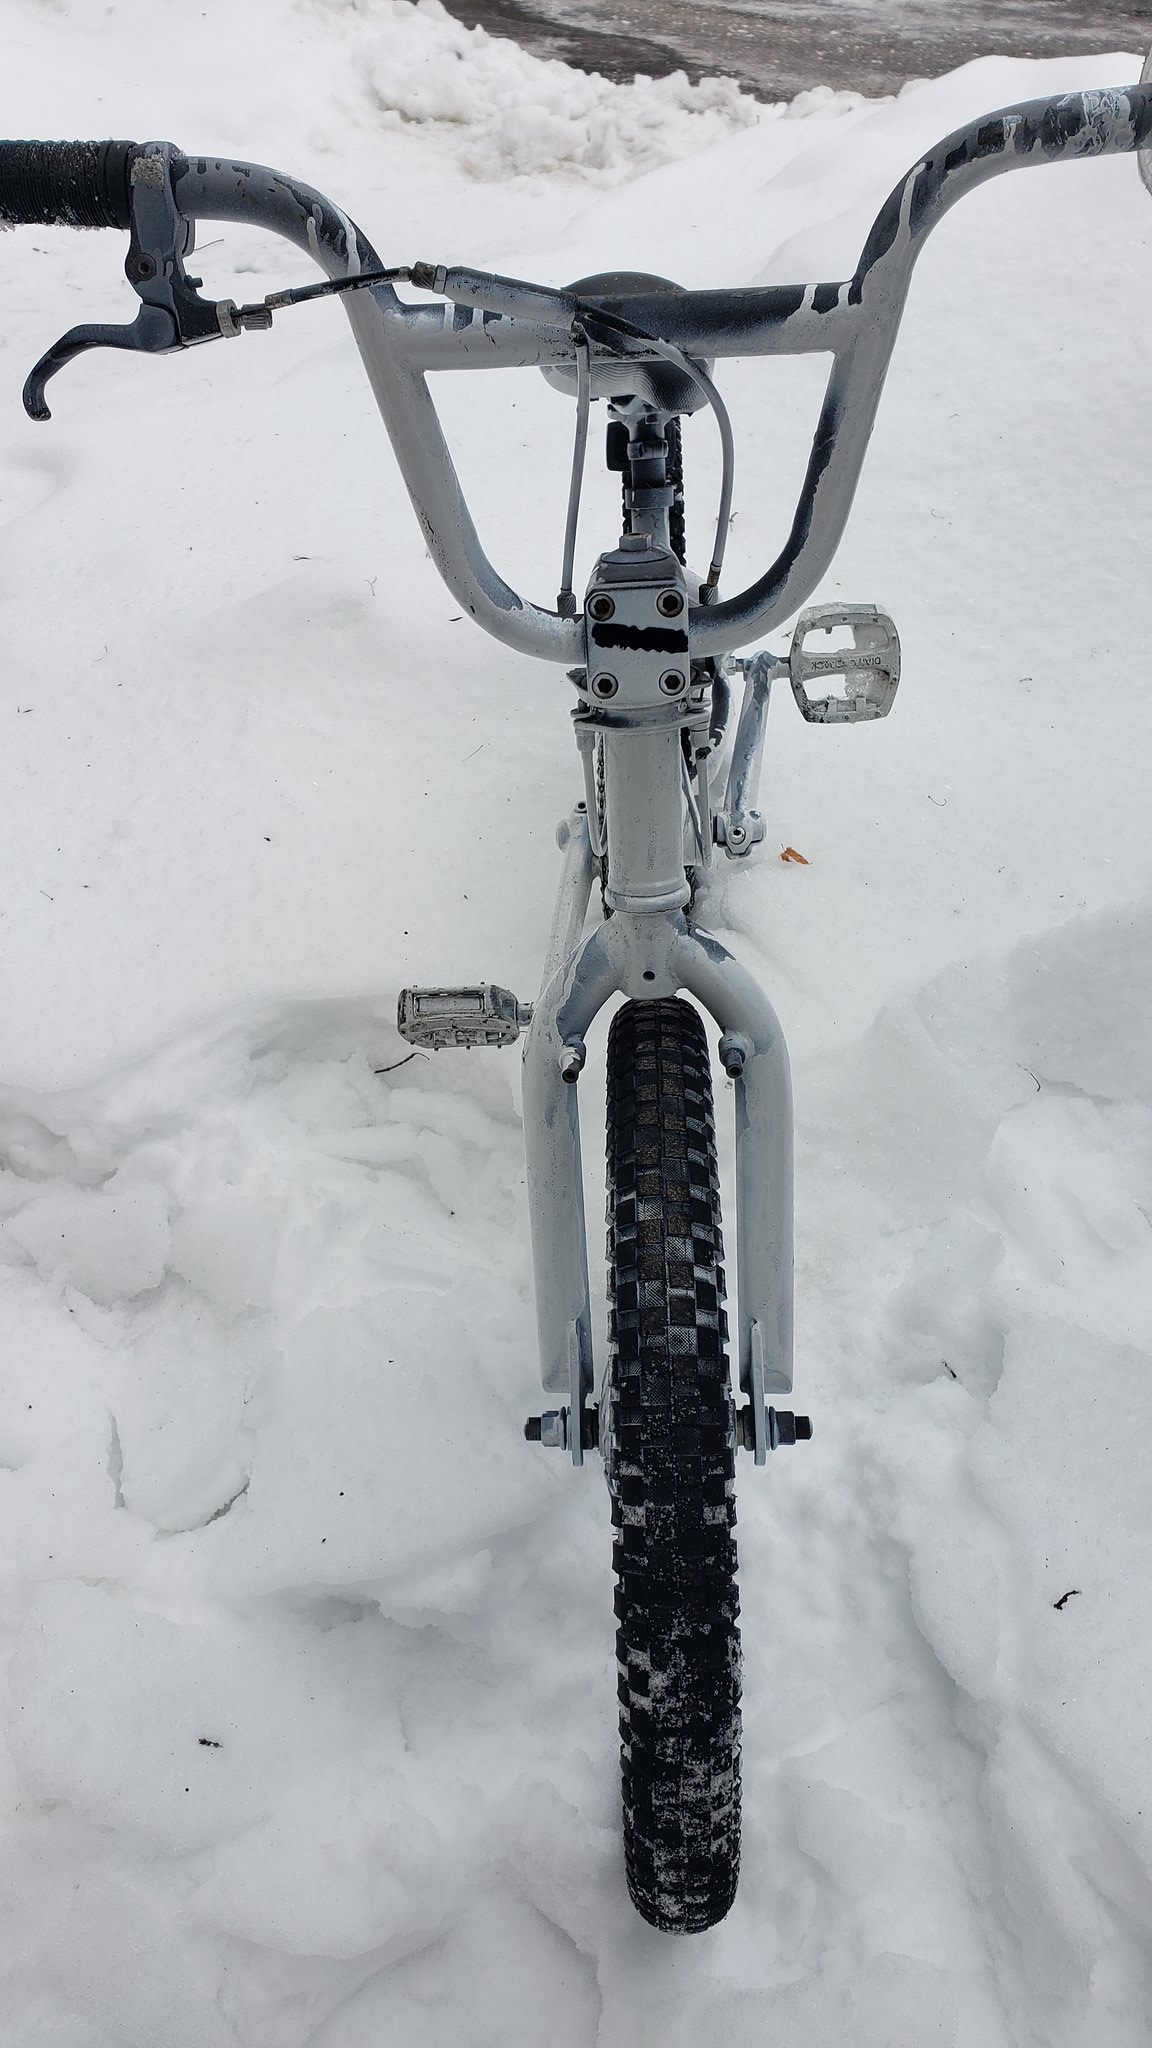
Head on:

The chain is totally unusable so it's gone. After a lot of struggle, I got the cranks off and spindle out:

They're very rusty and then had several layers of spray paint applied over the rust. The allen wrench holes on the pinch bolts and spindle bolts were pretty badly stripped as well. If I keep the cranks I'll need to replace the bolts.

Aside from the spray paint the pedals are in really good shape.


Took the stem and bars off:

The grips and brake lever were toast. I had originally planned on cleaning up the cables and reusing them but they're not worth spending time on.

I'm on the fence about the stem also. A few of the cap bolts were stripped, and I needed to shove a chisel into the (formerly) hex sockets in order to get them to loosen up. I tried taking off the rattle can paint with some rubbing alcohol, it looks like the finish underneath the spray paint was already damaged. If I want to use the stem, I'll need to completely strip it, file off some deeper scratches, sand it, and polish it. Need to root around in the parts bin and see if I have a more viable option.

I had planned to start in on the headset as well, but I can't get the forks out of the frame. The alloy headset spacer below the gyro plate is stuck to the fork tube. Just like an alloy seat post gets stuck in a frame. The PB Blaster soak is in progress.

==========================

(from a few months ago)

After some progress cleaning up some parts:

Initial pass at paint removal and cleanup on cranks and chainring bolt. The cranks need another round of sanding then primer and paint. Chainring bolt is done.

Bearing cups, seat post clamp and bolt, rear brake straddle yoke, stem cap, and seat post internal parts are all cleaned up too. I'll probably prime and paint the seat post parts so they don't rust.

Not pictured are the crank spindle and other bottom bracket parts (soaking in paint thinner) as well as the seat post (still stripping paint) and chainring (all cleaned up).

Some new parts:

Not pictured are the new upper and lower gyro cables, tires, tubes, chain, grips, and headset. I went with an FSA 'The Hammer' oversized threadless headset.

The parts bin is contributing an unidentified front load stem and a pair of black Mosh pedals.

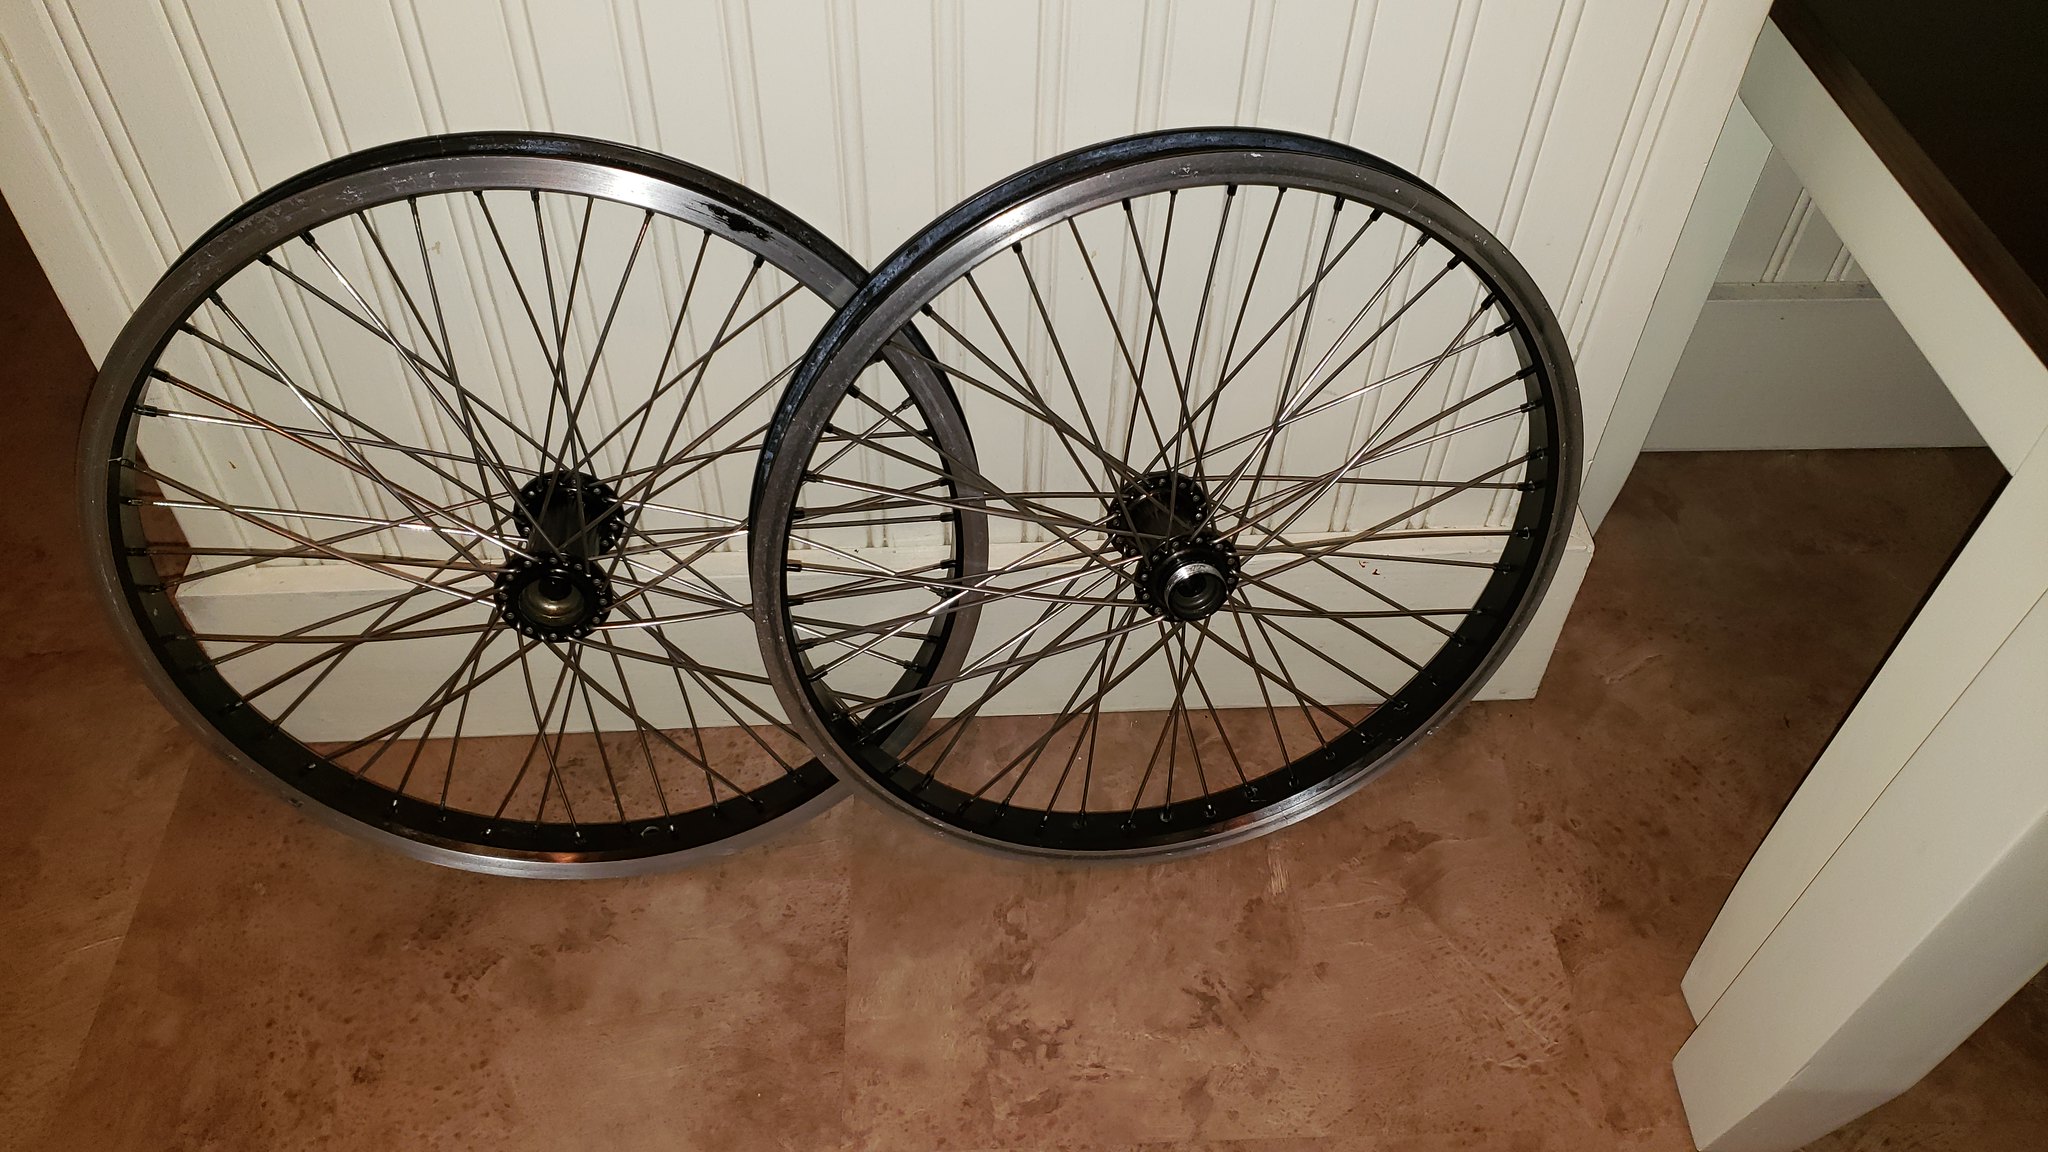
Haven't touched the wheels yet except to remove and toss the old tires and tubes. The hubs really need a teardown and repack, and I need to remove Rattlecan Picasso's handiwork from everything.

Also need to finish stripping paint off the frame and fork. Waiting for warmer weather for that.

============================================

(from today) 


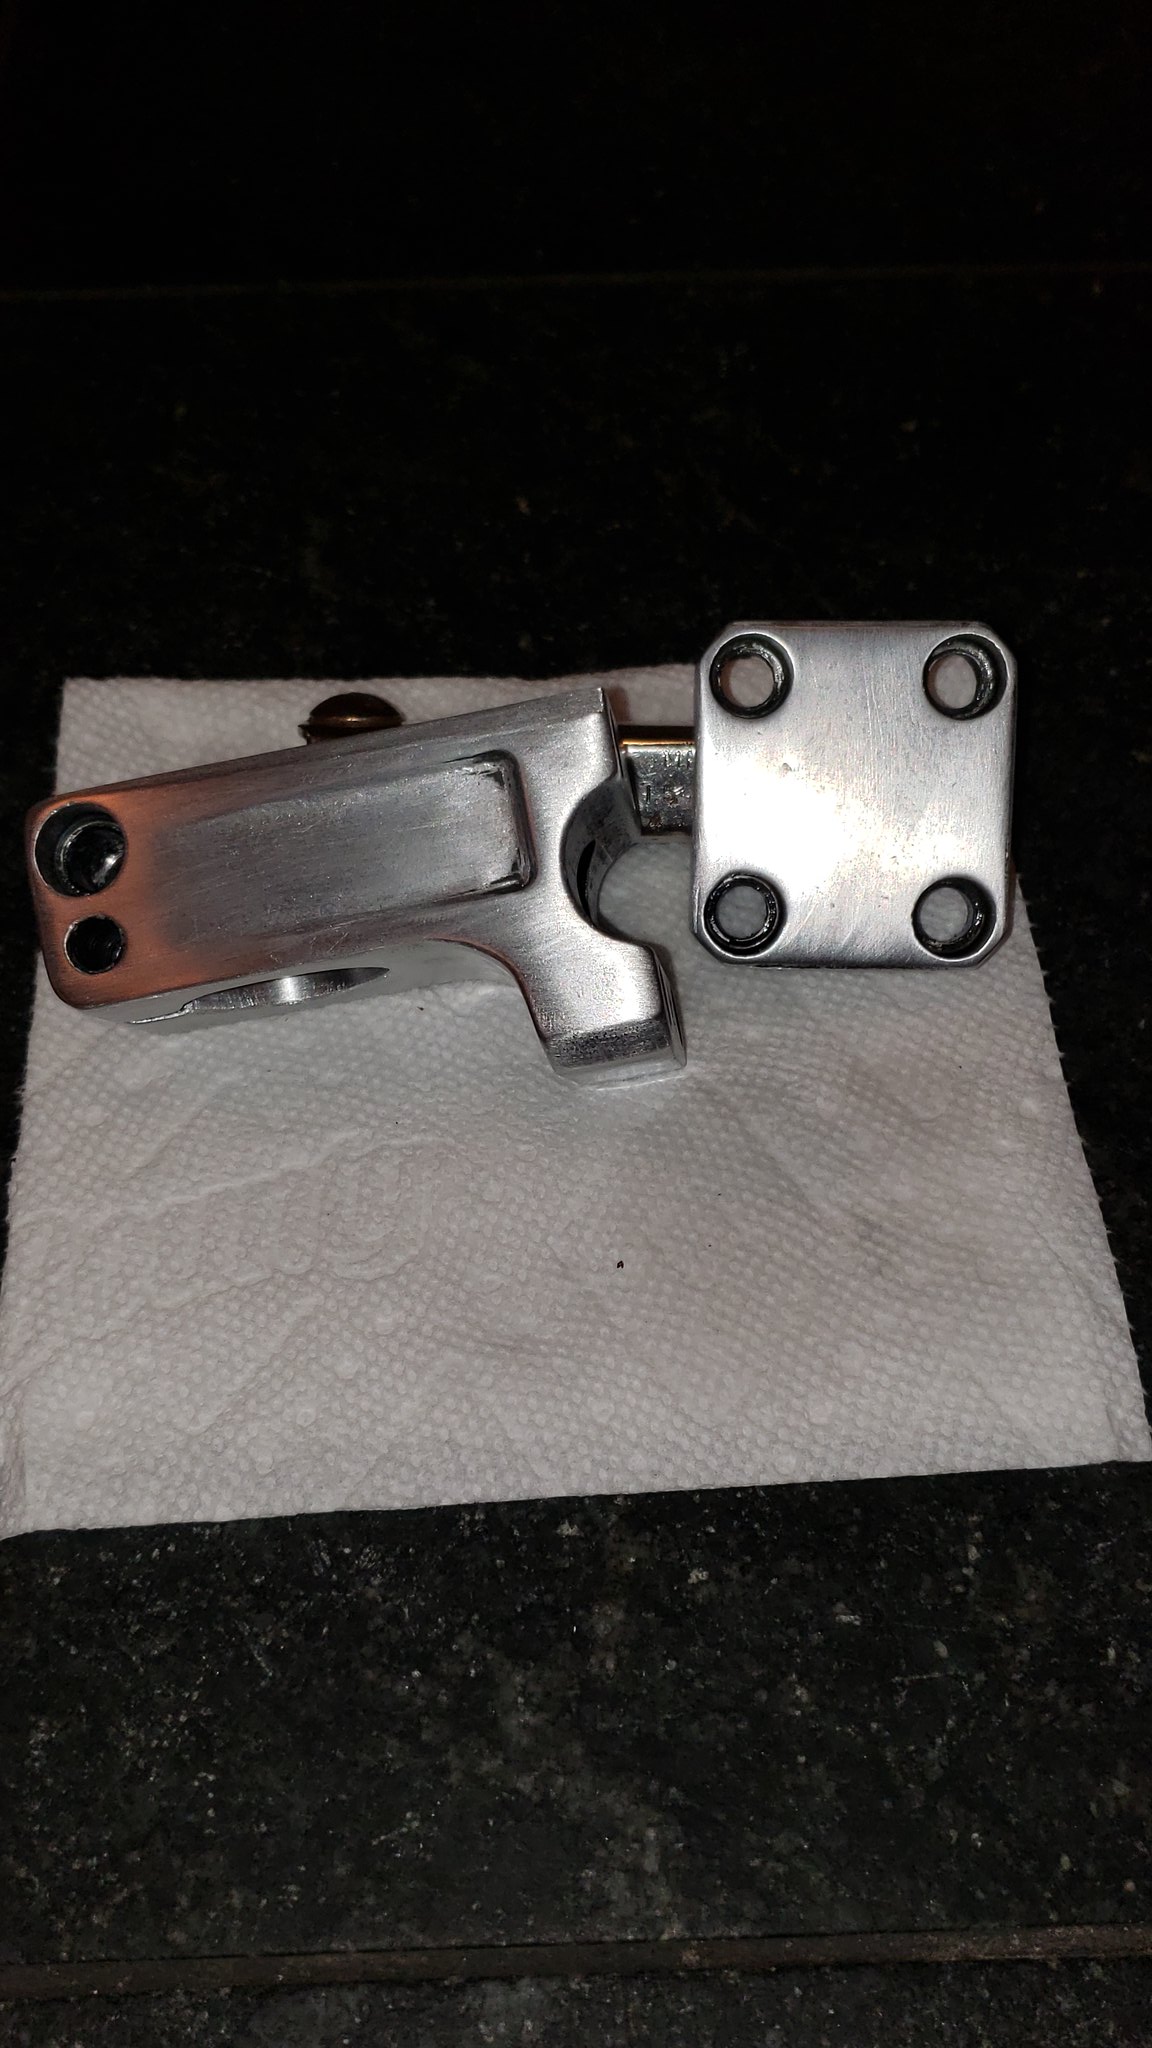
I ended up using the stem that came with the bike.

All the threads were fine, I need to replace all the bolts since their heads are all chewed up.

I soaked it in paint stripper and the spray paint came right off. It had a black finish of some kind, but the layers of spray paint were hiding some nicks and gouges. The finish was pretty beat up and came off with a few repeated baths in paint stripper and some scraping.

I filed off the worst of the abuse and used 60 grit drywall sanding screens to even out everything. I like these because they will remove finish/residue/material without clogging up as much as sandpaper does, and you can even cut them to a quarter sheet size and chuck them in to an electric palm sander.

I then went to 120 grit sandpaper for a few passes, then 400 grit wet sanding. Putting a small drop of dish soap on the sandpaper while wet sanding really makes the process easier.

I'm happy with the results so far:

I may take a few more passes with the 400 grit and then a few with 800 grit. I'm not going to polish the stem since I'm a fan of the satin brushed aluminum look.

David S. Wallens
David S. Wallens Editorial Director
3/12/22 7:16 p.m.

Rock on. Thanks for sharing. 

Mndsm
Mndsm MegaDork
3/12/22 8:02 p.m.

I was way out of BMX by this point and only very recently got back in- those bars frighten me. 

RandolphCarter
RandolphCarter New Reader
3/12/22 10:20 p.m.
Mndsm said:

those bars frighten me. 


Too short of a rise, too flimsy, or too beat up?

They aren't going to do anything more stressful than a few rides around the neighborhood, so I don't need to worry about them holding up to ridiculous amounts of abuse.

RandolphCarter
RandolphCarter New Reader
4/11/22 8:26 p.m.

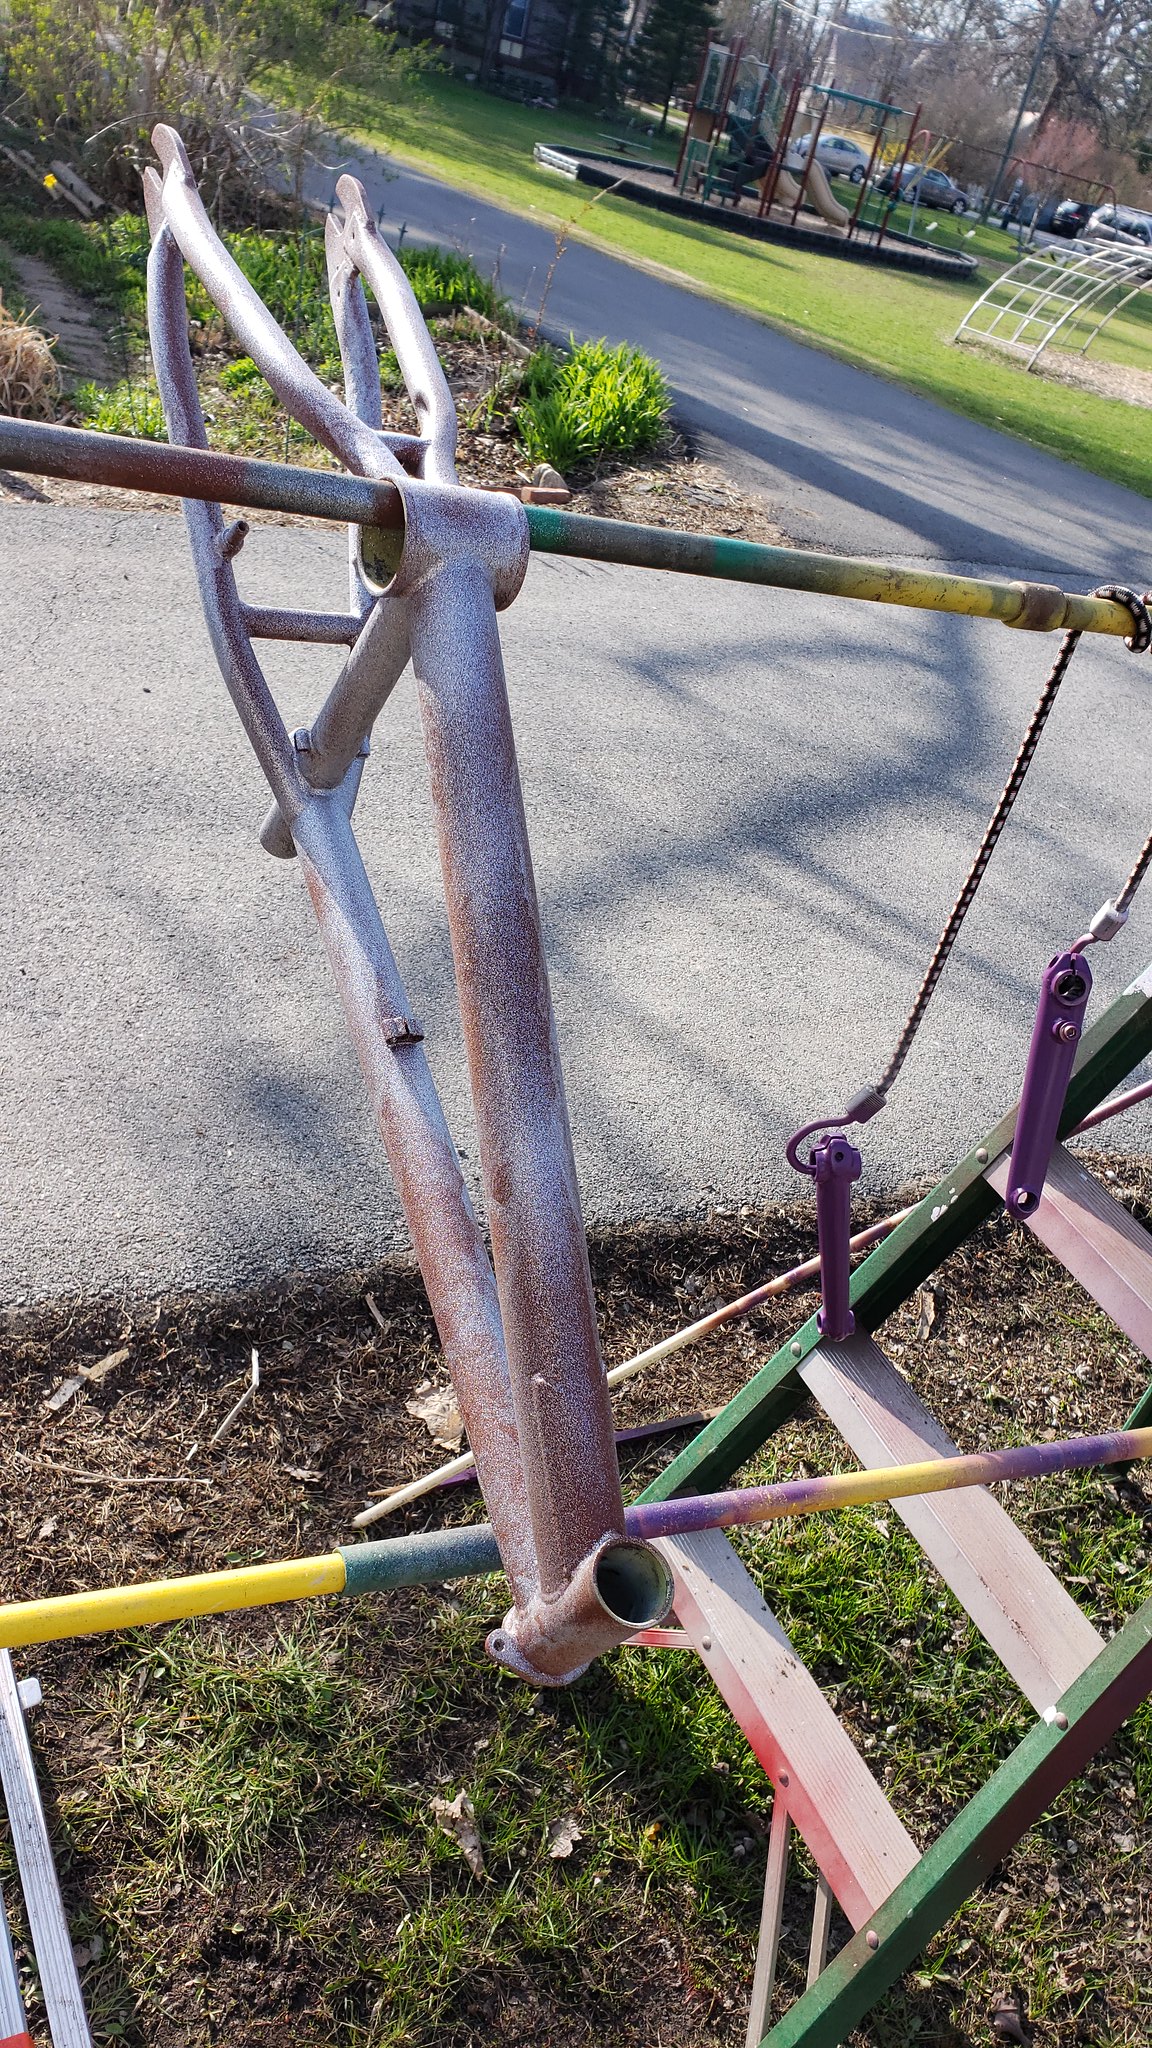
Got started with removing the paint and rust from the frame:

Only one surprise - a dent in the left side seatstay:

I tried paint stripper first but it barely softened the various layers of paint. I switched to a heat gun and a paint scraper to take off most of the paint. The stripper was much more effective on the remaining paint after that.

I used a wire wheel brush chucked in to an electric drill and 60 grit drywall sanding screens for the first pass at smoothing things out. I like the screens because they don't get clogged up as fast as sandpaper does. You can also rip them into small or medium size strips and saw them back and forth around\over frame tubes and into joints.

Need to get the last bits around the bottom bracket shell and give the whole thing a few passes with 120 grit sandpaper.

Ideally I'll paint it soon but I need the weather here to be 
1) 60 degrees or warmer 
2) not raining 
3) not windy

Still need to deal with the wheels.

RandolphCarter
RandolphCarter Reader
4/24/22 8:44 p.m.

Primed, painted, and clearcoated:


This is my first use of the Rustoleum Glitter spray paint. The results were disappointing.

It needs a color basecoat - this product is really more of a semi-opaque clear coat with glitter in it, not a layer of paint.

So the frame is going to get sanded down, primed, and a layer of gray or silver and then the silver glitter top layer.

Bars, cranks, seat post, and upper gyro plate are all purple.

Mndsm
Mndsm MegaDork
4/24/22 9:38 p.m.
RandolphCarter said:
Mndsm said:

those bars frighten me. 


Too short of a rise, too flimsy, or too beat up?

They aren't going to do anything more stressful than a few rides around the neighborhood, so I don't need to worry about them holding up to ridiculous amounts of abuse.

Sorry, I absolutely never saw this. The bars look TINY. era appropriate, but man those things were never comfortable. 

RandolphCarter
RandolphCarter Reader
5/17/22 9:56 p.m.

Made some progress over the weekend. Sanded the glitter paint on the frame a bit, and covered it with more primer, then a silver base layer, then more metallic glitter, then clearcoat.

It went kinda ok. There are a few problem areas where the glitter layer crackled a little bit but I'm not worried enough about it to make another attempt at painting the frame. 

Frame & fork:

Head on:

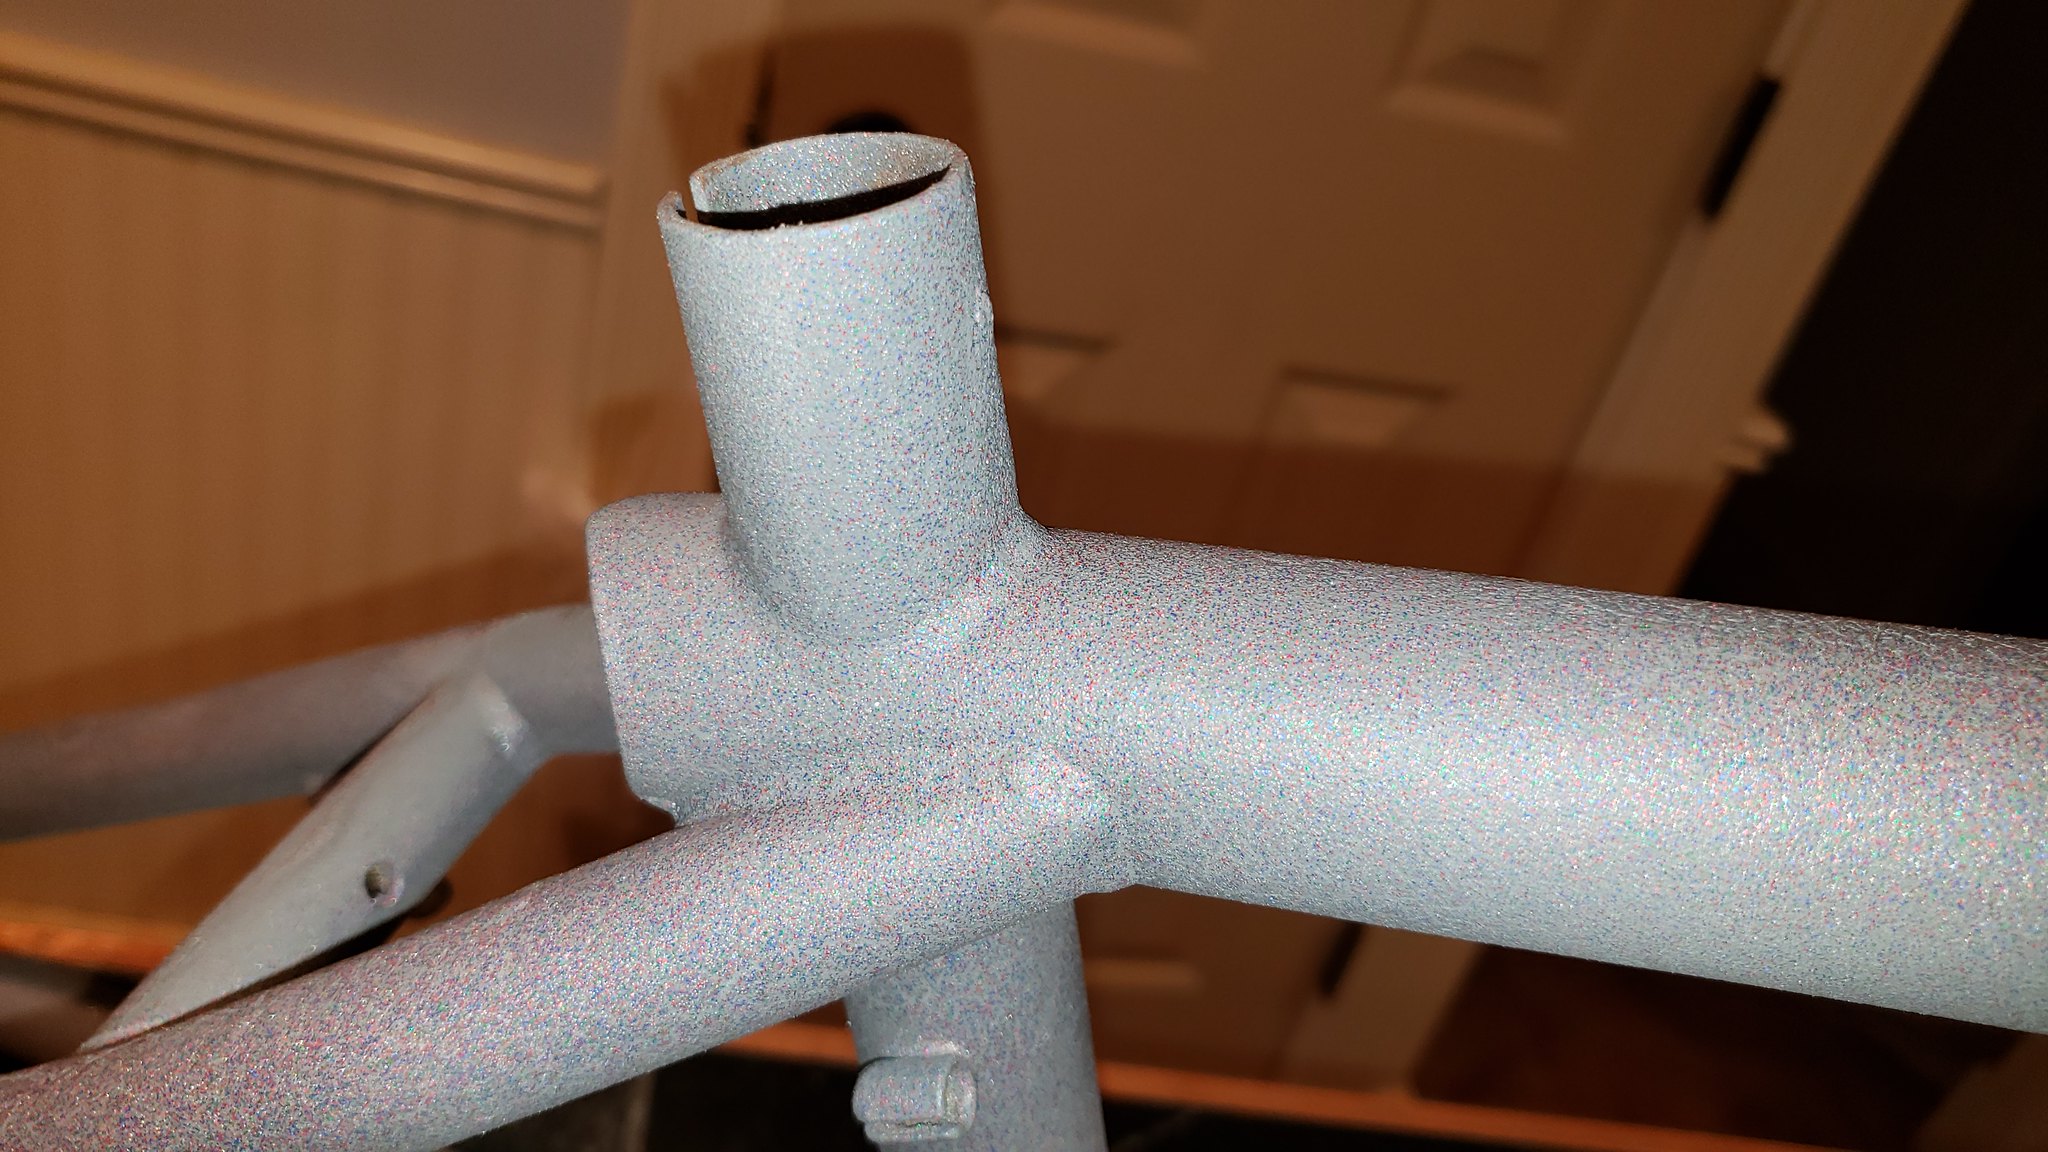
My results with the paint were more "speckled" than "glitter bomb". someone with more skill at painting than me may have been able to get more sparkles.

Frame paint closeup:

I also put the brake levers (Dia-Compe Tech 77s) and grips (Ronin flanged) on the bars, now that the last layer of topcoat on them has cured.

Bars:


I removed the axles, bearings etc.. from the hubs. The wheels are getting a dose of spray-on paint stripper. Hopefully I don't need to re-lace the wheels. 


oppositelocksmith
oppositelocksmith New Reader
5/18/22 10:41 p.m.

I assembled this model and worked on it as a shop mechanic when I was in college. 
 

IIRC, the frames and bars were powder coated from the DB factory. Might have been paint... those cranks made this a much higher end model or it was upgraded.


Don't ever reuse cables/housings/bearings- that's like doing a full engine rebuild and reusing the rod bearings ;)


DB offered me a job when I graduated college, but I really did not want to move at the time. 


RandolphCarter
RandolphCarter Reader
5/19/22 9:57 a.m.
oppositelocksmith said:

I assembled this model and worked on it as a shop mechanic when I was in college. 
 

IIRC, the frames and bars were powder coated from the DB factory. Might have been paint... those cranks made this a much higher end model or it was upgraded.


Don't ever reuse cables/housings/bearings- that's like doing a full engine rebuild and reusing the rod bearings ;)


DB offered me a job when I graduated college, but I really did not want to move at the time. 


The frame probably was powder coated based on how resistant it was to paint stripper.

As far as cable or bearing reuse - if it's a bike I'm going to ride frequently I'll put new stuff all around. If the bike is one I'm flipping or giving away, and the bearings or cables are in reasonably good shape, they get cleaned, greased, and reused.


RandolphCarter
RandolphCarter Reader
7/16/22 11:36 p.m.
RandolphCarter said:

I removed the axles, bearings etc.. from the hubs. The wheels are getting a dose of spray-on paint stripper. Hopefully I don't need to re-lace the wheels

Quoting myself so I can highlight my assumptions in bold...

I've been picking away at the wheels as time permitted over the past couple months.

I had given the wheels a very light coating of paint stripper, thinking the layer of spray on goodness left by Rattlecan Picasso would come off easily.

I was wrong. And, while scraping off layers of crud, I found that I had a few broken spokes and many of the others were pretty rusty.

So i took out the bolt cutters and snipped away, leaving a few nicer ones intact to measure.

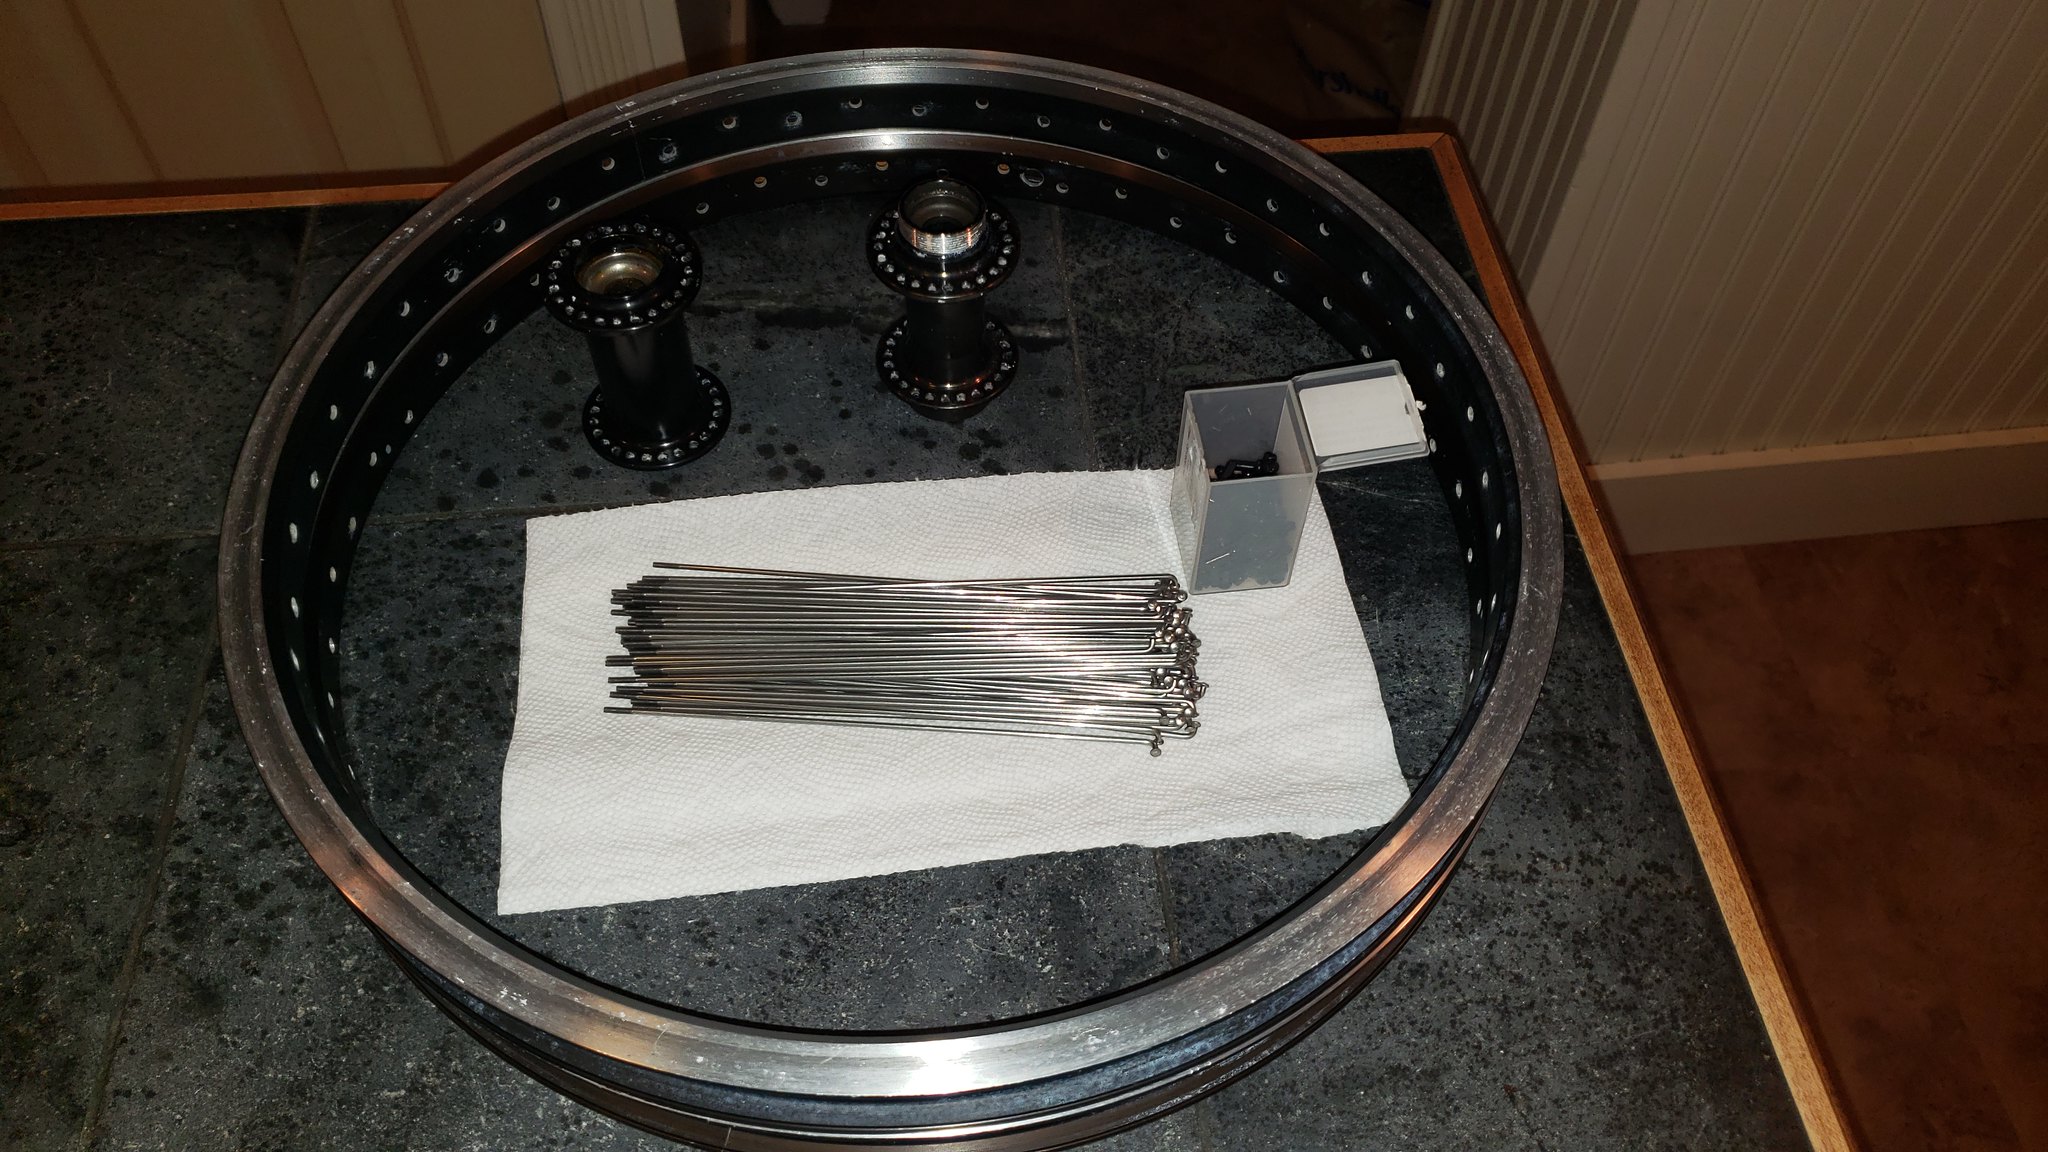
The wheels originally had 180mm black spokes with 12mm silver nipples. Porkchop BMX had custom length silver spokes for 38 cents a pop and Amazon had 100ct DT Swiss black brass nipples for pretty cheap. Other places had cheaper spokes but the shipping was a lot more.

So with the wheels apart it was much easier to get another layer of paint stripper where I needed it on the rims and hubs. I sill put it on light since I was worried about the anodizing.

After some elbow grease I'm ready to assemble:

Got the initial lacing done:

Still need to repack the hubs and tension and true the wheels. 

I think this bike was sitting outside for a long while before the spray paint went on - the anodizing on the rear hub has faded from black to a rootbeer color. That would also explain the very rusty spokes.


David S. Wallens
David S. Wallens Editorial Director
7/21/22 11:14 a.m.

Nice to see the progress. 

RandolphCarter
RandolphCarter Reader
6/5/24 4:59 p.m.
David S. Wallens said:

Nice to see the progress. 


Yeah, about that...

When repacking the rear hub, I noticed the drive side cone was a bit chewed up.

The bearing cup in the hub is okay-ish.

This hub takes loose ball bearings and has a slightly smaller area the freewheel mounts on to. The threads are the same as the metric (small) side of a flip flop hub.

The non drive side takes 3/16" bearings and the drive side takes 1/8" bearings.

I've been searching for a replacement cone for a long while but haven't found anything to fit this setup.

I do have a Sun "Jabba the Hub" 48 hole flip flop rear hub with a 14mm axle I can lace into the rim.

However, the hub flange diameter is a lot larger on it. The flanges are also farther away from the frame than the original hub. This means my existing spokes are too long.

So time to measure up everything and order shorter spokes.

Hopefully I'll finish the build before the 10 year mark.

David S. Wallens
David S. Wallens Editorial Director
6/6/24 10:58 a.m.

Yay, more BMX.

RandolphCarter
RandolphCarter Reader
10/12/24 8:29 a.m.

My parts bin Sun Ringle "Jabba the Hub" needs 175mm spokes, since the flange is a lot larger.

I ordered purple spokes from Porkchop BMX and laced up the hub to the rim:


Still need to tension and true the wheel but at least it is together.

You'll need to log in to post.

Our Preferred Partners
QaMBRtCIGfSzZQ19oI41eThwIb51Z2k9OXADqCbLCKiGm8GXCezzWEE4UNKPJvB8