I'm not really sure the bashguards are necessary at all, but I had them so I figured I would use them.
So on to the wheelbuilding...
The first step is to decide which hubs and rims you want to use, and then figure out the spoke length. I had some picked out 6 years ago, but the hubs never got ordered so I had rims and spokes and no hubs. The hubs I was going to get are no longer readily available, so I had to search around for something that would work with the spokes I had. There are all kinds of spoke length calculators out there; I haven't found one to be better or more accurate than the other, but if you find one with your hub and rim dimensions already entered, that's better. I tried measuring my own once and it didn't work out at all. So here's the kind of numbers you need and what you'll get:

I used 262 and 265 for my spoke lengths.
Before we go further, I've used this website for most of my info: http://sheldonbrown.com/wheelbuild.html Really a great resource, too bad he died in 2008. He has all kinds of info on wheels, but the standard these days is 32 spokes, 3-cross configuration. You can either use single butted (same dimensions for the whole spoke) or double-butted (narrower in the middle) spokes and a variety of nipples. I used double butted spokes and brass nipples. The threads are standard so you can use different brands of spokes and nipples; my spokes are Sapim and the nipples are DT Swiss.
So I got out my truing stand, set it up with the spokes on the right side and little notes to myself:

I use a nipple threaded onto a spoke to grease the nipple seats in the rim:

I'm not sure the kind of grease really matters.
There are lots of things you could put on the spoke threads. There is a commercial product called Spoke Prep, linseed oil, grease, threadlocker (not recommended), and antiseize, which is what I've always used. Note: this stuff will get everywhere! Not much is needed:

And then I just follow the Sheldon Brown website and put the spokes in. Note that the first spoke can take some figuring before you put it in; I spent maybe 10 minutes deciding where it goes. After that the spokes go in easy:


And then before you know it, they're all in. Now it's time to tension the spokes. Again, I follow the website here: screw the nipples down until the threads just disappear, and then go 1 full turn at a time until there gets to be some tension.

I do hammer on the spokes to get them to bend more like the website says. I also use a screwdriver to kind of bend them more where they intertwine (which I'm doing backwards for the benefit of the pic):

I will admit to not being super worried about having a super true rim. With a big fat tire on there, it's not super important. Dish is important though:

And then just keep building the tension. It's good to tweak the spokes with your fingers occasionally just to get everything going together good. I keep going until I feel like I might be about to strip the nipple:

And then eventually you're done! I will go back at some point and work on truing a bit (maybe).
Since I was working on it, I cleaned off the rim with rubbing alcohol (that Permatex gets everywhere), put on the rim tape, tube, and tire, and installed the disc brake rotor. All done!

It seems super techy, but it's really not that hard. For me the hardest part is turning the spoke wrench the same amount on each spoke.


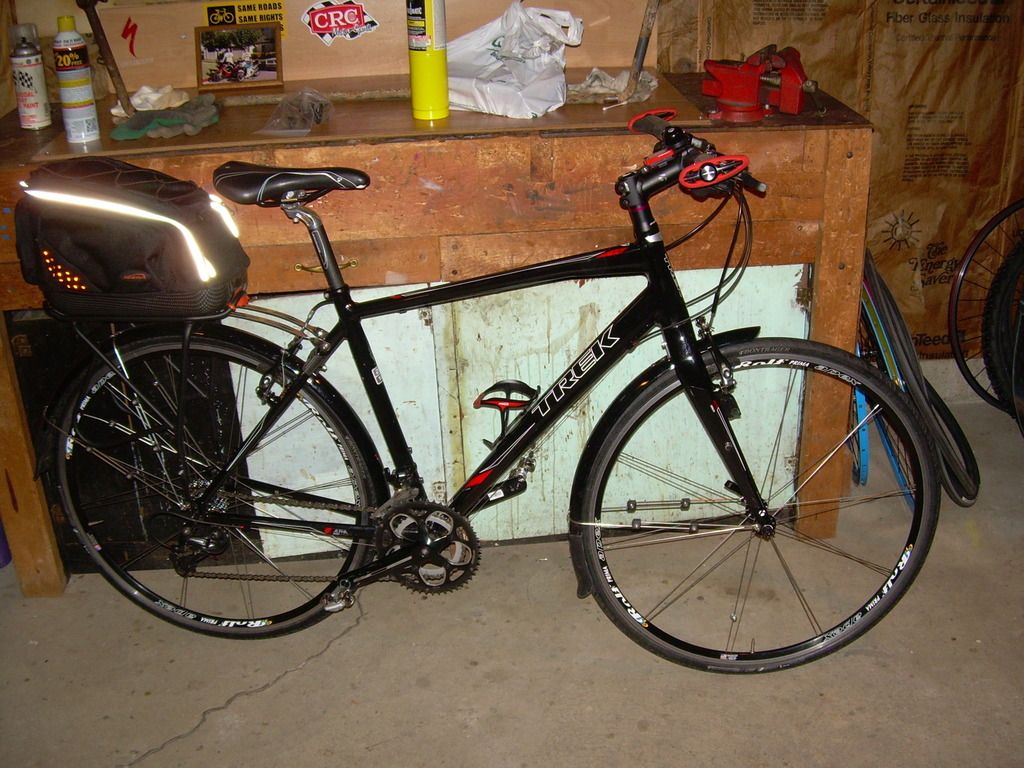
 2014 Trek FX7.5 I found in CL for a giveaway price. I slapped on a set of old Rolf's I had lying around and cleaned it up. Nice!


 Note: red was a few dollars cheaper than the other colors.


