1 2 3
Keith Tanner
Keith Tanner GRM+ Memberand MegaDork
6/3/17 11:30 p.m.

This is not an epic Mazdeuce-style build, or a stunning Jumper K Balls piece of work. But it was fun, so I thought I'd share. You've seen rig shots before. They're a staple of automotive photography, and they look awesome.

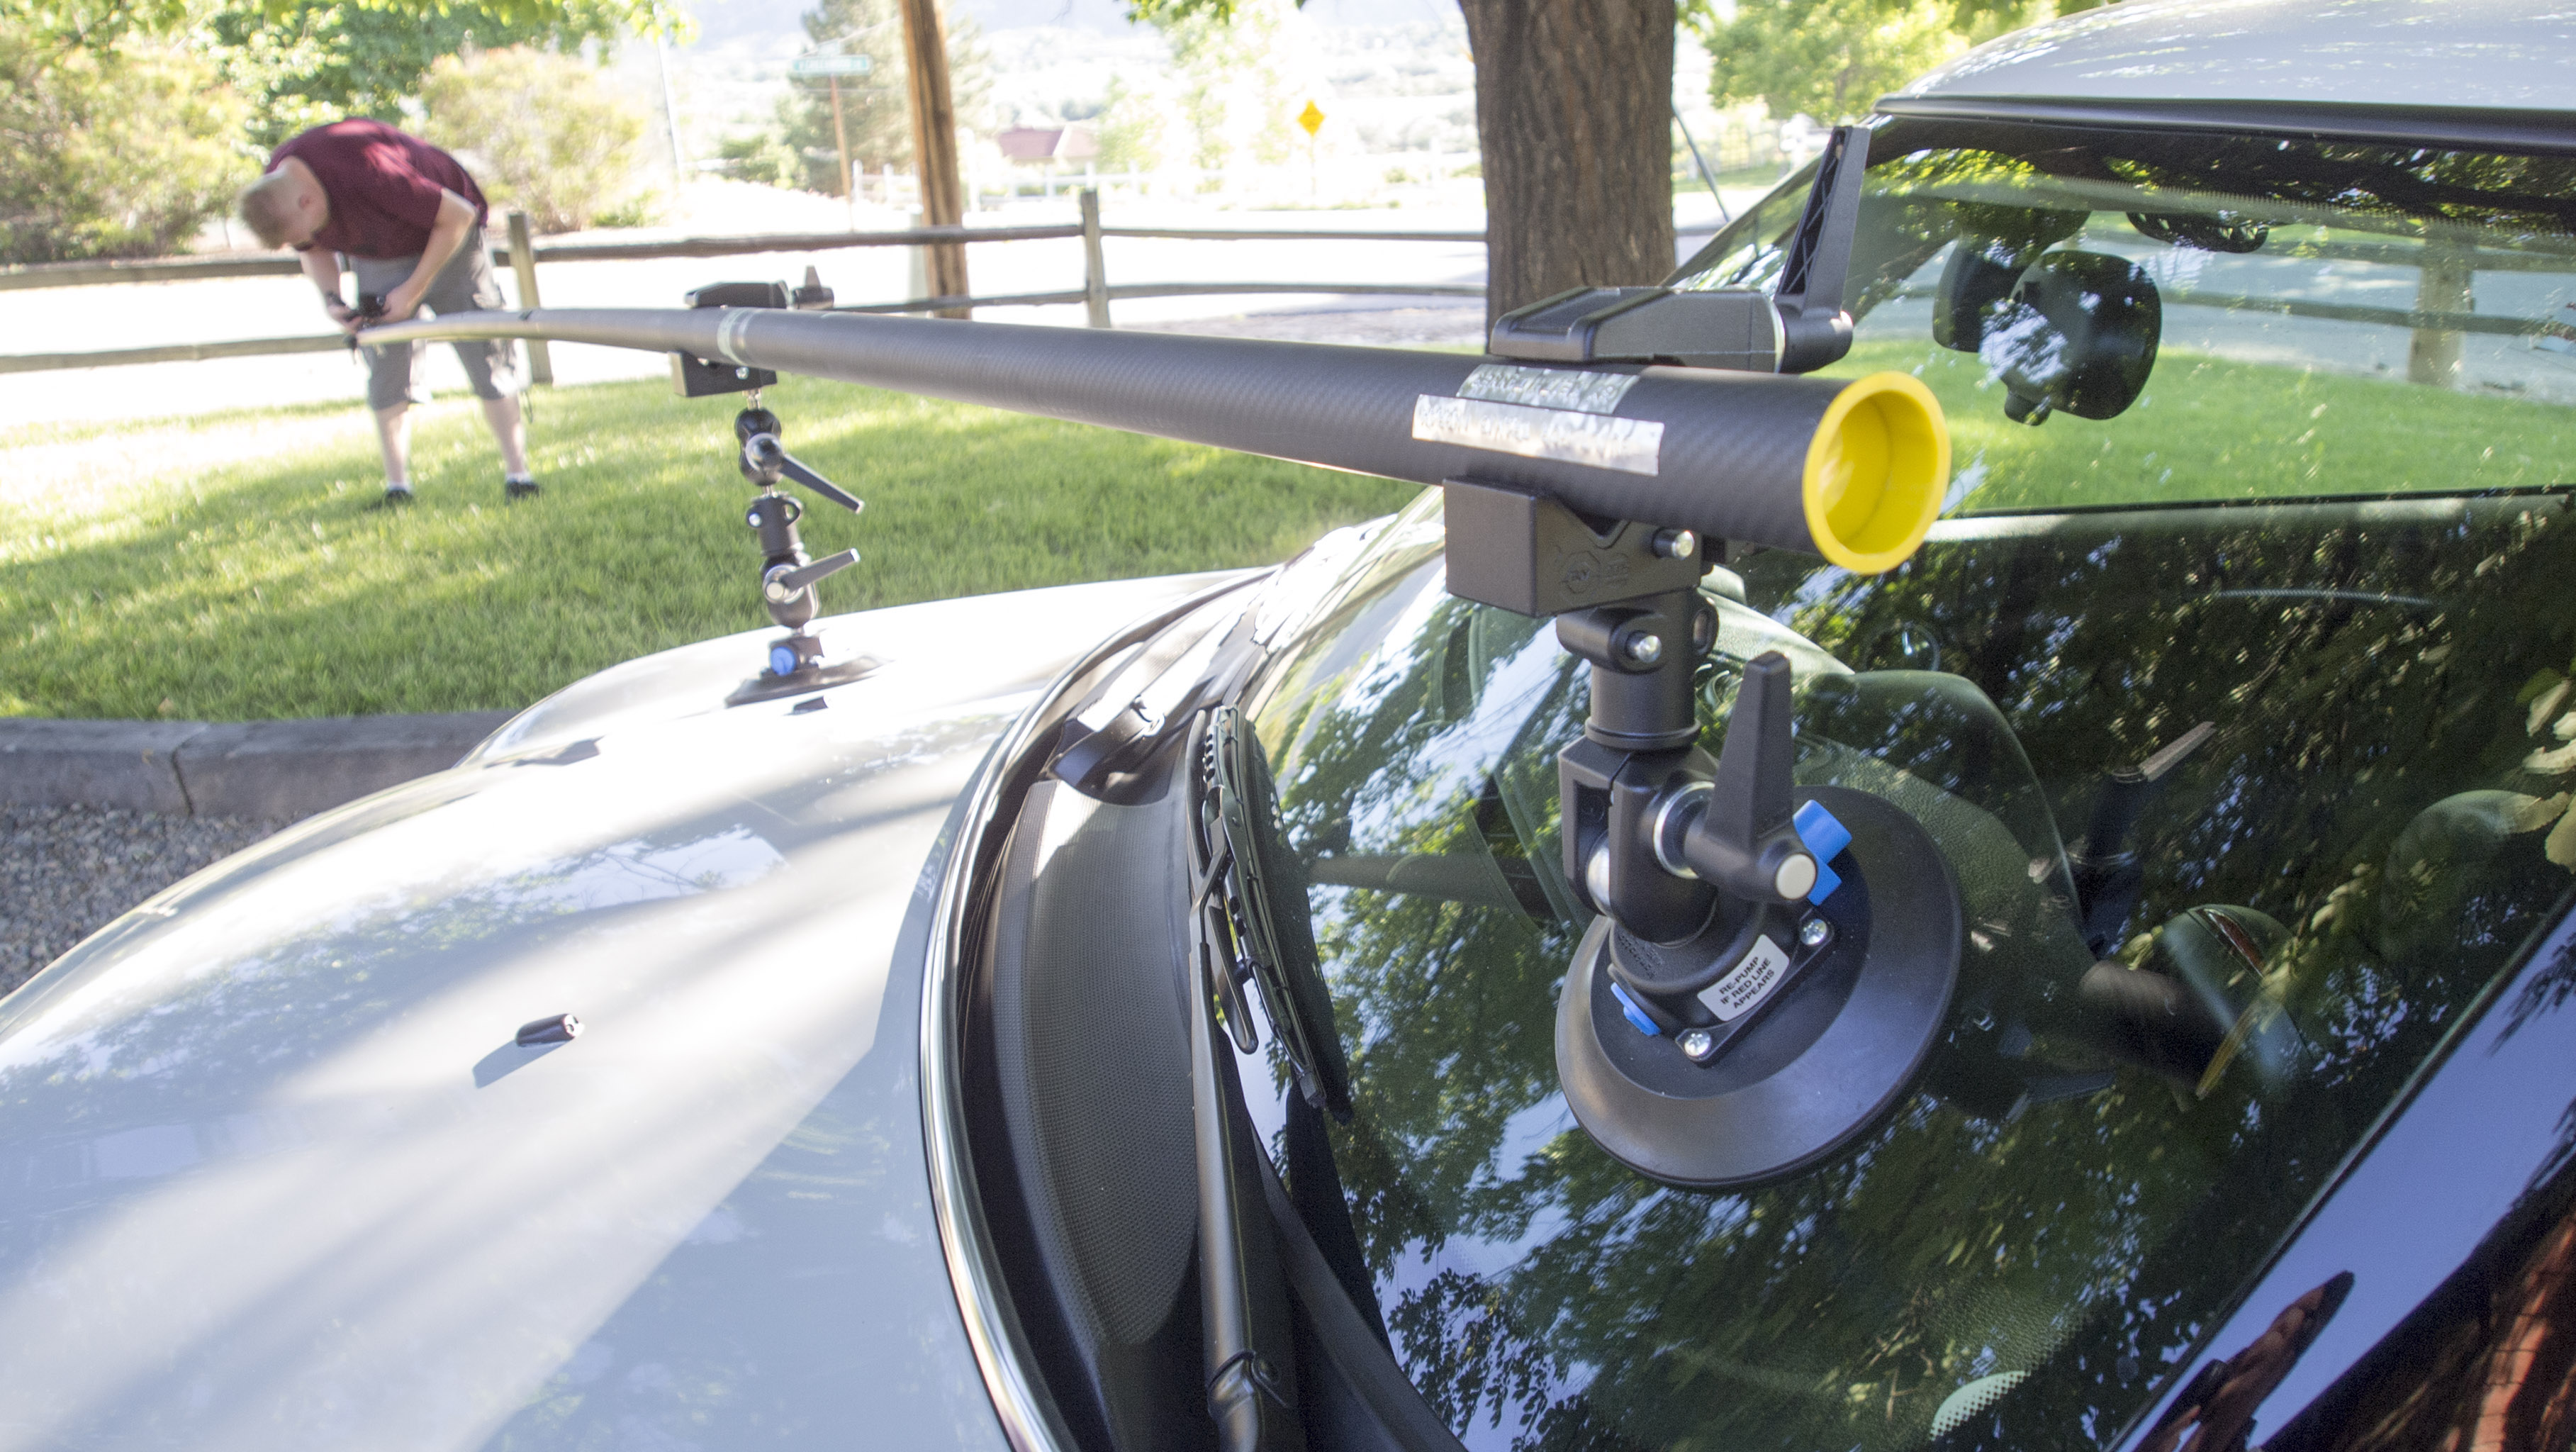
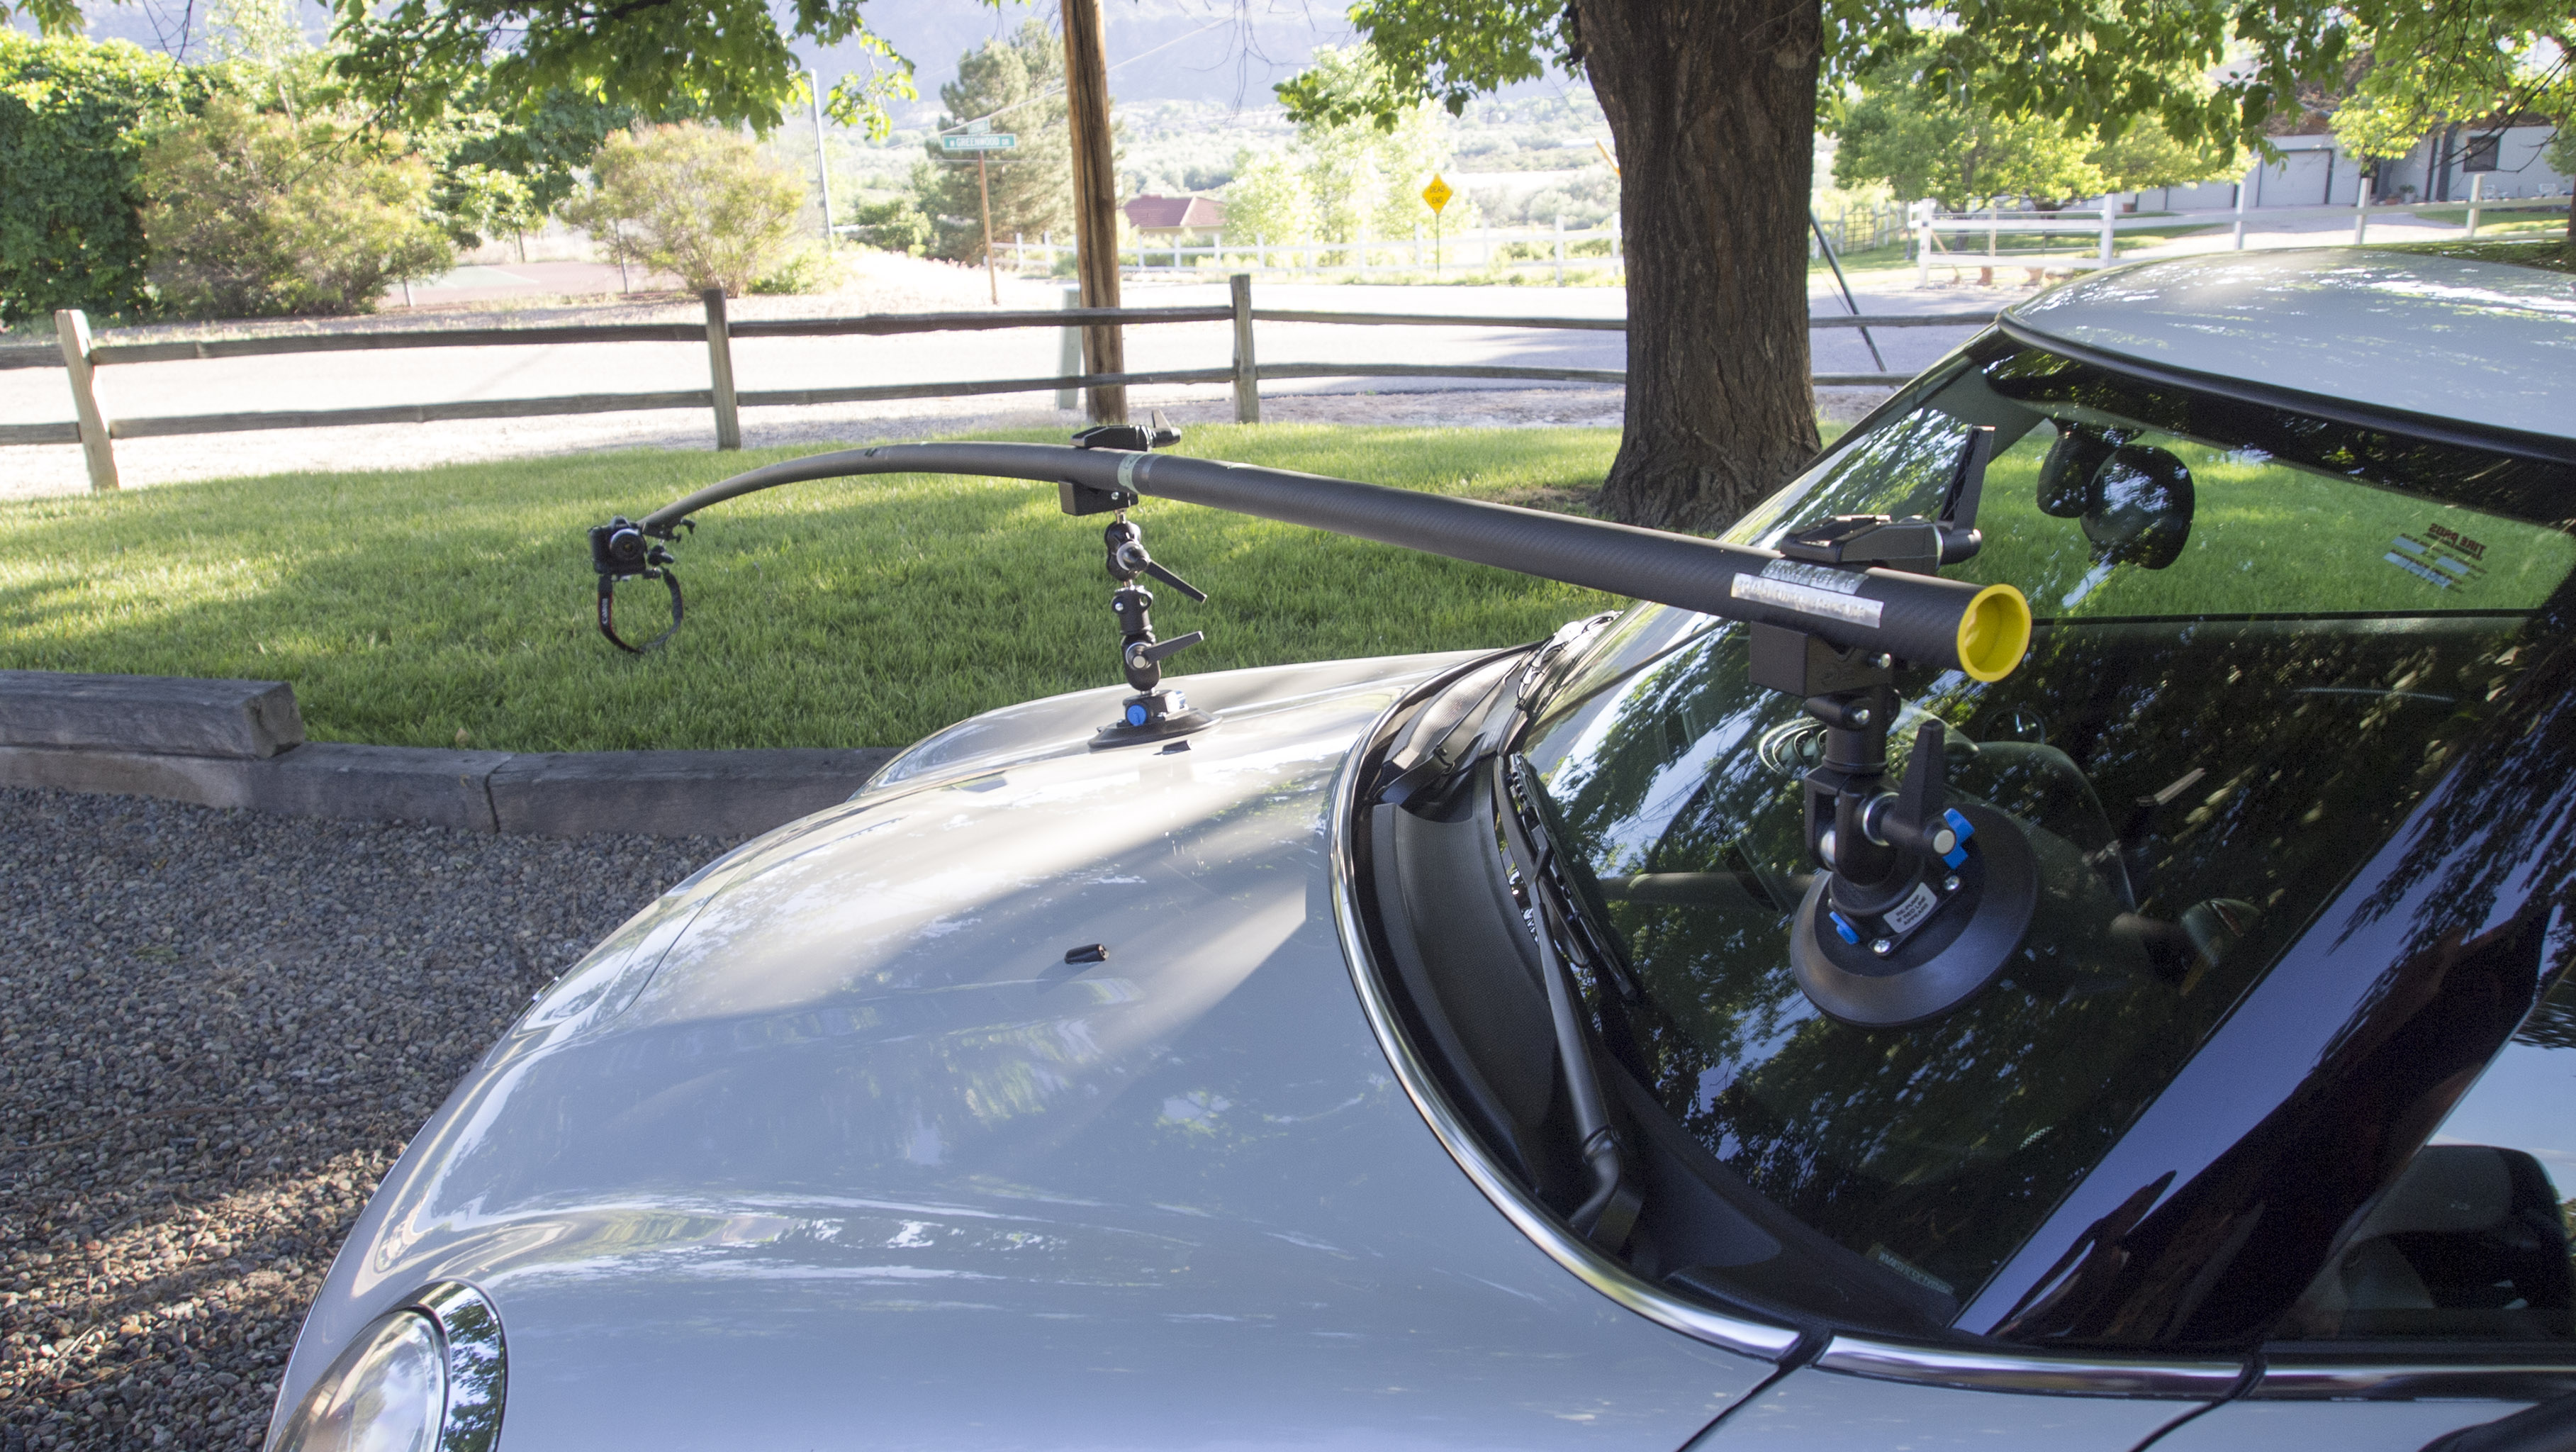
But they're a pain in the patootie to shoot. You have to hang the camera off the car with a collection of pipes and suction cups. You take a long exposure at walking speed with the car just rolling, then do a little editing to get the pipes out of the shot - which isn't as bad as it sounds. The pipe is set up to be above the camera so it doesn't cover up the car, only the sky. But every shot is different and the amount of rigging can get out of control. It can also be very expensive. Here's the rig for the above shot. 
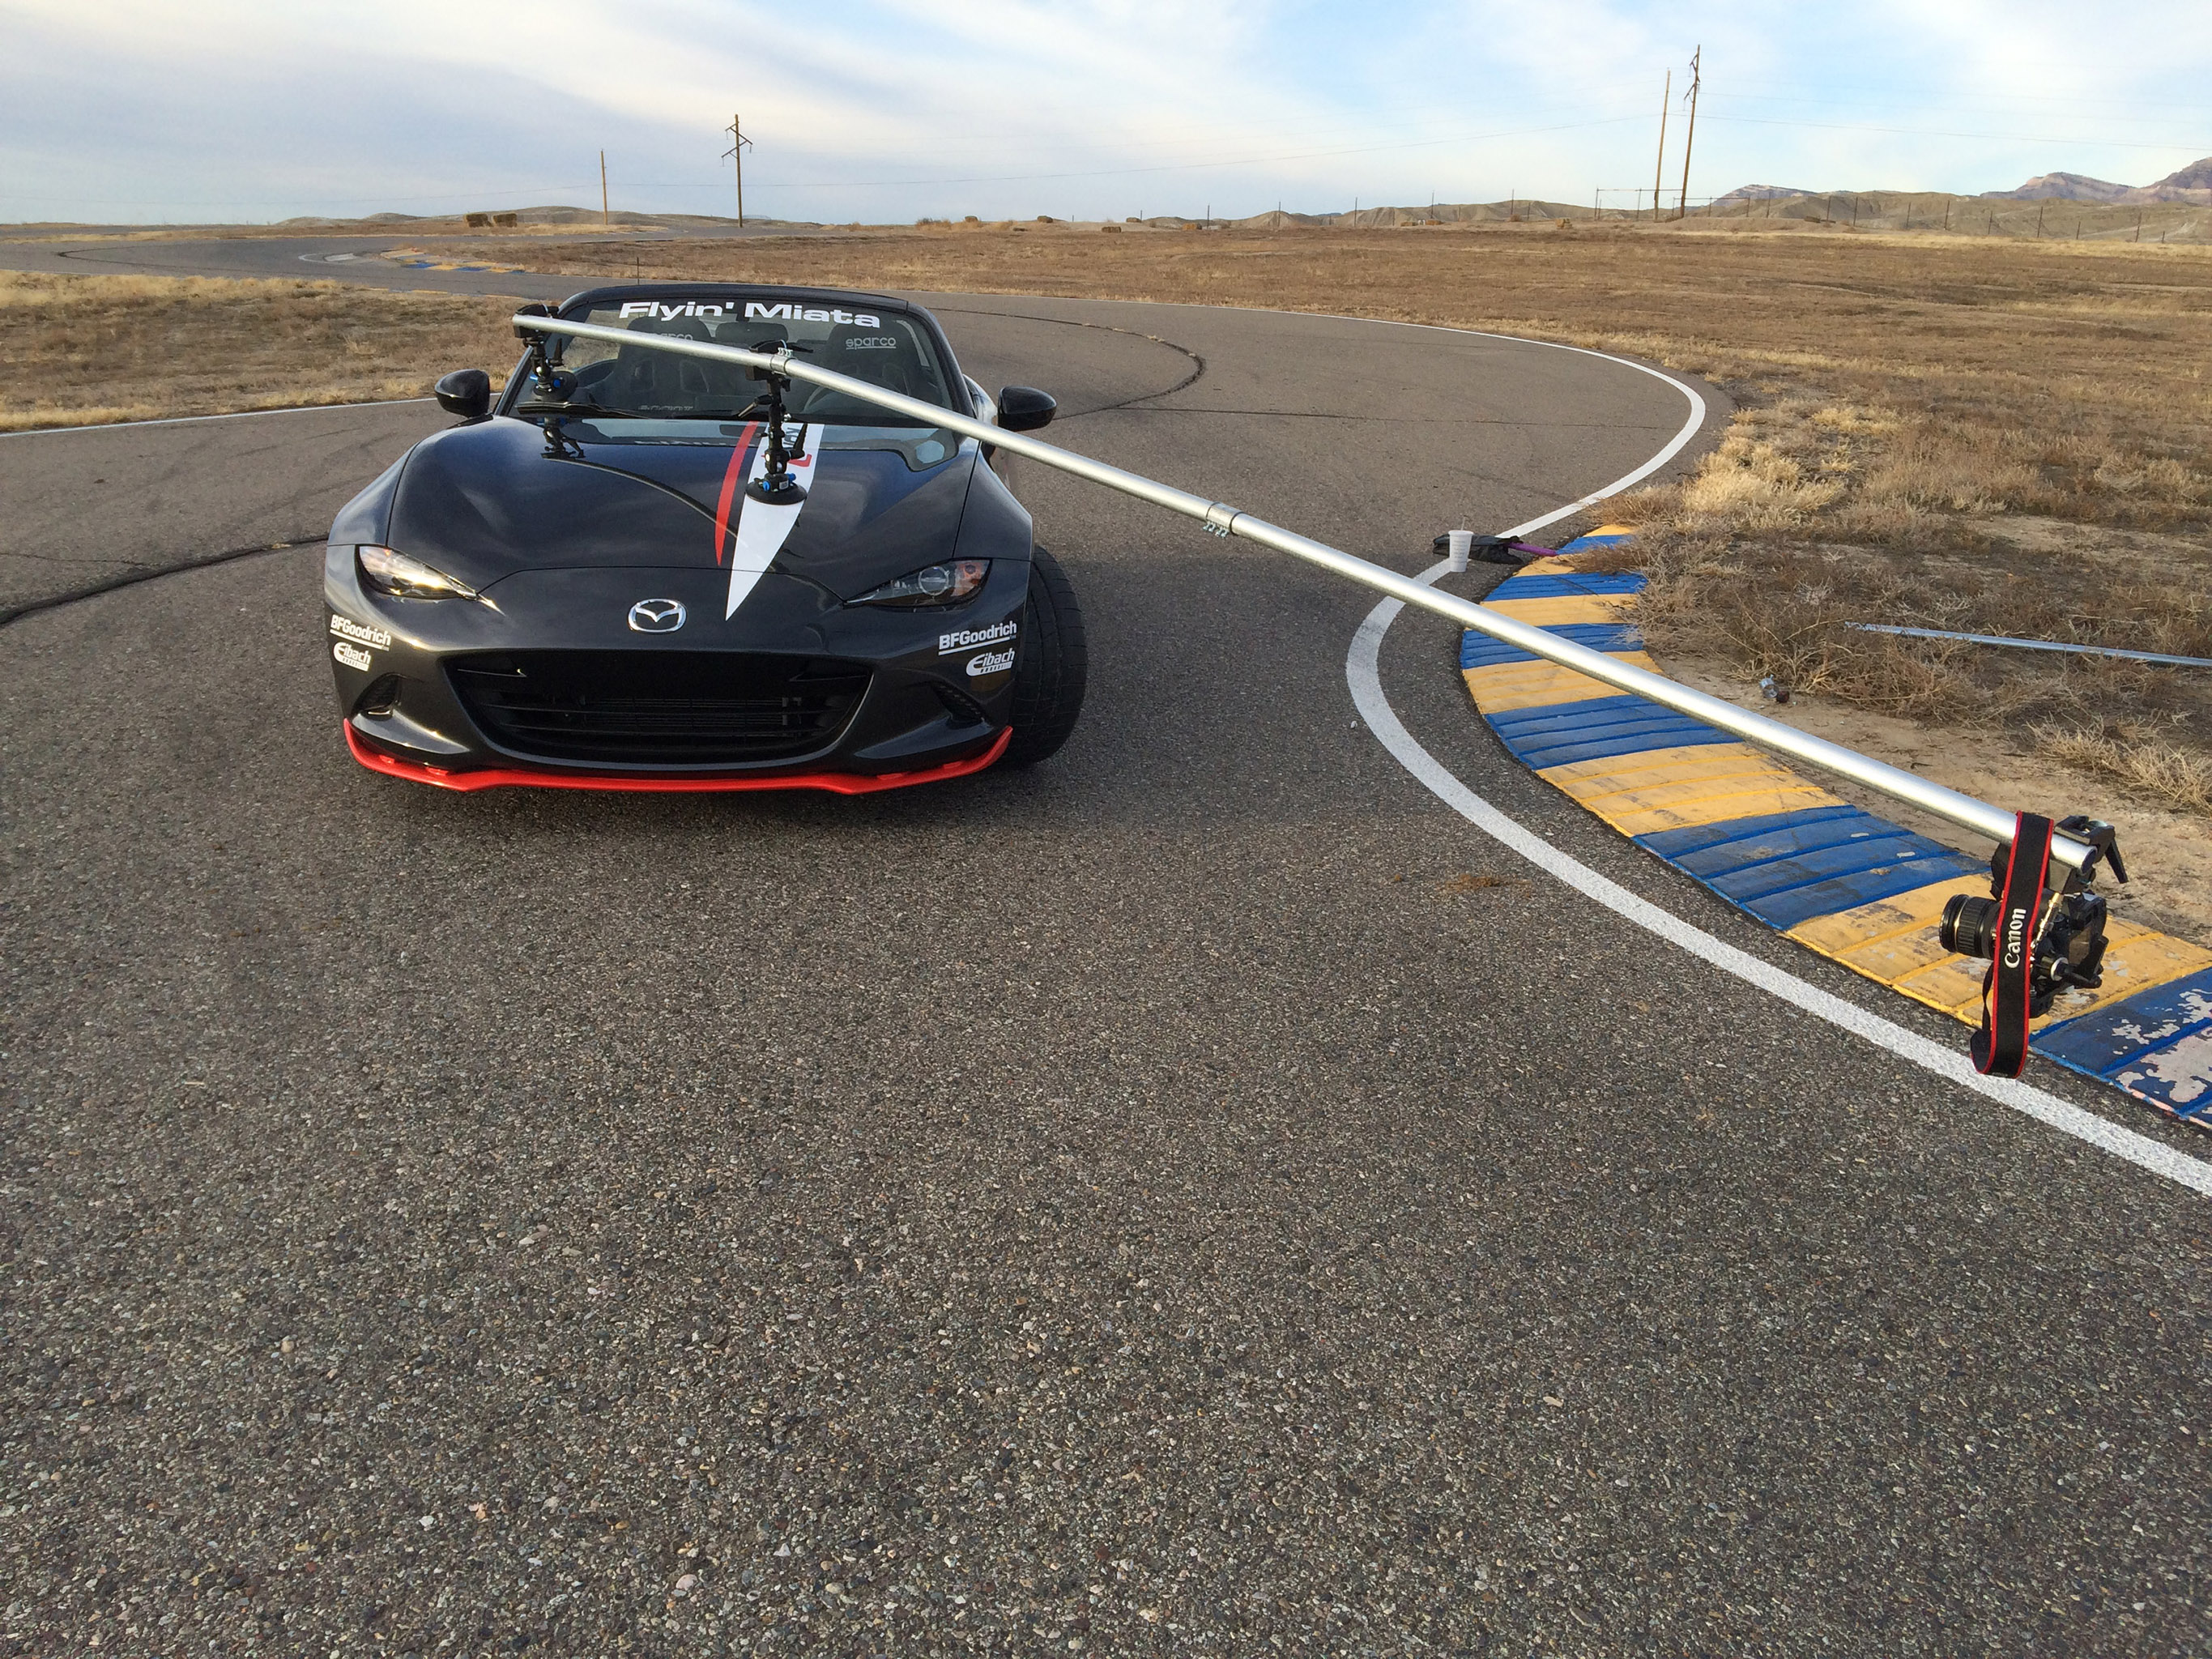
I've worked with a lot of photographers doing shots of various kinds, but most often I work with my friend Travis. He does a lot of work for Koni - the picture above is used on a bunch of their advertising. That's me behind the wheel
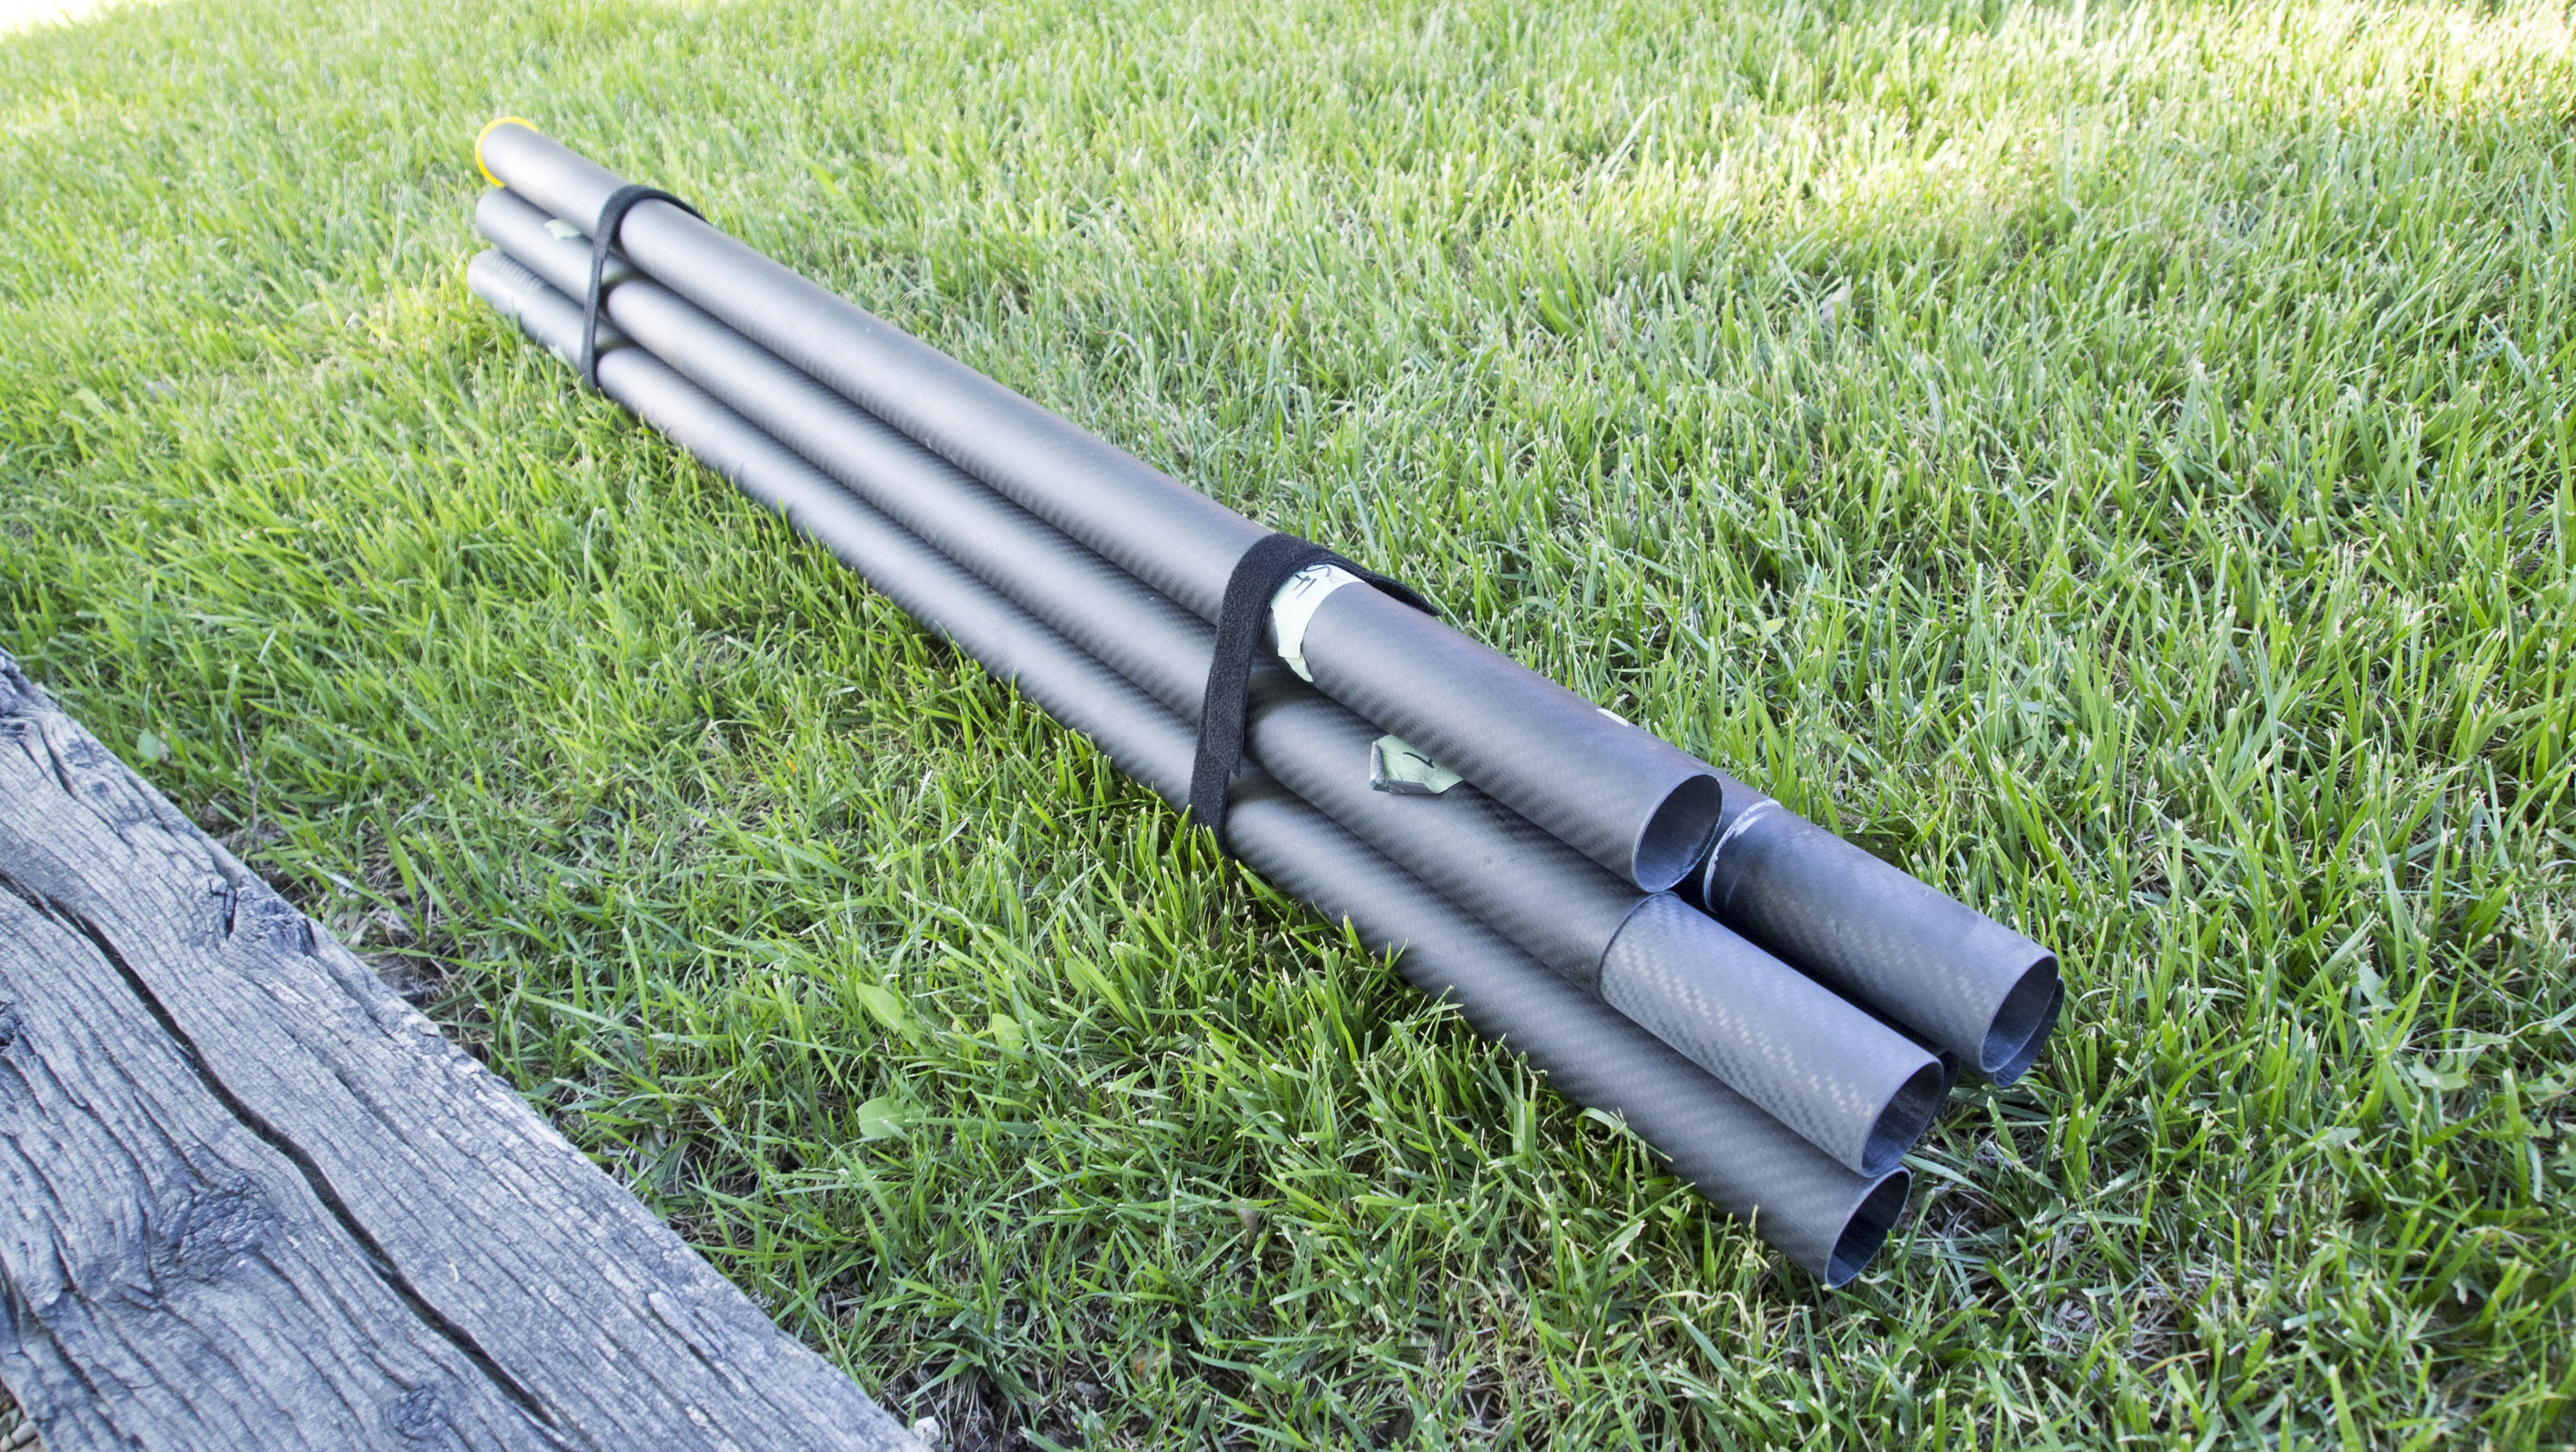
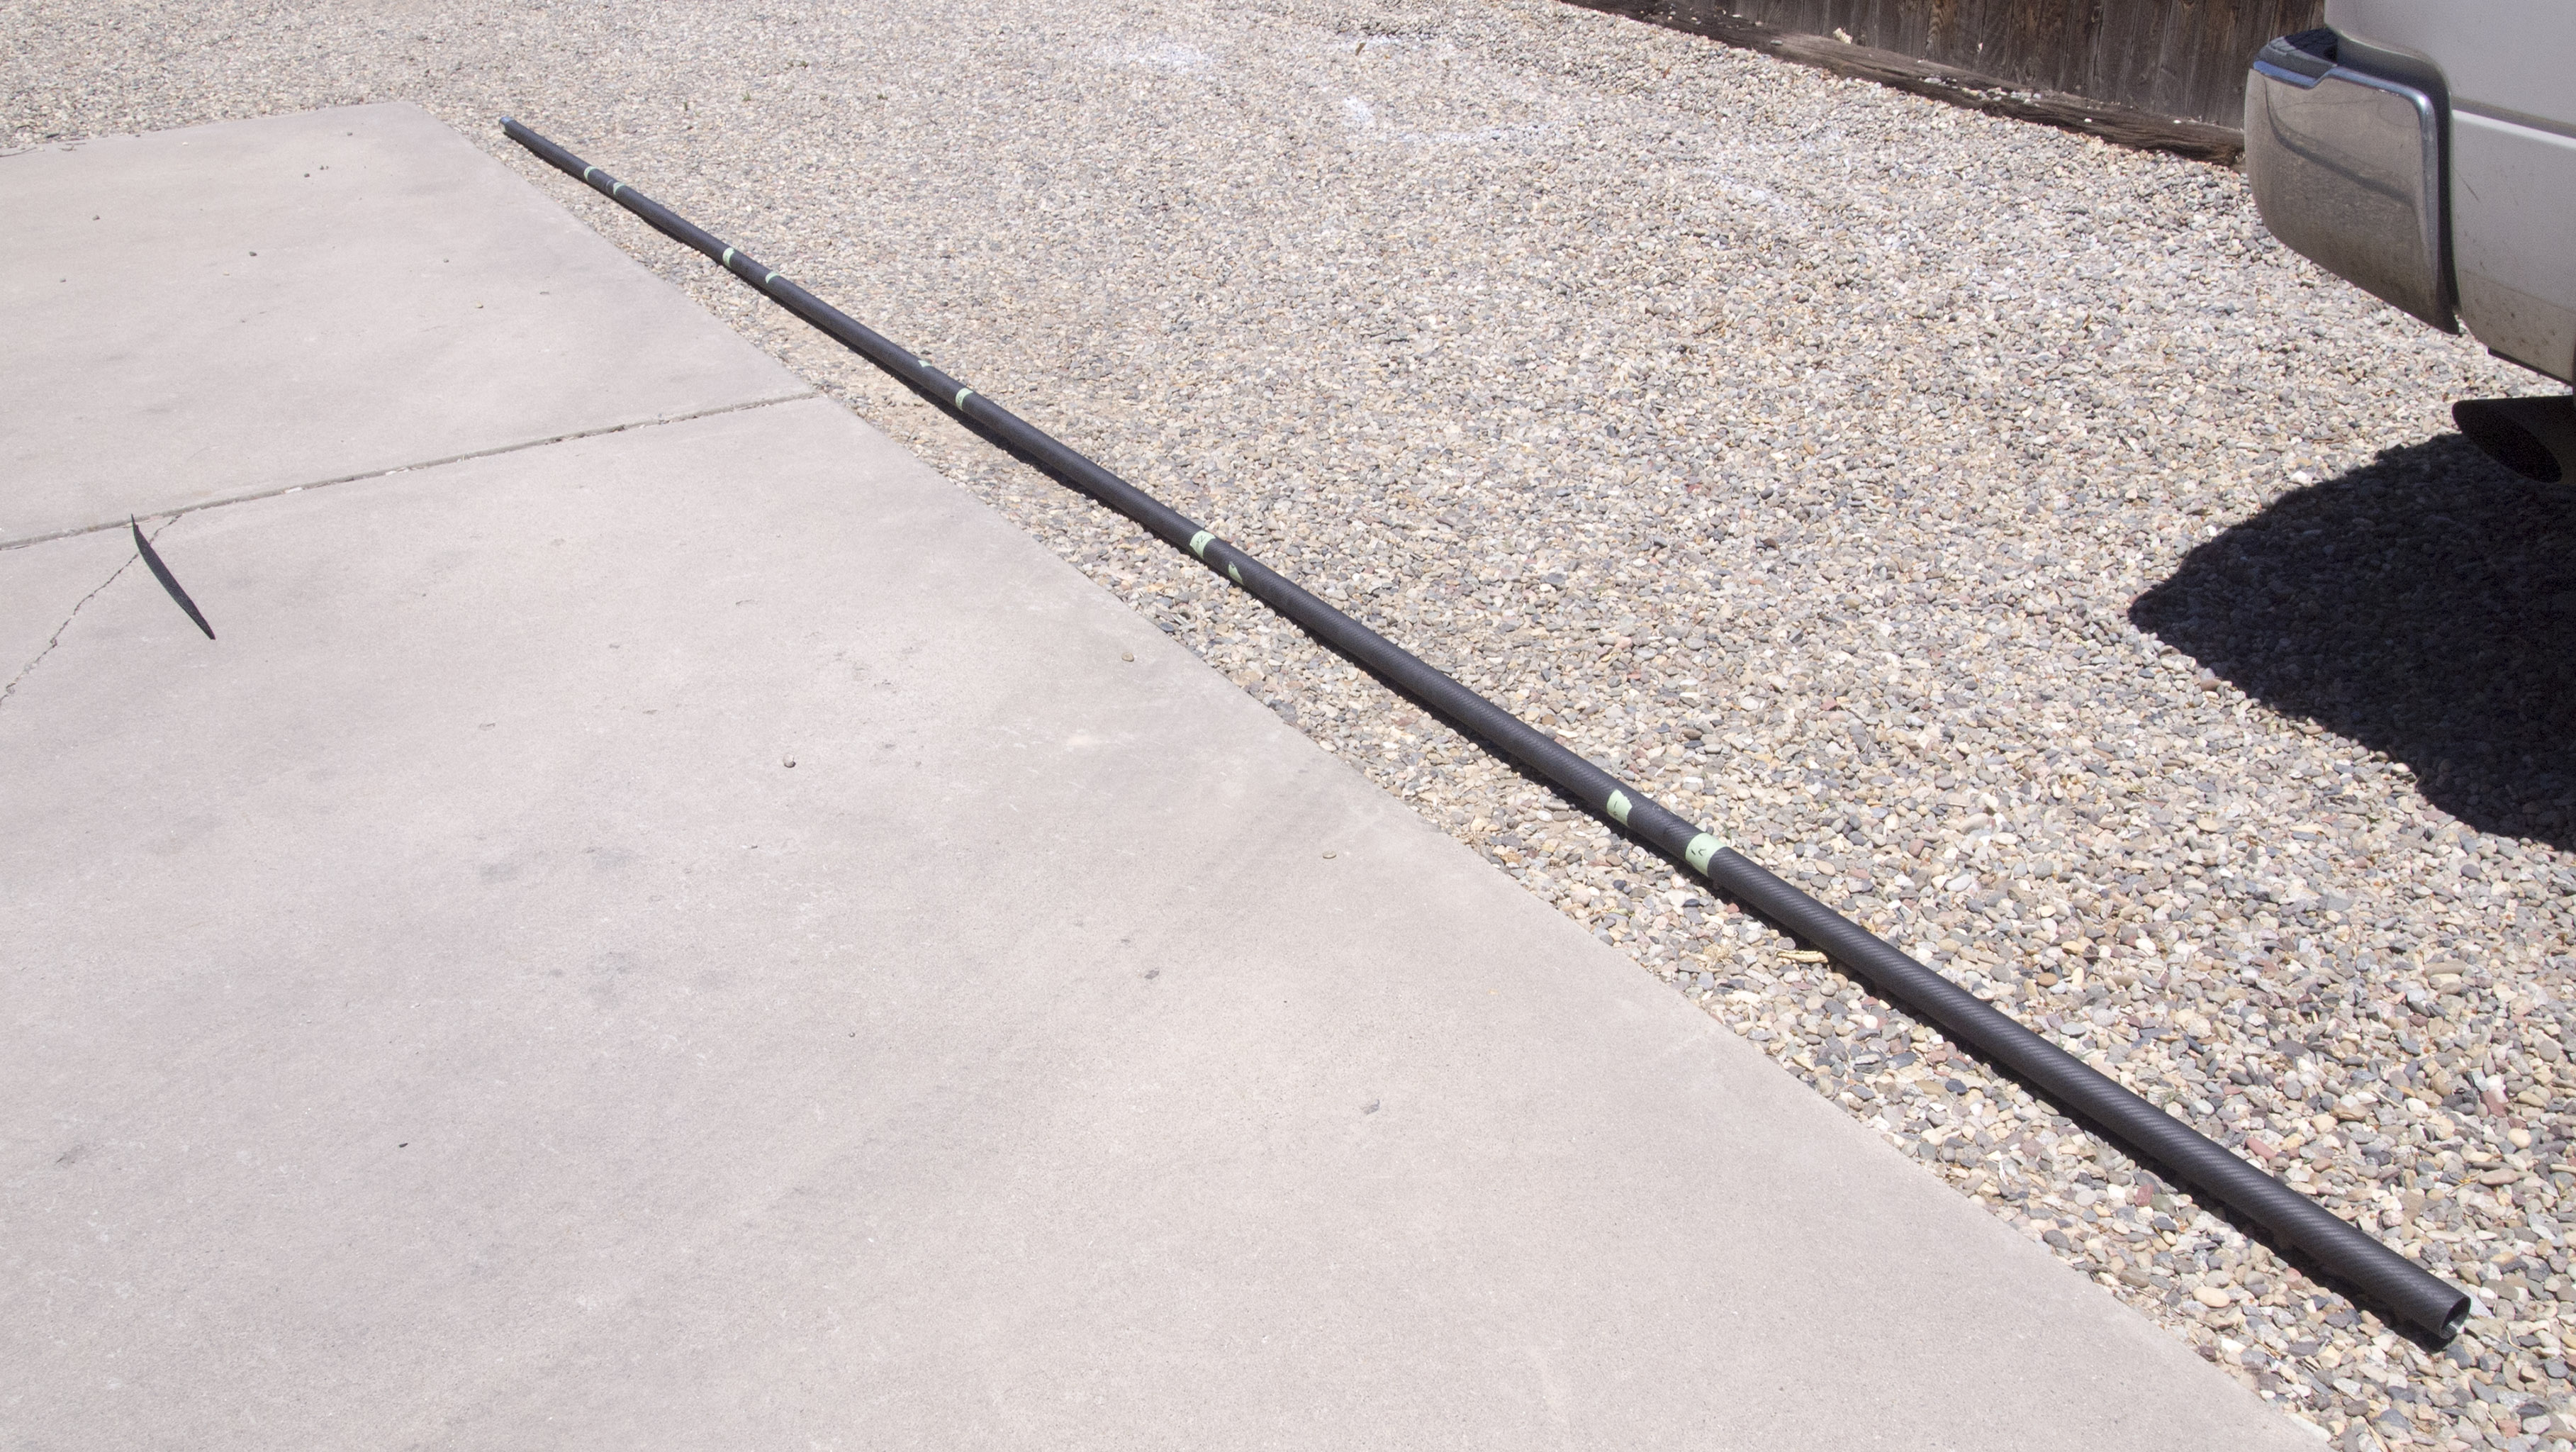
 
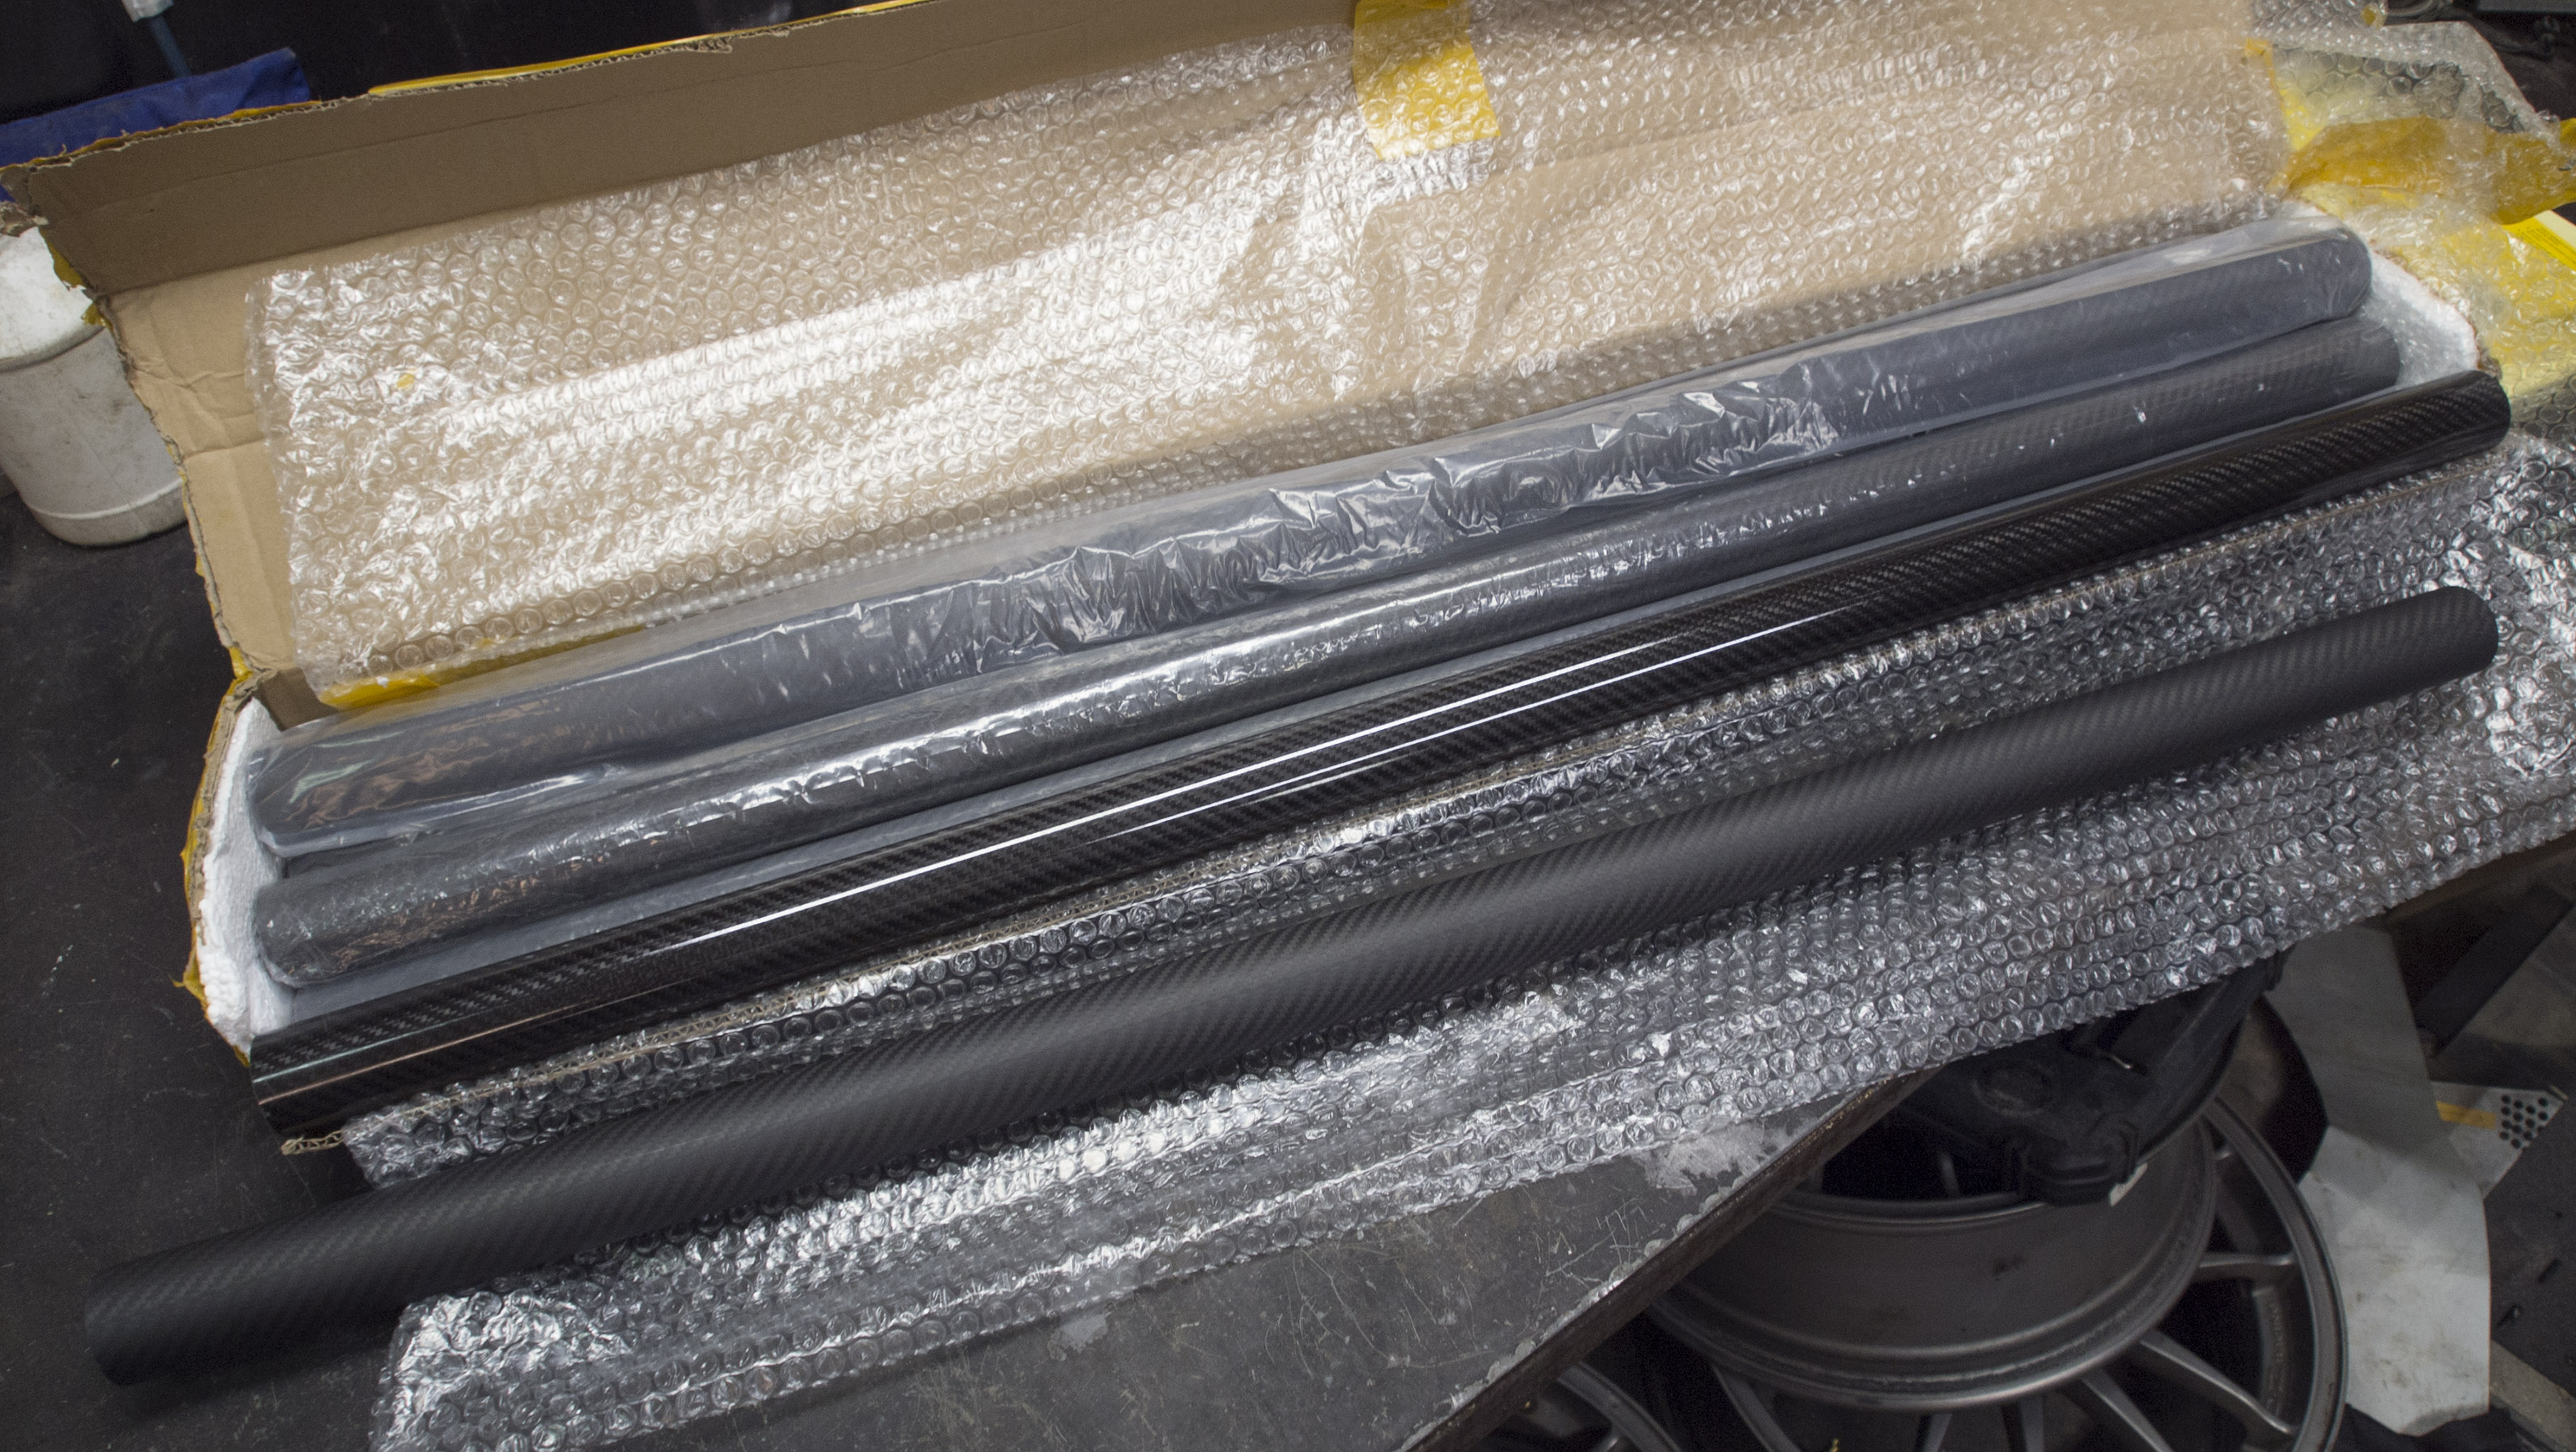
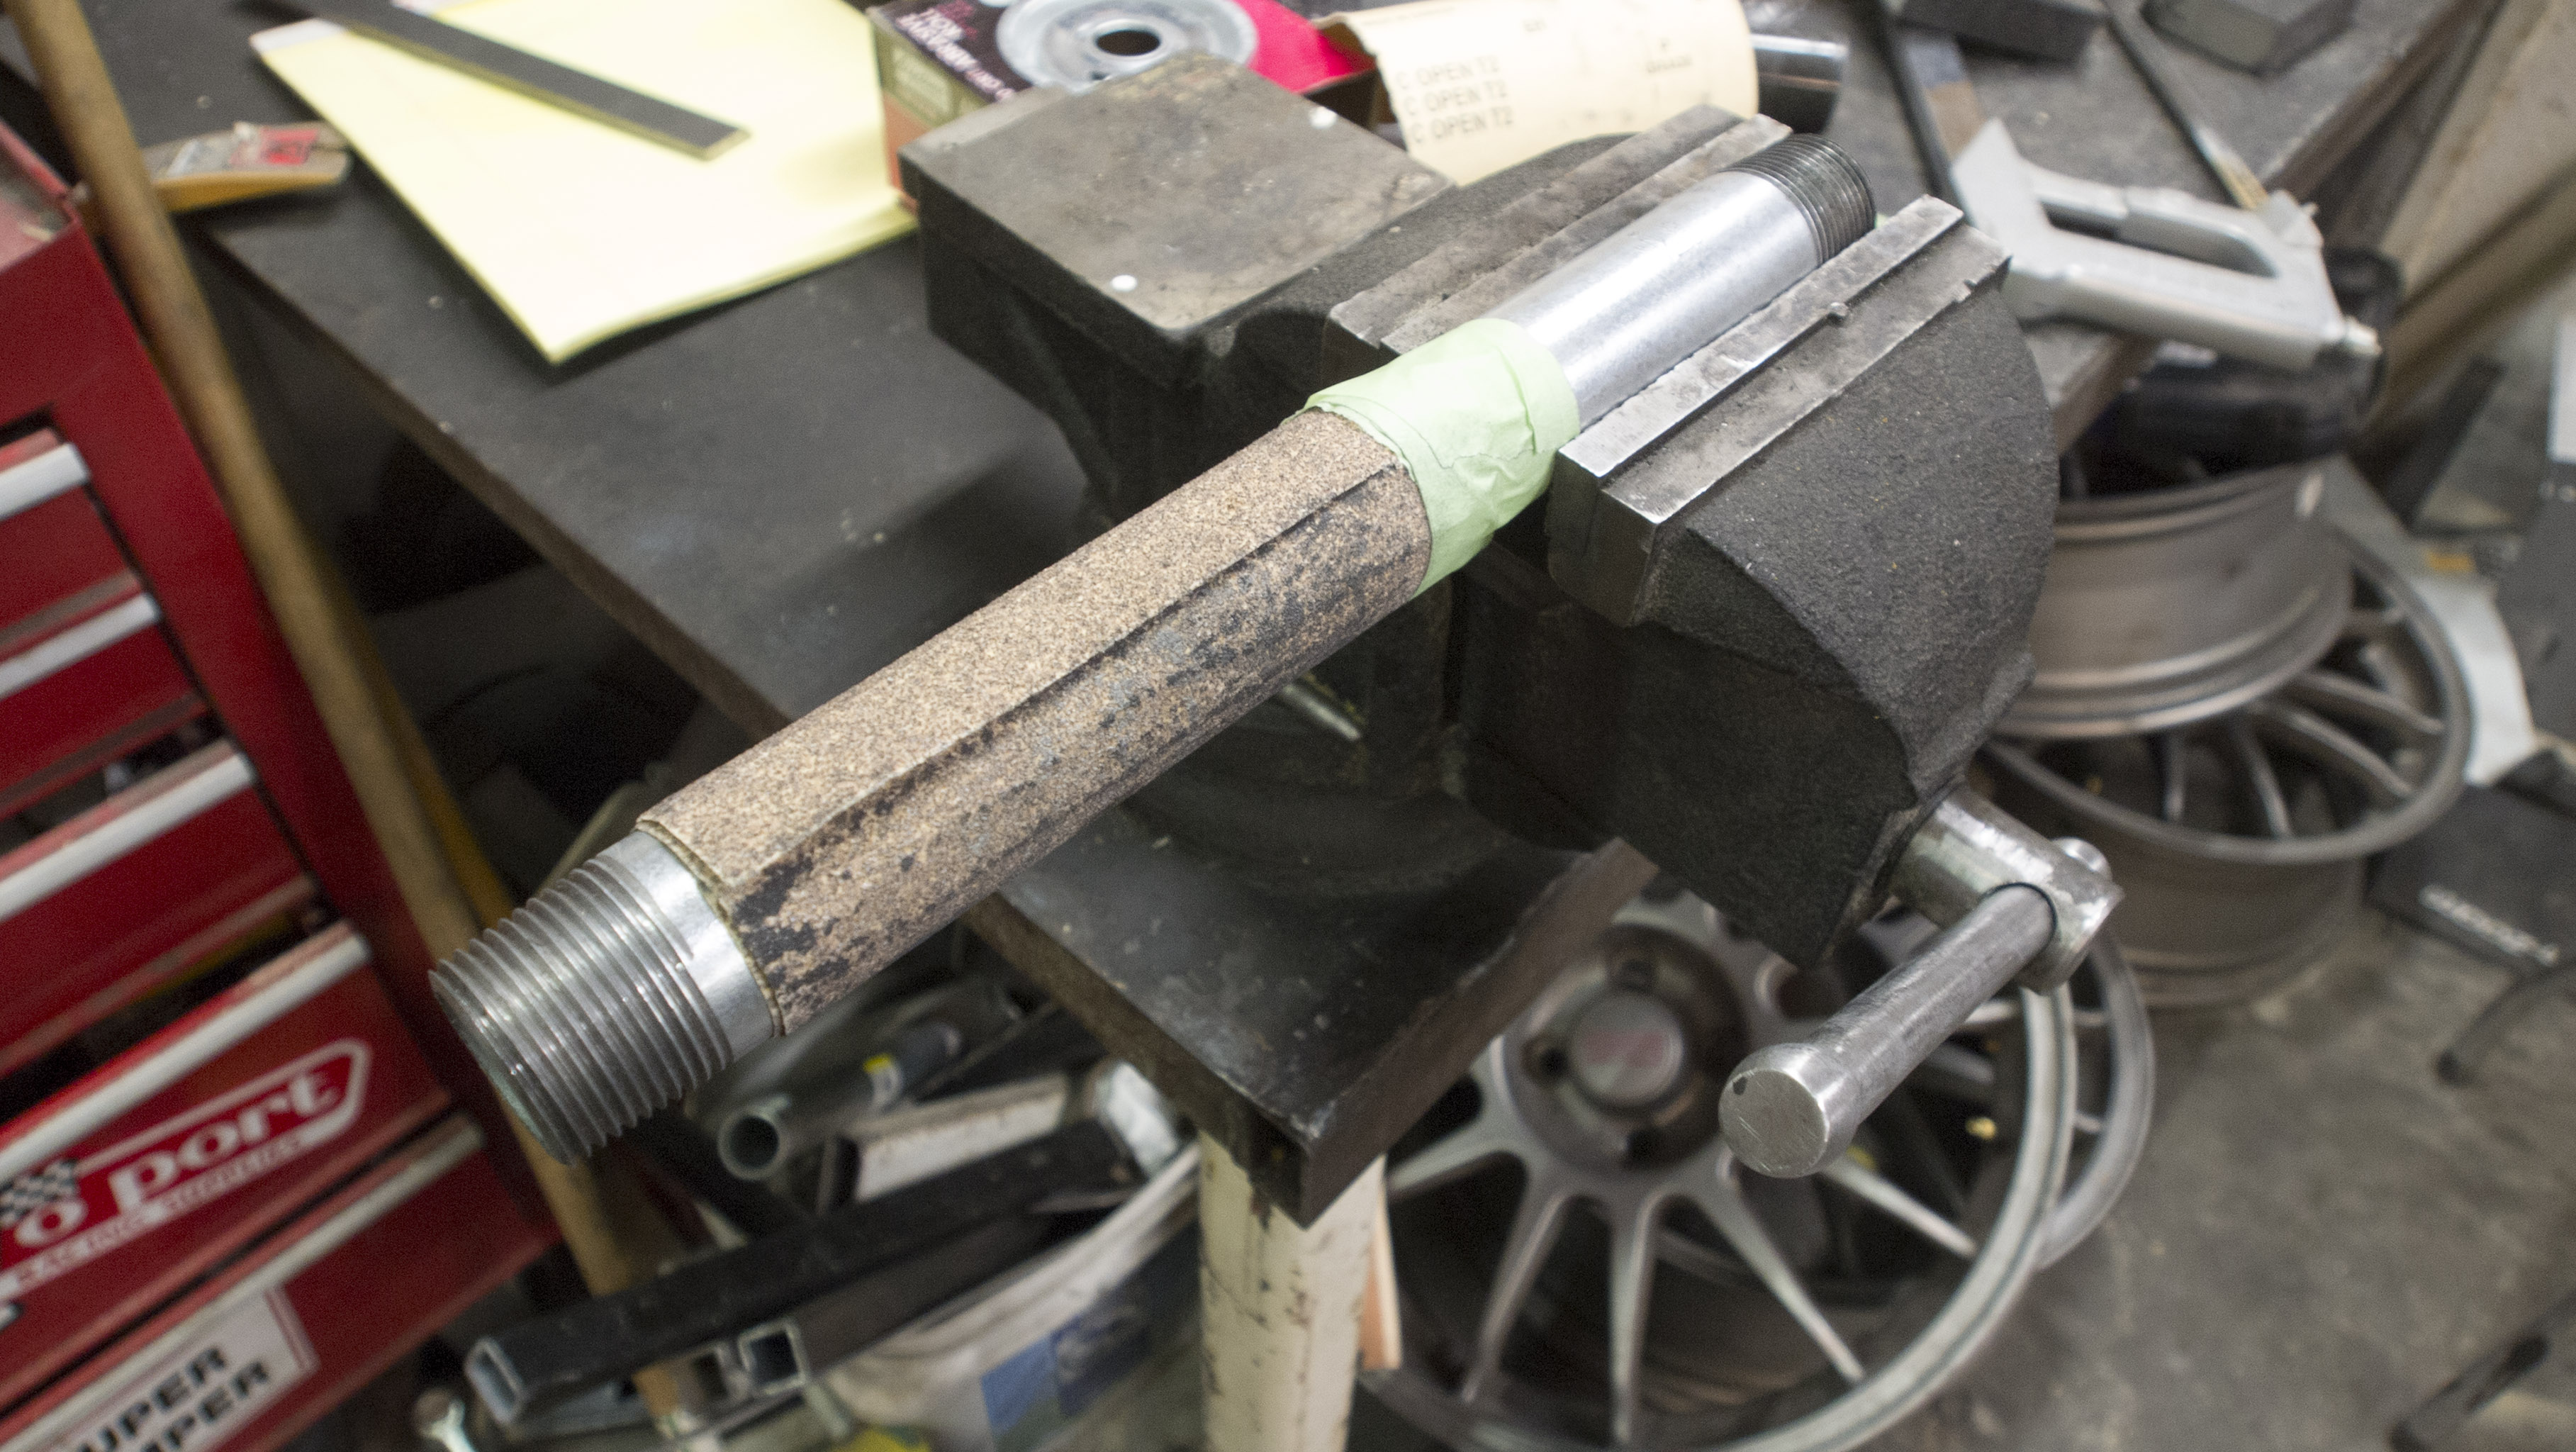
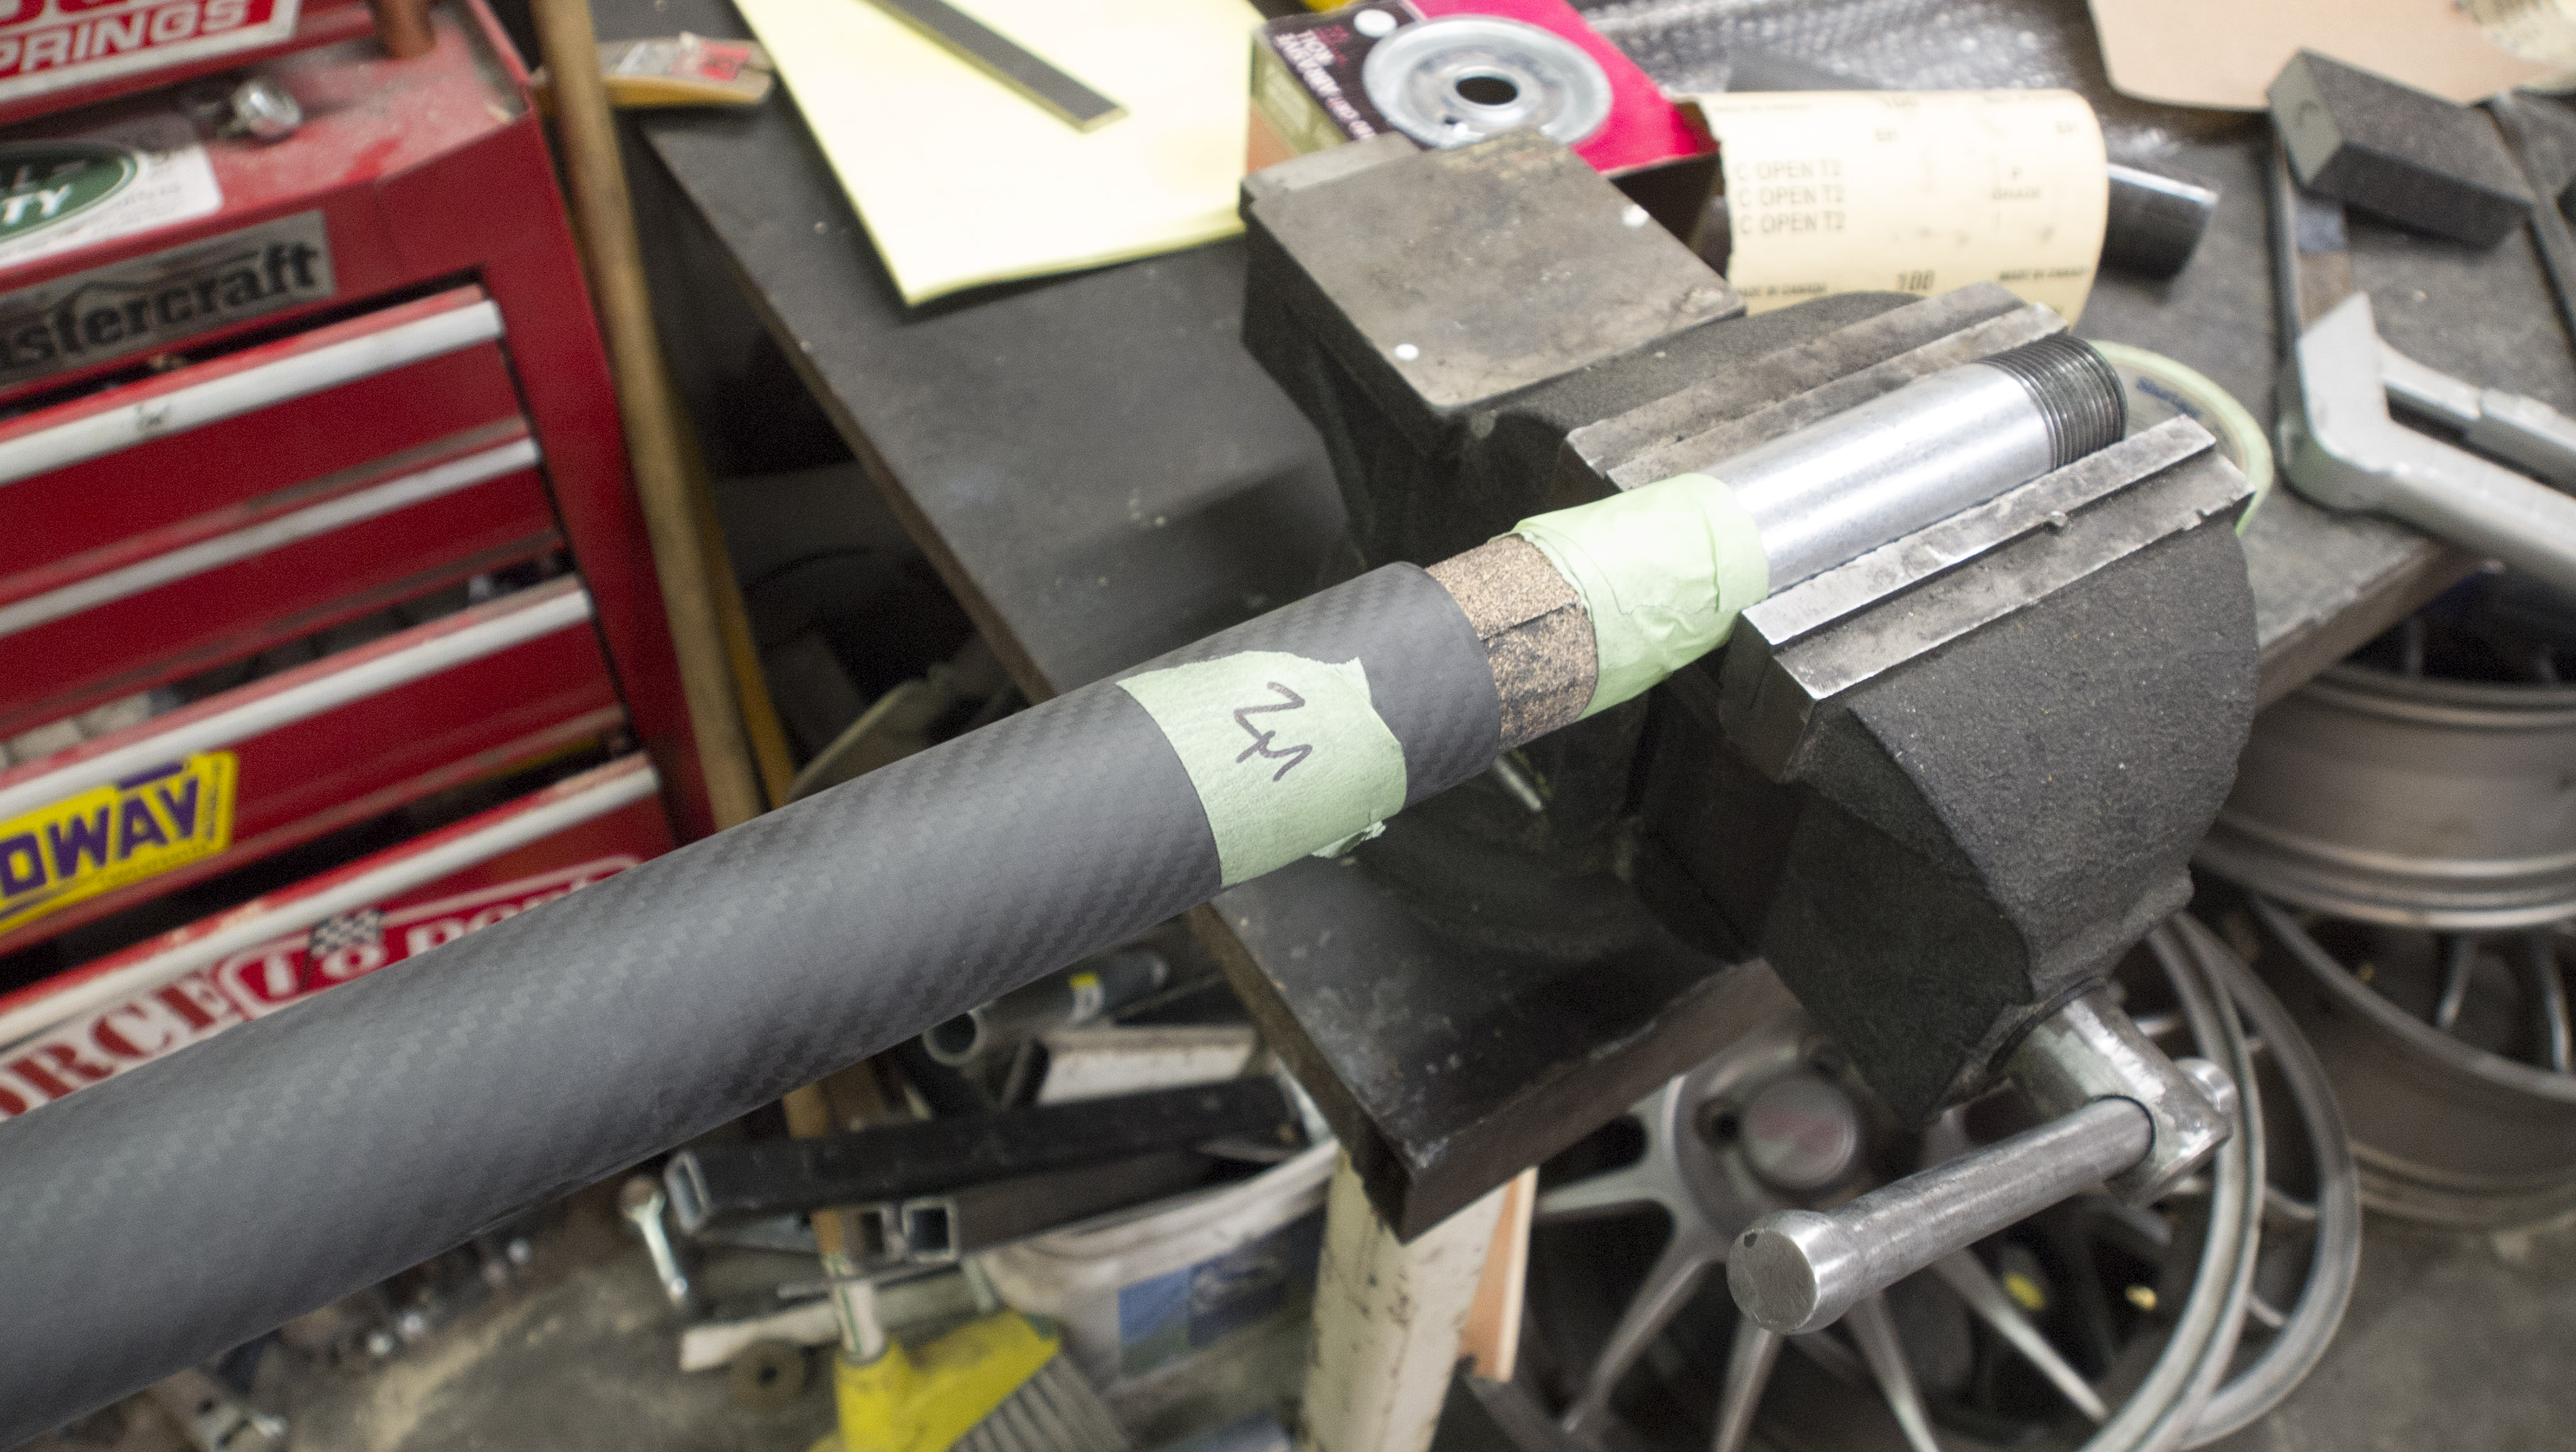
But Travis doesn't have a lot of money to throw at his rig. He chose to invest in good suction cups and mounts and uses lengths of thick walled conduit joined by compression fittings as the actual pole. This is heavy, limits his ultimate reach and has a distressing level of jank. This is a 15' total length in the picture, that's as long as he can go. 
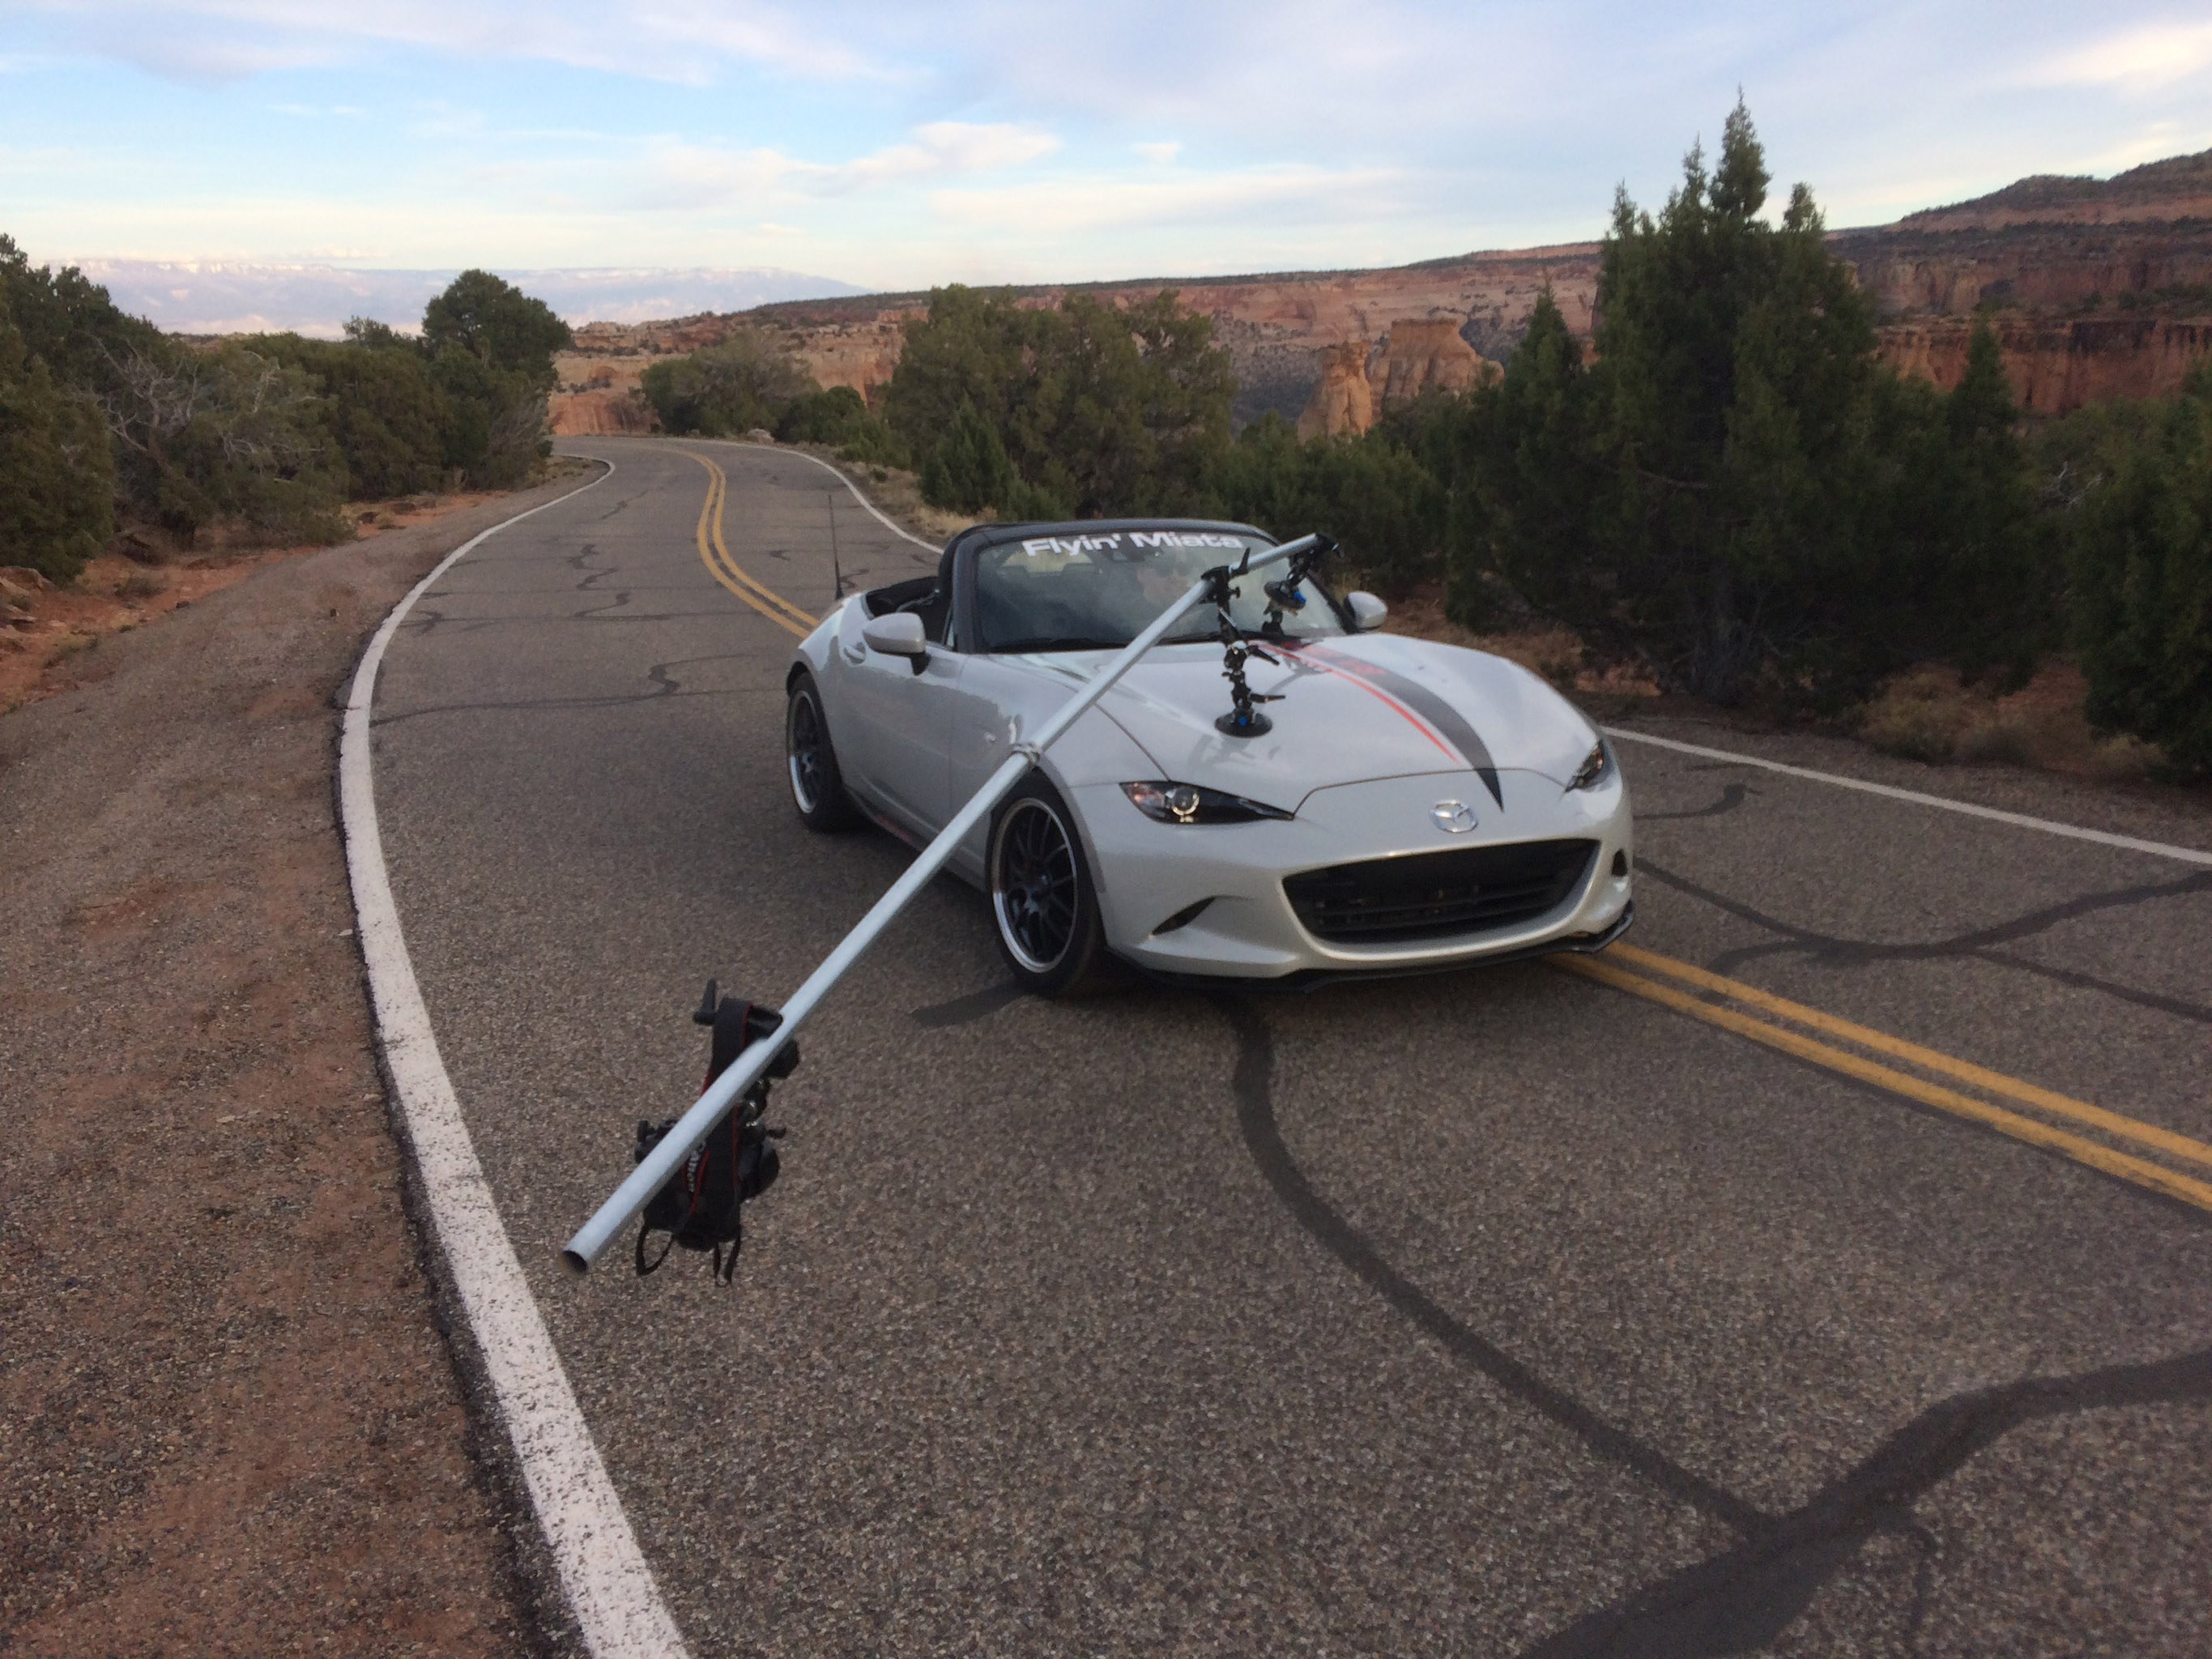
You can get carbon poles, but they're very expensive. I figured I could probably put something together for Travis that was better than his current setup, and a project was born. Warning, I took a lot of pictures.

Keith Tanner
Keith Tanner GRM+ Memberand MegaDork
6/3/17 11:42 p.m.

The goal was a length of up to 20', with the ability to be broken down easily. The first step was to find the tube. Turns out it's all over eBay. Prices are pretty consistent once you narrow down what sizes and lengths you want. They're almost all 1mm wall thickness and the maximum length is 1m. 20' is 6m, so that works out fairly well. After a couple of "best offers" and a long wait, this showed up at my house.

Let's zoom in for CF porn.

A total of seven 1m lengths. Six are 42mm OD/40mm ID and one (the glossy one) is 40mm OD/38mm ID. The intent is to cut up the smaller one and use it as an insert. The big question is how close the dimensions would be.

Really close, as it turns out. That's the difference between the ID of the big tube and the OD of the small tube. Obviously, some sanding is in order. But first, we need to cut the tube.

GSmith
GSmith HalfDork
6/3/17 11:48 p.m.

We use conduit poles for set backdrops in theatre troupe - they are surprisingly wobbly and the compression fittings scare me. I'd definitely look for a dowel or similar "something" with an OD matching the ID of the pipe being used, and look at maybe 2-3' of dowel at each joint extending equally to both ends to stiffen the joints.

Or, if that's 1" conduit, maybe even using 3x 1/2" conduit (or 1/2" thick walled PVC??) bundled together in a triangle with joints staggered?

What's the total length of the "pipe" that should be needed?

Wait, I think this might work even better: could you get away with a pro-grade painter's extension handle? Pretty stiff, and adjustable in length, depending on what you get. Something like this: https://smile.amazon.com/Wooster-Brush-SR057-Sherlock-Extension/dp/B00181UGA4/ref=sr_1_6?ie=UTF8&qid=1496551594&sr=8-6&keywords=paint+roller+extension+handle+fiberglass

Oh, Jumped in too soon. I like your answer!

Keith Tanner
Keith Tanner GRM+ Memberand MegaDork
6/3/17 11:48 p.m.

Turns out old school is the best school. Note that I'm often accused of having access to equipment others do not, so let's bask in the glory of an old Mastercraft hacksaw with a blade that dates back to the last century.

How to ensure the cut is straight? Easy. Wrap a piece of paper around the pipe, then trace the paper. It'll be nice and perpendicular.

Turns out this was very much the right tool for the job. It cut easily without a lot of effort and was obviously very easy to control. The pipe isn't clamped too hard in the vise, it's mostly there to keep it from moving.

After cutting into 5 equal length pieces that are 8" long. I dressed the edges on the belt sander, but this wasn't really necessary. I was mostly concerned with carbon slivers, but this stuff proved to be quite easy to work with.

Keith Tanner
Keith Tanner GRM+ Memberand MegaDork
6/3/17 11:53 p.m.

Now it's time to open up the ID of the big tube and cut down the OD of the small tube so they'll slip together. I'm aiming for a tight fit that won't have much slop but won't jam into place. Turns out a couple of thousands works about right. After much sanding, this happened.

It's pretty easy to figure out how I sanded down the small tube, just some hand-held 100 grit and lots of suggestive repetitive motions. For sanding down in the ID of the big tube, I came up with a clever plan. 60 grit paper wrapped around a conveniently sized piece of pipe. Again with the fancy, high-end tools. Worked a treat.

I found this quite amusing. Made in Canada, eh.

Repeat for the five inserts.

Keith Tanner
Keith Tanner GRM+ Memberand MegaDork
6/3/17 11:57 p.m.

Now to make the inserts permanent in one end of the tube. Reading around, it looks like Hysol 1C epoxy is a good choice. Long working time, very strong and it fills gaps. Well, I wasn't going to need the latter ability as it turns out, but that's what I ordered.

If you've used JB Weld, you know how to use this. I did learn that it's much cleaner if you put the epoxy inside the big tube instead of on the outside of the little tube, far less escaping goo. My tight tolerances made this a press fit, so the epoxy actually has a pretty easy job.

But first, we clean up all the sanding dust.

Then spread in some white goo and puuuuuush the insert into the tube.

Keith Tanner
Keith Tanner GRM+ Memberand MegaDork
6/4/17 12:04 a.m.

So now we have five tubes that are basically big pieces of lego with male and female ends, and one tube that doesn't have a male end. They can just slip together and they make a nice long stick.

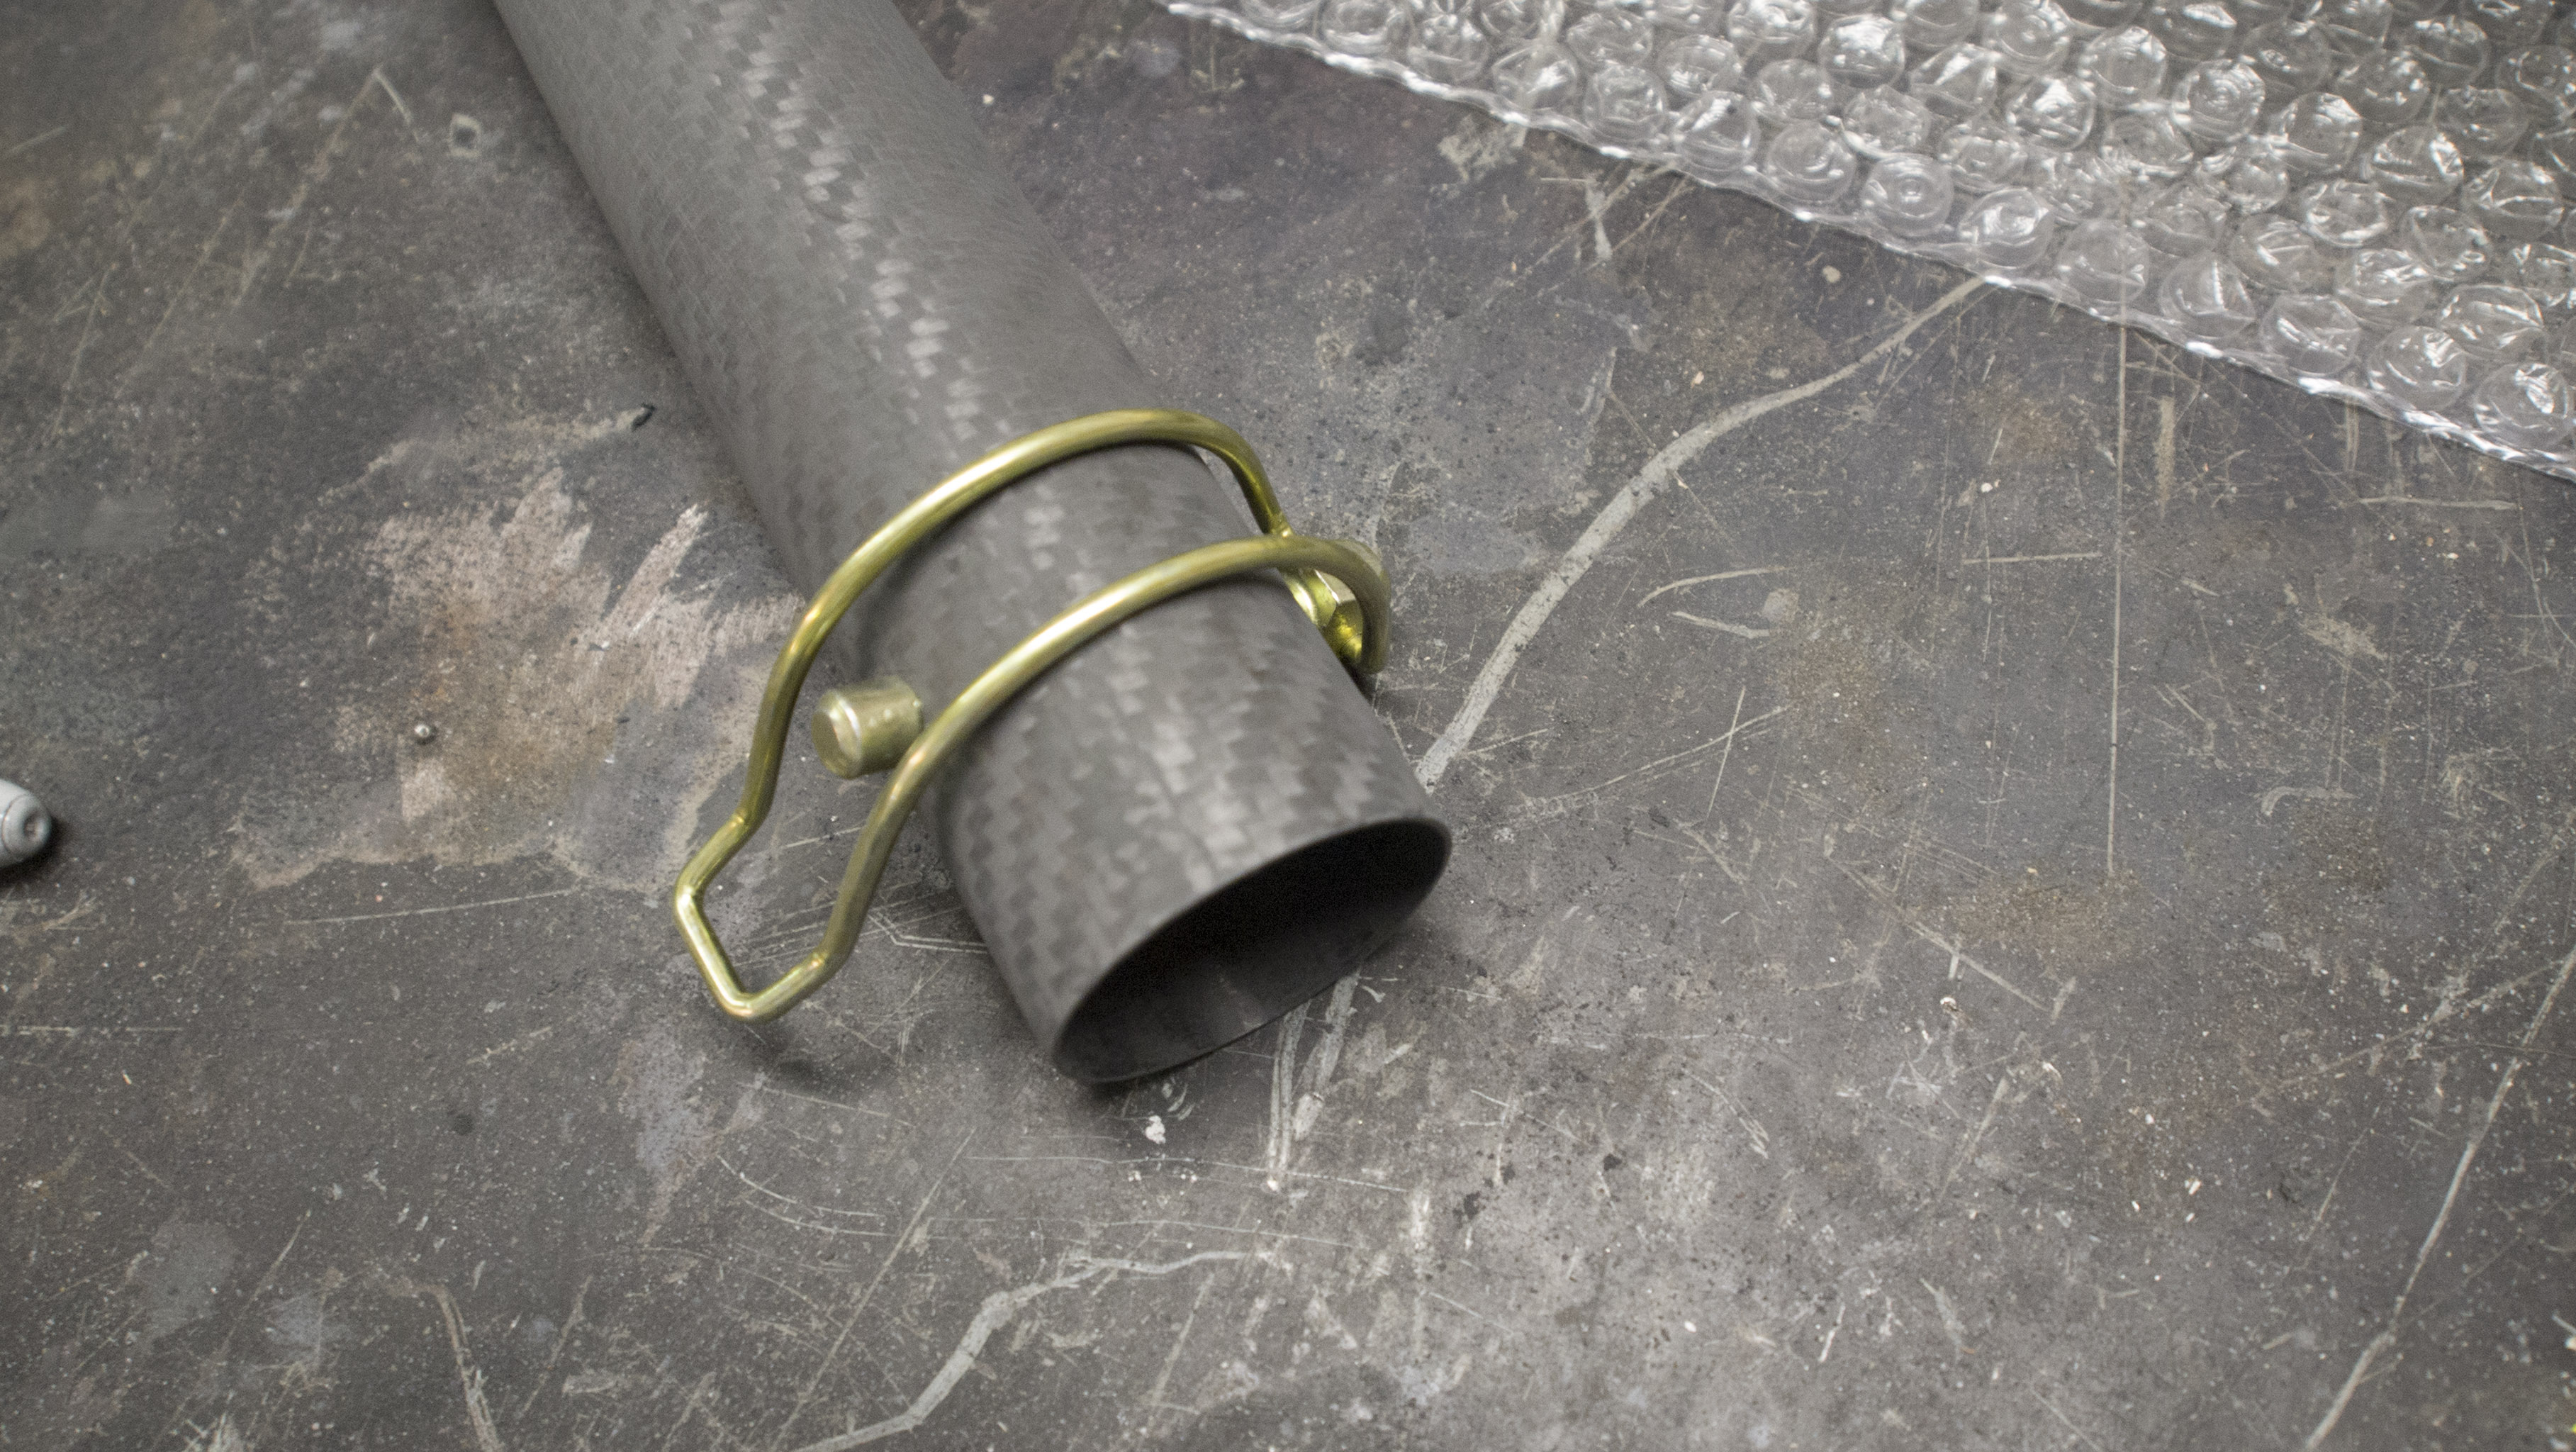
It's creepy light, by the way. Under 4 lbs.

It breaks down into a small package that's 3' 8" long. A couple of wraps of velcro and it's easy to carry. You can see the white epoxy on one piece, that's how I learned to put the goo on the inside...

Always sign your work.

GSmith
GSmith HalfDork
6/4/17 12:12 a.m.

Gorgeous. And with the shorter pieces, it sounds like all the photo gear would easily fit in the trunk of our favorite 2-seater!

Keith Tanner
Keith Tanner GRM+ Memberand MegaDork
6/4/17 12:15 a.m.

Travis came over almost immediately when I told him we needed to test. We mounted the stick up to his Mini to see how it worked.

Much better. There's still some deflection but that's a 5 lb camera that's 13' away from the closest support. I'd calculated that we'd see about this much flex. We tried 16' away but didn't have the right angles on the mounts and the camera ended up on the ground. Still, it told us what we needed to know. The carbon pole has a nice smooth deflection with minimal jank and should quell vibrations better than the steel.

But we did determine two things. First, Travis wants some inserts in the ends to improve the crush strength of the tube. Fair enough - we have no reason to be worried, but better safe than sorry. Secondly, if the camera is offset from the tube as in the picture, the tube wants to rotate. So the slip joints hold, but they need a pin to stop rotation.

I'd been playing with the idea of pinning the joints, but wanted to see if it was necessary. The goal is to use a lynch pin which is strong, secure, inexpensive and don't rely on a perfect hole size to function.

I don't have enough pins on hand, so McMaster is on deck to ship more. Drilling the holes consistently on each joint so they can be interchanged will be a challenge. At worst, we'll end up with specific lengths that have to go together.

Another option is to glue half the joints together so we have three 6'8" pieces instead of six 3'8" pieces. This will minimize the amount of joints, but it'll be harder to carry things around and less flexible for tweaking the length.

To deal with the inserts, I've ordered some HDPE rod with a 1.5" OD. That's the 38mm ID of the inserts, and the gap filling abilities of the epoxy should allow it to be used on the two 40mm ID ends as well. Should be here later this week.

So that's the plan at the moment. Currently, the budget is right at $350 including shipping. The new pins and insert will bump that up by $35 or so. Given that a commercial shop quoted a similar pole at north of $800, Travis is pretty darn excited.

That's it until the next McMaster shipment. Thanks for listening or at least looking at the pics. I can tell you that I'm now looking at ways to use CF tubes in everything, this was really fun

Keith Tanner
Keith Tanner GRM+ Memberand MegaDork
6/4/17 12:18 a.m.
GSmith wrote: Gorgeous. And with the shorter pieces, it sounds like all the photo gear would easily fit in the trunk of our favorite 2-seater!

No problem at all. With the vecro wraps, it's a really easy bundle to toss around and very compact.

chandlerGTi
chandlerGTi PowerDork
6/4/17 5:58 a.m.

To cure some of the deflection and most of the crush worries you could use a full length tube of 40/38 offset the amount of overlap you want rather than a partial insert. That's how we built light racks on tradeshow booths that were light, good looking and easily collapsible. Cool looking rig

Jerry
Jerry UltraDork
6/4/17 6:42 a.m.

I like this idea, but it looks like the thing would bounce and flex like a tightrope walker's balancing pole?

GTXVette
GTXVette Dork
6/4/17 8:02 a.m.

I know nothing about Photography. Can you not use a Remote EYE Like at the Back Of the Motorhome on the end that looks Back at the car. I've Installed these and are Very Light. not particulary Good Image but those were Cheap AZ products,I'm sure a Better Quality can be Bought,

But way cool you think about friends that way. PS Make the Pole Like the frame rail On a Fuel Dragster twice the Material But what 10lbs total

Keith Tanner
Keith Tanner GRM+ Memberand MegaDork
6/4/17 9:36 a.m.
chandlerGTi wrote: To cure some of the deflection and most of the crush worries you could use a full length tube of 40/38 offset the amount of overlap you want rather than a partial insert. That's how we built light racks on tradeshow booths that were light, good looking and easily collapsible. Cool looking rig

That would work, but it would double the cost of the rig and I would spend the next year sanding them down The deflection isn't viewed as a failure, it's just how it works when you hang that much weight that far out on a single pole. I did consider going with a larger diameter pole, but the prices got up there and it was hard to find the right pairing of tube sizes. Travis likes to hang his camera further out than other people, it seems - most of the pictures I can find of other rigs like that have a much shorter reach.

BTW, if you're searching for this stuff, look for "carbon fiber tube Xmm" as a start. To get the full 1m length, add "1000" into the search terms. It comes in particular sizes - for example, 50/48 is fairly common but 48/46 is not.

Jerry wrote: I like this idea, but it looks like the thing would bounce and flex like a tightrope walker's balancing pole?

You never go faster than walking speed when doing rig shots. The car's not even running, usually you let it roll downhill or give it a small push. In the rig picture with the white Miata, we actually rolled it backwards. This is all to minimize vibration and bounce. Sometimes the photographer will actually walk along and give a bit of stabilization to the camera, but this doesn't usually work out well. The biggest problem we had with the old steel setup was small vibrations that made the background jagged, and we're thinking the CF should cut down on those.

GTXVette wrote: I know nothing about Photography. Can you not use a Remote EYE Like at the Back Of the Motorhome on the end that looks Back at the car. I've Installed these and are Very Light. not particulary Good Image but those were Cheap AZ products,I'm sure a Better Quality can be Bought,

Image quality. Good glass, batteries and big sensors have weight. By the time you've got the image quality where you want it, you're basically looking at the sort of weight we have here.

pinchvalve
pinchvalve GRM+ Memberand MegaDork
6/4/17 9:50 a.m.

I wonder if there is a expanding polystyrene foam that you could fill the tubes with that would add rigidity and reduce deflection? Trouble is you'd have to test it, and if it added weight with no benefit, you'd be stuck with it.

Keith Tanner
Keith Tanner GRM+ Memberand MegaDork
6/4/17 9:51 a.m.

We already have less deflection than we did with the steel setup, but this would be the clever way to add some bending rigidity. Note that there's no camera mounted, and that due to the angle of the bar he's got a nice long spread between the mounts. Best case scenario You can also see that they're moving the car via ropes, and since it's on a hill I suspect it will be allowed to roll backwards.

I should point out that Travis' reaction is "awesome!", not "but it bends"

Huckleberry
Huckleberry MegaDork
6/4/17 10:02 a.m.

Is there a reason that you guys don't use a "follow me" 4K drone and pan it in front of you? I've seen some pretty amazing shots of guys on motorcross bikes having it fly under them as well as desert racing buggies so - they can go pretty fast for 20 minutes or so. They seem "on paper" like a more flexible solution.

I am curious because I kinda thought I wanted a drone to do some of these types of things but - I see pros building rigs instead. I just assumed people were taking those kinds of pics with a tripod and stitching or a quad copter and panning, or a chase vehicle. It didn't occur to me they were just photo-shopping the pole out of the shot.

So, like this... goto 54 secs... I was sortof thinking one of these would make an excellent 49th birthday present.

https://www.youtube.com/embed/12dZQrX-F4k?rel=0

RossD
RossD UltimaDork
6/4/17 10:27 a.m.

If you want to stop up and down bouncing you could mount a guy wire on the top with some strap on stand offs similar to this:

oldtin
oldtin PowerDork
6/4/17 11:07 a.m.

Starting to see lots of interesting drone shots. Another thought was having a much shorter stick on the back of a car. Second car wouldn't cost any more than time spent editing.

Keith Tanner
Keith Tanner GRM+ Memberand MegaDork
6/4/17 12:02 p.m.

The goal is a razor sharp image of the car with everything else blurred around it. You can't do that with a chase car or a drone, as the camera platform moves relative to the car. You can only get a rig shot by doing a rig shot.

RossD wrote: If you want to stop up and down bouncing you could mount a guy wire on the top with some strap on stand offs similar to this:

Like this?

conesare2seconds
conesare2seconds Dork
6/4/17 12:42 p.m.

I did not know what a rig shot was. Seeing how it works explains much about why windshields always look the way they do in these pictures. I'd always assumed the sky and some reflections were Shopped, now I know why. Thanks for this post, it's a great project too.

Keith Tanner
Keith Tanner GRM+ Memberand MegaDork
6/4/17 1:01 p.m.

It's not all photoshop. If you set the rig up well, the pole is clear of the car in the picture. It's actually pretty surprising as you look through the viewfinder. Placing the mounts well minimizes reflections. Travis will sometimes take a still shot of the car just in case.

We've done some in a parking garage as well. The effect of the lights as you go around a curve is almost impossible to duplicate with editing. I don't have those shots handy to link, they still belong to the client.

Stampie
Stampie GRM+ Memberand SuperDork
6/4/17 1:17 p.m.

In reply to Keith Tanner:

Only you would have wheels on your junk pile that I'd kill for.

Jumper K. Balls
Jumper K. Balls PowerDork
6/4/17 1:42 p.m.

I dig this very much

Jerry
Jerry UltraDork
6/4/17 2:44 p.m.

In reply to Keith Tanner:

And here I thought they were shot with chase cars. Duh, I've been using Photoshop since v. 4

1 2 3

You'll need to log in to post.

Our Preferred Partners
jtVhFSRjkNArH6dZvz7PwrMMJUM94HPlAHjA6abQM2dgzbEURZJWGfgr5Mp2Obp4