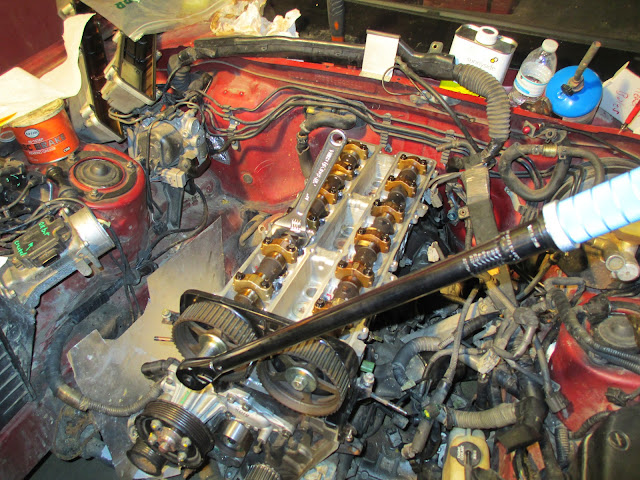
But, either way, I got the head in place without a problem (after tossing the brazing rods).
...and I'm gonna stop there, right before the interesting bit, since I'm getting tired. I'll try to get caught up on the rest of the progress in the next few days.
I was wondering about this build as I was searching the nation for a 5spd SC300, with no luck.
Yeah, I see them come up every few months. Pretty reasonably priced, typically ($3-5k for a decent driver). Though other than being a RWD manual coupe, there's not much that's super special about them, honestly. It's a shame they weren't a little lighter/smaller or just a little more powerful. At least they have a good suspension design and decent engine swaps/upgrades available.
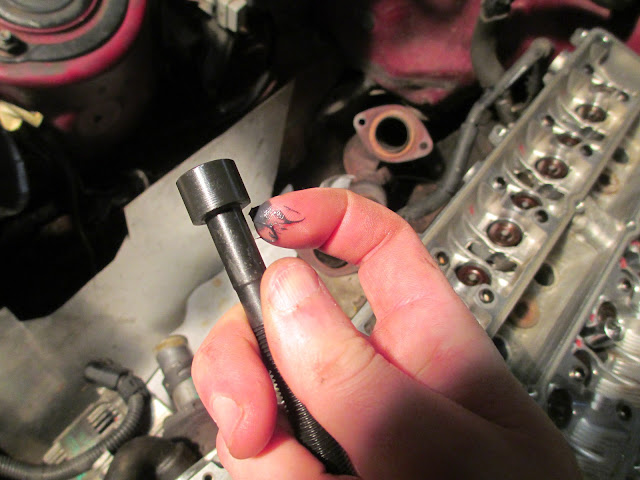
For temporary aligning 'dowels' (intake and exhaust manifolds and heads) I usually buy a cheap grade bolt of the same thread/size at the hardware store and cut the head off. Slot the tip and screw 'em in one at both ends/opposite sides/all 4 corners. Start a few other fasteners and then remove those and replace with the proper bolts. Works great to help with alignment the first time down. Most heads I've seen, however, have alignment dowels so that it sits EXACTLY where it's supposed to.
Yeah, this has the dowels. The brazing rod is just so you don't sit the head down on the dowels and scratch it (being aluminum). It isn't really a big deal, but something I heard that I thought I'd try.

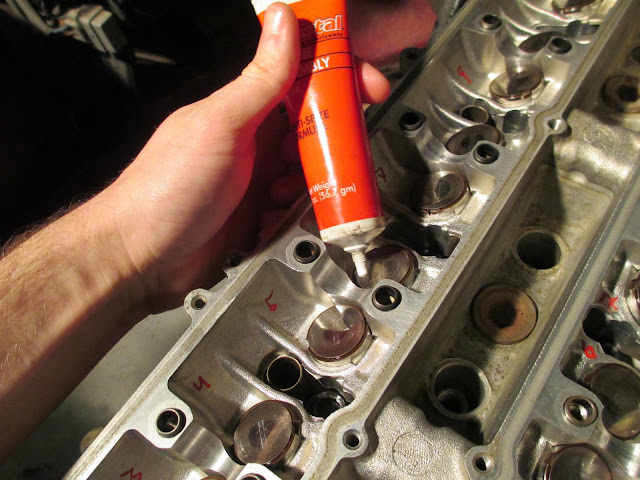
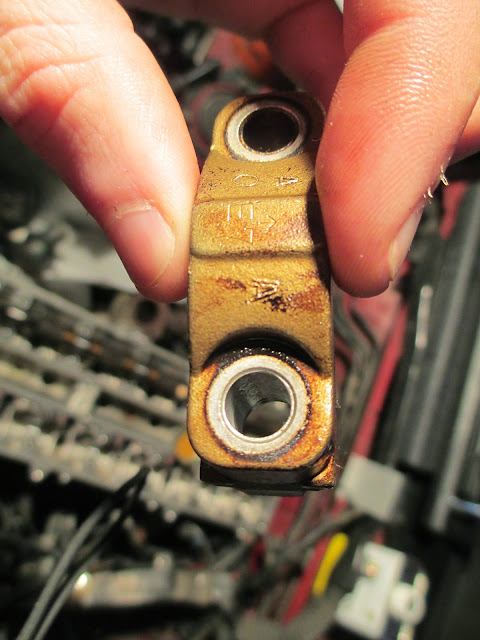
Went through the torquing procedure. 1st torque to XYZ ft-lbs, then 90 degrees, then a final 90 degrees, all in several steps going around in the specified pattern. Well on the last step, I could feel the heads on two of the bolts start to yield. They use a bi-hex (12-point female head). I had the right tool and everything, but definitely had an issue. At first I was worried it was the bolts, but close inspection showed the points starting to deform in the bolt head. 
Good news is that this happened within a few degrees of the final spec, so I don't think it will cause any issue. I dug up some old plots of bolt axial tension vs tightening torque and degrees of rotation and the good news is that there's very little change in bolt tensions in this region, so I decided, after much deliberation, to just give this a shot. Bad news is, I don't know if I could get the bolts back out without stripping the heads completely. I'd then have to drill off the bolt heads to remove the cylinder head. And that would cause a huge mess that I don't want to deal with.
Here's one of the bolts. The white paint mark on the bolt head should be pointing directly along the cam bore, and you can see it's off by maybe 10 degrees or so. Great. 

I went back an inspected everything after this happened and found the the driver I had (which was the correct one) fit perfectly in the OEM head bolts that I had removed, but was loose in all the replacement ones that I used. Clearly a tolerance issue with them. I should have caught that, but crap, whatcha gonna do? Getting a spare engine was on my list anyway...
After thinking over my options for a few days, I decided to just finish assembly and give this a shot.
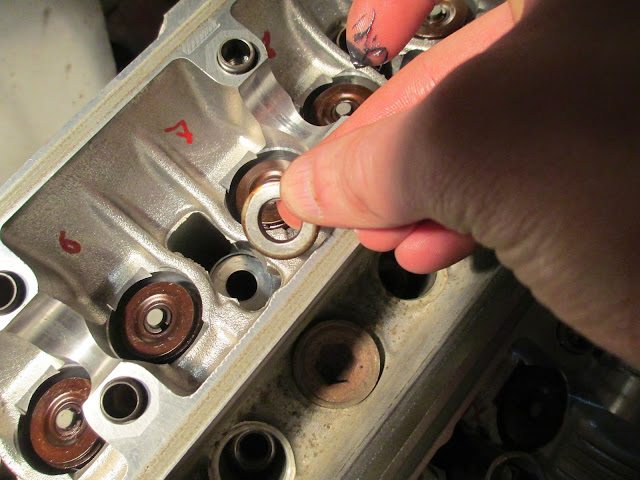
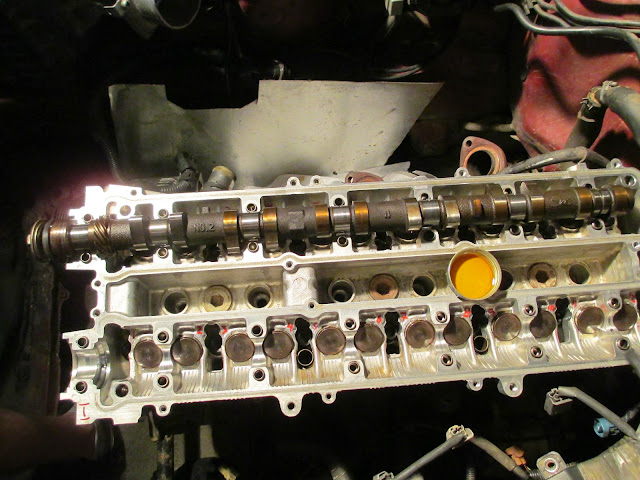
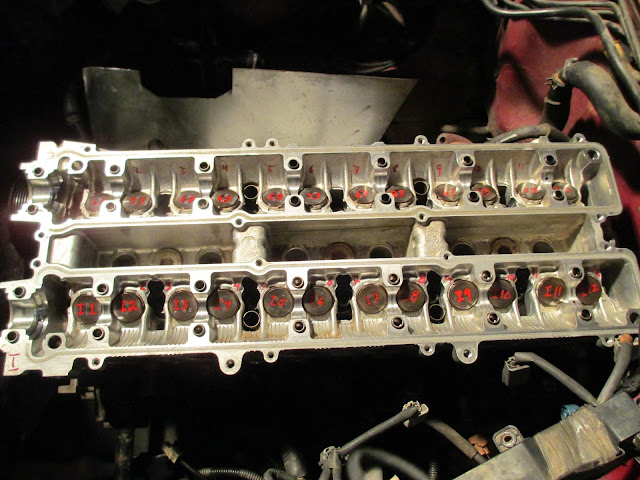
Got the valve shim buckets back in.

Cleaned off the paint with some acetone.

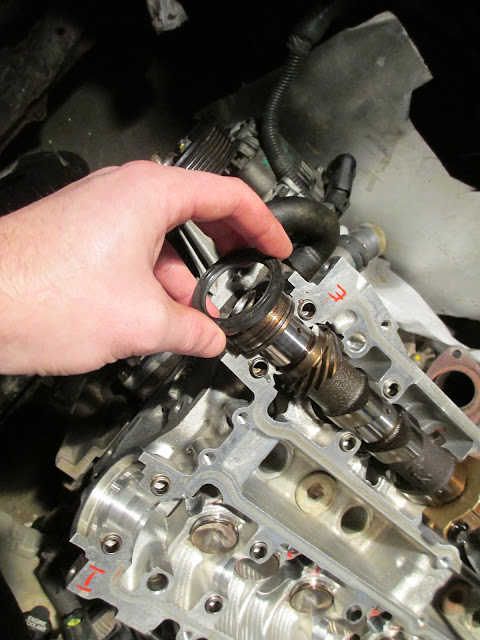
After getting the first two caps in place, the cam seal needs to go in.
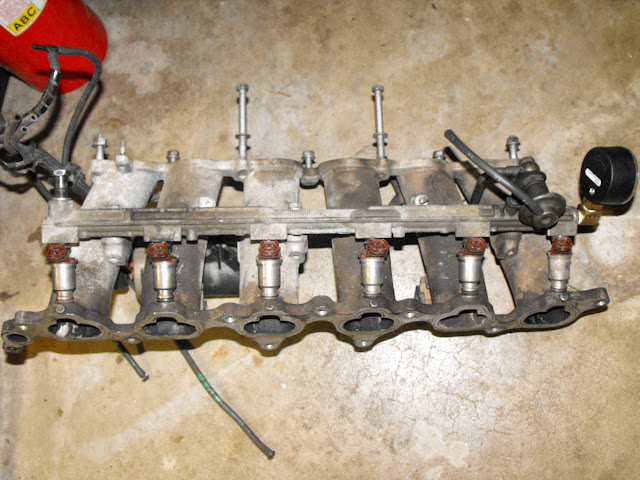
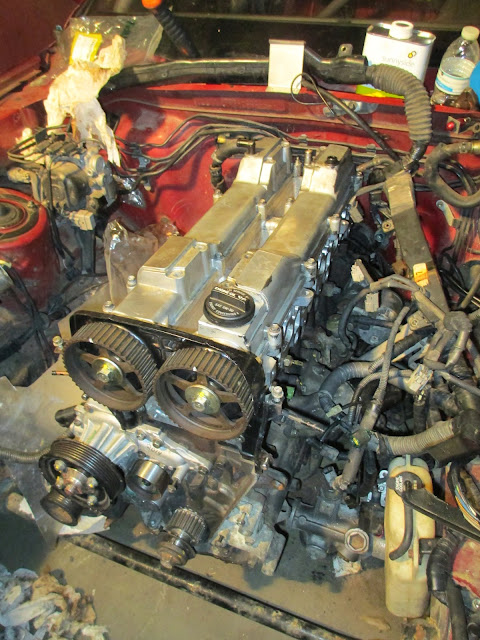
Crazy torque procedure done, then on to the intake.

Finally done, time to check the valve clearance. Everything was within spec and looked pretty much perfect, though the exhaust valves were definitely on the tighter side (I think they were at 0.010" with a range of 0.014-0.010", something like that). Should loosen up with wear though, unless I'm missing something. In any case, didn't get any shim buckets mixed up, or over lap the valve seats, so no need to re-shim anything. 
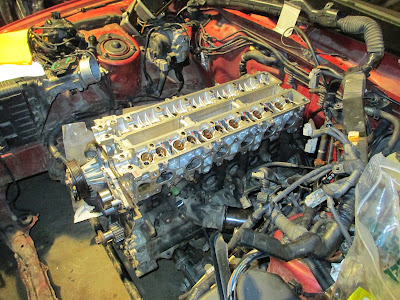
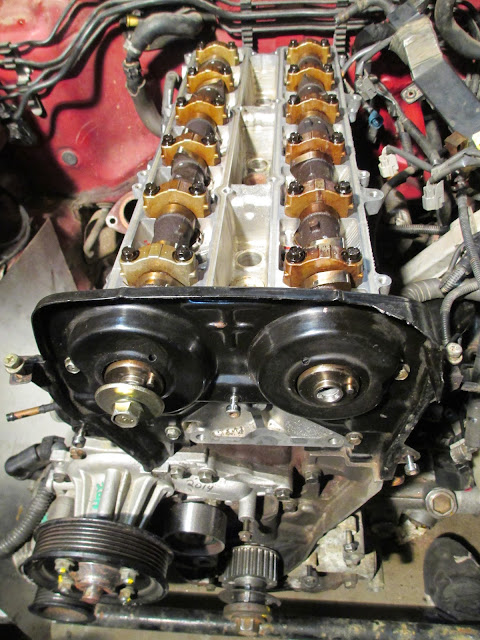
Rear, upper timing cover back on. I have been tempted to leave the timing covers off for easy access to parts and visual inspection of any leaks during a race, (and to save a tiny bit of weight) but I don't really want to risk having any debris getting kicked into the timing belt. If anyone has thoughts on this, I'd love to hear.
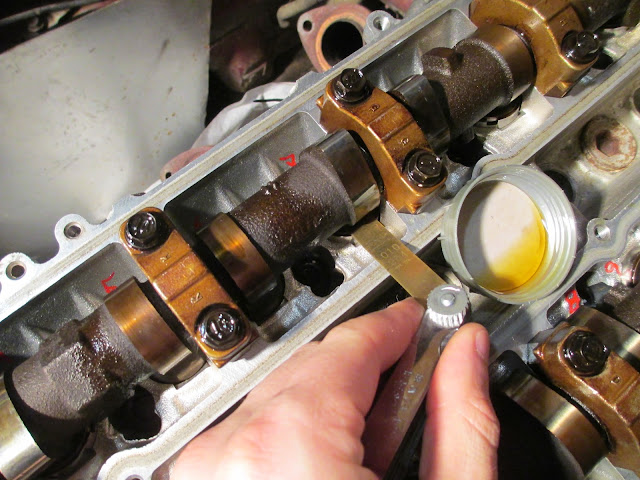
Cam sprockets on and torqued down.
Before putting the valve covers on, I wanted to clean out the PCV passages. Most valve covers have these interesting little oil condensers built in under the PCV valve to help reduce oil condensation in the intake. It's a clever idea.
Pop off this plate...
 And you have this on the back side.
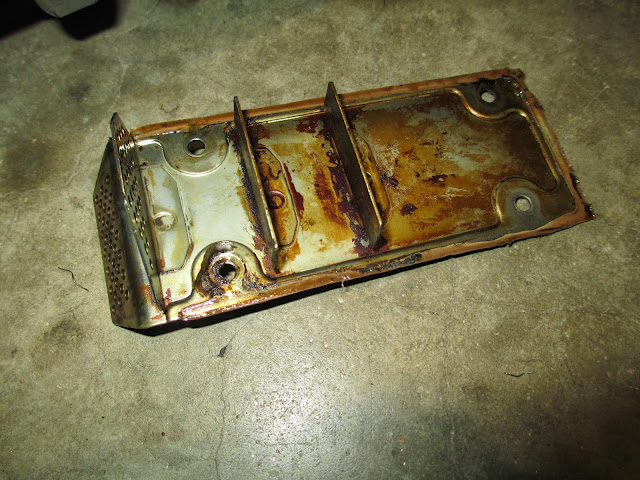
It's basically a set of baffles forcing the oil vapor flow into better contact with the relatively cool valve cover to condense the less volatile (heavier) components of the oil vapor.
Here's the valve cover side. It's essentially a finned/baffled heat sink (in reverse).
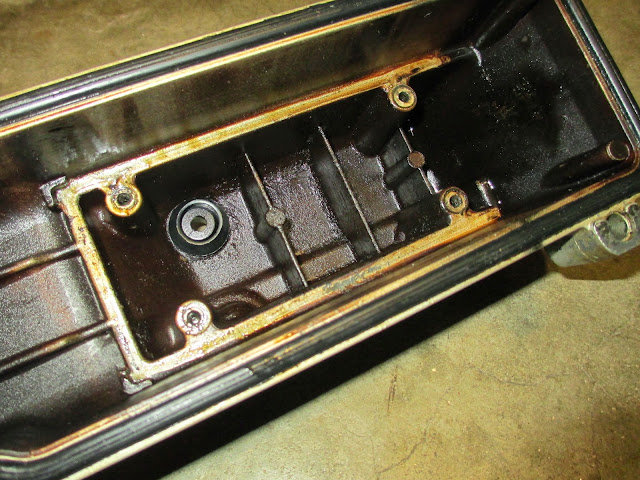
Anyway, I cleaned out all the crap in there to help keep the crankcase pressure as low as possible and to improve the effectiveness of the condensation process (which will help keep oil out of the intake). At some point I might move away from the stock setup, but it works well for now.
Valve covers went back on.
And that's it for updates today. Tomorrow: an update on fuel system shenanigans.
Valve clearances actually tighten up as seats wear. Same thing as the motor warms up. If you could you would want them a little more on the loose side of the spec.
Yeah, I had it backwards. Seat probably wears faster than everything else. Anyway, I'm not gonna worry about it. It was within spec and I'm pretty sure this engine isn't gonna see another 100k miles. (That'd be a lot of races.) 
I'd put the covers back on. Weird tightening then loosening then tightening sequence.
In reply to Petrolburner:
To clarify, those PCV covers did go back on after cleaning.
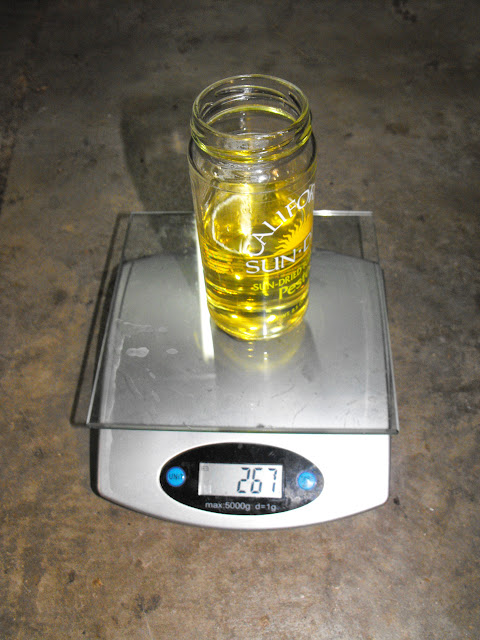
By running the fuel pump for a short period of time (30-60 seconds) and recording the change in the mass of the fuel jug and the elapsed time (stopwatch on my phone), I could determine the mass flow rate, and with the fuel density, the volumetric flow rate (Liters Per Hour, for example). I used a small kitchen scale for the mass measurements.

The pump was flowing 95 L/hr, according to my calculations. Which, while adequate for the power output of this engine, was a little lower than I was expecting. More concerning was that the fuel pressure was reading ~32-32 psi (gauge pressure) and dropped to about 30 psi while firing an injector. When I had tested the old pump, it would run at 35 or so psi at idle and increase to 45 psi at WOT. Since this test was run with the fuel pressure regulator open and the engine off (of course) it should have been at 45 psi. Hmmm... I'm going to try another fuel pressure regulator and see if that helps. Can't seem to get away from the fuel system issue on this car.
I decided to go ahead and test the injectors despite the lower rail pressure. I would at least be able to compare their respective flow rates to see if any were in need of replacement.
Here's a neat photo of the injector firing. These injectors all have 2 ports and inject a dual spray pattern. All 6 looked exactly like this.
 Here's a photo of the same thing with the flash on, and a much shorter exposure. You can see the fuel droplets much more clearly. I would expect the fuel to atomize a bit more at correct (higher) pressure, but this isn't bad.
Again, did a mass balance to determine the mass flow rates.