17 Apr 2016:
Time for an update.
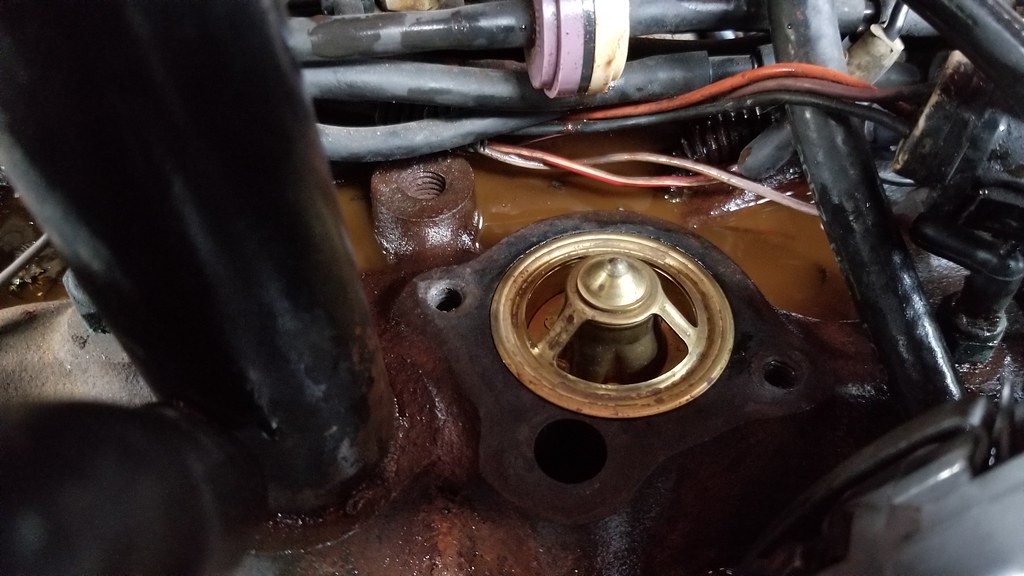
Project #2: heater core repair and water pump replacement
My water pump had been leaking badly, and rather than pour antifreeze through it, I'd been refilling it with water. Well, that bit me. Winters here are normally pretty mild, but last December was chilly, and one night the heater core split open in the below-freezing temps. It produced a spectacular gusher from the heater box when I tried to leave home in the morning.
Here's the offending hole. That dog, as they say, won't hunt.
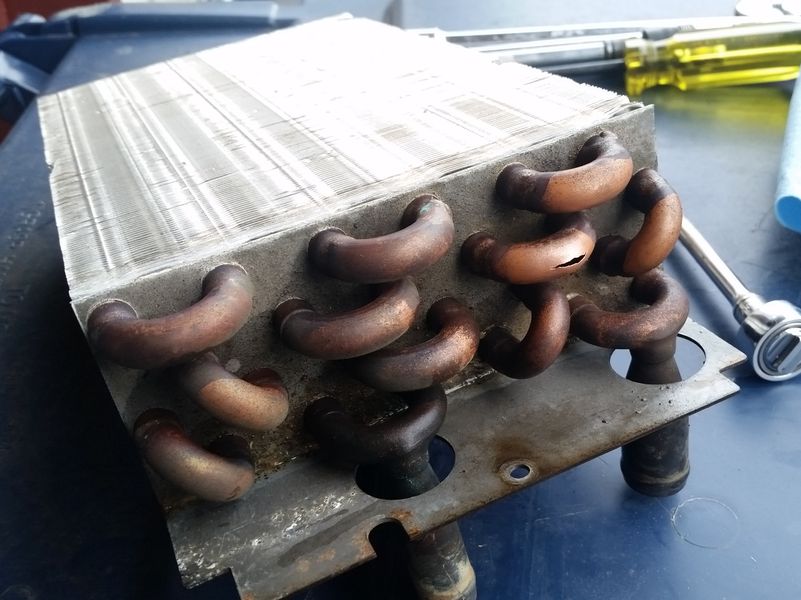
Other than the hole, the heater core was in good shape, so I decided to try to fix it. First I brushed the metal clean, then hammered (gently) both sides of the split as close together as I could get them.

Then came a little acid core solder.
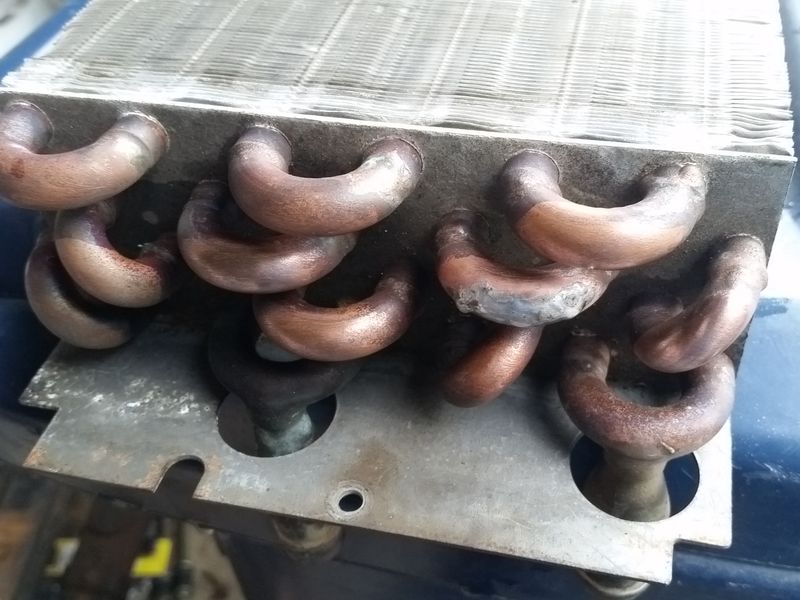
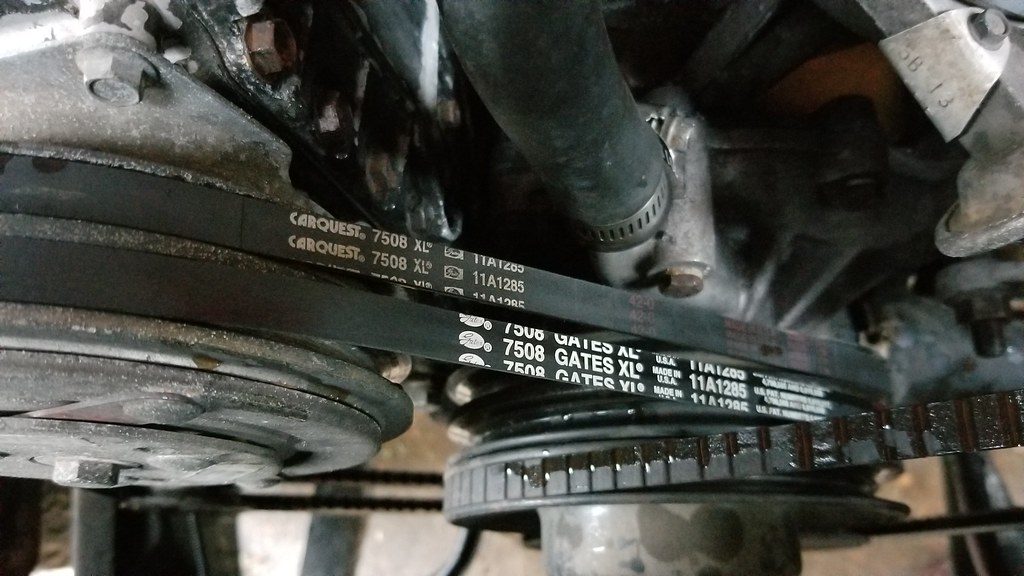
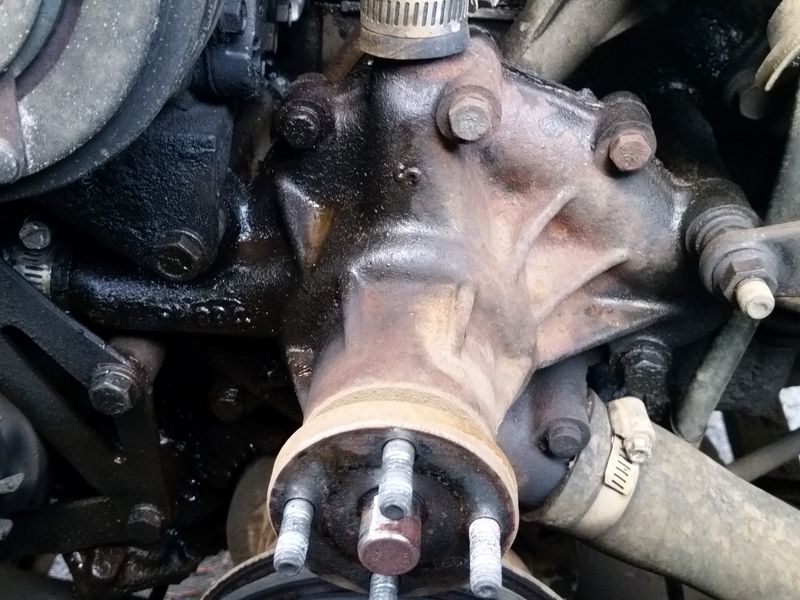
Once that was back together, I got rid of the gnarly old water pump. For some reason I apparently didn't have the presence of mind to take photos of the job after this glamor shot of the old pump. Or maybe this was just meant to act as a reference for reassembly. Anyway, this is the old pump. It's gone now, and a loomnum pump lives here now. Also, new belts, because the old ones had part numbers written in Roman numerals and had lost some (all) of their youthful glow.
Project #3: cleaned the cowl vent pockets
I found my round tuit and finally, after years of denial and procrastination, de-trashed the kick panel vent pockets. Like in every other FSJ, these were packed tight with pine needles, seed cones, leaves, and various other components, all rotting together and forming several pounds of really neat organic compost. The junk makes its way through the cowl louver into the plenum, which feeds fresh air to the vents in the kick panels, and then it all just collects at the lowest point. Here are the what the left and right vent pockets looked like with the grilles and dampers removed.


I also got started on a real end-all, be-all cowl vent screen to keep this from happening again, but got sidetracked. Probably better remember to finish that thing...
Project #4: fuel leak repair
This was an easy one. Started with a slight aroma of fuel now and then, and rapidly developed into liquid gasoline puddling on the intake manifold in front of the carburetor. Well, when you can see daylight through the accelerator pump diaphragm, that kind of thing will happen.

Chucked a new diaphragm on. No more leaks. I do love an eight dollar fix.
Project #5: new radiator
This was tonight's project. I knew the radiator on this truck was not in great shape, but didn't realize quite how nasty it was. Say "ahhhh"...

And that was one of its better angles. Here's an unflattering shot of its less-than-attractive backside:
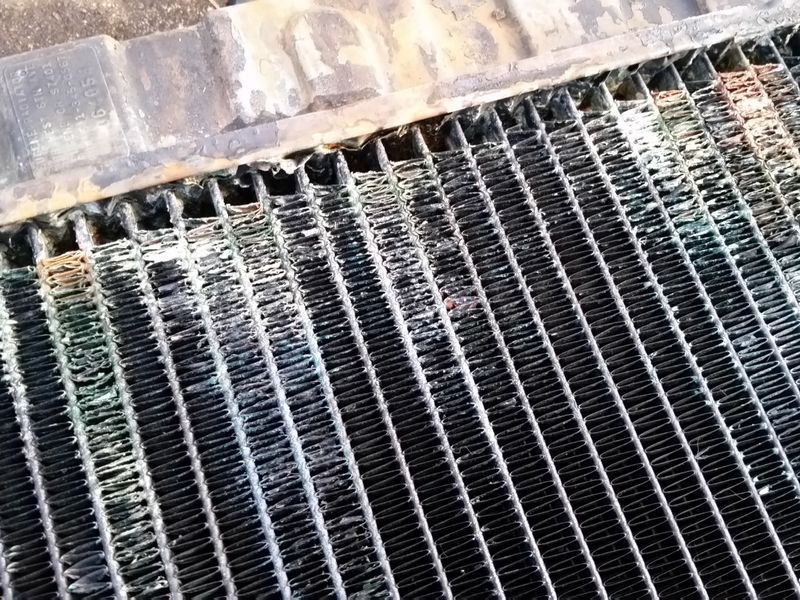
So that obviously ain't gonna work. Step one: run some radiator flush through it, then drain, fill with water, run, repeat until clear water comes out. Follow with step two: remove everything that doesn't look like a new radiator.
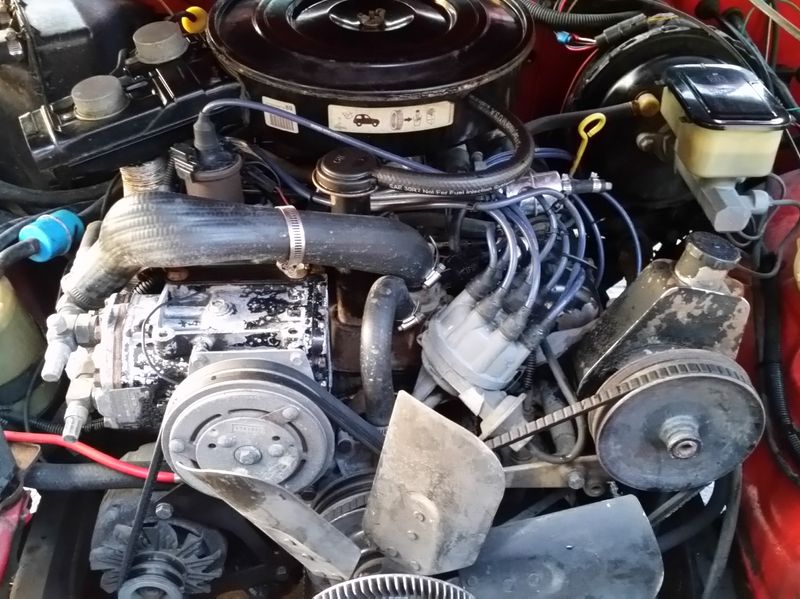
Step three: installation is the reverse of removal. Brand new all-metal rad from BJ's Offroad:

So far, I like it. It fits perfectly and seems well-made. And at least I know it can be repaired if an issue should arise.
Step four: fill with the finest (and only) antifreeze available at this end of town on a Sunday evening. Unfortunately, I'm still seeing a whole lot of dirt and/or cooling system cleaner in the coolant. Well, at least the finest antifreeze is also very cheap. I'll throw a flush tee in it and blast the whole system clean later in the week, and then replace the coolant one last time. Hopefully, I will then be able to leave the cooling system alone for a couple of years.
I think I missed a couple other ... yeah, I know I missed a couple other little jobs. But we'll get it caught up sooner or later. This is enough for now.
![]() One of our scoutmasters had one of these when I was in high school and I drove it a ton loaded up with gear for hiking /camping trips up in the White Mountains in NH. His was a 6 with a four speed, it was a cool truck. Very unusual to see one up here now.
One of our scoutmasters had one of these when I was in high school and I drove it a ton loaded up with gear for hiking /camping trips up in the White Mountains in NH. His was a 6 with a four speed, it was a cool truck. Very unusual to see one up here now. 


