jakeb wrote:
I am already running a 15mm spacer...might have to go to a 20mm to get everything to clear. First step I will try spacing it out another 5mm with washers and see where I "sit"
Yup - that's how I determined which spacer to get -- used my micrometer to stack fender washers (equal thickness stacks) on 3 of the lugs and test fit. My perch was touching the tire and the weld on ring that supports the threaded sleeve was touching the edge of the wheel.

jakeb
Reader
5/15/13 7:37 p.m.
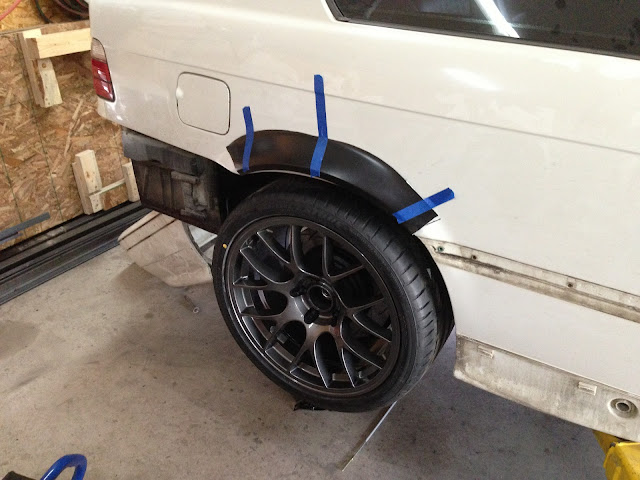
Just showing off the rear tires....


Awesome to see wheels back on it...

jakeb
Reader
5/29/13 8:38 p.m.
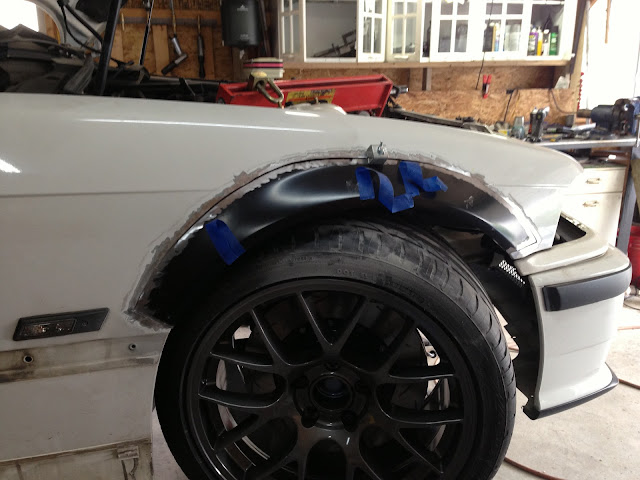
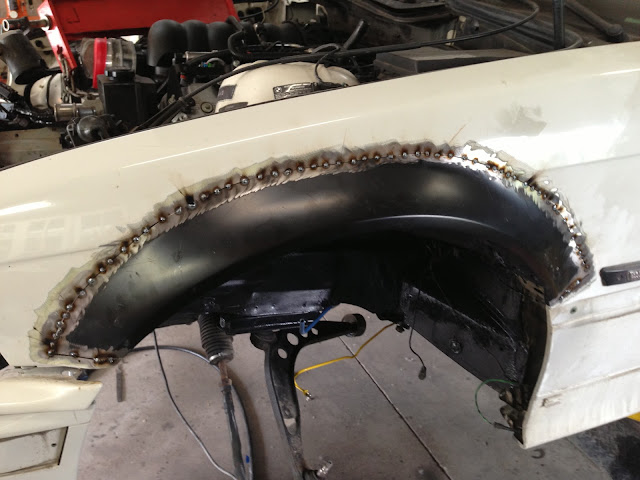
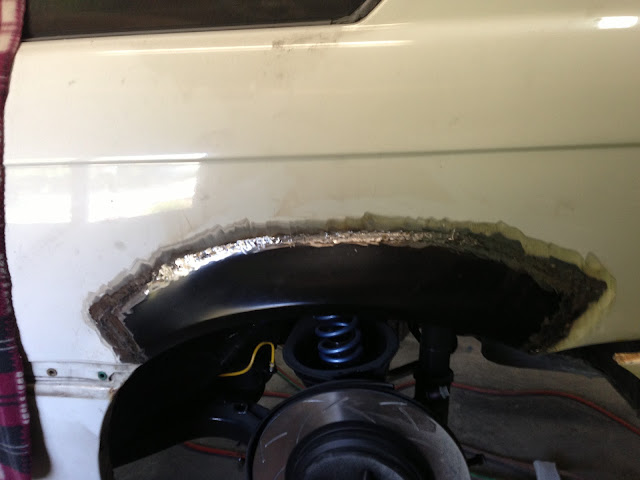
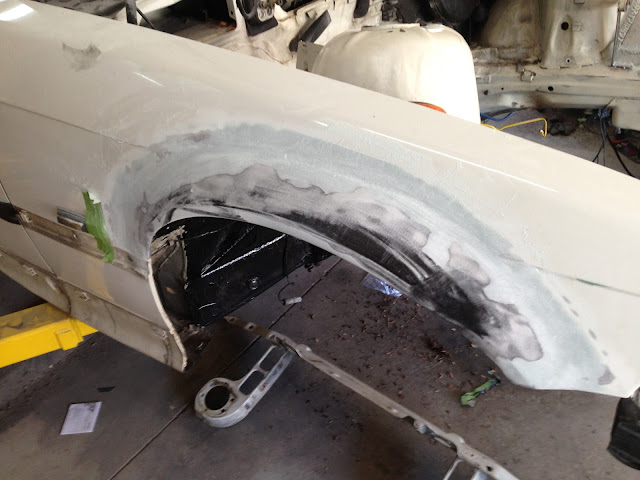
I want the flares to look stock so lots of measuring and planning before cutting.
I want to keep the edge where the bumper comes to so everything flows like it was stock.
Front flare at the edge where the bumper will meet. The new flare might get cut slightly higher but it's closer.
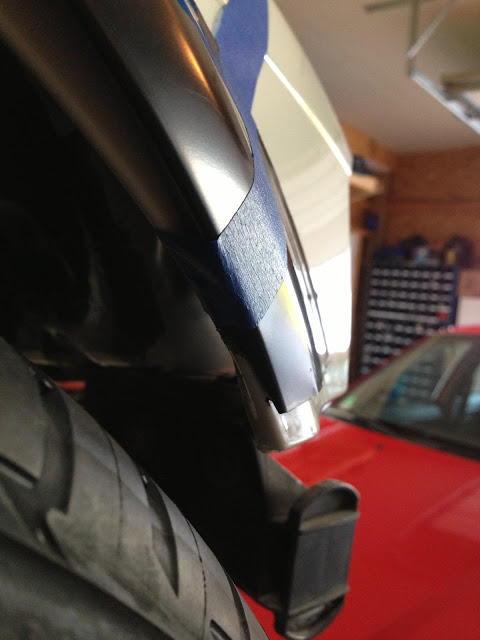
It will match up on the back side under the trim...or right at the top edge
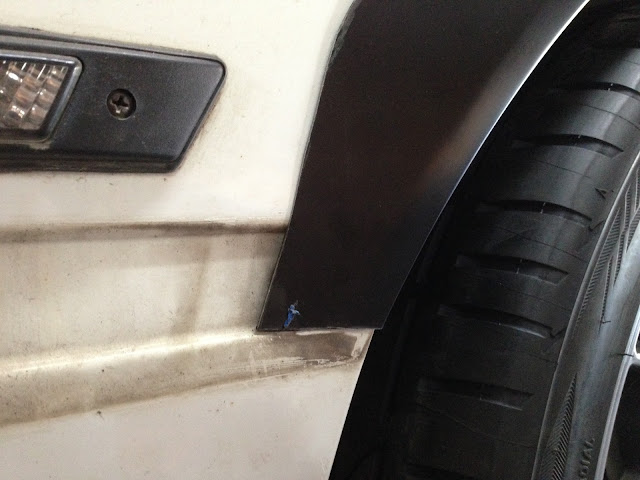
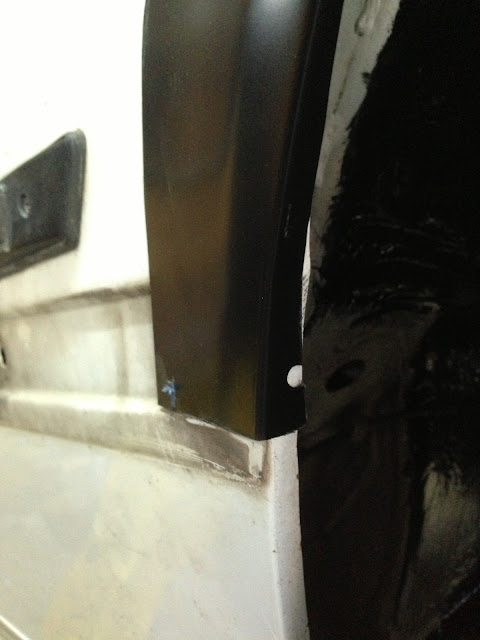
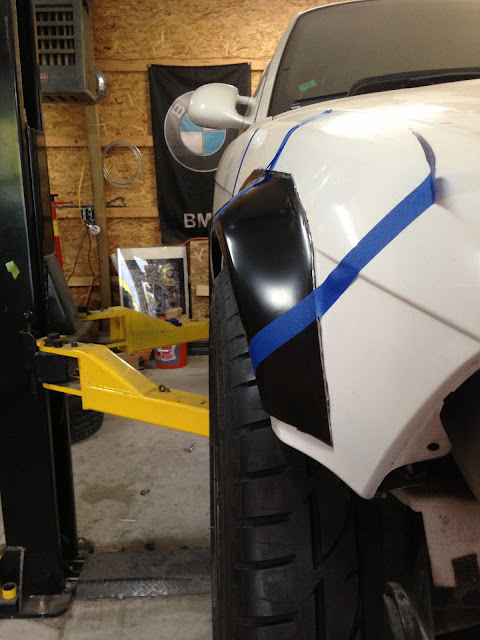
The top of the new flare still needs to be smoothed out to a nice circle and then the e36 fender will get cut and start welding in the new one. The entire passenger side will get done..front and rear and then repeat on the drivers side.
jakeb
Reader
6/1/13 8:44 p.m.
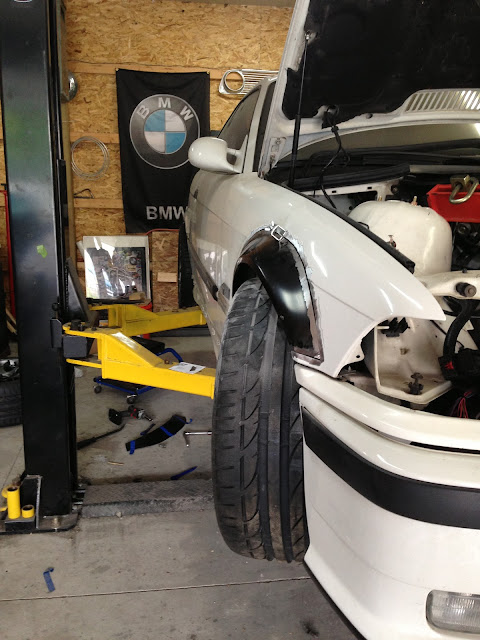
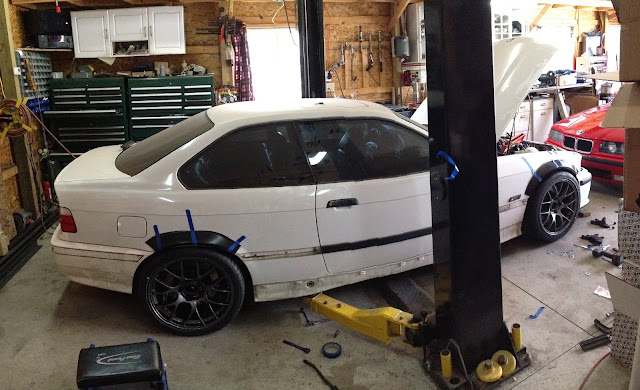
More fitting...
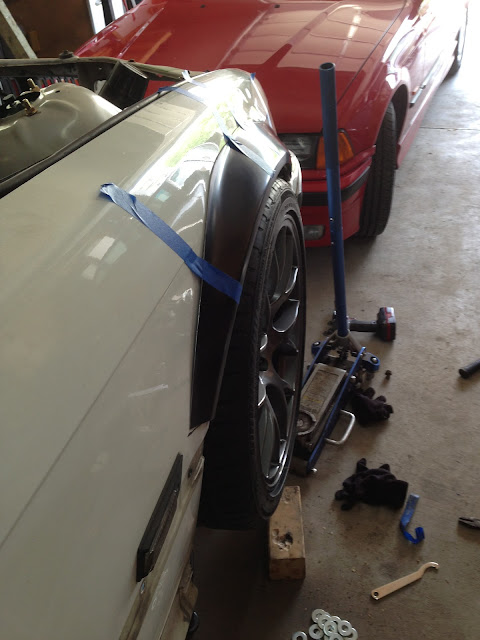
Rear...
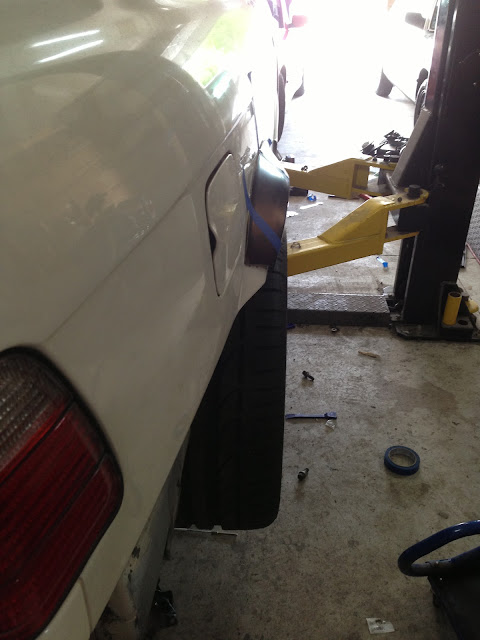
Somewhat setting on the ground...can't go all the way becasue the rear fenders are not cut out so they fit the tire.

jakeb
Reader
6/4/13 9:29 a.m.
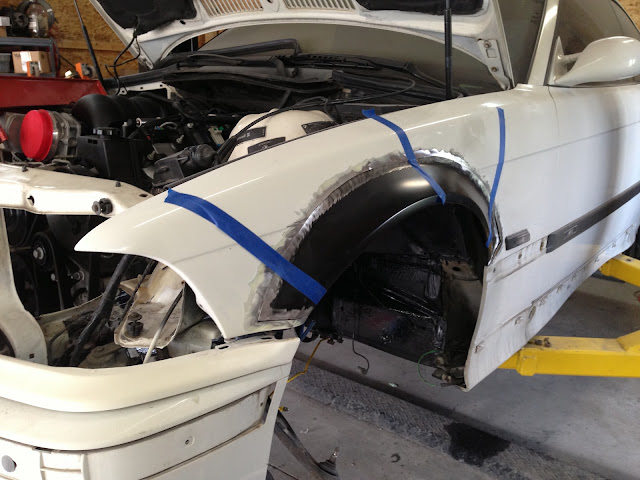
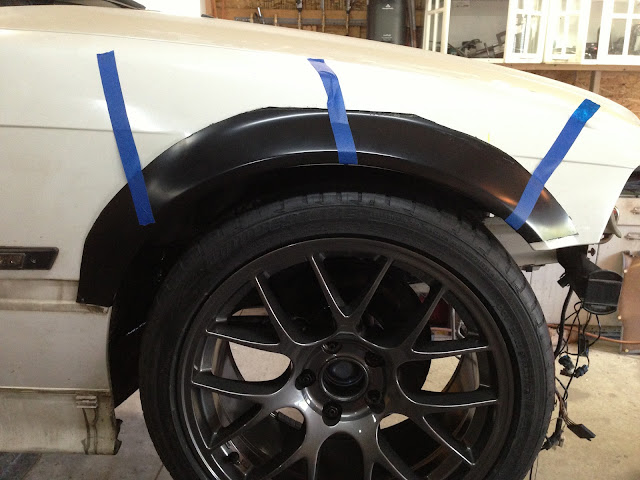
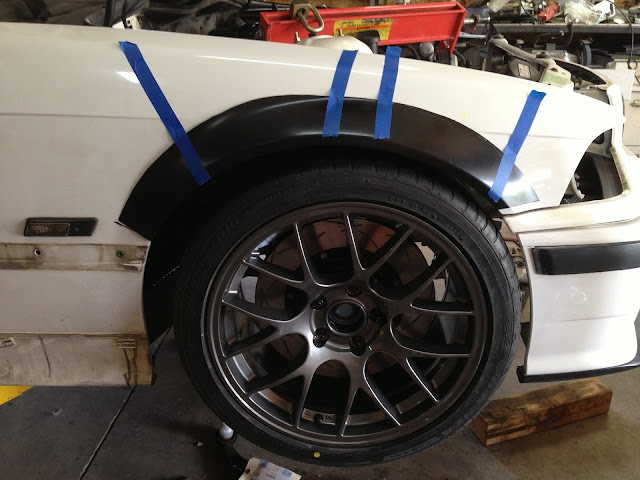
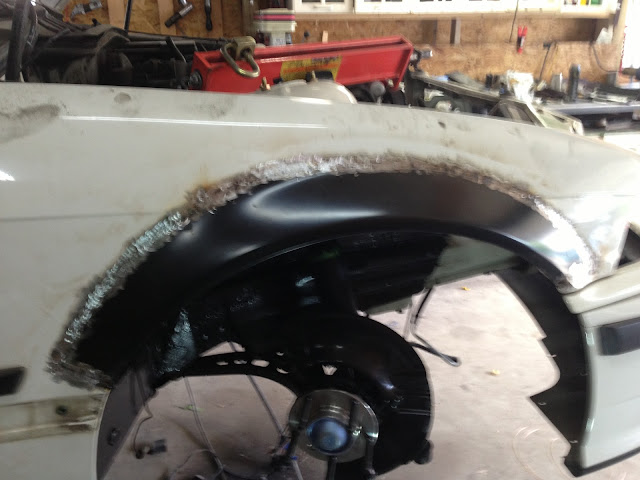
The drivers side flares are mocked up to match the passenger side. Still a little bit of trimming and then they can get cut out and welded.
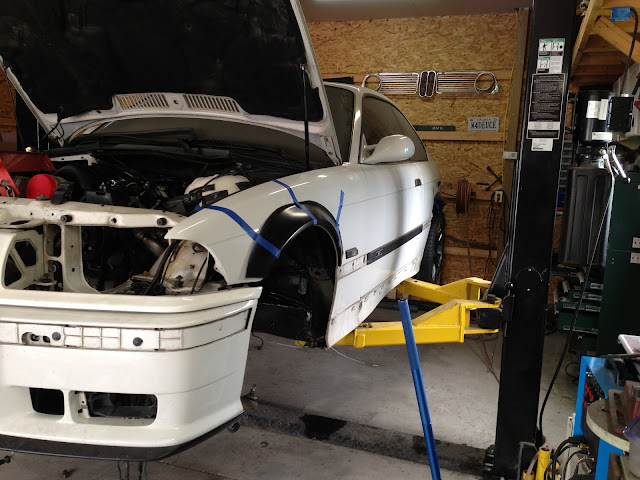
bumper and everything is just setting on and nothing is tightened up. I was trying to get a picture showing how the flares look from the front. Sorta hard to do...
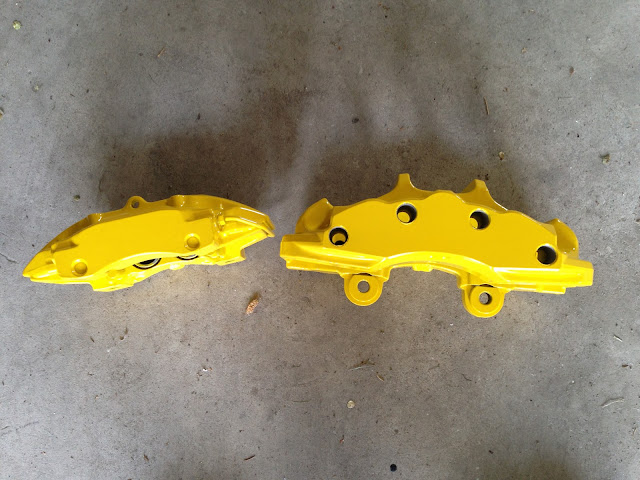
Picking up the power coated brake calipers this afternoon and will update when I have them.
jakeb
Reader
6/5/13 7:39 a.m.
I should have put something in the photo to show size...they look small on their own but they are far from small.
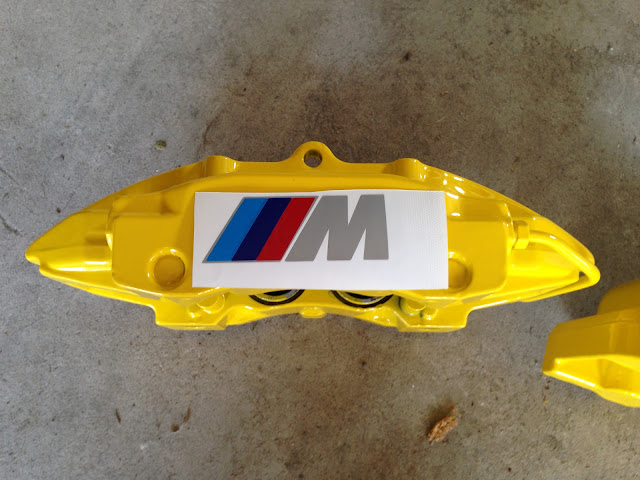
The plan was to use powder to make the ///M but the powder coater did not feel comfortable doing it that way and getting a good results. So they will be done in vinyl. This is the type of vinyl used on signs, trailers, etc so it will handle a lot of abuse.
They will get put on once everything is together.

Rear
jakeb wrote:
The plan was to use powder to make the ///M but the powder coater did not feel comfortable doing it that way and getting a good results. So they will be done in vinyl. This is the type of vinyl used on signs, trailers, etc so it will handle a lot of abuse.
Given your general attention to detail, I feel silly asking this, but... Is that vinyl really up to the heat of a brake caliper?
More usefully, if so, where do you get it and what do I ask for? 
jakeb
Reader
6/6/13 6:38 a.m.
The coater says it is. I will check the specs with him
jakeb
Reader
6/11/13 3:49 p.m.
thanks!
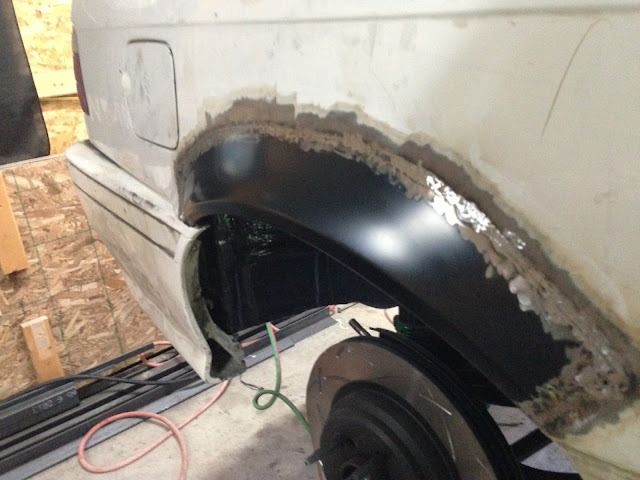
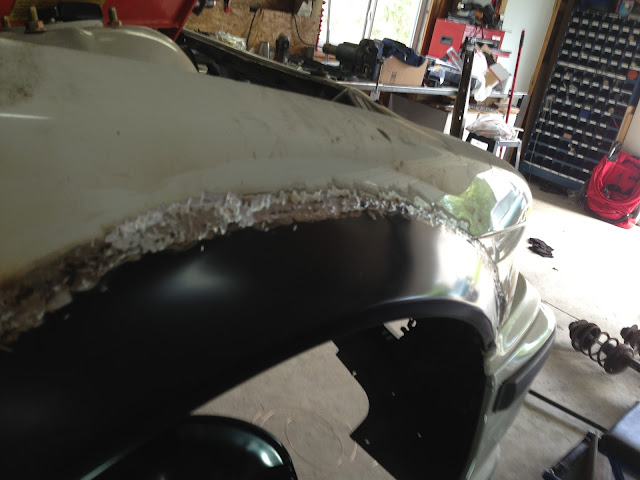
More cutting...

Inner fender left and it will get bent to match the new flare


Fronts tacked...


This picture really didn't turn out for some reason...


The drivers side rear is done as well but for some reason I didn't get a pic. I'll get one and post tomorrow. Today is my birthday and it has been a great day in the garage.
Happy birthday, and nice work! That's looking terrific!
jakeb
Reader
6/11/13 8:21 p.m.
thanks man! Yeah I am VERY happy with it. It's impressing me even.
jakeb
Reader
6/12/13 12:13 p.m.
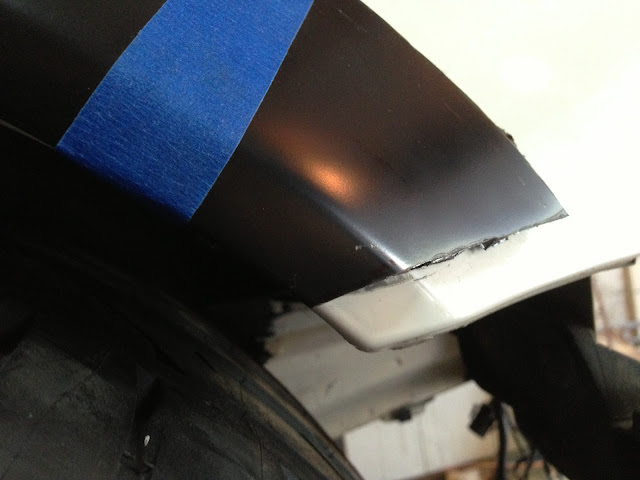
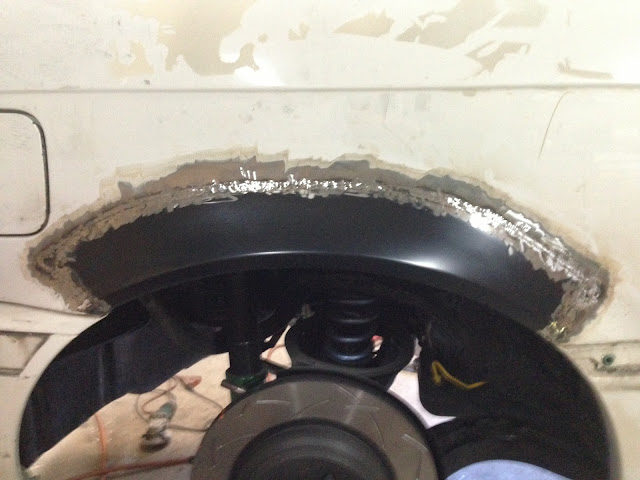
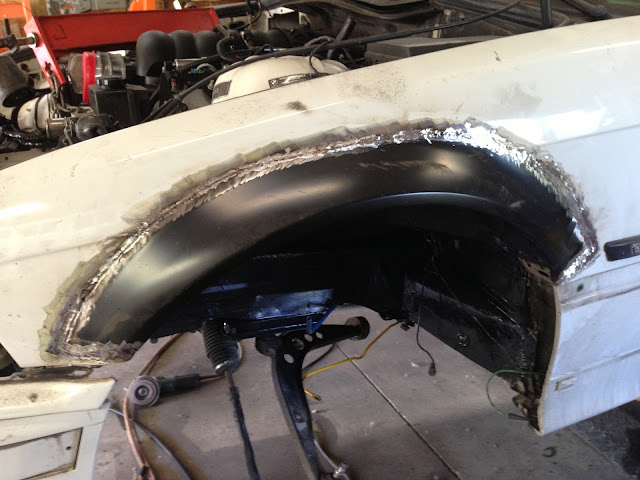
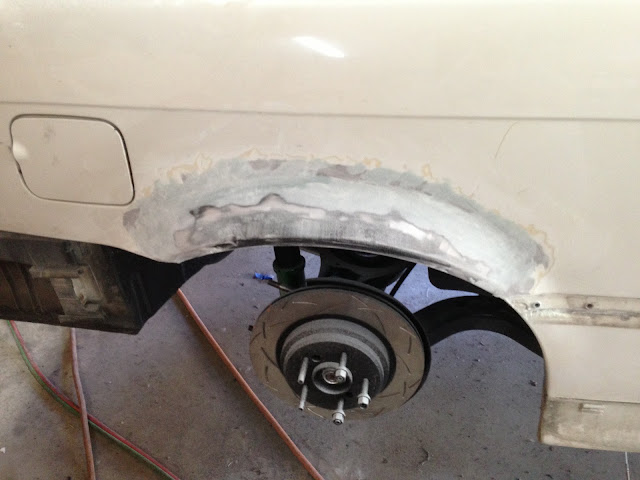
Lots of little tacks...I go around each flare. Let it cool for a bit and do it again. To keep any warpage to a minimum.

Fronts still need more

jakeb
Reader
6/13/13 10:30 a.m.
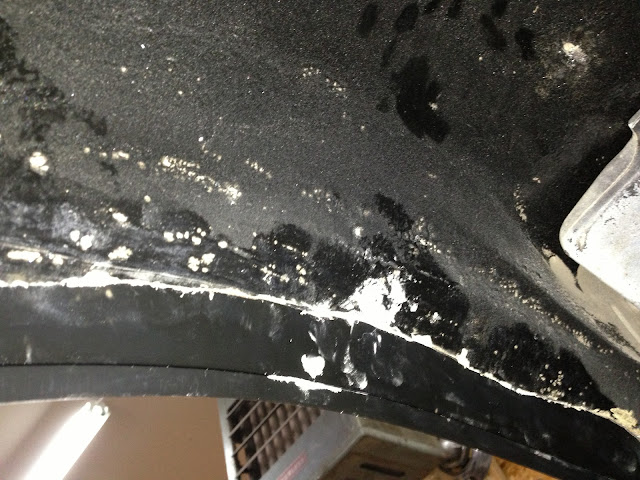
I left part of the inner fender and then will bend it out to match the new flare. Either weld or use panel adhesive to hold the two layers together.
Picture isn't very good as the flash on the camera went off and picked up all the dust, etc
All the welds around ground down
jakeb
Reader
6/18/13 7:50 a.m.
I was away for the weekend but back at it today.
Camaro front driveshaft section showed up....going to have this combined with the BMW shaft.
BMW bottom...Camaro top
https://lh3.googleusercontent.com/-K32Na08lFsw/UcBVaD_CVPI/AAAAAAAAG7Y/28kIa_devOQ/s640/IMAGE_47.jpeg
I would say these are pretty close....
Camaro

BMW

Front section

Rear section

More updates later
jakeb
Reader
6/18/13 4:24 p.m.
First coat of filler (duraglass) going on the flares

Cruise control actuator is being removed because it is a Drive by wire throttle body. Brackets are coming off too...holes will be welded up and then the entire bay will get repainted.

e_pie
HalfDork
6/18/13 4:48 p.m.
Subscribing to this, awesome build.
jakeb
Reader
6/20/13 12:16 p.m.
Another mid day update...
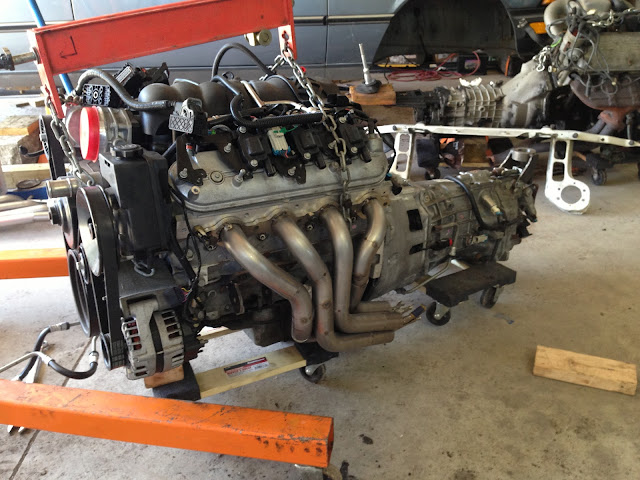
Engine is back out:
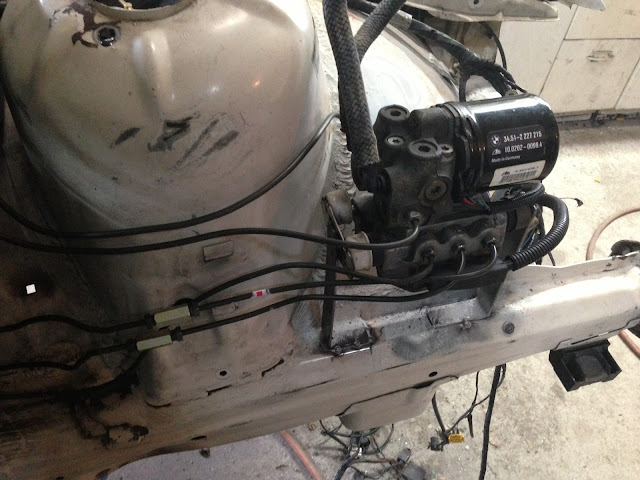
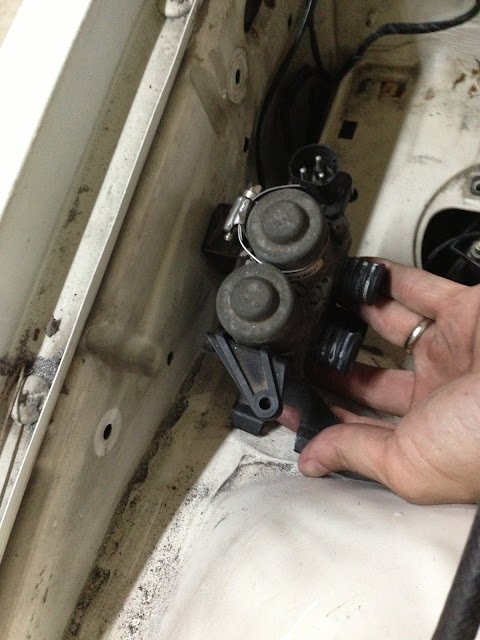
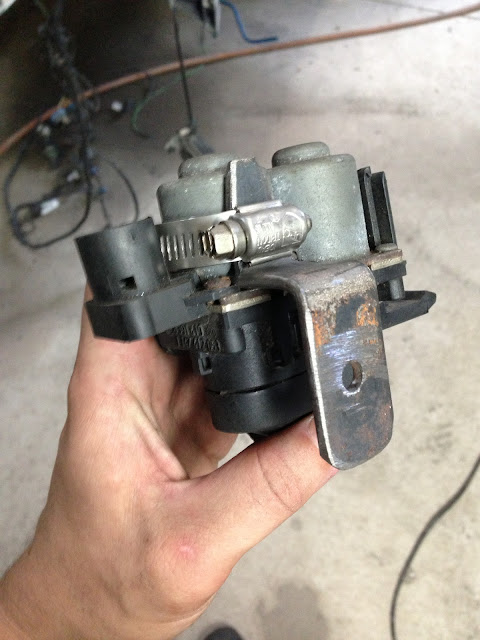
ABS pump location
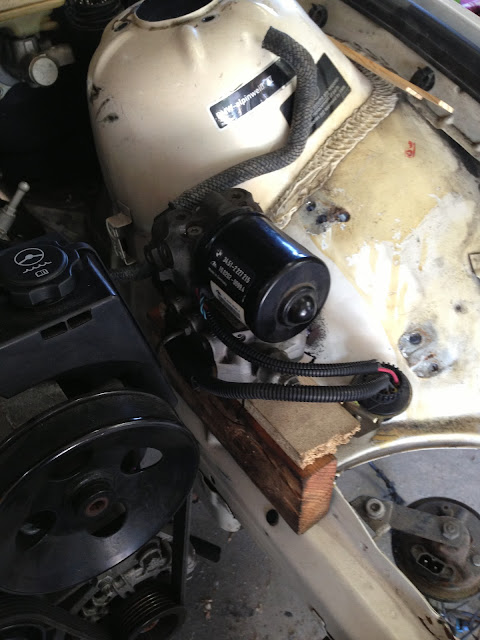
ABS pump brackets
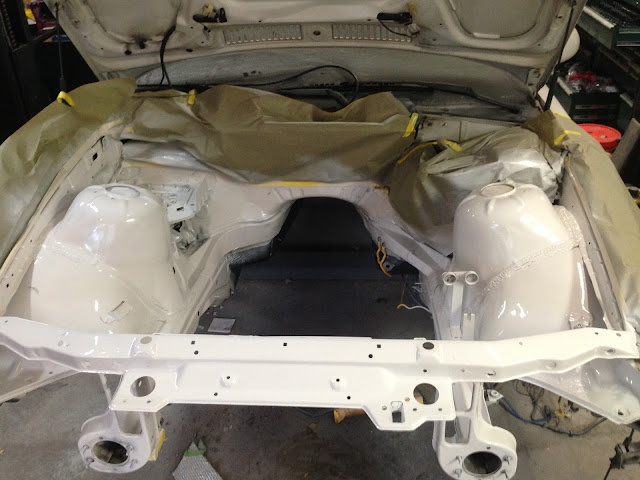
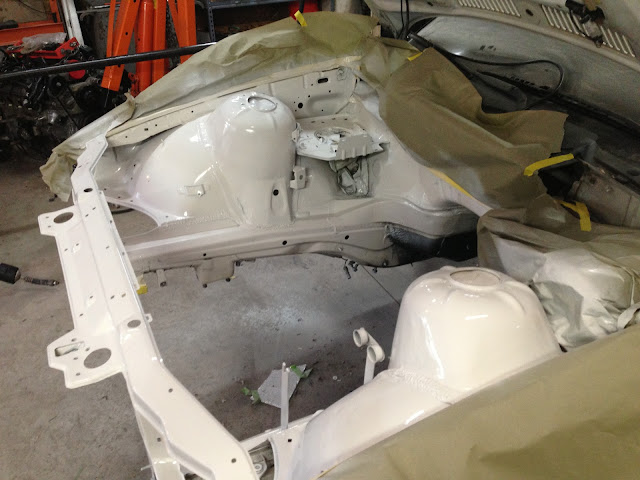
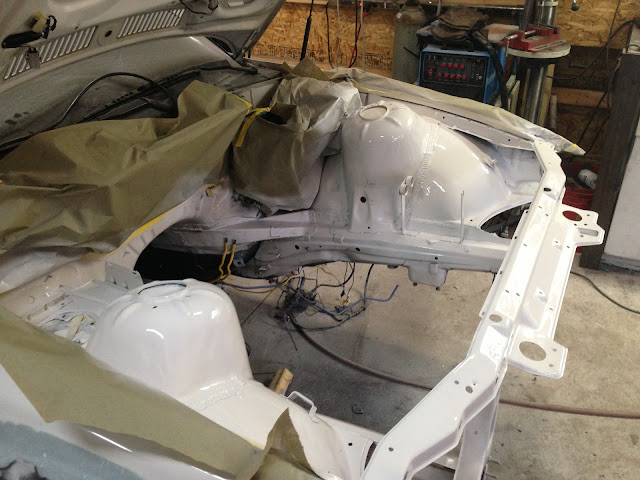
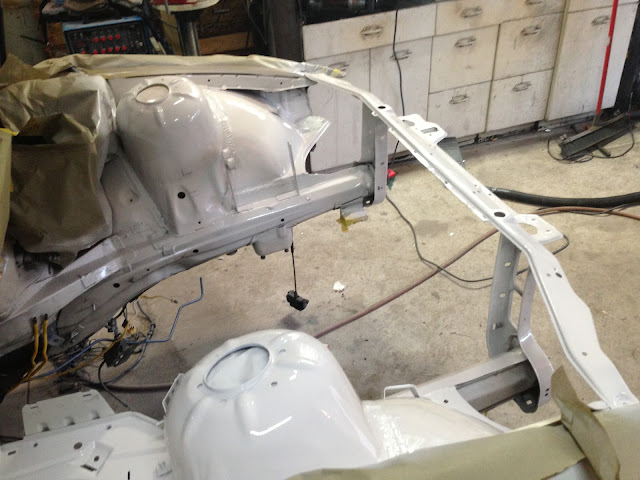
Engine bay getting ready for some fresh paint

pulled the old hood liner

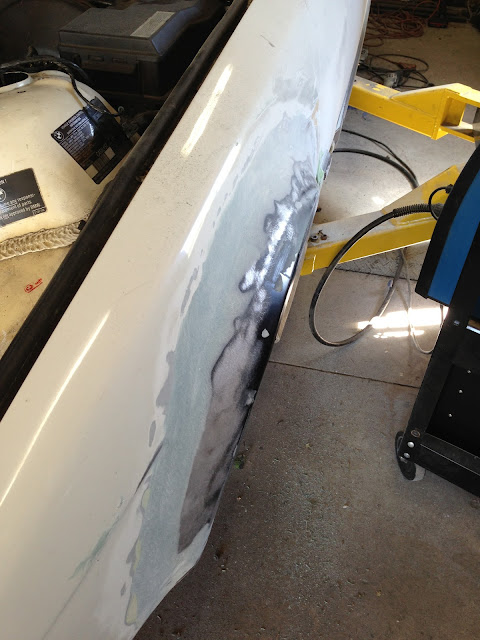
More flare work

great stuff. love all the updates, keep them coming!
jakeb
Reader
6/24/13 6:46 p.m.
Brake lines to ABS pump all extended...and off to powder coat
Jigged the trans mount before going off to powder coat

Engine mounts are off to be coated as well and then they will get jigged...the powder coater I use also does Lathe work and he is making me a plug to make the engine mount jig.
Passenger side header jigged and ready to weld

header off...

Drivers side

Both together...Once the headers are all welded up I will add a locator for the vband and collector

jakeb
Reader
6/25/13 8:45 p.m.
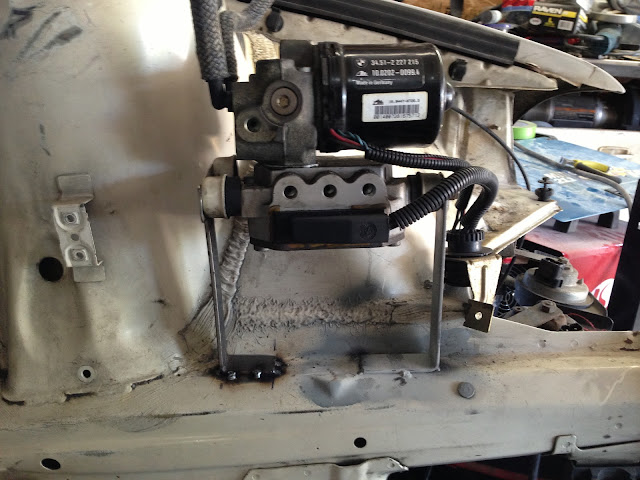
New location for the heater valve
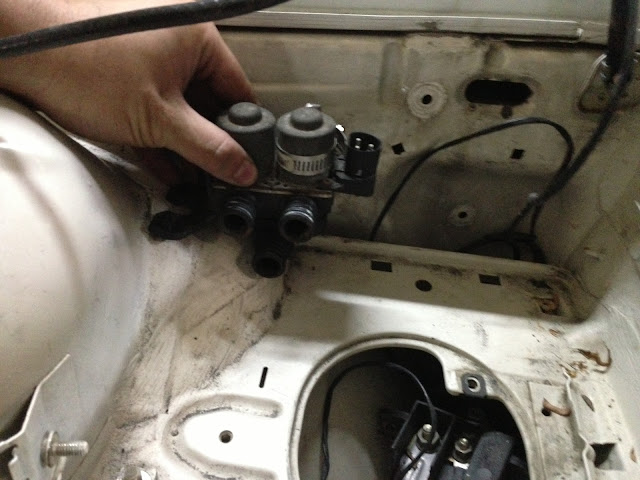
The bracket that will hold it to the inner fender...this will get painted or coated
The LS3 uses a Drive by Cable throttle body so the stock throttle pedal was removed.
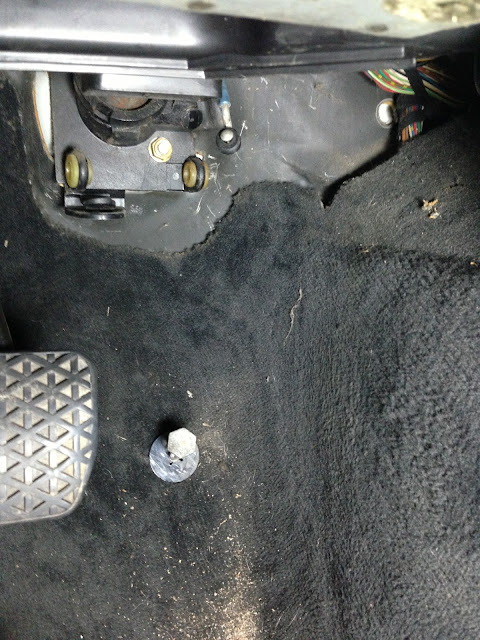
New pedal will go somewhere in this area...

I really need to roll the car off the lift to place the pedal. I can't get the door open enough to get down in the footwell.
Getting the engine bay ready to paint.
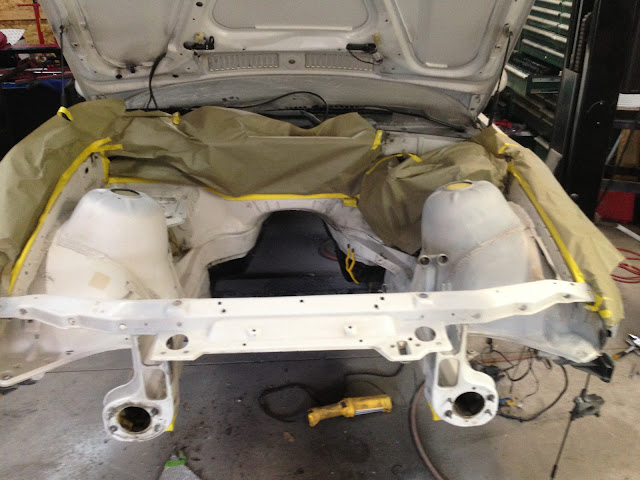
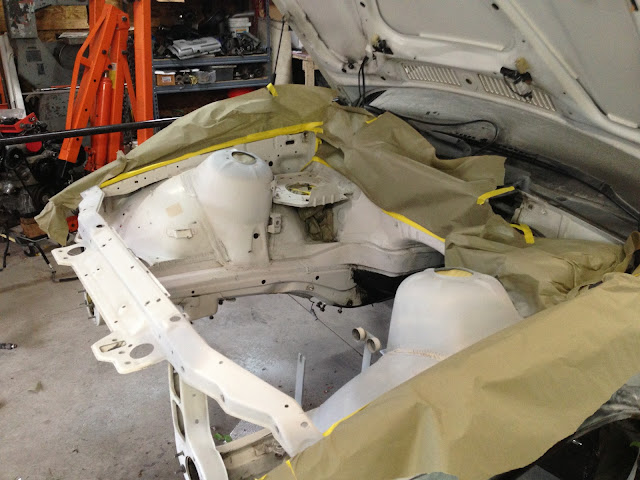
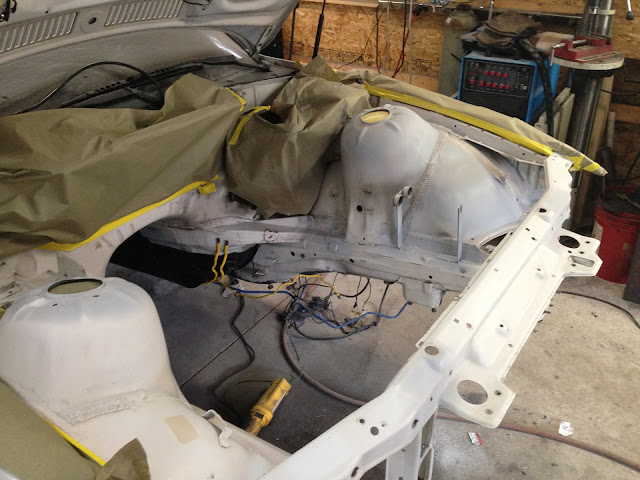
Fresh Paint....