1 ... 18 19 20 21
irish44j (Forum Supporter)
irish44j (Forum Supporter) MegaDork
4/26/22 8:06 p.m.

I told you you'd make it home fine lol. If your car made all the noises that my rally car makes when it's just driving down the road, I suspect you would never drive it at all ;)


---


Also in Nick said he was worried, he means it. He called me on the road when I was about 30 miles ahead of him with my race car on the trailer seeing if I could come back and swap cars on the trailer and tow him home ;) of course if you had had to drive my rally car home, he would have thought his car was very civil by comparison lol.


---


Side note number two: stop freaking buying multiple miatas and buy yourself a trailer and a tow rig and minimize your stress. ;)

95maxrider
95maxrider Reader
4/26/22 10:01 p.m.
irish44j (Forum Supporter) said:

I told you you'd make it home fine lol. If your car made all the noises that my rally car makes when it's just driving down the road, I suspect you would never drive it at all ;)

Yeah, no E36 M3.  Why would I want to drive around a car that has all the refinement a garbage truck?  That's why I've made the compromises I've made so I can enjoy my car the other 30 days of the month.  The difference is your noises are normal, mine was not.

---

Also in Nick said he was worried, he means it. He called me on the road when I was about 30 miles ahead of him with my race car on the trailer seeing if I could come back and swap cars on the trailer and tow him home ;) of course if you had had to drive my rally car home, he would have thought his car was very civil by comparison lol.

I think you underestimate how loud my diff was.  I've been in your car, it had nothing on this thing.

---

Side note number two: stop freaking buying multiple miatas and buy yourself a trailer and a tow rig and minimize your stress. ;)

Nah, I'm good. laugh

They're multiplying....and evolving.

irish44j (Forum Supporter)
irish44j (Forum Supporter) MegaDork
4/26/22 11:03 p.m.

I mean trust me...I spent the whole last event hitting cones and driving badly because I was staring at my temp gauge climbing to 250* every 5 seconds of every run. I understand worrying about things lol. Sometimes just gotta send it until there's either smoke or the car simply stops, and deal with the consequences at that point. 

Don't forget I dove to events for years long before my car was caged, stripped (and after!) and had more than one time when I was pretty sure I wasn't going to make it all the way home from Frostburg (like when my cat was clogged and the car would almost die whenever I went up any hill, which made it a 5-hour trip home from Frostburg, or like the time when my brake warning light came on when coming down the big hill into Cumberland (line had sprung a leak), so i drove 30mph most of the way home in the right lane, mostly using the e-brake and downshifts when I had to slow down. So I know the boat you're in. 

irish44j (Forum Supporter)
irish44j (Forum Supporter) MegaDork
4/26/22 11:04 p.m.
95maxrider said:
irish44j (Forum Supporter) said:

I told you you'd make it home fine lol. If your car made all the noises that my rally car makes when it's just driving down the road, I suspect you would never drive it at all ;)

Yeah, no E36 M3.  Why would I want to drive around a car that has all the refinement a garbage truck?  That's why I've made the compromises I've made so I can enjoy my car the other 30 days of the month.  The difference is your noises are normal, mine was not.

---

Also in Nick said he was worried, he means it. He called me on the road when I was about 30 miles ahead of him with my race car on the trailer seeing if I could come back and swap cars on the trailer and tow him home ;) of course if you had had to drive my rally car home, he would have thought his car was very civil by comparison lol.

I think you underestimate how loud my diff was.  I've been in your car, it had nothing on this thing.

---

Side note number two: stop freaking buying multiple miatas and buy yourself a trailer and a tow rig and minimize your stress. ;)

Nah, I'm good. laugh

They're multiplying....and evolving.

John England is currently selling his 2-time national champion turbo Miata. Just sayin.........if you're trying to expand the collection lol. 

moxnix
moxnix Dork
4/27/22 12:00 a.m.
irish44j (Forum Supporter) said:
95maxrider said:
irish44j (Forum Supporter) said:

I told you you'd make it home fine lol. If your car made all the noises that my rally car makes when it's just driving down the road, I suspect you would never drive it at all ;)

Yeah, no E36 M3.  Why would I want to drive around a car that has all the refinement a garbage truck?  That's why I've made the compromises I've made so I can enjoy my car the other 30 days of the month.  The difference is your noises are normal, mine was not.

---

Also in Nick said he was worried, he means it. He called me on the road when I was about 30 miles ahead of him with my race car on the trailer seeing if I could come back and swap cars on the trailer and tow him home ;) of course if you had had to drive my rally car home, he would have thought his car was very civil by comparison lol.

I think you underestimate how loud my diff was.  I've been in your car, it had nothing on this thing.

---

Side note number two: stop freaking buying multiple miatas and buy yourself a trailer and a tow rig and minimize your stress. ;)

Nah, I'm good. laugh

They're multiplying....and evolving.

John England is currently selling his 2-time national champion turbo Miata. Just sayin.........if you're trying to expand the collection lol. 

Ask mike if he would recommend it. 

95maxrider
95maxrider Reader
4/27/22 8:49 a.m.
irish44j (Forum Supporter) said:

John England is currently selling his 2-time national champion turbo Miata. Just sayin.........if you're trying to expand the collection lol. 

Meh, I'm not really into FI stuff.  I think the ideal Miata is one with a K24 swap and ITBs cheeky

95maxrider
95maxrider Reader
4/27/22 8:52 a.m.
moxnix said:

Ask mike if he would recommend it. 

IIRC Mike was pretty underwhelmed by the car and its apparent heatsoak and blown suspension.

EvanB
EvanB GRM+ Memberand MegaDork
4/27/22 10:01 a.m.
moxnix said:
irish44j (Forum Supporter) said:

John England is currently selling his 2-time national champion turbo Miata. Just sayin.........if you're trying to expand the collection lol. 

Ask mike if he would recommend it. 

The condition of the car is definitely not why it has won two national championships. 

irish44j (Forum Supporter)
irish44j (Forum Supporter) MegaDork
4/27/22 10:20 a.m.

Yeah I have heard about it from Mike. I was being semi facetious there about buying it, since I assume Nick heard about it from Mike as well.

My goal here is to get Nick into a car that is not as good as what he currently has. Duh. Lol

bluej (Forum Supporter)
bluej (Forum Supporter) PowerDork
4/27/22 10:49 a.m.
95maxrider said:
irish44j (Forum Supporter) said:

John England is currently selling his 2-time national champion turbo Miata. Just sayin.........if you're trying to expand the collection lol. 

Meh, I'm not really into FI stuff.  I think the ideal Miata is one with a D25 swap and ITBs cheeky

devil

95maxrider
95maxrider Reader
5/5/22 5:20 p.m.

Alright, so we had rally-x #2 this past Sunday, but before I get to that I need to update what happened before that.

While the car was incapacitated in my garage waiting for a new diff to be built, I had some time to do other things that would normally be ignored, like replacing the brake pedal switch.  I've been getting warnings on the little computer screen about this thing for over a year, so it was high time I finally resolve the issue.


Took me a long time to realize the engine has to be running so you can press the brake pedal down far enough to push the new switch into place.

I removed the seat to make the job easier, which gave me the opportunity to do a few tasks I had been putting off.  First up was redrilling the mounting holes on the seat bracket plates so allow the seat to sit further away from the steering wheel.  I'm only 5' 10" and I have to have the seat pushed back all the way to be comfortable.  After drilling new holes, the seat now sits 1.75" further rearward, which should allow taller people to drive the car if necessary.  While I had everything apart, I decided to clean up those plates and paint them.  But before I did that, I decided to make them a little safer.  IIRC, my good ol' country buddies were the ones who originally made these brackets back when I had the E28, and the welds for the nuts left a little to be desired.


Now that I have a welder, I figured I could try to make them a little stronger.  This was far and away the thickest material I've welded on, and it was really nice not having to worry about blowing through it all the time.  I'm sure these welds aren't perfect, but they sure look a lot better than what was there before.


Then I got carried away trimming off excess metal from the plates and smoothing out the edges, until they went from this:


To this:


Hooray, that project is finally done!

While the seat was out, I bolted the b pillar trim to the pillar, as all of the plastic mounting tabs were broken and the only thing that's been holding it in place are the door rubber pieces.  It ain't going anywhere now!


I also "rebuilt" the gas pedal bushings.


And insulated the new big ground wire in the engine bay:


I was also waiting on a new alternator to arrive, as the first one I got from FCP Euro had threads that looked like this:


The alternator and rebuilt diff didn't arrive until the afternoon before the race, so I scrambled to get everything back together.  Thankfully the charging system seems to work great, and my diff is nice and quiet.  Mark at Danville Diffs located a 3.23 to replace my 3.38 and built it back up with new bearings and 3 clutch packs.

95maxrider
95maxrider Reader
6/3/23 11:16 a.m.

Time for a quick non-M3 related project!  The M3 has been dutifully racing for the last year with nothing very exciting happening, hence the lack of updates.

I set up my new 80 gallon air compressor (19 CFM at 90 psi), routed all of the PEX piping, set up the air filtration/dryer, and ordered a whole lot of other supplies and completed my first "real" painting project on my mom's Acura TL.  I've done stuff with 2K rattle cans before, but now I've got real paint guns, and real high quality primers, paints, and clear coats.  Since my mom doesn't exactly have an eye for paint perfection, her car was the perfect test bed for all of my new tools so I could make my mistakes on her car before moving onto my own.  I made plenty of mistakes, but was able to correct almost all of them, and in the end I was very happy with how the job turned out.


After the stud welder and puller:


After epoxy primer on all bare metal and then body filler:


After 2K primer and blocking:


After clear base and base coat:


And after clear coat, cutting, and buffing:


Blending into the door and bumper were out of the scope of this project; my mom just wanted it fixed enough so rust wouldn't become an issue in the future.  I made a ton of mistakes, but learned from all of them.  The rear quarter panel "rust repair" project I did on the M3 three years ago will need to be re-done (properly this time with cutting and welding) as there are some rust bubbles coming through my repair area.  Now that I've got the hang of all my new toys/tools I can tackle the M3!

95maxrider
95maxrider Reader
10/31/23 1:20 p.m.

Well the 2023 rallycross season just wrapped up and I was able to pull off a season championship for the super competitive MR class, so I'm pretty pumped about that!  The car just keeps chugging along, so there haven't been any updates.  Until now..........

Remember a few years ago when I did a very amateur attempt at "rust repair" on the rear quarter panel of the M3?  Well, that work had started to fail and rust bubbles were popping through.  Here's a reminder of what it looked like back then before I did my janky repairs:


And here's what it looked like before I started the project a month or so ago:


I knew that I was going to need fresh metal to do this properly, and thankfully since then I taught myself how to "weld" and "paint".  I bought a replacement section for the outer part of the fender, but I needed something for the inner section too, so I found a car being parted out locally and went to chop out what I could.


There were some other rusty areas that I wanted to repair at the same time:

Under the DS tail light:


And around the trim on the trunk:


Thankfully I now also have a big media blasting tank, so I can get rid of rust correctly.

I started by taking it down to bare metal to see how far out the previous damage extended.  I think I counted something like 9 layers of primer/paint on this panel!  The original paint, the hack repair done before I bought the car from when it was t-boned, and then my first hack job.


Lots of filler down here too


Oooh boy


The inside of the wheel well was all crumpled up from the accident.  Welding this was going to be a real challenge.


So I started by cutting off the outer panel, and was greeted by an unholy mess on the back side of the inner panel.


I then cut out as much of the inner panel as I could, and blasted the rest with coal slag to prepare it for welding and eventual paint.


This is where I want to note that according to my measurements, this inner sheet was something like 24-25 gauge sheet metal, and the metal remaining on the car was even thinner due it parts of it having started to rust.  As someone who barely knows how to weld, this presented another challenge.

I eventually got it welded up as best I could.  Some of the areas that were tucked up in the body were so hard to access and the metal so thin that I just couldn't get them to weld.  Not to mention I was trying to get the shape of my crumpled inner panel to match up with the one I cut from the other car.  I eventually had to put my OCD aside and just accept it wasn't going to be perfect.


I then used my Mastercoat silver primer on the panel.  I am DONE with POR15, as it is JUNK!  Mastercoat is an industrial coating and has excellent results in various salt spray tests and is used on a lot of old muscle car restorations.  From what I've seen and read, it performs better than my SPI Epoxy Primer, which itself is known as a top of the line primer and is great at preventing rust.  The prep work needed for Mastercoat is also much simpler than that mess you have to go through for POR15.  It's pretty damn thick and had no problem sealing up pinholes and other gaps between panels.


95maxrider
95maxrider Reader
10/31/23 5:02 p.m.

I decided to cut out some more gnarly looking metal and replace it with fresher stuff...


And I did my best to tie the inner metal into what I started calling the "middle" metal around the door arch.  It was originally one piece from the factory, but there was no way I could replicate that.


I coated the inside out the outer sheet with more Mastercoat


And then spent a LONG time test fitting the damn thing.  I started the test fit going from left to right, but it wasn't until I got everything on the left dialed in that I realized I should have gone from right to left!  The gap with the door was all messed up, so I had to re-do a whole lot of work in order to get the door gap corrected. 


But eventually, I got it done.  I didn't put any gap (usually 1/16" IIRC) between the panels, as I didn't want to risk blowing through to gap.  I am a complete amateur after all.  This also led me to keep the settings a little low on the welder.  It would have been one thing if I had access to the back of the panel and could use a copper heat sink, but I didn't, and so I welded it up with basically no gap and slightly cold weld settings.  Sure enough, I didn't blow through it once, but the lack of gap did cause some warpage when the pieces couldn't expand properly when they heated up.  I did blow each weld off with my air gun to keep the temps down though.  I did a few rosette welds along the door curvature where the two pieces met, but for the most part there was a big gap between them that I later filled with glass filler.


Then I pulled the car out to strip off the rest of the paint.  I got some paint stripping discs for my angle grinder and got busy!  I discovered some previously unknown body work and a lot of filler up around the window...


So here's the rust under the DS tail light after peeling away some paint:


Stripped


And blasted with coal slag.  Bye bye rust, and hello hole!


And the same for the trunk rust:


All clean!


95maxrider
95maxrider Reader
11/3/23 12:24 p.m.

With the car back in the garage it was time to break out the welder again and get rid of the holes in the trunk lid from the old spoiler.  It wasn't a factory spoiler, and I think the E36 looks damn good without one, so I wanted to get rid of it.  When I removed it I also saw it wasn't sealed up with anything, so it was probably letting some water into the trunk.


Access inside the trunk was decent on one side, but inaccessible on the other, so the welds weren't great.  But I eventually got them good enough.


And I found out why there was so much filler under the rear window:


I wonder if those are remnants from previous stud welding/pulling?  The metal around the holes seems awfully smooth for that.

I did a few rounds of proper cleaning of the metal with the SPI waterbourne wax and grease remover, and laid down a few coats of epoxy primer.  This helped highlight some damaged areas that I couldn't see before, like this one by the tail light:


In my excitement/nervousness to spray the epoxy, I forgot to tack rag the surface before spraying, so I had a lot of debris in it and I had to waste a lot of time smoothing it out before moving on.  I eventually laid down some of the 3M Platinum body filler and got things level.


Since I had gone through to bare metal in a number of places, I laid down another coat or two of epoxy before moving onto the 2K.  Once again, I had globby areas like the ones shown below in some spots, and as a newbie, I'm not sure what to make of them.  Did I just get my overlap wrong in that pass?  Was I moving too slow with the gun?  Most areas turned out okay.  I'm using an LPH400 at 26 psi for epoxy and clear, and 20 psi for base.


Can anyone hazard a guess as to what I'm doing to cause that?

During the paint phase I was under a huge time crunch to get the whole job finished before the final race of the year, so I didn't sand certain steps nearly as well as I should have, and it came back to bite me.  I eventually was able to get things smooth enough for the base coat, but it could have been even better if I had more time.  I sprayed thinned epoxy as sealer over the 2K, and while it sprayed better/smoother than regular epoxy, I got a few areas of the globby stuff like shown above, so I had to smooth out all of the sealer before spraying base.  I took it up to 600 grit, but I think 800 or 1000 would have been even better if I had the time.  Thankfully I sprayed two coats of sealer (instead of the recommended one) so I didn't sand through in any areas to metal or 2K.


Thankfully the base went on great, with only one small run where I got my overlap wrong.  I did two coverage coats, and then I tried my hand at a drop coat to cover/hide any mottling/striping.  I had plenty of that when I did my hack job three years ago with rattle cans, but this came out perfect!


I used the SPI Production Clear and sprayed 4 coats, but it didn't go down as smooth as I was hoping, especially on the horizontal surface of the trunk.  There's a lot of orange peel in the finish, and I need to spend a lot of time cutting and buffing it.  I thought I was spraying it on wet enough, but I guess I wasn't.  How can I fix that in real-time as I'm spraying?  If I see my first coat isn't smooth/wet enough, can I immediately lay down another layer on top?  Do I need to treat horizontal surfaces different than vertical ones?

In the end, I think I can save it with cutting and buffing, but I'm embarrassed by the initial finish.  But I got it done the afternoon before the race, so I'll take the win where I can get it.


Even with the poor finish, it sure has great shine and depth to it!  I'm not sure how people can blend this stuff with older clear coat, even if it's in good condition and shiny, because it just looks so good.  Granted, that wasn't the goal on this car, since the paint/CC is shot on the two PS doors, but I'm just curious.  This job is to tide me over for a few years until I can respray the whole car in the factory Estoril Blue, like this:


Drool....
 

95maxrider
95maxrider Reader
12/31/23 8:48 a.m.

I figured I would wrap up the paint process with pics of the cutting and buffing results.  This was my process:

Assilex 1500 dry
Buflex 2500 dry
Trizact 8000 dry
ACA 3D 510 on a foam pad
ACA 3D 520 on a foam pad

For whatever reason, the orange peel/finish on the top of the trunk was horrible, while the finish on the vertical panels was acceptable.  I'm not sure if it had something to do with the top of the trunk getting sprayed last in the process, or the flow from the fans behind me, but it was bad.  But since I sprayed four coats of clear I figured I could sand it down pretty close to flat.  Although I had done a little cutting and buffing on my first project, this was the first time I was able to take my time and really do it until I was happy.  And in the end, I was very happy!

Trunk before:

Trunk after:

Rear quarter before:

and after:

C pillar before:

and after:

I've owned this car for 8 years now, and its primary purpose has been racing in rallycross, so the appearance has never been a top priority.  It didn't help that so much of the paint was trashed, so I never thought it would be worth the effort to do more than hit it with the power washer.  But with it looking so good in the back, and with the contrast so great with the other panels, I thought I would finally detail the whole car.  The paint on the passenger side is some junky respray, while I think the paint on the driver's side is original.  In the end, I was able to bring back a lot of shine, and the new paint doesn't stick out so bad.

So that wraps up this project.  I made a lot of mistakes, and learned a lot from them, so my next painting project will be ever better :)

irish44j (Forum Supporter)
irish44j (Forum Supporter) MegaDork
1/1/24 4:41 p.m.

looks great. So good, in fact, that you should probably just go find an old e28 to rallycross next season ;) you don't want that nice detail getting all dirty :)

95maxrider
95maxrider Reader
1/1/24 5:07 p.m.
irish44j (Forum Supporter) said:

looks great. So good, in fact, that you should probably just go find an old e28 to rallycross next season ;) you don't want that nice detail getting all dirty :)

Yeah, you're probably right.  But I did put two nice coats of sealant on the car, so all the dirt should just come right off  :D

95maxrider
95maxrider Reader
6/1/24 12:18 p.m.

With nothing left to do to the car, I decided to busy myself with a fresh stereo install.  More bass make you go faster, right?  Here's a quick recap on what I've got and my thinking for the future.

The car still had its original Harmon Kardon "premium" stereo when I bought it, but a lot of the front speakers were blown out.  I kept things alive for as long as I could by installing original speakers I found at junkyards, but after 4 years or so, I eventually decided to rip it all out and install new stuff.  I tried to build a decent stereo as cheaply as I could, so I replaced the 3 way front speakers with a 2 way set of JBL GTOs, and 6x9 GTOs in the rear deck.  Powering it was a 100w RMS x 4 RF amp.  And you know what?  I was pretty happy for a few years.  It was worlds better than the factory setup.  I eventually wanted more bass, so I added a JBL BassPro SL2 underseat sub.

One thing to keep in mind about the limitations for the stereo is that I can't have a traditional sub in a box.  When I drive to a race, the car is packed to the brim with 8 wheels/tires, and all of my gear, so there's no room anywhere for something bigger than that wimpy under seat sub.  And before you ask, no, I don't want to just remove the sub when I drive to races and reinstall it when I get home.  I often have to drive 2 hours to get to a race, and I need that bass all the time :D

But over the years of listening to my very budget build (seriously, I think the total cost with the sub was less than $500), I was getting pretty fed up with its inadequacies.

First up was the front stage.  The E36 has 5.25" speakers in the kick panels, which play directly into your ankles.  There was pretty much no bass from the front stage.  Then there was the fact that I downgraded from the factory 3 way to a 2 way setup.  This forced much of the mids to be played from the 5.25s, which are incredibly off-axis.  You can't see the driver's speaker when in the seat, and you can barely see a sliver of the one of the passenger side.  So the reproduction of vocals was pretty bad, and I really struggled to hear things when driving.

This forced me to rely on the rear 6x9s to hear mid range frequencies, and well as most of the bass (until I got that under seat sub).  So the sound stage was pretty terrible.

Adding the JBL under seat sub helped improve the bass situation, but not by much.

So after 4-5 years, it was time to upgrade again.  I wanted to do it right this time, and not really leave any room for future upgrades.  First thing I knew I needed was a 3 way front stage to help bring the mids back closer to ear level.  My ankles just don't hear as well as they used to!  I toyed with off the shelf setups in the $500 range, but it seemed a lot of options in that price range weren't actually much of a quality upgrade over the JBLs I had, they just had an additional speaker.  I eventually settled on the Stereo Integrity speakers:

TM65 mkIV

M3 Carbon

M25 mkII

But of course, this meant I would need to make 6.5s fit where the 5.25s currently reside.  And I would need to figure out a crossover solution, since SI doesn't offer one, and I wasn't going to run active.  I picked up all the SI parts over their winter sale, so the total cost wasn't too far off what a mediocre off the shelf 3 way setup was going to cost.

I decided to piece together a crossover network made up of Dayton Audio parts.  They have a pretty wide selection available:

https://www.daytonaudio.com/category/35/assembled-crossovers

I found parts for the right frequencies and impedance, but they only offered them with 12 dB slopes instead of the recommended 24 dB slopes SI recommends.  Oh well.  I picked them all up on sale from Parts Express at their winter sale for something like $100 total.

Next up was a more powerful 4 channel amp.  I settled on a used Alpine PDX-F6 with 150w RMS per channel, partially based upon this review:

https://www.audiosciencereview.com/forum/index.php?threads/alpine-pdx-f6-review-4-channel-car-amplifier.28870/

I can't say I understand any of it, but it sure sounds like a well engineered amp.

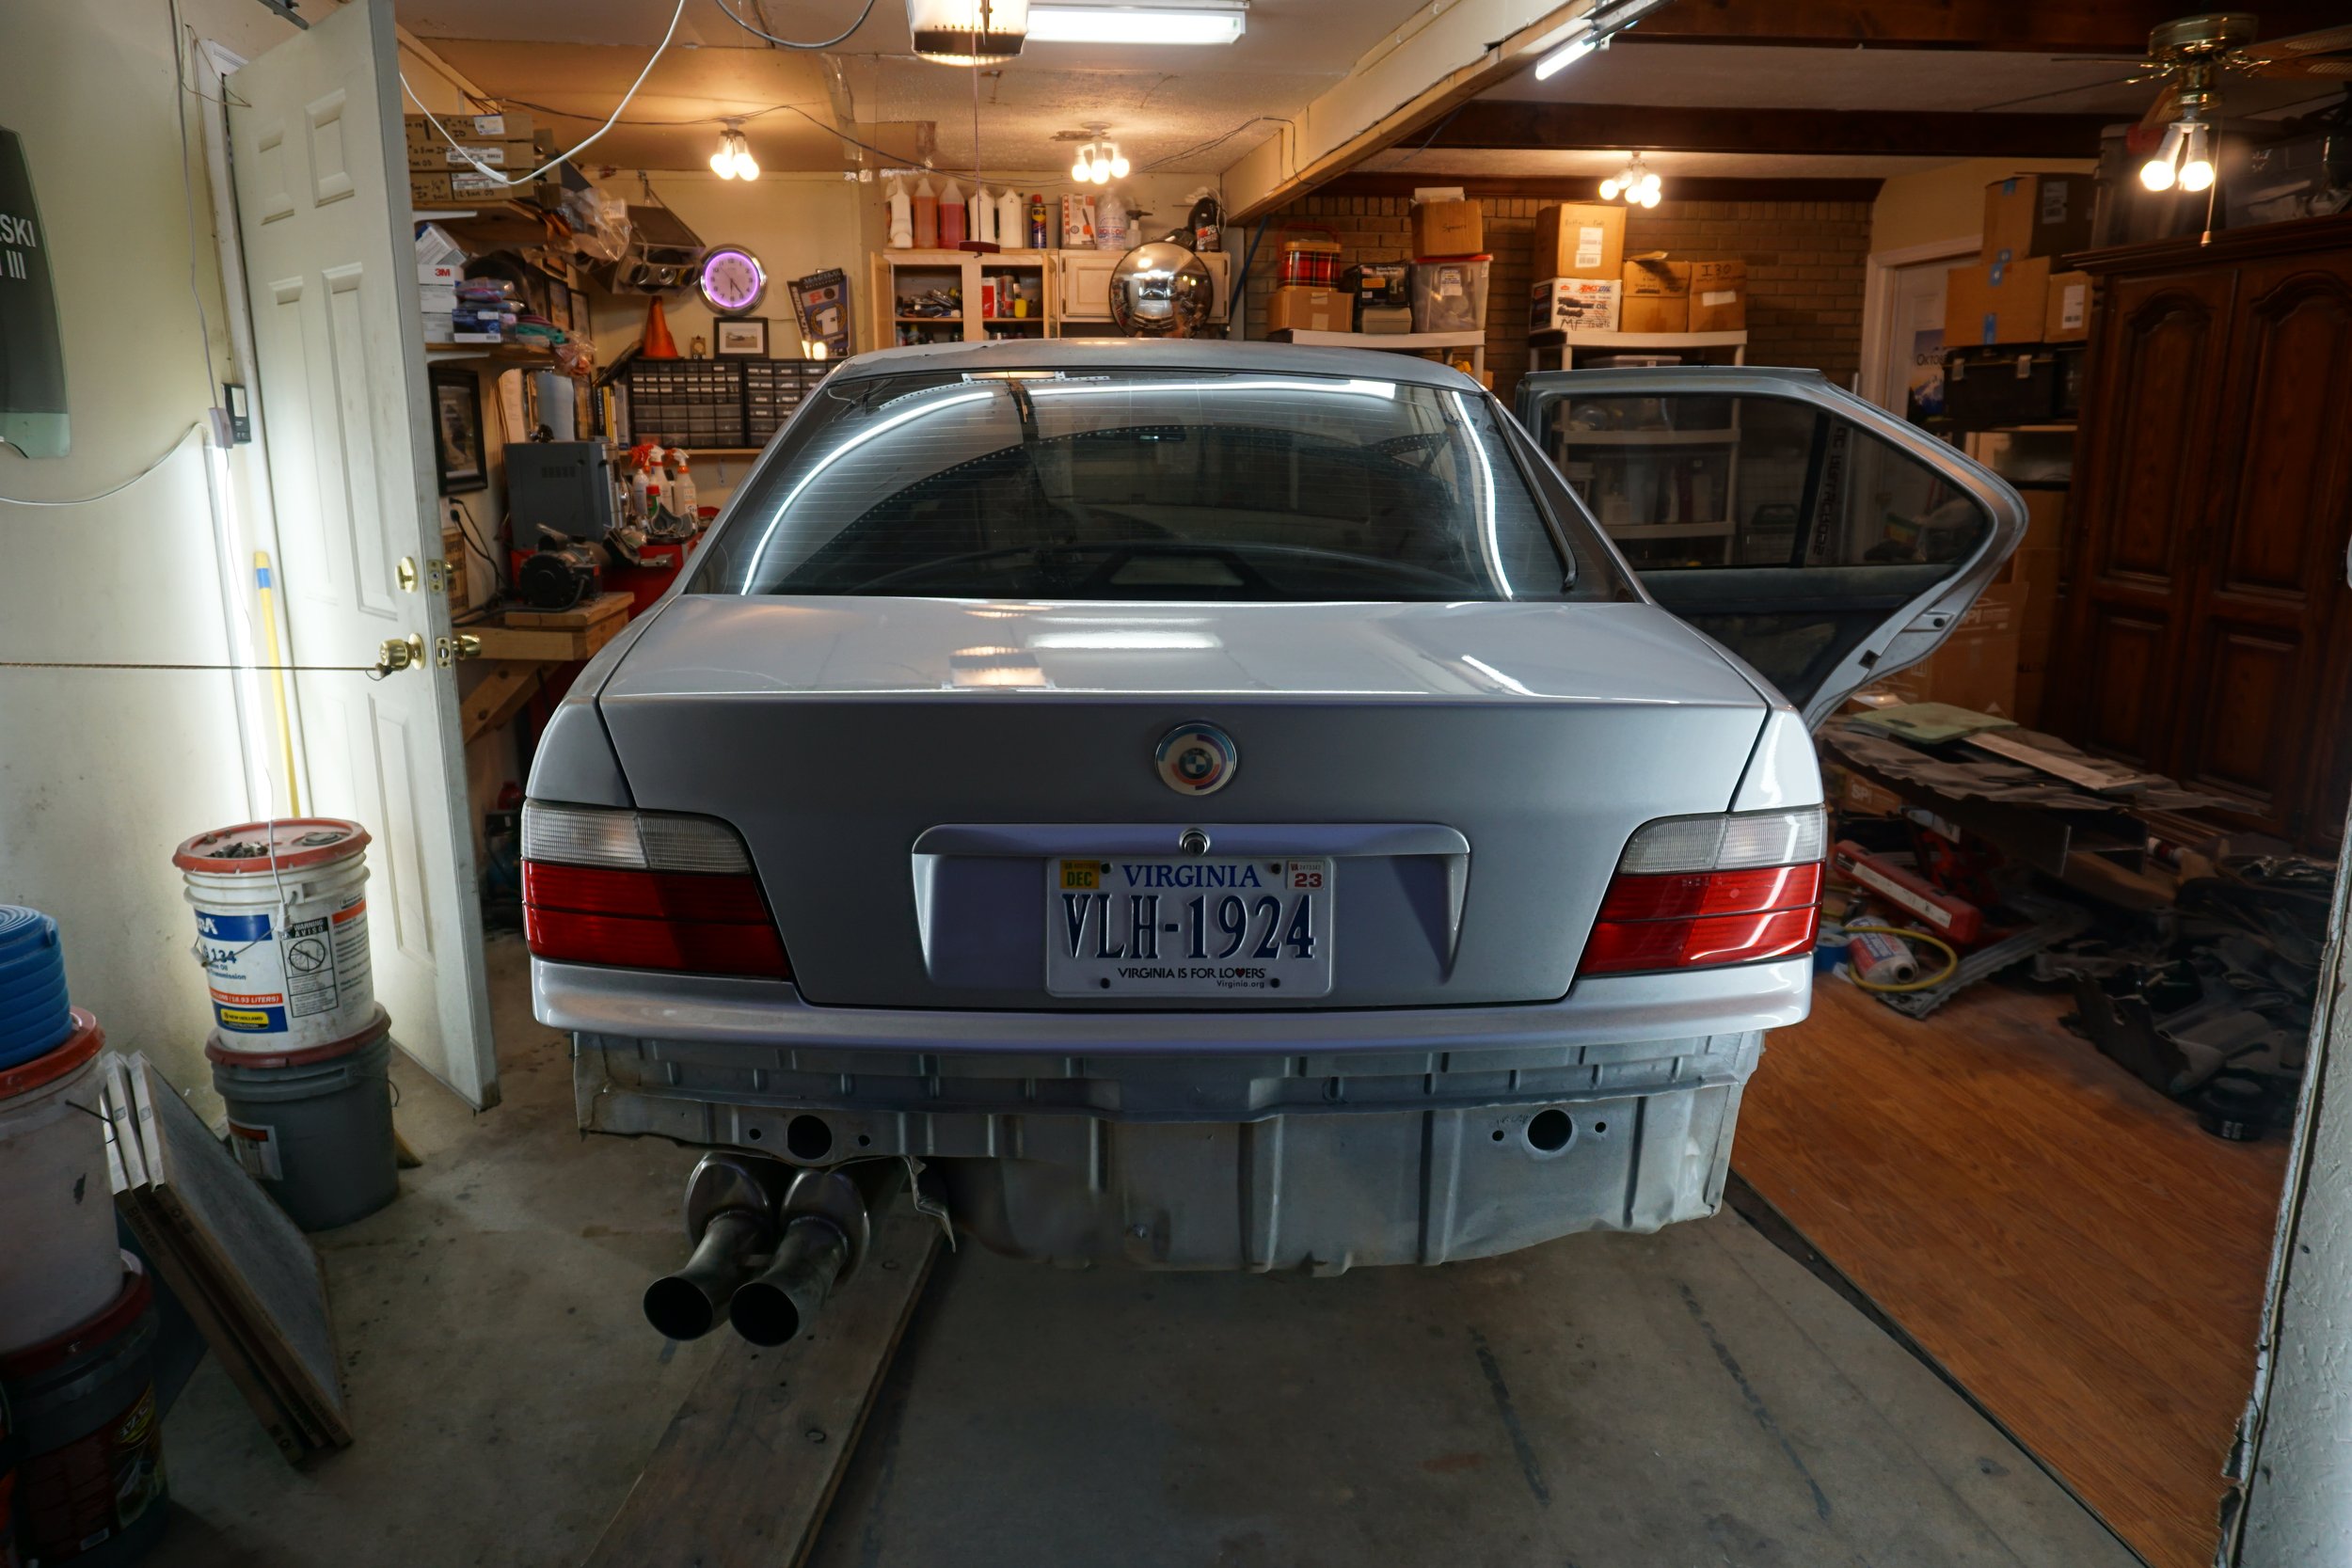
Anyways, enough talk.  Let's see some pictures!

These are, without a doubt, the nicest components I've ever owner!

Old 5.25 vs new 6.5

Gosh, I really hope these things will fit.  I don't have a Plan B.

It took a lot of work, and some very uncomfortable body contortions, but I was eventually able to get the 6.5s in there.  Thank god they are so shallow!  I did my best to seal up the cavity, but it's not perfect.

After quite a bit of trimming, I was barely able to get the factory covers to go back in place without interference.

Thankfully the mids and tweeters were very simple in comparison.  I made a spacer for the mid, which I epoxied to the door card, and then screwed the mid to that.  The tweeter just screwed on, super simple.

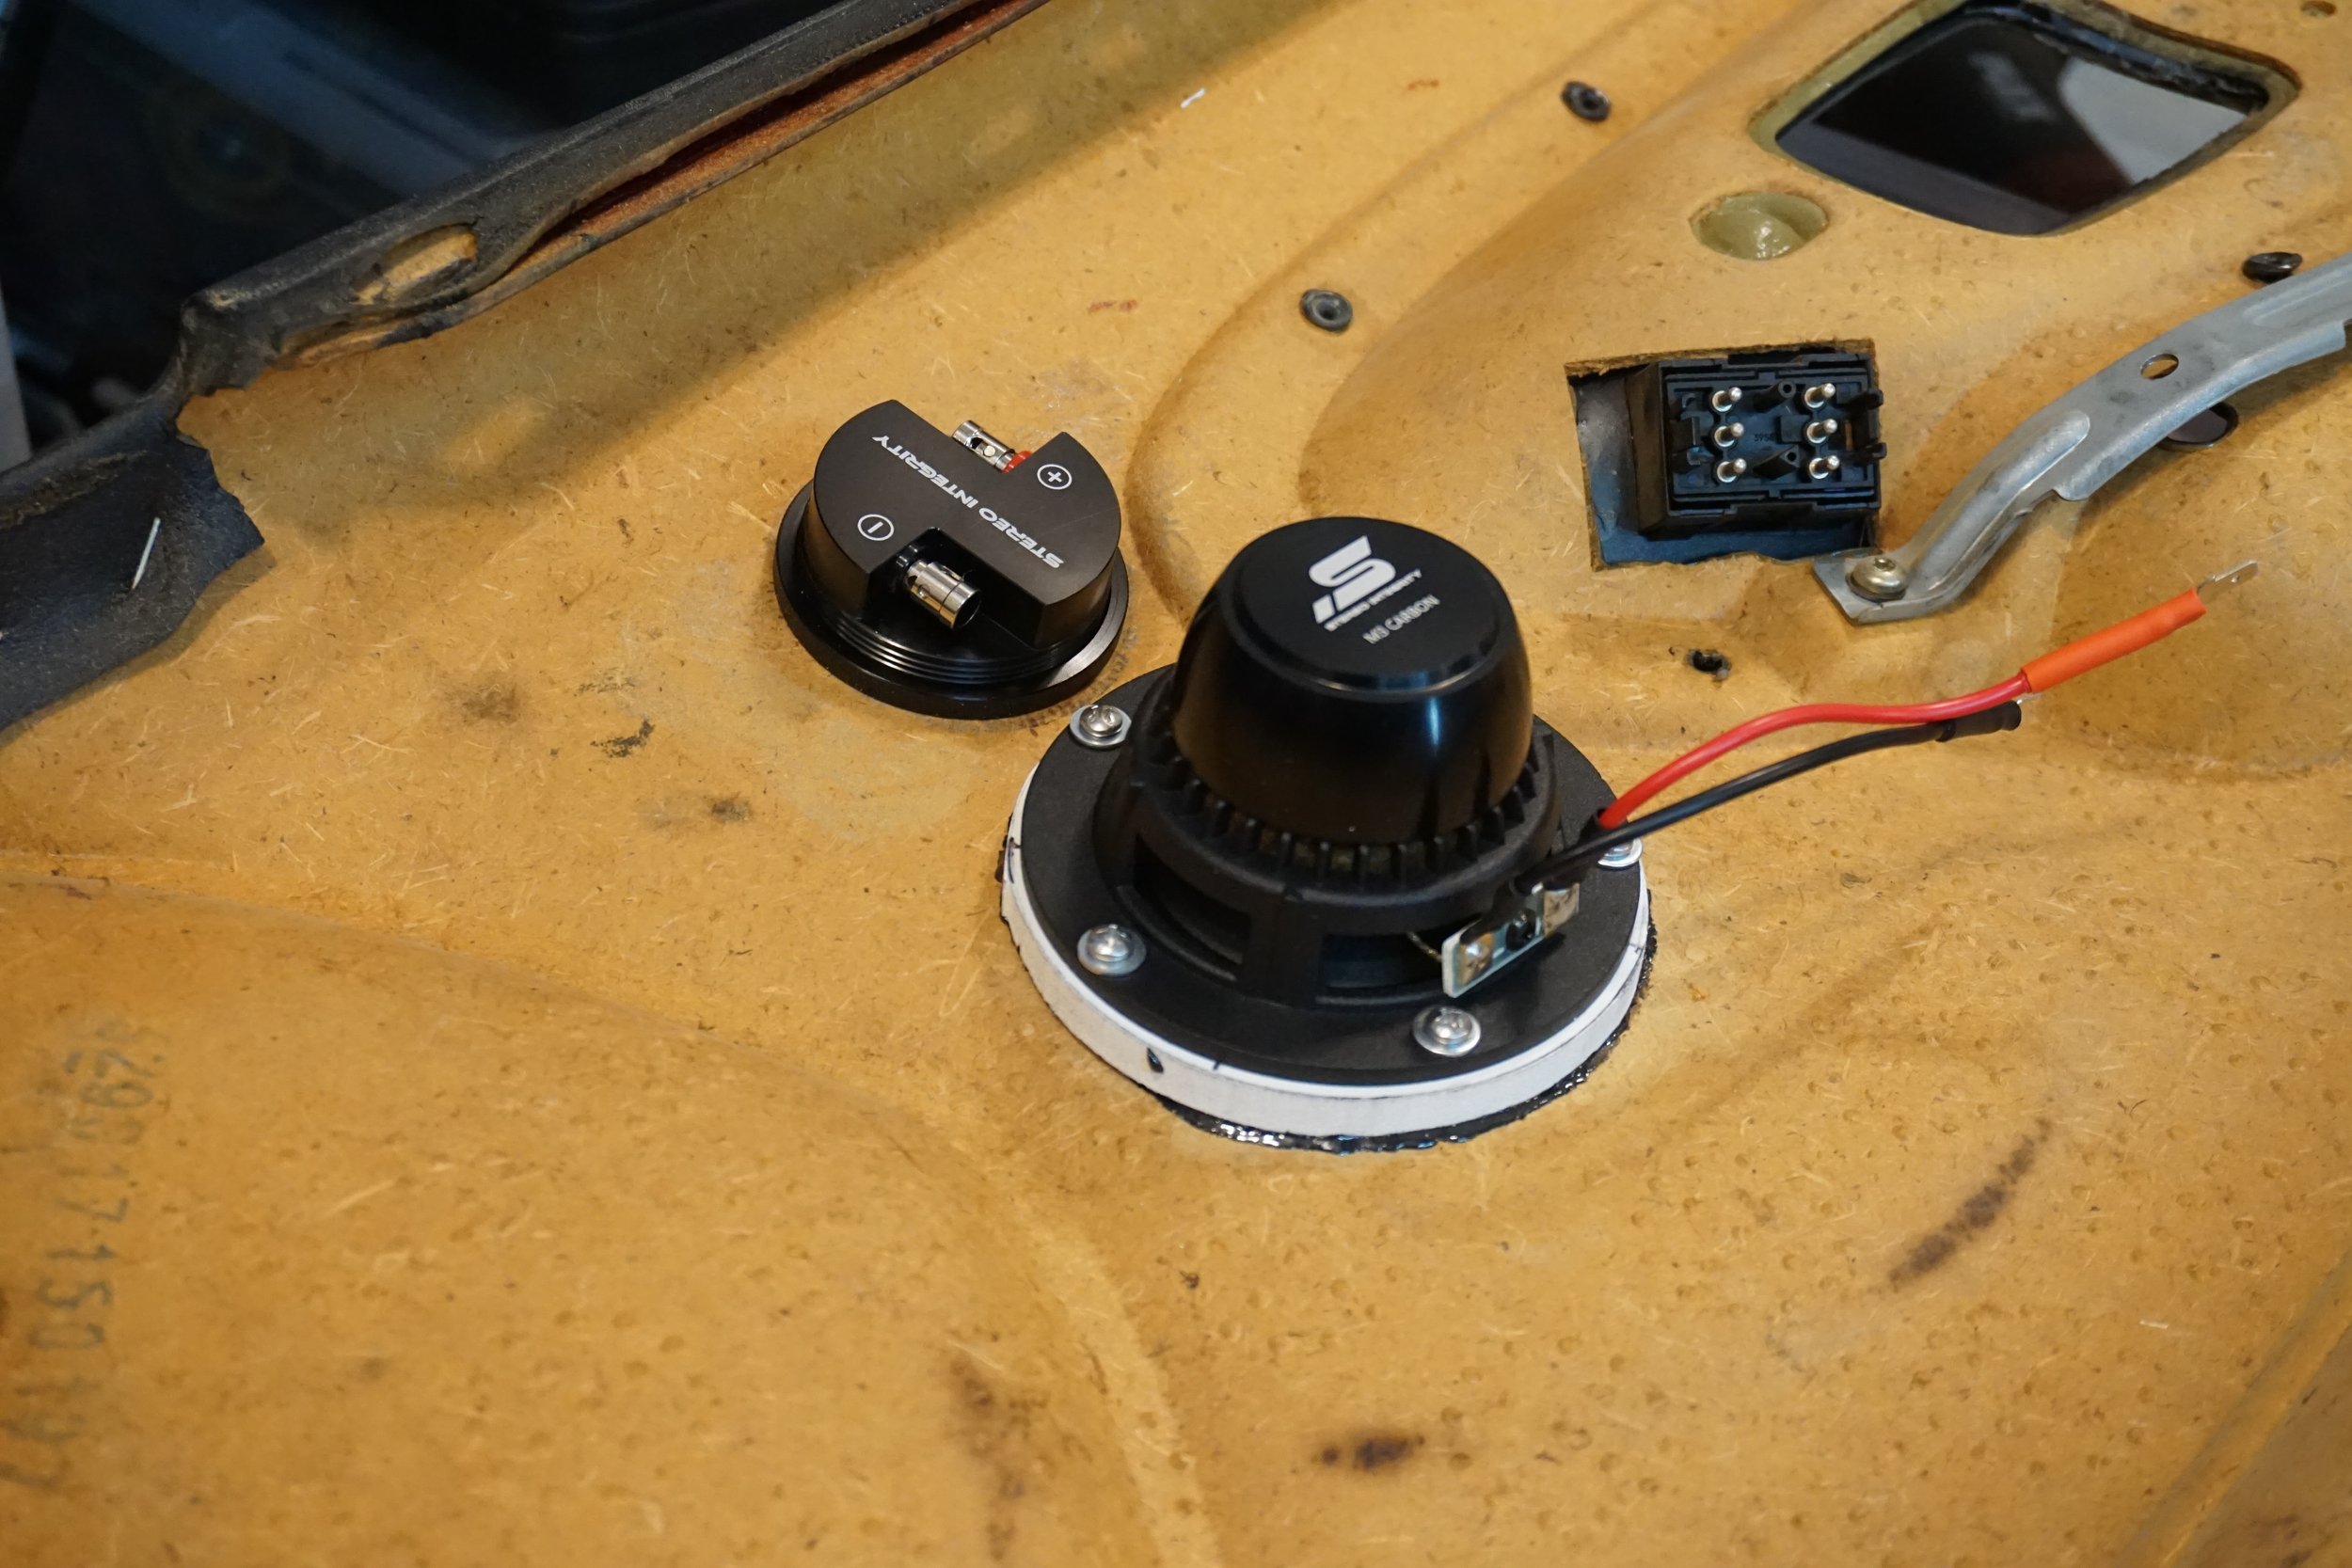
The SI grilles hadn't been released yet for the M3s, so I cut up the factory piece and glued it in place.

Far from beautiful, but it's functional.  This has generally been the theme for the car.

I ran all new 16 AWG OFC cable to each speaker, which was not much fun.

Time to head to the trunk.  Here's how the old RF amp was mounted.  Ignore the wires, this was mid-disassembly.

The new crossovers were....slightly larger than what the JBLs came with.  Quite a bit heavier too.

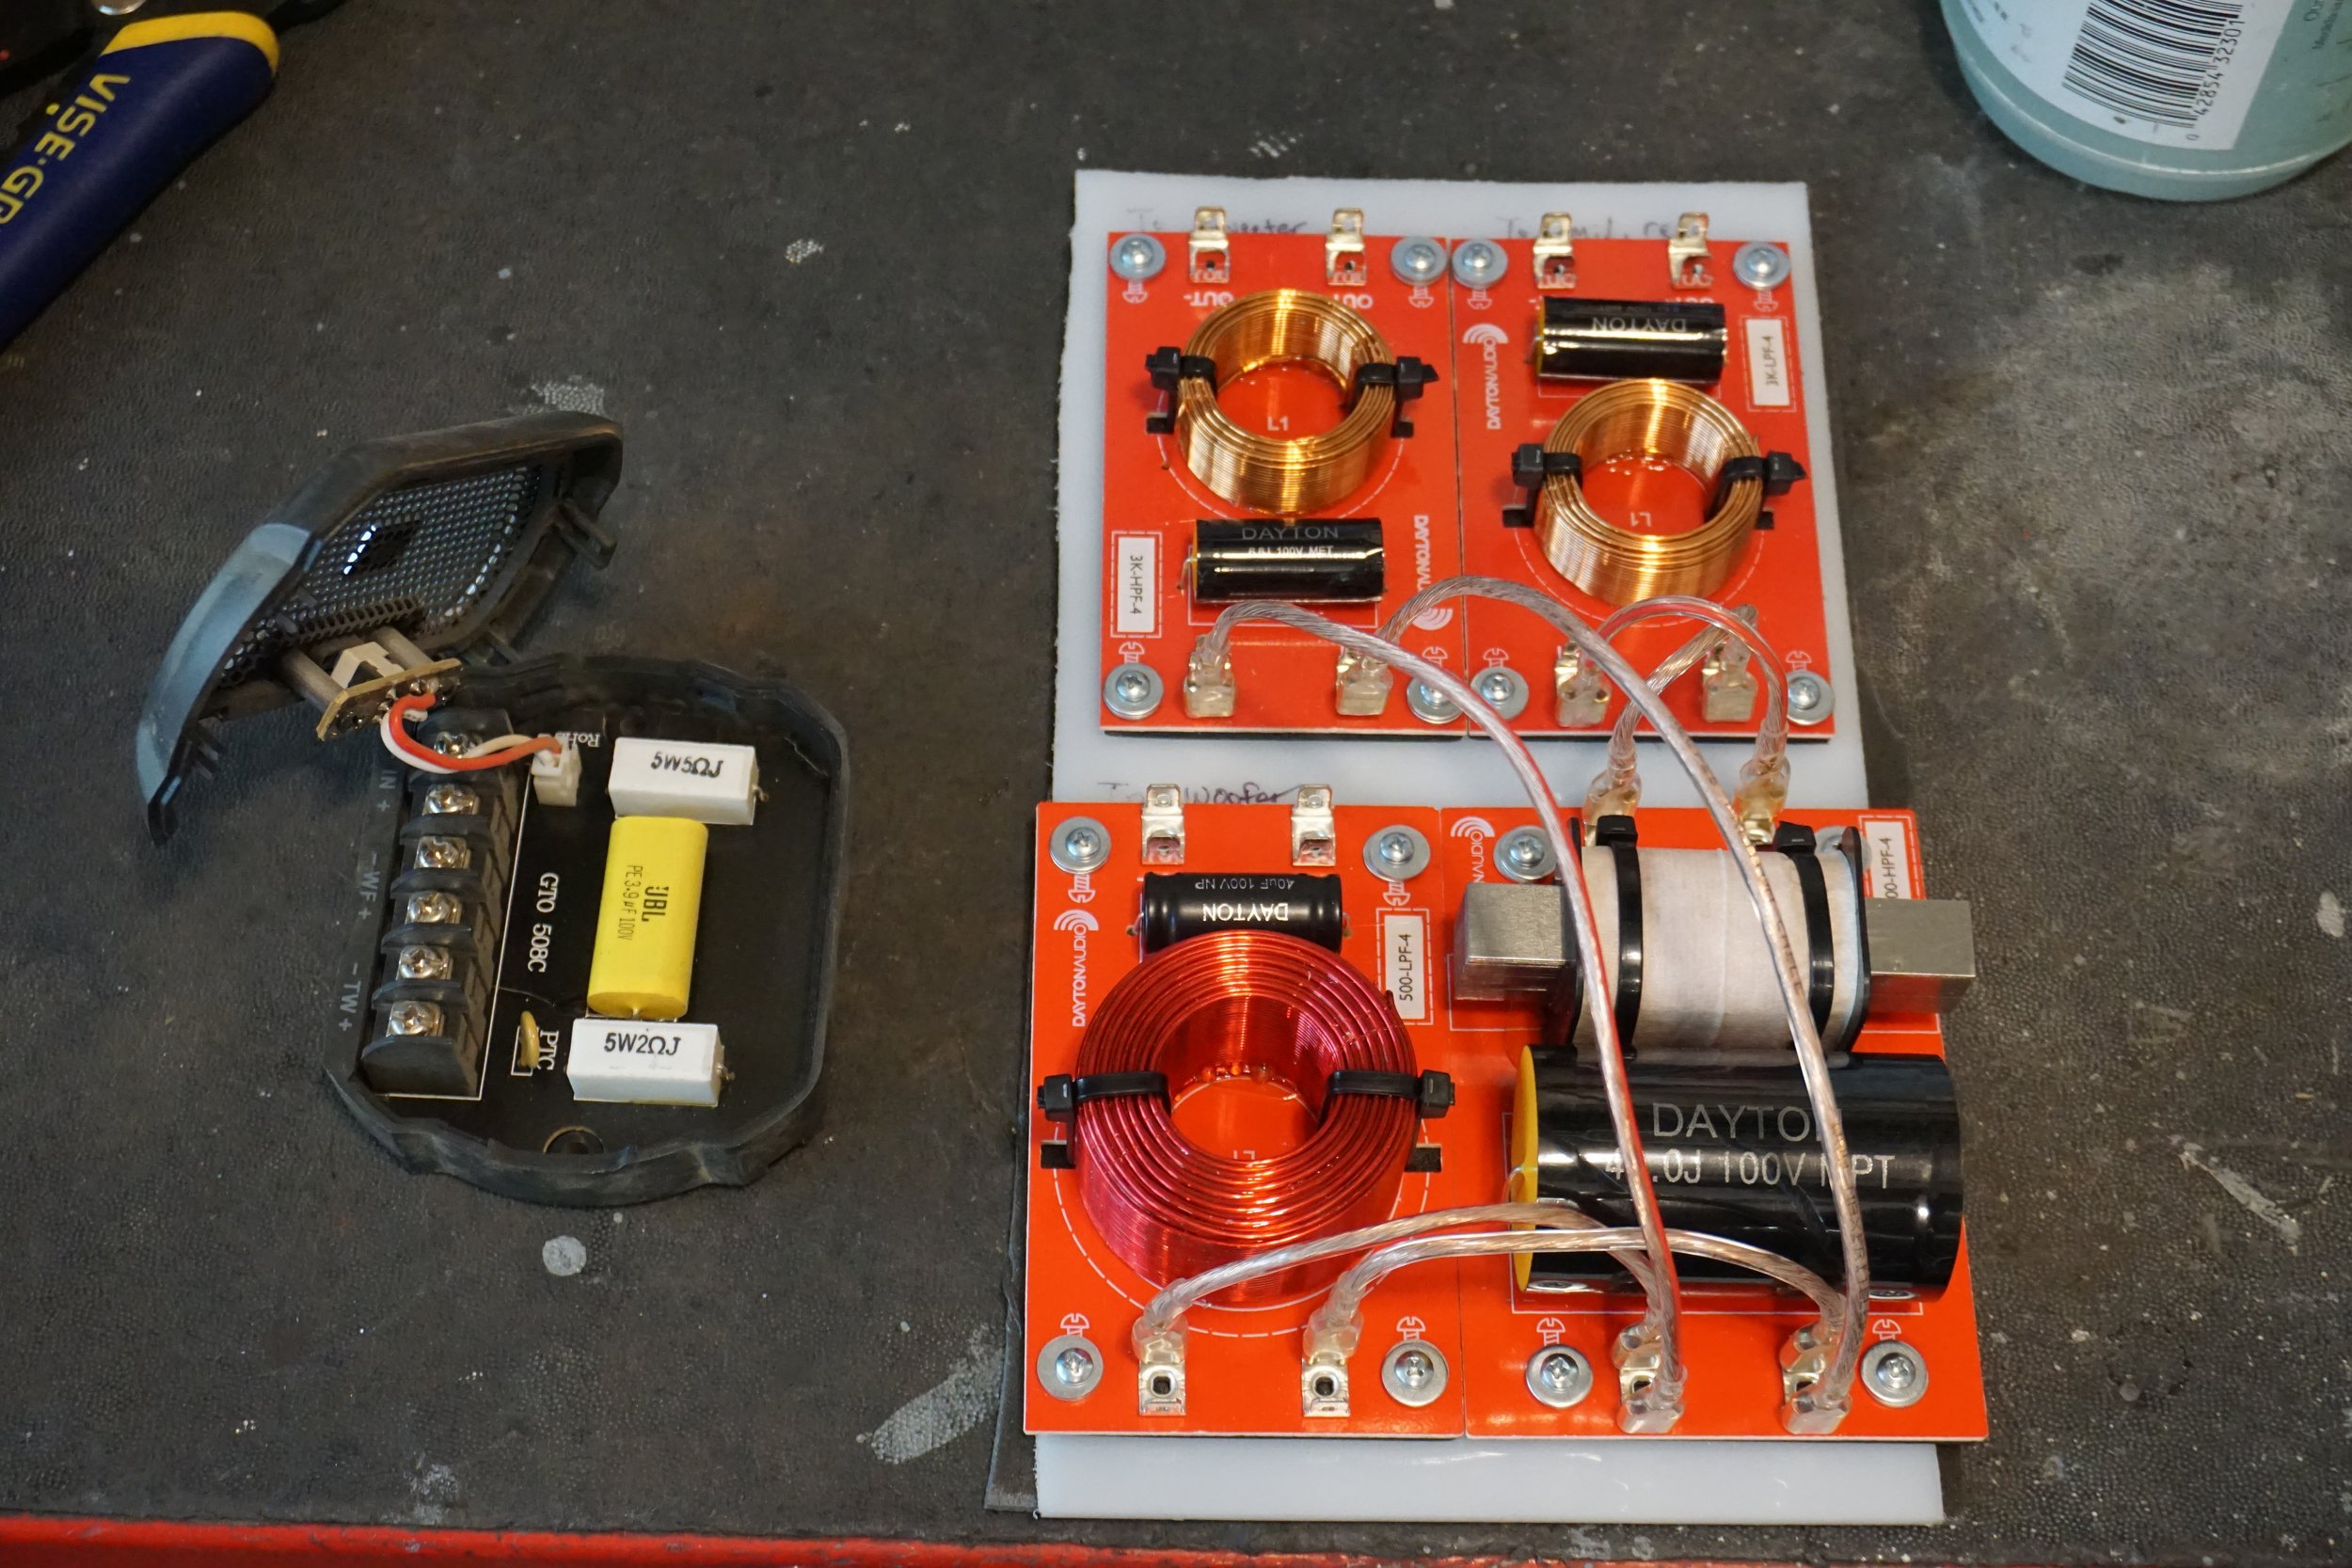
Which meant they couldn't be tucked up in the dash and had to be in the trunk.

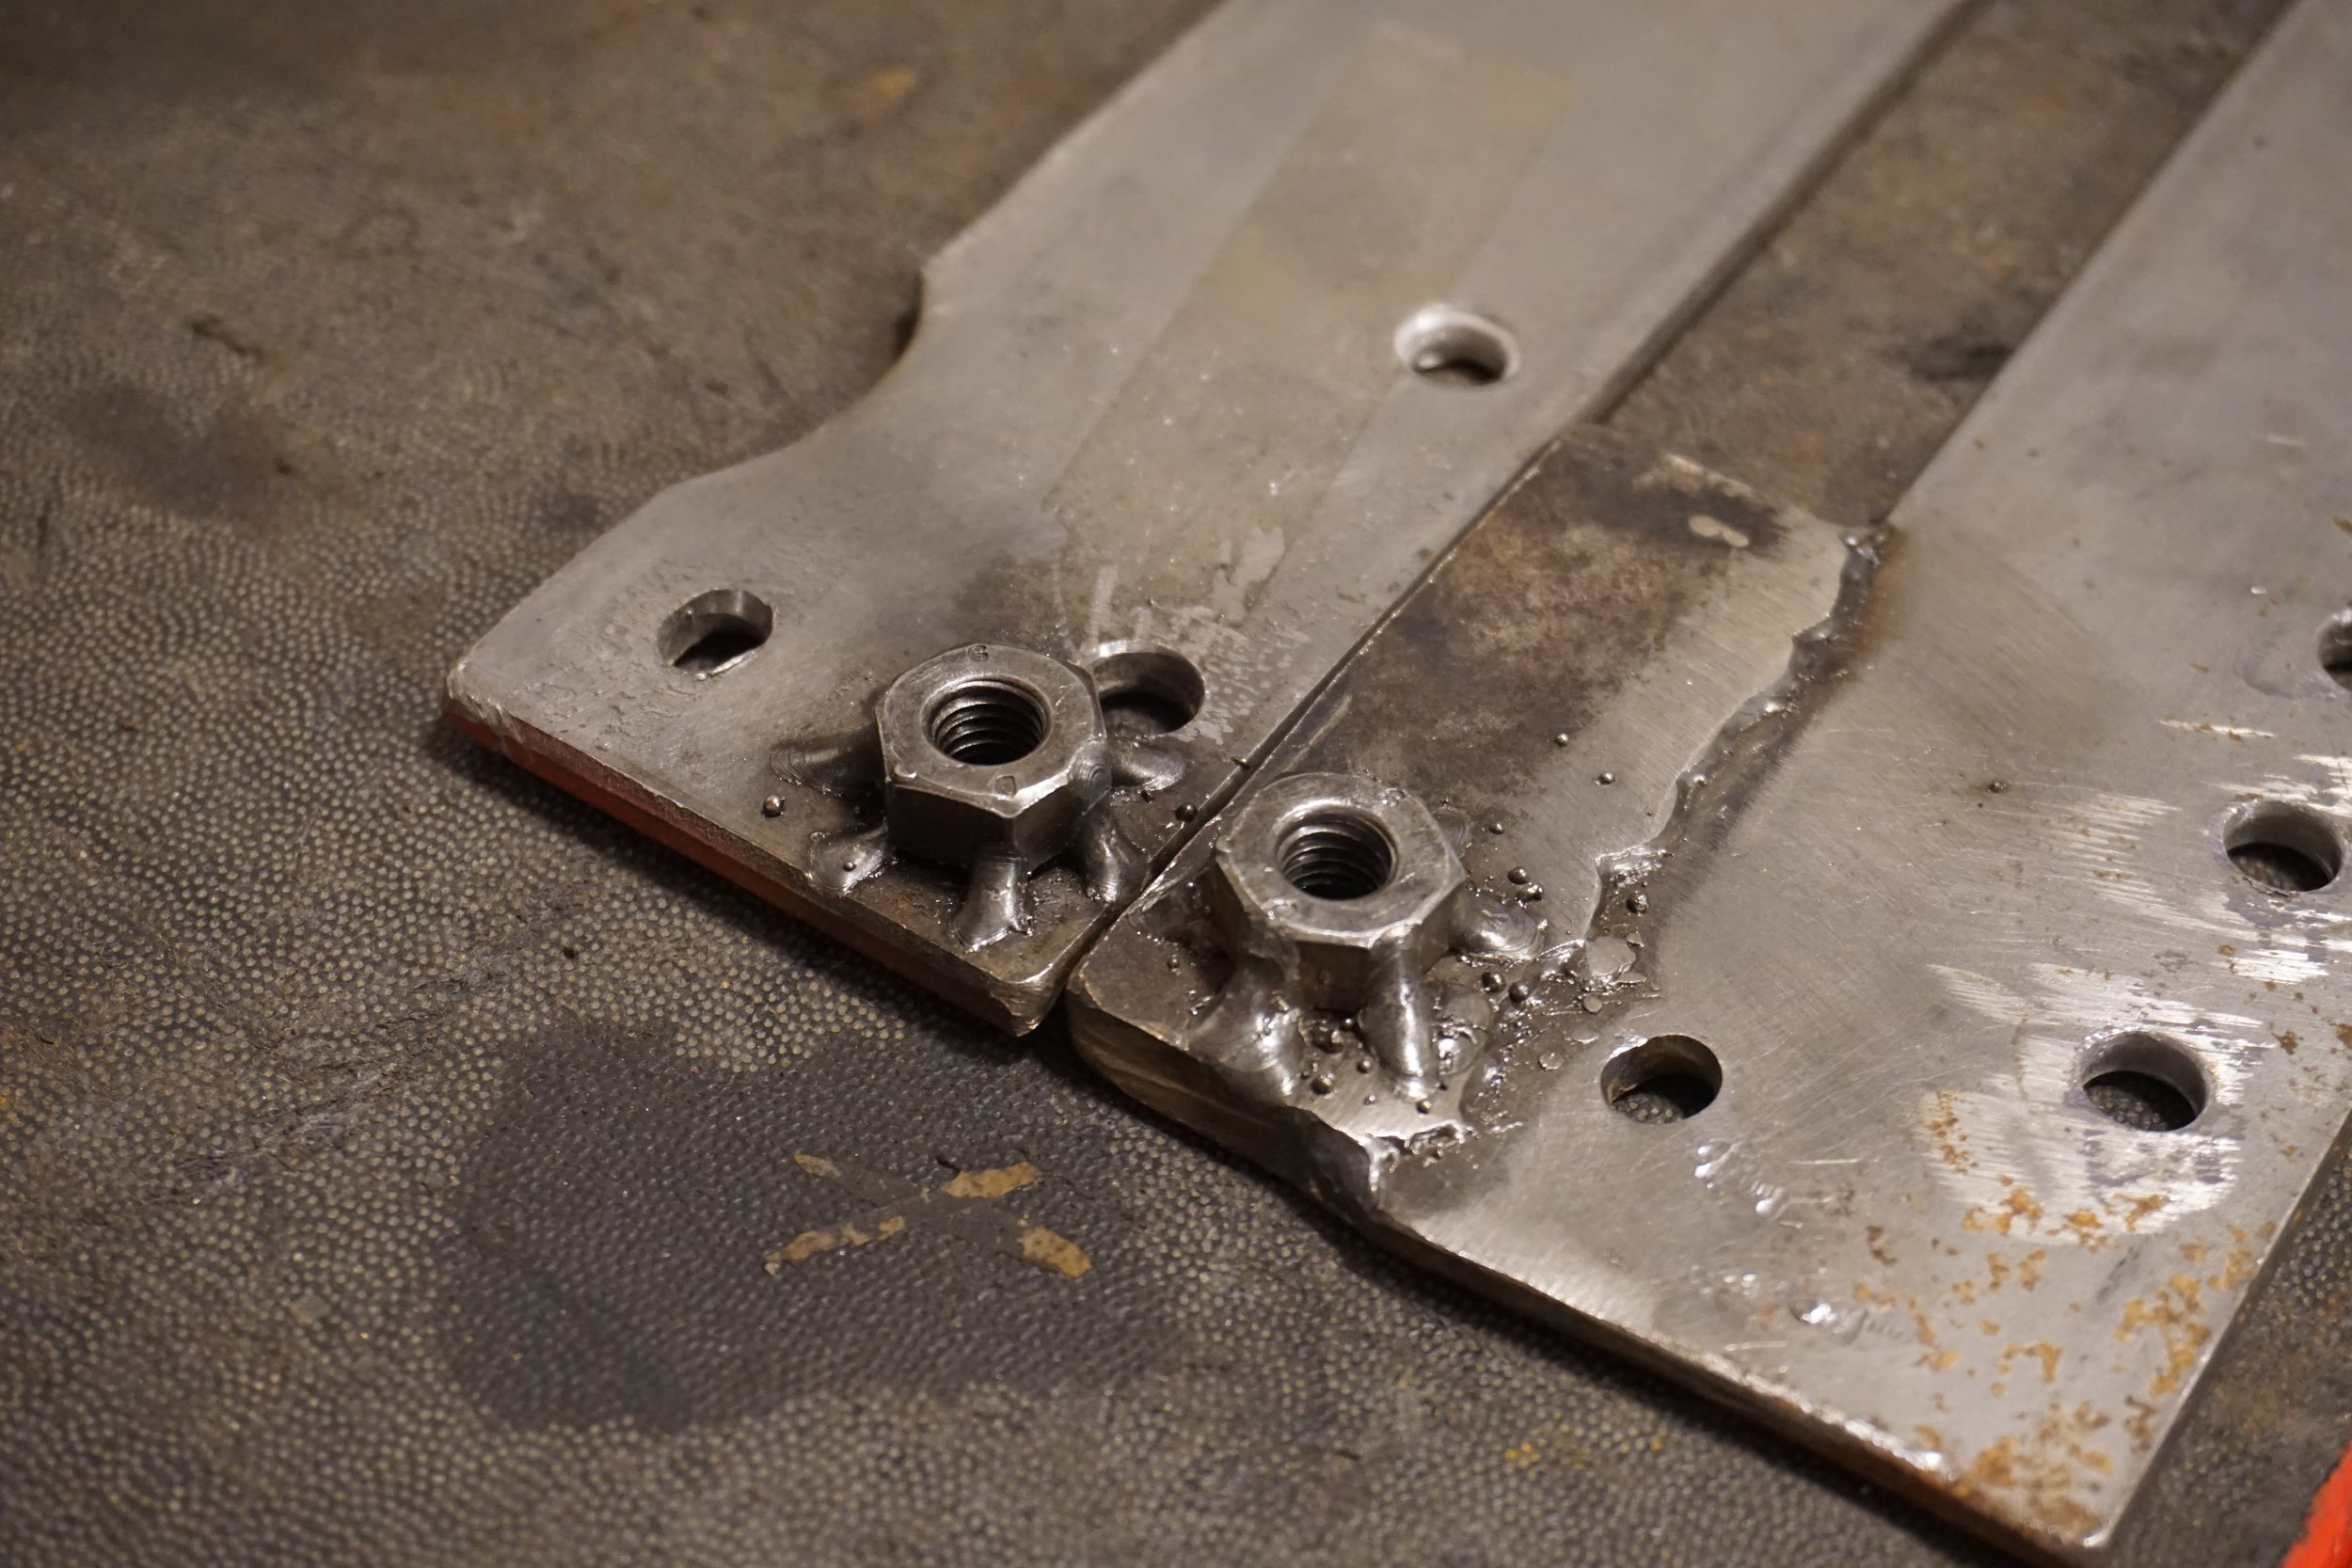
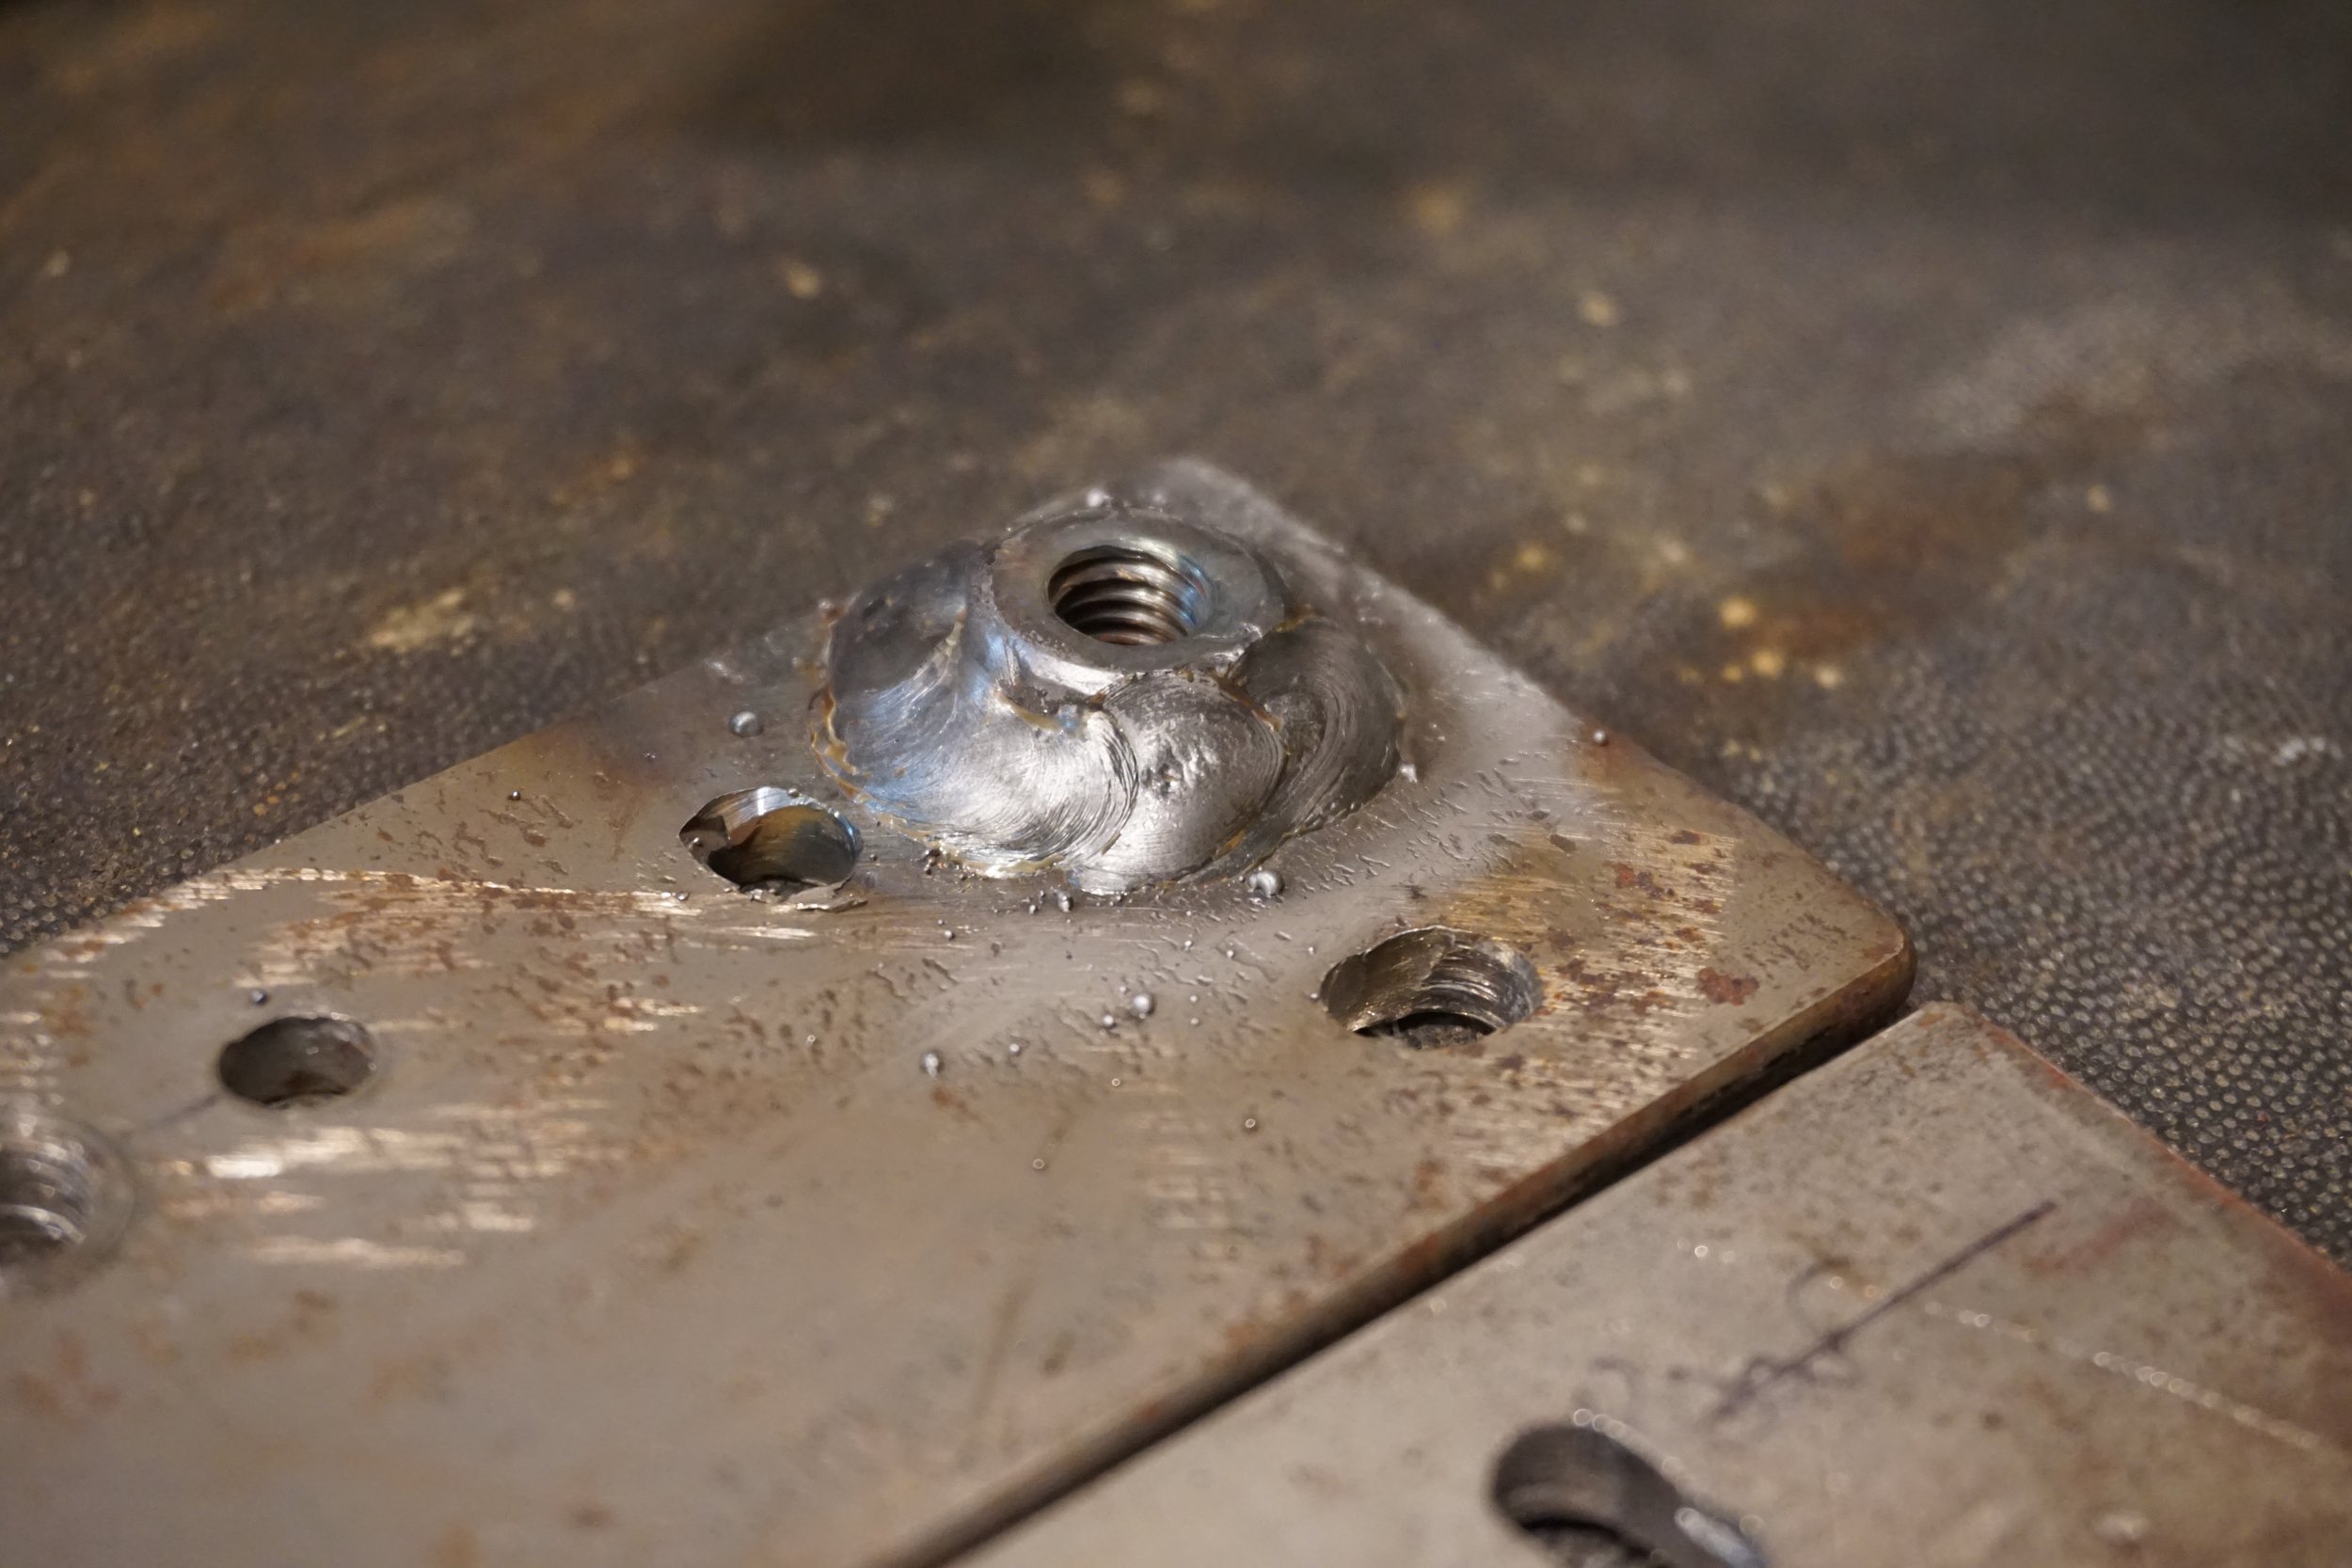
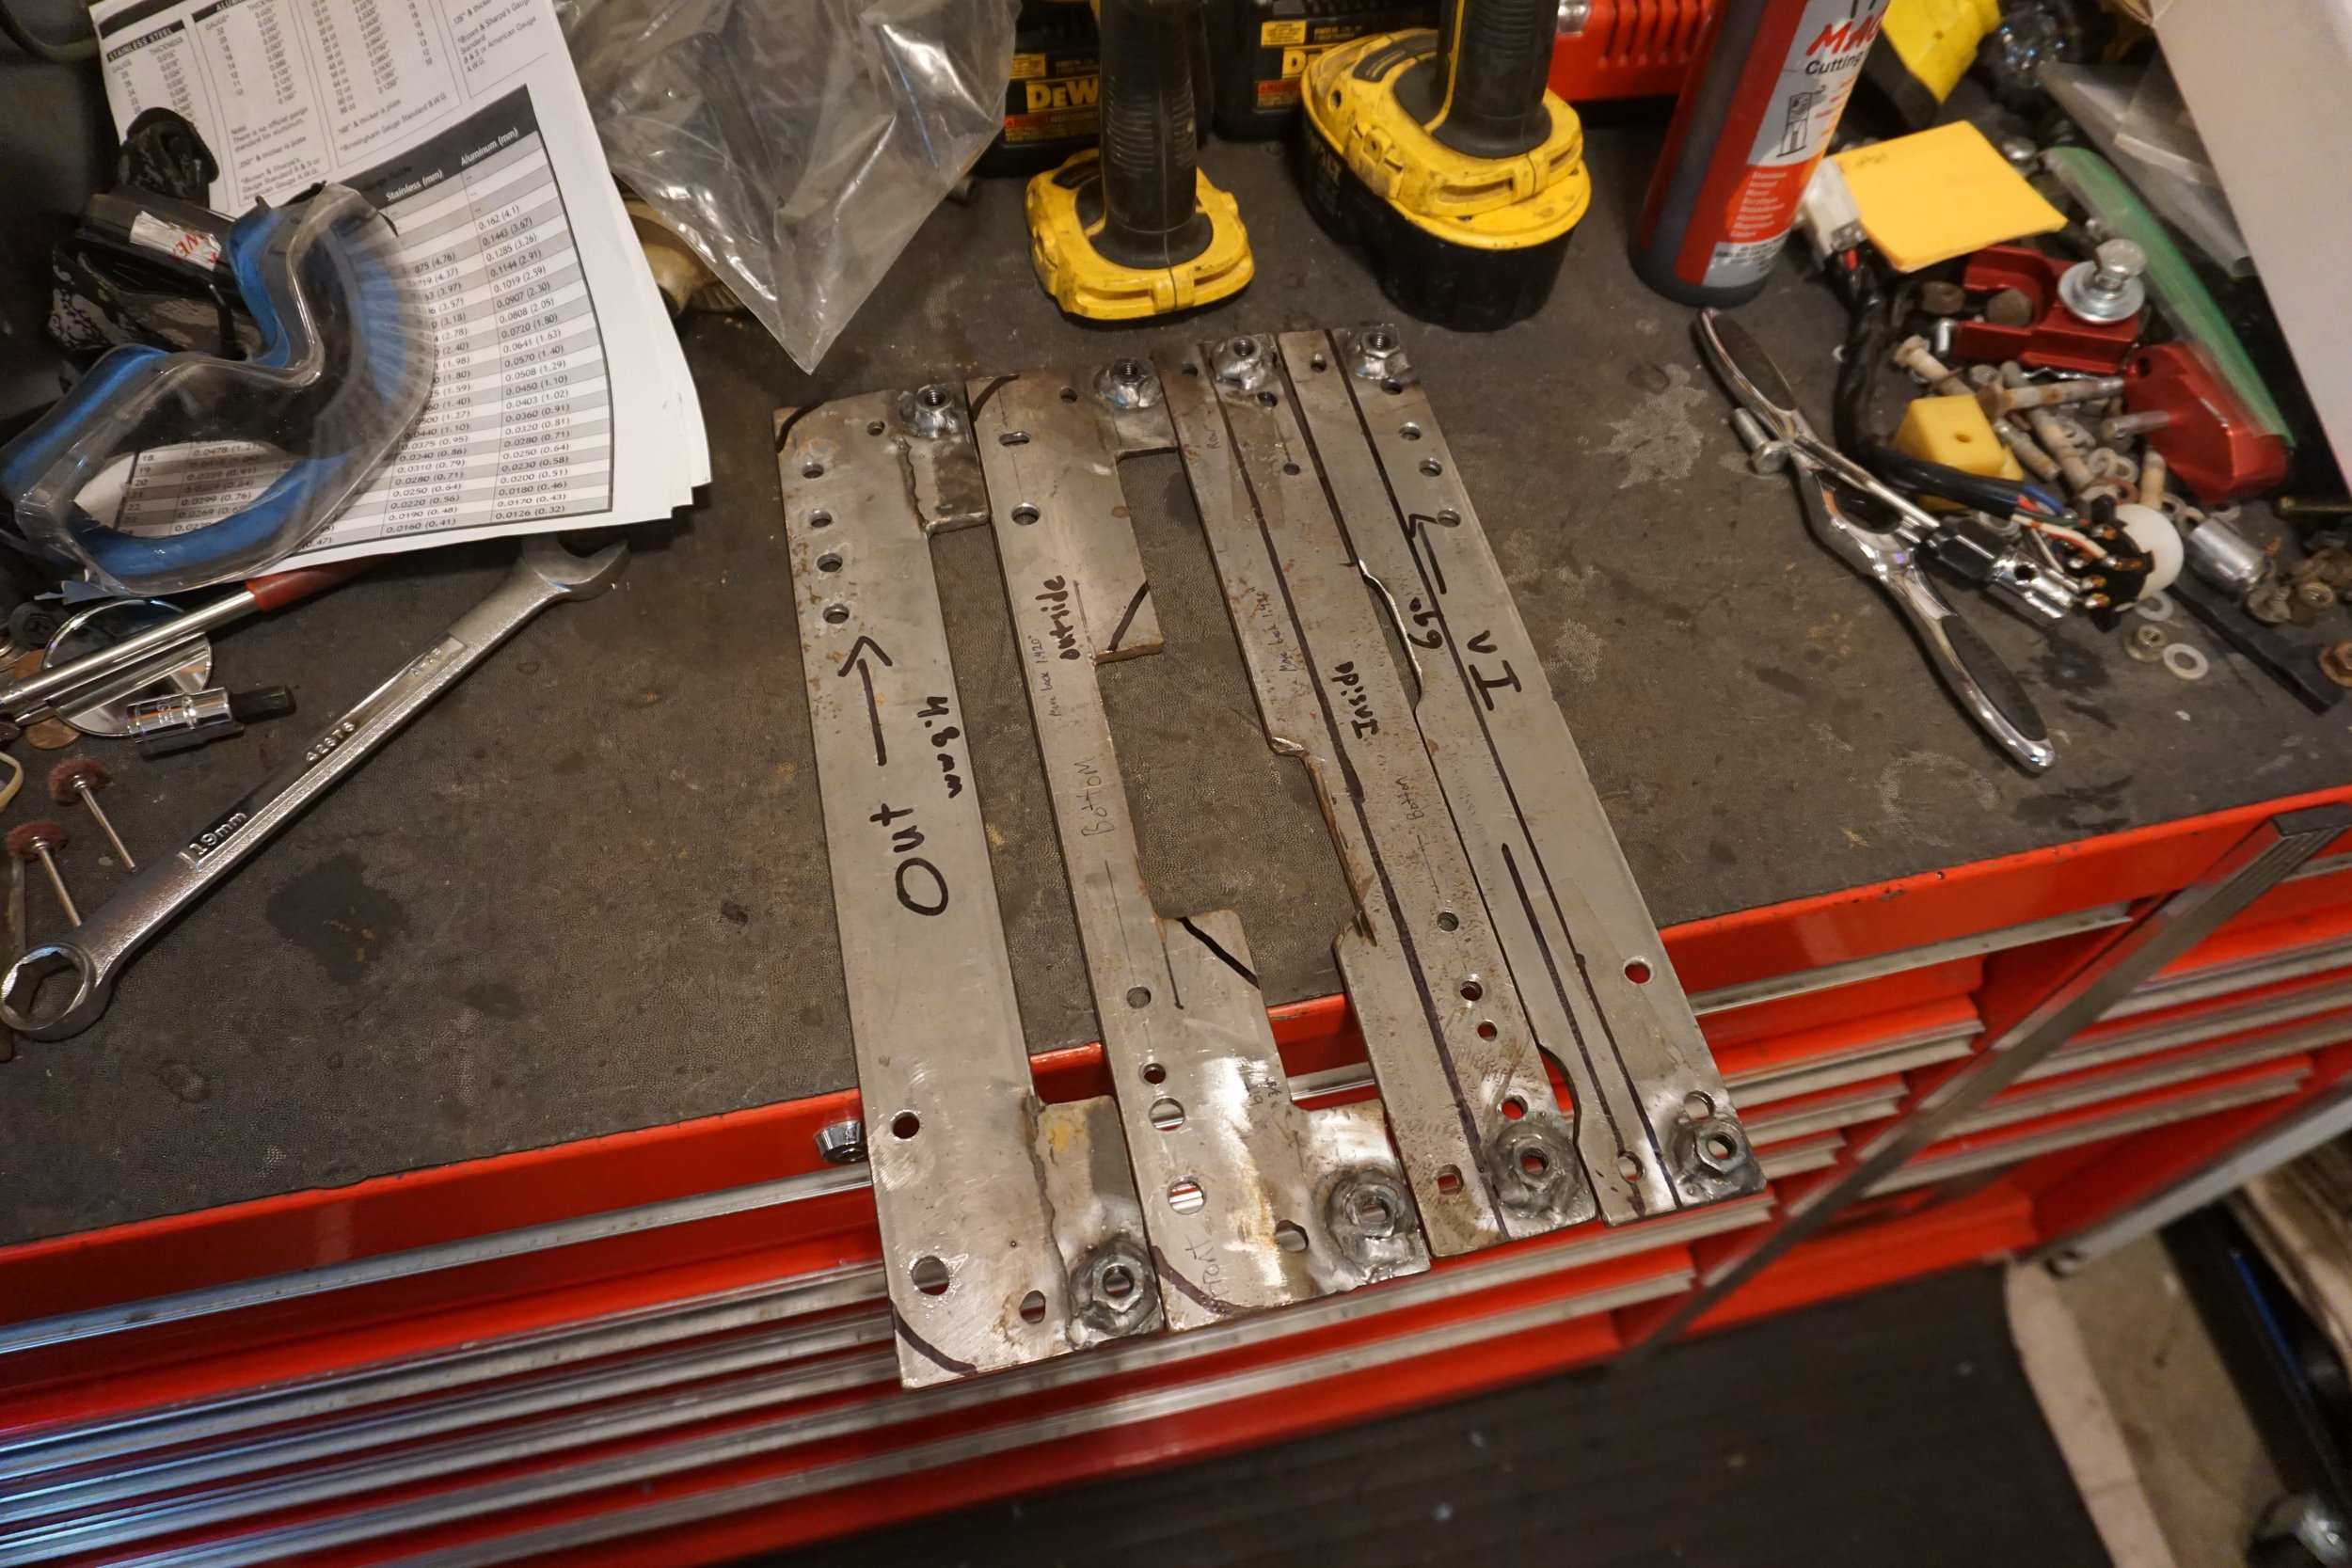
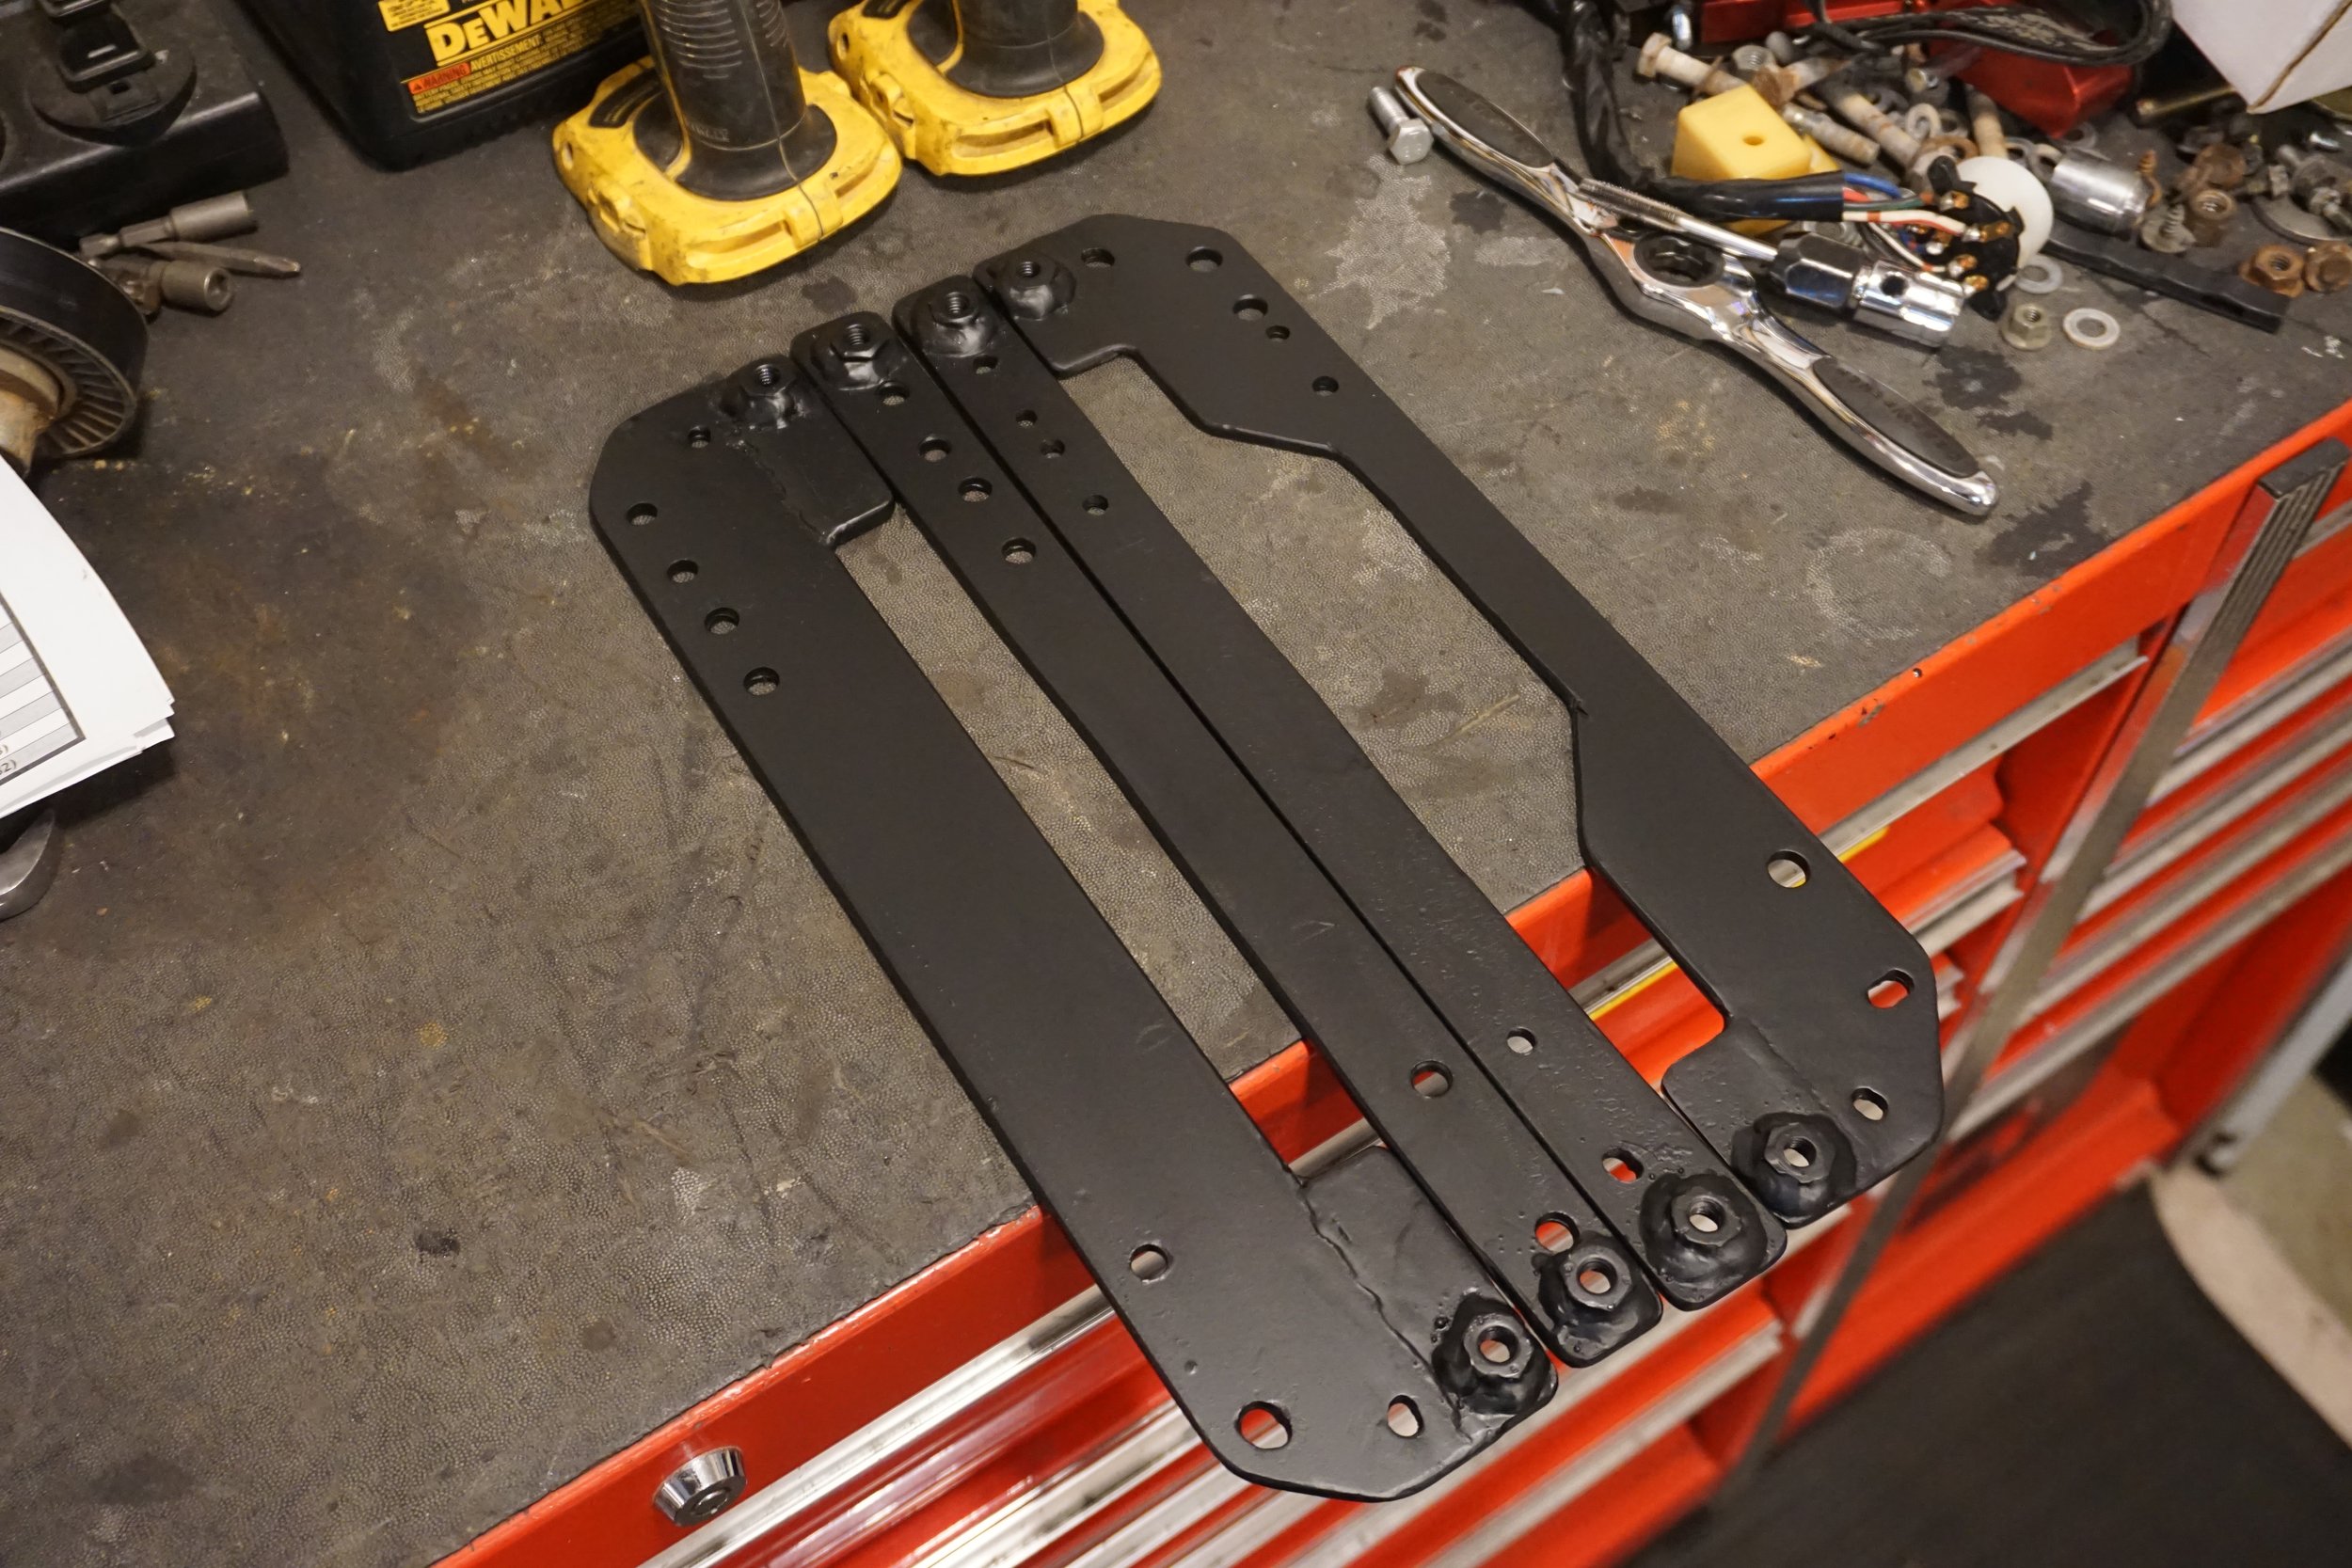
So I made a new mounting board for everything and bolted it up.

And eventually wound up with this:

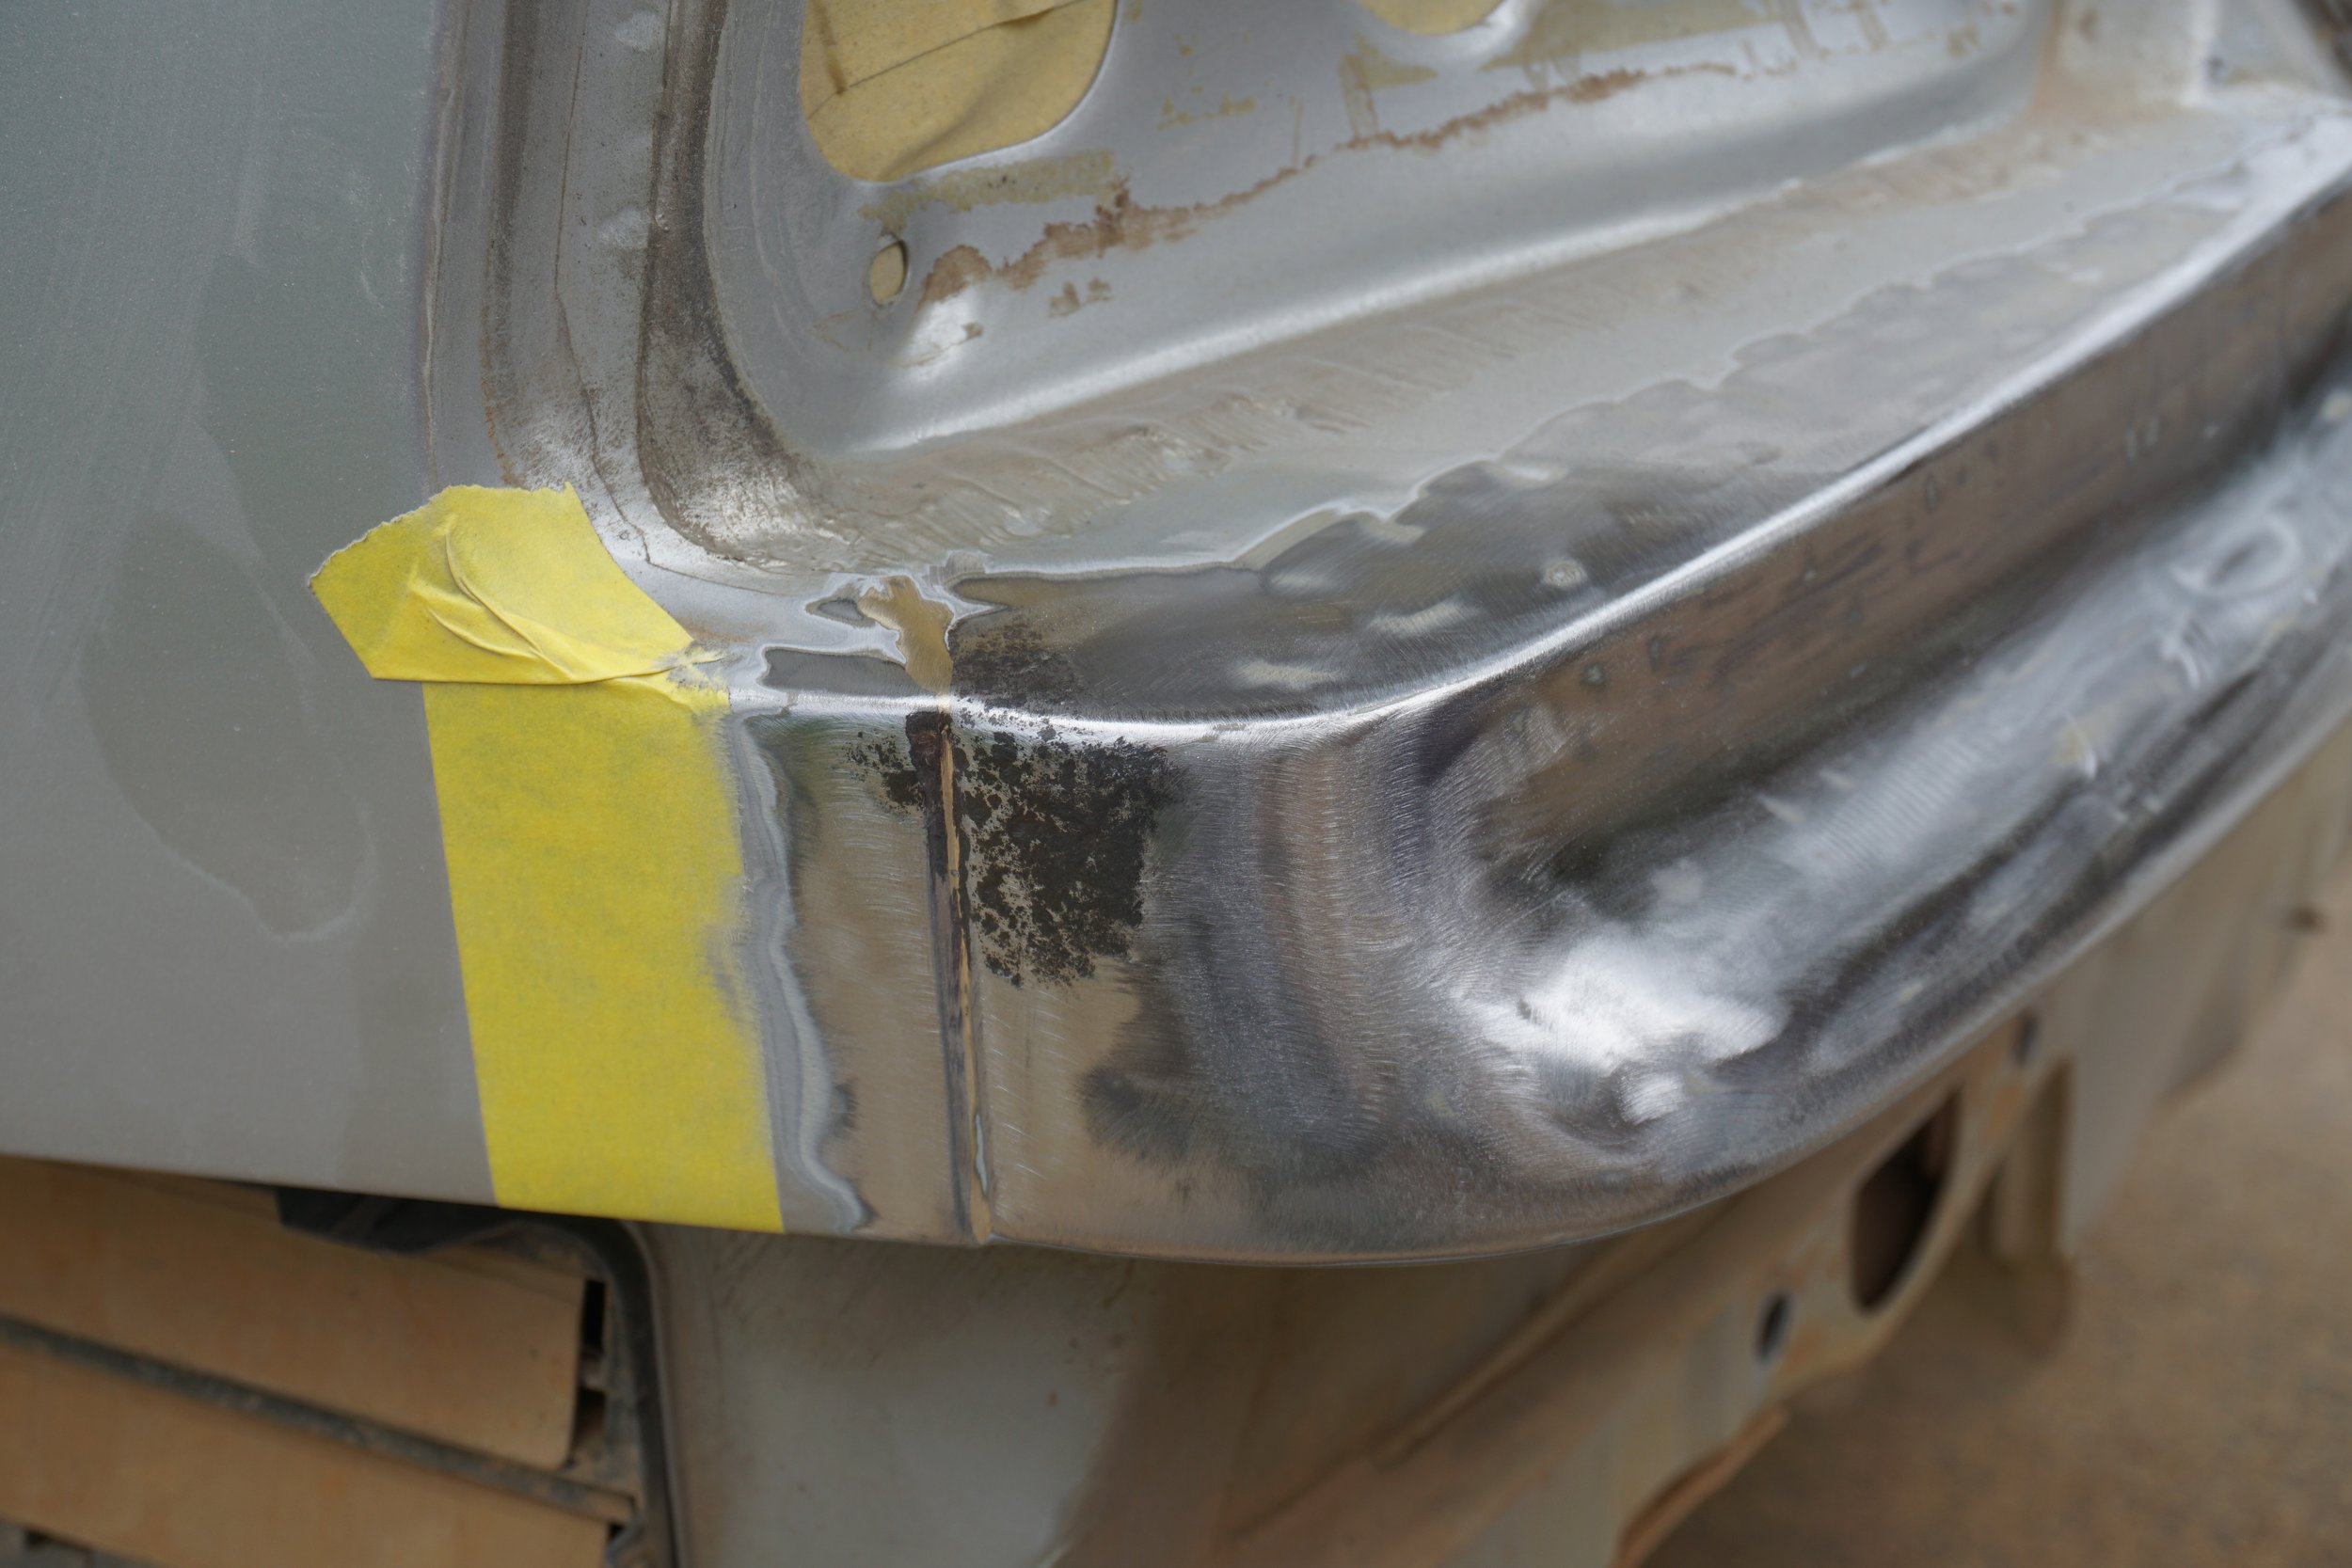
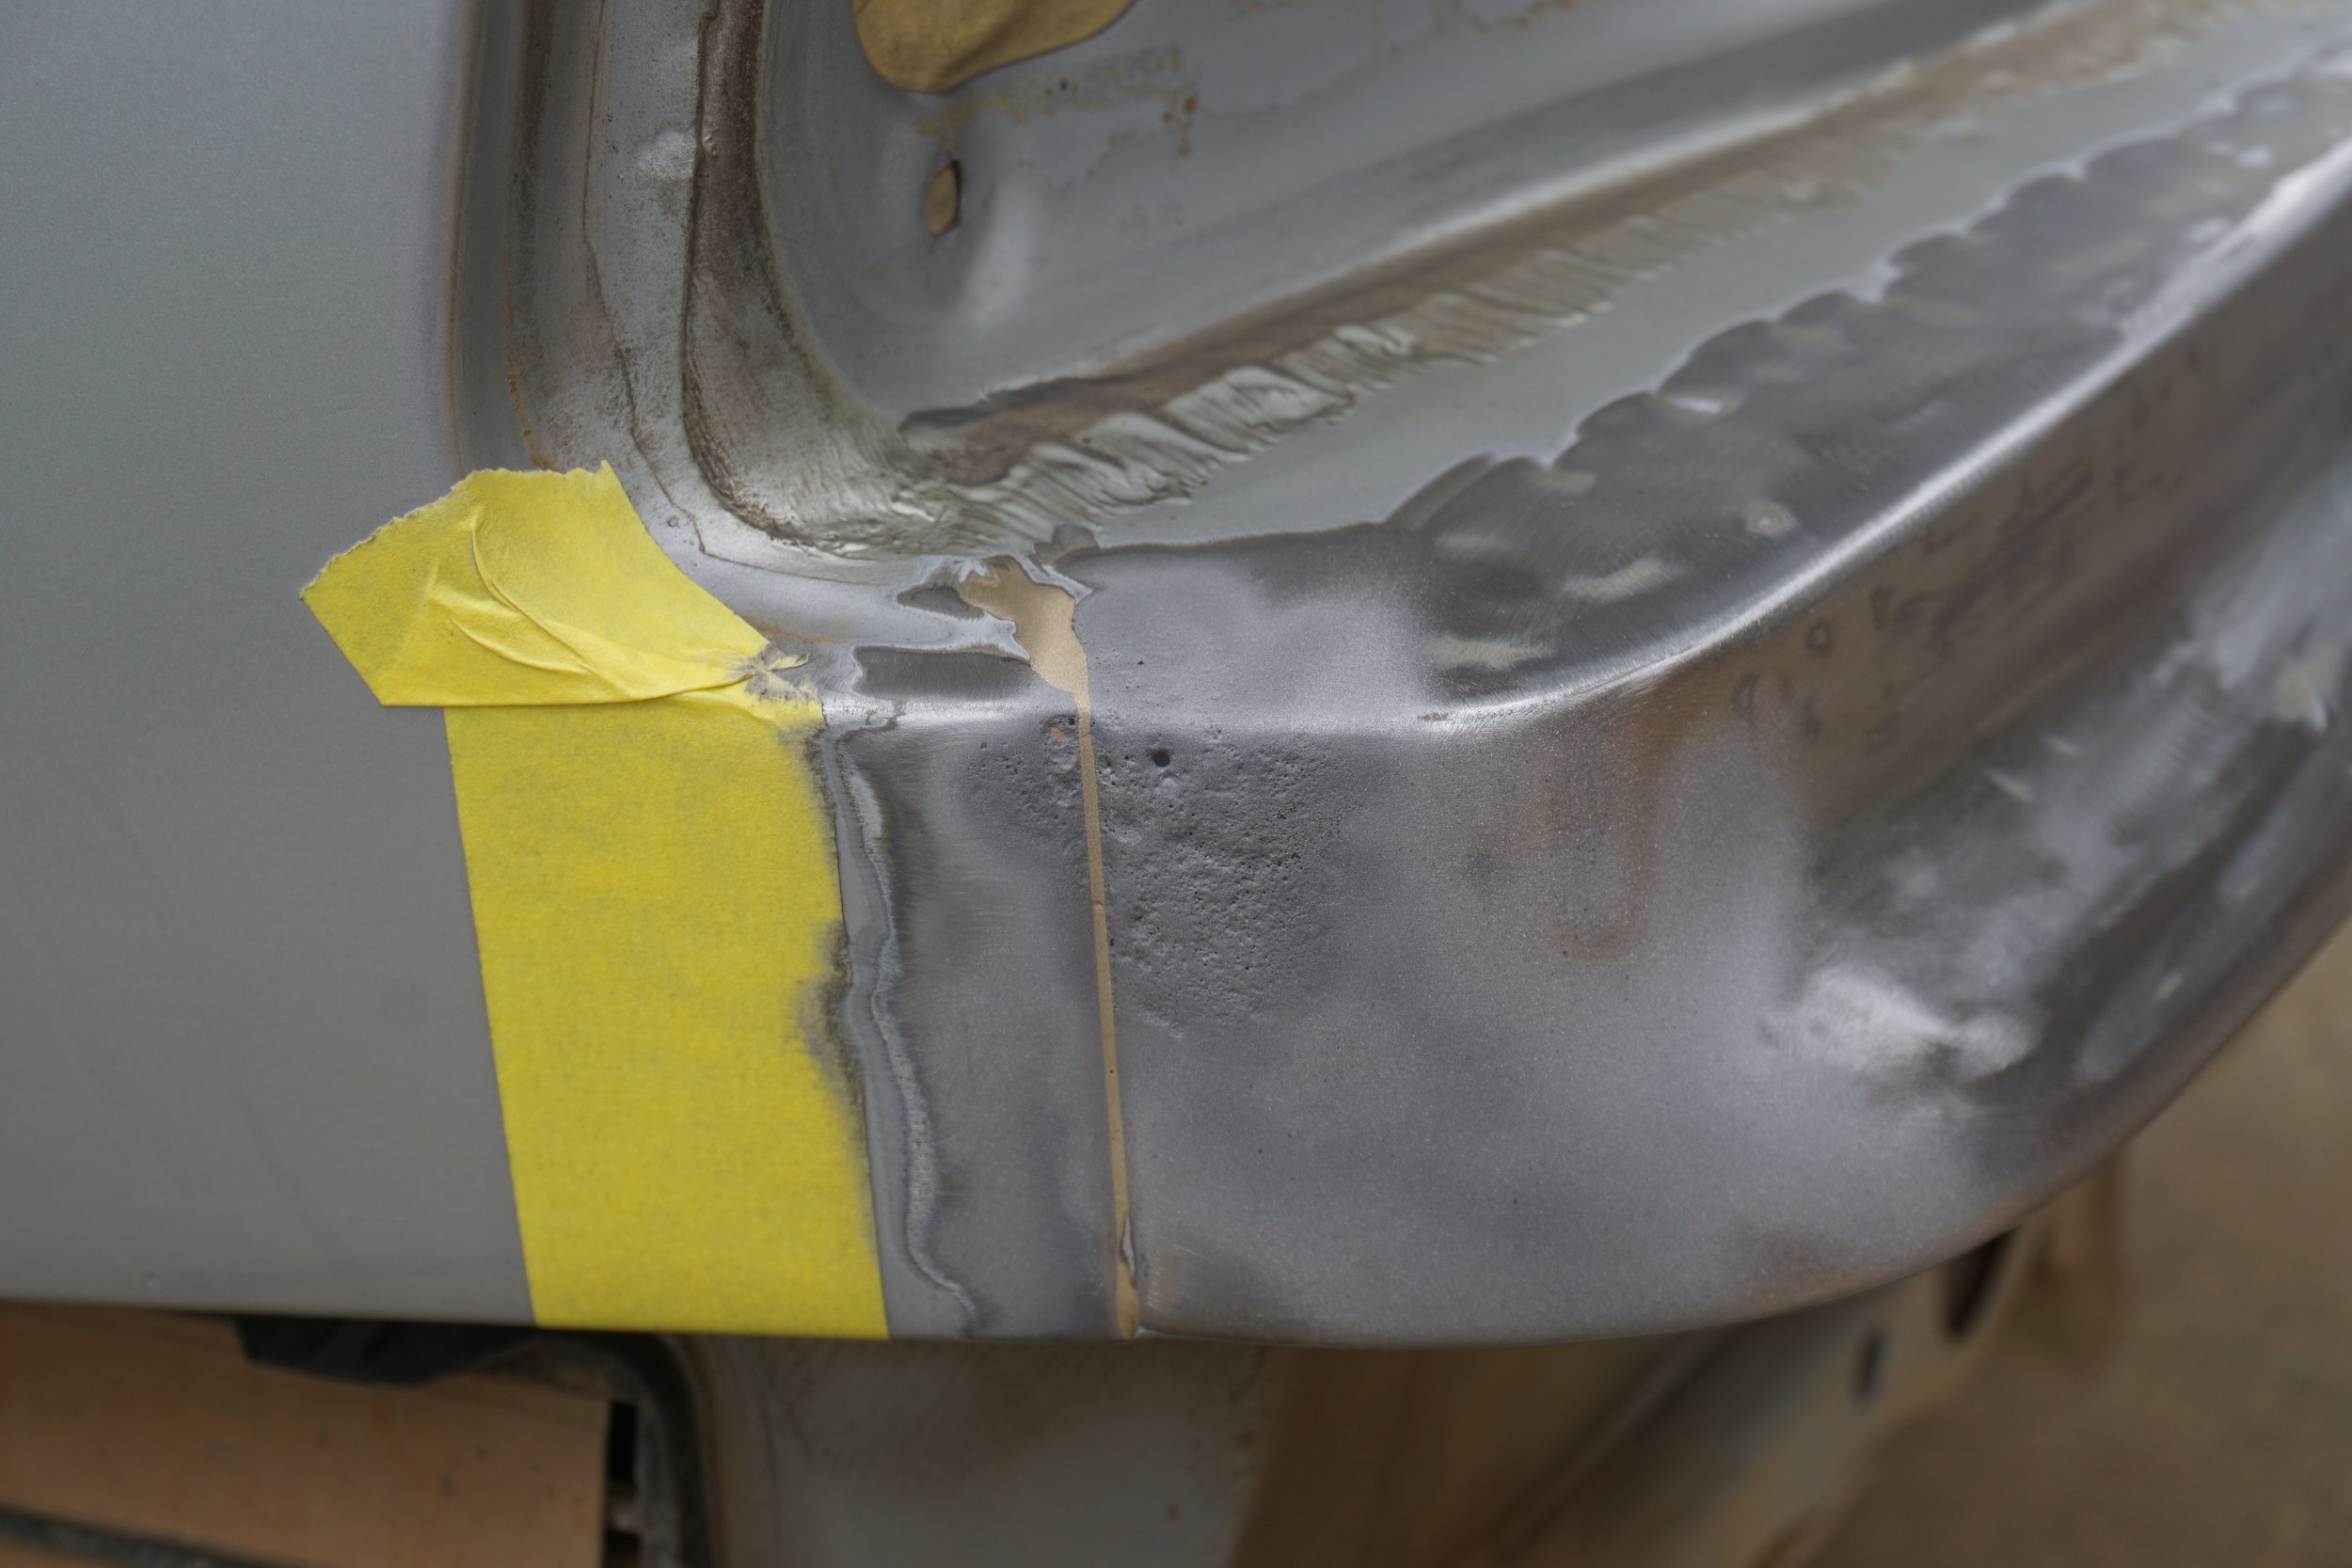
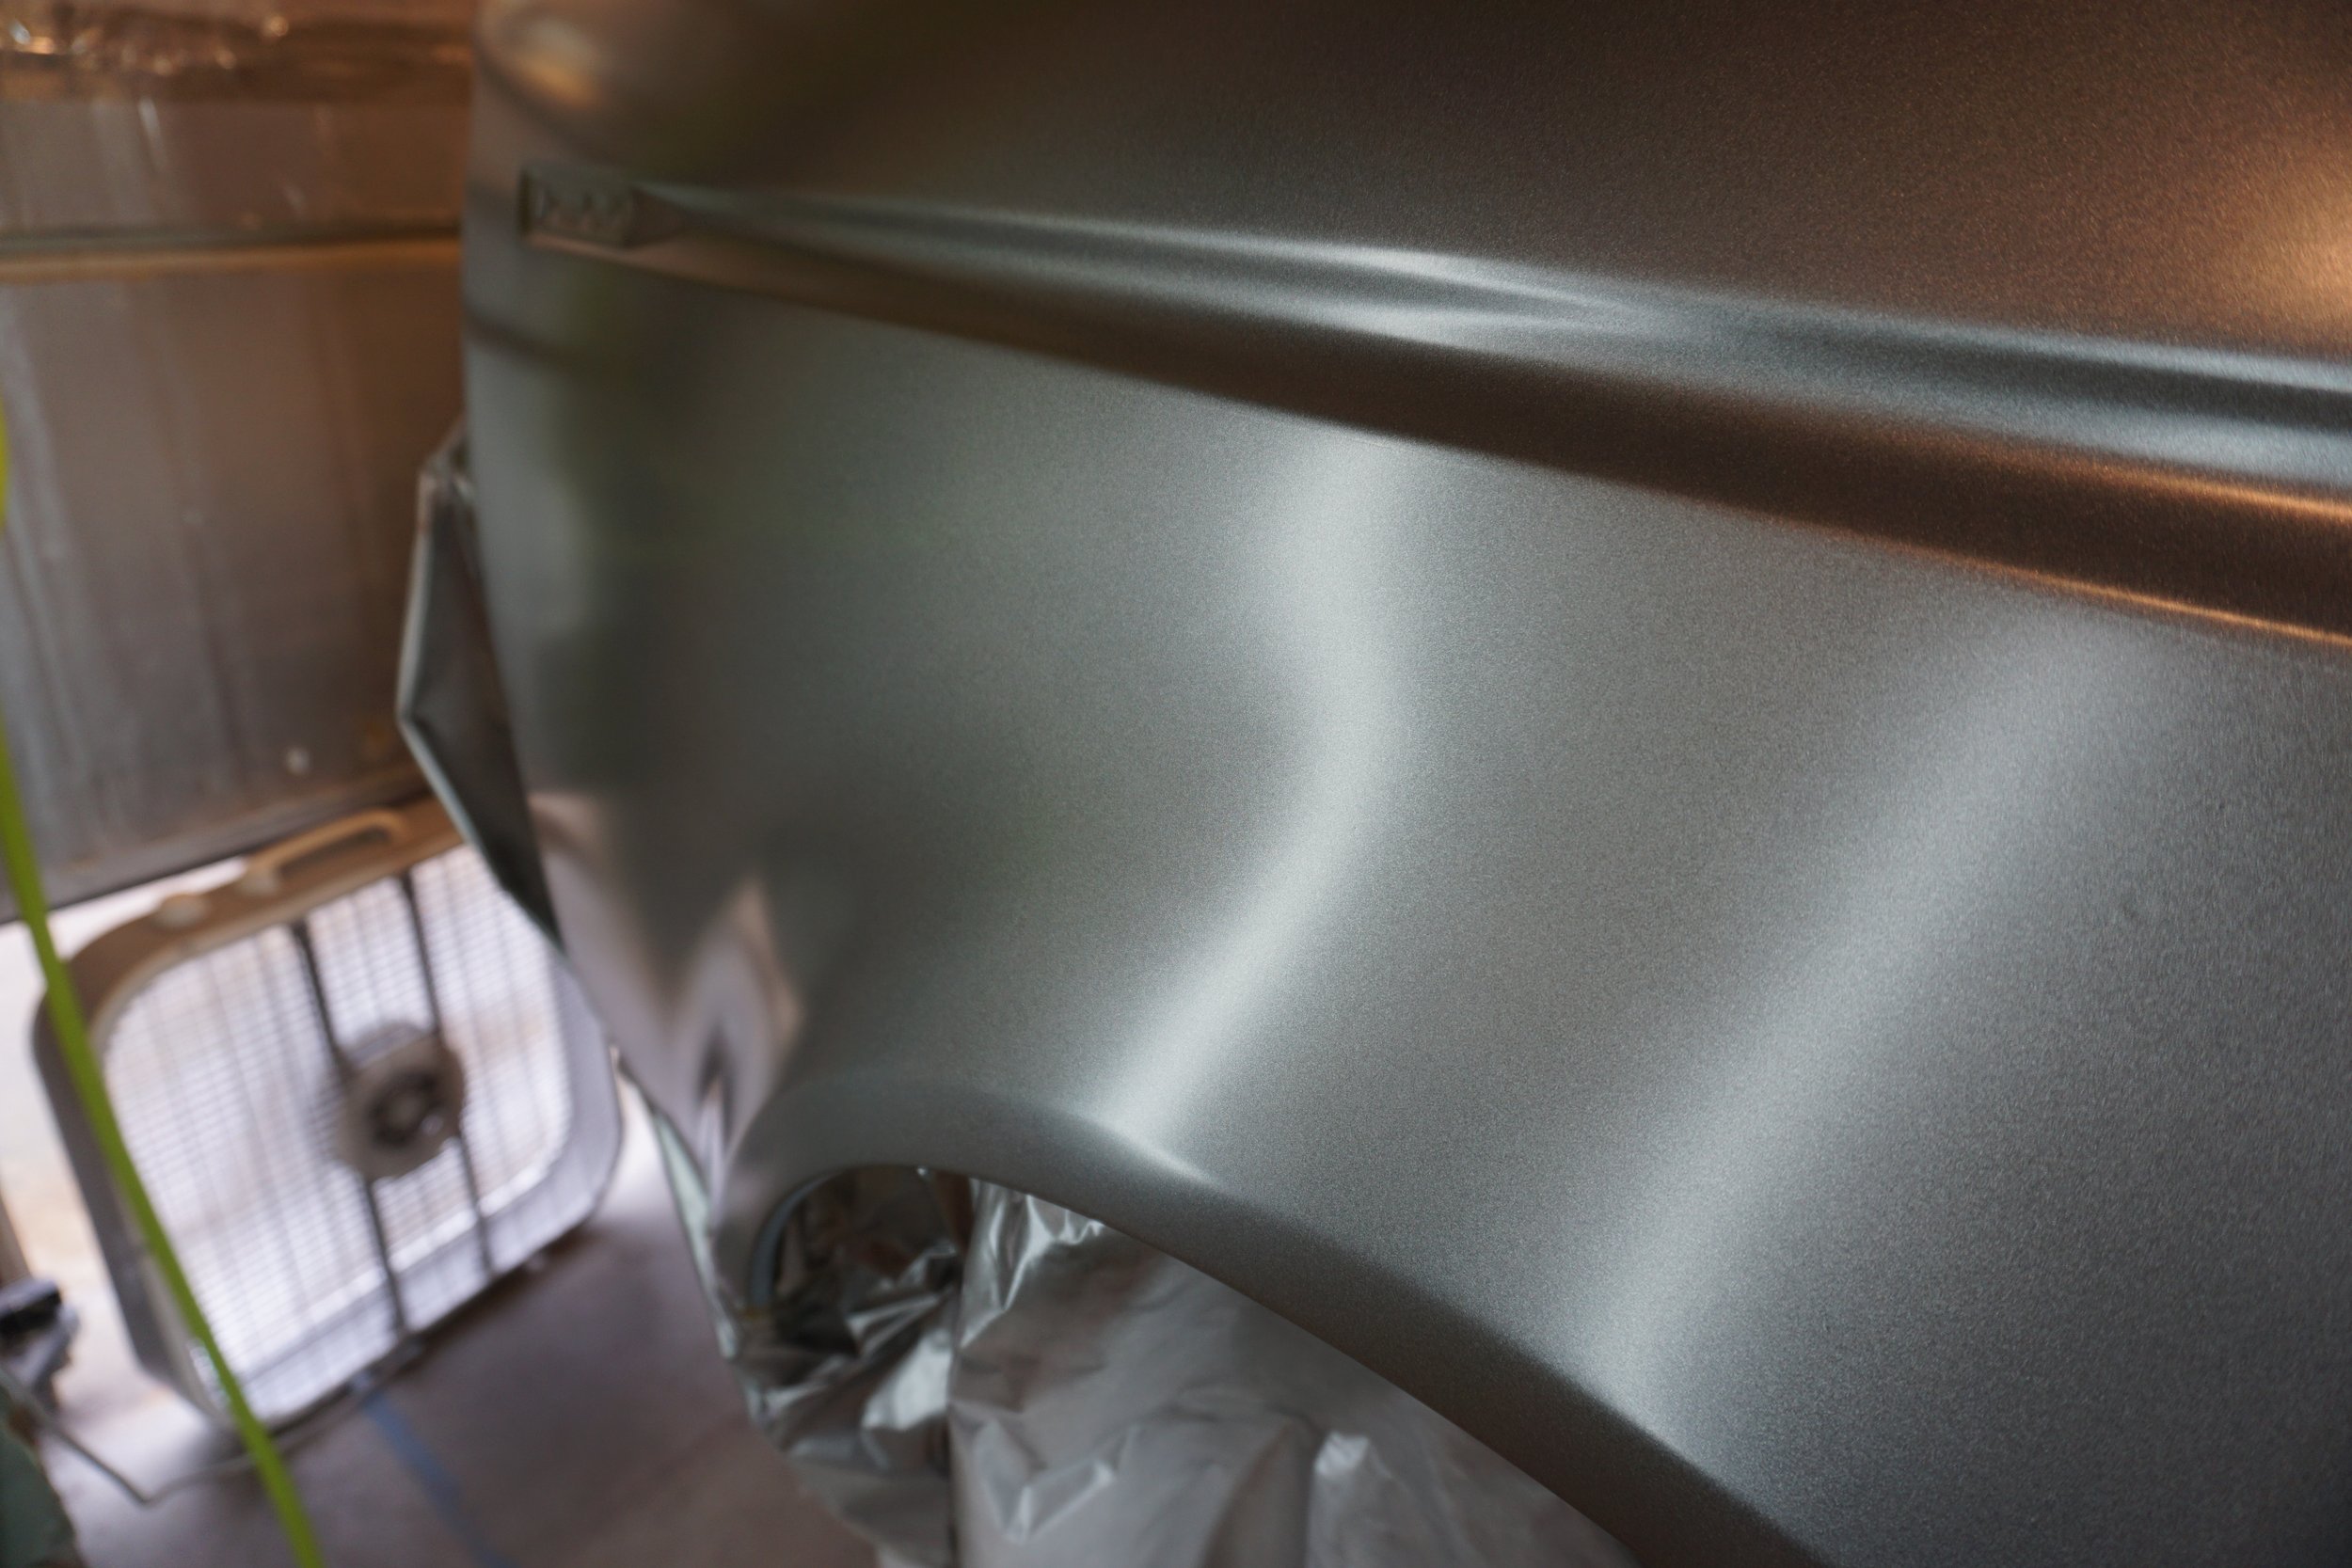
Another problem I wanted to address was road and exhaust noise in the vehicle.  Last year I installed a quieter cat-back on the car, and while it helped, it was still a little too loud on my long trips. It doesn't help that the car runs at like 4,000 rpm at 80 mph.  As you can see in the picture above, I did my best to line the entire trunk with 1 lb/ft MLV.  The lower portion is easily removable when I get to my race, while the upper portion will stay in place.

I also wanted to test out another affordable and light weight option for the doors.  Thankfully they didn't need any CLD since the 6.5s are in the kick panels, but I did want to keep out road noise.  So I bought a box of 1" Owens Corning 703 fiberglass insulation for about $130, which is more than enough material to do all of my cars.  So I got to measuring the cutting.

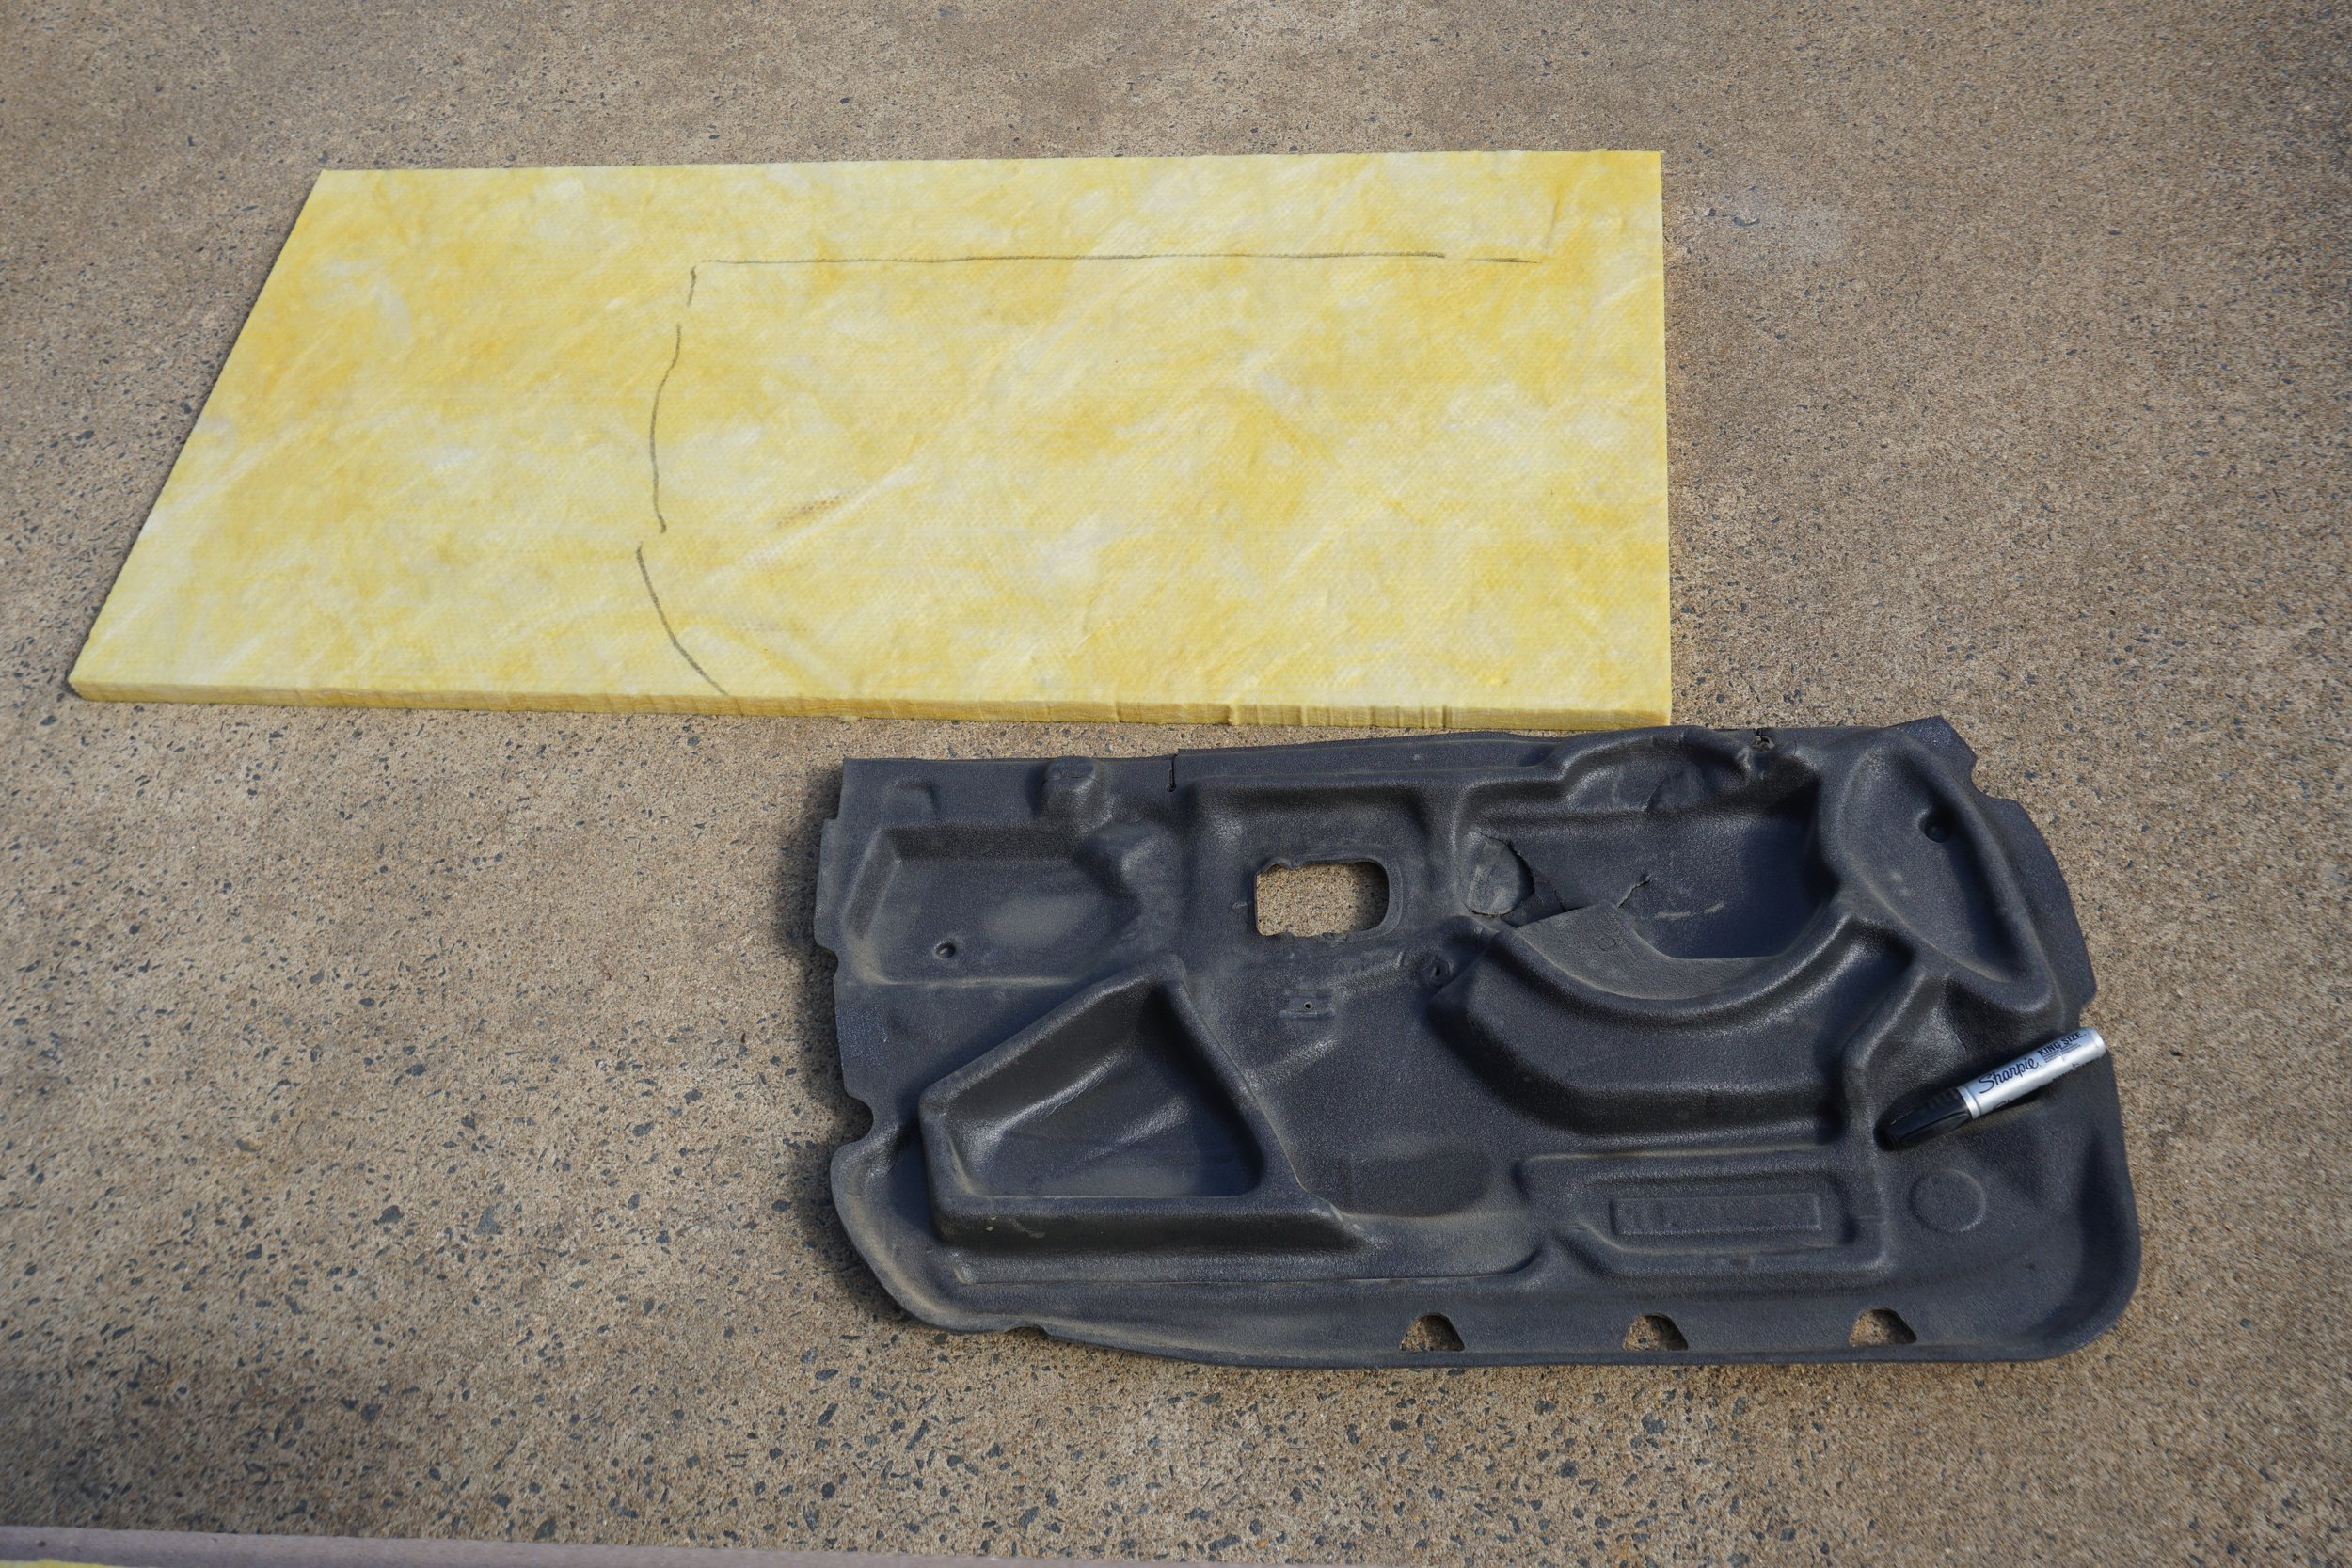
I then wrapped each piece in thin painters plastic and installed them in all the doors.

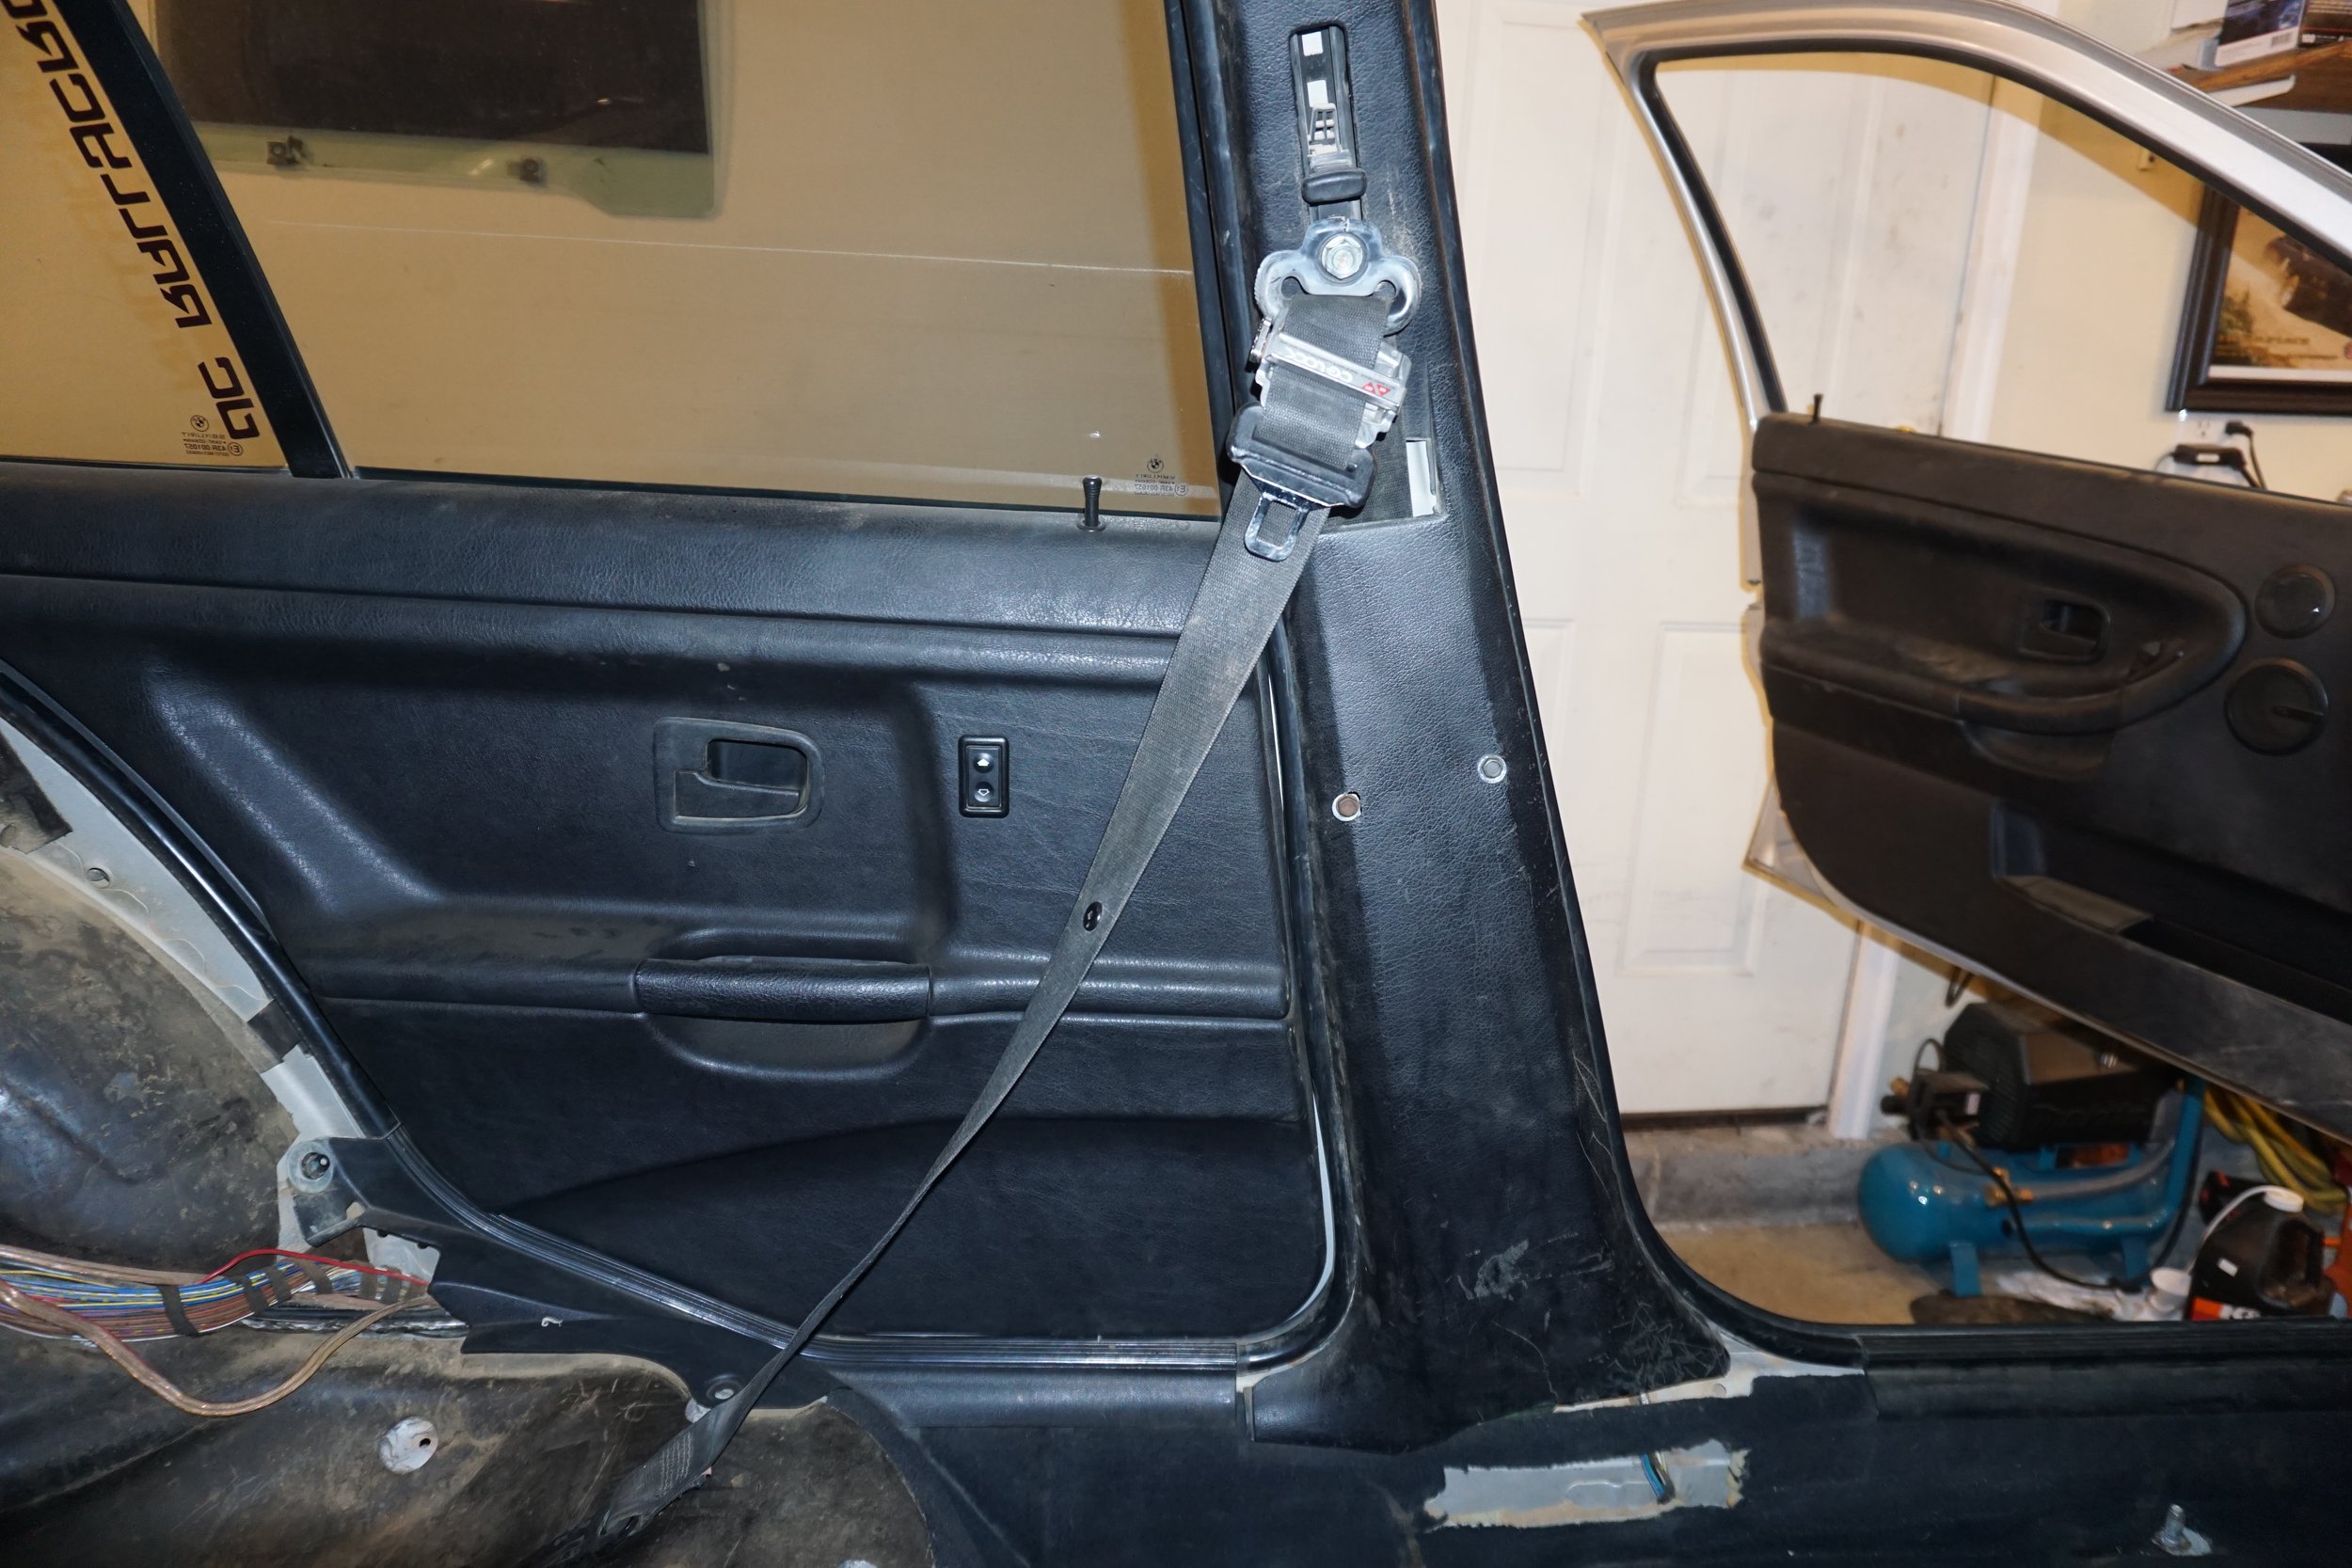
The rear doors were tough since the openings are so small, but I was able to get them done too.
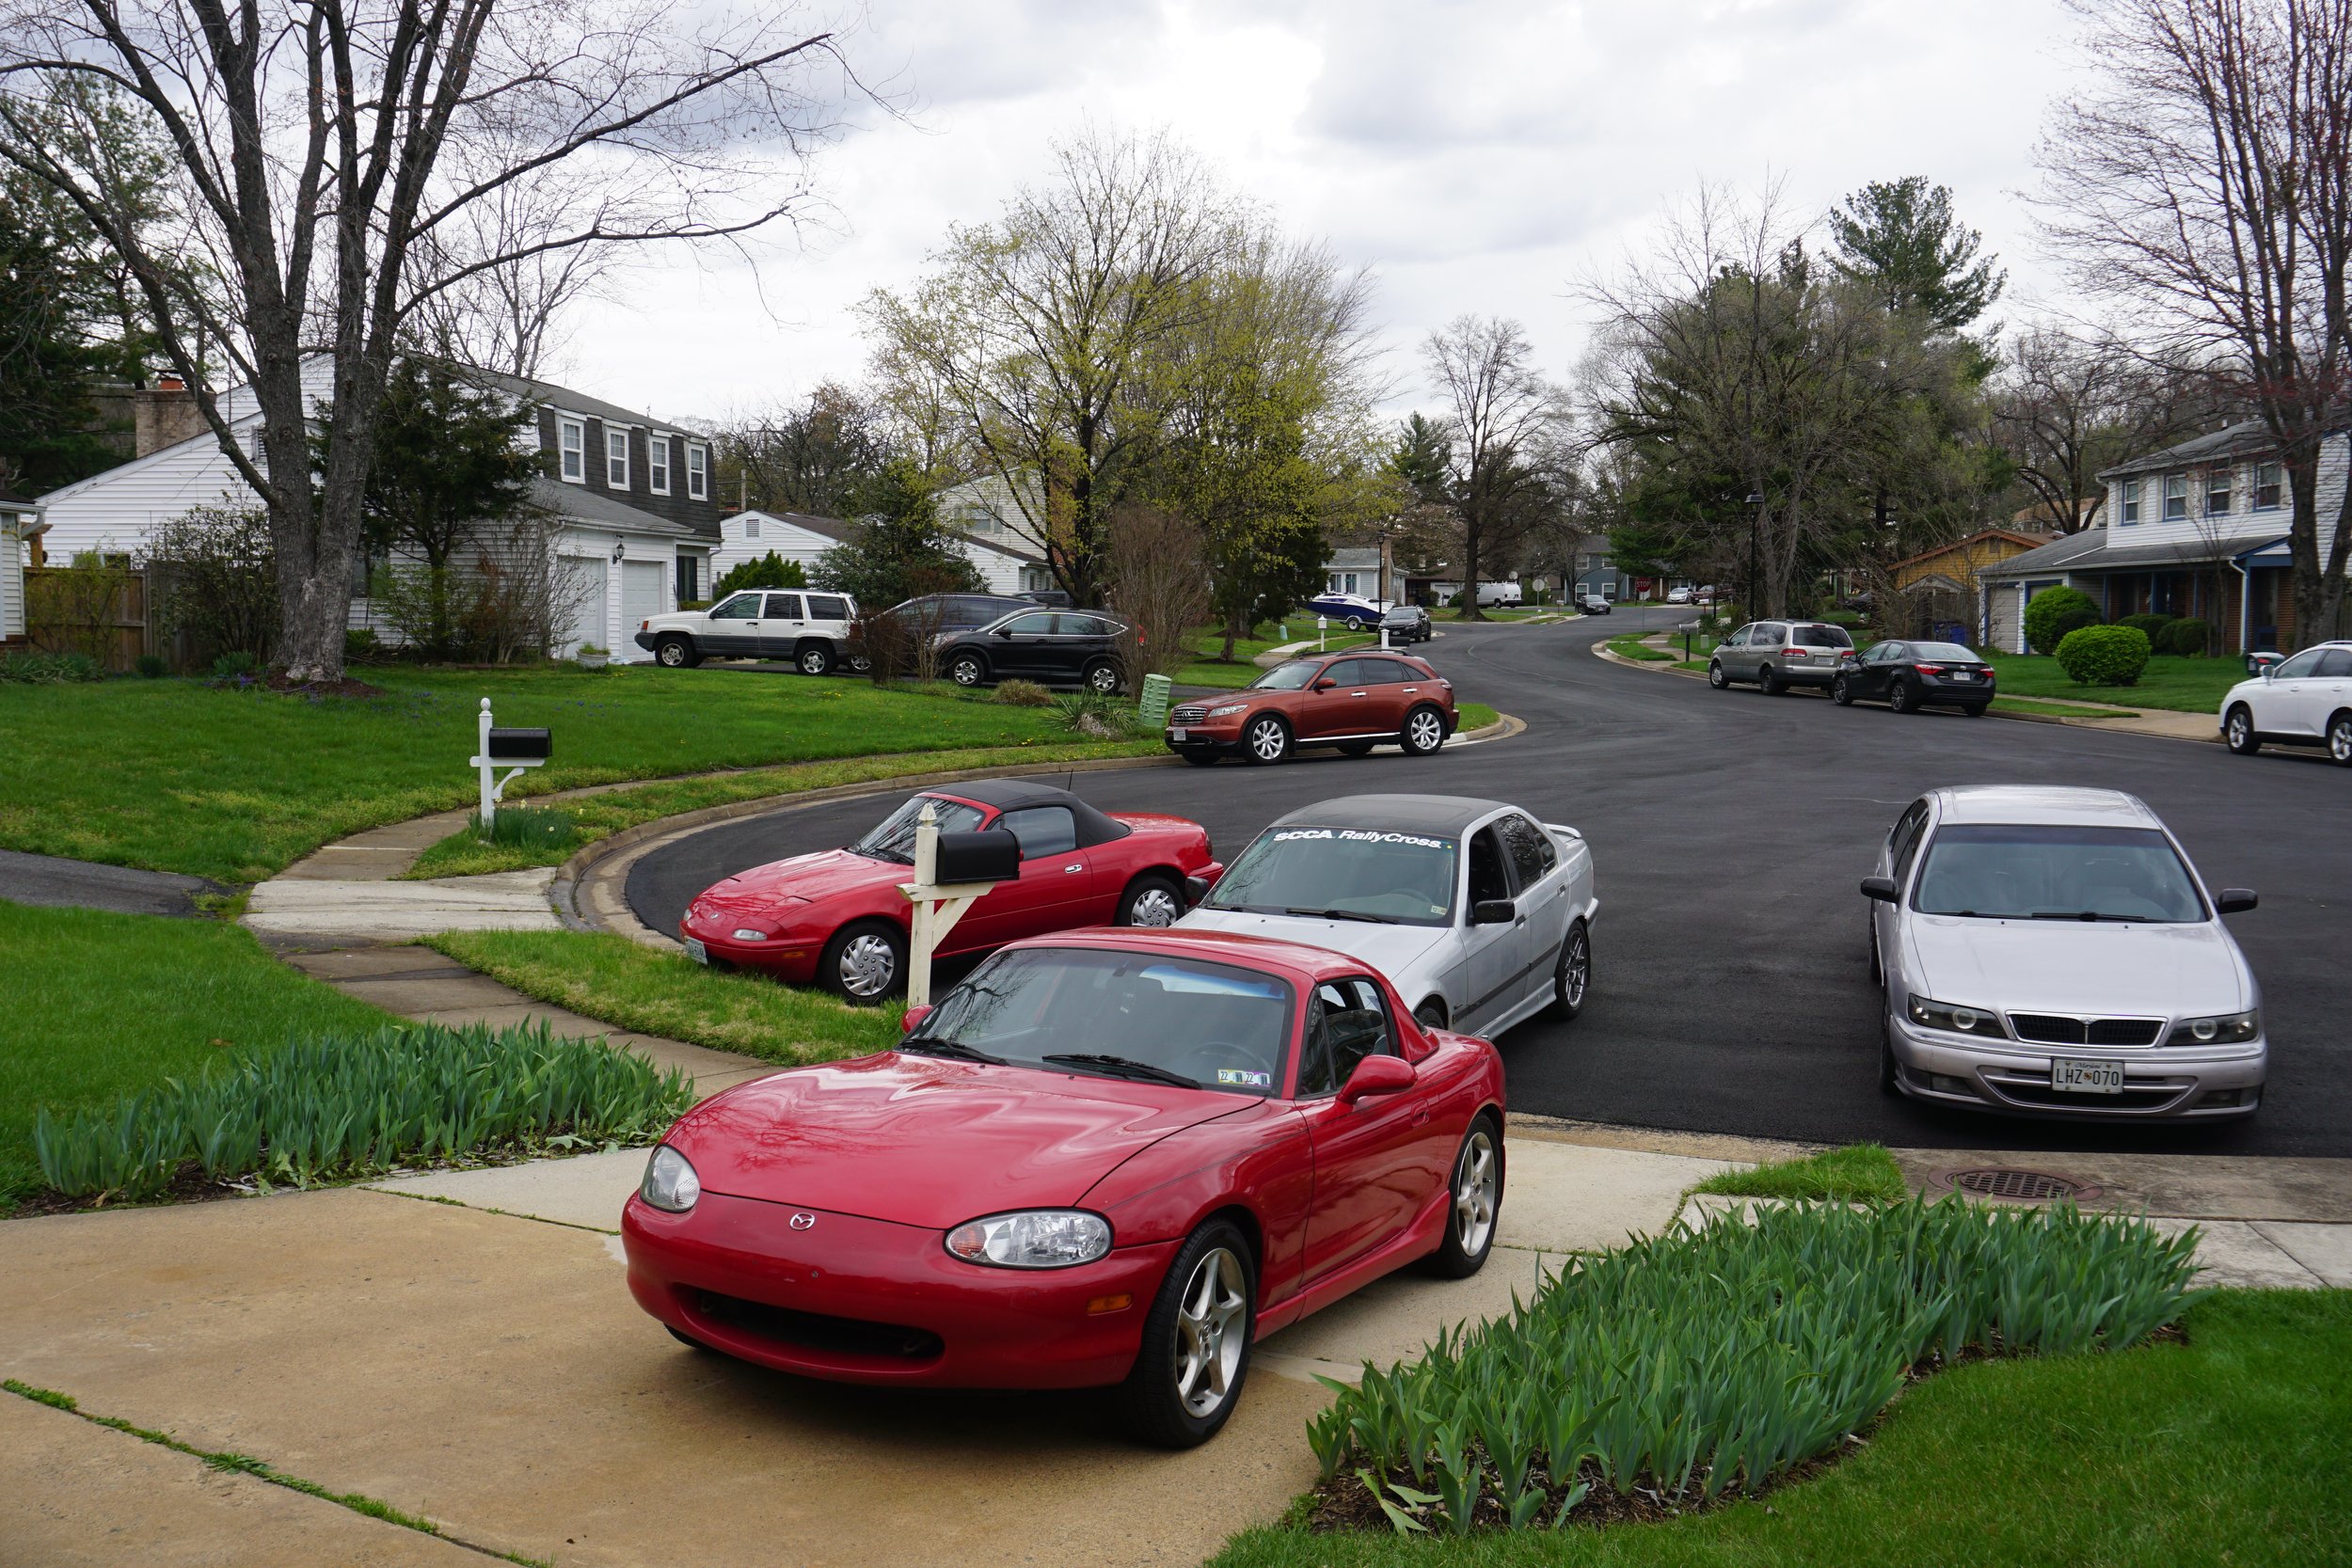
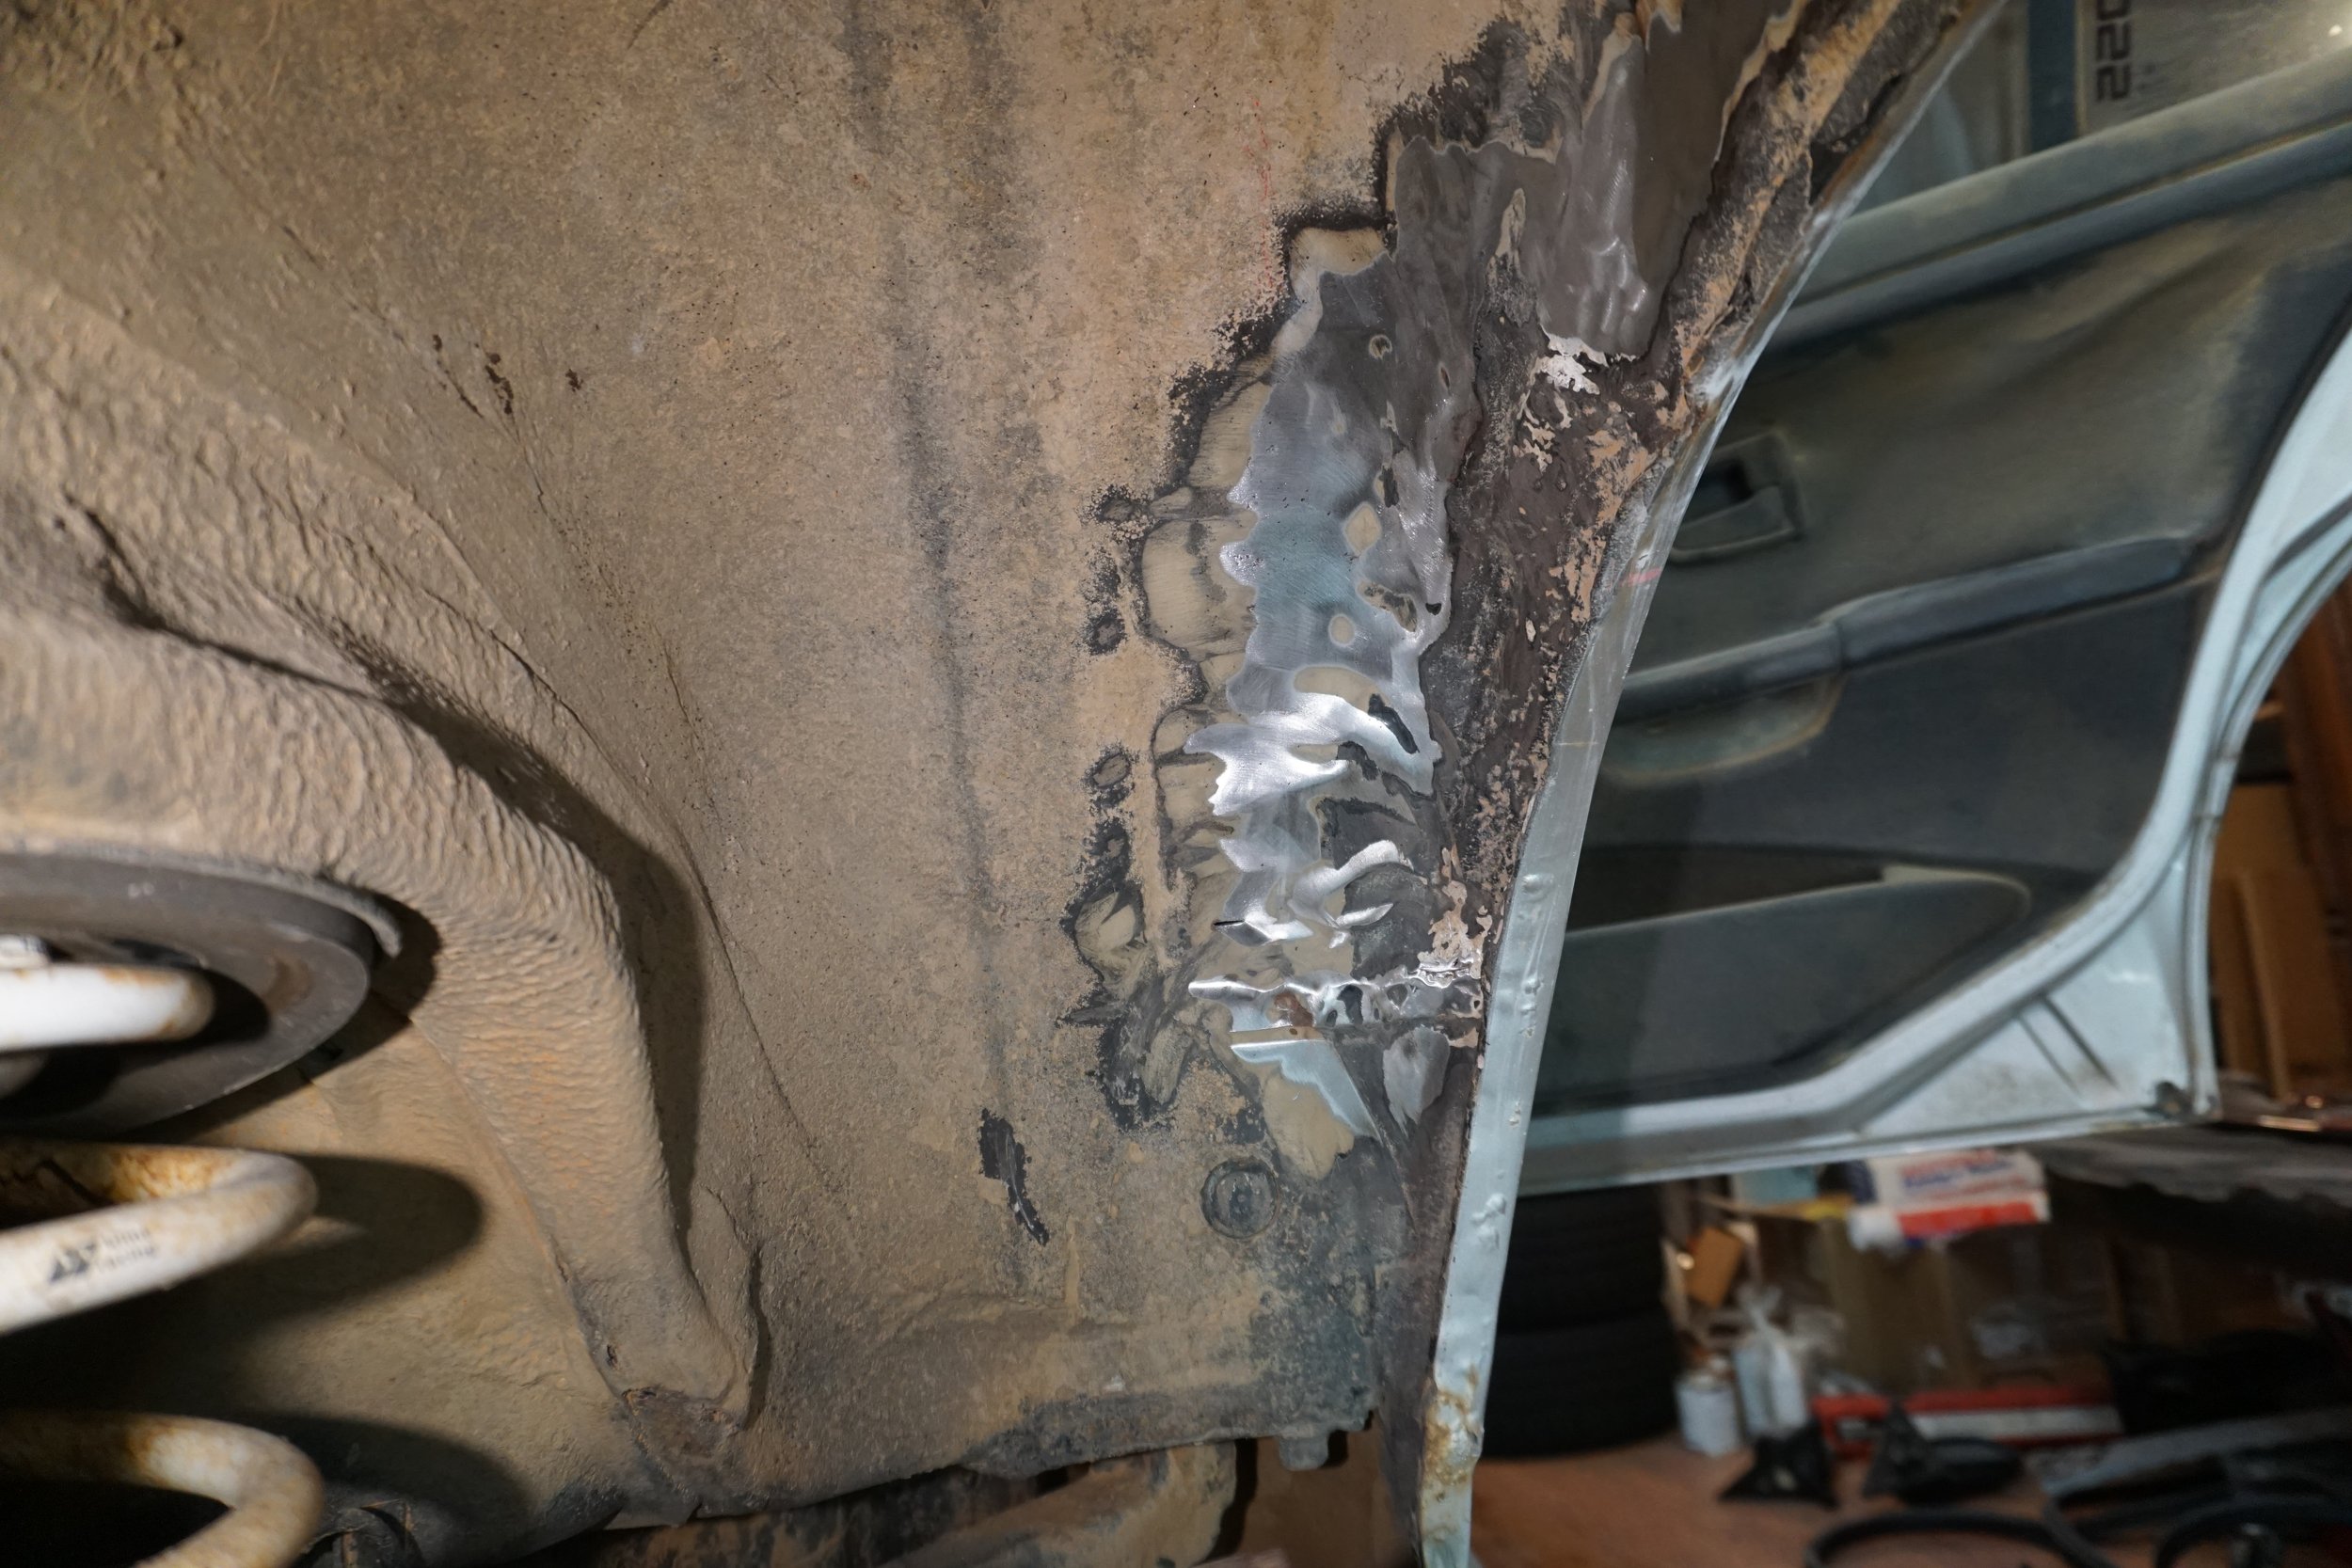
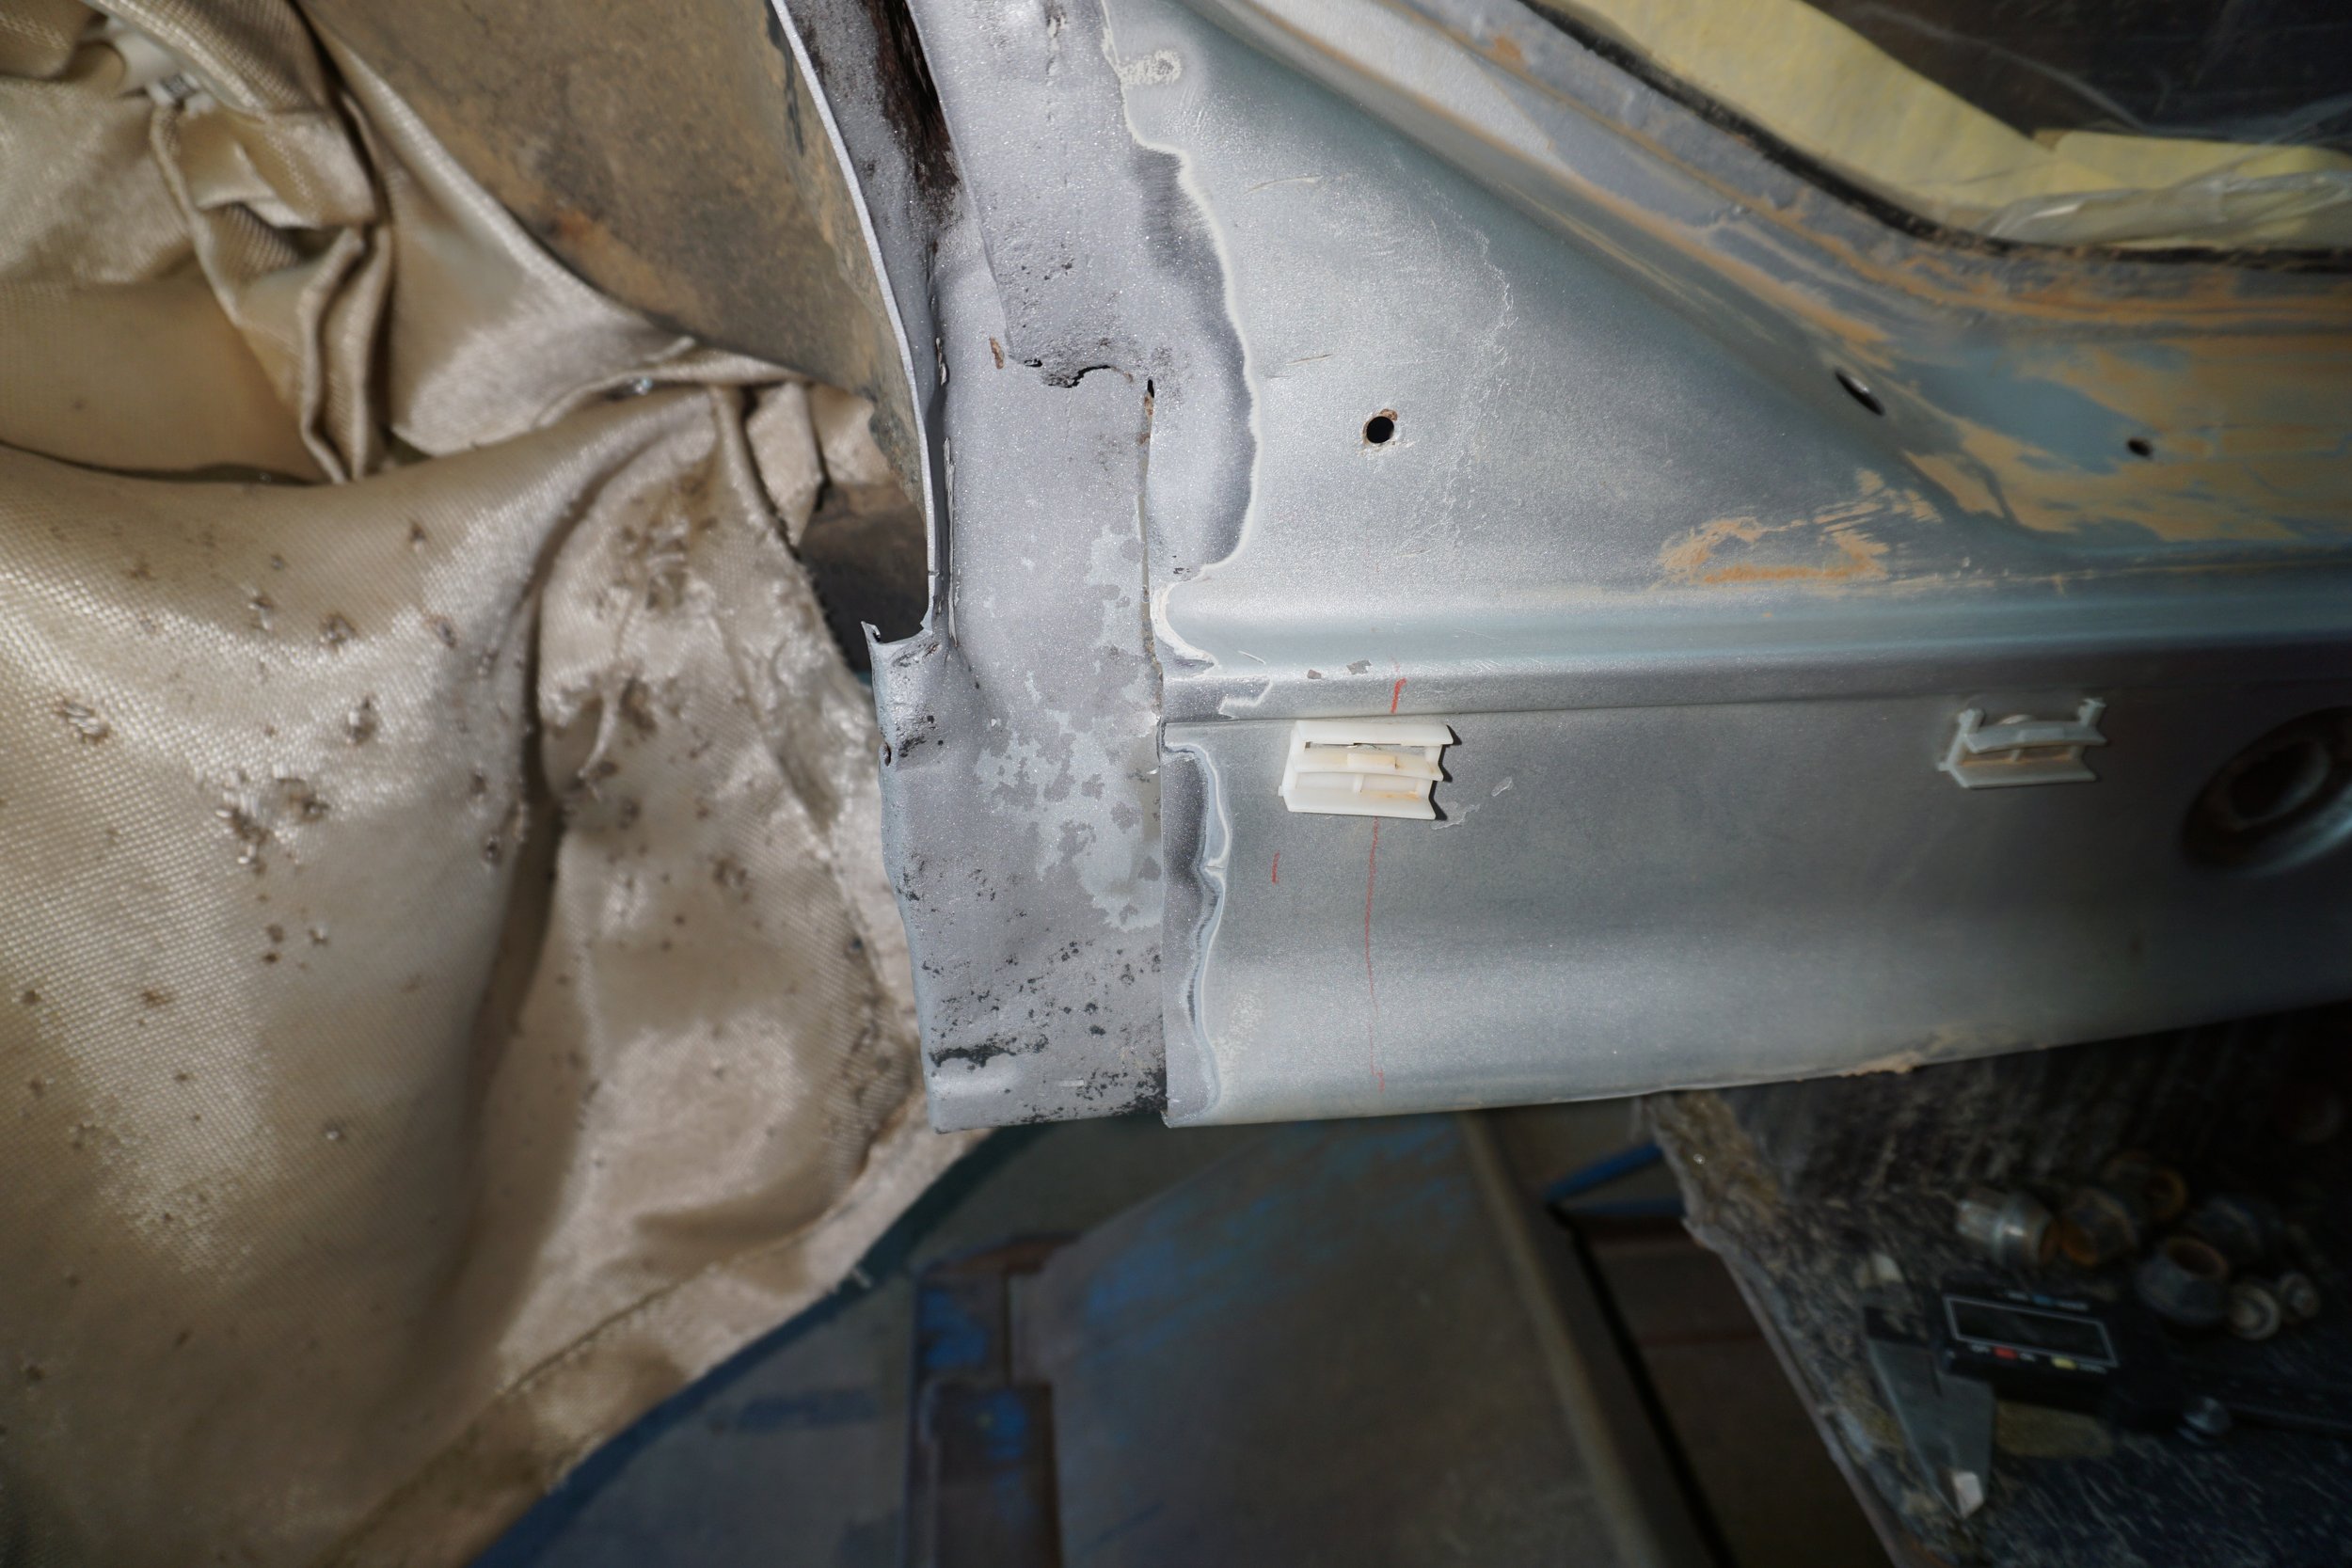
95maxrider
95maxrider Reader
6/1/24 12:24 p.m.

I even tried to fill up the empty spaces on either side of the trunk, since those cavities eventually lead into the cabin.


In an effort to get rid of ground loop/alternator whine noise, I upgraded my RCA cables from some old JL cables to some World's Best Cables.

https://www.amazon.com/gp/product/B08SJ1TY9C/ref=ppx_yo_dt_b_search_asin_title?ie=UTF8&psc=1

Unfortunately, they didn't solve the problem and my whine remained.  The headunit I've been running for a few years has been a Pioneer DEH-S7200BHS.  My only requirement for a headunit was that it had 4V pre-outs and a USB port for my thumb drive.  This unit technically fit the bill for a very good price, but I think the QC was lacking.

Anyways, I'll stop here for the moment.  I welcome any and all feedback, criticism, and advise.  If you see something that could be done better, please let me know, I want to improve my installation in any way possible.

There's a lot more to post, but I'll stop here for now.

irish44j (Forum Supporter)
irish44j (Forum Supporter) MegaDork
6/1/24 10:32 p.m.

I'd give some advice, but you know my knowlege of audio is pretty slim lol...

95maxrider
95maxrider Reader
6/3/24 12:18 p.m.

After installing the SI 3-way setup in the front doors, my primary goal had been achieved.  The sound stage had moved up significantly and I could hear vocals and mid range parts much better.  Bass response from the SI 6.5s was better than the JBL 5.25s, but not as much as I had hoped.

I decided to take a chance and try to install the Dayton Audio UM8-22 8" subwoofers in the rear deck in an IB arrangement instead of installing better 6x9s.  Their specs seemed pretty close to ideal for my setup:

300w RMS

16mm xmax

QTS of 0.64

And only $100 each when they were on sale with another discount on top.

Here's how they look next to the old JBL GTOs

Beefy :)

But!  The factory speakers are bottom mounted and spaced down with the plastic adapter shown in the pics, and the opening in the rear deck was pretty small.  I considered doing a bottom mount for the Daytons, but given that they weigh 11 pounds each, and the beating the car takes at rallycross, I thought a top mount would be a more durable solution.  But of course it came with its own difficulties.

Here's what it looked like after I pulled the old 6x9s

And here's a test fit of the adapters I made, showing how much material was going to have to be cut to do a top mount:

As you can see, the mounting surface is far from flat, and has lots of strengthening ribs all over the place.  Not to mention that the adapter was hanging off the front of the flat surface and had nothing under it.  I had a tube of 3M Window Weld urethane lying around, so I decided to try to make a mounting surface out of it.  It's strong enough to make suspension bushings out of, so I figured it would work for this too.  Here's what round one looked like:

I also had to cut the deck so it was wide enough for my spacer to lay flat:

But this of course made it floppy as hell, so I had to do something to make it stiff again.

It's far from my best work, but trying to get my welder back in there under the rear glass was very difficult.  In the end it worked, and the surface was nice and rigid again.  Functional, not beautiful.

Then there was the problem of making all 8 mounting holes.  I could only get my center punch in like 3 of the locations, as the rest were blocked by the glass, and doing it from the bottom wouldn't work due to the curves of the metal down there.  It took a long time with a variety of tools (mostly my dremel), and the holes weren't all perfect, but it is functional.  Making the cutout wasn't fun either due to many of the same space constraints, but it too was eventually finished.

I used CLD to space up low spots, did another round or two of the 3M urethane to fill other gaps, and used vice grips to flatten some of the raised ridges.  After tightening everything down, it looked like I had a good seal around everything, and they were very secure.  A test fit of the rear panel showed that I could leave it stock and not have to worry about cutting it.

The subs are DVC 2-ohm, so I wired them for a 4 ohm load to make the amp happy with 12 AWG OFC wire.

Going into this project, I had never heard an infinite baffle sub before, so I had no idea what to expect.  And I was also concerned about losing the rear fill from the full range rear speakers.  Not to mention each sub was only getting 150w RMS, which was barely more than the 125w that was going to my JBL under seat sub, which was thoroughly underwhelming (and now disconnected). 

Thankfully, all of my concerns were laid to rest as soon as I powered them up.  Without making a single adjustment to the tune, they produced tight, punchy bass and dug way deeper than what I had before.  I was thrilled!  I didn't for one second miss the rear fill either.  My other car has a JL 12W6 in a sealed box getting 500w RMS, so while these cheap little 8s getting a total of 300w can't hit as hard, or go as deep, the disparity isn't as great as I would have assumed.  In some situations, like when playing at lower volumes, I actually prefer their response to the JL.  Part of that may be due to the fact that they're playing into the cabin, rather than the trunk.

So for a grand total of $200, and probably closer to $100 once I sell the JBL, I couldn't be happier.  I finally have the bass I've been wanting for all these years, and I don't have to worry about a bulky sub box that I would have to remove when I go to races.  I now know I can remove the rear fill speakers in my other car and go active there, and I have some first-hand experience with IB subs.  Not to mention I proved to myself that this could be done at all.

As always, please let me know if you see room for improvement with the install.

But I wasn't done yet....

95maxrider
95maxrider Reader
6/10/24 9:07 p.m.

The next phase was to upgrade the cheap Pioneer headunit.  I was tired of the front port for the USB (I've had nothing but bad luck with the shorty USBs, and the regular sized ones stick out too damn far), and I wanted to see if I could really notice an upgrade.  I considered moving the Pioneer DEH-80PRS from my other car into the M3, and then getting a P99RS for it, but when I saw how much the 80PRSs are selling for, and how cheap I could get the Japanese version of the P99RS (the P01), I said F it, I'll sell the 80PRS and just get two P01s from Japan :)  That way both cars can go 3-way active up front if desired.


For those of you not in the know, the P99RS/P01 was Pioneer's highest quality single DIN HU they ever made (as far as I can tell).  They retailed for over $1,300 when new, and still go for outrageous prices since they're out of production and Pioneer never released anything close to it's quality ever again.  Standout features include:

Dual L/R Independent 31-Band Equalizers
L/R Independent 4-Way Crossovers with Slope Setting
Auto EQ and Auto Time Alignment
32-Bit Binary Floating-Point DSP
Copper-Plated Chassis
and so much more

I spent hours reading through a 50+ page thread on the P99RS on another car audio forum, taking all sorts of notes along the way, trying to get a feel for how it should be setup.  But first, WTF is this thing on the power cable?  I've never seen anything like this before (not the fuse, the black box).

It's pretty hard to show just how little room there is behind the HU on the E36, but it's TIGHT back there.  I had to remove the gauge cluster just to be able to finagle all the wires in place so the HU would click in place.  Not fun!

Next, I would like to curse the person who decided it would be wise to have a freaking wiring harness for the RCA cables, instead of just regular plugs on the back of the HU.  WHO DECIDED THIS WAS A GOOD IDEA, AND WHY??  It's so unnecessarily bulky.

It took a little digging, but I found a factory ground location so it would have a solid ground.  It's the first HU I've seen that didn't just run the ground through the harness.

I had been chasing a ground loop/alternator whine for quite some time, going so far as to try the trick of wrapping a bare copper wire around all of the RCA outputs and to a screw on the old HU.  All it did was change the pitch of the whine, but it didn't solve it.  Well, I knew the P01 has excellent construction and noise rejection, and lo and behold, my whine was 100% vanquished just by installing the P01, with no other changes.  Well, except the chassis ground for the HU instead of through the harness.

People weren't kidding when they complained about the (hidden) menu structure on this thing either.  It's taken me well over an hour before I got somewhat comfortable going through all the setup and audio menus.  It didn't help that I had to use Google Lens to translate the initial setup menu from Japanese to English.  I haven't done any time alignment or auto EQ yet, since I know more changes are coming soon that would render it all a waste of time ;) But even with the absolute minimum of tweaks to the system, I'm pretty amazed at the upgrade in sound over the old cheap Pioneer.  But of course, there's more to come!

95maxrider
95maxrider Reader
6/25/24 10:34 a.m.

In preparation for going active and doing tuning with REW, I wanted to go back and try to improve some things that were done a little hastily in the first round of things.

First up was getting my roof/headliner situation improved.  I removed the sunroof from the car years ago and installed a CF blank plate, but my attempt to fill the gap and recover the headliner left a lot to be desired.  It eventually was sagging quite a bit right where I sat, and was rubbing against my helmet when I raced, so I ripped it out.  Between the OEM construction and the CF plate, the roof was very resonant, and I wanted to address that before reinstalling the headliner.  Six sheets of CLD later the situation was much improved.

More to come on that later as I get to it.

This is just a pic of how far I had to space out the hood release handle so it would clear the surround for the front 6.5s:

Due to the very tight confines around those front 6.5s, my initial install only had screws in 3/4 locations, which I really didn't like.  So I decided to drill 4 more holes in the speaker so I could attach it more securely.

The OC fiberglass I stuffed in the cavity was touching a part of the basket, so I pulled it out

And put in a very unscientific amount of Poly-Fil in there.  I have no idea what I'm doing btw if that wasn't clear.

All the wires that run above the speaker in the C-shaped cutout made mounting the speaker very difficult as they liked to hang in the way, so I drilled a hole and secured them up and out of the way with a zip tie.

This allowed me to properly seal up that hole with CLD on both sides.  I also sealed up the holes that the plastic cover clips into, and plan to hold it in place with velcro from now on.  With I think 7/8 screws installed for the speaker, it's now very secure, and with the extra CLD over any holes, I think it's sealed up very tight now, which I hope will improve bass response.  And to be extra sure, I added CLD around the speaker in case there were any gaps I couldn't see.

95maxrider
95maxrider Reader
7/16/24 1:49 p.m.

Let's step back from the stereo work for a bit.  The black vinyl wrap I put on the roof back in like 2017 was toast and needed to be replaced.  I had bought some silver vinyl a while back, so rather than mess with repairing and painting the roof, I figured I would slap on the silver.  But I had no idea how miserable it would be to remove 7 year old vinyl.  Good god, I must have spent like 10 hours with a heat gun getting that crap off the car.  Since it was so brittle and degraded it only came off in tiny slivers.  Eventually, I got it all off.


When I installed the delete panel, I did a real E36 M3 job with making both it and the sealant level, so it looked pretty bad under the original wrap.  Now I have a lot more tools at my disposal, so I smoothed things out and made it look acceptable.  It's not perfect, but it's good enough for right now.


Wrapping the roof was pretty miserable, I don't plan on doing it again.  It looks good enough from here, but up close there are all sorts of tiny bubbles that I couldn't see when I was smoothing things out.  From here on out I'll stick to paint.


I got tired of how crappy the AC was in the car so I decided to do some digging.  When it was set to the two fastest fan speeds it made a lot of noise, but I just figured this is what old German cars do, since it was like that when I bought it.  Turns out that was only partially true.


The left fan blade had broken off the shaft and was just sitting in there, letting the right side do all the work.  The right side had some cracks in it too.  This was an absolutely miserable process, as there are like negative millimeters to work with when trying to remove/install all the parts of the blower motor.  To get better access I removed the two pieces of plastic at the bottom of the windshield, breaking off much of the "rubber" (now plastic) during the process.  Since I had a big balance with FCP Euro, I bought some new ones with nice supple rubber.


Much better.  I also installed a new cabin air filter.

While I was putting everything back together I noticed that the fuse holder for the electric fan relay was all bulged out and looking really funny, so I opened it up for probably the first time in 7 years.


That can't be good.  The plastic had melted on the fuse, but the link was still intact.  I had a spare one lying around, so I installed it along with a proper terminal instead of the dinky one that was used before.


I also fixed some of the other wires involved in the electric fan, and it's working great now.  I feel like I narrowly avoided an overheating disaster.

Now the AC blows nice and strong, and is very quiet as well.  Can't believe I drove around like that for 8 years!

1 ... 18 19 20 21

You'll need to log in to post.

Our Preferred Partners
8N88TrMTjE2ZHVJPNj9ATDQwoXDS3R0Fgz7lvgvqAjgkNj461Gka4VX2AqXAx4tj