Well, I have found myself an indoor project for the next couple of months. Recovering an old set of corbeau racing seats, using leather from the BMW 7 series challenge car.
Goals:
- look presentable
- have heated seats
- use a minumum of $$
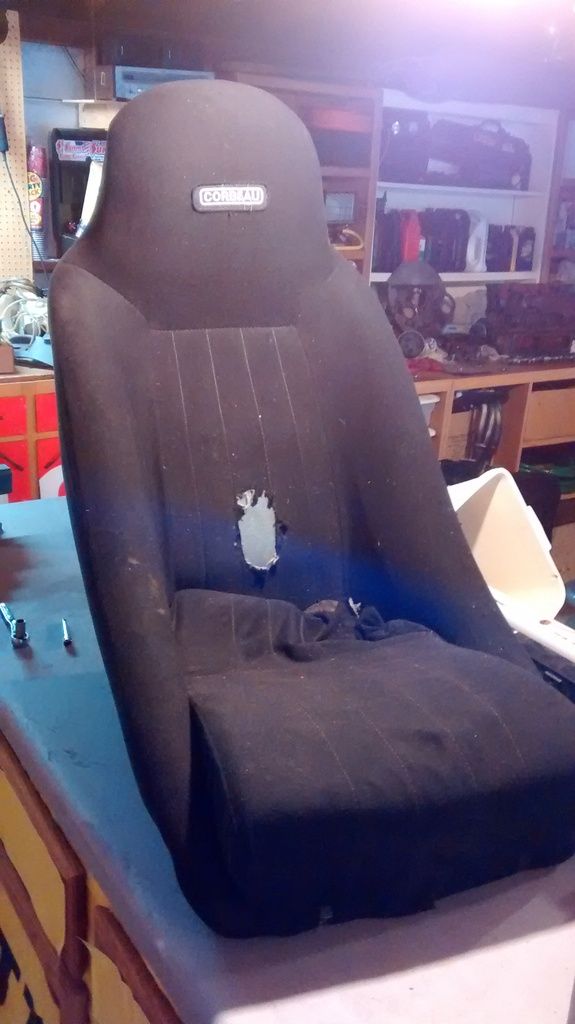
Starting point (good bones, torn up covers):
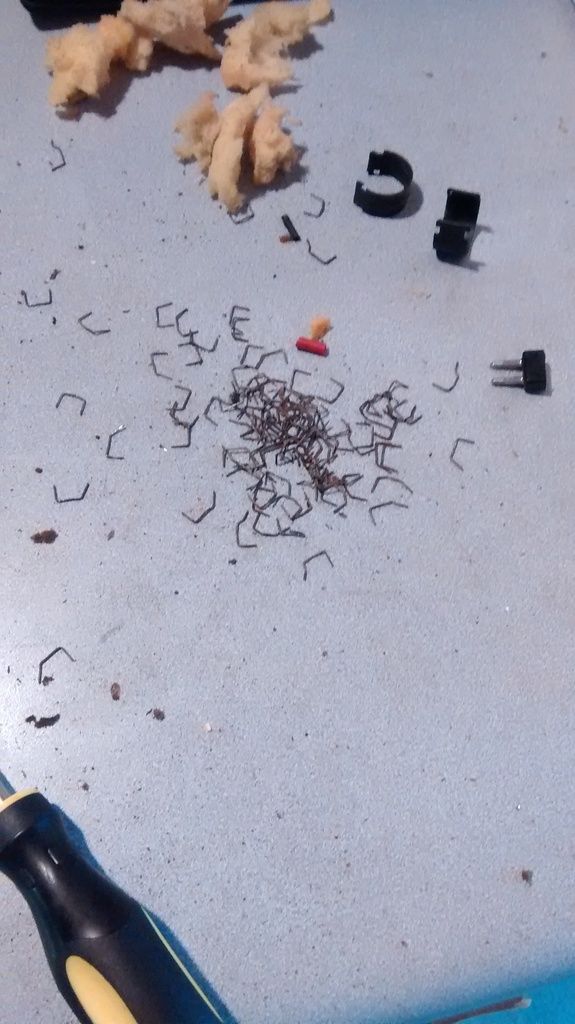
Remove these two clips, and then start removing staples:
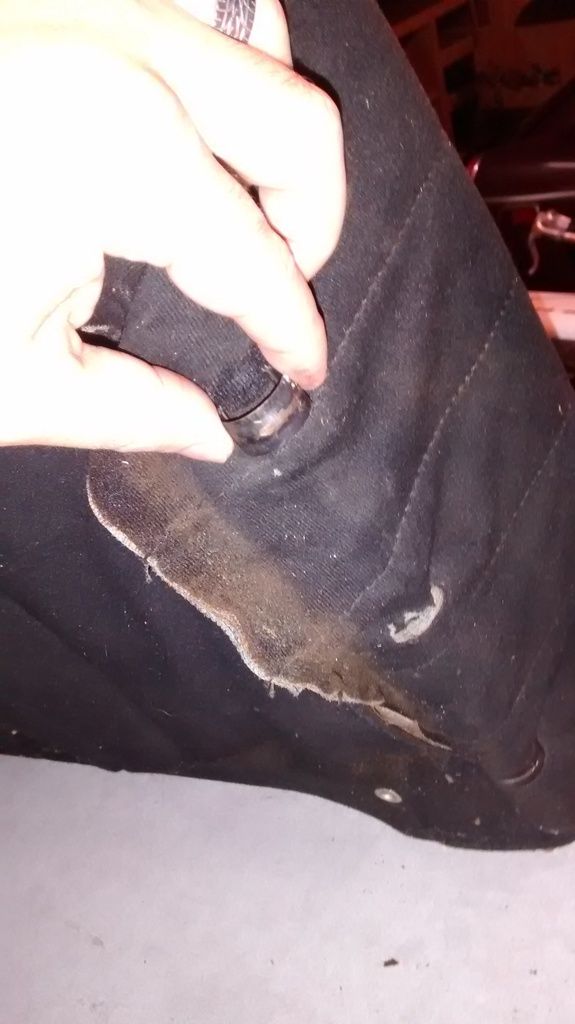
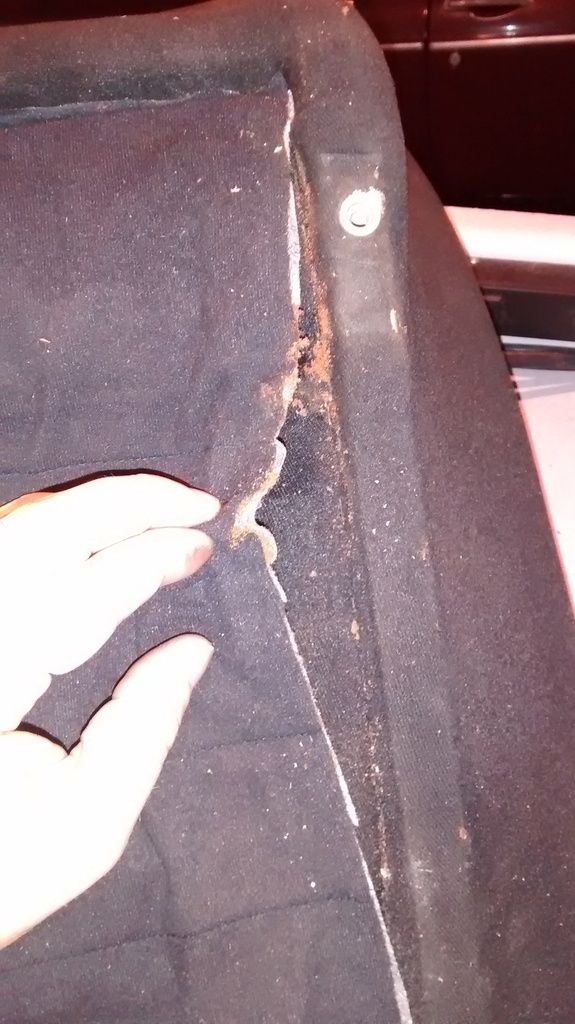
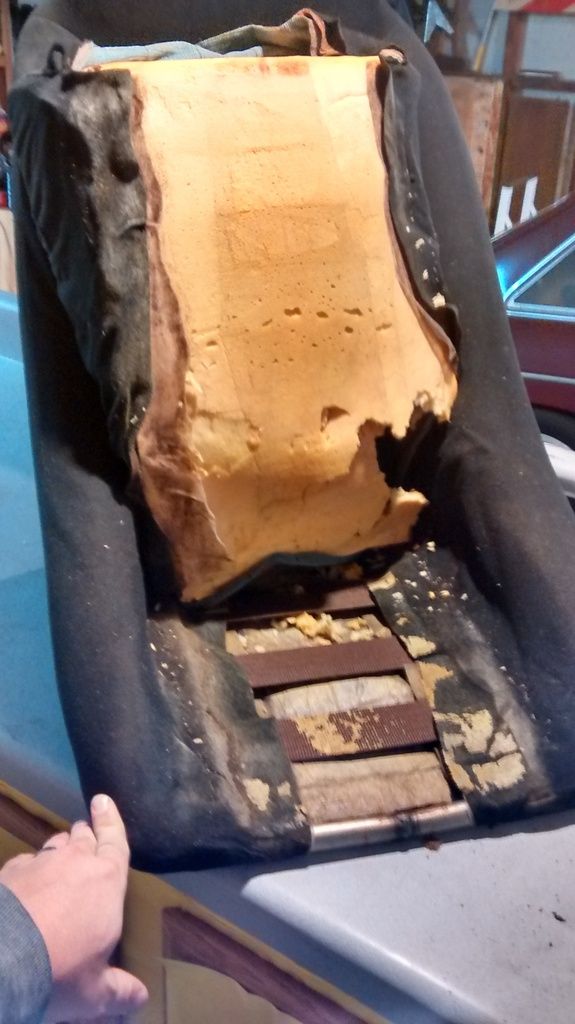
This seat bottom cusion has been chewed up by rodents of some sort (other than the clips this was just glued down):
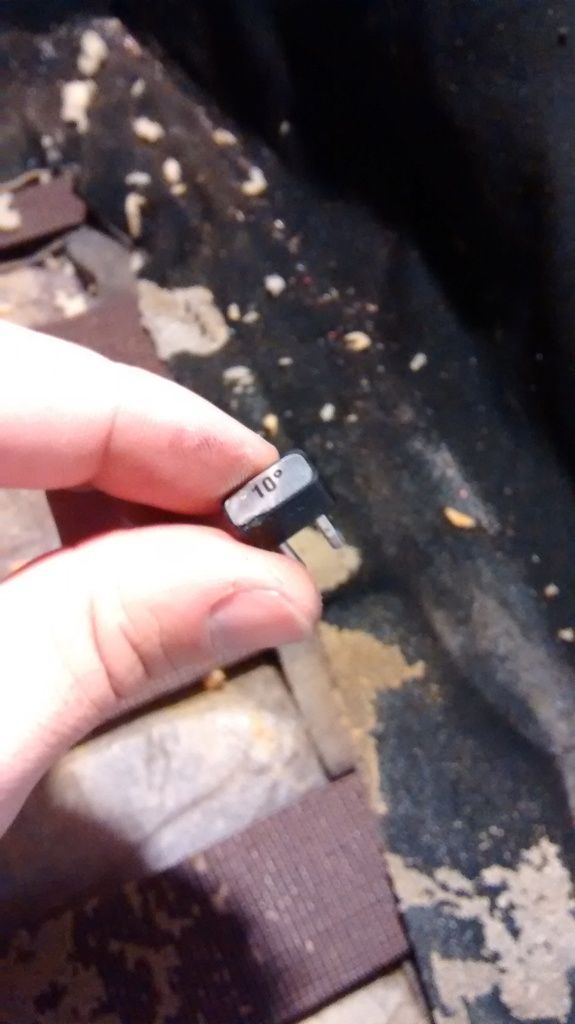
Found this guy, is it from an MSD ignition box? Or some sort of launch ignition retard device?
And here is where we are now:
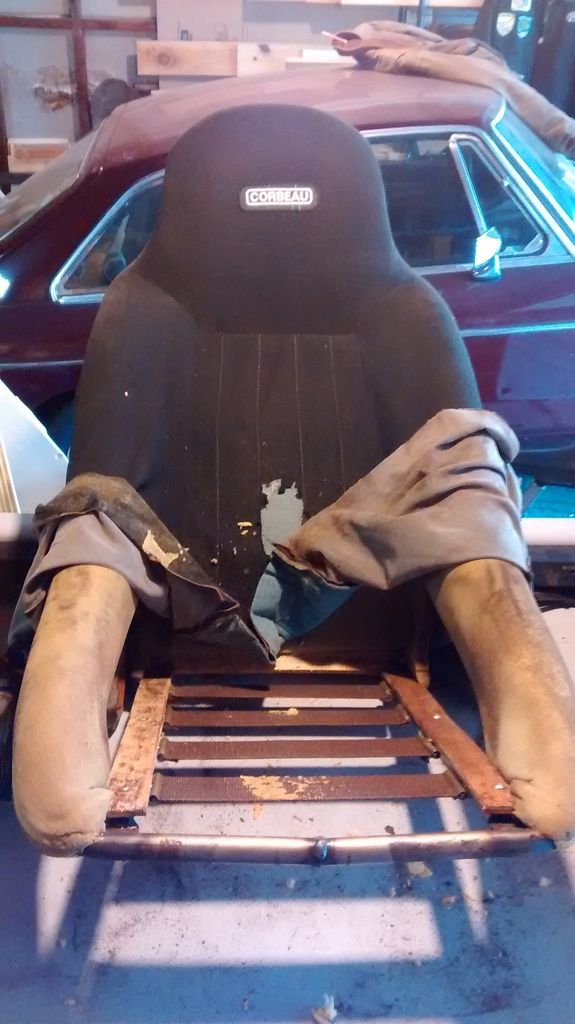
Just below the headrest is a bar attached with phillips screws, easy to undo:
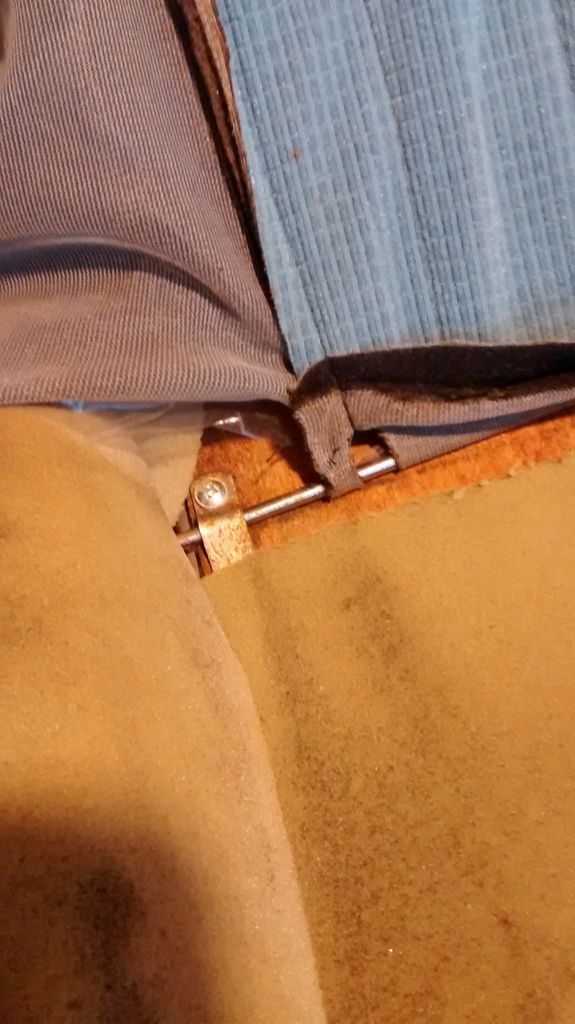
Cover all the way off:

Rodent damage detail - lucky its a very simple shape to replace:
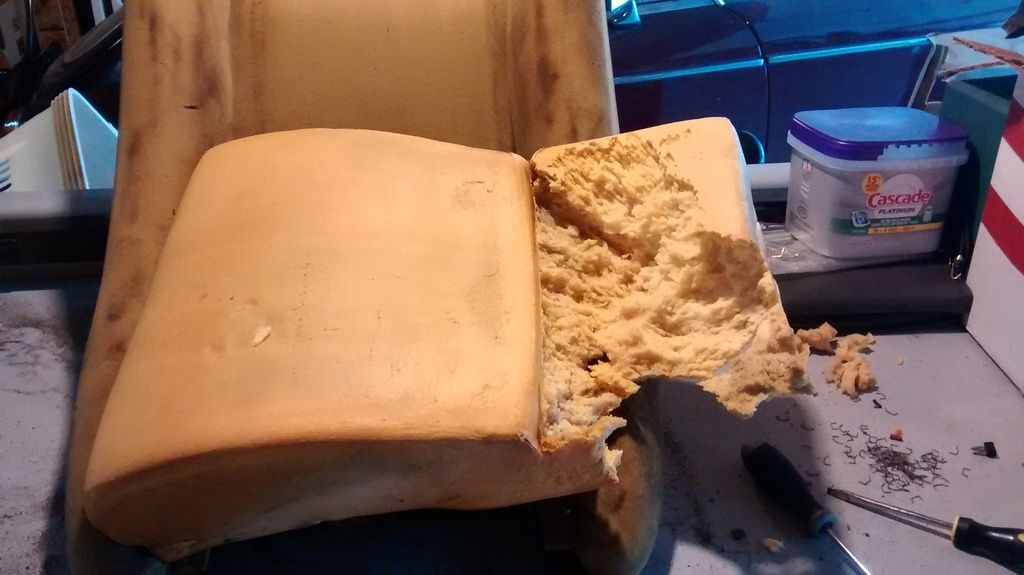
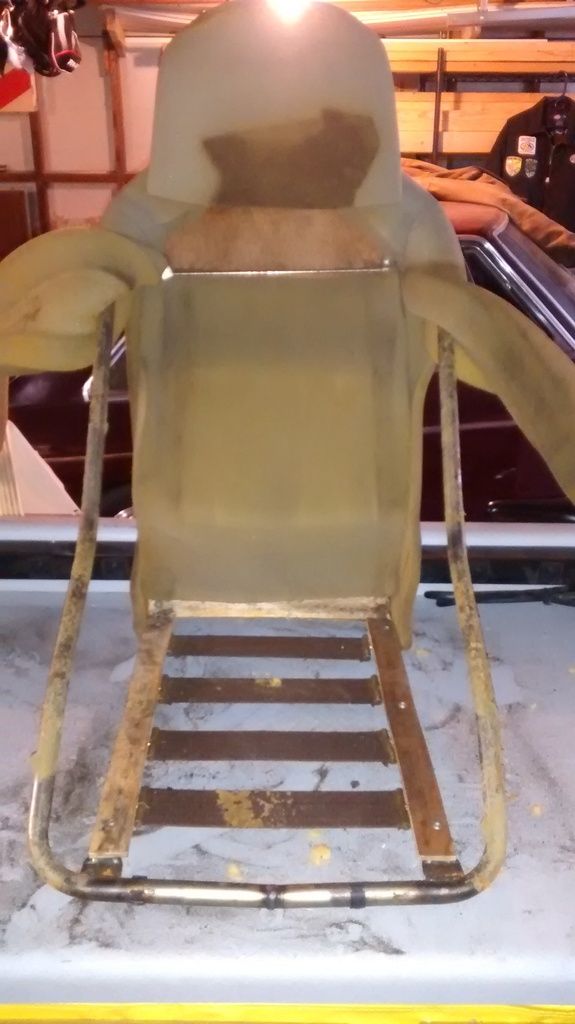
Finally pulled back the side foam pieces a bit to take a look at the side supports. These seats are just a touch skinny for my "wide hips", so I will be putting a jack or something in there to bend them outward just a bit for comfort. More to come on that.

RossD
UltimaDork
12/30/15 10:17 a.m.
Cool! Keep the info and pics a'comin'!

Apologize for the delay, posting in between working.
Next I attacked making templates out of the old fabric. First step is to rip all the seams. There is a specific tool for this (called - wait for it - a 'seam ripper'), but I found holding the seam apart like this and lightly slicing the threads with a box cutter was quick and effective, and I don't own a seam ripper.
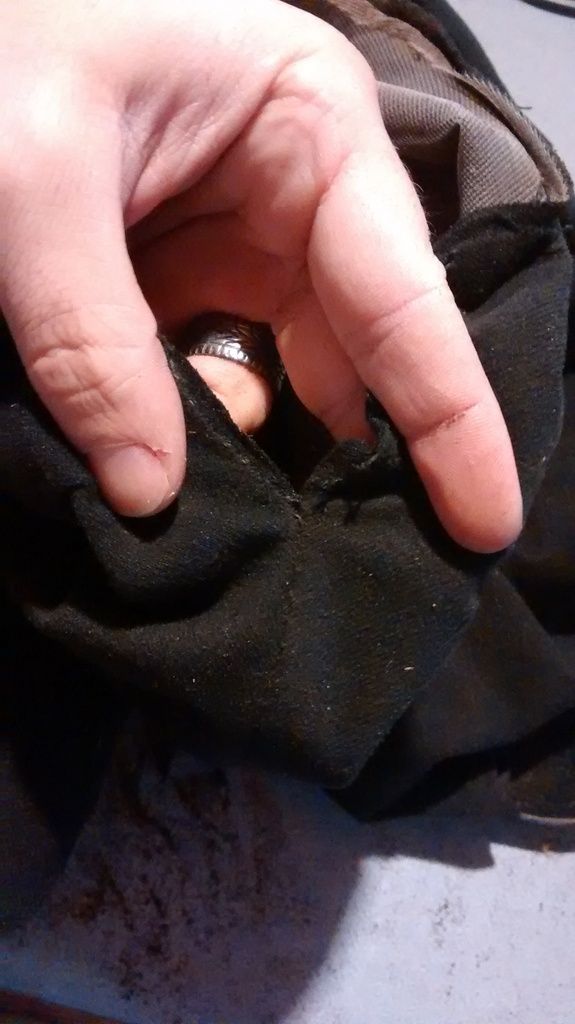
Keep ripping until you can lay the fabric flat:
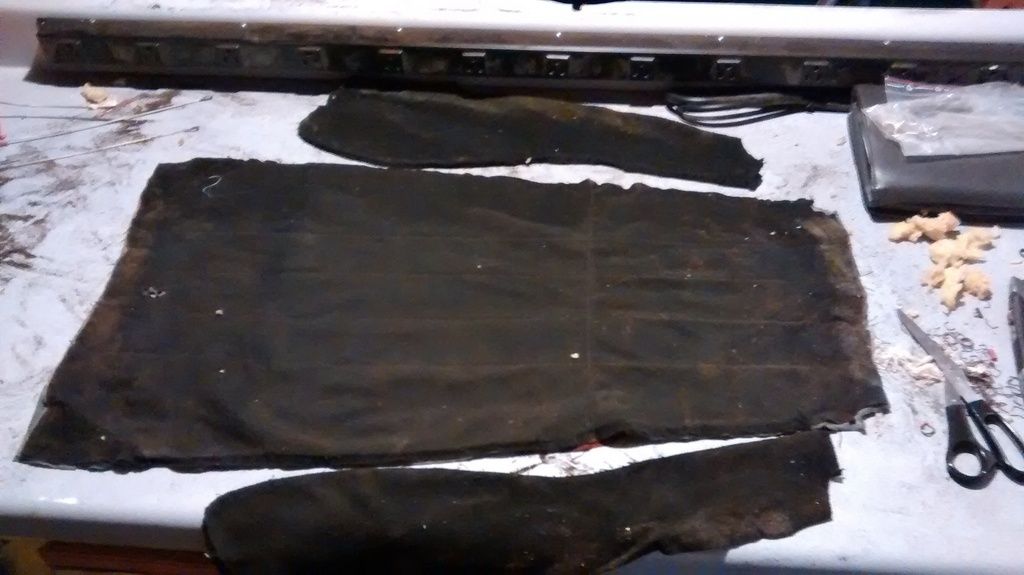
Next start planning your cuts in the new fabric (this is much simplified if you are using new fabric that is large and flat, but I am re-using leather from already made car seats).
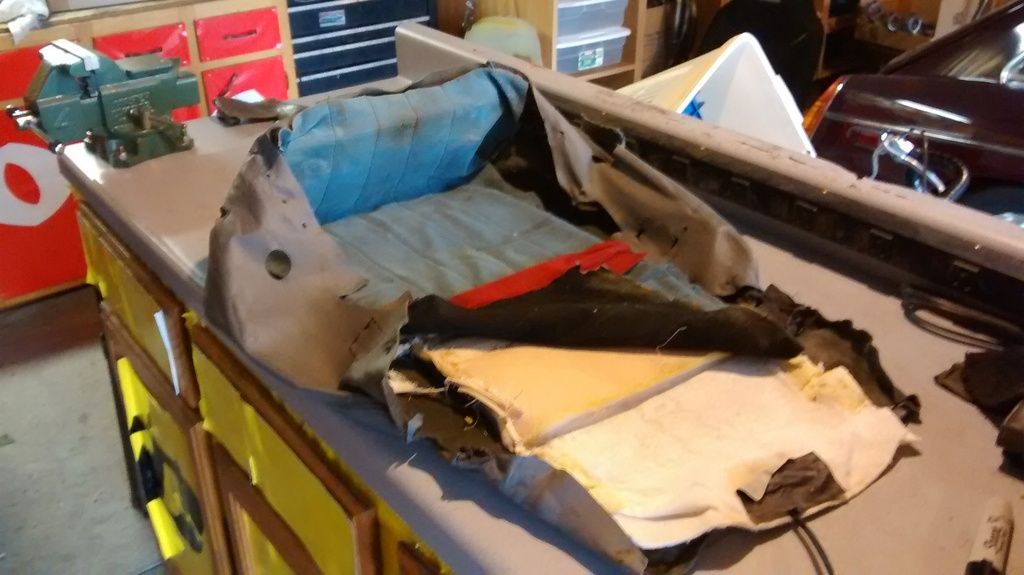
When I had something good, I used a sharpie to outline a 'rough cut' line on the new fabric around the outside of the templates. Better to be too big than too small, but having a lot of extra fabric - especially really thick fabric like leather - makes the sewing around corners and shapes a much bigger pain later.
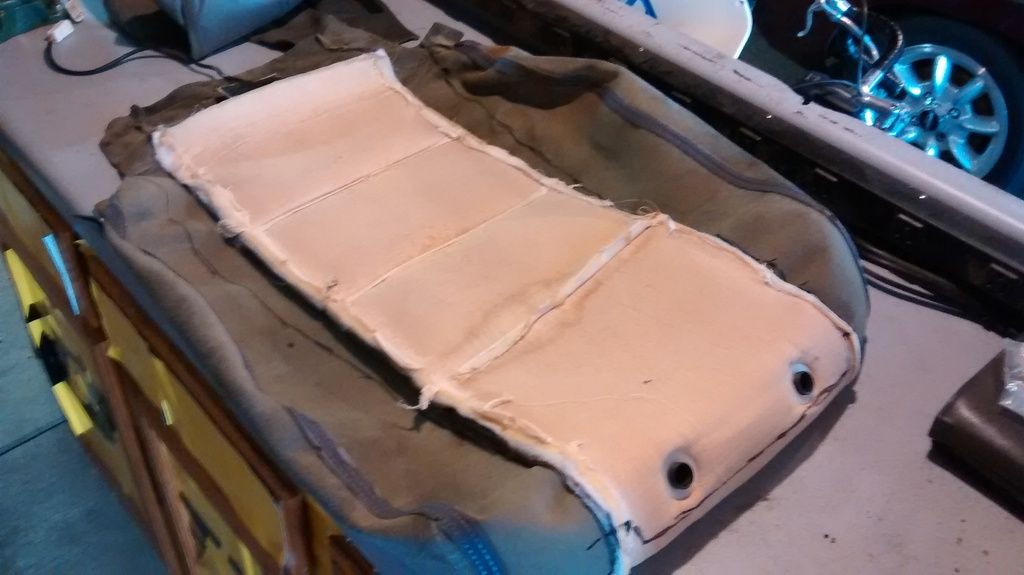
Now that you have your new pieces cut, its time to mock up. Traditionally you would use straight pins to do this, but I could not push mine through the leather with any sort of accuracy. So instead I used clothespins, and then used a sharpie to mark seam lines on the inside of my pieces.
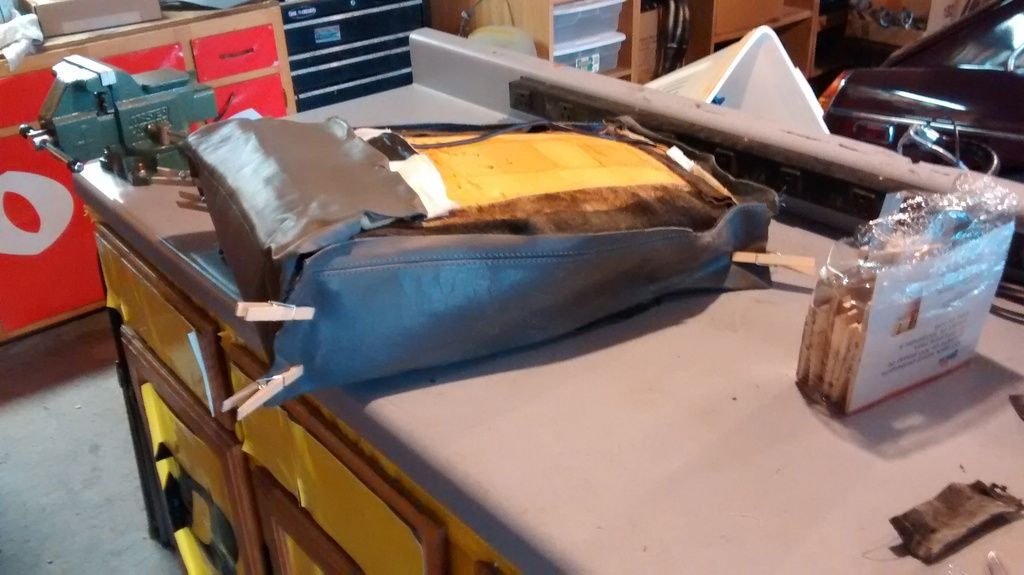
Here are the start of my 'seam lines':
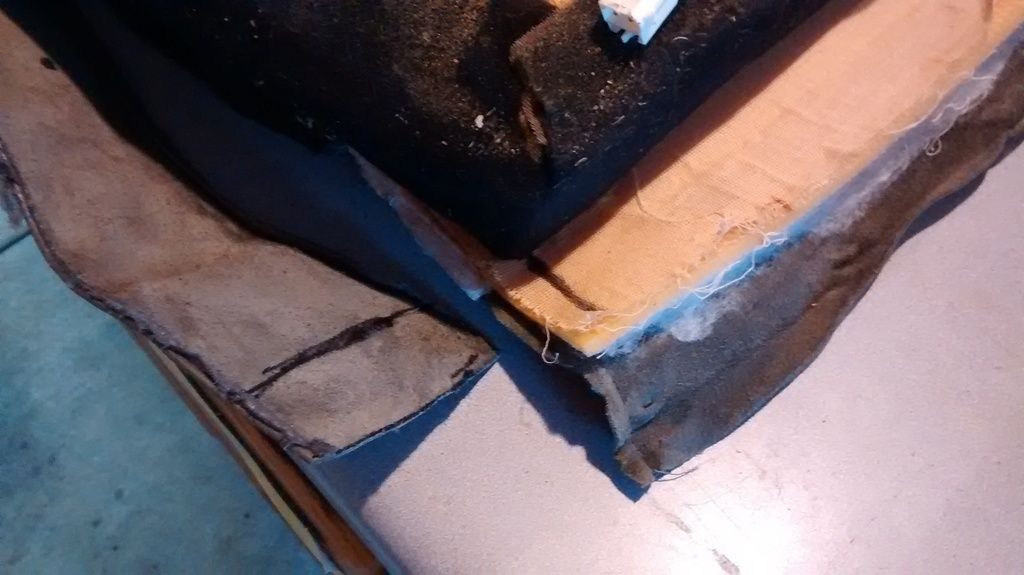
Also, don't forget to draw reference marks:
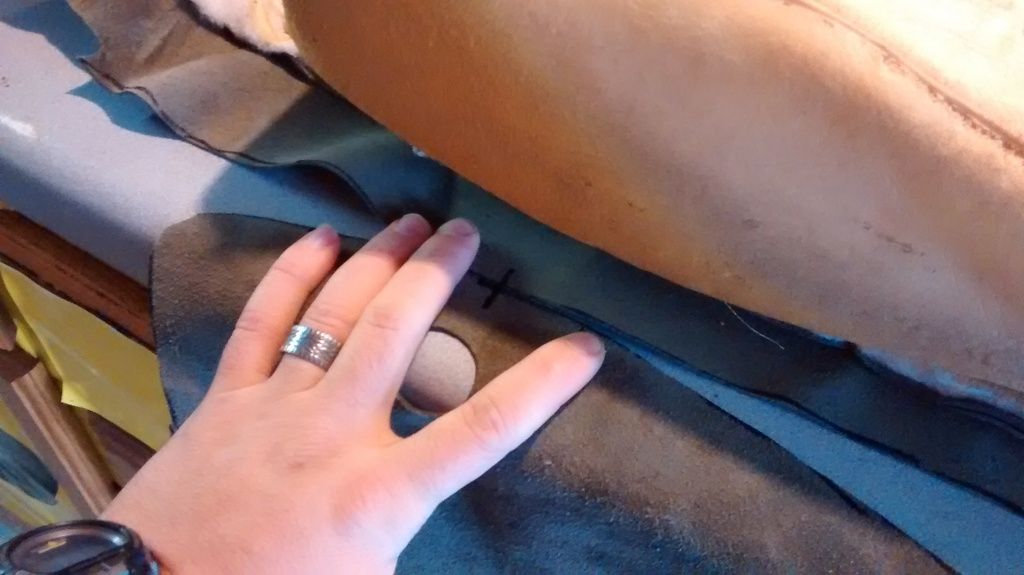
Last post to catch up to where I am now:
I popped over to Jo-Ann fabrics for some supplies. I got this baby - its got a big thick needle and a nice wood handle, great for hand sewing leather. I do not have a sewing machine, so for $30 I'll give this a shot. It actually sews the exact same stitch as a sewing machine, so that is cool. I also got two rolls of tan upholstery thread.
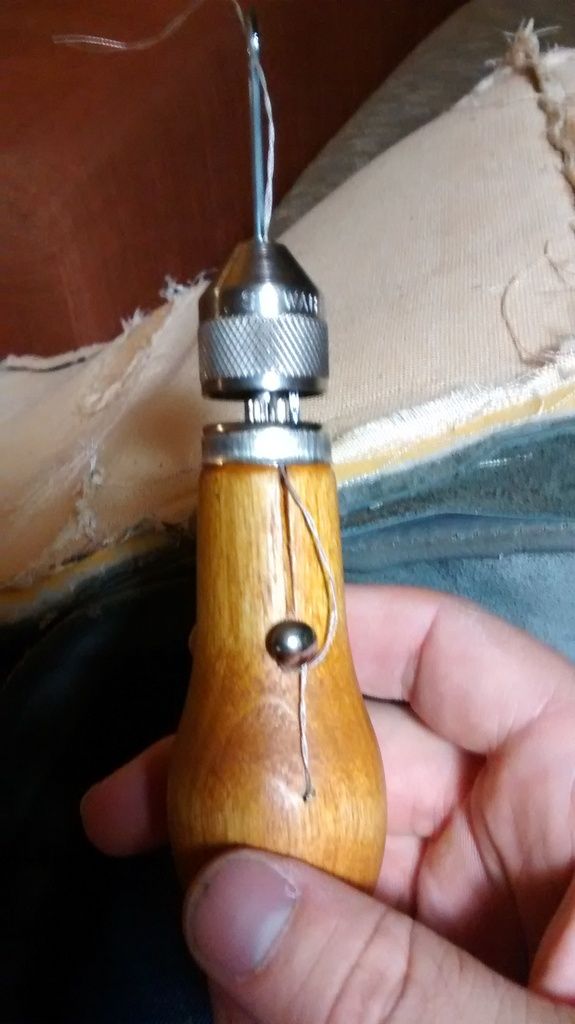
Started one of my seams, not too shabby! (Remember, sew from the inside and turn it right side out later.)

Tool budget spent : 30
Materials budget spent: 6

Pushrod
New Reader
12/30/15 5:49 p.m.
Thanks for doing this and posting it, Robbie. I have a pair of the older GT8's in my Pinto. They're a ways off from needing surgery but it's good to see what the repair process involves....

jere
HalfDork
12/30/15 7:59 p.m.
Very cool! I have thought about recovering seats like this but always wimped out without an effort. I loves those photos of the metal seat frame too. I have been thinking about building my own seat for a whike too. That looks like a good skeleton to mimic. Thanks for posting this!
But to anyone else looking for a similar leather stitcher stop at hft ~$5 with a big spool of wax thread. I learned that one the spendy way too... But a great tool either way comes in handy for lots of other stuff too.
I really wanted to get the sewing machine I found at the thrift shop today for the express purpose of being able to do things like this. It was, however, more than $30. Great work so far and thanks for documenting!
That seat is looking great! For those of you who are thinking about doing this, keep in mind that a regular sewing machine may have trouble with thick materials and leather. Not that it can't be done, it's just not what they are designed to handle.
(Sorry for threadjack)
^ For myself and anyone else who might be interested, would something like a Necchi Bu be applicable? A quick google says it would do, but I have no first-hand experience, obviously.
Corbeau awl-stitched seats wearing BMW leather. Hats off to you, sir.

jere
HalfDork
12/31/15 12:49 p.m.
On the sewing machine note
Sewing machines from the 80s or earlier stand a good chance of doing this sort of thing. Old cast iron singers and japanese singer clones are free (for an example I picked up a 1930s industrial singer with a worn out clutch and a stretched out timing belt free from CL. It was listed without photos for weeks) to really expensive, and can generally do an odd upholstery job. (They still have a huge market of used parts and manu interchange.)Newer machines with plastic gears especially are going to have problems. A machine with a walking foot (not the cheap attachment ) would be ideal but an appropriately heavy gauge needle and some patience will go a long way.
Thanks to all for the words of encouragement! I very well may need it...
So I finished up the seams on the first seat cushion, and did a test fit. I think if I add some straps to the bottom to hold it all tight it will work pretty well. (Using the 'other' cushion, as it wasn't torn up by rodents).
Finished seams and cut off excess down to about 1/4 inch:
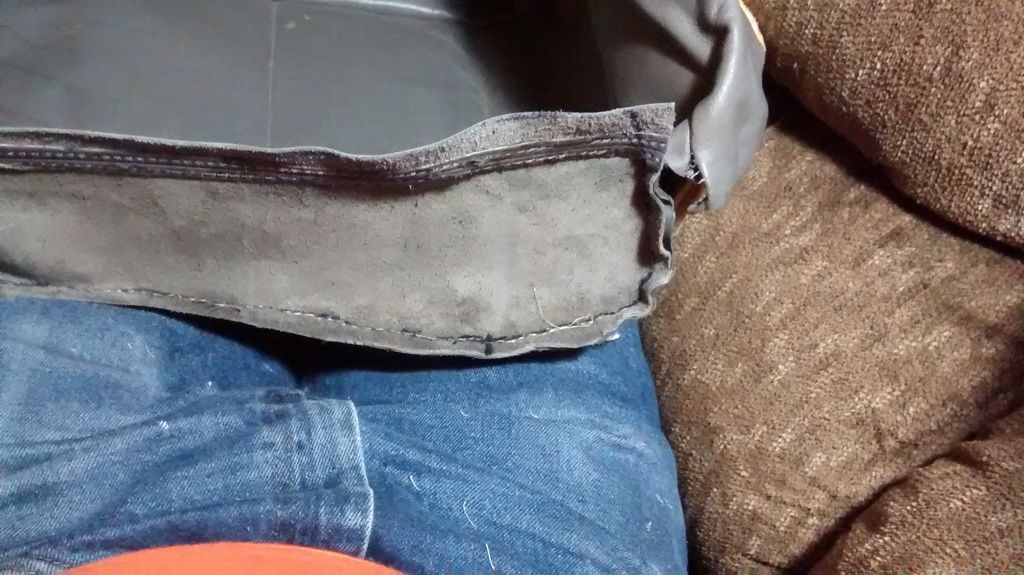
Return to "right-side-out":
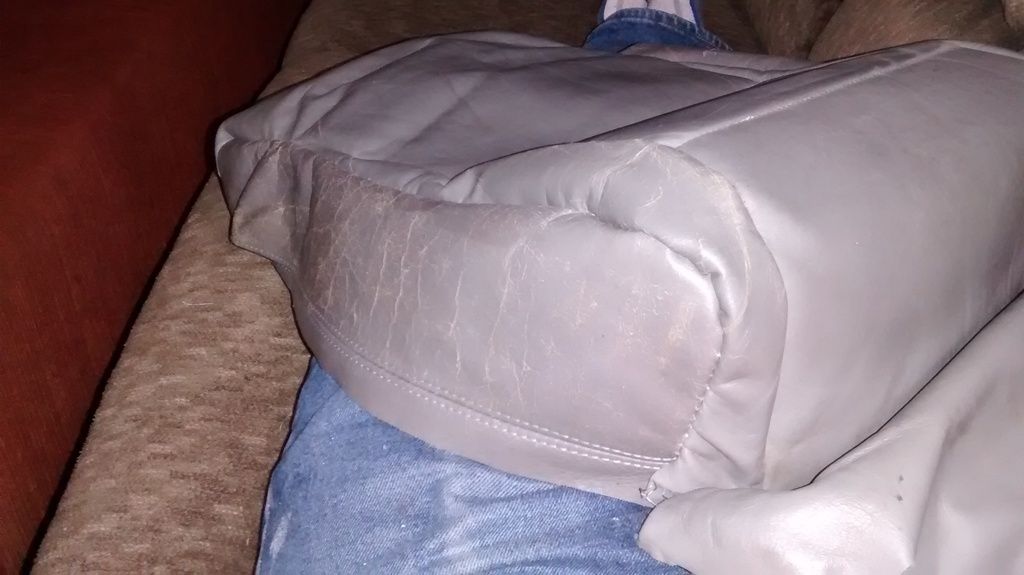
Test fit on the cushion (the cushion likes to 'bend' up and out of the cover - which is why I think something holding from underneath will help):
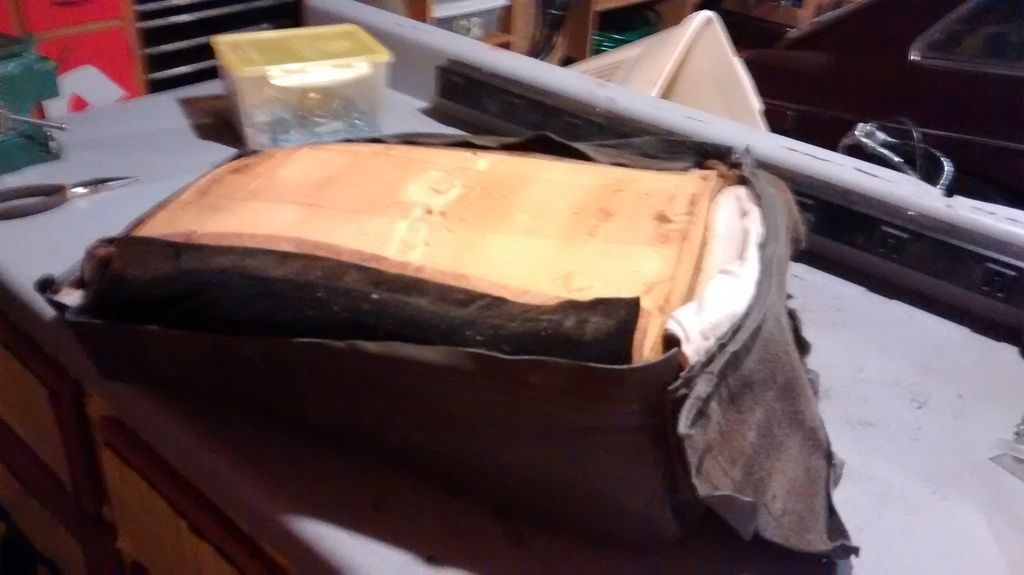
And the final product:
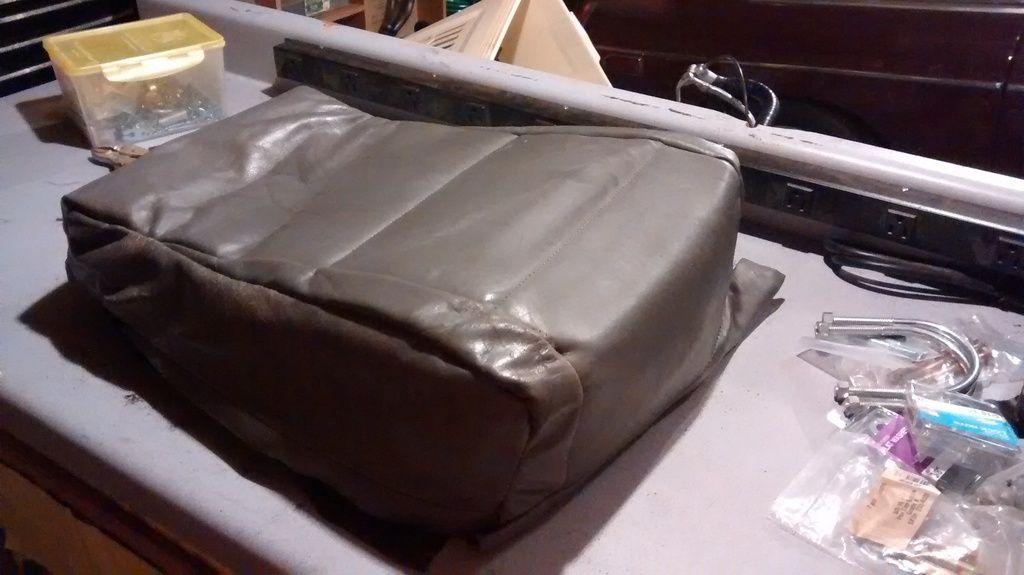
It shapes up a lot better when the fabric is held tight, so that is my next mission. I might just punch some holes and use twine or shoe laces or something to lace up the bottom.

T.J.
UltimaDork
1/4/16 1:04 p.m.
I have a pair of Corbeau seats sitting in my garage. One of which needs recovered. Watching this thread and thanks for posting yours as you go.
I decided to take this build in a slightly different direction - for the challenge car. Here is a teaser for now, will fill in the details later.
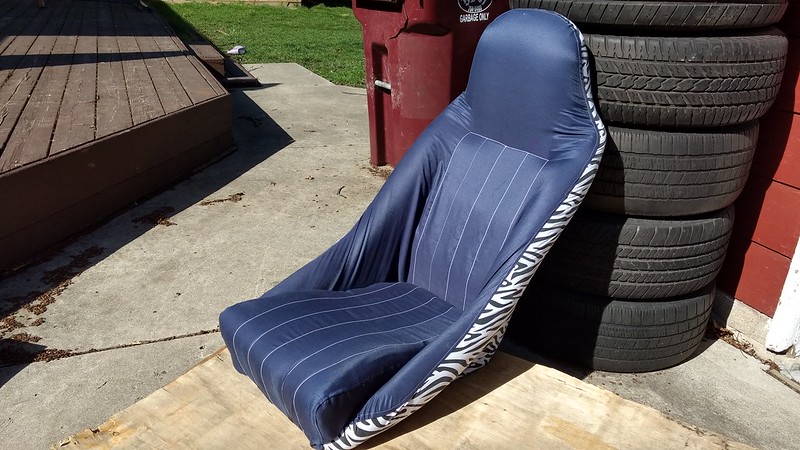
Best of all - it only weighs 14lbs!!!


