Next, we'll choose a tool and a strategy. For this first roughing pass, I'll use a 4mm diameter end mill with Fusion's 3D adaptive clearing strategy.
Oh, and if it wasn't obvious already: I am not good at this and you should not take my advice for any of it. This is 100% trial and error.
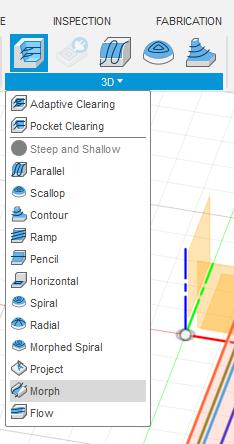
Now I need to set my passes. I'm staying super conservative until I find the limits of this machine.
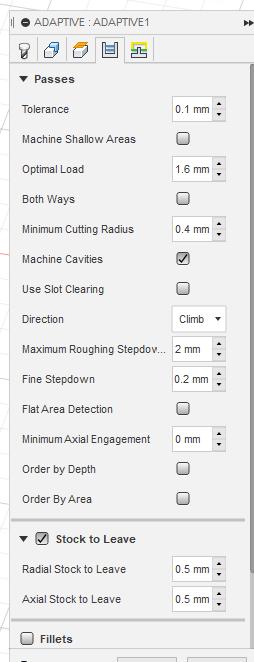
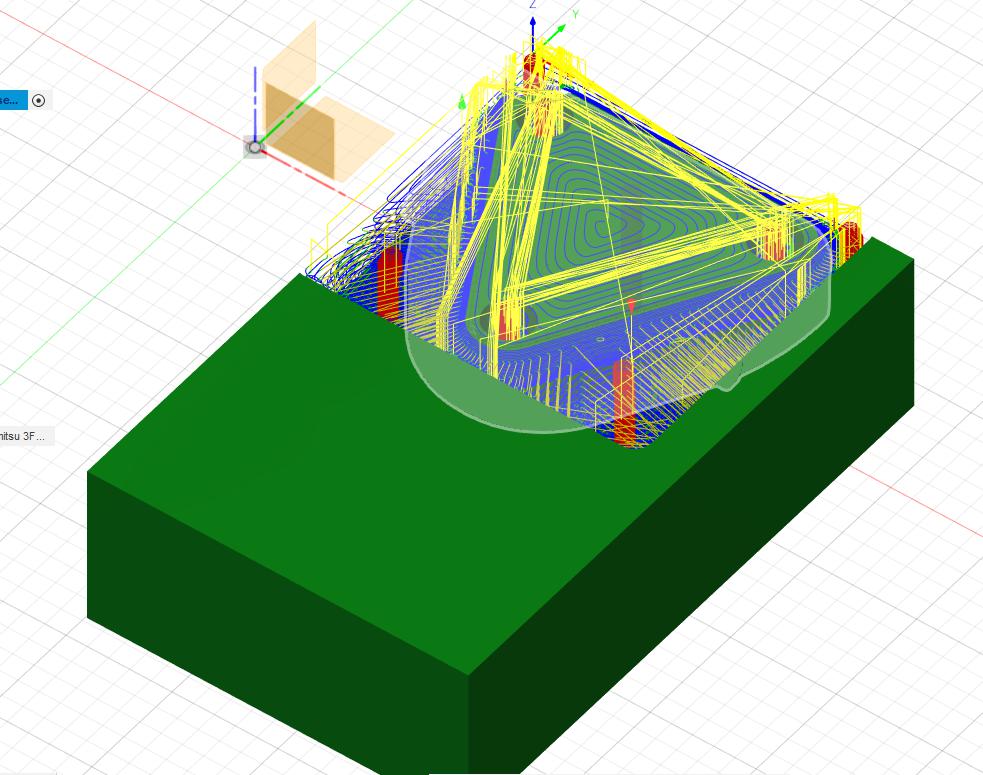
There are a few other odds and ends, but that's the basics. After plugging everything in, Fusion generates a toolpath:
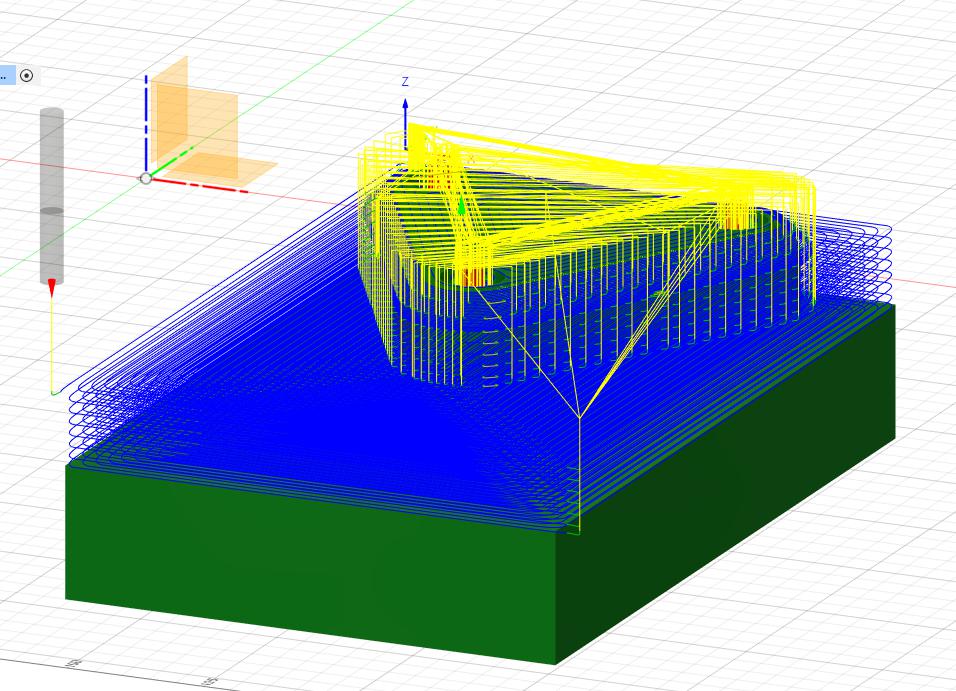
Hmm, that's not right: there's no reason to take all the stock off where the part isn't. Time to tweak the settings and figure out what I screwed up.
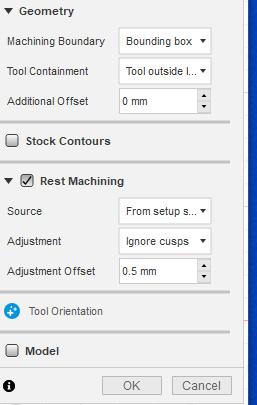
Found it! I hadn't set a machining boundary, so I drew a box on my original sketch and limited the toolpath to that. Success!
Of course, this is just a speed run through the basics of CAM, and I'm definitely screwing stuff up and doing things wrong. Still, though, I mostly want to see this thing take some big cuts in aluminum, so I'm going to export the program, clamp down some stock, and see what happens.
Aaaaaaaand Mach 3 stopped at line 500 of the G-code because I'm running the free trial. Time to give it some money and try again next time.

Gzwg
New Reader
7/21/21 1:26 a.m.
One of the reasons I decided to use LinuxCNC. The other was that I found a configuration file for my machine online 
I can't get my head around Fusion 360 - I like to keep my files local, and fusion wants to save everything in the cloud.
I'm using EstlCAM, which seems nice and simple to me (but still has enough settings to screw things up royally..)

Gzwg
New Reader
7/21/21 1:33 a.m.
Derick Freese said:
Which one of these small machines would you choose for very small parts like for RC cars? It seems like the 3018 is the right size for the job, but I think the 6040 may be worth the extra expense.
I'd say check what sizes the material comes in that you need for most of your parts, and go from there. Bigger is always better, but if you can get the material in smaller sections (that fit your machine), the smaller machine might work for you as well. If it's carbon fibre or glass fibre, I recommend a water tub to get rid of the dust.
Fabricating things for "common" things like RC Cars only makes sense if its your own design that is not available anywhere, just look at what you pay for the materials, and the machine.
That said, it is immensely satisfying to design your own custom parts and see them come to life. I'm currently down to 3 tries before I'm happy with the fitment 
Derick, what do you want to make for RC cars? I probably wouldn't recommend jumping into the deep end with the 6040 without crashing a cheaper/smaller/lighter machine a few times first. Shoot me an email if you're interested in a slightly used 3018 Prover.
On tonight's to-do list: Actually prototype the part before wildly making chips, then think through the order of operations and attempt another cut.
In reply to Gzwg :
The parts would be all my design. Eventually, I'd like to start making chassis for 1/18 scale die cast cars for extra realism, especially if I can make the parts look close to what the real car looks like. For now, I want to start out with those Radio Shack Xmods that I got from Dusterbd13. I remember as a kid how much time those things spent with broken parts. At one point, I started buying them for parts and had probably 10 or so I had parted out to keep 3 running. Even back then, carbon and aluminum parts were EXPENSIVE, like $500 to outfit a single car with full carbon and aluminum parts.
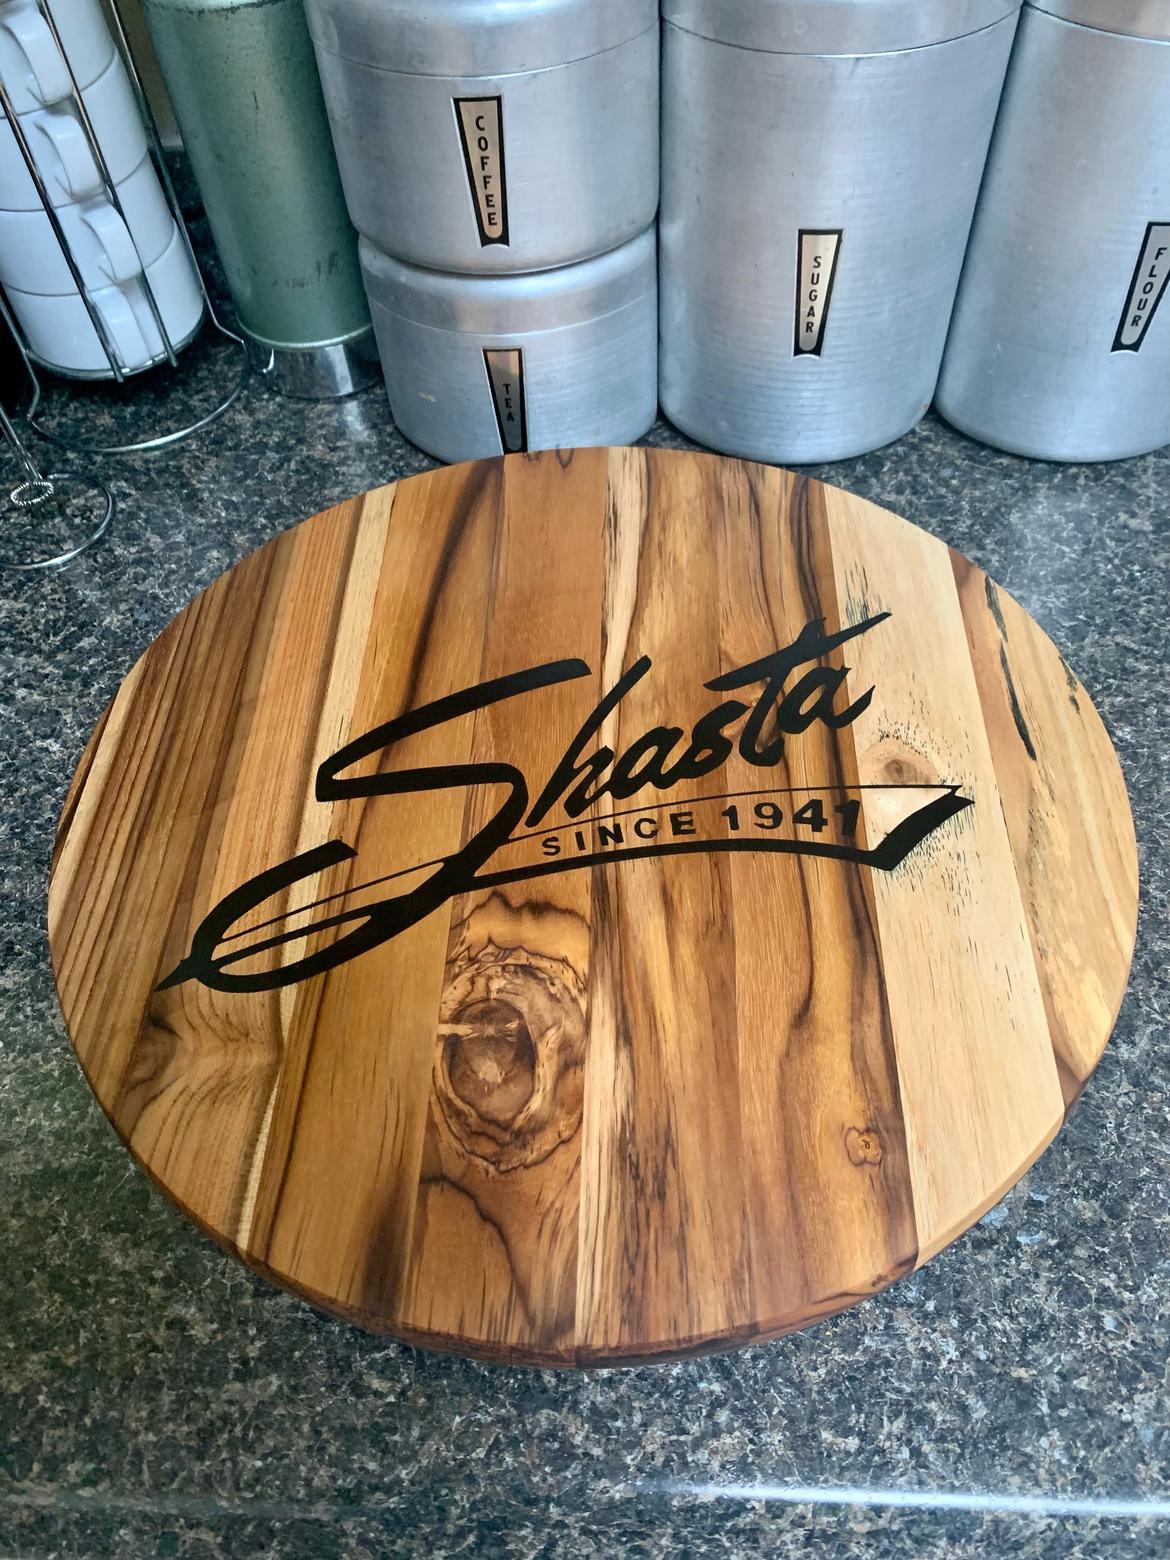
Ok, time for an update here. My mom needed a birthday present, and likes homemade gifts, so....
I'VE DONE A THING!!!!
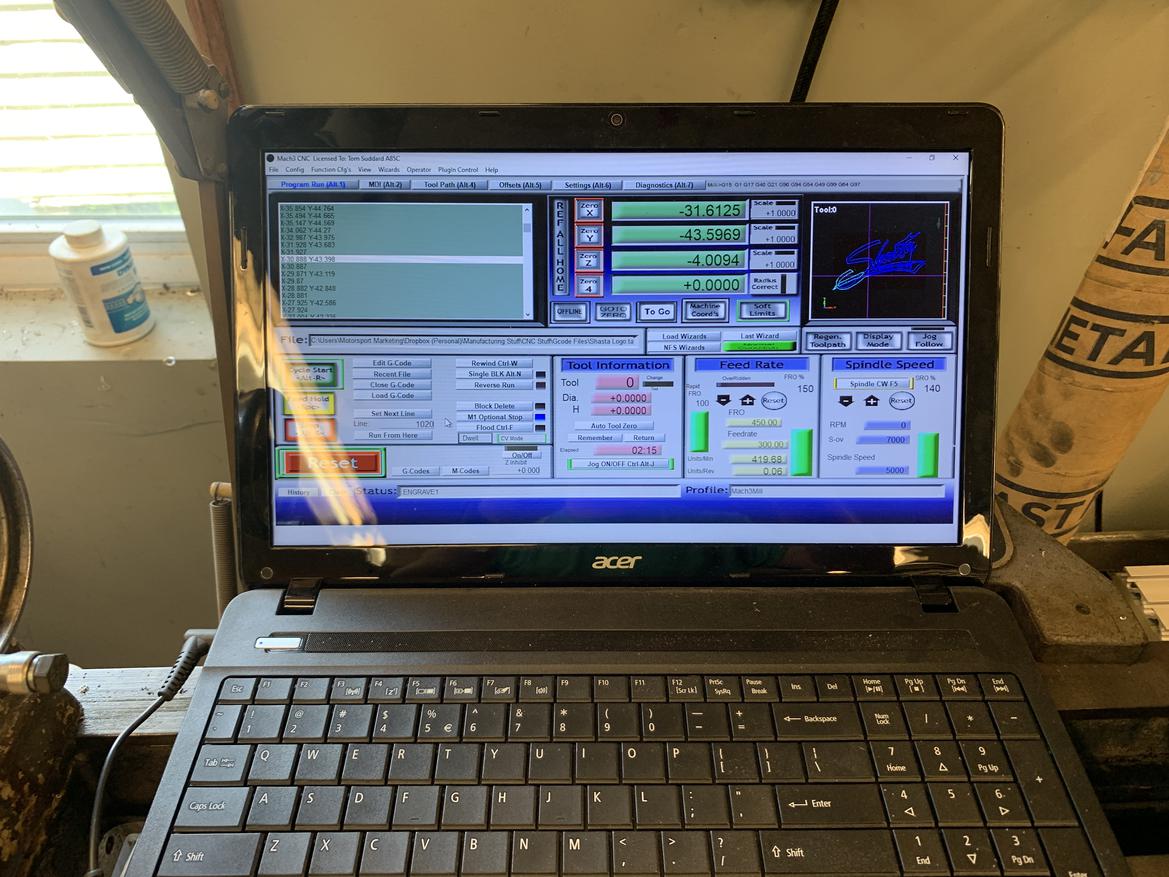
First a test cut and some tweaking of settings. I settled on 1200mm/min with the engraving bit:
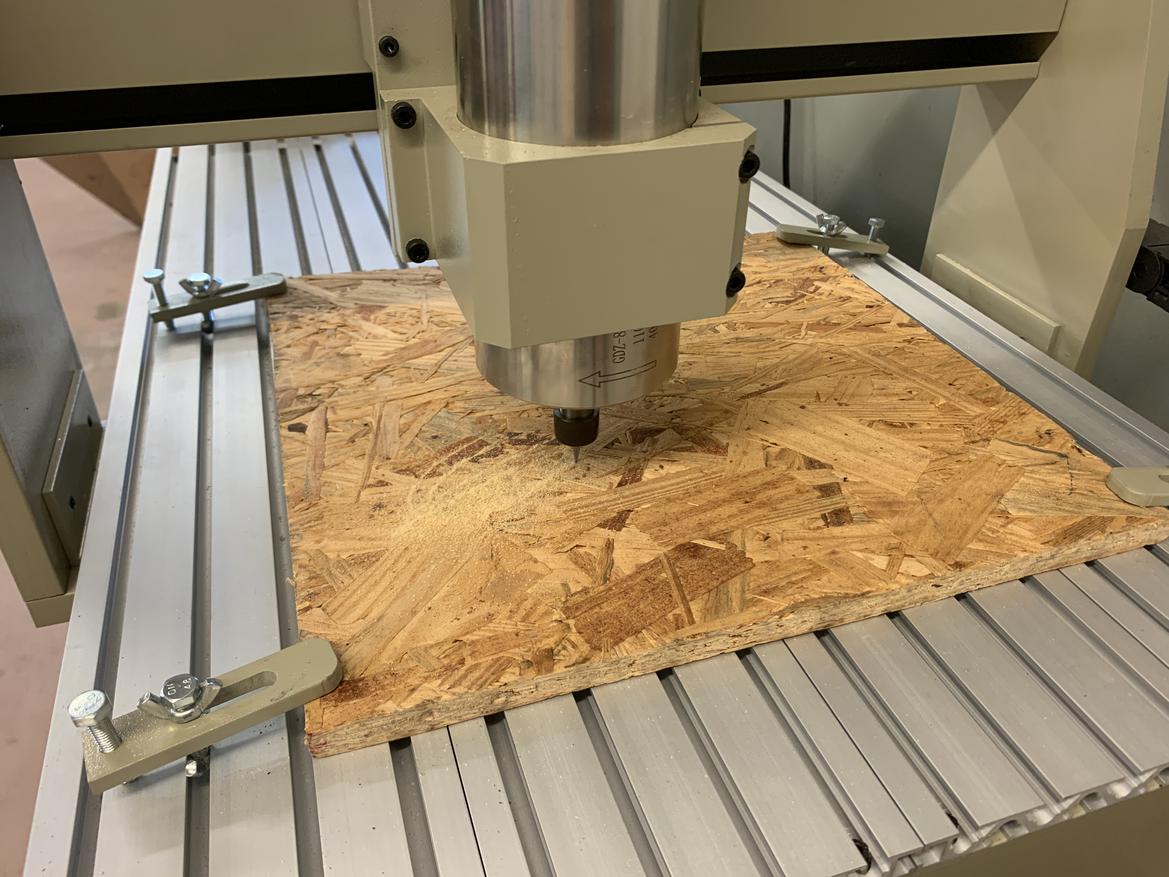
Then a nice piece of teak:
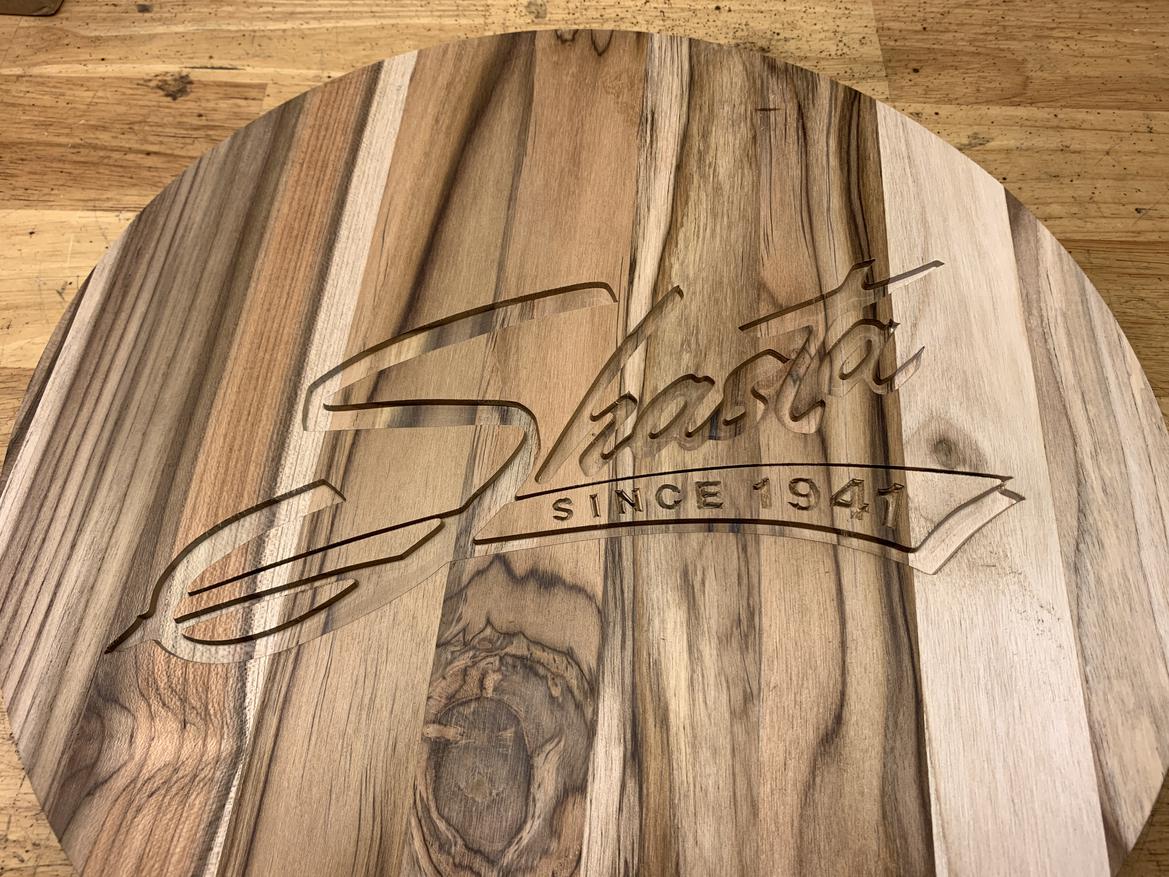
Add, then remove, some resin:
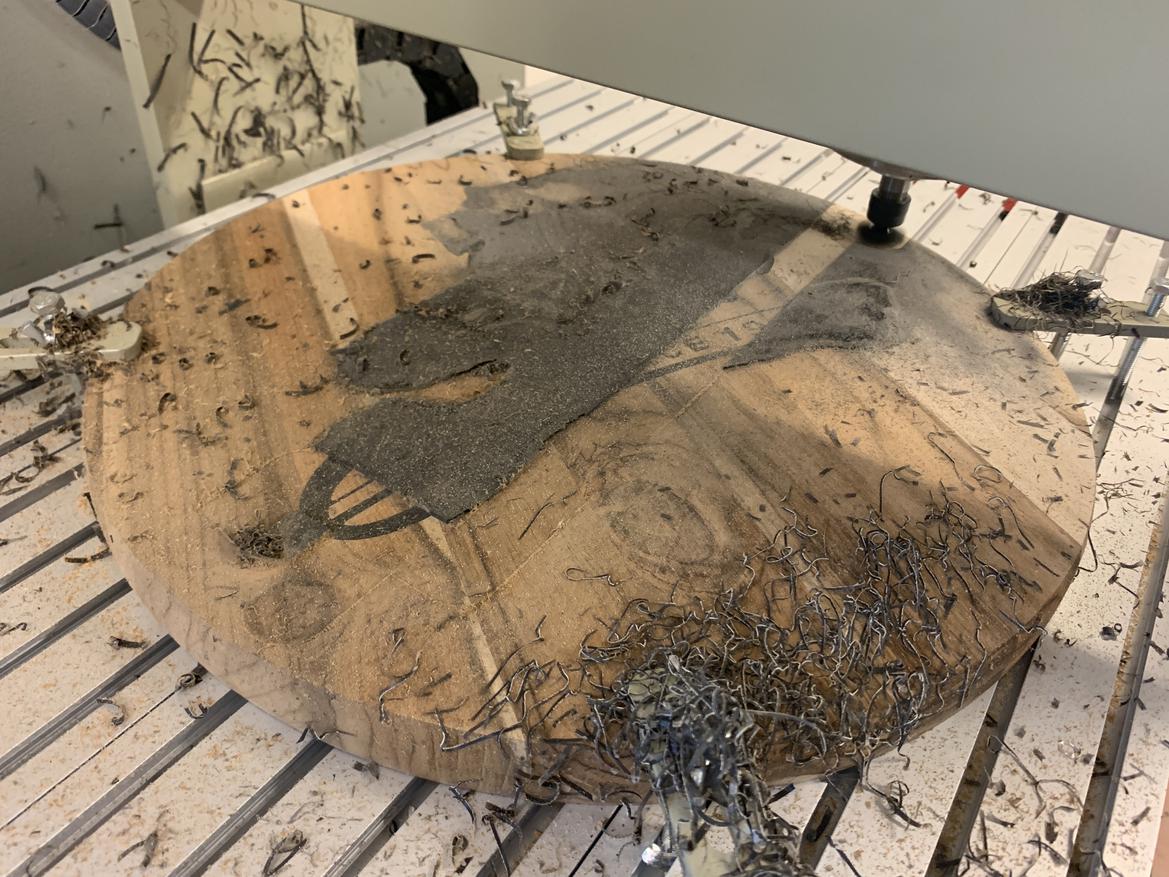
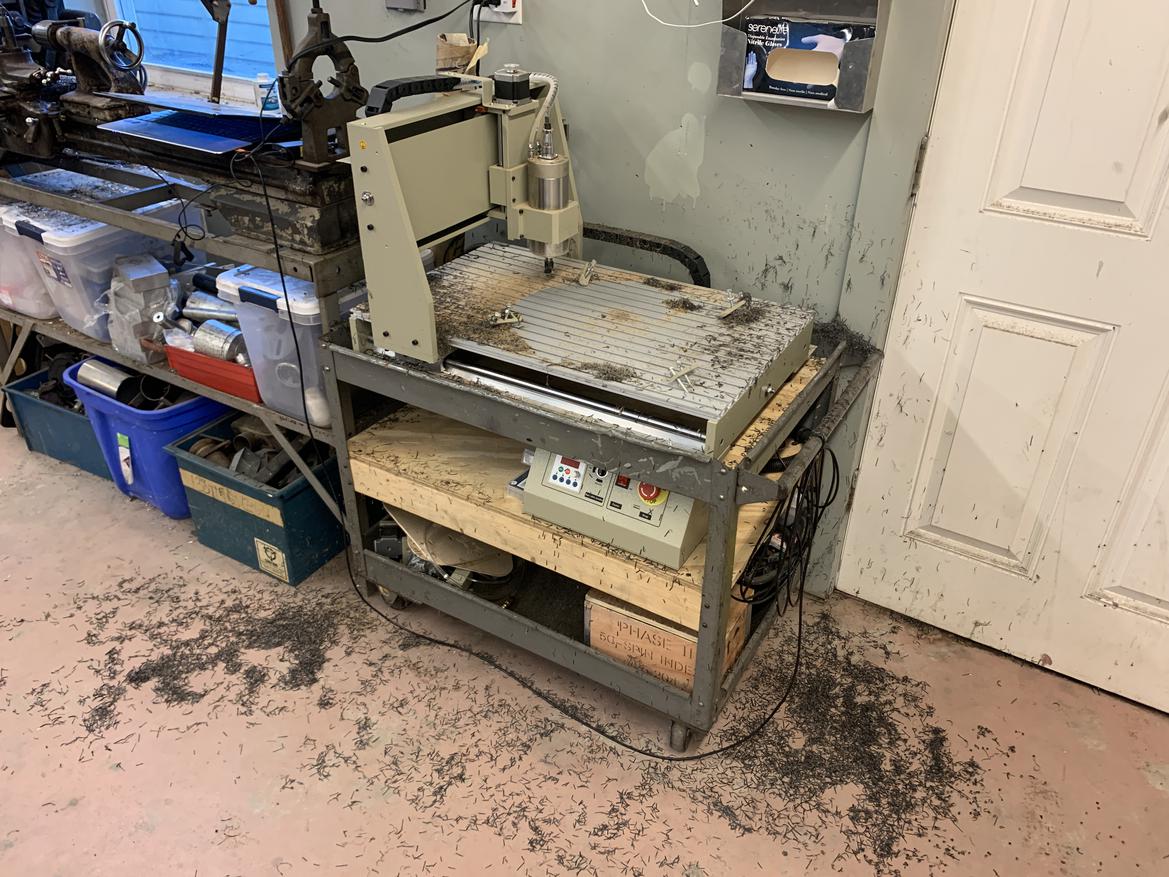
Success!

Mr_Asa
PowerDork
8/16/21 4:29 p.m.
Very cool.
Did you get the hold down thingies to work?
In reply to Mr_Asa :
Yeah, they're not great but they worked fine for this. Need to build a vise before I do heavier stuff with this.
That looks fantastic. Hmm.
Out of curiosity, what's the diameter of the cutting board? Trying to think of alternative ways to come up with the same result.
In reply to Keith Tanner :
IIRC it's a 15" round.
So it wouldn't fit in my big laser cutter - but I could use the small one to engrave the surface. Just not too deep. Interesting.
I'm impressed with the quality of the engraving.
Your garage has the makings of a truly kick-ass Etsy shop :) All you need is the CNC plasma cutter.
Maybe a dumb question, but when milling away the resin from the entire face of the piece, how do you avoid hitting the clamps? Do you designate a sort of "keep out" area in the software?

Mr_Asa
PowerDork
8/17/21 11:36 a.m.
In reply to obsolete :
That's pretty much the entirety of what the software does. It designates the tool path and where the cuts will and won't be.
Take this pic from above, the yellow, blue, and red is where the tool is cutting, so anywhere in the green is where the clamp can be. At the same time, you choose where to cut the material away, so you could move the clamps to each end and cut out of the middle. Just depends on what works for your workpiece.

Quick teaser: Did you know this thing will do a 2mm depth of cut at 800 mm/min in aluminum? Neither did I!
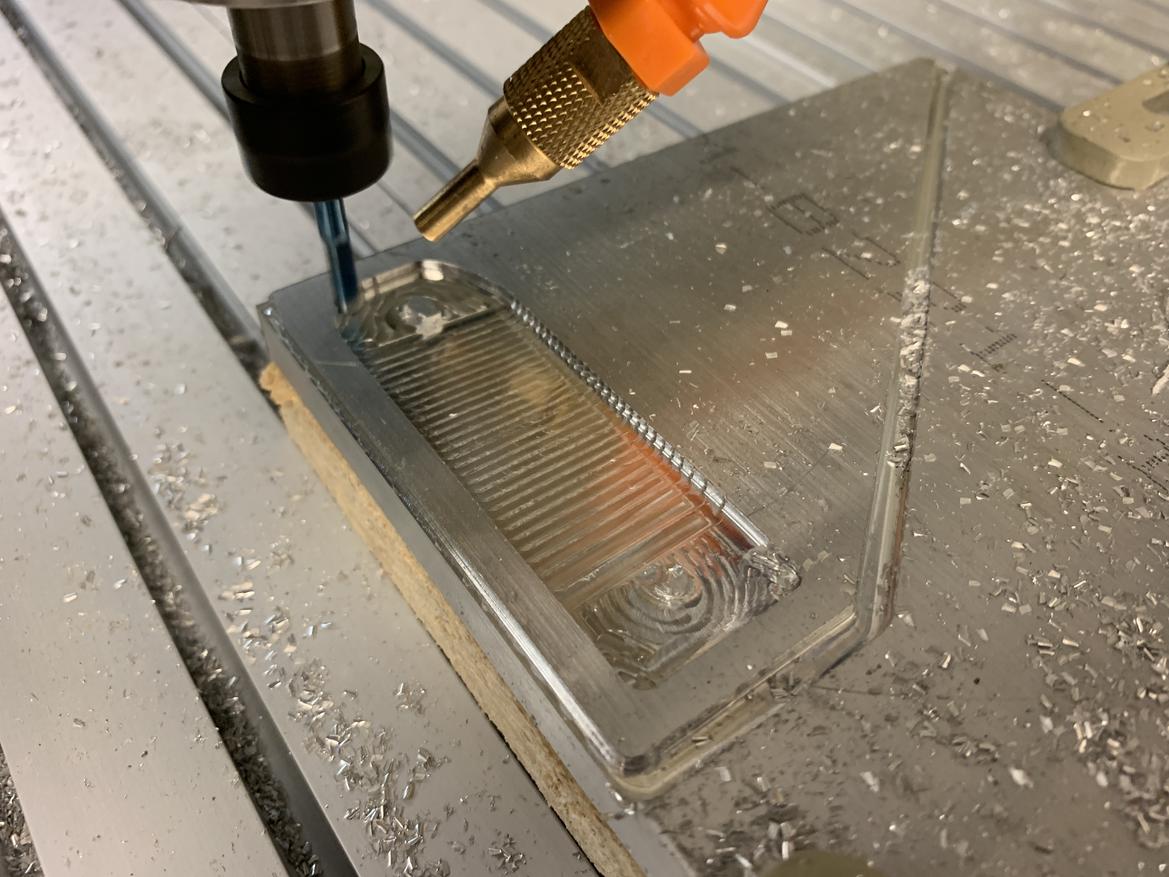
I needed to make some mounts for 350Z shock travel sensors, so I fired up the trusty 6040.
Toolpath:
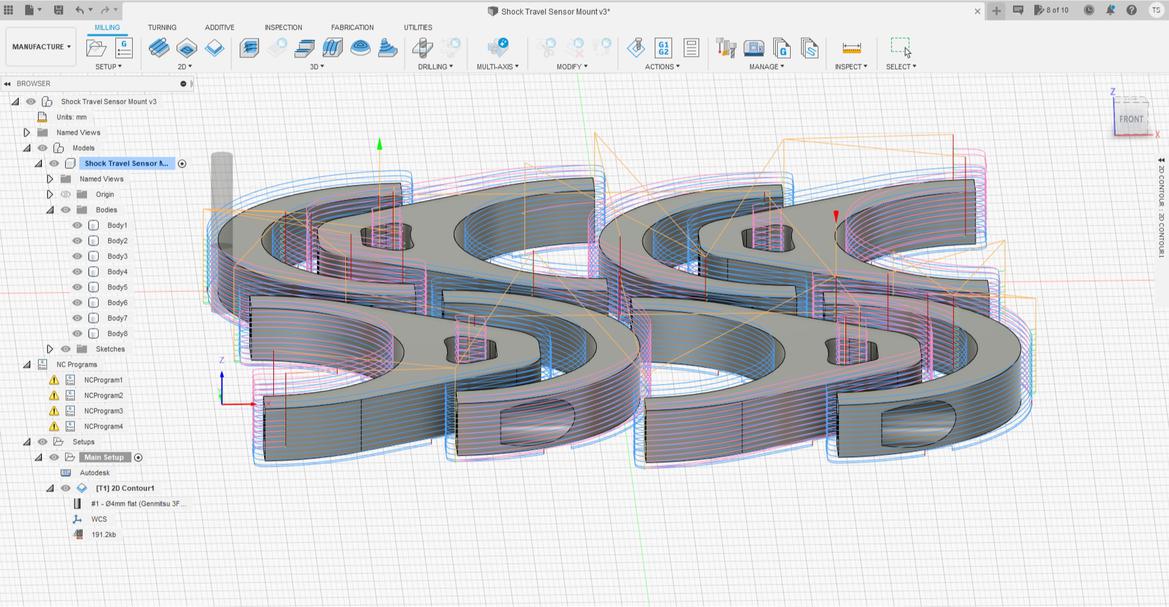
Start:
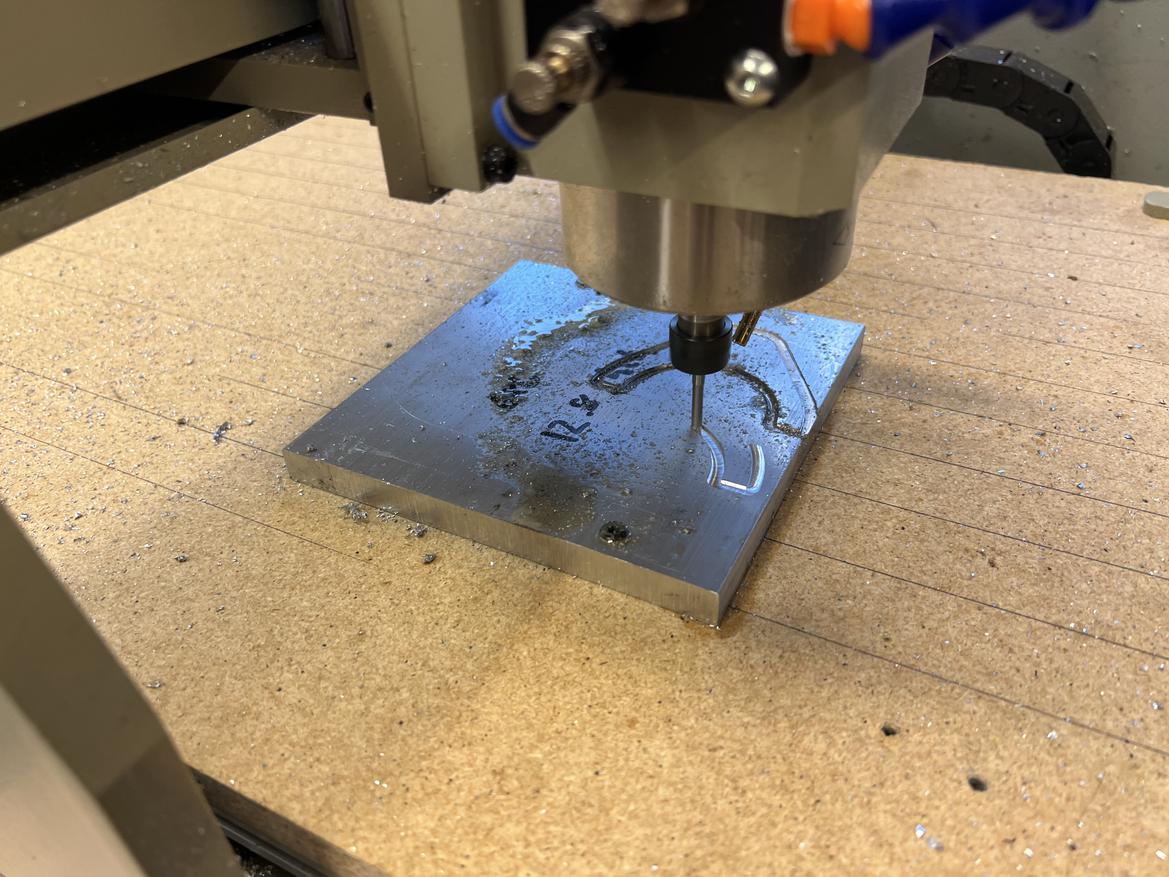
And finish:
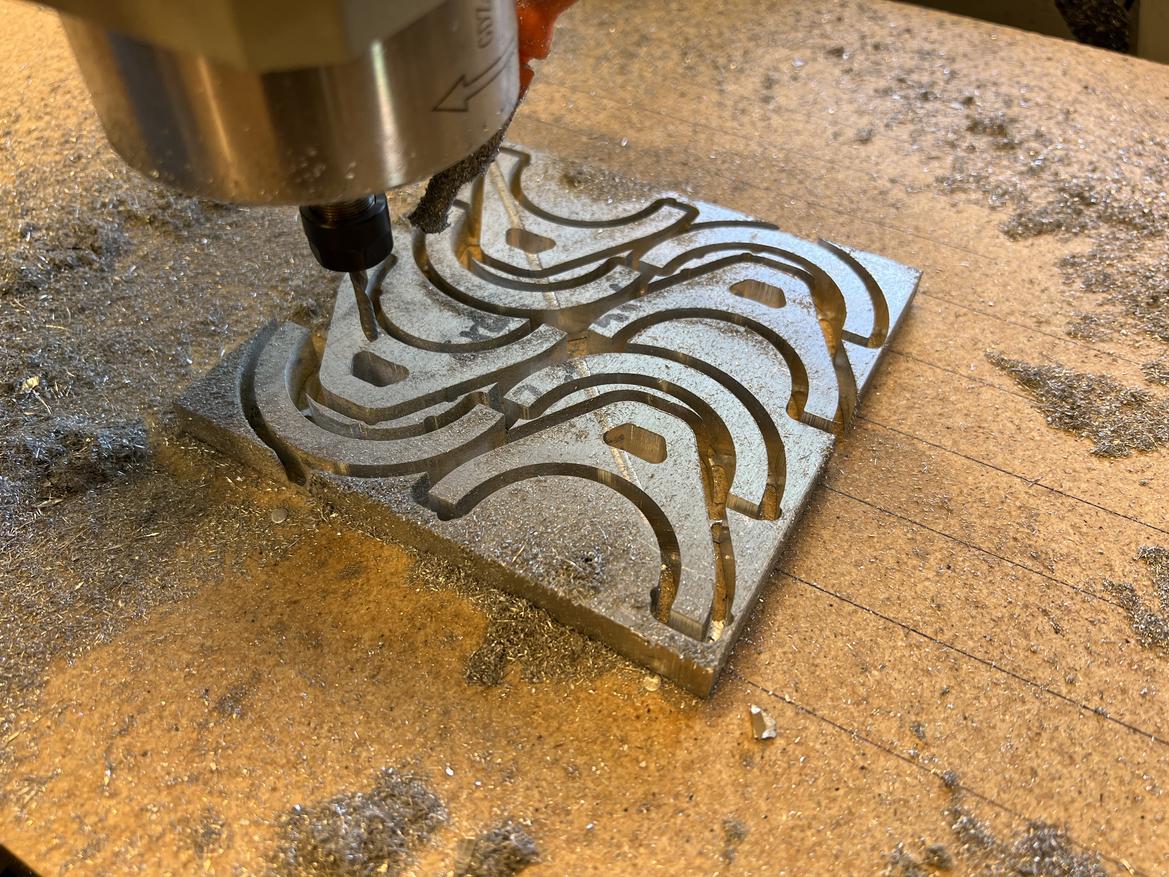
I still need to break the tabs and clean things up, but this little thing probably saved me 10 hours of labor making these by hand.  And while I haven't pushed the limit of how fast it will cut yet, it doesn't have any issues making parts from 1/2" aluminum.
In reply to Tom Suddard :
Dude. That doesn't suck. Awesome work.
Why did you choose to mill aluminum instead of printing? I'm interested in the design/decision process. It seems that's a part that could go either way.
In reply to Keith Tanner :
I was torn, but decided on aluminum for two reasons. First, I know it will hold up to brake heat. I'm not worried about the car in motion, but I am worried about heat soak if I come in without a proper cooldown. The lower bracket is only a few inches from the caliper. The sensor has plastic parts and I'm pretty sure PETG would hold up fine, but this way I won't worry about it.
Second, I didn't want to accidentally add an extra spring between the sensor and the shock. I was worried PETG might muddy the data at higher frequencies.


