Cambot gets a friend! ... well sort of.
Figured it was time to do an update. Lately this project has focused on software development and the camera now has fluid movement... sort of looks like its alive.
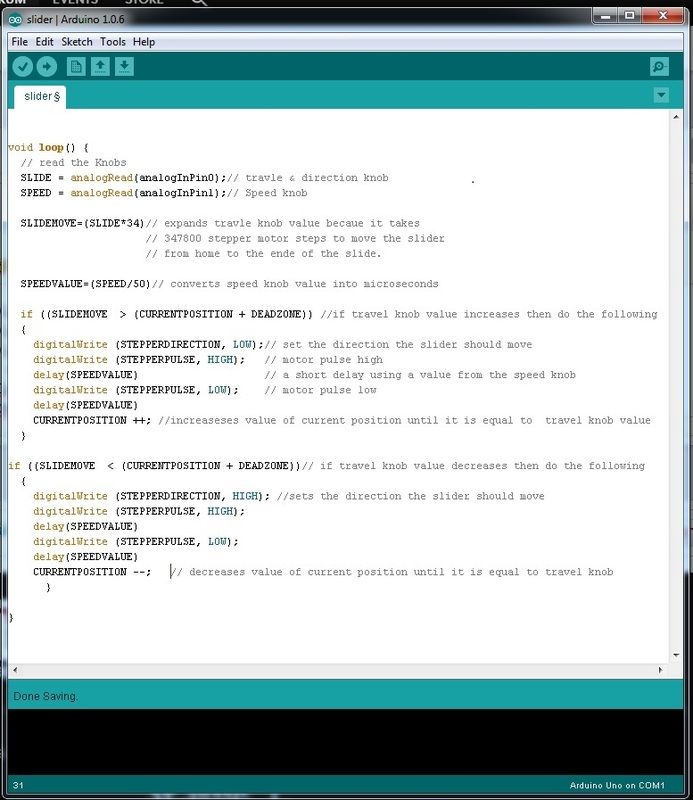
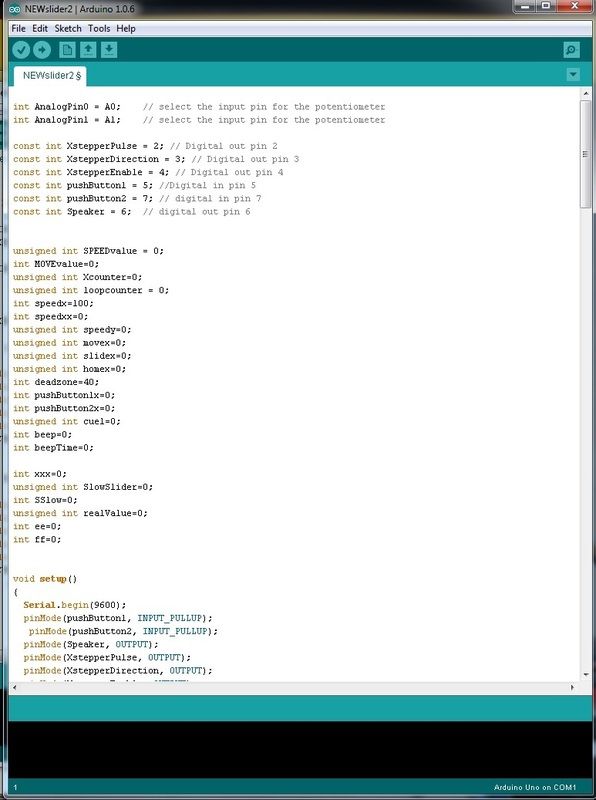
In order to develop the software I used a crappy DIY automated camera slider that Cambot could lock on and track. The slider worked well but it was time to upgrade to a larger and smoother slider.
In this update we will take a look at the old and new slider. I'll do an actual Cambot update soon.
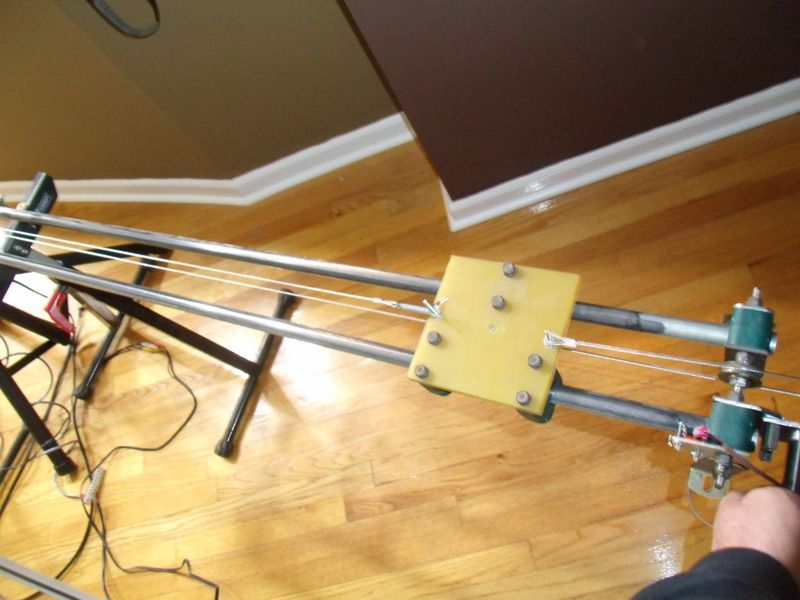 The old slider was made from electrical conduit and some pipe clamps. It used a NEMA 17 stepper motor and had some cool features.... but it also has some bad features. This slider was set up with an infrared beacon and cambot was tasked with trying to follow it. As far as a moving target the slider worked perfect. For actual camera use, it was a bit sloppy.
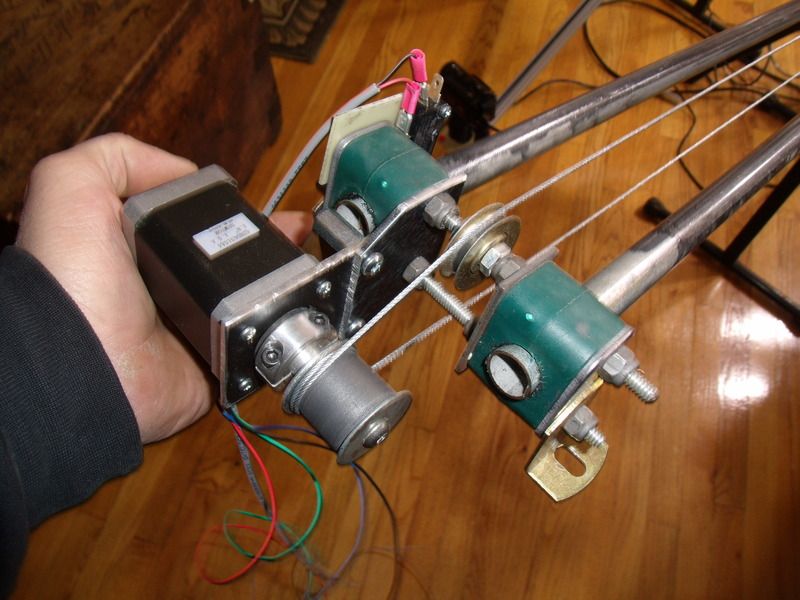 The old slider used a cable to move the camera... this works but causes a lot of vibrations to reach the camera.
 A motorized linear rail system was purchased off the net for about $140.00. This will be the base for the new slider.
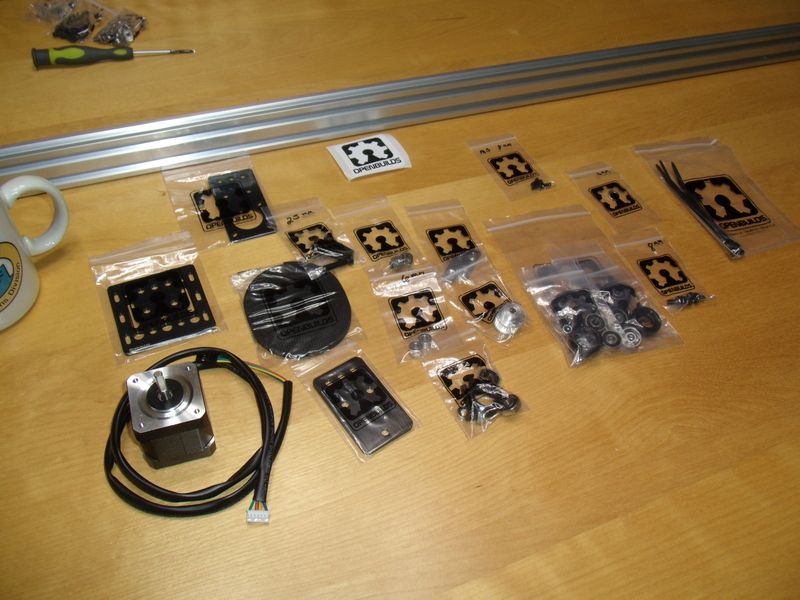 Some assembly required
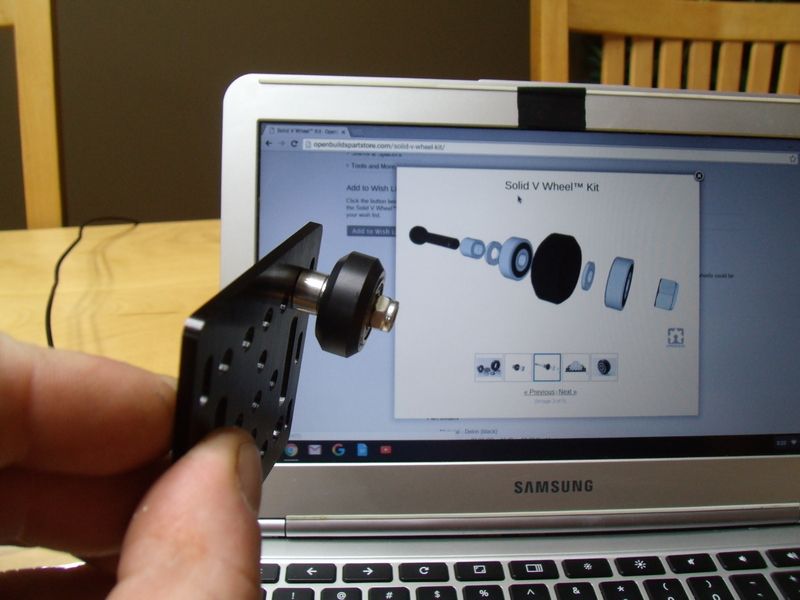 Having no idea how to put this thing together, I cheated and checked the vendors web site. After some digging I found what I was looking for.
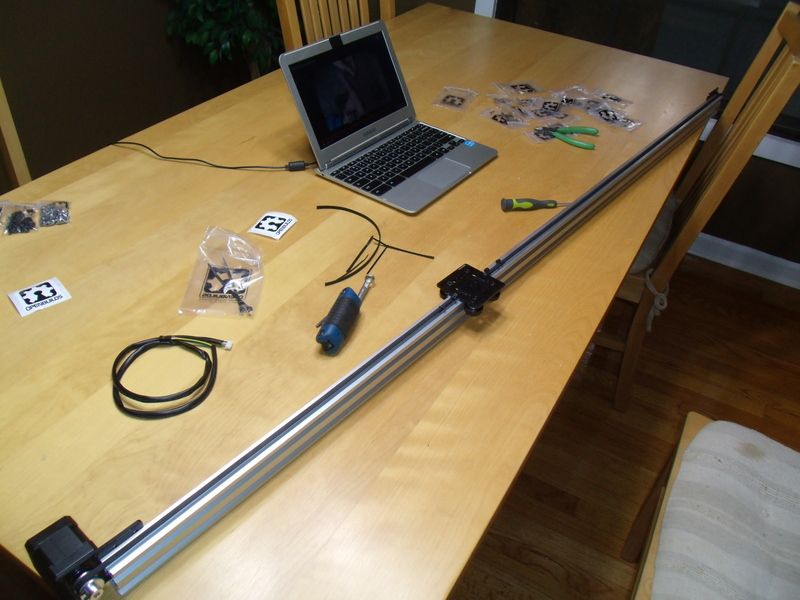 Fast forward a little bit and the slider is coming together nicely.
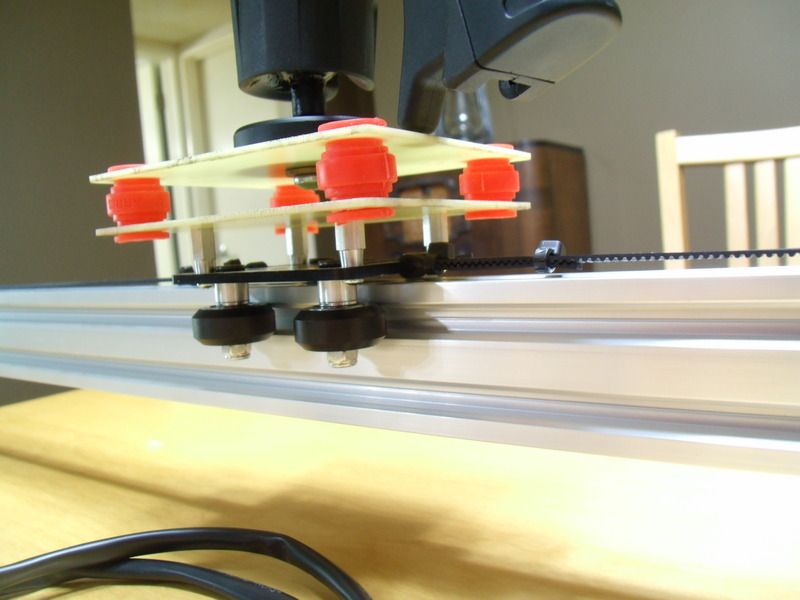
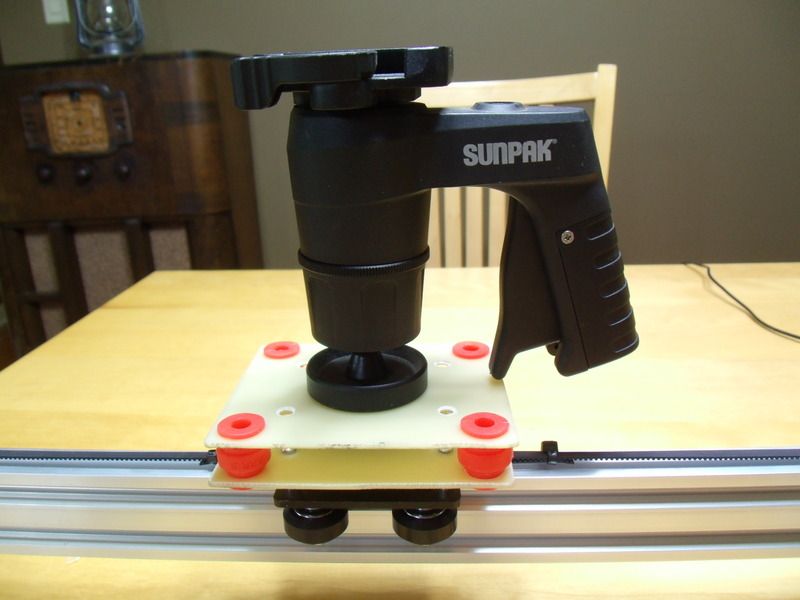 A vibration dampening camera mount was ginned up using some fiberglass and drone camera isolator thingys. These are a little soft and I'll probably add two more.
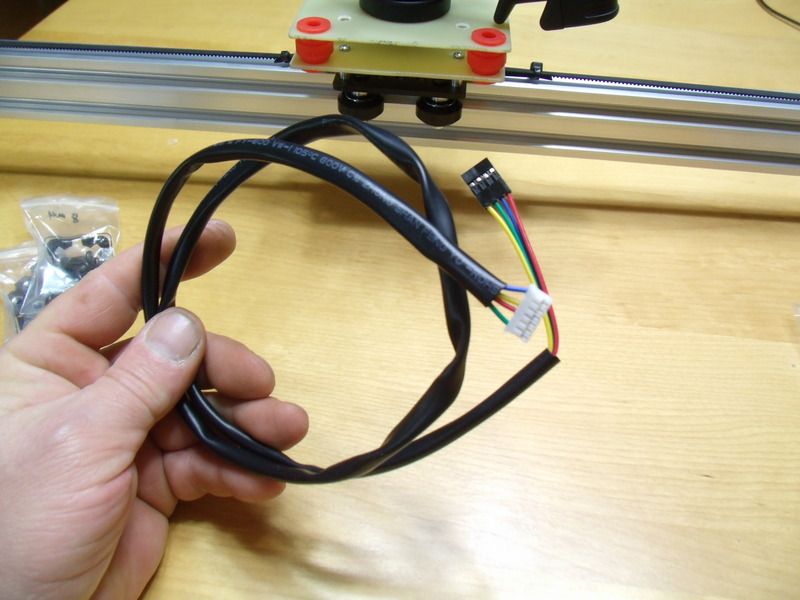 The next step was to connect the stepper motor to my home made controller.
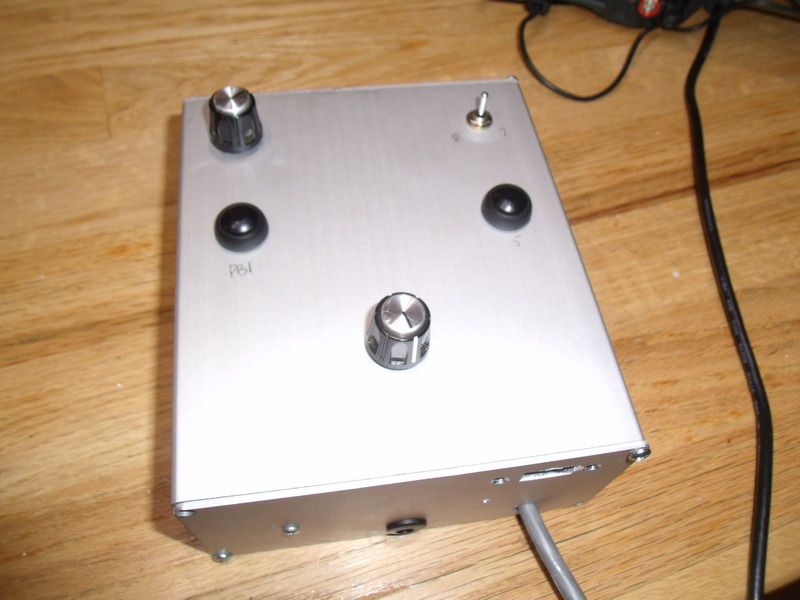 The controller uses an Arduino NANO and a medium power stepper motor controler. The whole things runs off a 3 amp, 12v power supply.
The knob at the bottom controls the travel and direction. The knob on the top left controls the speed. The button on the left sets audible cue points within the travel and the button on the right is the easy button. Once everything is set up, press the easy button and the slider will reset to home, wait a few moments and start moving. If any cues were set the controller will give a audible beep to let the operator know the camera is framed up for the shot.
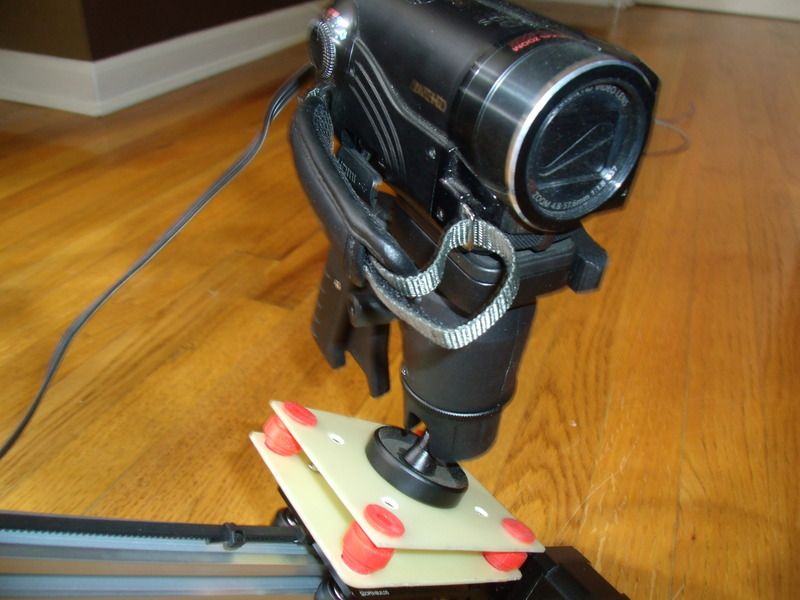 Canon HF11 set up to shoot. This is a heavy camera when compared to a GoPro but the new slider handles the weight perfectly.
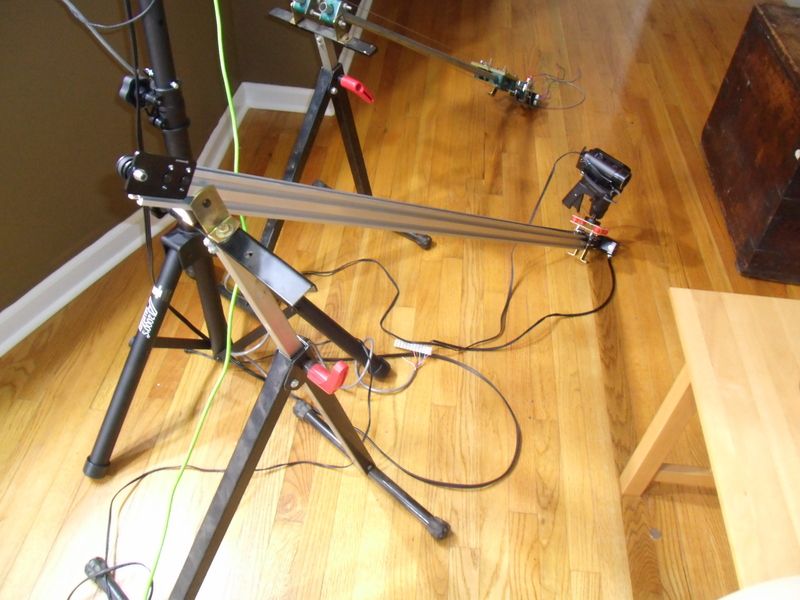 New slider and old slider....
No update would be complete without a crappy video. This was actually shot with the old slider and you can see how wobbly the action is on start and stop. Although you cannot hear the cues, I used several automated cues to help sequence the action. Its hard to fly a helicopter and keep an eye on where the camera is. The cues sort of let me know when to do certain things. enjoy!
https://www.youtube.com/embed/t_ystNeUNIg
![]()


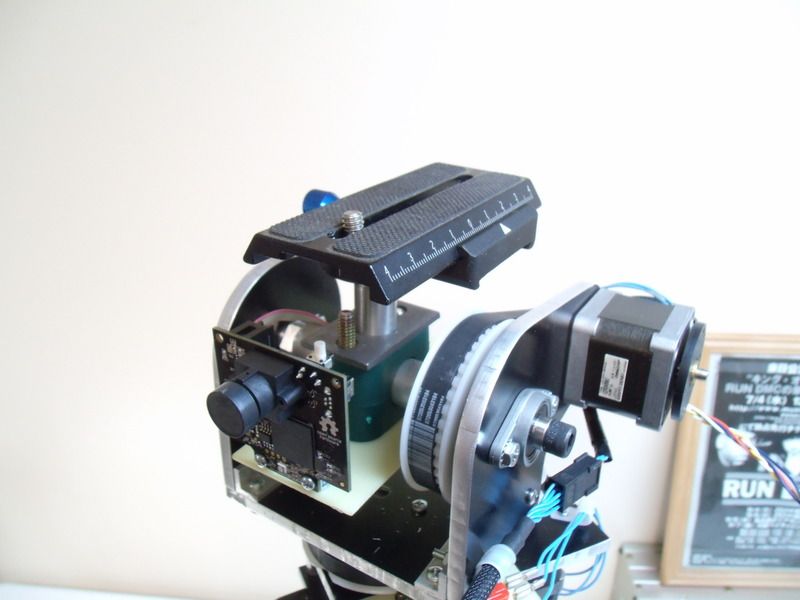 Cambot gets a pro camera mount for larger cameras.
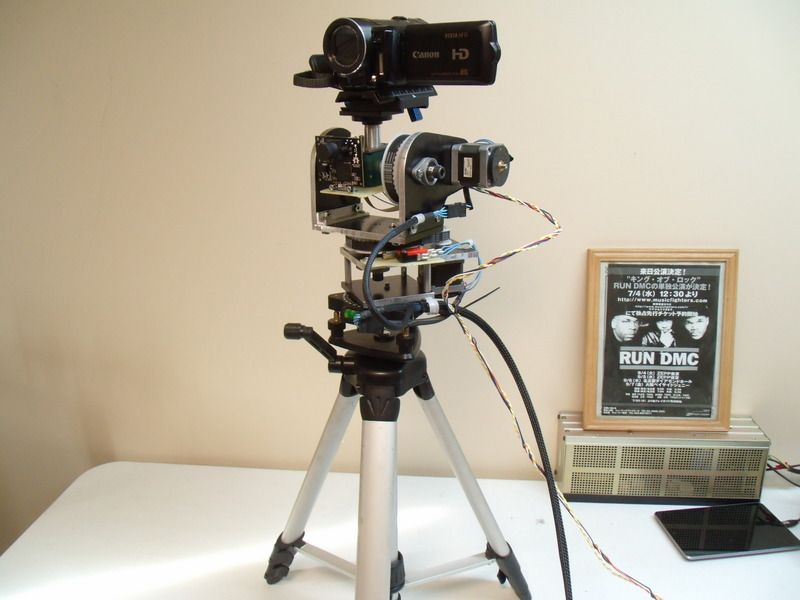 Cannon HF11 sits a little high in the mount, looks like I need to get out the hacksaw.......
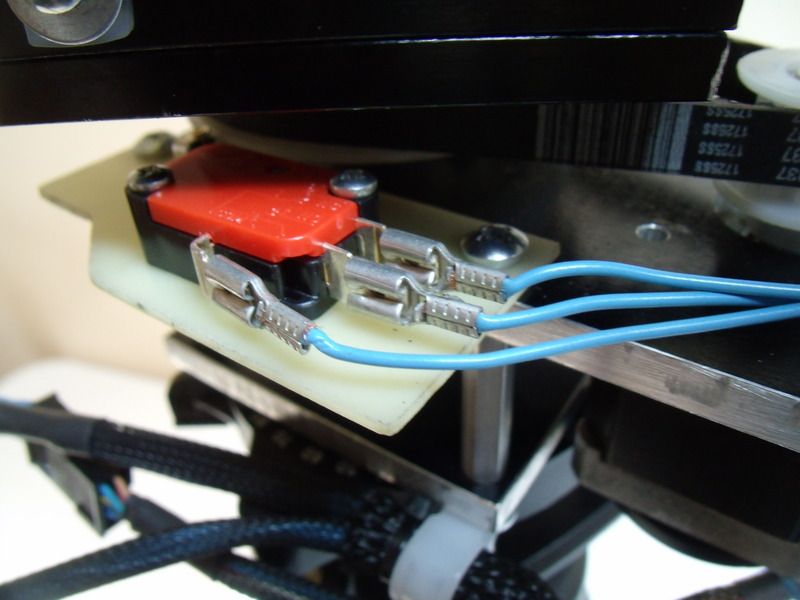 The limit switches were finally connected and some code was written to utilize them.
 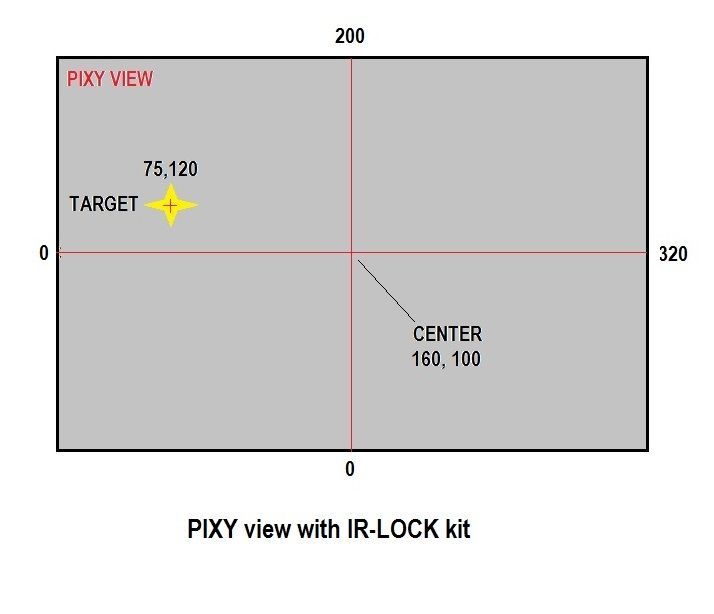 With the IR-Lock kit, the Pixy video feed is pretty much obscured due to a heavy filtering. Here is a diagram of what the video feed looks like. You'll notice the target in the upper left hand quadrant, the pixy will pick this up and spit out the coordinates. After some simple calculations the pan and tilt are sent commands to try and put the target in the center of the screen. It only takes a few lines of code to access the data from the pixy, normally this sort of thing takes thousands of lines of code to do. High tech gizmos like the Pixy make this sort of project easy to do.
 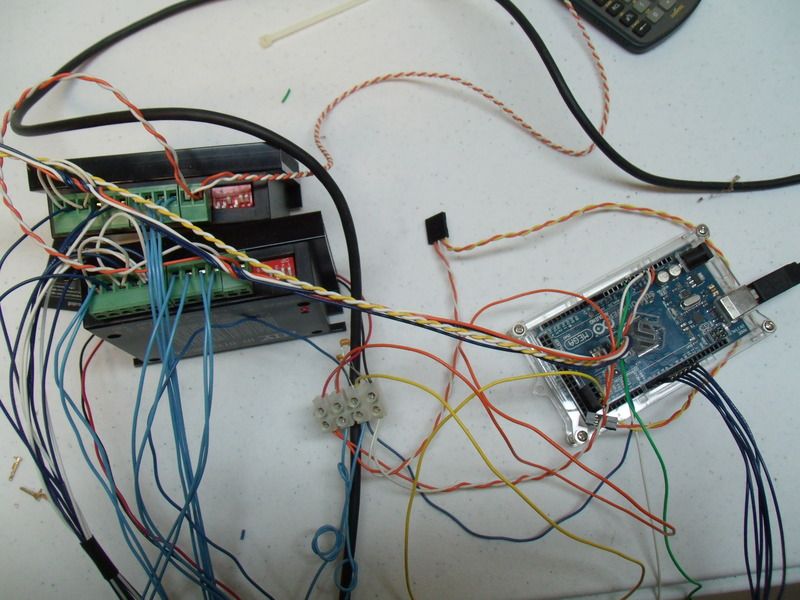 Ahhhhhhhhhhh! wires!
 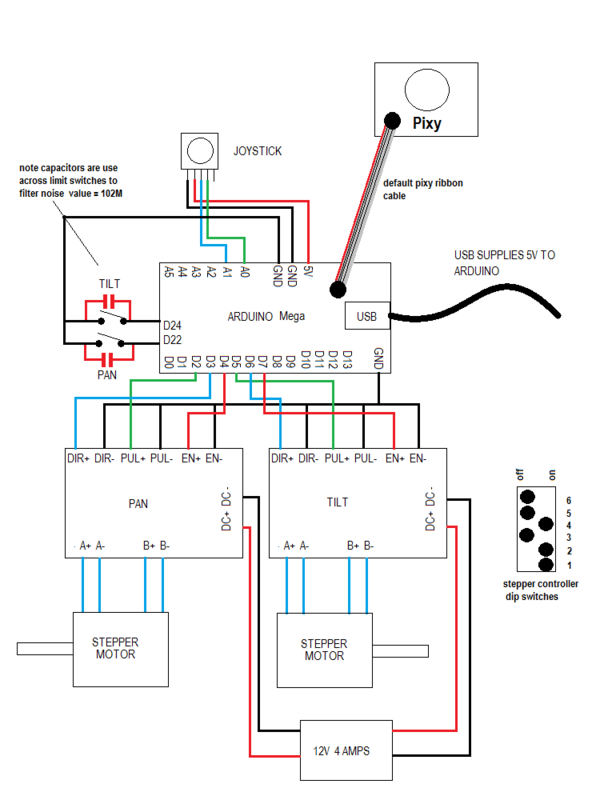 Schematic updated.. The only real change is the addition of the limit switches and the micro computer was upgraded to a Mega2600.. The Pixy is plug and play with the Arduino and comes with a pre-built ribbon cable.
  The old slider was made from electrical conduit and some pipe clamps. It used a NEMA 17 stepper motor and had some cool features.... but it also has some bad features. This slider was set up with an infrared beacon and cambot was tasked with trying to follow it. As far as a moving target the slider worked perfect. For actual camera use, it was a bit sloppy.
 The old slider used a cable to move the camera... this works but causes a lot of vibrations to reach the camera.
  A motorized linear rail system was purchased off the net for about $140.00. This will be the base for the new slider.
  Some assembly required
 Having no idea how to put this thing together, I cheated and checked the vendors web site. After some digging I found what I was looking for.
 Fast forward a little bit and the slider is coming together nicely.
  A vibration dampening camera mount was ginned up using some fiberglass and drone camera isolator thingys. These are a little soft and I'll probably add two more.
 The next step was to connect the stepper motor to my home made controller.
  The controller uses an Arduino NANO and a medium power stepper motor controler. The whole things runs off a 3 amp, 12v power supply.
  Canon HF11 set up to shoot. This is a heavy camera when compared to a GoPro but the new slider handles the weight perfectly.
  New slider and old slider....

