NOHOME
PowerDork
3/8/16 4:18 p.m.
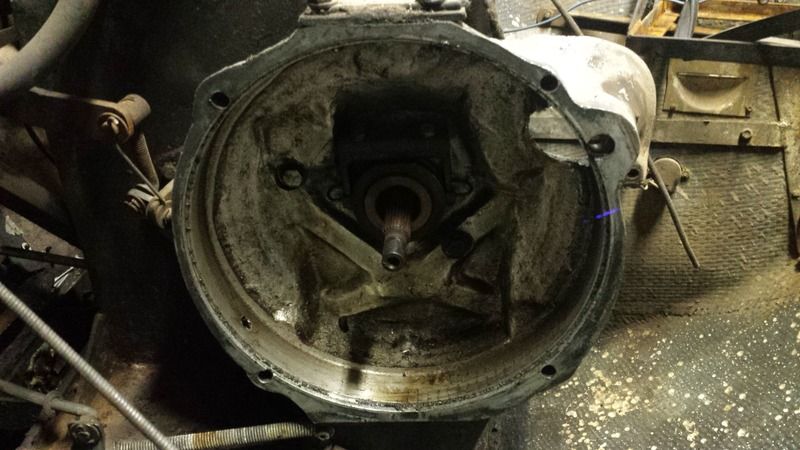
Is the clutch alignment tool for a VW different than for other cars?
All I ever do is use a long extension. I put a small socket on the end that fits into the pilot bearing (most small sockets have a taper and self center)
Then with the socket in place and the clutch loosely bolted, I make not of where the extension passes through the clutch plate and the clutch fingers. Wrap duct tape around each portion so that the diameter fits both.
Slide it in and it will align all three diameters.
I have used the socket trick on my audi  but weston loaned me a type 1 input shaft so that's covered. Since I'm still waiting on track stuff I haven't done anything to the kristi. Been focused on a CE1 wiring/fuse block conversion on the mk1 scirocco I picked up. That's gonna be my money maker for now while I continue the restoration on the KT-3
Still waiting on track parts. I need to step away from other projects and get some parts ordered for this machine. Need a new pressure plate and clutch. Weird looking one. . .
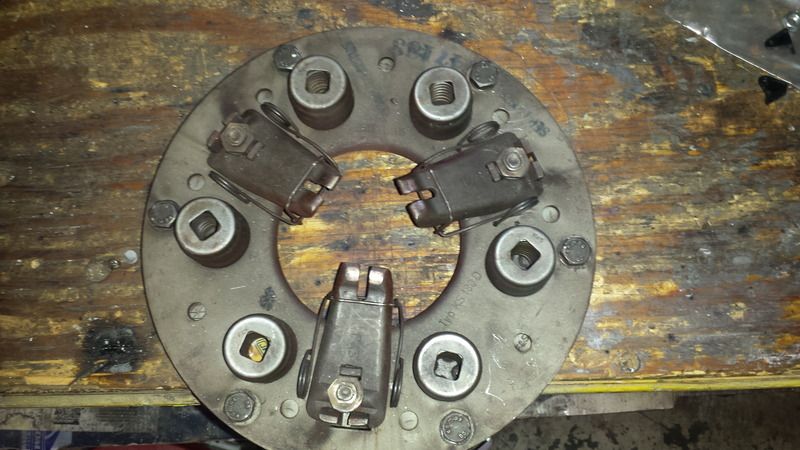 Hopefully it's just an older style type 1 clutch. Never seen one like it. I just know the trans was built by kristi so I hope the clutch isn't odd ball. That and some short pushrods are the only things left to buy.
Looks like a Borg & Beck-style VW clutch I've seen before.
I think you just need a 180mm VW pressure plate, I'm pretty sure the modern diaphragm type is a drop in.
Awesome thanks guys! I ordered a 180mm clutch kit this morning so that's good news!
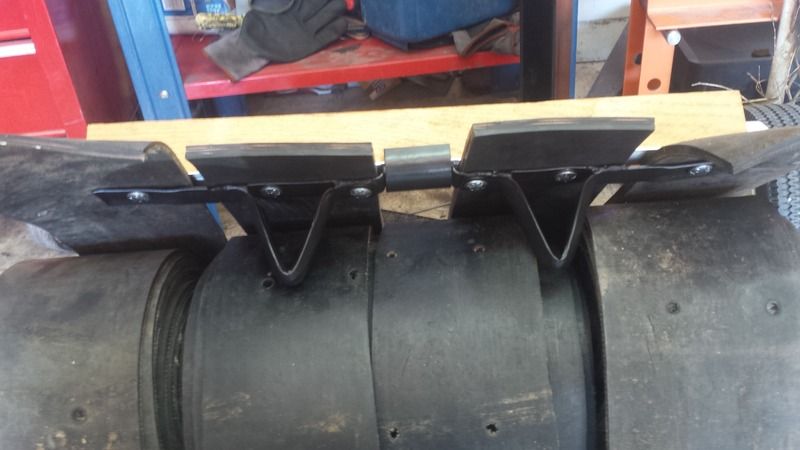
Started drilling on the wood kleats today. Here is basically what I'm doing minus guides and rubber. The fastened nuts & bolt should sit just below the top once it's all assembled
Might I suggest that you change the starter bushing in the transaxle at this time? It's the little bronze fellow that the nose of the starter fits into. They only cost a couple of bucks and changing one now is just a minute or two of your time. When they are worn though, starting problems abound and changing one once the engine is in place brings the suck.
FYI, you'd need a "6volt" type of bushing. They are different than 12volt. Your 180mm clutch setup tells me you're still running 6 volt flywheel and starter.
In reply to Cousin_Eddie:
Good call. I just went out and looked at it. Seems to be in good shape but I can certainly see how that would bring plenty of suck. Haha I will see about finding one. Interesting note, the age and size of this engine say 6v but all kristi's were built 12v. I will measure the bushing and bore and go from there.
180mm clutch set is 6V. A 12V was 200mm. It's very common practice to run a 6 volt starter and flywheel assembly on 12 volts. The starters don't mind at all and they turn over quickly with the added voltage. Actually, when converting an early 6V transaxle to later 200mm 12V stuff, you have to grind out the inside of the bellhousing to clear the larger flywheel ring gear. And you also have to change the starter bushing too. Since it's such a pain to grind out the inside of the bellhousing a lot of guys just continue to run the 6v starter and 180mm flywheel on 12v indefinitely just to save the hassle.
That's good to know. The bell housing is a Kristi part but the clutch and flywheel is definetly 180mm. I wouldn't be surprised if a larger setup would fit but I can't say for sure.
It would be nice if the starter to flywheel gear mesh was tighter but there isn't much I can do.
Some drilling required 

Half way thru the long ones (not pictured) Should be done with them tomorrow.

java230
HalfDork
3/29/16 10:22 p.m.
In reply to 2K4Kcsq:
It will be worth it! The wear layer of the wood is a good thing...
...and every asphalt road in your area thanks you.
All valid points. I'm always stubborn but you all, along with my dad, convinced me. Plus I want to show this thing for the "Bug In" show & race at bandimere this summer. Even unloading it on bare asphalt would probably tear up the aluminum. But the combination should be very strong. The wood will give good wear/durability and the aluminum underneath should give the guides a nice backbone of support and hopefully prevent them from breaking in half.
What a fun project. It's almost enough to make me move north and find one for myself.
In reply to 2K4Kcsq:
Not to threadjack: how's the pow?
In reply to TRoglodyte:
Wish I knew! Been spending so much time in the garage I haven't been up. Depressing since we have had a heavy march.
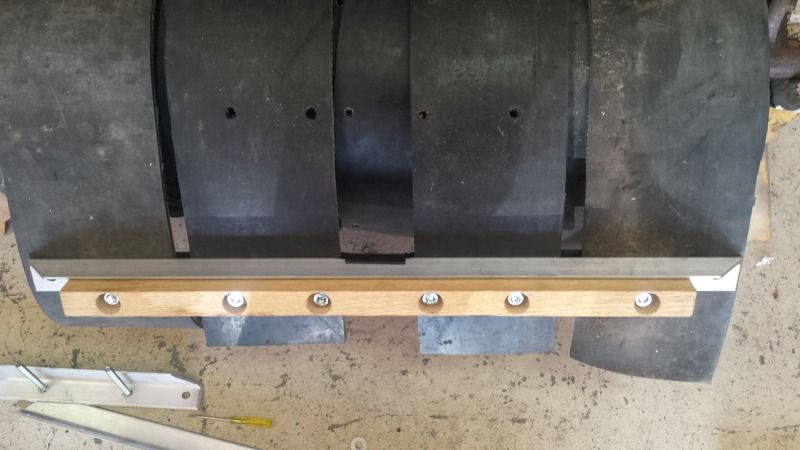
Finished drilling yesterday. I think the drill press and I are going to take a little break, maybe see some other tools for awhile.
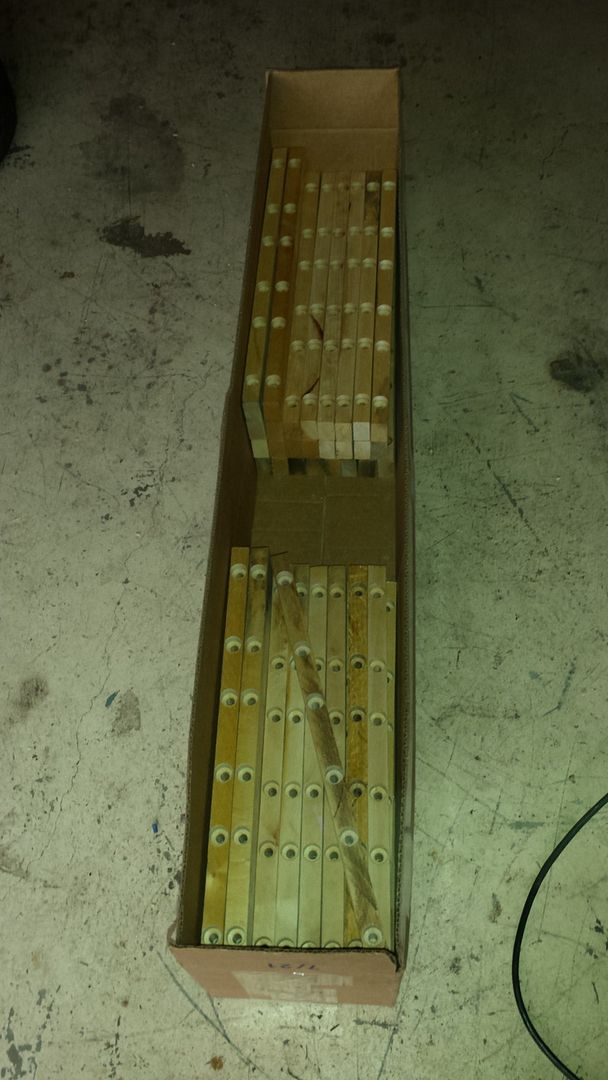
Just needs a .25 chamfer on the bottom for clearance. The aluminium angle has a .25 radius corner and the kleats are drilled to fit right up against the wall.
Fire up the router table. Good work!
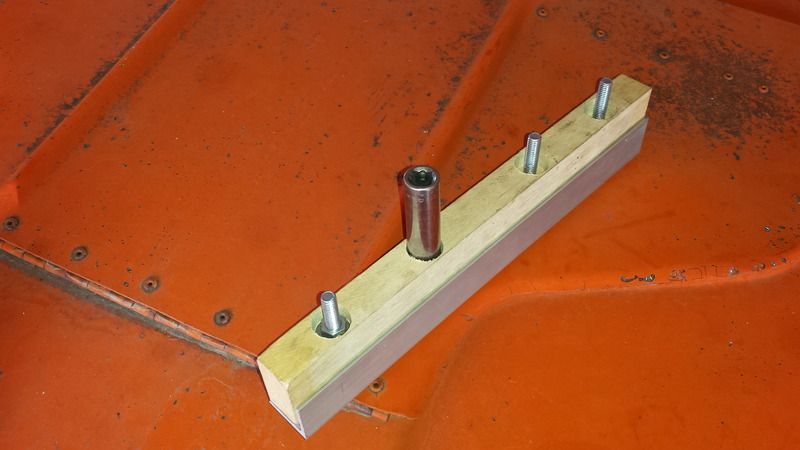
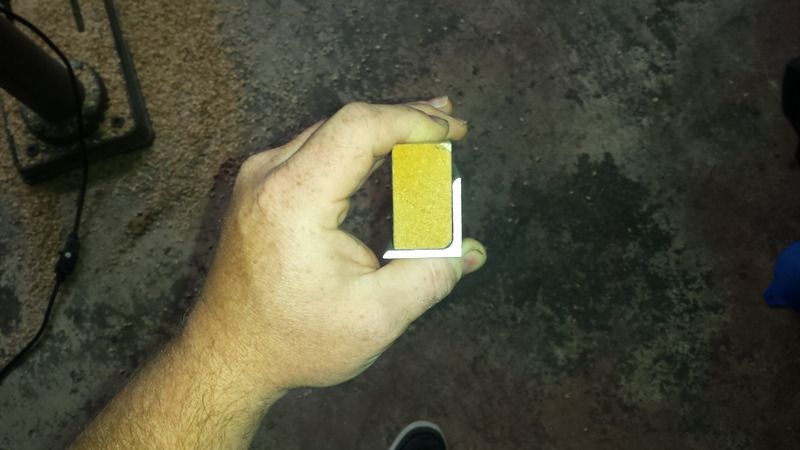
Got the corners sanded off and my good friend Jason sent me this
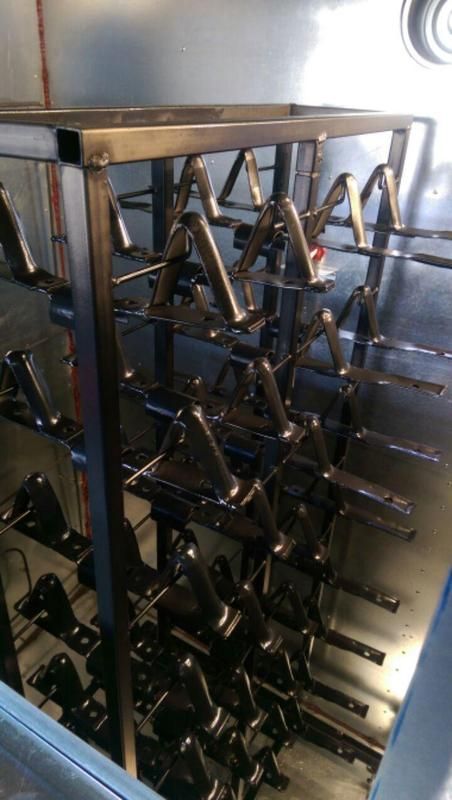 If you have powder coating needs, even big ones, and you live near Denver let me know. I'll get you in contact with a guy who does great work out of his home shop. I do believe I'm the first job thru his huge brand new oven.
Ooooh, homemade oven! I might be getting his info from you in the near future..
In reply to sobe_death: I'm sure he is interested in the work, not just powder coating either. Does lots of wrenching as well, just let me know.
Time to play with a lot of nuts!