Previous budget was 4813.66 with 2019 recoup
new money:
sandblasting: 500
white epoxy primer gallon kit (2 gallons spray, split with dad): (175) 90 effective
fuel cell tig: 10
4x8 sheet 22 gauge, 20ft ½ tube,20 ft 3/8x3/8 tube, 10ft 1x1 tube: 108
Windshield gasket: 88
Ls standalone harness:105.17
Fuel fillere:39.95
Pass 73 duster headlight bezel: 23.99
Ls eBay brackets: 47.20
Throttle cable bracket: 9.68
Fbody water pump and spacers: 105.98
Blowproof bellhousing: 250
2005 4.8 3500 clutch disc: 60
Front bumper filler and 71 duster taillights and panel: 75
Ls7 pilot bearing 10
Valley plate bolts and front clip studs: 15
Sales
None that I can remember
new total: 6336.63 with 2019 recoup
sometimes, things work out perfectly like planned. Others, it’s a dumpster fire. With race cars, as with life, its usually a mixture.
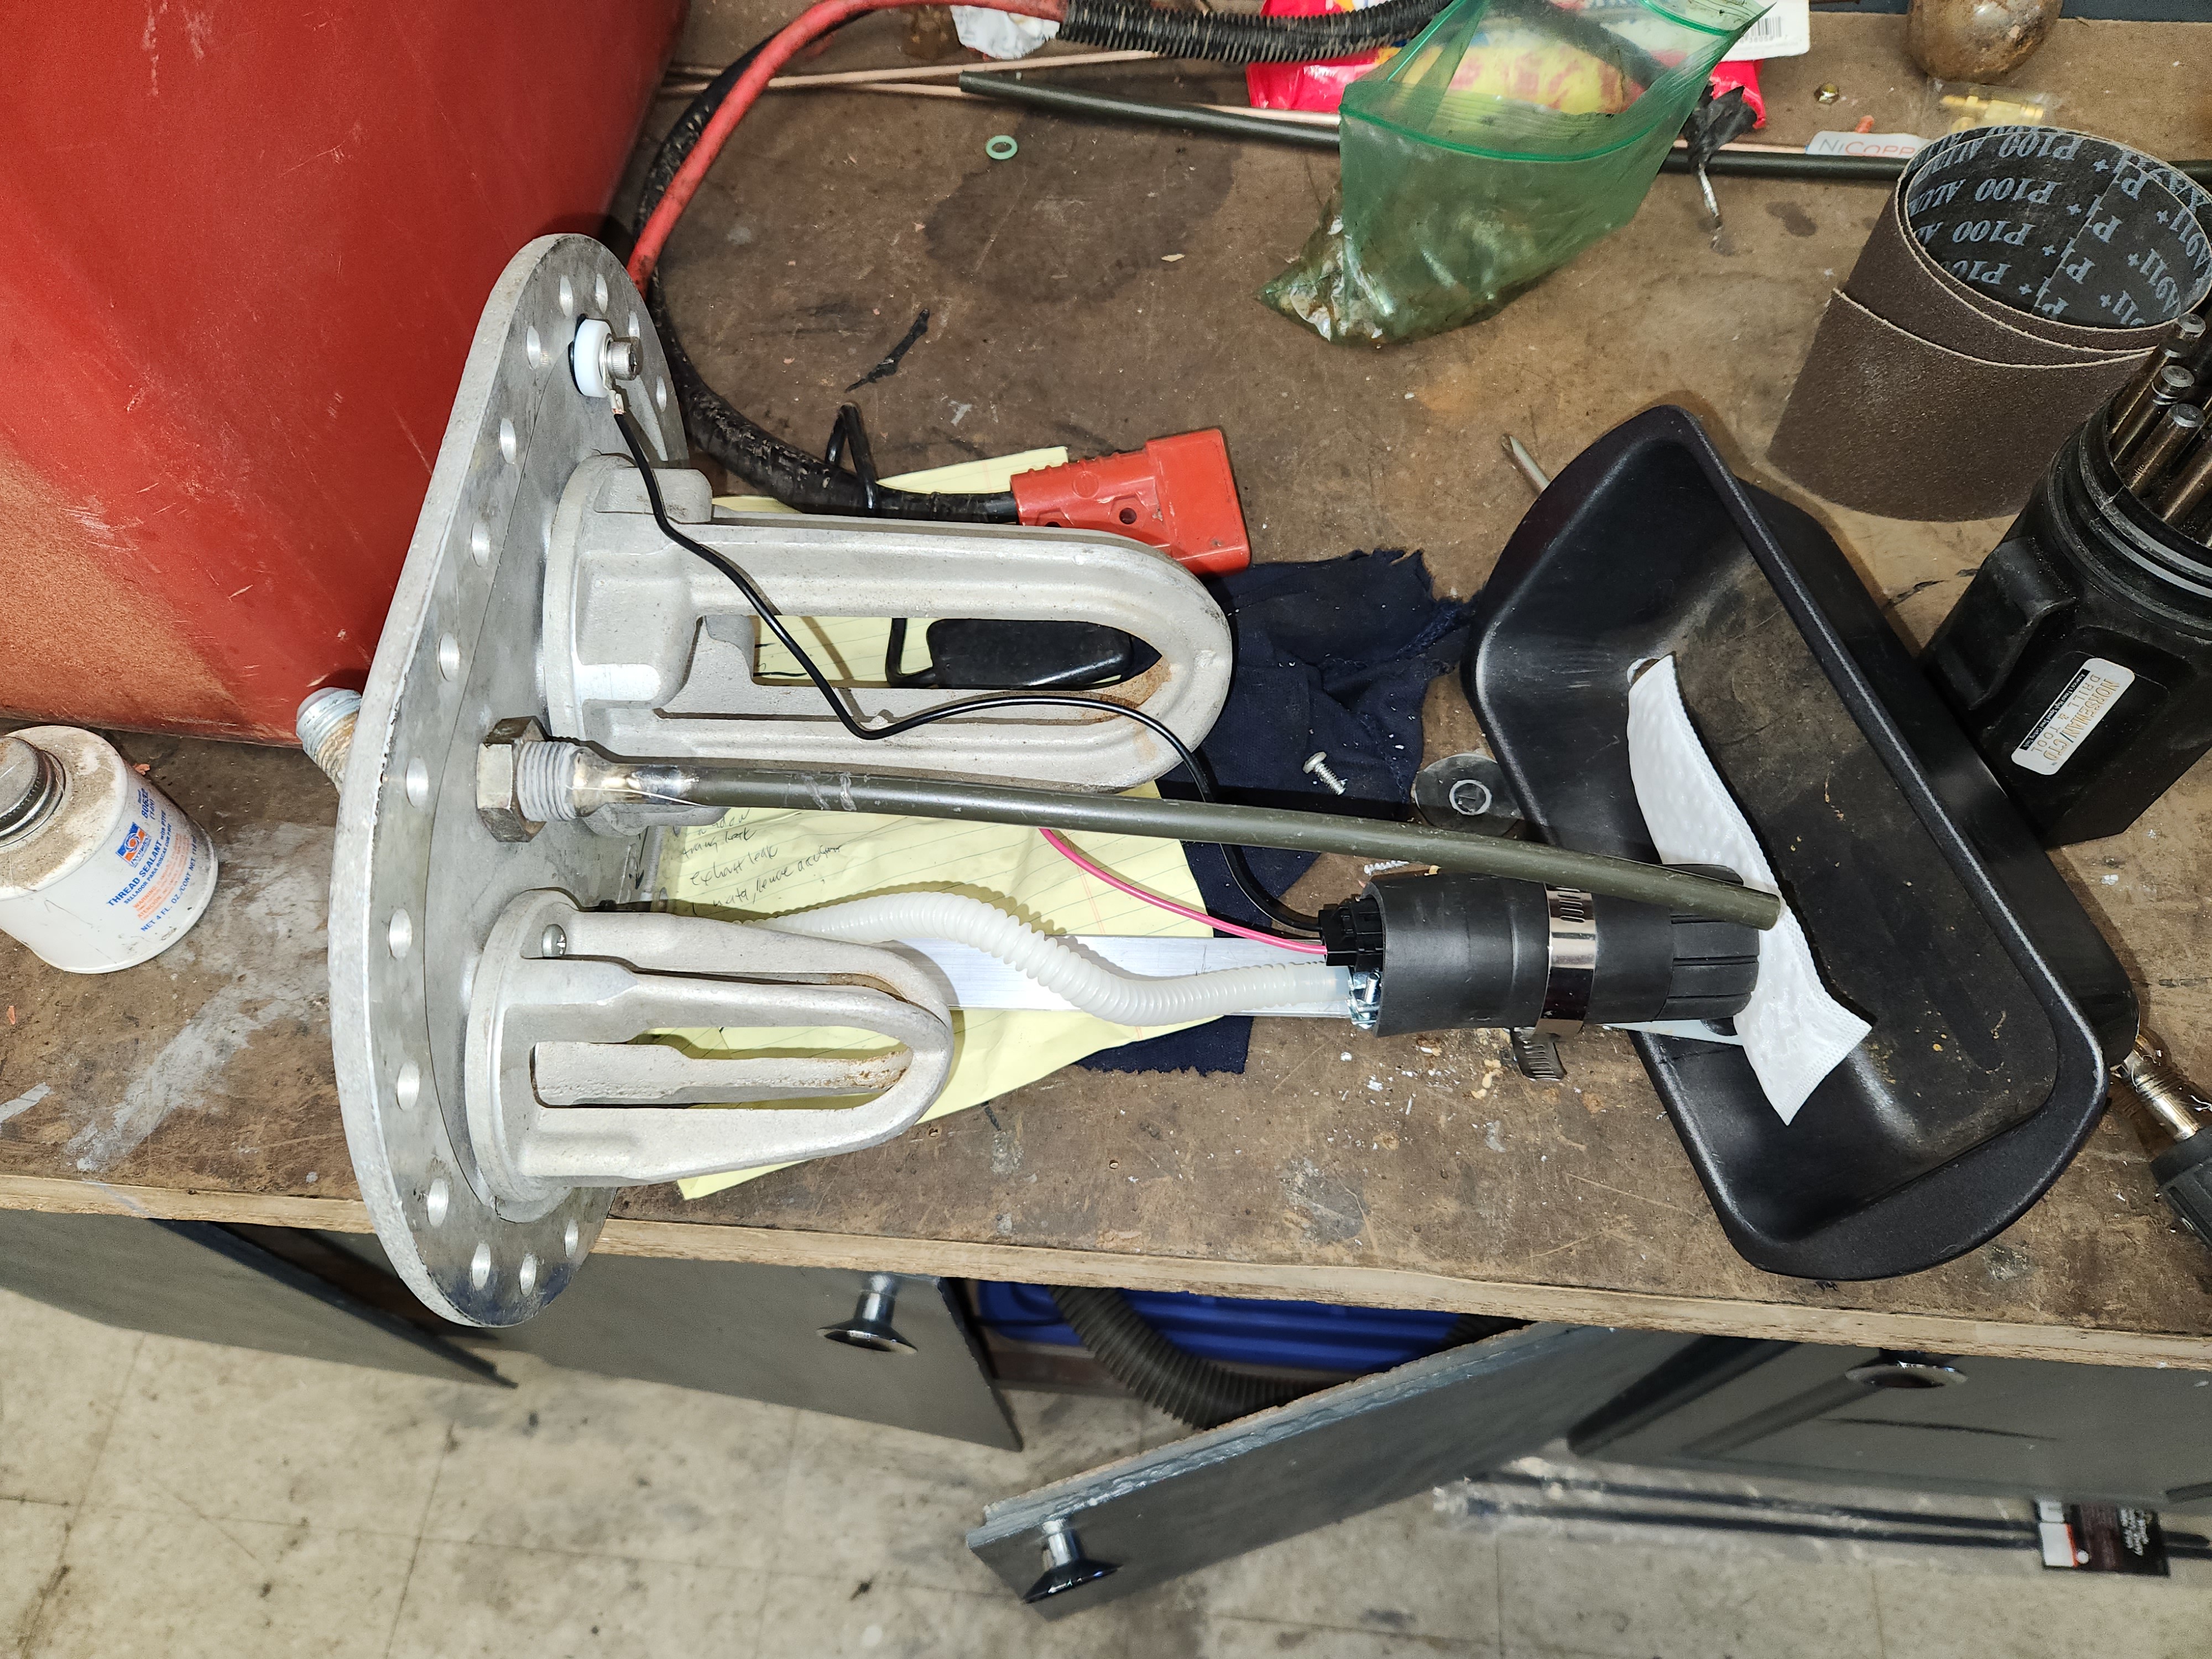
First up ill talk about the fuel cell. What we have is a 25 gallon jaz poly cell, a used nascar filler and rollover valve setup, an internal pump, and no fear of failure. The design goals were to have an integrated pump, no notable maintenance required, and ease of trackside service. Being efi, I needed to create a way to keep fuel at the pump. What I came up with is a multiple layered approach. First order of business was a sumo tray, which I used a repurposed breadpan for, drilled a couple holes in it, and done. Baffles were made form 16ga aluminum, hung with straps and rivets from the cell plate reinforcement flange. I ran some vertical bent aluminum outriggers to the outside walls to keep the baffles from flopping around too much.
 20230211_075926 by Michael Crawford, on Flickr
 20230211_075957 by Michael Crawford, on Flickr
 20230219_074908 by Michael Crawford, on Flickr
Then onto the pump module. I had previously used a tanks in module in my duster, so I decided to mimic it in this application. Using leftover nascar parts, an fittings, and a bread pan. The racetronics wiring bulkheads are nice pieces, and everything else is pretty off the shelf. Except for the tig work that I had the welder at work do for me, because I suck at aluminum.
 20230306_071000 by Michael Crawford, on Flickr
 20230306_071010 by Michael Crawford, on Flickr
Nailed it!
 s-l500 by Michael Crawford, on Flickr
I also picked up a gas cap setup for external fill from eBay. It’s a boat part, but does what I need it to do I believe. Have to decide if I mount it behind the quarter or on top. Not sure which will look better in the long run….
 Screenshot_20230408_180857_eBay by Michael Crawford, on Flickr
Next up, and out of order, well talk about the engine and trans. Trans first.
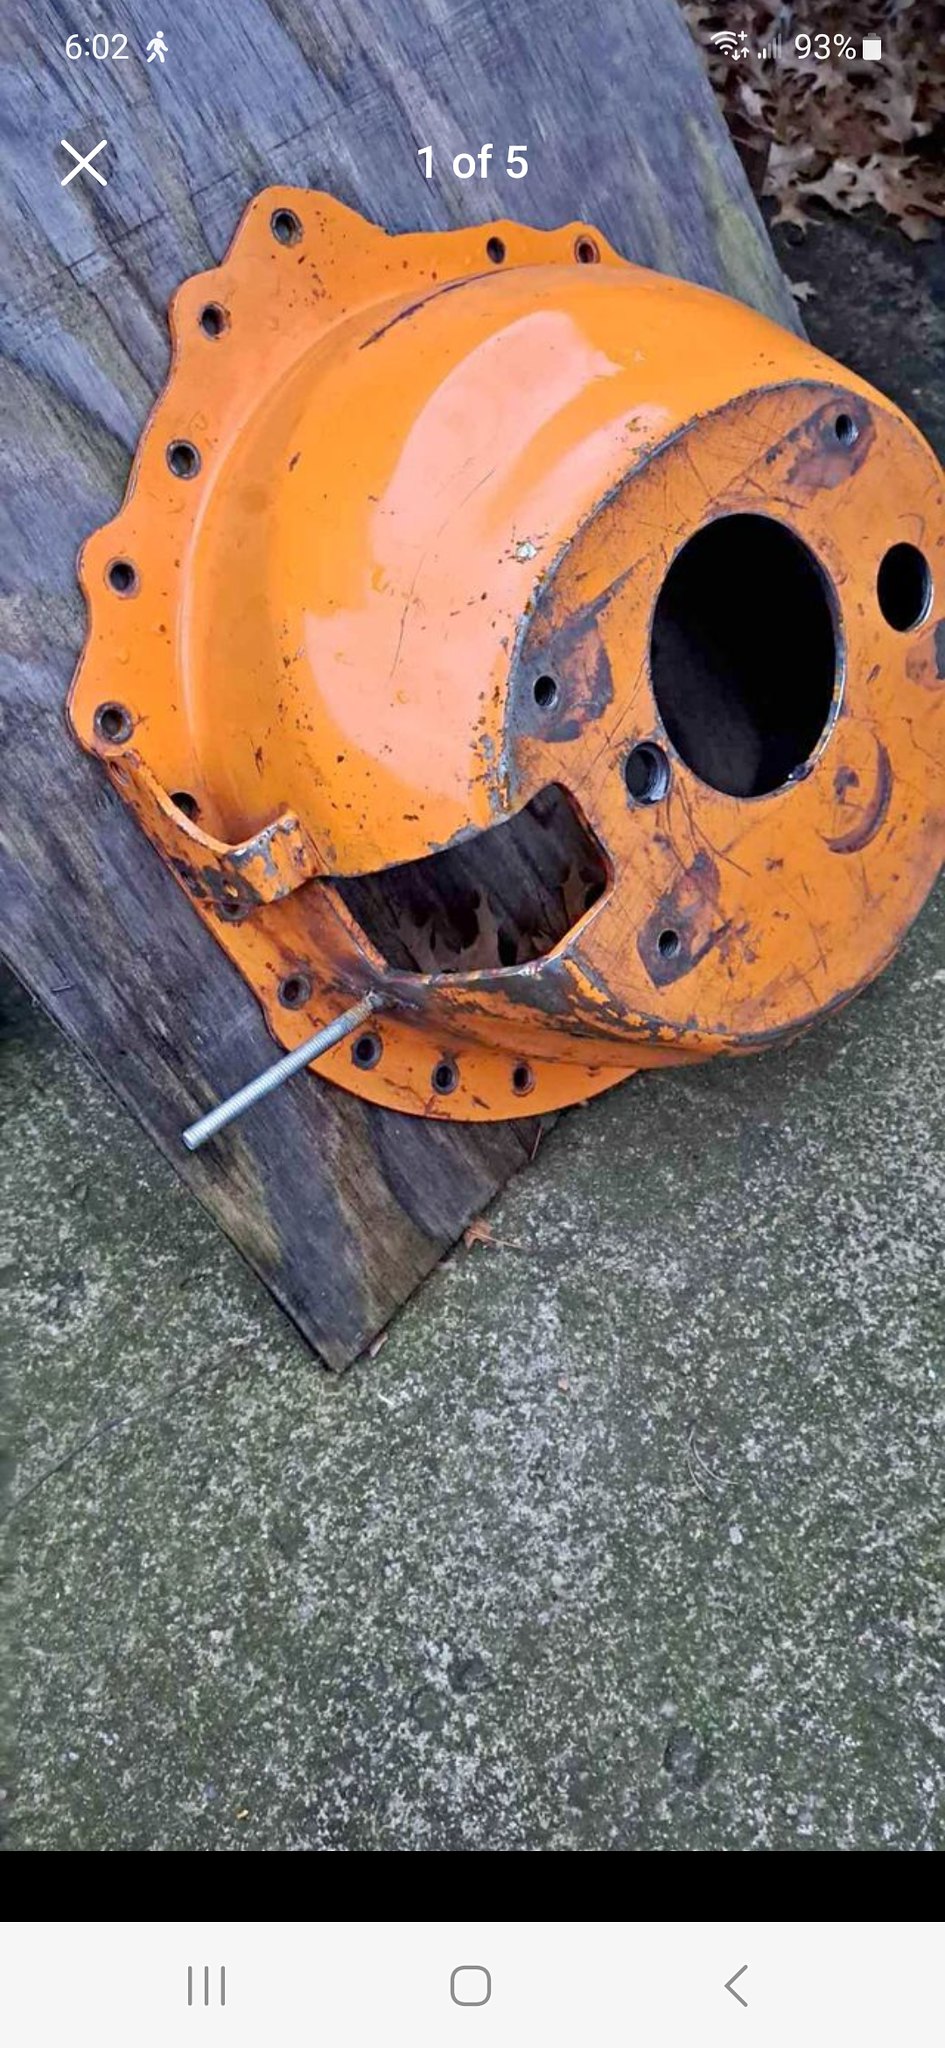
The four speed leaks from every orifice, and I needed to sort out the clutch and flywheel to mate to the ls. I had picked up a low mileage ls1 flywheel and clutch a while back based on a few threads I found. They were depending on an earlier disc fitting in the later pressure plate to make it work. Or using the 2004 3500 truck flywheel and clutch. I had the bright idea to try the clutch disc from the 3500 (10 spline) with the ls1 pressure plate I already had. Fit like the factory designed it that way. It also appeared that the pressure plate would be a perfect interchange between the two as well. So, I got a disc from rockauto, as well as a gasket set and ls7 pilot bearing. It was also discussed about having a blowproof bellhousing in this. I’ve not seen them used in a road race application, but can’t say it’s a bad idea. Especially when I plan to go aluminum flywheel at some point. My friend Patrick found me one in Ohio, and I grabbed it. Needs sandblasted and a little cutting and grinding, but what doesn’t with this project?
 Screenshot_20230408_180243_Facebook by Michael Crawford, on Flickr
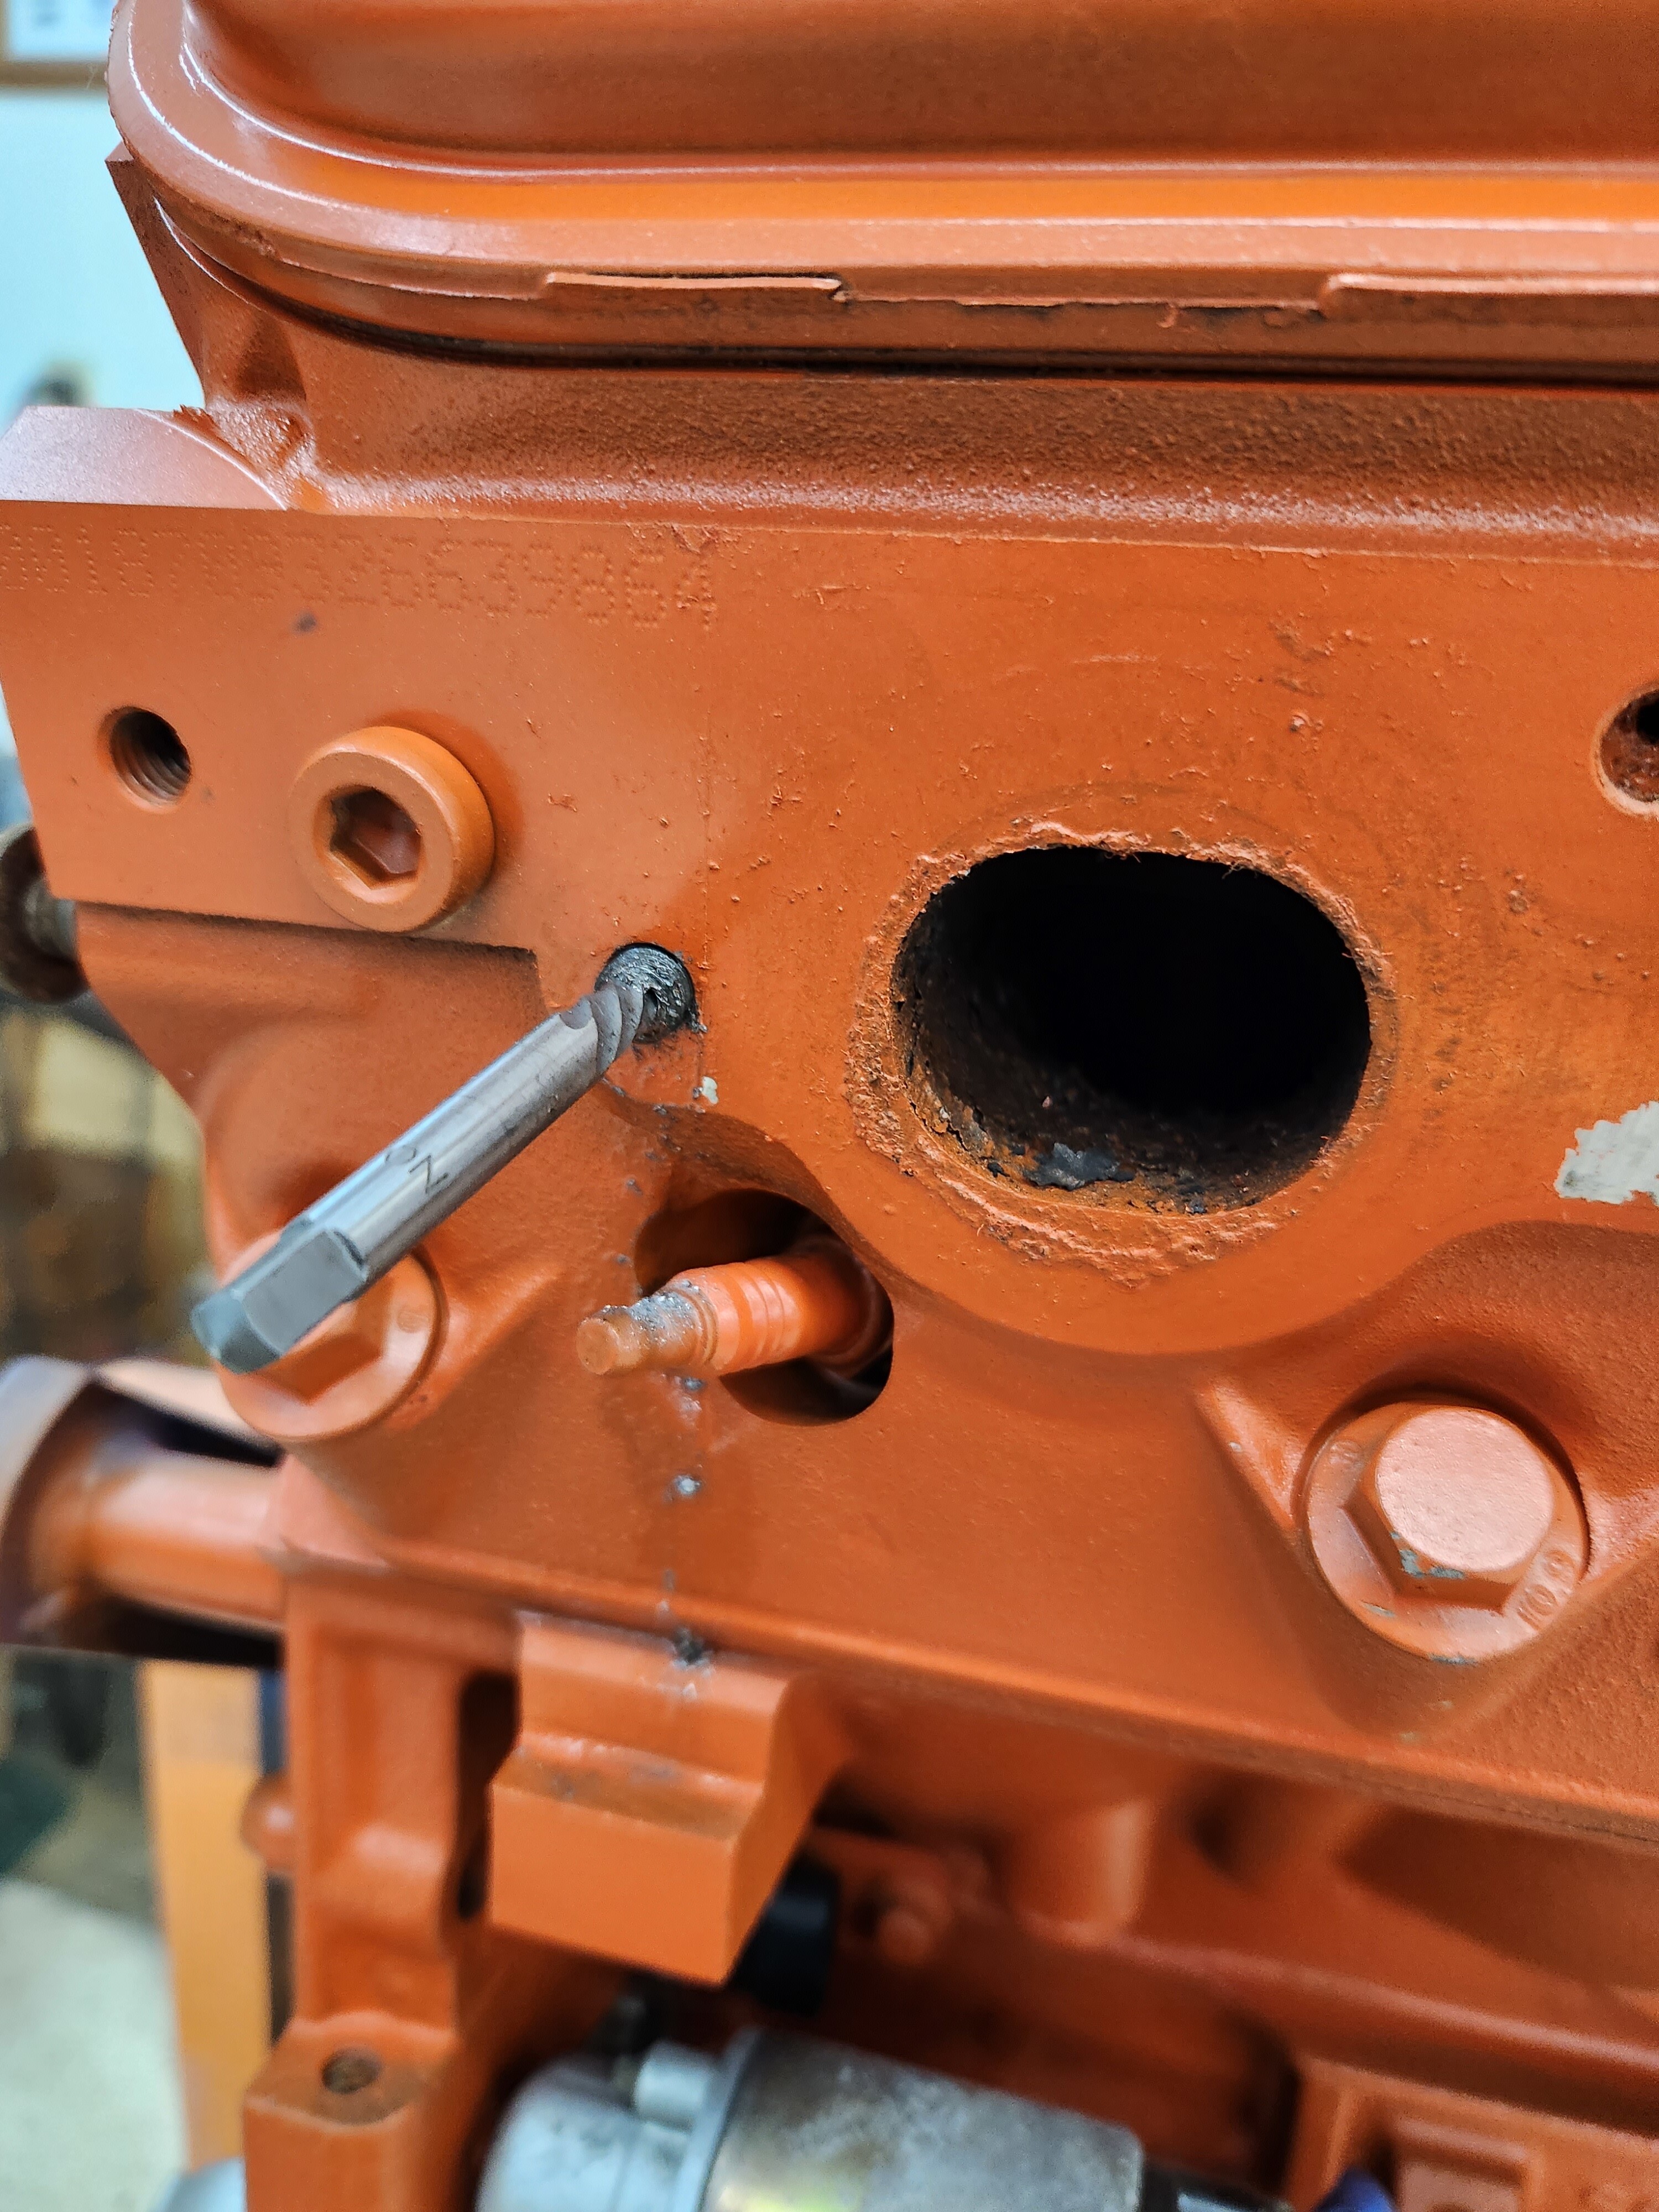
With the engine, I went ahead and finally got the broken exhaust bolts out.
 20230318_124049 by Michael Crawford, on Flickr
 20230318_124138 by Michael Crawford, on Flickr
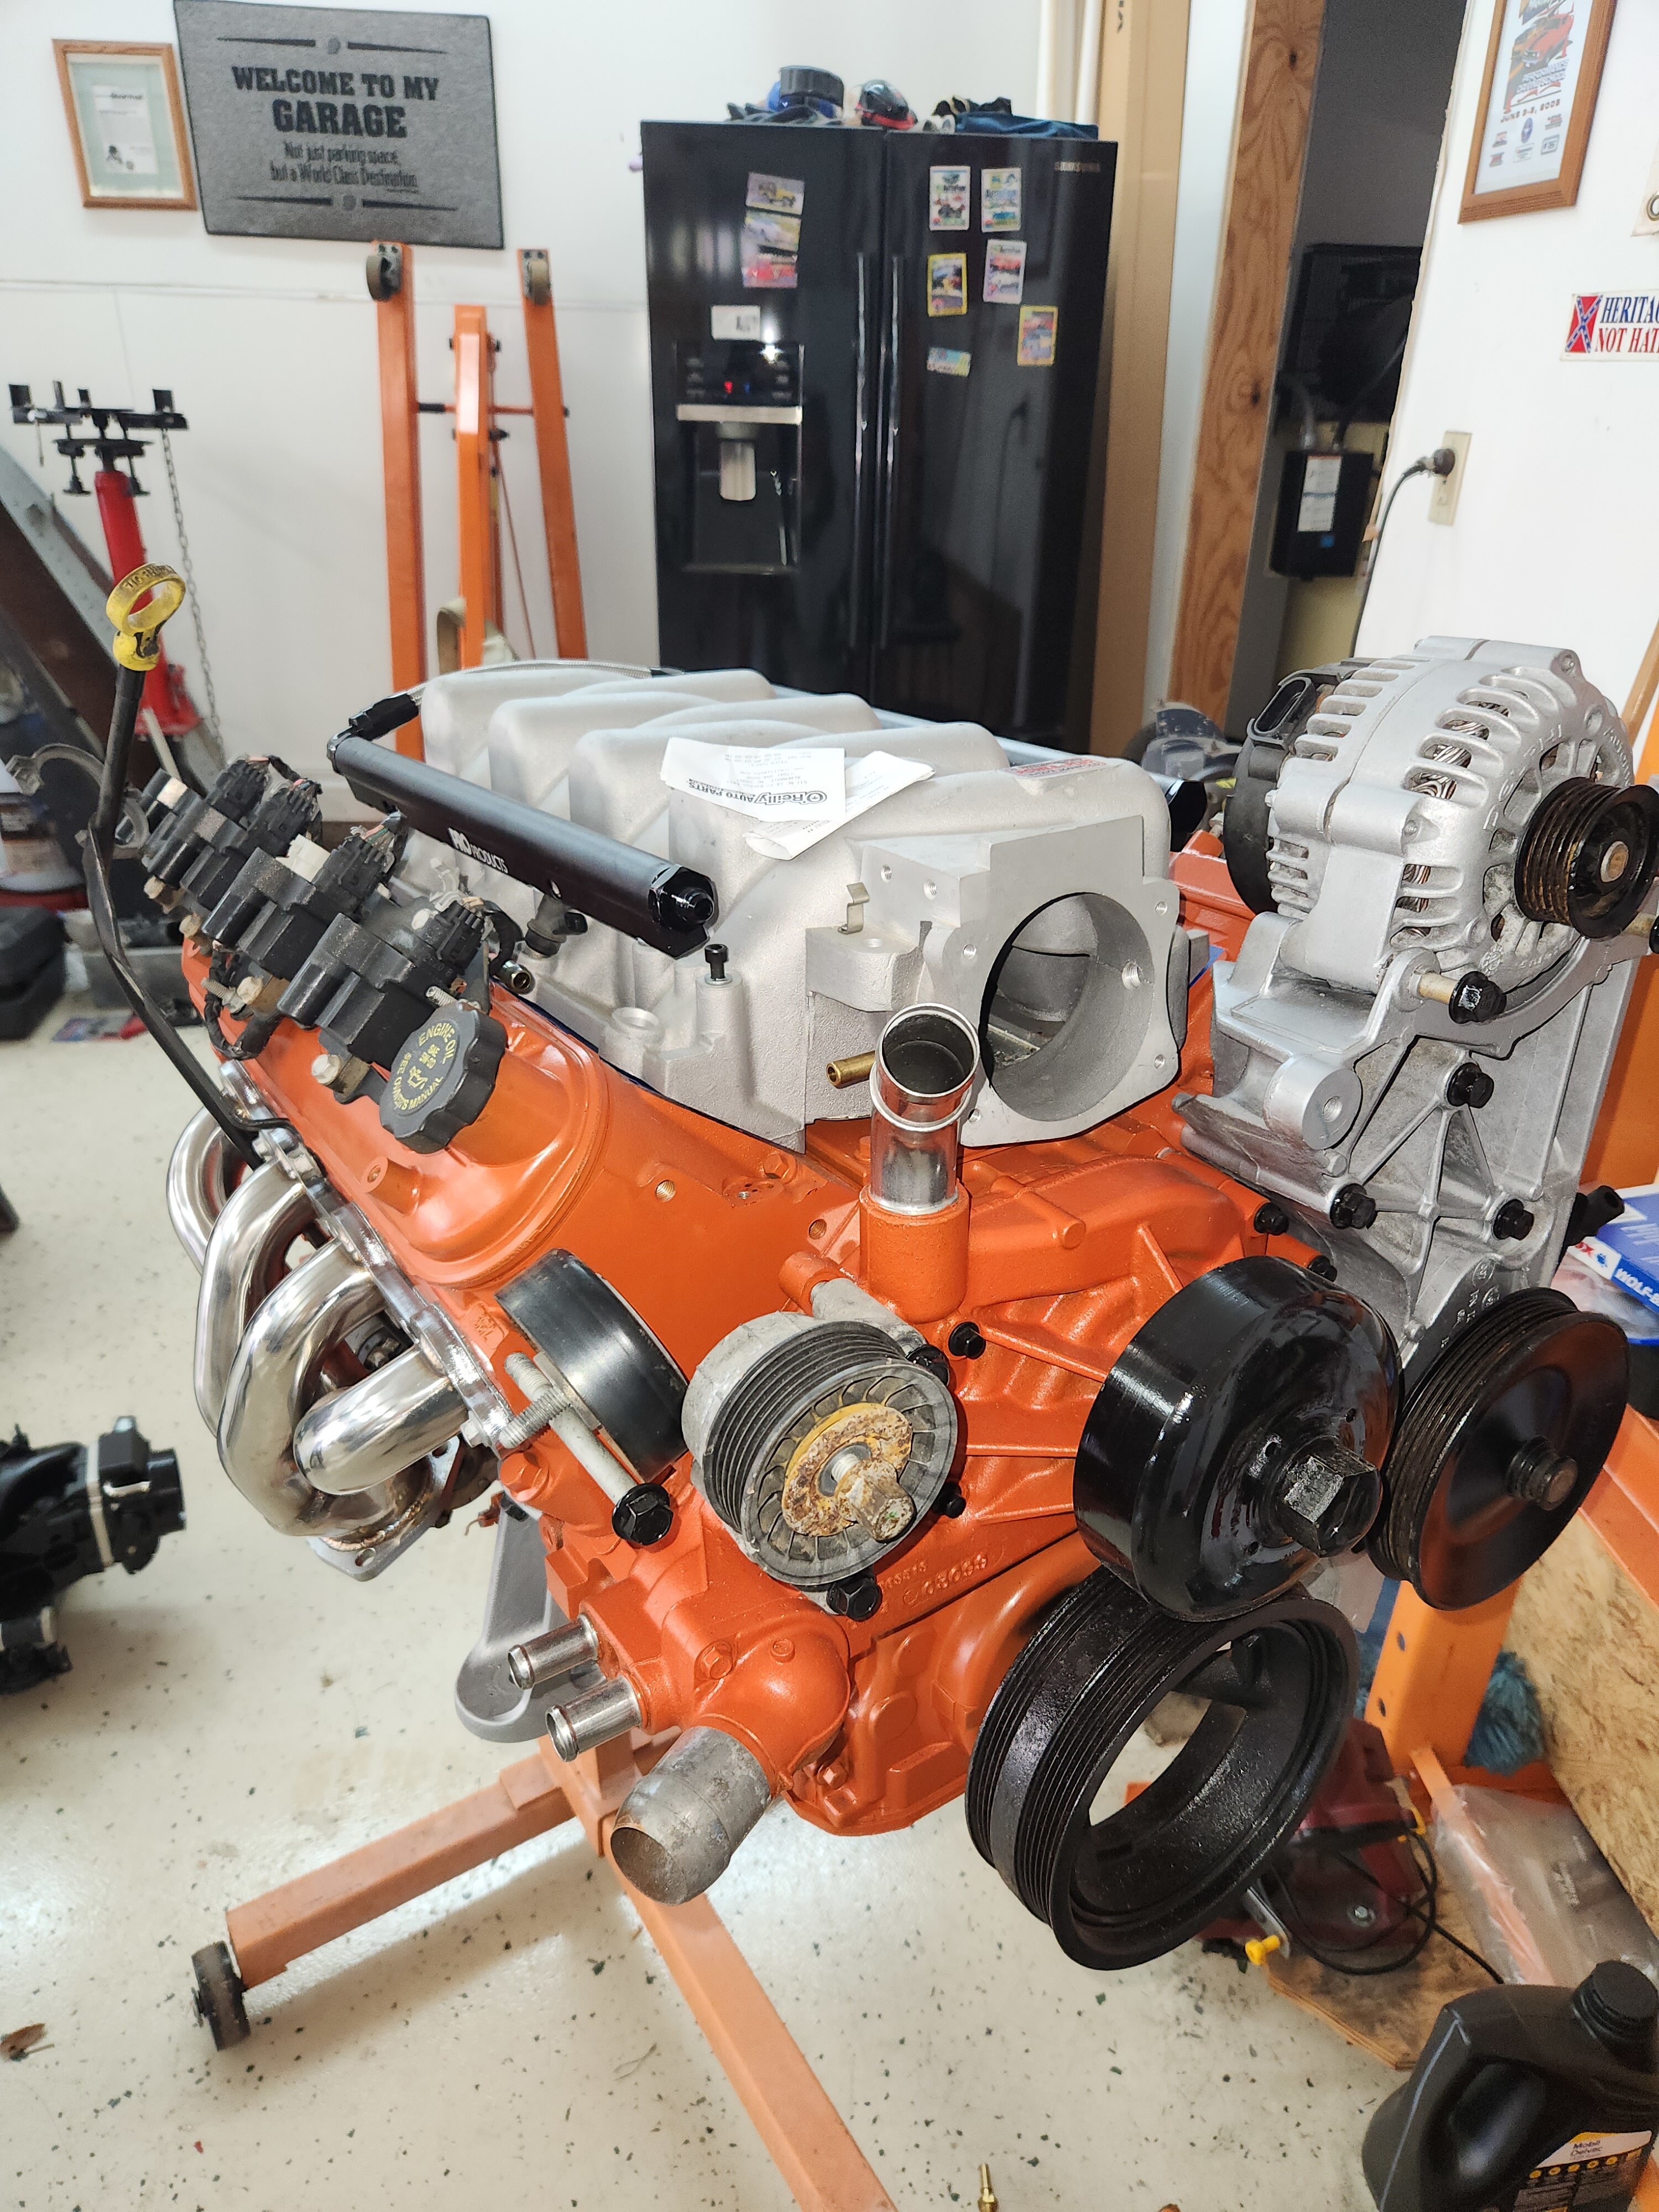
Went on to mock up the intake, and ran into issues. First was that the throttle body hits the water pump and accessory brackets. It also hits the steam vents and the bolts for the valley plate. And there’s no place for the throttle cable bracket.
 20230311_140202 by Michael Crawford, on Flickr
The water pump was first tried to be adjusted with a large pipe. The outlet wasn’t able to be moved enough, and I also worried that the hose would hit the hood with how close it was. So, I ordered the f body water pump and spacers for 105. Not here yet, so use your imagination.
The accessories have multiple solutions. But with concerns about hood clearance, I was hesitant. Upon test fitting, we found that the alternator was almost entirely above the hood. So, I went looking for inexpensive solutions. Bought the $49 one from eBay, and I’m not unhappy with the quality. It’s a lot of individual pieces, which I don’t care for, but well made. The hardware is pure chinesium though. The alternator clears the outer skin of the hood by a hair. I’ll modify it to lower the alternator as much as I can so as to not cause rubbing and damage to the as yet unmade fiberglass hood. I think I can get a solid inch out of it.
 Screenshot_20230408_182638_Google by Michael Crawford, on Flickr
The valley tray was sorted with a handful of buttonhead Allen bolts from the Salisbury bolt house.
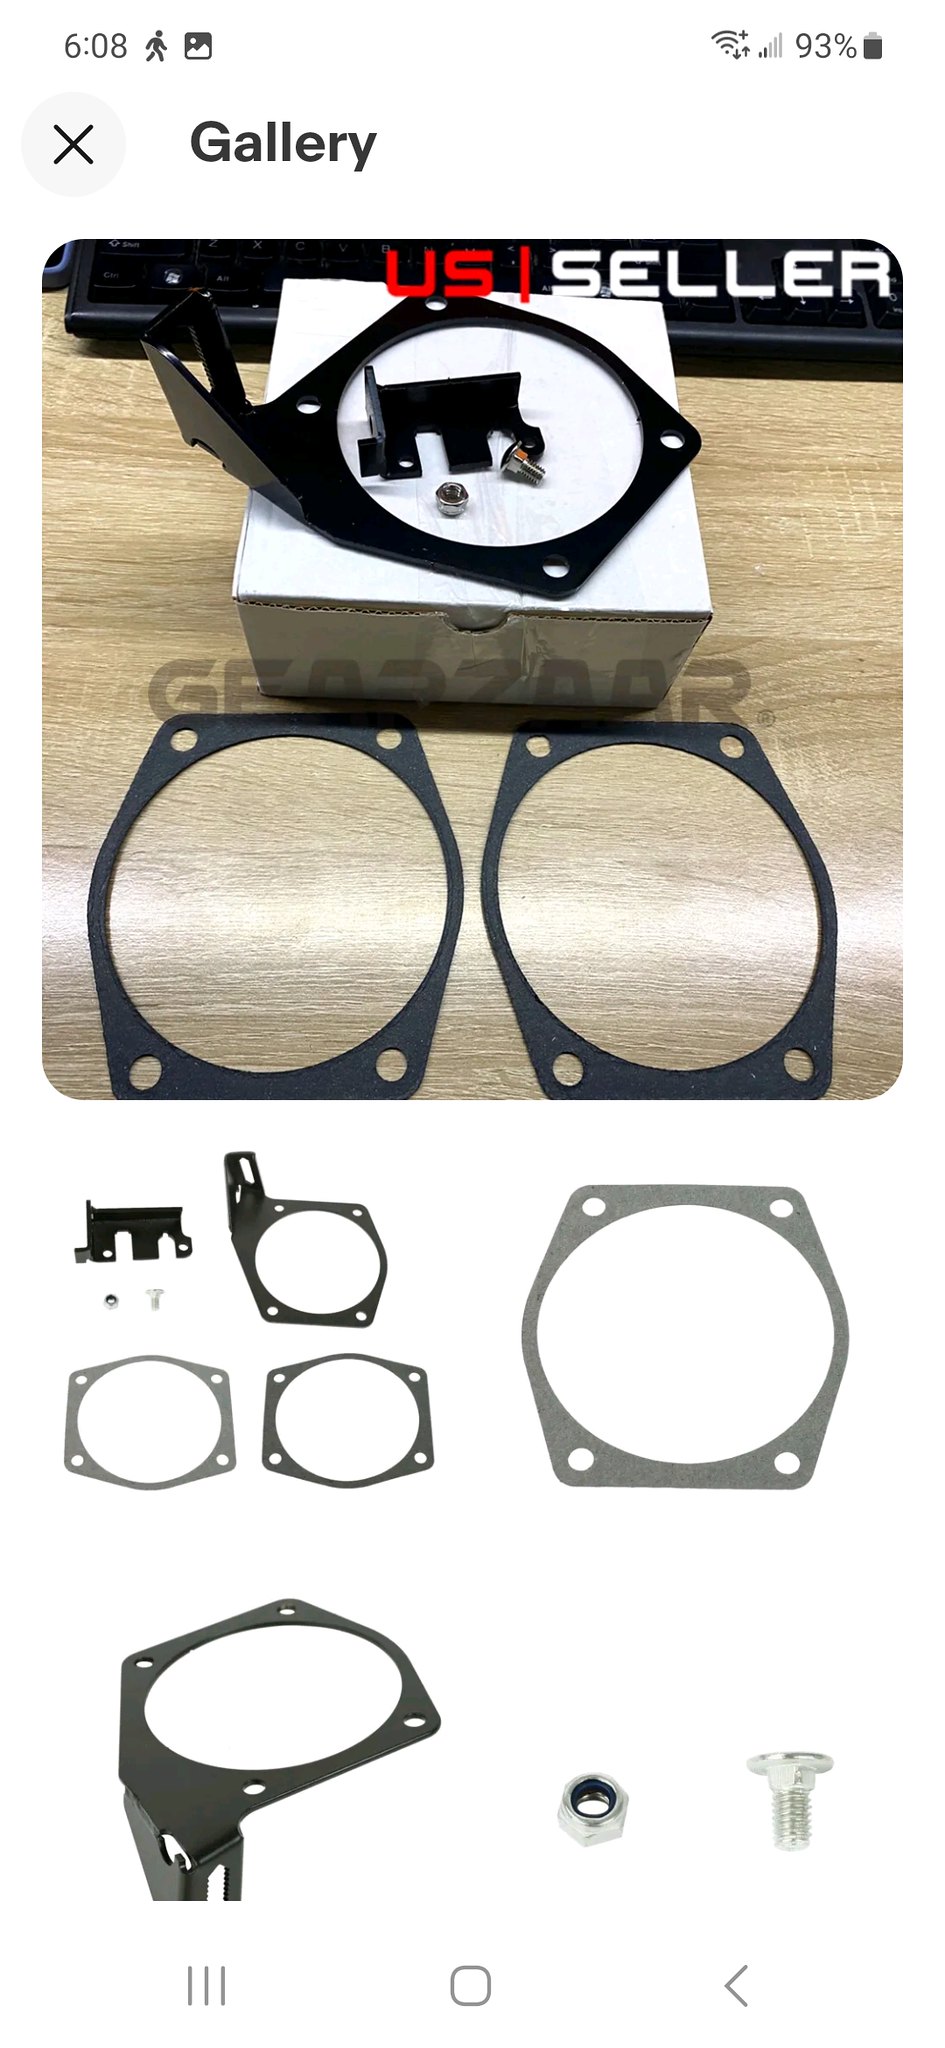
The throttle cable was solved (in theory) by a ~9$ eBay bracket. If it doesn’t work, ill fab something.
 Screenshot_20230408_180816_eBay by Michael Crawford, on Flickr
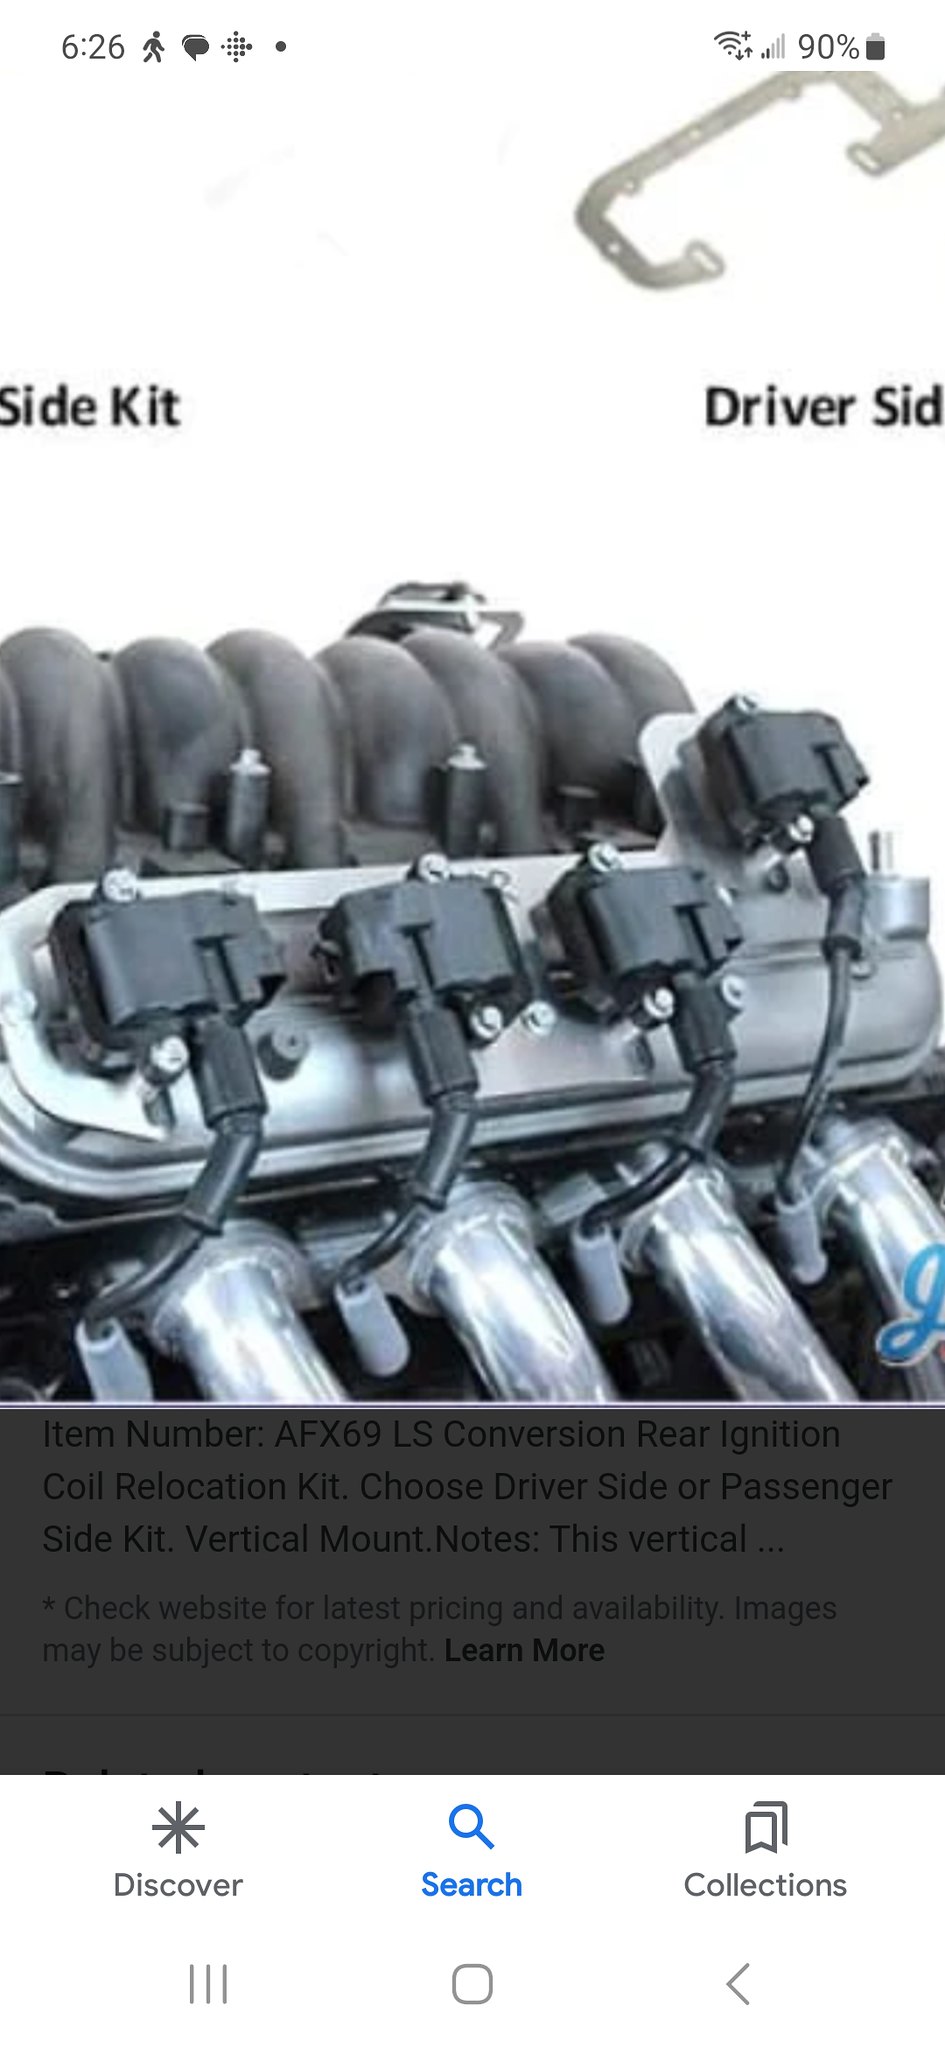
We also ran into issues with the coil packs. The number 7 and 8 coil packs hit the cage. I think I have a solution in cutting the mounting brackets, relocating the two offending coils closer to the intake, and rewelding it. Haven’t tried it yet, but I have spare coil packs to try out on. If that fails, it gets harder and more expensive. But there’s a commercial version of this idea, so it may be a viable option. Just need to play with the welder and find out.
 Screenshot_20230408_182638_Google by Michael Crawford, on Flickr
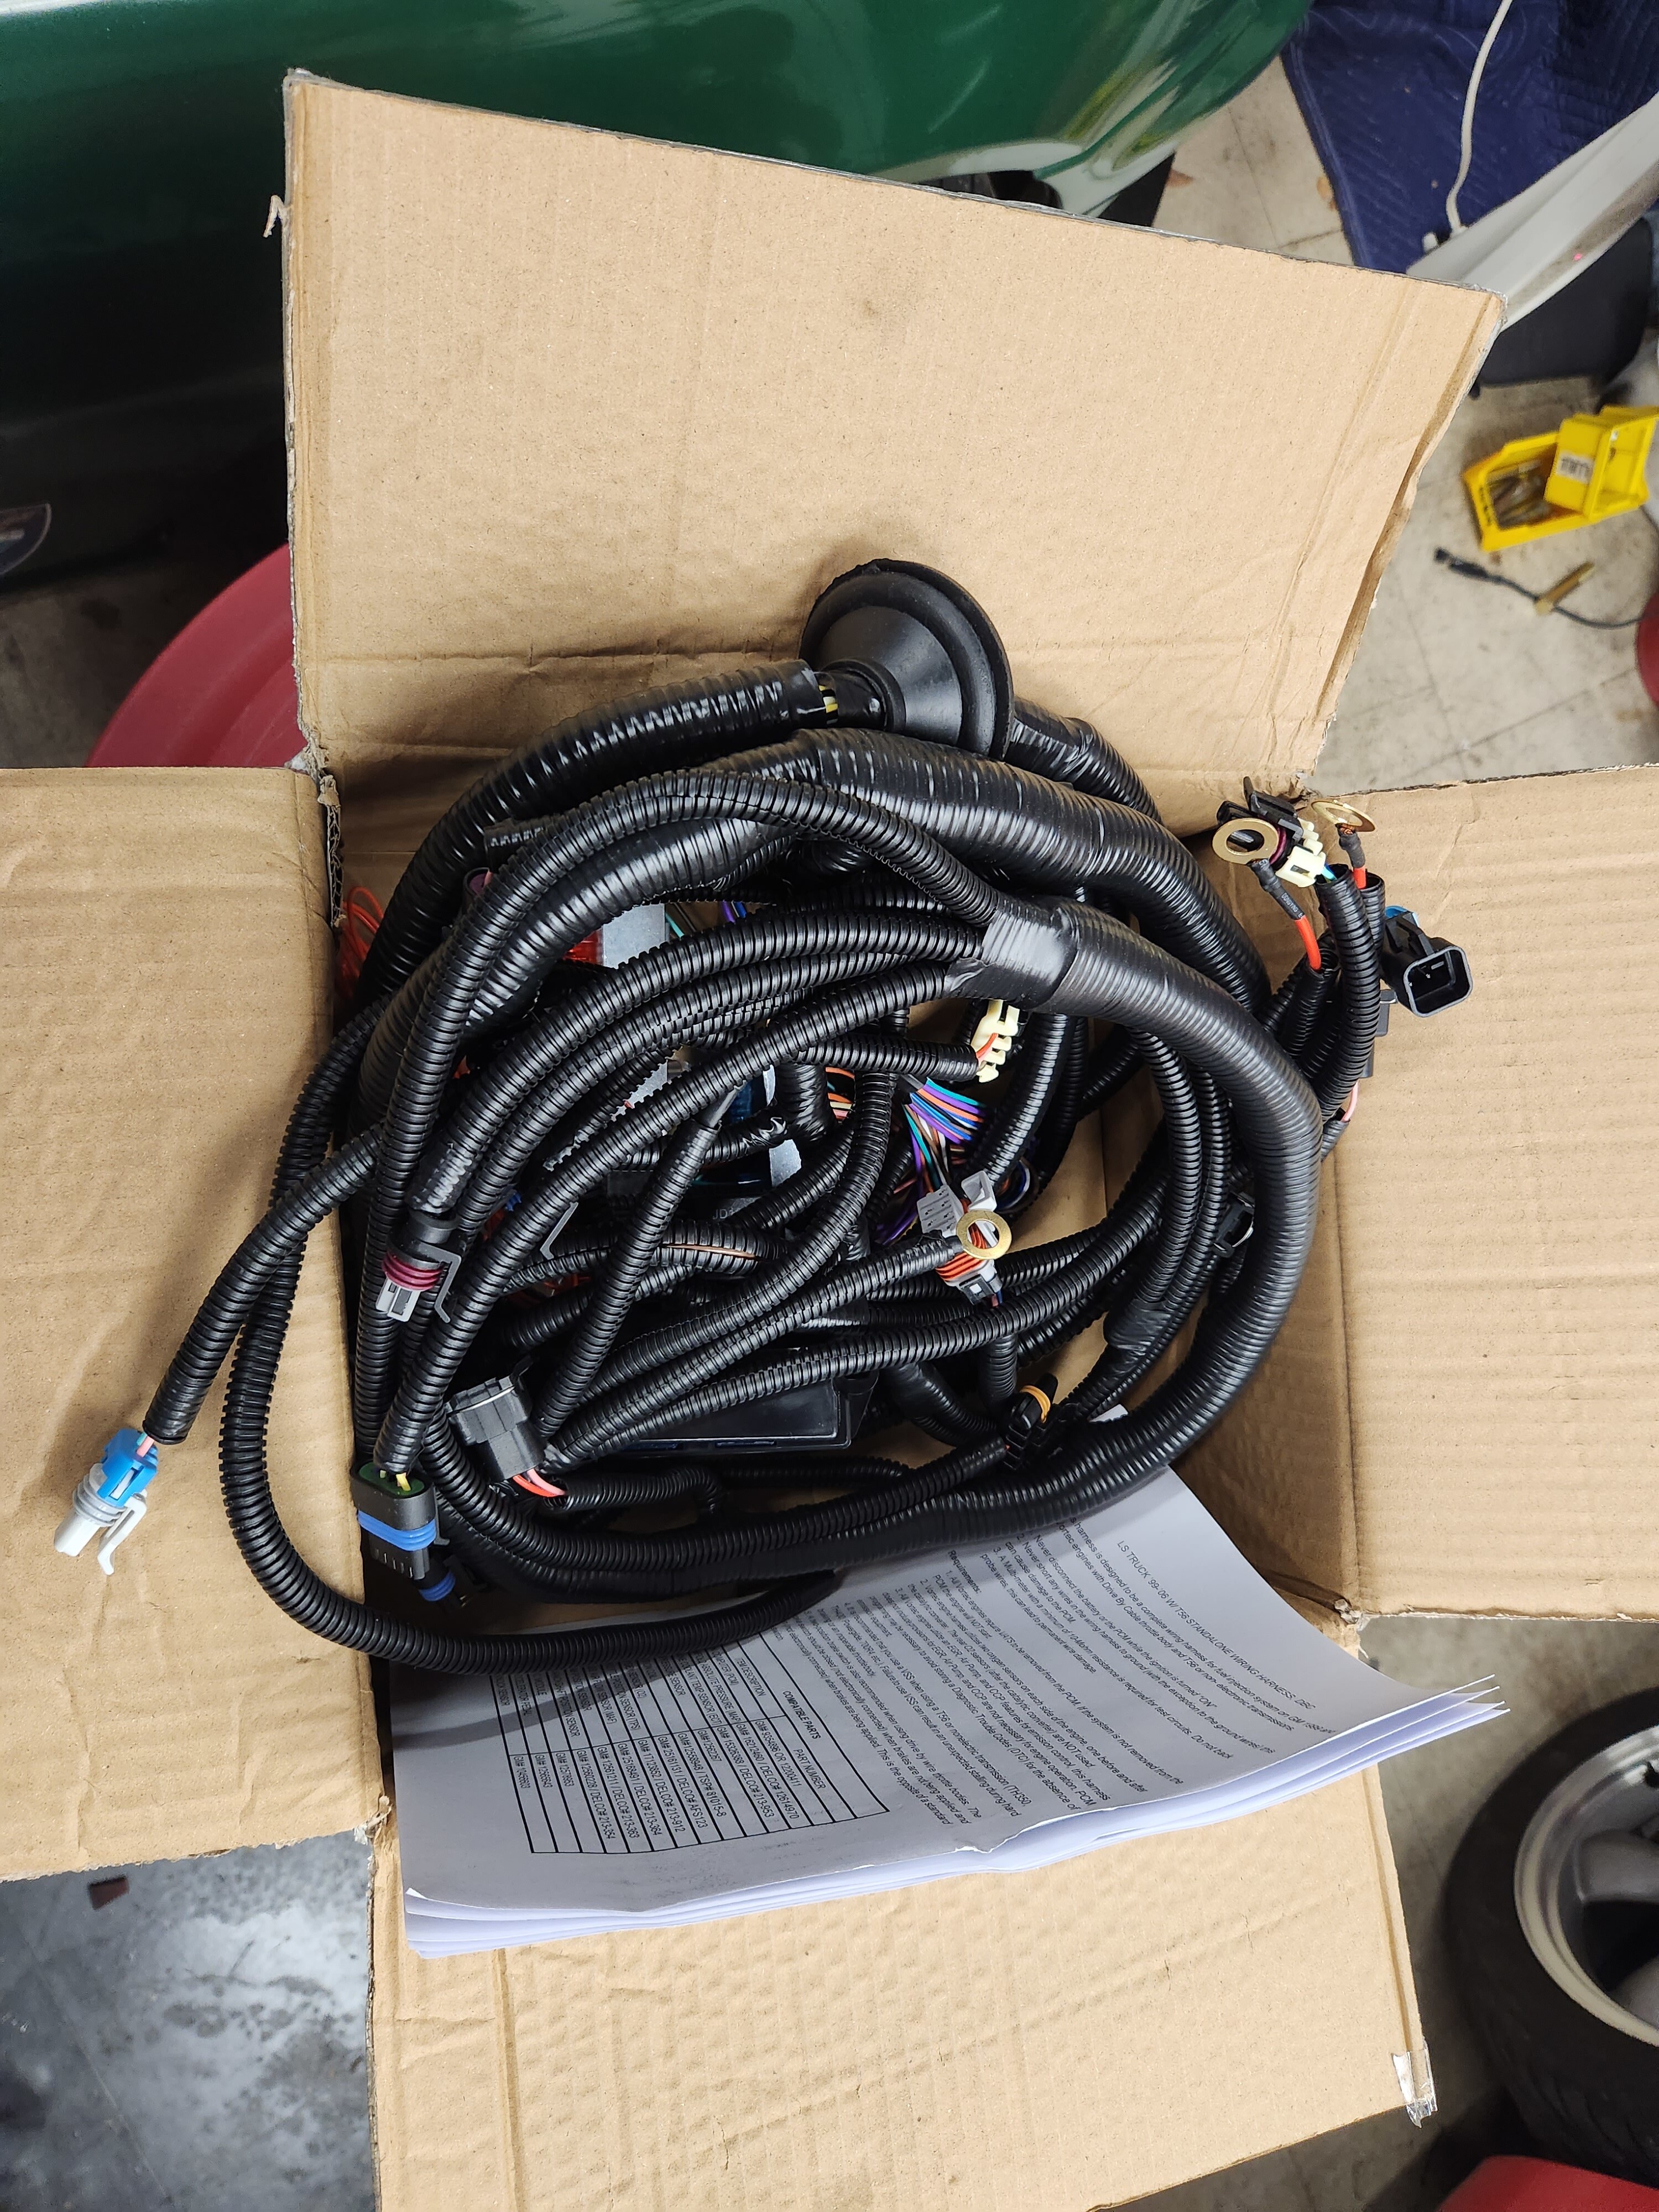
The dipstick sticking above the hood was easy, just rebend and bolt down under one of the header bolts. The steam vents will be sorted via an an kit at some point, but I need to learn a lot more about where to hook it up to the cooling system. For wiring, I bought the eBay $100 harness. I know ill need to check it thoroughly, but it’ll still save me a ton of hours vs working with the stock harnesses I have here.
 20230408_172107 by Michael Crawford, on Flickr
Anyway, it clears the cowl, looks neat, and should run strong as long as its going to run. I know it’s a hand grenade with the pin pulled after being rusted stuck, but it’ll be fine for shakedown. Hopefully ill pull it about 2 laps before windowing the block….
 20230318_193206 by Michael Crawford, on Flickr
Until next time


 the blue 71 taillight panel is not savable. The bumper is minty for a fiberglass mold though. Hopefully the brown 70 taillight panel is worth saving. After i get the bumper removed from this one and the chunks added to the scrap pile, ill see.


