


That’s a lot of hose!!![]()
looking good man. Have you thought using a hard pipe for coolant line? Or was that one of the 13 attemptions?

That’s a lot of hose!!![]()
looking good man. Have you thought using a hard pipe for coolant line? Or was that one of the 13 attemptions?

It was one of the attempts. Andnot a successful one. This works. And provides a spot for the water temp gauge sender.
Fuel system builds and holds pressure with no leaks!

Keep going!
No spraying fuel? Where is the excitement in that? ![]()
I think its time for me to get the laptop out and do a real update, instead of a phone update.

Do eet!
Challenge budget so far:
previous challenge budget: 1882.05
recoup total: 820
new money:
oil filter sandwich plate: 17.99
water temp sender block: 4.52
radiator hose: 10.95 advance
shift light: 10.69
tuned ecm: 120, sinister performance
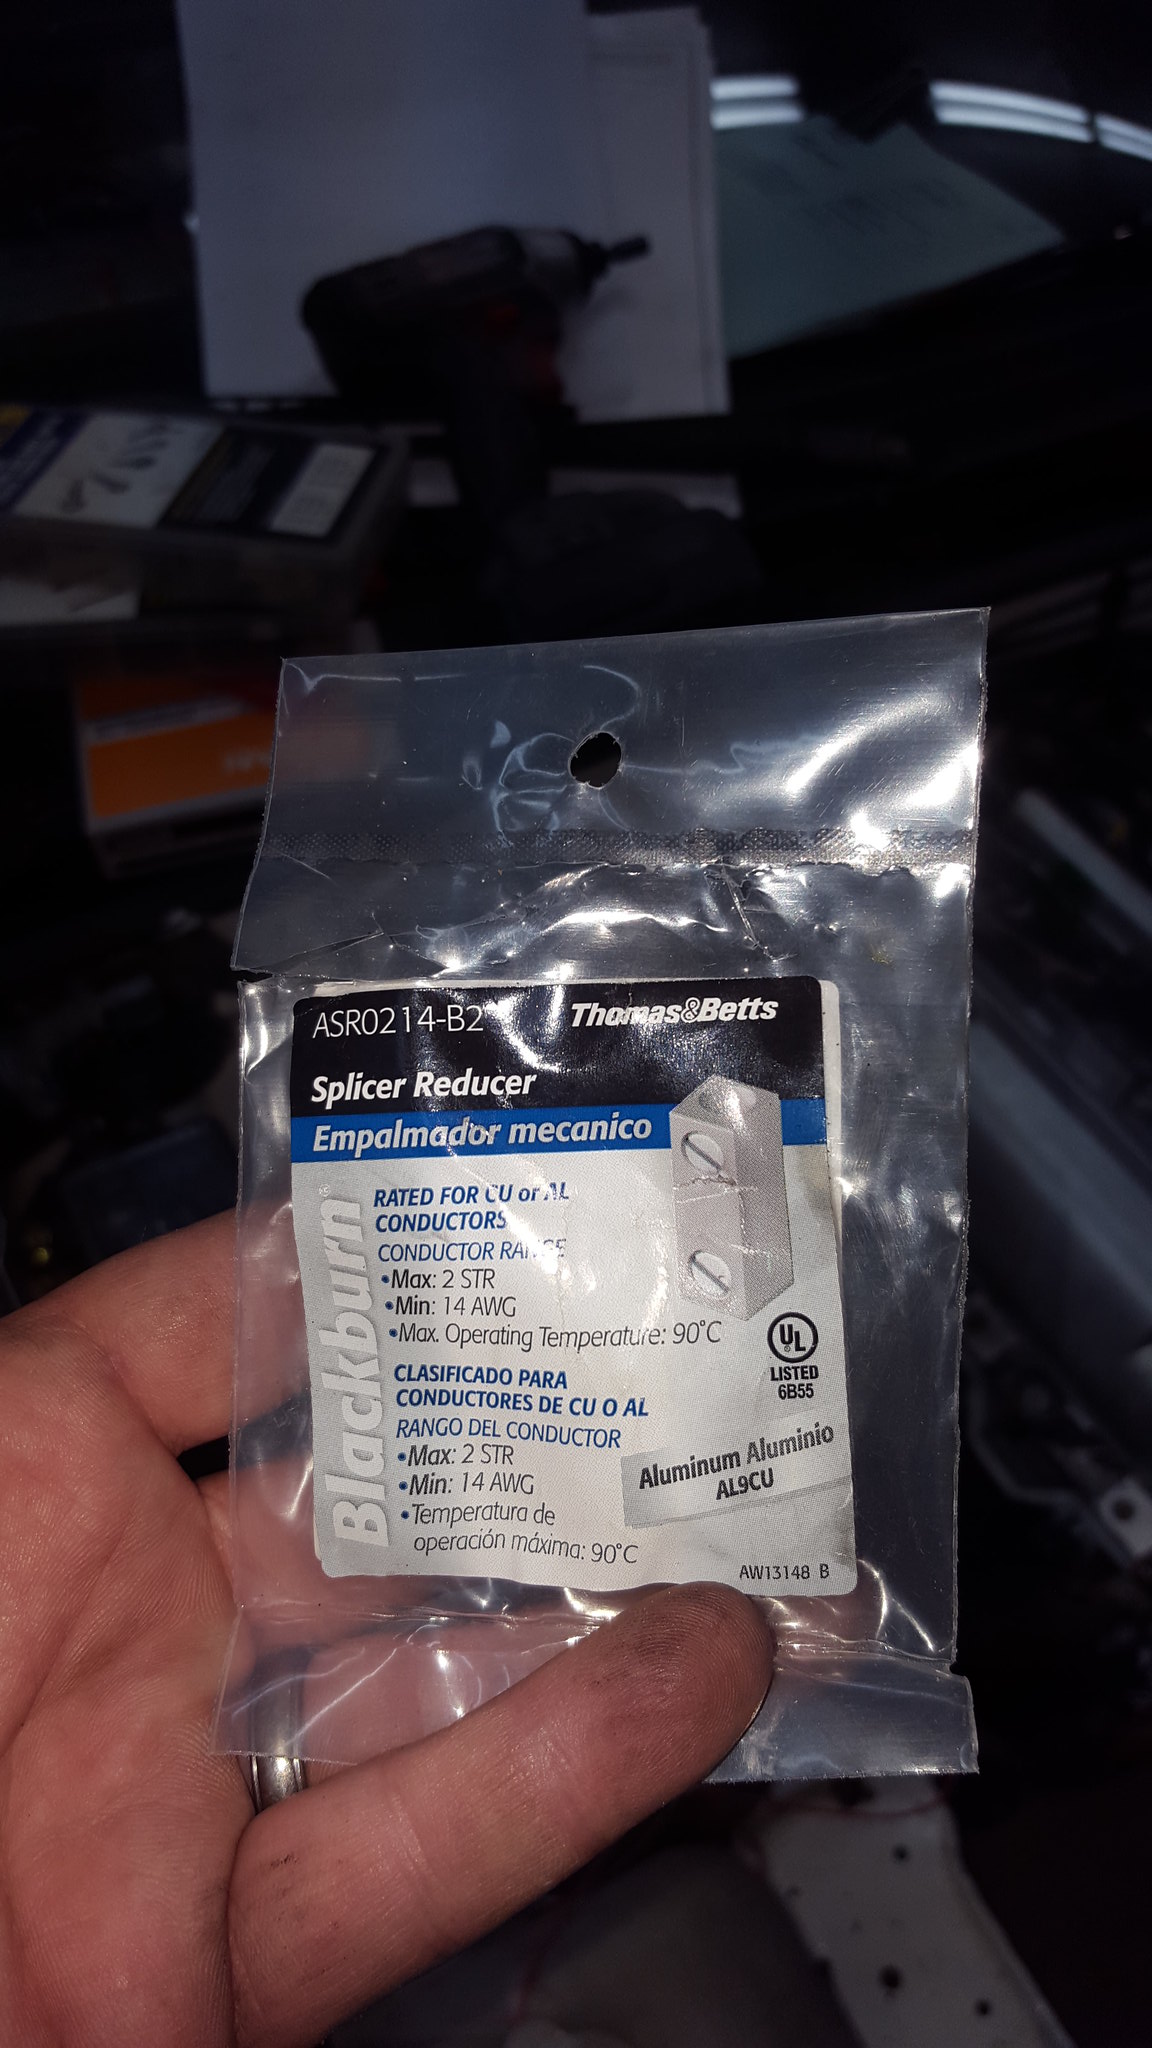
battery cable splice: lowes. 4.99 pack of 2, needed 1: 2.50
removed turbo stuff from the budget. That sucked.
Recoup: 820
new total: 1932.70
well, its been a minute since a legitimate update. Between working, the duster, the bmw, the truck, and family stuff, not a lot of time on this until recently (waiting on parts for the duster).
So when we left off.....
hell if I remember. Honestly. Its been a wild ride lately. So im just gonna throw it all out there is some way that makes sense to my pea brain.
First up in my brain is wiring and such. Its really what ive been spending a lot of time and brain power on, so...
I needed an ecm that had all the security measures removed. A friend on the GRM forum has HP tuners, and can do it for me. However, hes in Ohio. I'm not. And at the time, I was in a hurry thinking it was still possible to make $2018 (which is this week). So I spent the money to have it done by sinister performance. Well go back and reflash with HP tuners and fine tune it with a consummate reduction in budget after I actually prove this whole E36 M3show works.
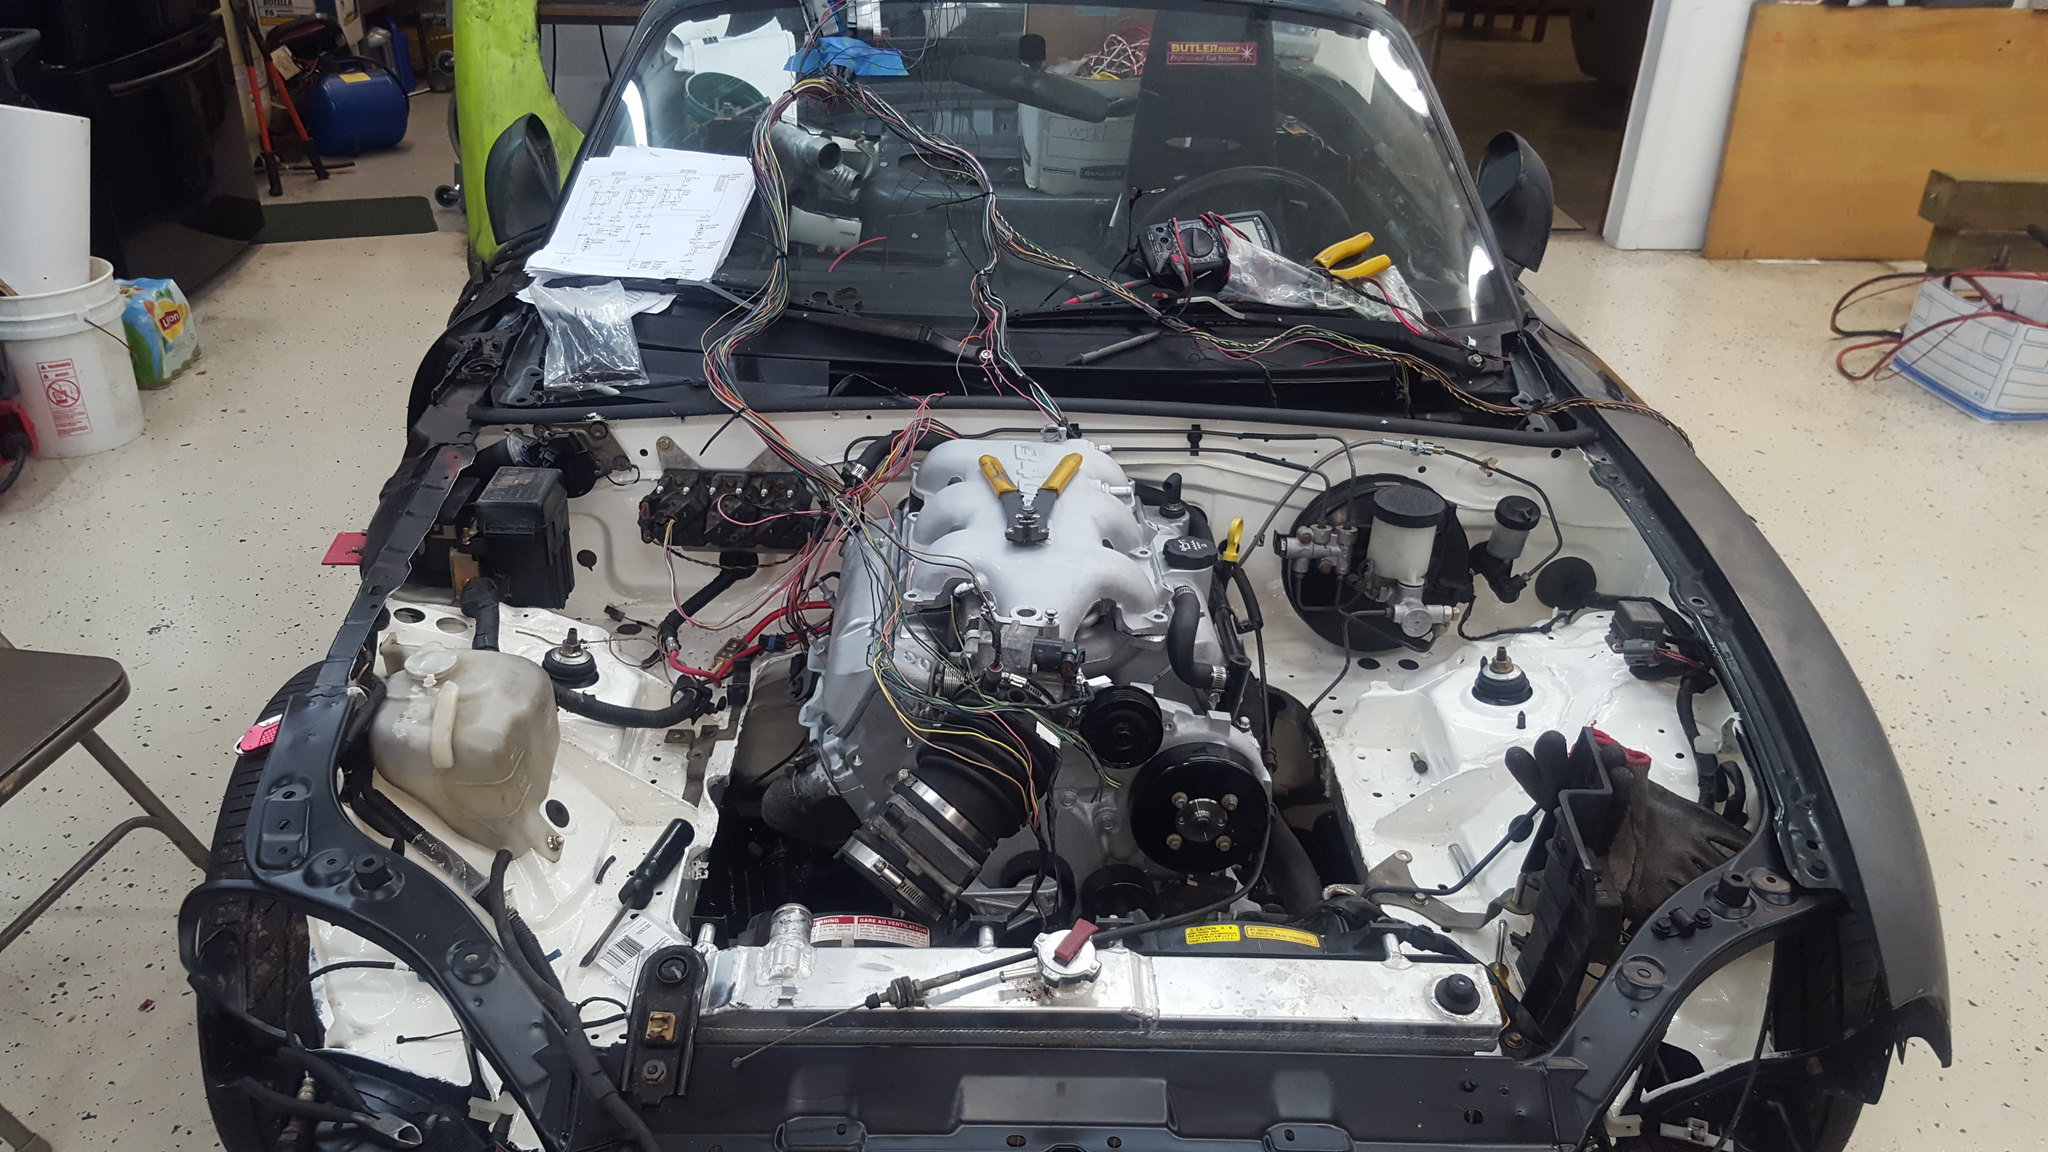
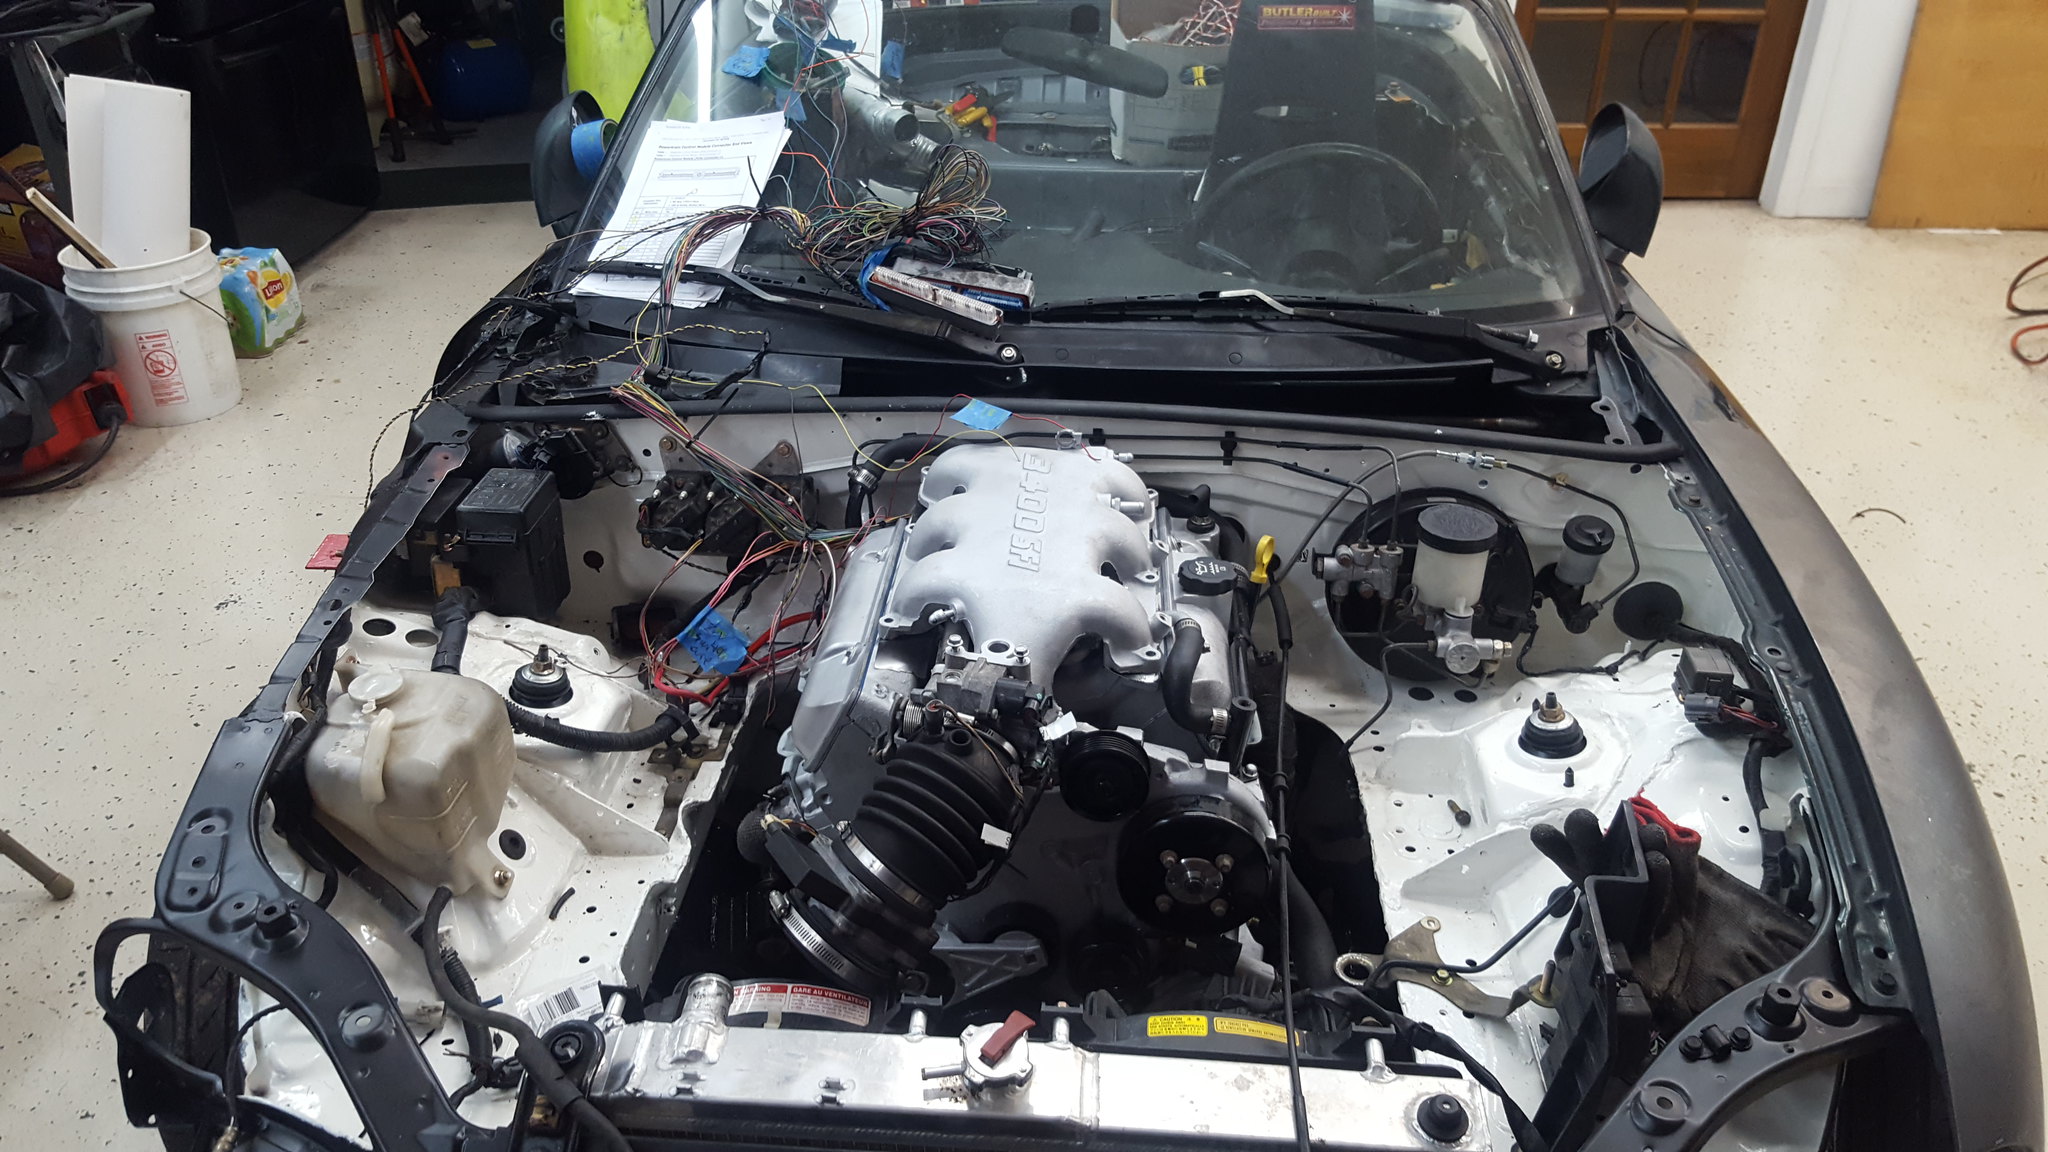
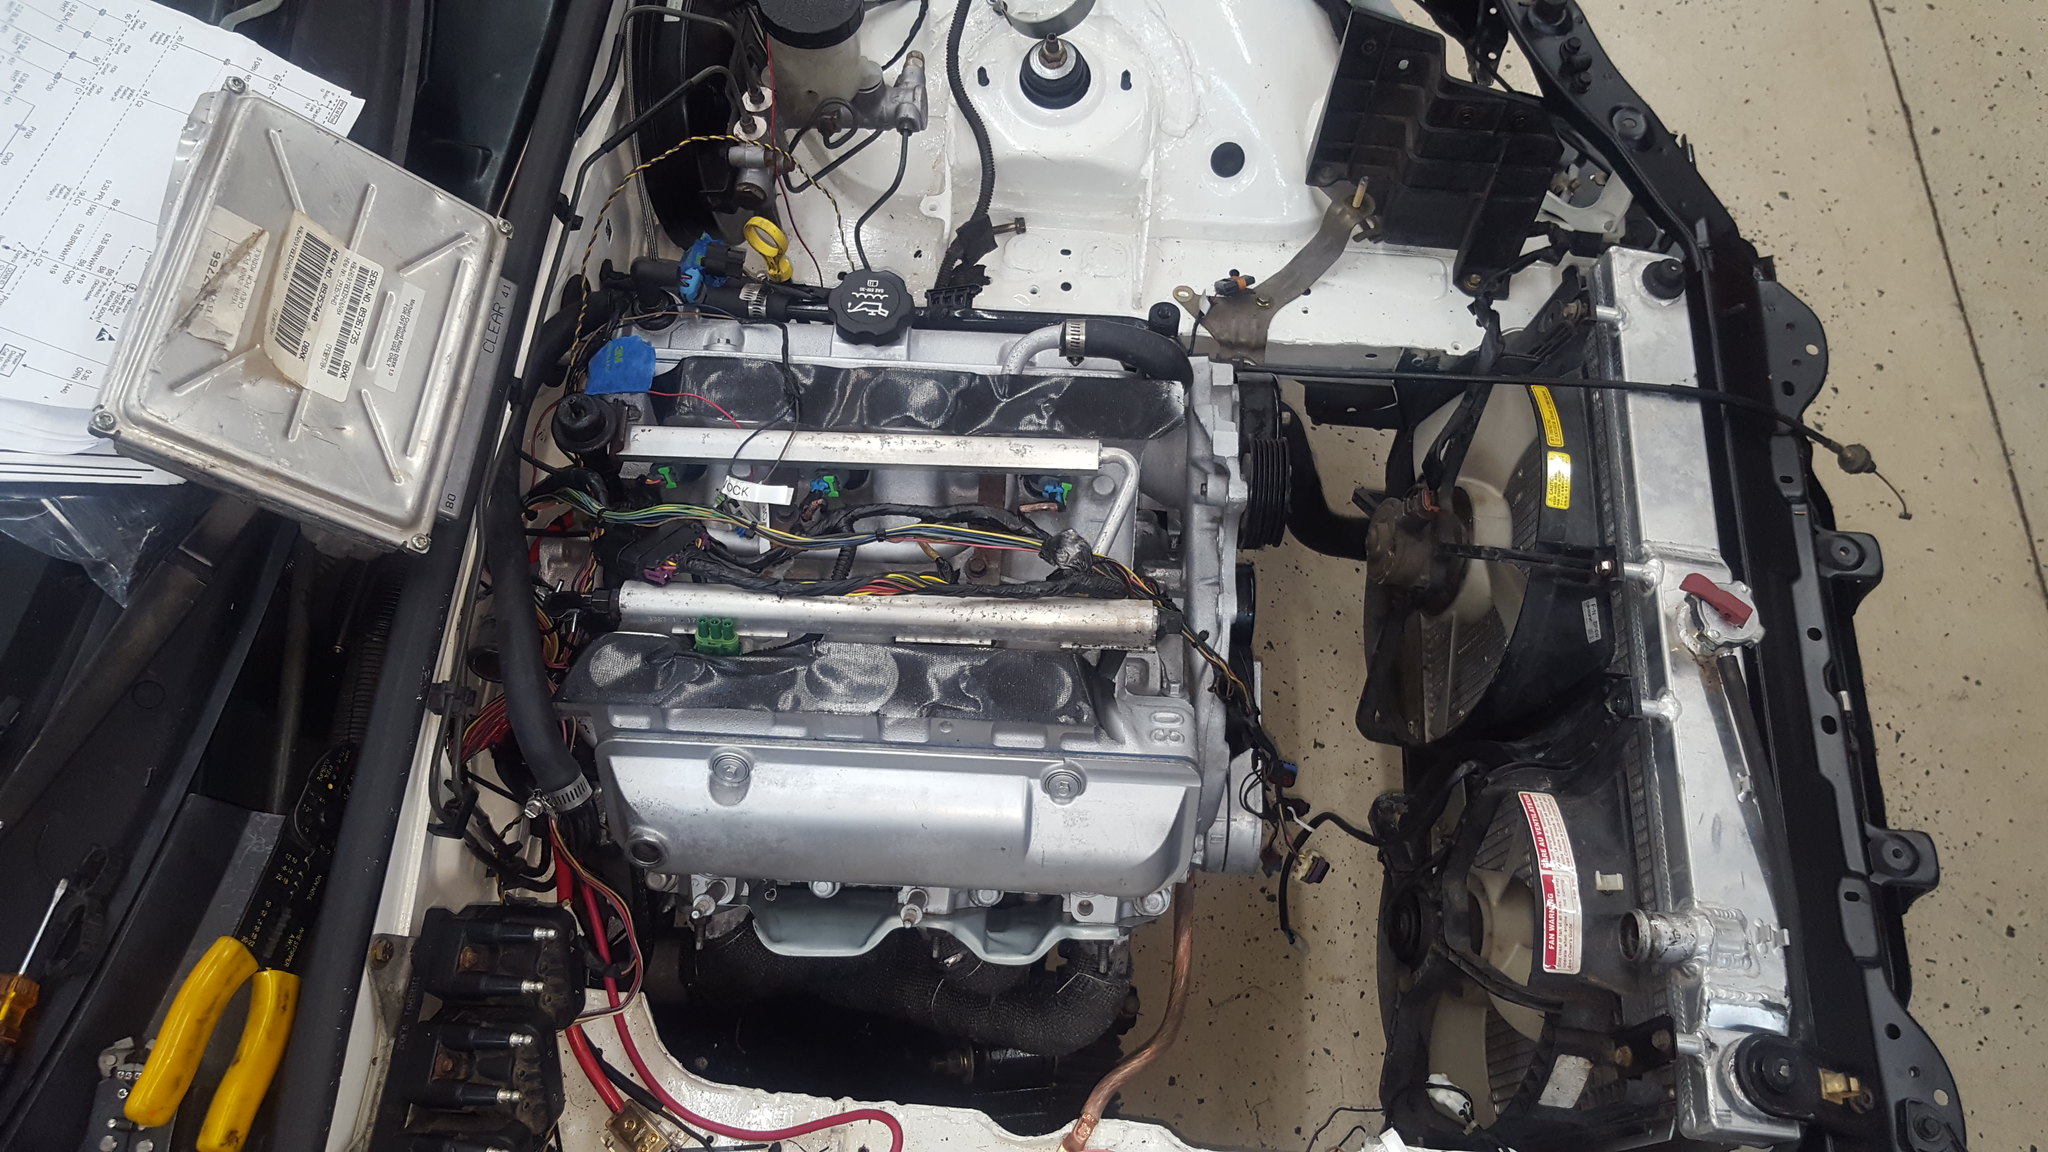
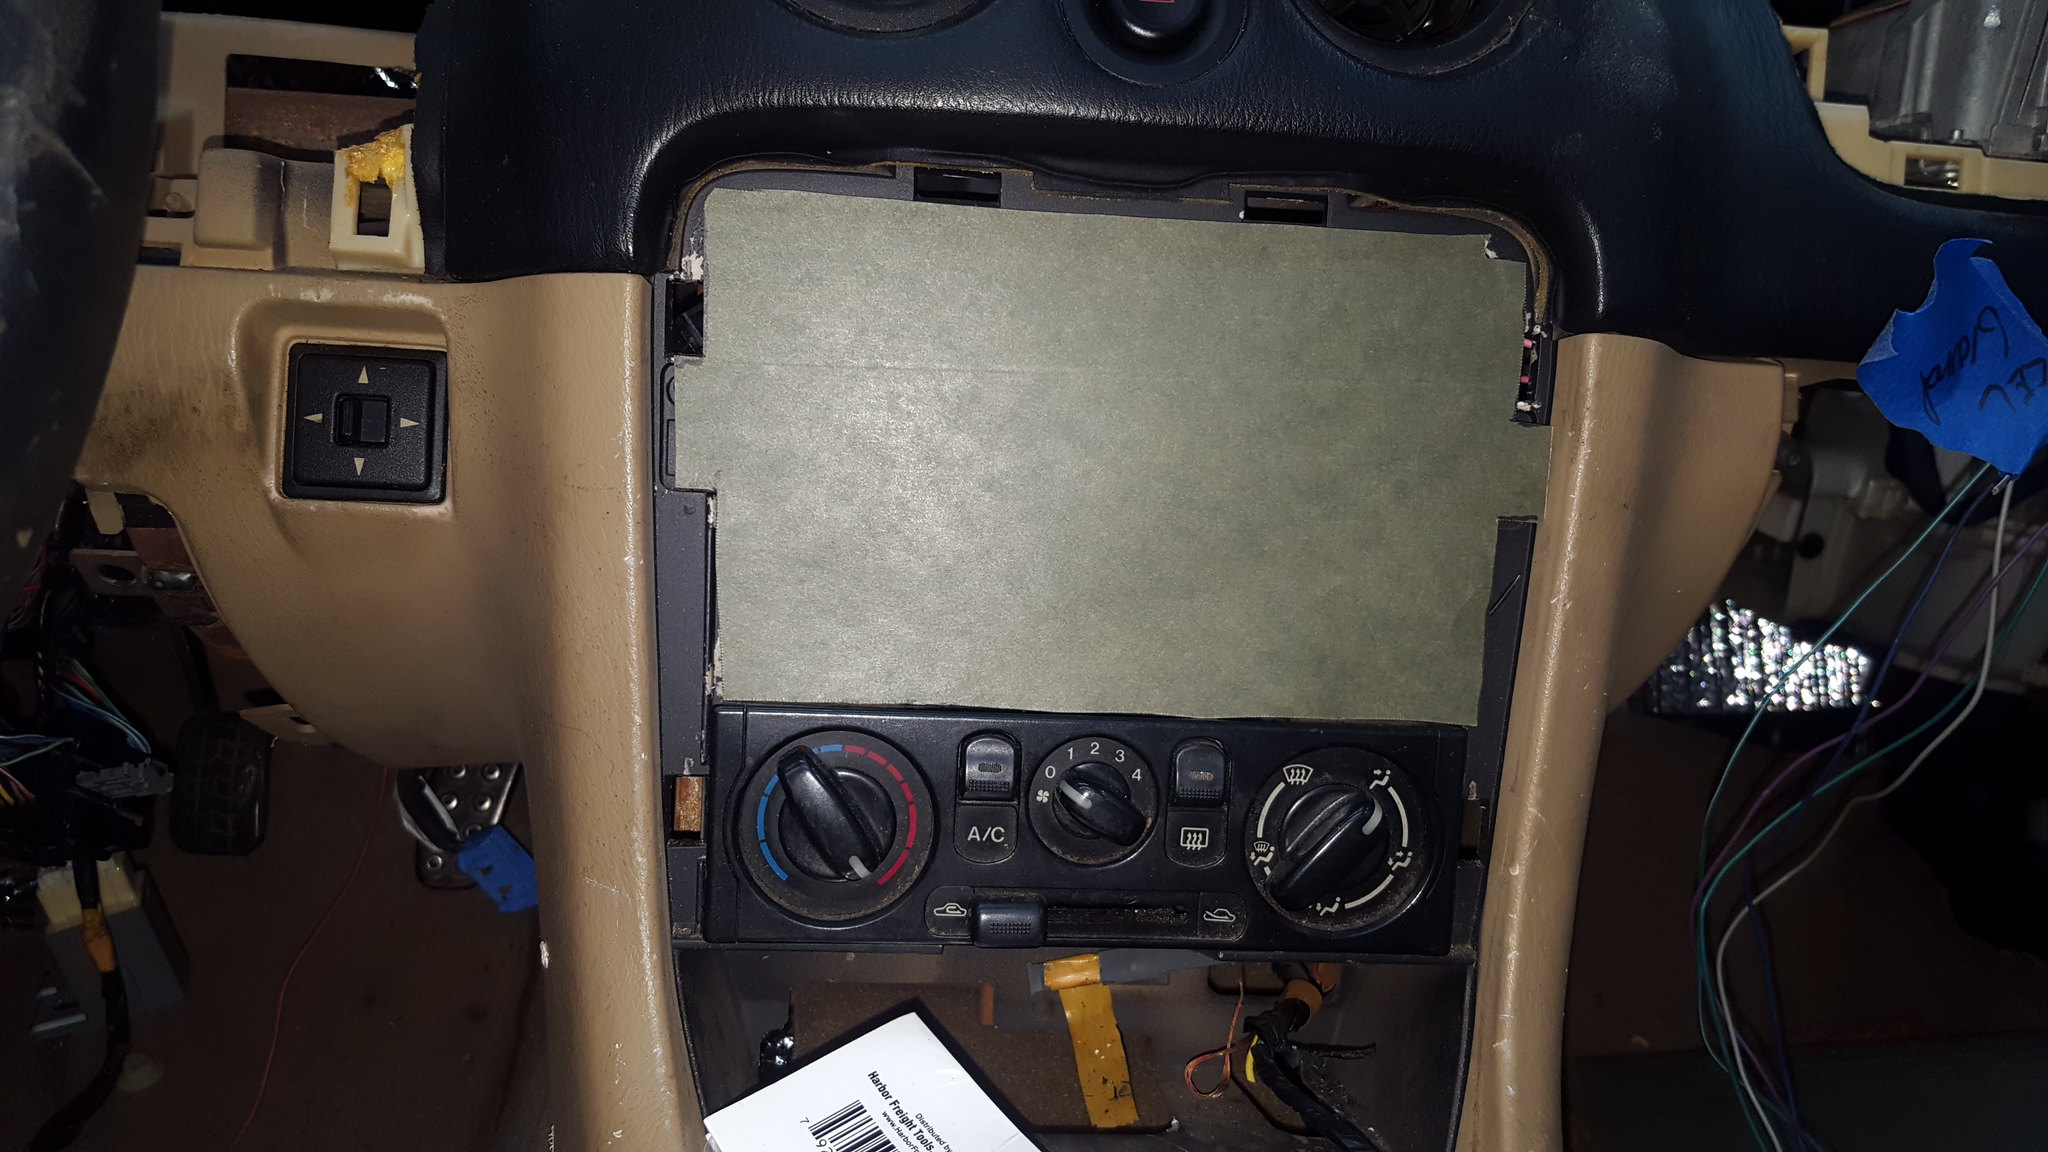
Anyway, we used the 01 impala ecm and harness as GM apparently really upped the security stuff by 04. so, I started de-building and rebuilding the mangled 01 harness. Used large sections of the rondevous harness. I also made the decision to take the easy way out. Almost completely separate harnesses. One for the chassis, one for the engine. The starter is all run off the mazda parts, and the only crossover will be at the battery, fuel pump and fan relays, and gauge cluster. I could have run relays and such, but free toggles, a crappy free fuse block, leftover LED bulbs, and lengths of assorted wires seemed quicker, easier, and cheaper (already had it all, most from pull-a-part and not charged for). The ECU fits beautifully in the cavity where the passengers airbag lived, and the switches/fuses/etc will live on a piece of plastic where the radio went. Anyway, some pictures that don't look like much, as wiring never does in pictures. But I can assure you, its a hell of a lot of work....
battery cable splice
 20181007_164659 by Michael Crawford, on Flickr
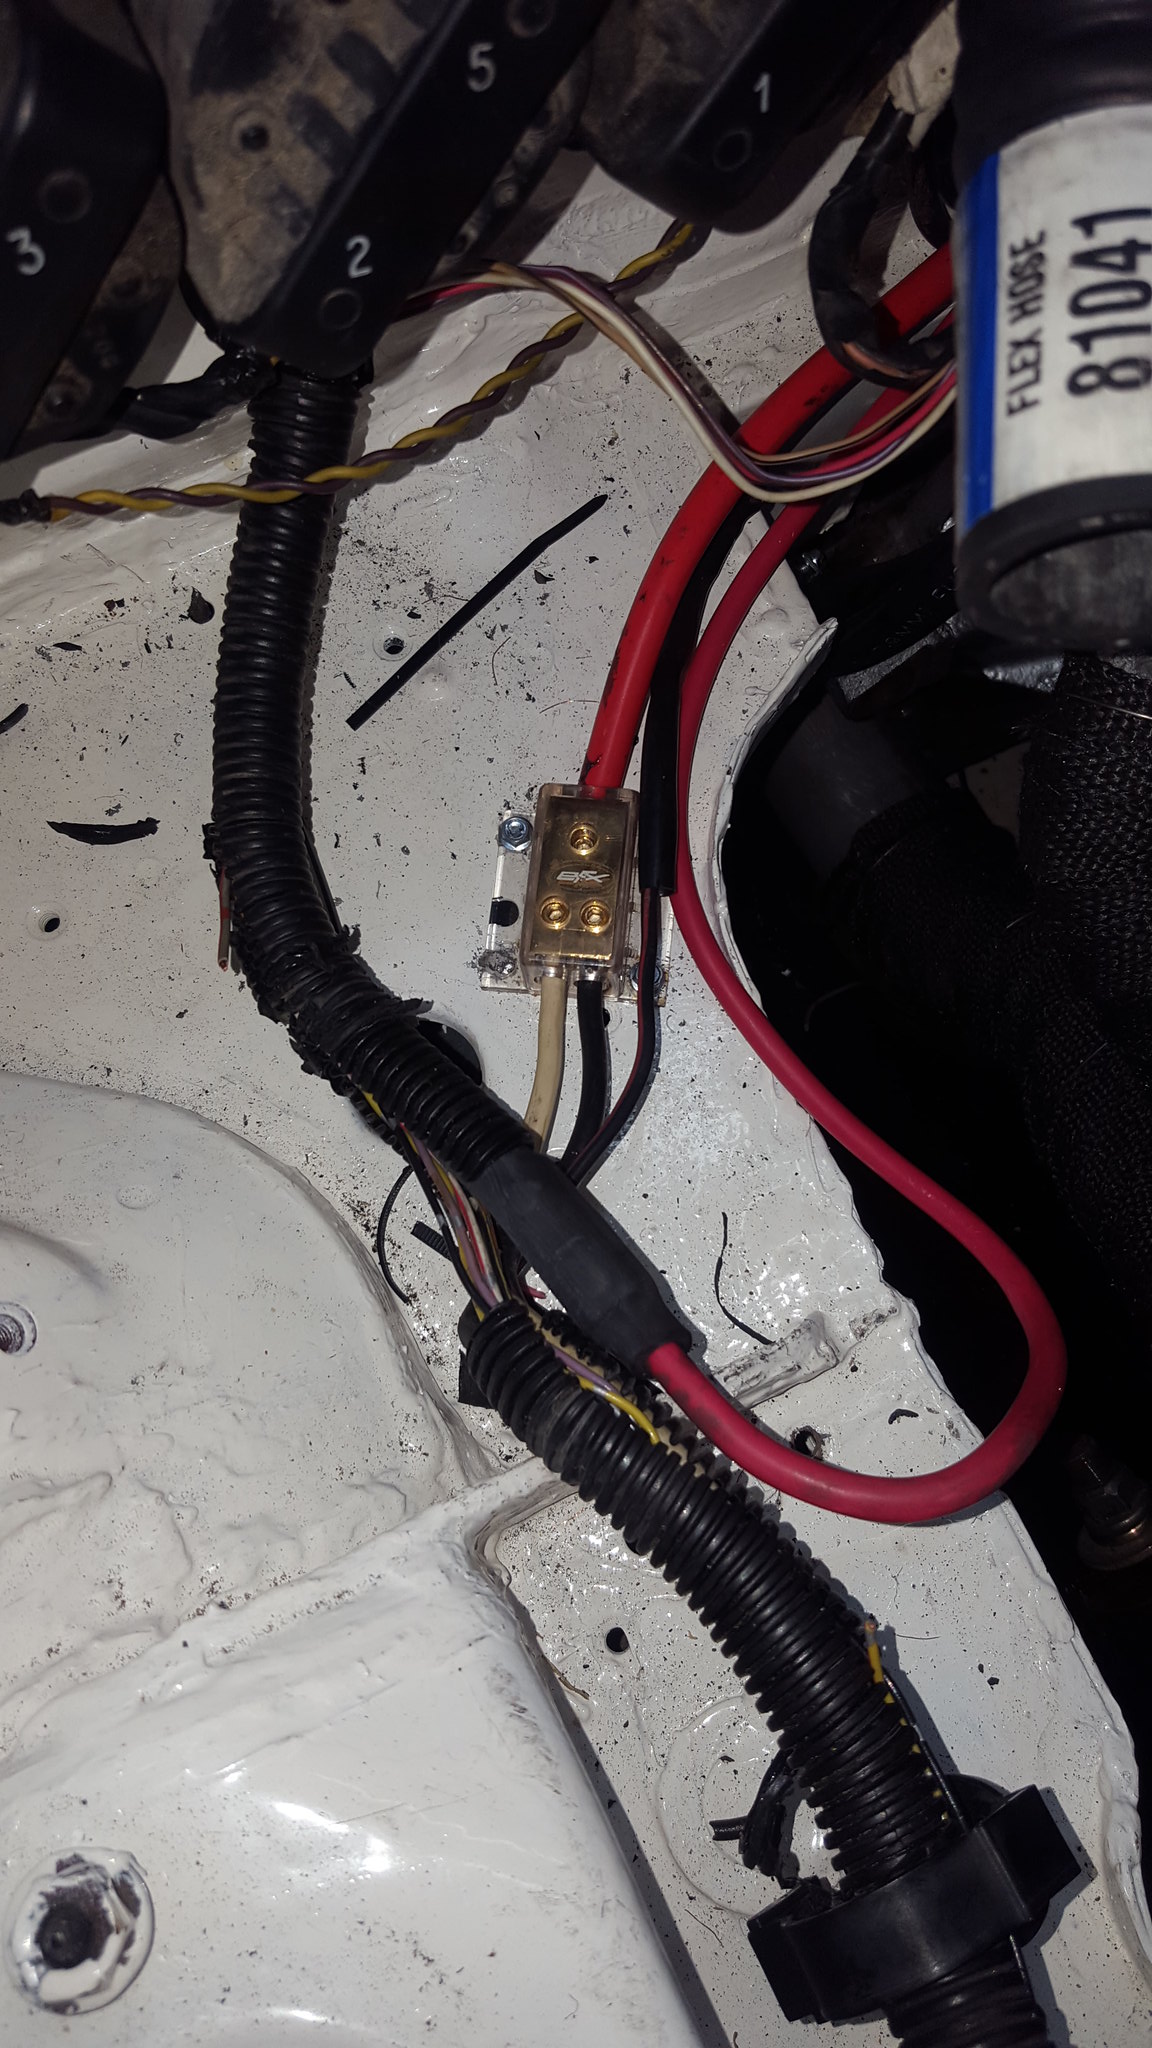
and how the charge cables, starter cables, etc laid out. The gold box came from a car at pull-a-part with a horribly installed amp setup....
 20181007_164653 by Michael Crawford, on Flickr
then wiring. Lots and lots....
 20180923_122037 by Michael Crawford, on Flickr
 20180923_154807 by Michael Crawford, on Flickr
 20181003_175712 by Michael Crawford, on Flickr
 20181007_163208 by Michael Crawford, on Flickr
the CAD (cardboard aided design) template for the switch panel where the fuel gauge, aux fuse panel, and switches will live. Probably the CEL as well if there's room.
 20181007_171044 by Michael Crawford, on Flickr
dad found the by the road when he was mowing one day. We have no idea what the hell it is, but its plastic and big enough for what I need. Ill trace the template, cut it on the bandsaw, and then drill a ton of holes in it and mount it up like some sort of freak reject from a elementary school science fair.
 20181007_171107 by Michael Crawford, on Flickr
really, the only other things ive accomplished are plumbing things. The upper radiator hose has been a mother, but after 13 different attempts (no BS) we found a workable solution. The black block in between the two sections is a ryanstar inline water temp sender block. It came with an 1/8 hole in it. My mechanical gauge requires an NPT fitting that's freaking huge. Brother Dallas, being a plumber, has NPT taps. So ill modify it at his house. I don't own any and they're like 20 bucks.
 20181006_141426 by Michael Crawford, on Flickr
the other thing was I ordered an oil filter sandwich plate to have a place to hook up my mechanical gauge. I would really rather use a t-fitting and the port that goes to the ECMs oil pressure sender, but its rusted into the block so bad I cant get it out with the engine in place. I ain't pulling the engine again unless I have to. So, budget buggery it is!
In other news, we got the fuel system pressure tested. Held full pressure with no leaks first time. No picture, because how the hell do you take a picture of fuel flowing through a hose without leaking?
Until next time, y'all. Hug your family and say a prayer of thanks for your health. Never know how long you'll have both.

Dusterbd13 said:
That door panel just made me barf in my mouth. I want to drive to the shop with some Purple Power and a brush.
pulled it out of cold storage this morning. i needed to cover the goo on the doors (that tar stuff that holds the vapor barrier on) as it kept getting caught in my arm hair.
i probably need to look at humidity levels in the crawl space now that you mention it. no standing water, but high humidity. dirts dry though. that will probably be its own thread, and a winter project in its own right. maybe some fans to move air set to some sort of humidity sensing outlet. i have no idea.
im hoping that the tan parts clean up. dark green with tan interior and black wheels is what i want to own after the challenge. i really like the color combo and how its shaping up on this car.
Humidistat. That's the one I have in the garage because it's simple. Lots of other slightly cheaper ways to accomplish the same thing.
Definitely need to look at that so e more.
But first i need to be able to walk in there. I need to back the truck up a few more times.

I like this build. In my head this seems like a really good drivetrain for that car. Heres my question, how many of the struggles youve faced on this swap could have been avoided if you had used the f-body 3.4 instead of the fwd 3400? If you had to start over today would you still use the fwd engine?

I bet a known, good running, almost Free, motor had a lot to do with it.
the Fiero I have uses the F-body Motor in a FWD Layout, easy enough. BUT I Have the same heads as Michael and presently an early Beretta Intake.
and a turbo!
Thats a good question.
Fabrication: i wouldn't have had to do any to the oil pan, intakes, or possibly the accessories. Im pretty sure that the rwd manifolds would not have worked, so i would have had to do headers anyway. Motor mounts are in the same place, and oil pan in rwd is dimensionally similar to the modified pan, so i would still have had to modify the crossmember. Same with the engine bay cutting, but i may have been able to set the engine back another inch or two.
Wiring: 3.4 rwd is obd1.5, so i would still be doing a lot of the wiring. Difference being that i would have had to backdate to obd1, and burn chips for the tune like i did with the 3.4 camaro engine sqap in my s10. Not bad, but not as easy as this.
Weight: the rwd engine is roughly 100lbs heavier than the fwd fue to aluminium heads and different castings.
Performance: pn paper, the 3400 is up by about 40 horse over rwd. On paper.
Availability: the rwd 3.4 was only used for a couple of years in two models. They are pretty thin on the ground at this point. The 3400 was used in everything for 6-7 years. Very available. 5 speed for tbe rwd version is fairly hard to find (s10 2.8 trans would work, as well as 2.8 and 3.1 camaro) and bring good money. 3800 camaro 5 speed is more common.
So i guess the answer is, it depends. Especially due to difference in life after the challenge.
In reply to Dusterbd13 :
I had no idea there would be such a big difference from one engine to the other. Good to know. In a car the size of a miata 100 pounds and 40 hp make a huge difference.
In reply to gearheadmb :
About the only thing the to share other than displacement is bellhousing pattern and bore spacing. The front wheel drive motor really is far far better
the reason I stayed with the OBD 1 was convienace It's all there and was running I have the Aluminum heads like Mikes, and still I have the rest of the engine and will swap to it with MS and it's obd II setup.

Were at the moment of "oh, E36 M3. This may actually work!"
Ecu has power and ground. Fuel system builds and holds pressure. Oil pressure 20 psi on the starter. Check engine light works. Tach may or may not read, but it fluctuates while cranking. Fuel gauge appears to work.
Almost time to bundle up the underhood wiring, add some engine parts, and pull the pin.

In reply to Dusterbd13 :
Oh boy this is about to get even more exciting! Looking forward to the first start video.

Fire it off already!
All in due time guys!
I spent most of tonight wiring auxiliary gauges in dads truck for trans/egt now that hes pulling a large travel trailer.
Since i had the wiring stuff out, i did the auxiliary fuse box and switches, and it just kind of snowballed.
Tomorrow we go as the whole family to the renaissance festival and sunday is planned to dial in the bellhousing on the duster. If theres time and energy left, more wiring and checks will get done on this.
This wiring is very different and much more difficult than what i commonly work with. Between different design language, poor diagrams, and the nature of no one ever having done this before, its mentally draining and very time consuming.

In reply to Dusterbd13 :
Not just yeah. berkeley yeah!
I've made the executive decision that first fire will be open headers.
Just because.
Theres no rod knock or noisy lifters that can't be ignored while whacking the throttle with openheaders.
In reply to Dusterbd13 :
Sometimes a good redneck has to just say berk it.

I also first-fire every engine swap with open headers. Just because.
Loving the progress. Keep it up.
You'll need to log in to post.


