


Bad brake master.
Dammit.
And the clutch is proving difficult to bleed.

Bad brake master.
Dammit.
And the clutch is proving difficult to bleed.

Every weekend when I get home I catch up on what you have done for the week. so if my post covers things from early in the week that is why. (kinda hard to read the internet when I drive 11 hours a day..also not so safe)
Yes the gang is all into it, but heck that is more (virtual) support and motivation to work on it!
Do we get a video of it moving? ![]()
Oh maybe you might like this? Bohemian Rhapsody in the Style of System Of A Down
It was not what I was expecting, anyway keep cranking on the wrenches!
In reply to Bent-Valve :
That was awesome!!!!!!
Its getting cranked in the truck.
Todays issues with hydraulics has kindof knocked the wind from my sails.
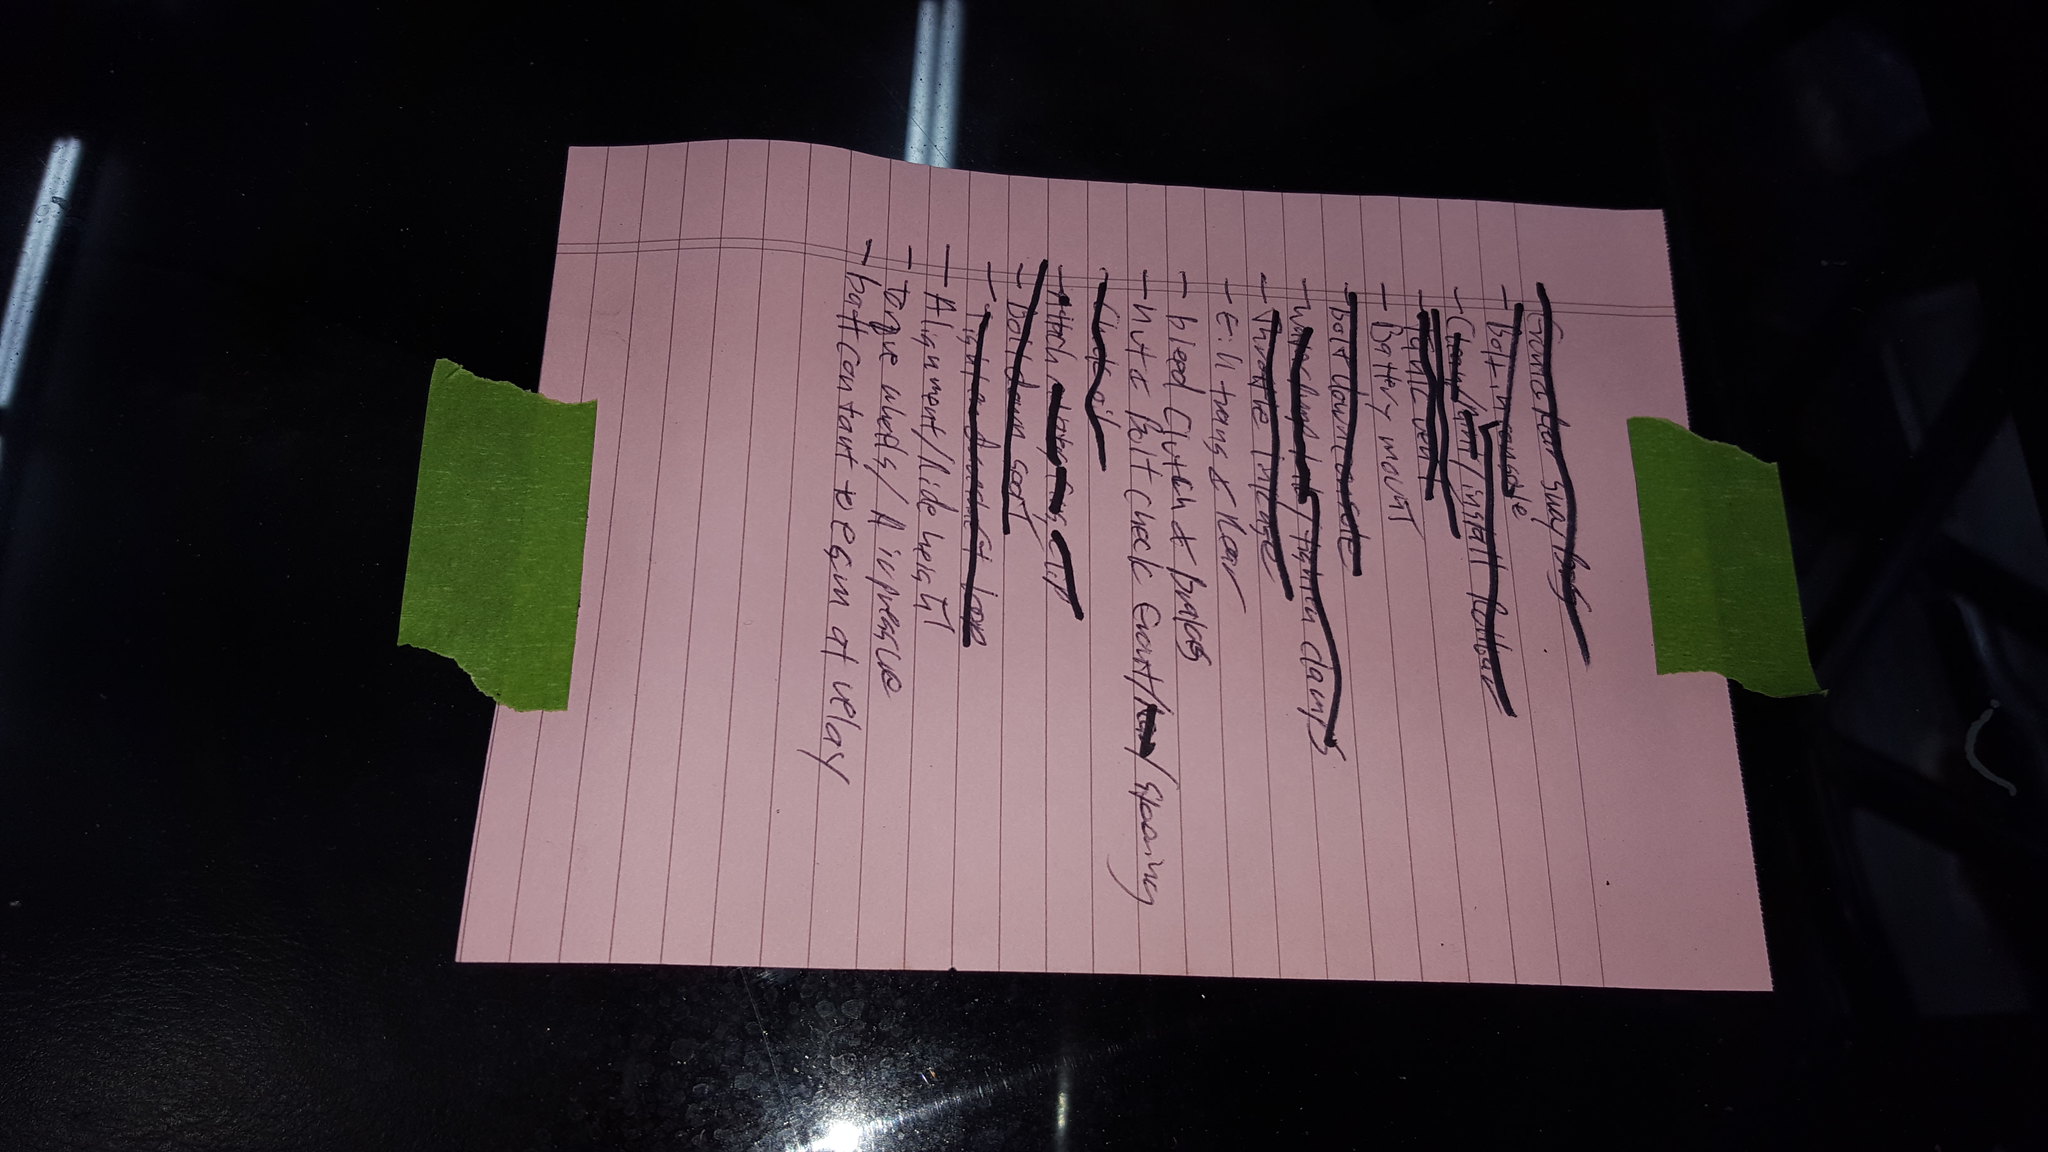
But, theres still stuff on the list.

Challenge budget so far:
previous challenge budget: 1902.29
recoup total: 820
new money:
used serpentine belt from pull-a-part: 4.95
roll bar paint: 3.99 (was 8.99 at oriellys, but used the $5 coupon I got in the mail)
Recoup: 820
new total: 1911.23
so, ive been in thrash mode. Lots of caffeine and heavy metal music. I NEED to see this thing moving under its own power soon. Ive been working on it for well over a year now.....
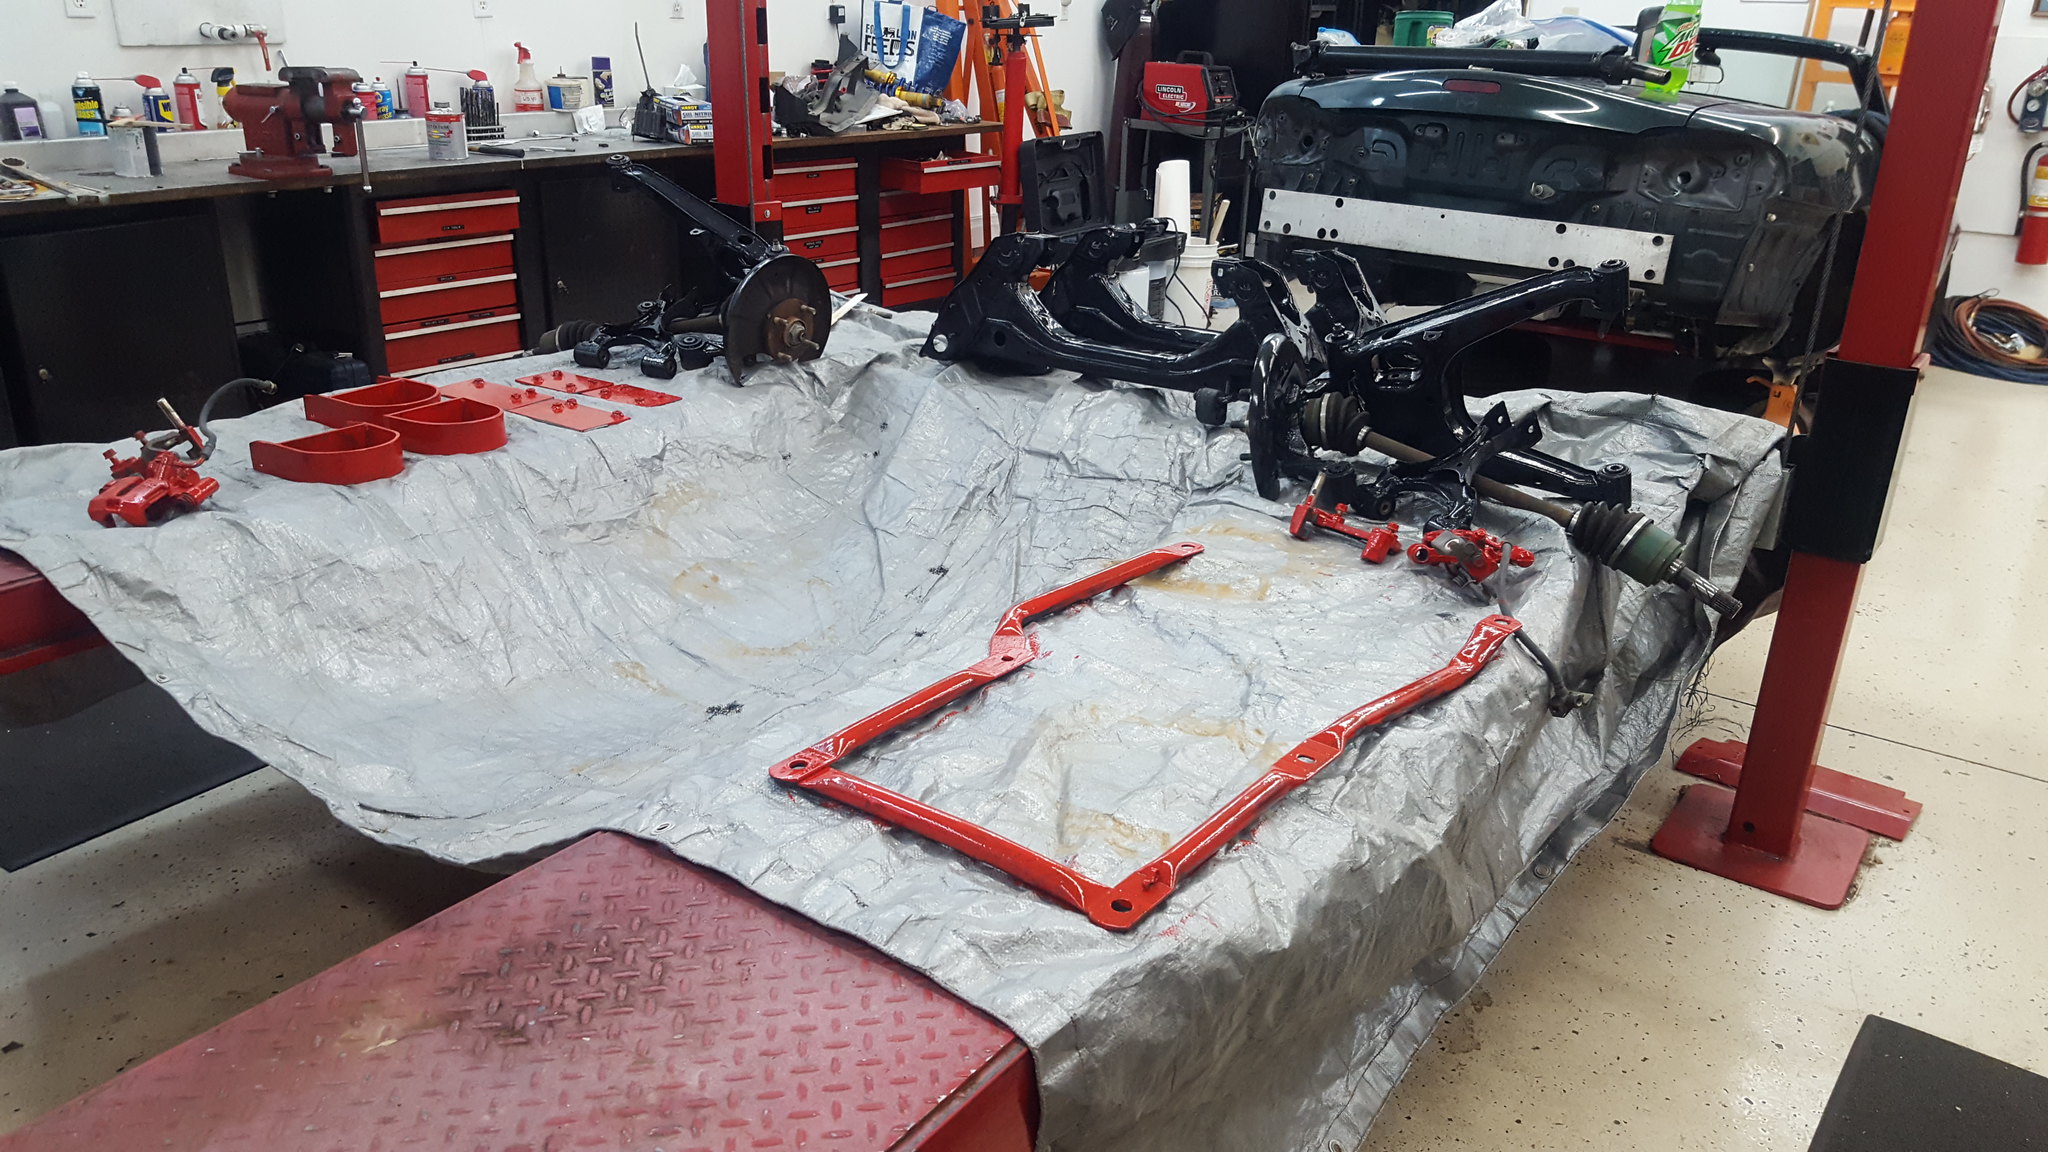
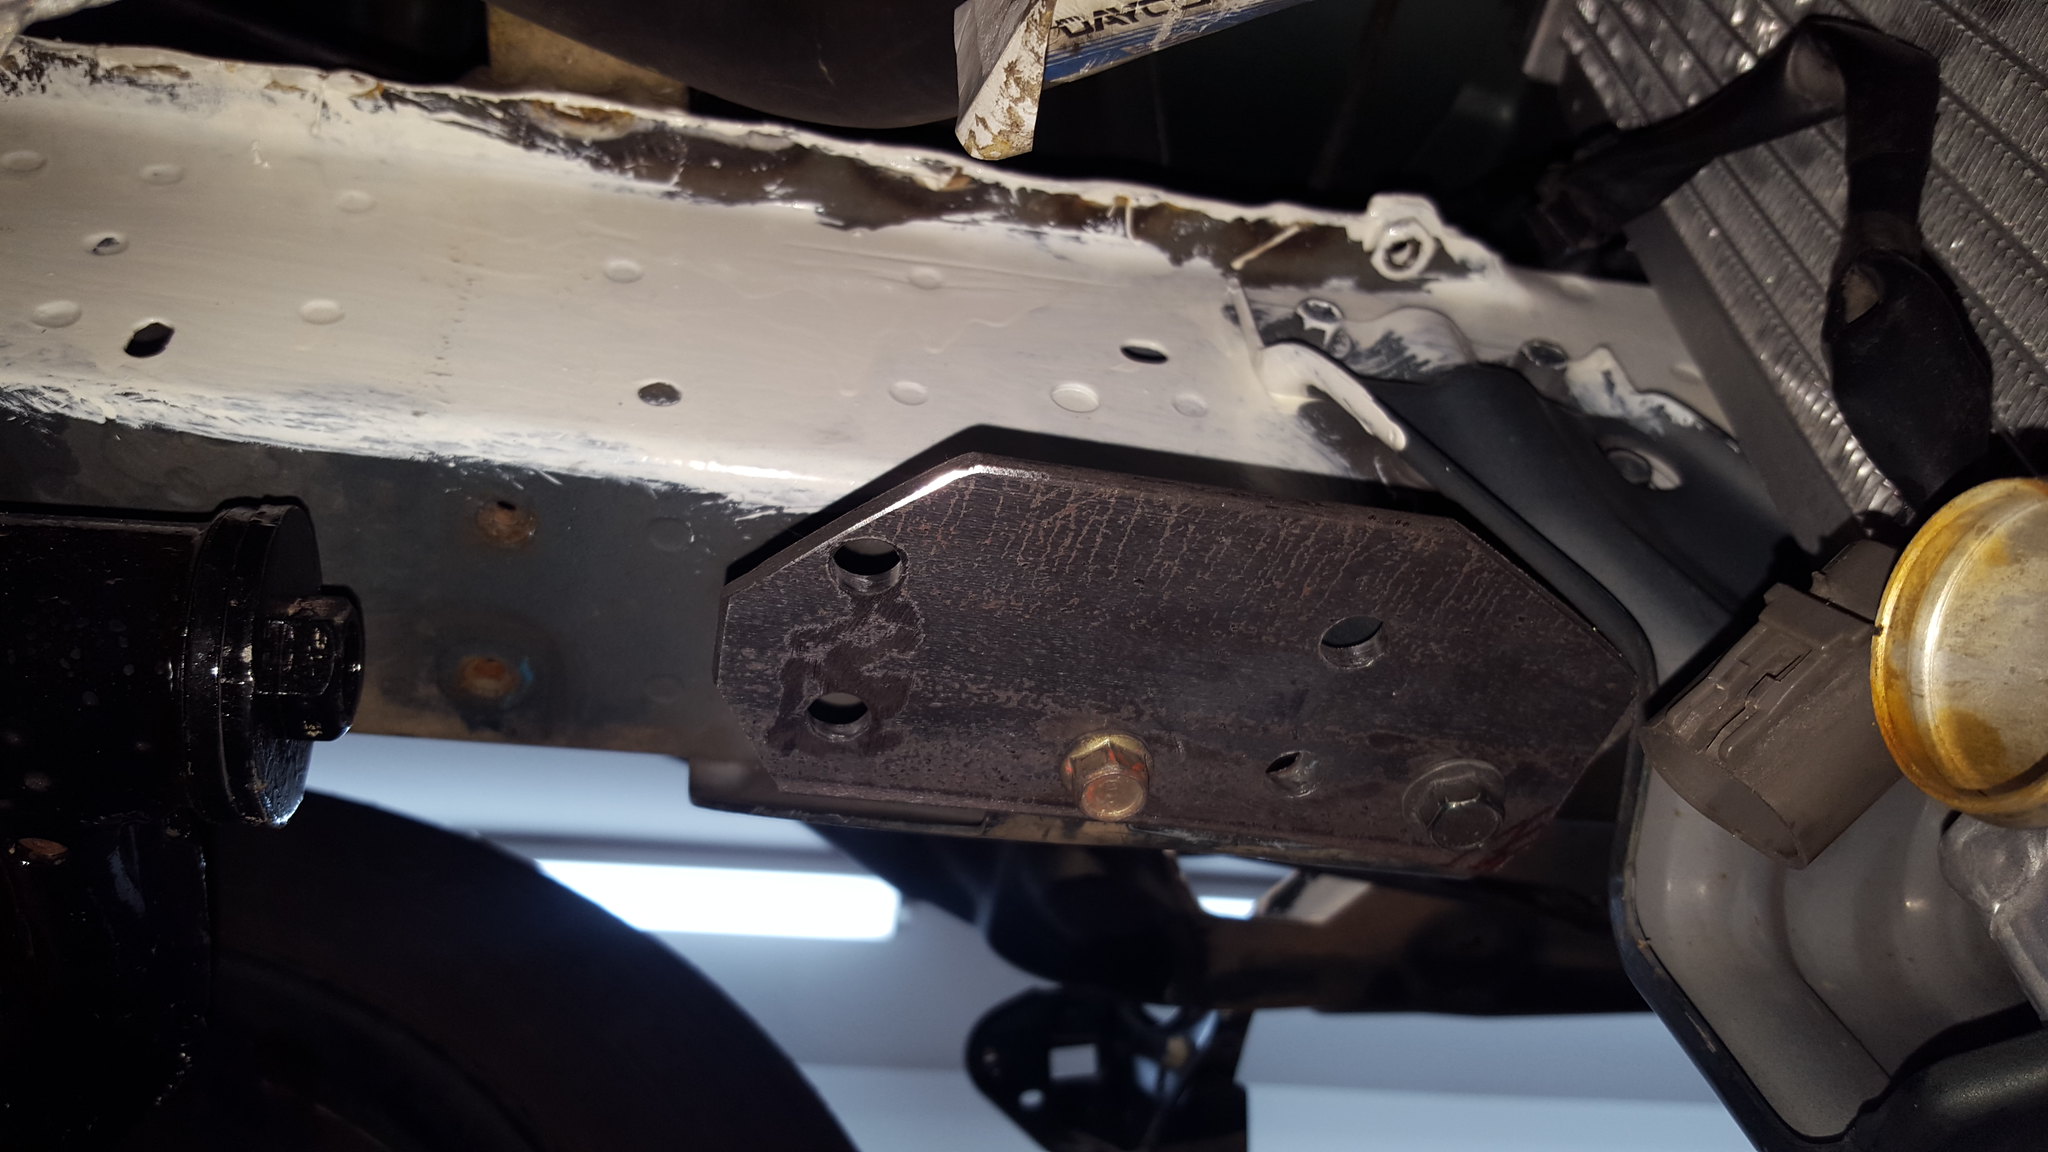
Thursday night I started with a pile of parts and hardware that dad had cleaned and painted for me (he did all the really nice final coats on this stuff, as im not that great a brush painter). The only issues I ran into was that the upper control arm bolts were too short for proper engagement when the CV shaft safety loops were added. So a couple grade 8 bolts and nylock nuts from the bins were used. And, since I redesigned the upper PPF delete mount on the fly, I had to change the mounting hole in the chunk of the stock PPF.
 20181125_091438 by Michael Crawford, on Flickr
 20181128_174550 by Michael Crawford, on Flickr
 20181128_174557 by Michael Crawford, on Flickr
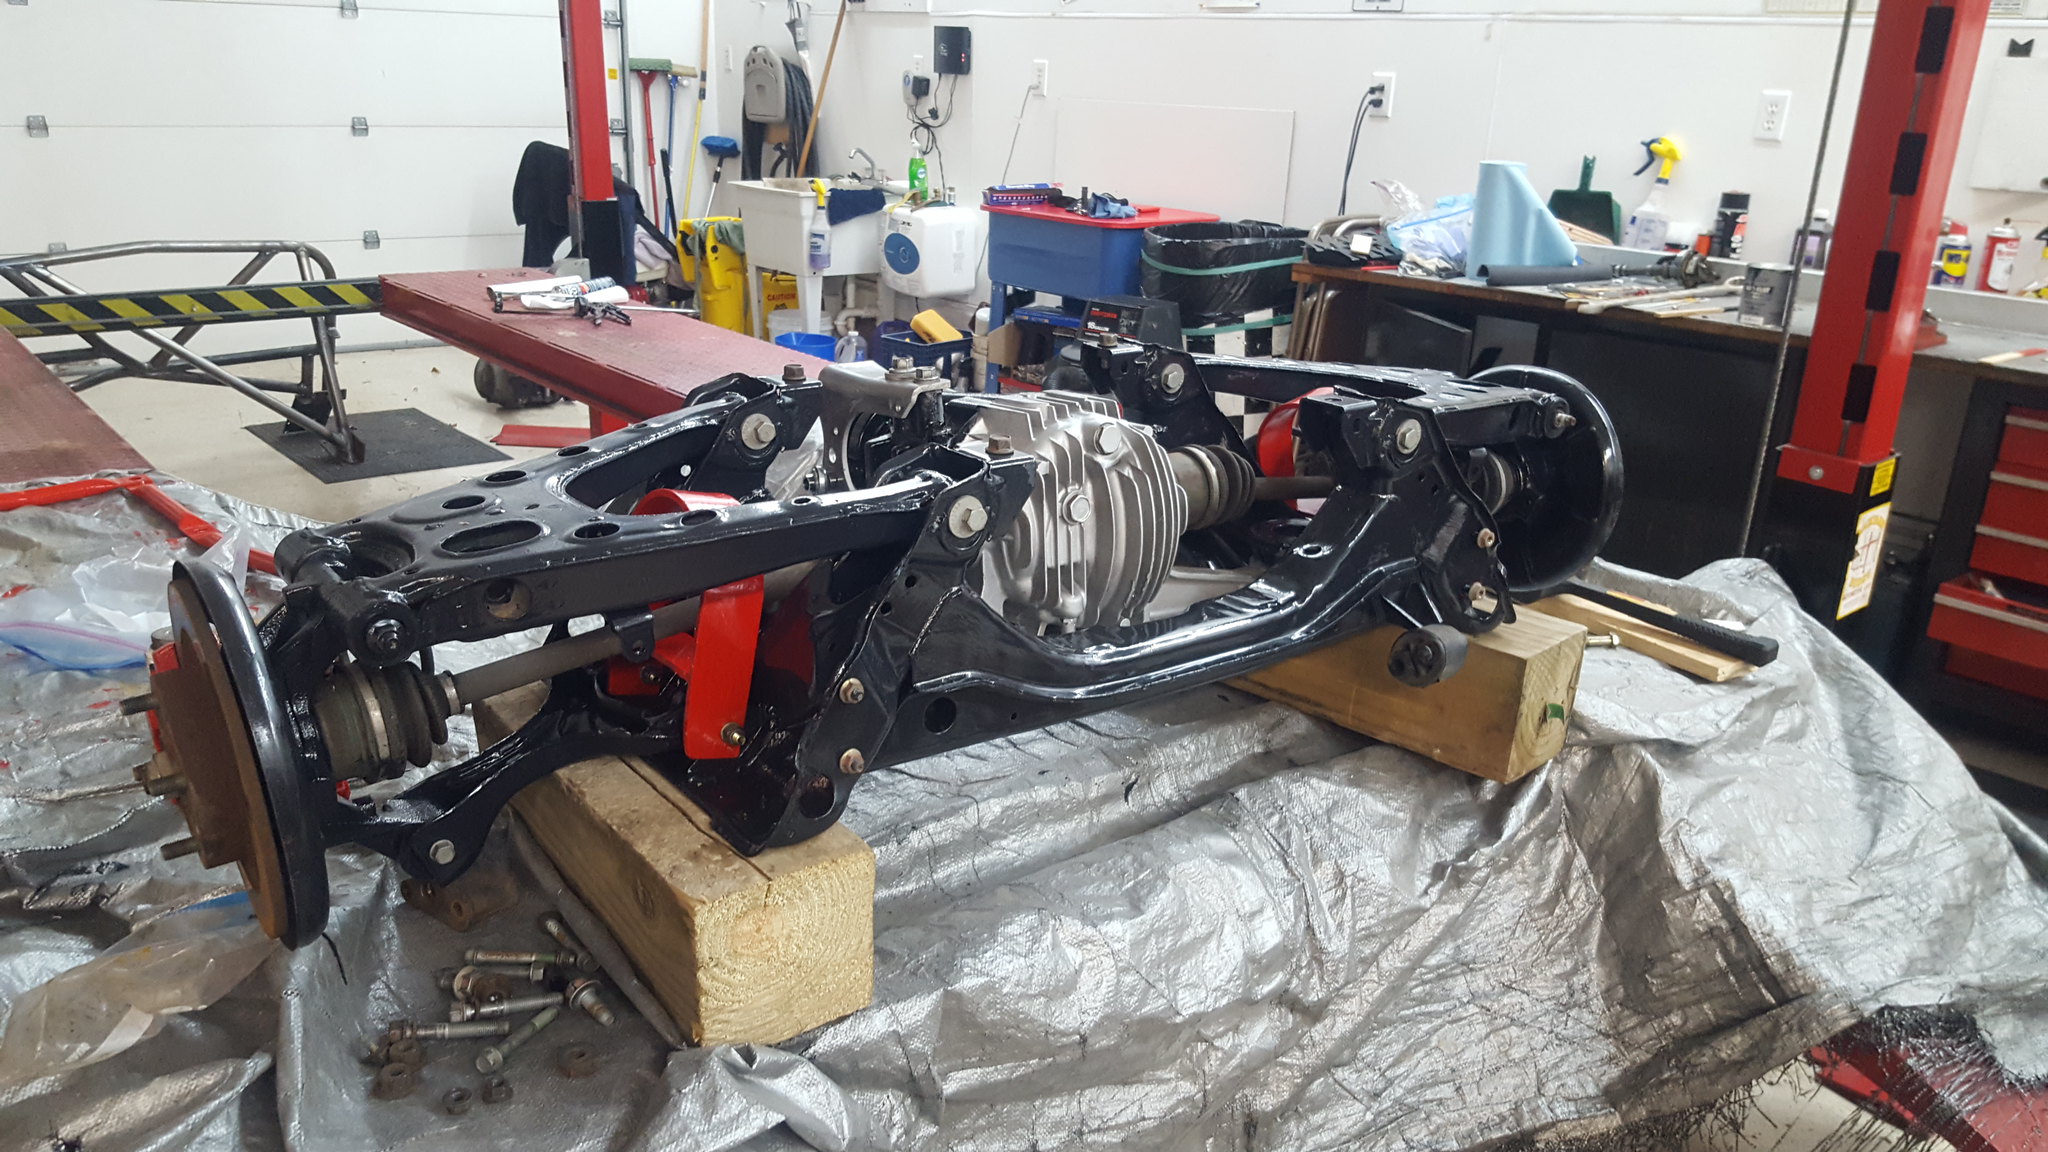
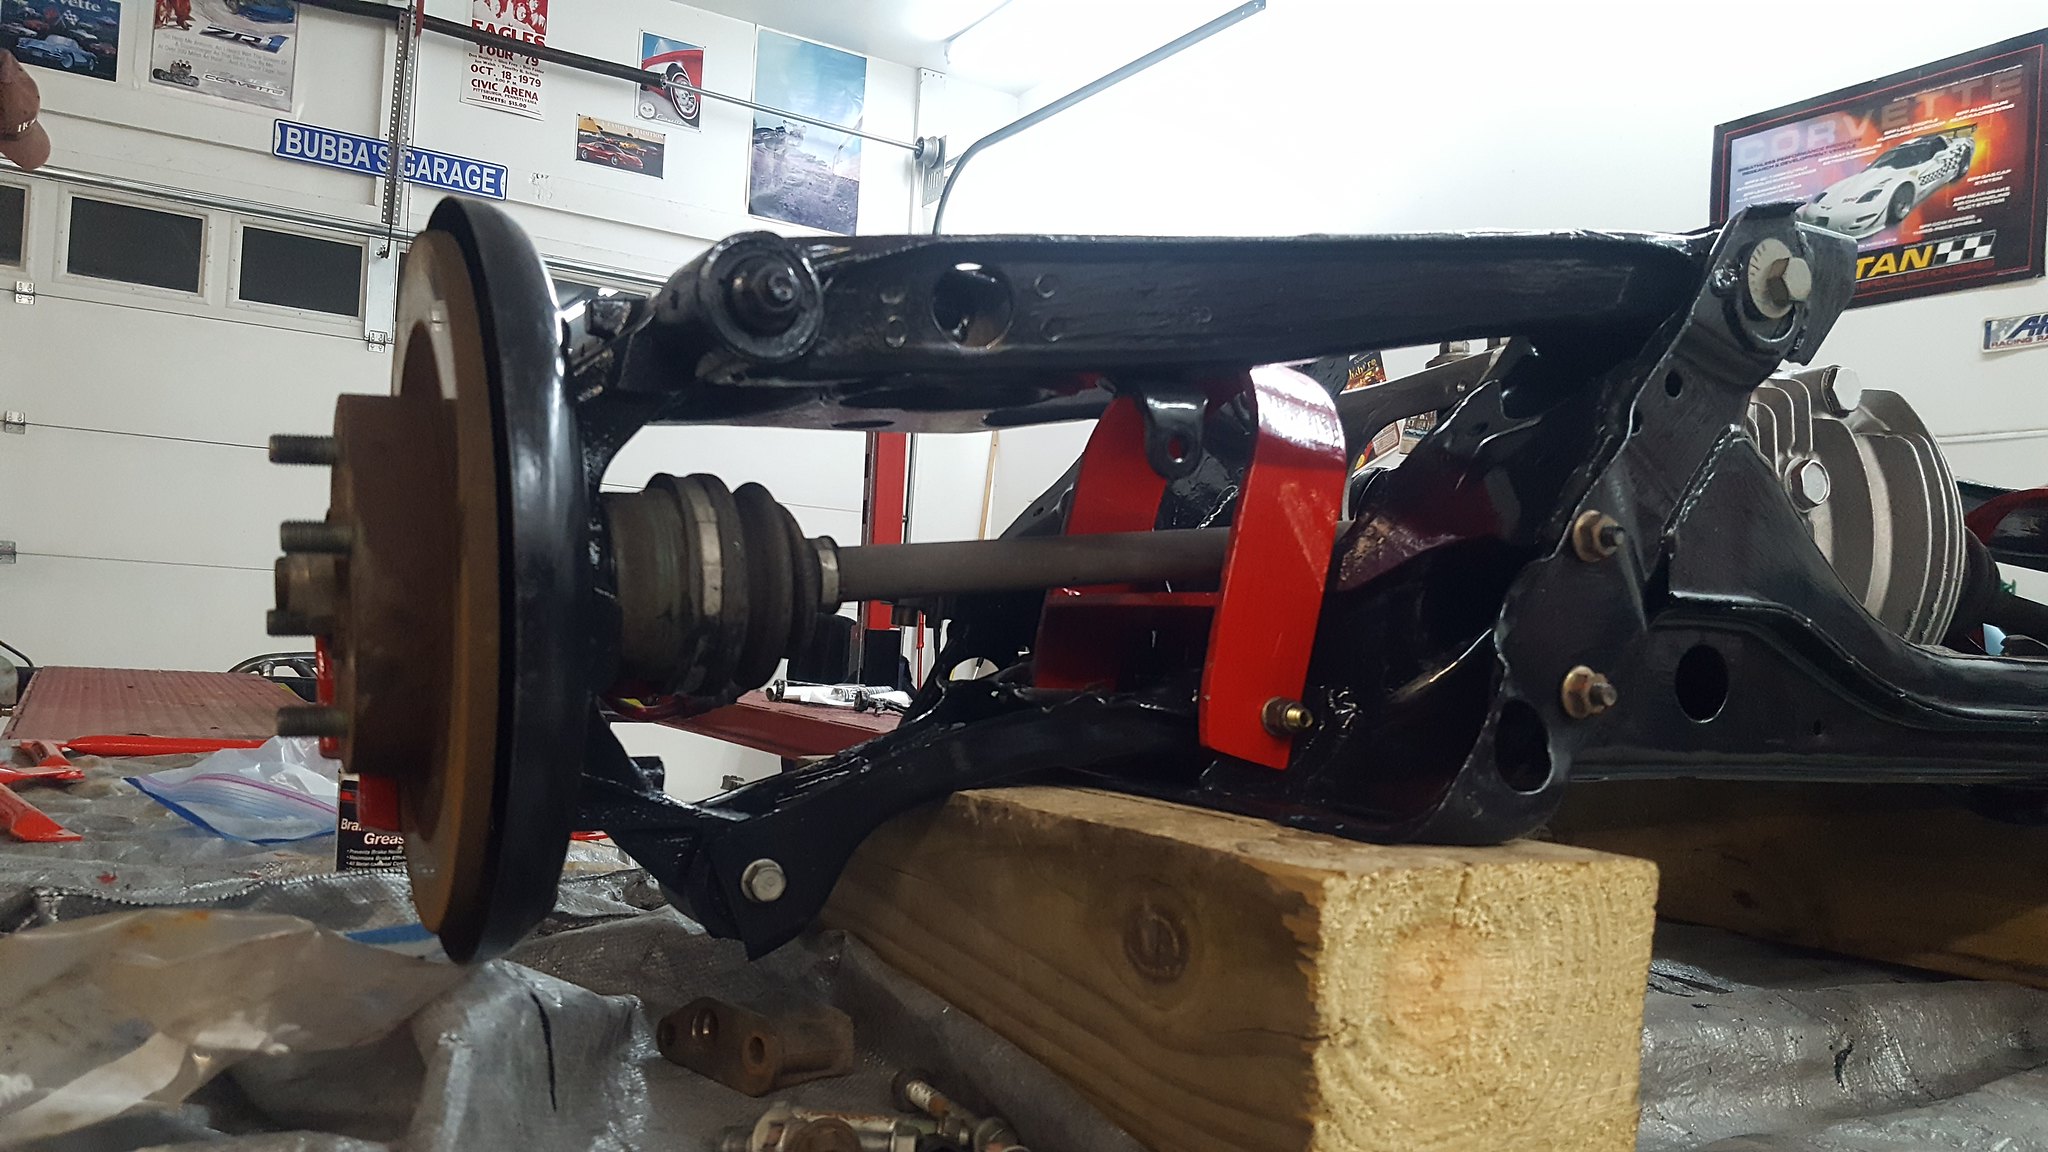
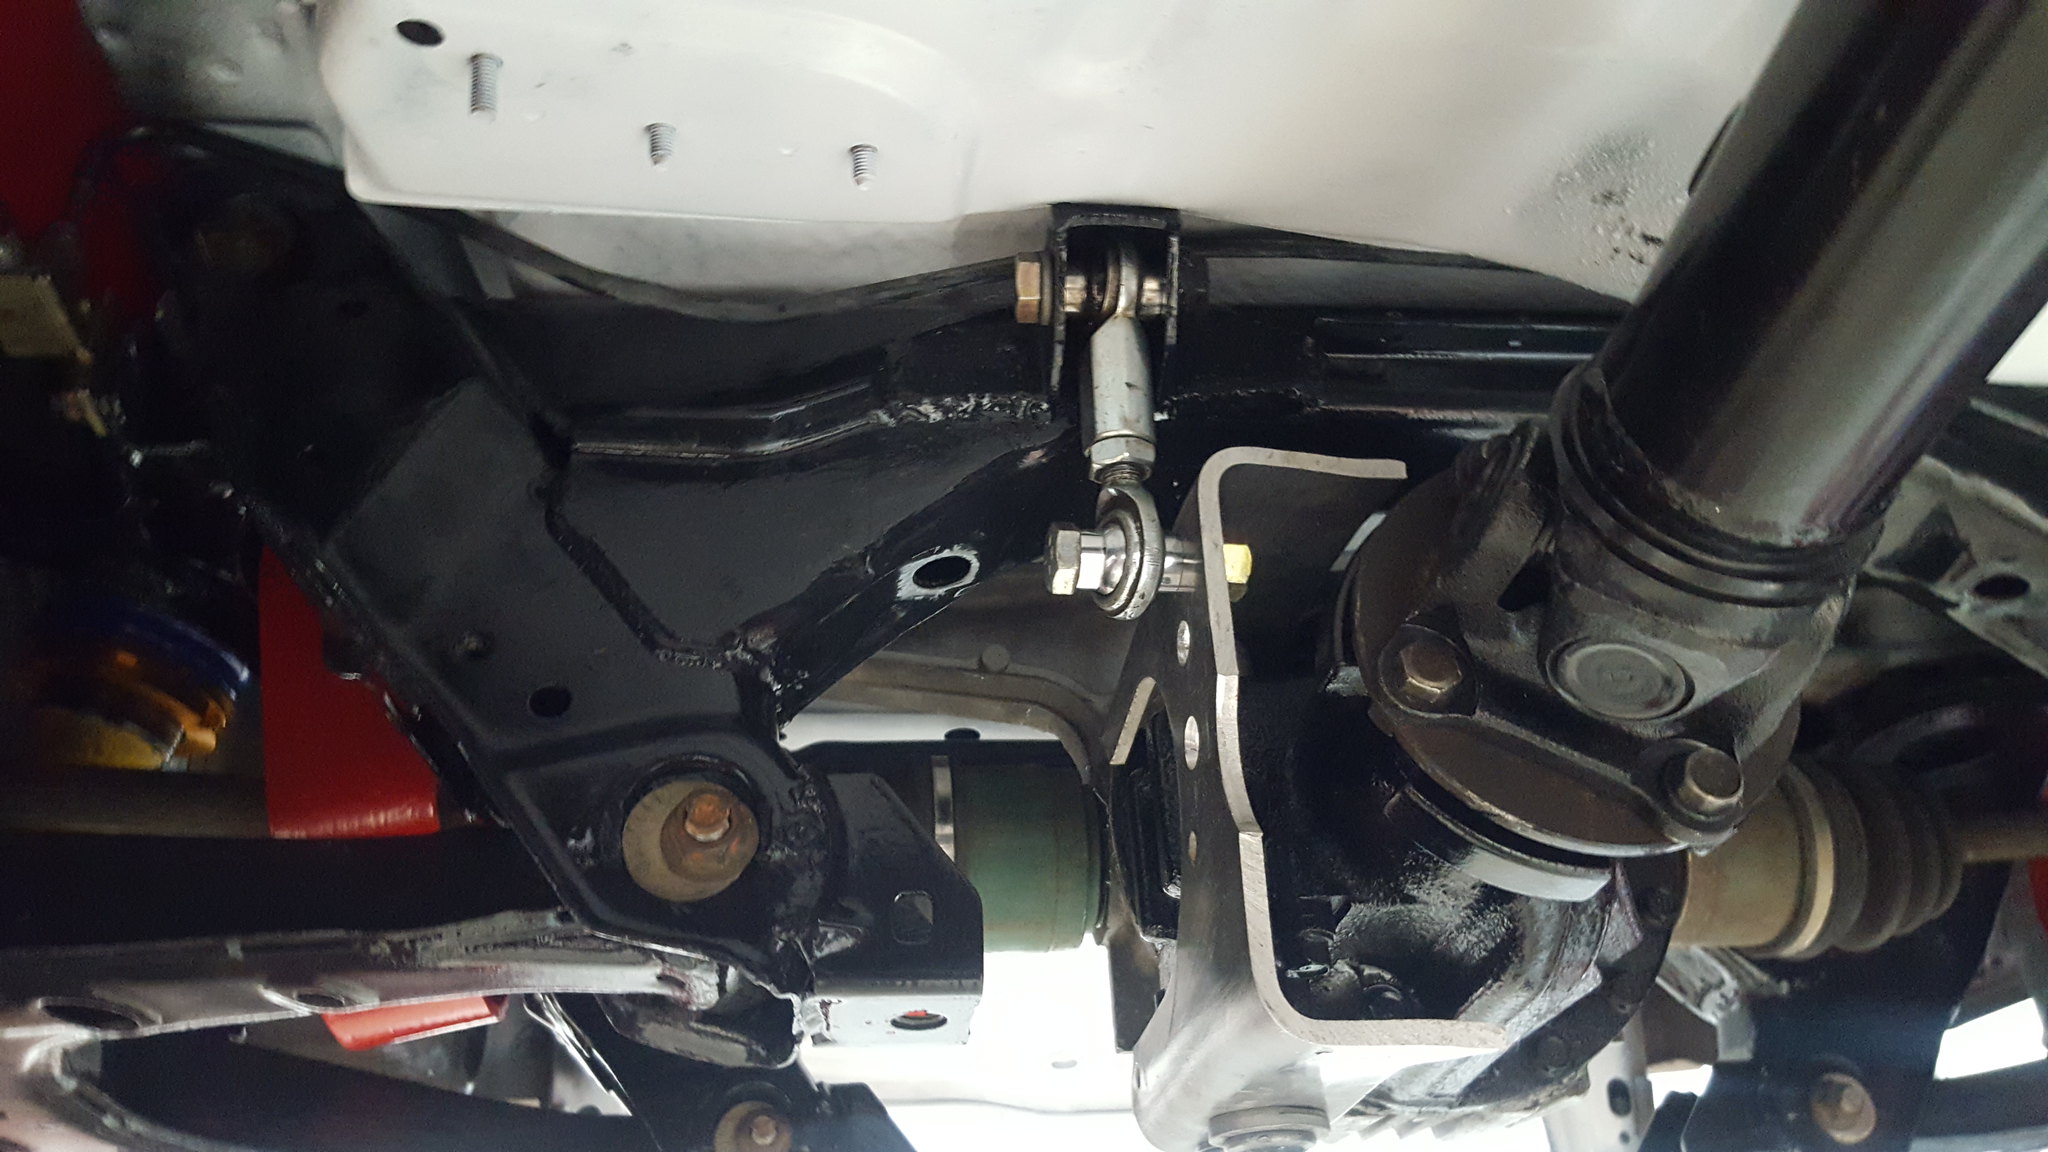
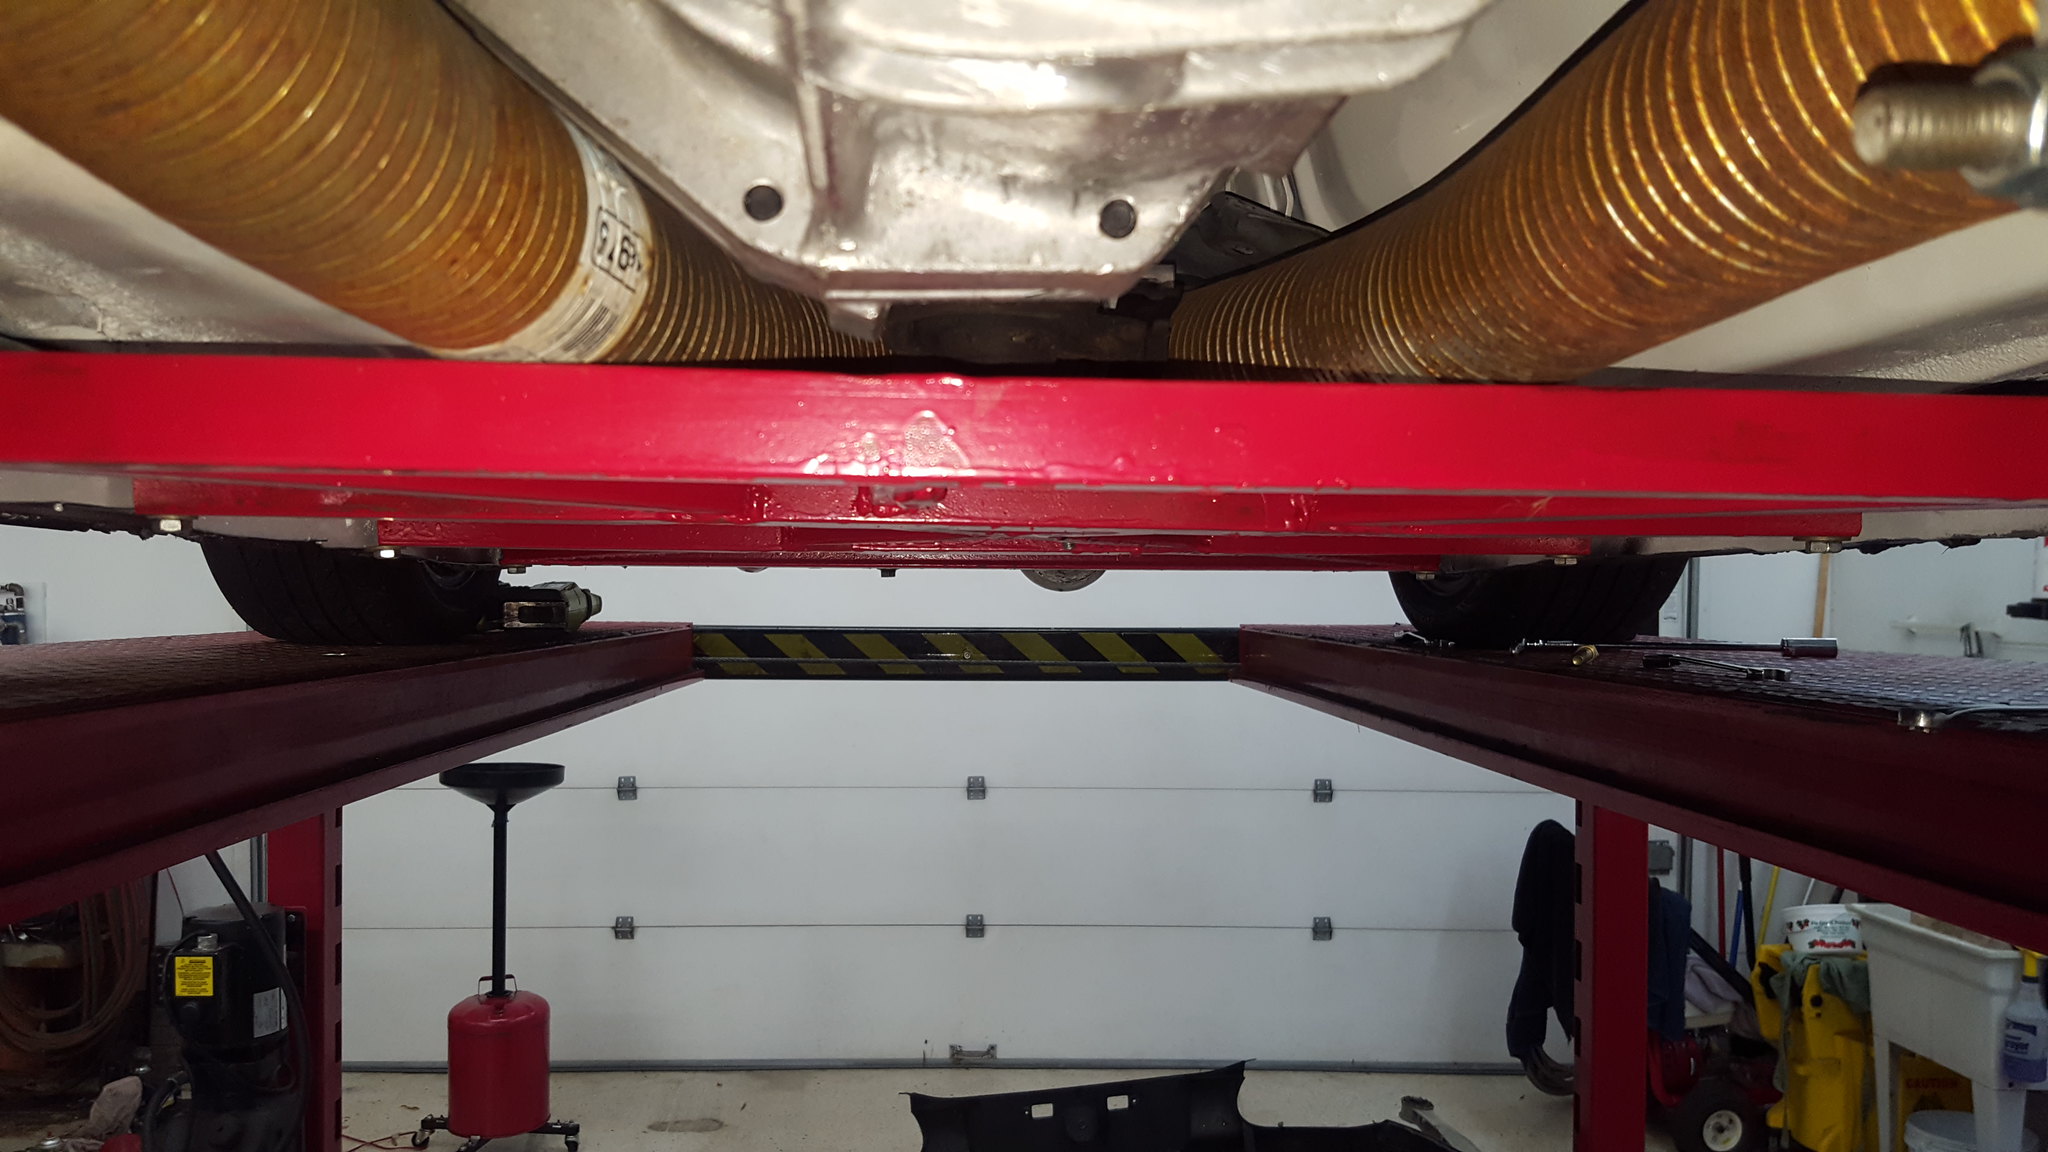
But got it all assembled with the “new” 4.11 torsen, and slid under the car.
 20181130_181025 by Michael Crawford, on Flickr
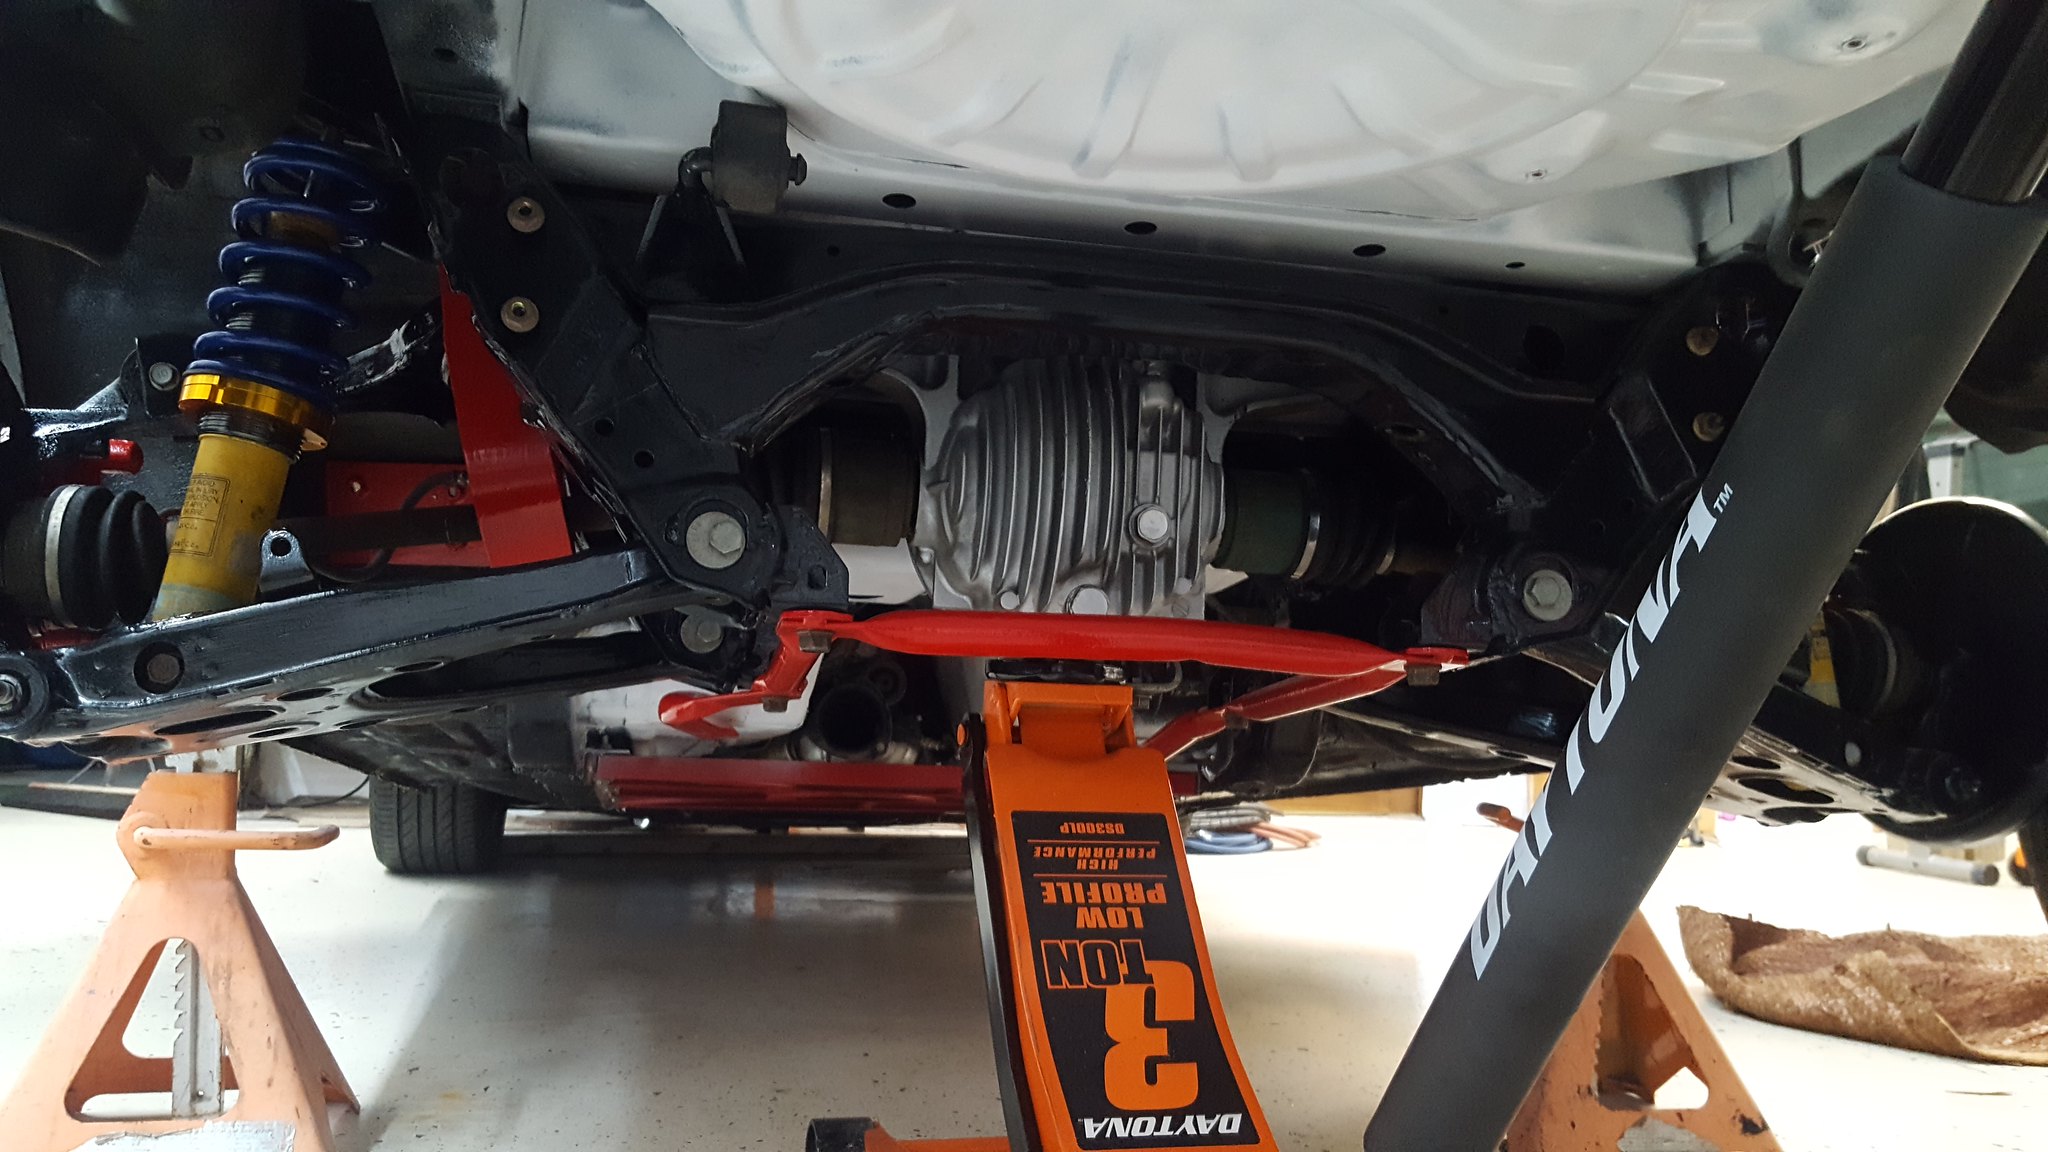
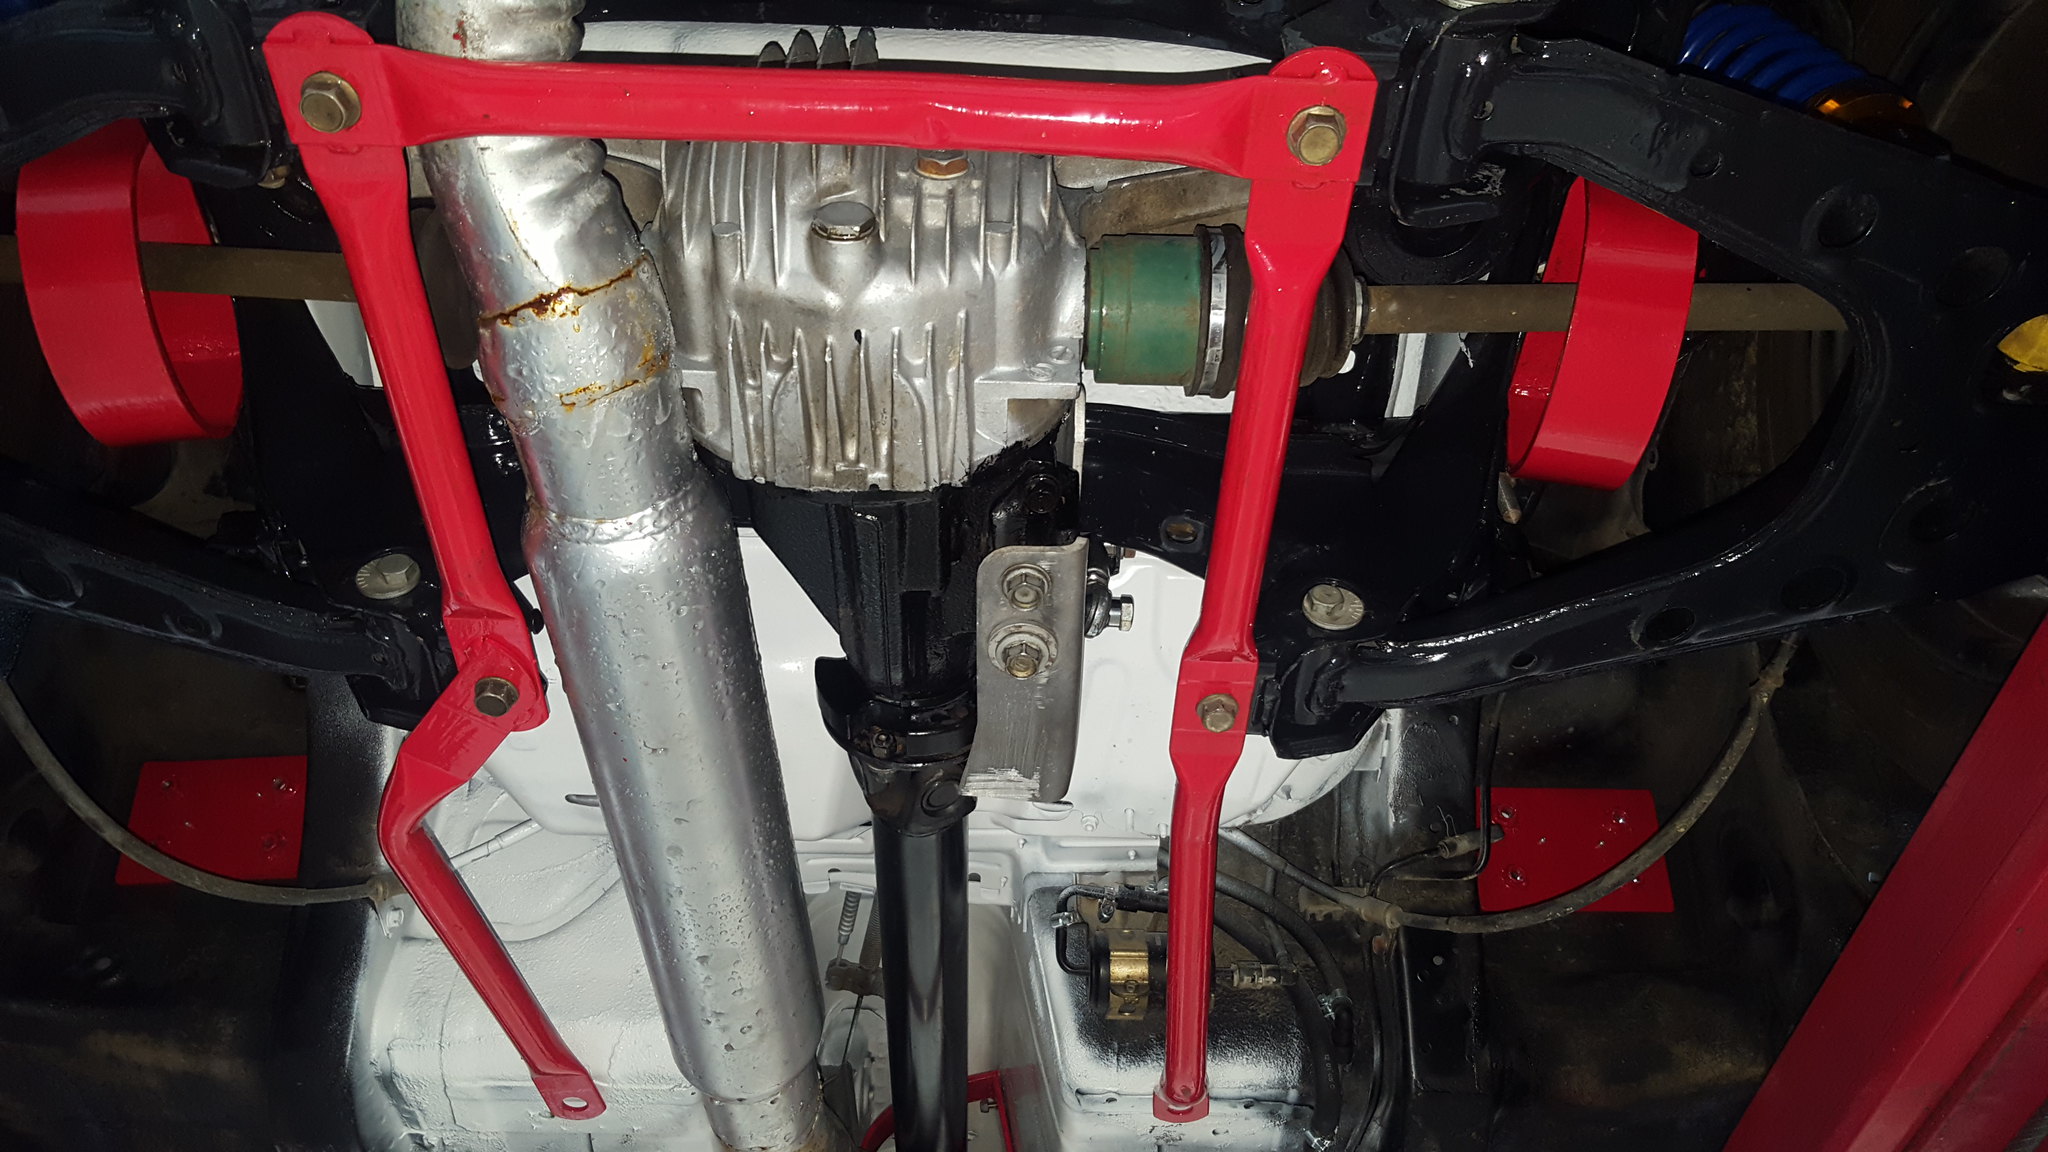
Friday I raised it all up, drilled another hole, torqued everything, and went to install the factory rear brace.
 20181130_195146 by Michael Crawford, on Flickr
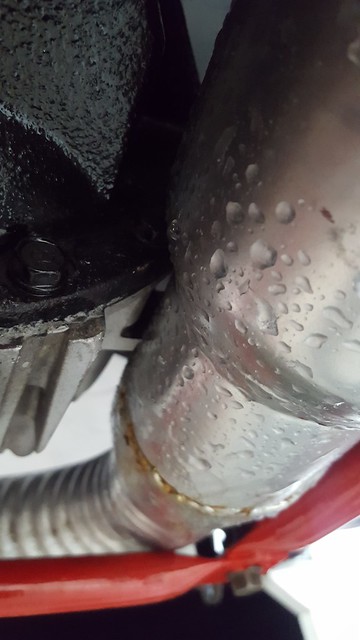
It wouldn't fit. Hit the exhaust. I got to looking, and realized there was a piece of the differential aluminum casting hanging the exhaust up from going up further. So I got out the sawzall.
 20181130_201001 by Michael Crawford, on Flickr
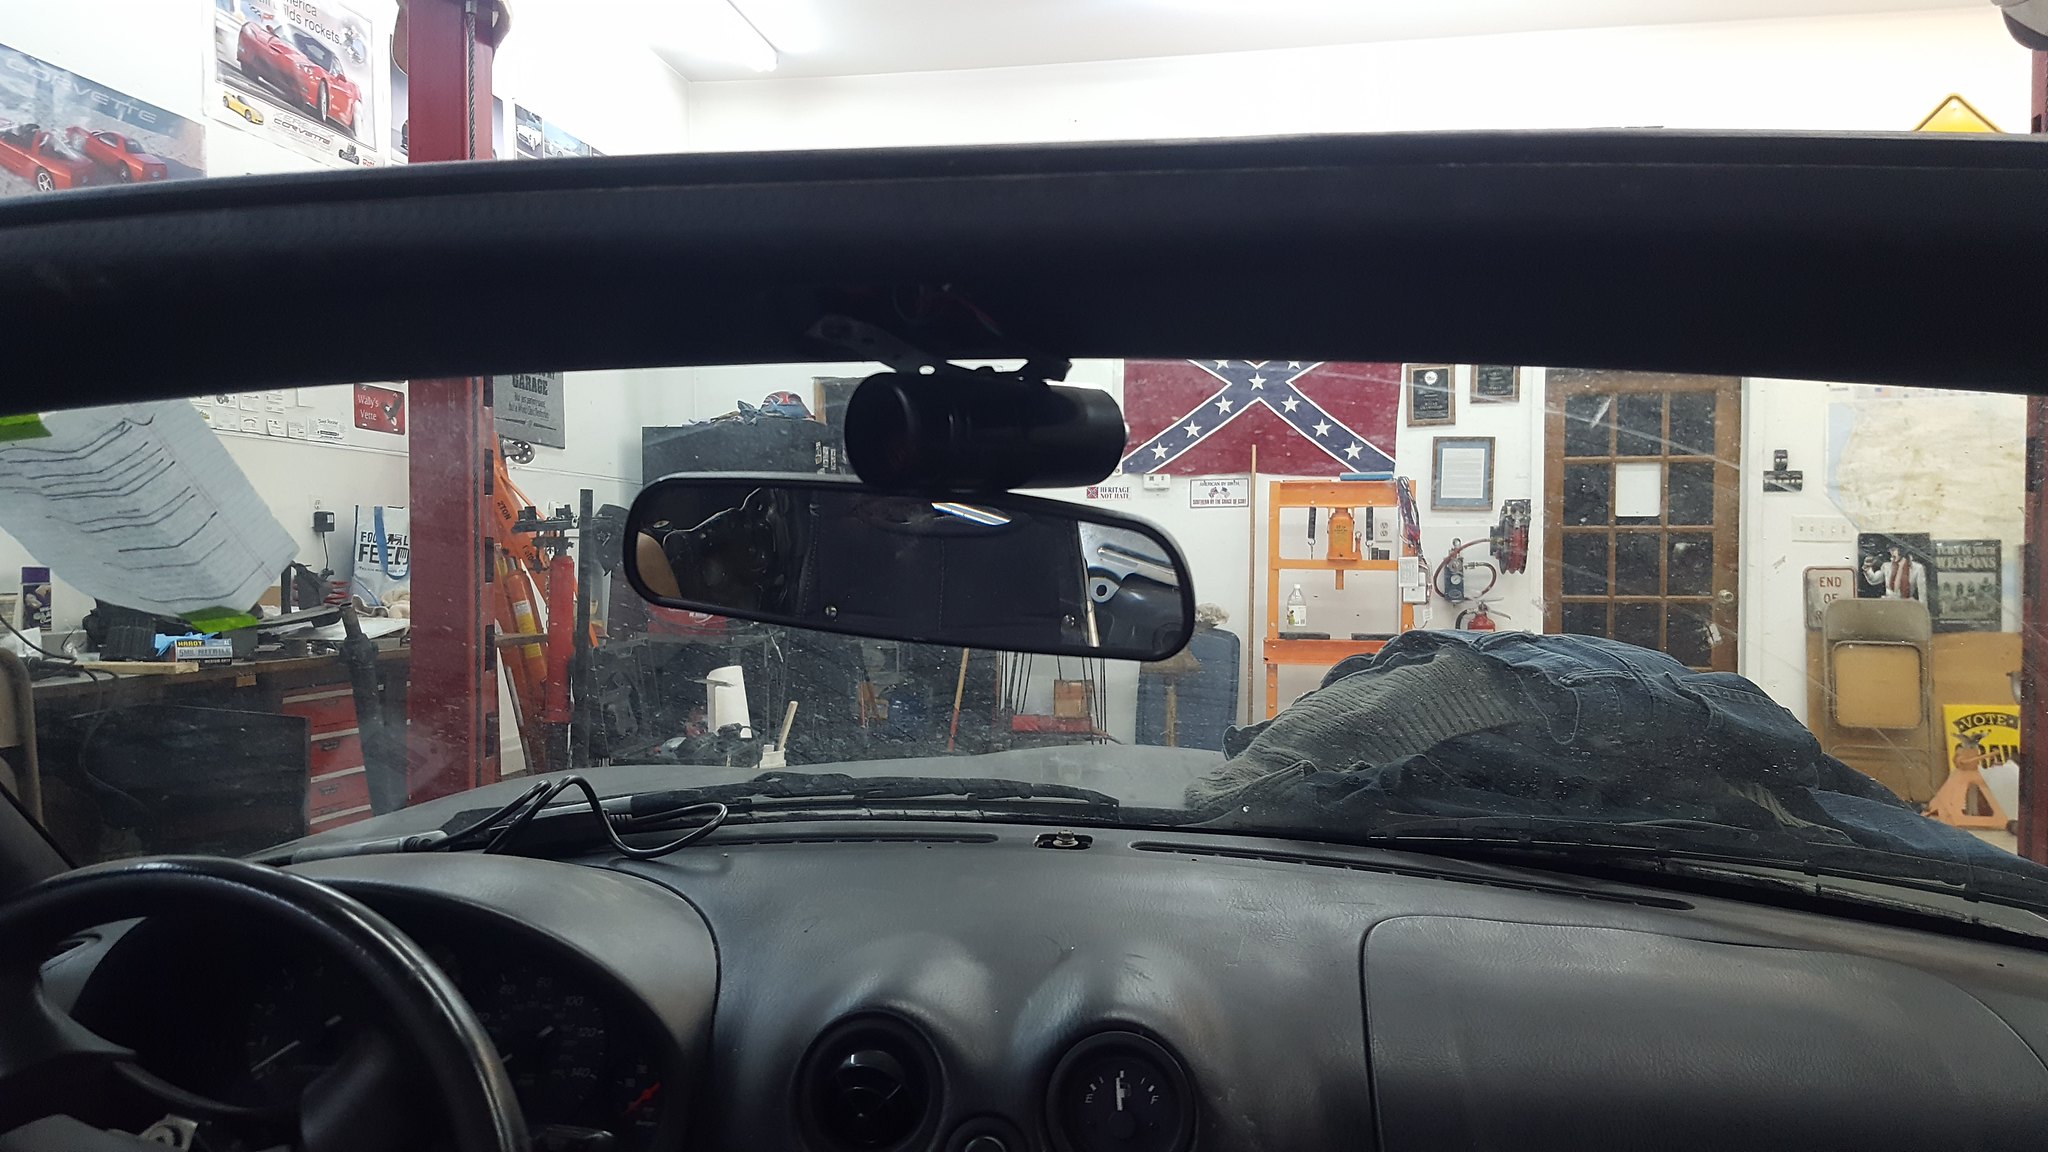
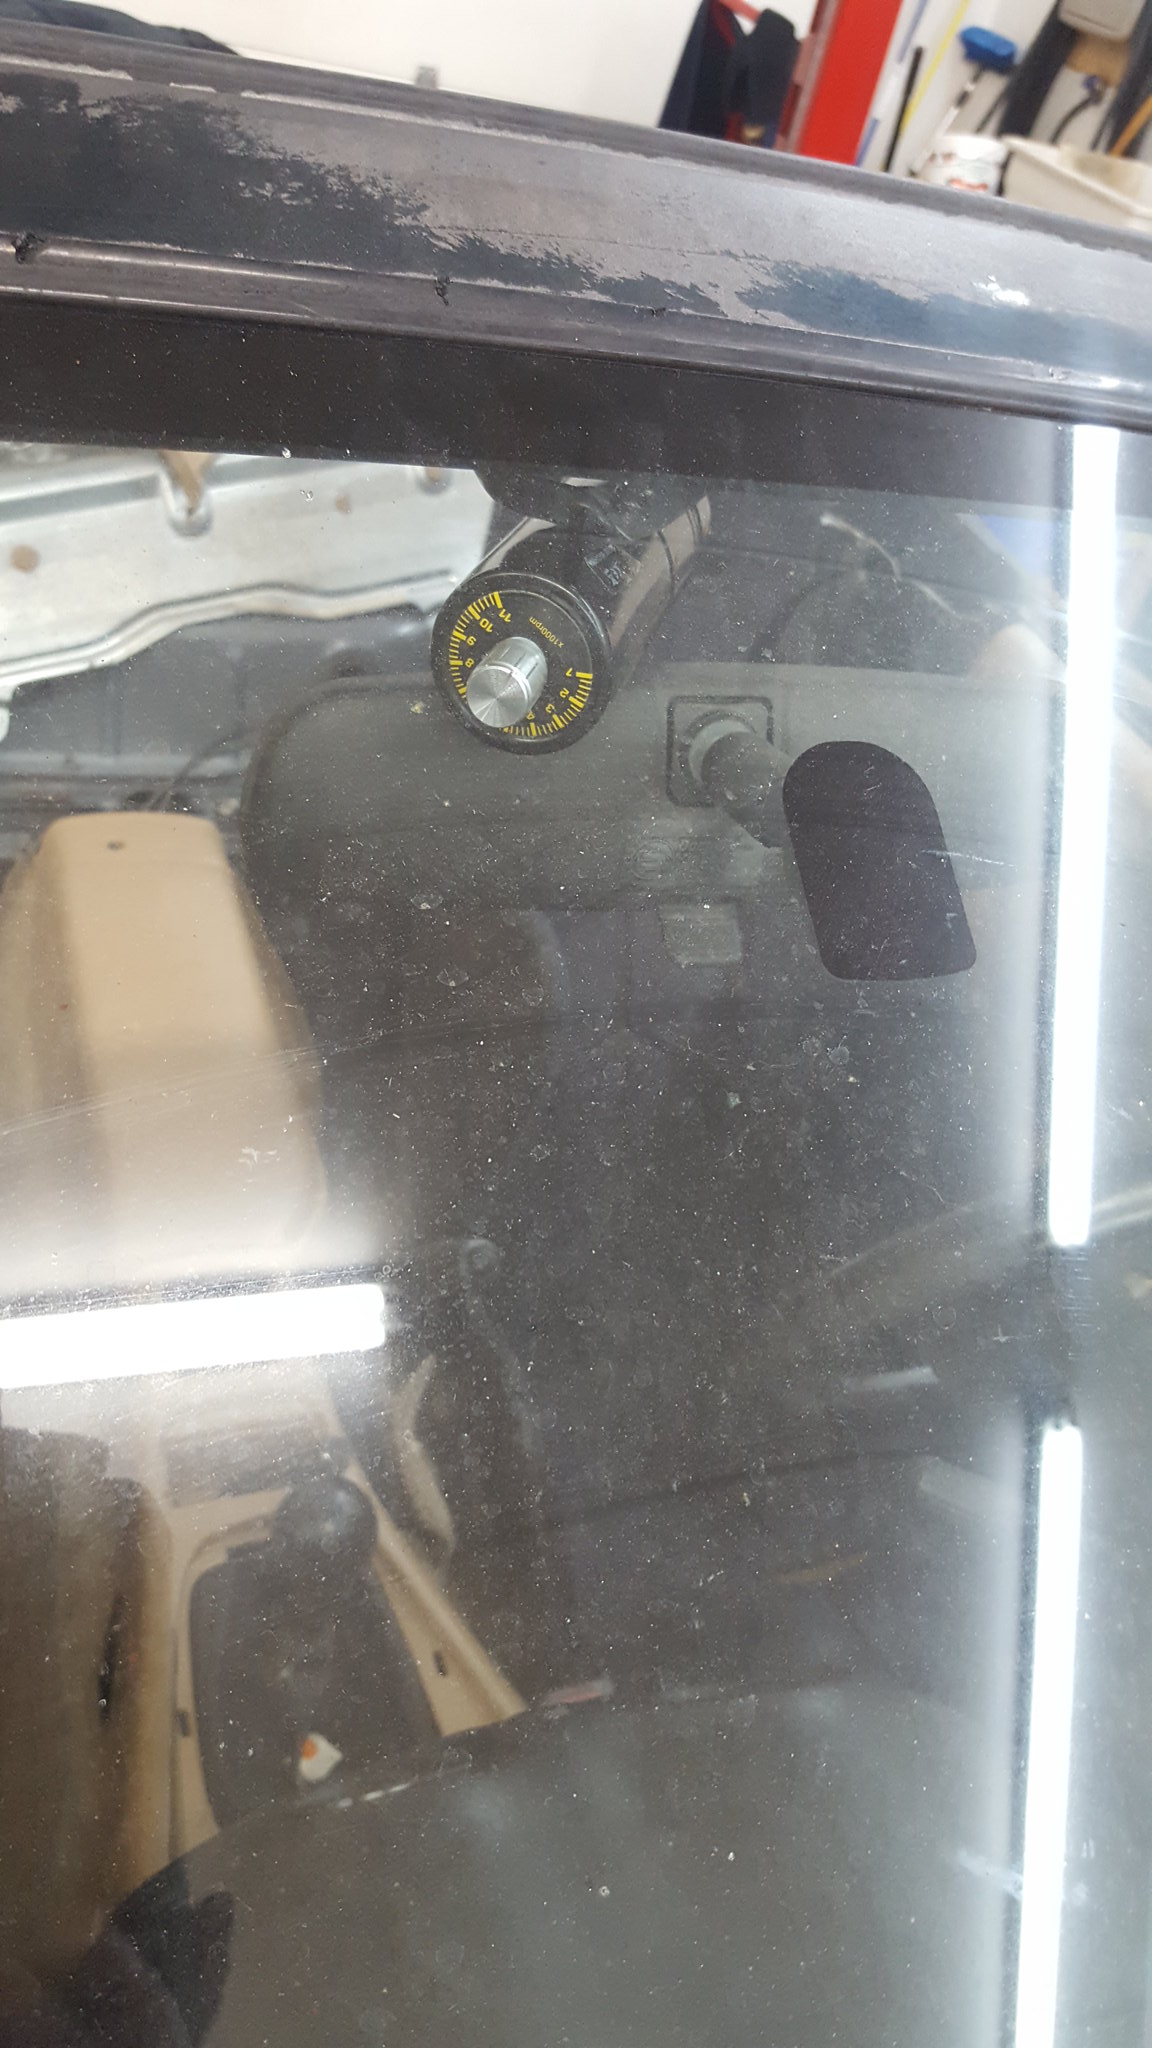
Got it all bolted up, tightened down, drilled the holes for the driveshaft safety loop with a freaking DREMEL and carbide burr because I couldn't fit the drill in there, and called it a night. Well, after getting the drivers rear quarter beat somewhat into shape to fit the rear bumper cover, and mounted the shift light above the rear-view with a bit of tripled up plumbers hanging strap (scrap from a job site)
 20181130_195136 by Michael Crawford, on Flickr
 20181130_201444 by Michael Crawford, on Flickr
 20181130_201429 by Michael Crawford, on Flickr
 20181130_190233 by Michael Crawford, on Flickr
 20181130_190223 by Michael Crawford, on Flickr
 20181130_202912 by Michael Crawford, on Flickr
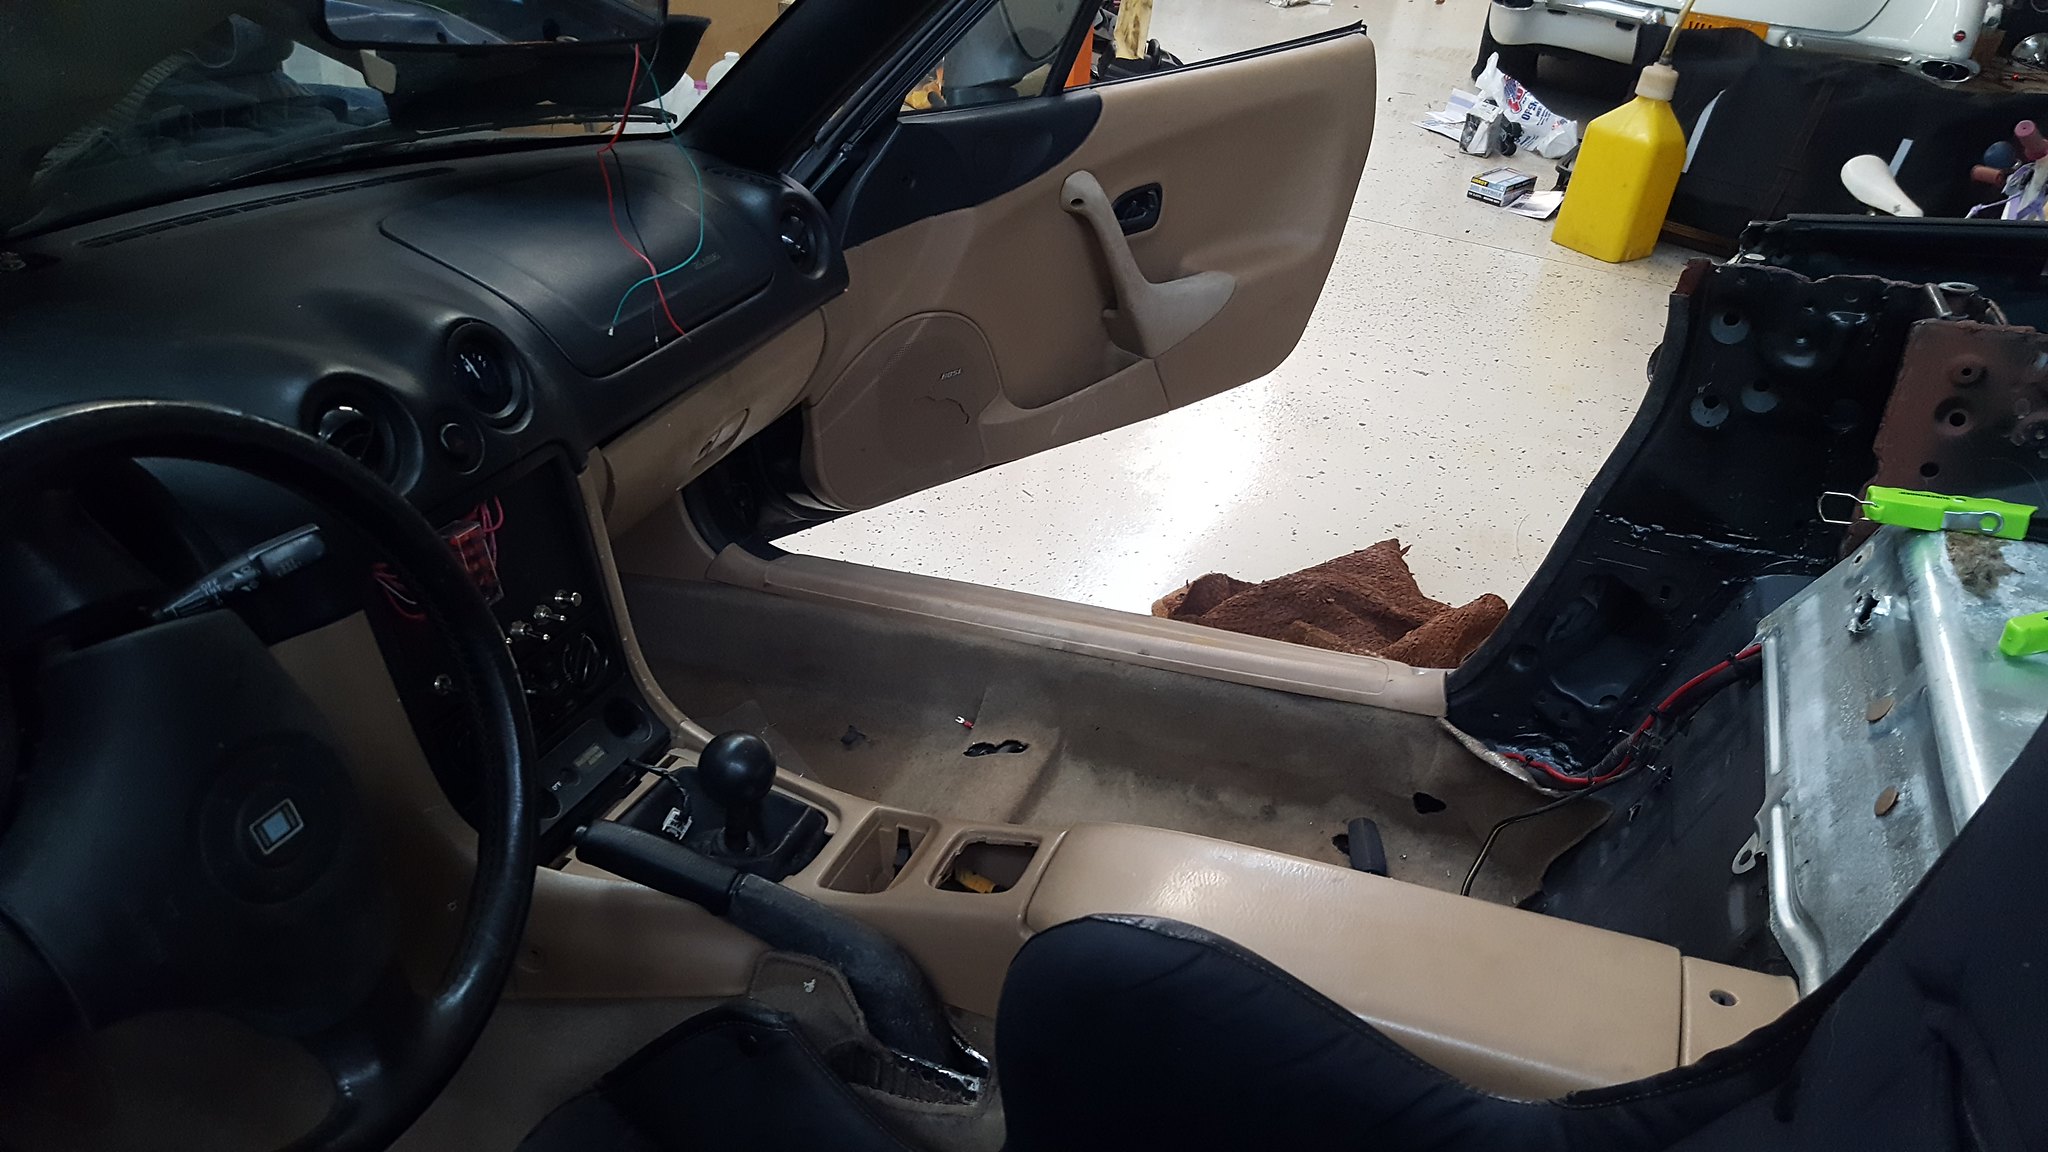
Saturday morning started with flushing the cooling system of my vinegar and water flush. I didn't take pictures, but y'all should've seen the crap we knocked out. To facilitate this, and fixing the water pump leak, I pulled the few bolts and zipties holding the front clip and fans in, and cleaned everything else out of the car from stem to stern. While it was outside, I cut the package tray shelf to the scribe d lines, dressed the edges, vacuumed everything out, etc. generally made it a much nicer work environment. I also went ahead and put in the kick panels, dead pedal, sill plates, etc. got tired of cutting myself and laying on the sharp edges of the pinch around the door frame. Why I didn't do this a month ago, I don't know. Guess im a slow learner or something. I also reinstalled the windshield plastics and weatherstripping somewhere in the last week as well.
 20181125_101709 by Michael Crawford, on Flickr
 20181130_181039 by Michael Crawford, on Flickr
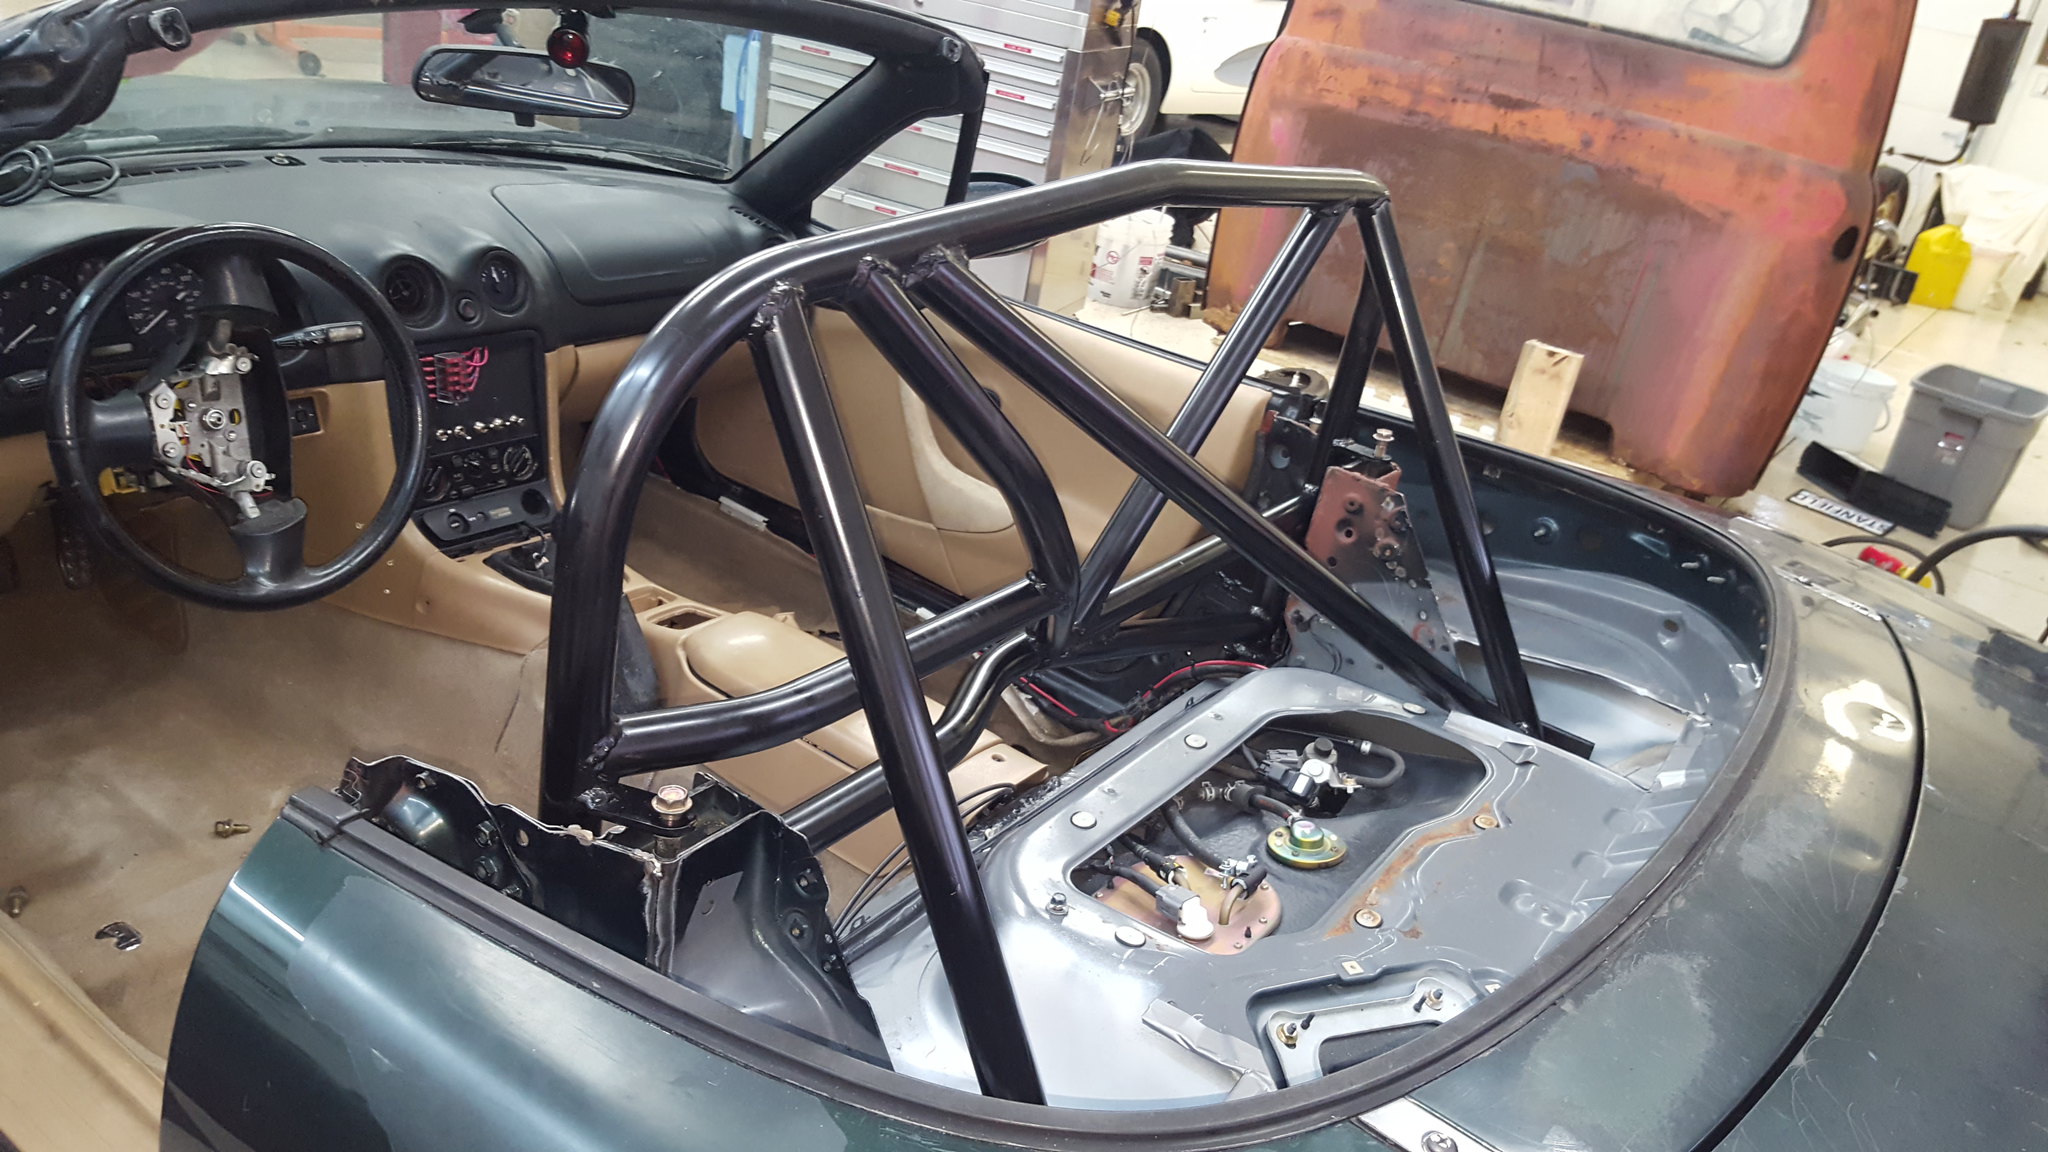
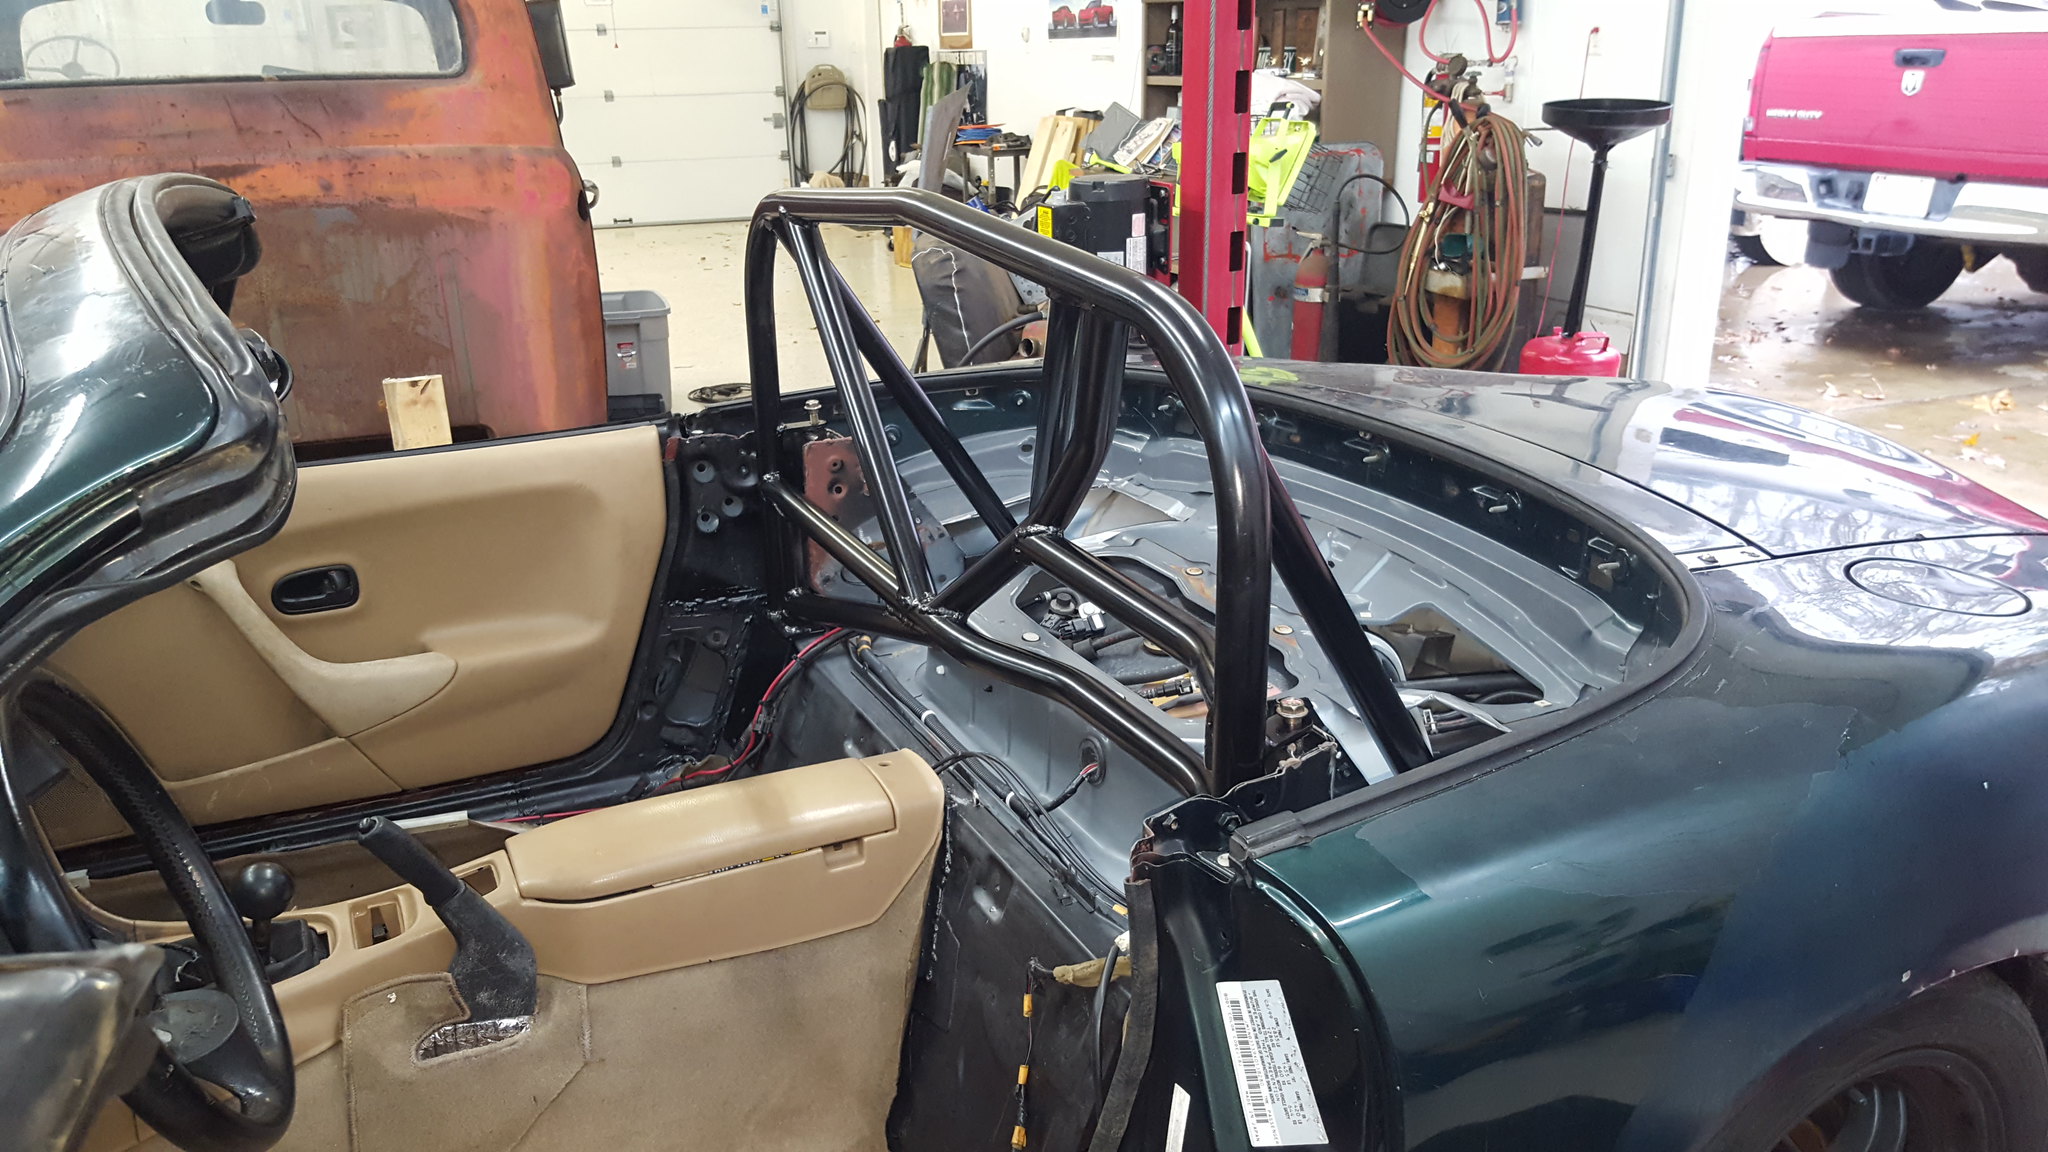
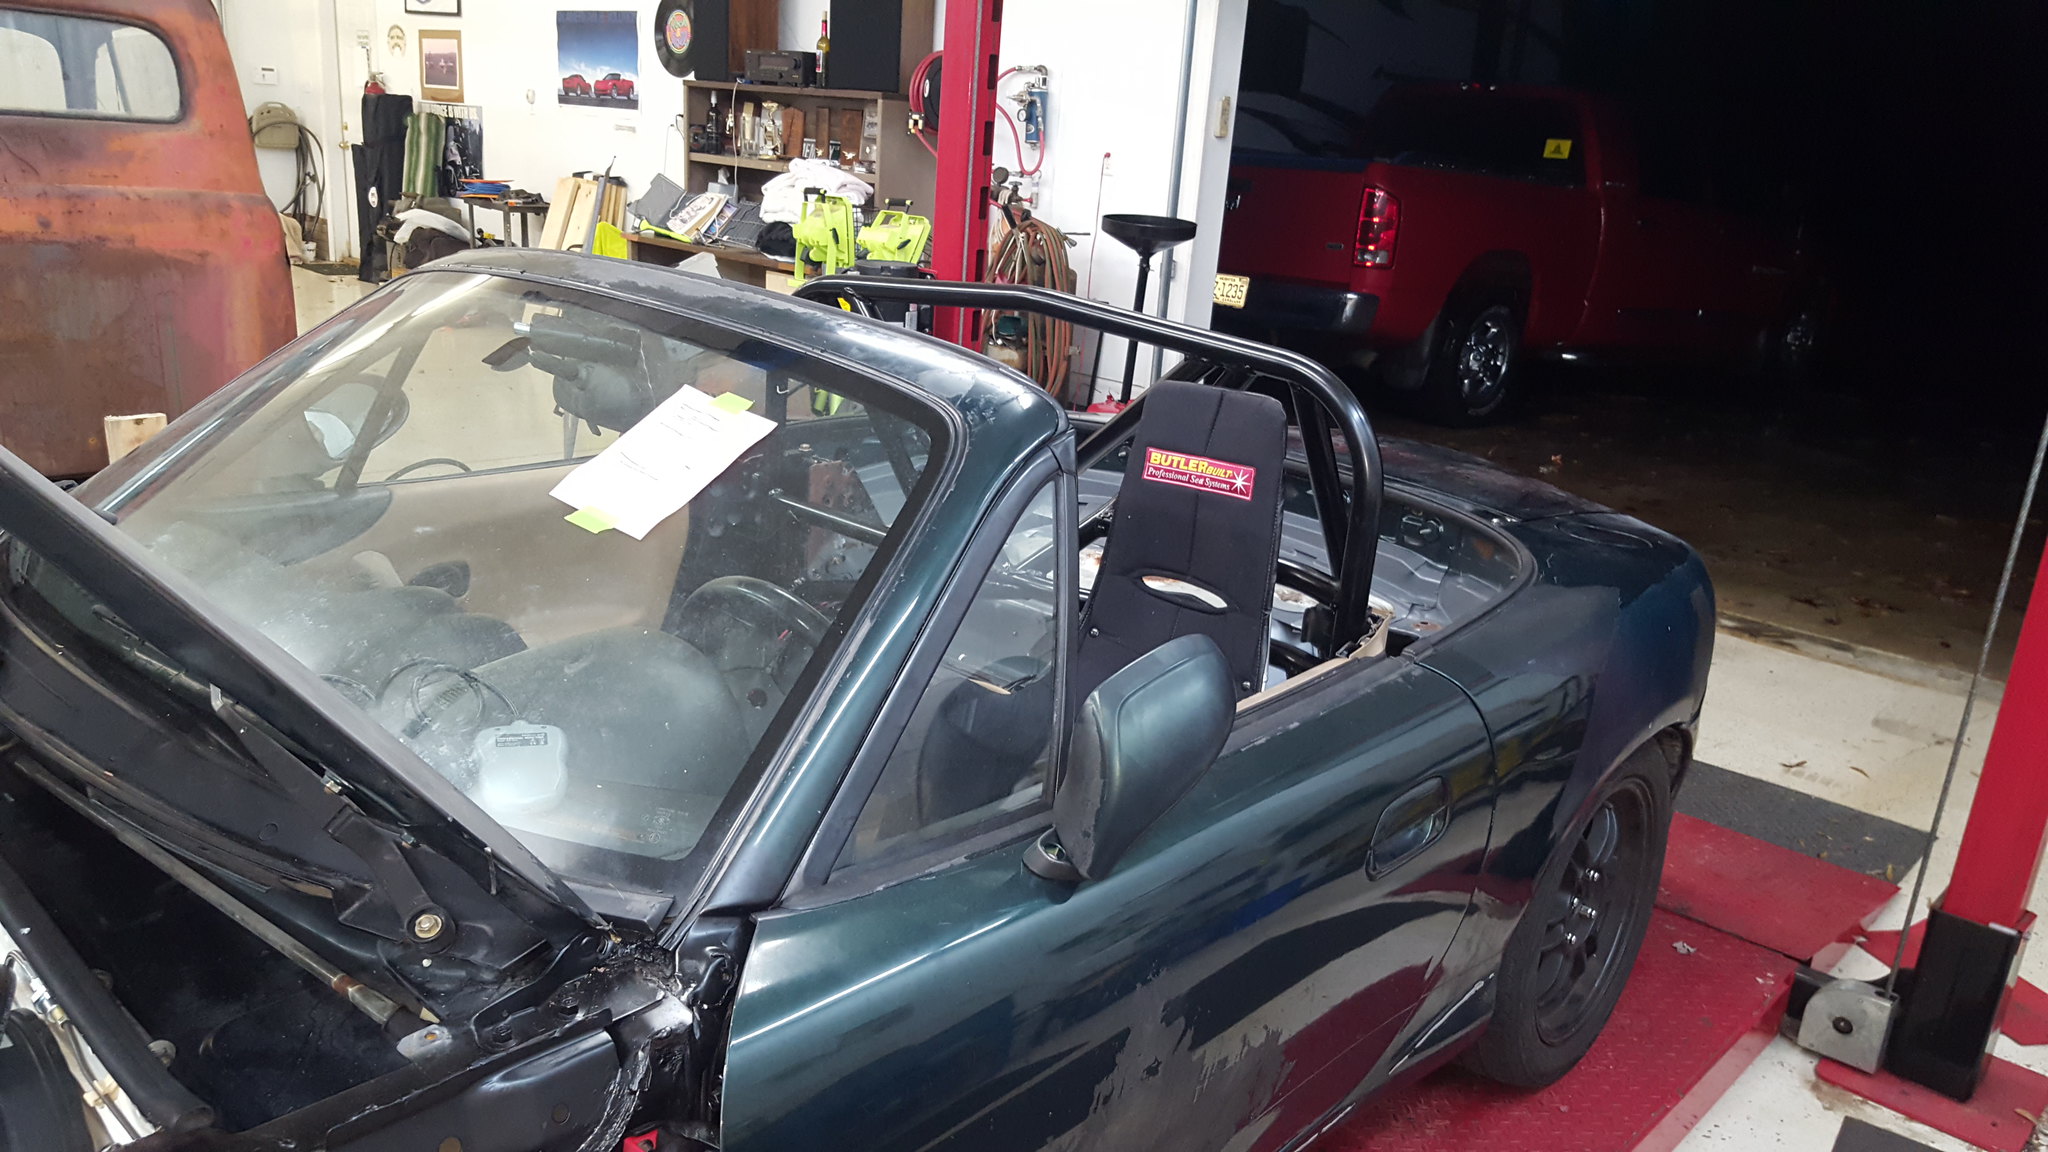
I pushed the car inside, spread out a tarp, and dad cleaned/painted the rollbar with VHT rollbar and chassis paint. While it was drying, dad and I pop riveted the nut plates to the body, got the hardware lined up, loctite out, etc. when the rollbar was dry enough, we sat it in place and bolted it down with lock washers and blue loctite gel. Thankfully it didn't move too much when Steve welded it, so only the drivers rear leg needed a prybar to line the holes back up. But its got every fastener I designed it to have, and damn sure ain't going anywhere.
 20181201_140155 by Michael Crawford, on Flickr
 20181201_140148 by Michael Crawford, on Flickr
When dallas and I welded up the seat frame, it moved a little as well, so I opened the holes up with a burr on the die grinder, and bolted the seat in.
 20181201_172813 by Michael Crawford, on Flickr
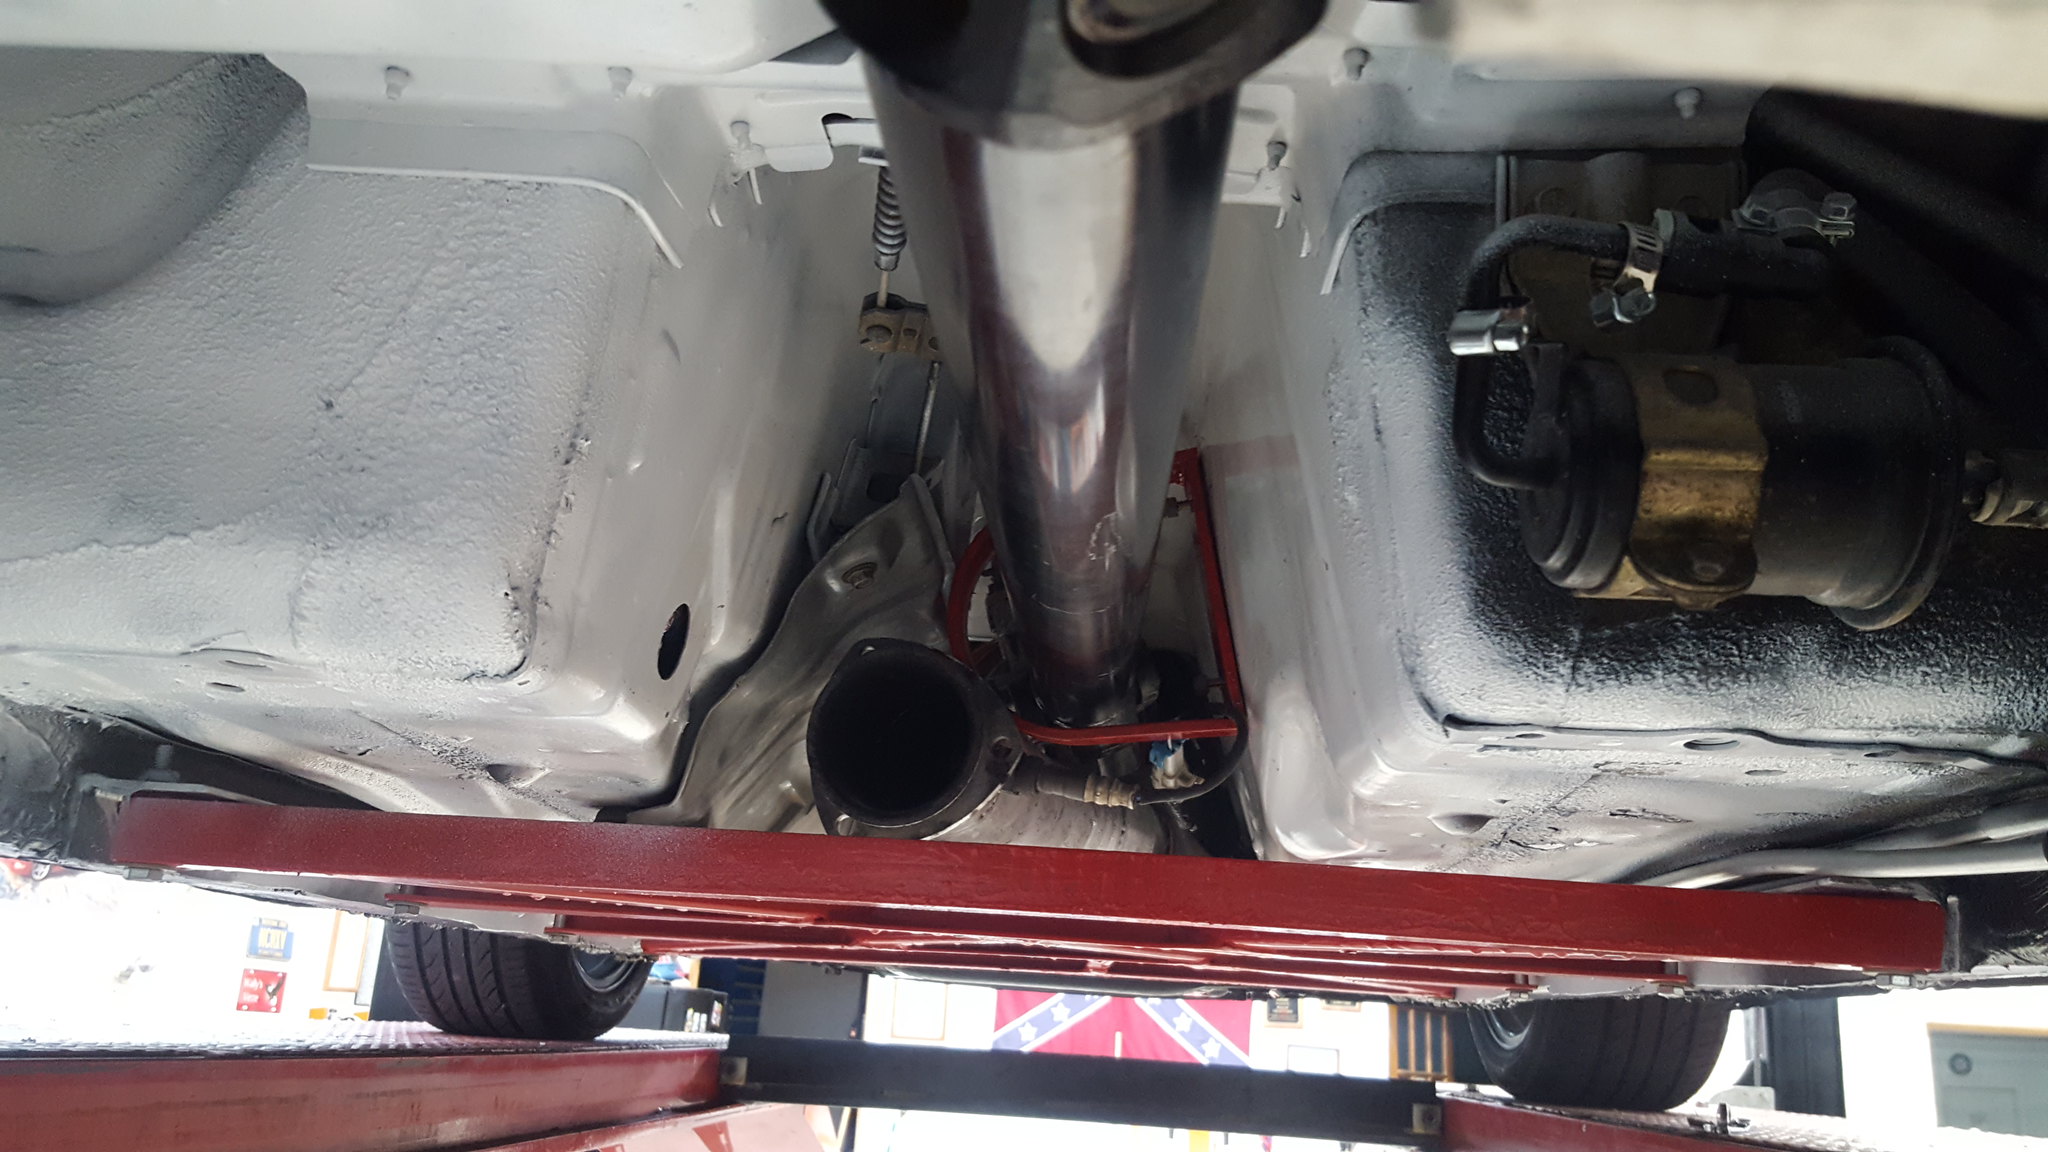
while I was in there, now that it was difficult to access, I got the fuel tank vent sorted and the covers back on.
 20181201_172832 by Michael Crawford, on Flickr
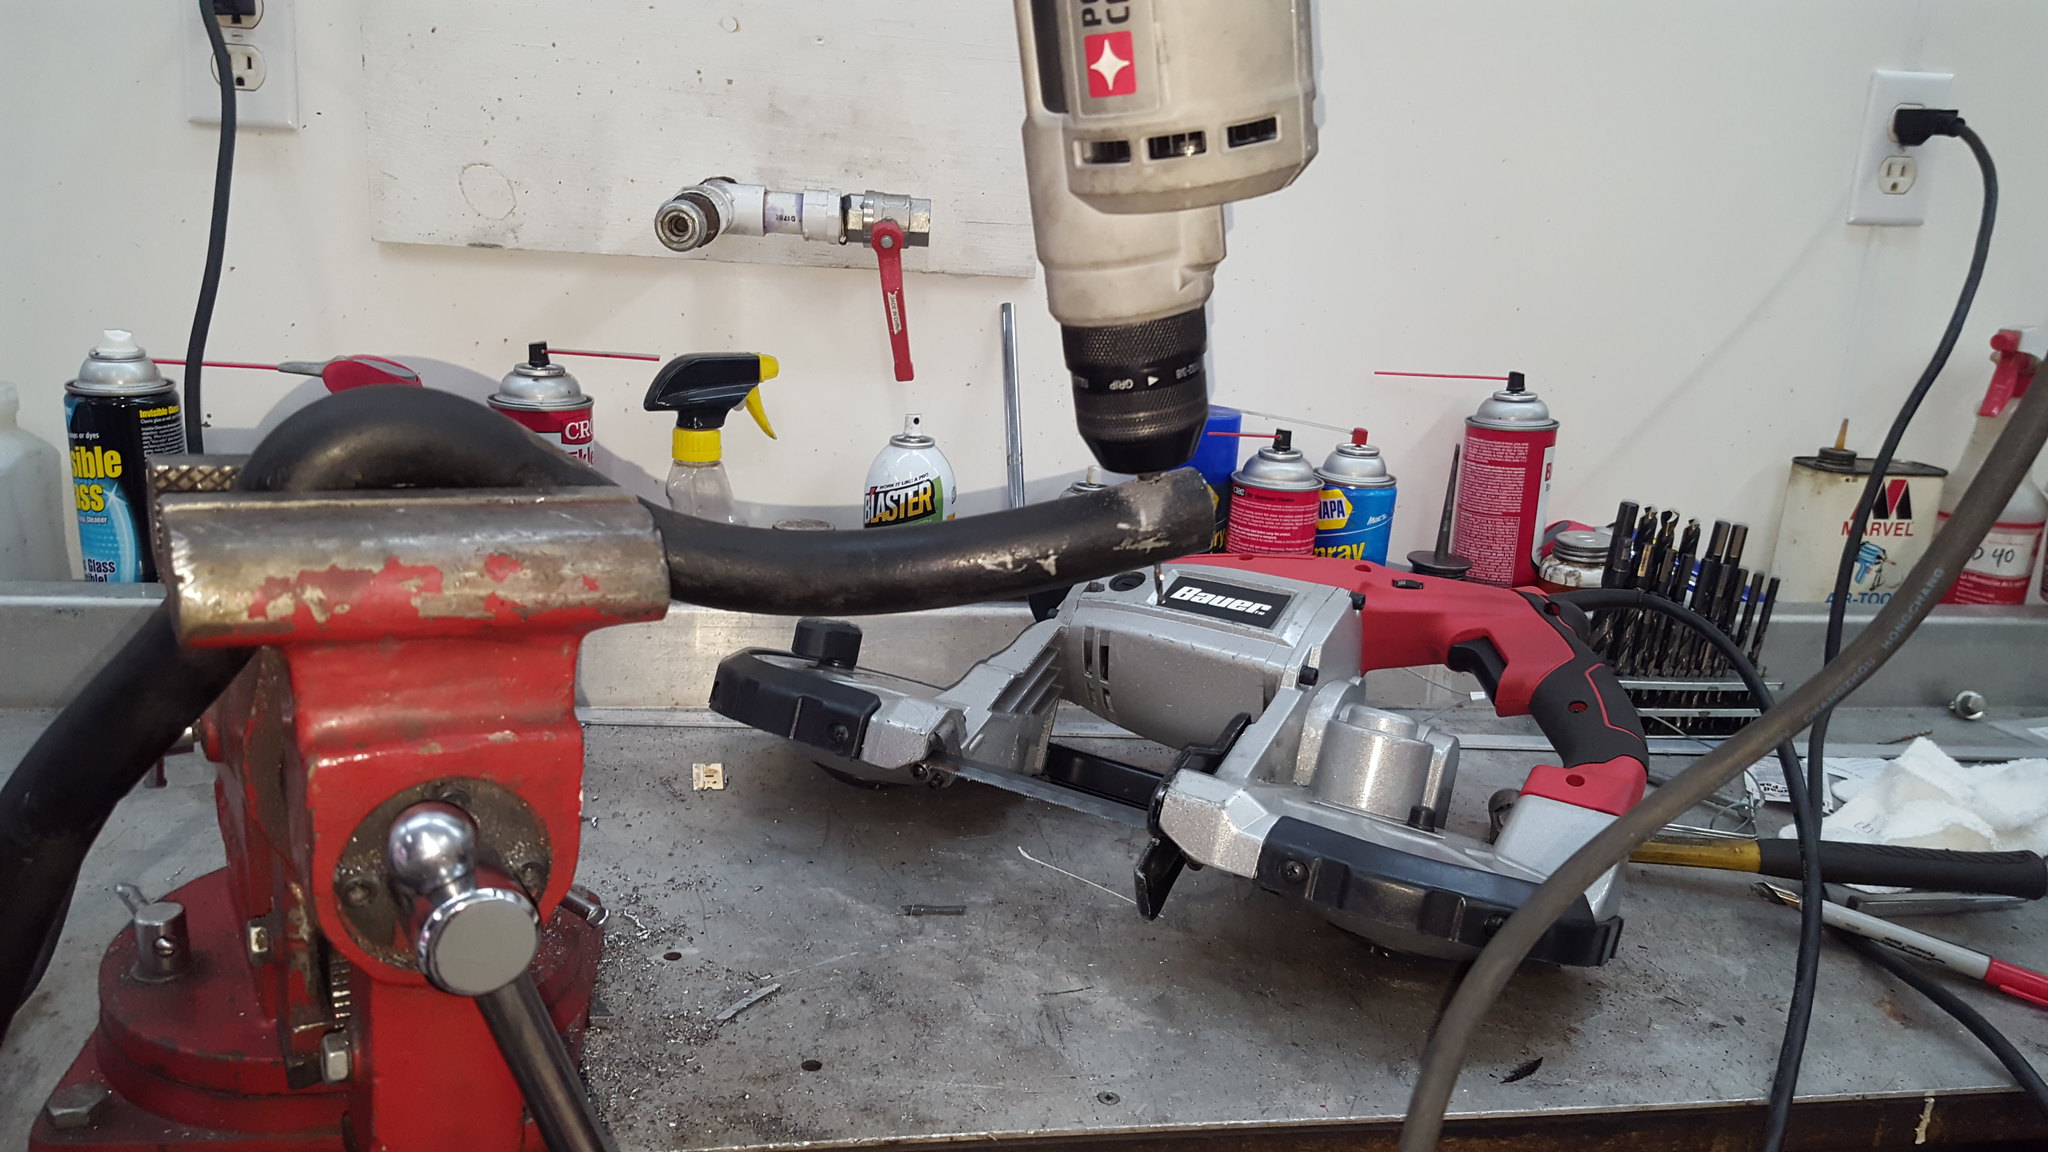
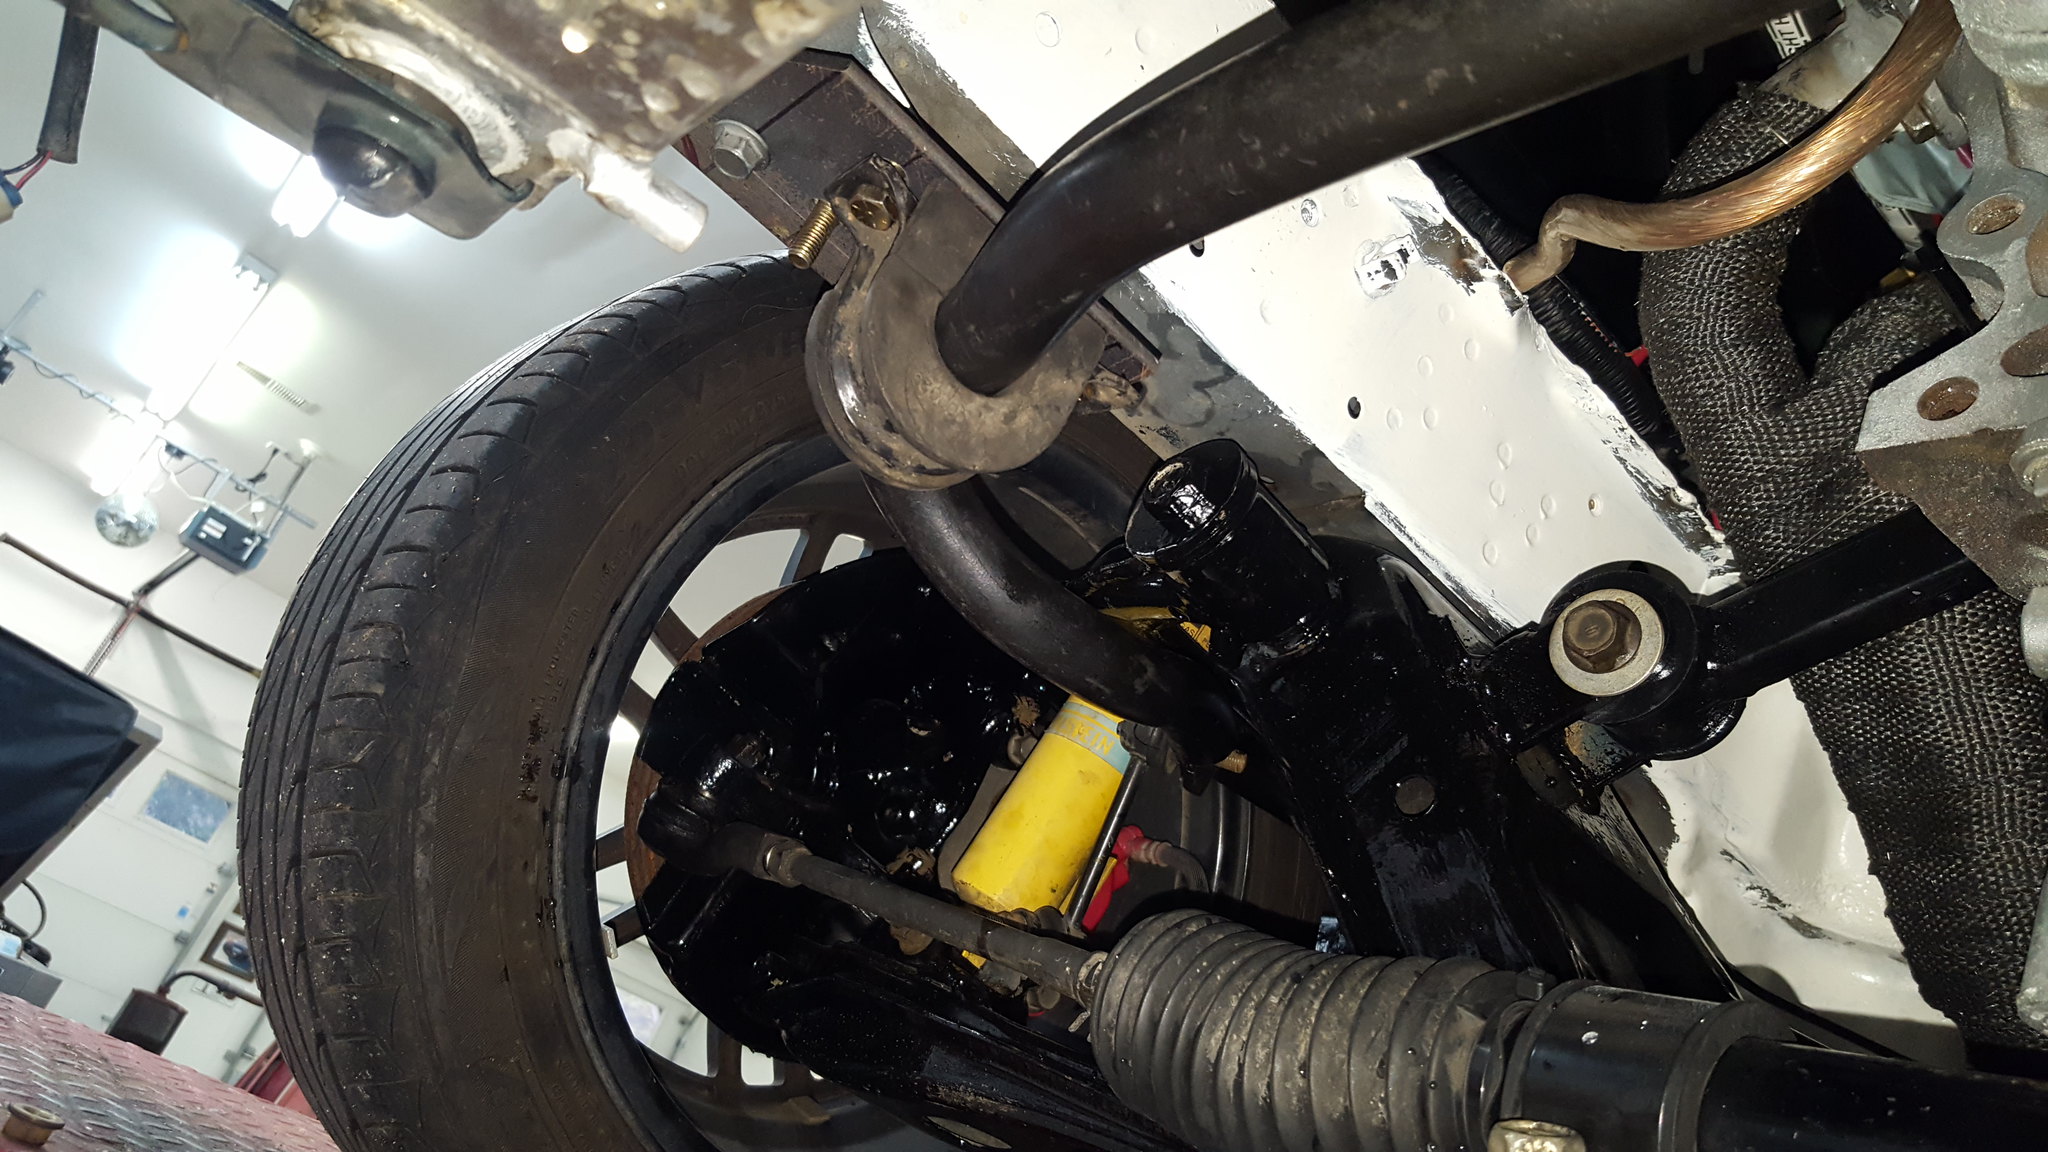
We also sorted the front sway bar and mounts. This is a 1 1/8 front from an s10 blazer second gen. I had to move the bushing mounts rearward and inward by an inch each. To do so, I cut up some scrap angle iron, drilled some holes, and made adapter plates. Corners were cut from the plates to clear factory stuff. The bar itself had the original ends cut off, then new holes drilled to mate up with the miata end links. We then cut it down to a normal sway bar end with the portaband. All this (except the plates) was done by eyeball, so I don't really have a how to. But, at the end, I have a front 1 1/8 sway bar for $6.66
 20181201_123136 by Michael Crawford, on Flickr
 20181201_123142 by Michael Crawford, on Flickr
 20181201_131206 by Michael Crawford, on Flickr
 20181201_134406 by Michael Crawford, on Flickr
To finish the night, I installed the taillights (passengers brake and running lights (LED) don't work, but turn does, and its getting signal from the chassis) which may be the ugliest taillights on any car I have ever seen anywhere. The pictures do not do their hideousness justice. I'm going to tint them red with the VHT red nightshades I have on the shelf, but I don't think that's gonna help much. Maybe ill get lucky and talented and have time to build fiberglass versions of taillights and french in a set of 5 inch round trailer lights or something. Dunno, but these are that damned ugly.
 20181201_165829 by Michael Crawford, on Flickr
Oh, and I pulled the water pump, cleaned off all remnants of gasket, and reinstalled with a heavy bead of RTV.
 20181201_172804 by Michael Crawford, on Flickr
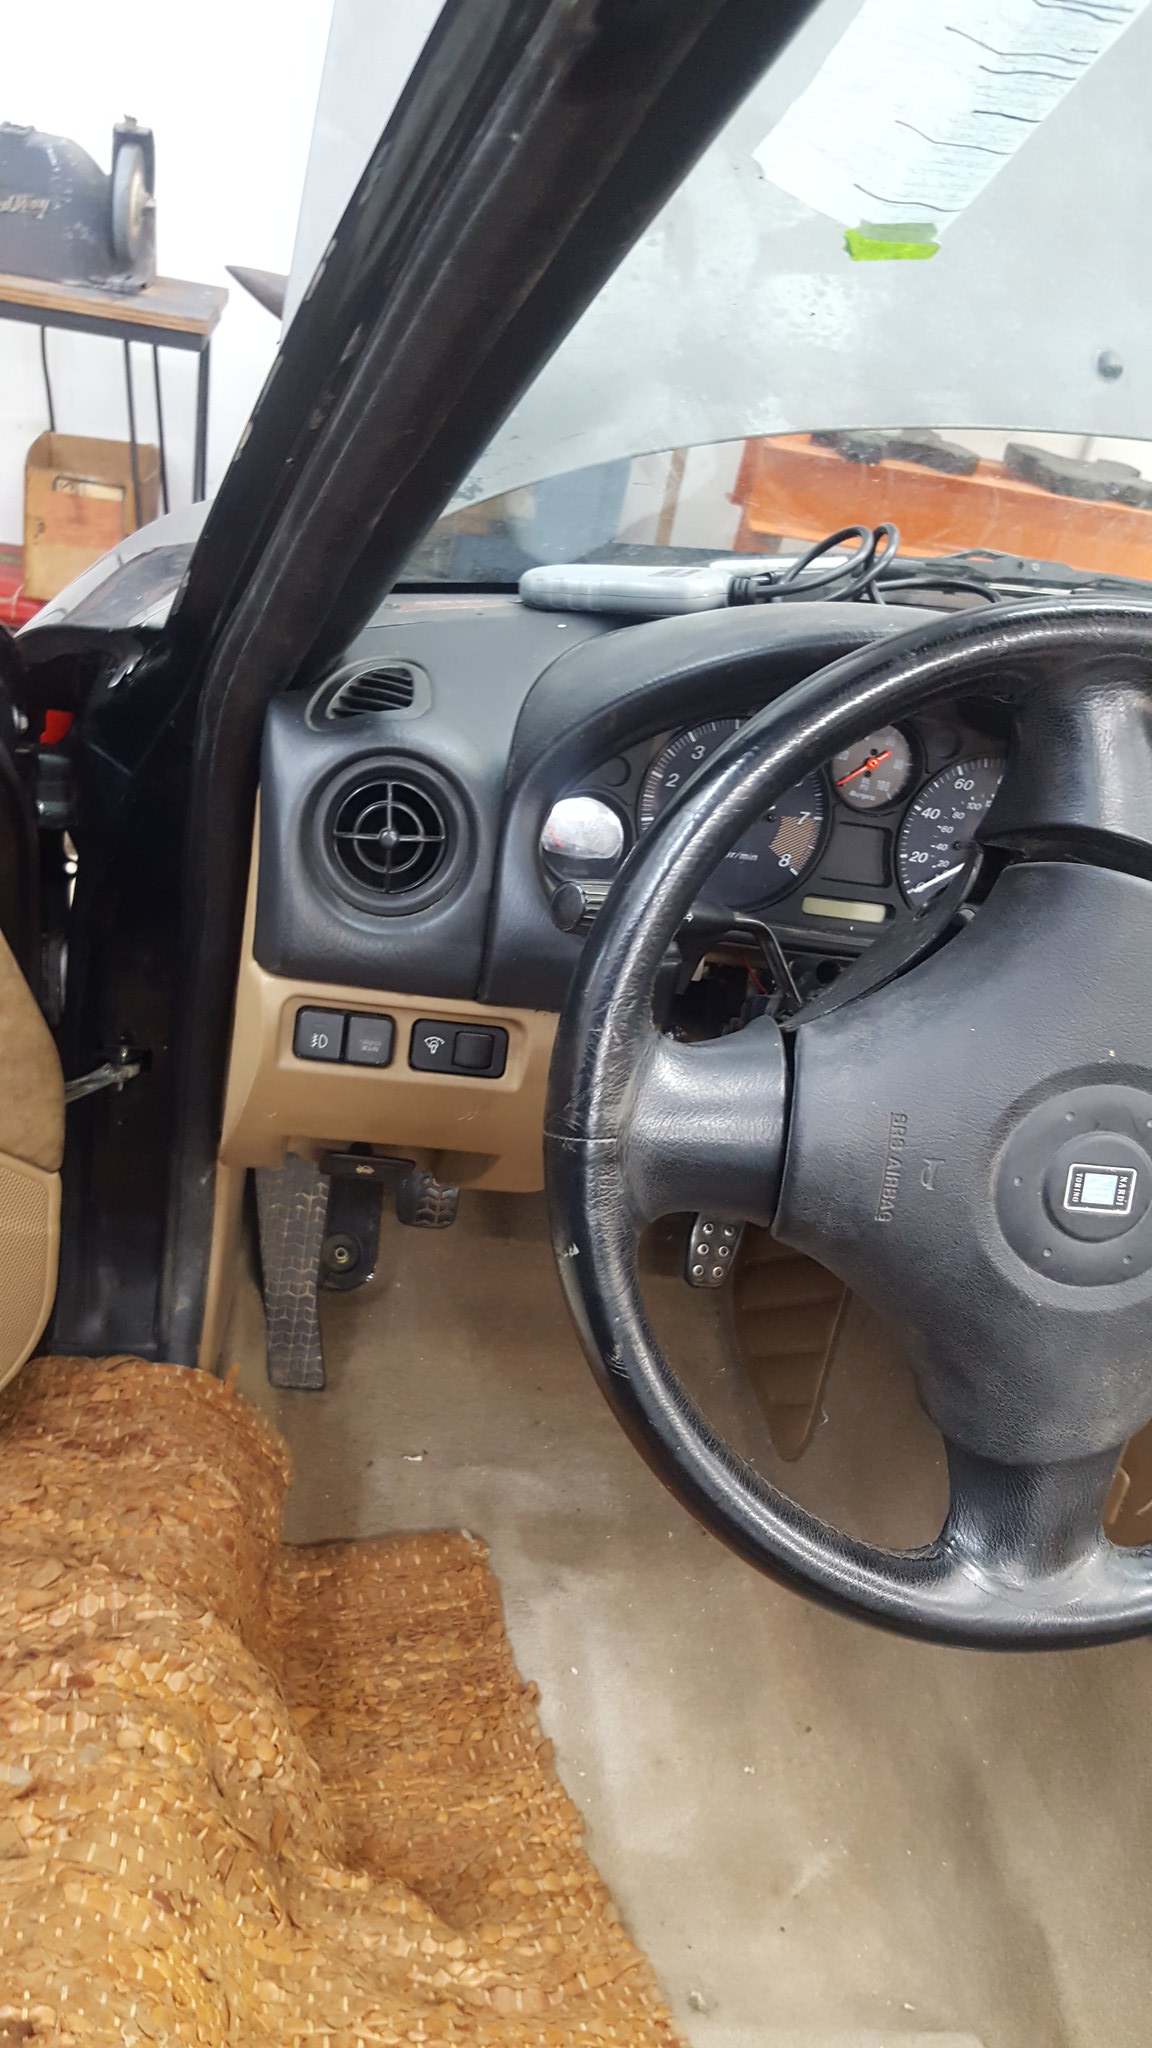
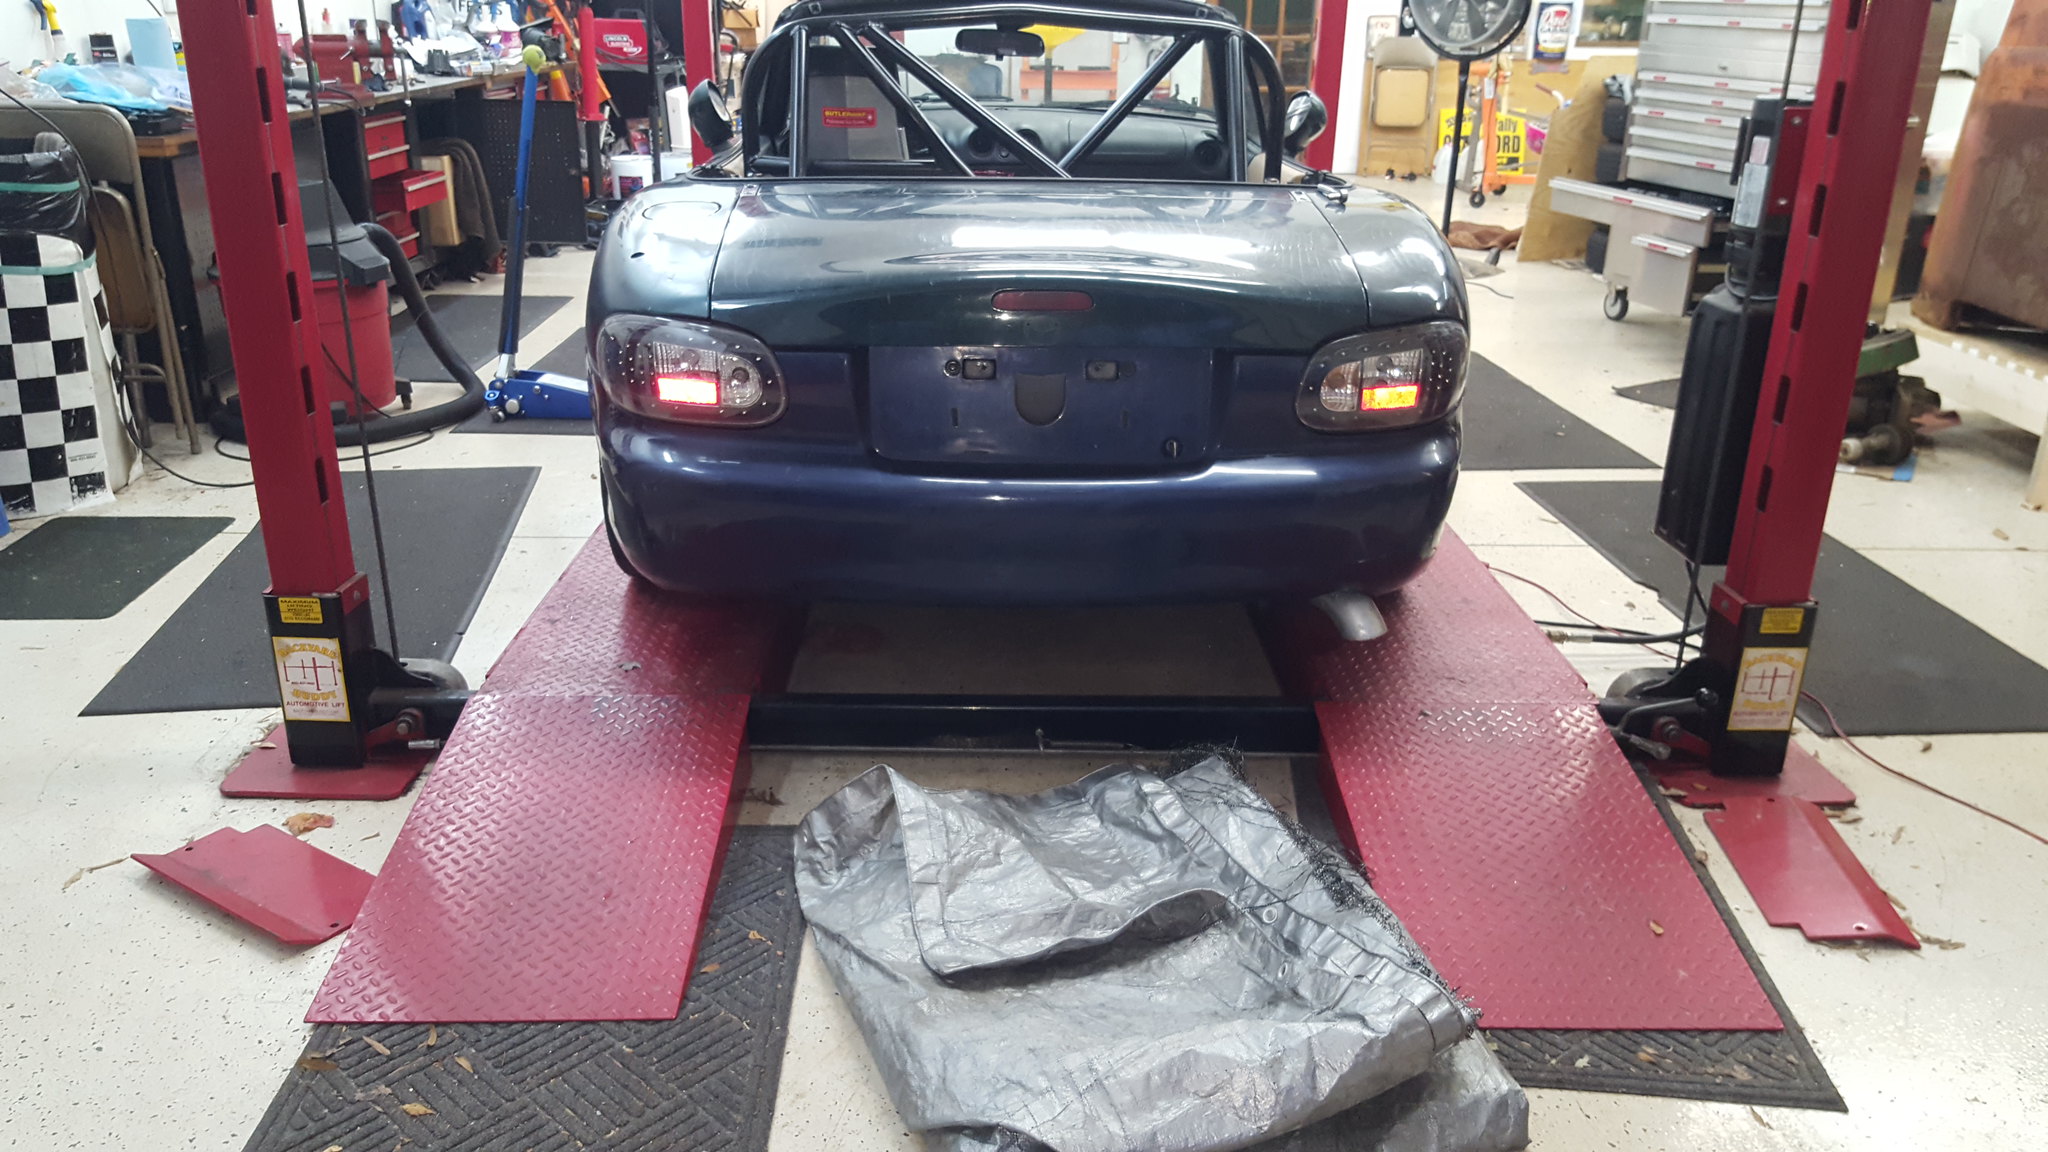
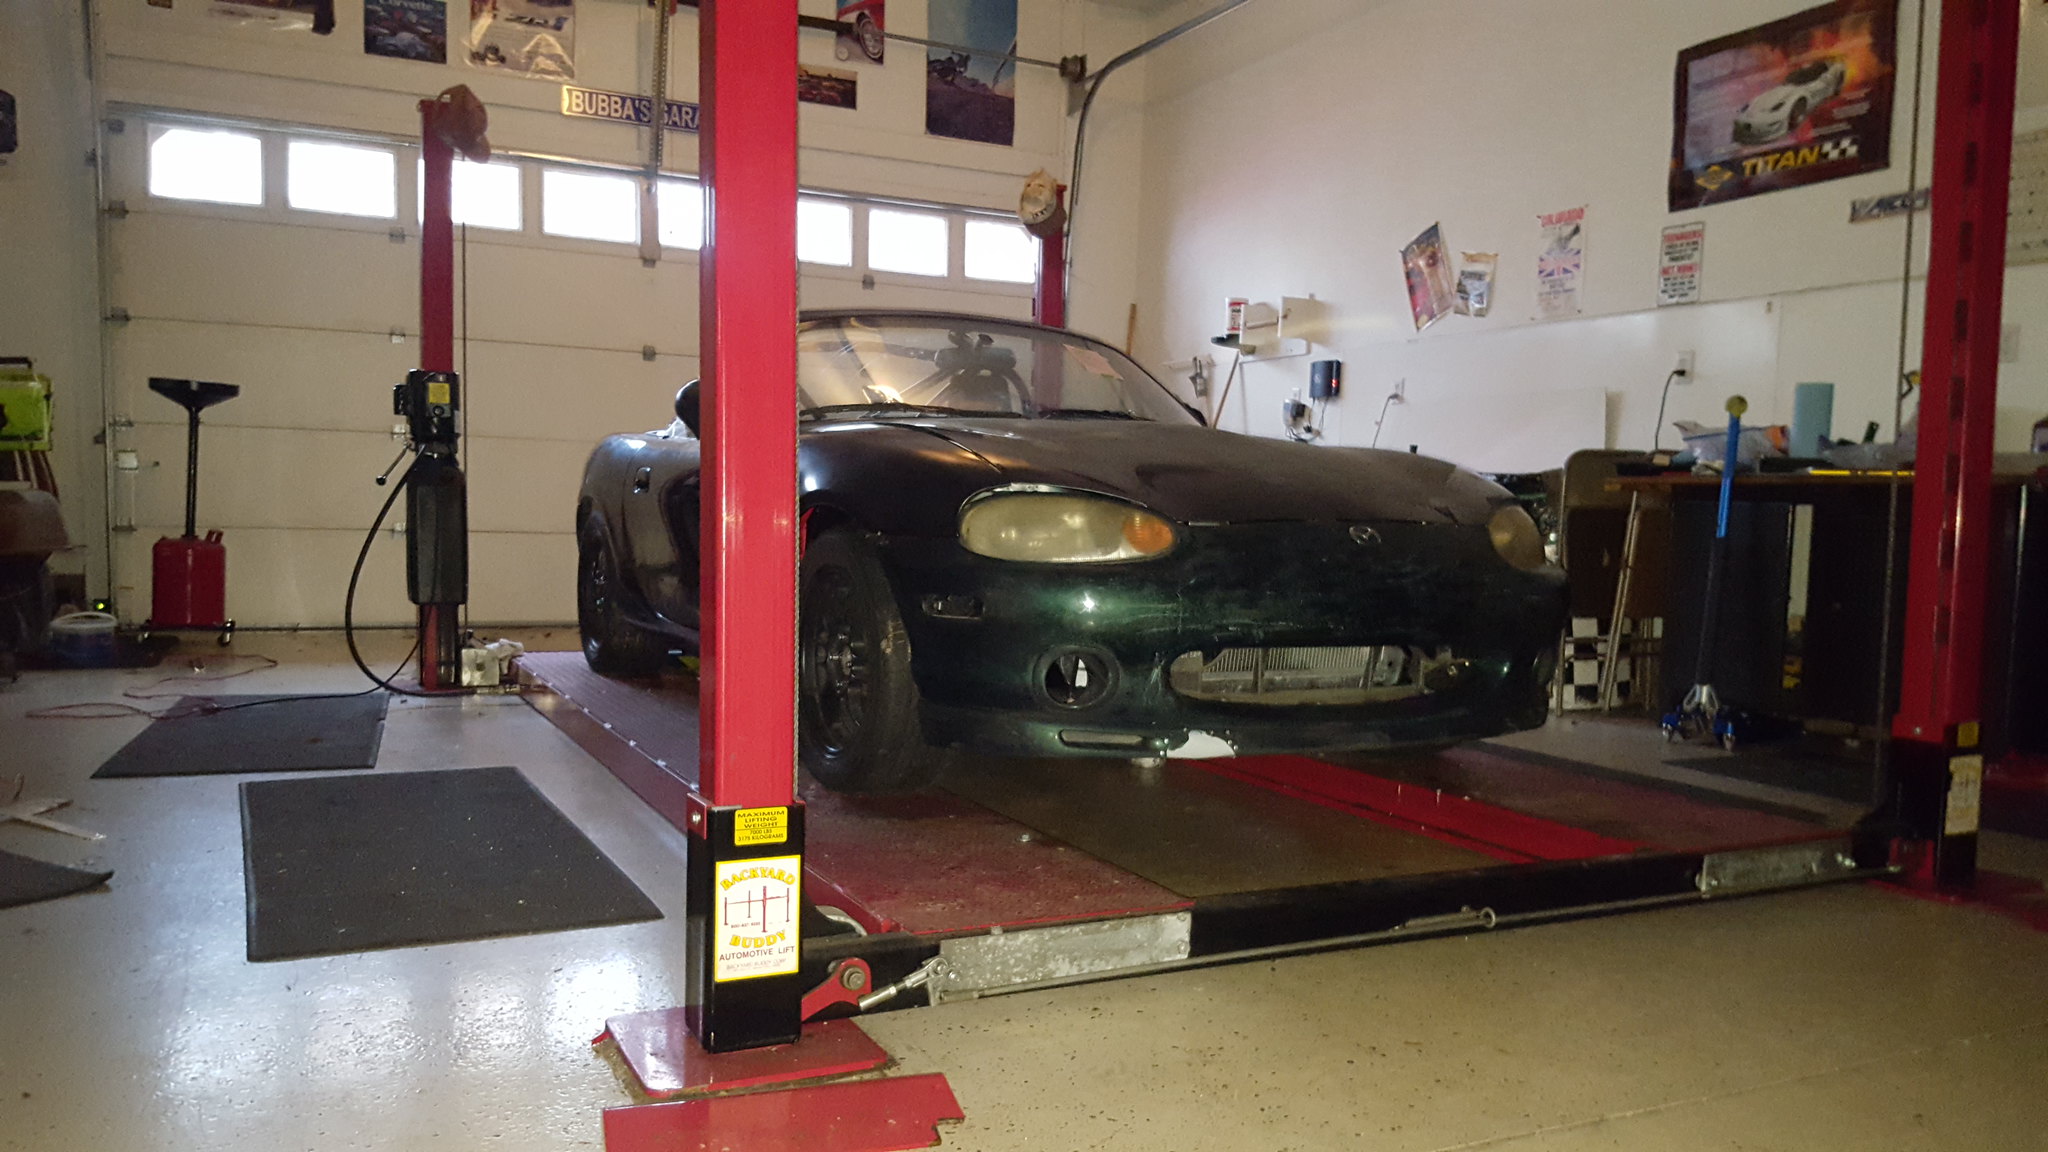
Today, dad and I started after church to bleed the clutch and brakes, as well as set ride height. I have the front coilovers set at 1 inch up from bottom, and rear 1.5 right now. Little too high at both ends (13 rear, 14 front), but gaining on it. Did a full nut and bolt check of front and rear suspensions except the alignment eccentrics and tie rod jamb nuts. We started on the clutch, and really didn't have much success, were starting to get some pedal, but not a lot. I'm thinking that the air is trapped in the line where it goes above the clutch master before going down to the slave. So I may reroute it before we try to bleed it again. Then, we moved onto the brakes. We didn't seem to have a lot of pedal travel, with a very hard stop at the end. But we soldiered on, right up until the fronts wouldn't bleed at all. After much diagnosing, we decided we had a bad master cylinder. (I later found that I hadn't actually hooked the pedal to the booster rod through the hole in the pedal, so it was bottoming out after very little travel. Its been fixed now, but brakes still aren't bled.)
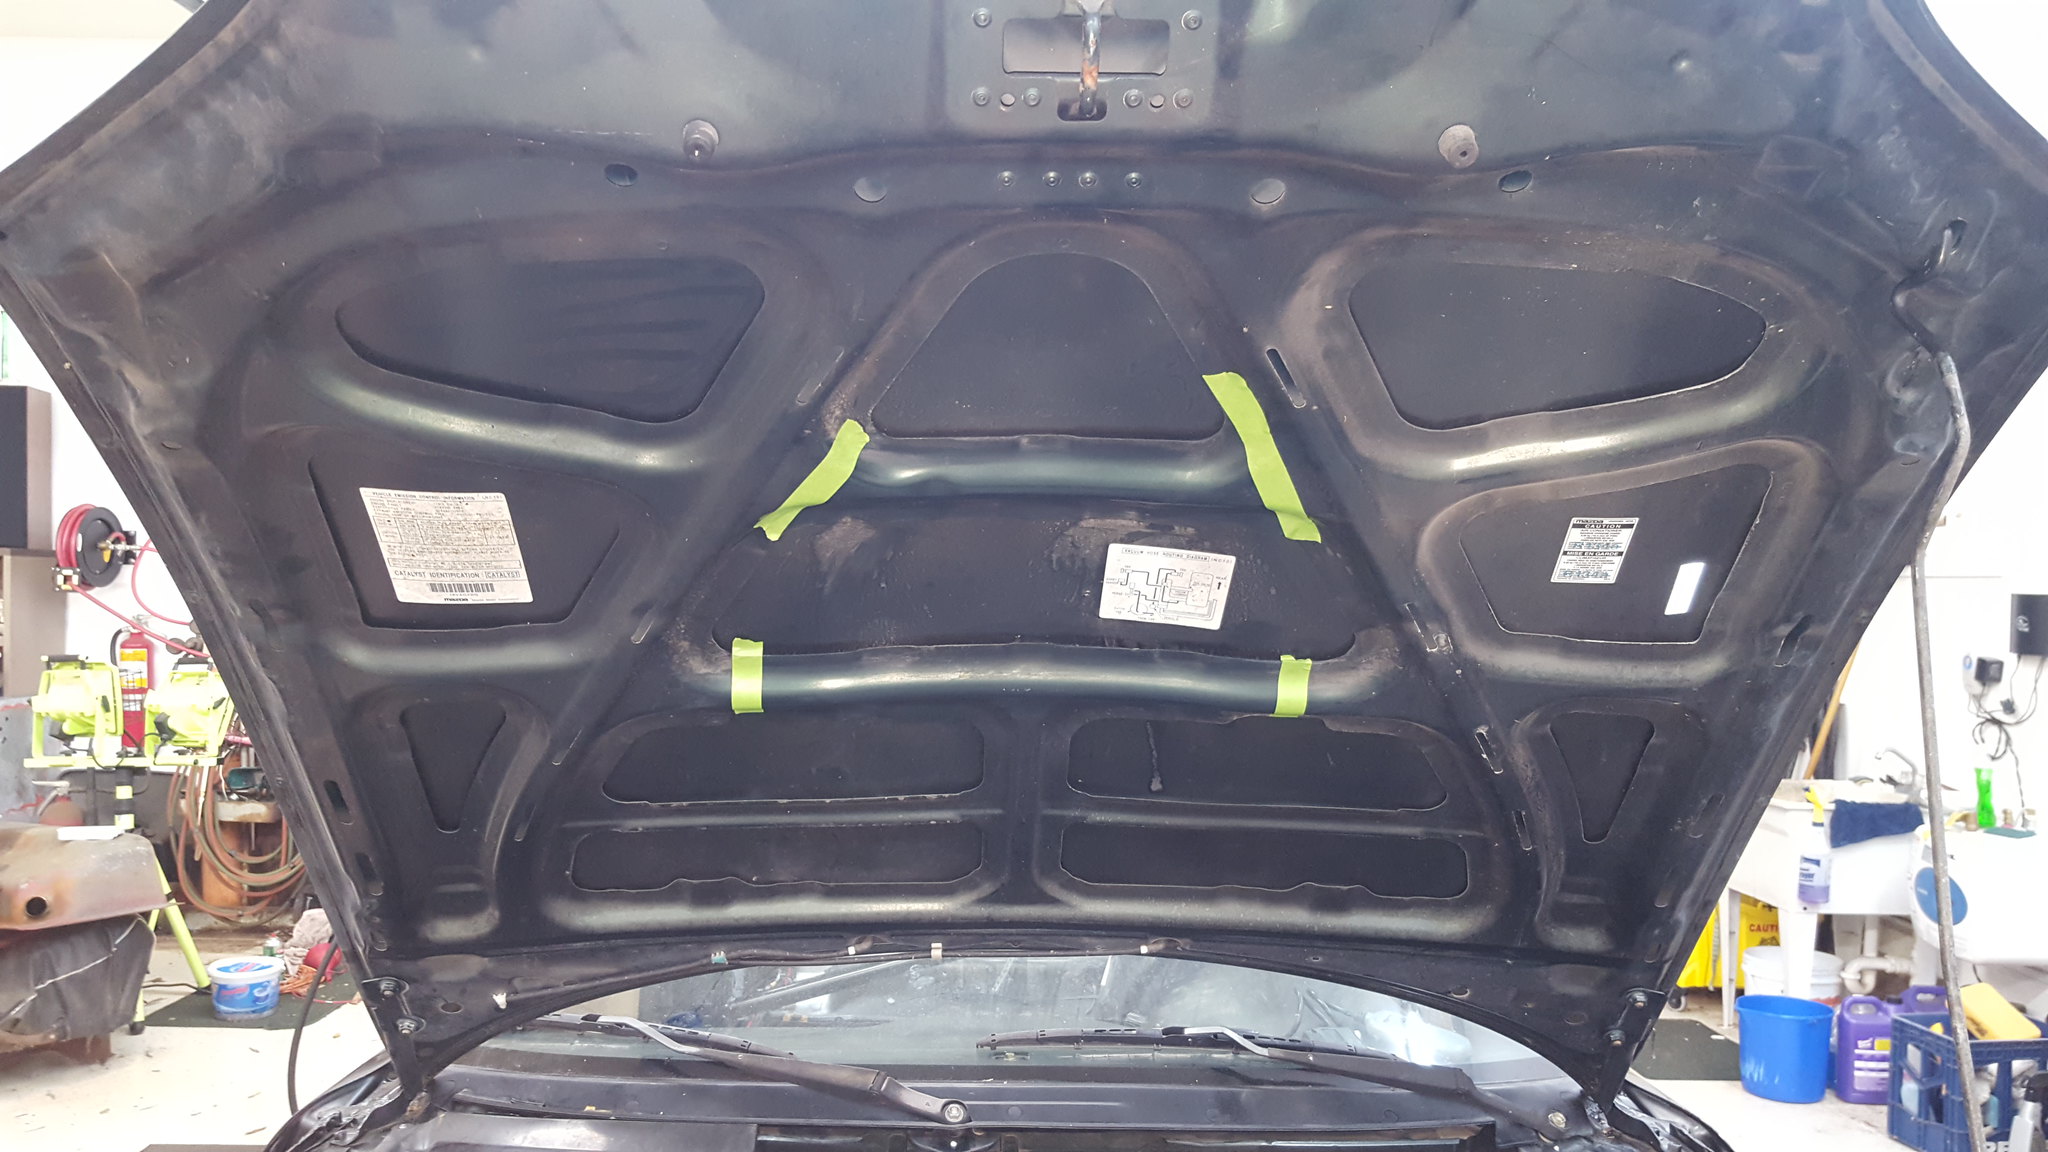
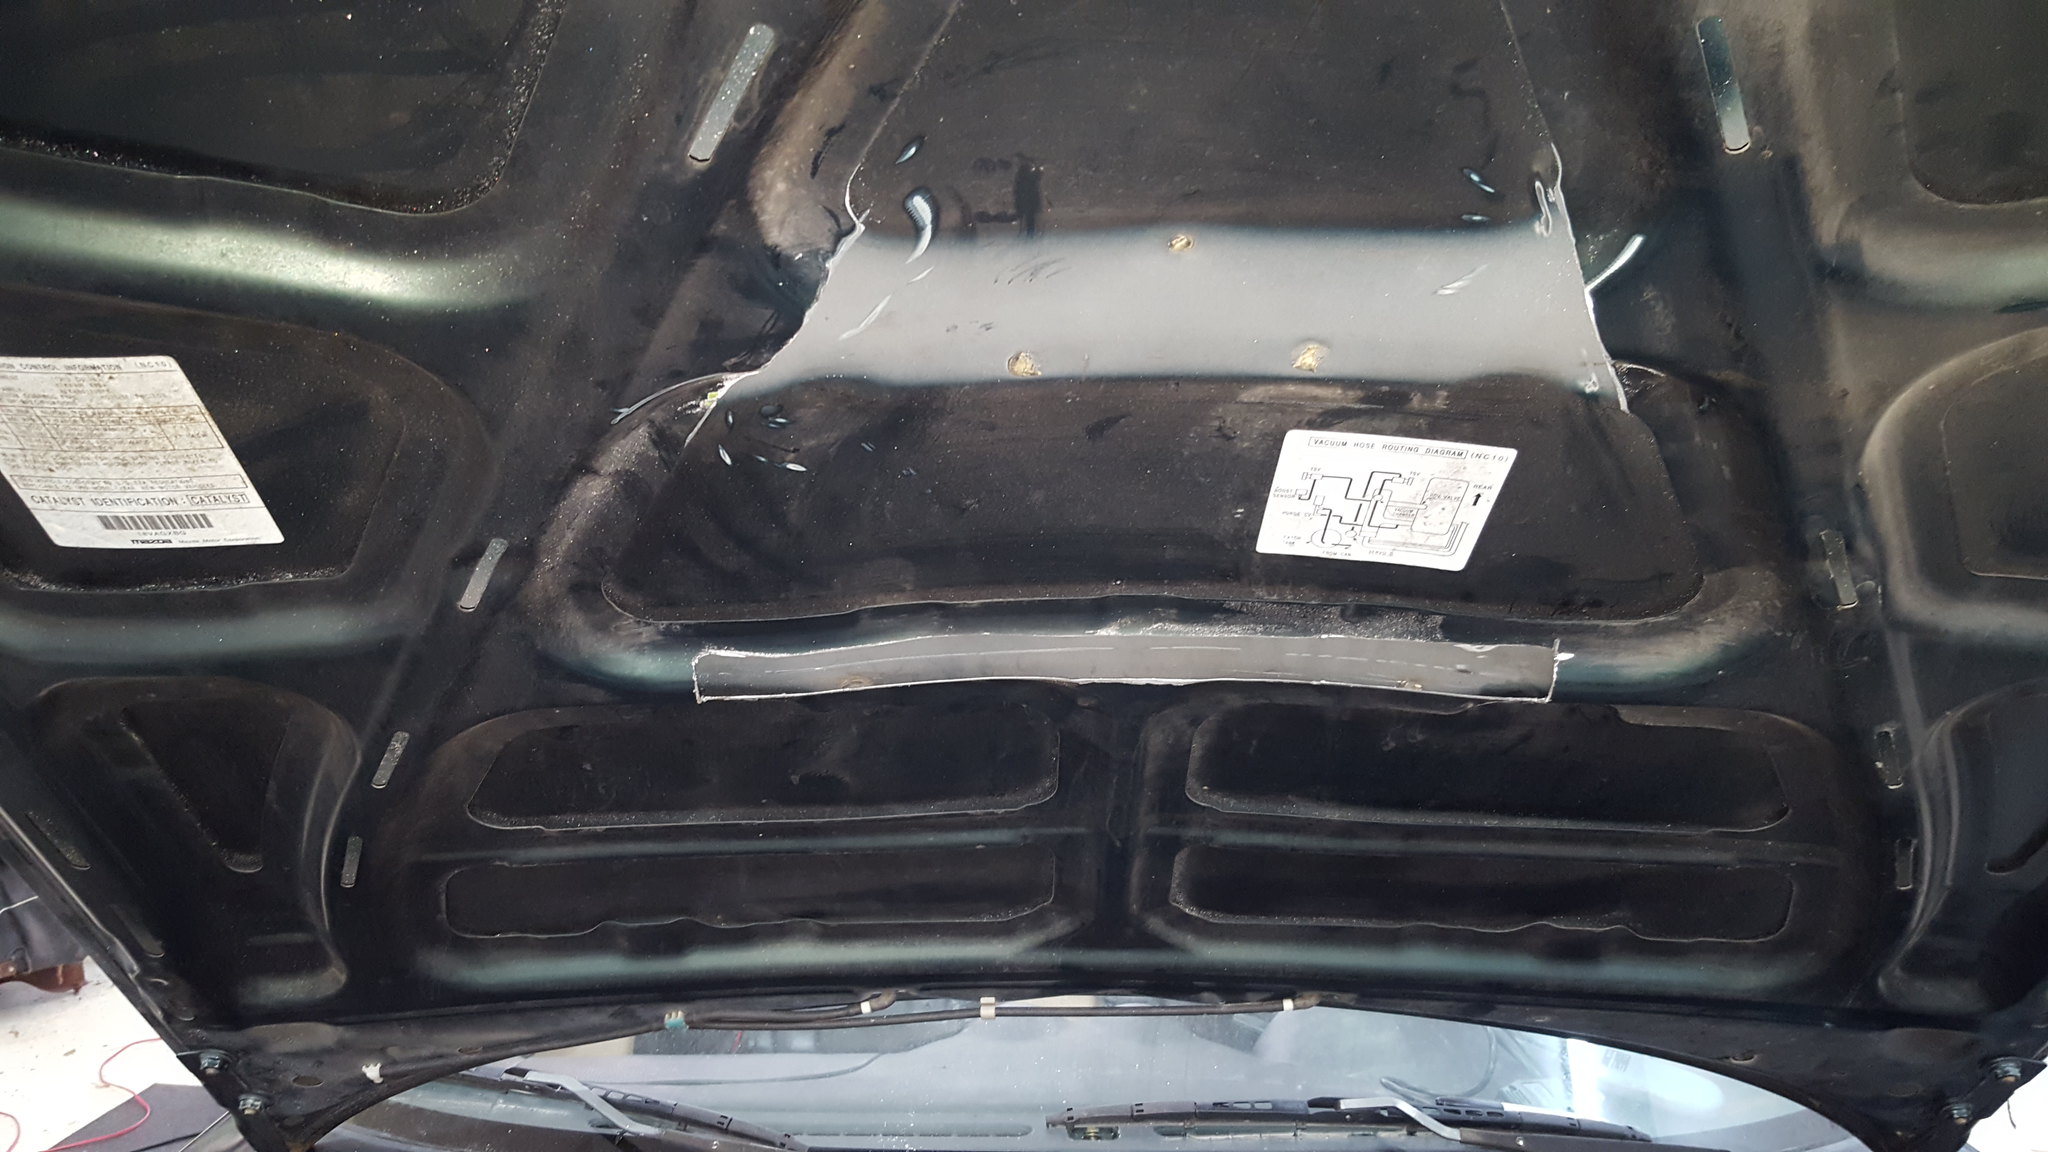
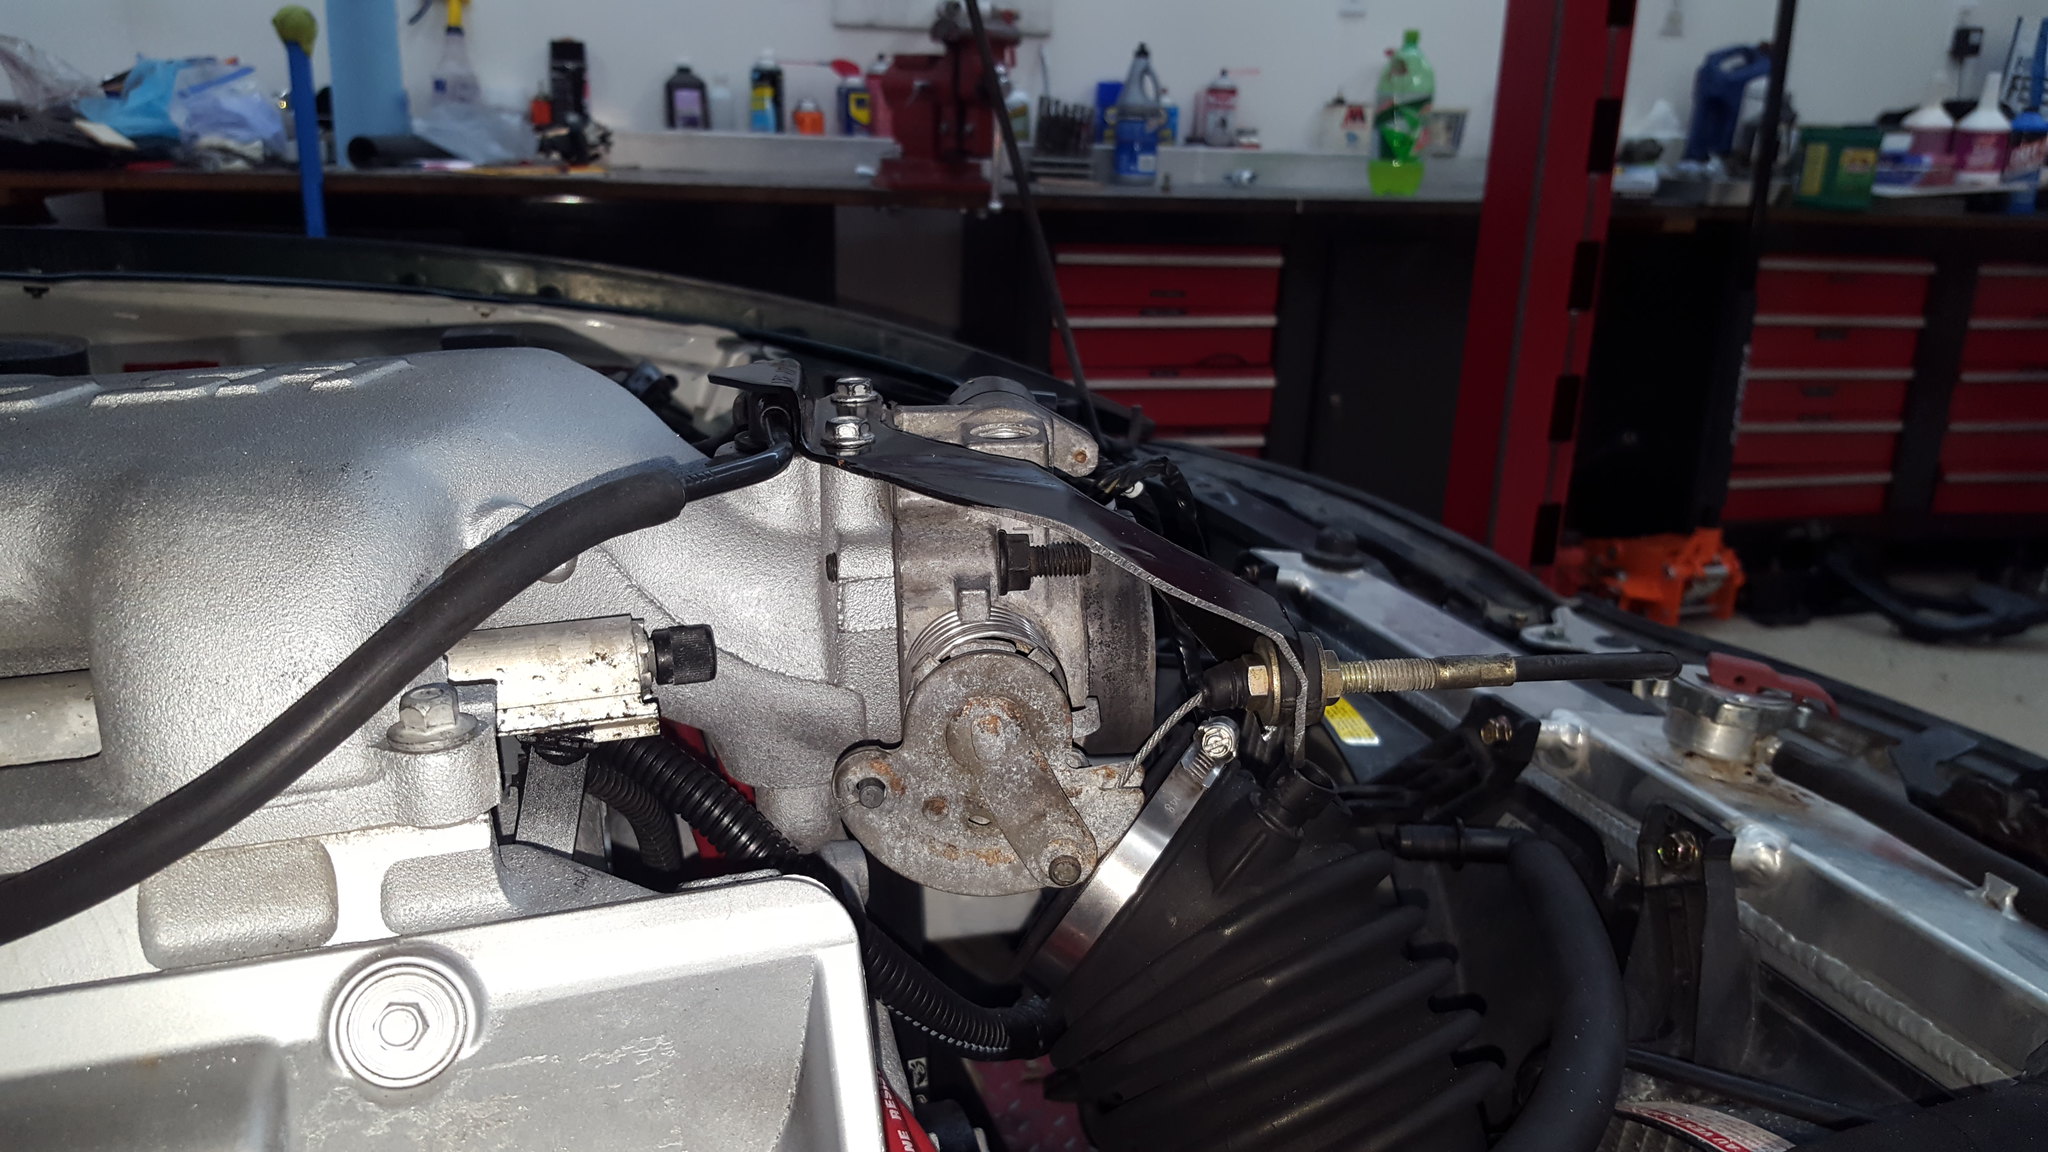
I went ahead and finished the water pump, installed the fans, tightened all the hose claps, filled and bled the cooling system, and went on to the front clip instead. Part of the front clip was sorting the throttle cable brackets, and making the hood fit. Spoiler alert: the factory air intake elbow wont fit with a hood no matter what I do. I have a plan, but don't know that it will solve the issues.
Anyway, mark and cut:
 20181201_172729 by Michael Crawford, on Flickr
 20181202_161657 by Michael Crawford, on Flickr
this is the final form of throttle bracket. Needs triangulation. but that has to wait until the intake is done so it all clears.
 20181202_161714 by Michael Crawford, on Flickr
 20181202_161702 by Michael Crawford, on Flickr
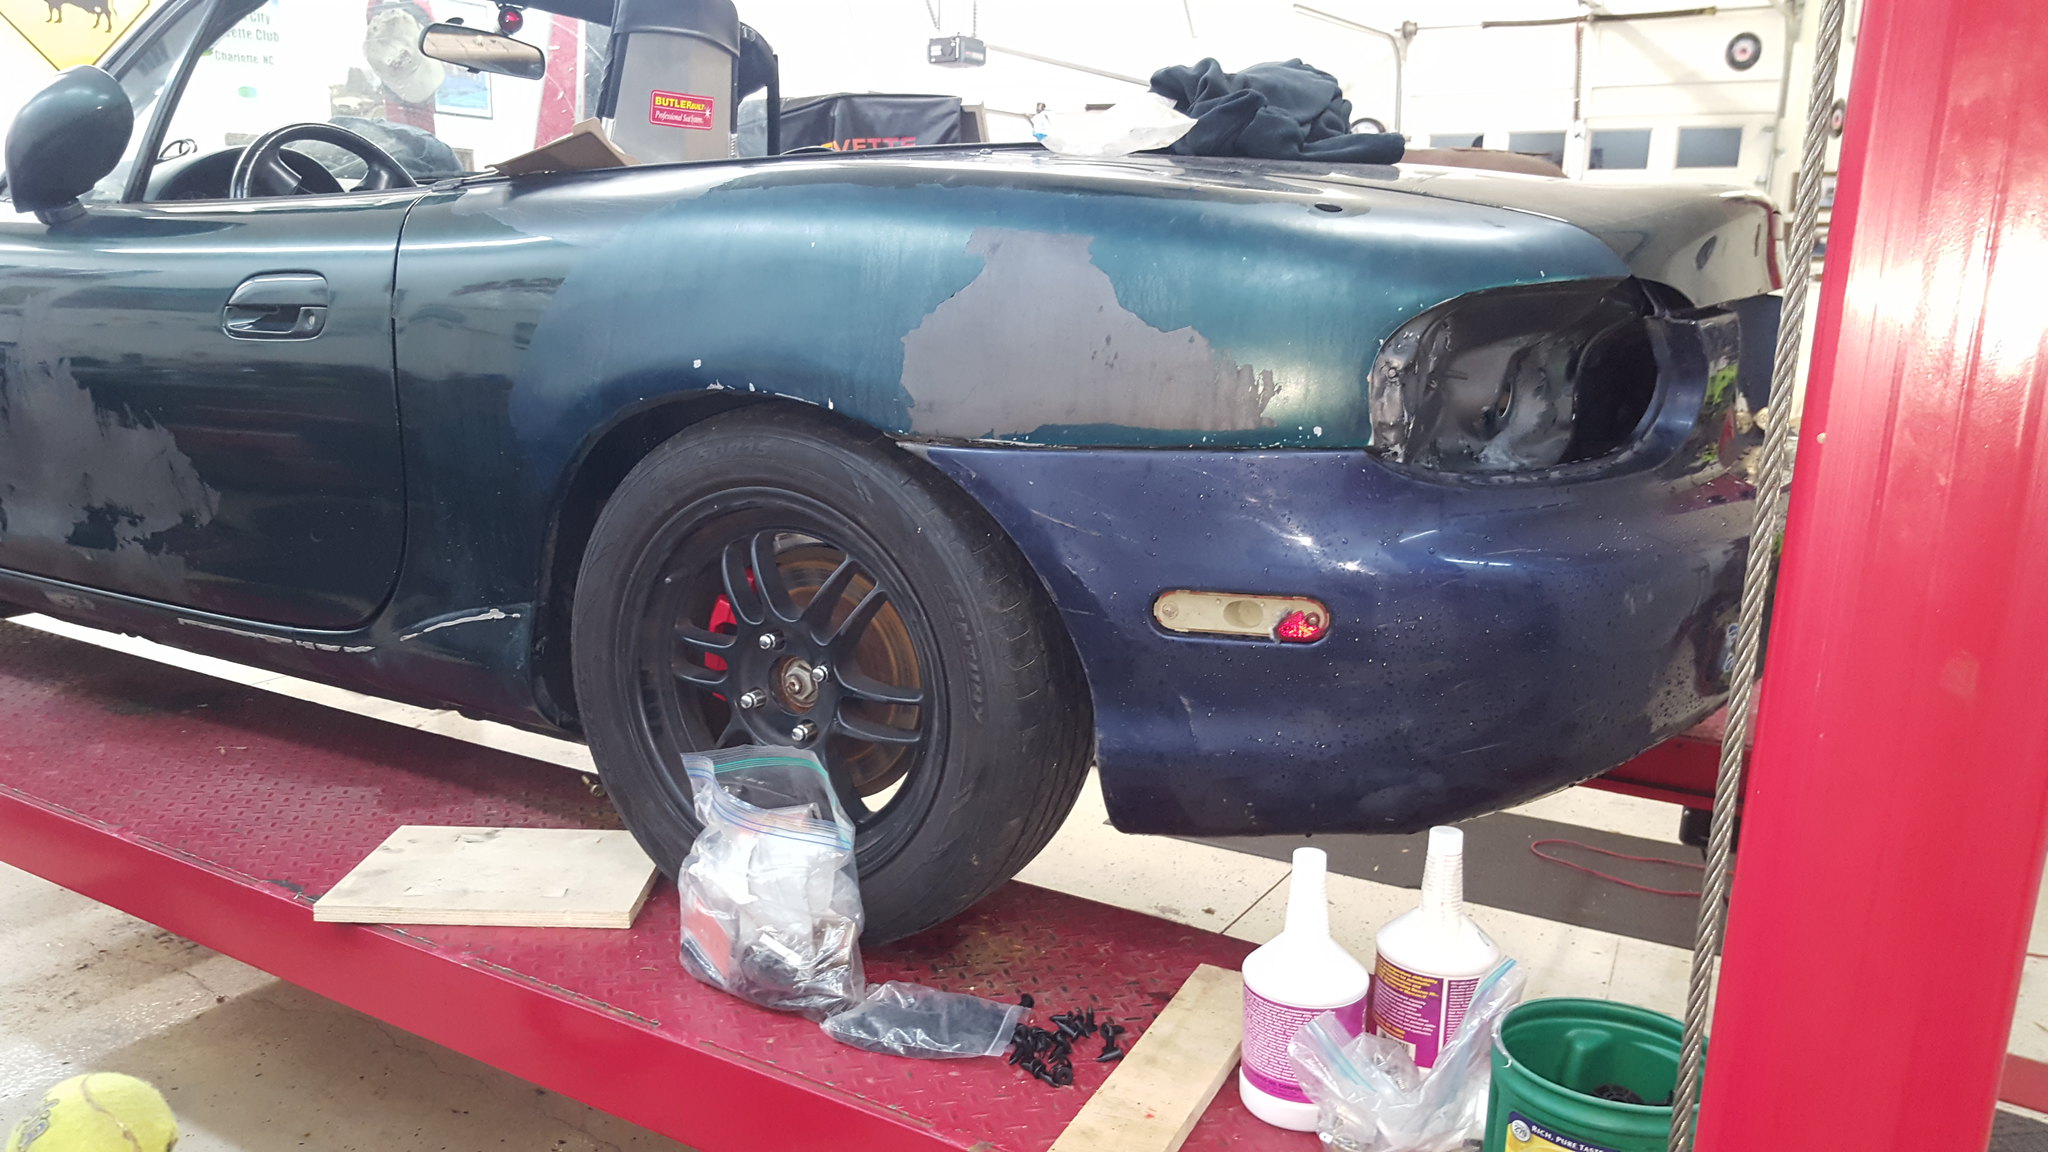
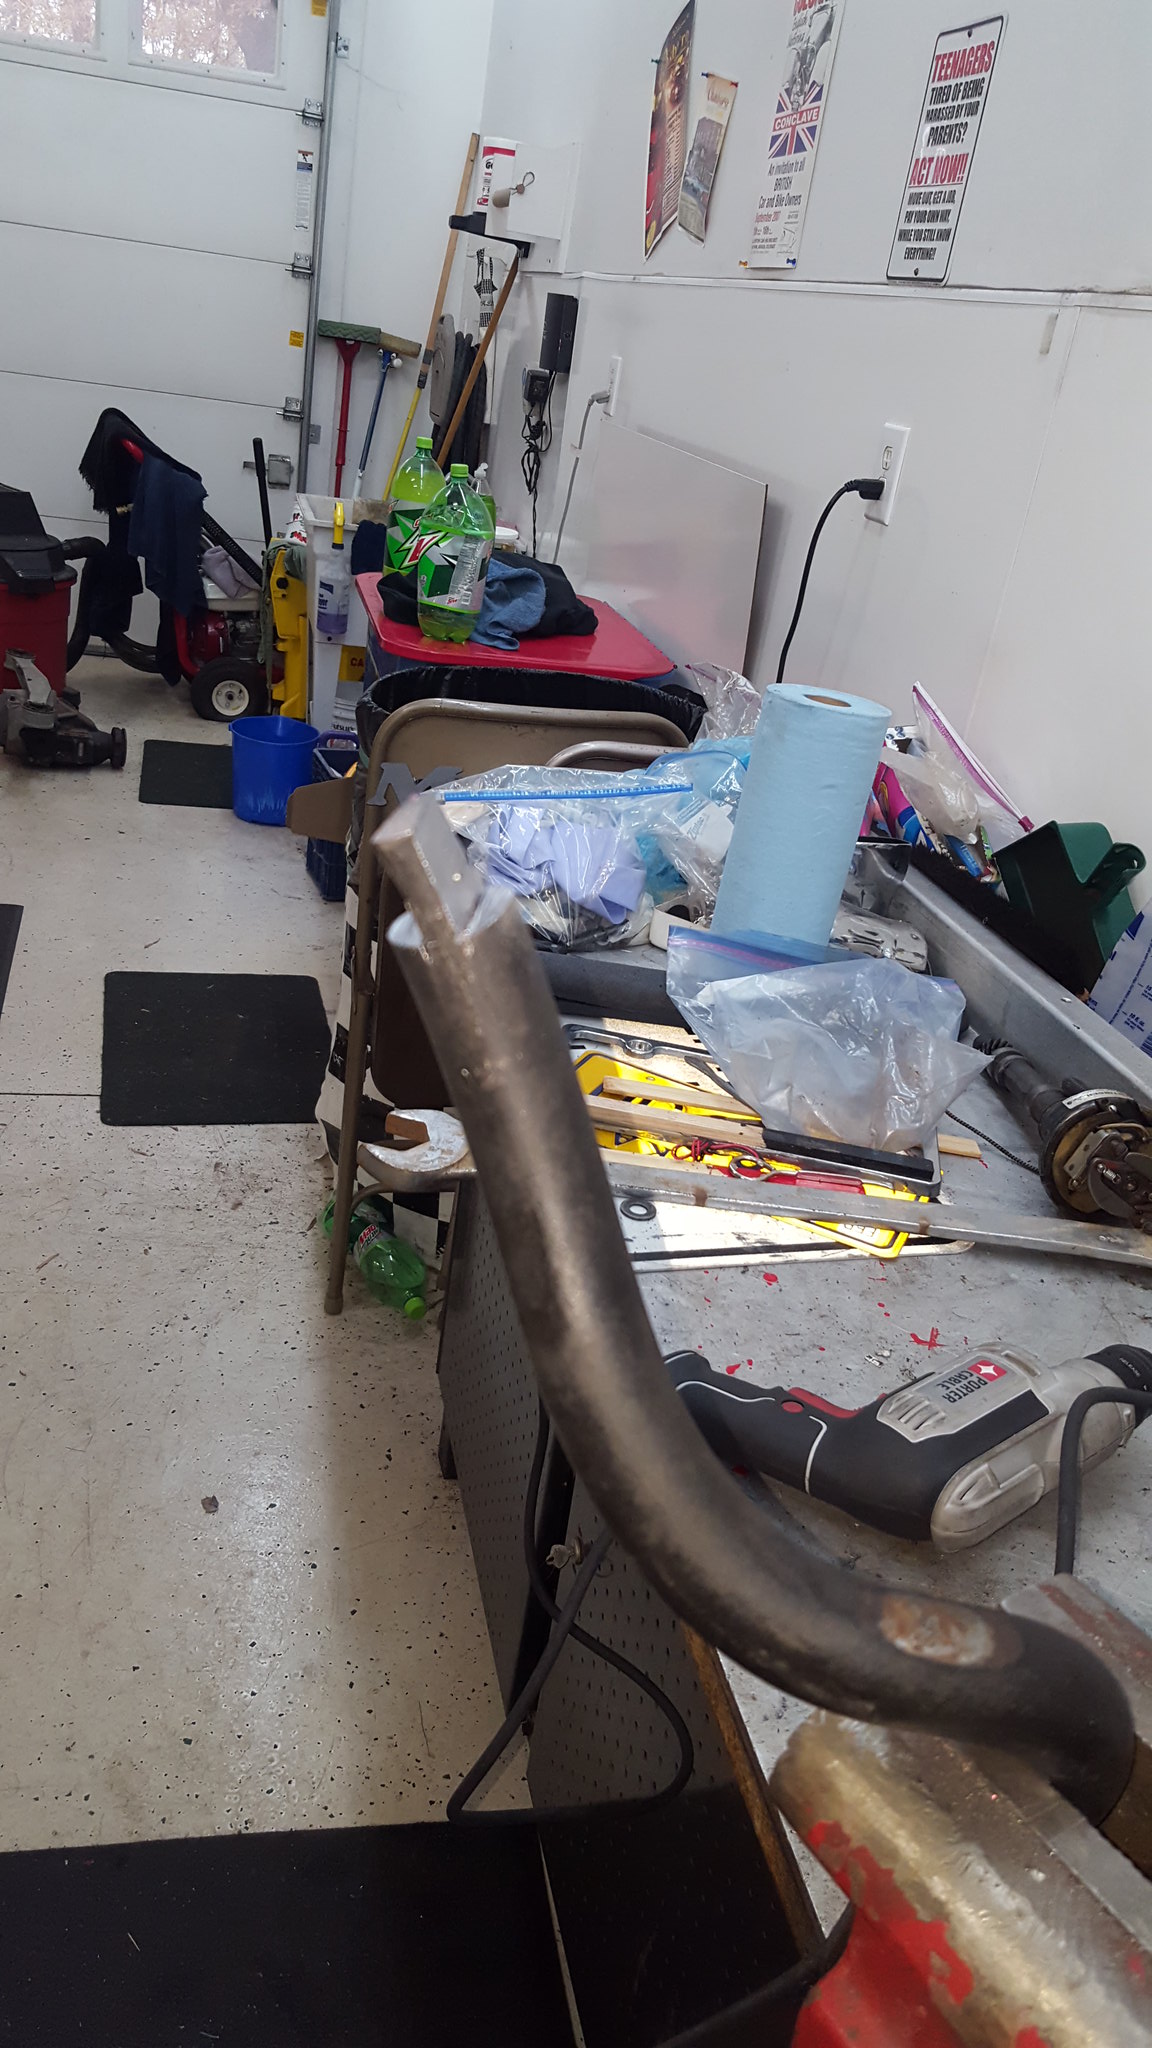
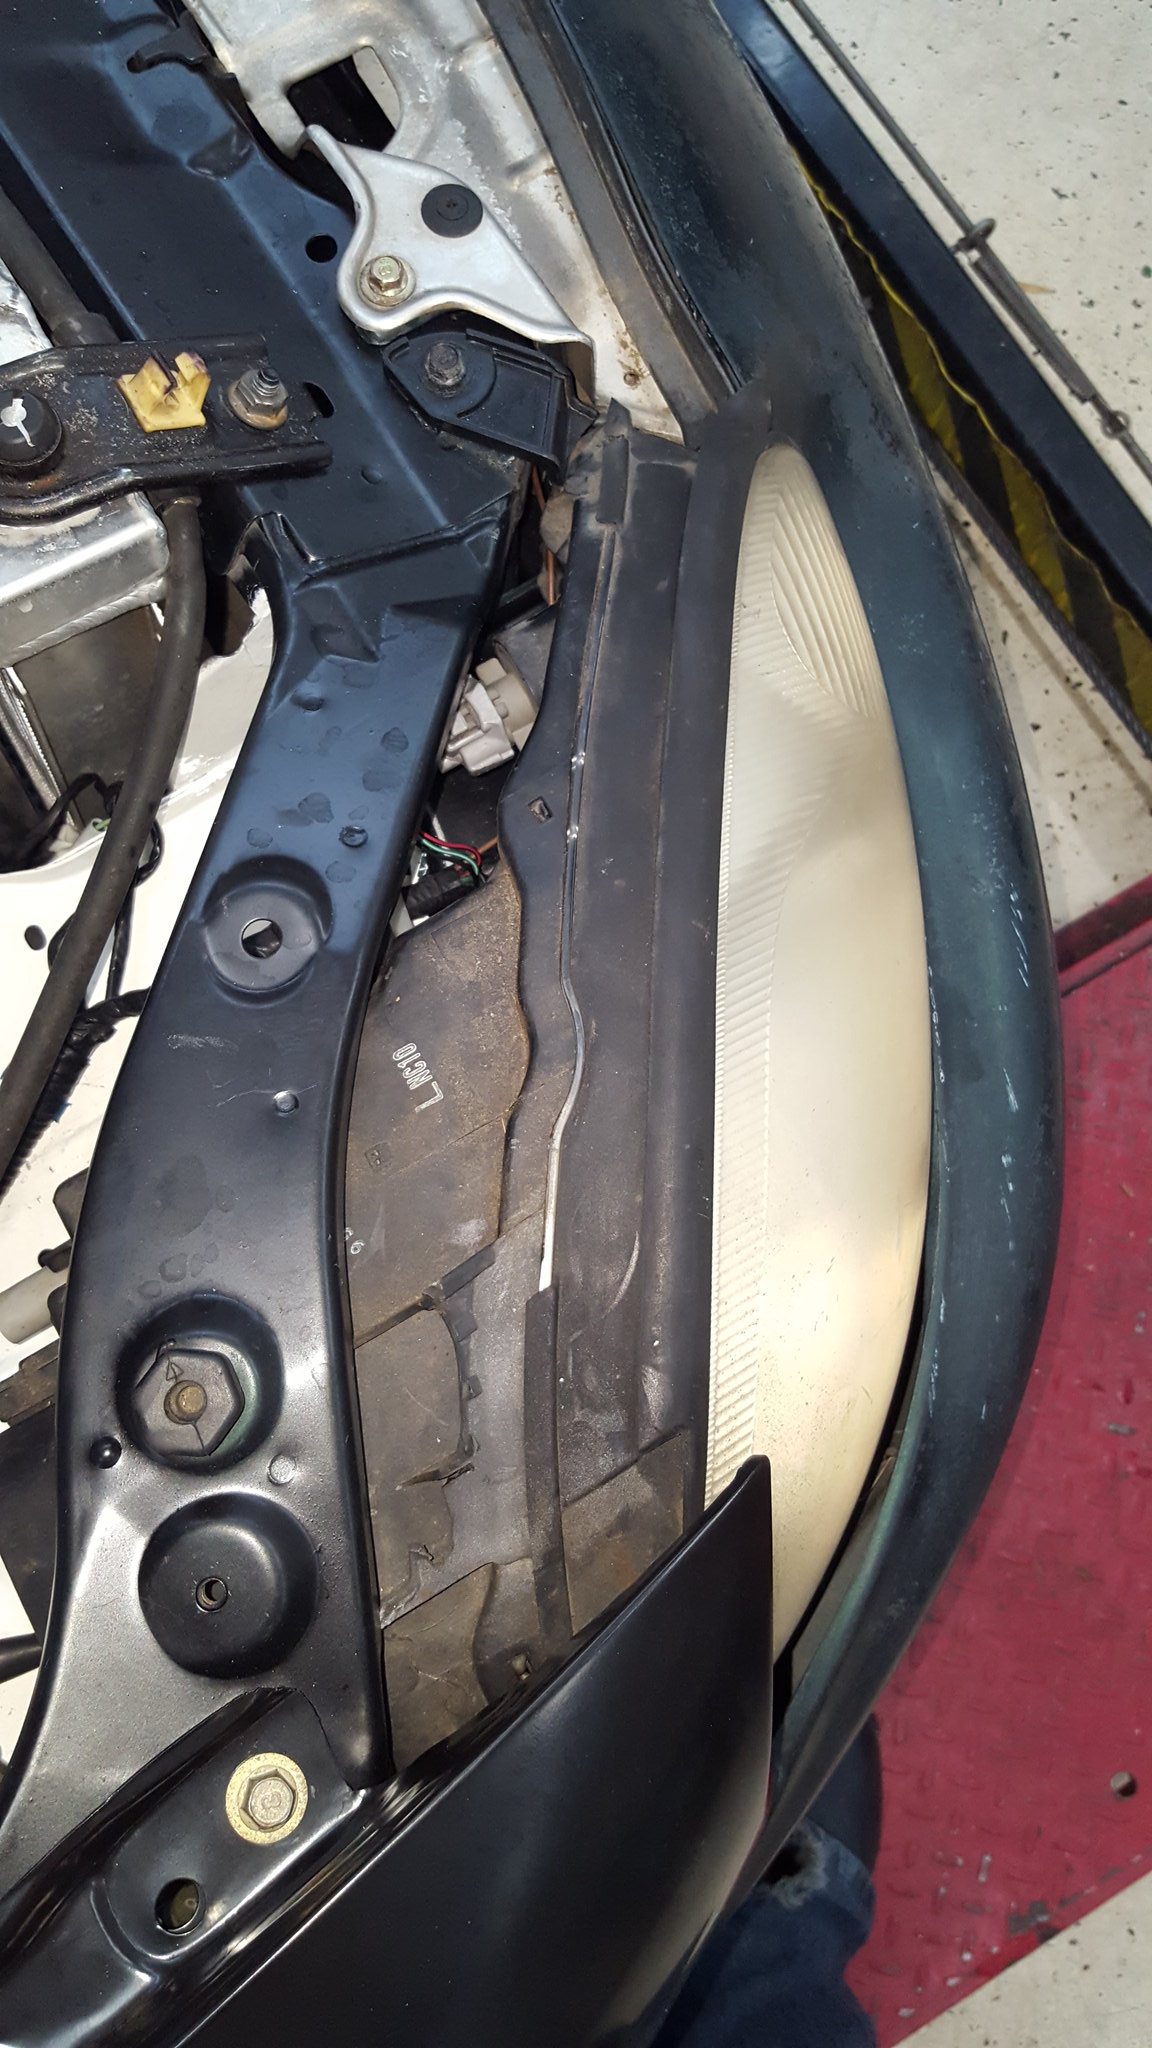
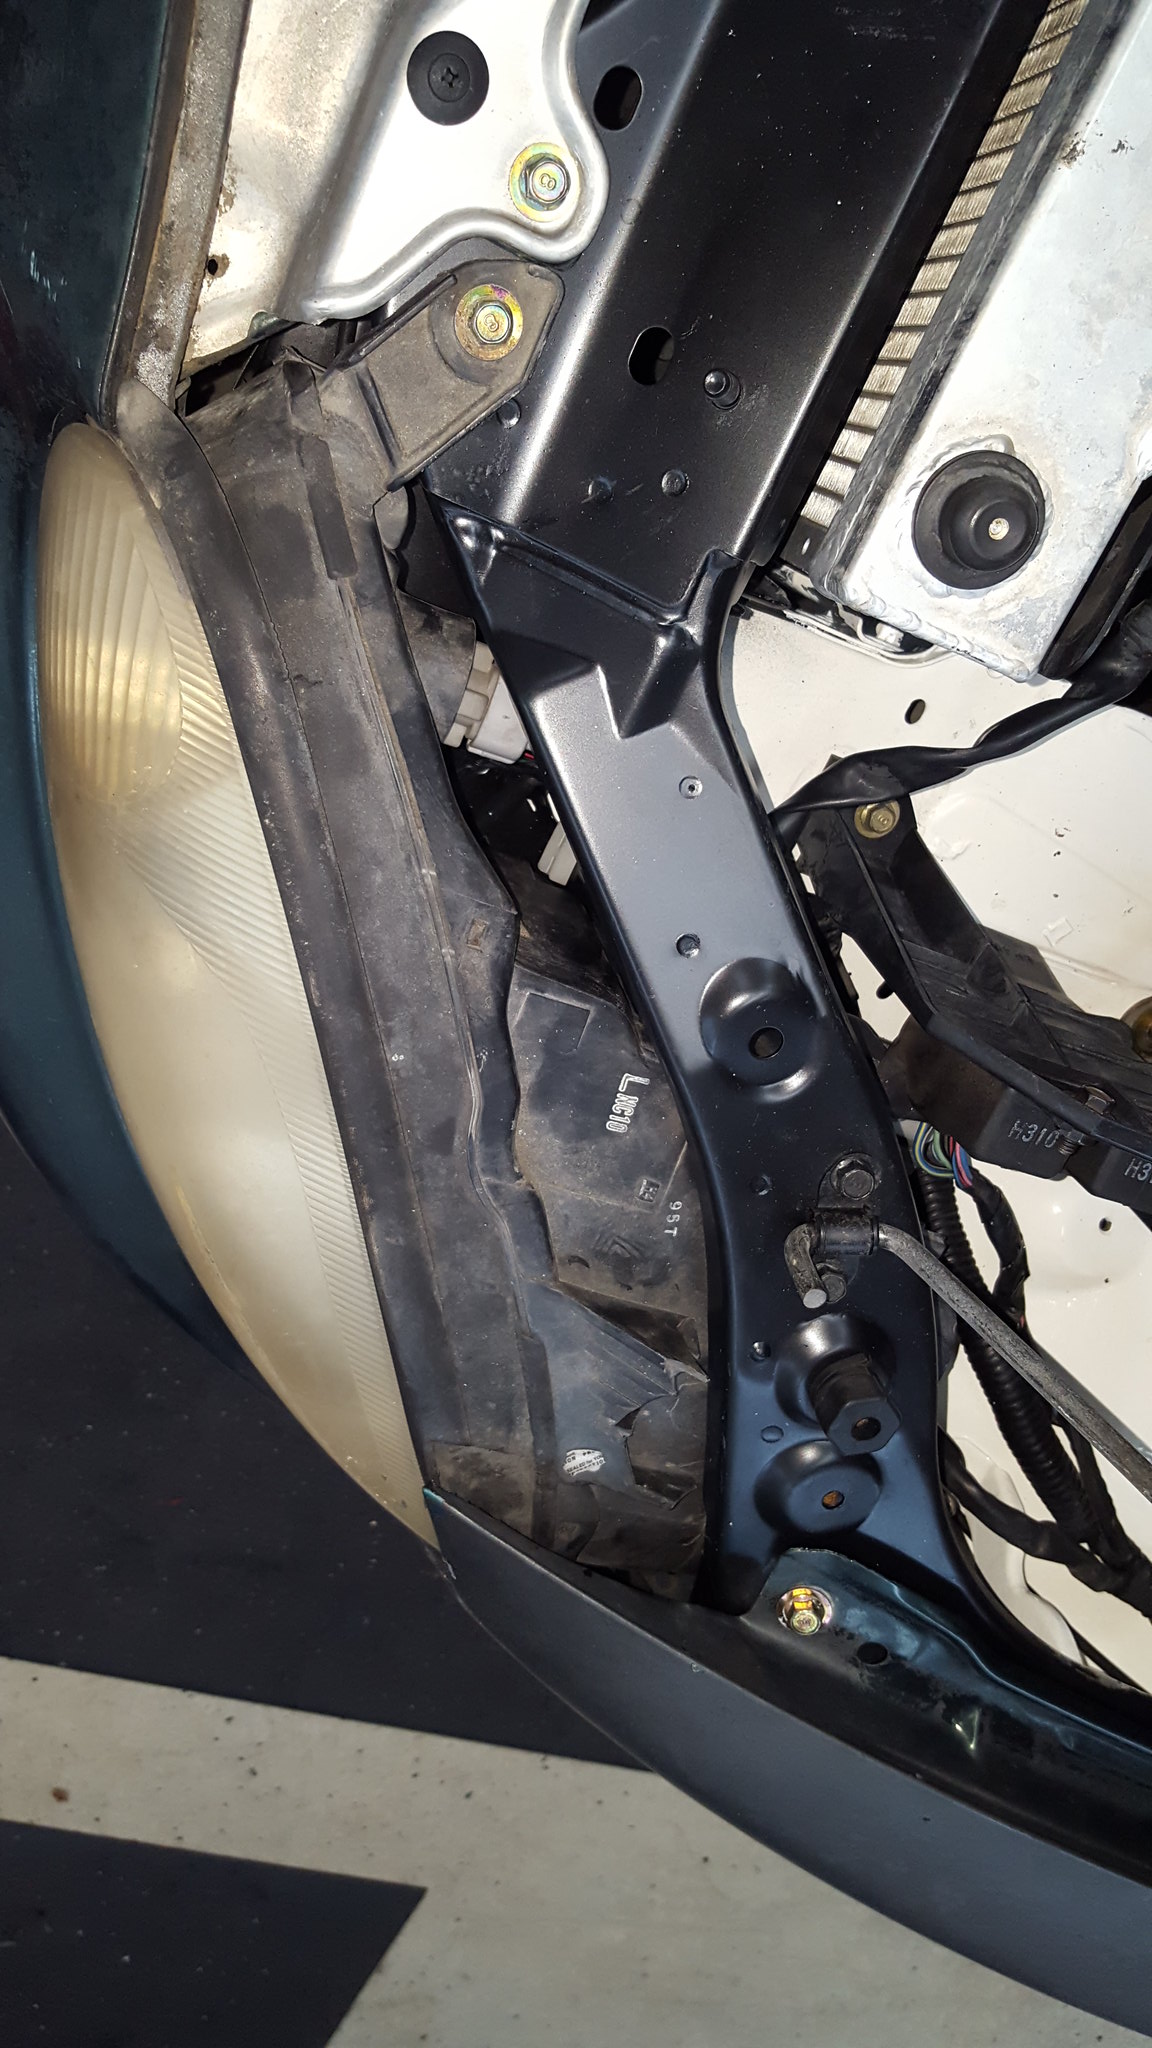
This snowballed into bolting down the fenders, bumper cover, figuring out that BOTH headlights are busted far more than I thought, and cleaning up the shop.
 20181202_161735 by Michael Crawford, on Flickr
 20181202_161742 by Michael Crawford, on Flickr
 20181202_161754 by Michael Crawford, on Flickr
 20181202_152829 by Michael Crawford, on Flickr
 20181202_161617 by Michael Crawford, on Flickr
 20181202_162040 by Michael Crawford, on Flickr
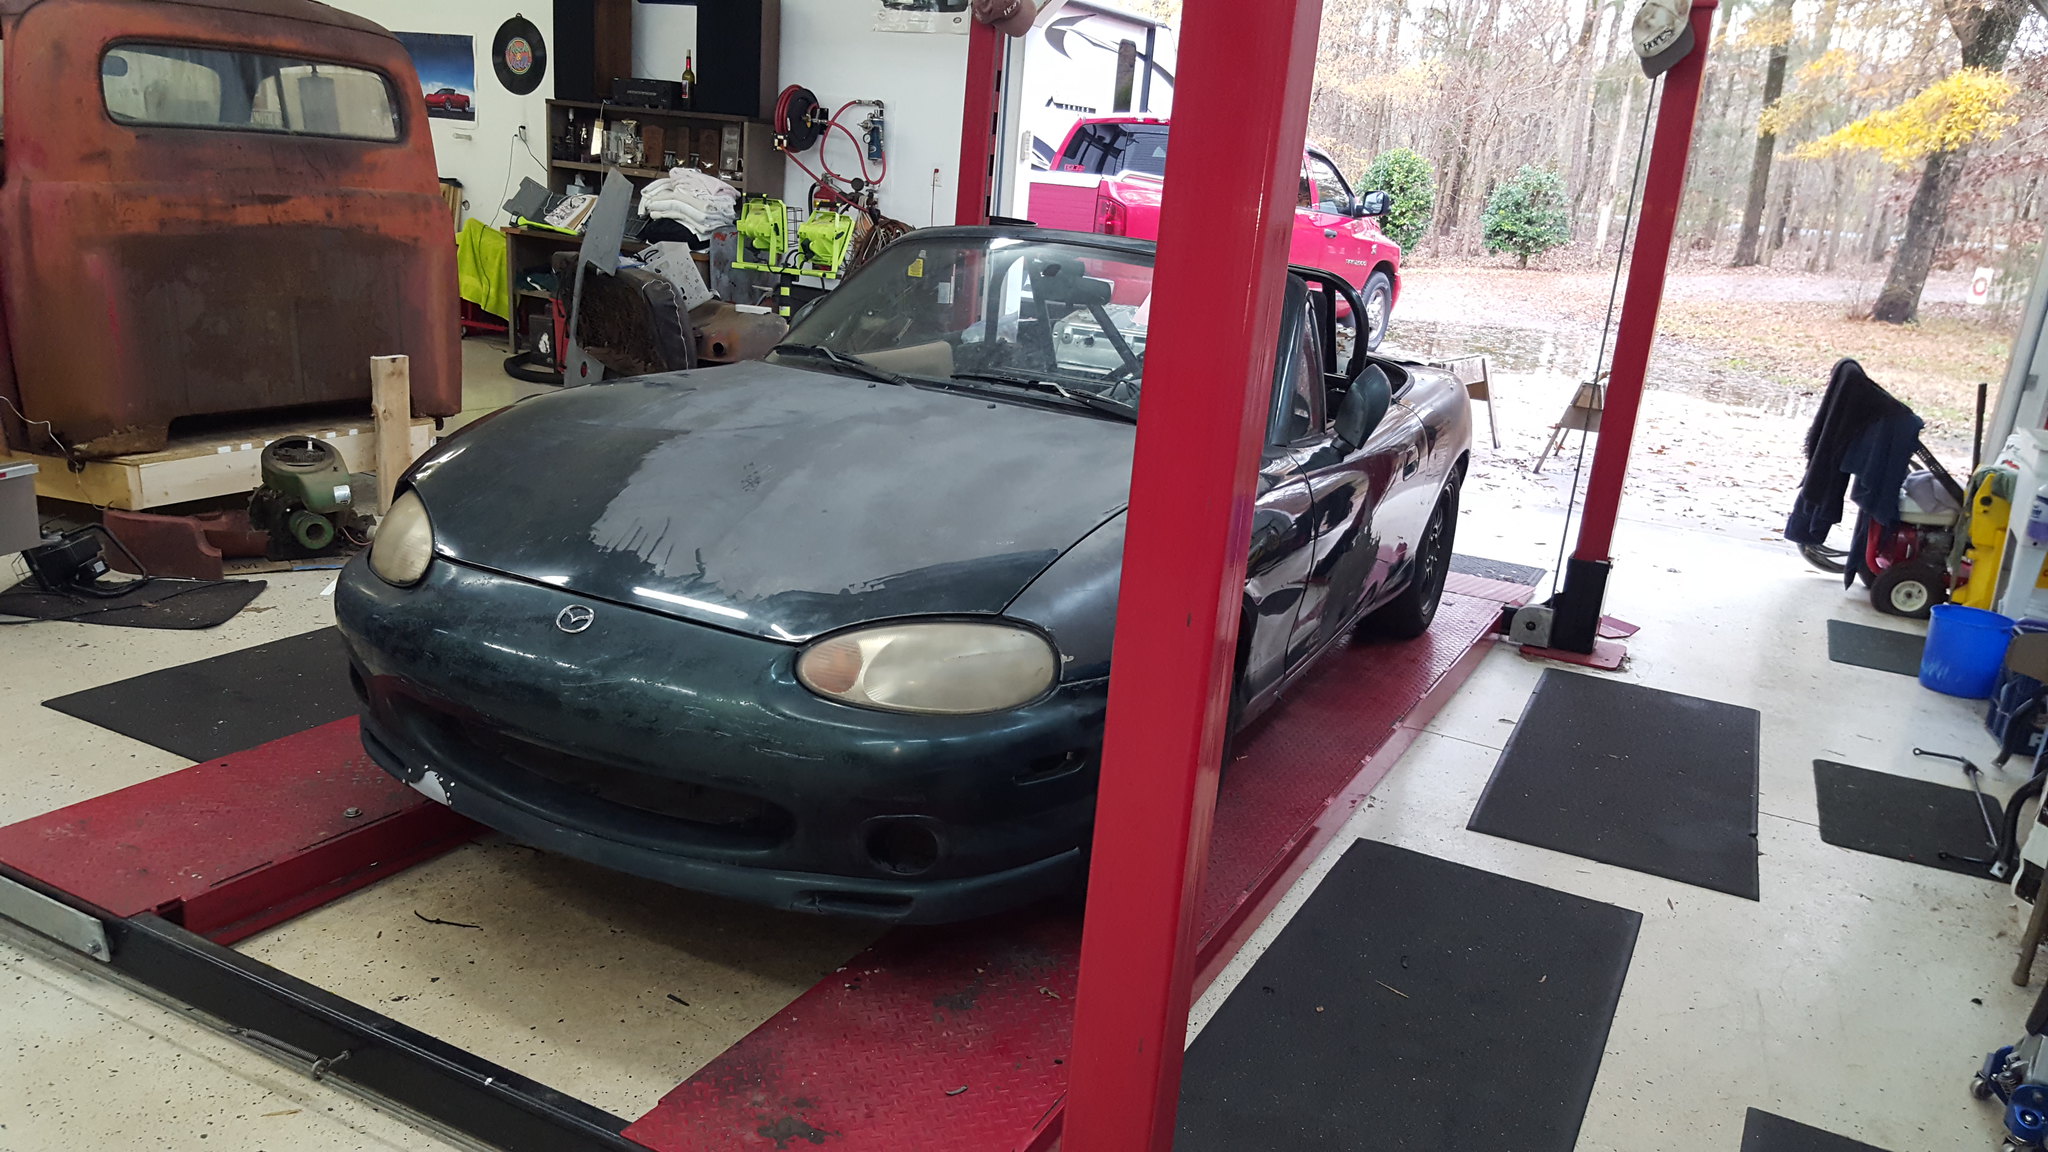
But, were definitely getting close!
 20181202_161637 by Michael Crawford, on Flickr
I really want to see this thing "take a lap"

Tough to bleed these clutches. Best way I have found is to push fluid down through it backwards. I have a handpump thing that does it.
Then, once it settles, bleed normally.
Only way I could get mine to bleed.
Also, it sounds like your master may be okay, but the rod may need adjusted. If it doesn't move back far enough at rest, the fluid won't get past the port.
In reply to wvumtnbkr :
Hmm....
You mean inject fluid through the bleeder on the slave? Then bleed?
In reply to Justjim75 :
Amen!!!
Dusterbd13-michael said:In reply to wvumtnbkr :
Hmm....
You mean inject fluid through the bleeder on the slave? Then bleed?
Yep. I have a reverse bleeder that was the only thing I could get to bled the htob on my Malibu. I use it anytime I can't get htob to bleed. Works well.
Or just gravity bleed it over a few days.
Im going to have to see of i can make a reverse bleed tool. Its worth a shot!
Idea: syringe, tubing, and one ove the pointy needles from the mytivac. Drain clutch master with the syringe so i know how much fluid it holds so i dont make a mess by overfilling.
Seems logical. But is it?
Anf the brakes have all the needed travel back. Just a matterof bleeding.
And then cutting a hole in the trans tunnel to get to the drain and fill plugs because theres not enough room to get a hand in there.....
From my nice cozy armchair, lookin good. Progress IS progress. Total is the sum of its parts. Kind of apropos that "bleeding" is what's holding you up, LOL.
Its always bleeding, ain't it?
From brain to wallet, so it seems.

In reply to Dusterbd13-michael :
I pressure bleed with a garden sprayer from the hardware store. You just need a second cap for the master cylinder reservoir to drill and fit a fitting. Hook the sprayer hose to the fitting and push fluid through the system. I do it with no fluid in the sprayer most of the time, but it works with fluid ,too.
In reply to DeadSkunk :
Ive got a motive bleeder for gm stuff. Had thought about making a miata adapter for the brakes.
Clutch, on the other hand.....

Dusterbd13-michael said:In reply to DeadSkunk :
Ive got a motive bleeder for gm stuff. Had thought about making a miata adapter for the brakes.
Clutch, on the other hand.....
I used the Motive on my Miata’s clutch & brakes. It worked fine for both.
 I'm experimenting with composites for aero. Because ive been thinking about it for way too long.
My first attempt is with headliner adhesive (first glue i came to), two bits of .030 aluminium sandwiching a piece of scrap hardboard.
This would be for the splitter, spoiler, and flat floor if it proves strong/light/cheap enough.
As a guy that has NEVER messed with diy composites like this, or aero, im open to any and all feedback and tips.
Oh, and clutch stuff: apparently the miata clutch master is too small. So, 7/8 is the reccomended size. Im hunting for one.....
if the headliner cement fails 3m makes a glue for quarter panels, its strong enough to replace welds, I don't know the name. After a Nova popped its quarters on launch my buddy put new quarters on with this glue, I thought he was crazy but it held up.
I have never made any aero stuff so I will learn from any mistakes and if it works I plan to steal your ideas. Not sorry either ![]()
Well, the composite turned out to be pretty flexible to be honest. I think it will be fine for flat floor and diffuser, and maybe even the spoiler, but definitely not the splitter.
Santa (we did our family Christmas this weekend) brought me harnesses, a 90 degree silicone intake elbow; and si.e tiltin masters.
Ginna see what happens today before family lunch.

If you are still hunting a 7/8 brake master and need suggestions, the early Datsun z cars used one. 70-78.
I THINK i have a good one.
You'll need to log in to post.


