1 2 3 4 5 ... 7
Woody
Woody GRM+ Memberand MegaDork
2/5/15 7:23 p.m.

So... with the car cleaned up, running great, and with it's new snow tires mounted, I've been driving it every chance I get and I'm really enjoying the car.

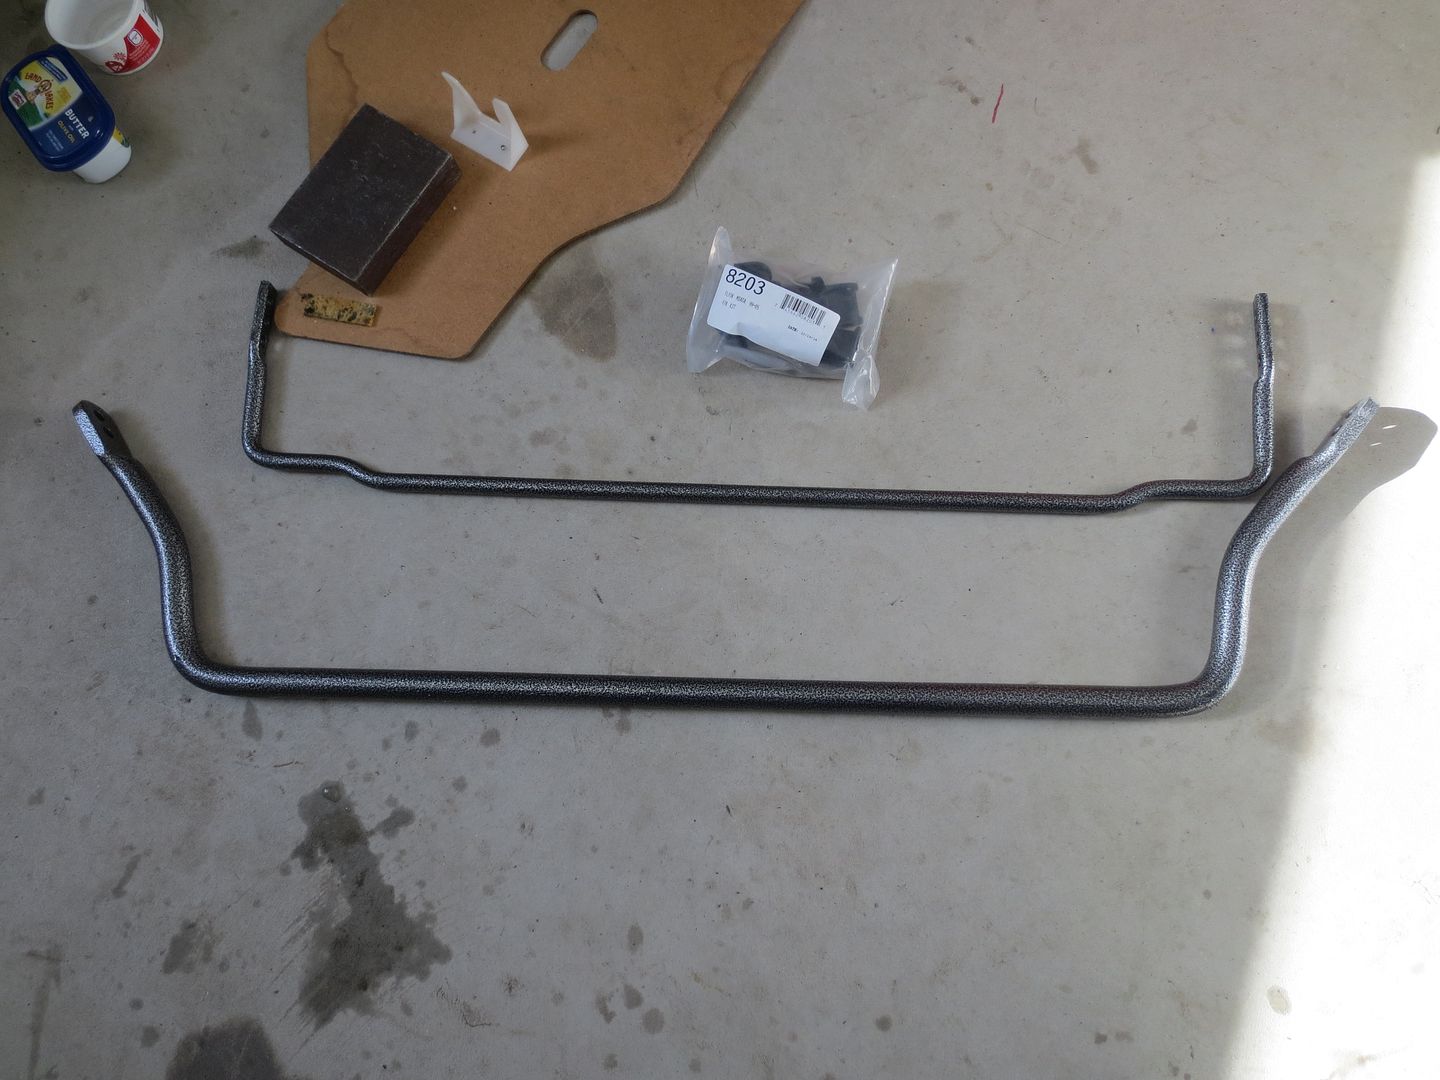
It's been a long time since I've driven a completely stock Miata. I didn't really plan on modifying it at all when I bought it, but I was surprised at how much body roll it had for a car with such a low center of gravity. I decided to splurge and ordered a set of Flyin' Miata sway bars.

 photo Sway bars 005_zpsjepqf1fl.jpg

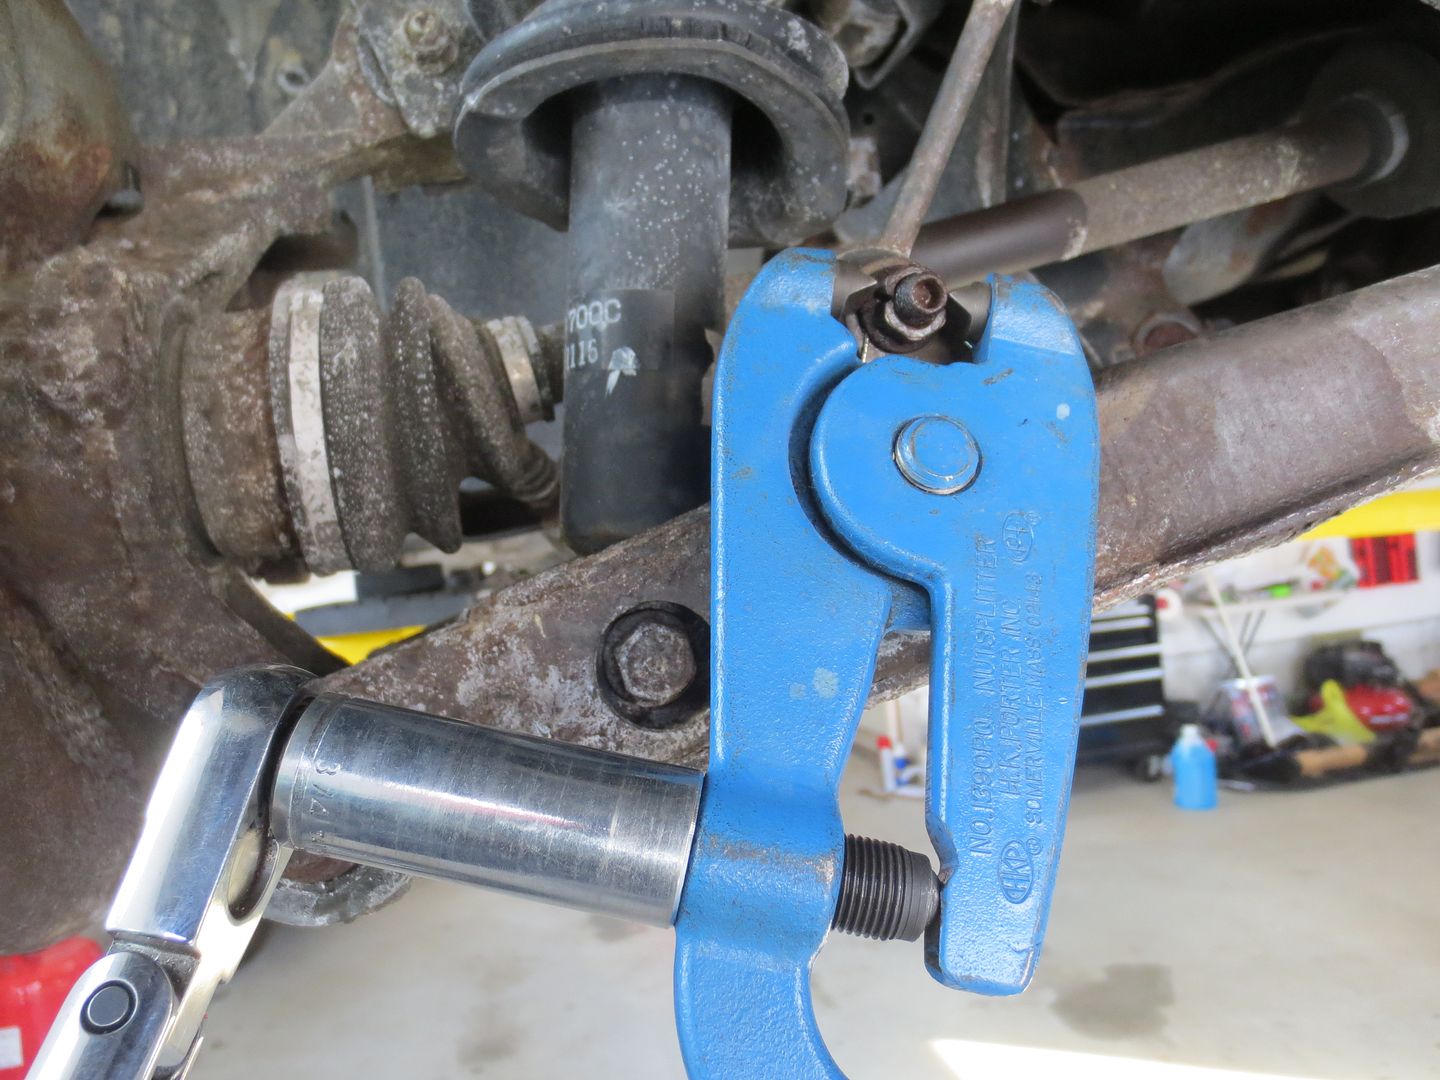
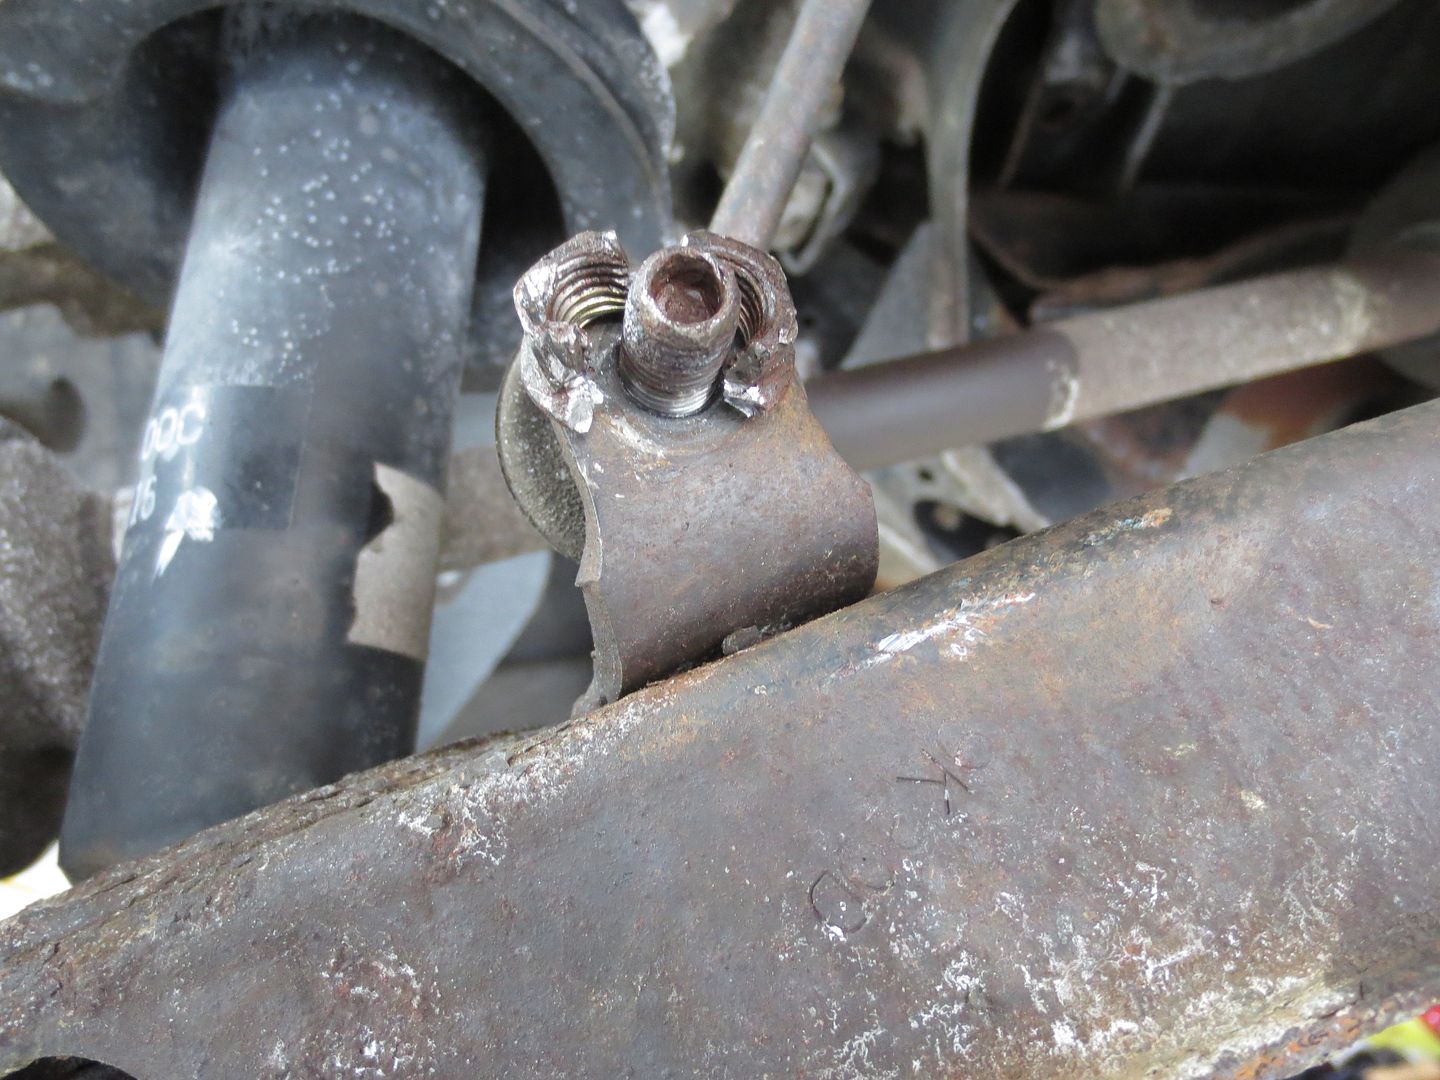
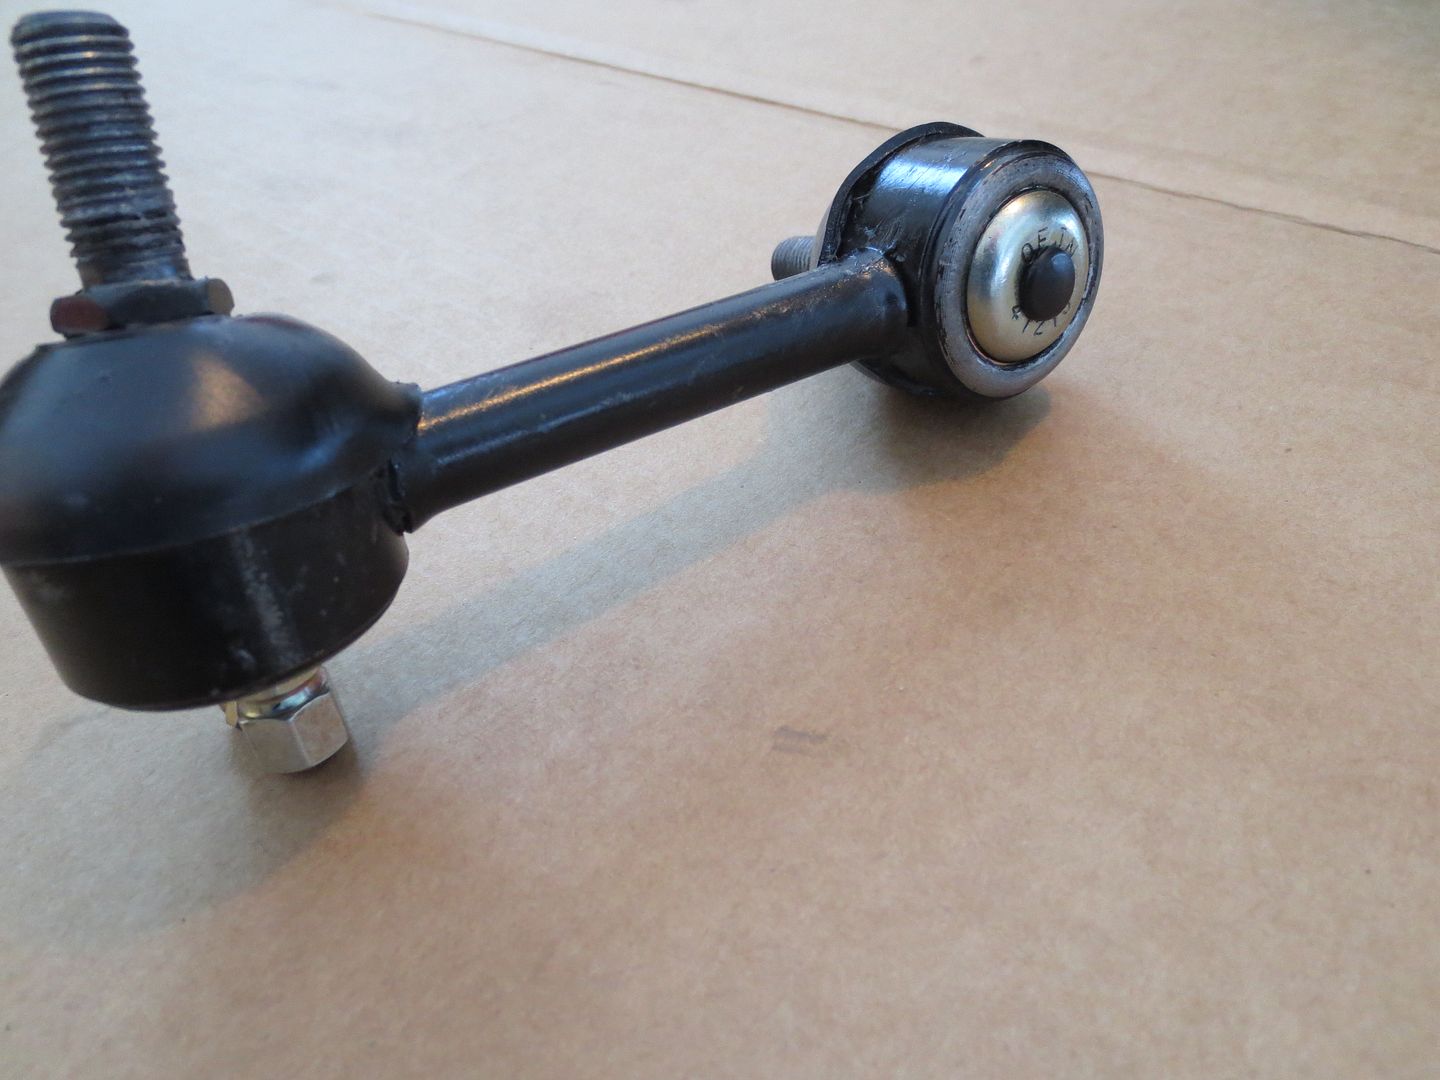
I had planned on reusing the factory end links. I've used two different brands of aftermarket adjustable end links on Miatas in the past and I didn't really like either of them. Unfortunately, my old links gave me a lot of grief coming off. NB links have ball joints on both ends and you're supposed to keep it from spinning with a hex wrench while you loosen the nut with a combination wrench. Using an impact is not an option. In spite of a few days worth of PB Blaster, there was just enough corrosion to keep them from coming apart. The nuts backed off enough for the whole thing to spin and the hex stripped out. The torch wasn't an option because there is rubber and plastic around the ball joint. After destroying one of the front links, I used a nut splitter to get the others off.

 photo Sway bars 001_zpsmldnddcu.jpg

 photo Sway bars 007_zpsedkt4xru.jpg

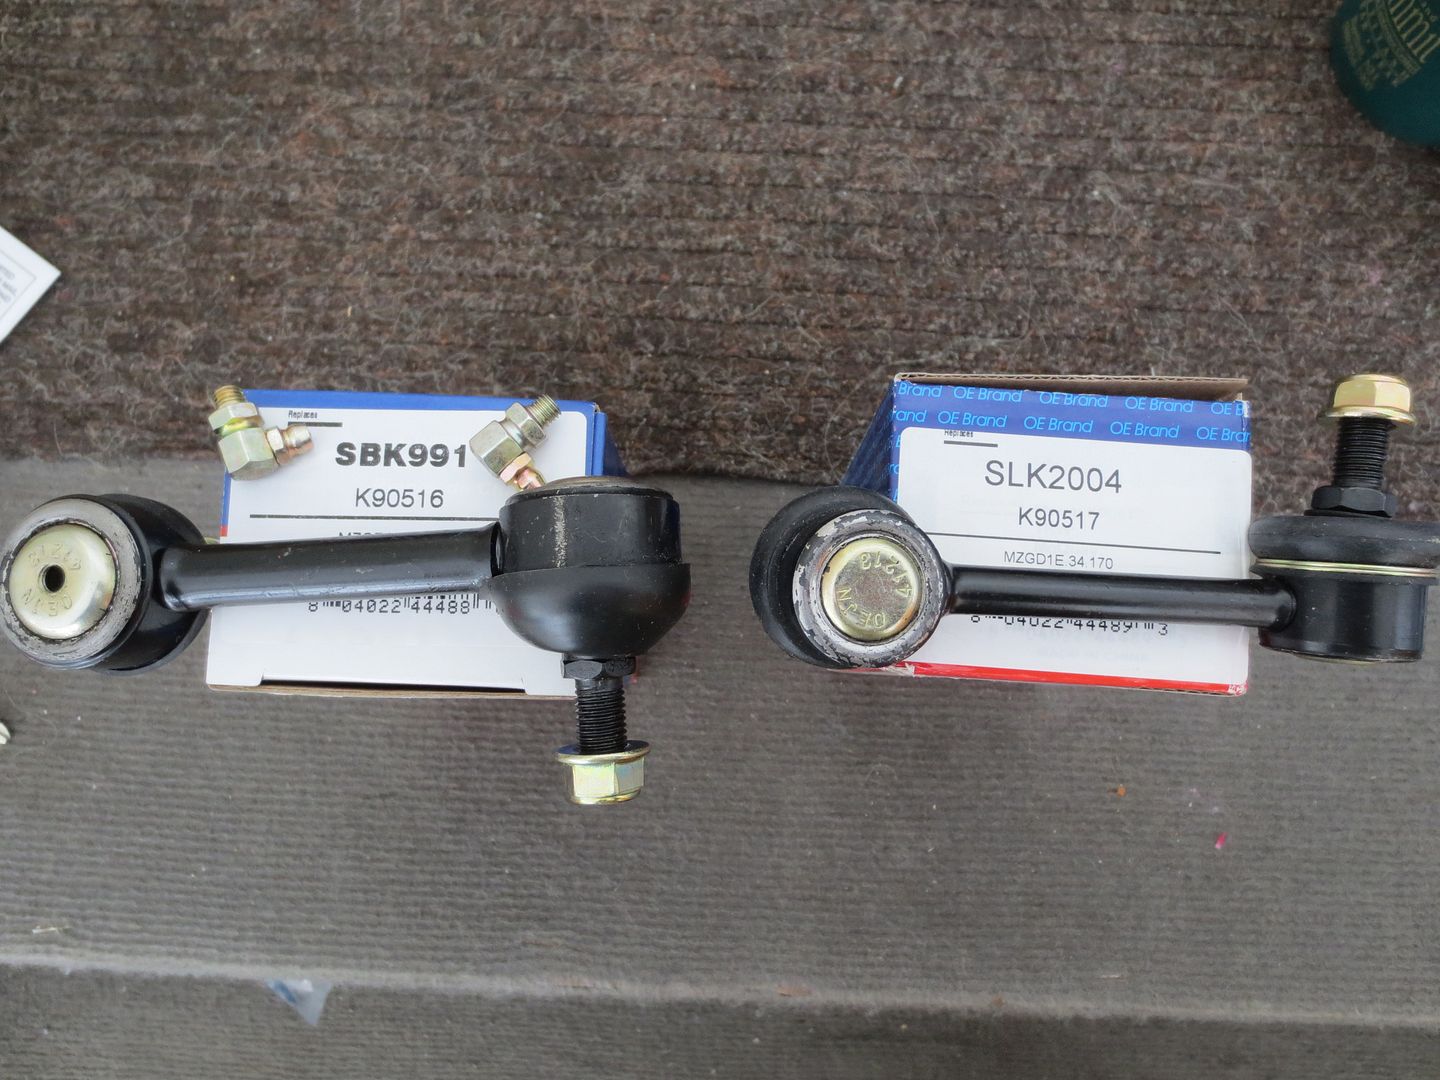
At this point, I just wanted them off. I decided to replace them, but the Mazda ones were something like $80 each. I found two Moogs locally for the front and since I was still a couple of days away from getting around to the rear, so I ordered a pair of some other brand from eBay. The aftermarket links are the same length as the factory pieces, but a lot fatter. Unlike the originals, the Moogs came with grease fittings. I was surprised and disappointed to find that even though the rears were ordered as a pair, one came with grease fittings and the other was sealed.

 photo Sway bars 013_zpsjrt9gkxn.jpg

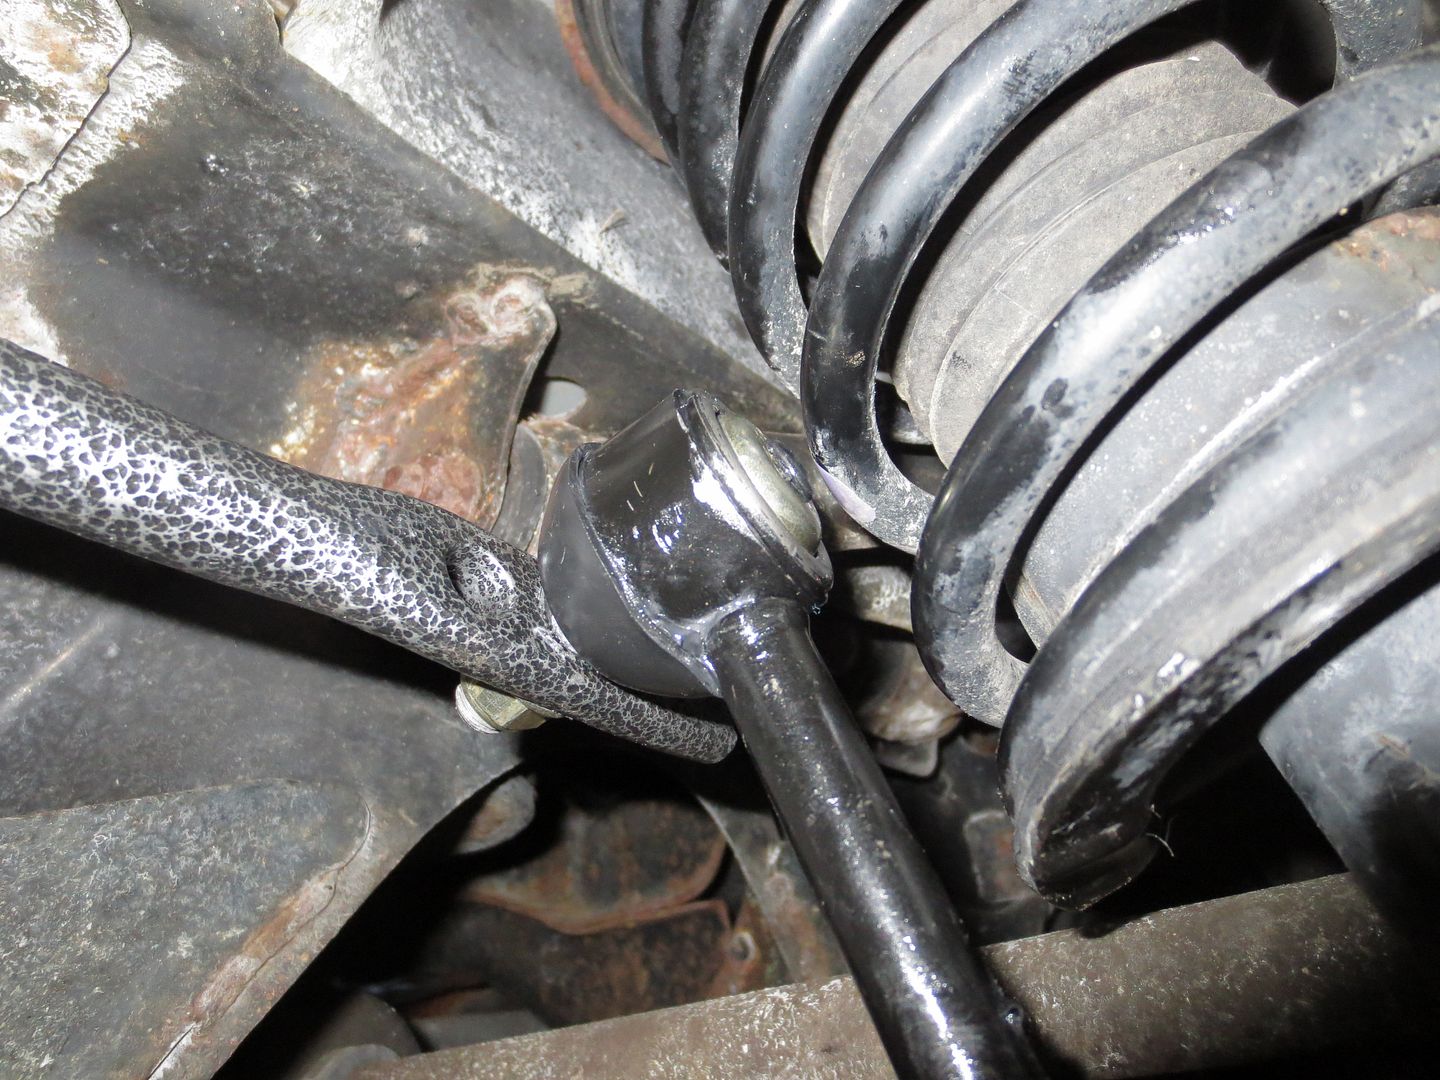
At this point, I was liking the idea of grease fittings, but when the rear links were set into the center hole on the sway bar (as recommended by Flyin' Miata), the upper fitting wouldn't clear the spring. My solution was to fill the upper ball joint with grease, then remove the fitting and replace it with a rubber plug.

 photo Sway bars 020_zpsccisx1tg.jpg

 photo Sway bars 022_zpsszkf3bns.jpg

I may eventually replace them all with something better, but for now, I'm satisfied. The car corners much flatter, which won't matter a whole bunch in the snow but it will be a lot more fun on the road.

Woody
Woody GRM+ Memberand MegaDork
2/5/15 8:44 p.m.

With all the big stuff taken care of, I still had a few minor things that I wanted to get out of the way.

According to the sticker on the windshield, the car was due for an oil change. I figured that this meant that it had been 3,500 miles since the last one (I usually go 5k), but I wasn't sure what kind of oil was in there or how old it was since the car had been sitting for a while. I found that it's not any easier to get at the oil filter on an NB than it was in my NA's, even with a lift.

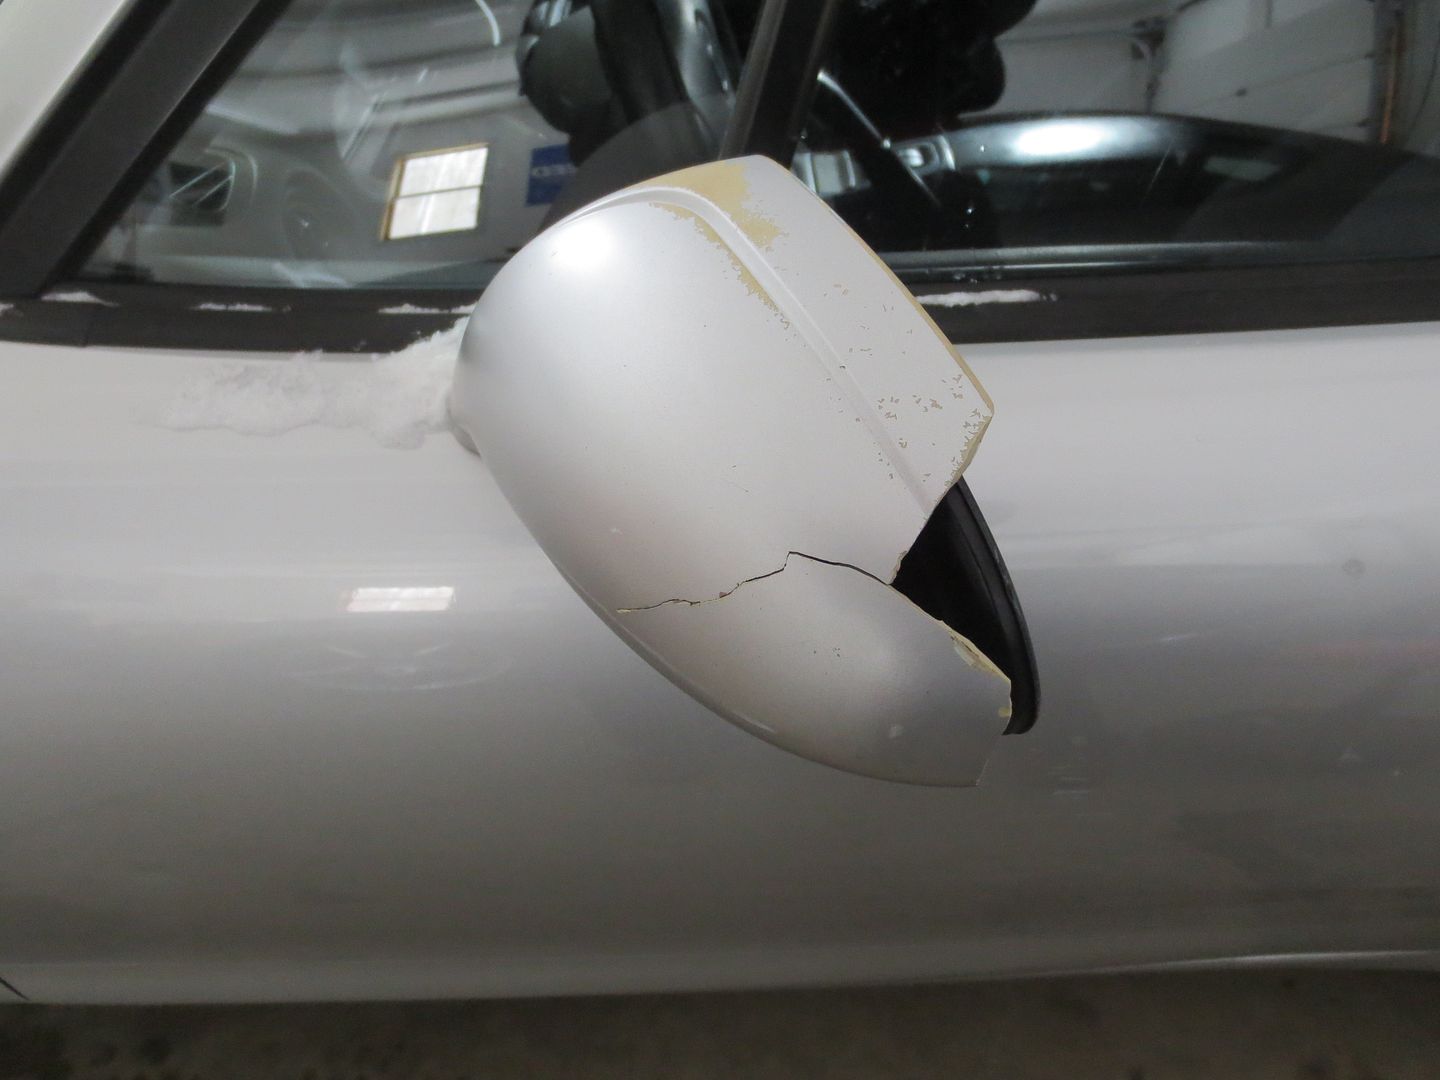
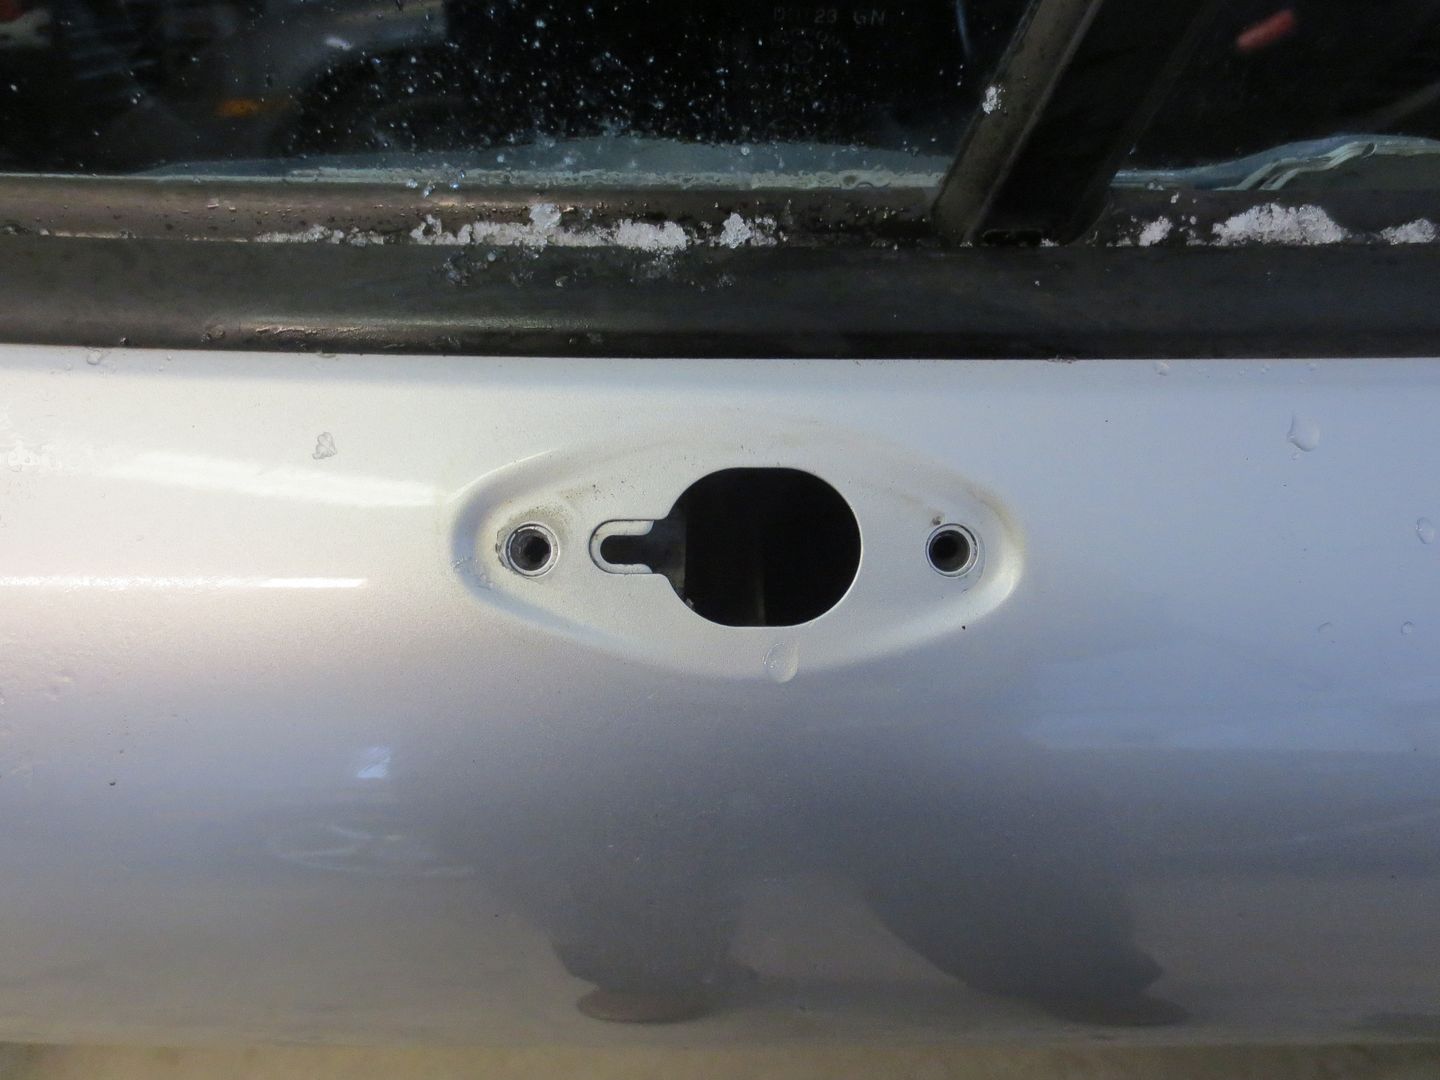
With the oil change done, I moved on to the driver's side power mirror. The motor worked, but the car came to me with a broken housing.

 photo Mirror and Horns 001_zpsgc5b5tif.jpg

I had a bit of a false start on this part of the project. I bought a used mirror from a junkyard that had been badly spray painted black. I figure that I would take it apart, strip the old paint and reshoot it in silver. I used aerosol Citristrip to remove the black paint, primer and then the original green. As I got down to the bare white plastic, it was getting really sticky and I realized that the paint stripper was dissolving the plastic. My first used mirror went into the dumpster.

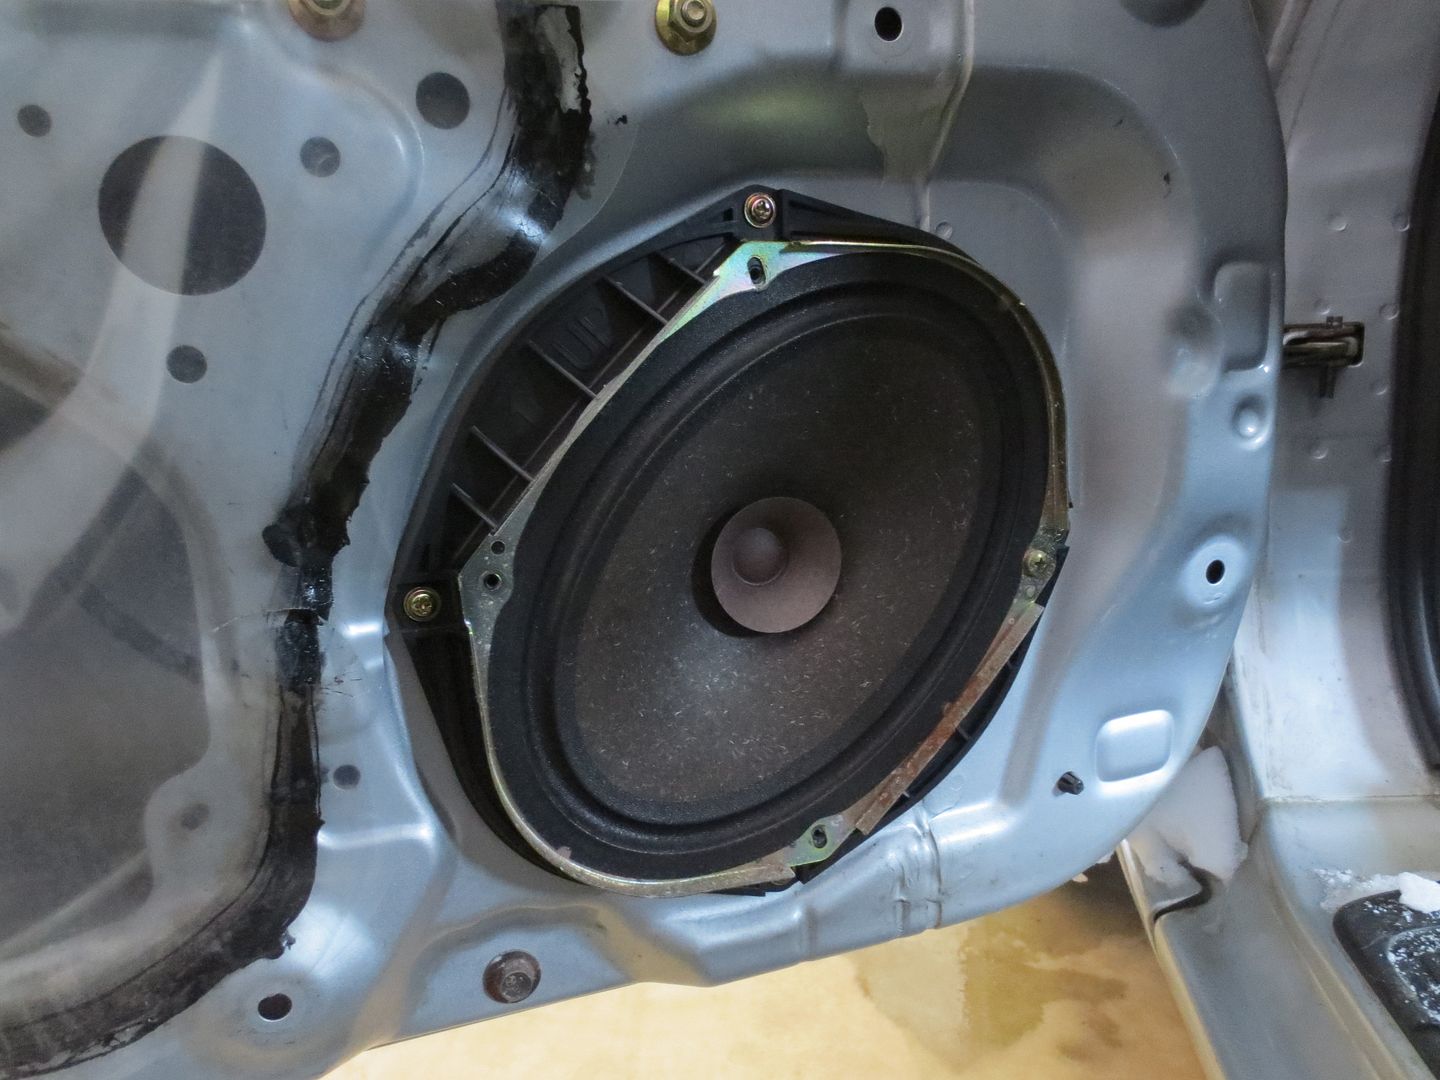
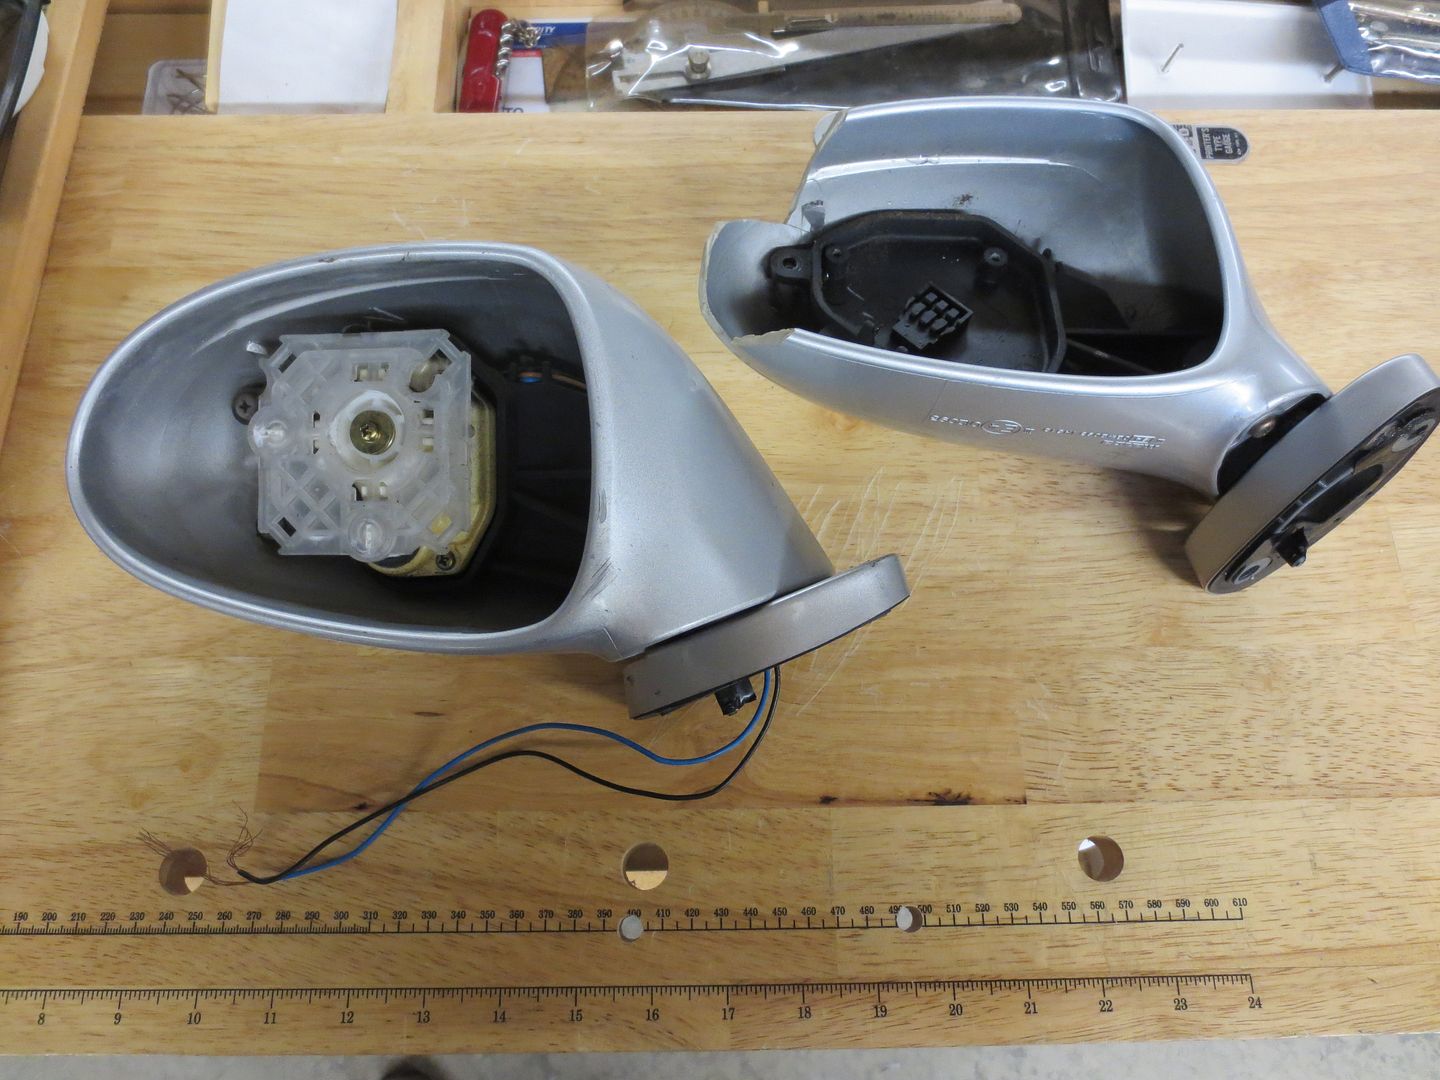
I found a second used power mirror on eBay with very good original silver paint. It was even reasonably priced. The only problem with this one was that the wires were cut. I disassembled both of them and swapped over my original wiring. To get the old mirror off, you need to remove the door panel and then the speaker to get at the electrical connection.

 photo Mirror and Horns 004_zpswmkh8ak8.jpg

After it's unplugged, you bump the mirror assembly forward and remove the two mounting screws.

 photo Mirror and Horns 005_zpspiyxsuiq.jpg

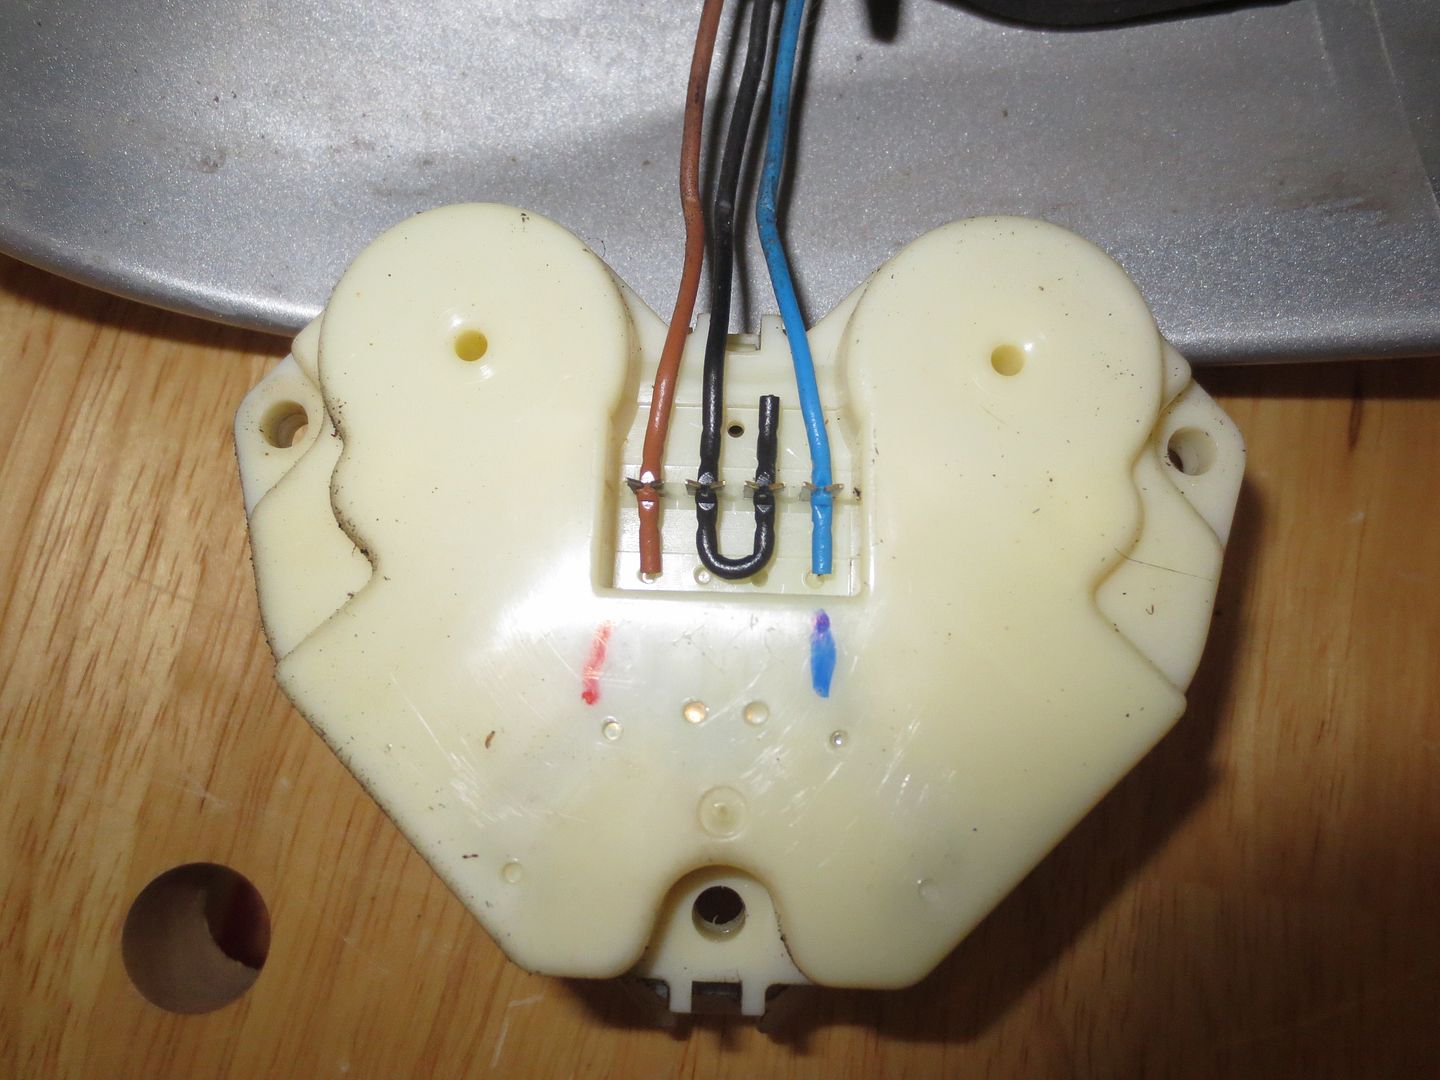
To remove the mirror glass, you push the top of it and pull on the bottom and it pops right off. The only way to get the wiring out is to remove the white plastic motor assembly (three screws), flip it over and disconnect them from the back.

 photo Mirror and Horns 008_zpszczmckea.jpg

The wires just press into the contacts. They work similar to a Scotchlock connector. When you press them in, the metal cuts through the insulation and makes contact with the copper wire inside.

 photo Mirror and Horns 012_zps3f1xhbjo.jpg

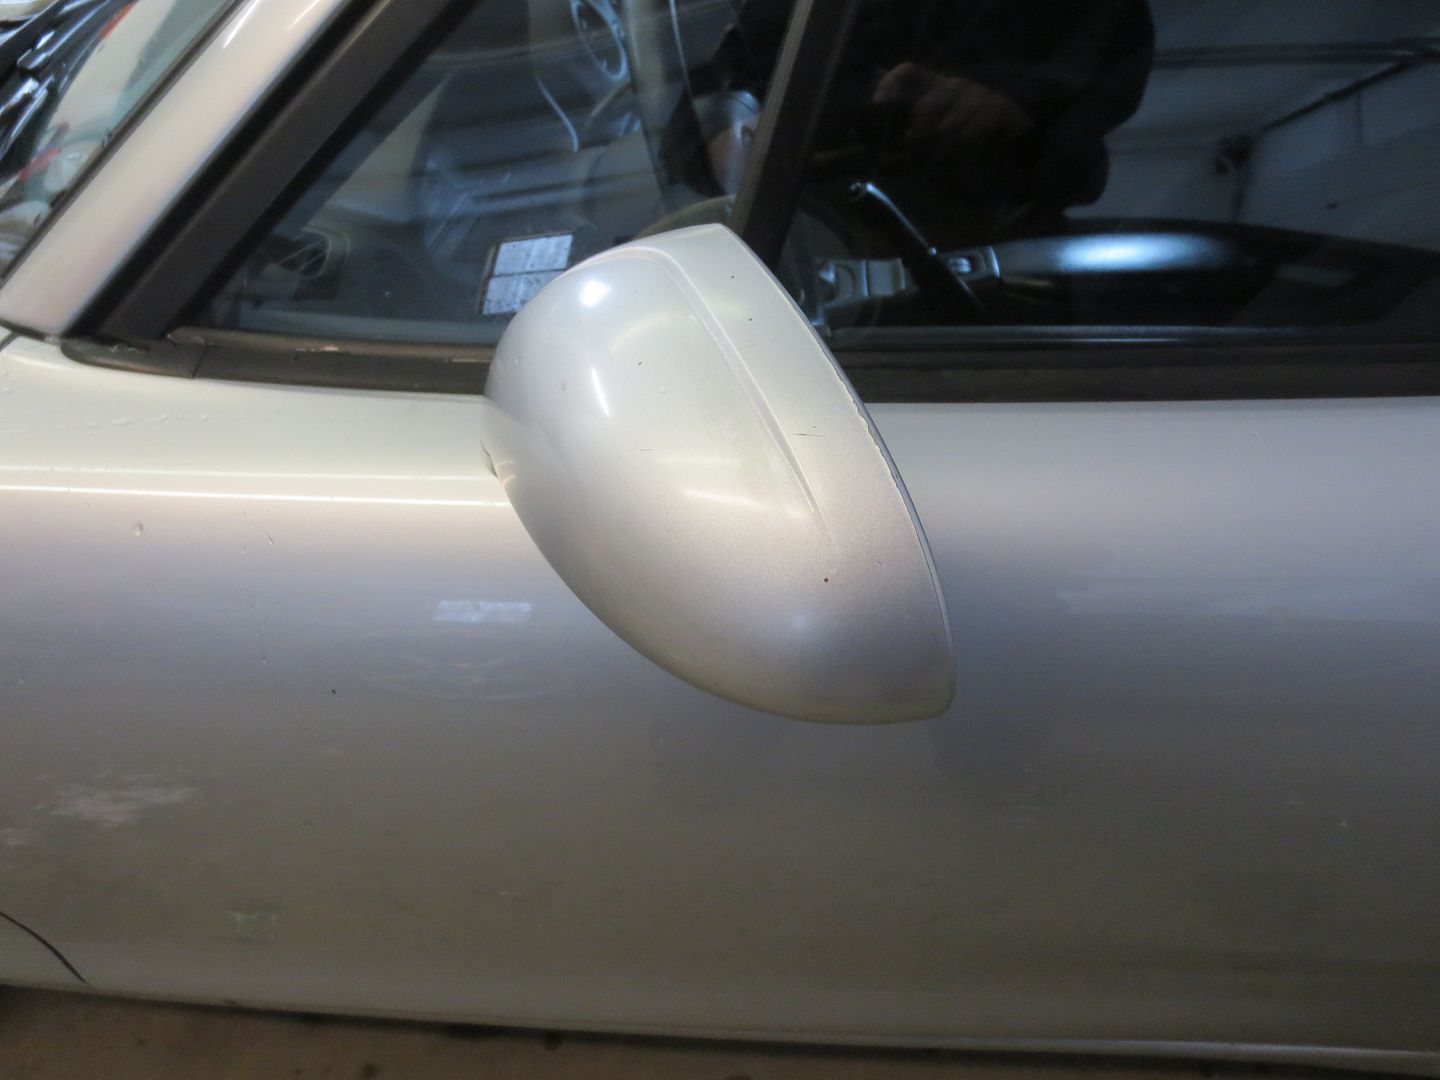
Assembly, as they say, is the reverse of removal. Much better.

 photo Mirror and Horns 014_zpszry4xipy.jpg

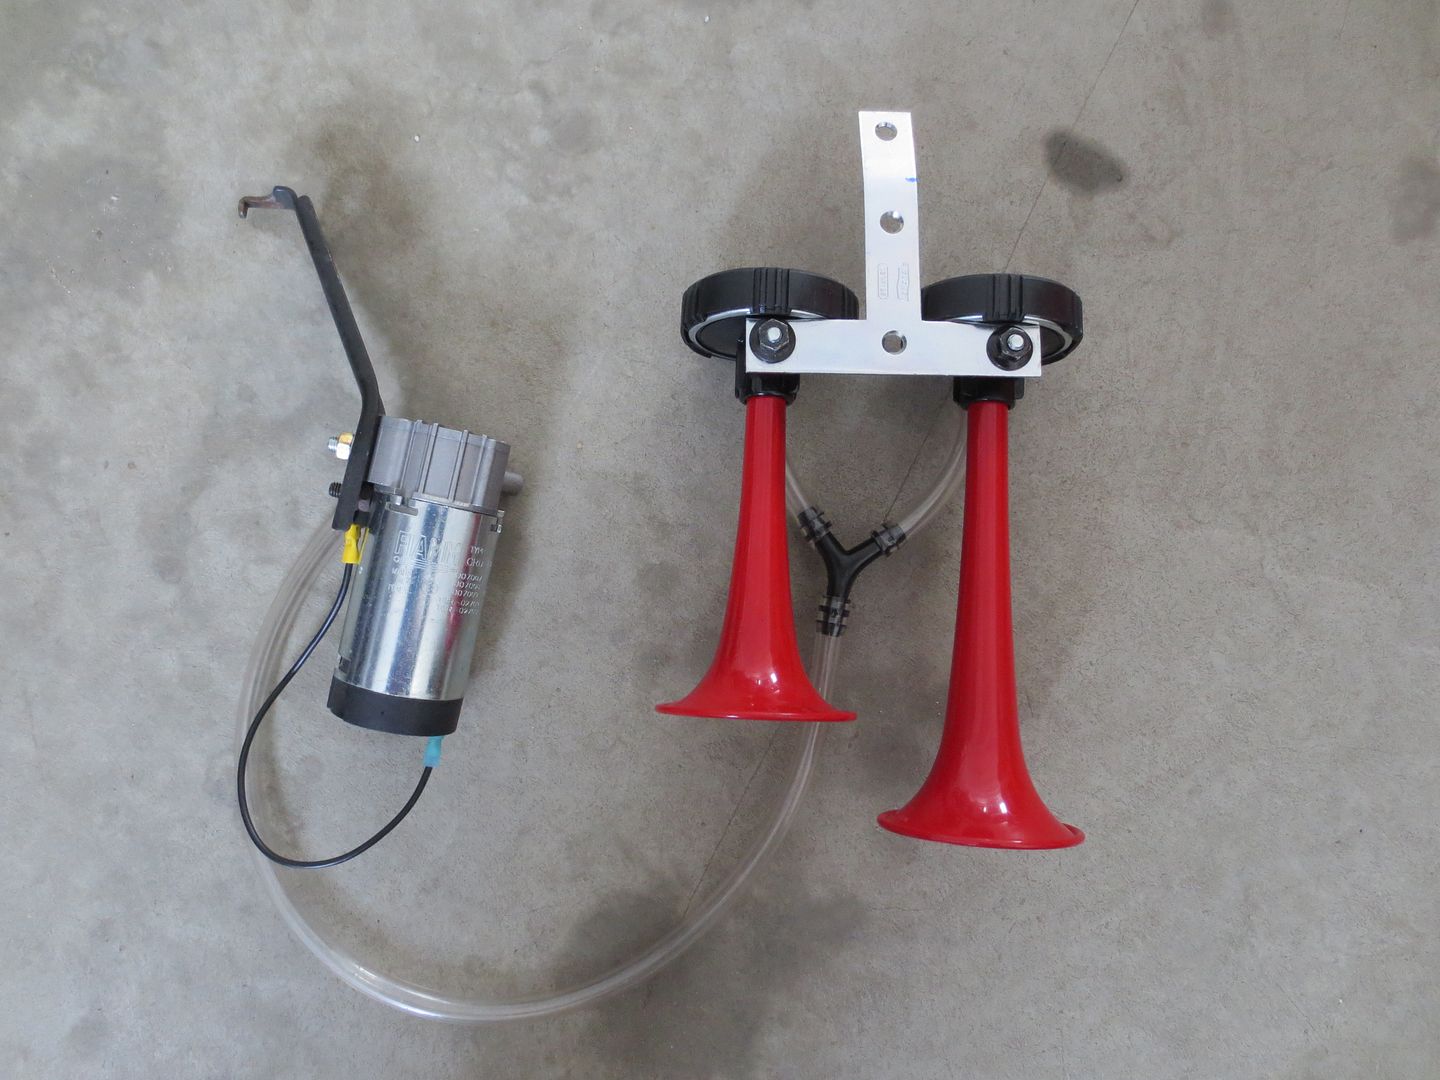
Finally, all Miatas deserve a set of Fiamms. I had these down in the basement, probably off of one of my old Miatas or maybe a Civic.

 photo Mirror and Horns 019_zpszcwul9ig.jpg

Woody
Woody GRM+ Memberand MegaDork
2/5/15 9:19 p.m.

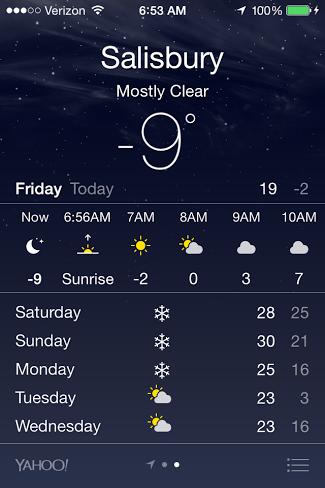
Tomorrow is the Big Day: I'm headed to Lime Rock in the morning.

Petrolburner
Petrolburner Reader
2/6/15 1:26 a.m.

Looking good! Looking forward to snow pics from the weekend.

Woody
Woody GRM+ Memberand MegaDork
2/6/15 6:04 a.m.

 photo Lime Rock weather_zpsmecwjx1d.png

Woody
Woody GRM+ Memberand MegaDork
2/6/15 6:28 p.m.

 photo Wintercross 016_zpskoj1appo.jpg

Woody
Woody GRM+ Memberand MegaDork
2/12/15 7:08 p.m.

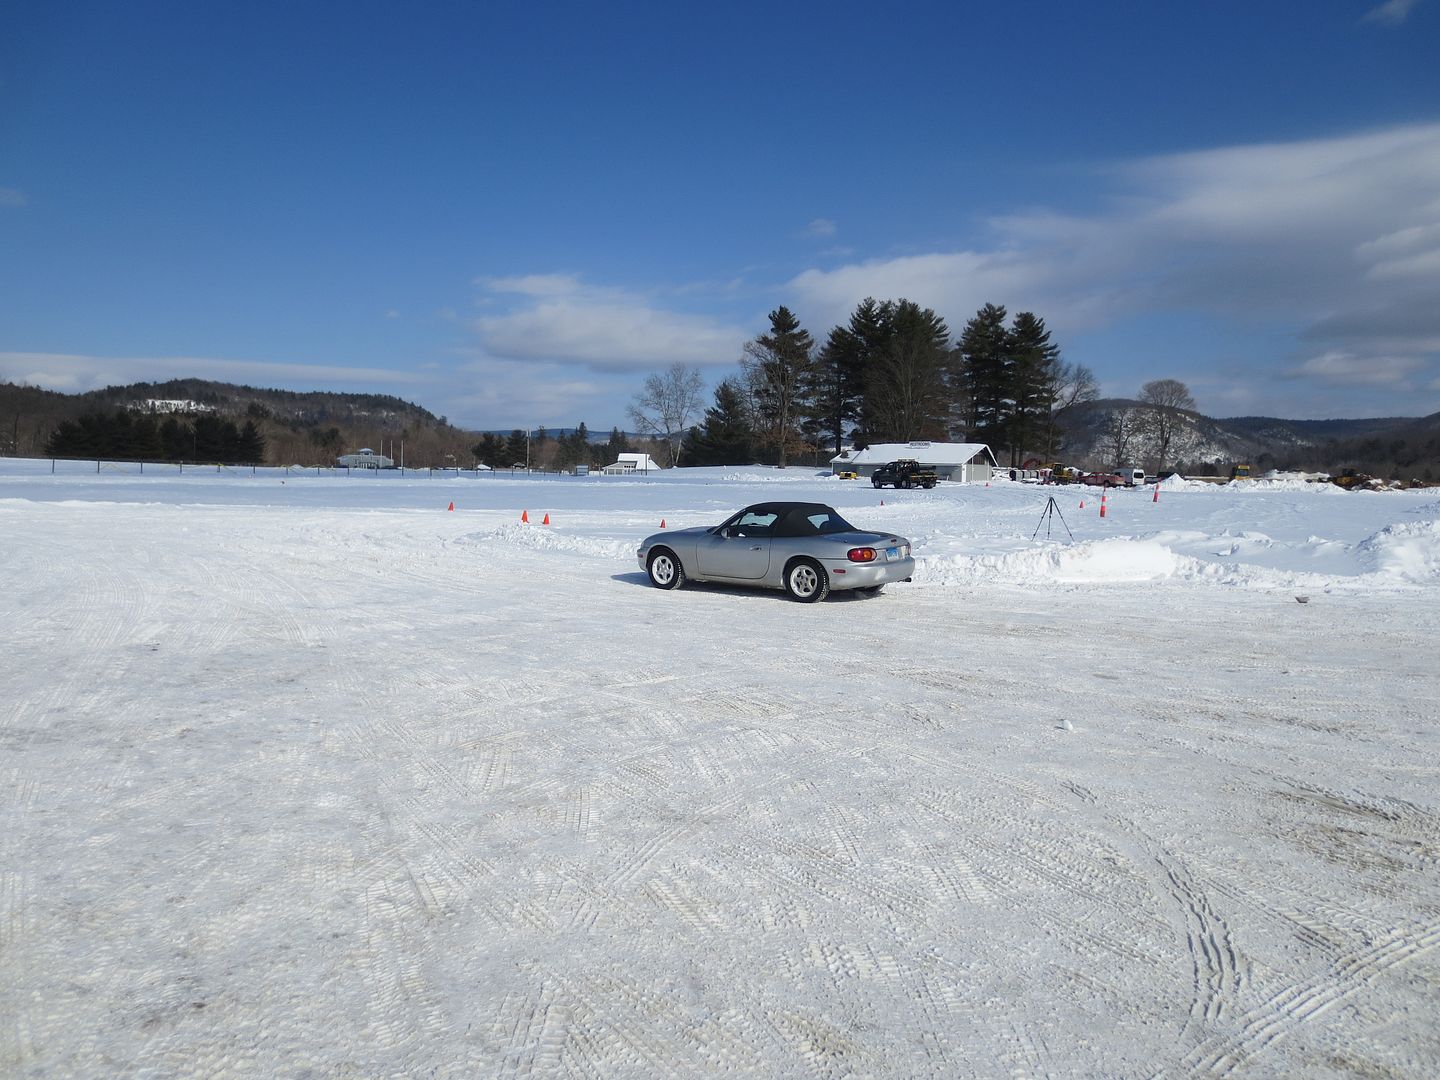
After a successful and very enjoyable day in the snow at Lime Rock, I was anxious to sign up for another event. Alas, they are sold out throughout the end of the season. I'm not far from the track, so I asked them to put me on stand-by and contact me if they have any last minute cancellations. Maybe I can pick up another day or two in the next few weeks.

While these events are what I bought the car for, I'm really starting to like it. I'm going to upgrade a few things and make it my daily driver. The interior is nearly perfect so it's a nice place to be, but the outside is not so pretty that I have to worry too much about where I park it.

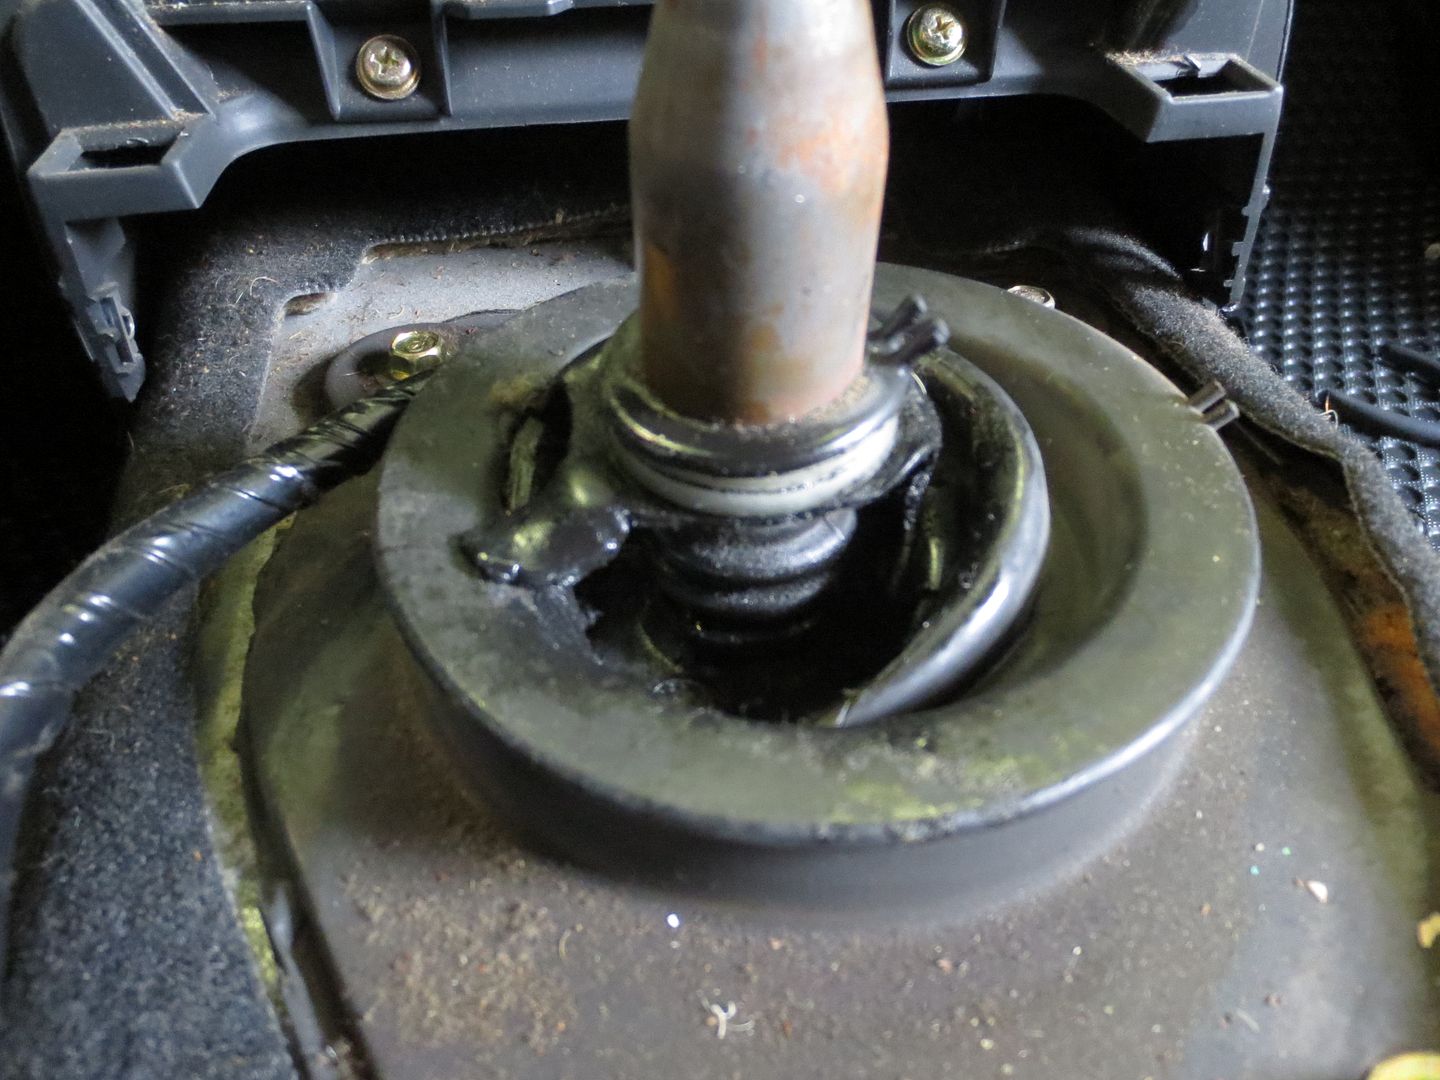
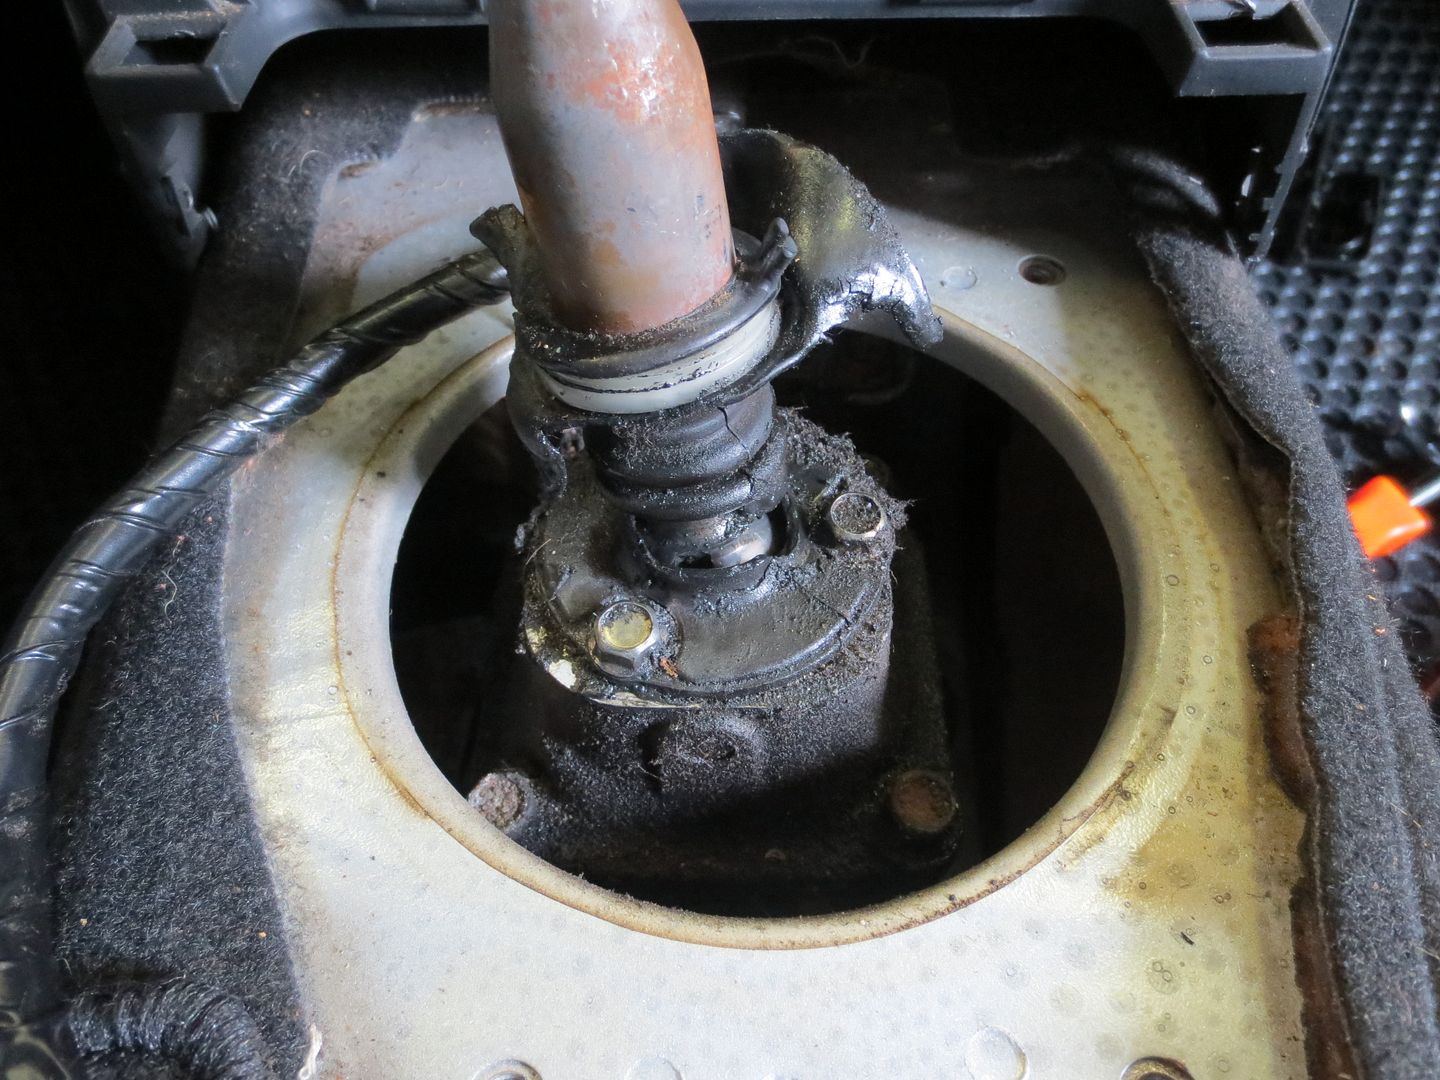
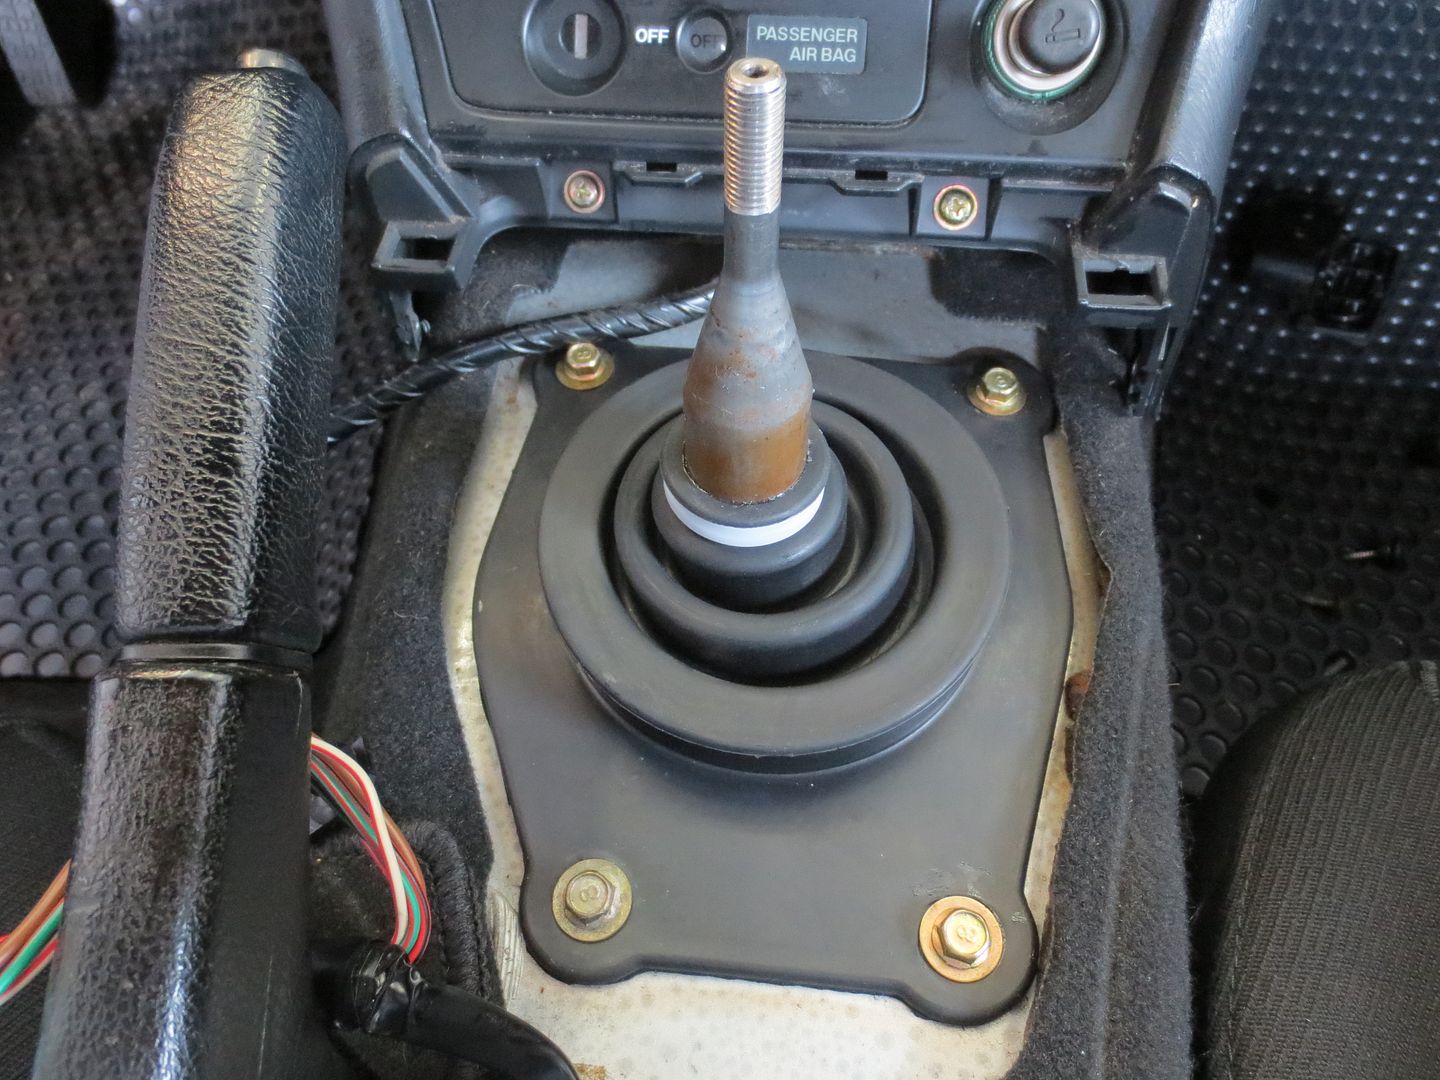
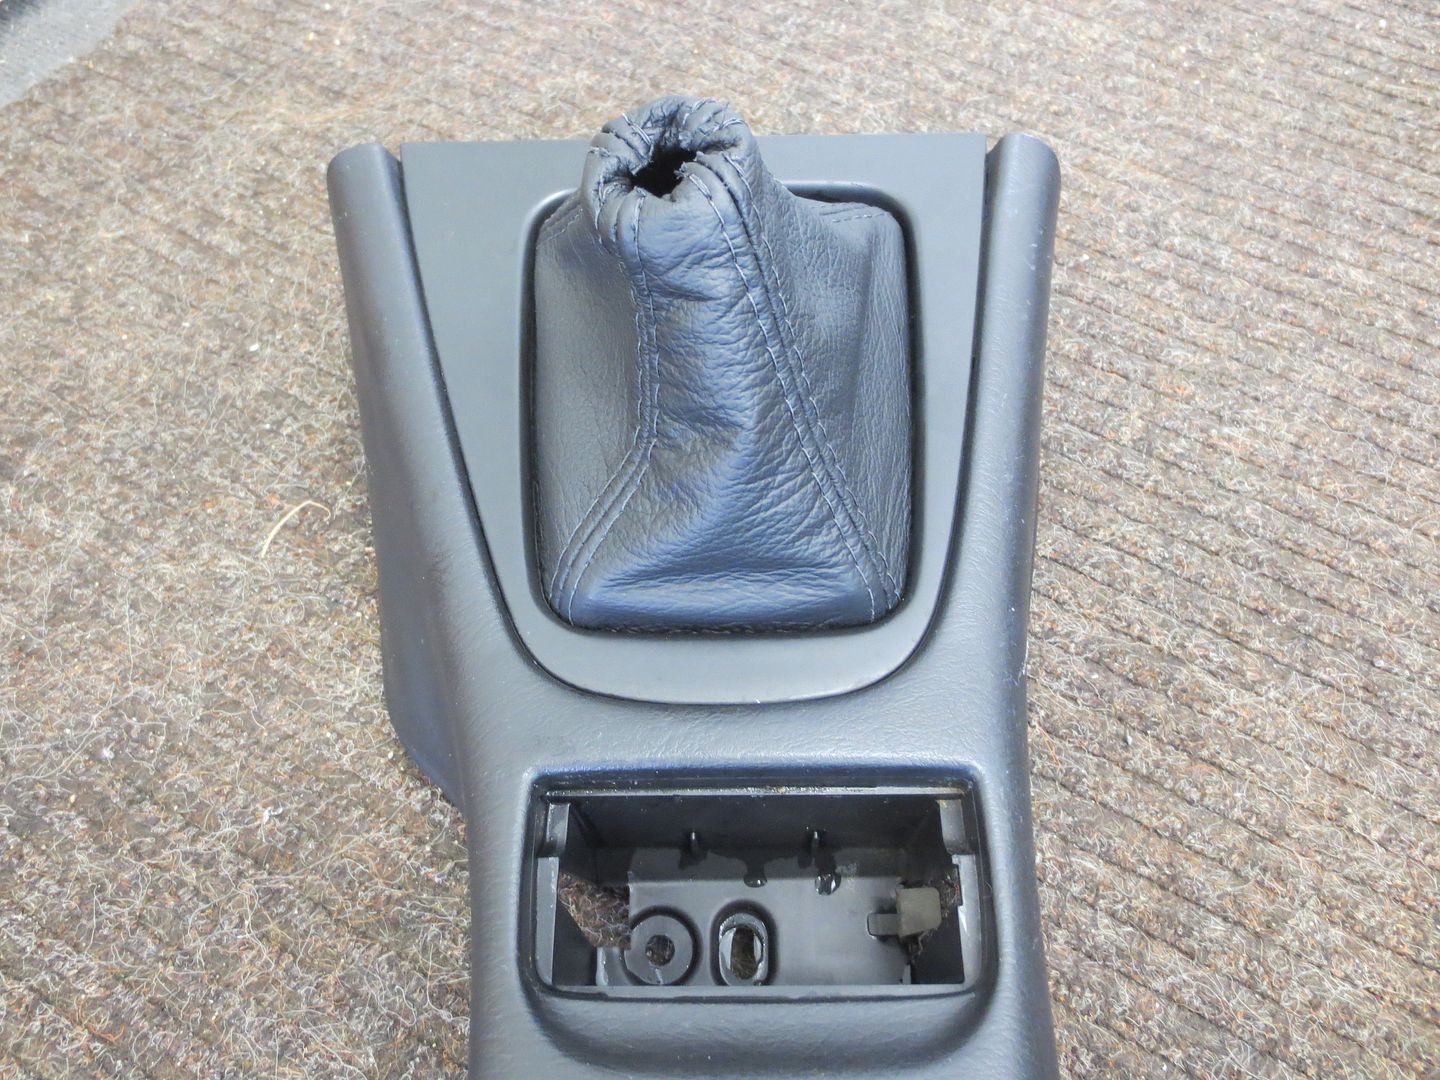
The first thing on the list is to refresh the shifter. It wasn't shifting as smoothly as it should. Regardless of how pristine your Miata is, or how low your mileage is, I'm convinced that they all need new shift boots, so much so that I just went ahead and ordered the parts without even removing the console first. When I finally did, here's what I found:

 photo Shifter 001_zpskn6h6fkf.jpg

The small inner boot wasn't any better.

 photo Shifter 003_zps6lts7oby.jpg

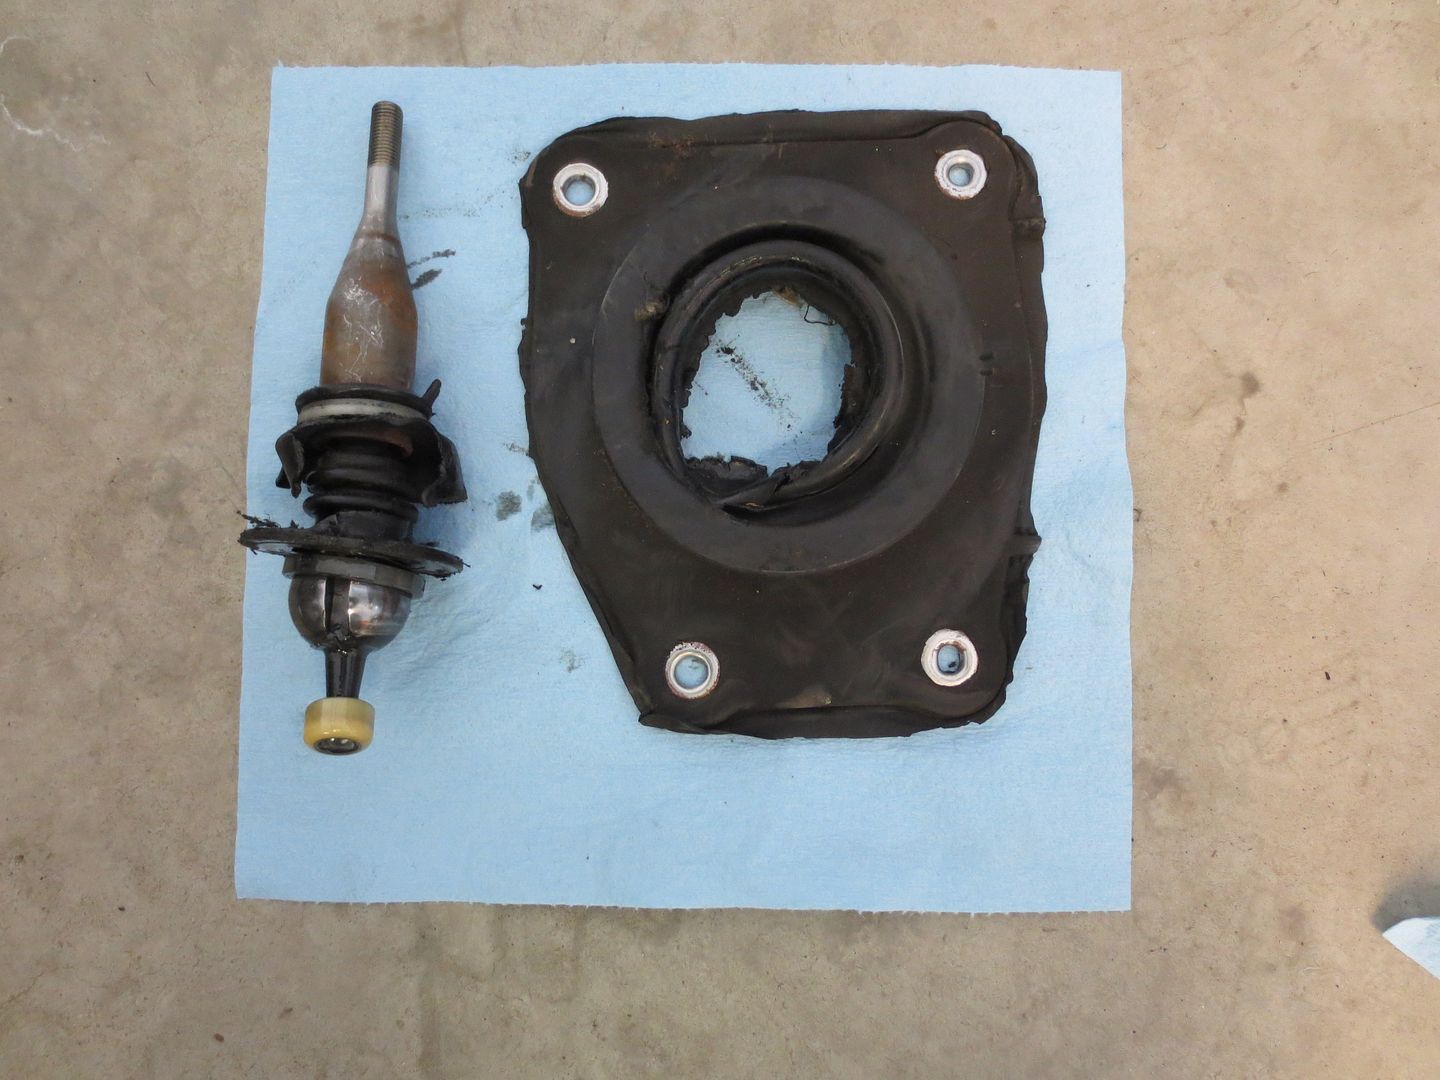
Removal was easy and here's what the old ones looked like:

 photo Shifter 006_zpsqczvmpck.jpg

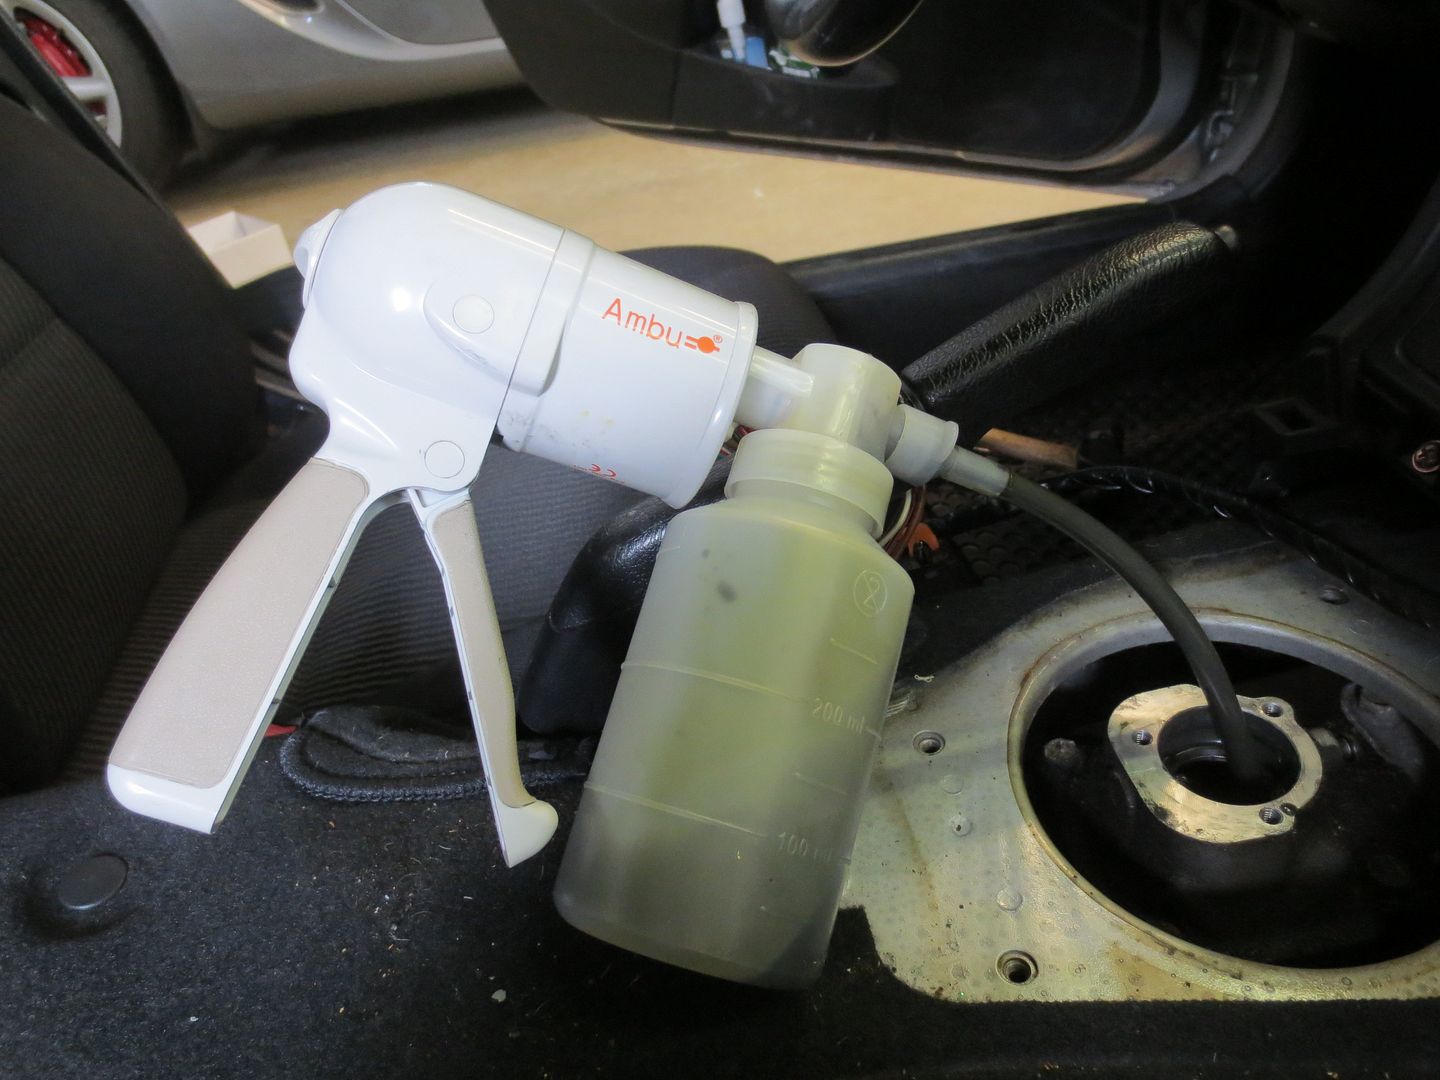
I used a portable suction pump to get all of the old fluid out.

 photo Shifter 012_zps8tuibdgy.jpg

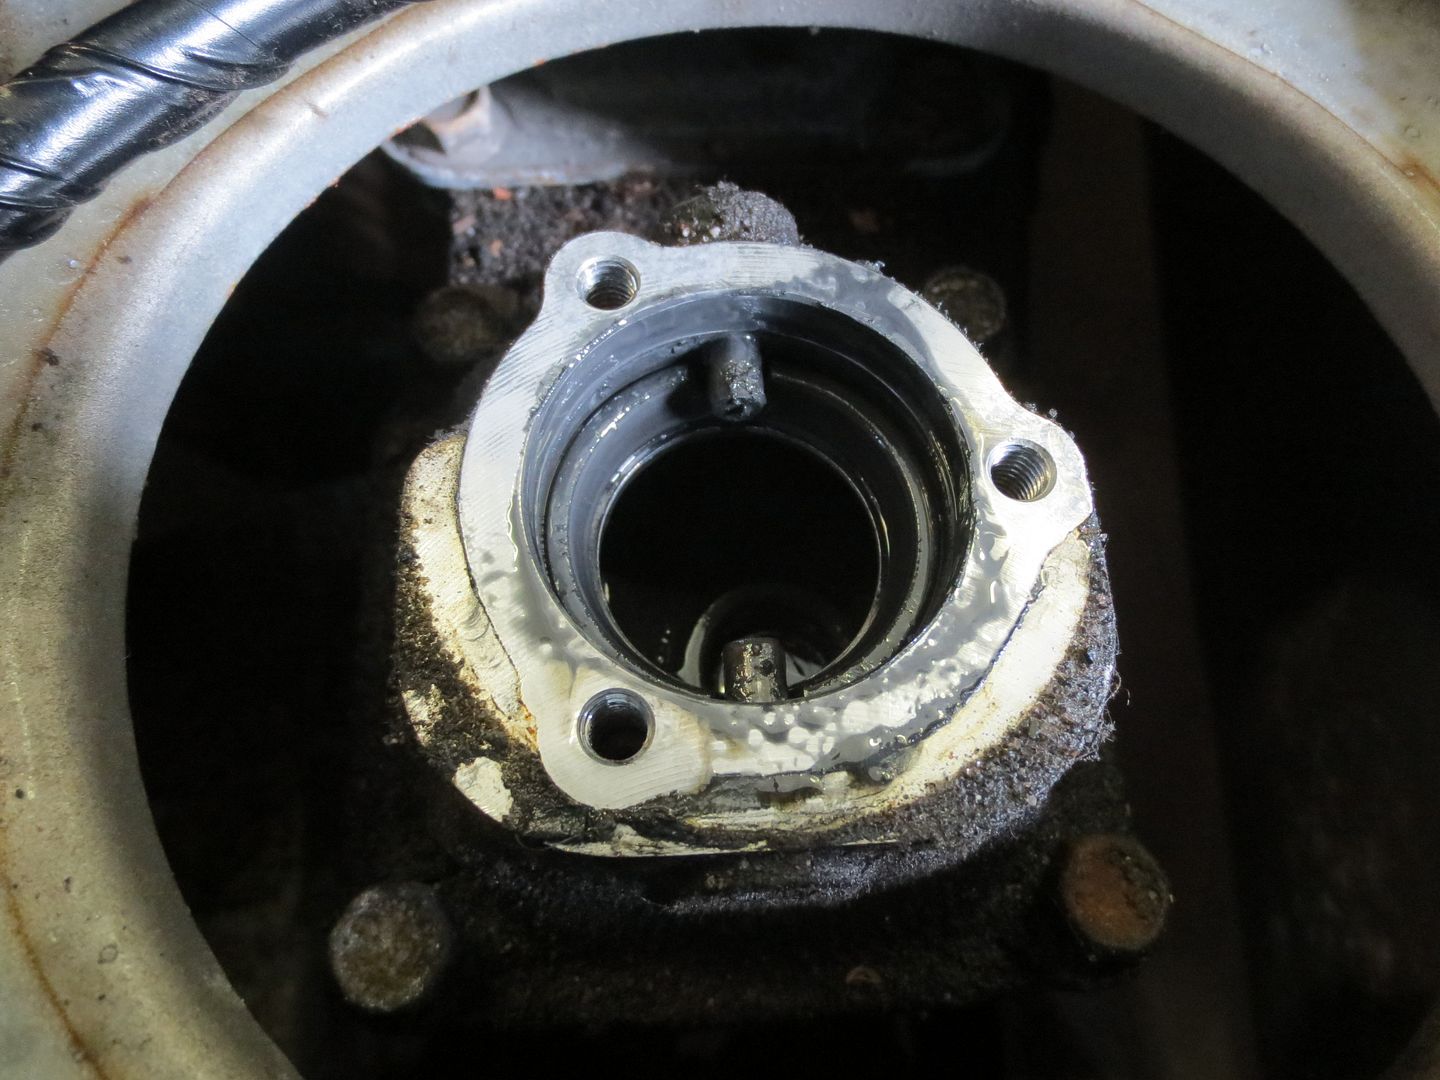
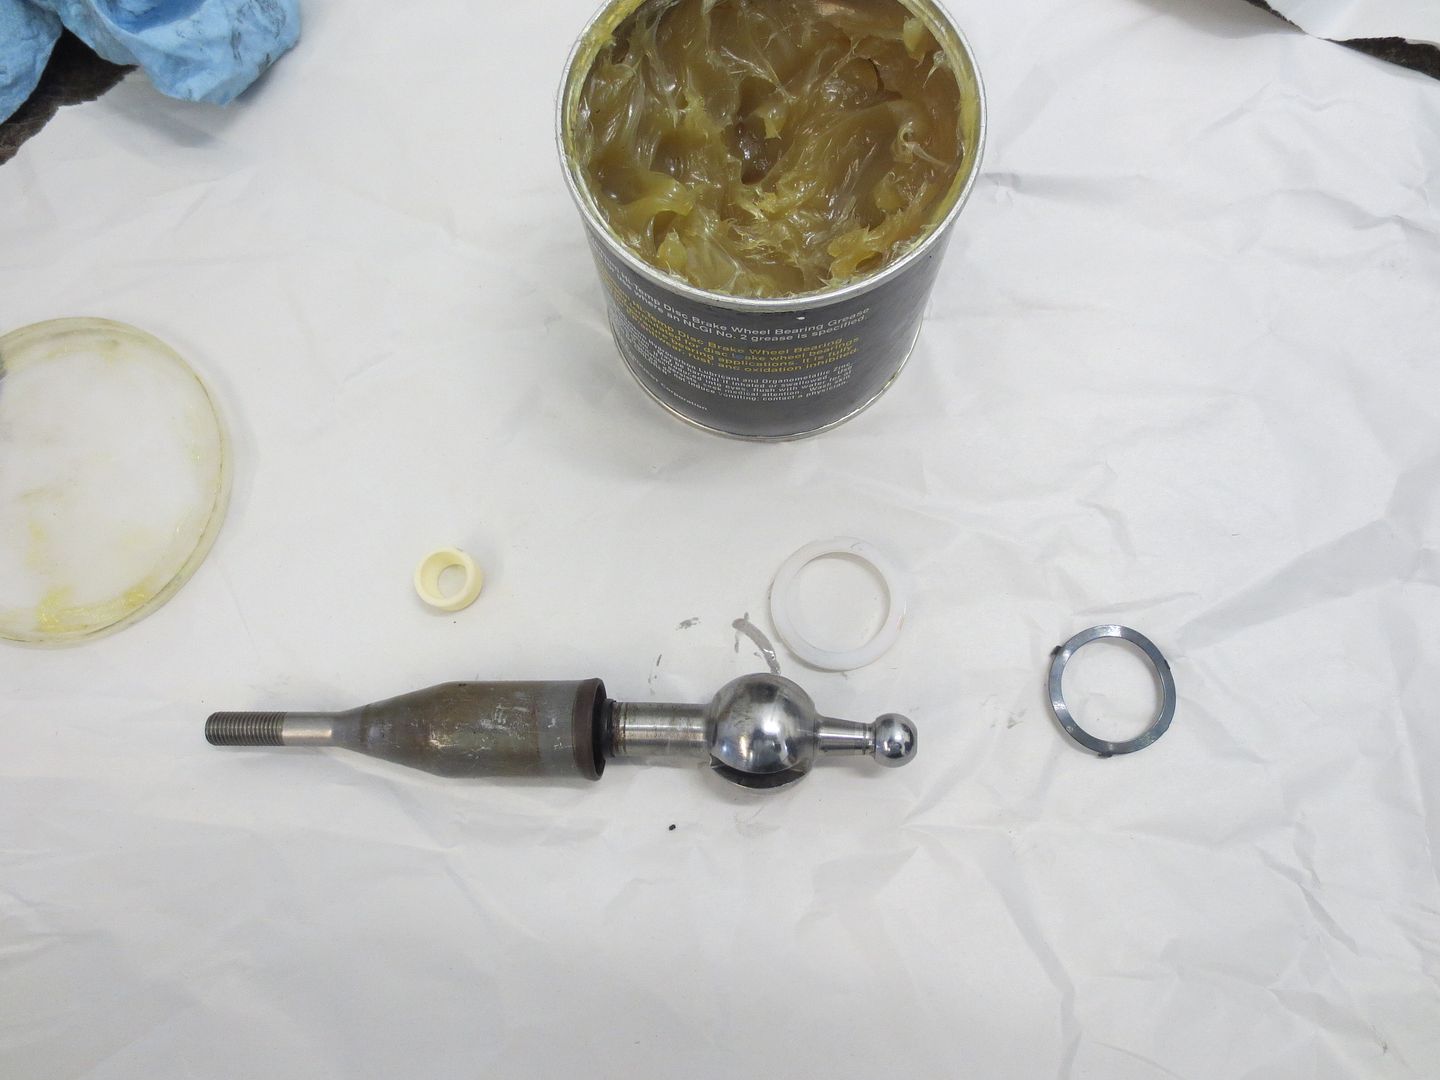
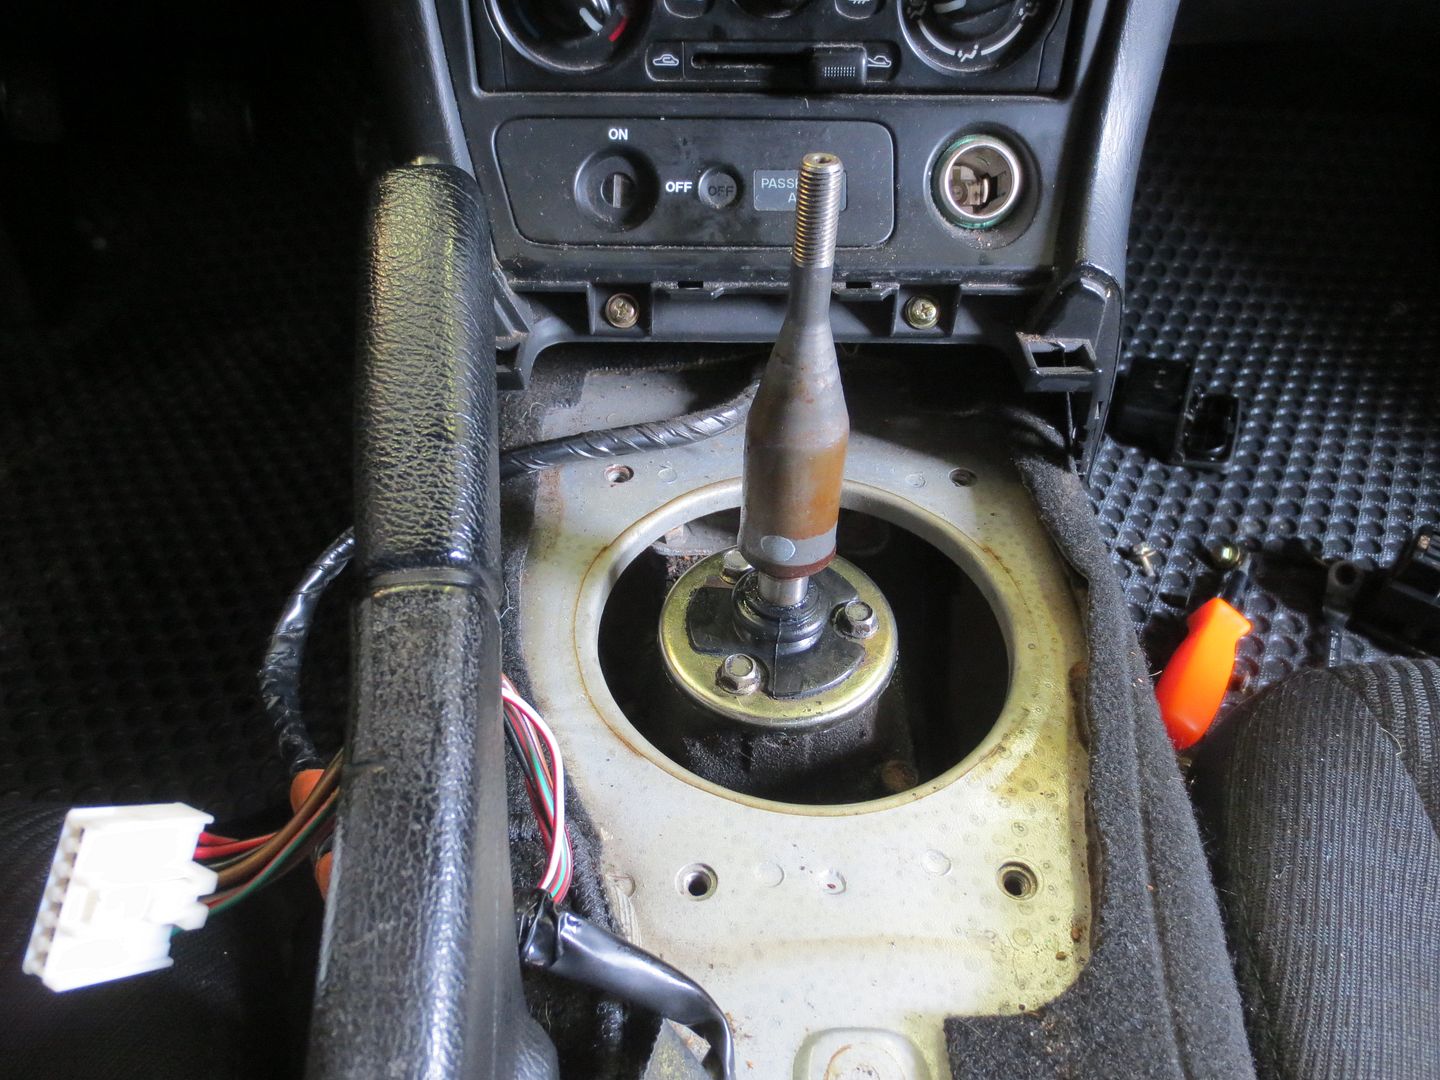
The main difference between doing this on a '99+ five speed versus a '90-97 is that the NB shifter has two slots in it (and the housing has two corresponding pins), rather than one as on the earlier cars. In order to remove the lower bushing and spring, I needed to drive the front pin in until it was flush with the housing. I used a hammer and drift. Don't drive it all the way out, just far enough to lift the bushing out. This is how it looked before I drove the pin out of the way. You can still see the old lower bushing. It needs to look like this again after you put the new lower spring and bushing in.

 photo Shifter 004_zpsnjj1tc6j.jpg

I cleaned the shifter, greased everything, installed the new springs, bushings and boots and put four ounces of fresh oil in the turret. I used Red Line MTL, mainly because I had an open bottle on the shelf.

 photo Shifter 014_zpsimoclbyr.jpg

Before installing the shifter, I used a pry bar to push the forward pin back into place. Then it was just a matter of dropping the shifter into place and bolting everything up.

 photo Shifter 015_zpsuwn90w8u.jpg

 photo Shifter 017_zpst4mwbeyd.jpg

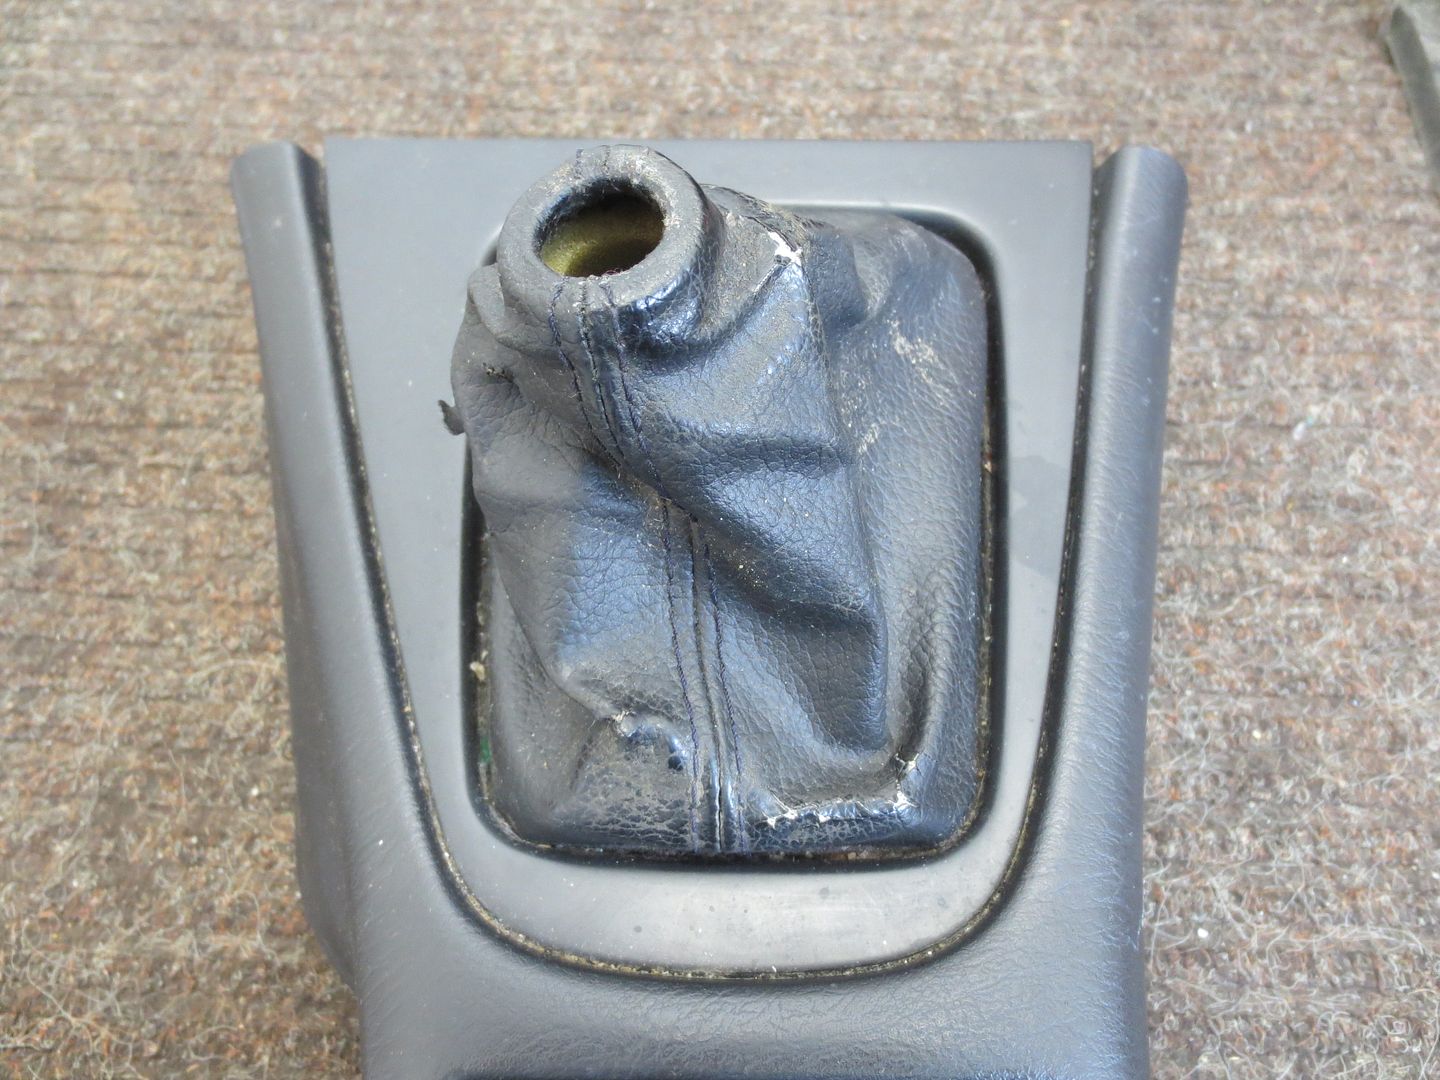
One more thing that had been bugging me was the old vinyl shifter boot. It was dried out and cracked and it actually had a few sharp edges that kept scratching the side of my hand every time that I shifted.

 photo Shifter 019_zpsgfuisr5l.jpg

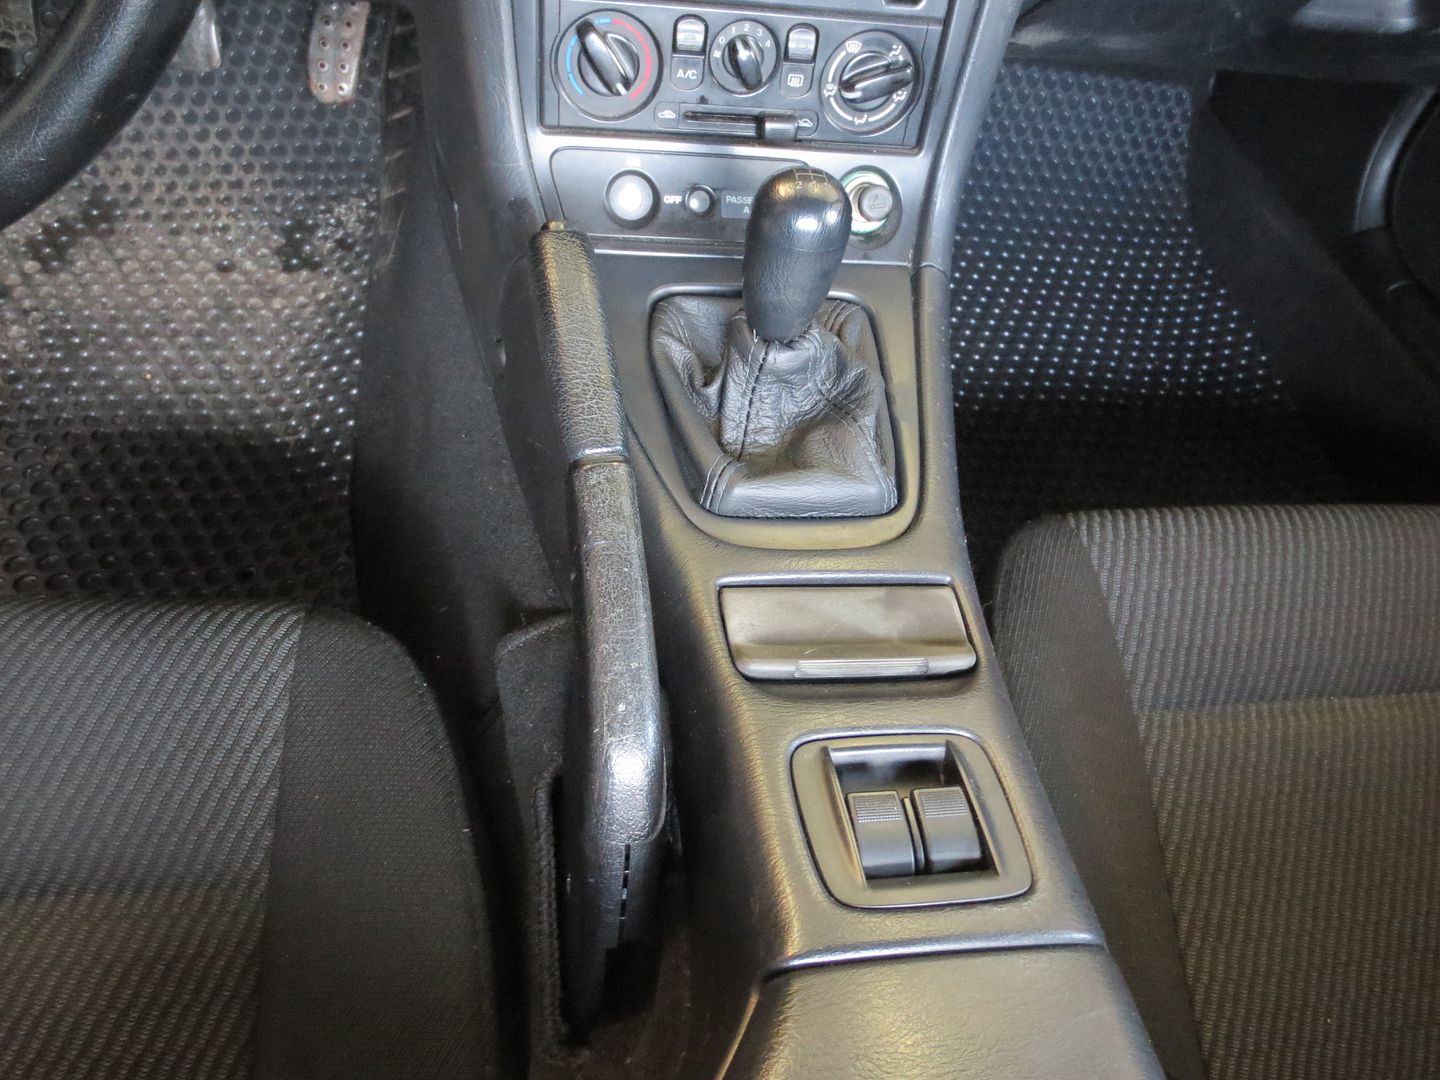
I couldn't see buying another of the same, so I splurged and paid too much for a fancy leather boot. The quality is not as nice as I had expected, but it's a lot better than the original.

 photo Shifter 021_zpstzdb09yp.jpg

With the center console back in place, it looks and shifts a lot better.

 photo Shifter 024_zps7ghz4a0g.jpg

Swank Force One
Swank Force One MegaDork
2/12/15 7:31 p.m.

+1 to shifter rebuild on every Miata, ever.

Any pics of the event? How'd you do?

Woody
Woody GRM+ Memberand MegaDork
2/12/15 7:36 p.m.

In reply to Swank Force One:

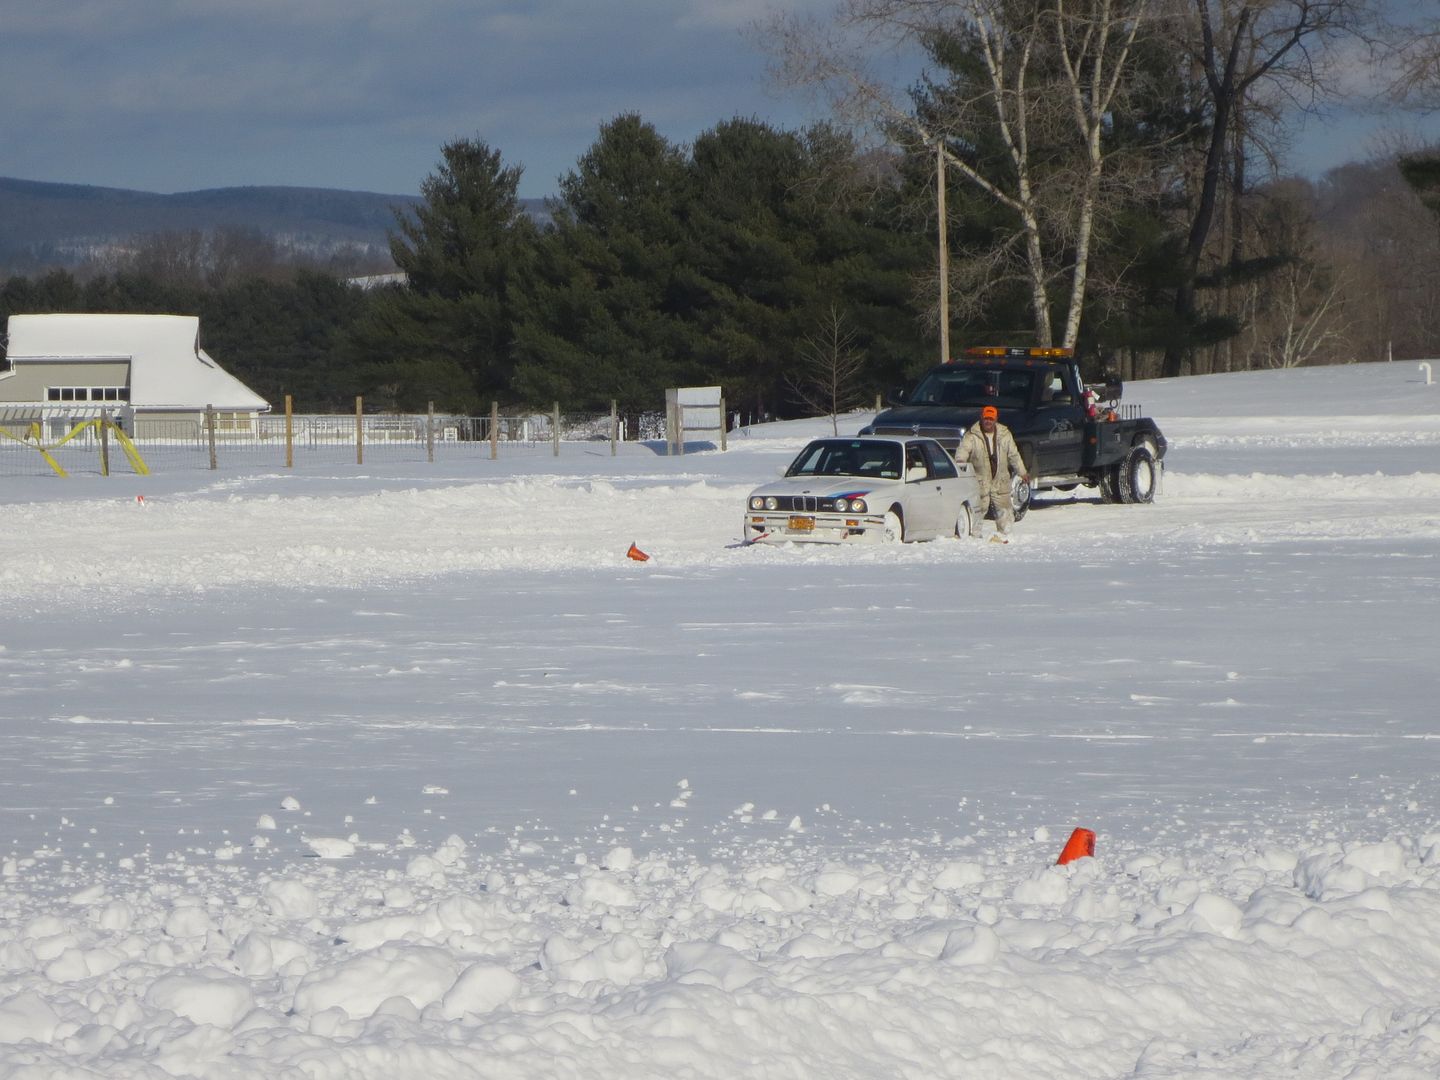
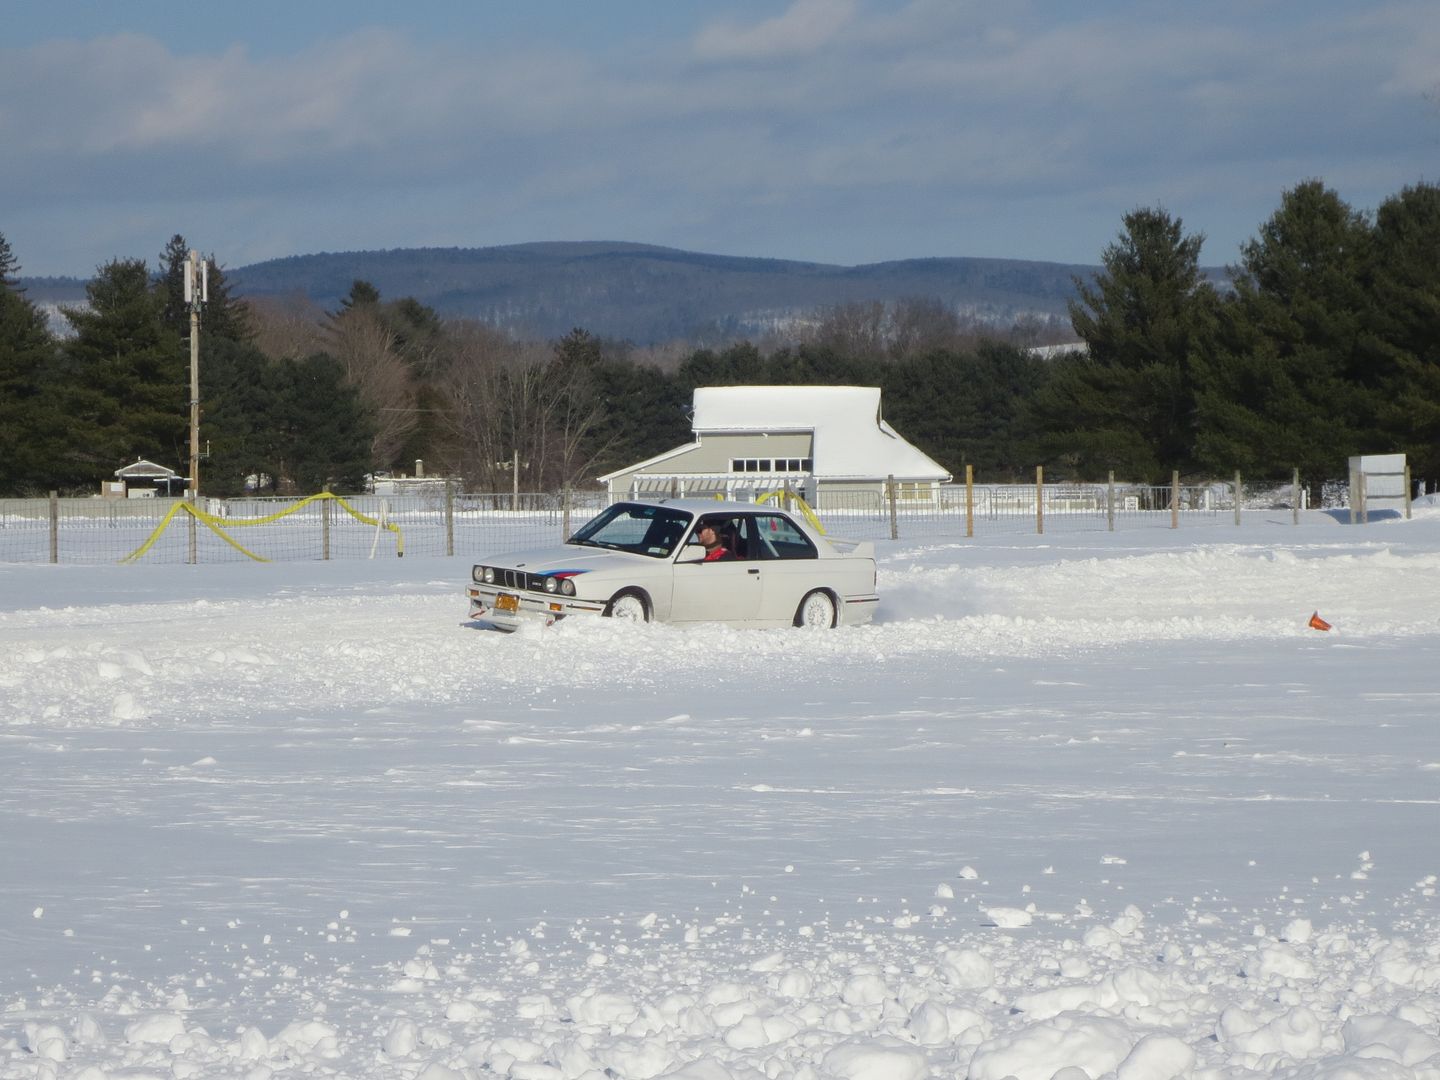
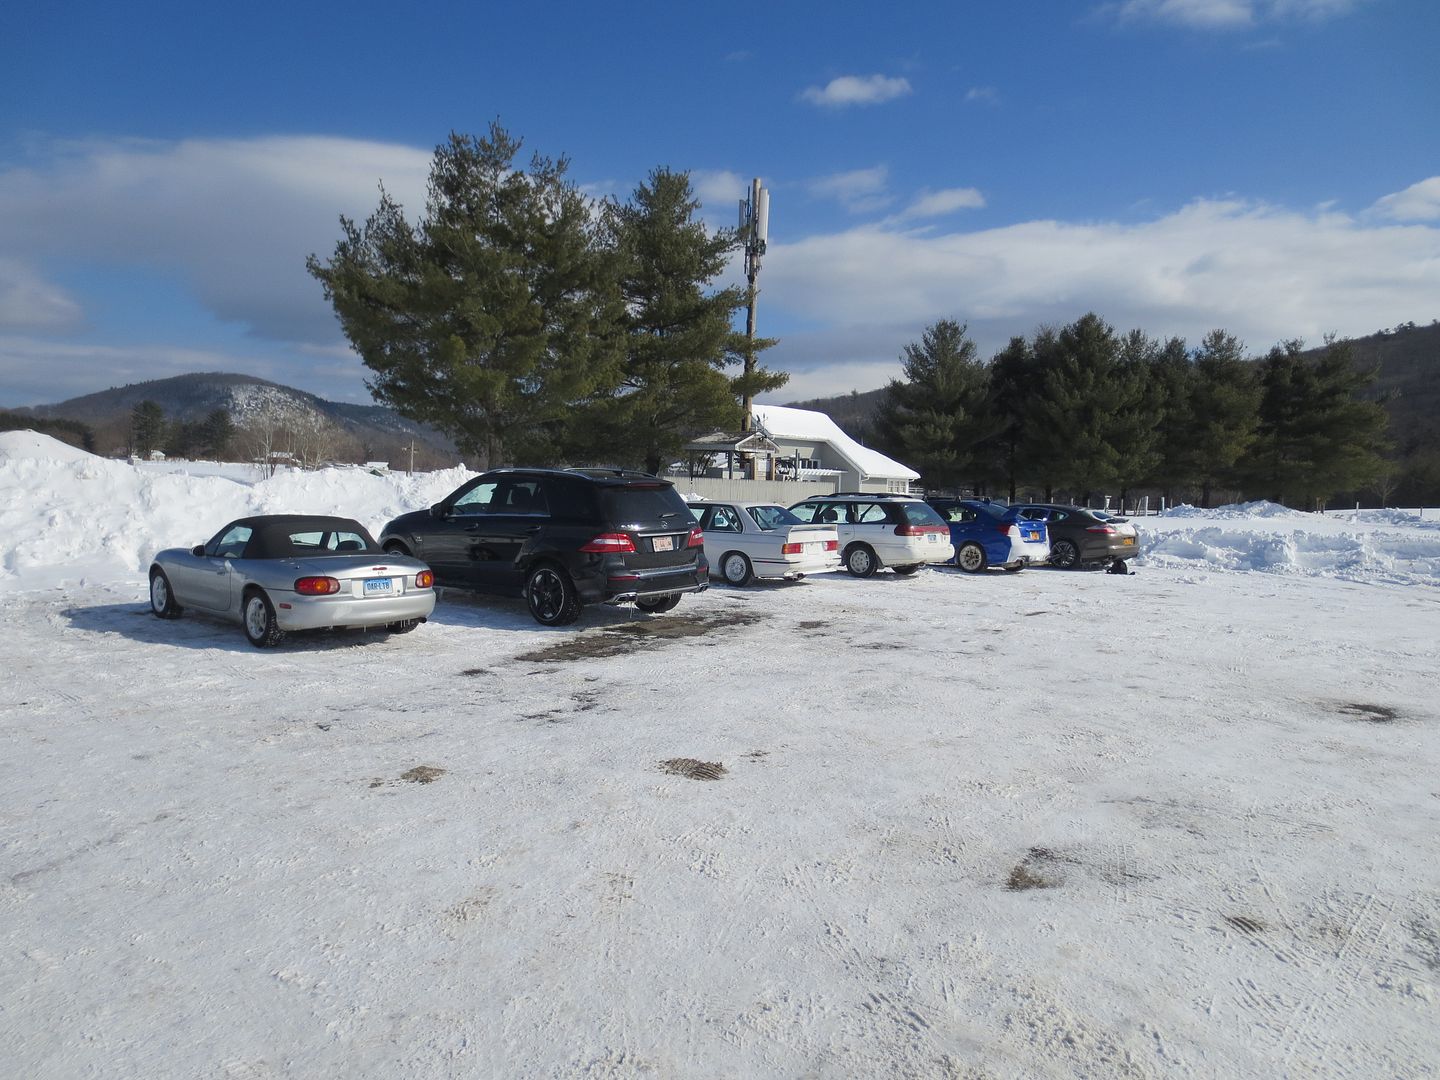
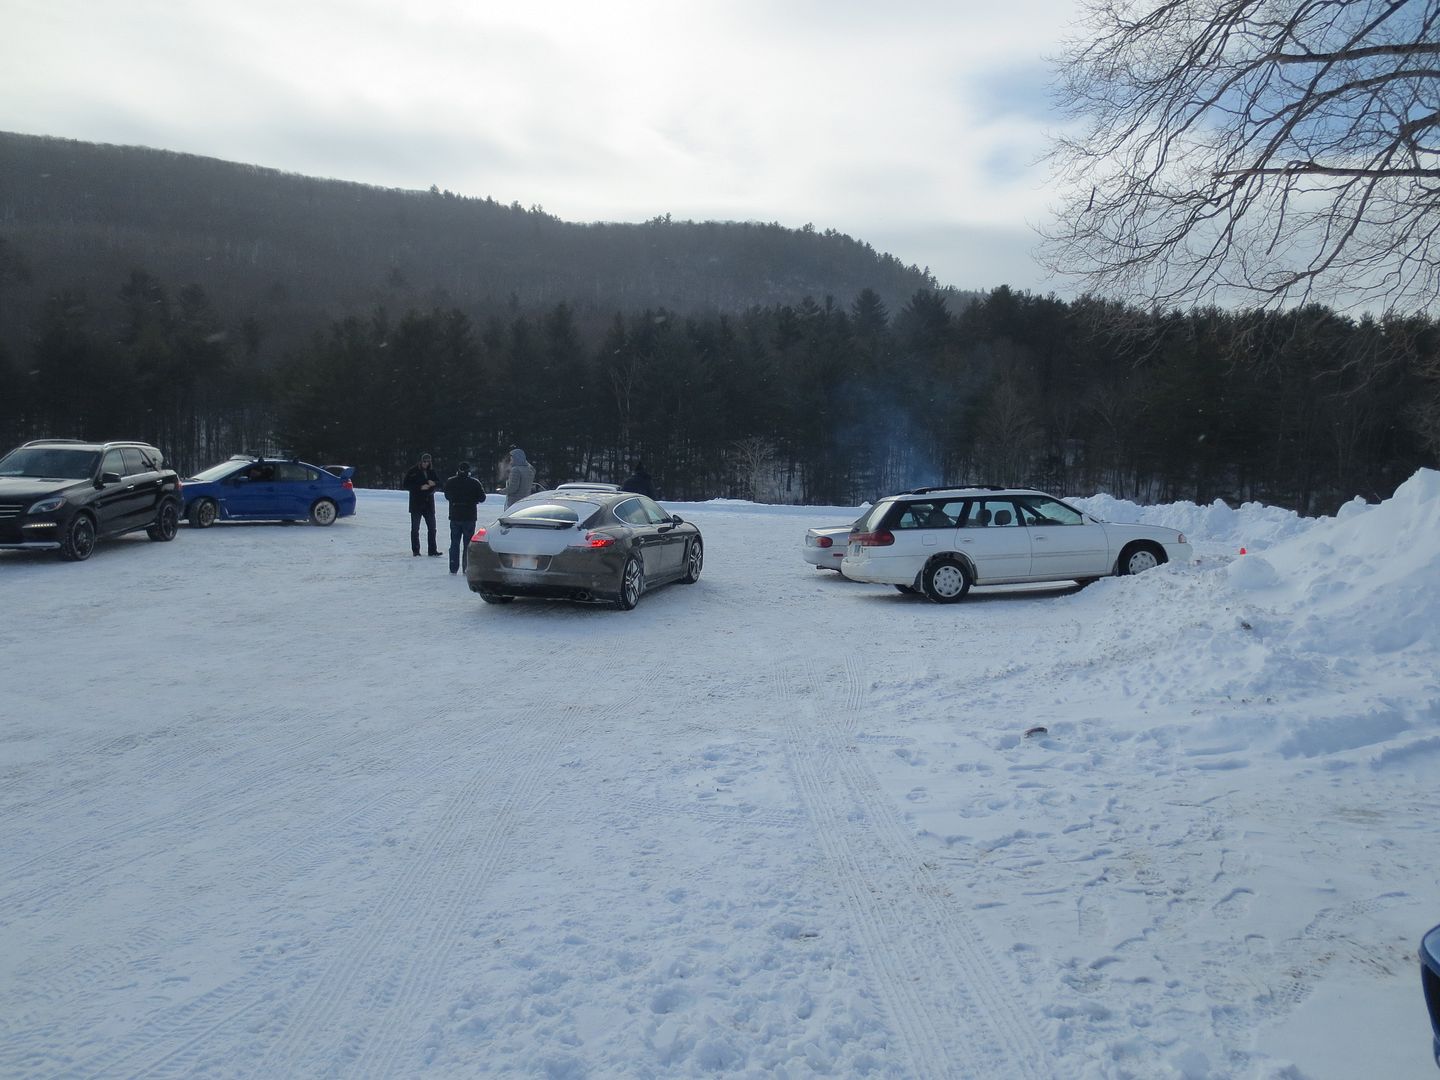
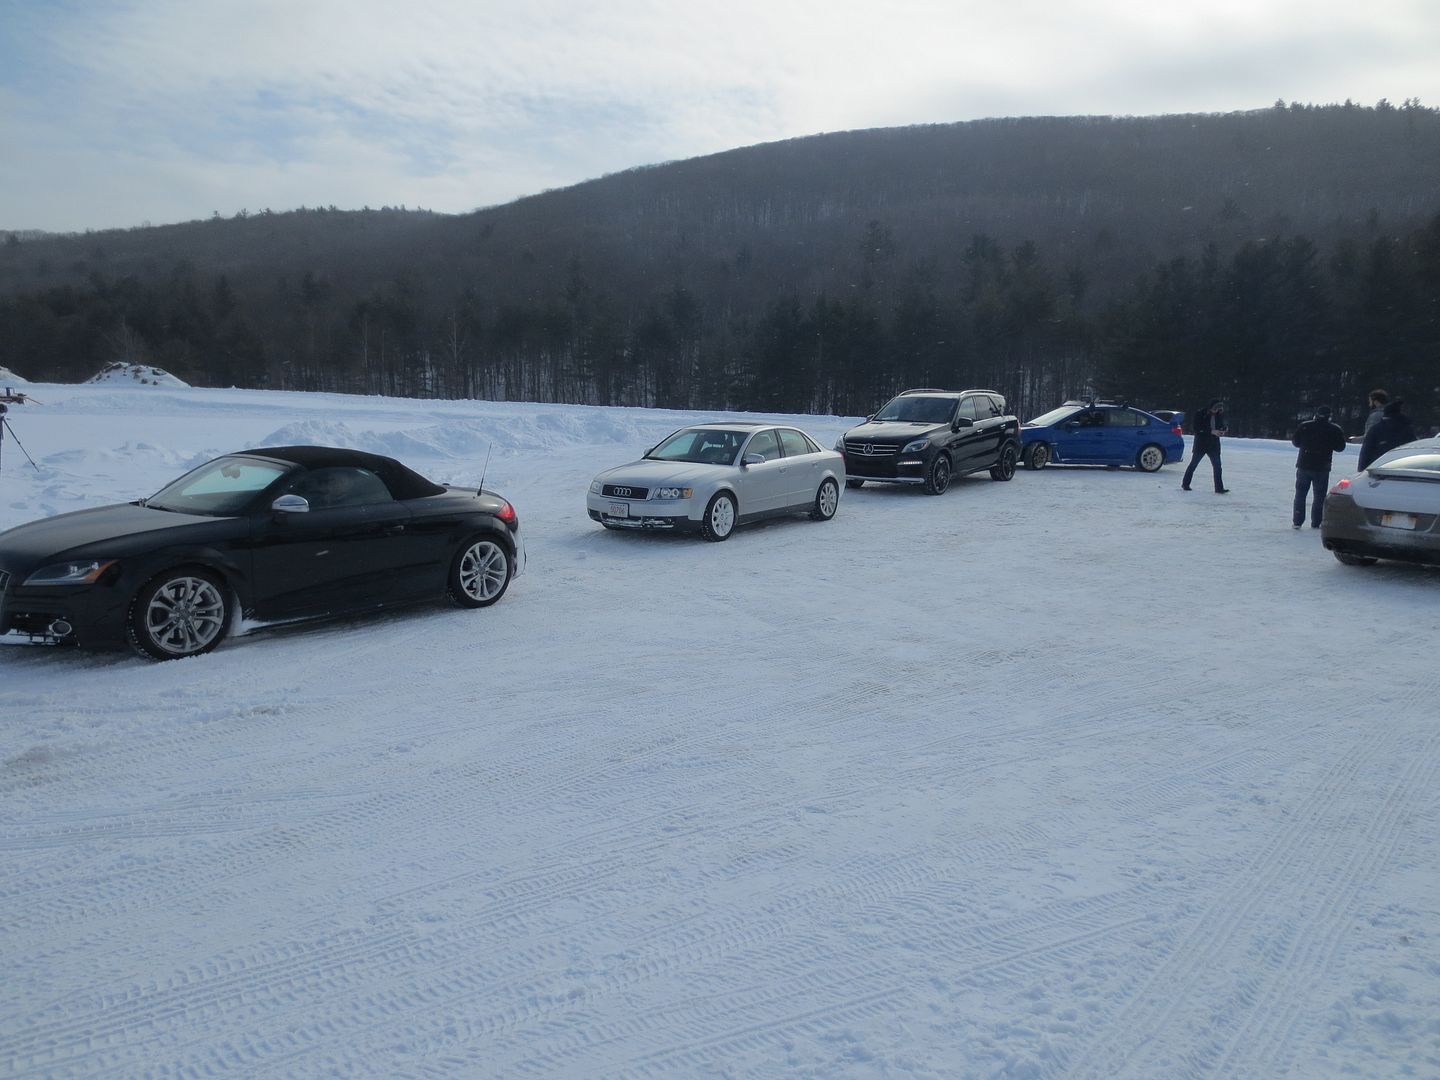
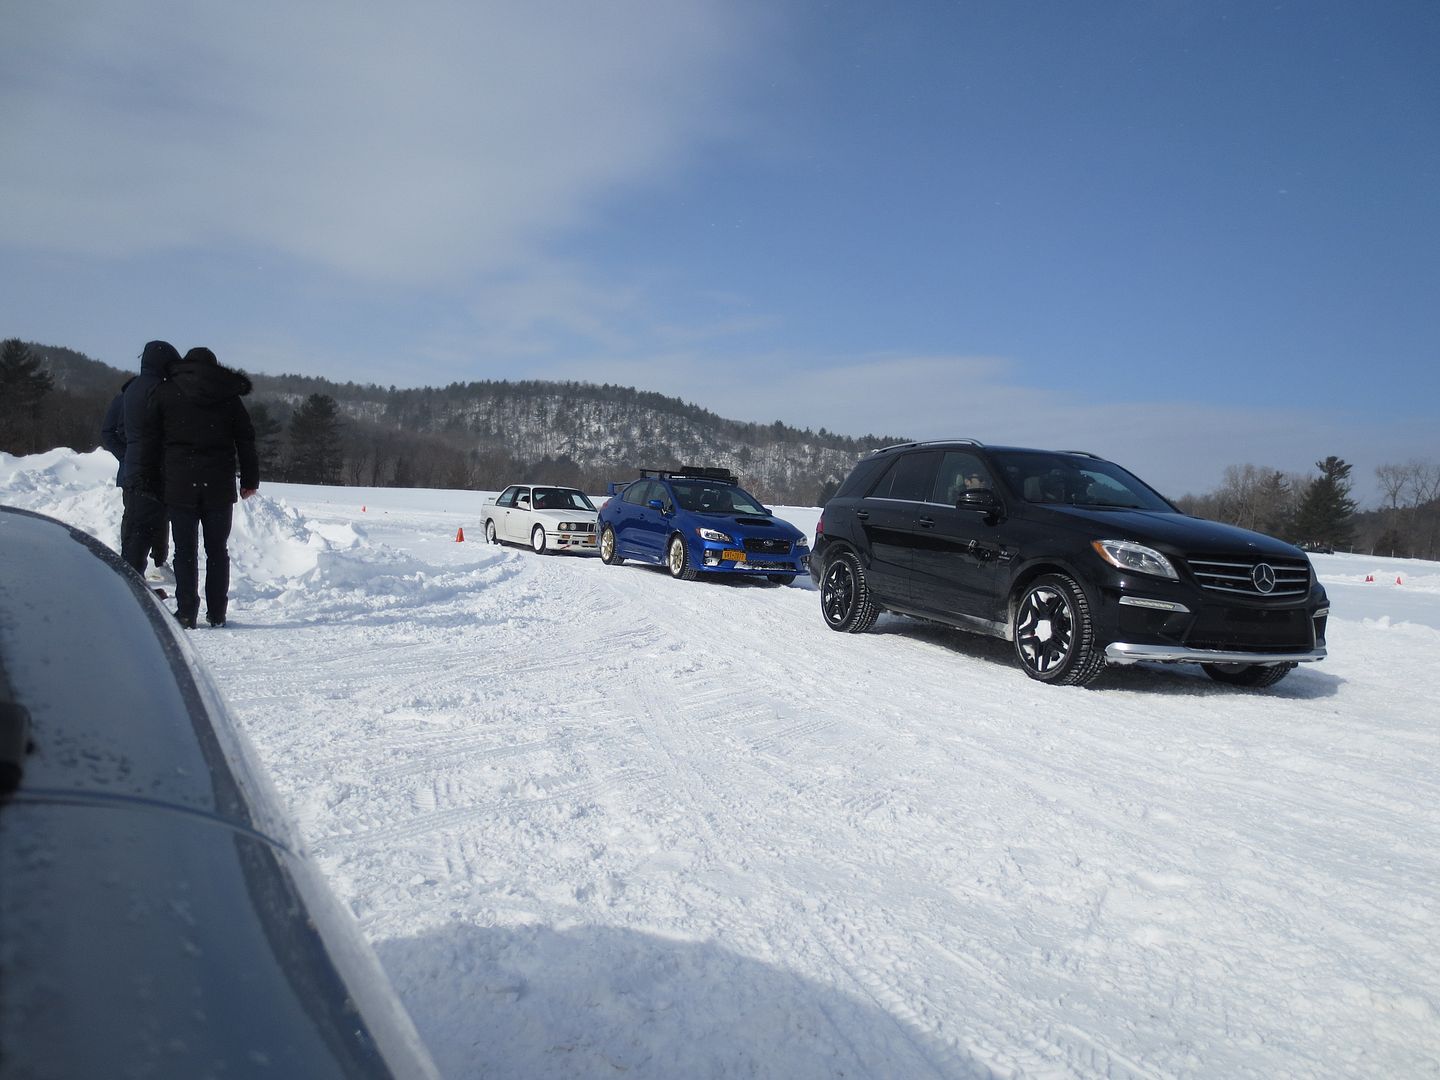
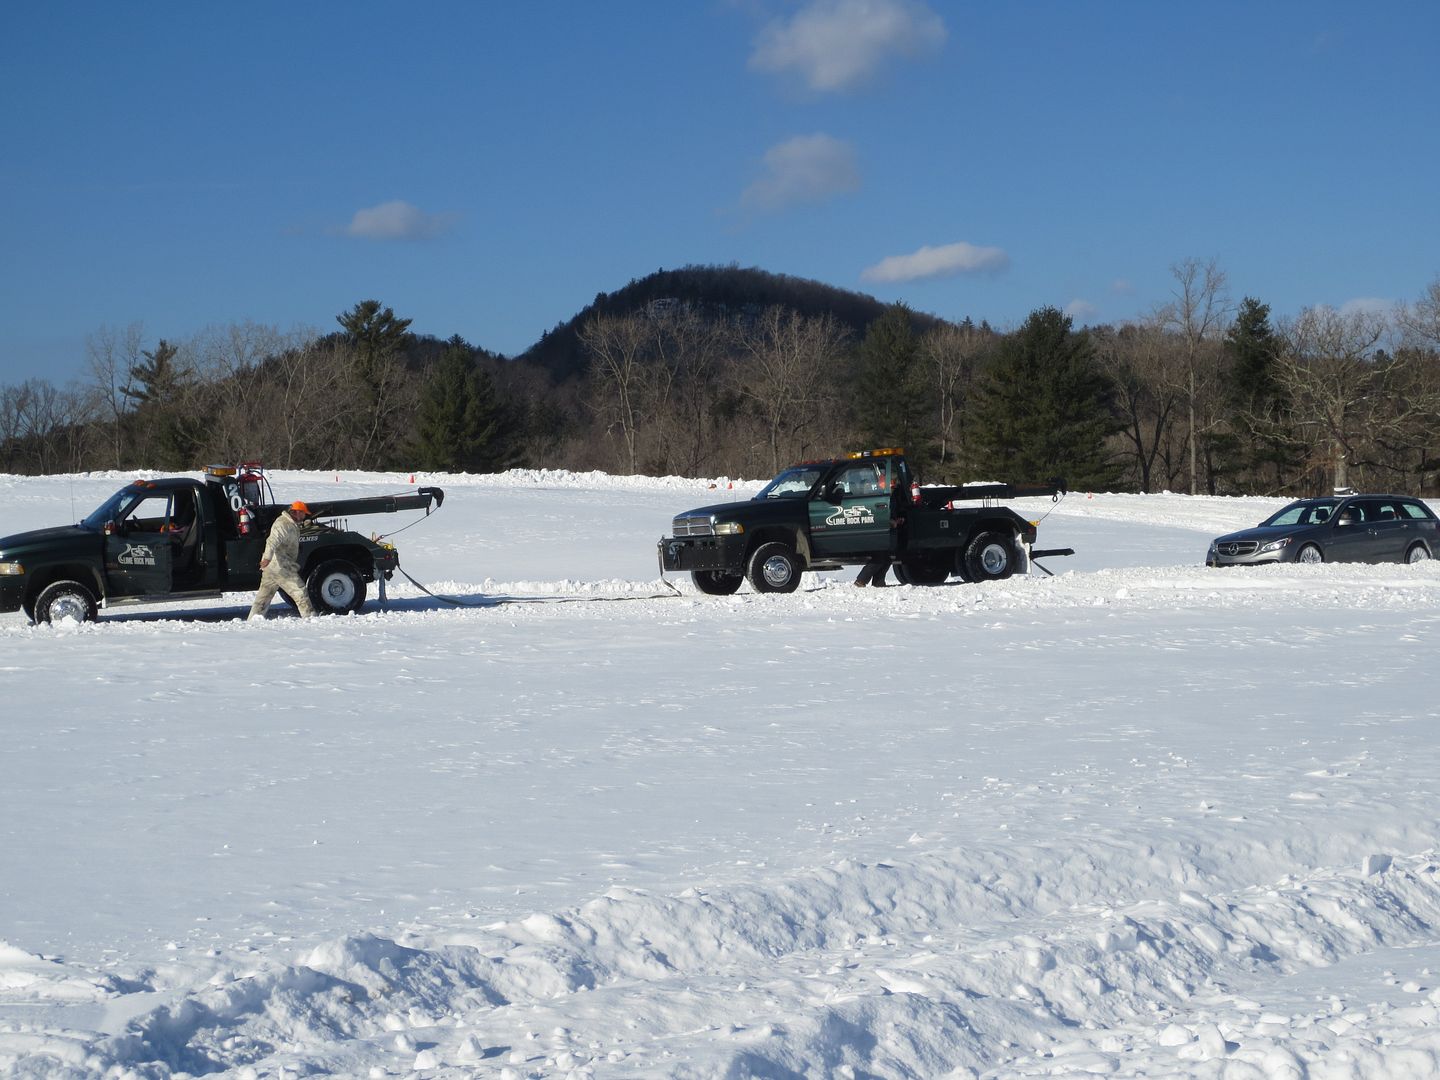
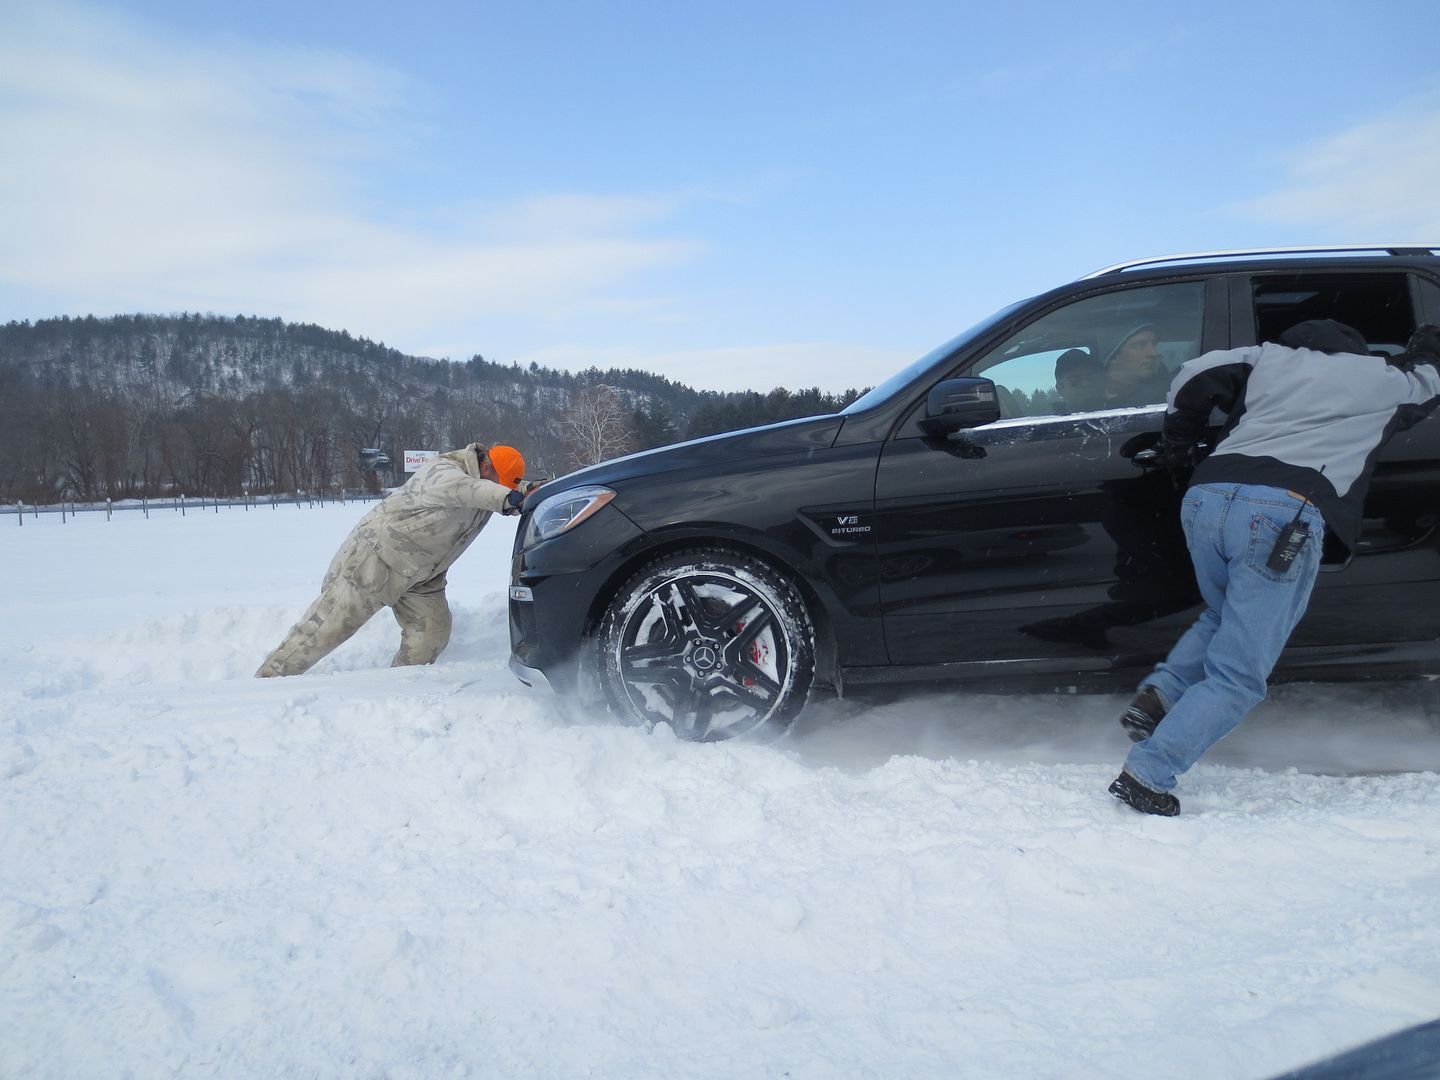
Calling it an autocross is a bit of a misnomer. It was more of a cross between a winter driving school and an HPDE. I don't have any photos of the car in action and most of the other shots that I have are just other cars staging or being pulled out of snow banks by the tow trucks. There were two of us who were able to avoid the hook all day.

Woody
Woody GRM+ Memberand MegaDork
2/12/15 7:42 p.m.

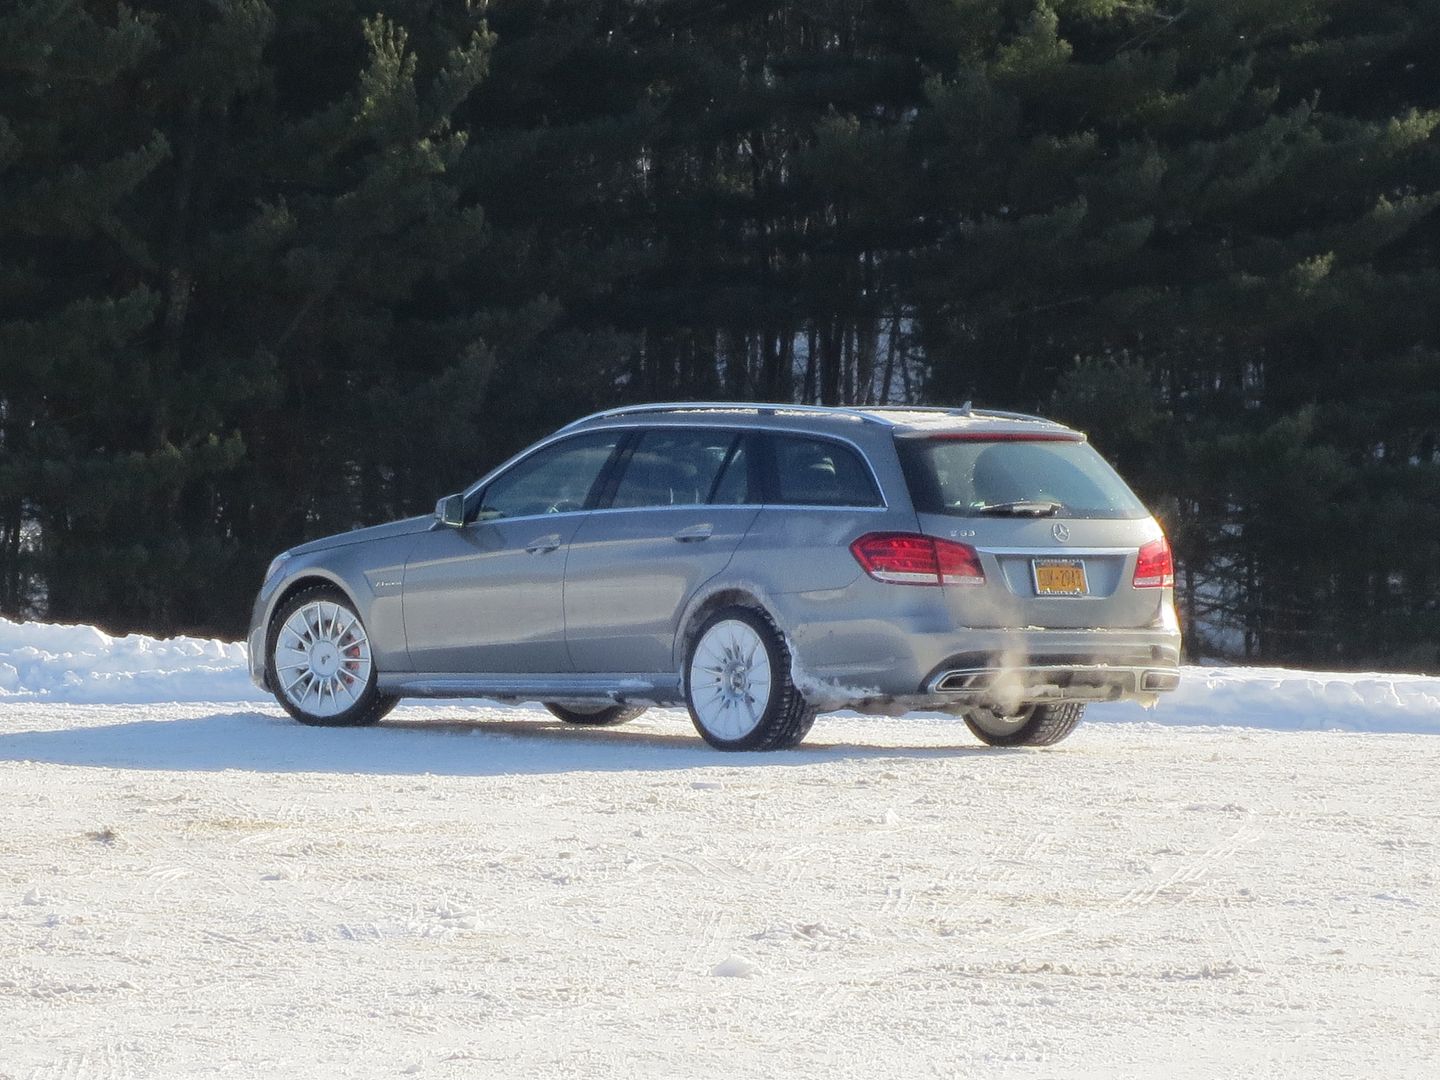
I fell in love with this car as soon as I saw it, but grew to hate it as the day went on. It was constantly stuck and when somebody gets stuck, everything grinds to a halt.

 photo Wintercross 039_zpsbetampjw.jpg

Possibly, a few too many turbos for this kind of thing.

 photo Wintercross 025_zpsrgn2zrpu.jpg

Here's the tow truck that was pulling out the tow truck that was pulling out the Mercedes.

 photo Wintercross 032_zpsnjm0v8ak.jpg

 photo Wintercross 036_zpslt8wph1d.jpg

Woody
Woody GRM+ Memberand MegaDork
2/12/15 7:45 p.m.

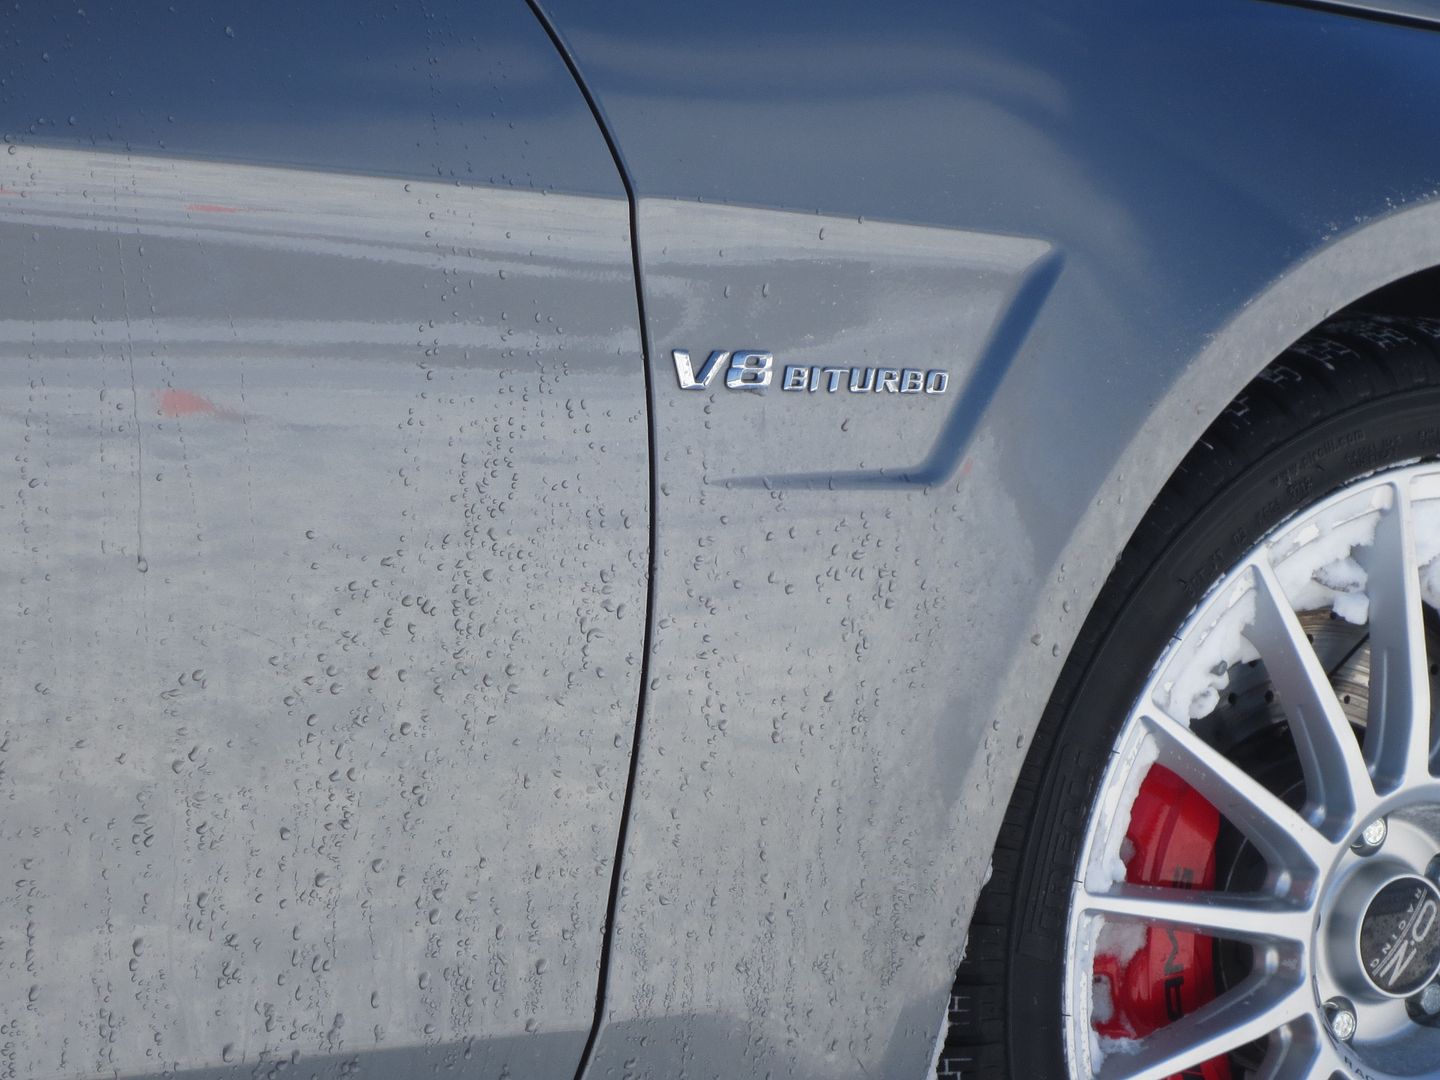
More AMG BiTurbo V8 fun...

 photo Wintercross 001_zpsghbinyu0.jpg

 photo Wintercross 009_zpsxpgyz9hf.jpg

Woody
Woody GRM+ Memberand MegaDork
2/12/15 7:47 p.m.

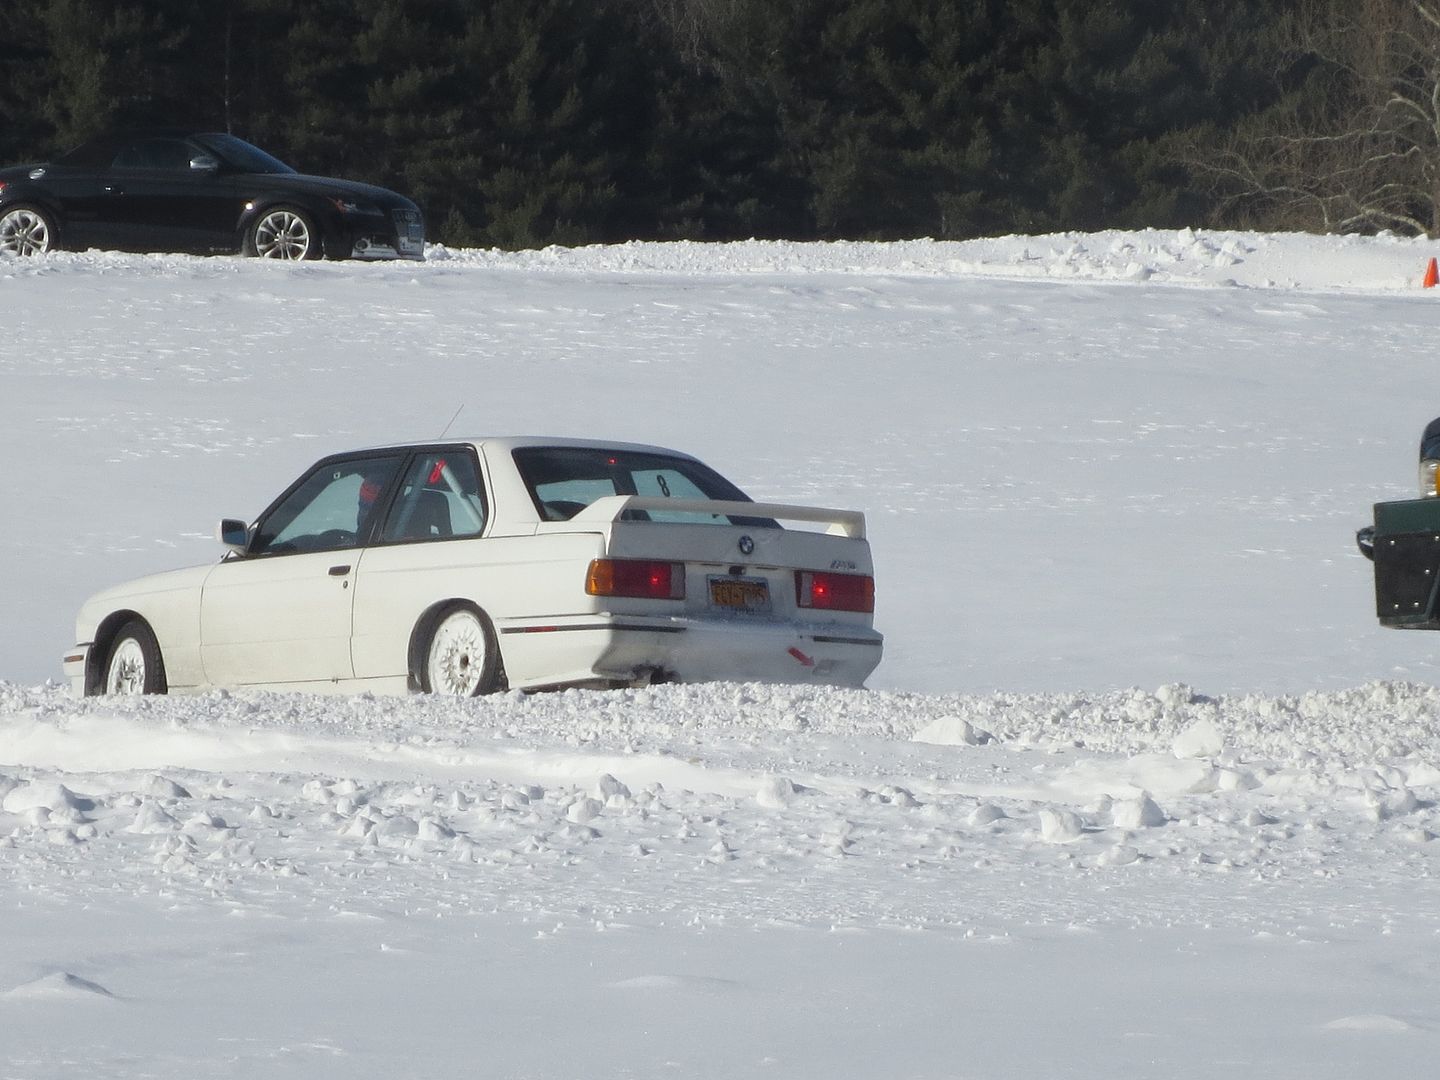
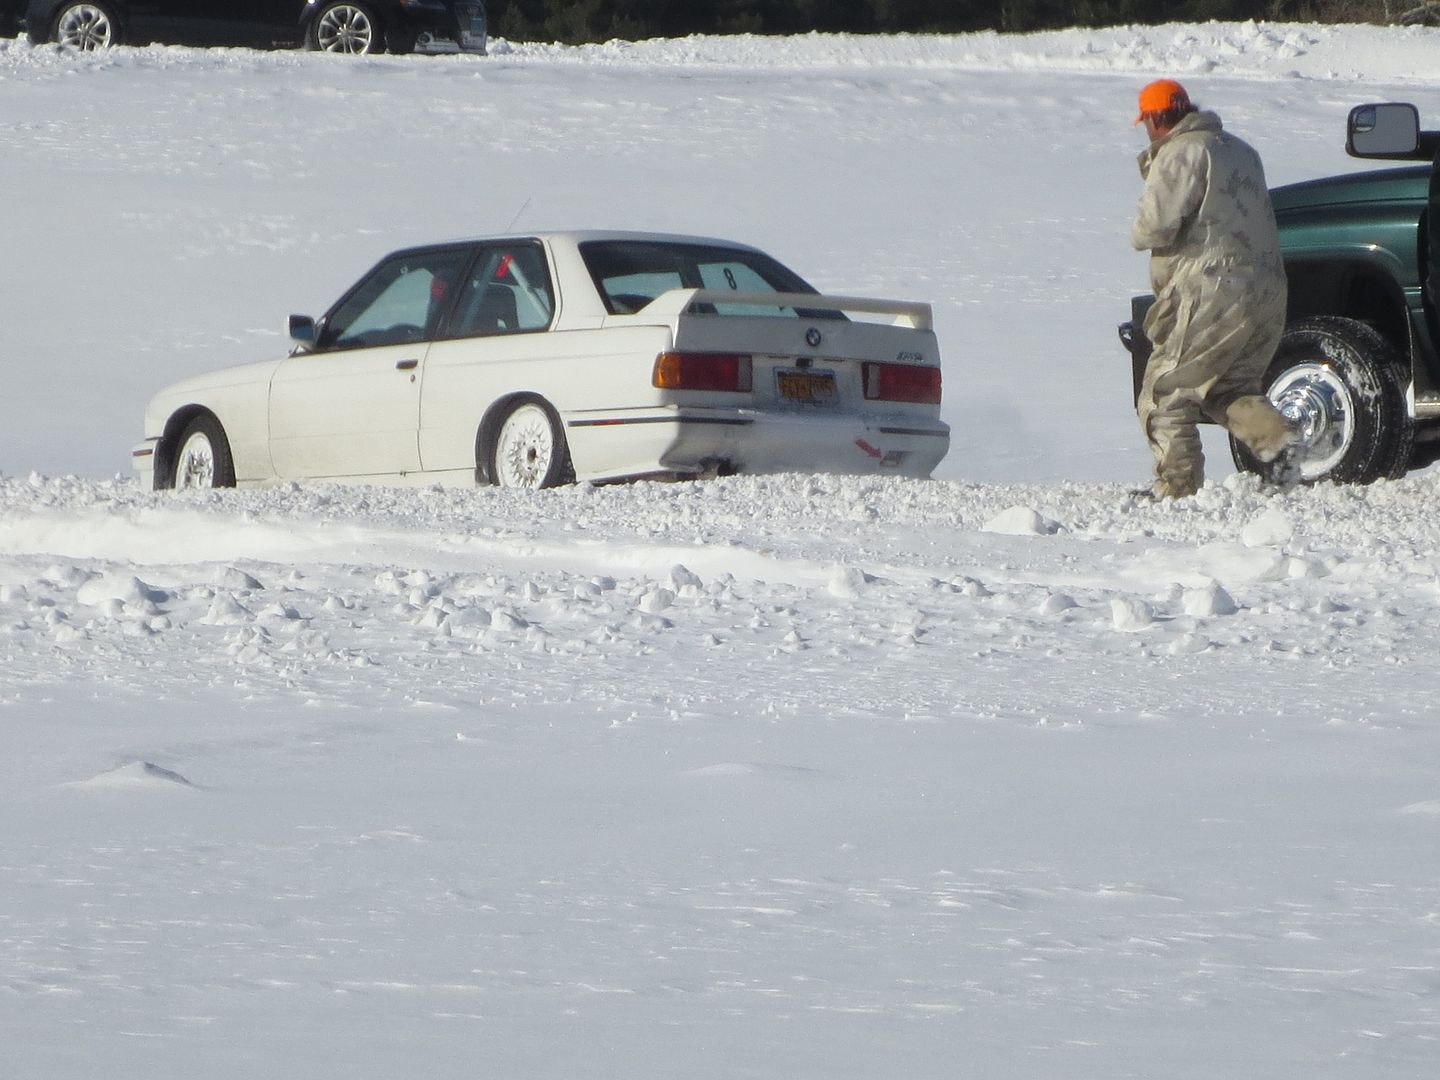
The M3 went home with some damage.

 photo Wintercross 034_zpspm1nkvvf.jpg

 photo Wintercross 035_zpsppfufqaw.jpg

 photo Wintercross 029_zpseehyvv4w.jpg

 photo Wintercross 030_zpsmhy3bk29.jpg

Woody
Woody GRM+ Memberand MegaDork
2/12/15 8:03 p.m.

 photo Wintercross 014_zpsi2uw4jj8.jpg

 photo Wintercross 012_zpsawxdxe3q.jpg

 photo Wintercross 008_zpsi2mvyg0w.jpg

 photo Wintercross 007_zpsacmx96is.jpg

Woody
Woody GRM+ Memberand MegaDork
2/12/15 8:04 p.m.

The STi left a few plastic parts behind in the snow.

 photo Wintercross 003_zpsznuoeheq.jpg

beans
beans Dork
2/12/15 9:18 p.m.

Makes me wonder if mid ohio does this....

Woody
Woody GRM+ Memberand MegaDork
2/13/15 8:02 a.m.

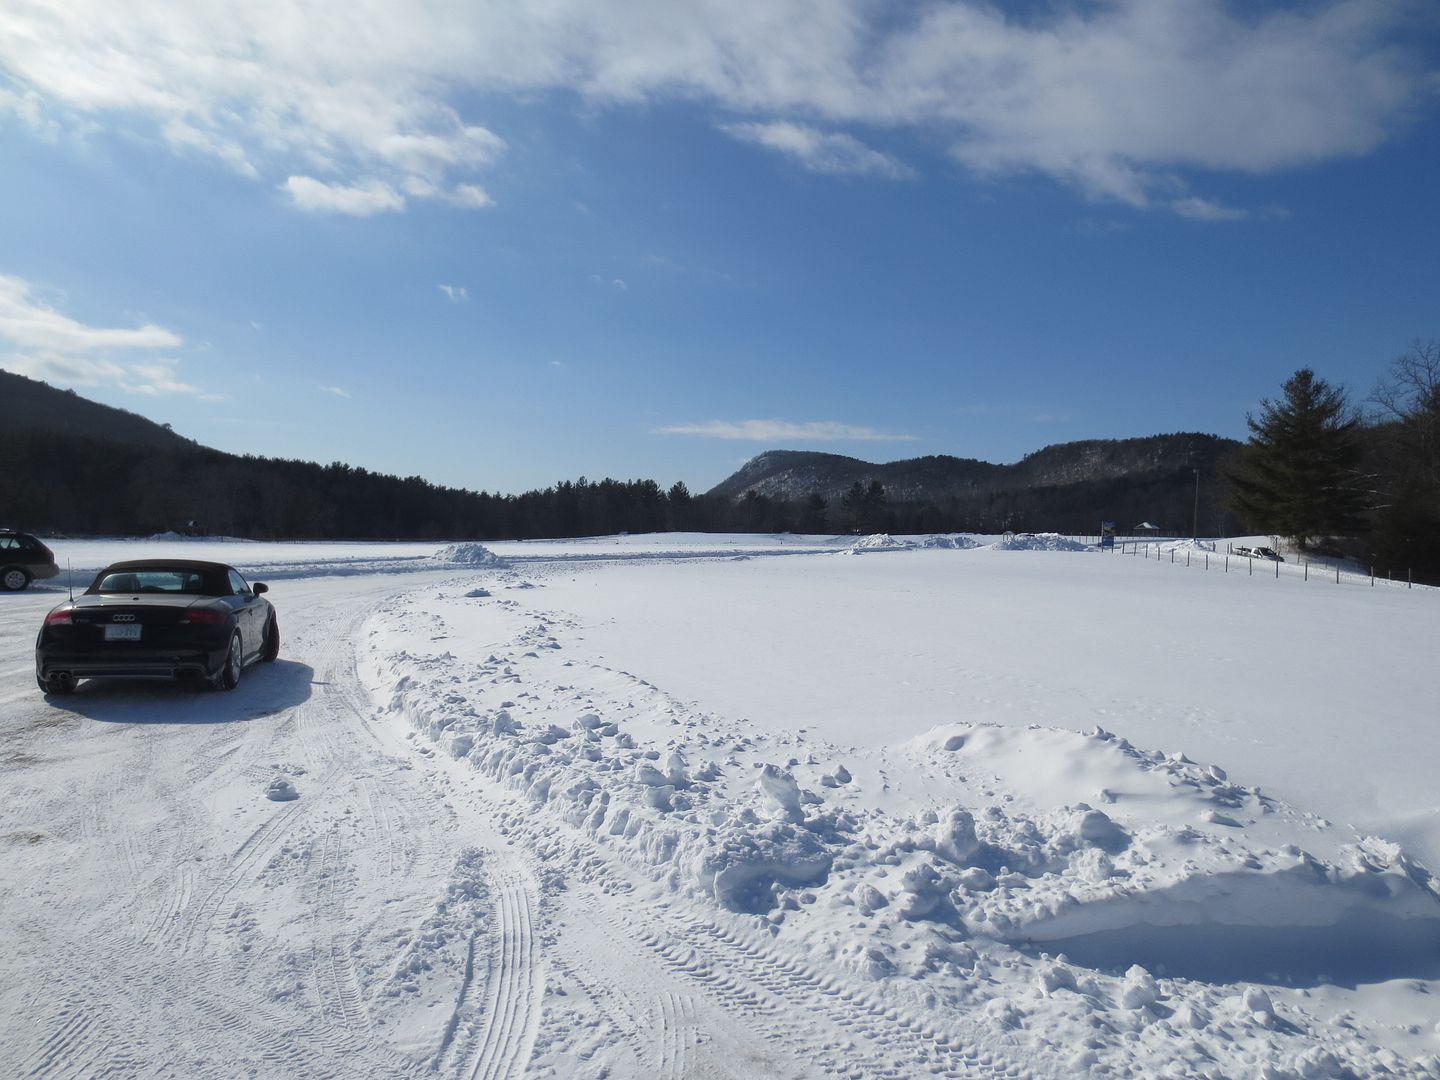
The funny part is that they bought snow making equipment to make this happen. As luck would have it, this has been an incredibly snowy winter around here. I'm hoping that they add a few more events to the calendar.

XLR99
XLR99 GRM+ Memberand Reader
2/13/15 3:34 p.m.
beans wrote: Makes me wonder if mid ohio does this....

One can only hope, probably more snow at Nelson's though.

Woody
Woody GRM+ Memberand MegaDork
2/13/15 4:57 p.m.

This is the course map. When I was there, turns one, three and four were glare ice by the end of the day. The rest was about a foot of snow in most places. there was no pavement to be seen and no potholes, although there were a couple of bumps coming out of turn seven. I was regularly using third gear between turns three and four.

XLR99
XLR99 GRM+ Memberand Reader
2/13/15 6:05 p.m.

Looks like some people need to adjust their car/tire budgets slightly? ie less car, moar tires?

crxmike
crxmike New Reader
2/15/15 6:11 p.m.

I was considering a LRP winter event, but figured I would rather put the $300 towards an NER rallyx event. I do enjoy that go-kart track in the spring/summer/fall, drift events with ReadySetDrift are a hoot.

Woody
Woody GRM+ Memberand MegaDork
3/2/15 4:56 p.m.

I haven't driven the car much in the past two weeks, as it started making an intermittent squealing noise.

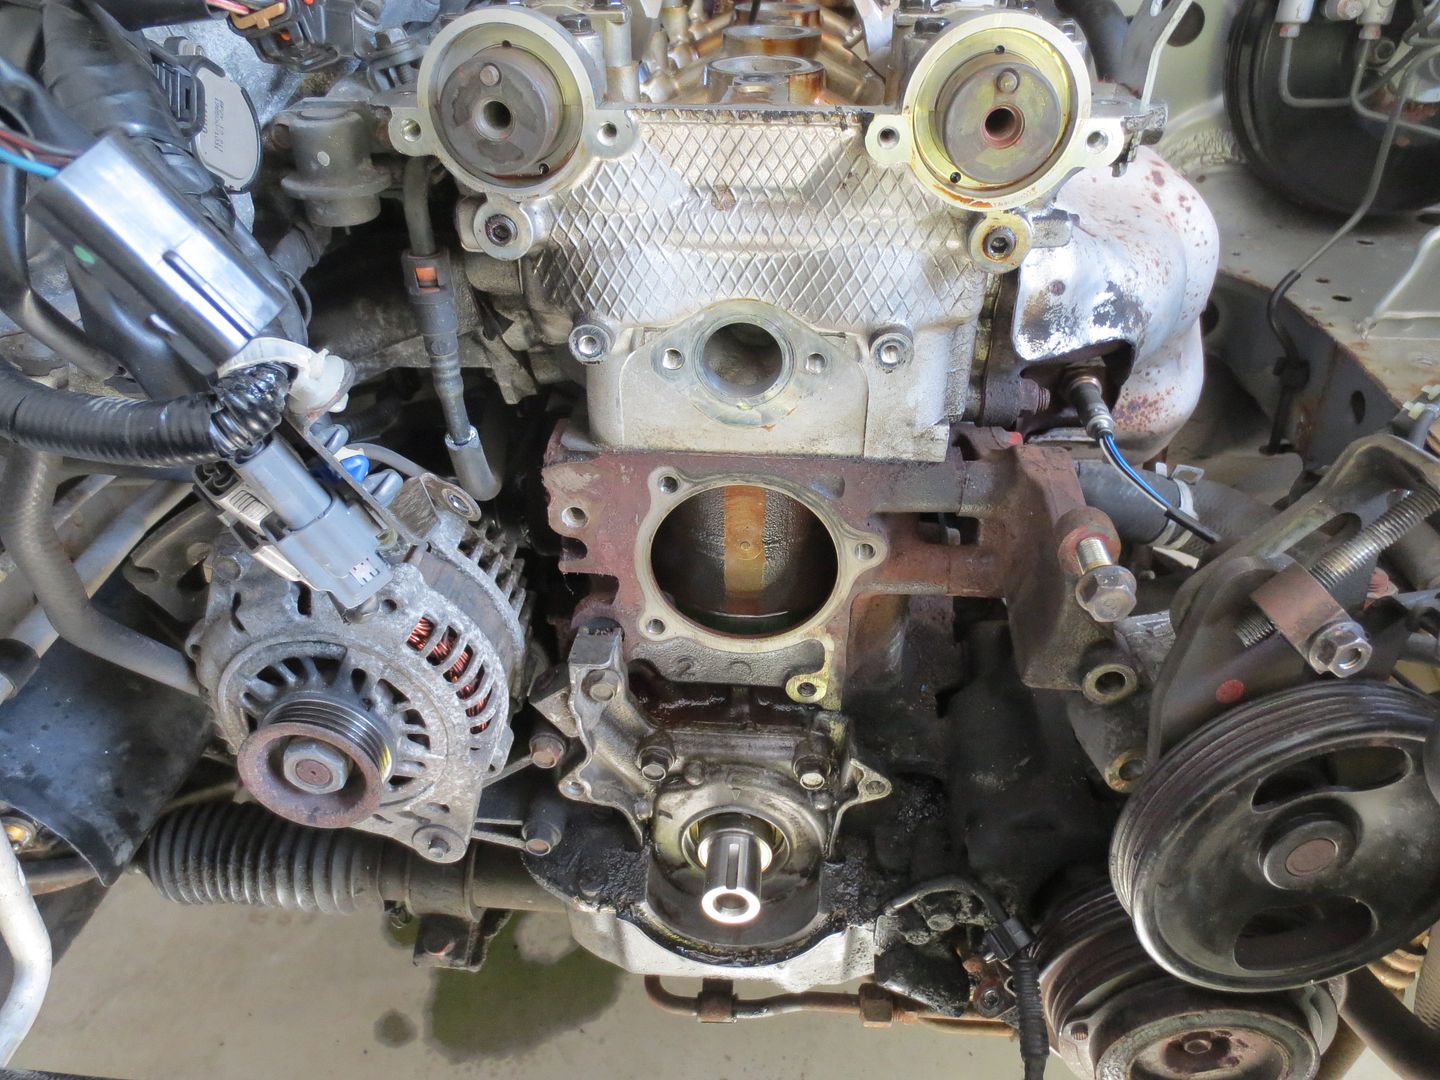
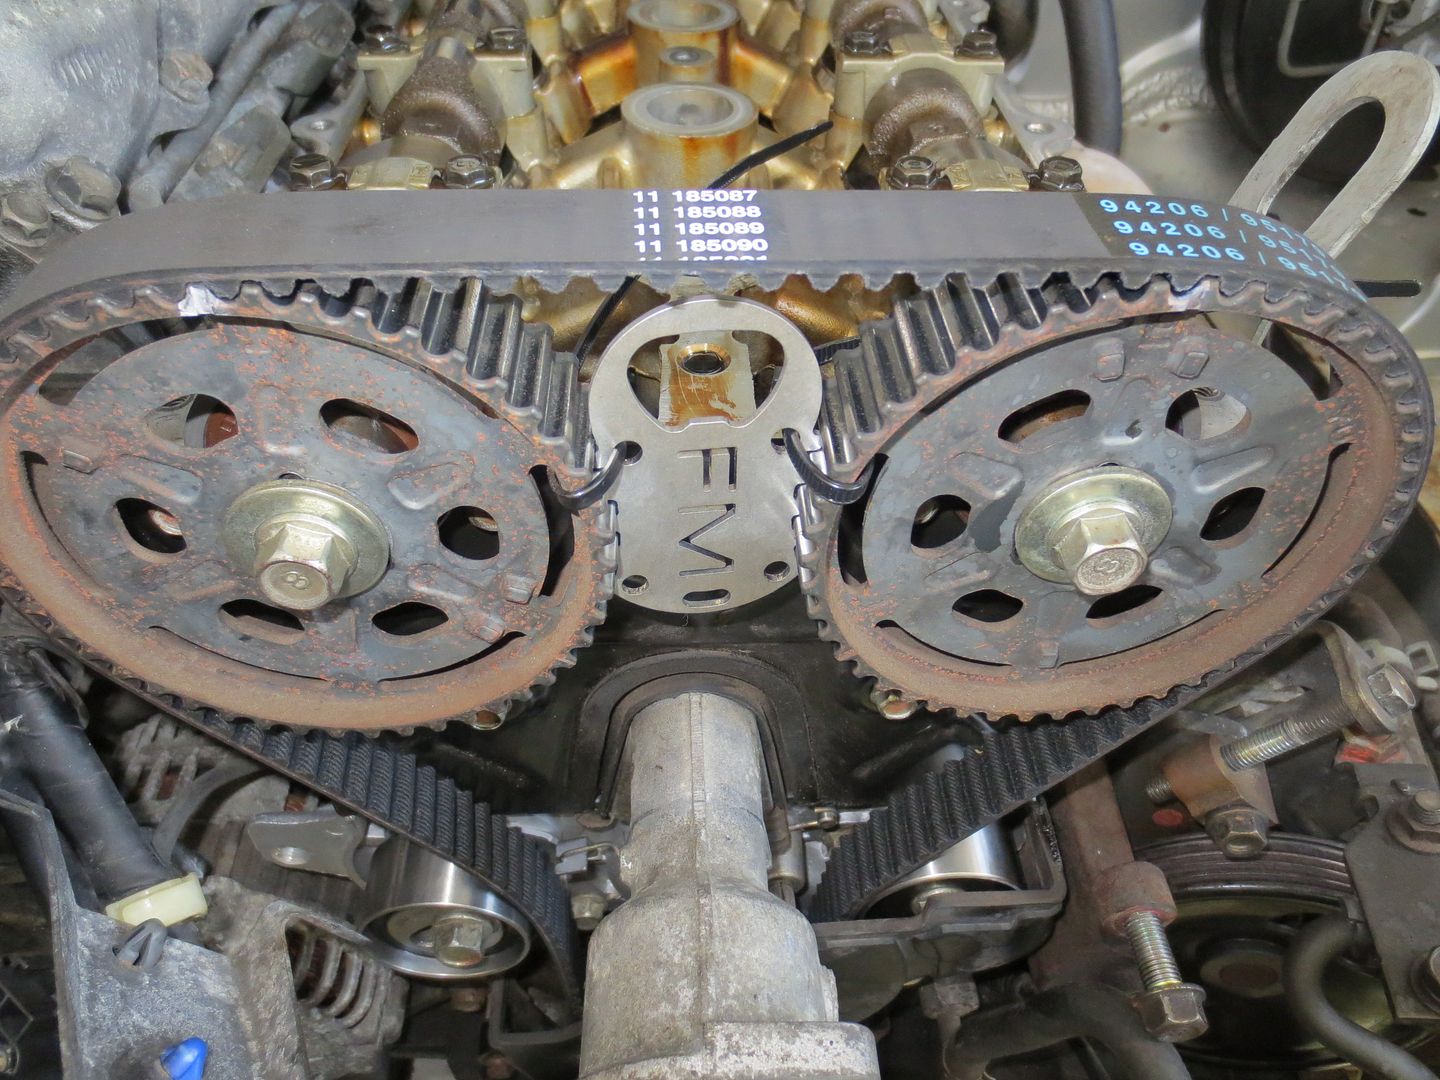
At first I thought it was a power steering issue, but the fluid level was fine and I didn't have any loss of assist. The power steering and alternator belts are new and properly adjusted so, by default, I decided that the noise must either be coming from the water pump or one of the timing belt pulleys. The widow that I bought the car from said that her husband had always maintained the car at the dealership, but she couldn't find any of the service records for it. When I replaced the valve cover gasket, I saw a lot of black dust around the camshaft sprockets, so I figured that it was probably due for a timing belt job.

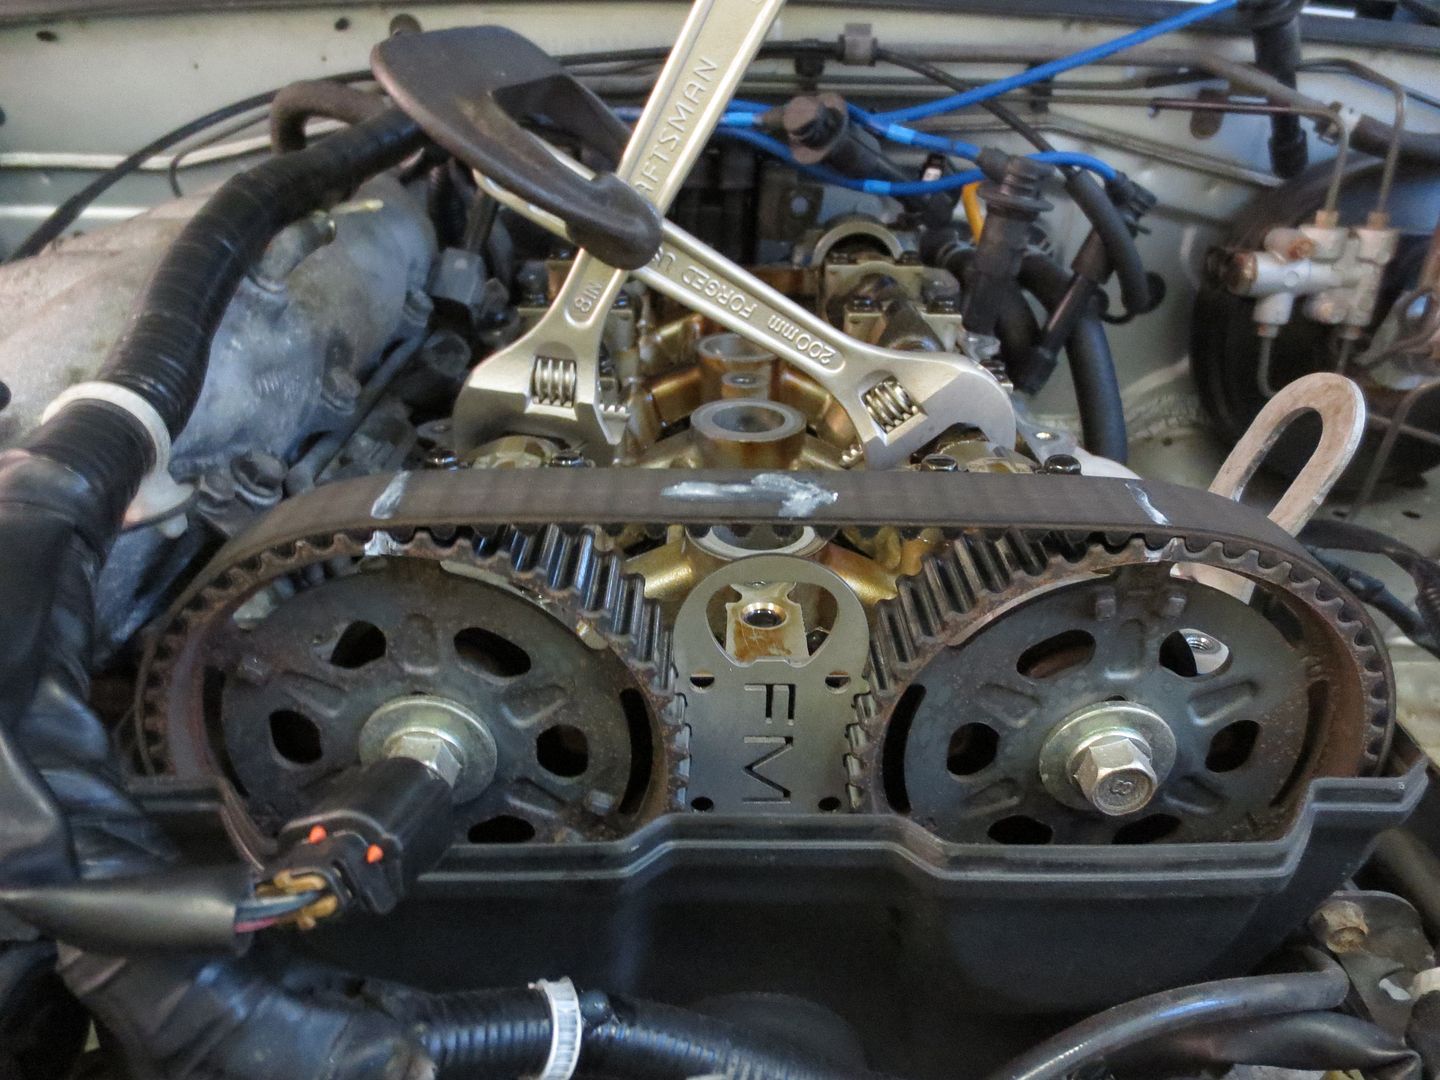
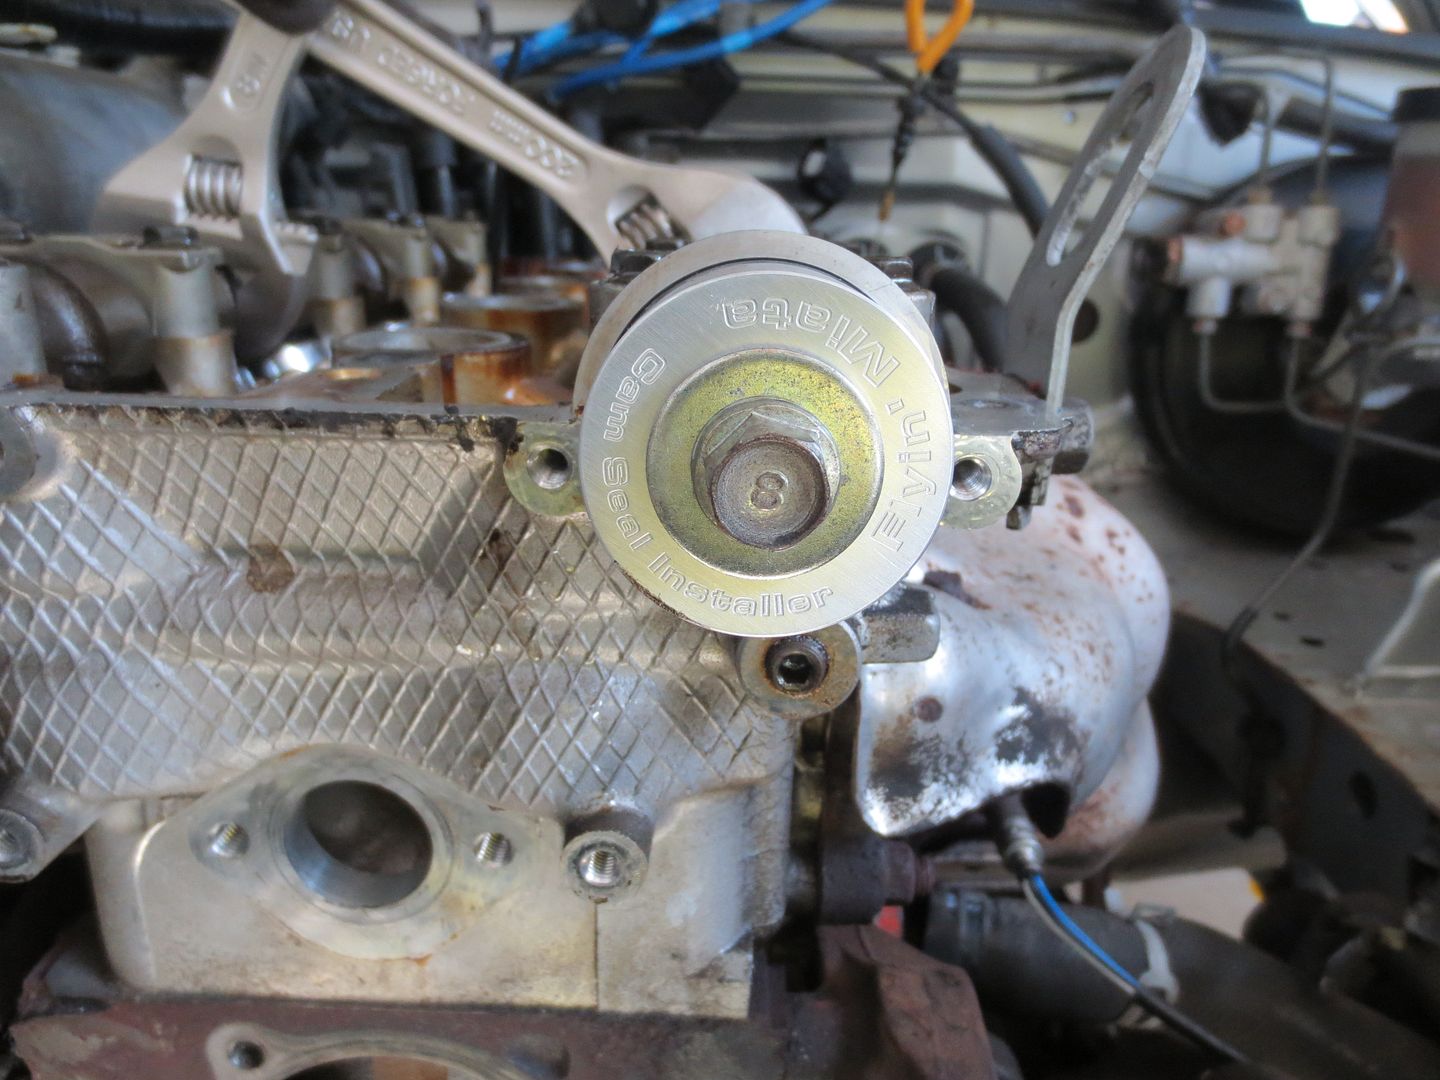
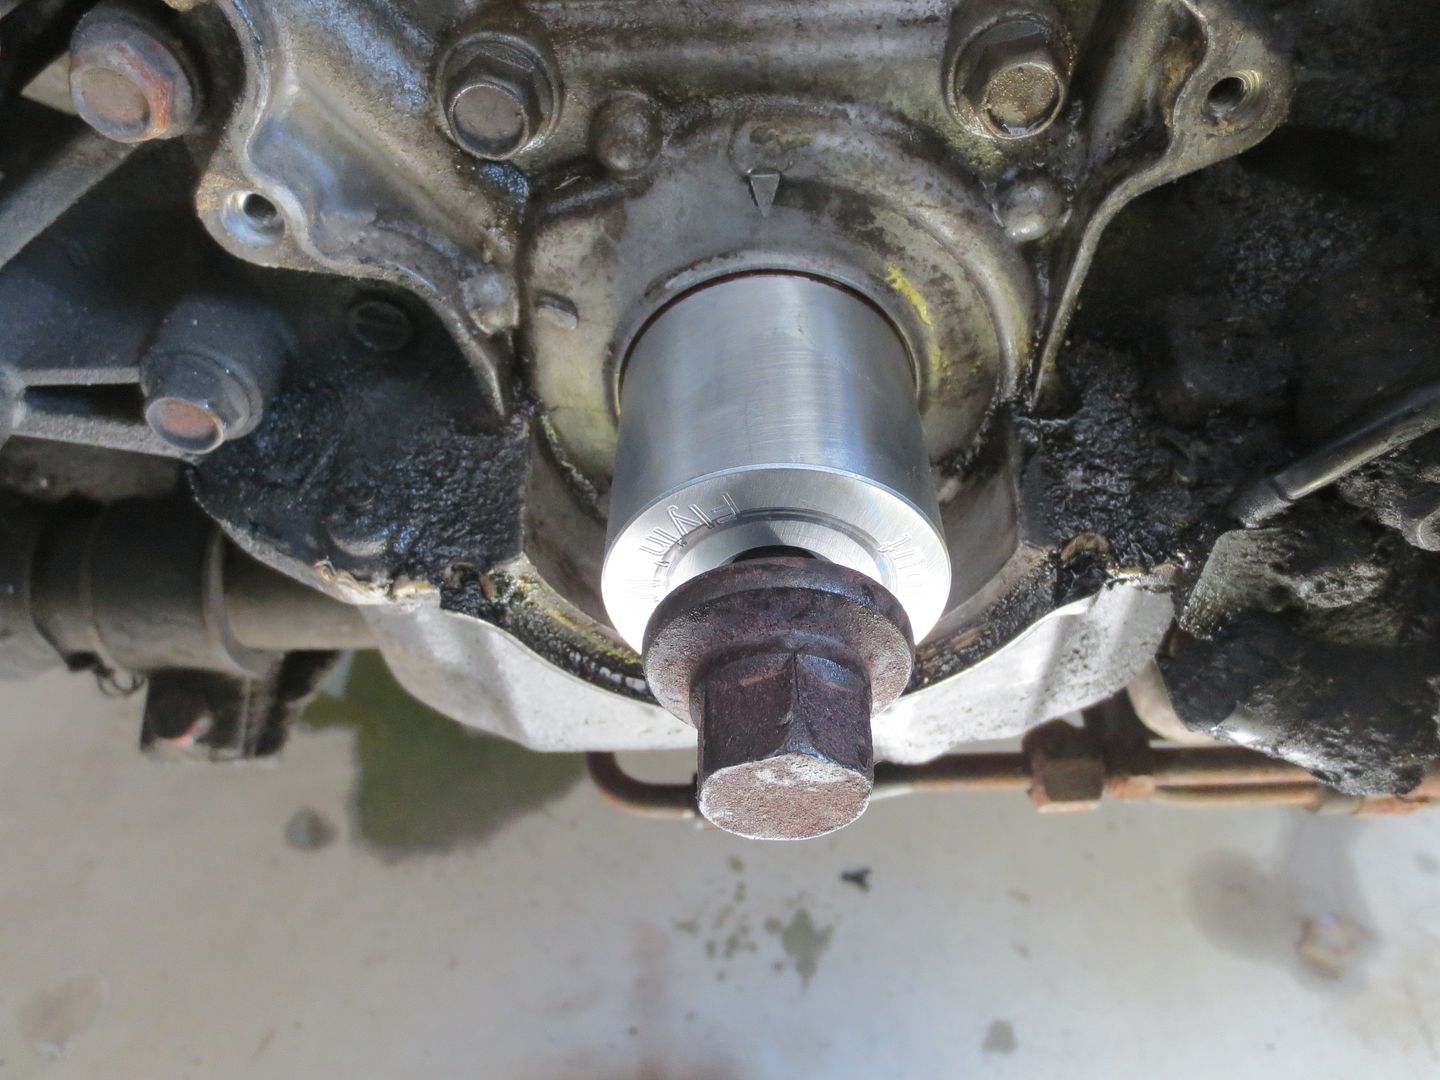
I ordered a timing belt and water pump kit with seals and also sprung for the tool kit from Flyin' Miata. It wasn't absolutely necessary, but it made the whole project a lot easier and took some of the guess work out of seating the cam and crankshaft seals to the proper depth. I didn't need the crank bolt tool, but the seal tools and the cam gear Ninja tool were well worth it.

You can't tell from this photo, but the old belt had a lot of slack in it. The car was always a little reluctant to start when it was cold and I think that the loose belt had allowed the timing to get slightly out of whack.

 photo Timing belt 005_zps3upwwa7i.jpg

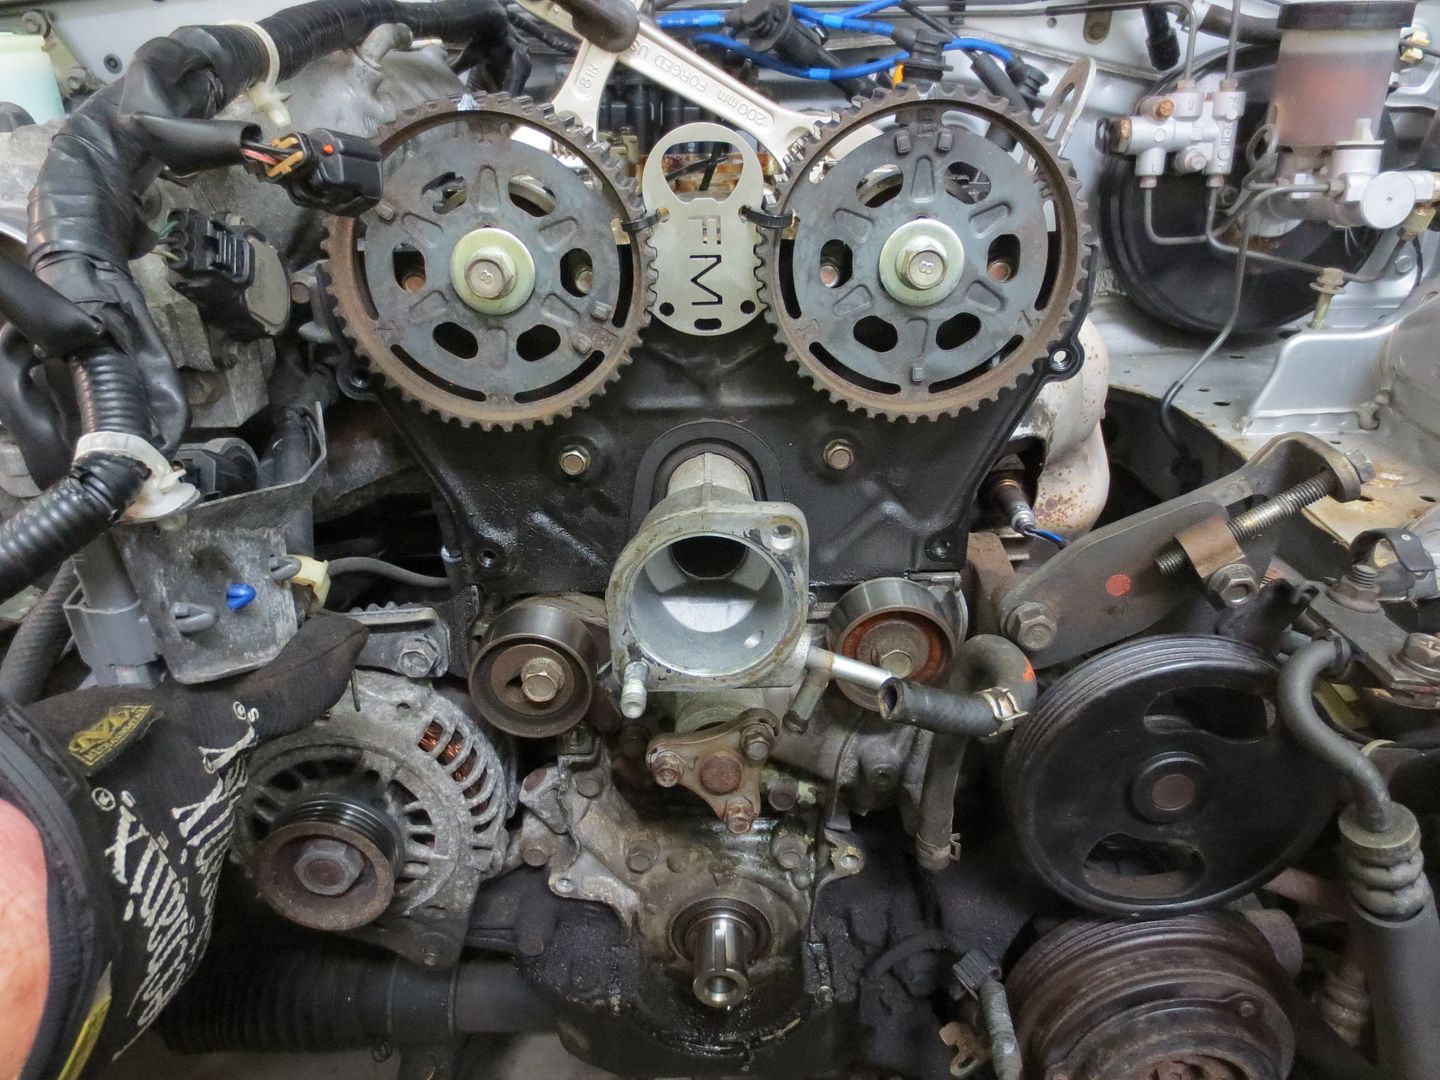
The idler pulley and tensioner bearings were really sloppy. I'm pretty sure that the idler was the source of the squeal.

 photo Timing belt 018_zpslo0bxbpj.jpg

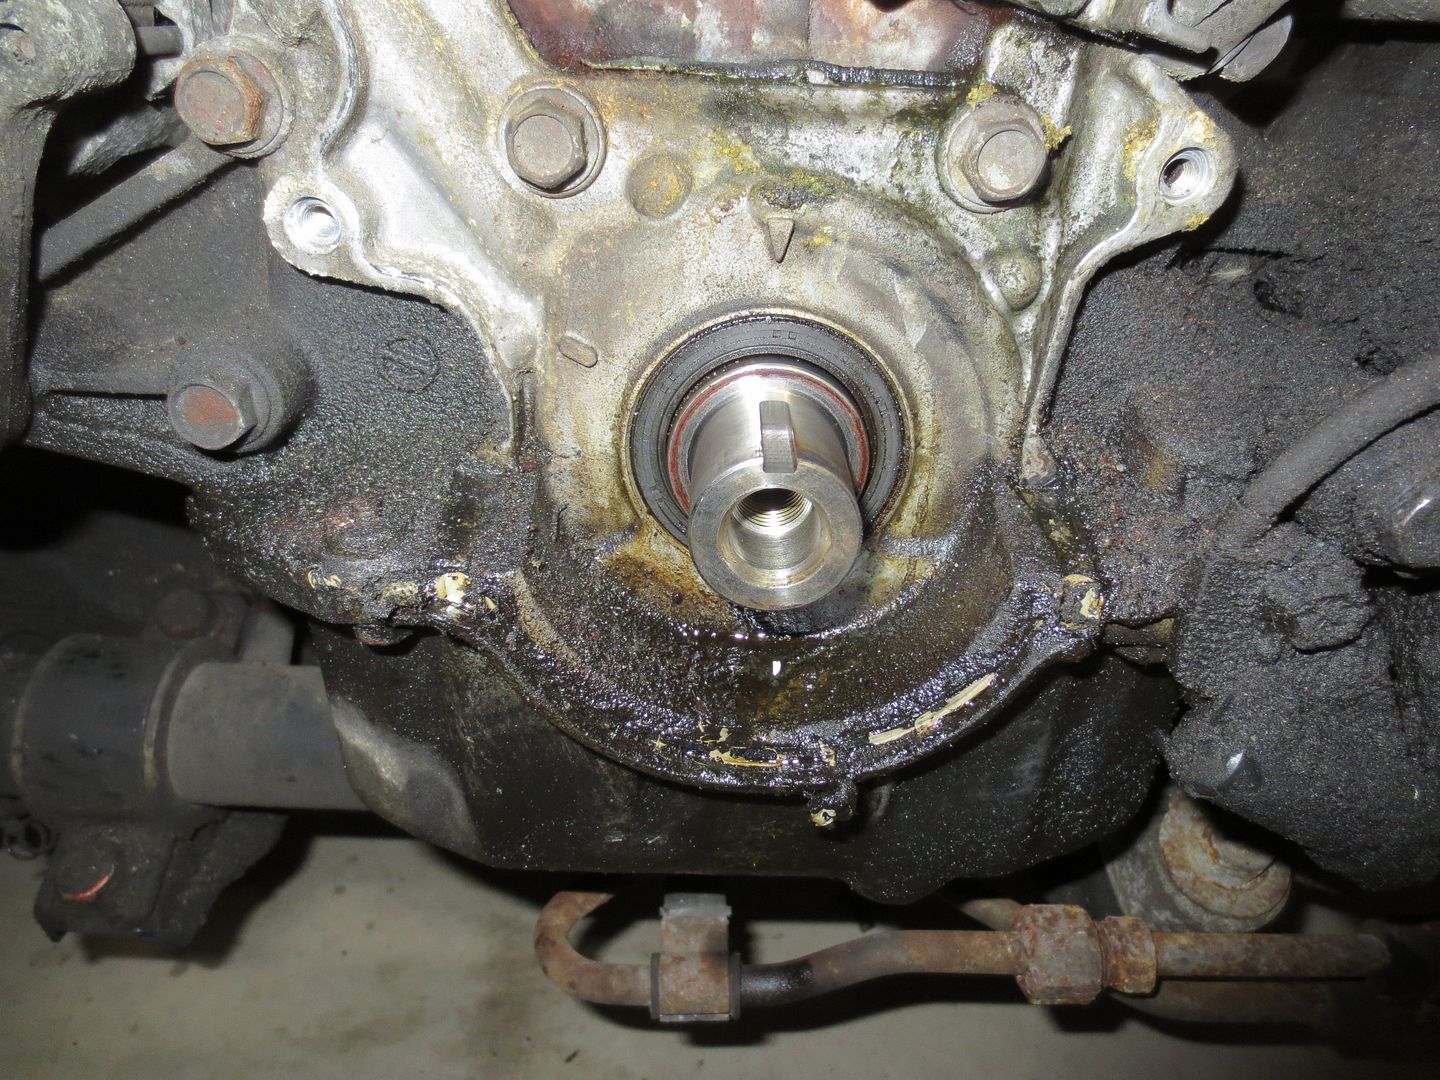
It was also pretty clear that the crank seal was shot. Fortunately, the kit included new seals for the crank and cams. The old crank seal crumbled as it came out.

 photo Timing belt 017_zpsv7e8mkrt.jpg

All stripped down:

 photo Timing belt 003_zpsrout7yvx.jpg

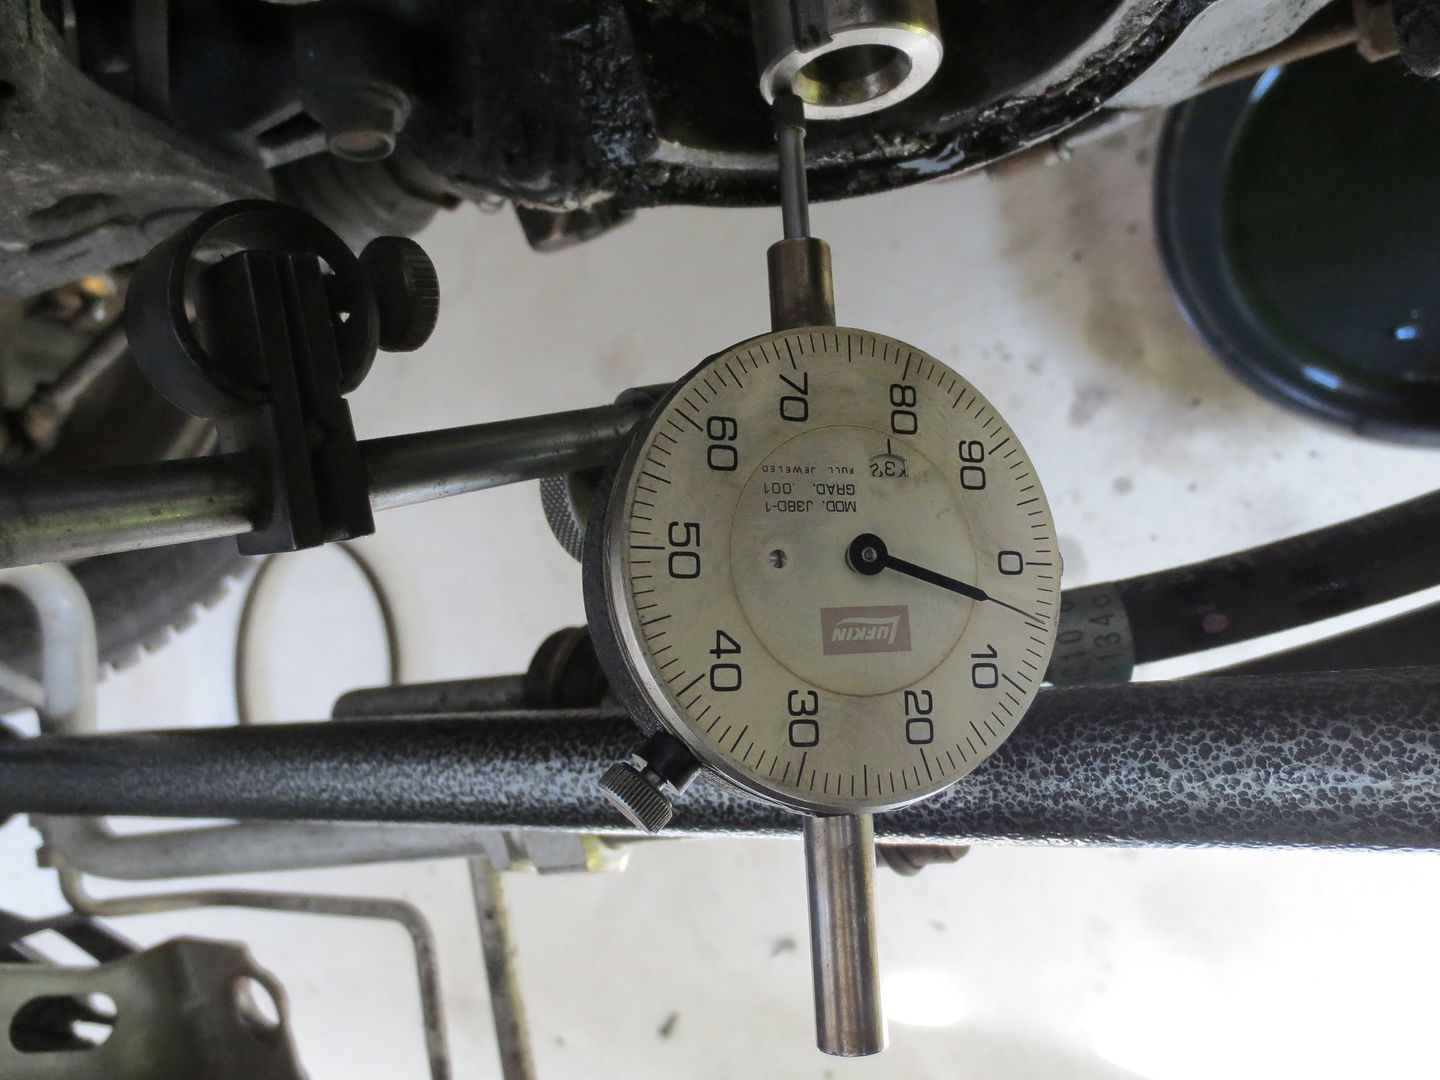
With everything apart, I took a little extra time to measure the crankshaft end play to make sure that there were no issues with the thrust bearing. It was well within spec.

 photo Timing belt 002_zpsoogad2zn.jpg

Flyin' Miata tools in action and the new belt:

 photo Timing belt 004_zpsw1pkdbxb.jpg

 photo Timing belt 005_zpsppm5az64.jpg

 photo Timing belt 006_zps6m9ikb9b.jpg

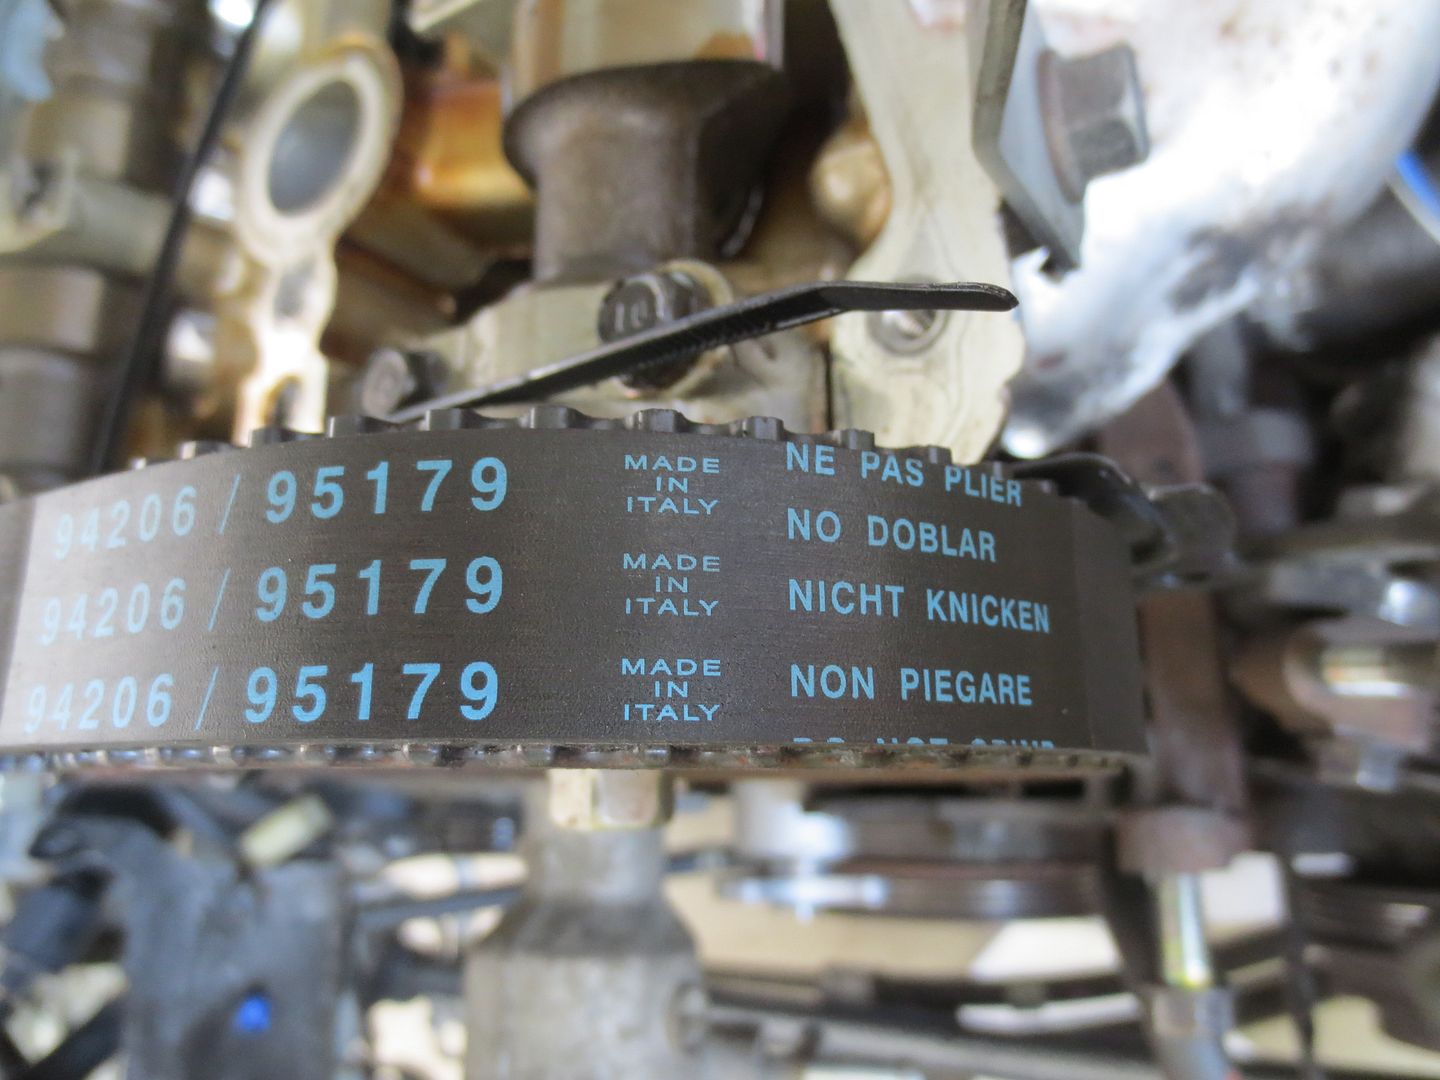
Remember: Nicht Knicken.

 photo Timing belt 010_zpsz6g47vq7.jpg

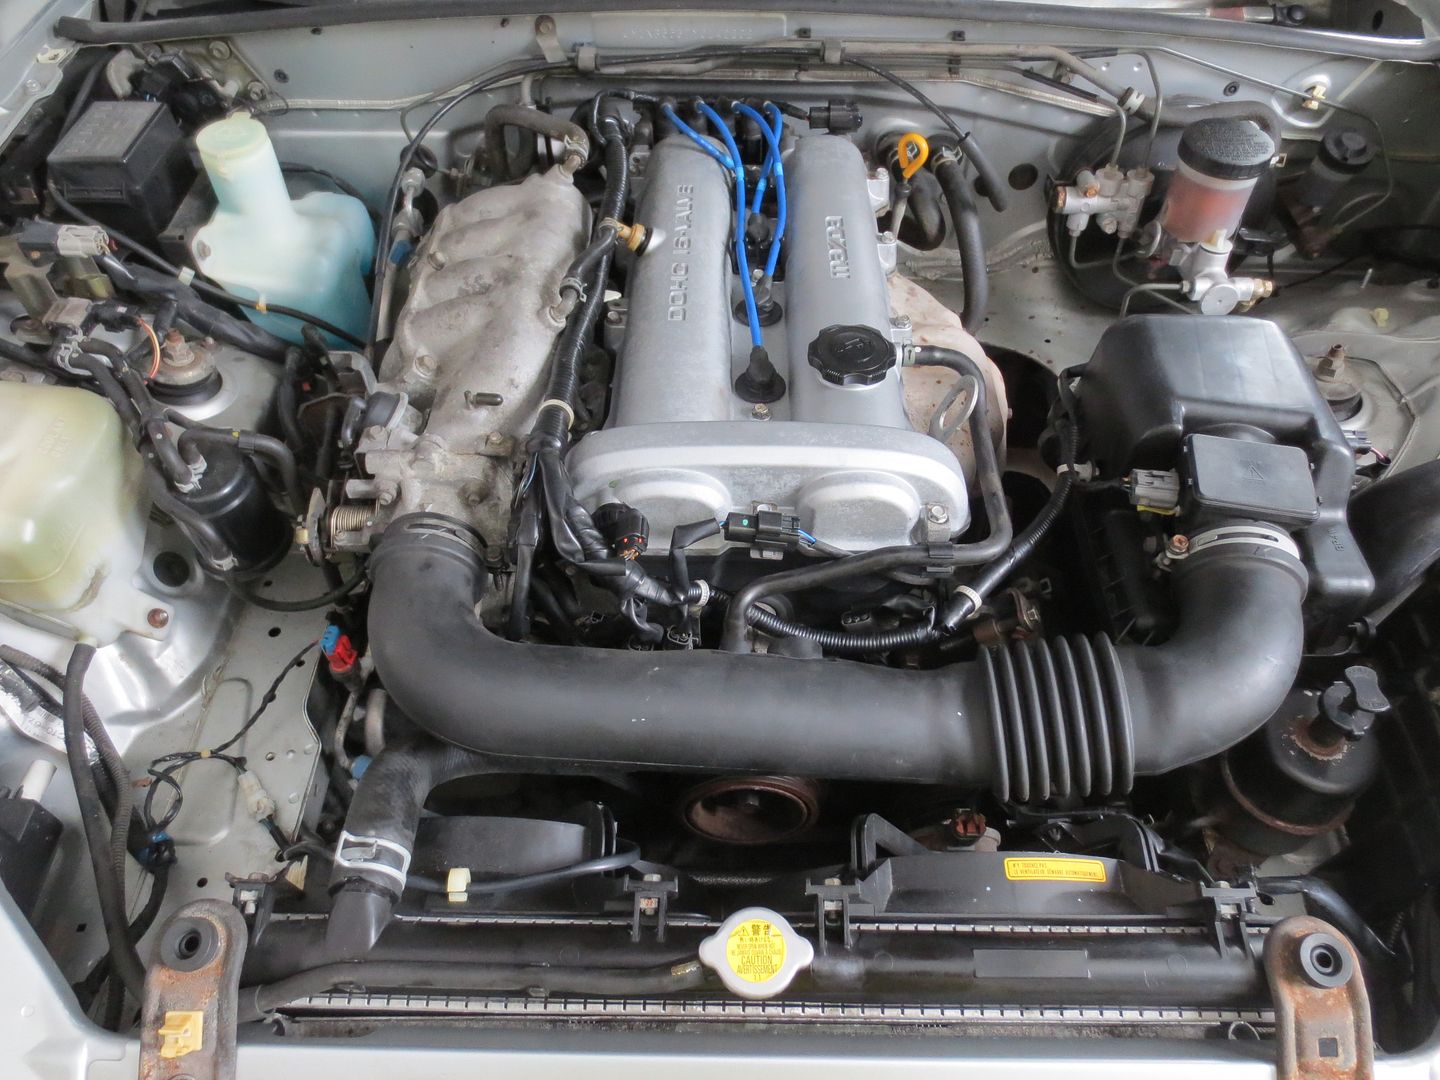
All better: No more funny noises, starts like a champ, runs great and no leaks. I also have a lot more peace of mind knowing that I don't have to worry about a timing belt or water pump failure for a long time.

 photo Timing belt 017_zpsoi0rnvps.jpg

Woody
Woody GRM+ Memberand MegaDork
3/2/15 5:21 p.m.

Another extravagance:

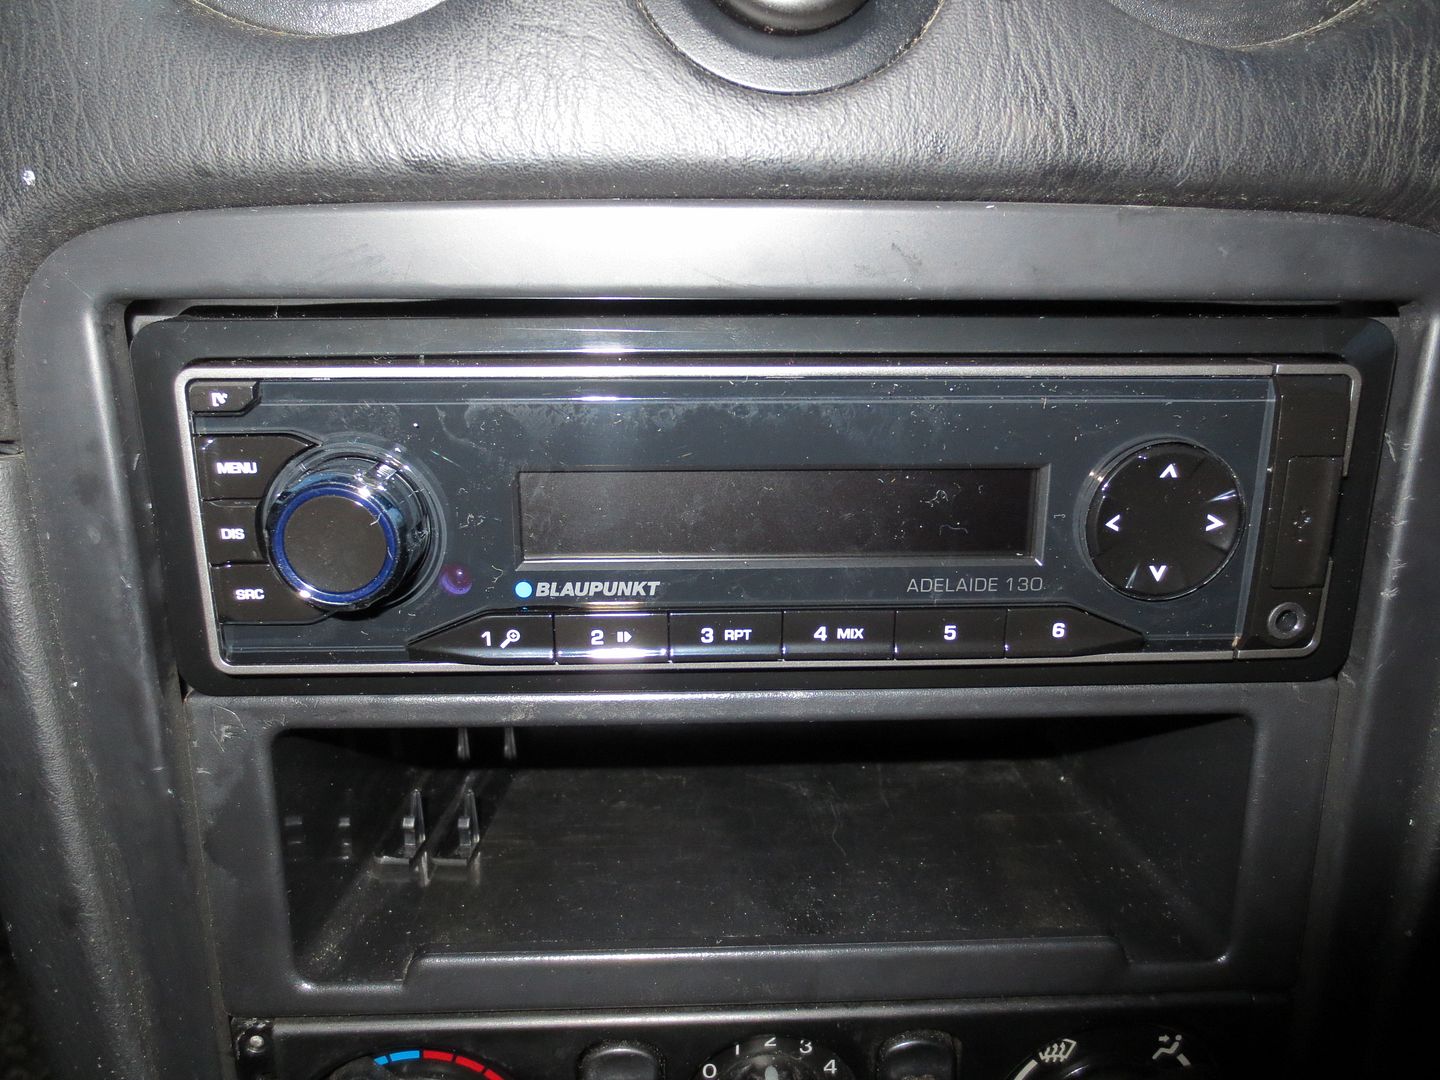
I'm not much of a car audio buff, but I usually listen to AM news on the hour and Sirius the rest of the time. The stock CD player in the car had a common short in it that prevented it from turning on about half the time. It also made the clock display disappear intermittently. I probably could have fixed it, but I decided to just replace it instead.
Fortunately, Blaupunkt makes a nice little AM/FM with an auxiliary input on the front that I can easily plug a Serius receiver into. With no CD player, this thing is tiny and light. It was all I needed and it was less than a hundred bucks shipped from Crutchfield.
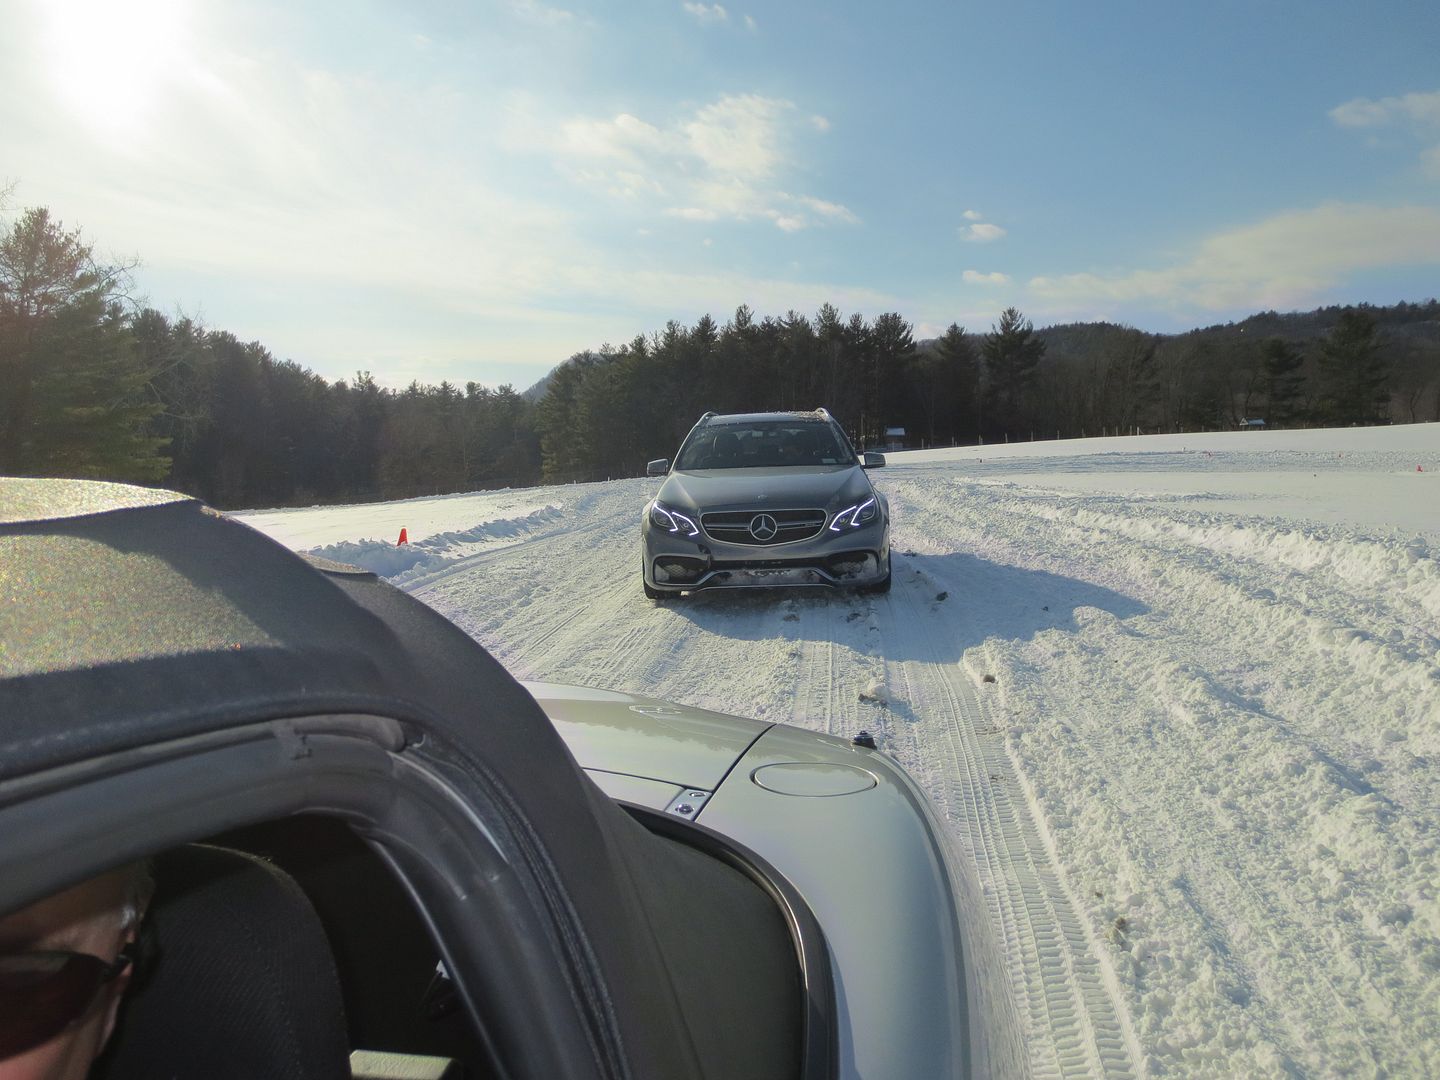
 photo Blaupunkt 002_zps7z2rz6od.jpg

mazdeuce
mazdeuce PowerDork
3/2/15 5:42 p.m.
That might be exactly the radio I've been looking for to replace the flashy blingy radio in the 911 currently.

Woody
Woody GRM+ Memberand MegaDork
3/2/15 5:47 p.m.
mazdeuce wrote: That might be exactly the radio I've been looking for to replace the flashy blingy radio in the 911 currently.

http://wwv.crutchfield.com/p_023ADEL130/Blaupunkt-Adelaide-130.html

Keith Tanner
Keith Tanner GRM+ Memberand MegaDork
3/2/15 5:55 p.m.

I like that radio. Will keep in mind. We had one here in a customer shop that had dancing dolphins on it ALL THE TIME. I suppose that was better than the car with the DVD screen that played Journey videos all the time.

1 2 3 4 5 ... 7

You'll need to log in to post.

Our Preferred Partners
Y5wx5QN5Af42hyoRD8cqQs8HvXb7KU0uE4p8bVPGn84SmRFuZAm353WCoqG39cNt