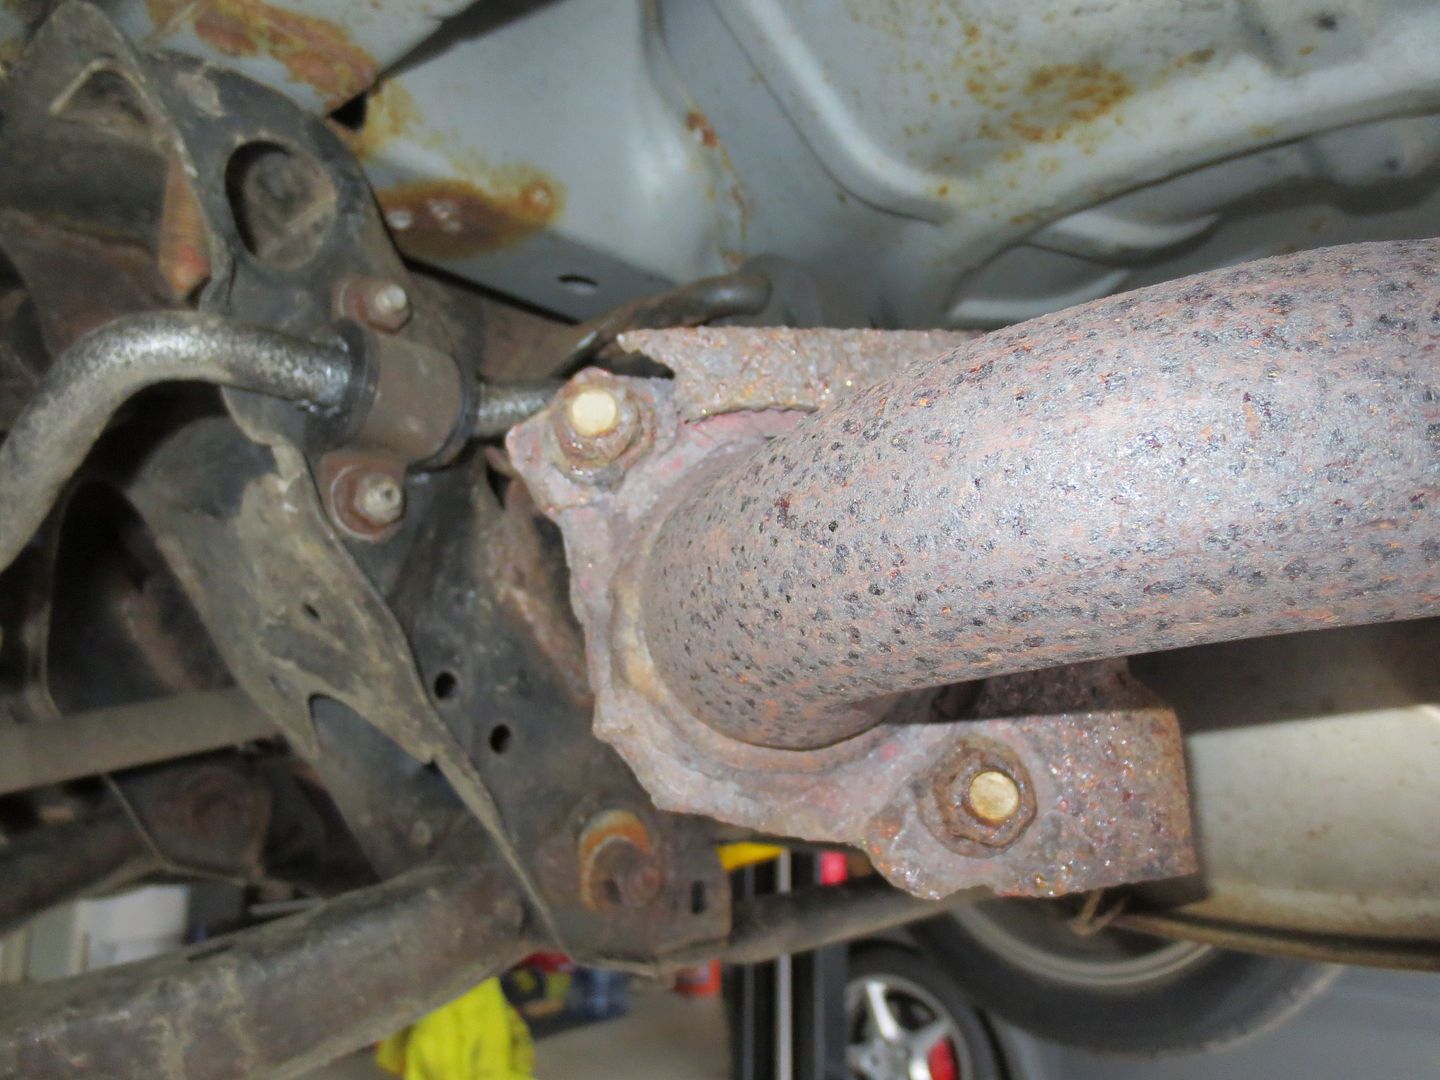
The original exhaust wasn't leaking or making any extra noises, but a quick peek under the car indicated that it was moments away from failure.
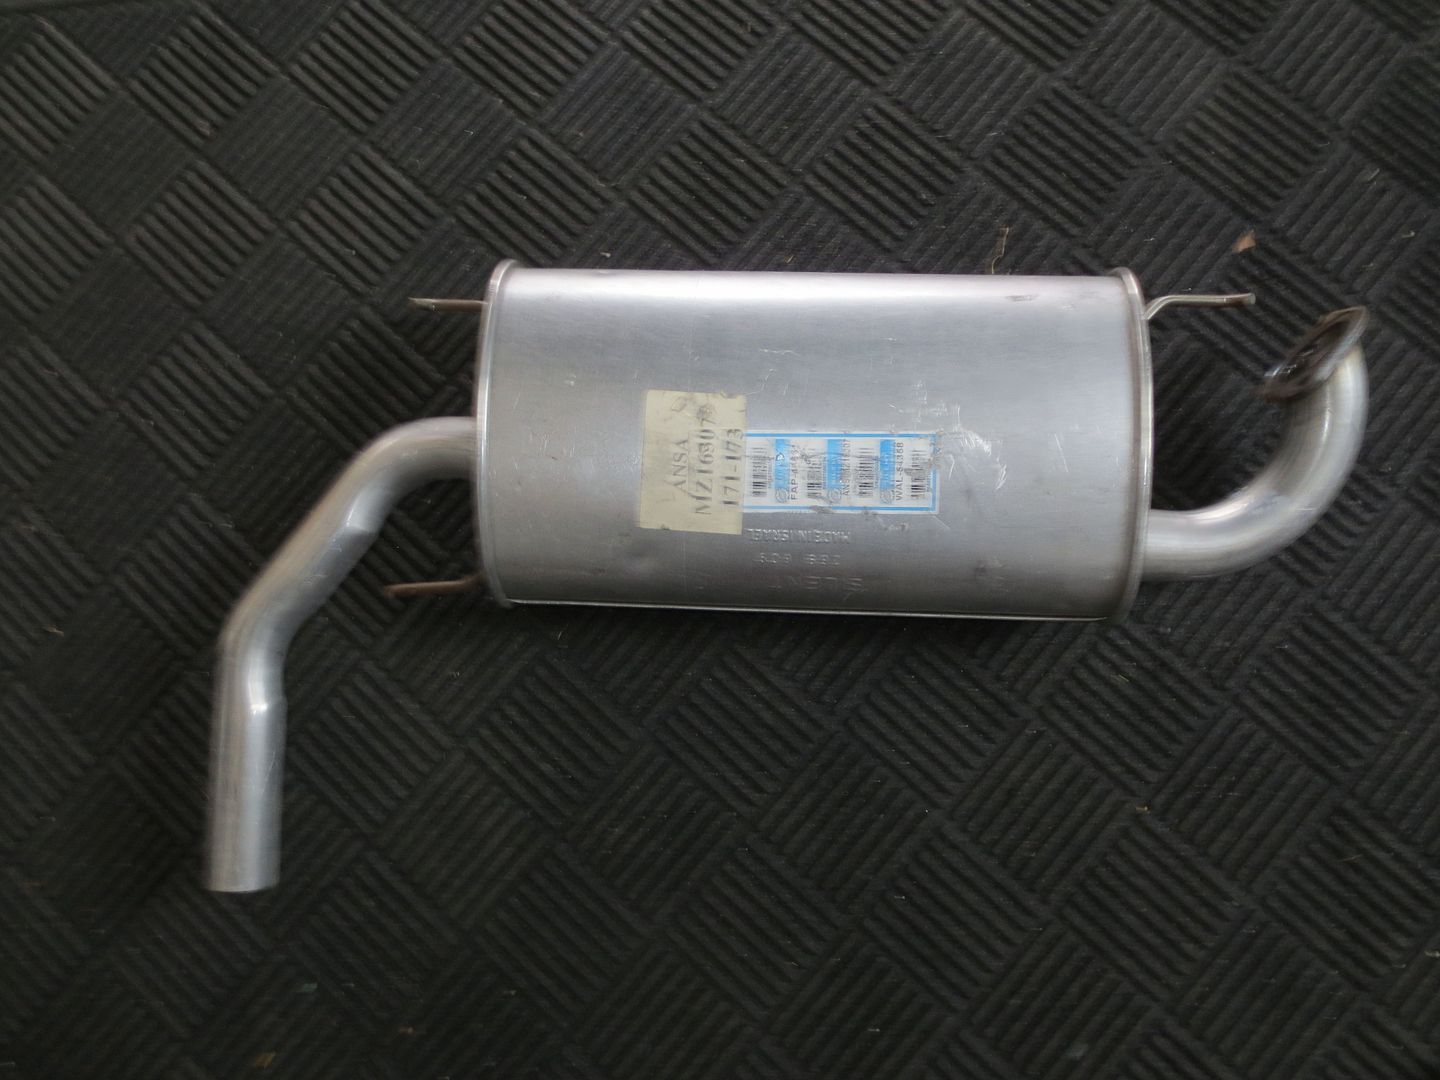
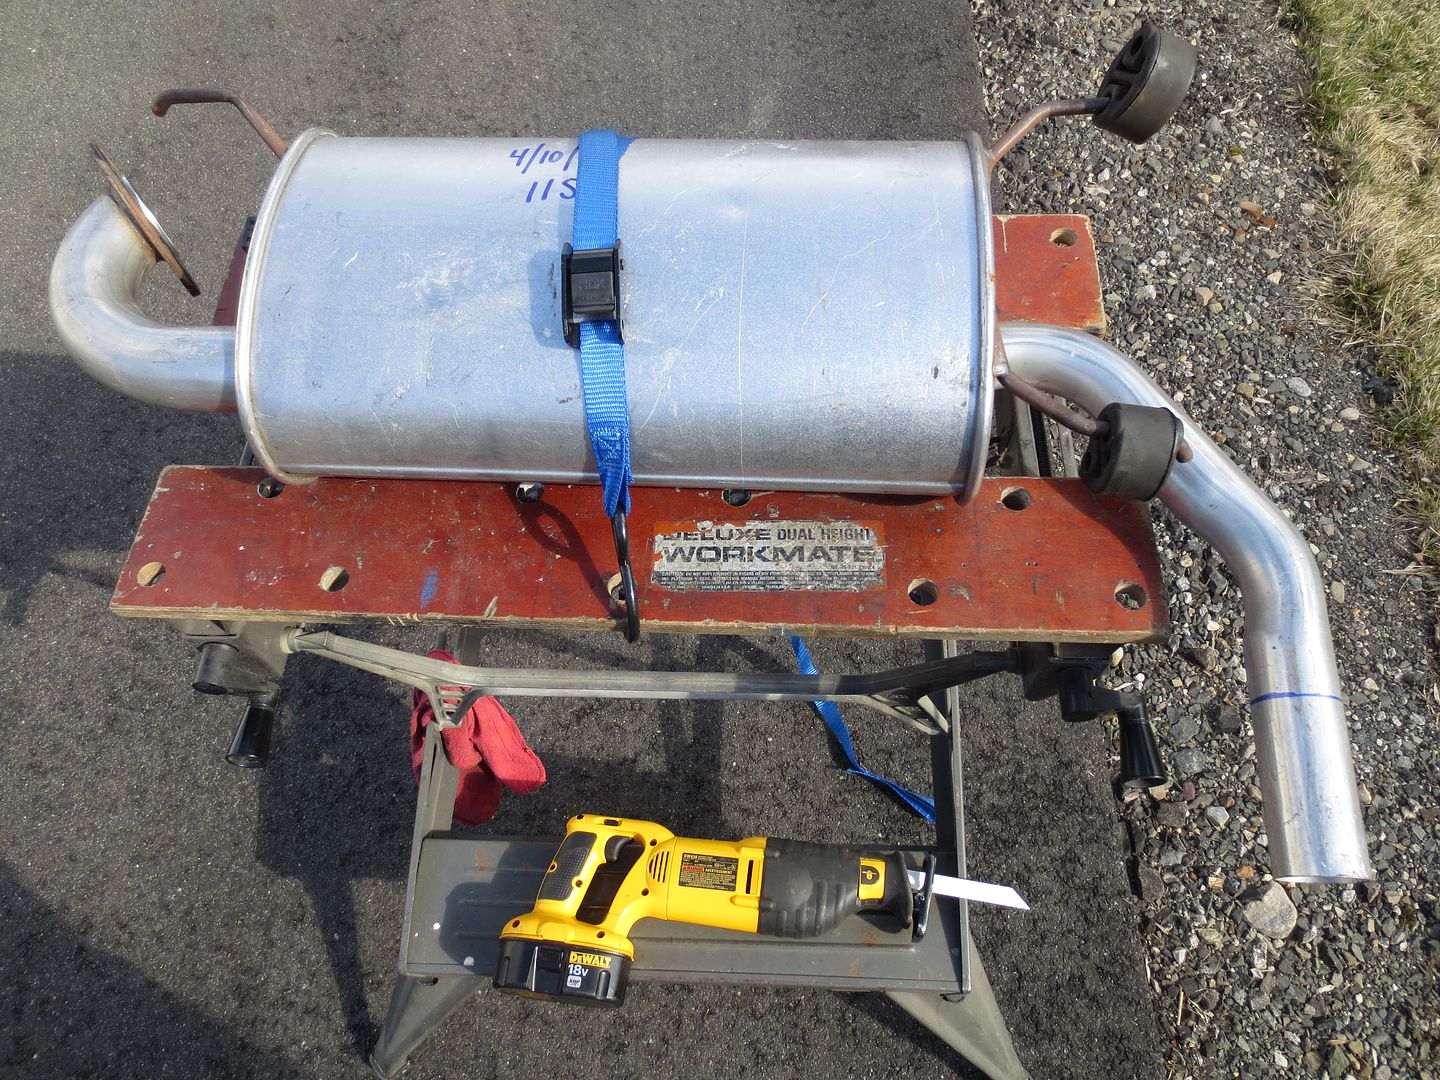
I've had good luck with Bosal mufflers and I found one marked wholesaler closeout at Rock Auto for $44.79. Not stainless like all the other Bosals I've had, but the price was right.
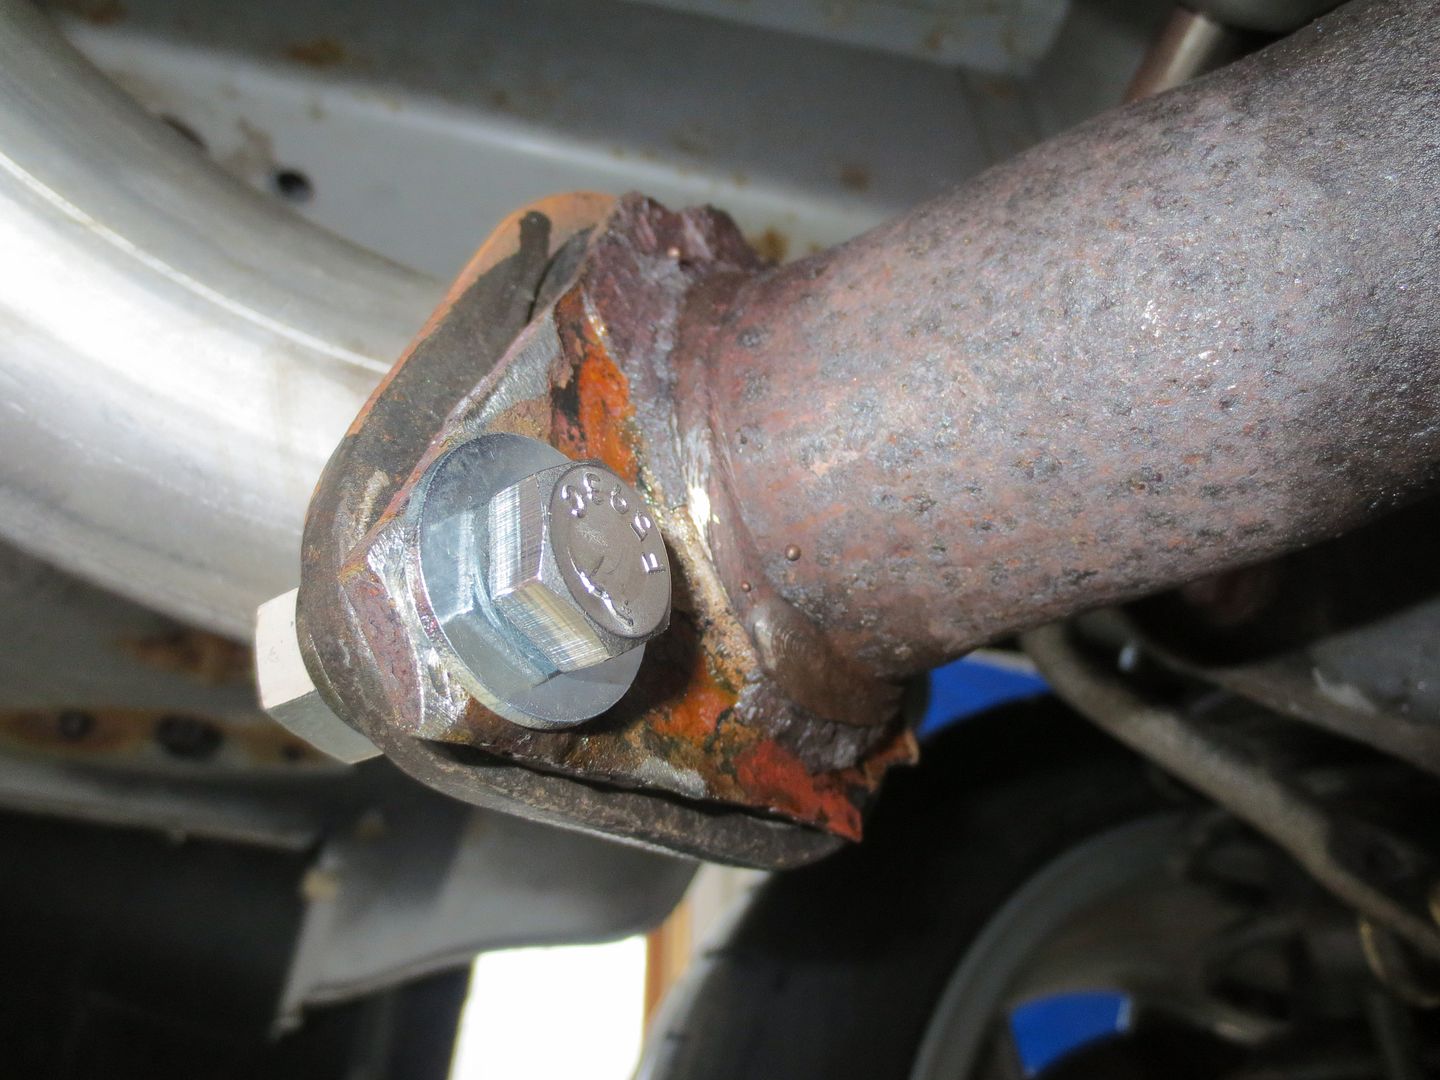
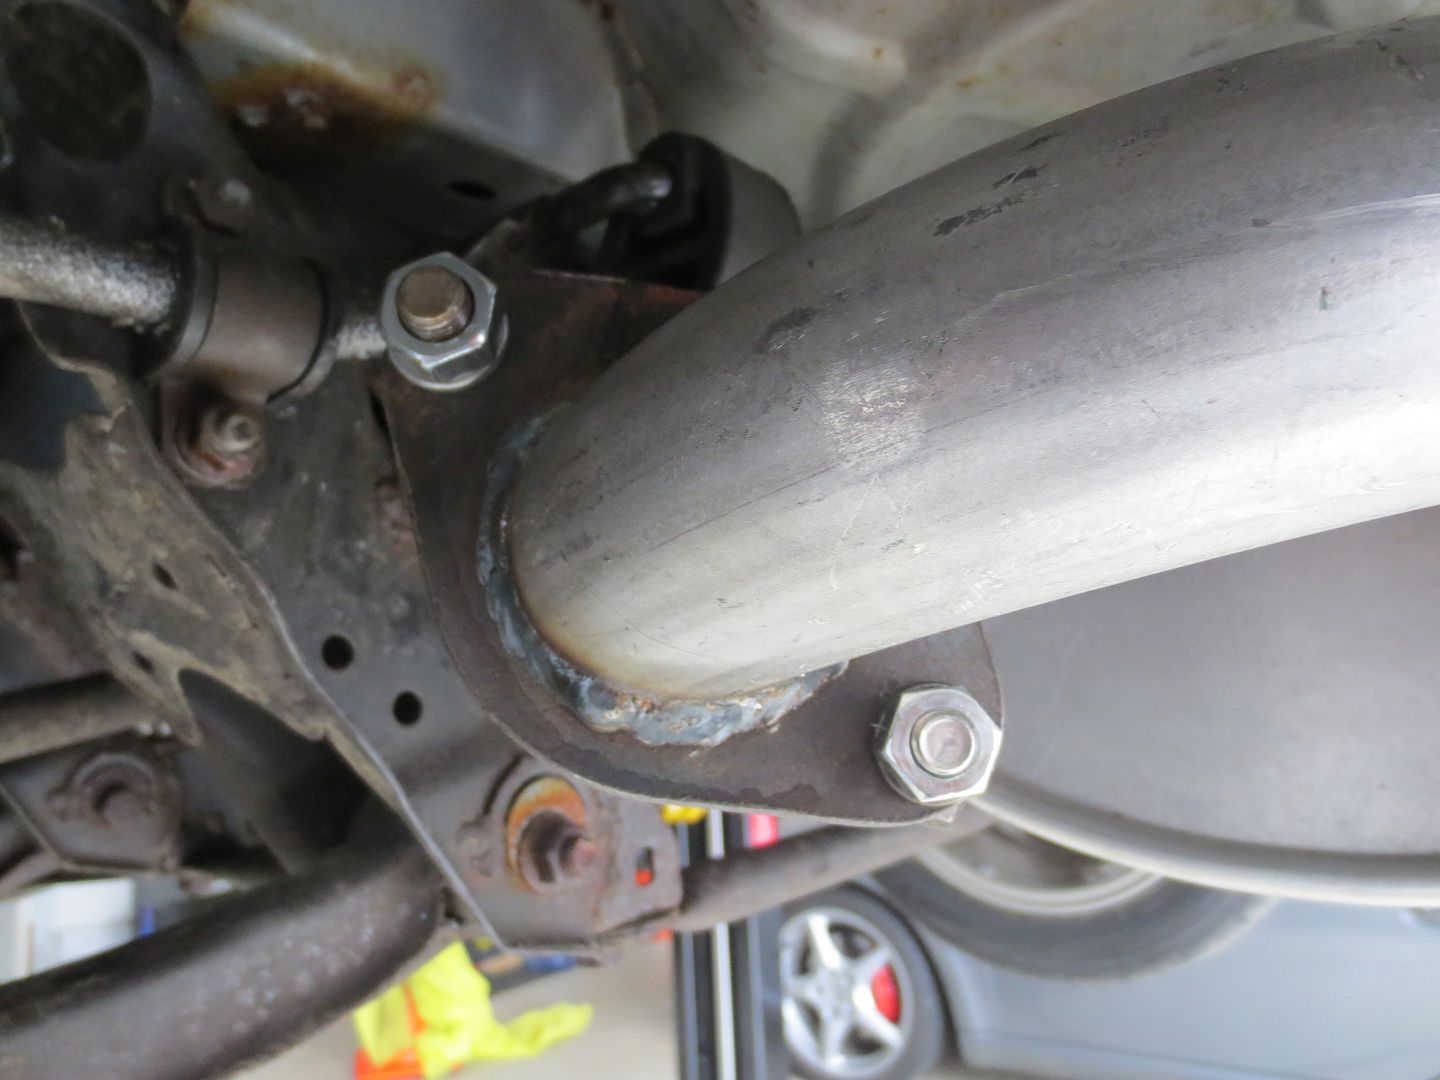
Unfortunately, removing the old one was more of a PITA than I had hoped. One of the old nuts came right off with the air gun, but the other one snapped off the stud that was pressed into the mid-pipe. The catalytic converter is part of the mid-pipe and a replacement is over $400. I decided to grind down the remnants of the stud with a flapdisc, drill out the rest and replace the stud with a stainless bolt. It's ugly, and the flange is the next likely point of failure, but I really didn't want to replace that pipe at this point, for I am a cheapskate.
Hanging the new one was a piece of cake.
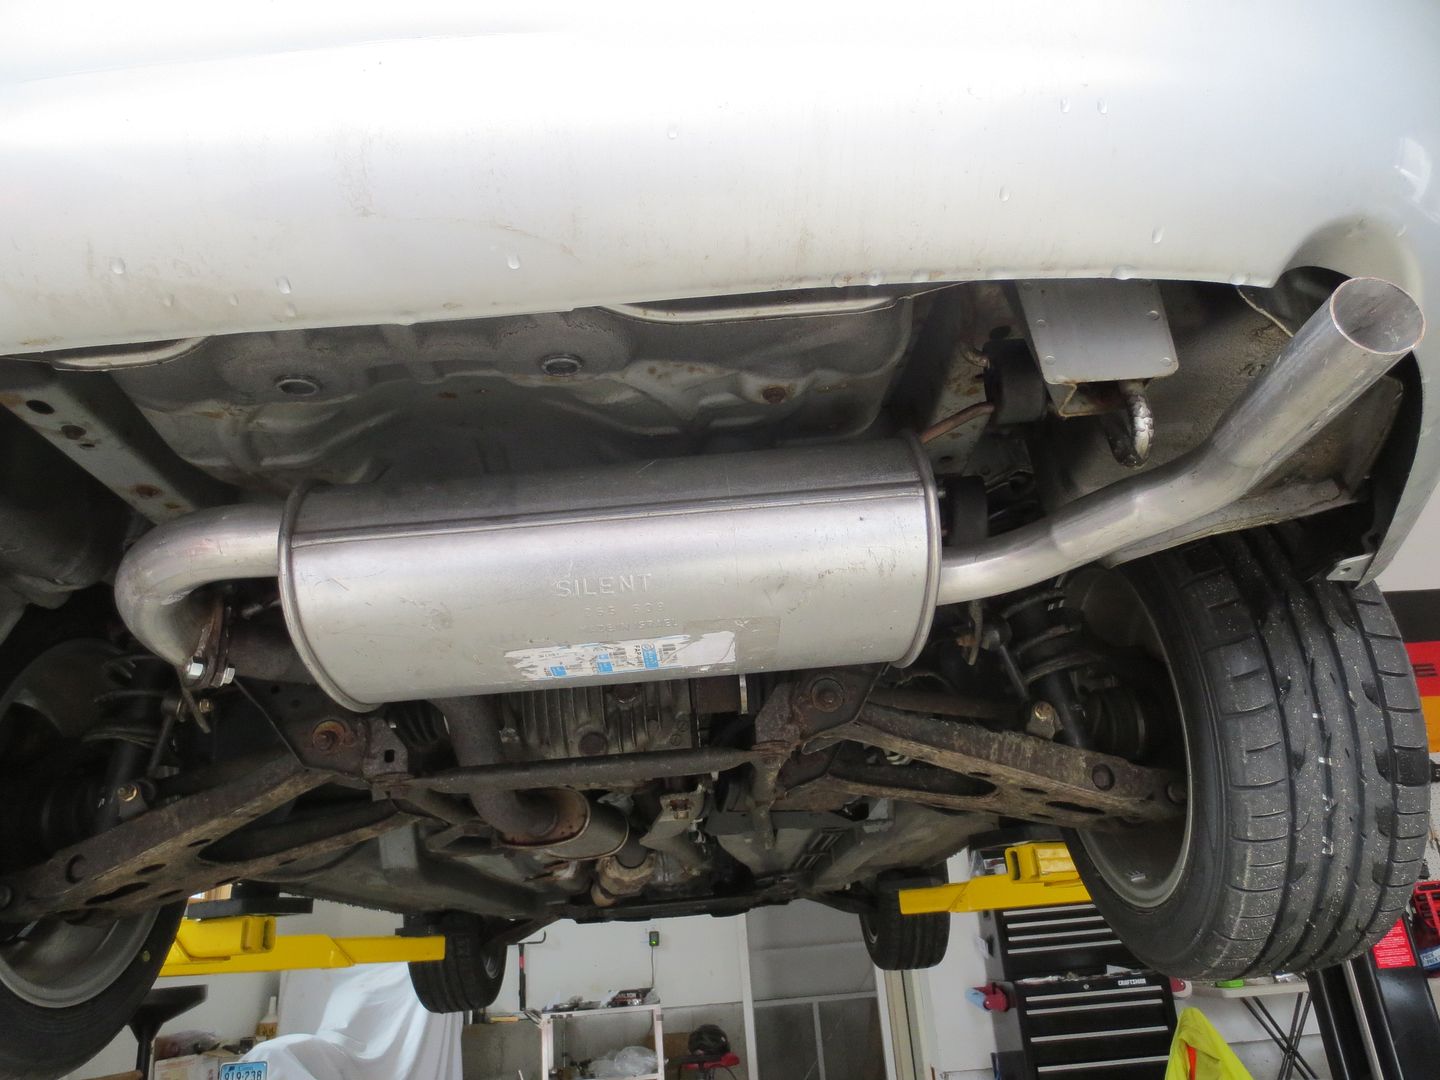
The new tail pipe looks cheesy, so I chopped the stainless end off the old muffler, ground off the welds and polished it up. When I get another free hour, I'll shorten the new pipe a little and weld this one on.
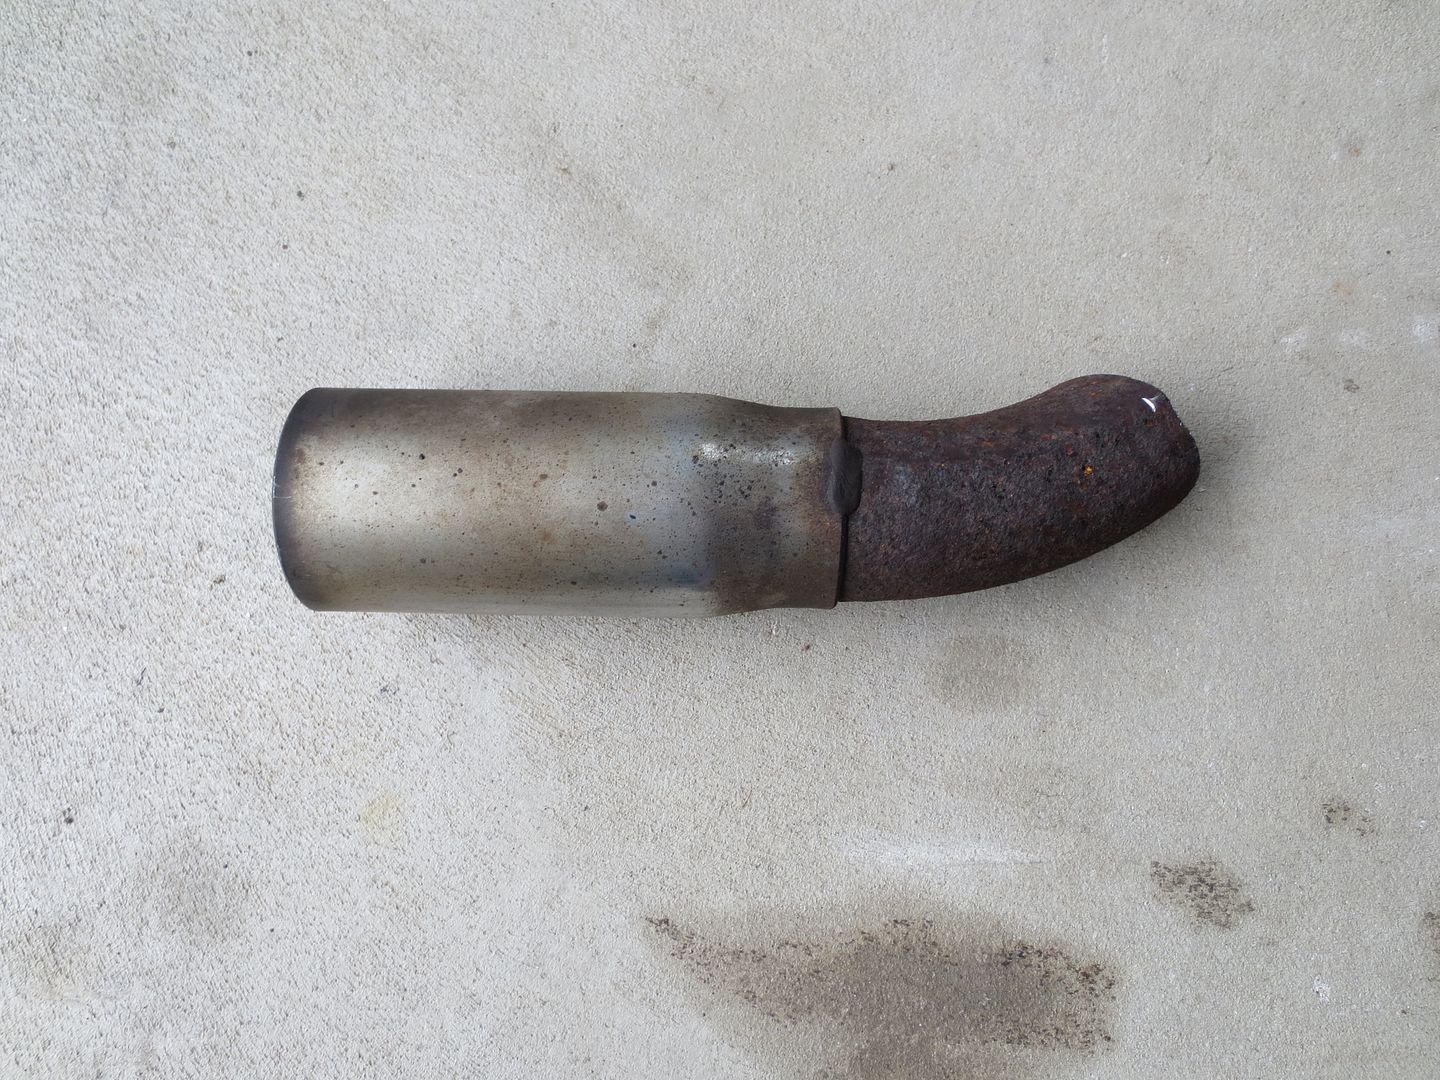
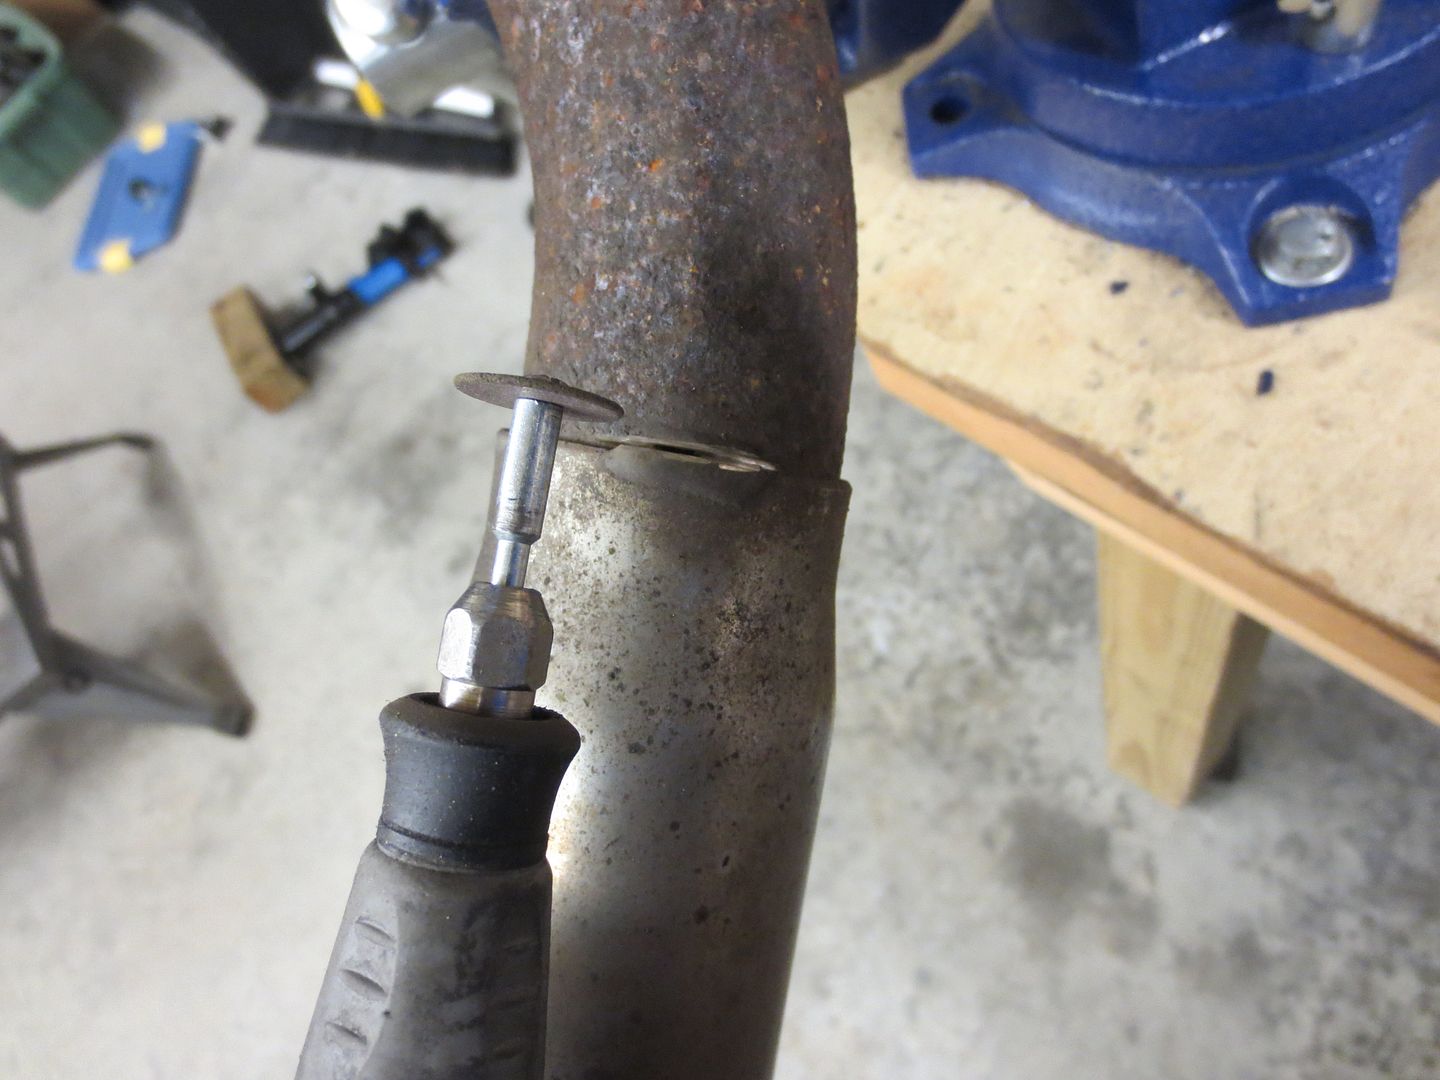
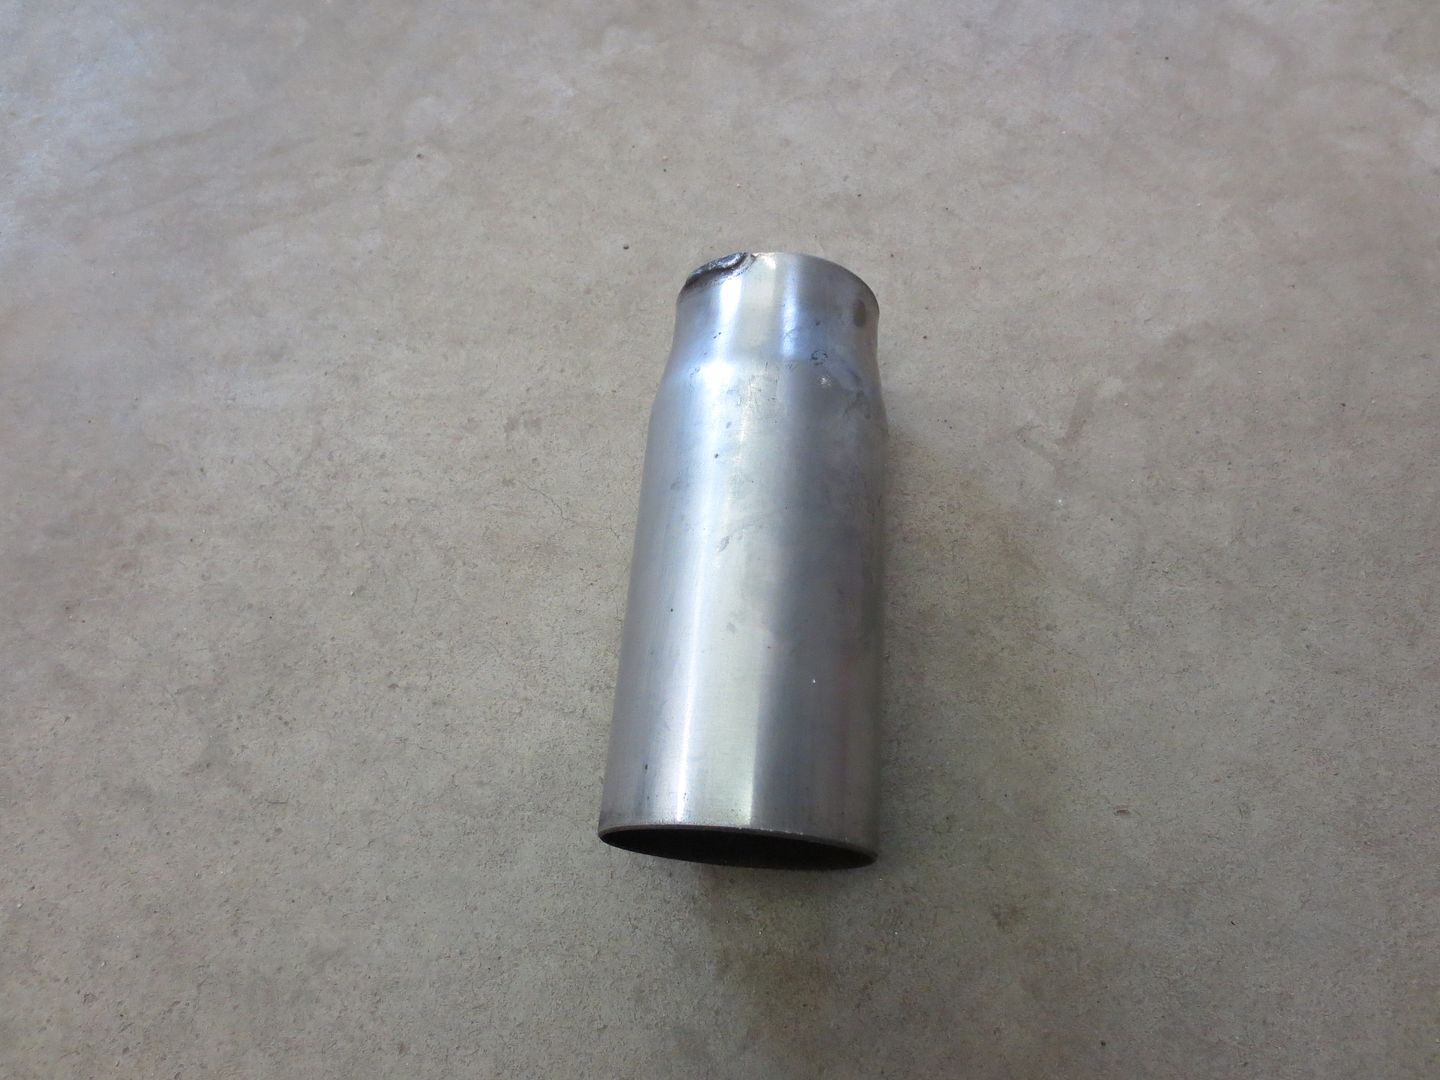
Mild steel should work fine, it's not like this is a winter ca......oh wait....
It probably sounds ridiculous, but this was a really satisfying part of this project. I really didn't like the way the cheap new tail pipe looked, so I slid the old stainless tip over the new one to figure out exactly where I wanted it to end up. After marking a line where I wanted to make the welds, and then another line an inch further out, I removed it and chopped a few inches off the end of the new pipe.
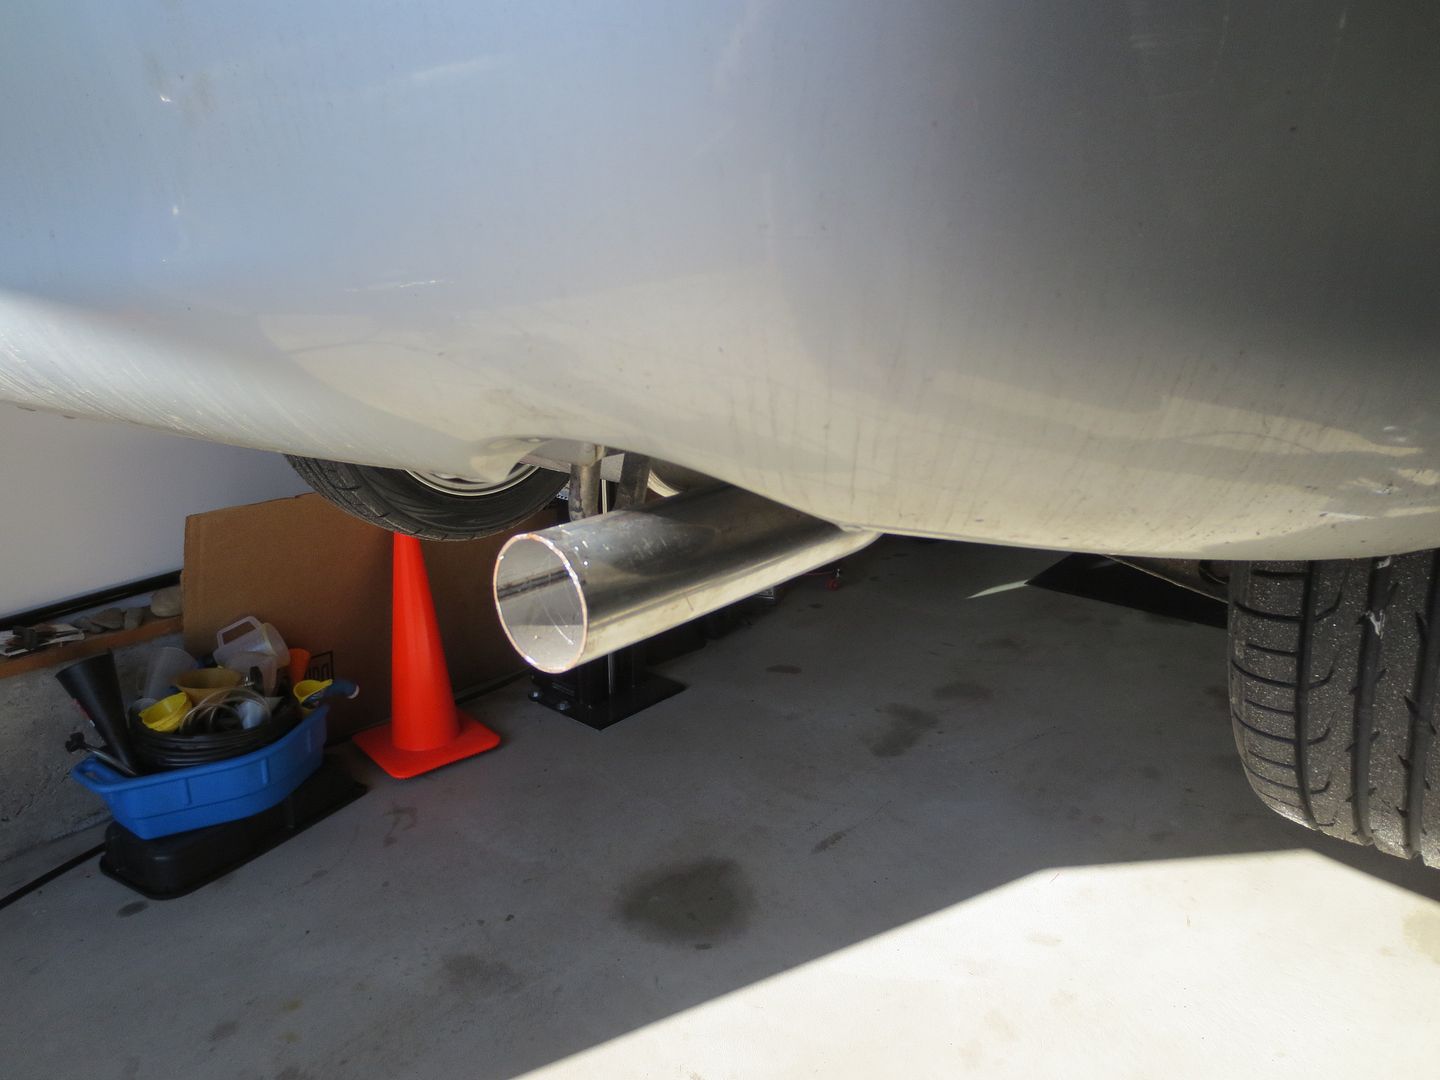
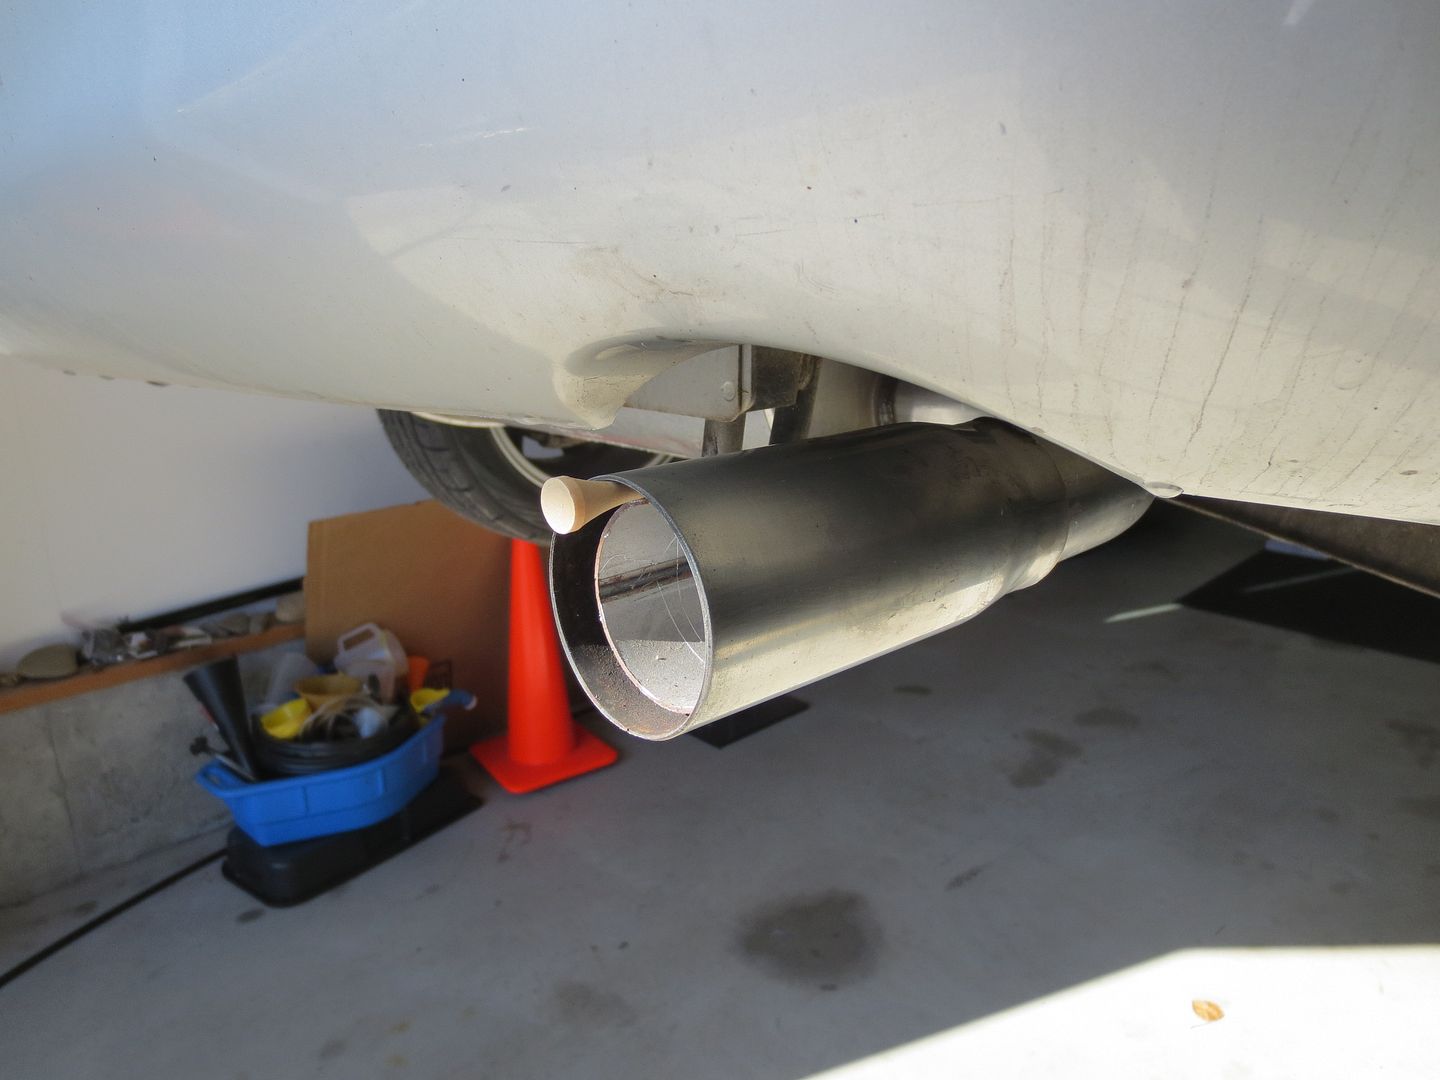
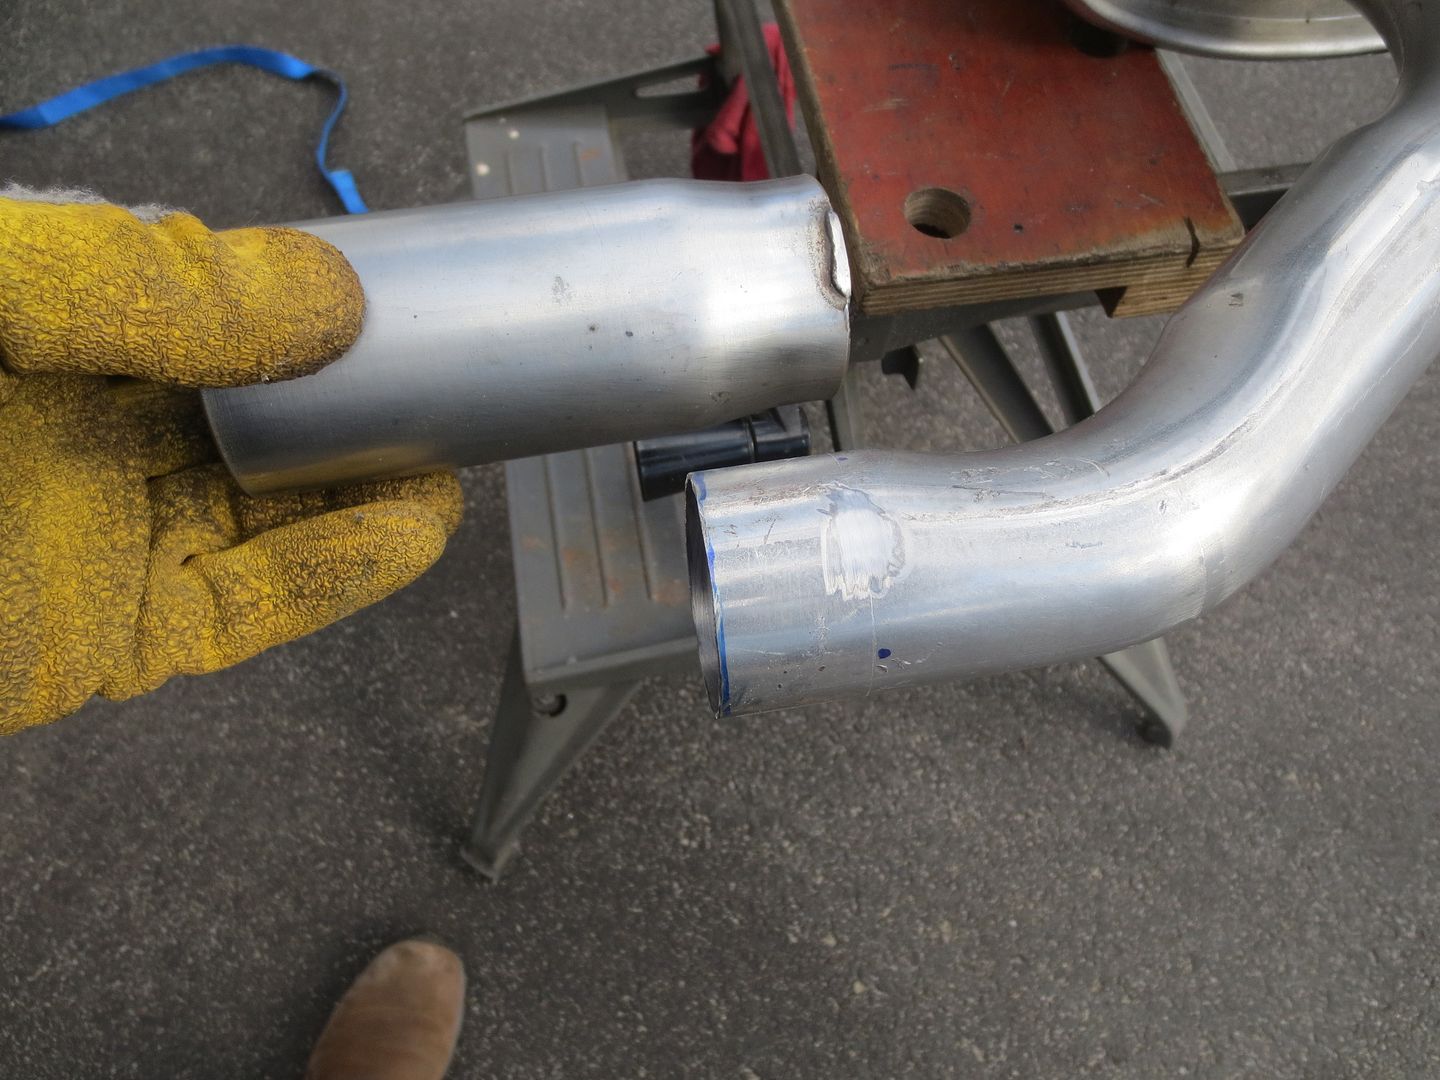
I made pair of inch long welds, one at the top and the other at the bottom.
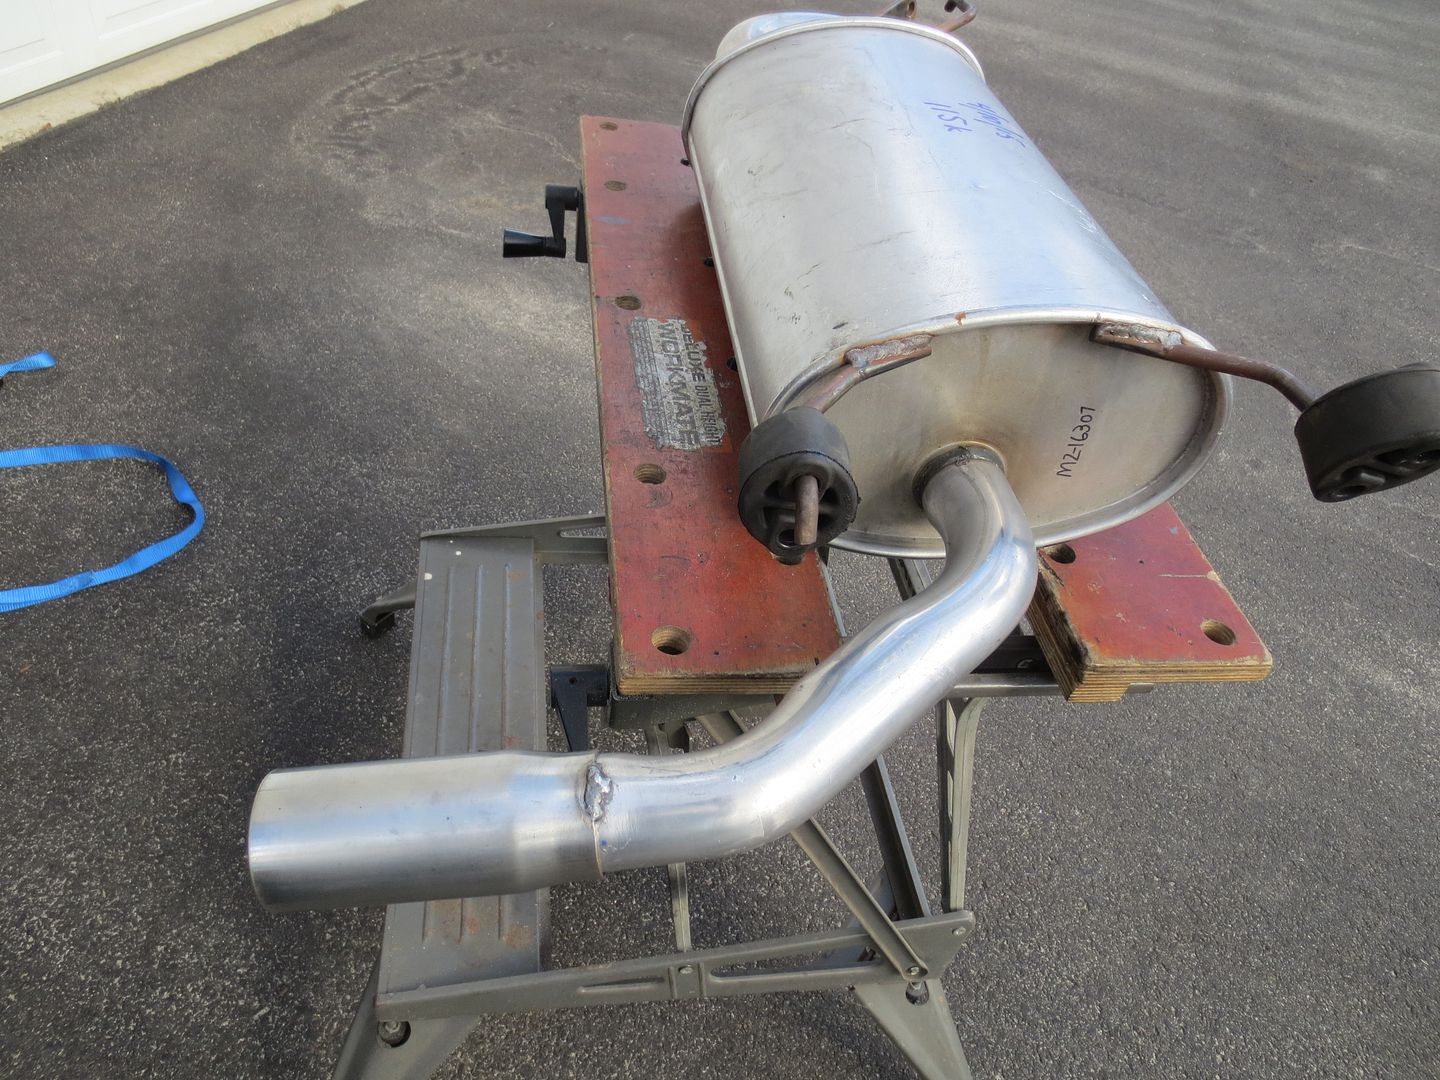
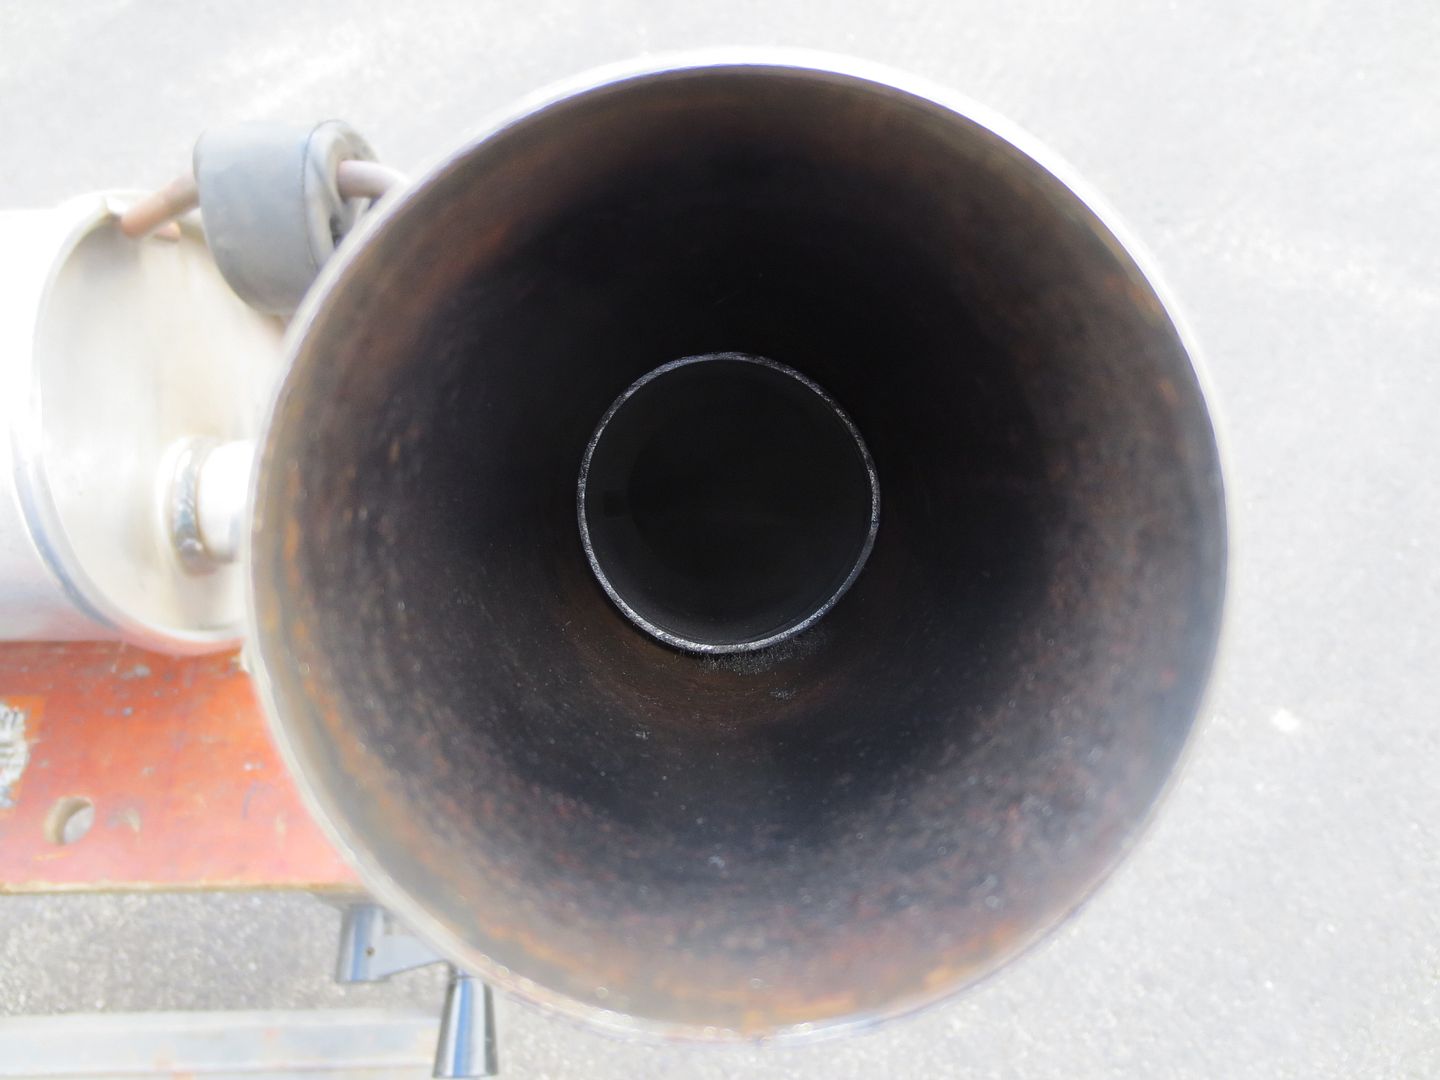
Much better.
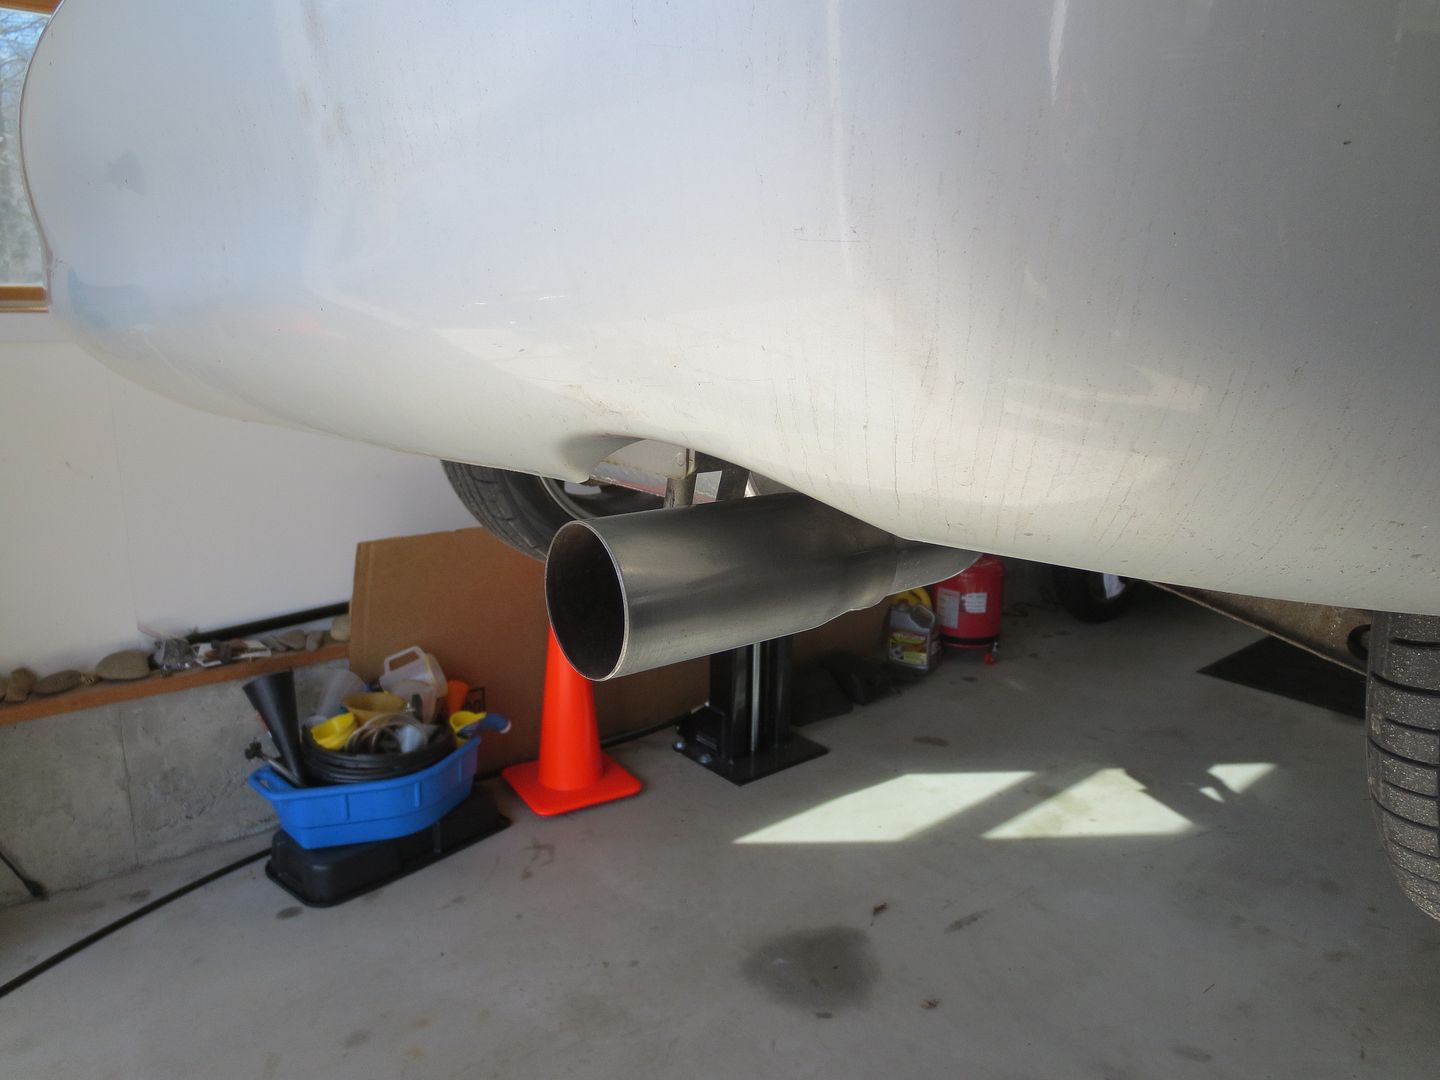

This car has only seen sporadic use in the past month. Not for any real reason, aside from the fact that there are other choices in the fleet. Some days, it's as simple as, "The windshield's a mess, I'll just take the truck..."
Anyway, there are a couple of events that I'd like to try before it gets too hot around here, so I turned my attention to the brakes. I looked them over when I got the car, found sufficient pad thickness, adjusted the rears and the parking brake and declared them to be "Good Enough".
Unfortunately, they were making some noise, probably related to rust on the rotors, and the parking brake still wasn't holding as well as I would have liked. One of the rear calipers had been replaced at some point and the opposite rear rotor looked pretty bad. I suspected that maybe that one old caliper was the source of both problems. I ordered new rotors and pads, but held off on a replacement caliper for now, mainly because I'm cheap.
Left rear:
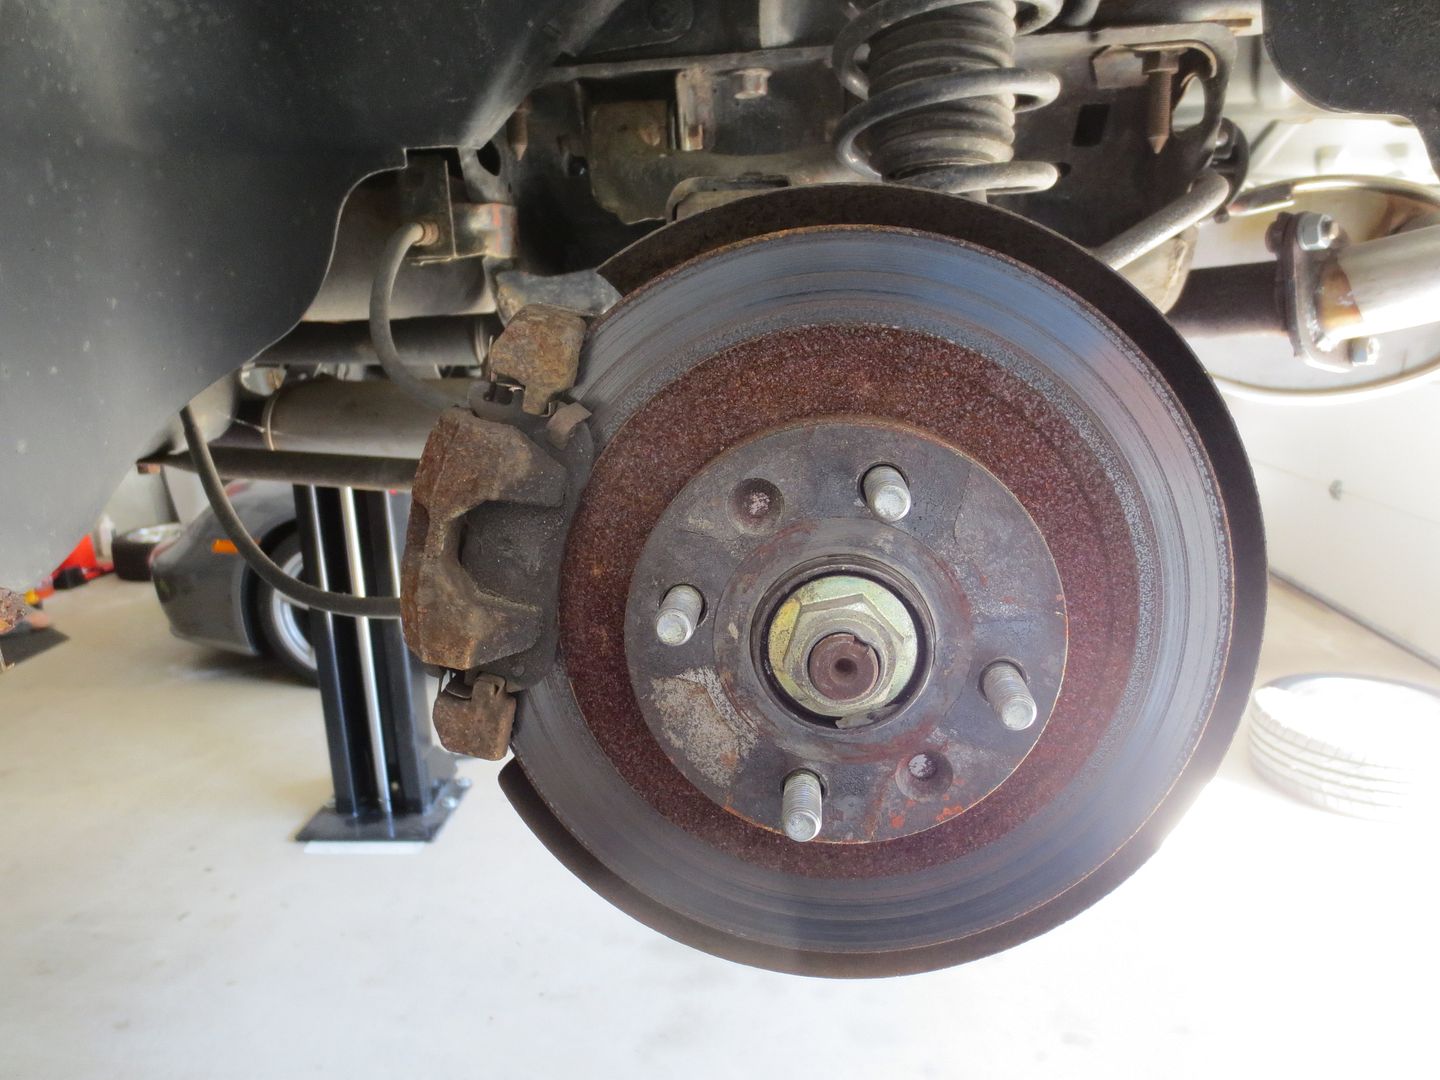
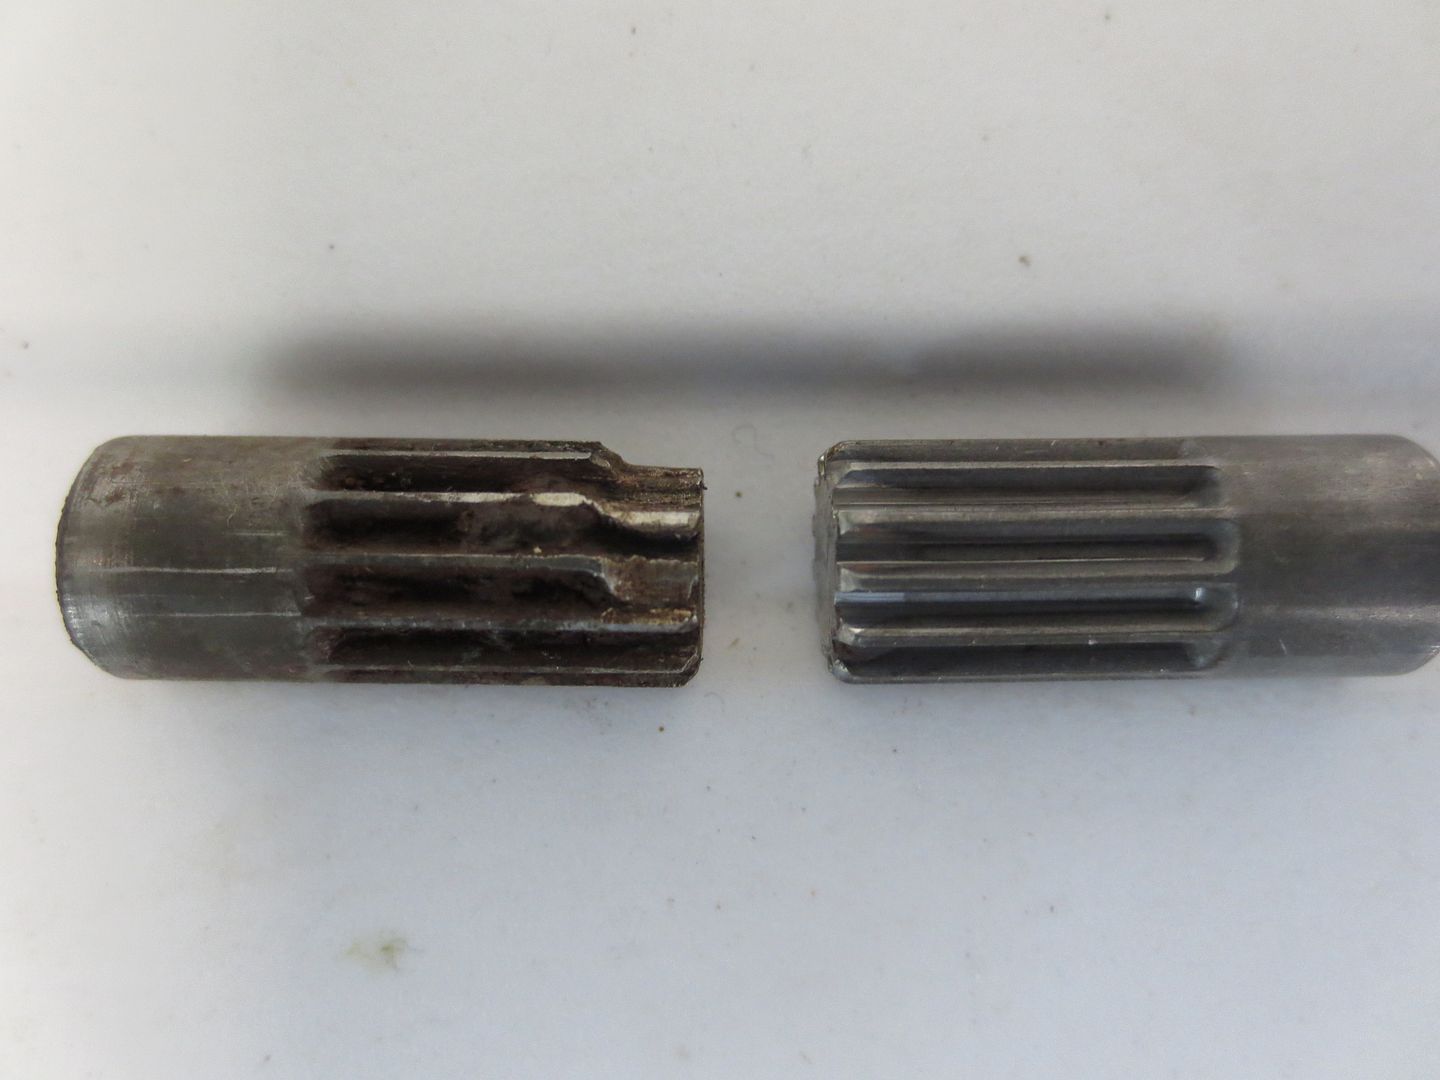
When I was backing off the piston on that side, something didn't feel right. Eventually, I retracted it fully and removed the the adjuster bolt. Several splines were stripped off at the end and that probably wasn't helping me to get it adjusted properly. Everything else seemed to be working as it should, so I decided to keep the old caliper.
This is not mine, but I need to find a replacement for one of these:
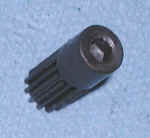
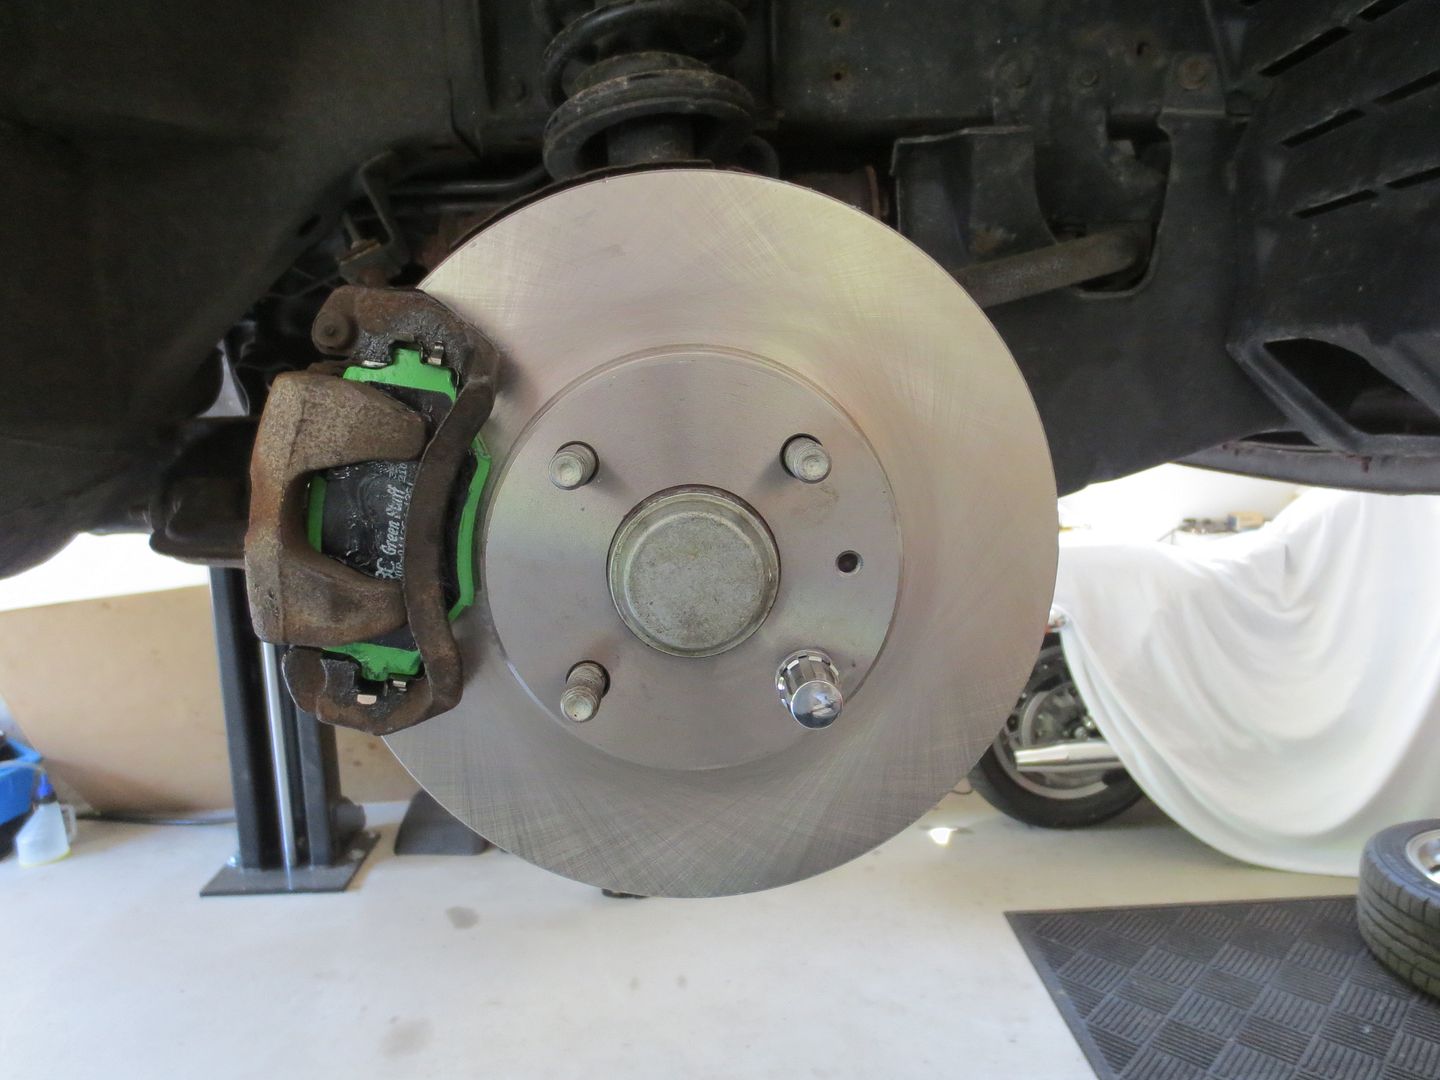
So the new rotors and pads went on all four corners, and I gave the rears a rough adjustment. Once I find a replacement for that adjuster, I'll get rears set up properly, and then finally be able to trust my parking brake.
Right front:
I also flushed the brake fluid, since I suspected that it was probably 15 years old. I used a pressure bleeder. I don't have any photos of this, because even at 5 psi, fluid was leaking out of the master cylinder and it made a huge mess and I was too annoyed to take pictures. I've never had much luck using the pressure bleeder on a any Miata. Grrr....
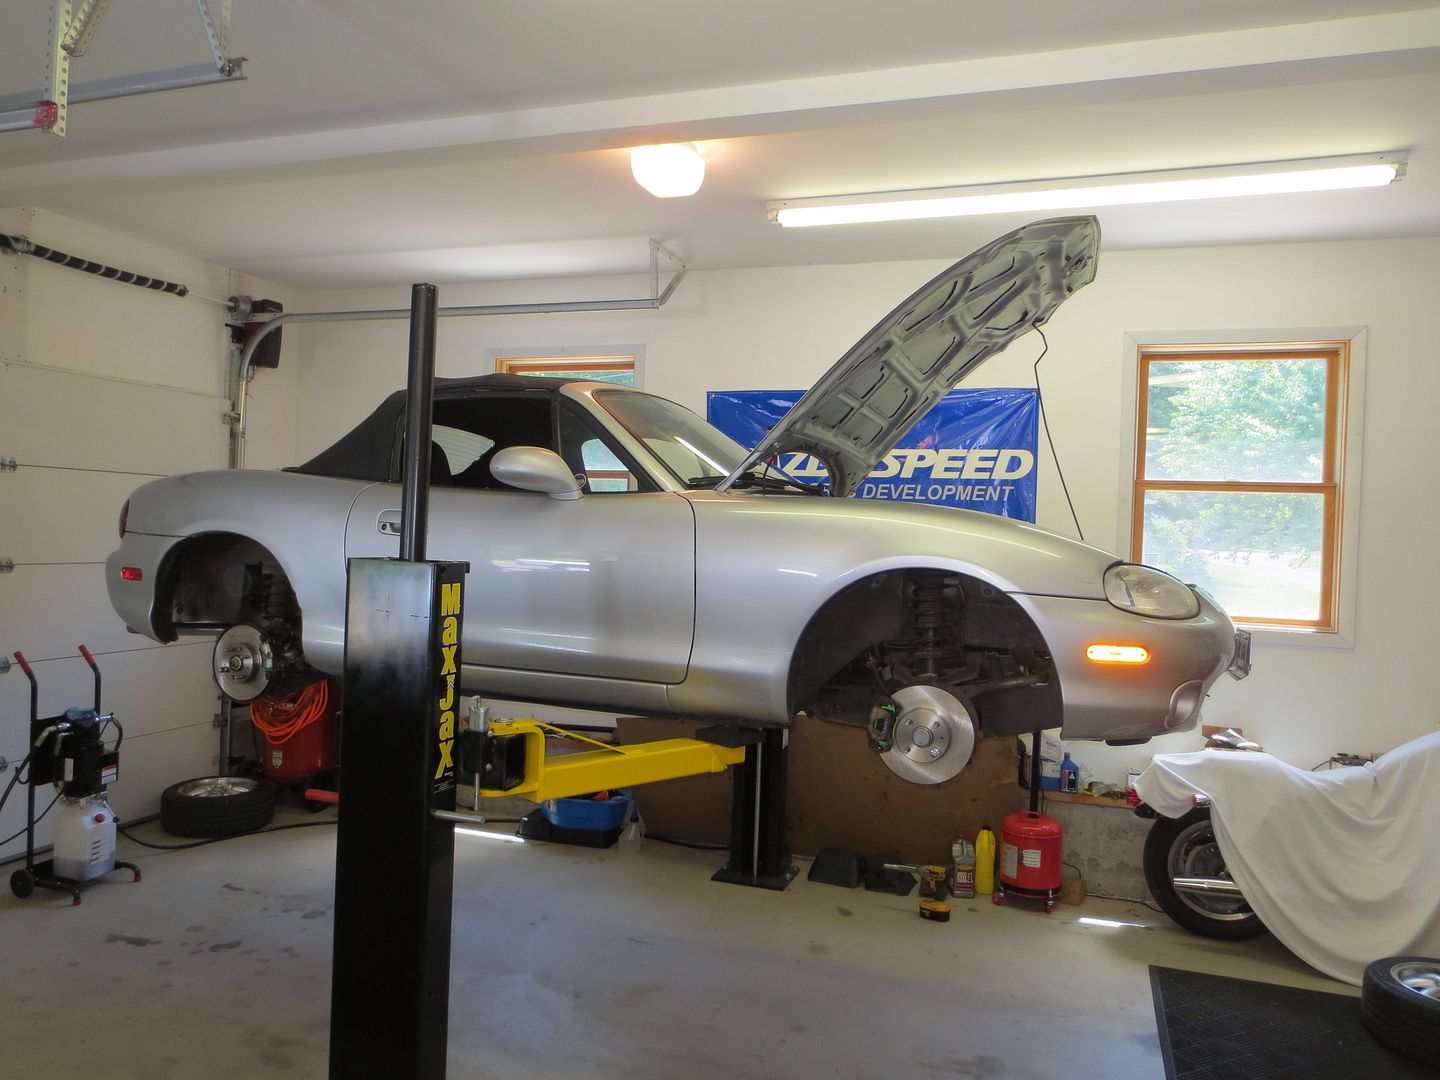
This was the first time that I've ever done brakes while standing up. What a difference. My back has proclaimed that the the lift was worth every penny.
This little guy, part #BW0H-26-733, is what was preventing me from getting the rear brakes adjusted properly. Now the brakes feel great.
I still can't get the parking brake to hold evenly. I suspect that it's either a stretched cable, or the fact that one of the rear calipers is original and the other was replaced at some point. The next time that I have it up on the lift, I'll take a closer look at the cables and their linkage.
In reply to Woody:
I just replaced a rear caliper as well. It has two issues.
1. The bushing on the lower slider bolt was too big, allowing a lot of slop. I bought a bushing kit on RockAuto and that fixed it.
2. The parking brake on the new caliper isn't working. THe cable has been adjusted and actuates to the full amount possible. I think the rebuild is berkeleyed up. No time right now to get a replacement, but I will soon.
In reply to CGLockRacer:
I haven't gotten back under the car yet, but I had something similar going on. Take a look at this diagram and note how the cables cross each other. It's not obvious when you're under the car. The balance bar (where the two cables join the single cable that goes up to the parking brake handle) was really uneven. I couldn't get it to even out because I was adjusting the wrong side.

Now that the snow is long gone, I decided to take a little more understeer out of the car. I had almost forgotten that there was a little bit of adjustability left back there.
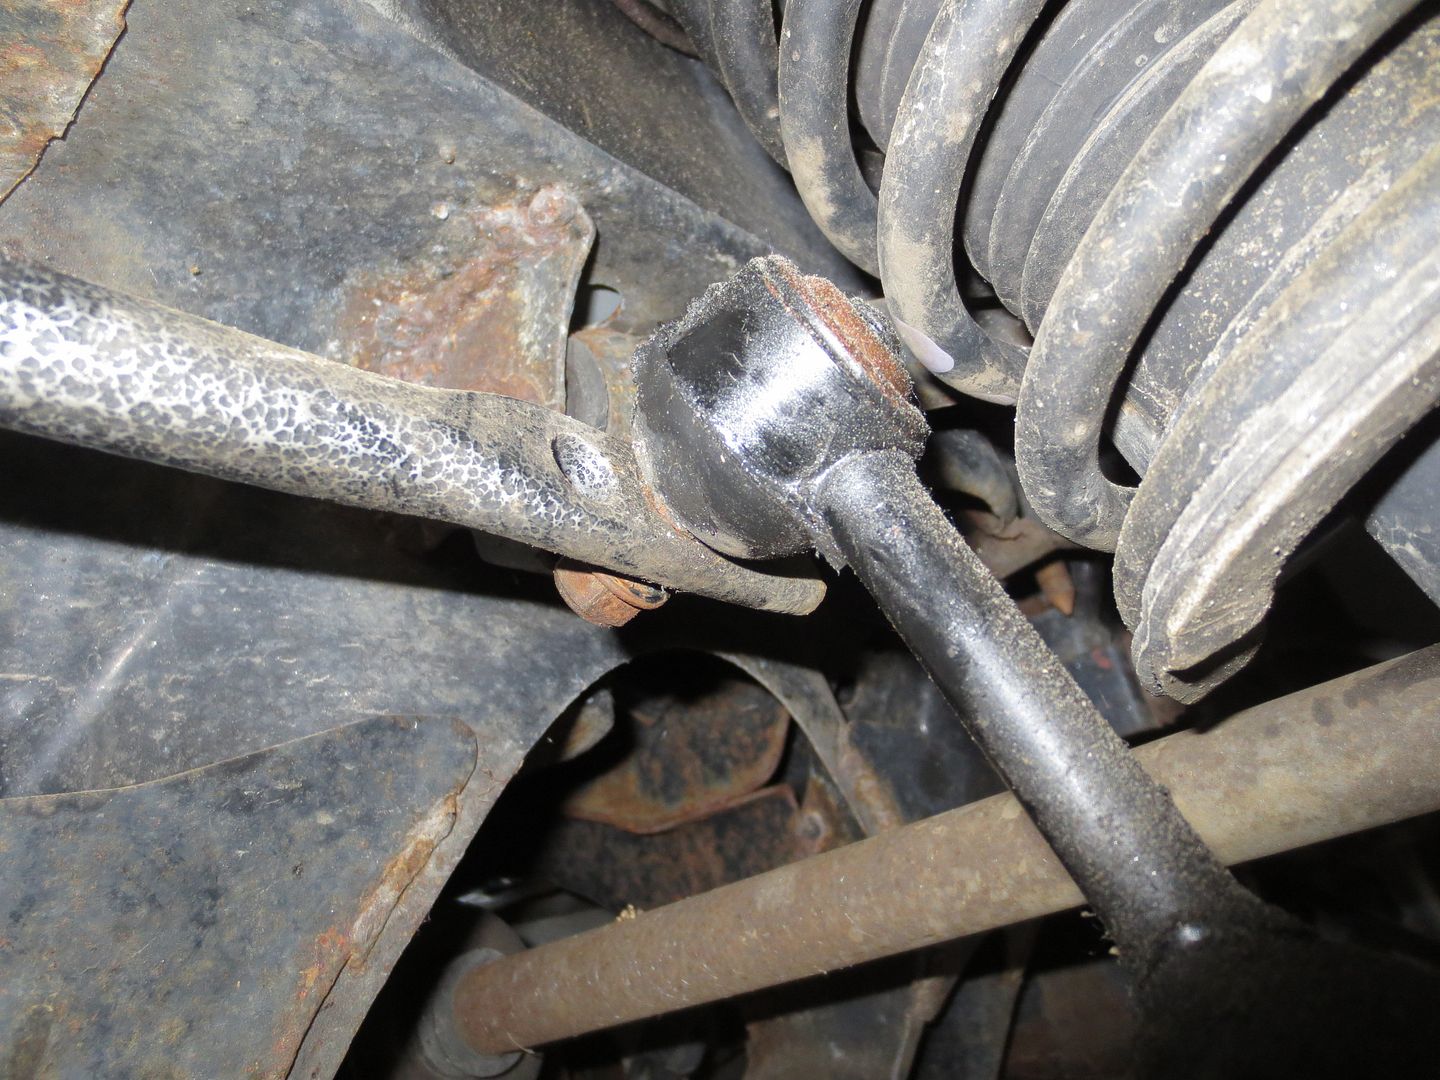
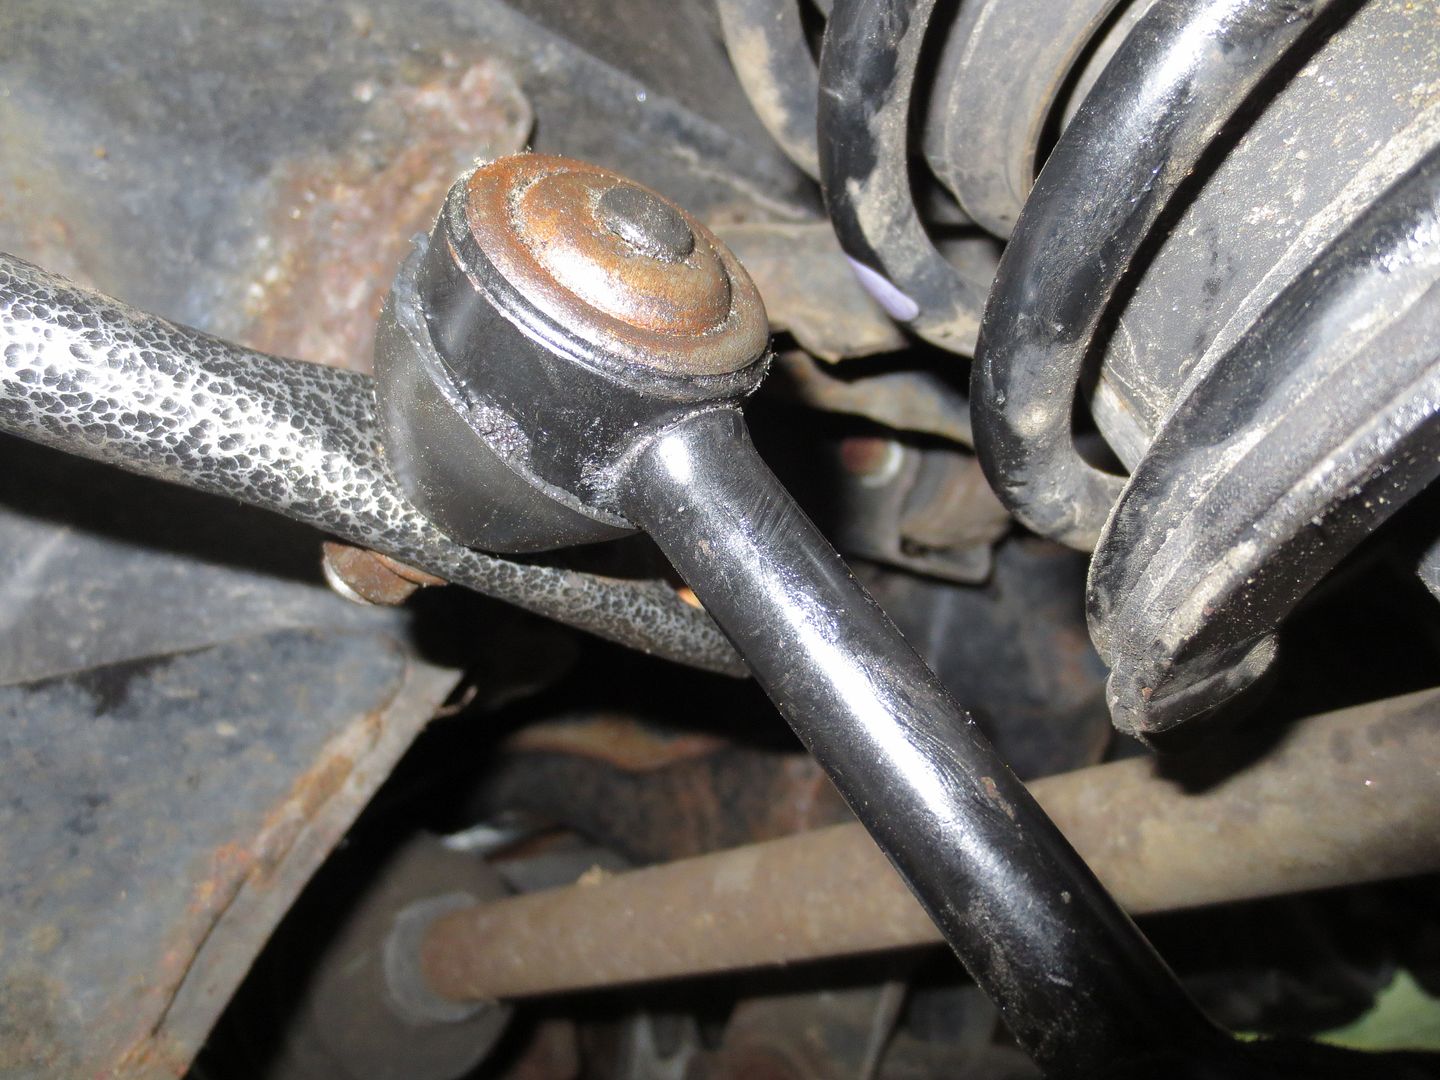

In keeping with the "no more snow" theme, I noticed that the air conditioning button didn't seem to be doing much. I wasn't feeling any cool air, and there was no change in engine rpm when I turned it on or off. After confirming that the fuses were good, I suspected that there was probably a pressure switch somewhere in there. The system requires a minimum amount of pressure, or else the compressor won't engage. I checked the schrader valve and there there was a little bit of pressure behind it, which was a good sign, so I added a can of R134a that I had sitting on the shelf.
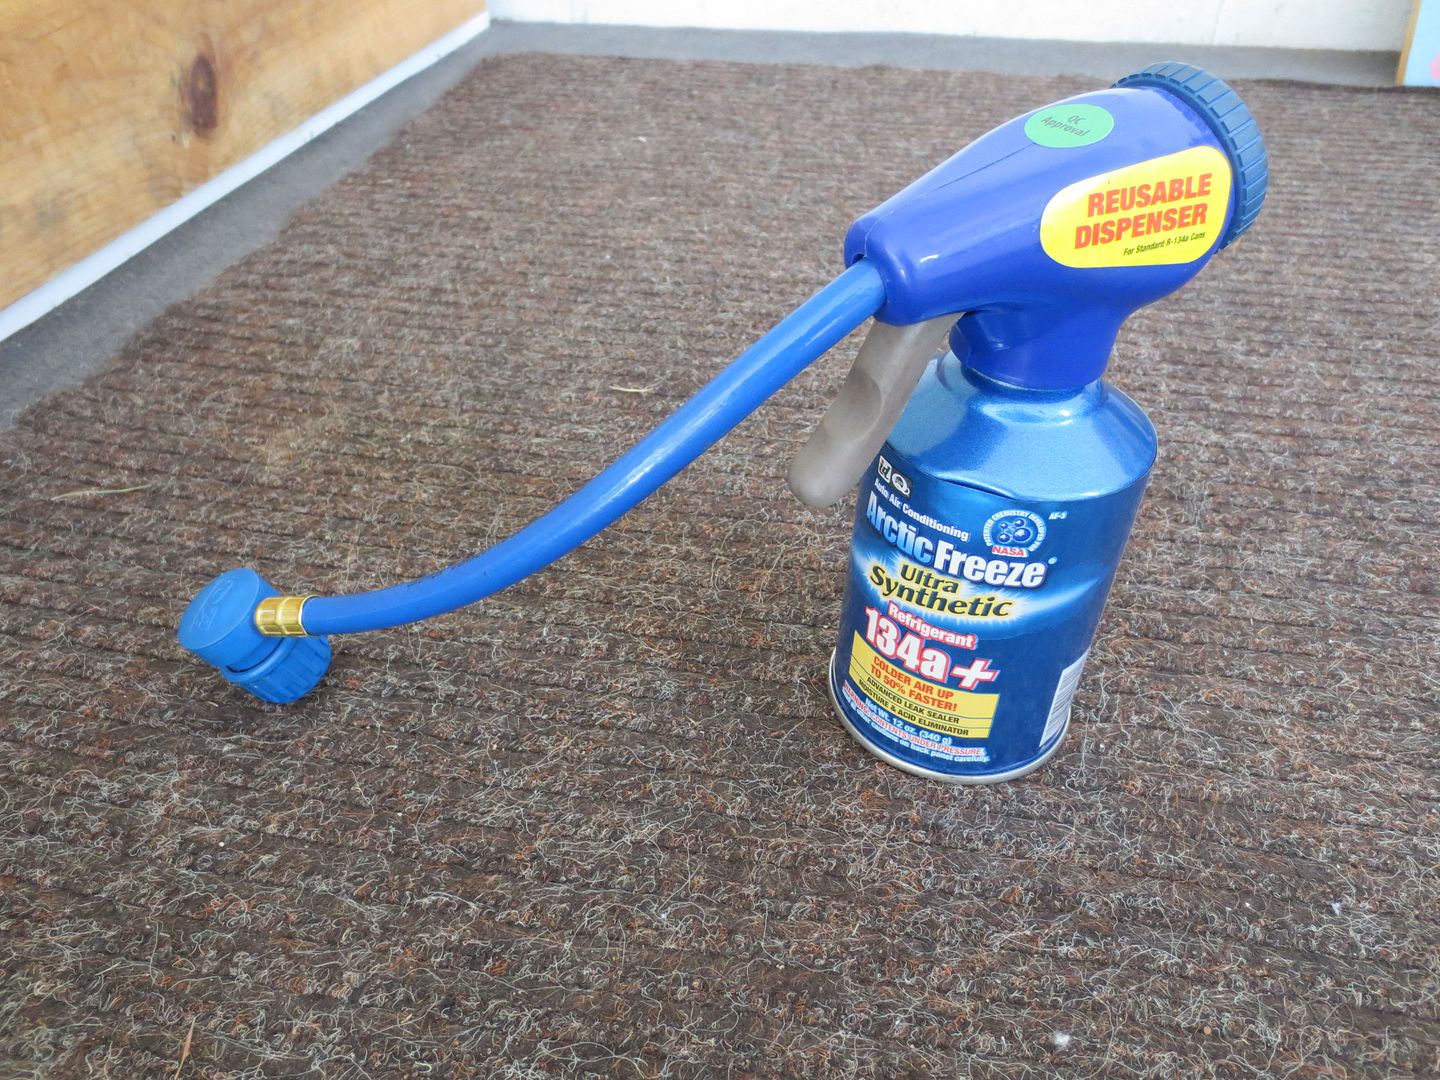
That brought the system pressure up to the point where the compressor will now engage, but I doubt that I'm getting more than a five degree difference in the air that's coming out of the vents. At least I know that the electrical parts of the system are working as they should. Again, this car sat unused for a couple of years before I bought it and I suspect that some of the seals have dried out and failed.
I don't know a whole lot about A/C systems and I'm not really equipped to service them properly. I'll have to do some shopping and see what Harbor Freight has to offer in terms of A/C tools.
Since I was focusing so much attention on the air coming out of the dash, I couldn't help but notice the sad state of the typical droopy eyeball vents. Even more noticeable was the fact that the factory friction material had started poking out the sides of the vents and looked terrible. I pulled the vent assemblies out of the dash, took them apart, removed the sloppy friction pads and got all of the stubborn old glue off. They came out of the dash fairly easily, but I'm not sure what was more of a PITA: getting them apart or cleaning up the glue.
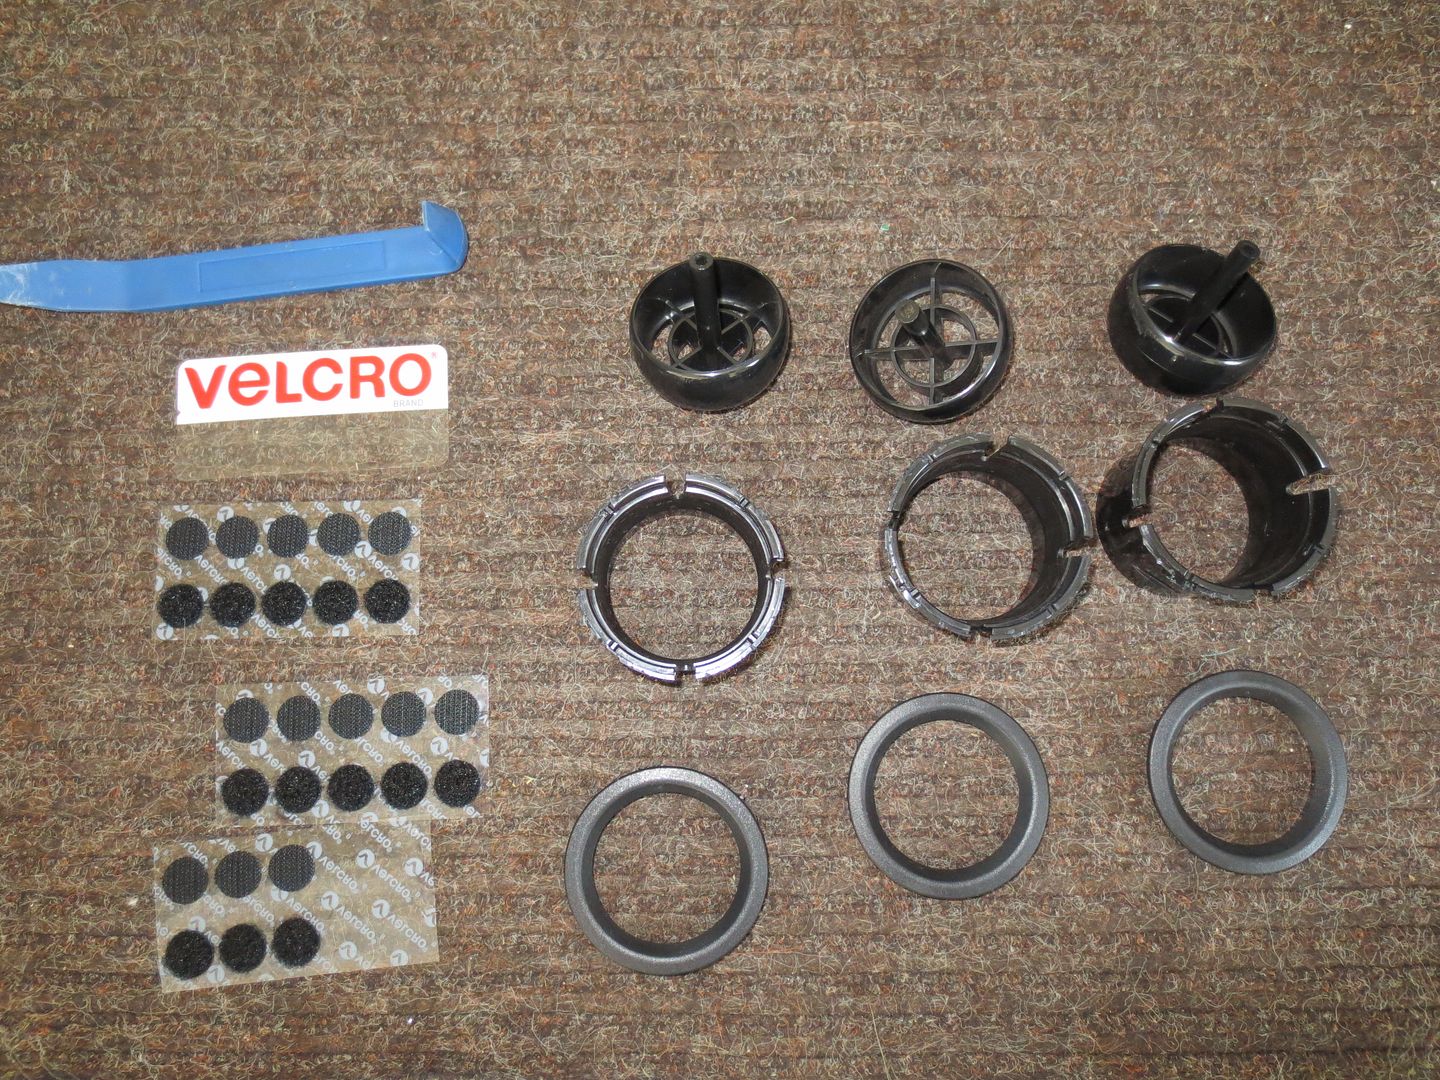
Once they were cleaned up, I added four Velcro dots between each eyeball vent and socket.
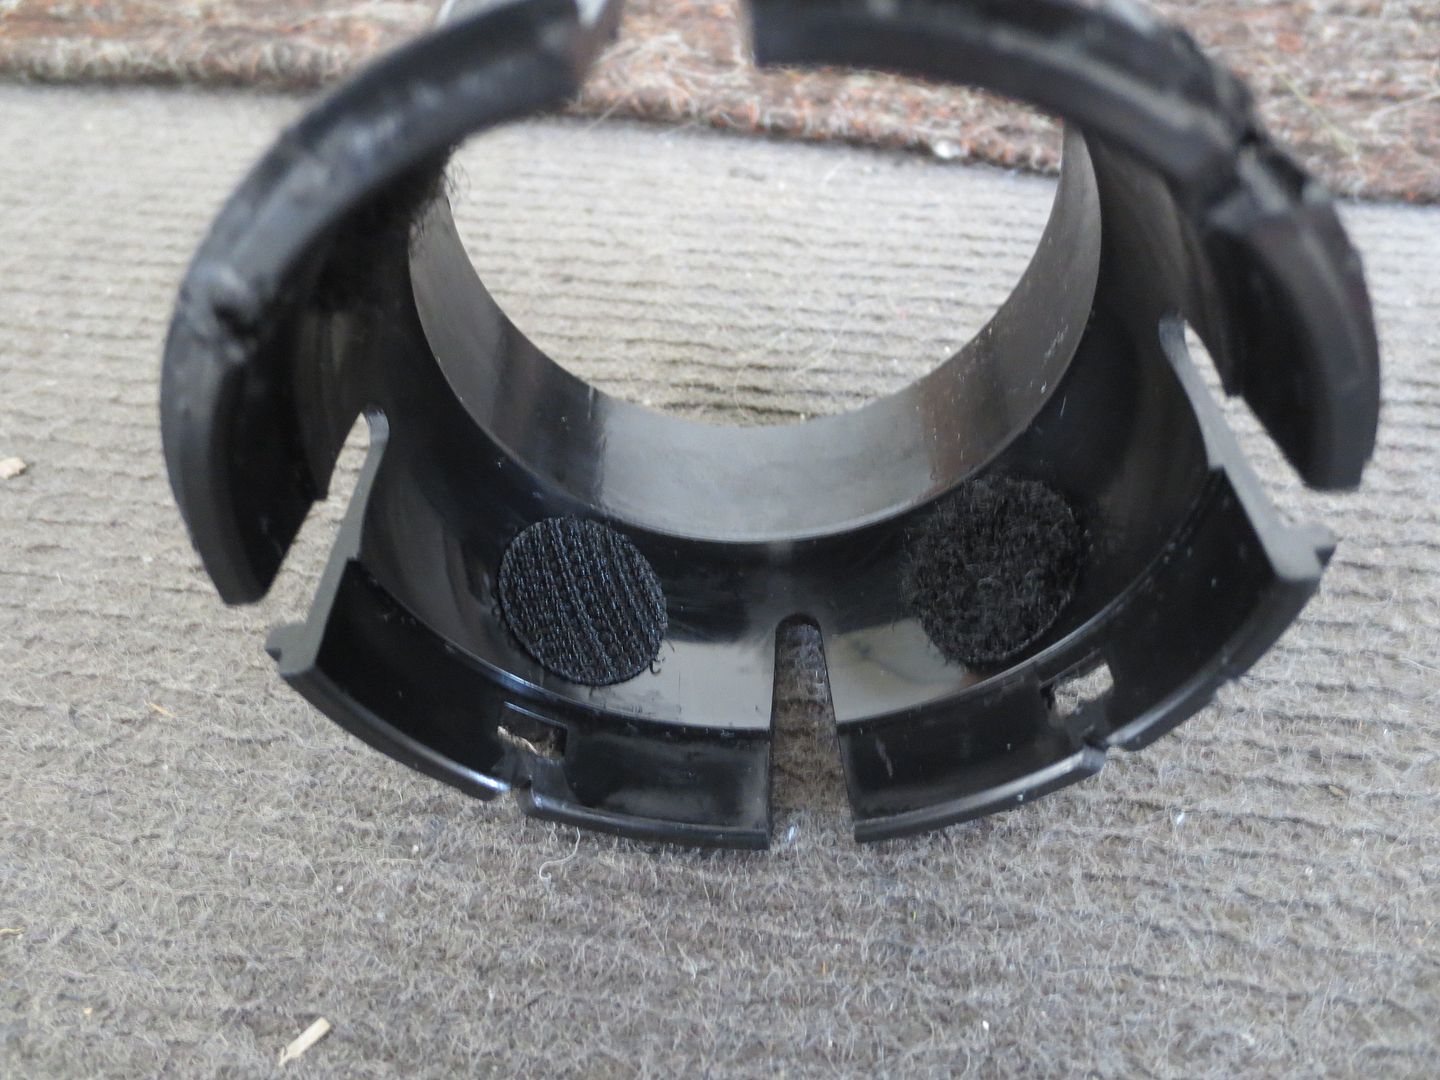
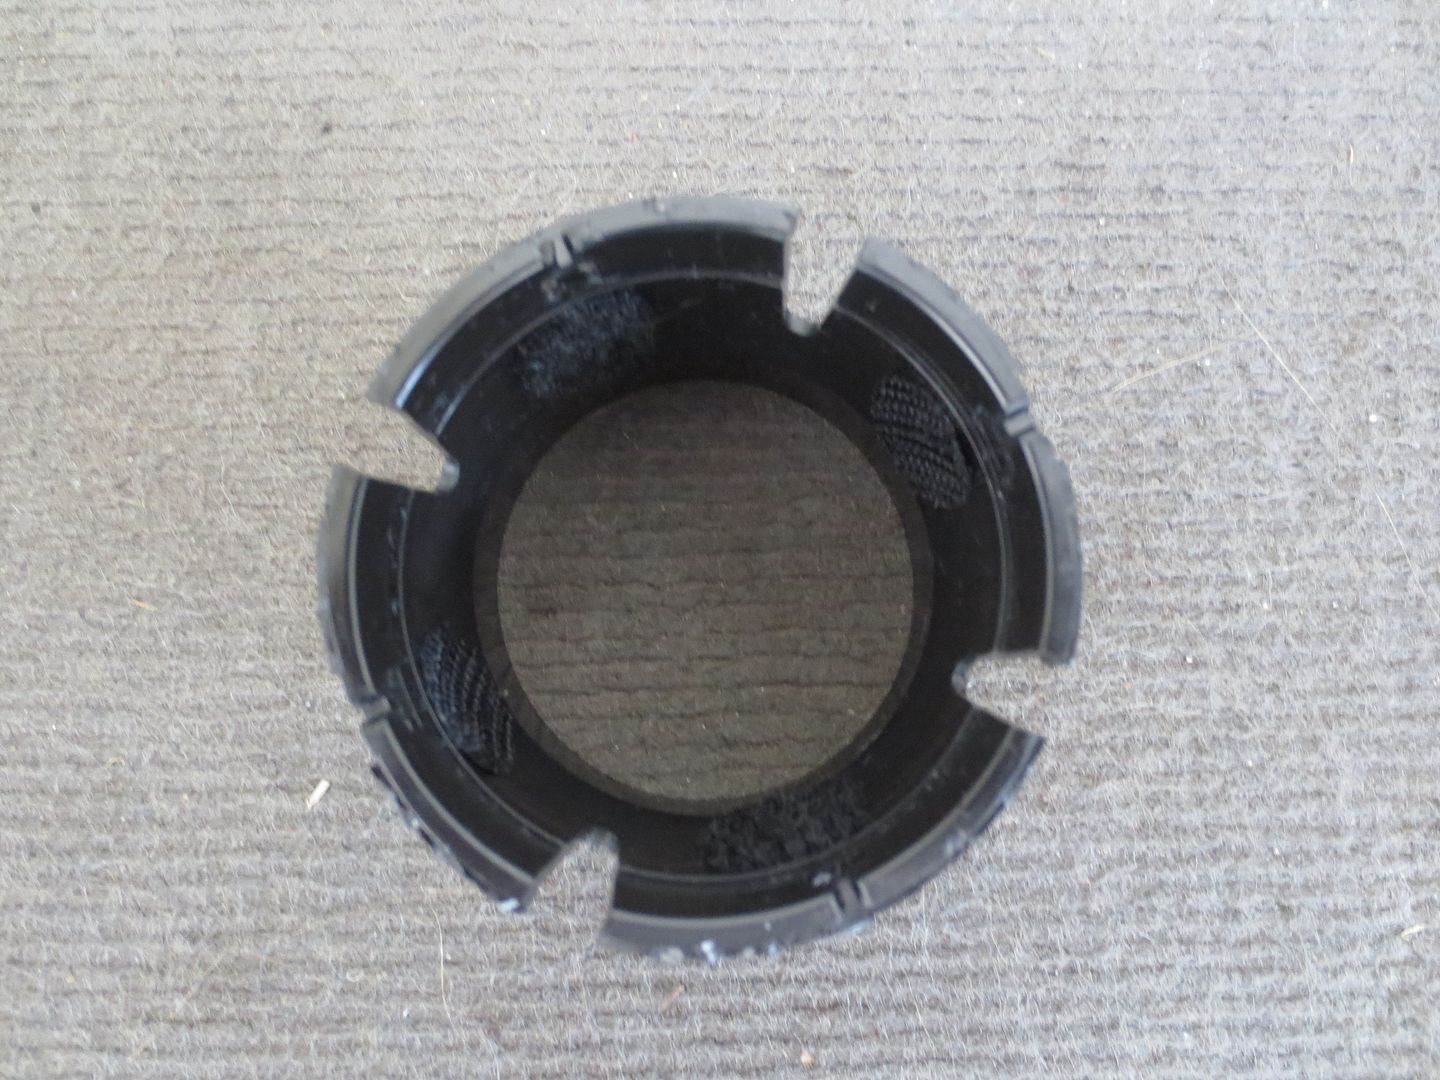
This tightened them up nicely and the vents look a whole lot better now. I wish I had taken a "before" picture, as there was foam tape hanging out around all of the edges.
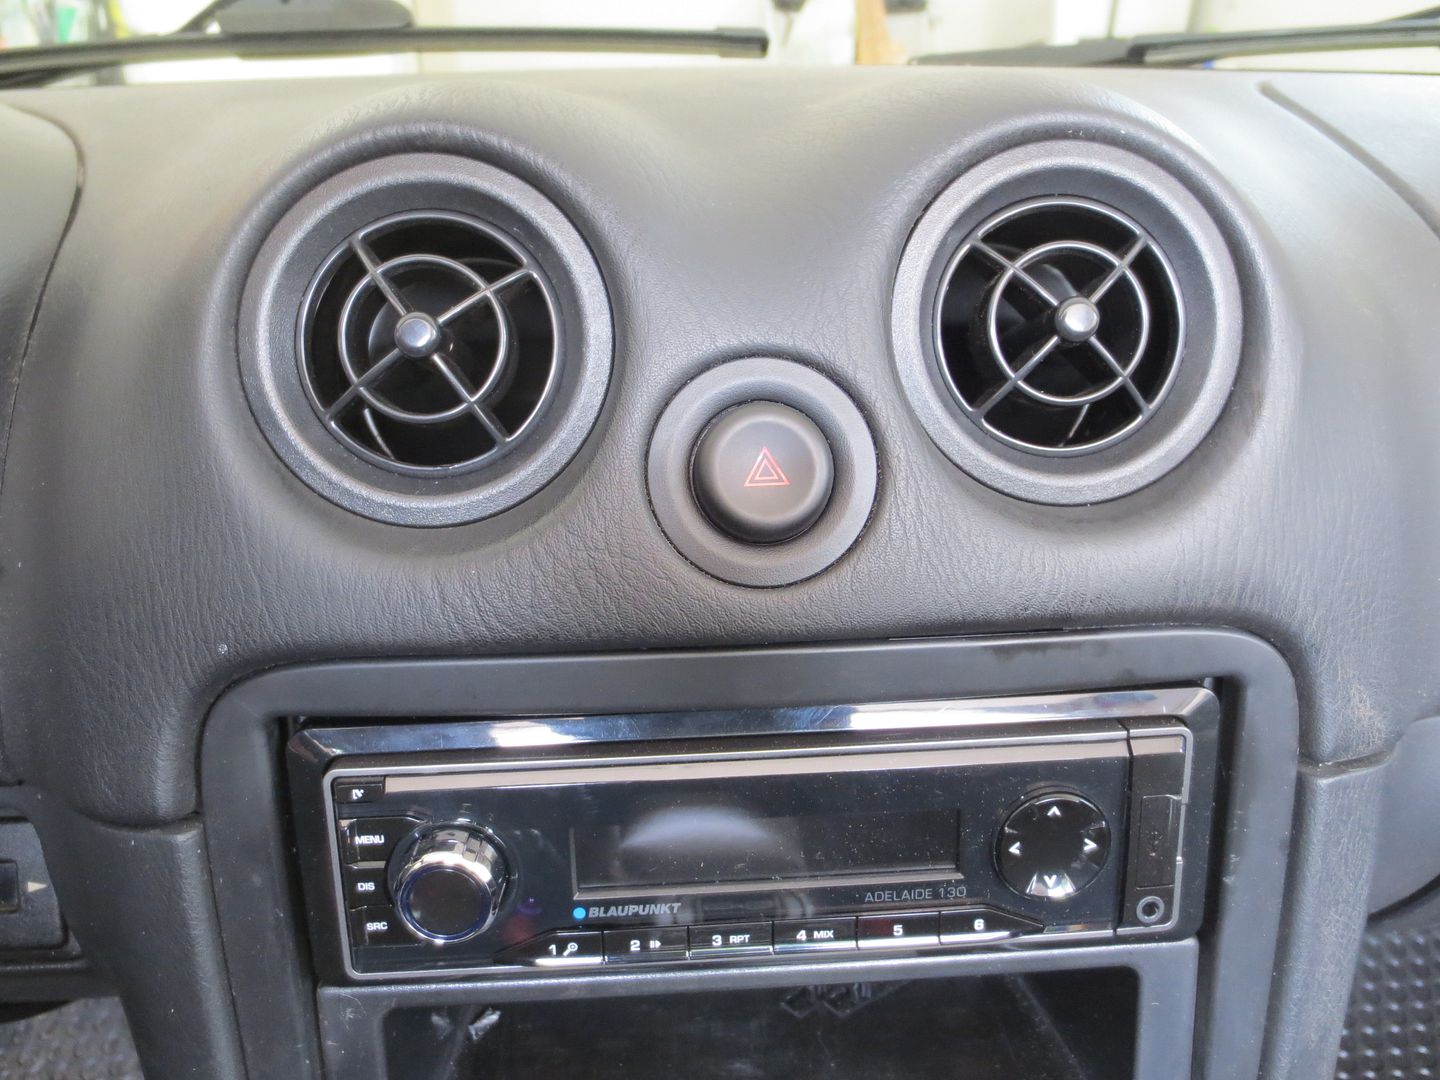
I'm still looking for the little piece of trim that goes next to the HVAC controls. I popped it off when I swapped the stereo and it seems to have disappeared. As far as I can tell, it's no longer available from Mazda and it's not the kind of thing that shows up for sale anywhere. It would be easy if there were any self service junk yards around here, but there are essentially none in the area. The search continues...
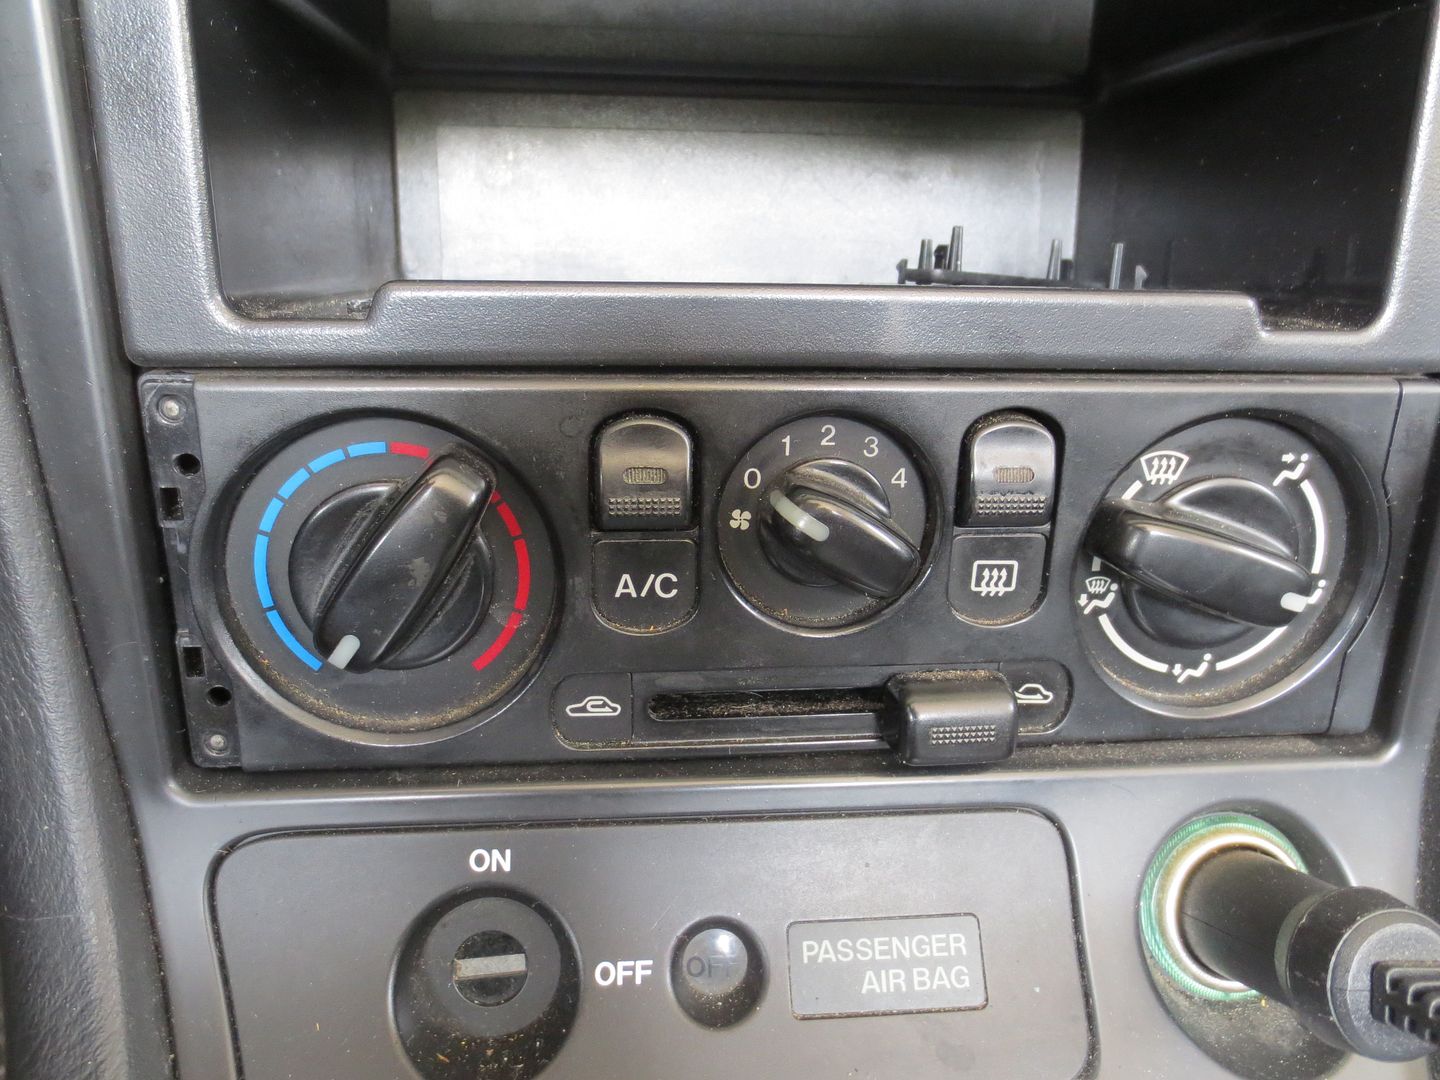
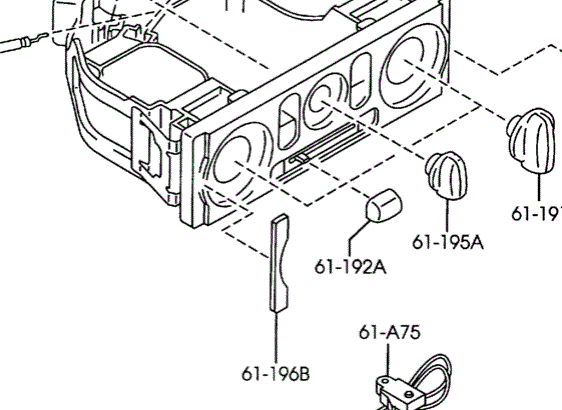

beans
Dork
6/13/15 10:25 a.m.
Maybe check out used car lots and five finger special one? Not that I'm condoning that kind of behavior...
I was starting to notice little puddles under the car. The A/C still wasn't working, so I knew it wasn't the condensation drain. It seemed to be directly below the clutch slave cylinder. The clutch still felt normal and the cylinder didn't seem to be wet, but I knew that the job was cheap and easy, so I decided to swap it out. Fortunately, I already had a new one on the shelf in my garage.
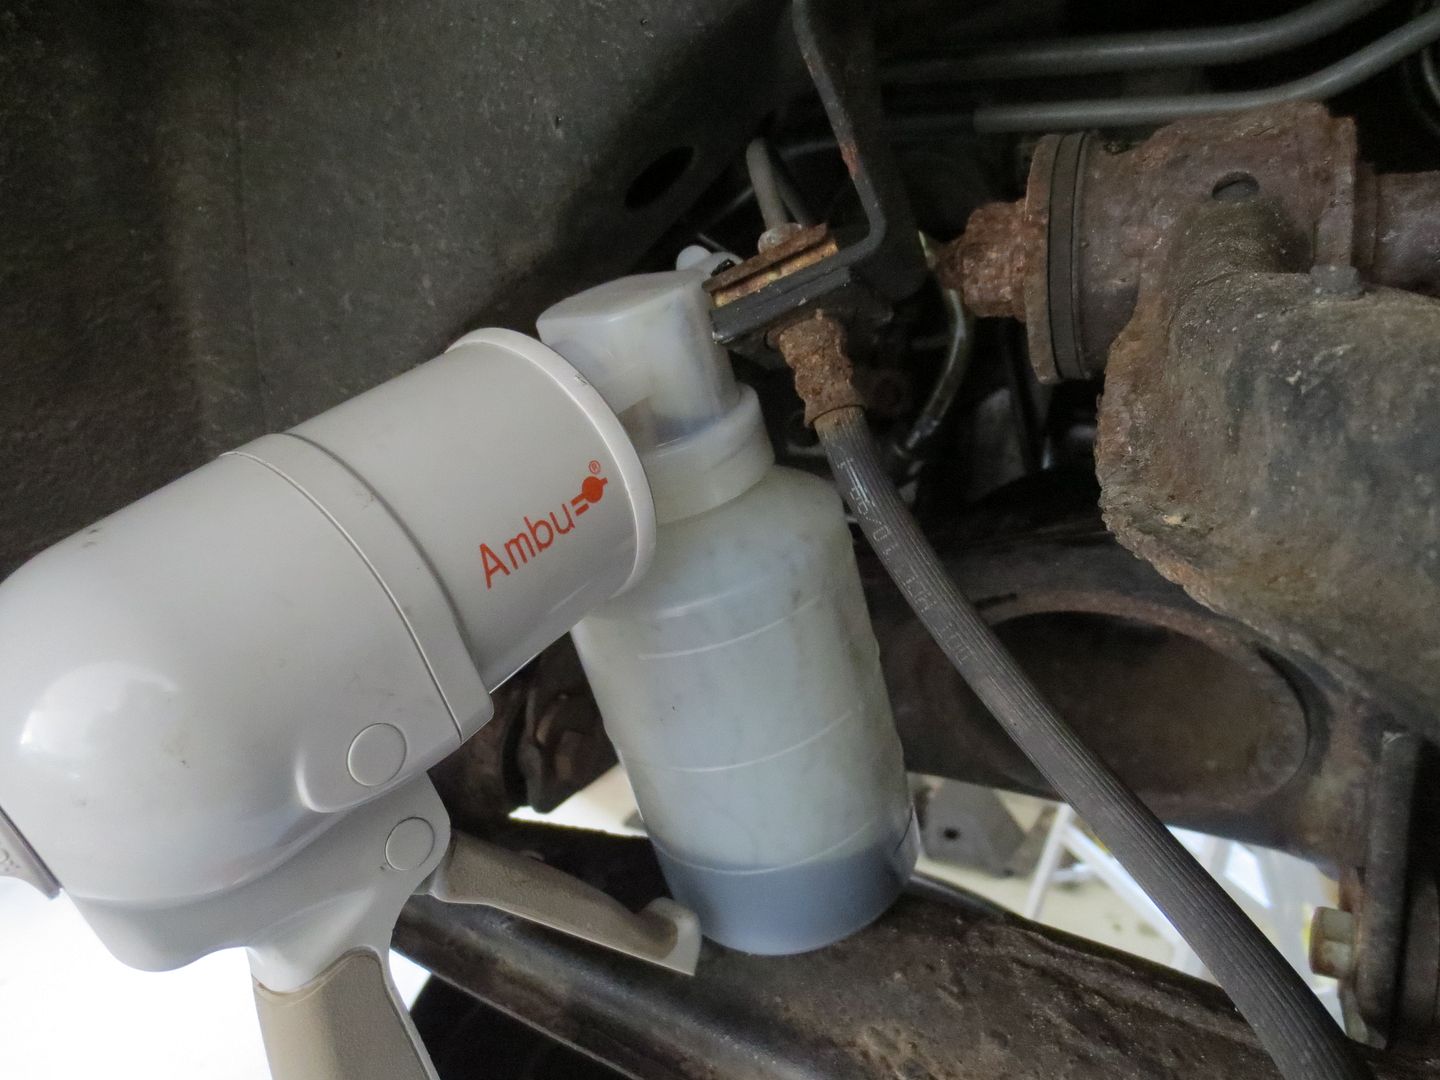
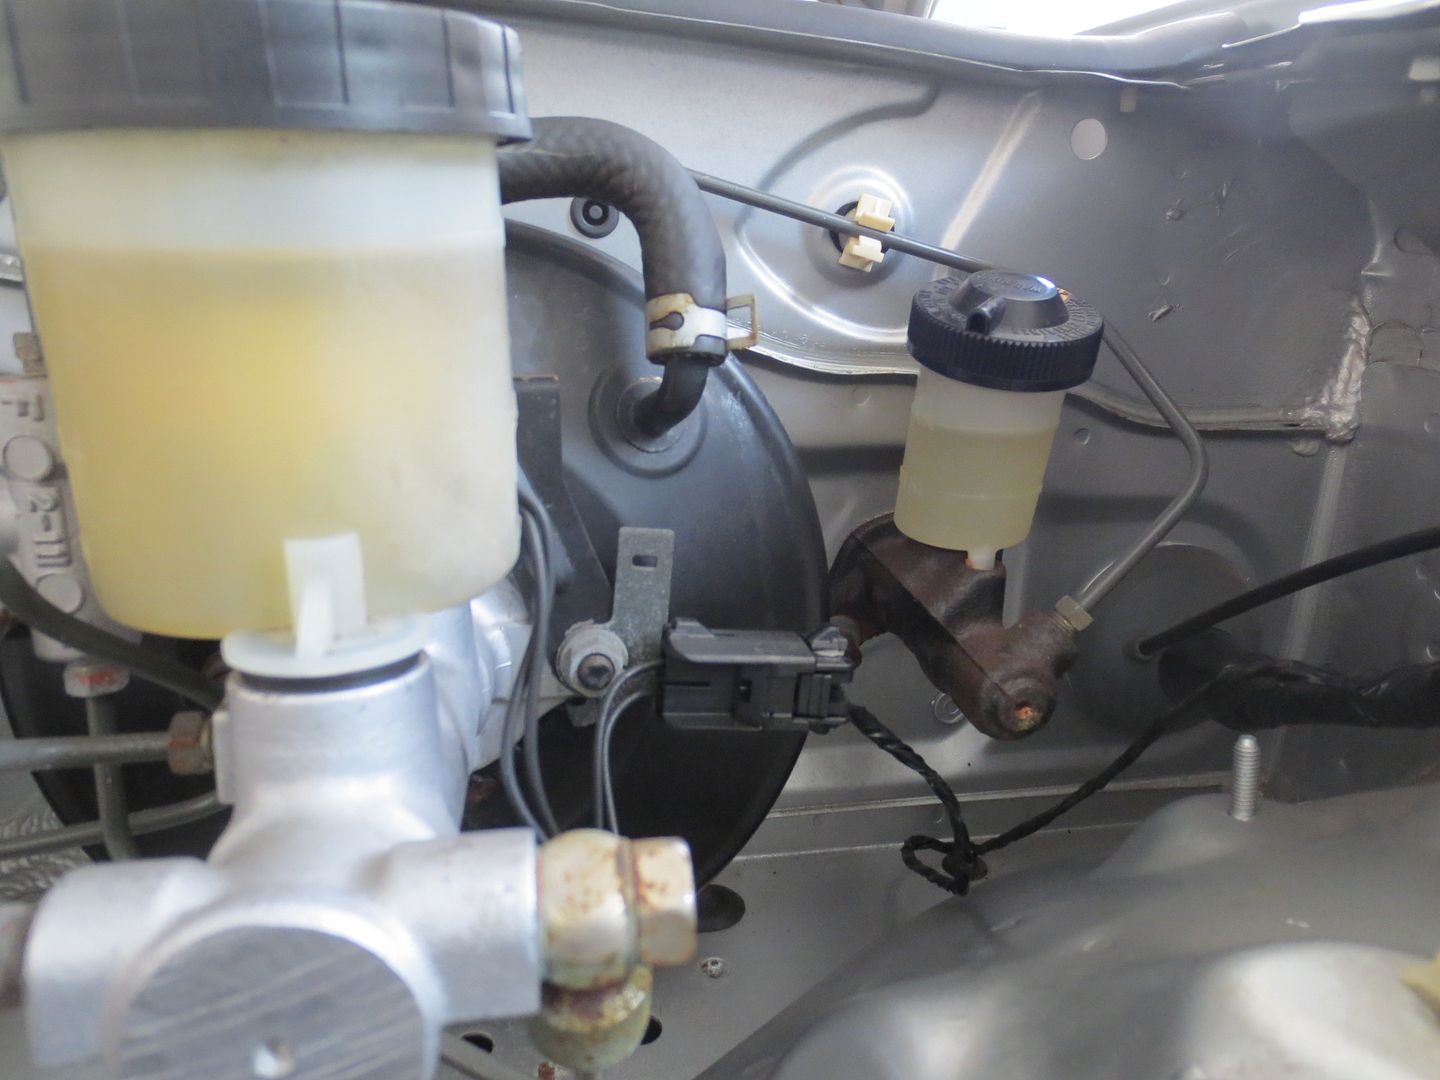
The old fluid was black and the level was lower than it should be. I was pretty sure that I had topped it off not that long ago.
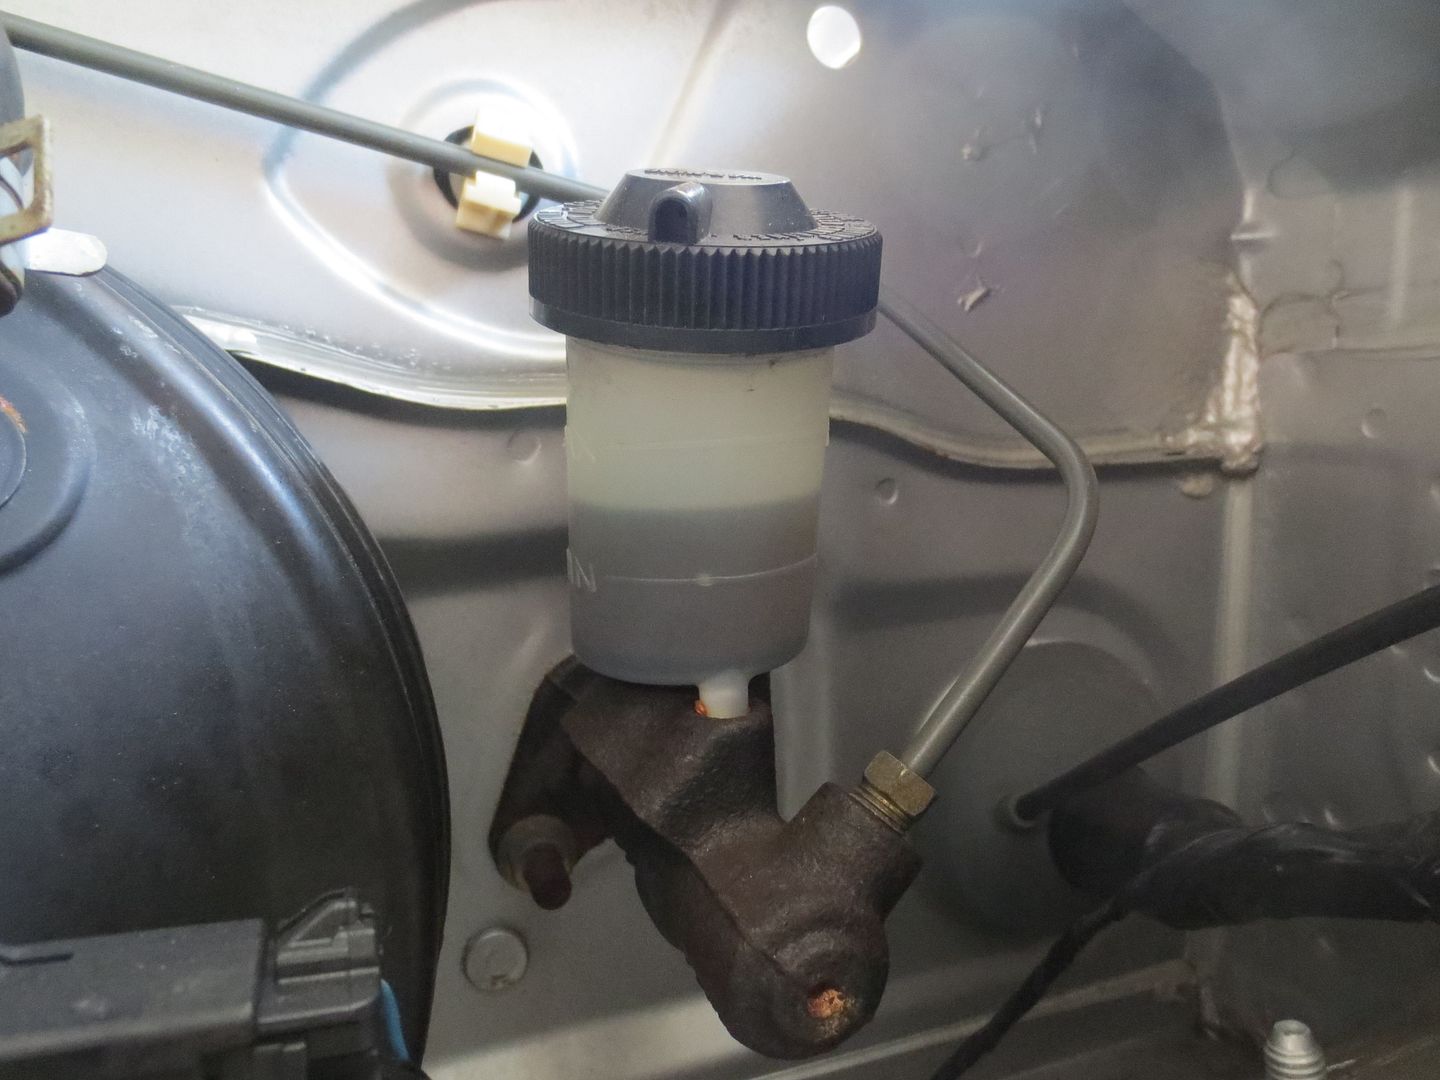
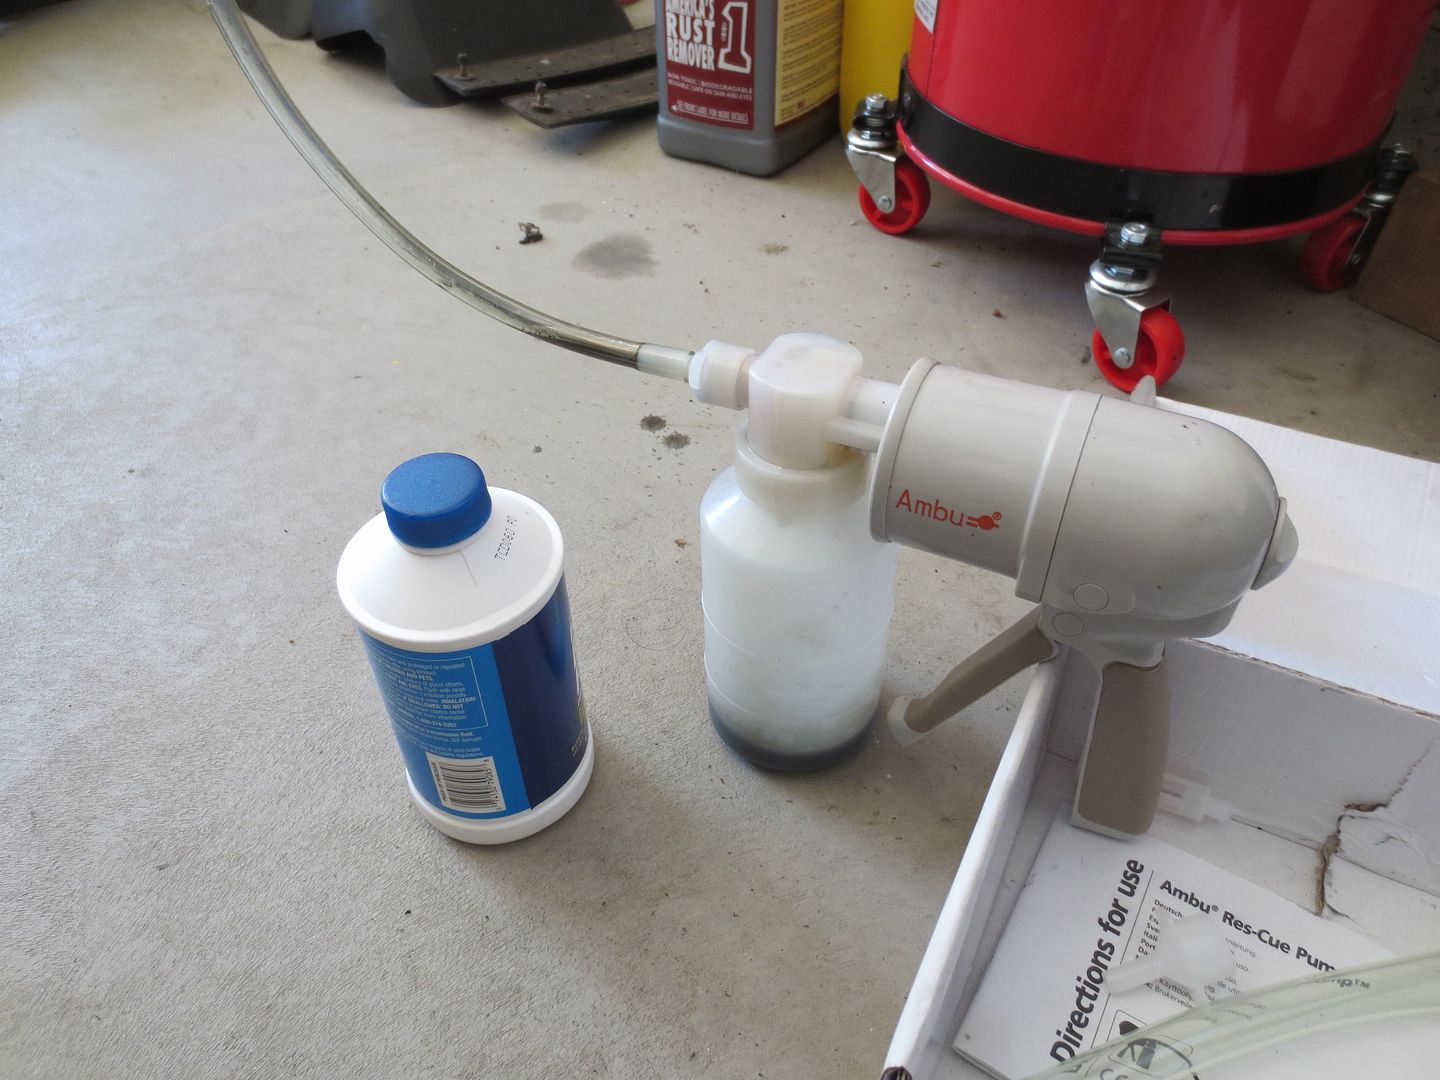
I used a vacuum pump to draw the old fluid out and the wiped the reservoir clean.
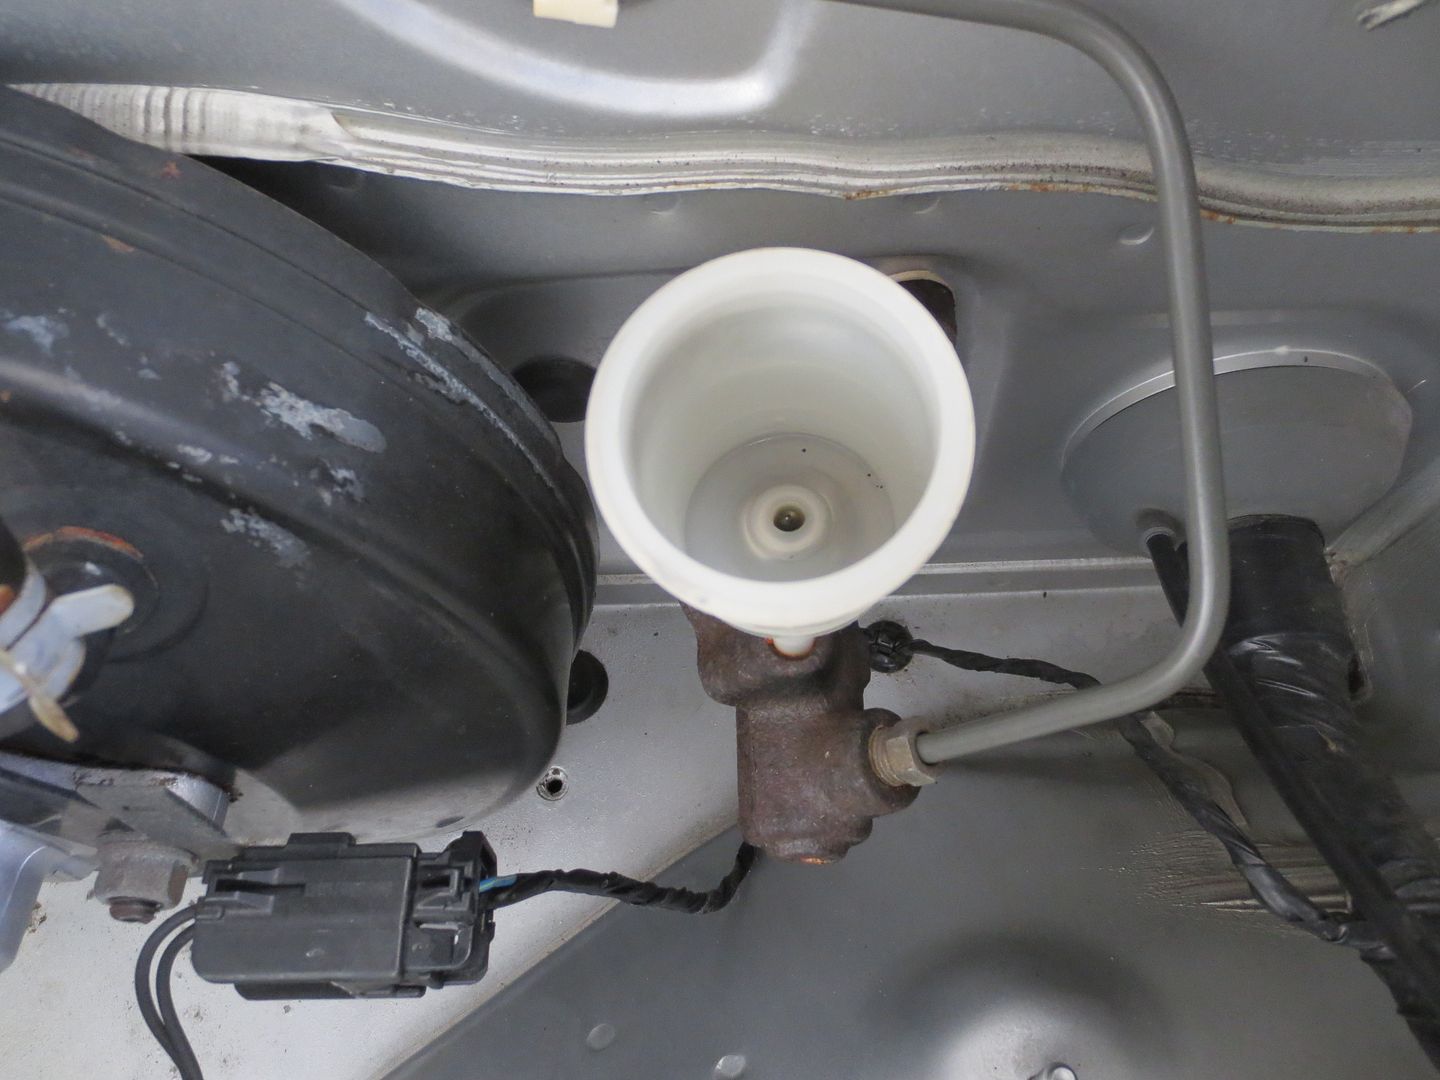
Once I removed the old cylinder, I pulled off the rubber boot and fluid spilled out, so it was obvious that it had a bad seal.
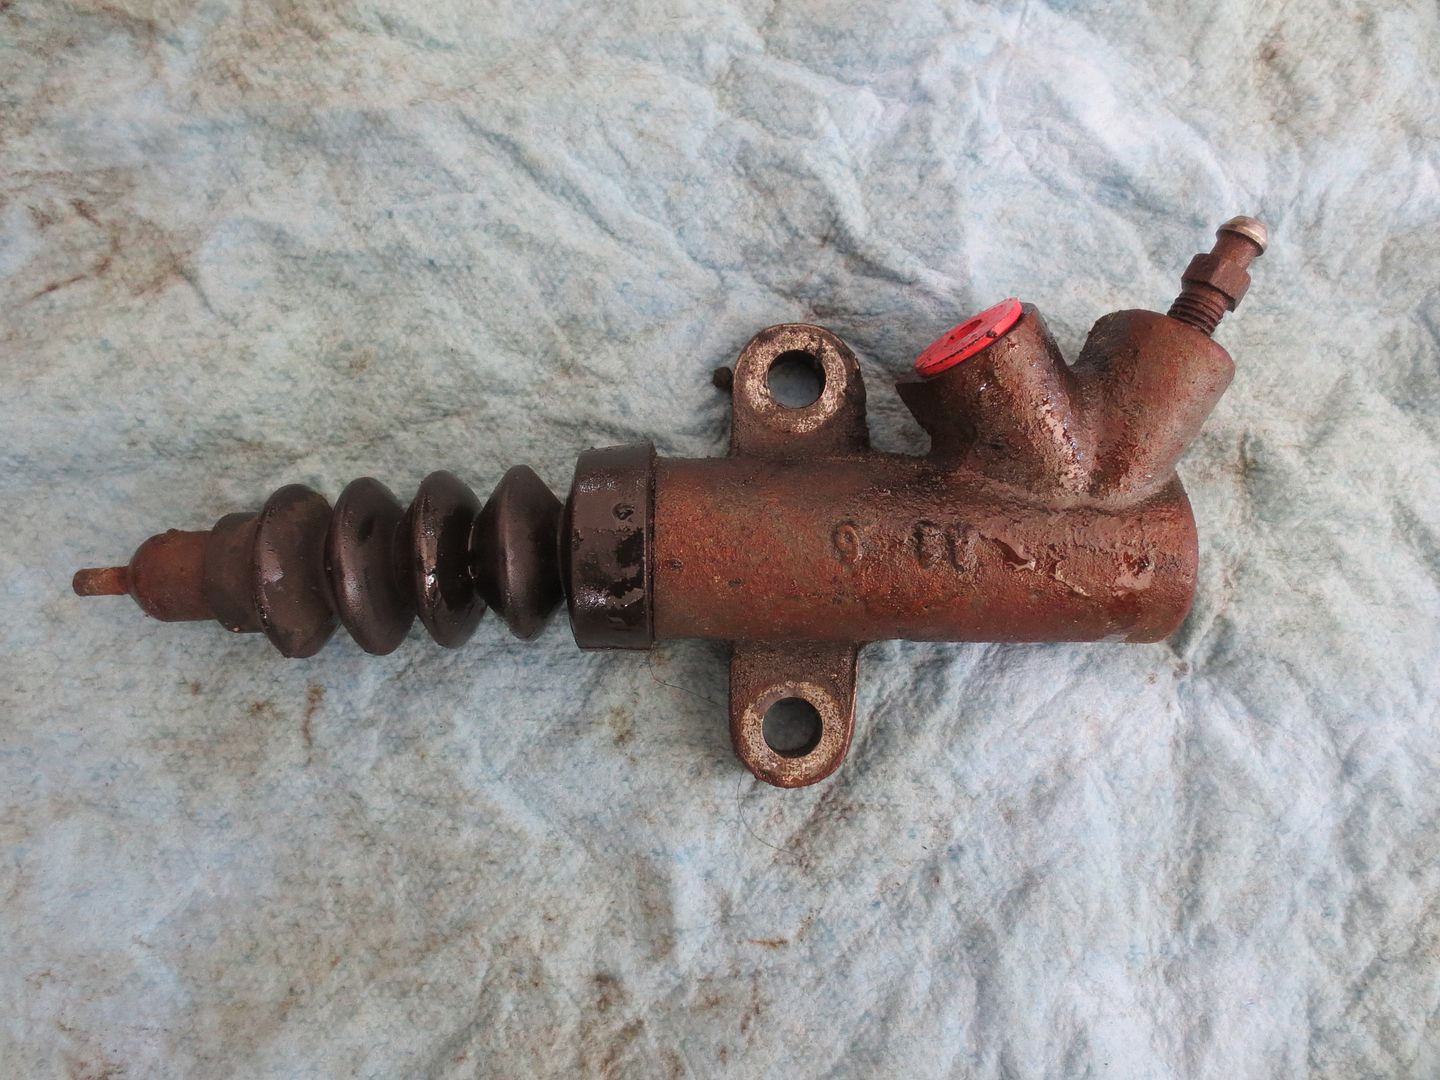
Removal and installation were both pretty easy.
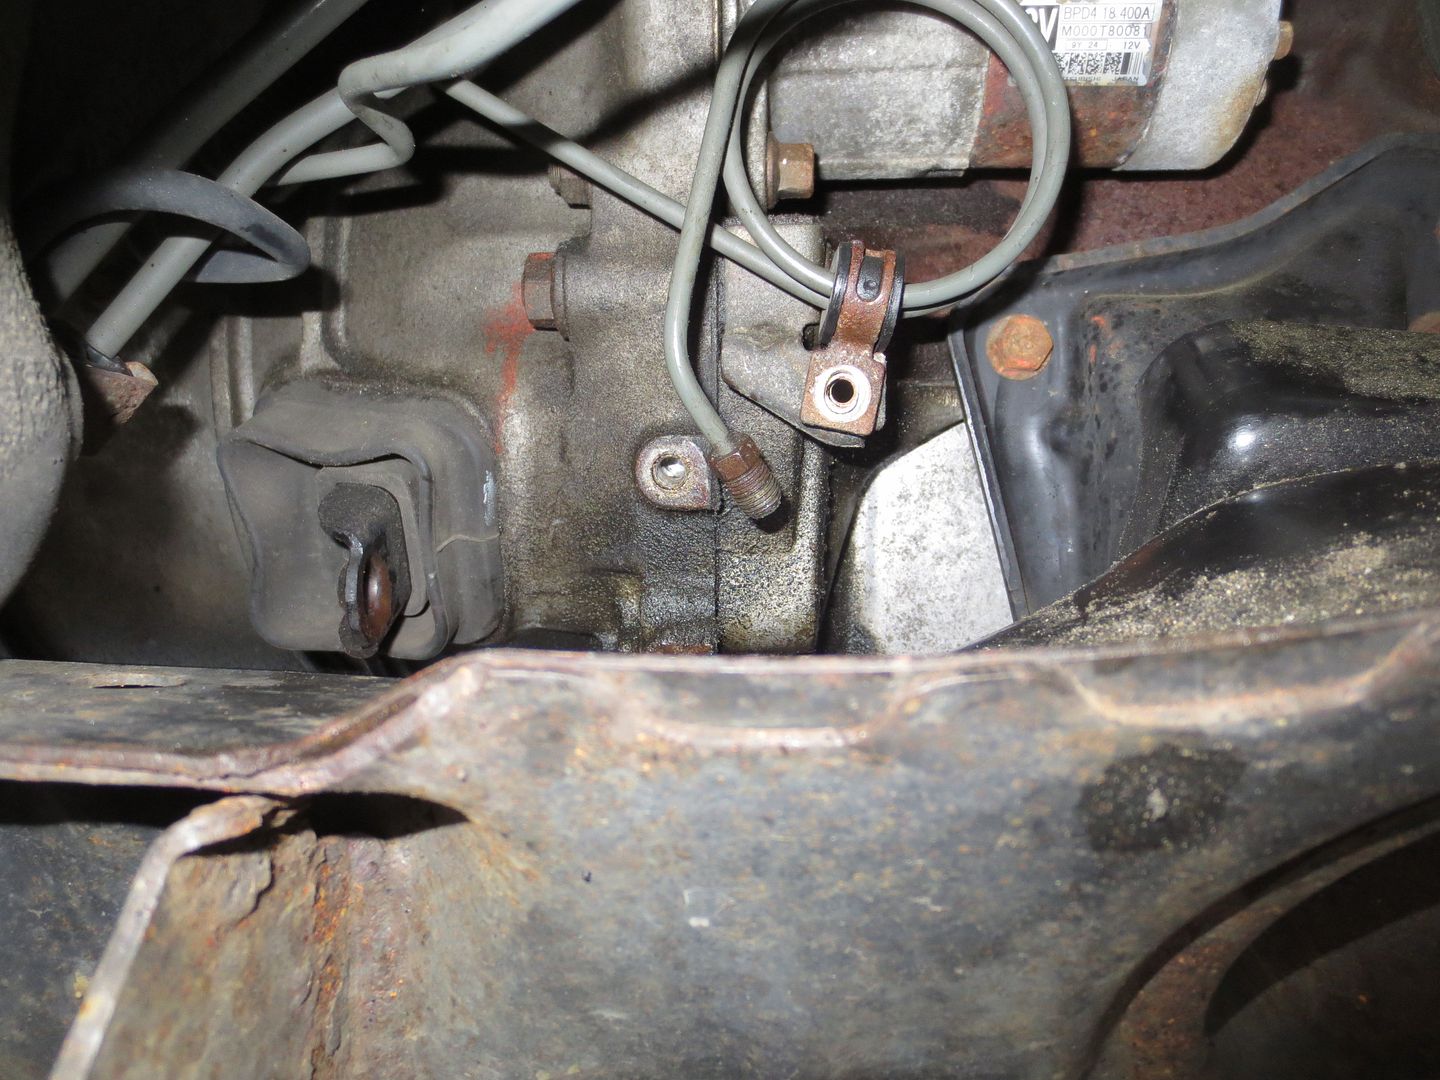
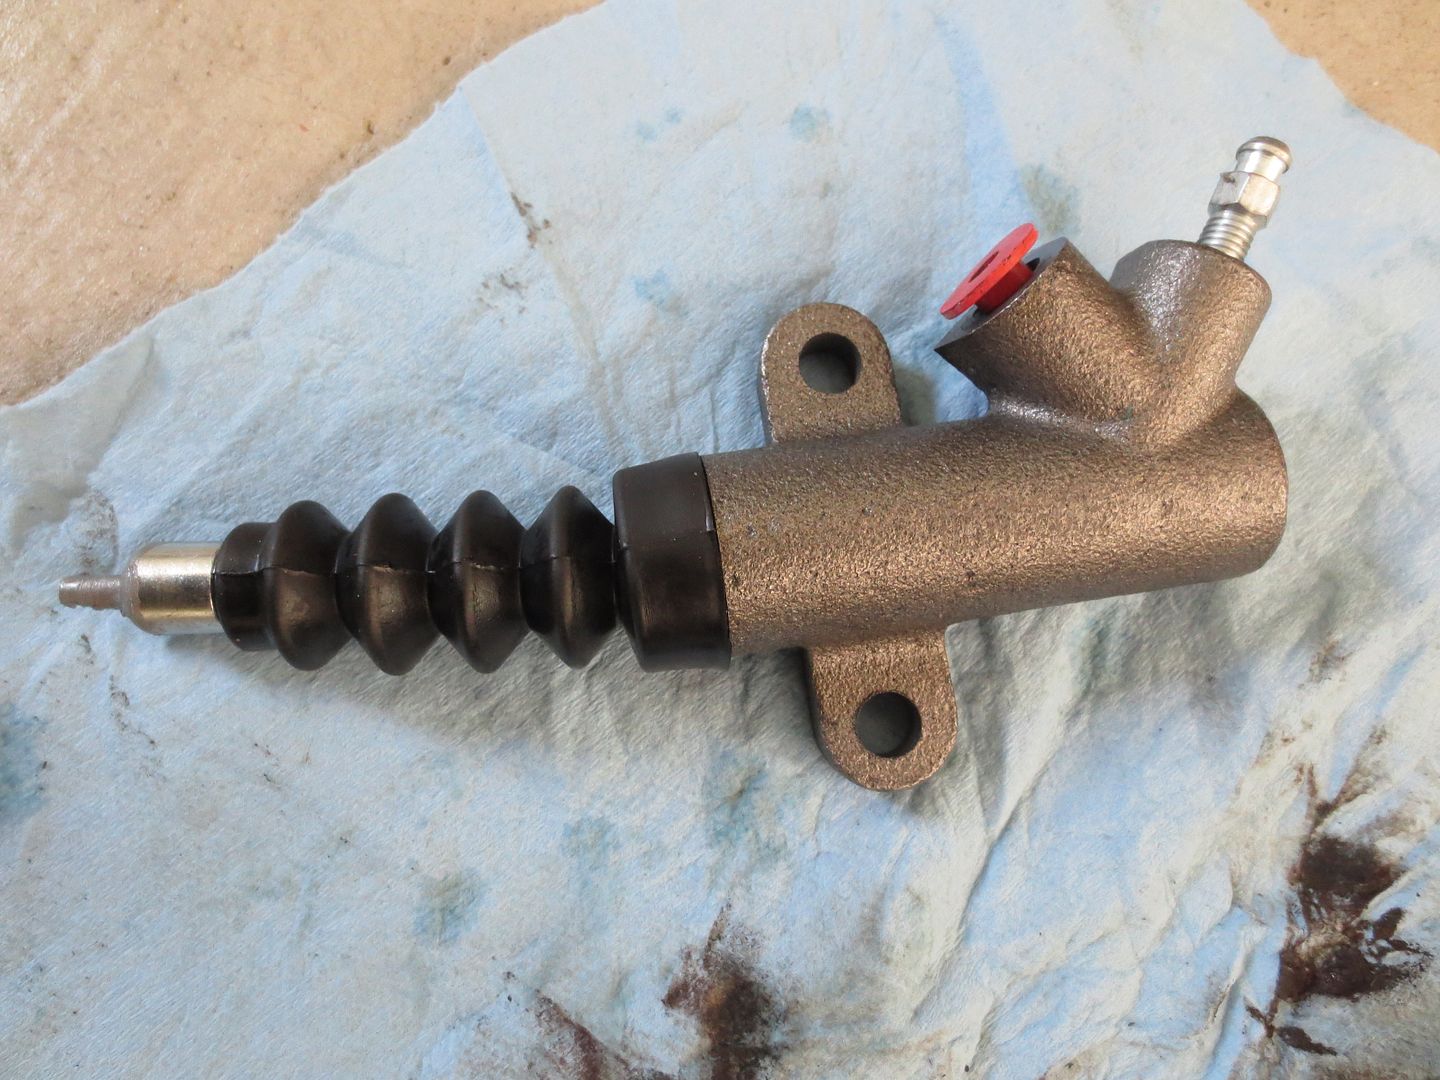
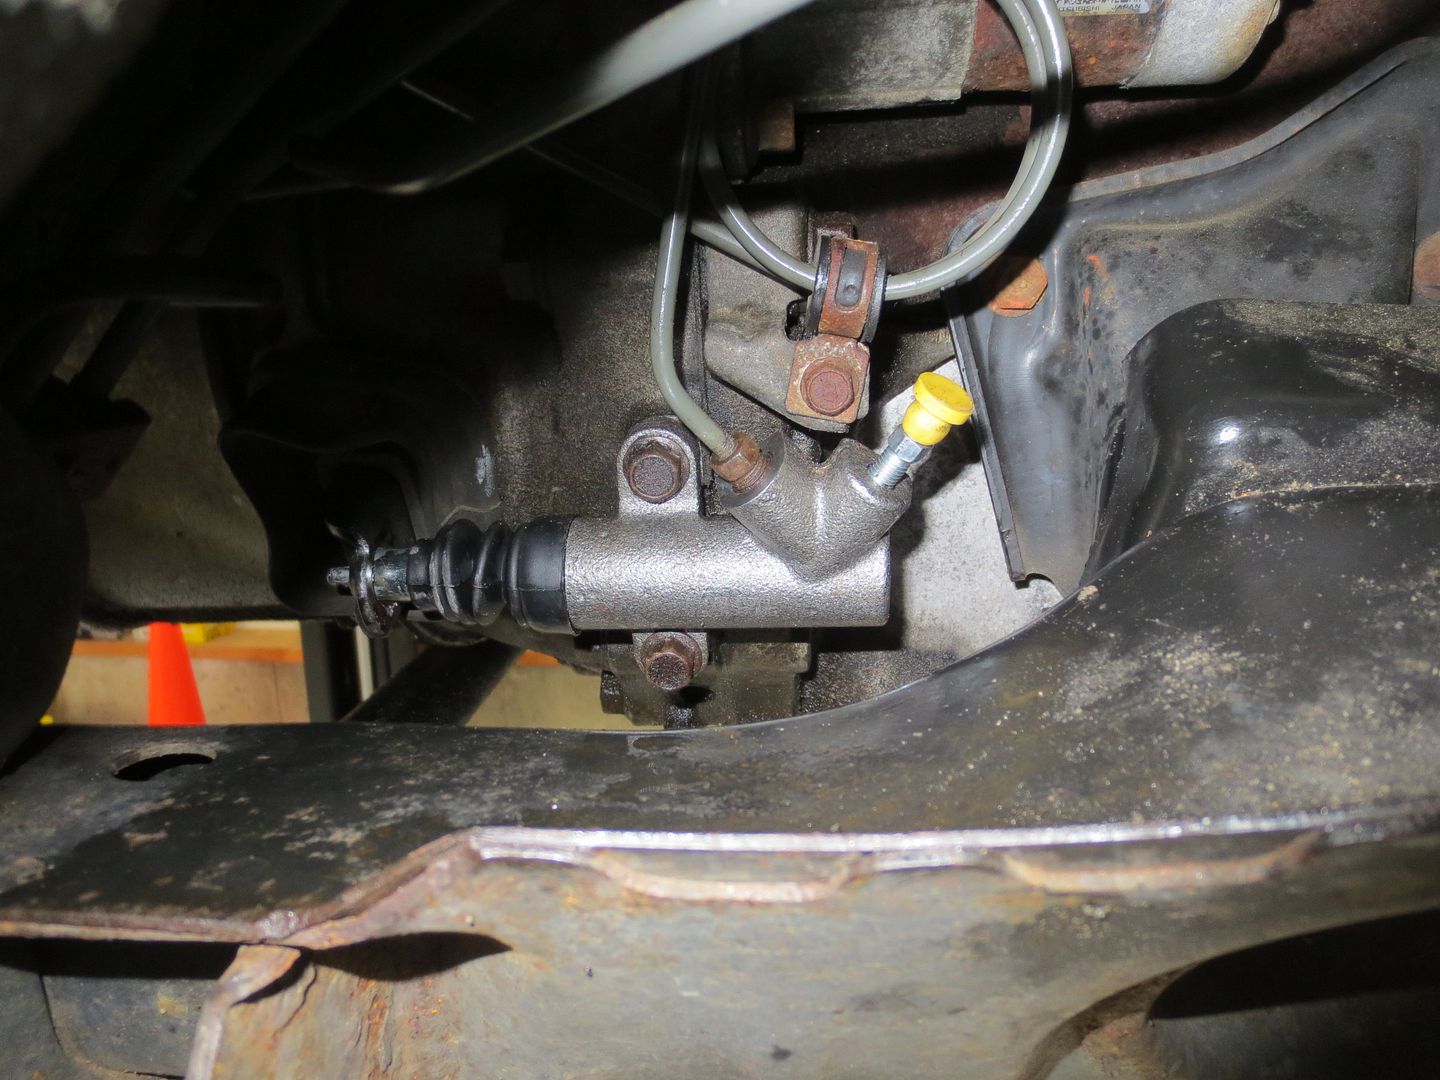
I refilled the reservoir with new fluid and used my vacuum pump to bleed the system. The clutch feels better and no more puddles under the car.

I decided to turn my attention back to the ineffective air conditioning system.
This was not acceptable:
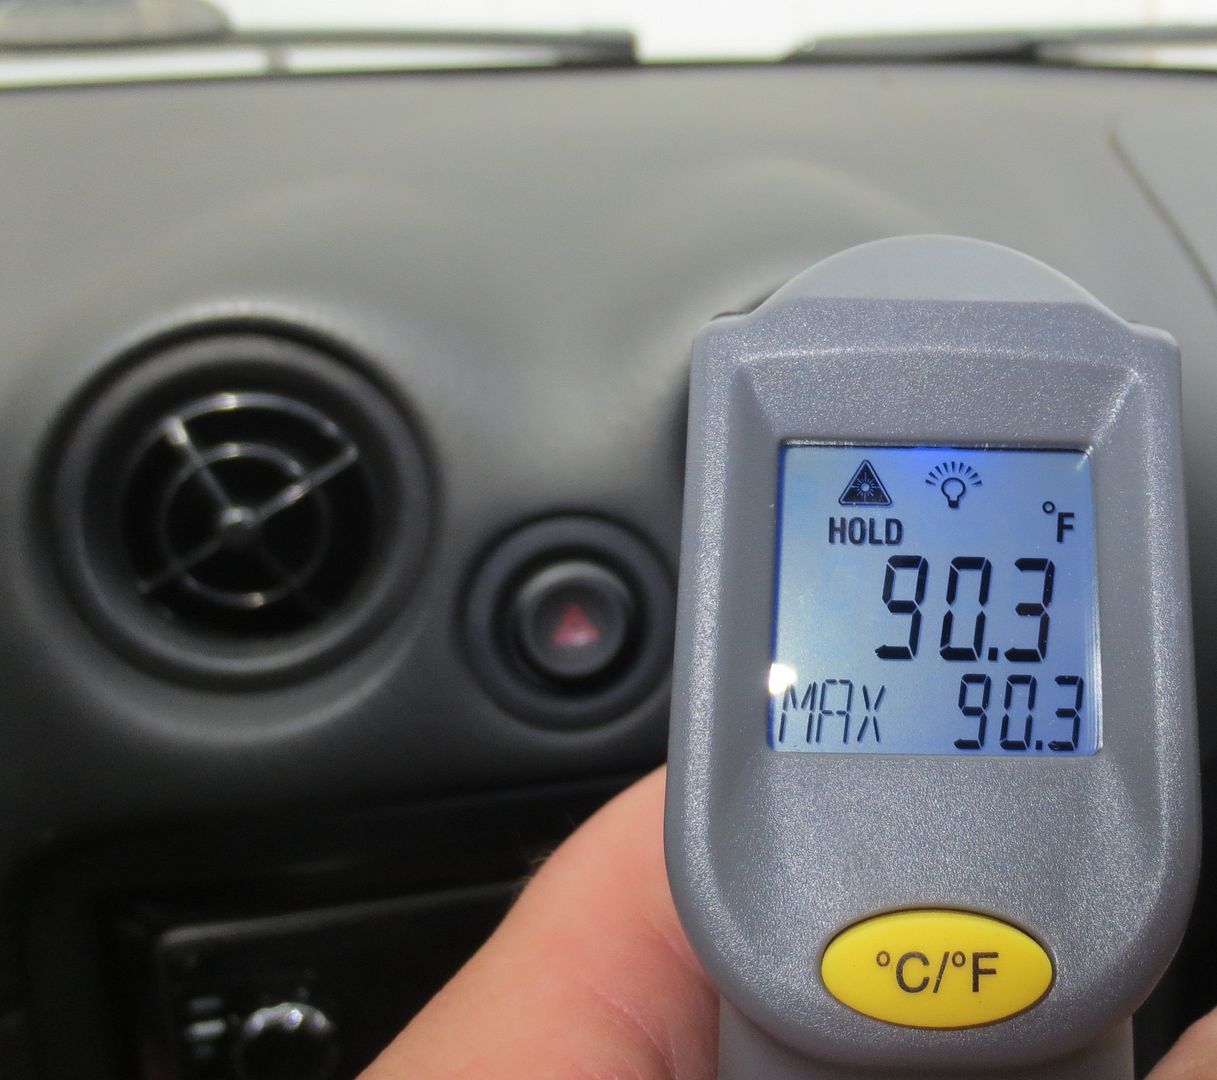
Rather than just trying to add more refridgerant, I picked up a vacuum pump and set of gauges so I could do it a little more professionally. This would be my first time messing with any of this stuff.
Before getting started, I decided to do a visual confirmation that the compressor clutch was engaging. Last week when I realized that I wasn't getting any cool air, I noticed that the engine speed wasn't changing when I pushed the AC button. I checked the fuses (good) and then thought that the system might not have enough pressure in it to trip the pressure switch. I added a can of refrigerant, and sure enough when I pushed the AC button, the engine speed went up a few hundred RPM and I could hear the second fan kick on. I never checked to see if the clutch was actually engaging. It is not. So now I need to figure out why.
Moments later...
It couldn't possibly have anything to do with this small broken wire laying on top of the compressor, could it?
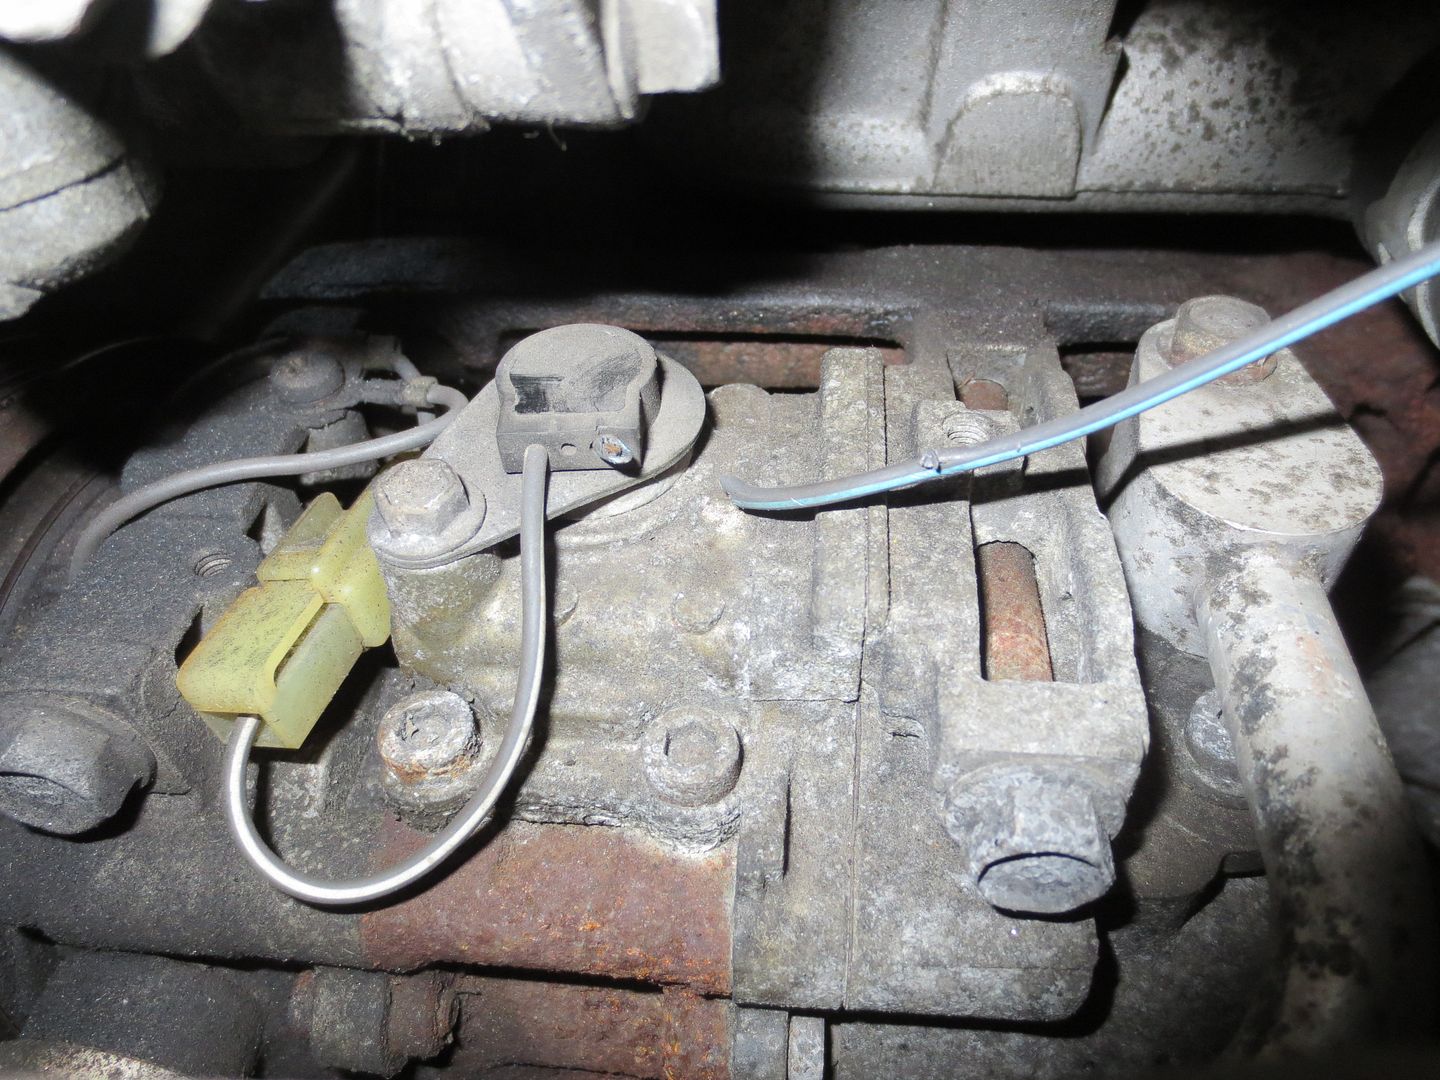
I think that the broken wire goes to a thermal switch. I removed it, disassembled it, broke it a little more, resoldered the original wire and replaced the broken plastic cover with liquid electrical tape.
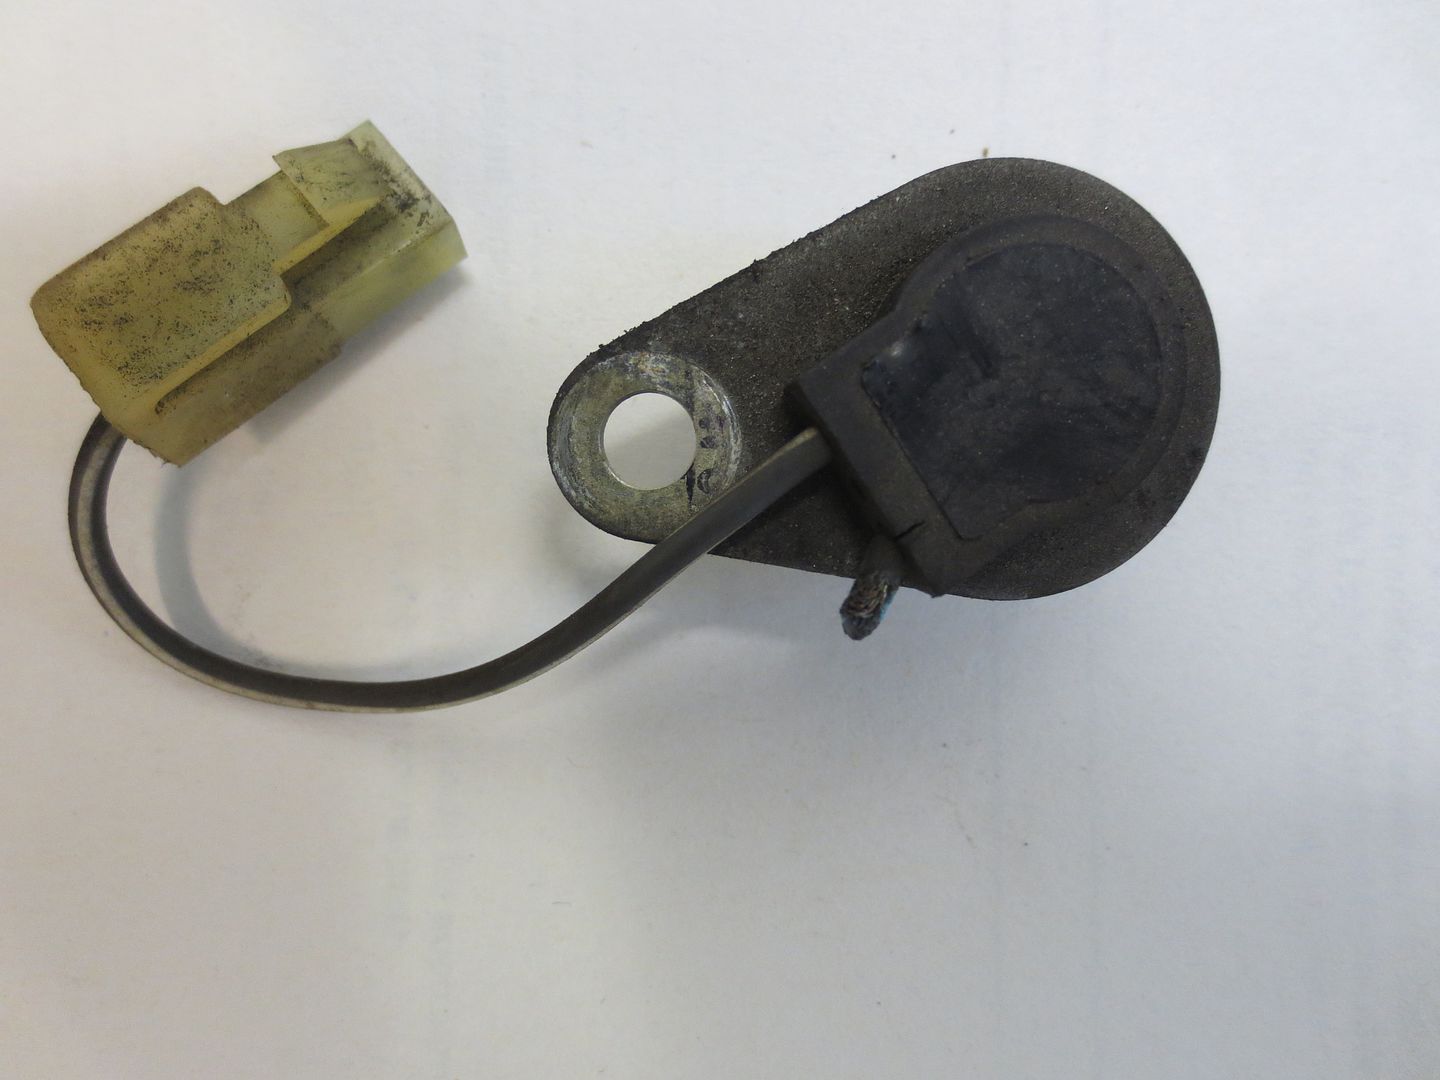
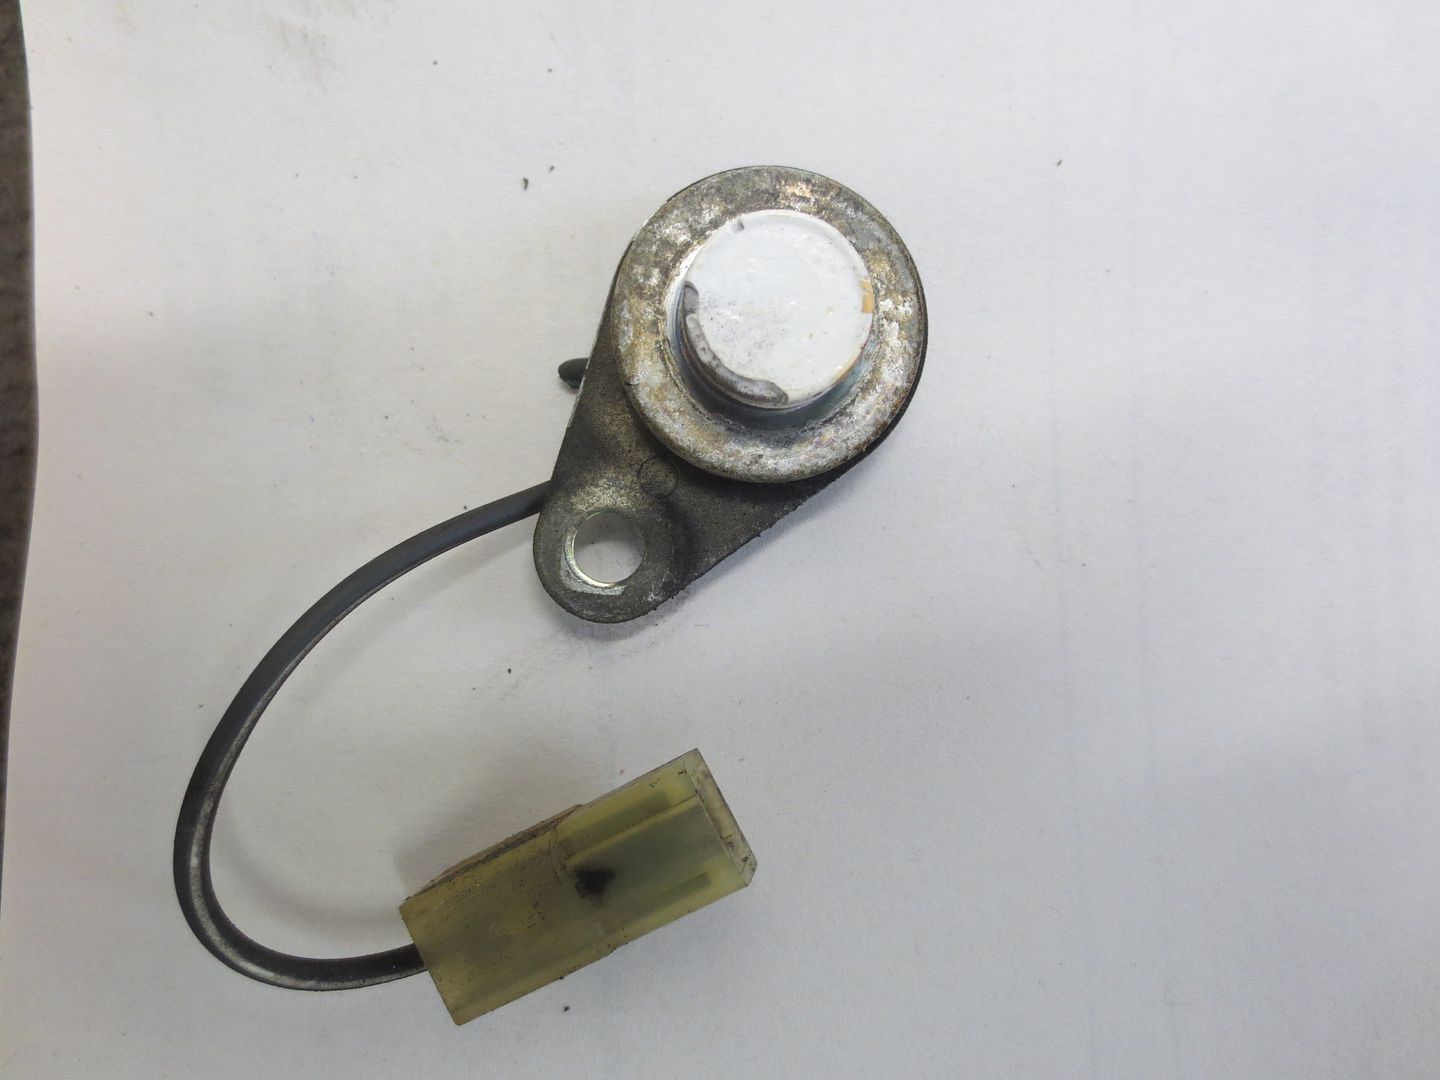
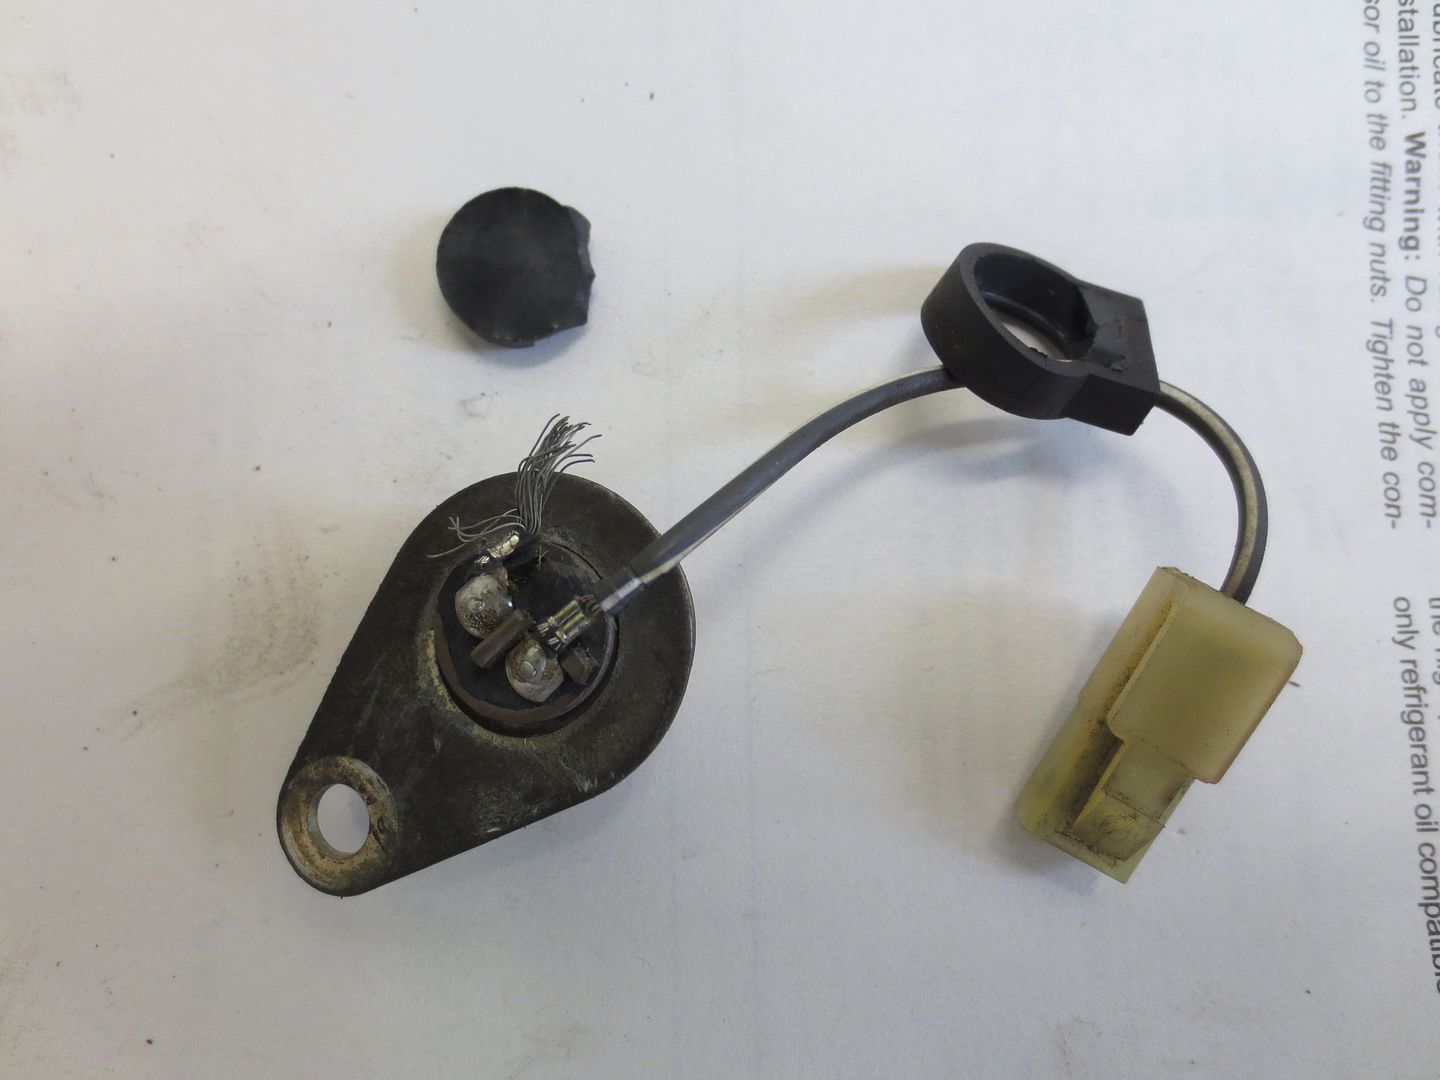
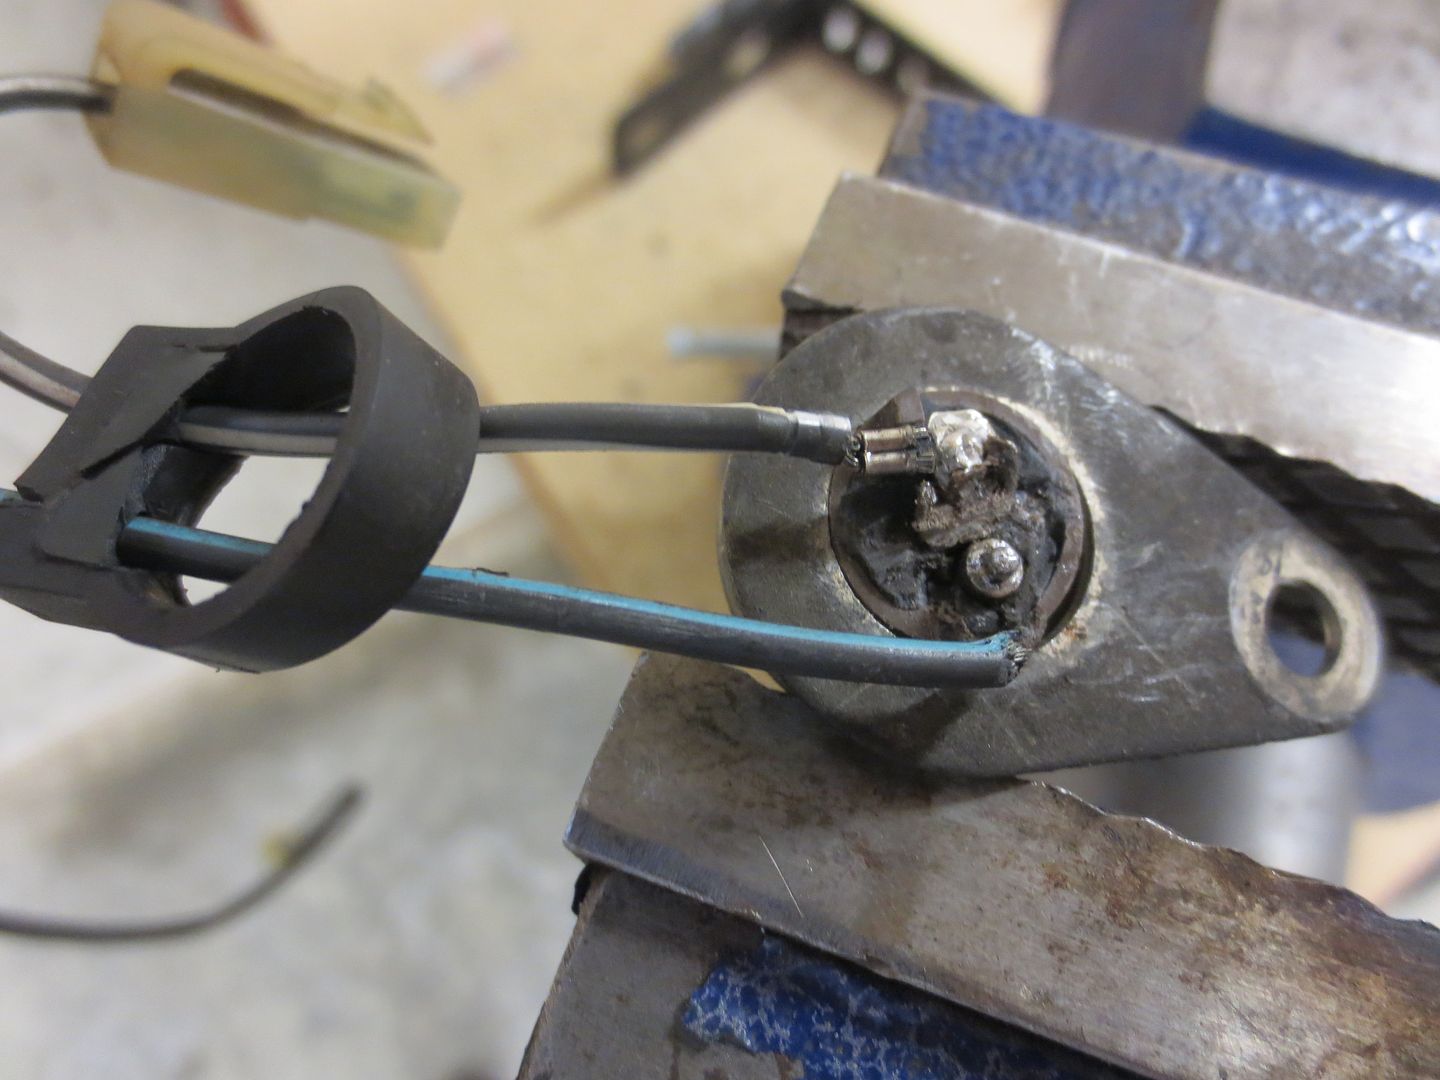
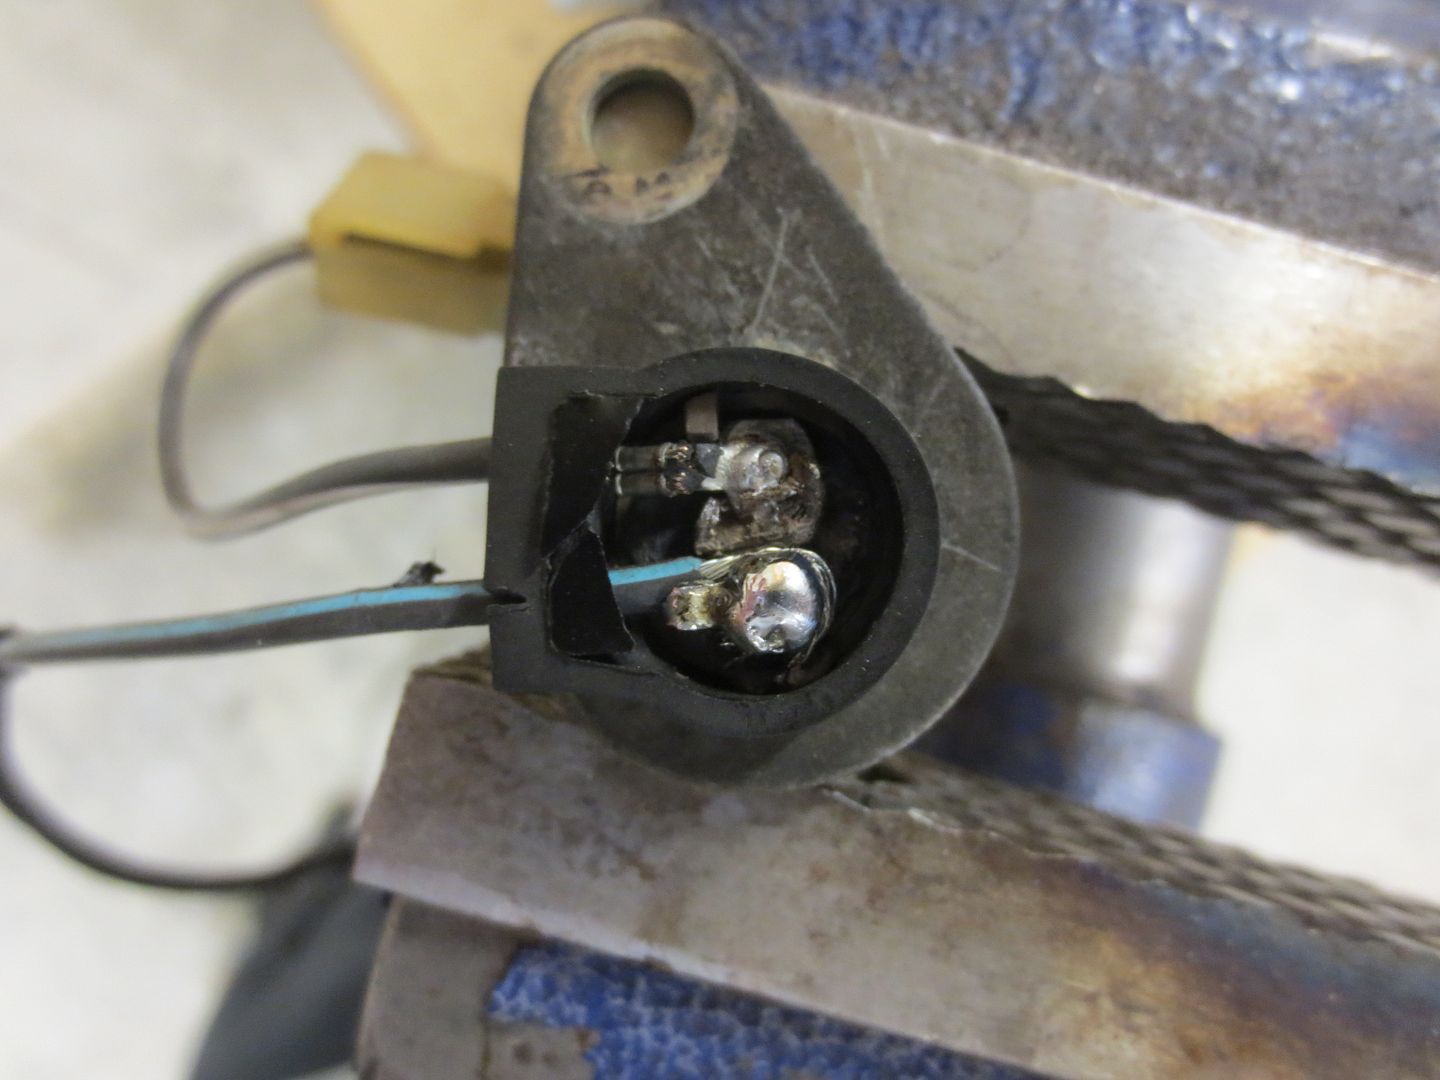
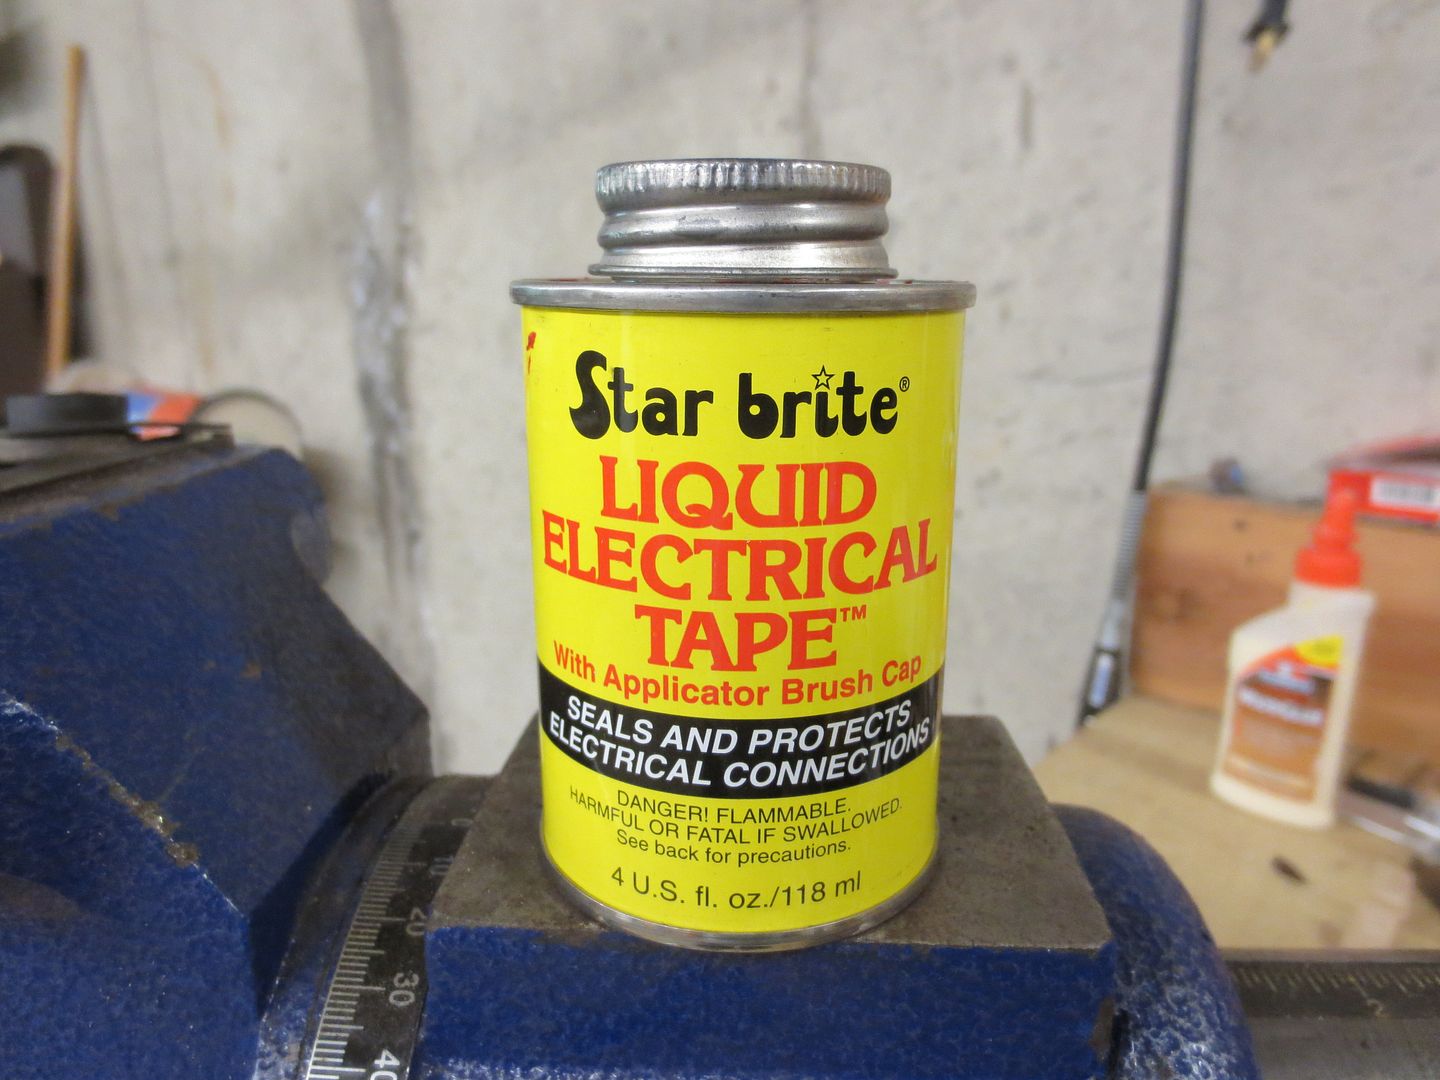
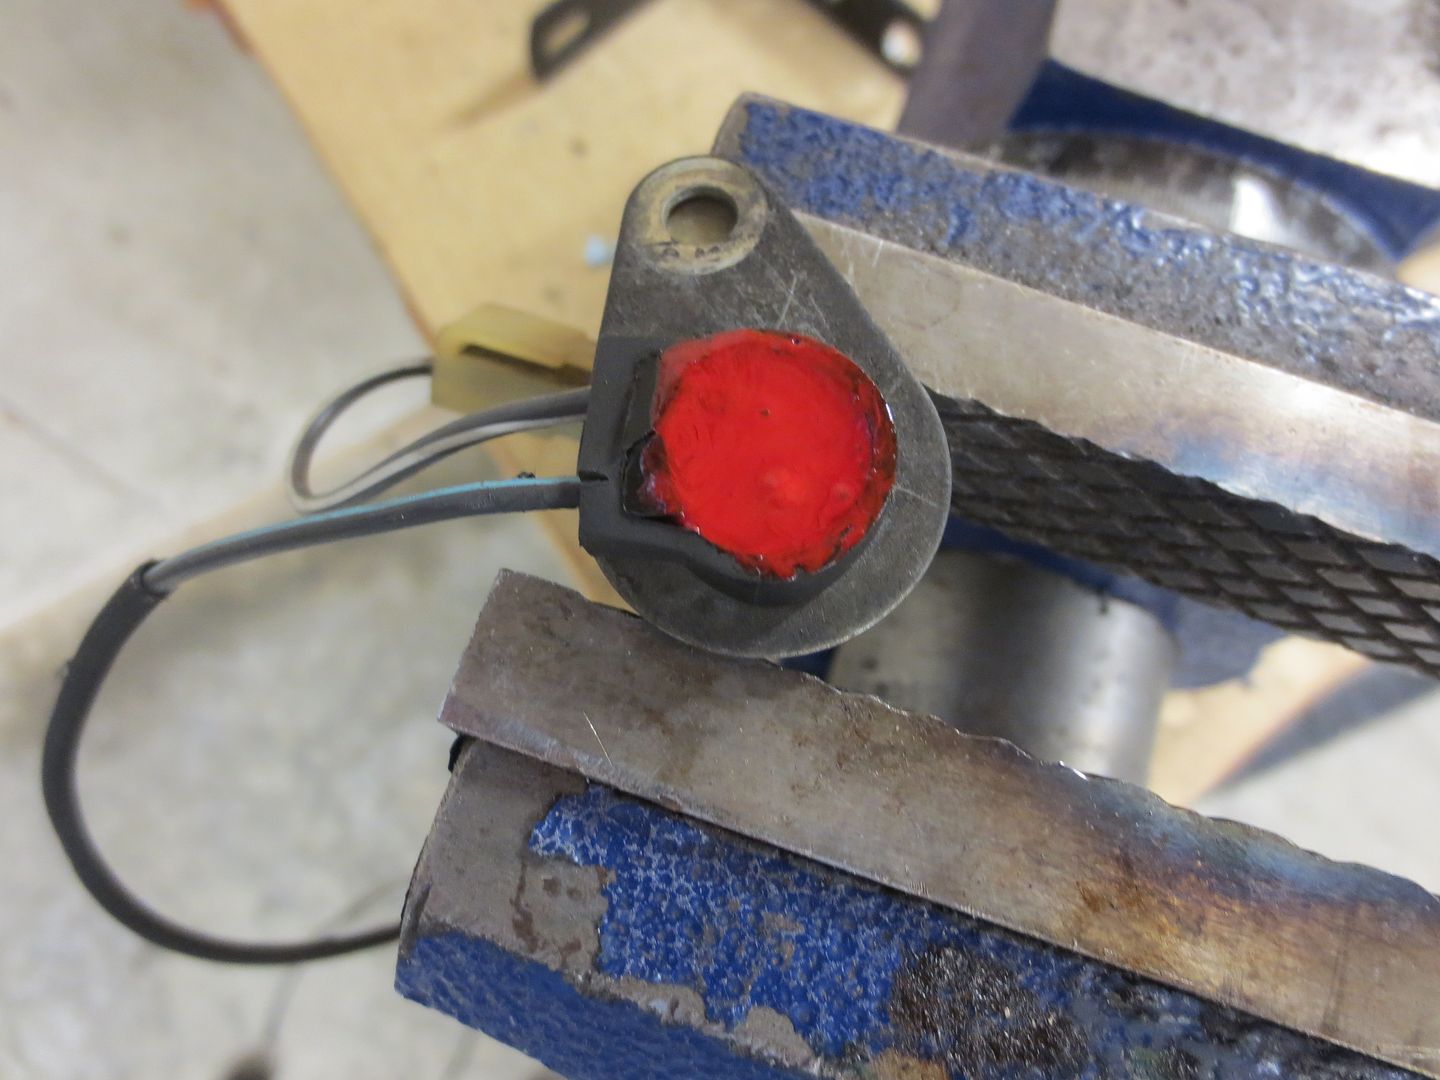
Everything is back together and the compressor clutch is now engaging properly.
I drew a vacuum and it seems to be holding.
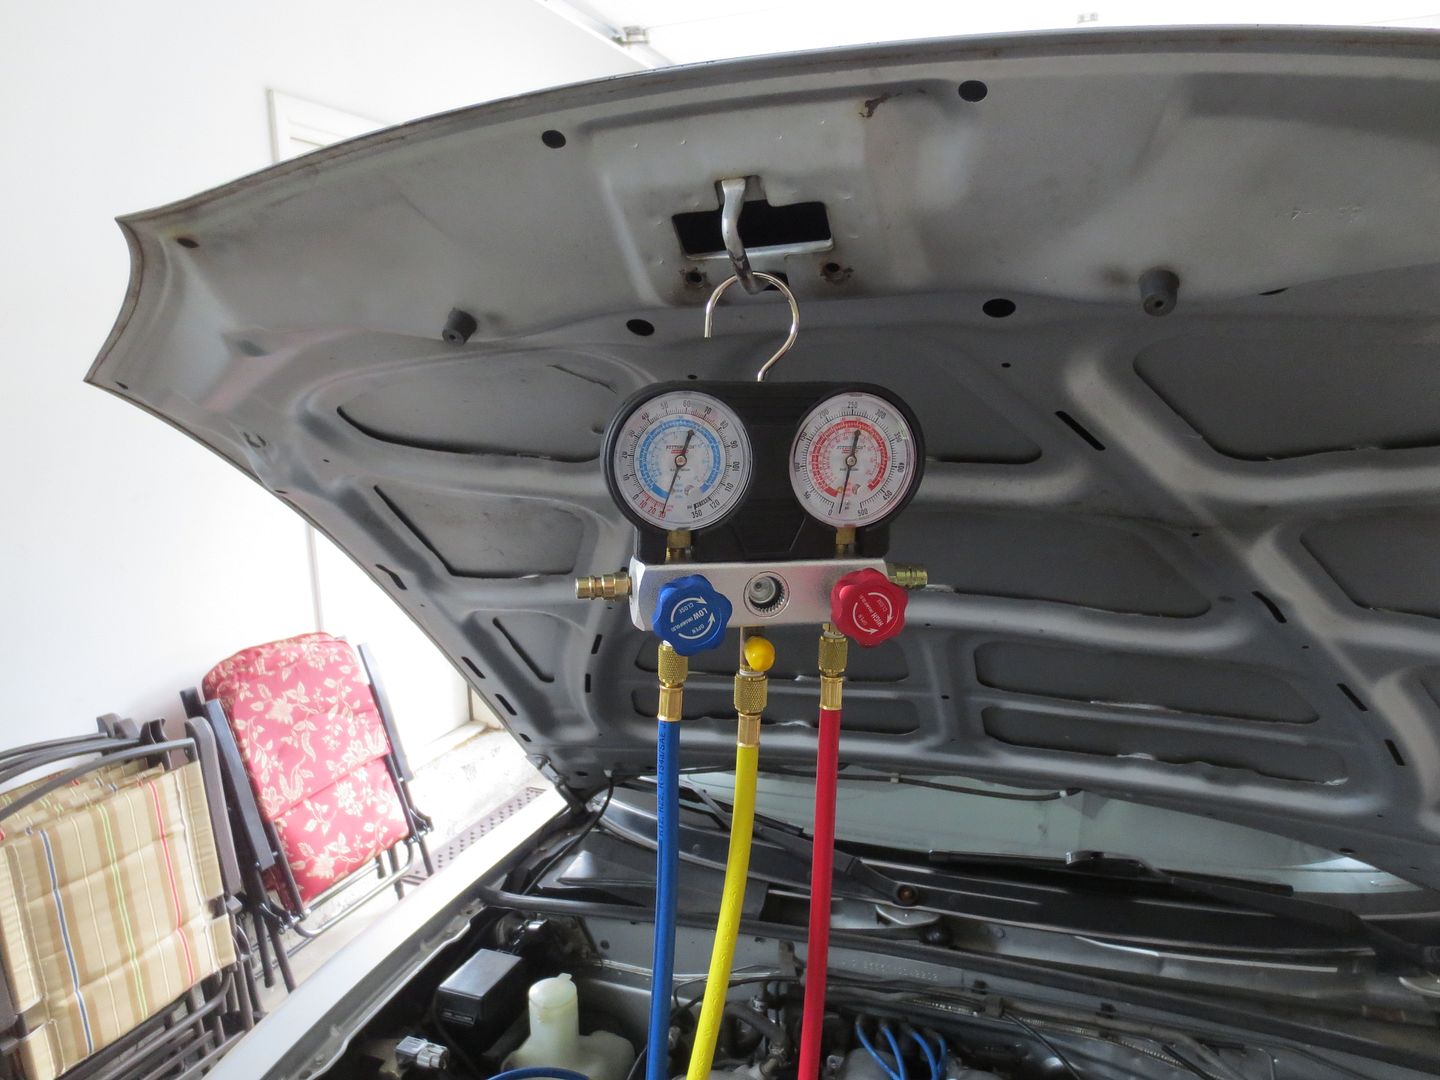
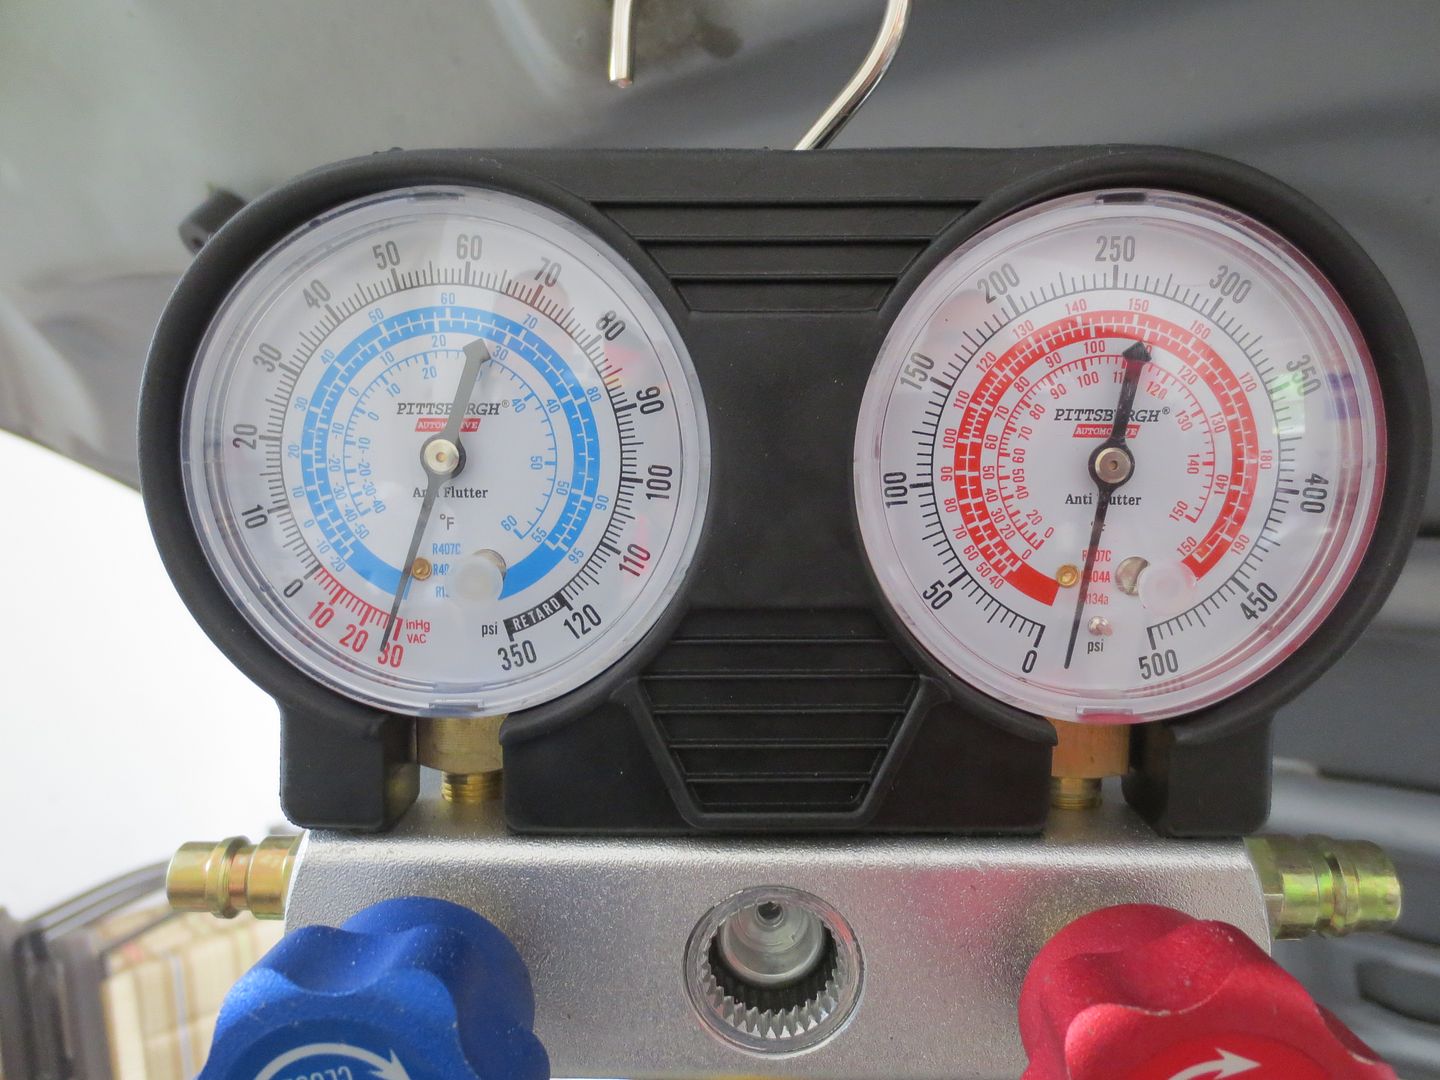
I added approximately 20 ounces of refrigerant, along with some dye in case it starts to leak down again.
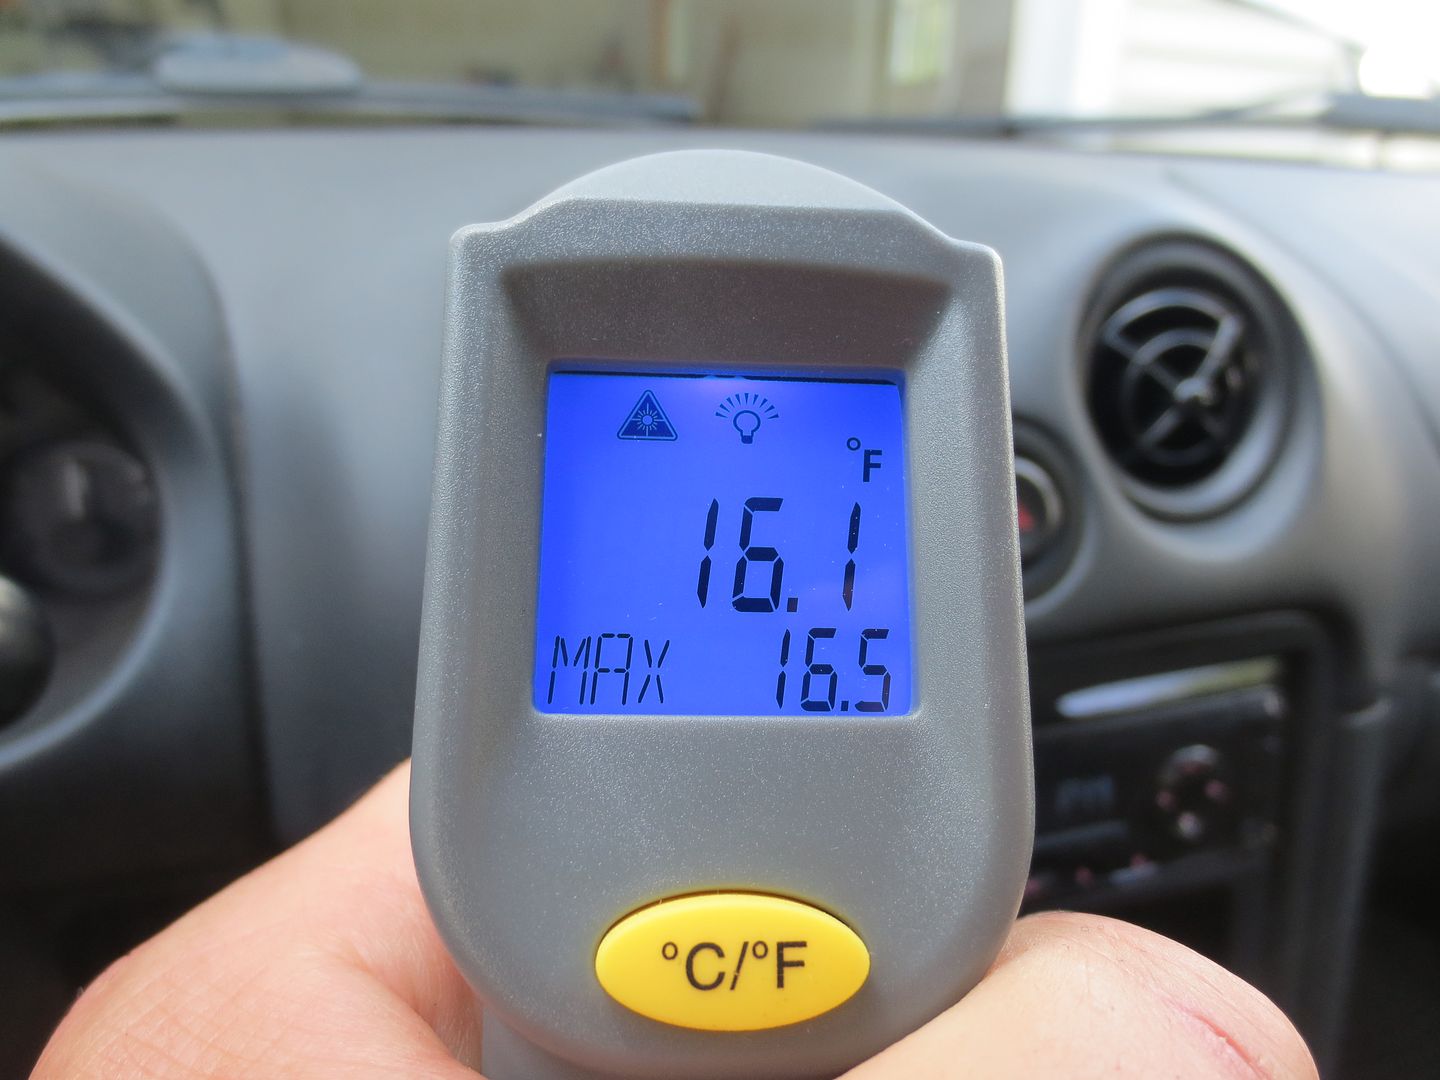
This feels better.

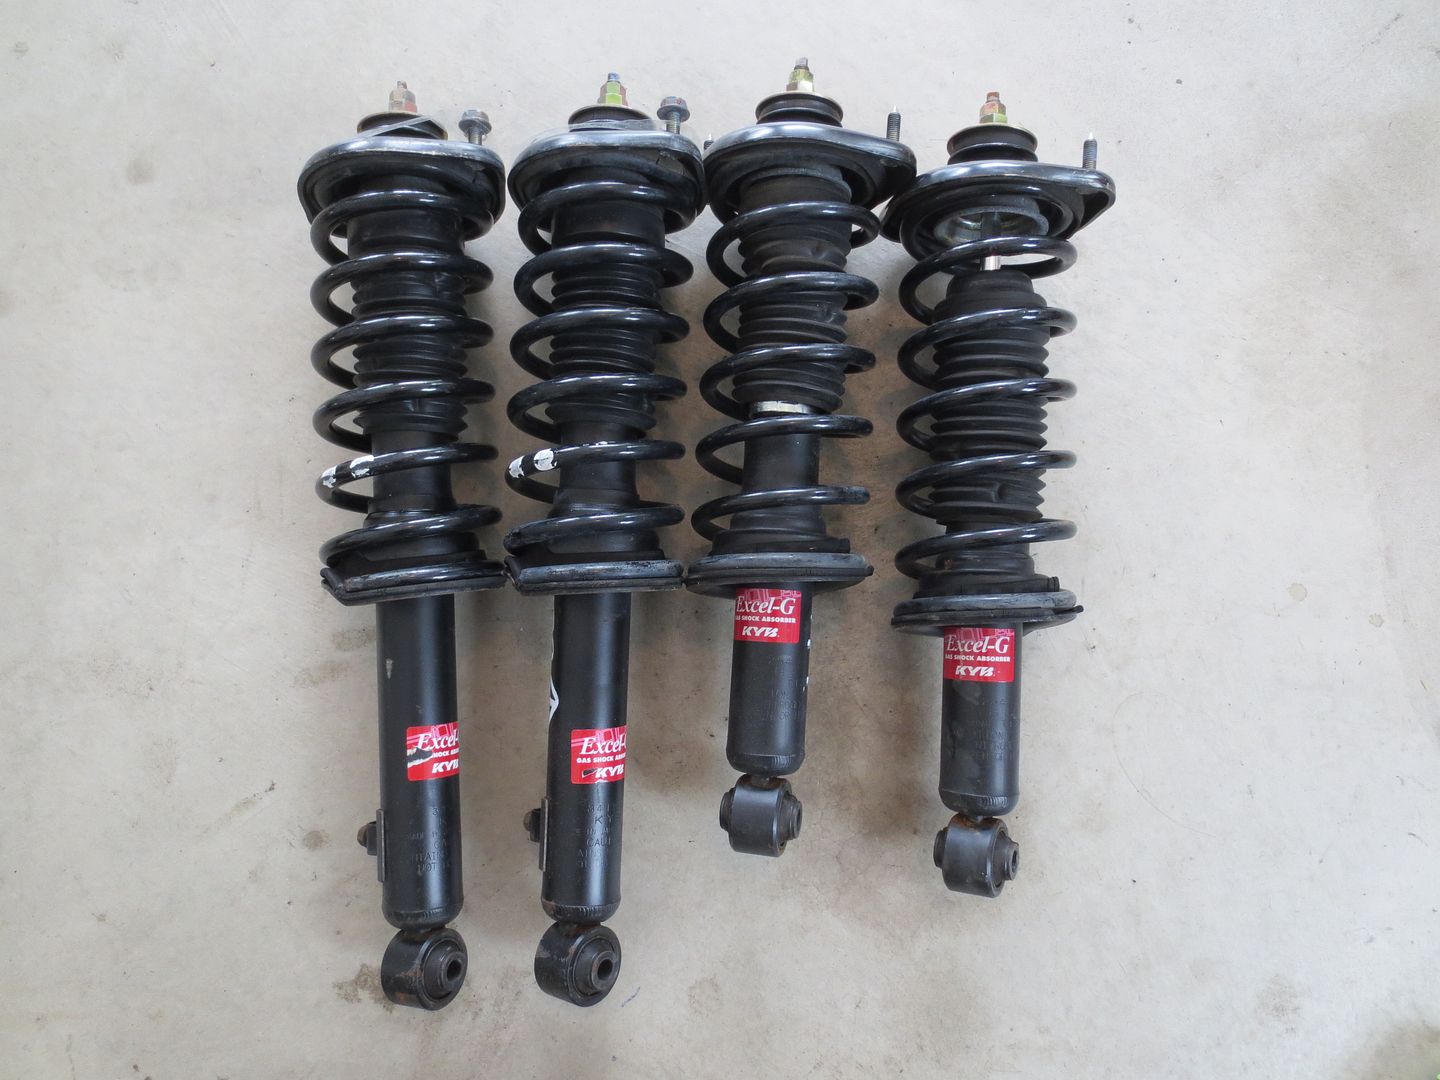
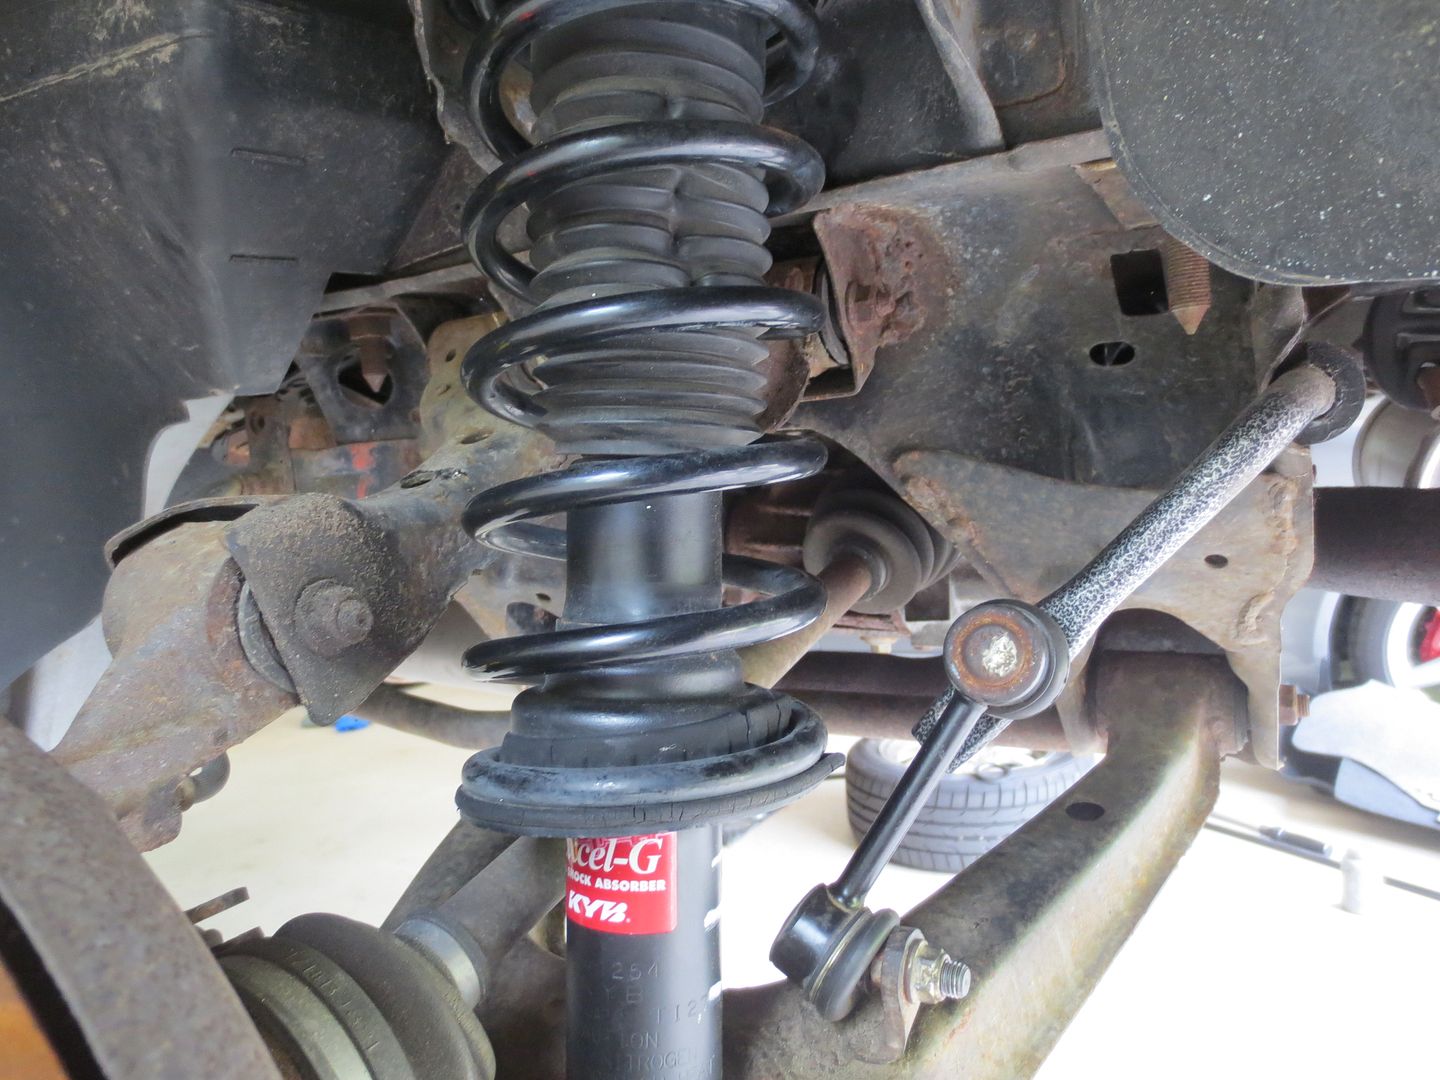
I'm pretty sure that the car was still wearing it's original shocks. They needed replacement, but I didn't want to spend a ton of money (new shocks with new bump stops and all the other stuff was going to be at least $650) and I needed to get the car in and out of the shop quickly. I usually spend a full day removing old Miata shocks, fooling with the spring compressor (not my favorite job) and reassembling. I wanted to keep stock springs on it, as I need all the ground clearance that I can get in the snow. I decided to see if I could find an extra set of springs so that I could put together a full set of shock/spring assemblies at a leisurely pace and then swap all four corners quickly.
In my search for stock springs, I found a nearly new set of KYB shocks with springs on eBay and decided to take a chance on them. At the very least, I could put them on the car temporarily and then later, build up some new assemblies with with my old springs. That would also give me a chance to assess all the rubber parts and only buy replacements for the stuff that needed replacing. NB's have a lot more soft parts in the spring/shock assemblies than NA's.
These were less than $200 shipped. They're not even dirty.
I swapped the rears today and I'll tackle the fronts tomorrow.
I used a piece of 2"x2" to pry the control arms down in order to make the necessary space to get the shocks in and out. Work smart, not hard.
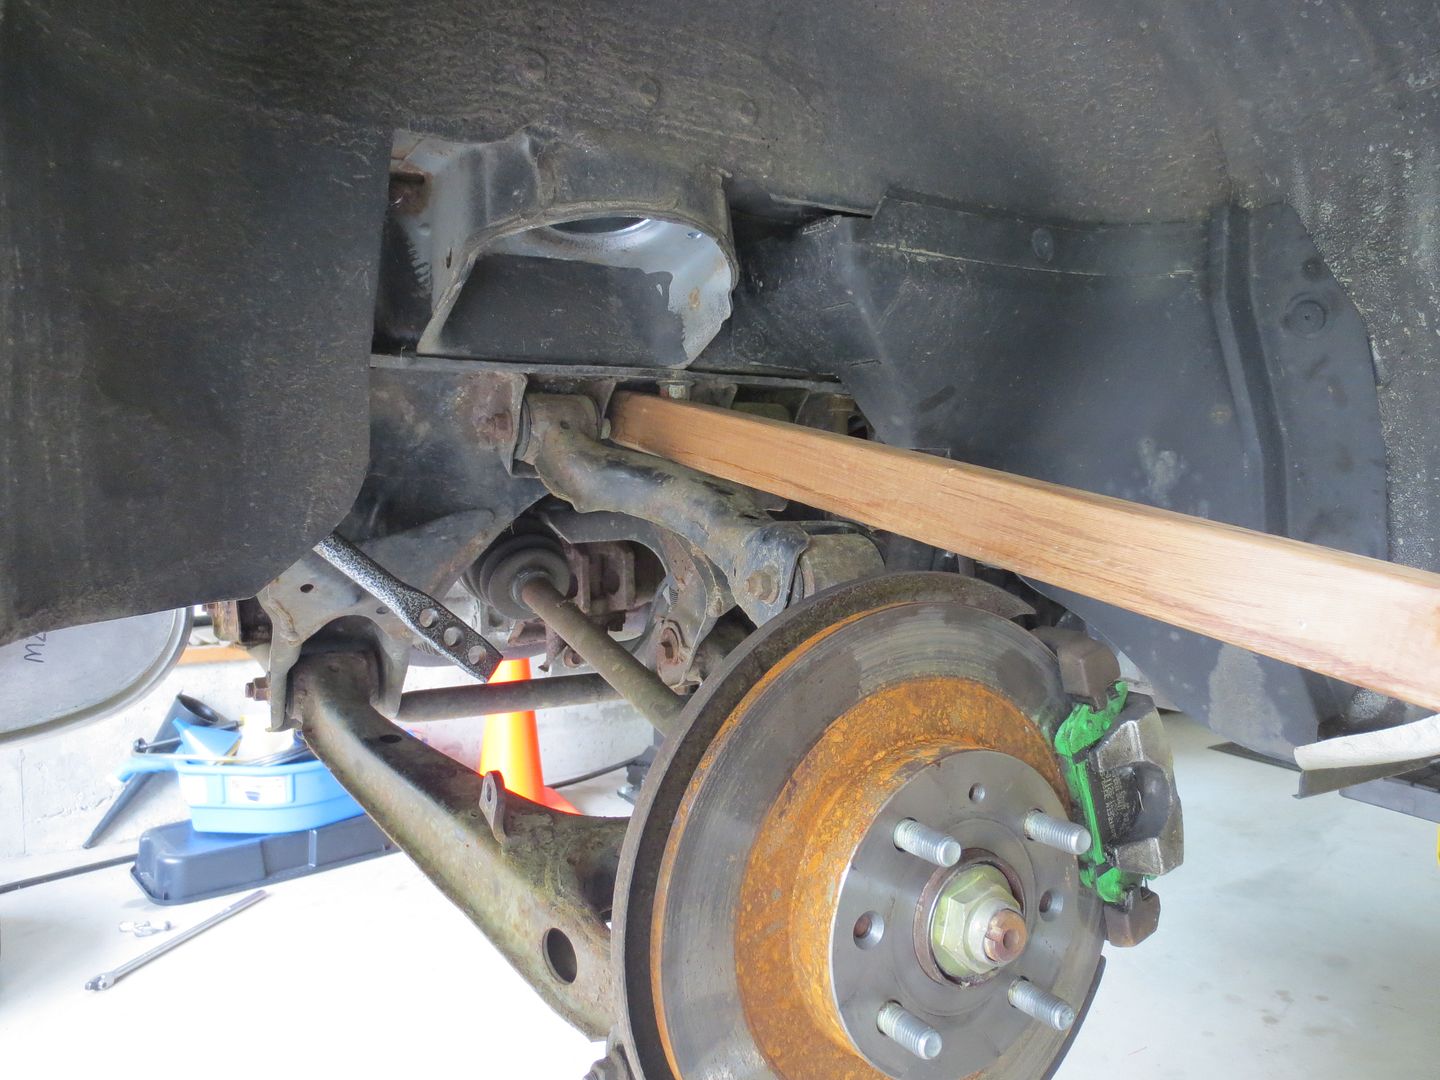
I'm a little surprised that a piece of wood worked. When I did about the same thing with a length of pipe a few weeks ago the pipe bent under my weight - and it was from an exercise set designed for pull-ups.
Will totally do the long-bolt method next time on the fronts.
ssswitch wrote:
I'm a little surprised that a piece of wood worked. When I did about the same thing with a length of pipe a few weeks ago the pipe bent under my weight - and it was from an exercise set designed for pull-ups.
Will totally do the long-bolt method next time on the fronts.
That seems odd. Did you disconnect the sway bar links first?
I had trouble doing the long bolt thing on another Miata once. Corrosion on the bolt prevented it from sliding through the spacers. It was a nightmare. I'm not really looking forward to doing the fronts, and I'm going to look at all my other options before trying the long bolt.


