bgkast wrote:
I spent an hour and a half in the garage last night drilling two holes.
It's a big pain to drill a perfect perpendicular hole through a tube once it's attached to the chassis. I came up with a crazy combination of levels and squares and did it though. I still have to drill two more though... 
I was halfway through installing the uprights on my deck when I realized that for my cable railing I needed to drill nice 90" holes. I had to pull off all but two of the uprights to use a drill press to finish them. I made myself an angle guide on the last two uprights but man oh man was I nervous trying to drill those 10 holes...
And this was wood where there is some give and the bit doesnt wonder so easily.
Finalizing the radiator placement ment fitting the nose, so I started that process last night.

I trimmed a bit off at a time to get a good angle and fit over the front of the chassis that sticks out past the sides of the nose. It's close now, but still needs at least one more trim.
Looking good! I like your windshield hoop better than the one in the book. Looking at the car from the front, I think that it looks better with the radius at the top corners of the windshield, compared to the completely rectangular windshield in the book.
In reply to mainlandboy:
Thanks. It's listed as an option in the book. I like the looks better too, and it was easier to build this way. 
Fitting the nose to fit the radiator meant setting the cowl height, which meant fitting the pedals to make sure that the hood will clear. 
With the book cowl height and the hood just barely clearing the brake reservoirs the pedals sit just a tad lower than I want. I am going to bump up the cowl height up a tad give myself some extra room. The picture shows the cowl at 6.25" above the dash tube, just under 1/2" higher than the plans call for. I can also gain some pedal height by leveling out the pedal assembly.

I have finished fitting the nose:

That allowed me to set the final position of the radiator.

I also figured out how I am going to mount the radiator and started the first of the 8 brackets.
Shiny new parts!!

Unfortunately one of the inlets took a hit during shipping and is out of round by 1/8" or so. I think I can fix it, but am worried the aluminum might crack, so I have contacted the seller to see what he wants to do.
Turboswede- thank you for offering your intercooler, but I decided to go big. For $80 shipped why not!
The bottom radiator support is finished. I revised my design slightly based on advice not to support the radiator by the core. To support the radiator I need a material that is softer than aluminum, light, stiff and heat tollarant. Here is what I ended up with:

Tanking some inspiration from Morgan I used a piece of oak, at least for now.The piece ended up a bit more complex than anticipated with reliefs for the core to end tank welds and the part under the core needing to be 1/16" thinner than the ends to alow the tanks to be supported.
I also completed the top mount brackets.

Now I just need to make a way for them to bolt to the chassis and the radiator will be in place.
Upper radiator mounts are done. I actually finished them a few days ago, minutes before the whole family was struck by the flu. Just now feeling up to going and taking pictures.


They work well and make mounting up the radiator very easy. I still need to finish welding them. Next up: mounting the fan.
So, think you can build one of these with a fluxcore welder?
That's a pretty bitchin' bracket. Nicely done!
In reply to Dusterbd13:
You could, but I would recommend doing what I did and getting a used MIG welder. Splatter cleanup alone will make it worth the slightly higher costs for the gas (welder and wire costs should be just about the same). I have maybe $250 in my welding setup.
In reply to Burrito Enthusiast: thanks! The first of many brackets 
Radiator mount looks great! Do you think it needs a rubber isolator?
They do. I left 1/16" or so of space for padding. I'm thinking either self adhesive foam tape or real dipable plasti-dip.
A simple rubber grommet would work.
I'm thinking padding between the radiator and bracket. Should bracket to chassis be padded too?
In reply to bgkast:
That should work. Not having the bracket welded to the radiator helps though.
With the family being sick not much progress has been made. I fixed the intercooler by annealing it and taking a baseball bat to it.  The bat was just the right size to fit down the inlet and let me pry on it to round it out. I got a 20 percent discount for my efforts bringing the intercooler cost to $65. Highly recommend eBay seller DNAmotoring. Best customer service I have experienced on eBay.
I also did some testing and decided a 12" steering wheel will be about right. I'm working on finding one now, see my wanted thread: http://grassrootsmotorsports.com/forum/200x-classifieds/wtb-13-330mm-steering-wheel/97402/page1/
In reply to bgkast:
I might have a flat bottomed one in my "stash of crap" let me see how big it is and I'll let you know.
Hope the famn damily are feeling well again.
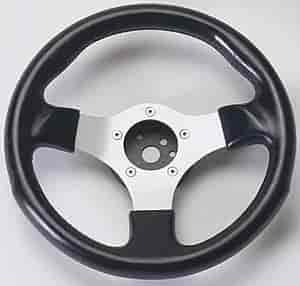
Pulled the trigger on a steering wheel:

Not the nicest, but it will do. 11.5" Diameter inteded for a golf cart. :D
I also got a horn button:

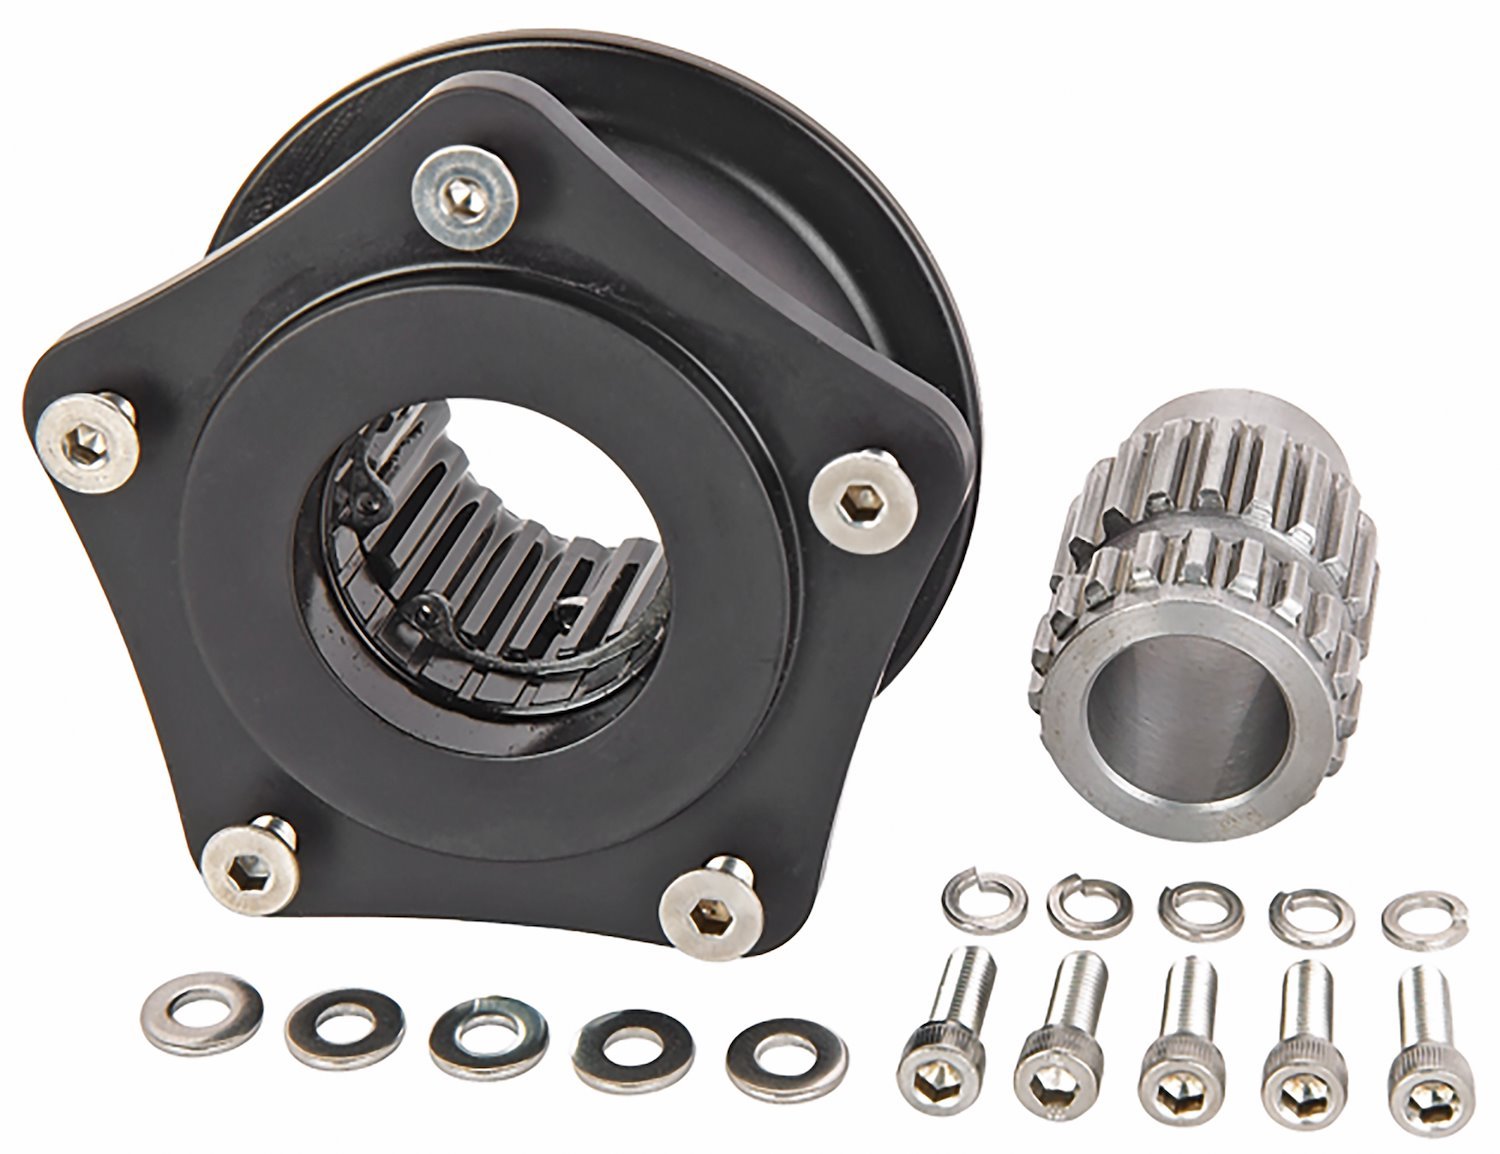
and a quick release hub:

Where'd you get the quick release hub?
In reply to Cool_Hand_Luke:
Jegs. It's their house brand, best price I could find: $65. The 3 hole steering wheel version is $60.
BGKAST,
what welder are you using? I got one for my 30th but it's fluxcore and from what I read on locostusa that's not what I need to build a 442E...
In reply to Mad_Ratel:
It's a "power MIG" cheapo Italian made machine that I picked up at a swap meet. Not the best machine, but it works. All but the least expensive harbor freight machines should be able to be retrofitted to use shielding gas and regular wire in place of flux core.
Most of the work on the car over the past week has been sourcing parts for the steering system. Yesterday I hit the junkyard and pulled the intermediate steering shaft from a 323 for the splined end that fits the Miata lower u joint. I also ordered a bearing that will fit the 3/4" upper steering shaft and that will fit into a piece of 1.5" DOM tubing for the support closest to the steering wheel. I need a non-moving column behind the steering wheel to mount a turn signal switch like one of these: http://www.vehiclesafetymfg.com/Universal-Turn-Signal-Switches.html
I also spent some time yesterday setting the final pedal position and making the pedal mounts. I have half of the mounts done.


The mounts above are made from 1/8" angle attached to 1-inch tubing, and the pedal assembly is pushed as close to the tubing as possible.
Short nights in the garage the past few days but I did manage to mostly make the other pedal bracket; first using CAD (Cardboard Aided Design...I've been watching too much Project Binky  ), then in metal last night.

It still needs some triangular gussets at each end between the side of the chassis tube and the bracket, but even just tacked on it's quite stiff thanks to the bend giving it a 3D shape. I can't get it to move yanking on the pedal assembly. Once it's gusseted I will lock the pedals and give them the emergency stop simulation test. 
My steering wheel also arrived yesterday.

The steering wheel seems to be a good size, and is the shape is comfortable. I may end up putting a leather wheel wrap on it, the vinyl looks ok, but not great. The quick release seems to be high quality (especially for $60), but it doesn't allow the horn button to mount, so I will have to be creative if I want to use my snazzy Mopar button.
The wheel also came with a 3-hole adapter and horn button, even though the website showed it just as a bare wheel. Oh well...


