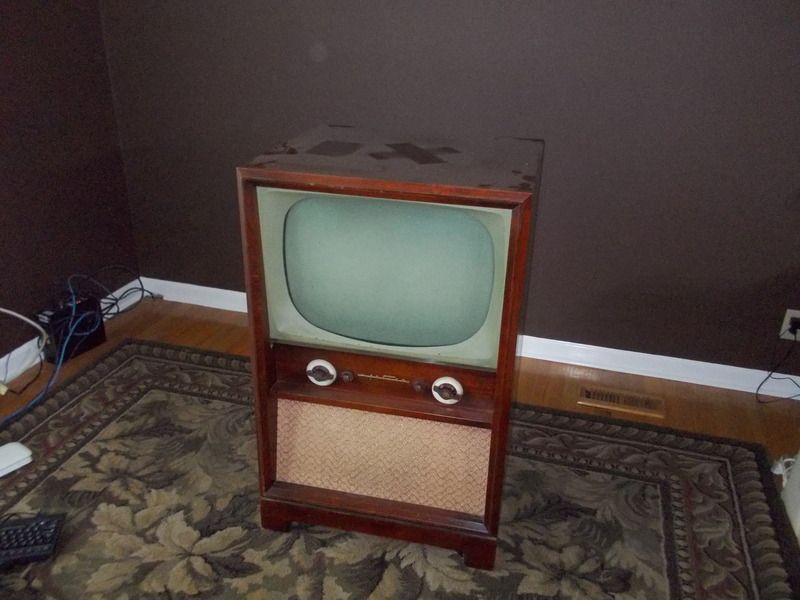
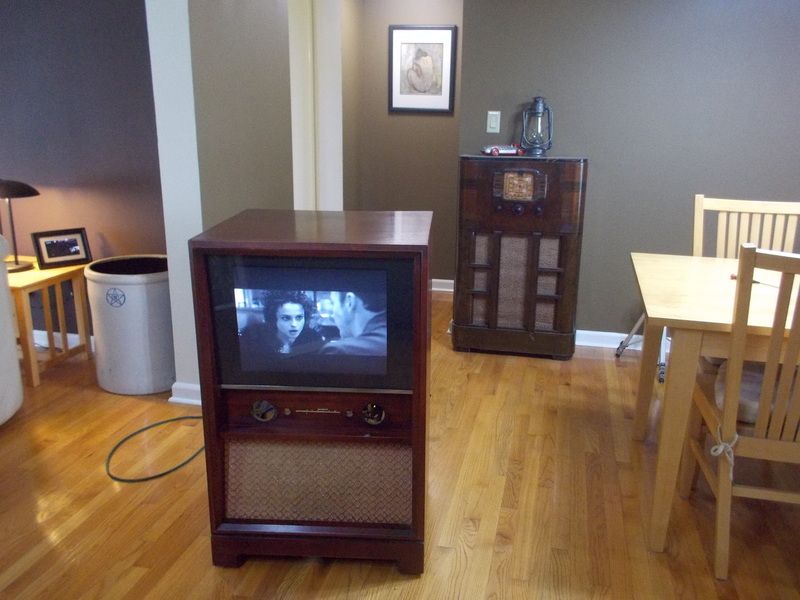
 Believe it or not, this is the only TV that I own... It's a bit outdated and no longer works.... I reckon it's time to do something about that....
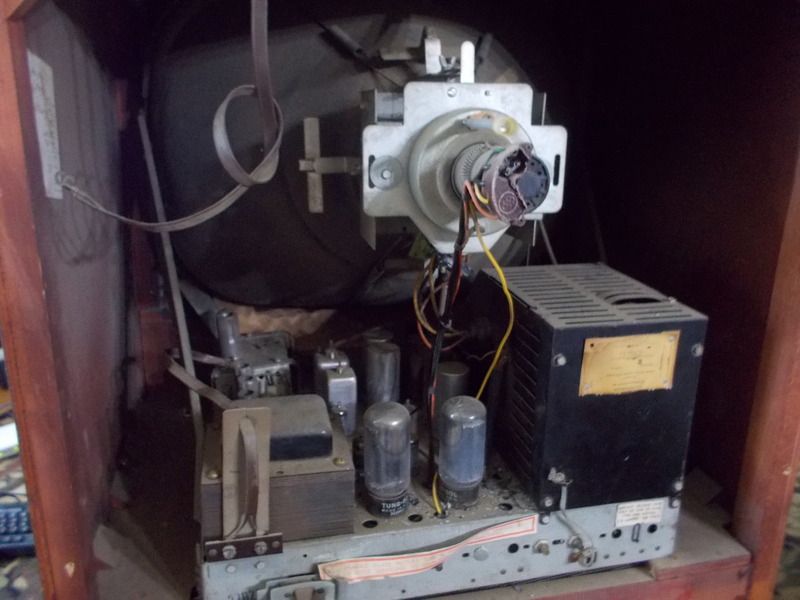 Hmm... tubes and whatnot... that cant be good
![]() . For this project the only option is the nuclear option...
. For this project the only option is the nuclear option...
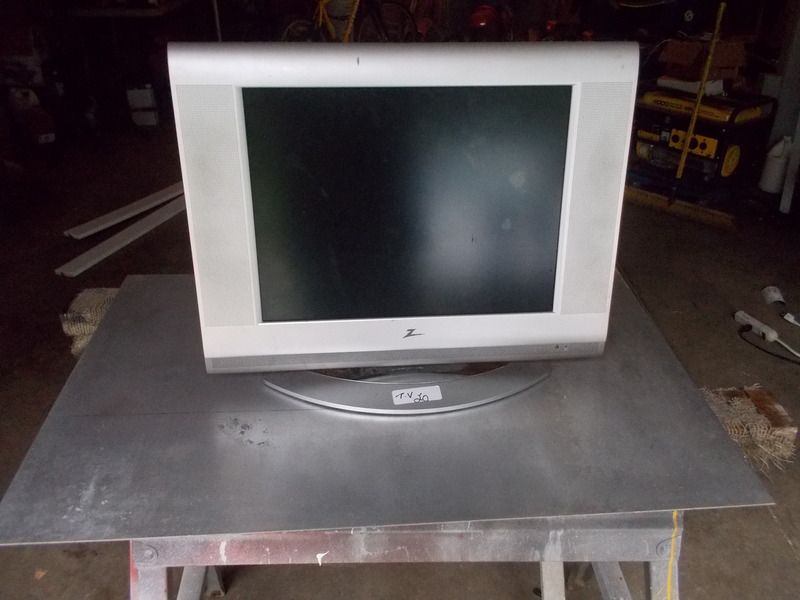 A 19 inch flat screen TV was sourced from a local garage sale. I bargained with the seller and got the TV for $15.00... not too shabby.
This TV was built in 2001 and is sort of an antique by todays standards. The tuner is the outdated NTSE format and there is absolutely no smarts built in.... but at least it doesn't use tubes.
The reason I went with this TV is all the modern TV's are wide screen and this one is the old school 4:3 aspect ratio.
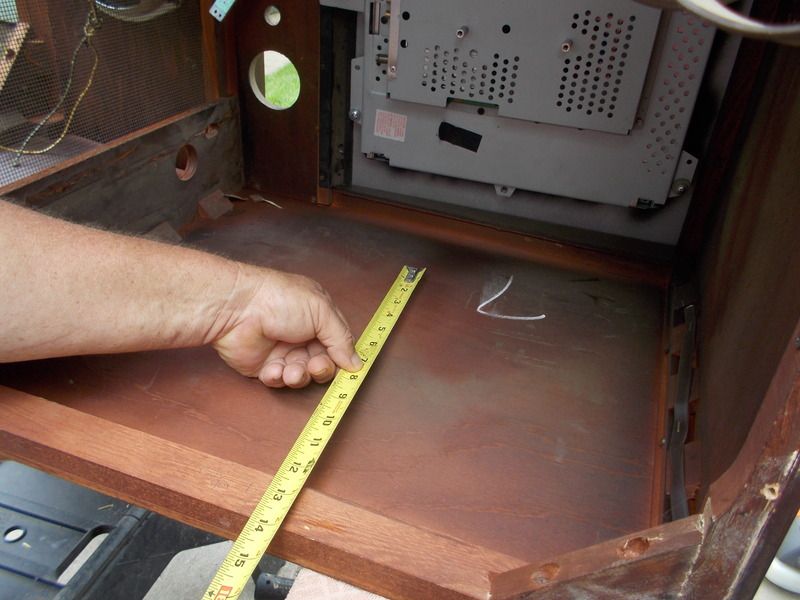
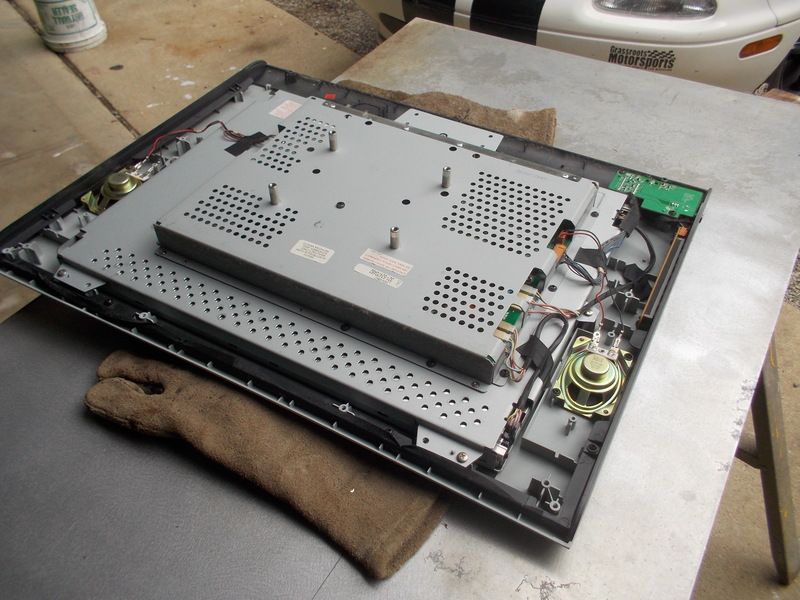 After confirming the TV worked, I went ahead and opened up the case. After making several measurements the project got the green light.
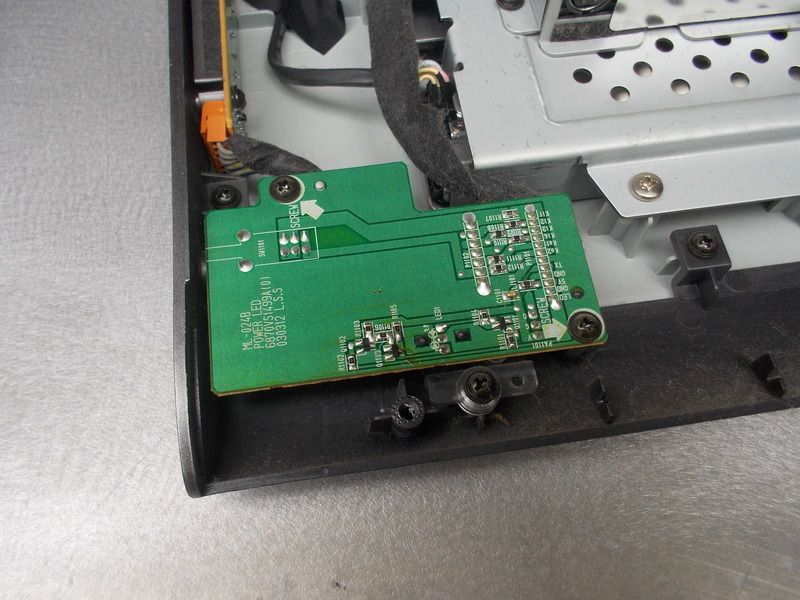 Nearly everything inside the Flatscreen TV is built into the main assembly. This little circuit board is part of the remote control and will get transfered into the Spartan chassis. I have a solution to make it all work, but for now I'll just transfer the parts so everything sort of works.
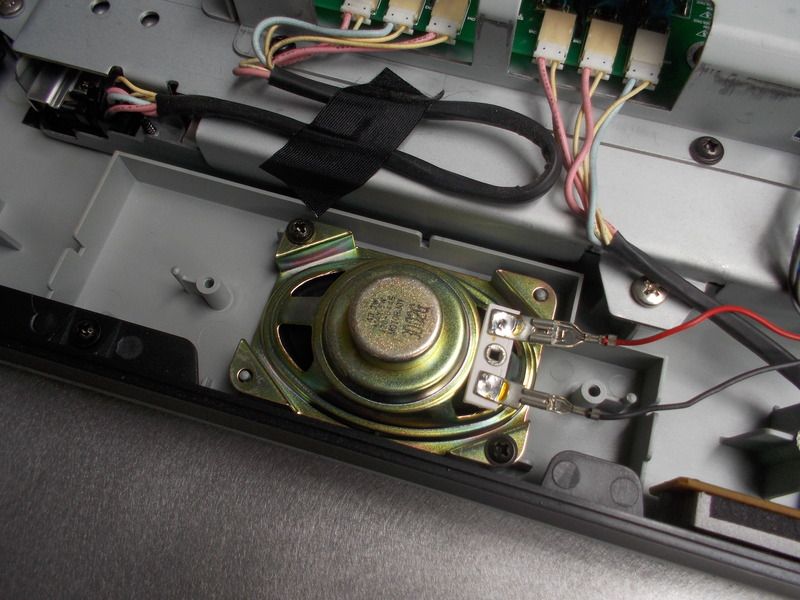 The little speakers will also get transfered, but there will also be a set of amplified speakers for better sound.
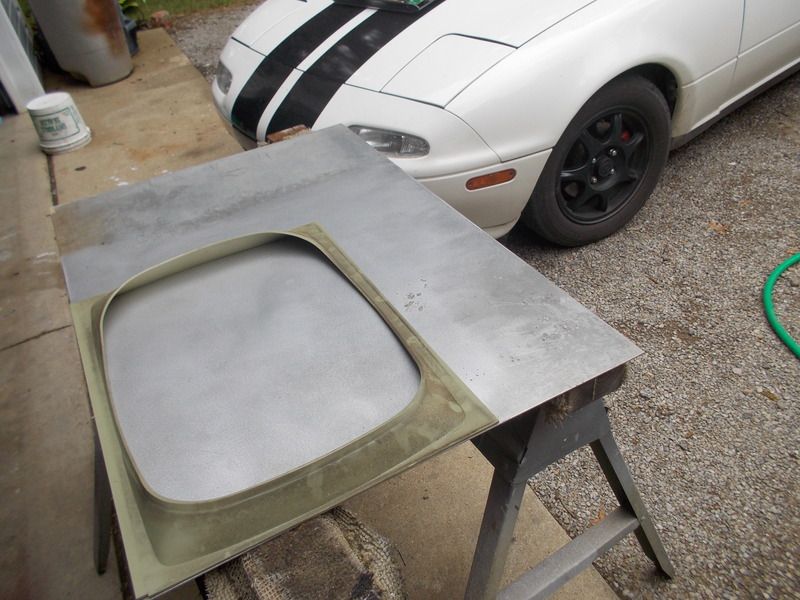 The guts were pulled from the Spartan and the old picture tube surround was used as a template. An outline of the surround was traced on to an aluminum panel. The aluminum panel will act as an adapter to mate the flatscreen TV to the Spartan chassis.
 The opening of the flatscreen TV was then traced on to the aluminum panel...
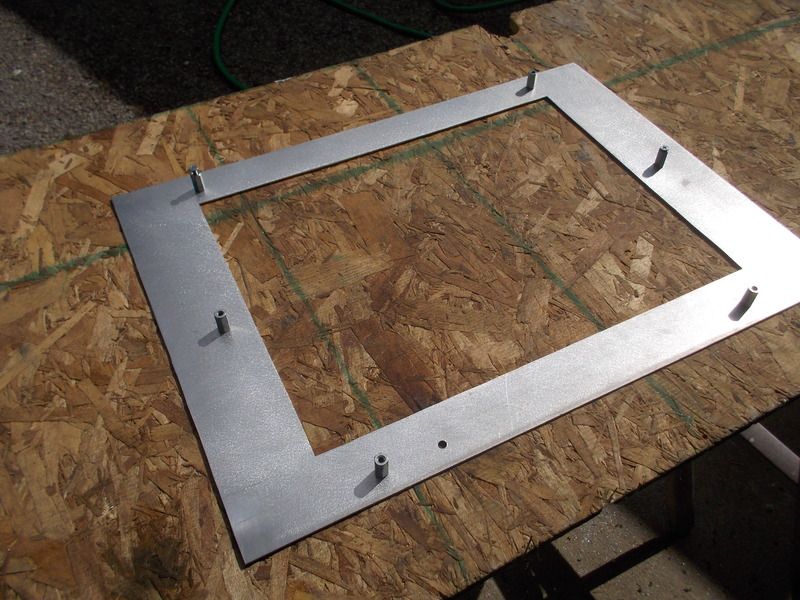 The completed adapter panel
![]() The front of the panel was painted with anti-reflective paint, however no pictures were taken.
The front of the panel was painted with anti-reflective paint, however no pictures were taken.
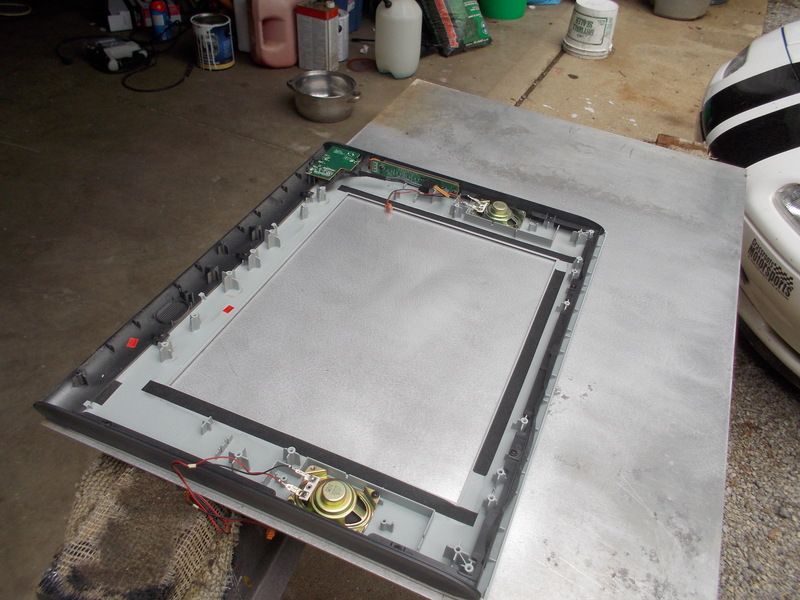
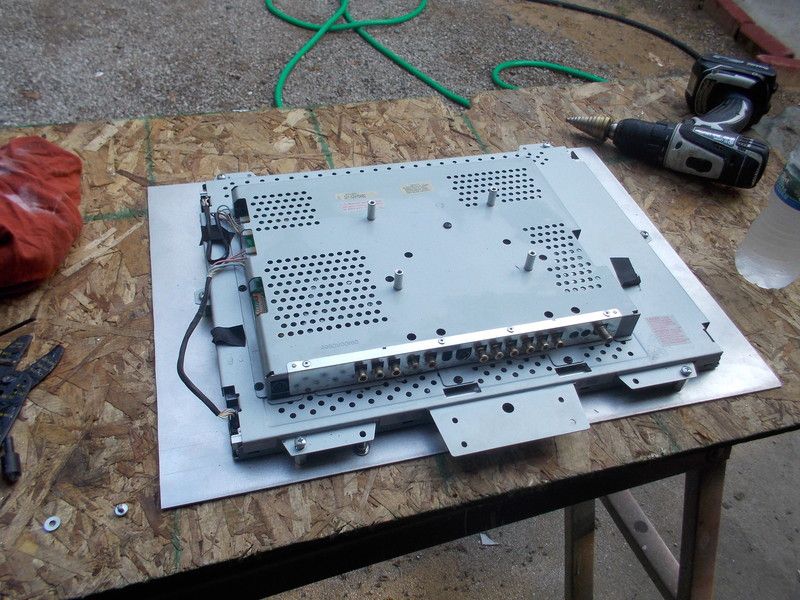 The guts of the flatscreen mounted to the panel.
 Fast forward a bit and the whole lot is mounted in the Spartan chassis. This is a proof of concept so the electrical is a little messy, however the fit and finish on the outside was nicely done.
 ...and finally the money shot....
Although the flat screen is color, I went ahead and set it up for black and white. ![]()
Stay tuned as this project progresses...


 The TV was hauled over to a buddy's house and we spent an afternoon making a few parts.
 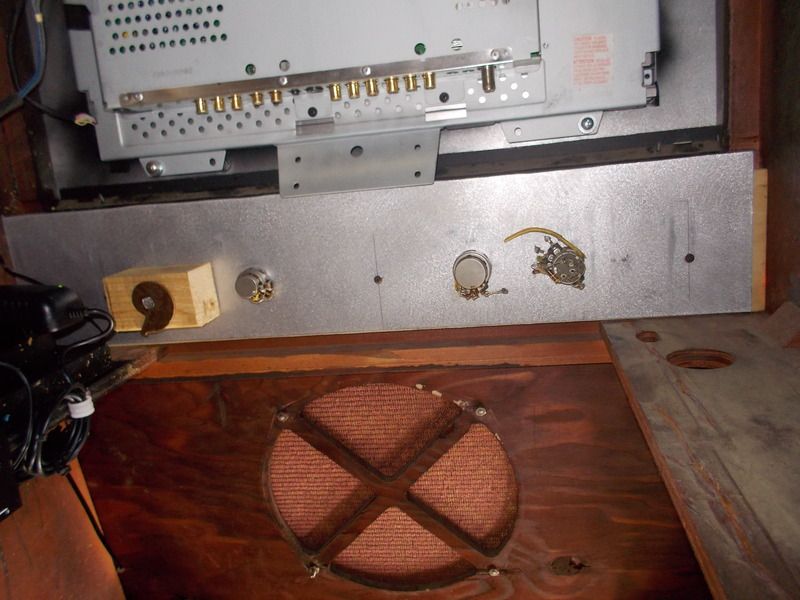 An aluminum and plywood panel was fabricated to hold the original knobs in place. The knobs are non functional but help maintain the illusion of originality.
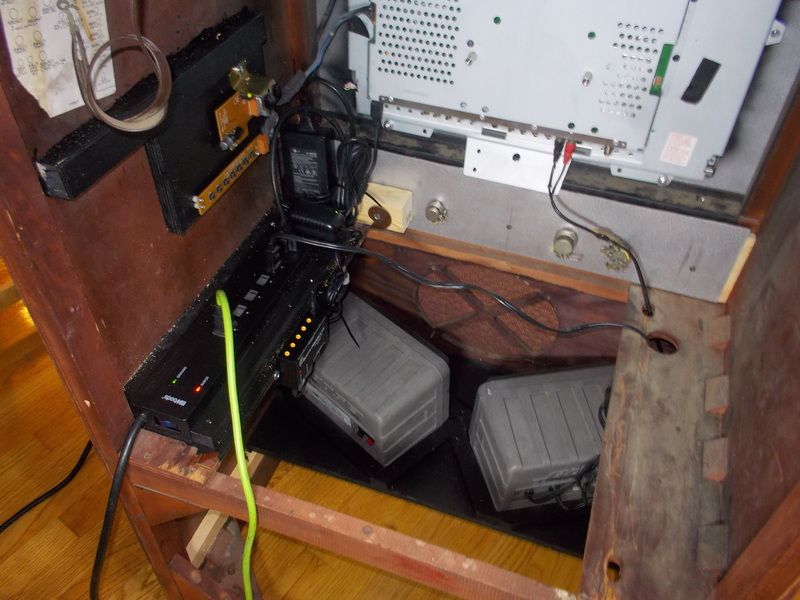
 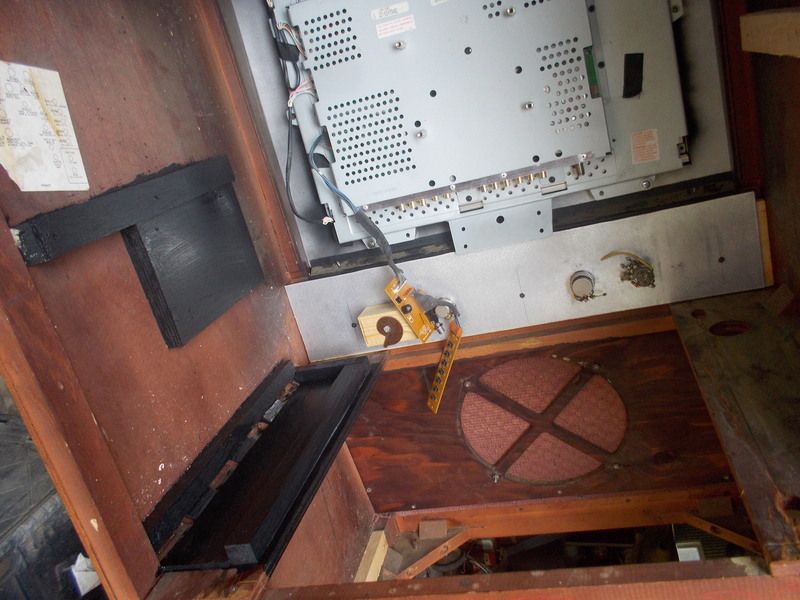 Next, some wood parts were attached to the inside of the cabinet to hold up an internal shelf and to hold the surge suppressor.
 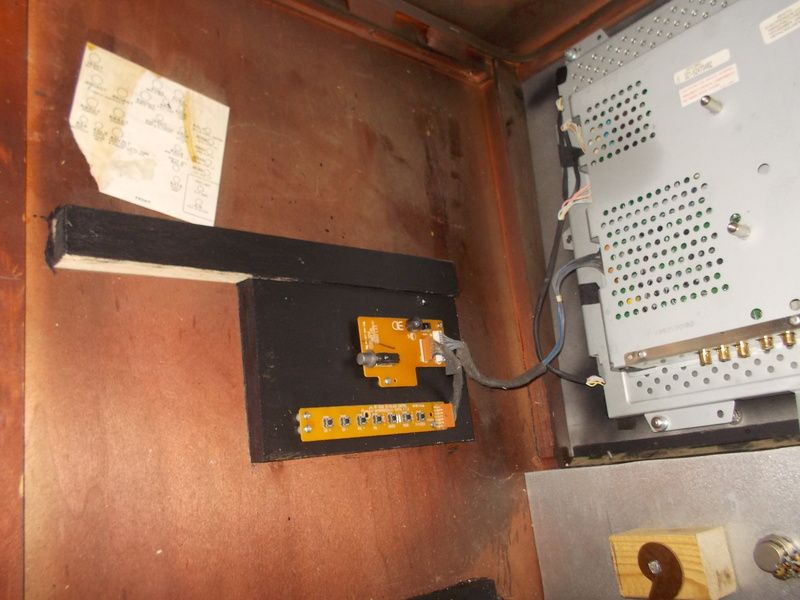 The remote control and pushbutton panel being mounted mounted.
 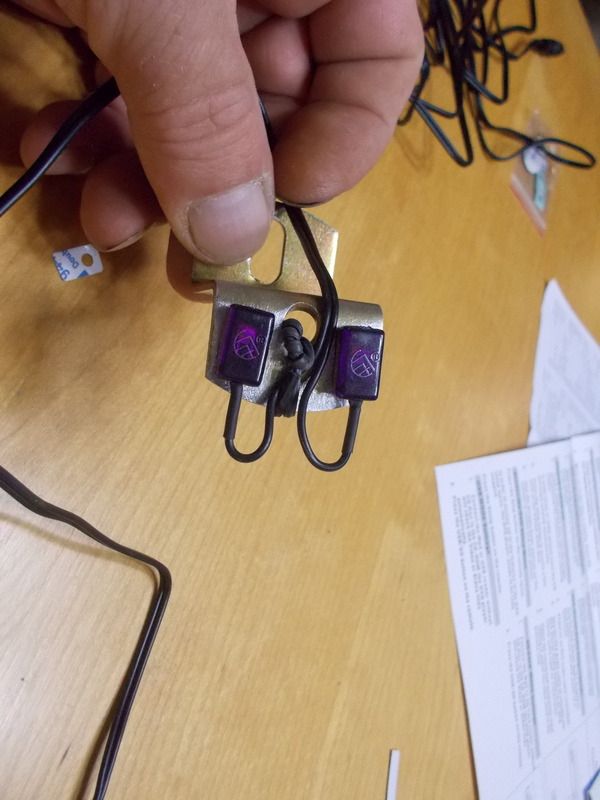 A bracket was pounded out to hold the infared emitters. The emitters are part of a system that will allow the remote control signal to reach inside the cabinet.
  bracket mounted directly over the TV circuitboard that contains the remote control sensors.
 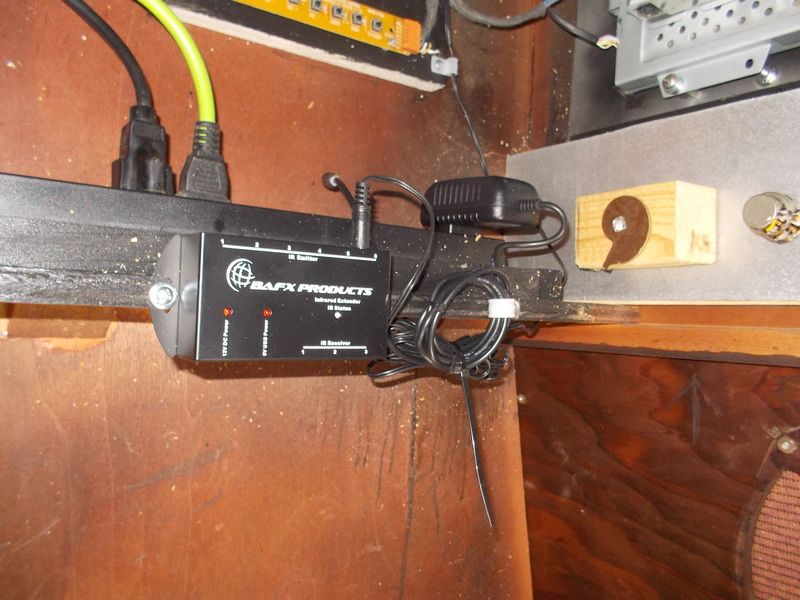 The little black box is part of the remote control extender system.
  A shelf was built to hold a pair of self powered speakers. The speaker placement is not exactly optimum for theater like sound, however they provide an excellent sound for this project.
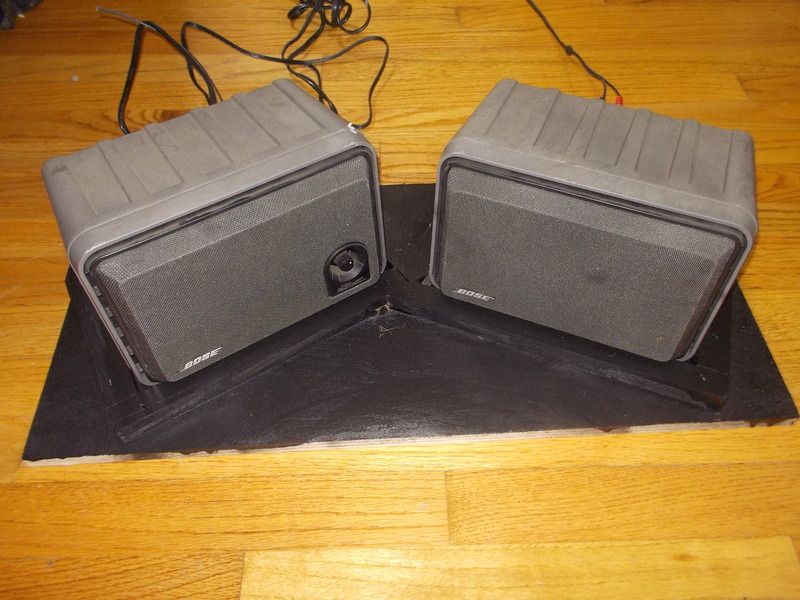
 Speakers in place..
 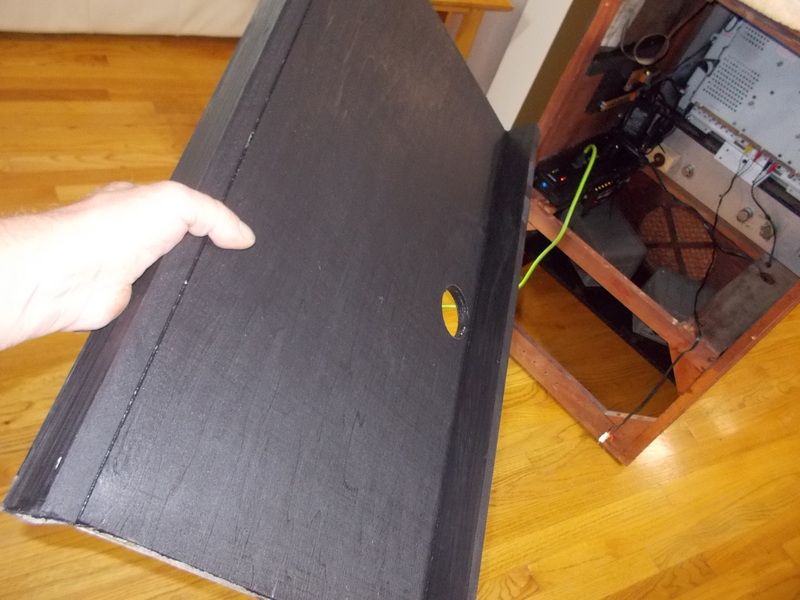 Next is the shelf for the DVD player and other components.
 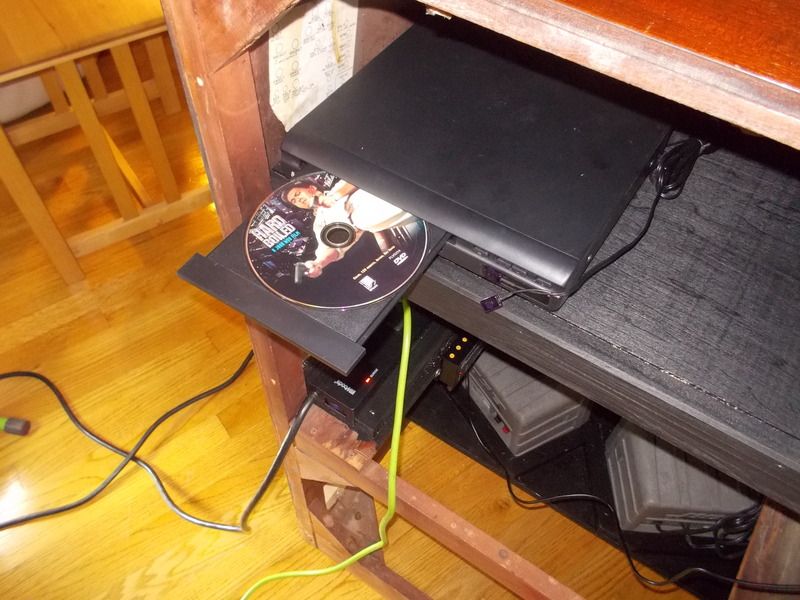 The DVD player can now be hidden within the cabinet while access remains somewhat reasonable.
 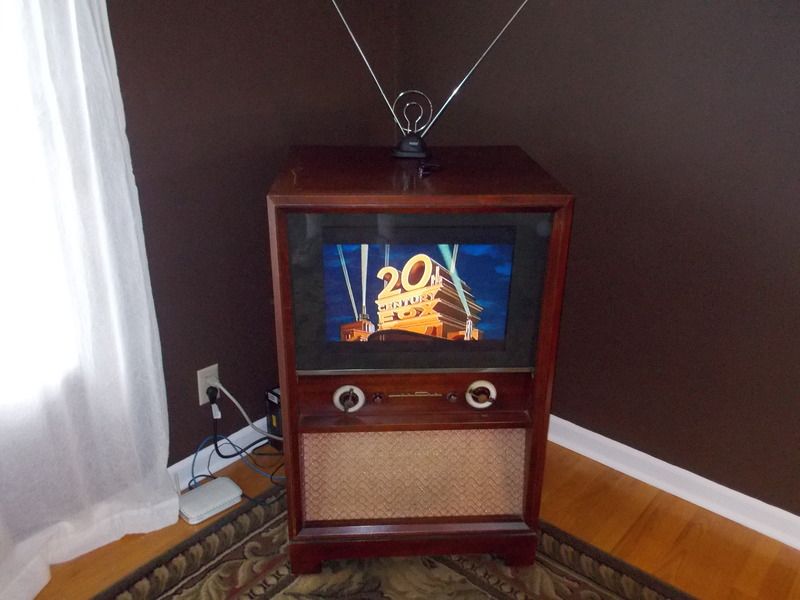 And......time to watch a movie...