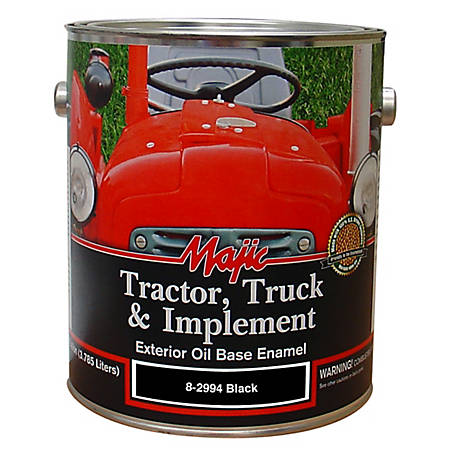
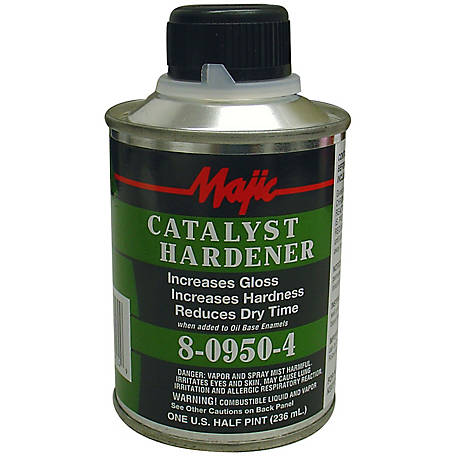
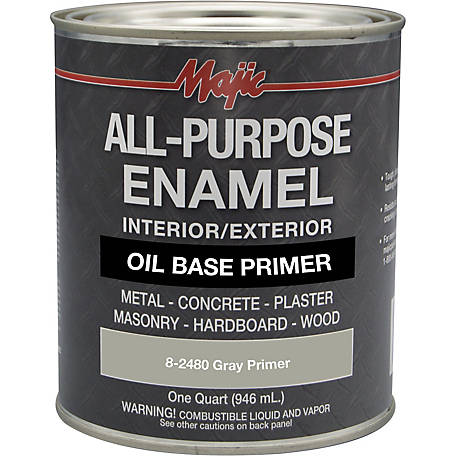
So, lessons in hand, I made sure to grab the "smoothest finish" small (4") roller they had at the hardware store, some paint tray covers, a handy 2 qt mixing cup, and some new stirring sticks.
My earlier trip to tractor supply yielded these gems for about $50:


And so I began my wonderful adventure.
First thing to know about this paint is that it is THICK. Like, we're talkin "Dammmmmmmmn giiirl" thick.
I couldn't find the golden ratio to mix anywhere, so I started to guess. I first poured 1 qt of paint, and that .5 pt of catalyst is for a whole gallon, so I poured in a bit over 2 oz of that (60 ml).
Then I started mixing in some mineral spirits. I started at about 4:1, so I was somewhere near 8 oz of it. I tried that for the first coat.
---disclaimer:. My expectations were so low that I did NO prep to the environment besides a basic sweep up the week before. I mean, look at the sawdust in some of these pictures. I just finished making three beds and a bookshelf in here! ---
It turns out that this was just too thick, so it went on with more texture than I wanted. Here's the the first coat:

Not bad, but more texture than I was hoping for.

I let that sit overnight. The next day, it as dry enough to do my second coat.
As I mentioned, it was thicker than I wanted it to be, so I mixed in another 4th (8 oz) of mineral spirits.
That's the ticket! This stuff flowed a lot nicer and did a pretty darn good job of self levelling!
One tip I found is to use a foam brush to do the detail work and then blend that in with the roller.
And of course, enjoy the bugs!

If you get something like this, grab the foam brush and work it down a bit. You can blend it in pretty acceptably.
For car prep, I removed anything that took less than 5 minutes to remove and made the job easier: marker lights, gas cap, windshield washer nozzles, headlight lids, tail lights and trim panel, top rubber seal along the a-piller/roof, and frankenstein bolts. Anything that took more effort was left on and masked with tape such as the door handles, mirror bases, windshield gasket, trim along top/door glass.

Here's the assembled car:

Here's what those repaired rocker areas look like:

I'd say that meets the goal!


