NOHOME
MegaDork
7/3/19 9:26 a.m.
Clean the weld area a lot more.
Bevel the edges so you are welding in a "V" and filling the trench. This also guarantees that you penetrate the backside.
Mill scale is impervious to MIG welding. Grind that E36 M3 off
With a 110 volt welder, ALL the amps is the answer to structural welding. Adjust with wire speed and travel speed
As mentioned, check the polarity; flux shielding uses the opposite of gas shielding.
And last but not least, you need to concentrate on the actual weld puddle. This seems obvious, but when I started I was more looking at the whole flash show. Looking past the smoke and sizzle, there is the small bead of pure molten metal that you get to lead around by combination of capillary action and surface tension.
Pete
Agree with all the comments above. If you can borrow a 220 welder, you will find it much easier to use. I have never had good luck with 110 welding at all, even with a bottle, my results looked just like your pictures. If you were close by, I would lend you my Millermatic 251. But hopefully some of these tips will work out for you.
thanks everyone for the constructive feedback. i will (1) verify polarity, (2) clean more, (3) bevel, (4) turn up the heat, (5) concentrate on leading the puddle, (6) zig-zag / crescent. i watched a ton of instructional videos after posting last night, so tonight i'll practice as much as i have time for. i'll probably stop at Alro Metals Outlet and buy a bunch of cut-offs so i don't have to waste time cutting samples to play with.

NOHOME
MegaDork
7/3/19 12:22 p.m.
Take the time to set up the welder. I used to find it useful to have two people for this.
One person can start laying down a long bead on a piece of similar thickness metal while the other adjust the wire and heat to get that smooth sounding buzz that you will" instantly recognize as all is right with the weld world" . After a while, you will just know what settings work on what metal.
Another thing is if you're using an extension cord make sure it's big enough gauge wire. I've had issues with 110v welders and extension cords creating a big bottle neck before.
In reply to NOHOME :
funny thing about setup: the first boogers i made were with the machine "as received." i adjusted settings based on my interpretation of what the boogers looked like. only after i was done for the night did i open the wire door and see the handy chart of wire speed and heat and gas versus material thickness. :-)
What diameter wire are you using? On my little Everlast 140a 110v welder I stick to 0.030 innershield mp-211 wire with a 0.035 tip. It will happily weld up to about 3/16ths butt welds if you crank the heat, go slow, and bevel the edges. Anything more than that I would run multiple passes.
I was building a metal gate frame last weekend out of 0.065" wall 1.5 square tubing and had the voltage on my welder down around 2.5 or 3 out of 10 with a similar feed rate.
Full disclosure, I am not a welder or even all that good at using the metal hot glue gun. This sticks my tubes together as well as I can ask it to though.
Sean
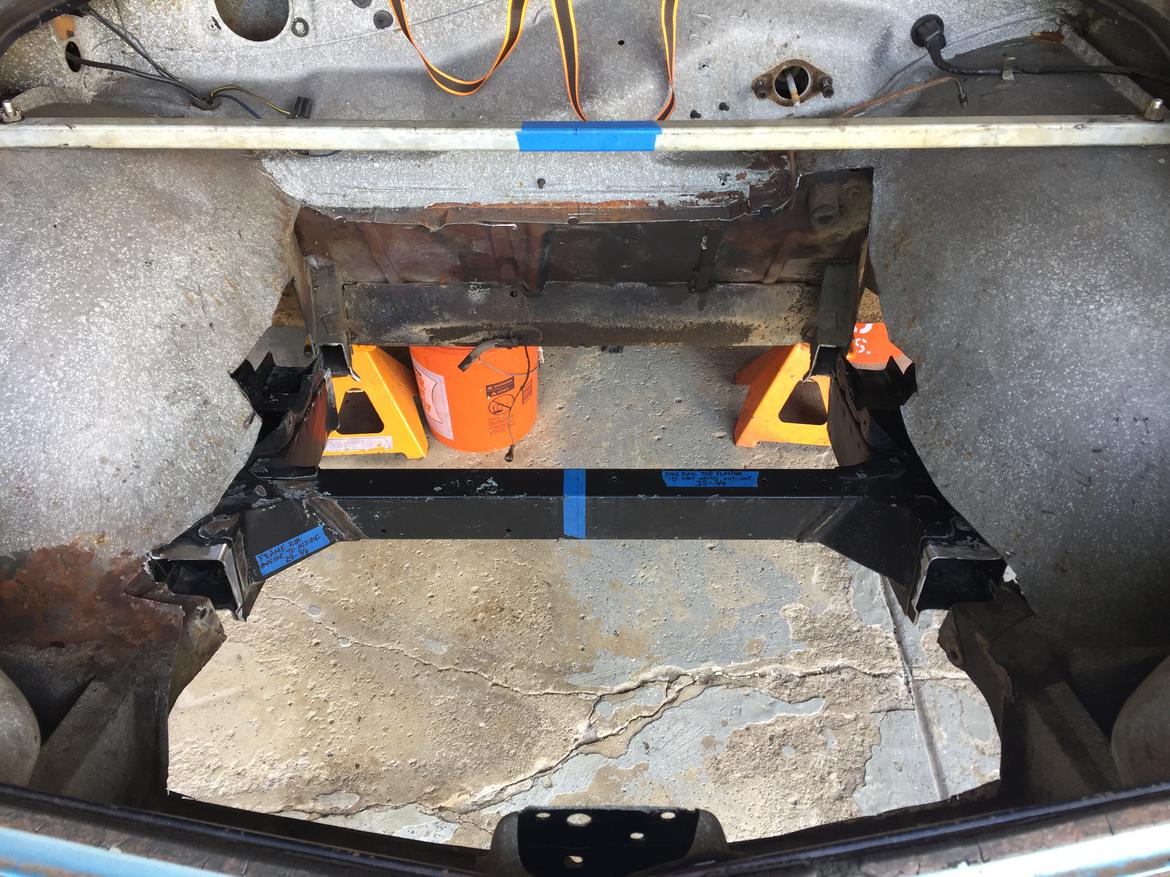
Well, I sure hope my measurements were accurate...

Looks like I got the length and height right on both sides, but I have some clearancing to do before the C4 frame section will find its home.

Its been a long day. Tomorrow I will test-fit and trim as necessary to get everything where it needs to be, then drop it out to prep everything for welding.
RandolphCarter said:
NOHOME said:
This also guarantees that you penetrate the backside.
Go on...
First you give Angry a few drinks....
family friendly, remember?

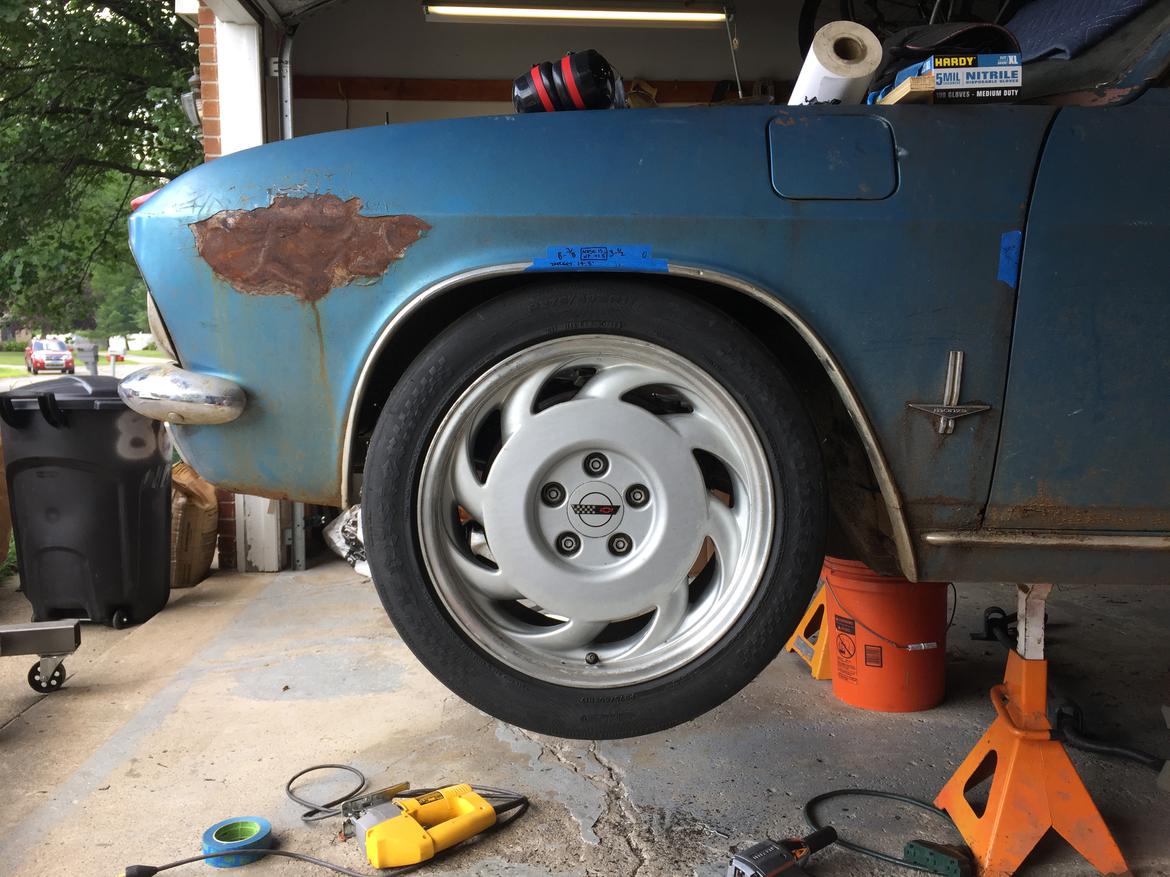
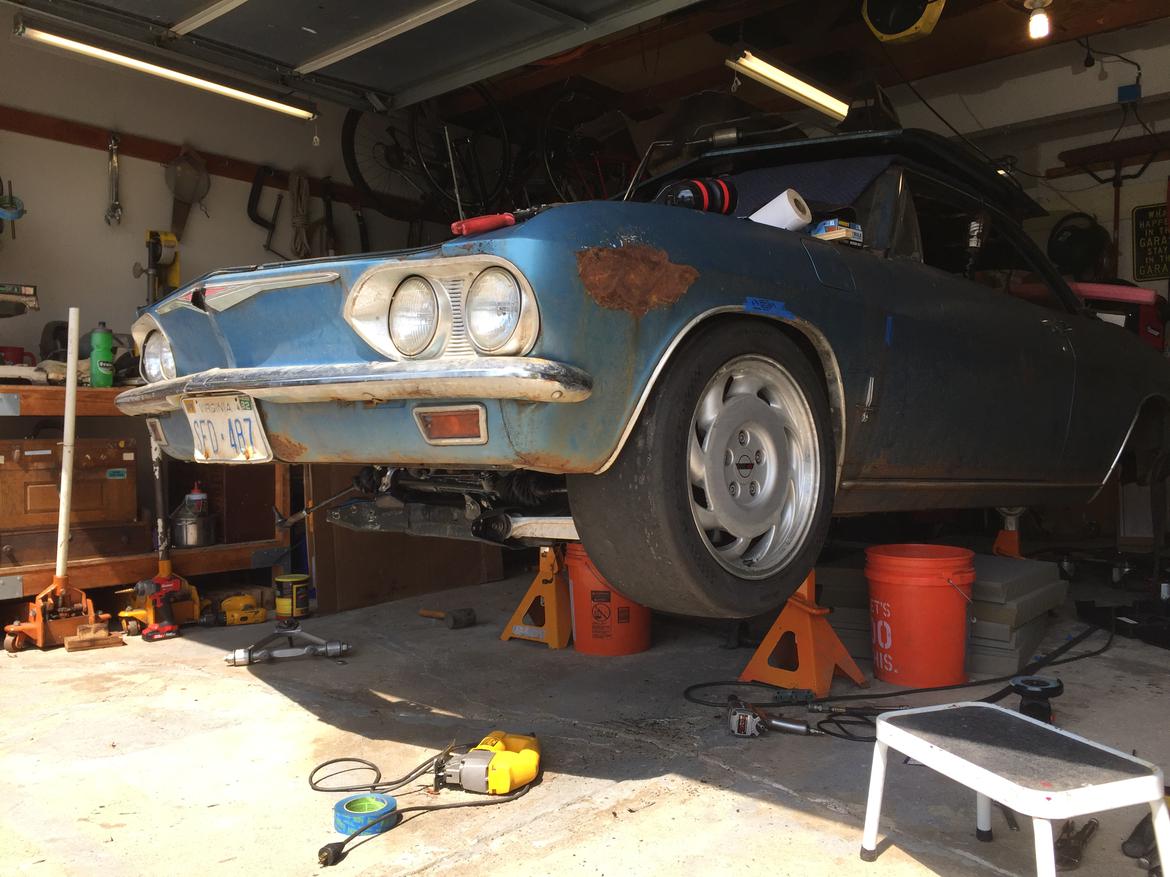
C4 front frame section tacked into Corvair unibody. Probably measured and trimmed 15 times to sneak up on all the dimensions, but I think it’s where I want it. Gonna assemble the suspension to make sure the wheels are in the right place, then start making all the pieces to tie it all together.
EDIT: mad respect to those of you who have developed the skills to do this in a reasonable amount of time. It’s taking me *a lot* longer than I expected.
In reply to AngryCorvair :
How are you making sure everything is straight? I'd think you'd want a lot of strings parallel to the car and lots of measuring to keep the subframes aligned to the centerline of the car.
In reply to Stampie :
Strings would have been smart. Reading a book on how to do this stuff would have been smart. I did neither.
I arrived at this point by taking a lot of diagonals, verticals, using a digital level, various and sundry straight edges, and probably way too much eyeballing.
I’m really counting on the magic purple crack to make up for an eighth here and a sixteenth there.
The book for chopping out Corvair parts and fitting corvette parts doesn’t exist yet, we should write it after you’re done

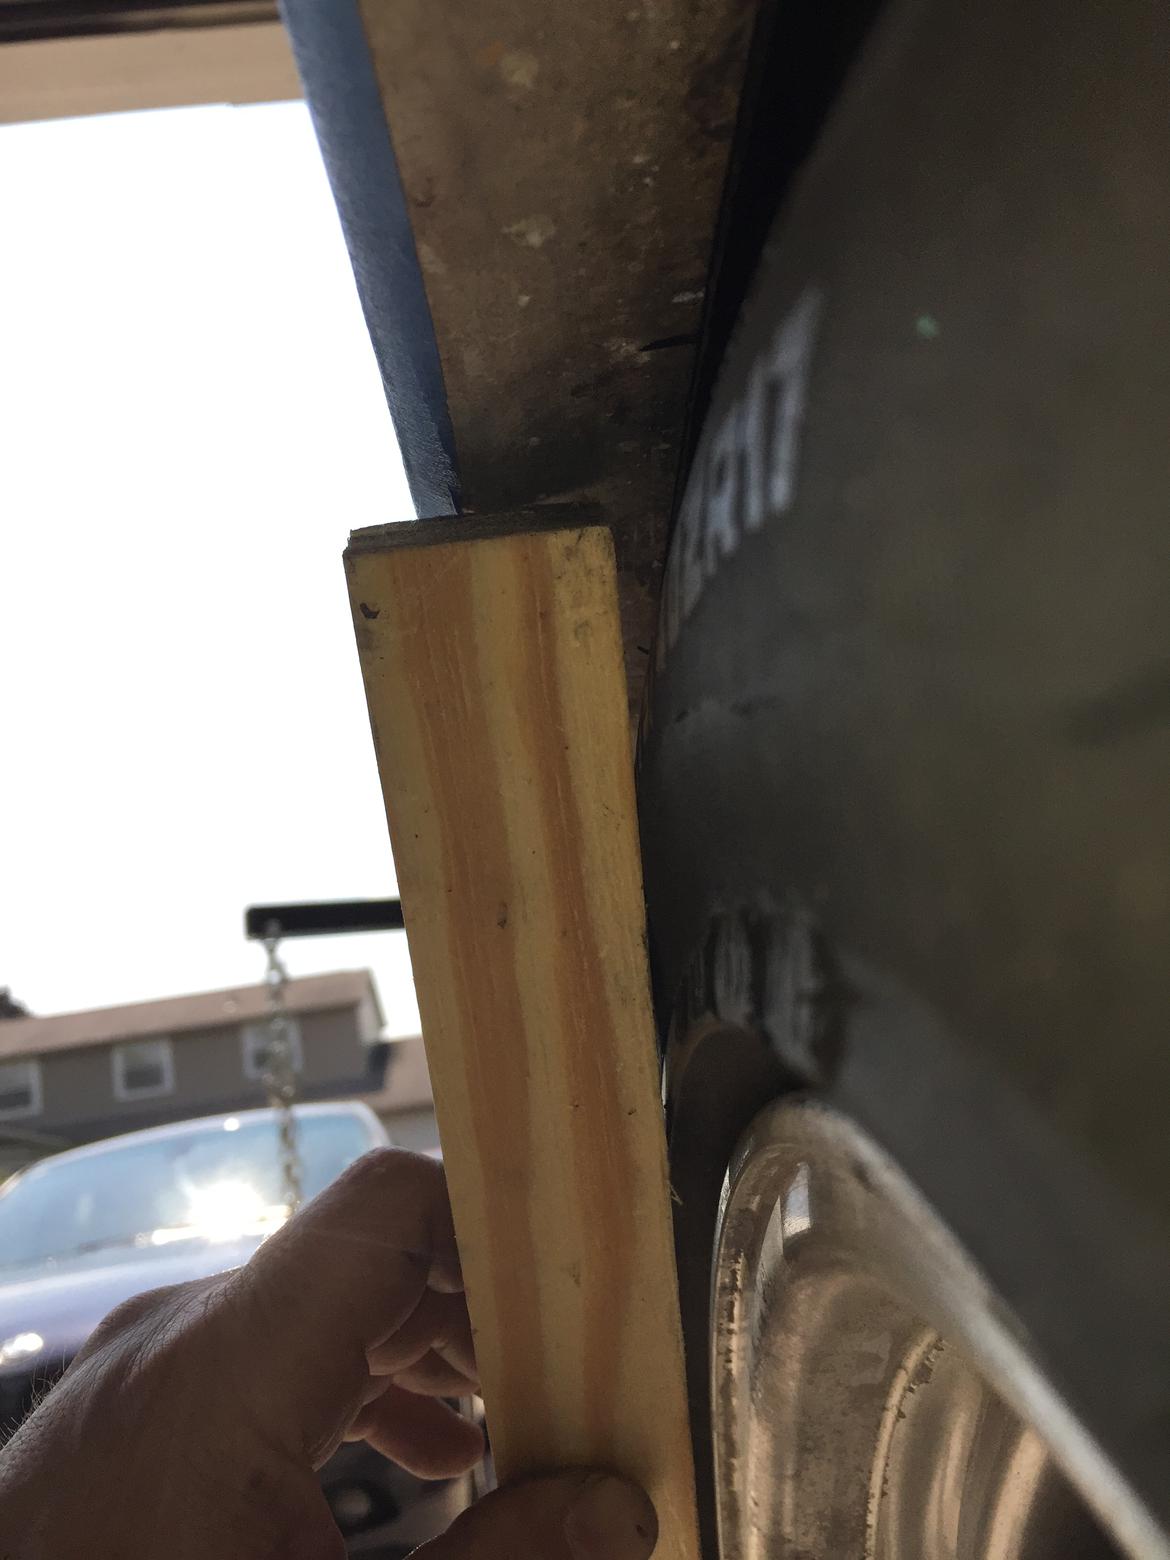
I don’t hate it, but I think I’m going to move it back by 1/2”. This is ride height. It tucks about 1/4”, and I’m going to have to narrow / roll the top of the wheel arch.


Also, you can not believe how bonerized I am over reaching this point. To finally put something on the car after all the removing, cutting, fitting, etc. Well, for today only, you can call me HappyCorvair.
Id say 3/4 back. And hopefully its just tacked at this point.
How does the column to box angle look?
And add negative camber up front. The more negative, the less tire contact.
And this is a big milestone. When all the basic components are located and tacked in, the real work starts. The millions of brackets, lines, threaded holes, subassemblies, etc to make it from a driving roller to a complete CAR are the fun and brain berkeleying part. Ive spent a year making the miata a car instead of a science project.
That thing looks mean. I didn't know it was possible for me to like a GM product. (Well, two halves of two different GM products mashed together, but...you get it)

OjaiM5
New Reader
7/7/19 7:30 p.m.
Oh man, this is getting good!
You checked the wheel clearance in full-lock each way, right?
Looks pretty cool!
In reply to TVR Scott :
It (currently) only goes to lock in one direction, and only when there’s only one tire on the front. In other words, hard crash of outside tire into front of wheel opening at anything past about 5 degrees off-center. That will change.


