I hate you had to sell guns to fund your truck, I still hurt over the guns I sold when I was short on cash some 5 years later.
I hate you had to sell guns to fund your truck, I still hurt over the guns I sold when I was short on cash some 5 years later.
Bill,
got a Paypal? I've got 20 bucks here with your name on it. ![]()
Your thread has been worth that in entertainment to me.
Mad_Ratel wrote: Bill, got a Paypal? I've got 20 bucks here with your name on it.Your thread has been worth that in entertainment to me.
Deal! (and seriously thanks for offering) but only if you let me send you something in return ![]() send me a PM and I'll give you the address.
send me a PM and I'll give you the address.
I've lost track of the days, but it doesn't really matter now. She's on the road and legal in the time frame I told Mrs. Hungary I could do it in ![]()
That being said, I got all the goodies to do the pitman shaft seal (or sector shaft seal as I've seen it called) and the rear axle seal. I loaded everything up in the truck and went to the auto hobby shop on base to see what I could do on my lunch break.
I don't know what the heck I was so scared of. These Toyota axles are super easy to remove! 4-bolts on the drum dust cover, remove the brake line, disconnect the e-brake cable, and the darn thing just slides right out! Winning!
So the rear axle seal is in there, but I got Mr. Unmotivated (or Grumpums, whichever you prefer) as a hobby shop representative today. He wouldn't turn the drums for me because he said they'd almost be at their minimums if he did.
ok, I can see that. Not real happy but it makes sense (new drums go on the shopping list).
But when I asked him for his opinion on the wheel bearing he just spouted "doesn't sound good" and walked off.
Doesn't sound good? How could it sound anything if I'm not spinning it? Gluh.
I decided I should just go ahead and replace the wheel bearing since I was in there (and I had one on hand) but when I was ready for the press Mr. Grumpums was in no way shape or form going to help me with the hydraulic press... It went like this:
"if you've got a second I have a bearing that I need your help pressing out"
"a snap ring. Can you help me with the press, or am I allowed to use it myself?"
"My axle. Right here. (points to snap ring channel on axle) So can I use the press?"
... and so on.
So the wheel bearing didn't get changed.
But I DID clean the crap out of my brakes. I also adjusted the drums to what I thought was correct, but the brake pedal still feels super light and they still squeal (could be from glazed pads from the recently discovered over-adjust on the driver's side)
I've also been noticing a "swish swish swish" on the drivers side drum brake. Turns out this was caused by a hammered-to-crap dust cover making contact with the drum. I used a flat-head screwdriver to pry the surfaces apart. All is quiet there.
all in all, not a bad lunch break. Could have been better, but it could have been a lot worse ![]() Lets hope this seal keeps the oil out (or in... whichever...). If it does, I can take the bearing and inner seal back to Oreilleys for a bit of pocket money.
Lets hope this seal keeps the oil out (or in... whichever...). If it does, I can take the bearing and inner seal back to Oreilleys for a bit of pocket money.
Good times
I think it's time for a quick rundown of the problems I'm juggling:
The carburetor:
The brakes
The power steering:
The rest of the truck (problem areas only)
Not bad! Hopefully two of those bullets (brakes and power steering) will be gone soon and the rest will follow when the cash rolls in.
Easy money ![]()
Is your carb setup for vacuum advance (what controls the timing advance)? If so, check that it is matched to the type of vacuum your line is connected to on the carb (there should be 'port' vacuum and 'manifold' vacuum ports on that webber). I believe port vacuum comes from inside the carb before the throttle plates and manifold comes from the manifold side of the throttle plates.
on my MGB running a very similar carb I had issues, issues, and more issues until I got the vacuum advance pulling from the correct port on the carb.
Yup. I just double checked the vac lines.
The ported vacuum is going from the carburetor to the outer canister on the vac advance. I have a manifold line going to the inner canister.
Now that you mention it though, I might check with my new vacuum tester and see if both canisters will hold a vacuum (ie: not leaking). I also forgot to mention that I disconnected the PCV hose from the manifold and capped it off. That seemed to help things some.
I might block off the manifold vacuum and see what that does...
Thanks!
Dag gum. So there I was, troubleshooting away and I finally decided that I'm going to take the manufacturer up on their warranty and swap out this master cylinder. No matter what I do I simply can NOT get any pressure out of my back brakes!
Guess what! It worked! (applause)
Man, I'm feeling like a million bucks. This pedal feel is back, and boy do I love driving this truck! The carb still isn't perfect, the squeal is back (even with new shoes on the back), I have no drivers side window, and it's raining, but I'll take what I can get at this point. I decide the best way to spend my morning is to take back all the parts I didn't use (one wheel seal, one wheel bearing) and maybe I'll dip in to the barber to get my hair chopped.
So I do.
And when I did...
(wait for it......................)
![]()
We get to play:
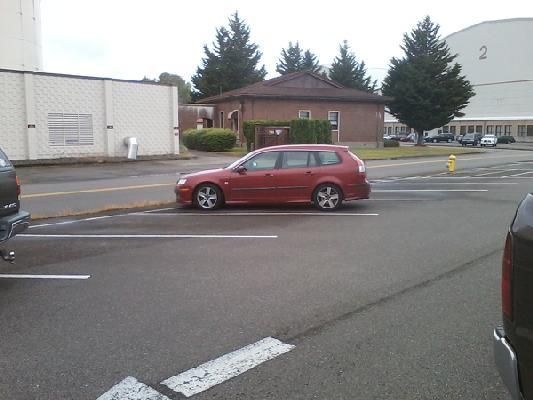
Tune in tomorrow for answers! Same bat time, same bat channel
berkeley
As promised, we continue our adventures with...
(wait for it)
a clutch slave cylinder that just cant hold it's fluid!
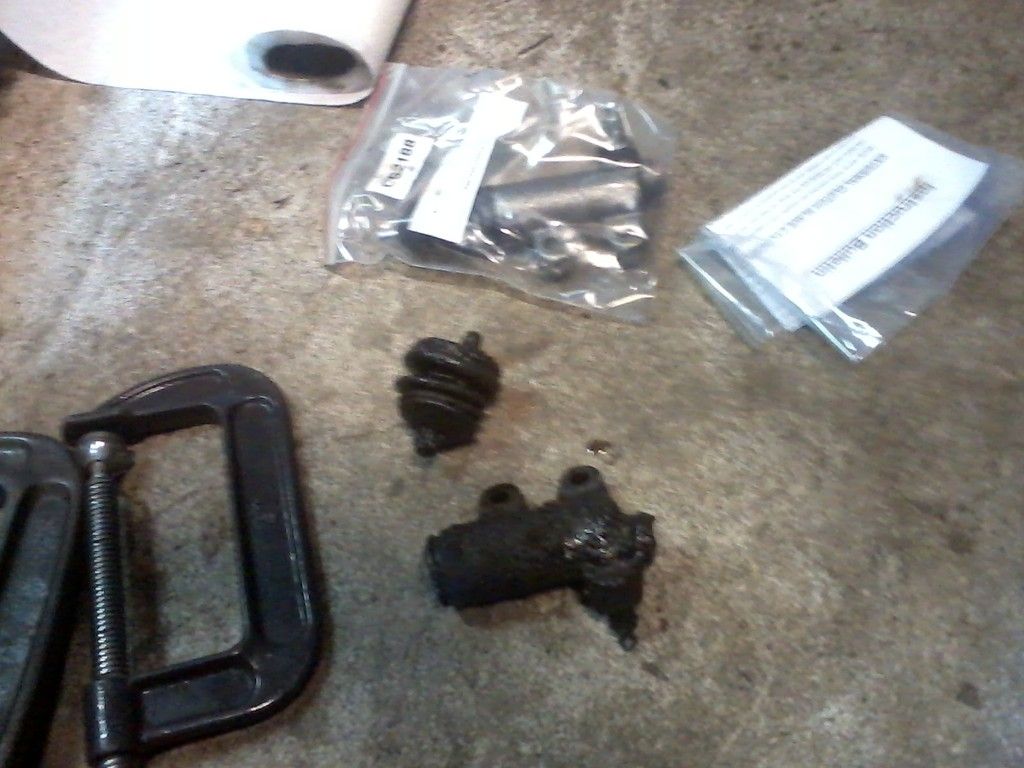
So I get to the barber and have my hair cut. On the way home I notice I'm starting to lose clutch pedal. No worries, I keep an extra bottle of fluid behind my seat. I top it up and continue on to the wonder-bread store to grab a loaf of bread or two. On the way there the clutch takes complete leave of its duties.
I use my "clutch start cancel" button and the starter I get it rolling and rev-match my way home. That's right, I'm so much man by now that I don't even need a stinking clutch to roll down the road in this beast.
In the garage it goes. But somethings nagging me. That squeal is still there! My ears must be out of cal because they were telling me it was coming from the back wheel when in fact it was coming from the drivers side FRONT!
Dag gum it.
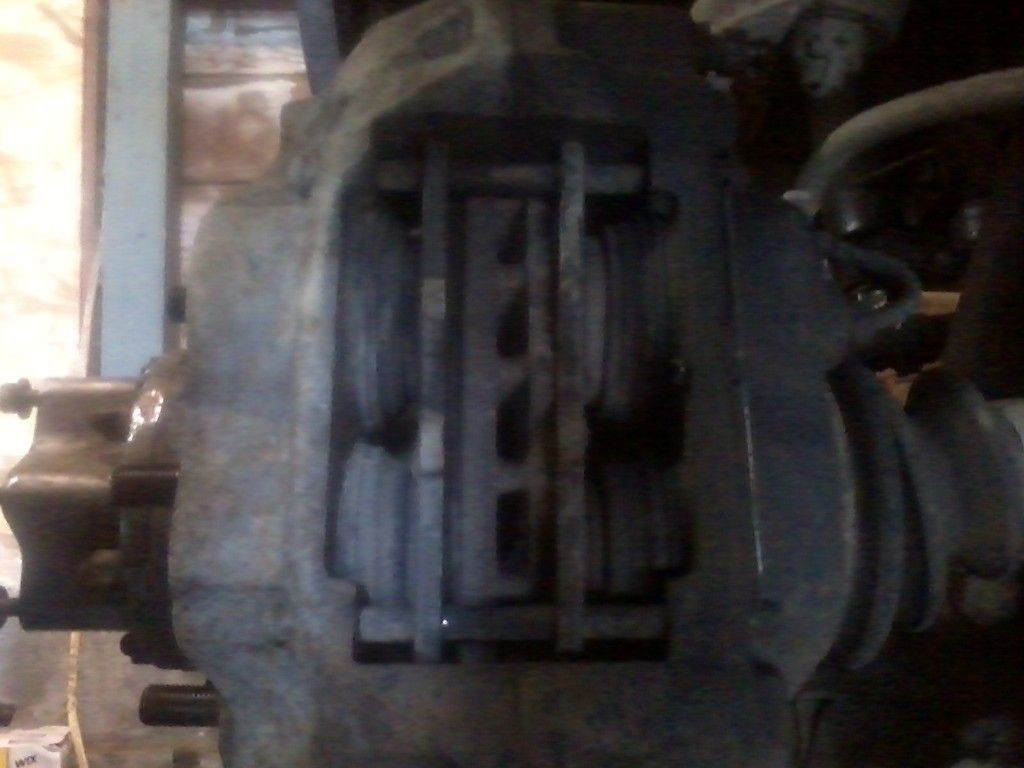
Do you see any pad in there? look close on the inboard side...
I don't see any either. So it was Mrs. Hungary's Saab that got me to work.
That's right: The Saab is the reliable vehicle in the Hungary house.
Anyhoo, on to this morning:
Slave cylinder goes in with a few swear words. I've never had the hubs of a 4x4 apart before, but apparently it's a requirement to get at the discs. So off they go!
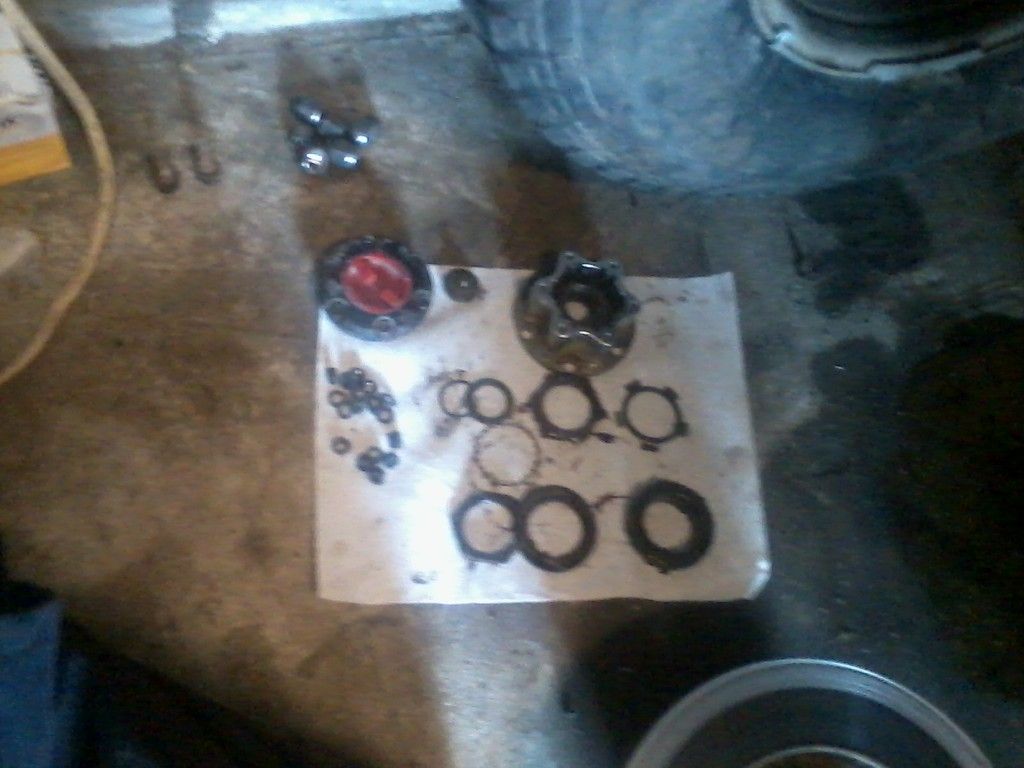
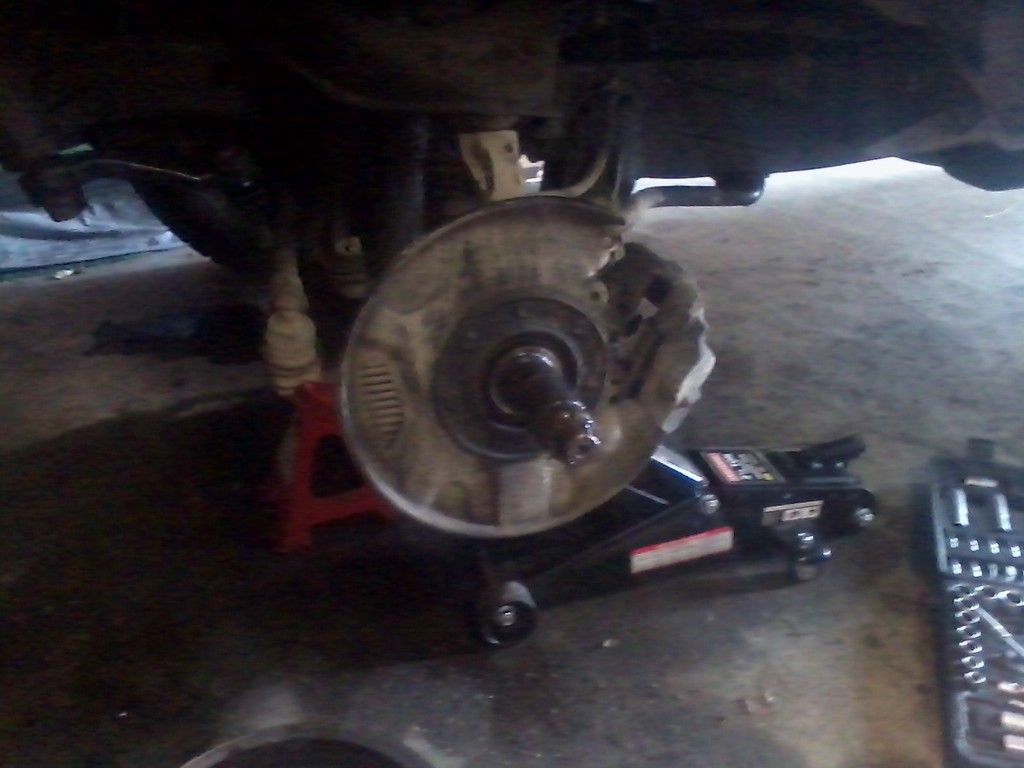
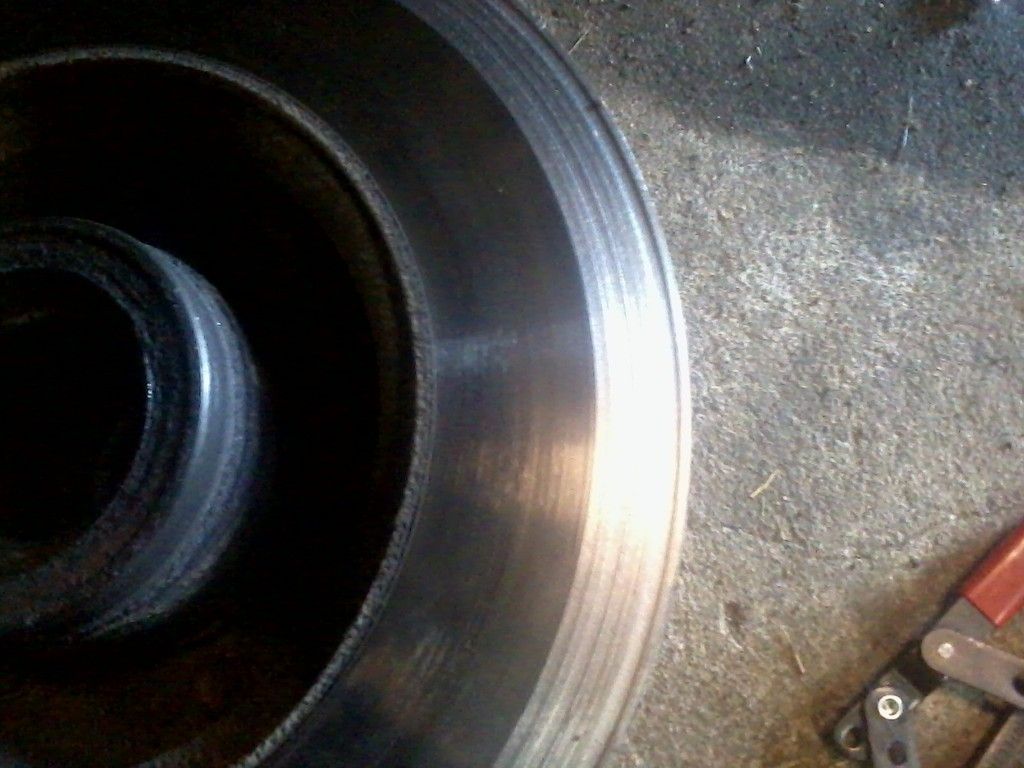
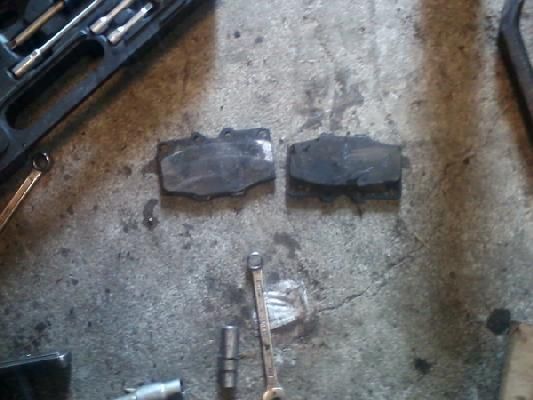
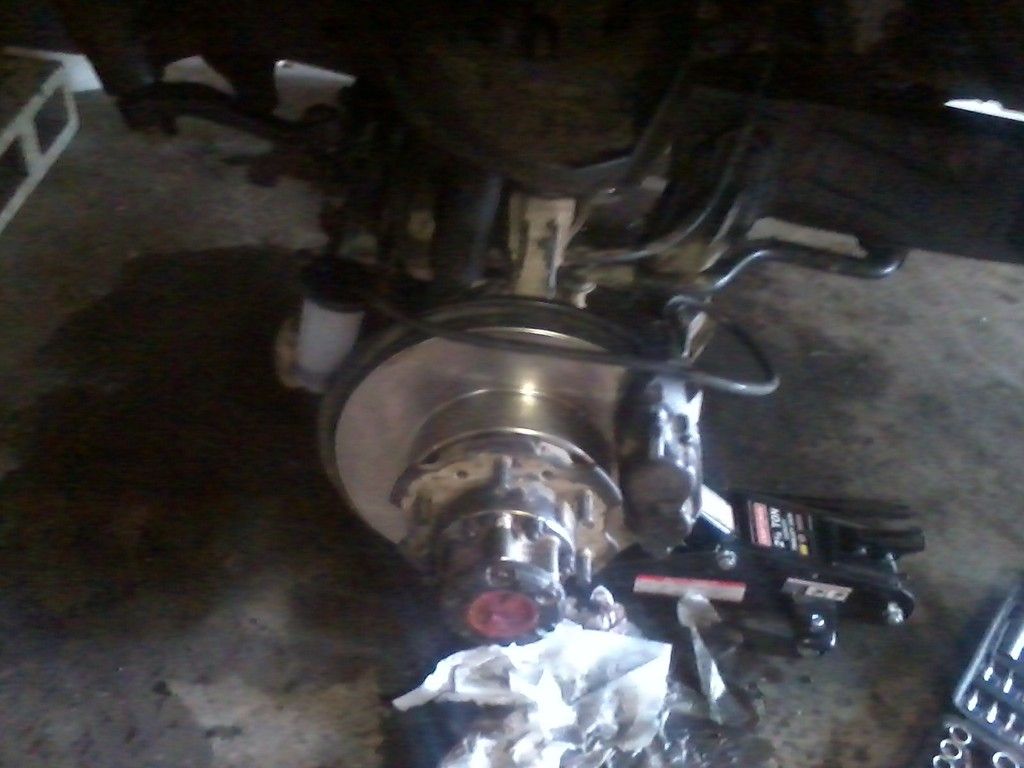
Done and done. Now I have new front brakes to go with my new rear brakes.
I gotta be honest here, I'm starting to lose my sense of humor... ![]()
Woody: Is that an axle I see up there? Where are your hubs?
Update:
Bad news. Truck felt down on power on the way in. I suspected the worst and think I may have verified...
The driver's side caliper seems to have "stuck" one side of itself on the way back towards the disc. Dunno how that happened, but the driver's caliper felt hotter than the passenger's so I snuck around the back of the office building and jacked up the driver's side to try to turn the wheel by hand...
and....
I cant ![]()
I don't think it's "squeezing" much, but it's definitely not letting the driver's inboard pad get off the face of the rotor. However much pressure is there it's enough to let my butt-dyno know something's amiss.
I think it's time for a tow truck and a beer. Maybe my boss'll give me the day off. Although I'm seriously considering driving the 17-miles home on the backroads.
Man, I just cant leave the day on a sour note.
I swung by Oreilley's and grabbed a caliper repair kit. It consists of o-rings, boots, and boot retainers for one side of a Toyota caliper. No problem says I, for I only suspect one side AND it's the only kit they have in stock.
I got the truck up on jacks and pulled the pads. I pumped the brakes a couple times and found that the two pistons (one on each side) did NOT like to move. The outboard lower would move a smidge, and the inboard lower (this is the side I was suspecting) did not move at all.
Ok, so it's probably the lower inboard that's causing my headaches, but I can do the outboard lower since I'm in here and I'll have an extra seal etc.
This is my first caliper rebuild, but it shouldn't be a problem. The youtube video for these things was only 17-minutes long. ![]()
The video says I should apply shop-air to the caliper input (where the brake line was) and feed it compressed air until the desired piston gets to the point I can remove it by hand.
Couple problems with that:
I don't have access to shop air
the stuck pistons are so stuck that channel locks wrapped in tape aren't getting them out either.
So what I do is find a few wrenches that are just the right thickness that I can use the brake pedal to pop the desired piston out while holding the rest of them in. I decide 17, 18, and 19mm are the wrenches best suited for this sort of Mississippi Institute of Technology repair I'm about to embark upon and away I go!
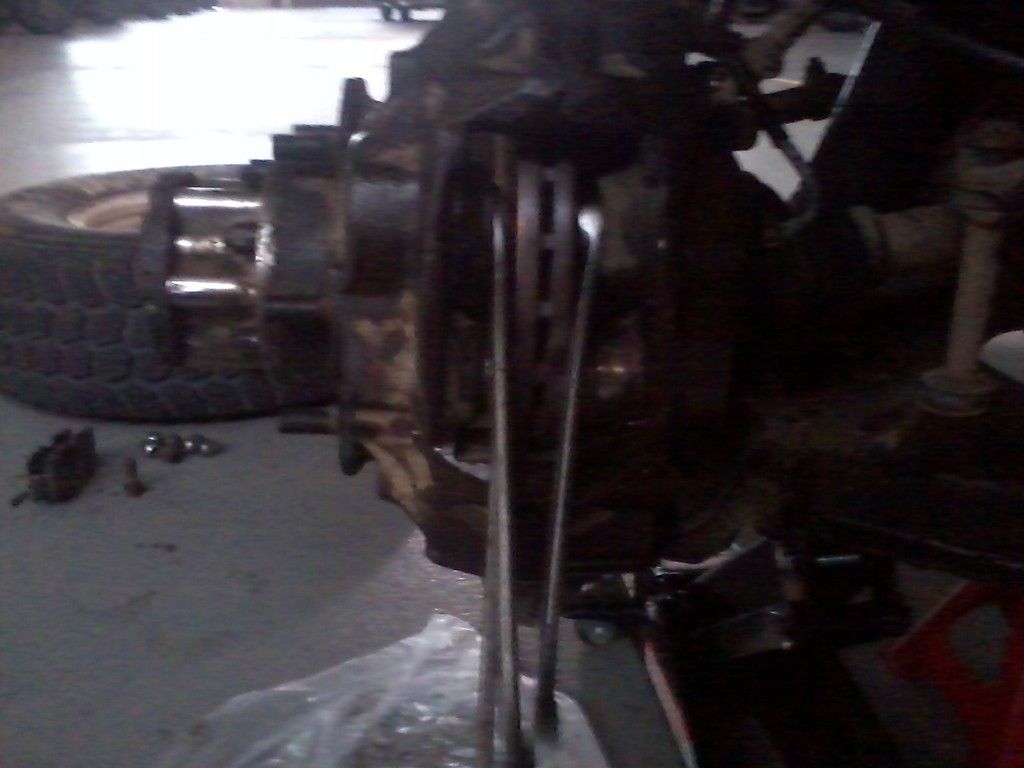
The pedal is taking a LOT of effort to get that stuck piston to move even a LITTLE bit. I get it about 7/8ths of the way out and give the channel locks another try but it's to no avail. A few more pumps of the pedal and

Brake fluid shoots out like a firework!
The piston is free, and the floor gets soaked! It's also worth noting that this is where I discovered I may have the wrong o-ring kit. (below pictured: old o-ring = small, new o-ring = large)
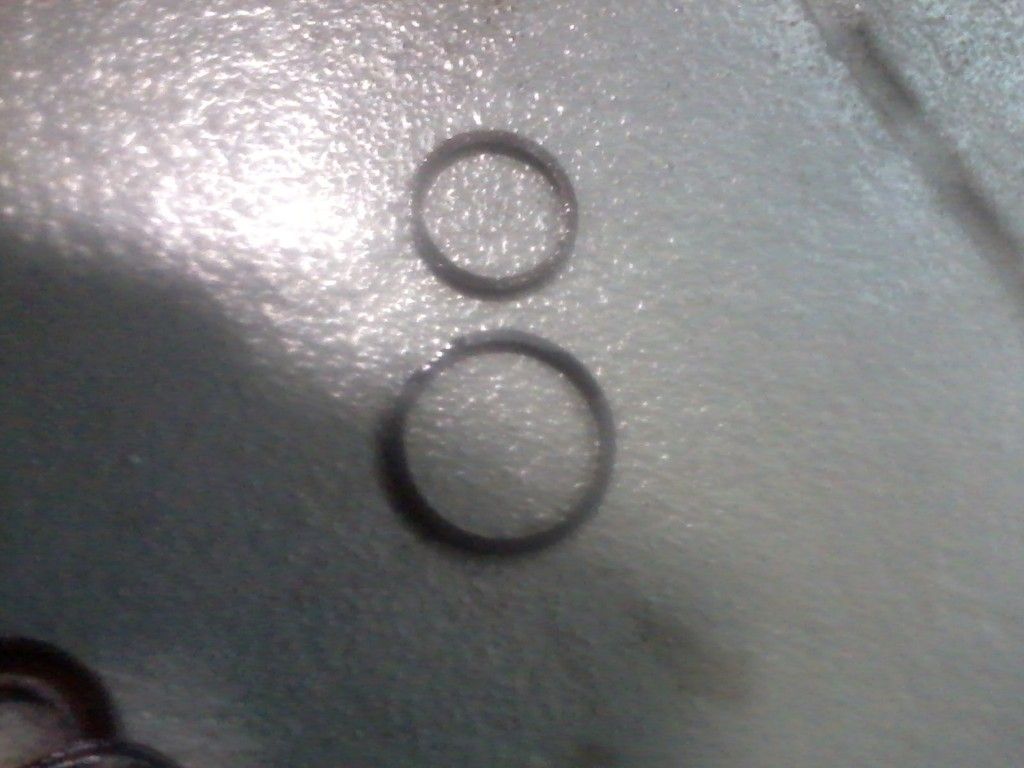
Forehead smacking ensues "oh yeah! I forgot these things had two different sized pistons in each caliper..."
D'oh!
Unfortunately that was $9.81 of my last $15 that once resided in my wallet so having the funds for another set of o-rings is out of the question. It's also worth noting that this was the only part number listed for a caliper rebuild kit for this vehicle at Oreilley's AND it was the last box in their store with that part number on it... so.....
Well, I didn't come all this way to quit because of an o-ring. I cleaned the piston with a paper towel, removed the o-ring and gave it a good cleaning, I also test fit the piston with the o-ring out and decided that the corrosion around the piston housing isn't helping my case at all.
With the corrosion reduced (not completely removed), the o-ring reseated and cleaned, I put a small amount of wheel bearing grease on the piston and slide it back into its home. It resists a bit, and I can kind of feel the o-ring binding but it lets go and the piston slides the rest of the way in smooth.
I did the same for the outboard side of the caliper (without the excitement of a "pow", this one just falls out).
I tested my work by spinning the hub by hand without the wheel installed. Everything seems smooth. A short drive around the block reassures me that while my ears may be out of cal, my butt dyno is still dialed in! This baby is moving again just like she should!
I think I'm going to take myself up on that beer offer now ![]()
Speaking of drives around the block...
One problem these pickups all seem to have (or at least all the pickups I've ever owned) is that they're "free crap magnets"! On my drive around the block I saw this sitting under a tree:
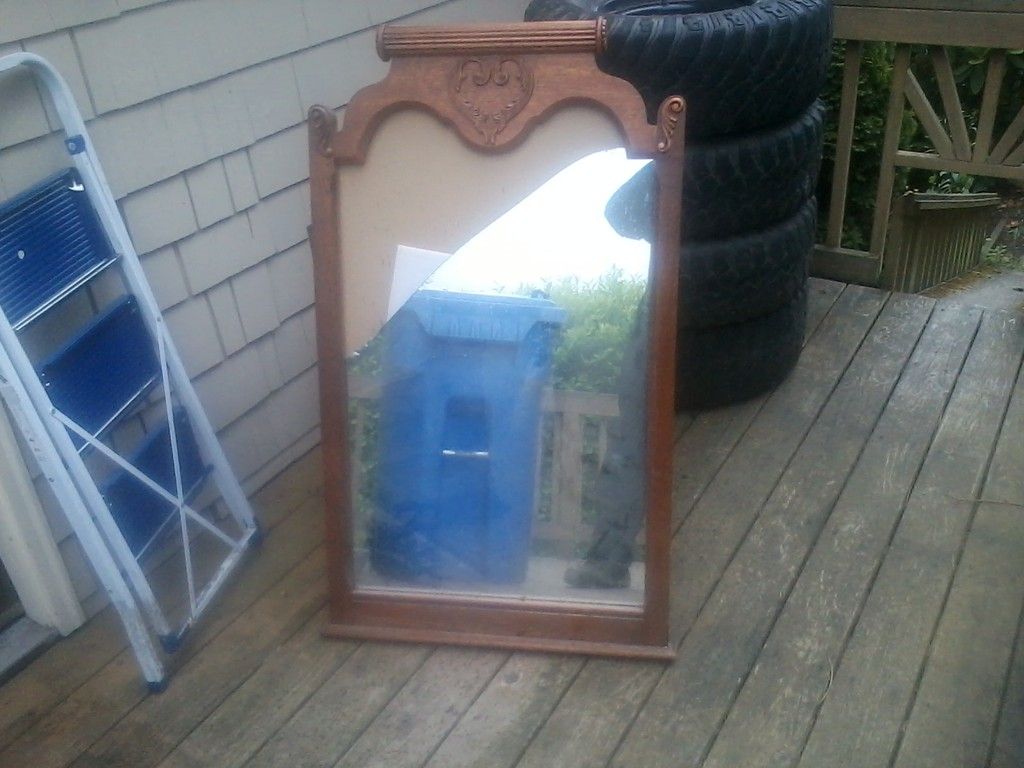
I think to myself: "Man, I can fix that! With a little bit of work this thing could be super nice!" (yeah, I've said that before) and in the back of the truck it goes.
Mrs. Hungary tried to conceal her excitement the best she could by giving me her best "stern face" and telling me to put it in the basement. She said it was because the mirror was heavy and dangerous. She said our kid would try to play with it and end up getting cut. But I've been suspecting she's been wanting a "laundry room mirror" for quite some time now and with my suspicions confirmed I went down and placed it right next to the drying rack where she would be able to enjoy it every day ![]()
Mad_Ratel delivers!
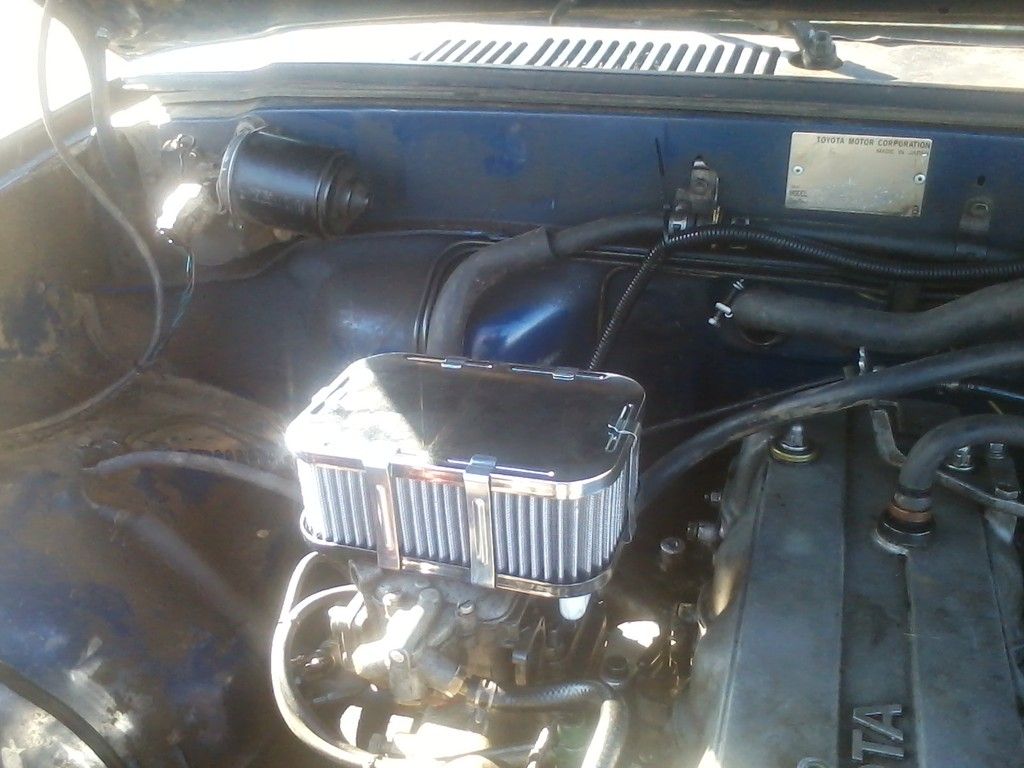
See that air filter there? Mad_Ratel sent some cash my way and that's what I bought with it (well, I have $1.82 left over).
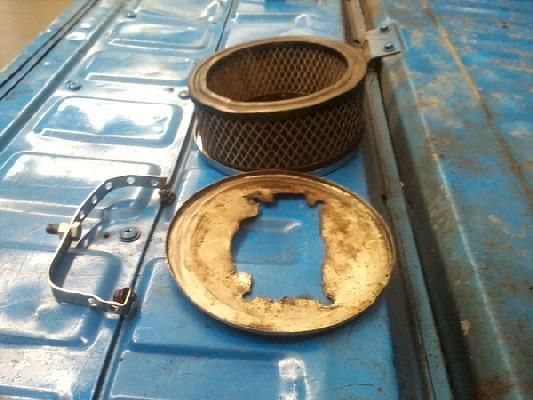
I'm not really to the part where I'm troubleshooting the carburetor yet, but I really wasn't happy with the air filter setup that was on there. It was super dirty, it looked like it got wet while it was dirty, and it was kind of "home-brew". The Home-brew part didn't bother me too much except the fit between base, filter, and cap wasn't very... tight? The old filter kind of sat crooked in there and didn't look like it sealed very well. It also looked like it had the air passing qualities of duct tape.
So this is what I replaced it with! ![]()
It's clean, it's washable, it's sealed, and it works! No real difference in idle (the truck will stumble a bit before it idles, sometimes it stalls), but the transition into the secondaries is much smoother, and my butt dyno tells me that the truck pulls a bit more on the top end.
Either way, good troubleshooting starts with proper basic maintenance, and that bad boy needed to be changed!
If you see Mr. Ratel in a bar, grab his tab. I'm good for it ![]()
Picture of old filter assembly for reference:
Ever since the "sleeve slap" episode I've been very nervous about any tick this engine makes. That being said the valve train on this beast is very "ticky" (is too a word!)
I'm in a bit of a lull while the truck is running and working fine enough that it's no longer an absolute danger to drive on the streets. I still haven't sold the rifle needed to start working on what I think of as "secondary issues". Things like the driver's side window that is MIA, and the heater blower motor that doesn't work. You know, things that can all wait 'till it gets colder before they move into the "Primary issue" bin.
So the engine ticks. It sounds like a noisy rocker arm ticking away (actually it sounds like a Massey Ferguson, but I digress). I pull the valve cover and perform another valve adjustment. Only #3 exhaust REALLY needed adjusting (too much gap), but one or two of the others got some slight adjustments since I was in there.
Then all was quiet(er) until I got to work. I noticed at the highway off-ramp the ticking was back. "OHMYGOD, it must be the end of the world!!!! This is it, I know it!" was the first thing that popped in to my head. In the end I figured one of the rocker adjusters must have worked its way loose, so I sneak off to the hobby shop before the start of shift and check.
The torques on the locknuts all seem good, but the #2 exhaust has a bit of a gap. So I adjust it and I'm out the door in like 5-minutes (did I mention I'm also available for birthday parties and pit crews?)
But the ticking never went away. (insert new doomsday theory about pending catastrophic engine failure here). and that's when I decide to type "22r running" into youtube.
First hit (not my truck, obviously): https://www.youtube.com/watch?v=JB2GITZSY8A
Do you hear it? Turn your headphones up. That's exactly what mine sounds like (well, the tick. My engine sounds much beefier because... well... it's mine).
I guess it's normal for these engines, but dang if I don't ever remember hearing it before. It scares the crap out of me. It gives me flashbacks of all-night thrashes trying to chase down that "clack". I'm tellin ya, it's enough to keep a man up at night ![]()
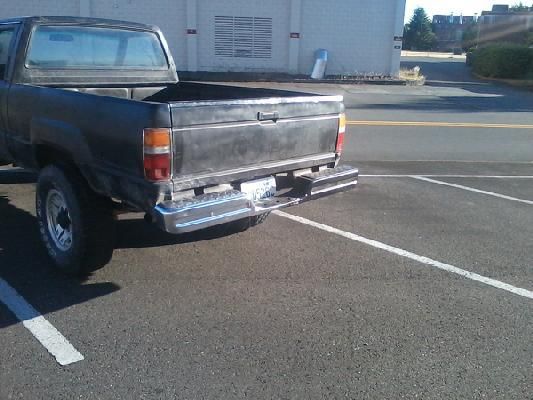
Anyhoo, other than the above I took some steel wool to the back bumper. I'm still not entirely sure which direction I'm going to go when the time comes to pretty this beast up (open to suggestions), but I do know it doesn't involve poorly rattle canned chrome bumpers ![]()
Good times
Hungary Bill wrote: I'm still not entirely sure which direction I'm going to go when the time comes to pretty this beast up (open to suggestions), but I do know it doesn't involve poorly rattle canned chrome bumpers
Free discarded swing set = tube bumpers. ![]()
When you're ready to spice it up visually, let me know, I'll cut pretty much anything you want out of vinyl as my contribution to the project. I'm away from the cutter until August so that gives you some time to consider the options.
Shop truck?
Vintage desert racer?
Post apocalyptic homage to Back to the Future?
You've got a couple of months, be creative. ![]()
oh man, you guys are awesome AND a real bad influence ![]()
Mazdeuce: I really hadn't even thought about vinyl! With this new idea planted in my head I went in search of a "vintage racer". Desert themed would be a bit out of place in the PNW but I DID find...


I could use the original blue color code to order paint, order some bushwacker fenders, and keep almost everything else stock! Run the vinyl down the side and add a "Grassroots Motorsports" sticker, along with a few other cool decals (if any of you have a business that needs advertising). That thing is unbelievably cool ![]()
Then when the money comes around I could maybe pick it up a few inches and stuff some 33x12.50 15s under it.
he he he he he he he he he he ![]()
Look at me, I don't even have a driver's side window and I'm already looking at paint and vinyl. Yeah, that's about par for my projects...
You'll need to log in to post.