


umm.....
he is now? does he have to come as a team member? he just a friend of mine. i help him with electrics and mechanicals, he helps me with straight and shiny. we see each other at church.
so, does that make him a tyeam member?

umm.....
he is now? does he have to come as a team member? he just a friend of mine. i help him with electrics and mechanicals, he helps me with straight and shiny. we see each other at church.
so, does that make him a tyeam member?

Dusterbd13 wrote: umm..... he is now? does he have to come as a team member?
I'm sure he had every intention of being with you as a team member at the event but his dog died, his kid got sick, his wife said no..... ![]()

Dusterbd13 wrote: umm..... he is now? does he have to come as a team member? he just a friend of mine. i help him with electrics and mechanicals, he helps me with straight and shiny. we see each other at church. so, does that make him a tyeam member?
yes, yes it does. and there is no requirement that all team members attend the event. ![]()
thannks guys. that helps clear things up.
and is it just me, or are the rules a lot shorter this year than when i was building for 2010?
So its time for an update. According to the GRM challenge rules, stock replacement brake parts do not contribute to the budget. But, upgrades do. However, I am adding it in anyways, as I want to keep a full running tally of how much I spent on this thing.
Front pads: 19.99
Rear pads: 19.99
One front rotor: 29.75
Three turned rotors: 15 (only one done, but all 3 paid for)
Allthread and nuts for solid bobble build: 6 dollars, but not adding it in as I ripped the damn thing off and threw it in the bolt bin.
Lots of time, and some leftover paint: FREE!!!
Previous total was 1056.39
Grand total for this update: 1141.12
So I’ll start the pictures, etc. with stuff that I’ve done previously that I did not take pictures of.
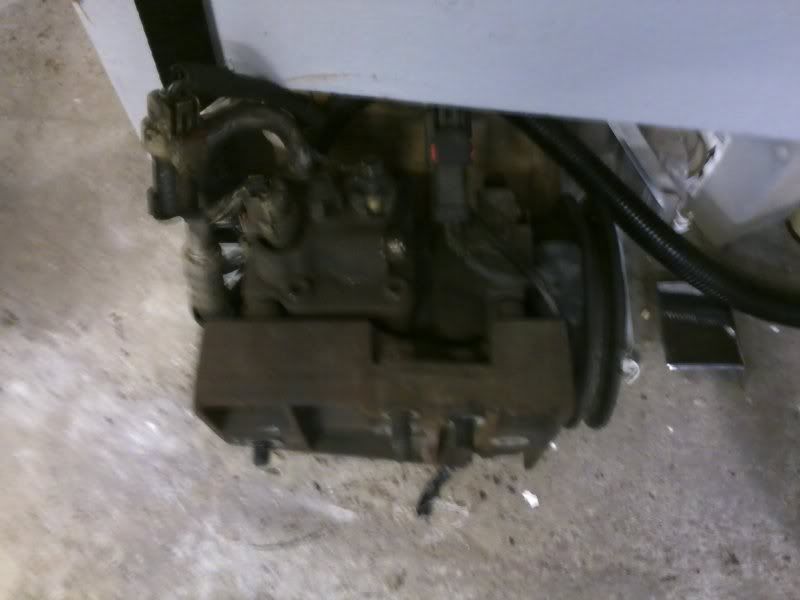
First, the lower, filled motor mount.
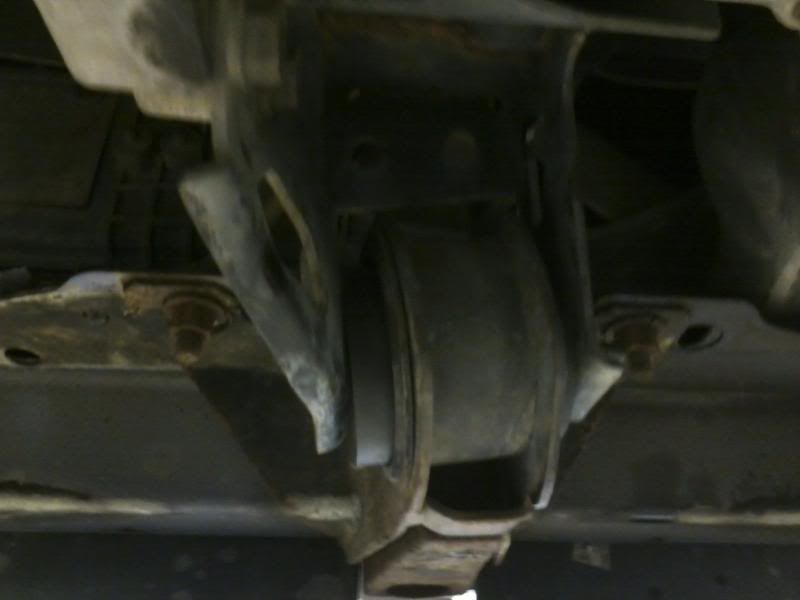
Also, the still, 1000 miles later, non-slipped, leak free band clamp from o’reilleys. I wasn’t sure how well this would work out, but I’d recommend it to anyone now. It’s not the right way to splice the exhaust back together, but it works. Make sure to debur the pipe very good, and have a tight fit between the two halves.
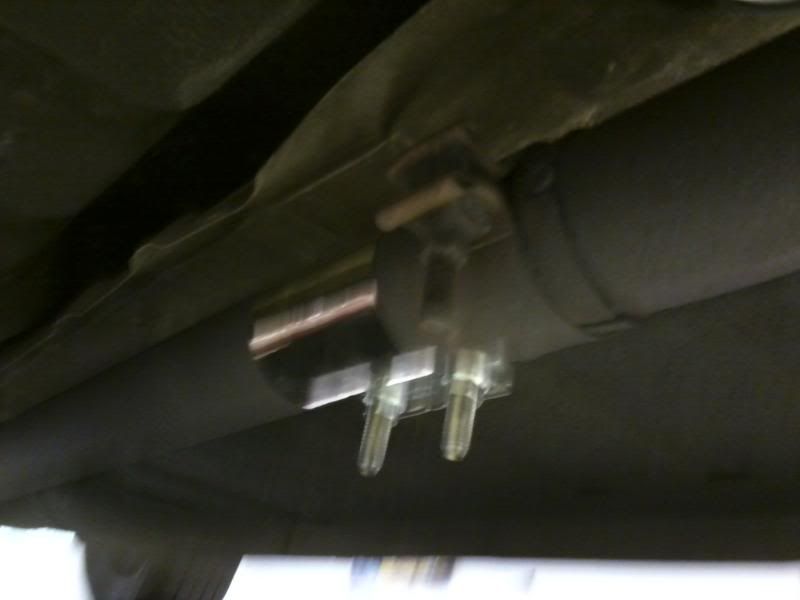
Next up, the filled passenger's side mount. Make sure you insert it into the block side of the mount, not the fender side. On the fender side, it pops out. Engine side it doesn’t.
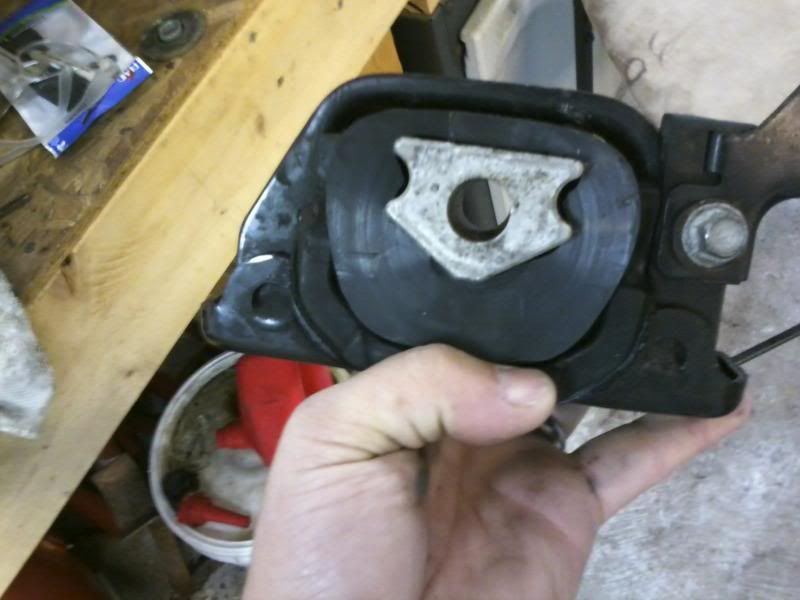
Also, pictures of my failed experiment. I pulled the broken bobble out, and sat it on the bench. Measured the distance between the mounting points, and cut my ½ finethread Allthread to that dimension.
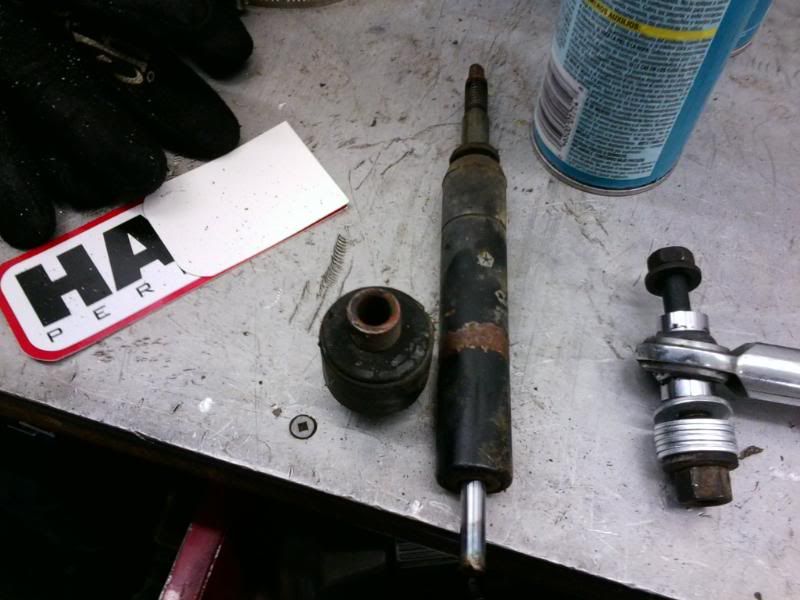
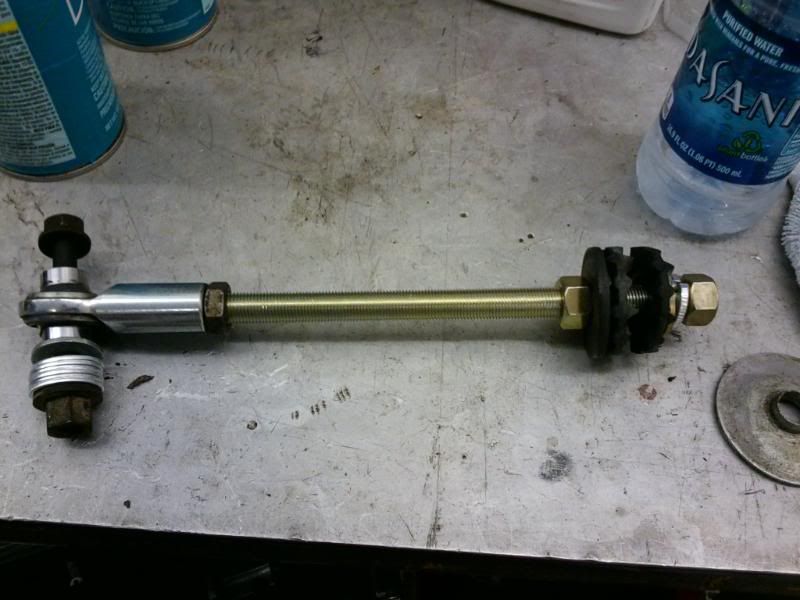
using a mixture of the factory rubber washers, bolt bin hardware, heim joint, and 2 bought nuts, I created what you see here. Adjustable, beefy, solid bobble.
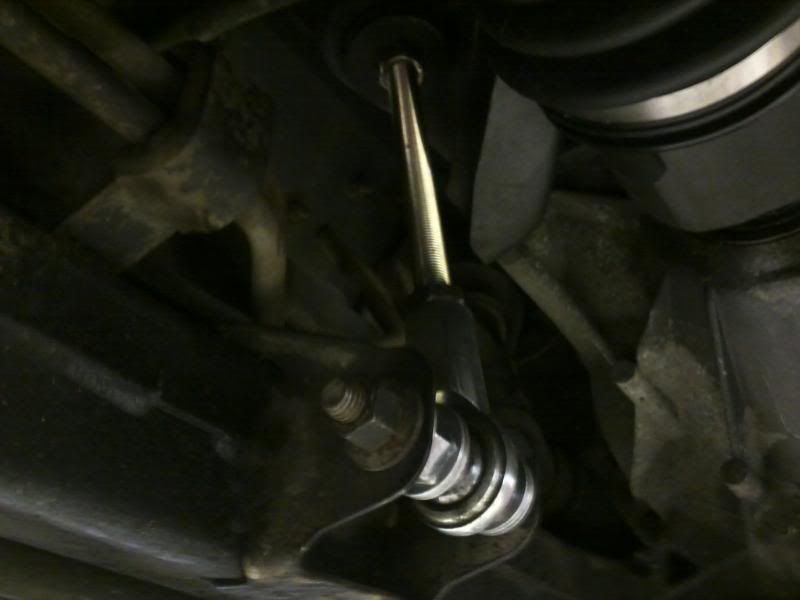
The thing created so many vibrations, rattles, and harmonics that it made the car intolerable to drive. I just hated it. Didn’t reduce engine movement any more than the filled mounts. So I saw no point in leaving it in with the downsides that it created. If anyone wants it, minus the factory rubber washers, ill trade them for a good factory bobble, or sell it for 10 plus shipping. (Adding a few bucks for my time).
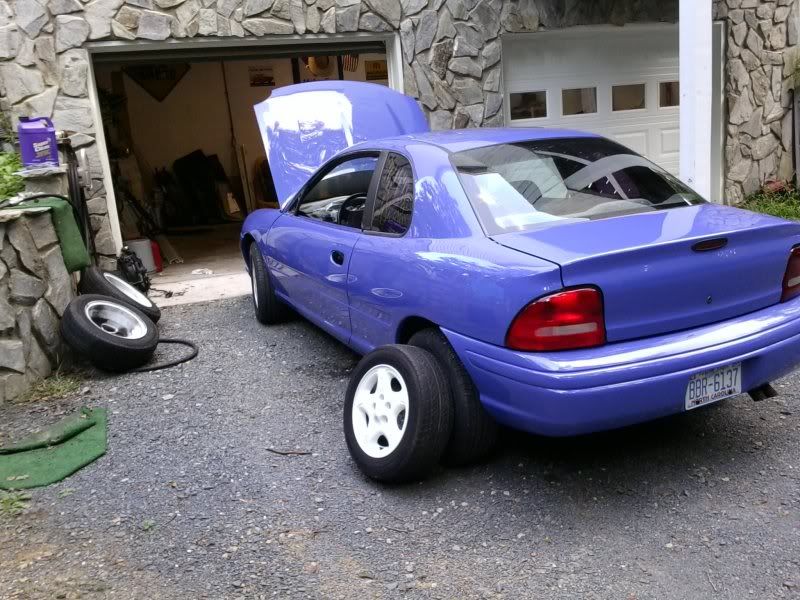
Up on the list next was a brake job that this car desperately needed for the last 1000 miles (fuel economy average over the last 1000 has been 36.7).
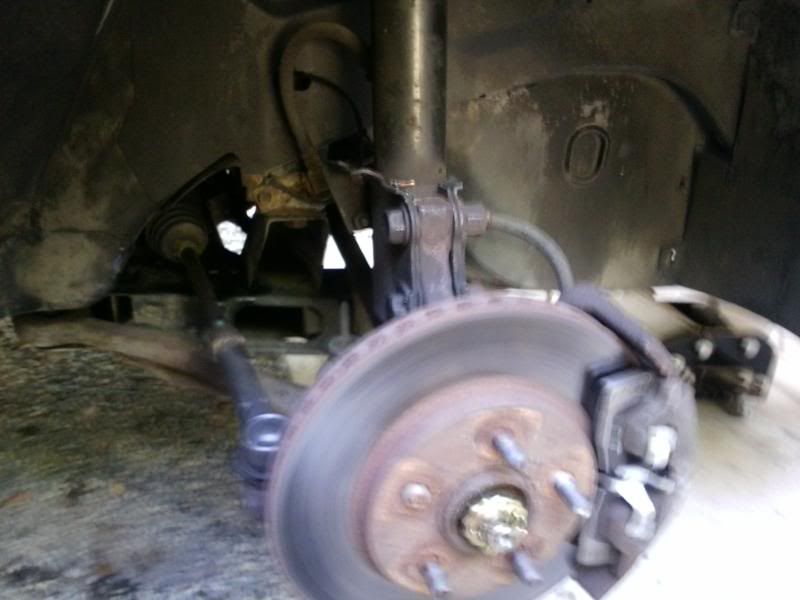
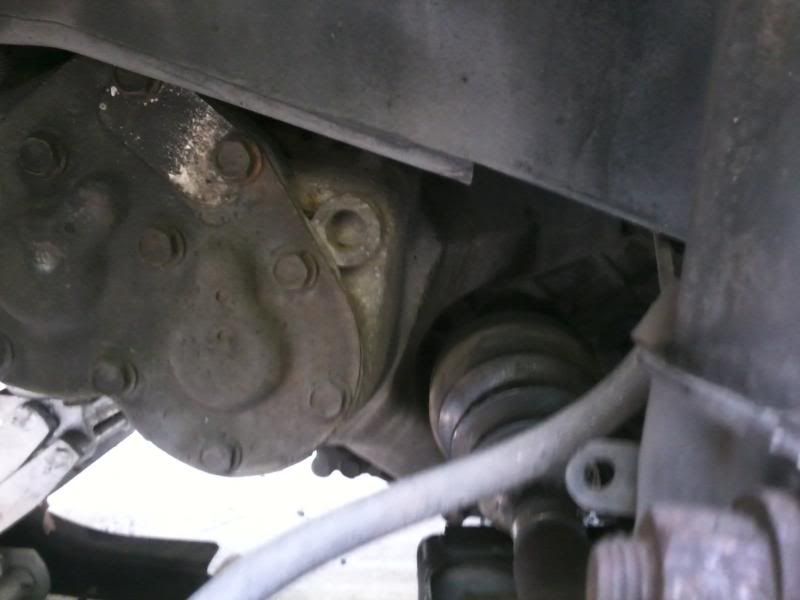
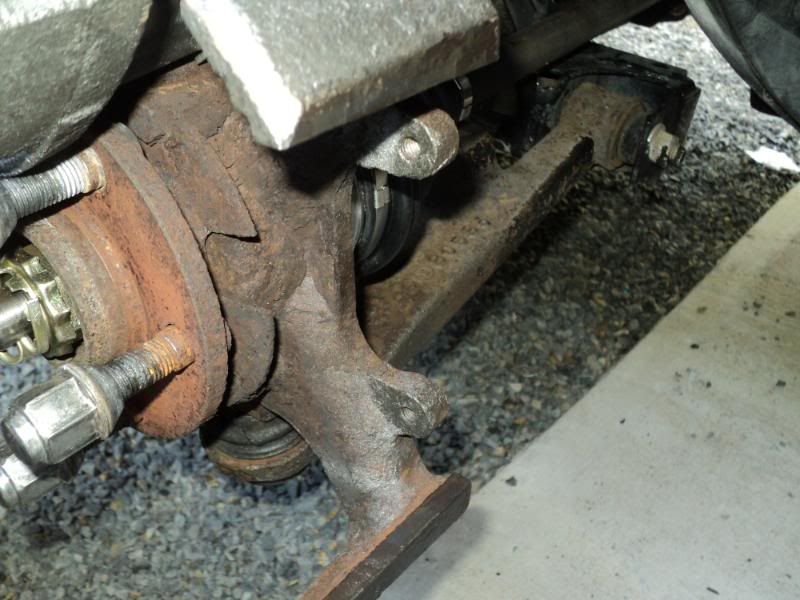
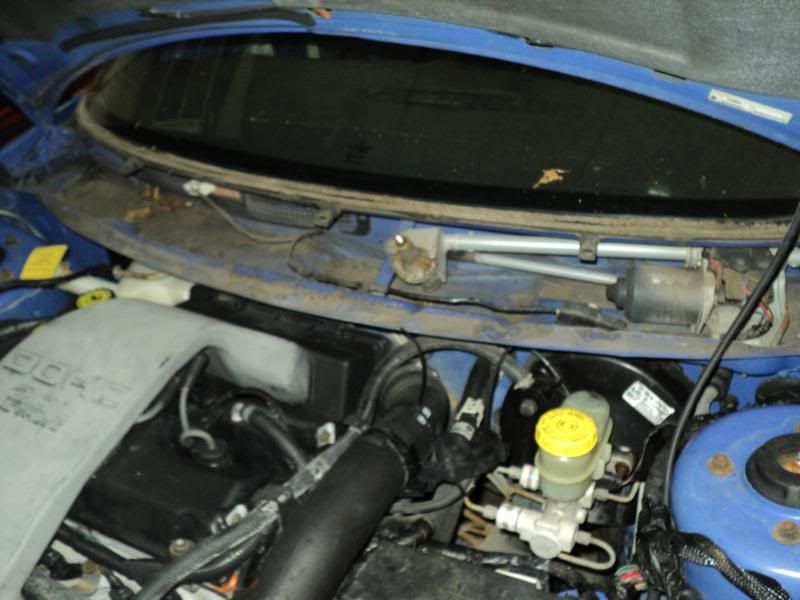
The rotors were warped, the pads had no initial bite, and one of the calipers was sticking. Starting with easiest, cheapest first, I decided to begin by doing pads, rotors, flattening the pad guides on the spindles, and greasing everything properly. I also changed out the broken and boogered wheel studs for ones scavenged form my irreparable factory ACR spindle/hub. This was a good time as well to do some more cleaning. I truly hate getting dirty anymore, so I made sure to hit the wheel wells and undercarriage with Castrol superclean and a pressure washer. Pics pre-cleaning:
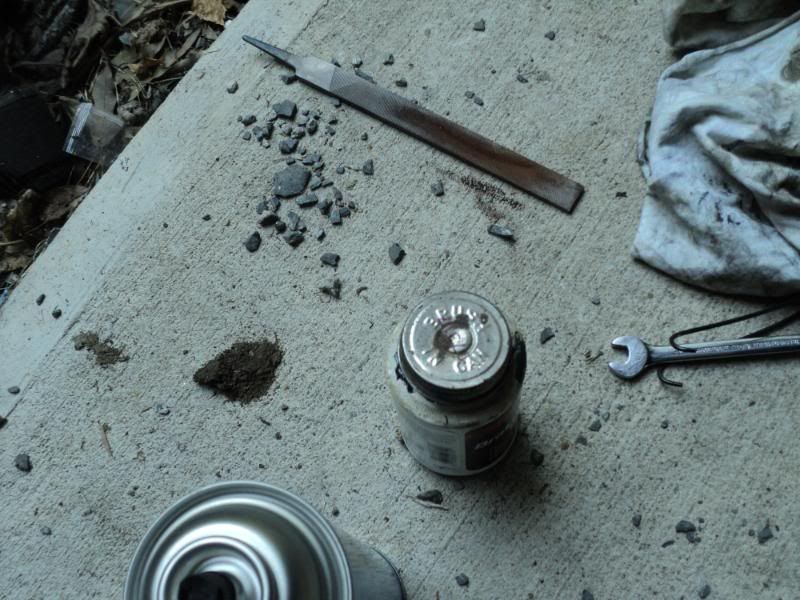
After the pressure washing, I pulled the rotors and junk brake pads, and proceeded to hose the caliper and spindles with brake clean. As a tech tip, that makes a perfect pre-painting prep for this kind of job. While these were drying, I dropped both of my front rotors off to be turned by my buddy Houston up at the tire shop. I hadn’t even made it back to the shop yet when he had called me and told me one was scrap. I kind of figured that, but was hoping…. Advance had one in stock. While he was turning them, I painted the calipers and caliper mounting flanges on the spindles with some leftover cast coat iron engine paint. Used an old t-shirt wrapped around the stuff I didn’t want to get grey on. I’ve done this plenty of times, and it looks great, and is durable. Not permanent, but good for a few years on a daily. My duster has been this way for a decade, and still no signs of it going anywhere, even being heavily abused. After the paint dried, I used a metal file and some elbow grease to flatten and deburr the caliper sliding points on the spindles and caliper. The pads also touch, so I deburred that area as well.
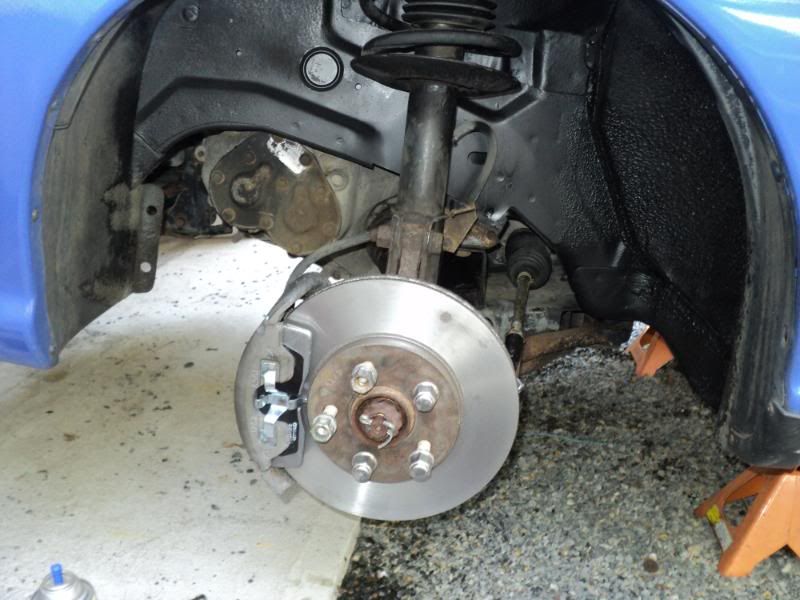
Wiped a very thin coat of caliper grease on these areas per the FSM, regreased the guide pins after cleaning, and reassembled complete with turned and painted rotors. Also took the time to prep and respray the metal areas of the wheel wells while I was in there. Used krylon semi-gloss black that I had left over from my riding mower. The wheel wells are looking pretty good.
Next, I decided to flush the brake fluid out of the system. Started with pulling the very, very contaminated stuff from the master with a turkey baster. Use the dollar tree special. They hold up better.
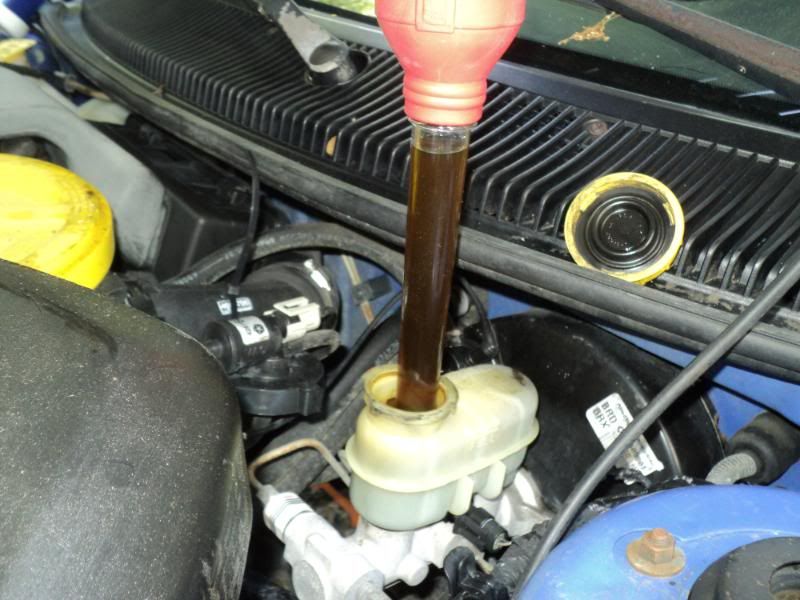
I then hosed the inside of the master repeatedly with brake clean, adding brake fluid, and pulling it all back out with the baster until it came back kind of/sort of clean. Then pulled through the lines until it came out of the bleeder sort of clean. Discovered that the driver’s side caliper has a seized and rounded off bleeder screw, so it looks like I need a caliper on that corner. Hopefully that’s the one that’s sticking, too.
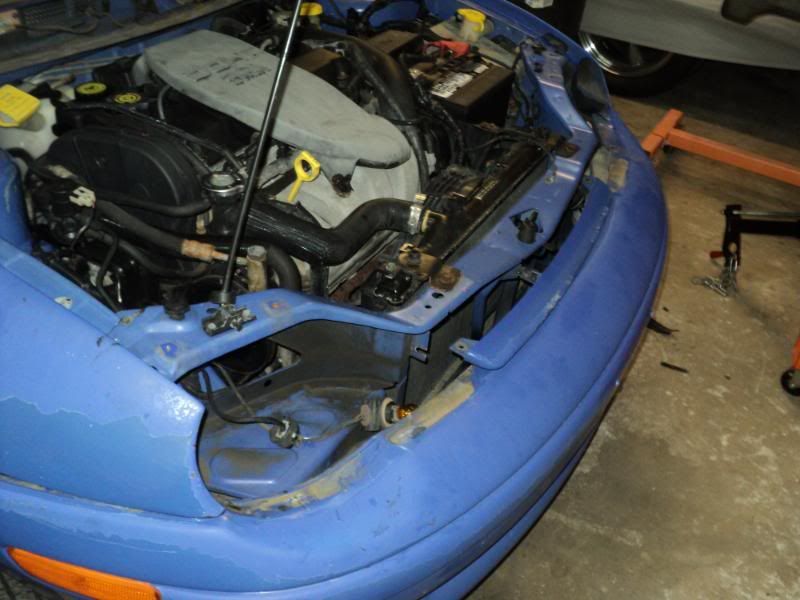
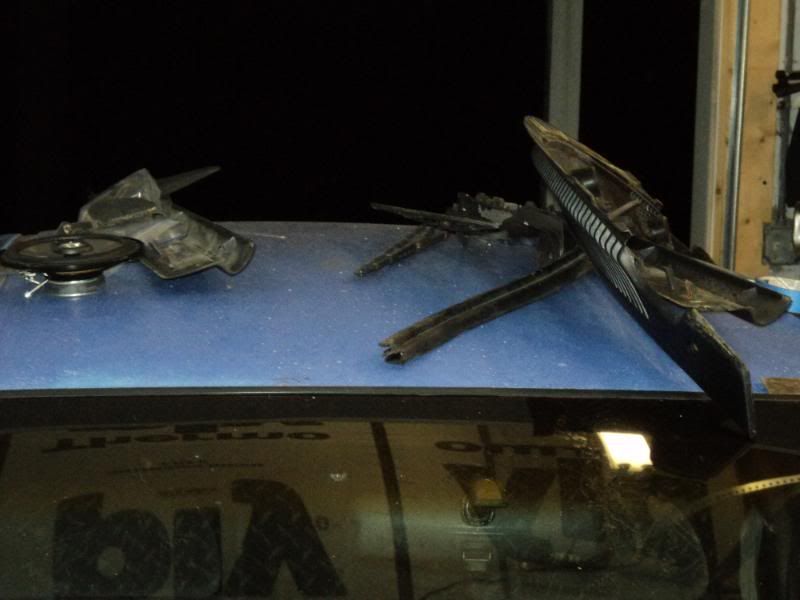
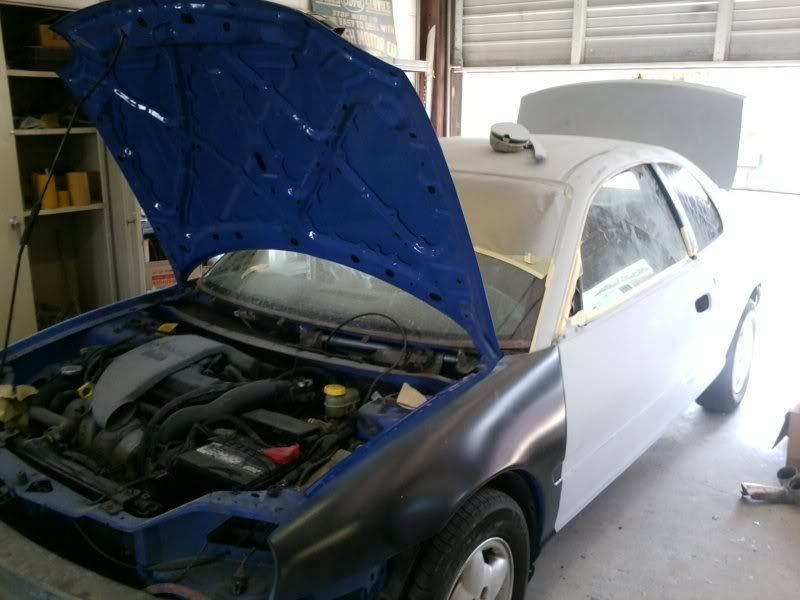
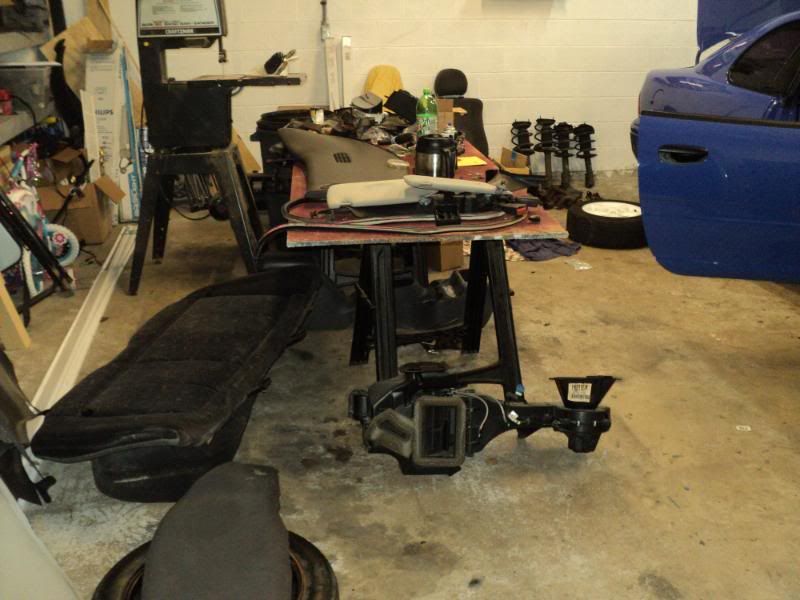
To finish off our update, my buddy is ready to drop his 53 off for me, which means he’s ready for my neon. So I took off all the easy stuff so he would be less likely to cut corners. I doubt he would, but at least this makes it a lot easier for him. And gives me an opportunity to clean and detail all the crap I took off. It’s also shocking the amount of prep work the last painter DIDN’T do. And how much of it has fallen off. Bill threatened to just soda blast the whole car before even thinking about starting on it. (He’d be using the diesel powered mobile soda blaster I rebuilt twice for him). Here are pics of the carnage.

Next update from bodywork/paint hell. Here’s to hoping this is quicker than last time, as I’m holding his truck hostage this time.
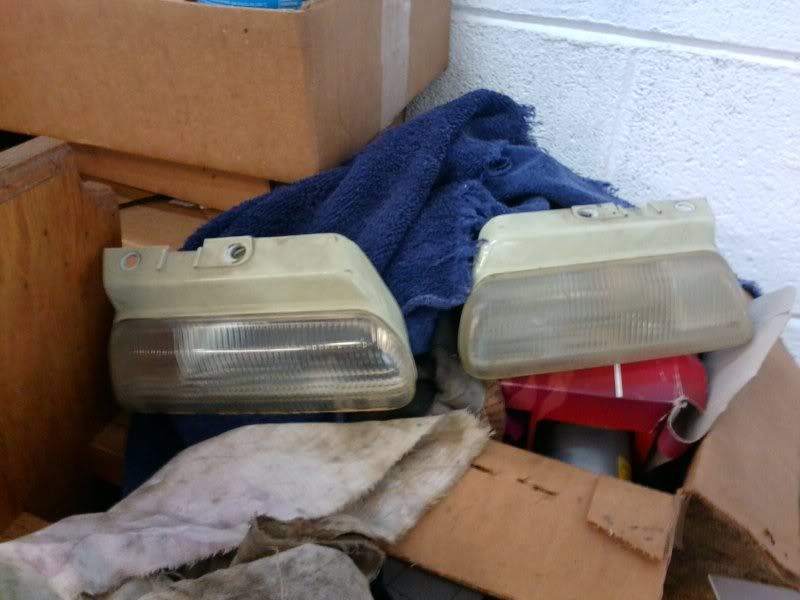
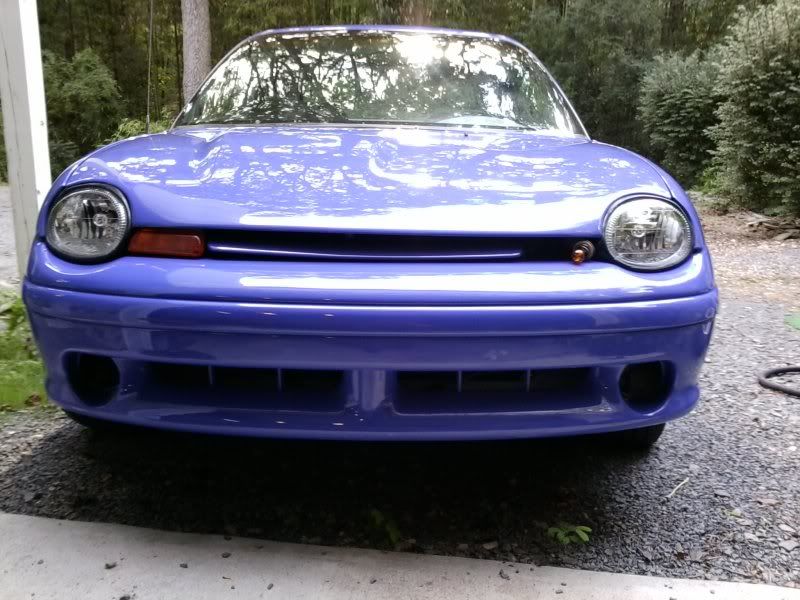
I’ve also decided to bite the bullet and buy some good headlights for this thing, as I’m going to be dailying it through some pretty dark, backwoods country. And both of my headlights disintegrated upon removal. So I need good light. Looking at getting the depo projectors. Just wondering if I should go with the chrome or black ones with it being lapis blue. Also going to tint the front turns to look like the export ones while I’m at it. Anyone have a how-to or info on that? Or an opinion on black vs chrome?

Black.
thats the way im ;eaning. im just afraid it will look like a bruise.
so its time for a small, and crappy update.
things have been going slow both for the neon, and bills truck. in the last few weeks, i had my computer crash out on me, which i had bought the extended warrenty for from bestbuy. the warrenty was officially a waste of money. i wound up googling what i needed from my smartphone, wiping the ENTIRE hard drive, and starting overe from scratch. time consuming, aggrevating, PITA. id rather be working on cars.....
also, a week ago saturday, i blew out my left knee. ive had knee trouble since the days when i raced downhill mt bike and BMX, and totalling 3 cars in nasty accidents didnt help any. theyve been manageble though, so ive never wrried too much except for when it rains. well, my daughter sdtepped on my left calf while i was kneeled down, and i heard somethng go pop. sunday it was not able to take weight. went to the dr monday, who had me try a steroid regimen and ice. swelling had gone down by friday, though it was very dificult to walk. wound up making the appointemnt to talk to an orthopedic surgeon, as my doc said that f the druygs didnt work, it would finally be sugury time. probably on both knees.
so currently, im hobling around at work, hobbling around at home, and tryuing to get everything on the home front nailed down before i go down with not being able to walk for a couple of weeks. been knocking on the honey do list as hard as i can, bills truck, etc. im hurtinng pretty good, to be honest.
this is a bad time for this to happen, as it will mean that the GRM challenge is out for this year. ill have to use my vacation time that i had scheduled for the surgury, and the money that the insurance doesnt cover will come from my racing/car fund. but it is what it is, and im not complaining. im just grateful that god let me get away with having my knees last this long.
on the neon front, as thats what you guys are reading this thread for, i onnly had two pictures on my phone. the rest were on my camera, and my computer. obviously, gone. so well have to do with the camera phone pics, and ill get pics of all my parts procurement, and prices up as soon as i can. ill also get a link posted to the chassis for the 53 if anyone is interested. its coming along pretty good.
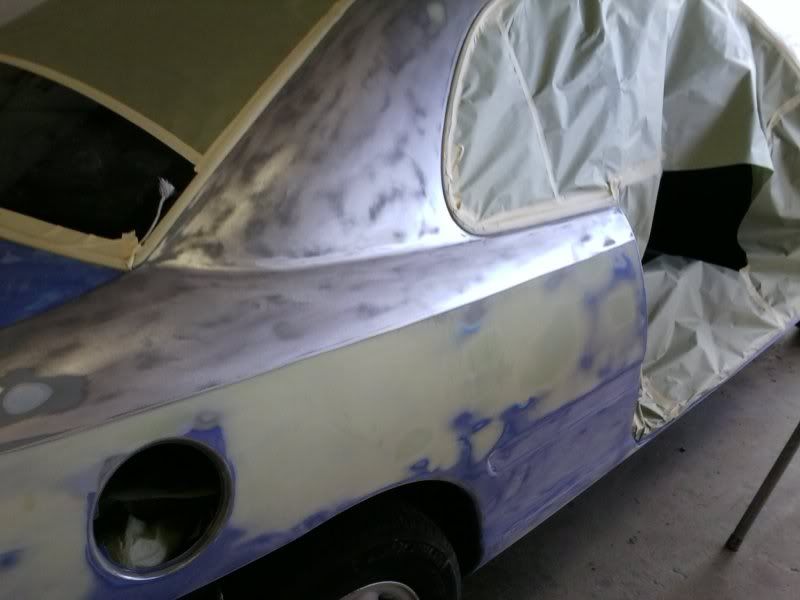
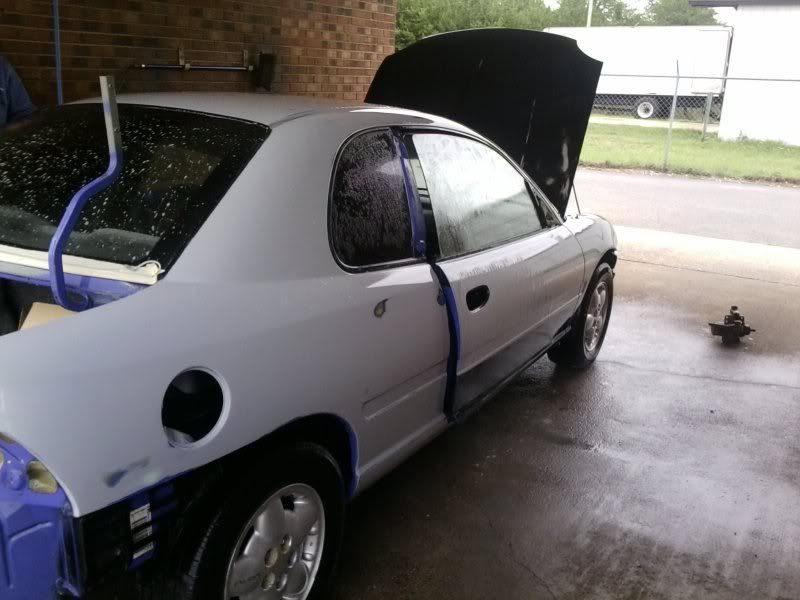
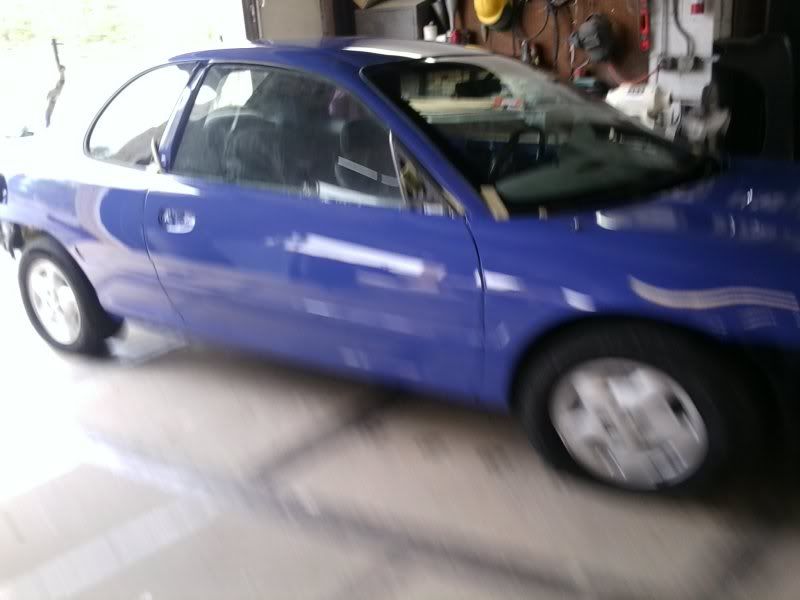
biull had to strip the car completely down to bare metal, and he took the doors, bumpers, decklid, hood, front fenders, ertc all off to do the bodywork and paint. i traded some ford and hot rod parts i had laying around for a fresh hood, as mine was beyond repair. aso had to buy NOS roof mouldings from new mexico for 60ish bucks. he has managed to get all the metal work done and use a skim coat of bondo, epoxy prime, and high build prime the car, as well as getting it reassembled and jambed. i really like the color, which is good as i had never seen it in person (in good shape at least).
so heres rthe two pics that survived the technological meltdown in my didng room.
biull claims that it will be ready to be wetsnaded and buffed next week, but i have N EVER known a bodyman to be acurate in his time estimation skills, so im not holding my breath.
michael

Sorry to hear about the knees, I've gone through 7 knee surgeries and honestly I'm probably looking at another soon. My left knee hurts daily, and the right.will not up and.down a set of.stairs(or in and out of a full size truck for that matter) without making some.seriously audible crunchy noises. If you can squeeze it in, the challenge is still a heck of an event to attend even if not competing.
Sorry to hear about everything going on. Best of luck recovering!
thanks.
and its just another day in paradise. really, even though it sucks, i cant complain. im truly blessed.

The reason your "new" 1999 hub has a different thickness is that the ACRs got a stronger hub at some point in their development. 1997 sounds right. Non-ACR Neons (even DOHC cars) got standard hubs.

Sorry to hear about your knees. Im hoping that a decade plus of BMX doesnt put me in that same boat...so far so good, but put me in the "not holding his breath" camp.
Im also sorry to hear about the impact the surgery(ies) will have on your progress with this build. I really do love it when someone takes a car on the brink and brings it back through a very straightforward, common sense build. I really wish I were in a financial position to do this with my DD. Keep fighting the good fight brother - youre build inspirational to a lot of car people!
thanks!
and yeah, dont hold your breath. not saying it will come back to haunt you, but odds are aginst it not.

enjoying this man... I had a '98 acr coupe and it was a great car... I miss it on a fairly regular basis... the gearing and engine combo was just great
so, another update to do.
on the bodywork front, it should be painted this week. assuming he finds the time. we got it all cleaned up and final sanded last week, washed down real good, and ready for fial wipe down, masking, and shooting. then it will be cut abd buff, reassemble time. im getting excited.
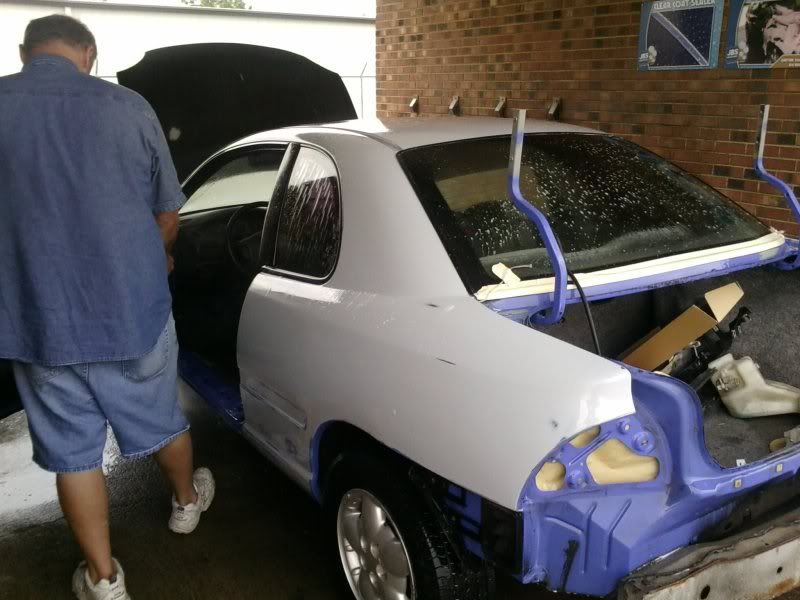 thats brother bill, the bodyman, in the second picture.
reassembly will probably be slow, as right now we are debating what to do about my knee pending a second opinion. i really like the idea of PT, but we will wait and see.
i also have spent some money on this thing. ill post the pictures i have, and list the prices for the pictures i dont.
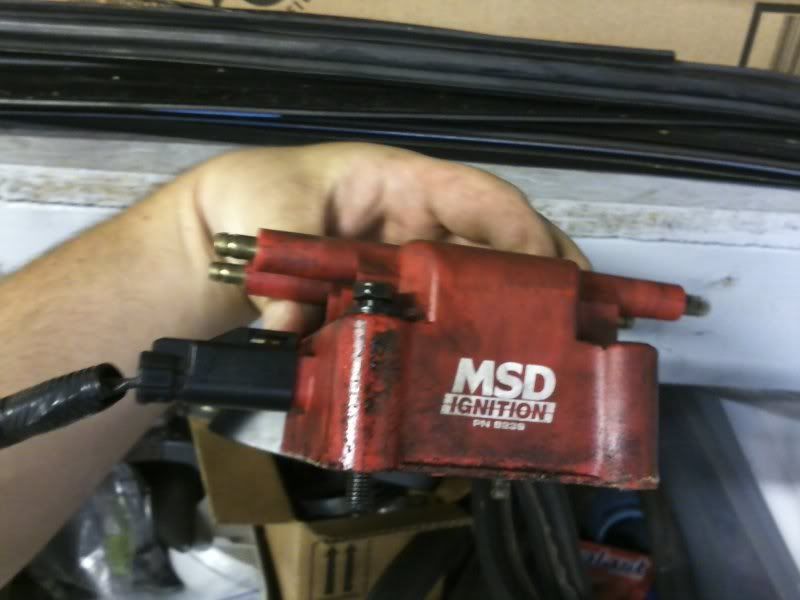
MSD coil: pull-a-part: 11.37
unbroken turn signals: 13.82
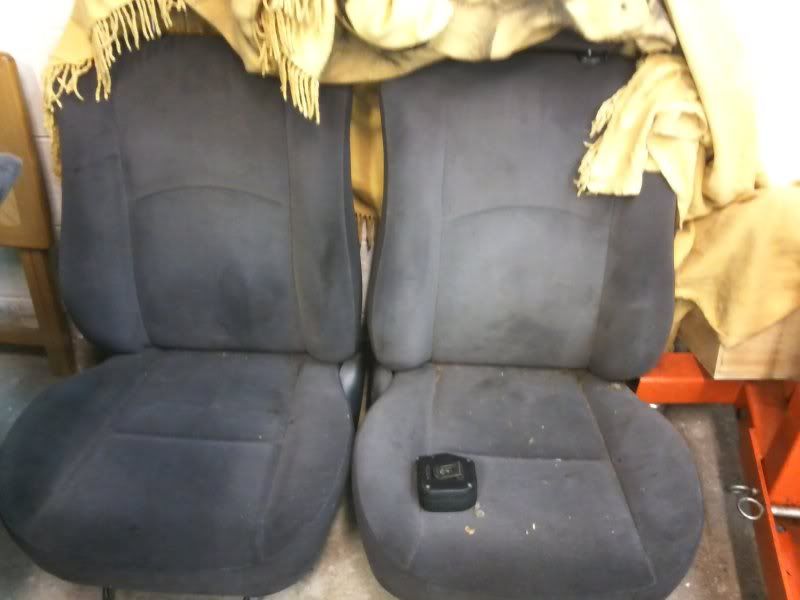
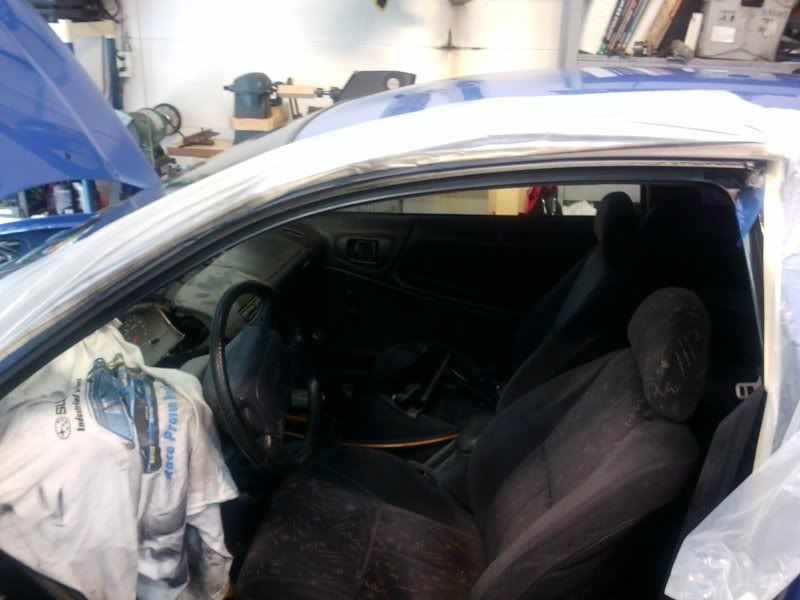
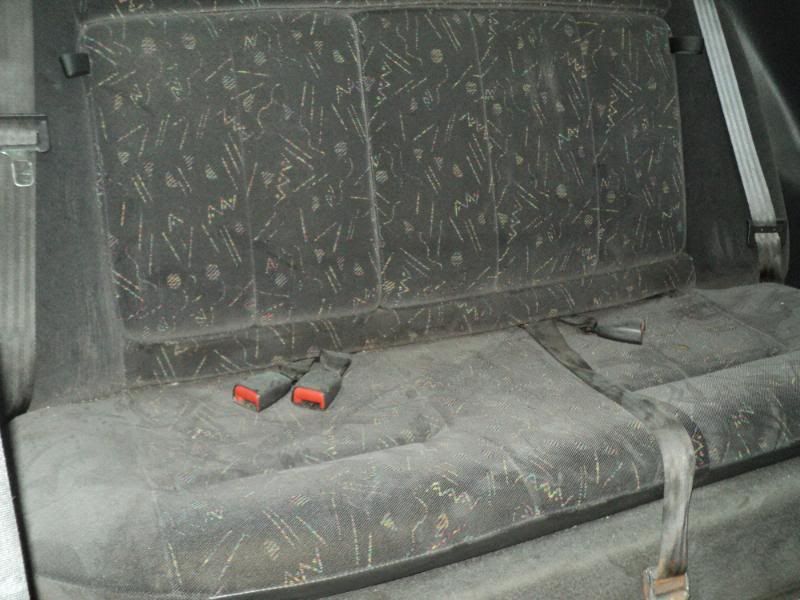
seats from a second gen: 70
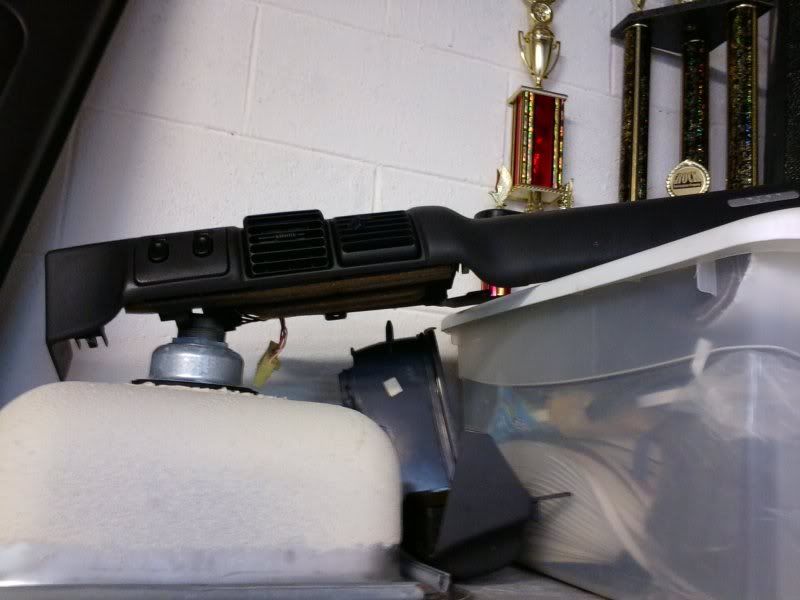
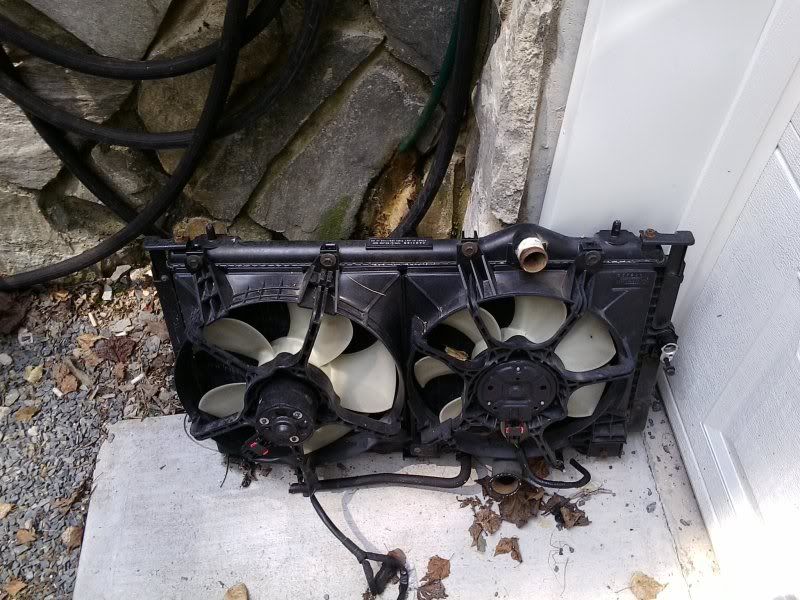
AC changeover (got them to include the radiator/fans, dash piecies for the vents, dash bezel for the switches, switches, lines, compressor, v-belt, everything related to the system mostly.) 121.13
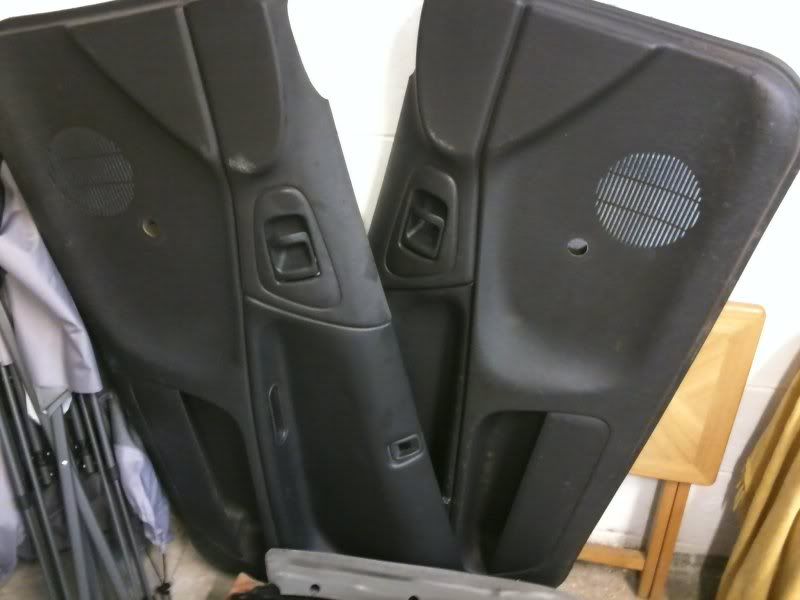
door panels (drivers side has some broken pins that i will fix the same way i fixed the really bad origonal) 27.60
DEPO euro headlights 114.26
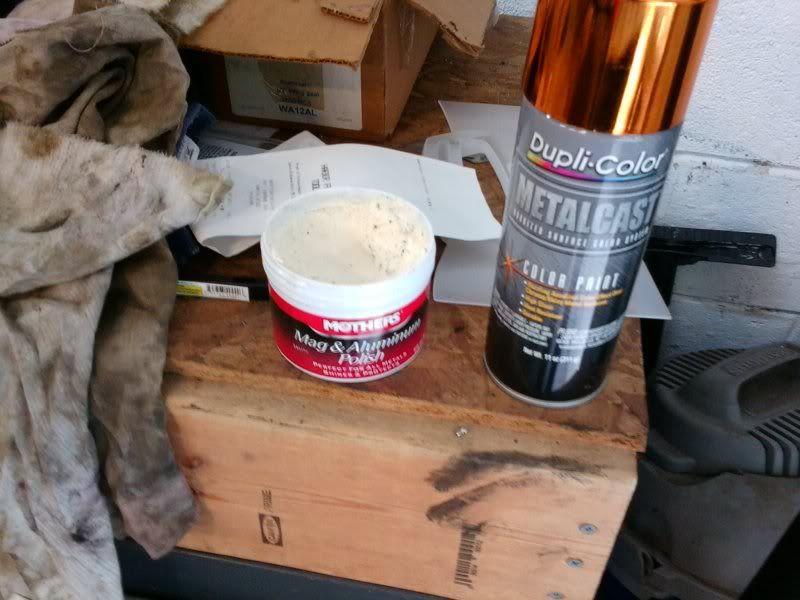
Can of metalcast orange to make euros 12.75 from amazon
roofrail strips NOS from new mexico: 63.53
replacement right front caliper: 11.10
i think thats it. all that i can find reciepts for right now. i may come across some more when reassembling the car.
so that brings our total for today up to: 1586.68
and pics: bad ones, with no flash, and taken at night in my basement shop.
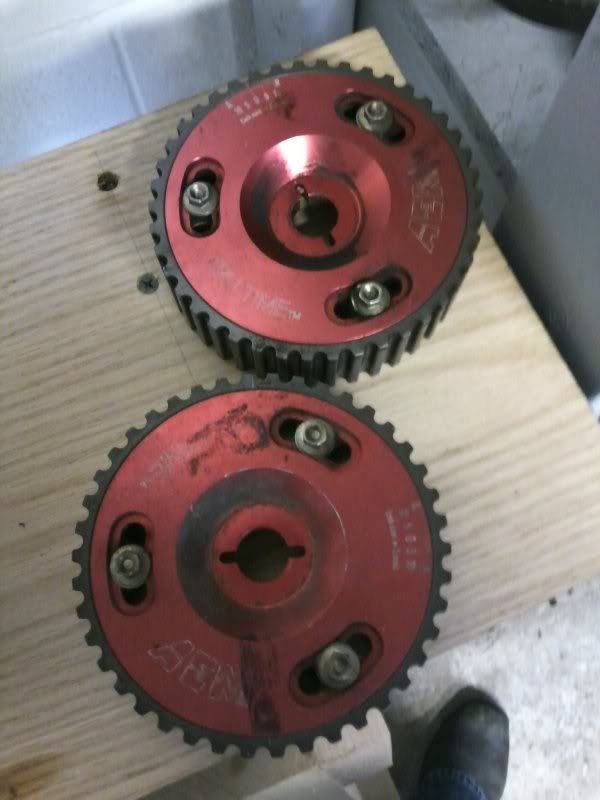
and the adjustable cam gears that are for sale on here
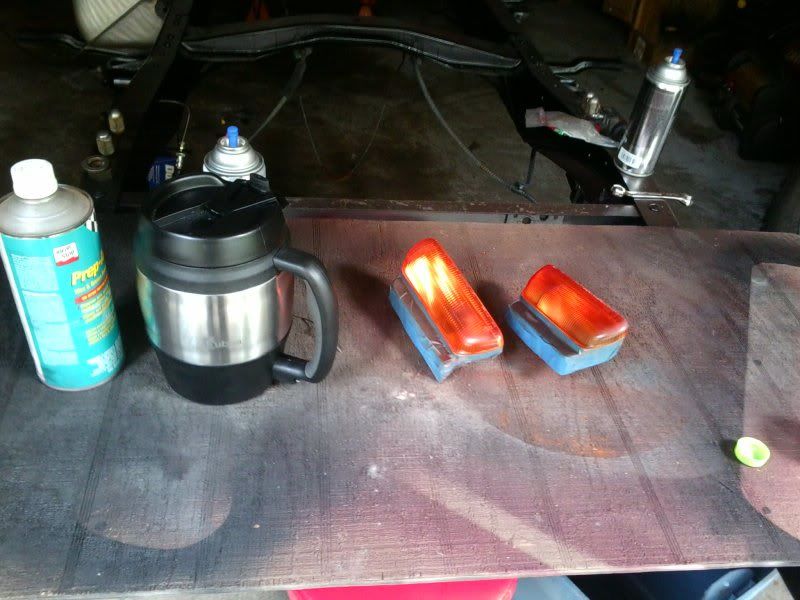
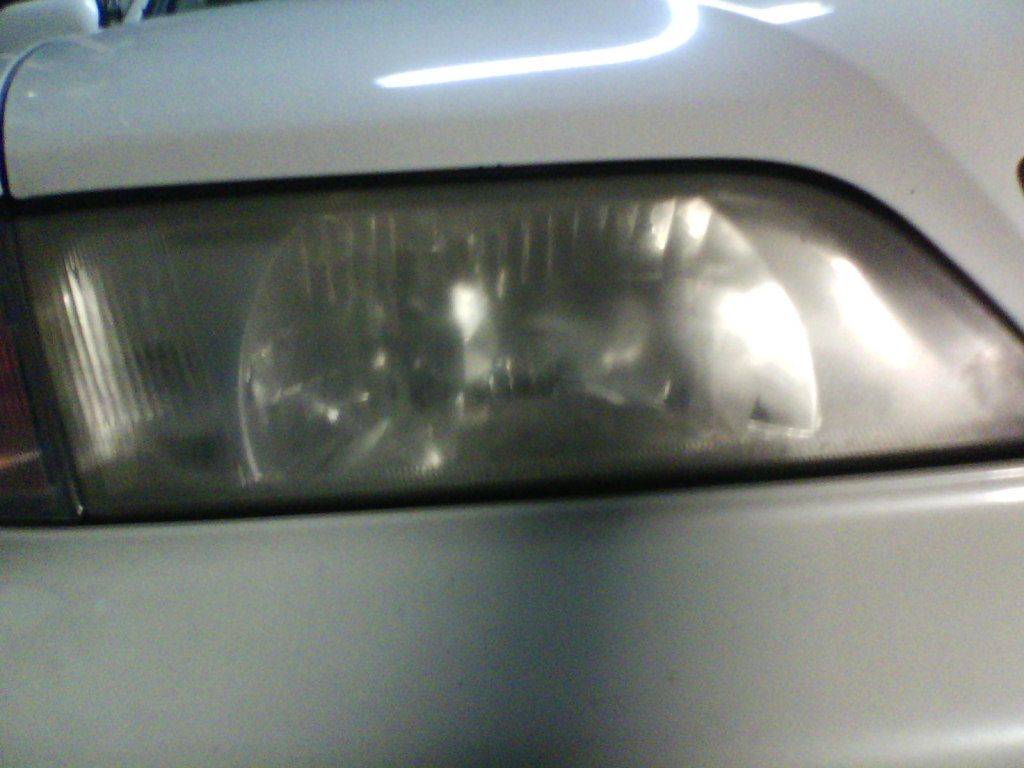
i also started on getting my euro turns ready. the stock turns i bought were pretty hazy, so i used a trick that i learned from a vette customer. if the lenses are ot pitted or scrateched, you can use mag and aluminum wheel polish to bring them back to life. i reccomend a coarse cloth, like a cheap bed sheet. softer cloths dont work as well.
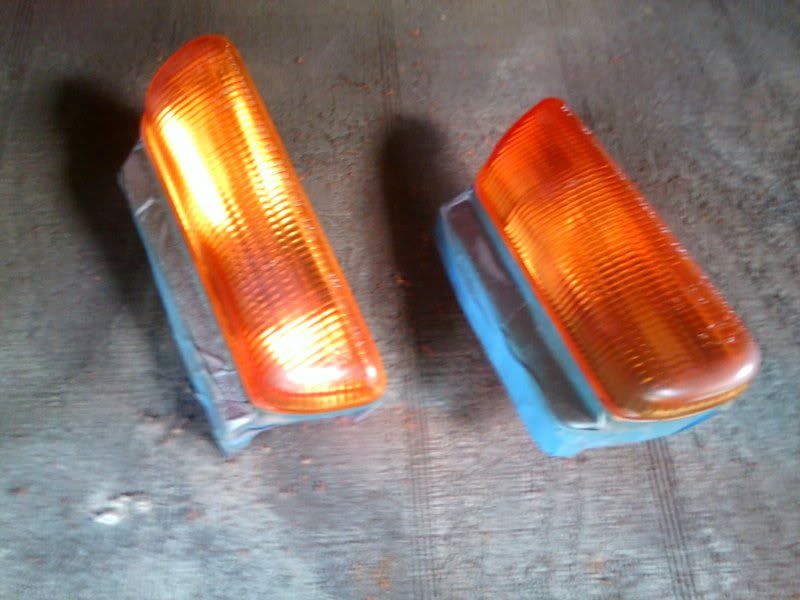
and a comparison after about 10 minutes worth of rubbing by hand. pretty obvious which one is done.
now, as a tech note, if your planning on applying anything other than wax to the lenses, you need to thoroughly clean them, as that polish leaves a residue no matter how much you try to get it off. i prefer to use dish soap and my kitchen sink. use hot water as well, and scrub them with a wash cloth that you dont like. it will turn up black for some reason.
so thats all for this installment.
im looking for a set of mopar high rates, or coil over springs to use with slip over collars in that rate. want to stiffen it a hair, as well as drop it a hair.
michael
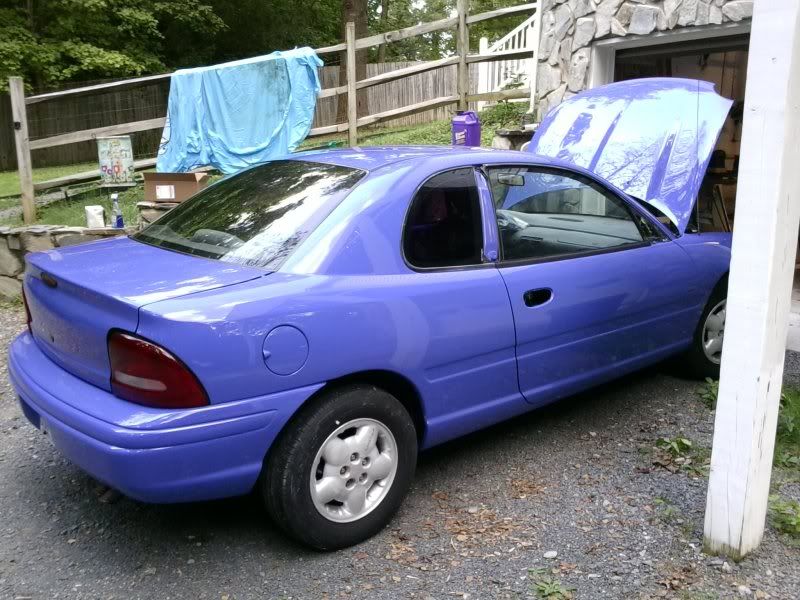
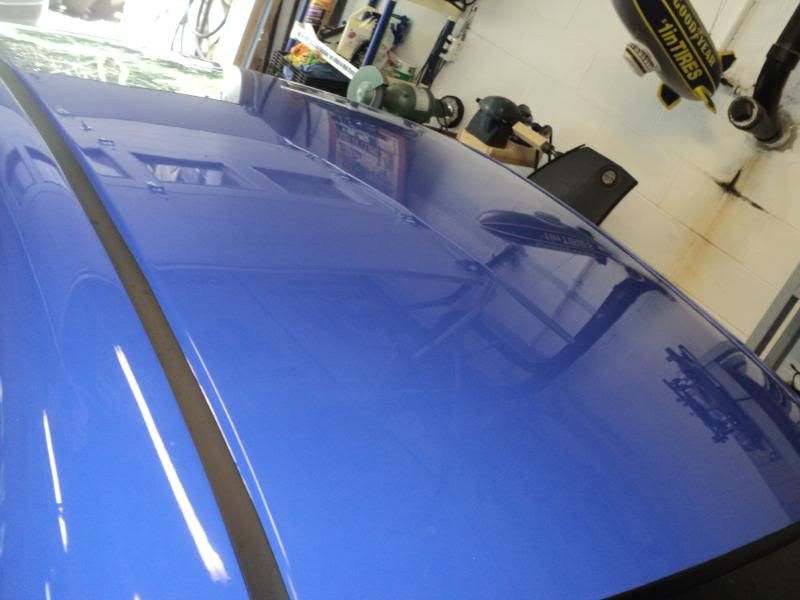
houston, we have paint.
ok, spent MORE money. i really need to leave this thing alone, and finish my red car. been spending all my car fund on the neon.....
on my knee front, we have decided PT. may still be able to make the challenge, but we will make that decision closer to the end of the month.
budget:
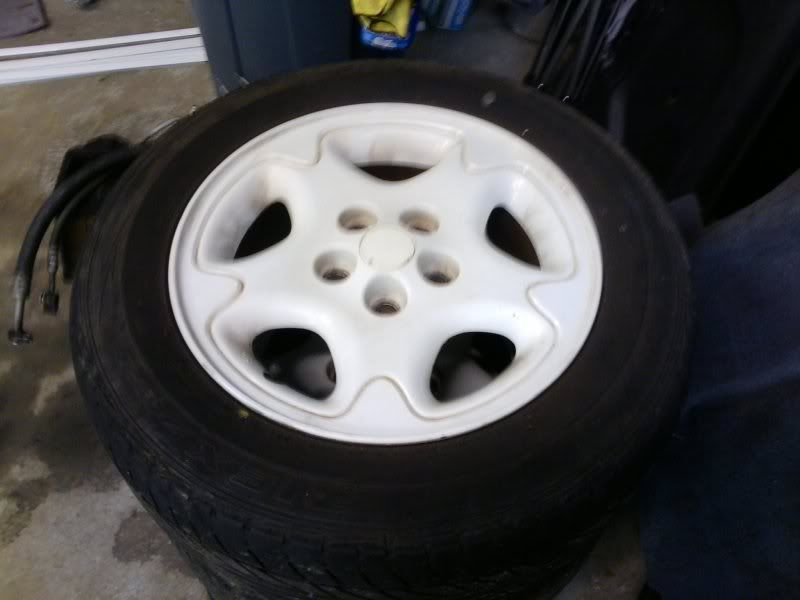
spent 24.67 on 2 cans of SEM vynil and fabric dye spent 130 on carpets, white wheels with great tires, weatherstripping, taillight, and a bobble. wound up meeting fostersnc from the .org through a craigslist ad he had up. really nice guy to deal with. i really liked him, and he helped clarify a couple of things for me. new budget total is 1701.35 (im subtracting the 40 i spent on the last set of tires)
and some pics of what i bought.

i also finished up my export style turns. once they dried from the kitchen sink, i took them downstairs and cleaned them with some prepsol, masked off the parts that i didnt want turned orange, and sprayed on a few light coats of metalcast. im please with how they turned out.
i also got texted a picture from bill of the neon in paint. ive been on call all week, and it has been a busy cycle. very busy. need to sleep......
i have not seen it in person yet, but plan to do so monday morning first thing when i tell him that his ford is done.
id post pics of my color changing process on the new carpets, but my phone is dead and my butt is dragging from this week, so i cant get the pictures at the moment. ill do a bit of a how-to when i get a minute.
thansk for looking. michael
nice!
and for challenge budget, remember that anything you add, you have to include the cost. so, if you remove the carpet for the challenge, you don't have to have it in the challenge budget.
note, that is not true for parts that came with the car unless you actually sell them. ie, if it came with a bumpin' stereo, you can't remove the stereo and subtract the value from the budget.
got it back from paint and started reassembly last night. looks great, but im leaving town within the hour so no pics till monday or tuesday
DOH...I need pics...loving this build man, truly.
Just a side note - i recently tried another hazy acrylic light lens trick: Ceramic cooktop cleaner. The stuff off the shelf at the grocery store- specifically "Cooktop Magic" brand. Its a super fine abrasive suspended in a cleaning solution.
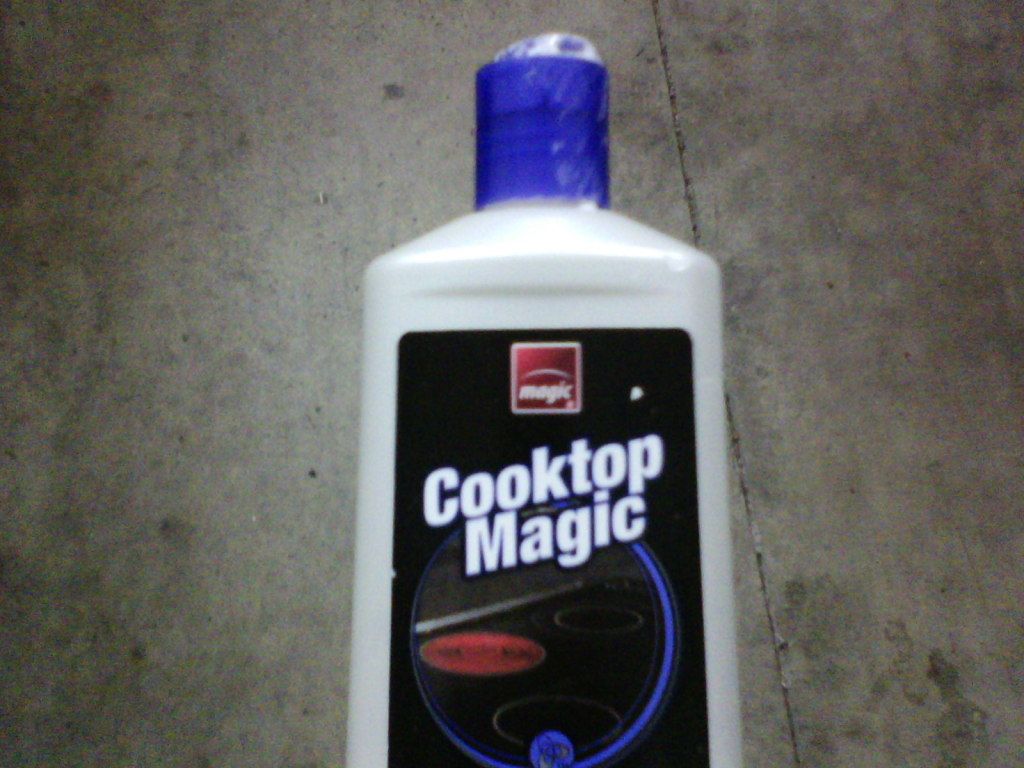
just applied it in a tight circular motion on a terry cloth towel, using pretty decent elbow grease as persuasion.
before:
after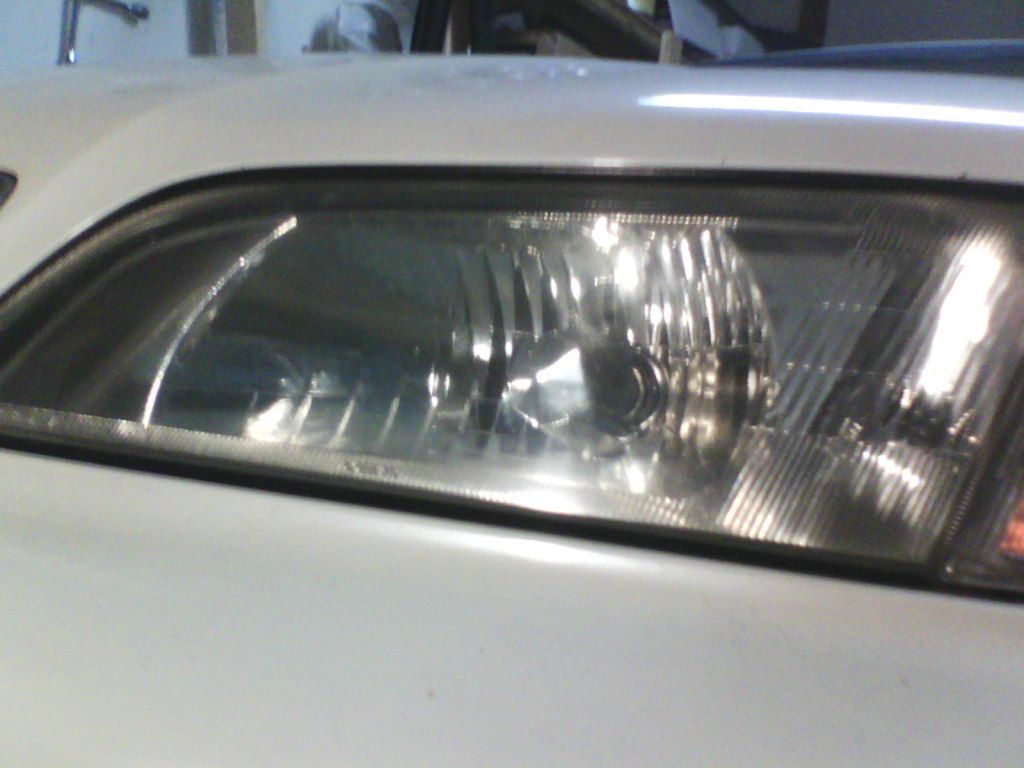
thats about 13 years of oxidation. I followed up by hitting them with some regular turtle wax stuff with a UV protectant...theory is that once you grind away the factory UV coating (or it wears off over time), theyll just yellow up again. I did that the first time back in april maybe, and it was just starting to show up again this month, but nowhere near as bad. I suppose I could shoot them with clear coat if I really wanted.
All in all, I think its a success. Pretty good for stuff I already owned and bout a half hour of effort.
so i promised a how to on color changing carpets a little while ago. its really pretty simple, and ive used the same method to freshen faded and stained carpets in various cars plenty of times over the years.
step by step.
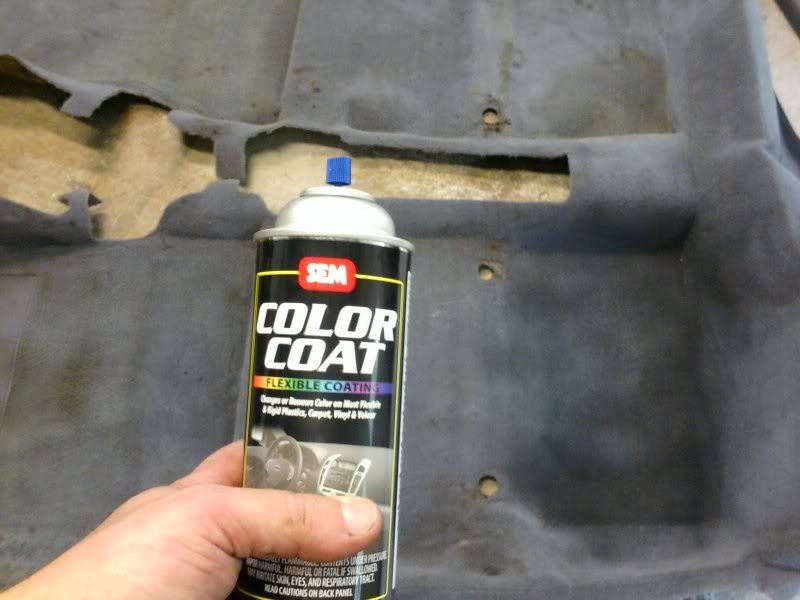
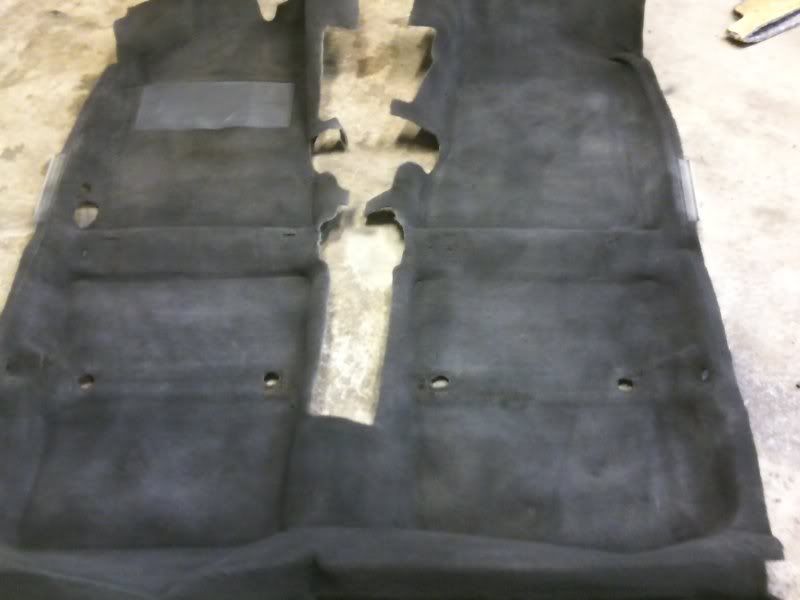
once installed, no one will ever know the difference.
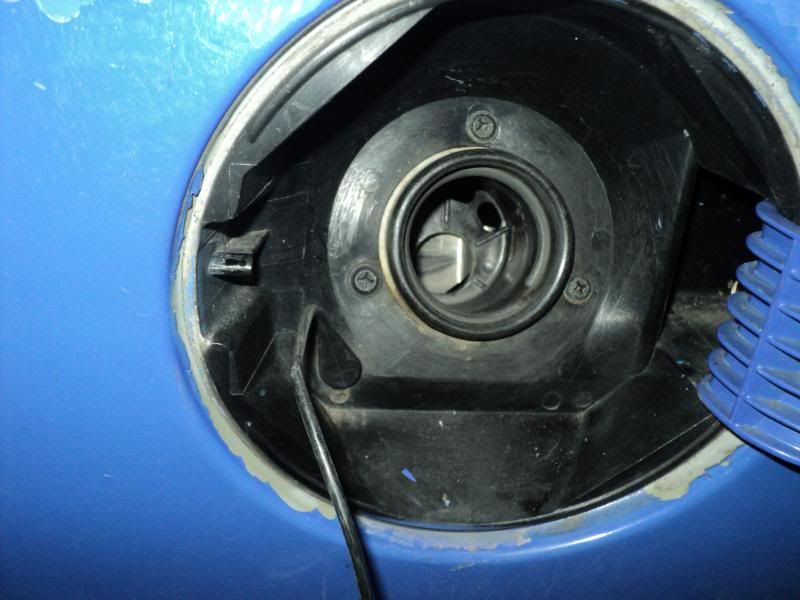
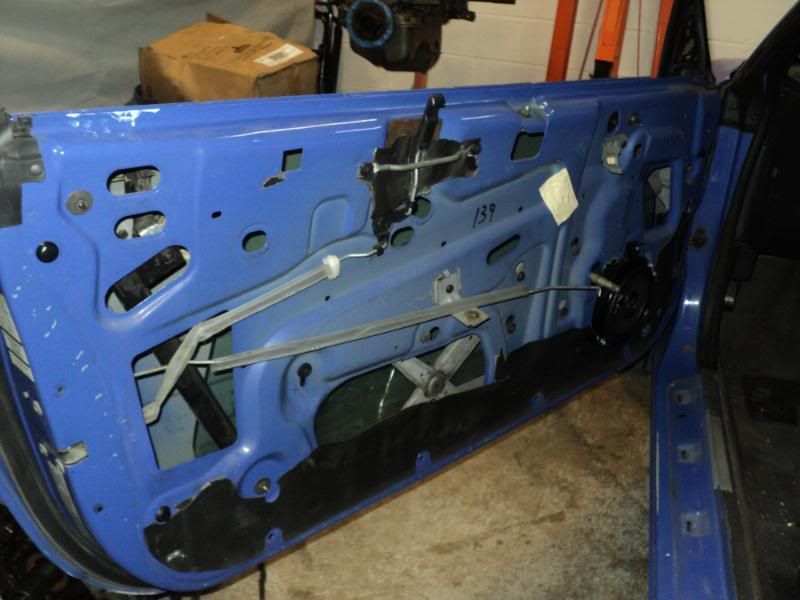
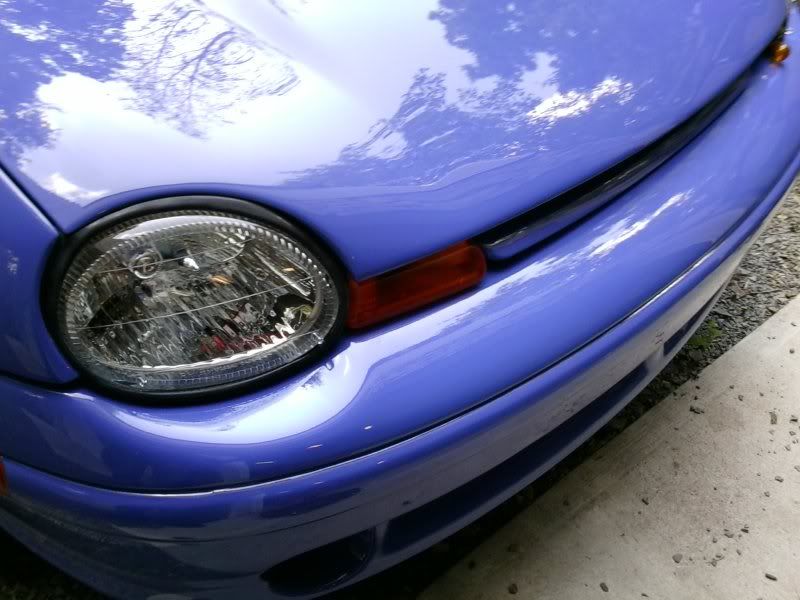
i also got the car back from paint last thurday evening, and left town friday after work. that being said, i got the chance to get the lights all put back on, and the passengers side door rebuilt, adjusted, lubed, and reassembled. and yes, i took care of readjusting the grille piece that looks like a smilie. just no pic yet.
also sanded down, masked, and painted the metal weatherstripping rails above the windows. they were pretty bad, but look good now. i love having supplies left over from customer cars.....
plan is to do the drivers side door this week while replacing the broken window guide, restore my rear window surrounds, and hopefully do the AC and gauge install this weekend. also hope to gut the interior, clean, insulate, and install the new stuff this weekend as well.
michael
so time for an intensive update. i had a slot in my shop schedule open up, and the 54 ford left my bay. i also had a 4 doay weekend from my day job.
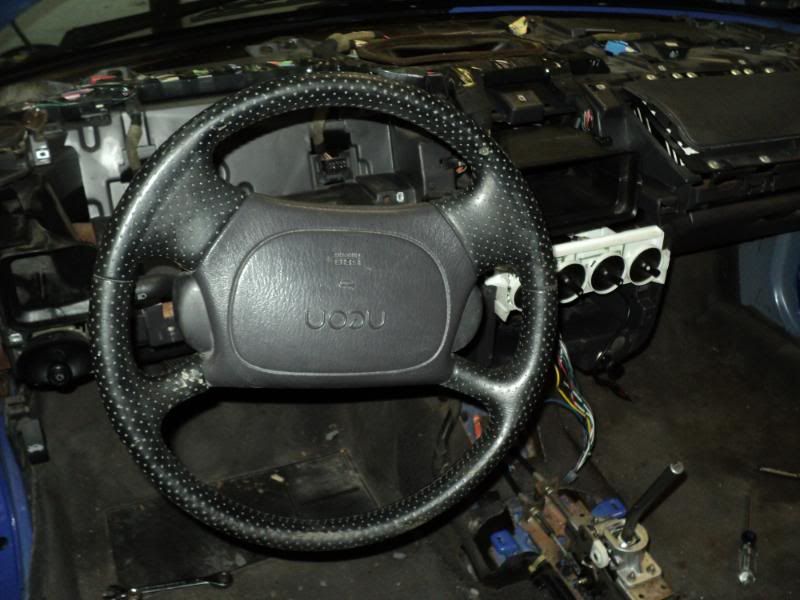
so i decided it was time to put the AC in, and finally take care of the bug problem once and for all.
the how to for the AC box under the dash that i used is found in the link, and i want to give a huge THANKS to the guy that wrote it. used it when i pulled the box in the yard, and again to do it in the shop. http://forums.neons.org/viewtopic.php?f=1&t=388401
agiain, anyone doing this should consider this link sacred.
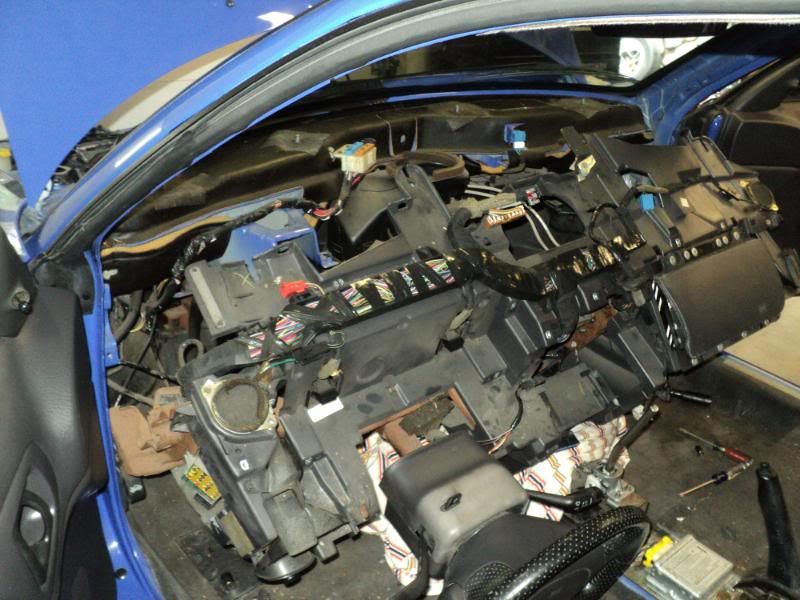
that bbeing said, the job is still a MFPITA. it took me 7 hours from backing the car in the bay to calling it quits with the dash most of the way back in, albeit a whole lot cleaner, bug free, less rattly (hopefully), and with all the AC specific stuff. all of it works, and the wiring was all there for the AC parts. i also have to say that i was getting tired by the end of the day, so pics got less often.
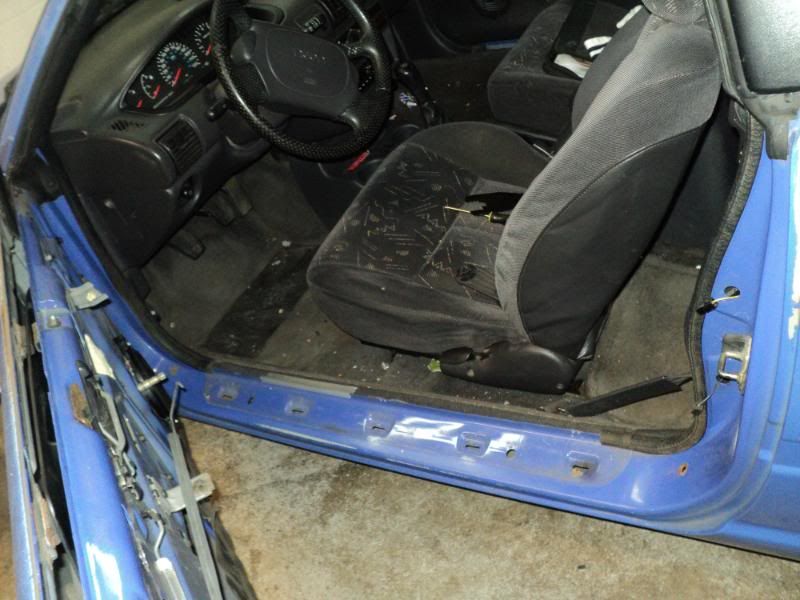
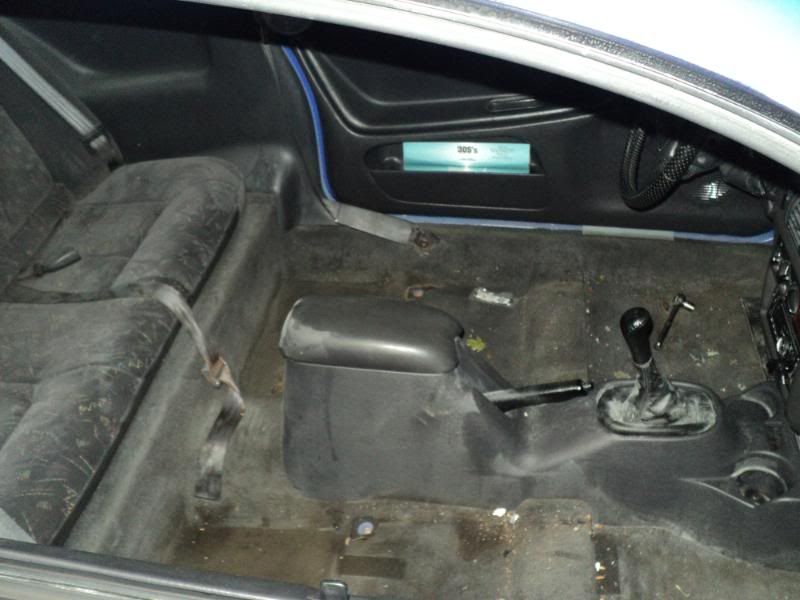
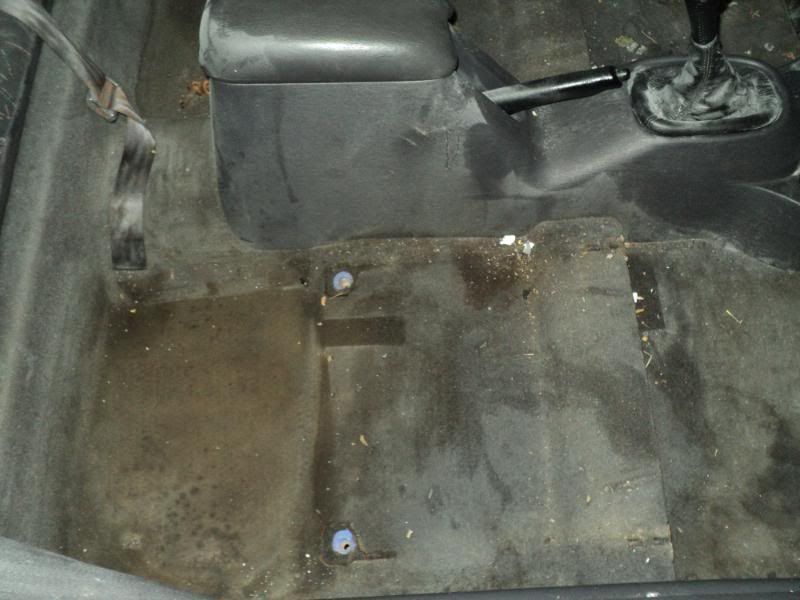
you also will want to be warned, theres a reason that this thread was titled the DIRTY ACR. it was a very, very disgusting job. and one that went MUCH further than it should have had to.
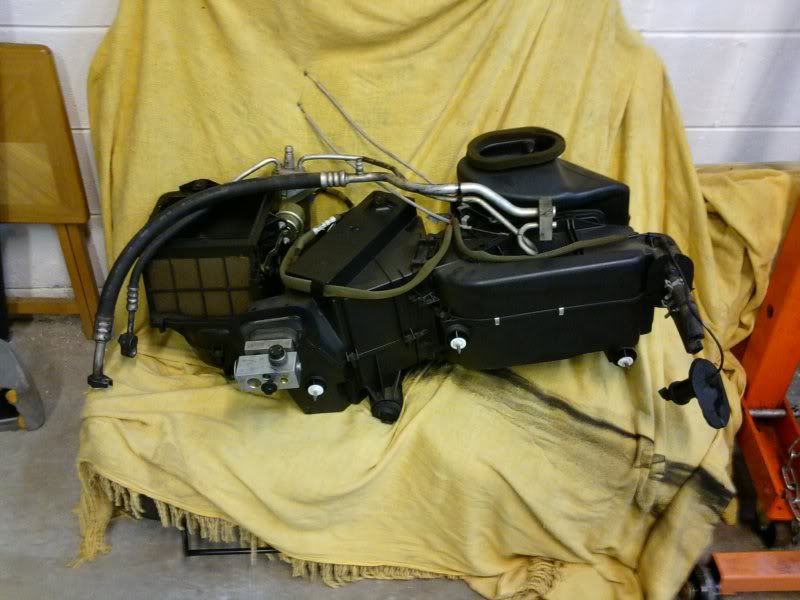
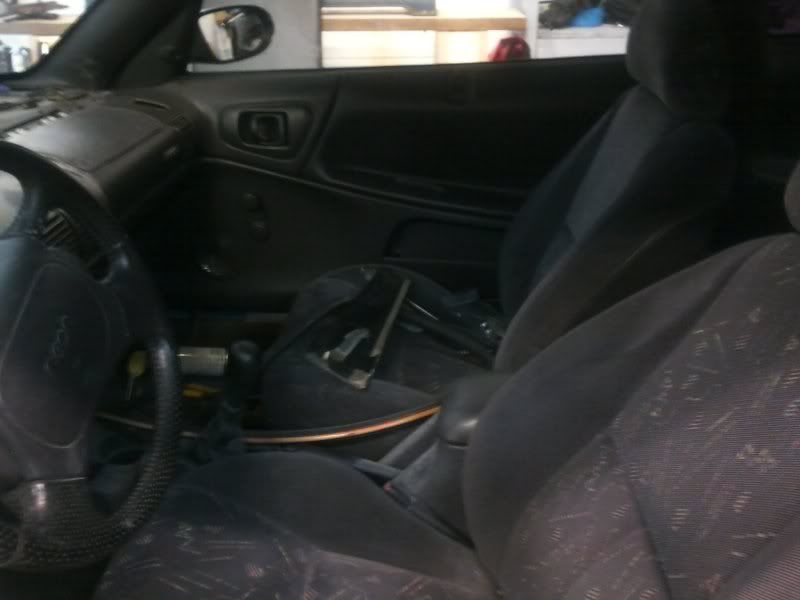
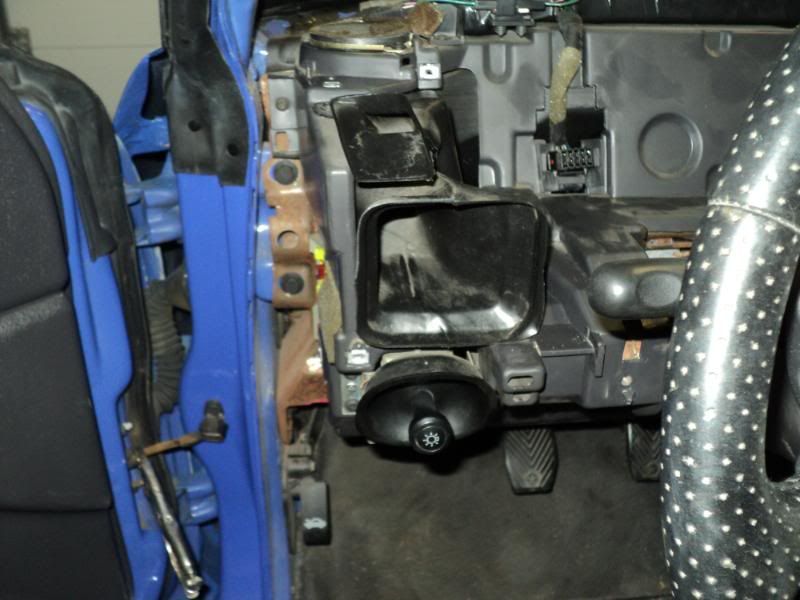
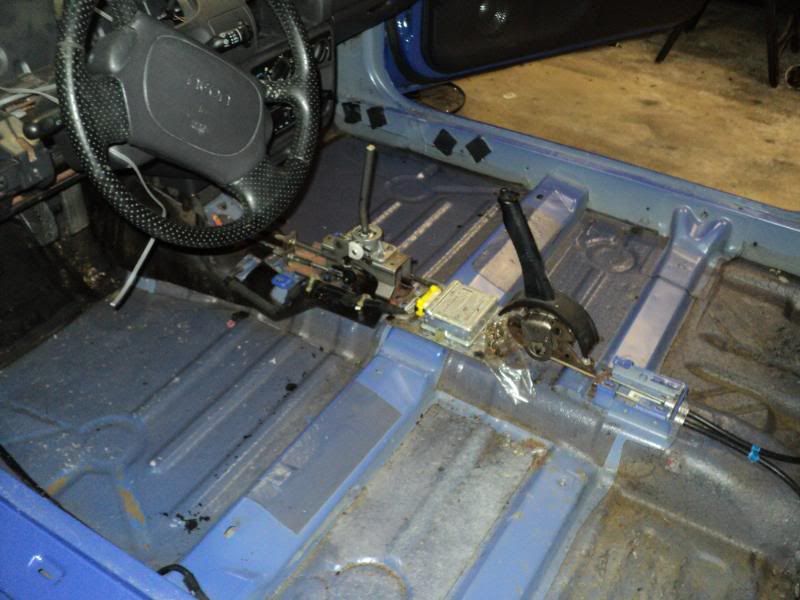
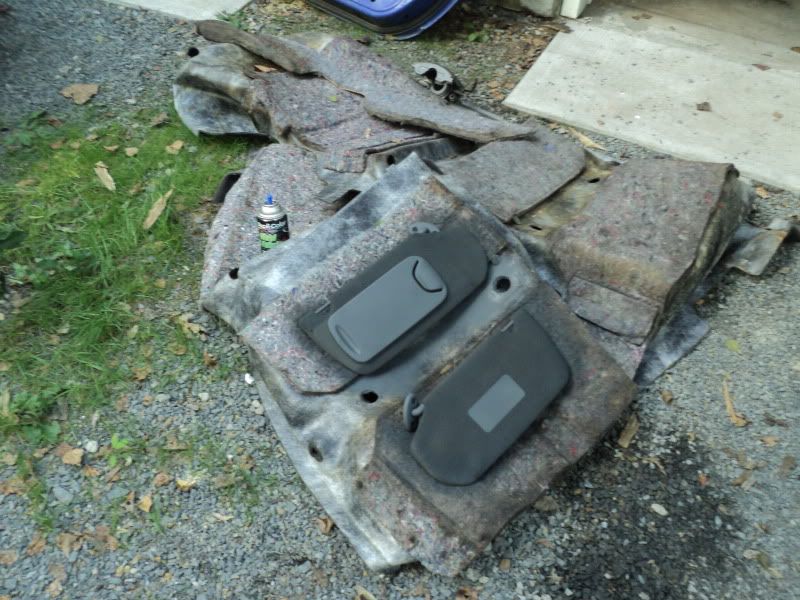
pics of the teardown, and filth that made me wish for a hazmat suit.
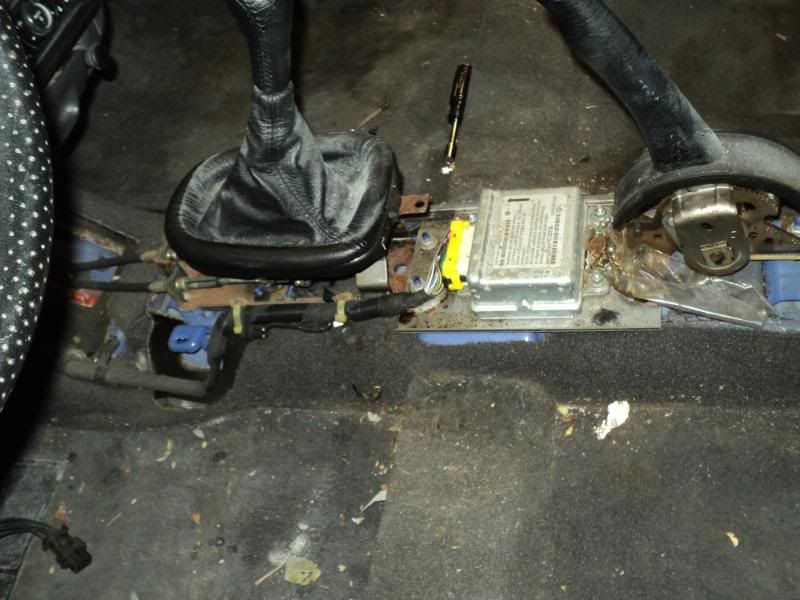
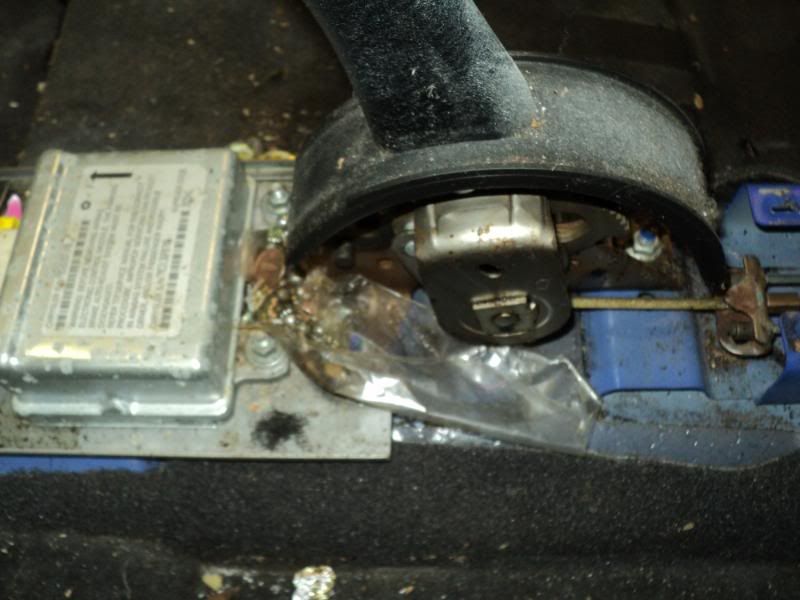
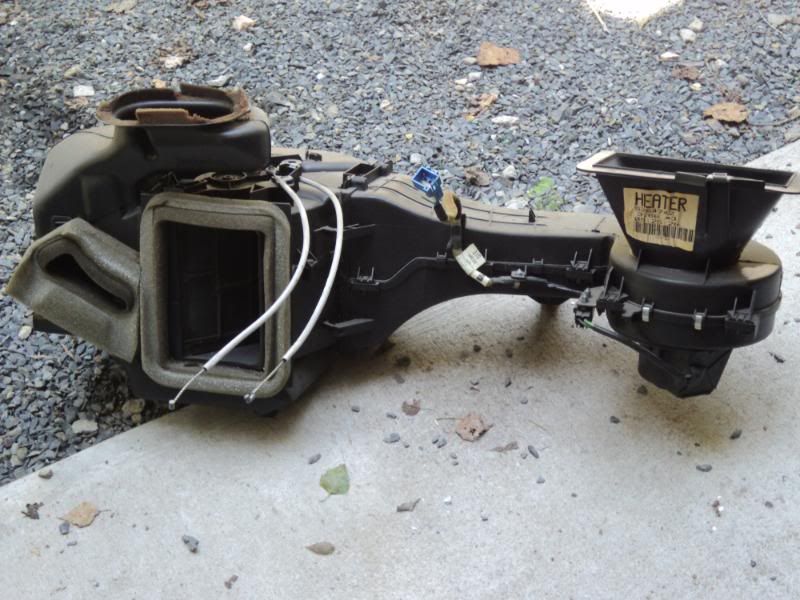
so at this point i was just focused on the AC swap. i was honestly choosing not to think about the rest of it. i got the dash seperated, all the coolant drained, and the heater out.
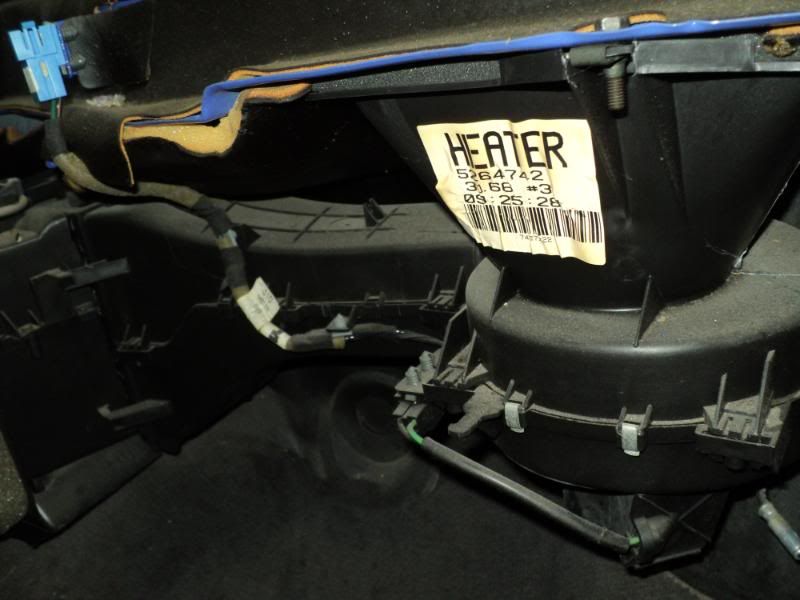
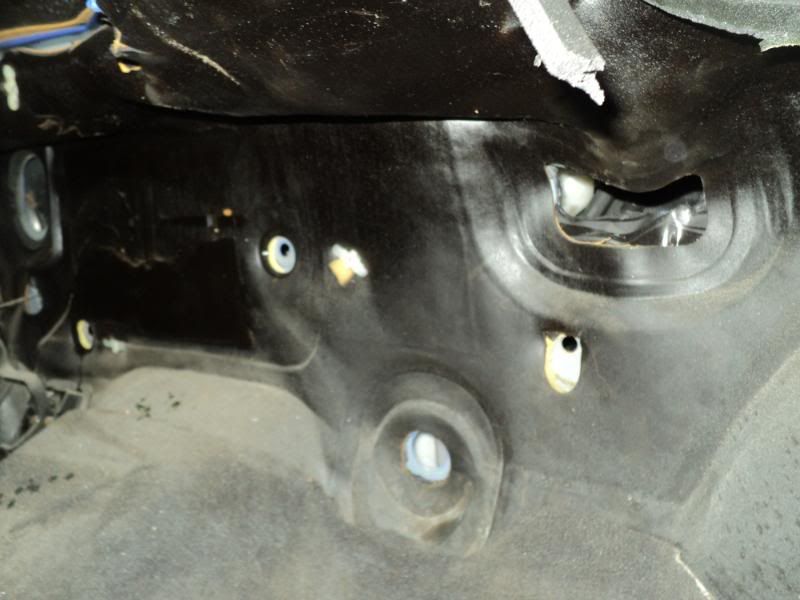
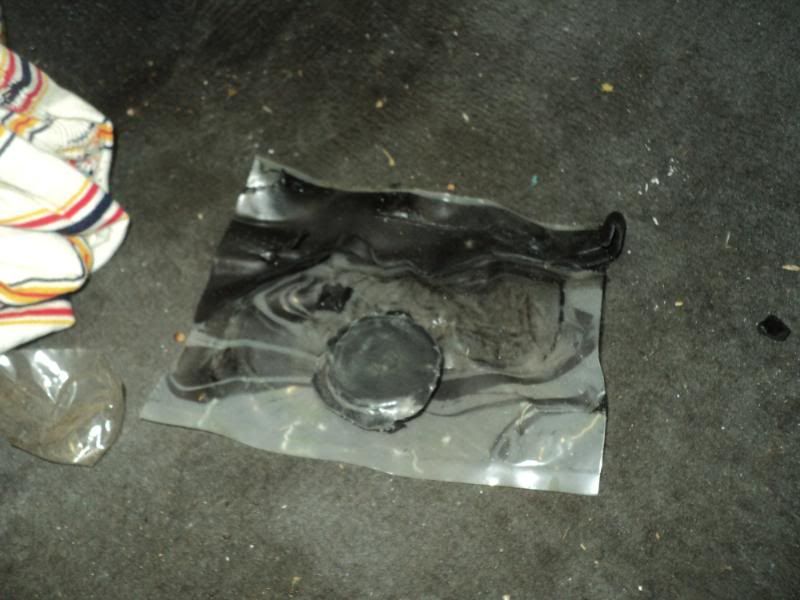
i also took a picture of the heat only parts for you guys wanting to go the other way. nothing bur a body plug, and a piece of plastic with some ackempucky on it.
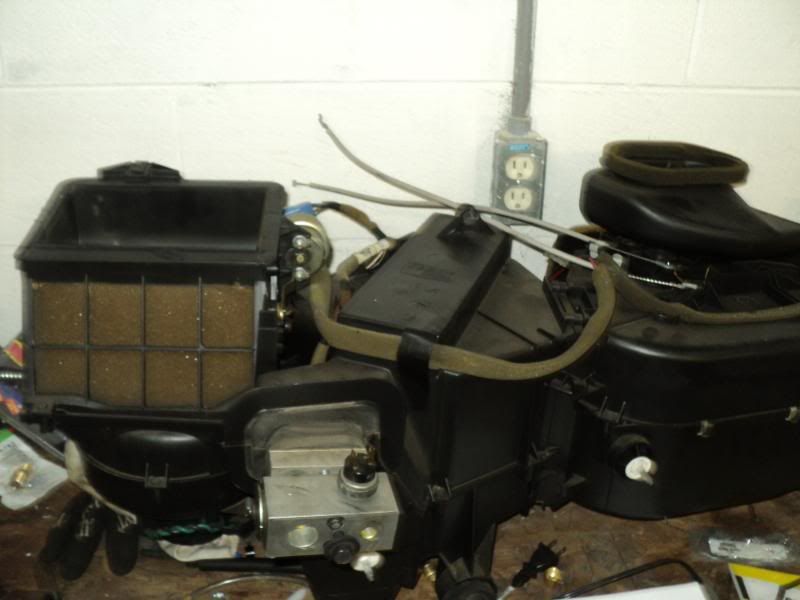
i had already taken apart the AC box to clean out all the debris, and check for any worn/broken parts. checked out fine.
i wished for a helper getting it all back together, though. just trying to line up everything while jiggling and holding was a royal pain. alsost thought i would have to wait for my wife to come home to help, but through sheer stupidity and stubbroness, i got it done.
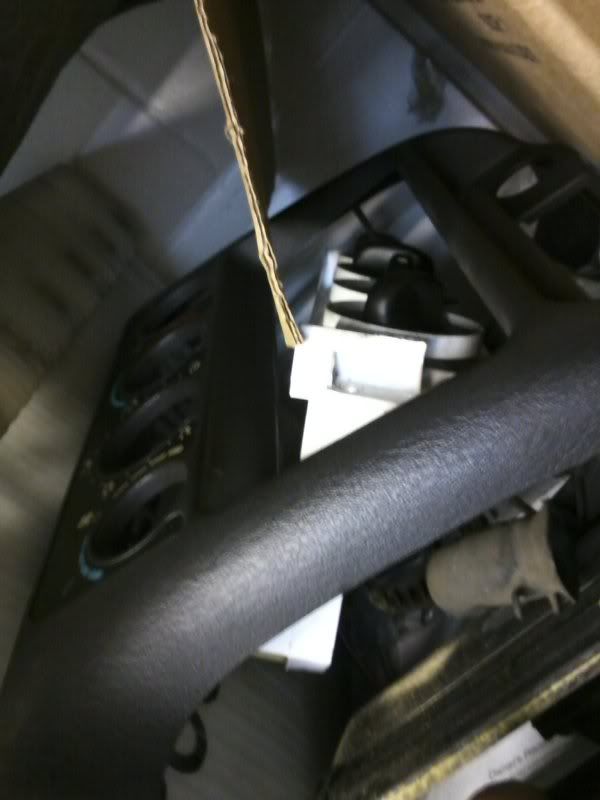
also swapped out the heat only controls to AC, cleaned all my electrical connectors and packed them with dialectric grease, and generally tidyd things up while i was at it. even cleaned as much of the ductwork as i could.
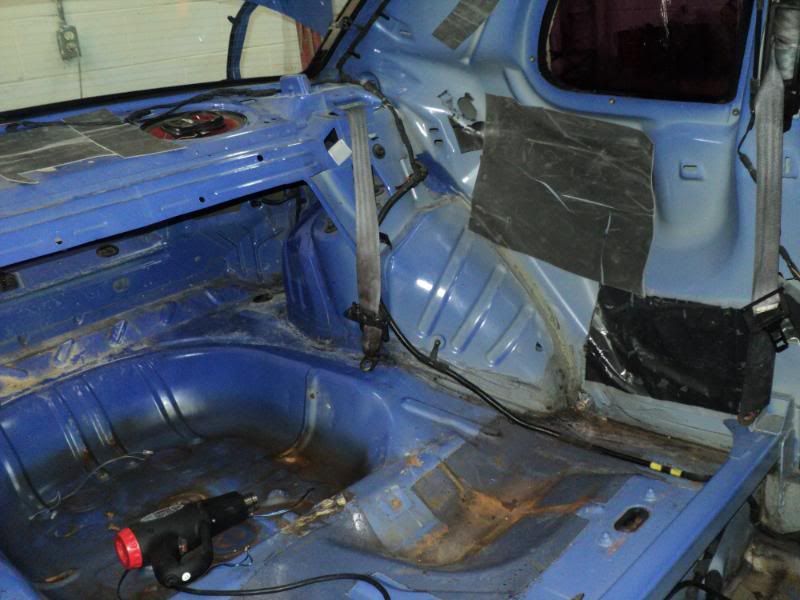
after that ordeal was done, i went chasing filth and buggies. this is what i did in picture form, followed up by where i ended up.
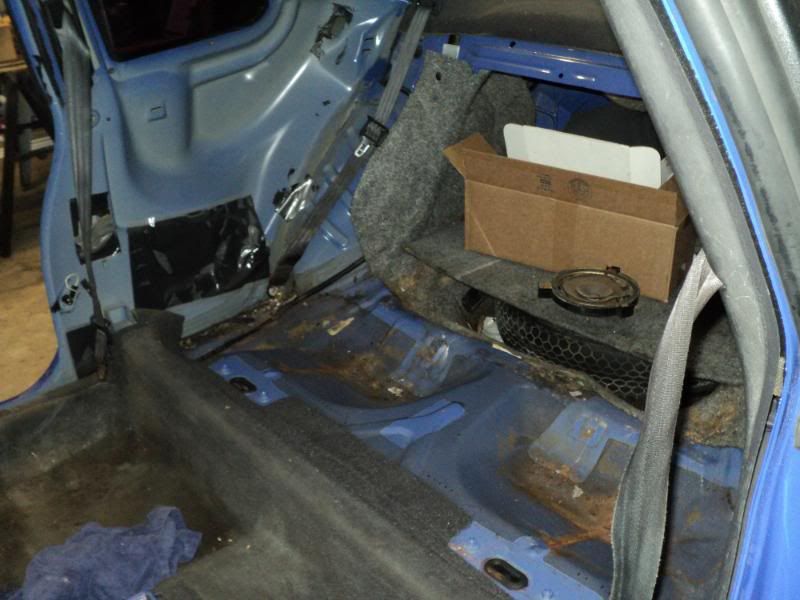
at this point i vacuumed and scrubbed up all the filth, as well as sprayed it all with a straight bleach solution. also set off a bug fogger inside the car, rolled up the windows, and left it overnight.
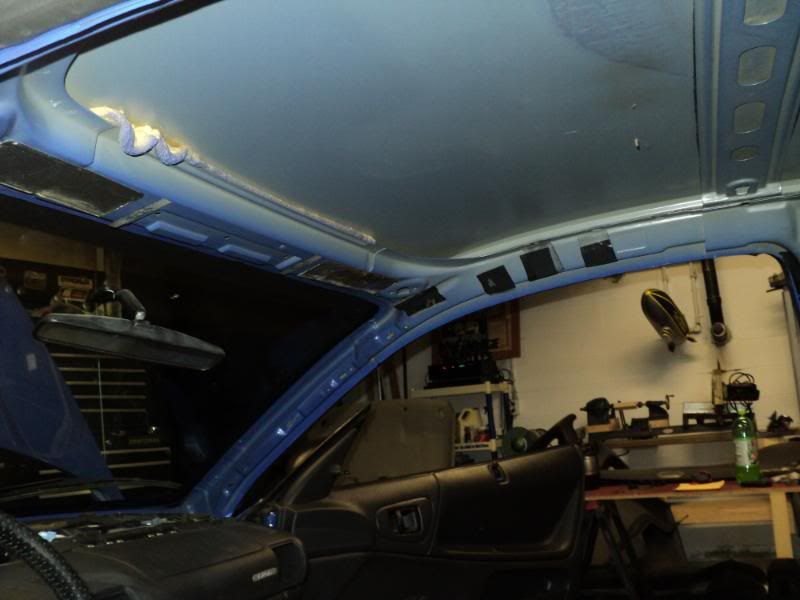
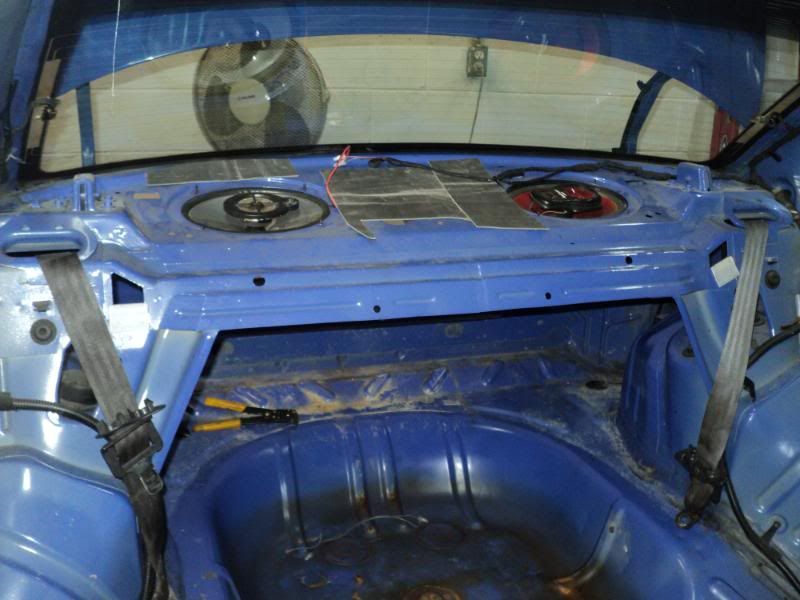
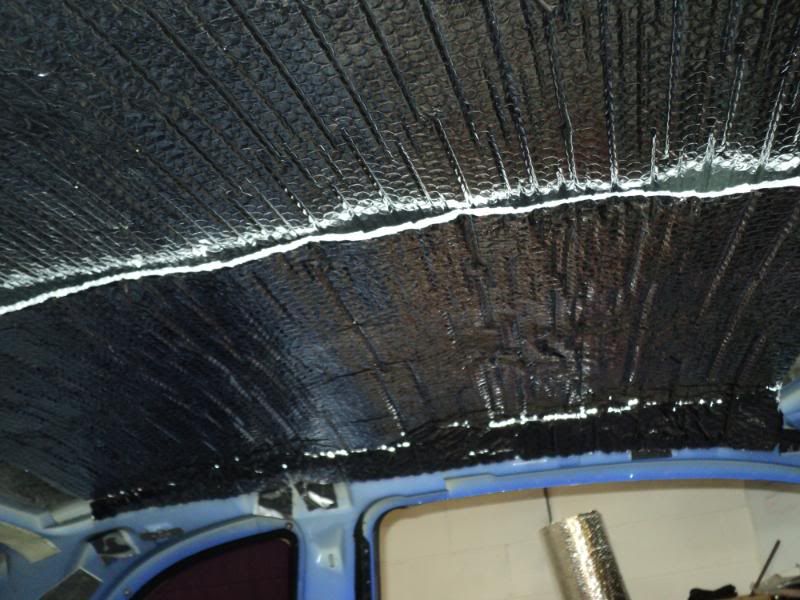
next up, i decided since i already went this far, id use up some leftover supplies from the street rods for noise and heat managemnt. i use 3X5 sheets of mastic from mcmaster car to dampen panels, and a bubblewrap insulation from lowed for heat managment where space is tuight. this project i used 1 1/2 sheets of mastic, and what was left of a roll of the insulation. all leftover from an interior rehab on a 78 vette pace car. also, i had a friend that felt bad for me GIVE me a mismatched pair of 6X9 rear speakers. ones a road gear, ones a sony. both are 3 ways, and neiother are blown. so i threw them in. the old 5 1/4 that i had in there were driving me buggy with the rattling.
i deadened the roof, and the rear quarters. wjhat i have found is that if you use just enough mastioc to make the panel have no resonance when you thumpt it, youre good. doing most of the panel gets 80% of the harmonics out. i just dod a 24X24 piece on the rear quarteds, and a roughly 3 footby 18 on the roof. floors had no harmonics. also use leftover scraps on tyhe package tray. may have added 10 unds TOTAL between the insulation and mastic.
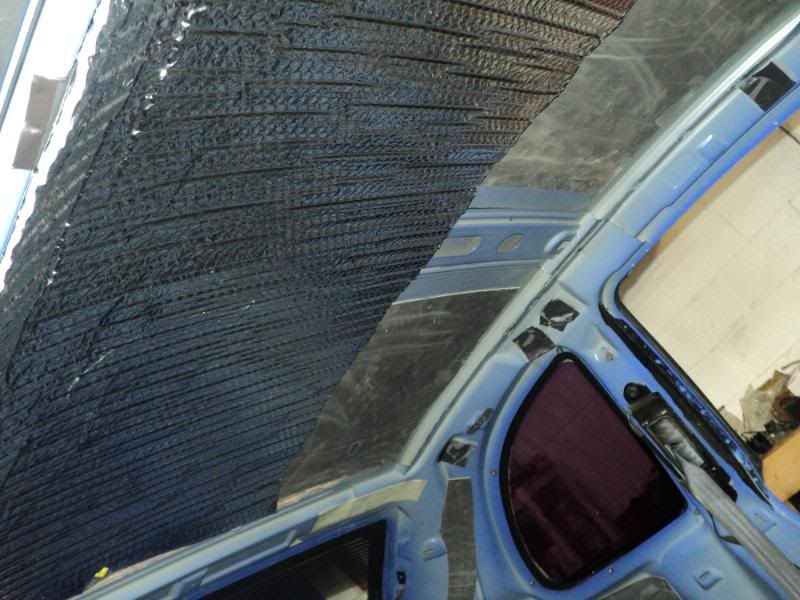 you can kind of see it undewr the insulation.
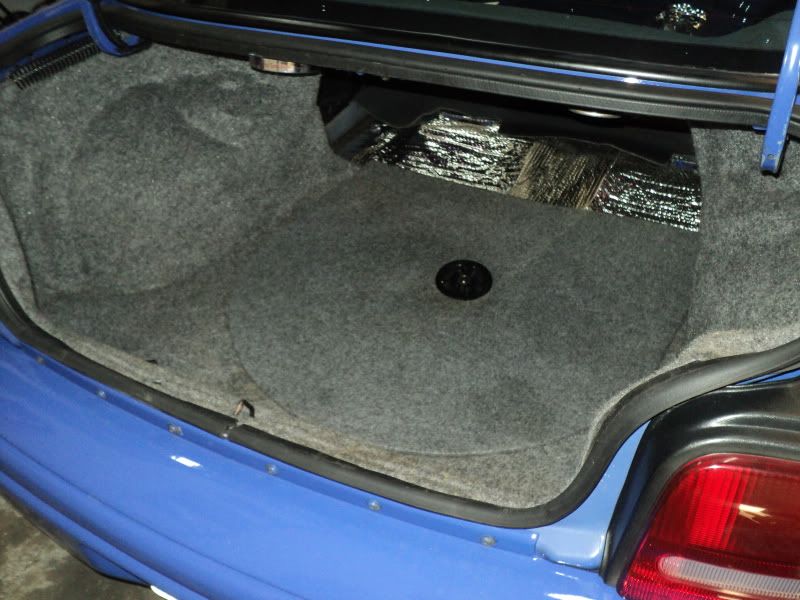
redied the package tray
you can kind of see it undewr the insulation.
redied the package tray
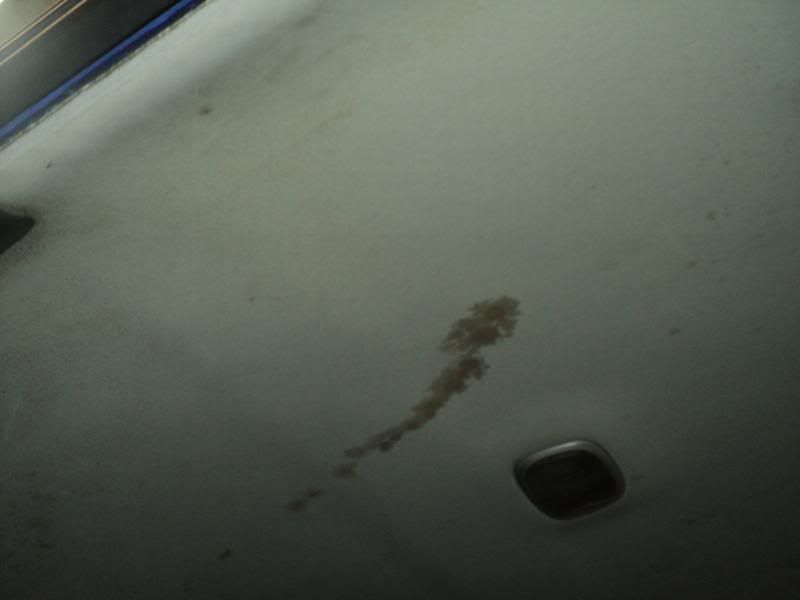
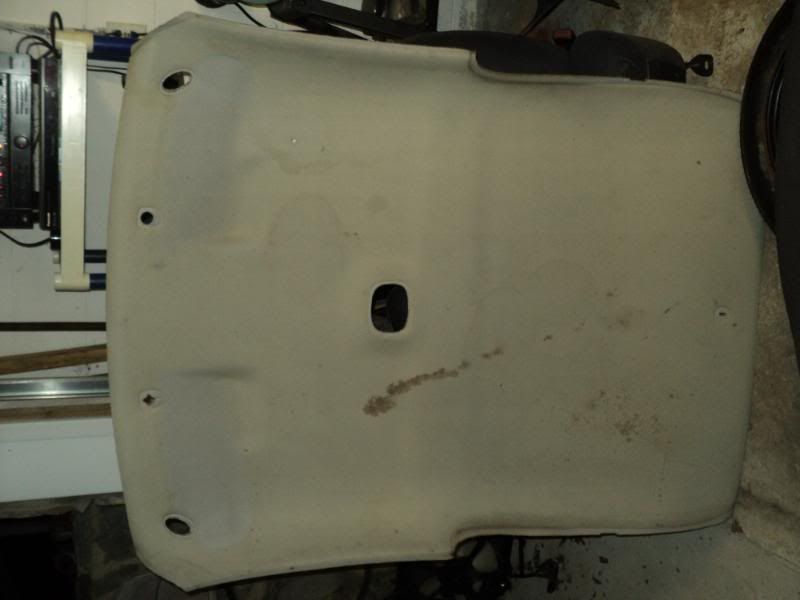
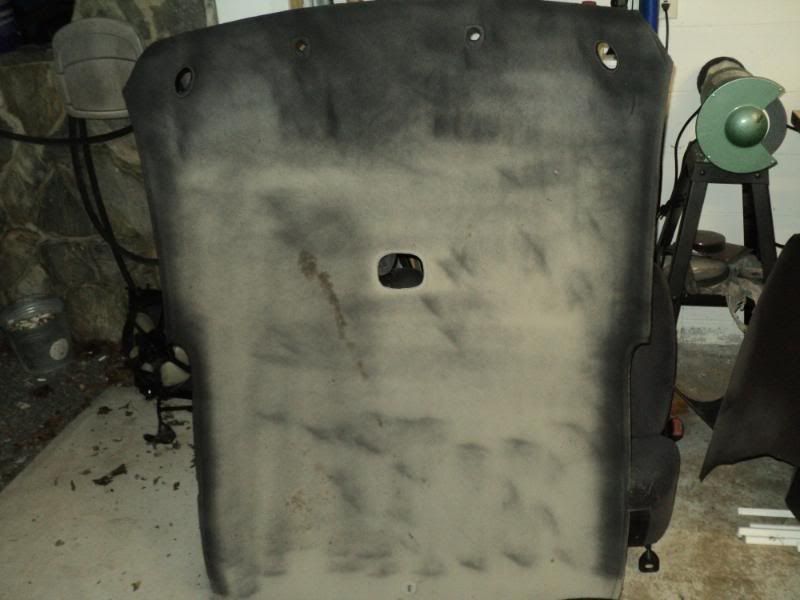
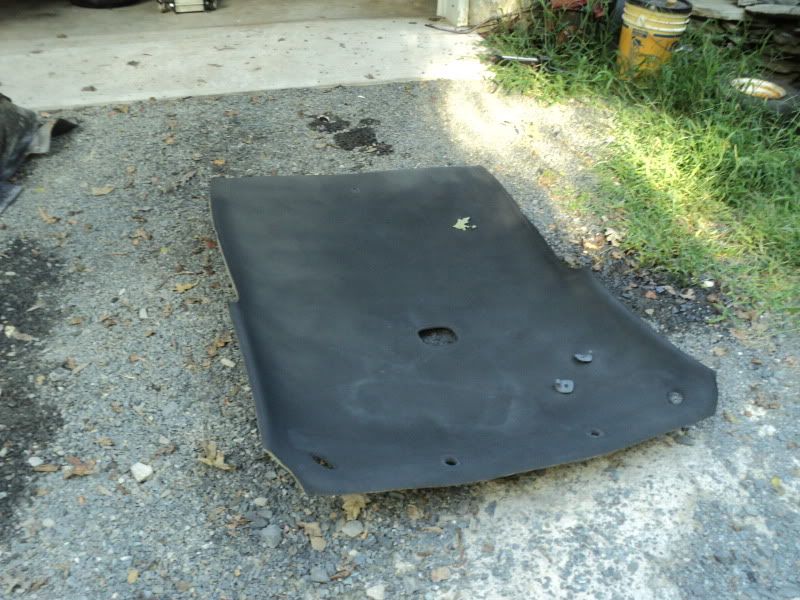
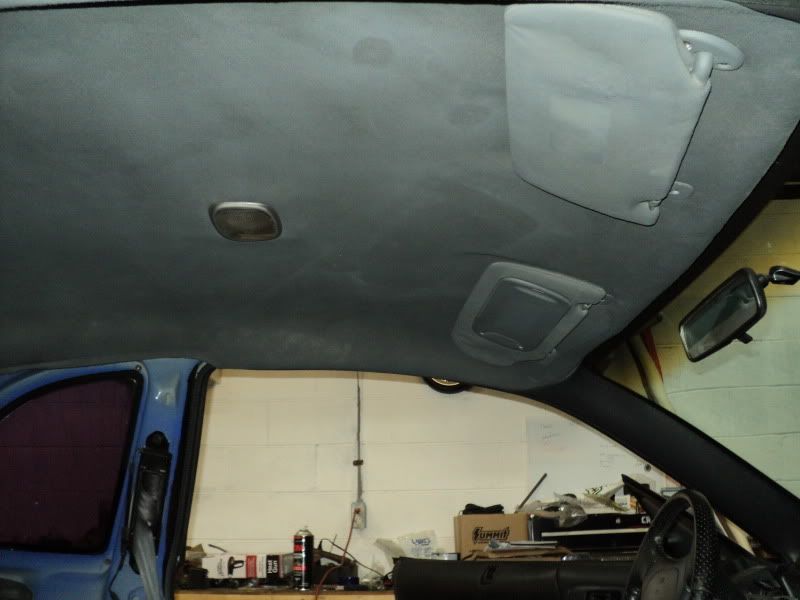
cleaned and dyed the headliner and sunvisors
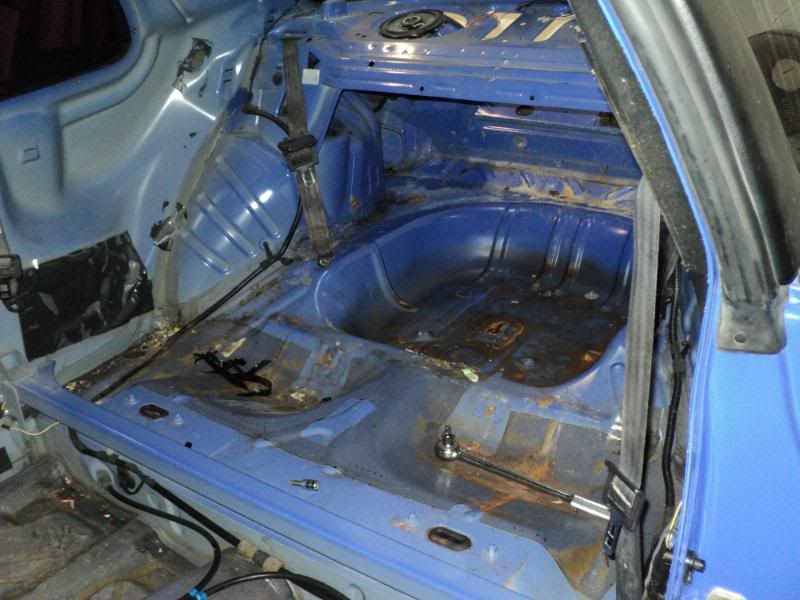
i then inulated the roof and floors. i did not see a point to do the sides of the car on this one, as they were already double wall.
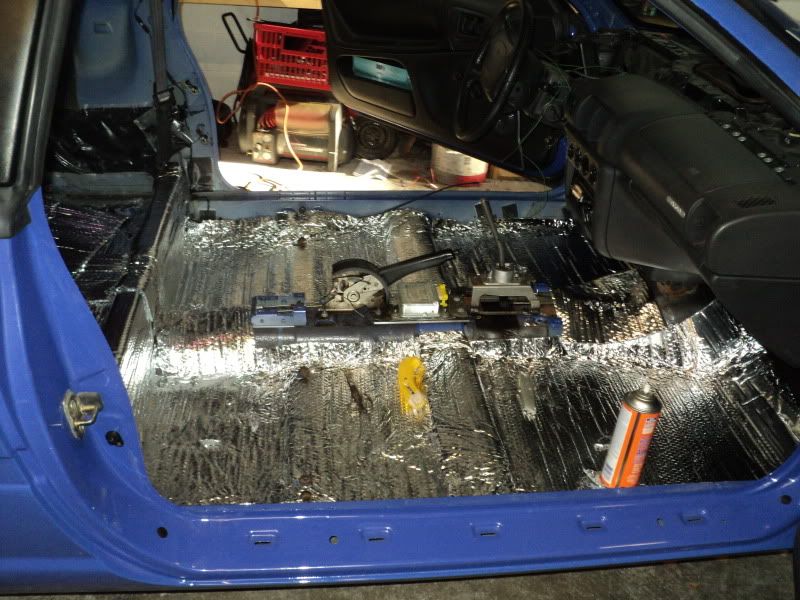 neat little trick is to put all your bolts that youll need to have hol\es fo back in, that cut out the lump they create. use the good spray adhesive on the roof (3M super heavy duty) and the cheap stuff on the floors.
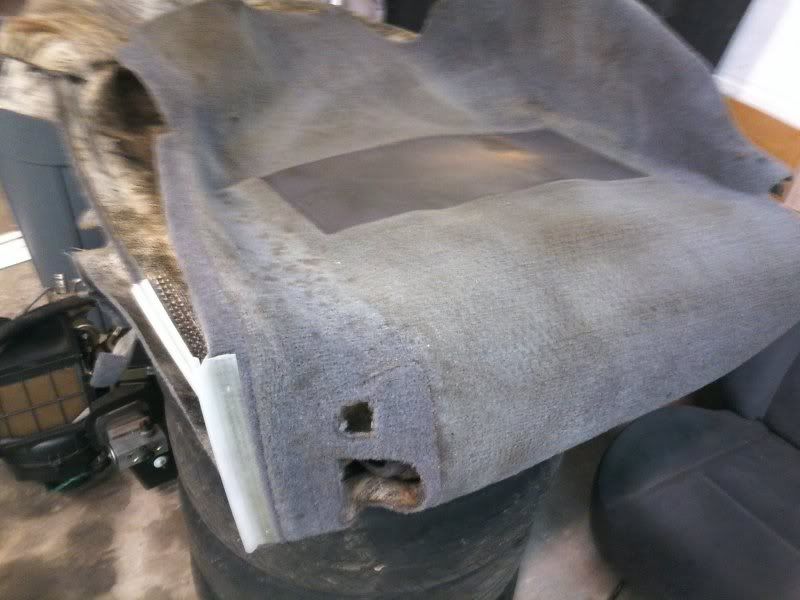
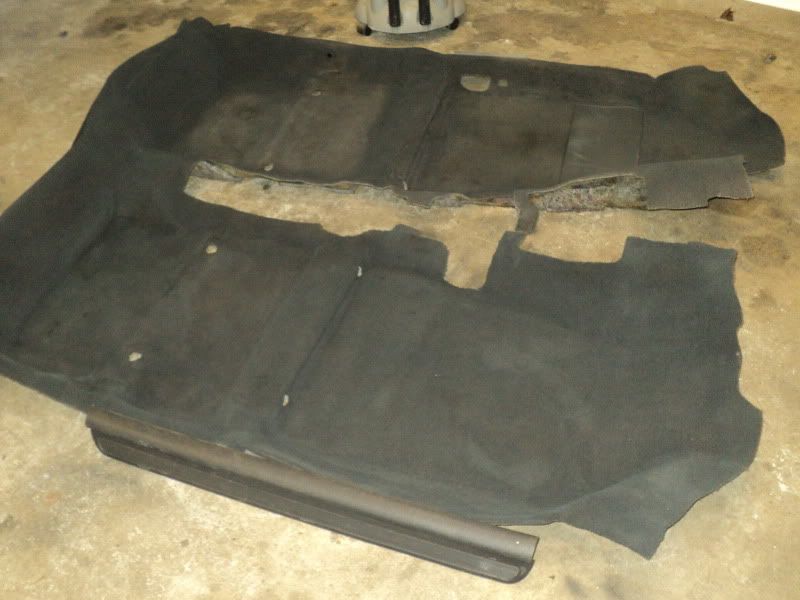
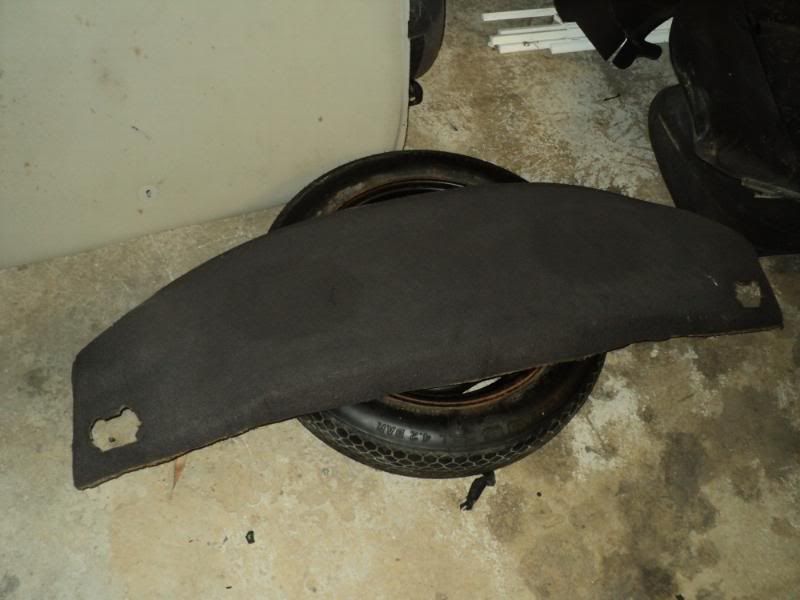
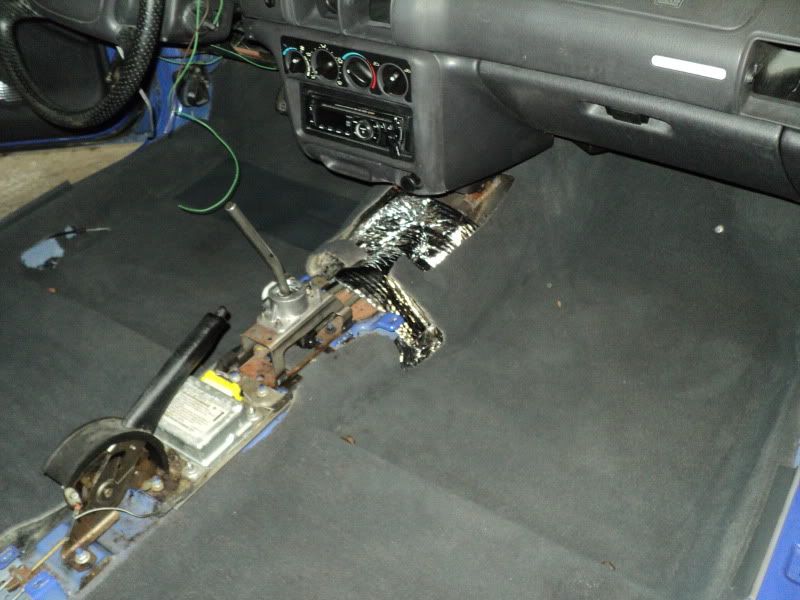
put the carpets and headliner back in, as well as the package tray. in between all this, i used 409 and my trusty concrete brush to scrub the cap off of all the plastics. then sprayed them down with a garden hose, and did my bleach trick to the jute padding on the backsides. for the really nasty trunk carpets, i used superclean, a concrete bruck, and a pressure washer.

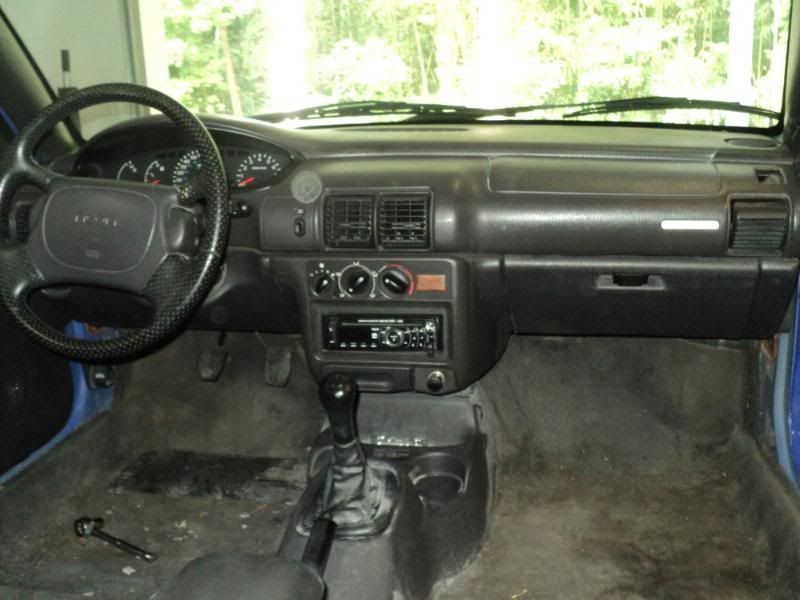
thats kind of where ium at now. i also have some misc stuff i did after work this past week.
got my old ultra lites that i kept from my P5 slipped into the new bezel. you can see the single DIN pod i ran on the bench.
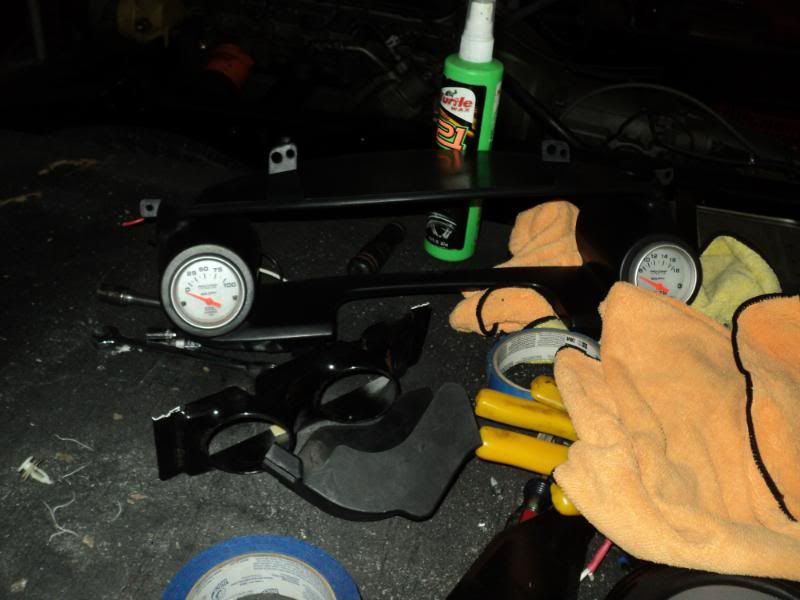
took a pic of my NOS roofrail moulding
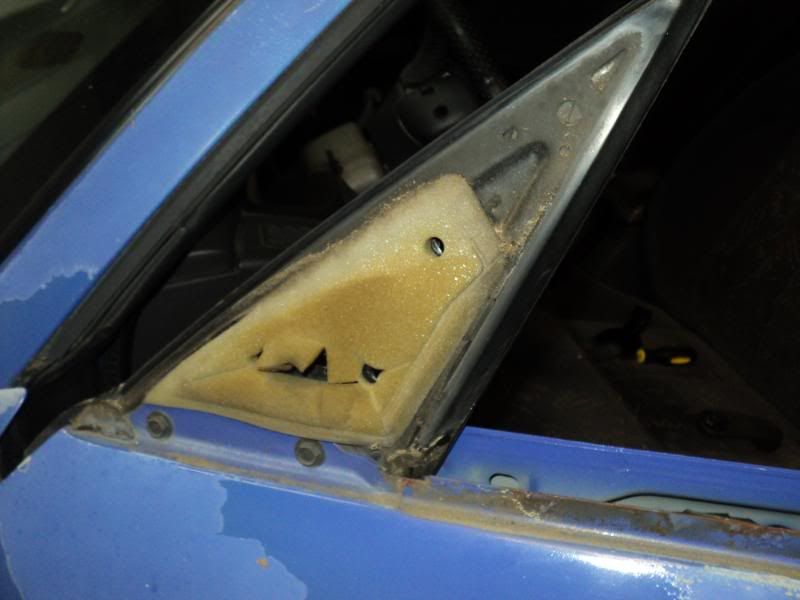
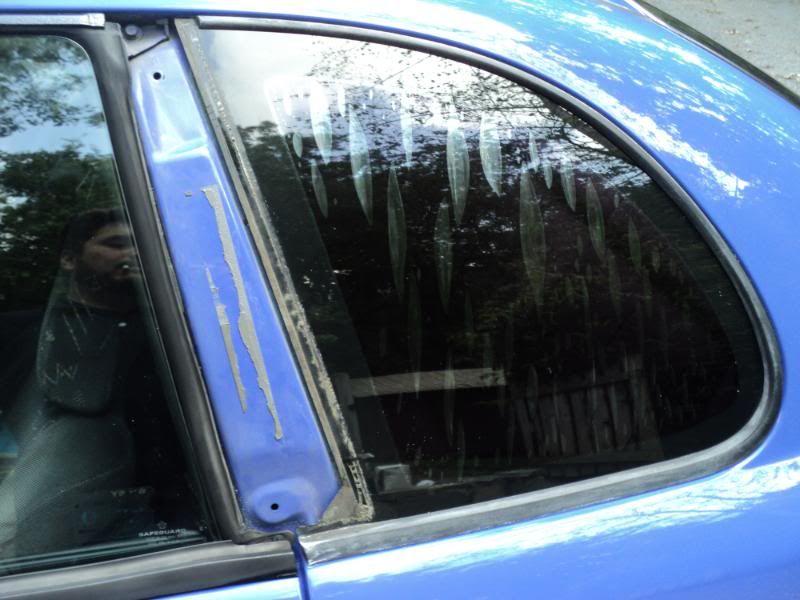
restored my rear window surrounds with a tip from GRM using shoe edge and sole stuff.
and thats it for now. stuff still to finish: change out all hoses. change out all AC o rings. install condensor, evaporator, compressor, lines. finish wiring for autometers, finish putting dash back together. swap left front caliper, put new pads and turned rotors on the rear, strip window tint and reinstall rest of interior. flush brake system. get AC charged.
michael
some of the pics are screwey. i apologize, and will attempt to correct after sleep.
also, the car had a brethalyzer at one point. found the wiring pigtail up in the dash.

Looks great!
You'll need to log in to post.


