Front element update post.
In order to implement the new front element airfoil shape Sleepyhead developed in the Aero Thread I took apart the existing front element. Before I disassembled it I weighed it.
I knew it was heavy from lugging it around but I was surprised to learn it was ~52lb!!
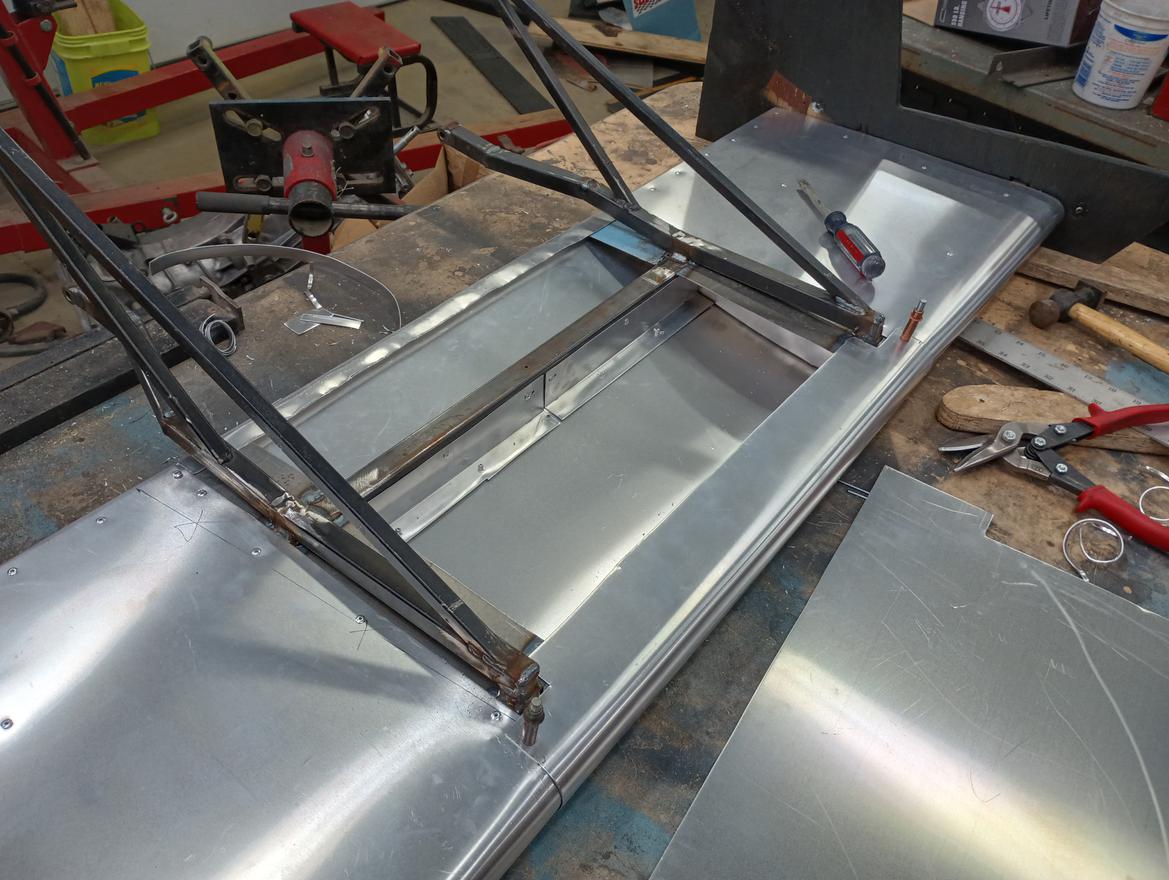
For the new Wing I decided to build it using ribs and sheeting just like a aluminum airplane wing. I left the tubular steel frame (which only weighs about 5 lbs). To make the ribs I blew up the picture of the Airfoil shape and printed it on paper. I then cut a scrap piece of ¾” plywood to match. I rough cut a second piece of plywood then screwed them together and used a flush cut router bit to make them identical. Making the ribs was a simple matter of cutting a template ~¾ larger then the profile clamp it between the forms and hammer the metal over 90 degrees.
I then attached the ribs (2 rights, 2 lefts) to some tabs I welded onto the frame.
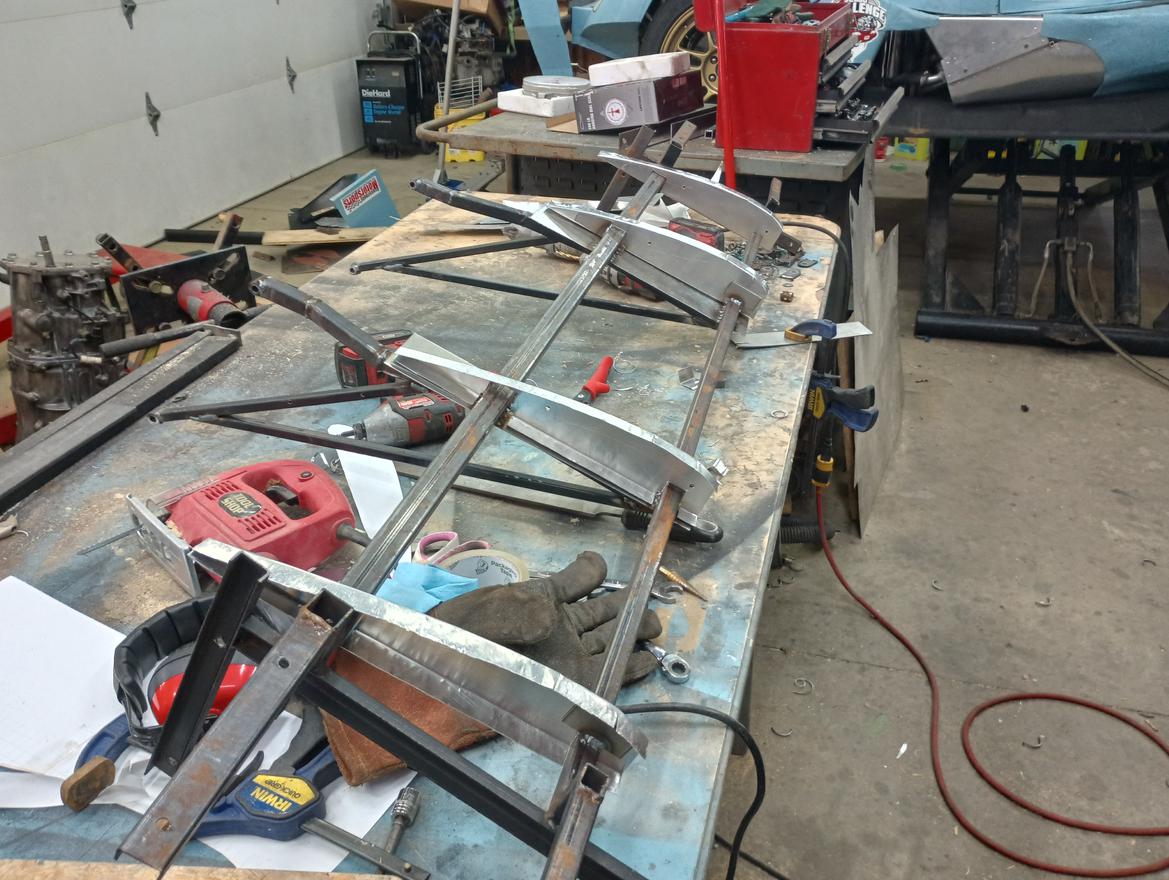
I was concerned that just having the aluminum sheeting between the ribs on the underside would lead to to much buffeting so I added some flanges. Normally on an airplane these would be the spars and carry all of the weight along the wing. With this wing the steel frame is the spar so these flanges are just kinda roughly attached to be flush with the profile.
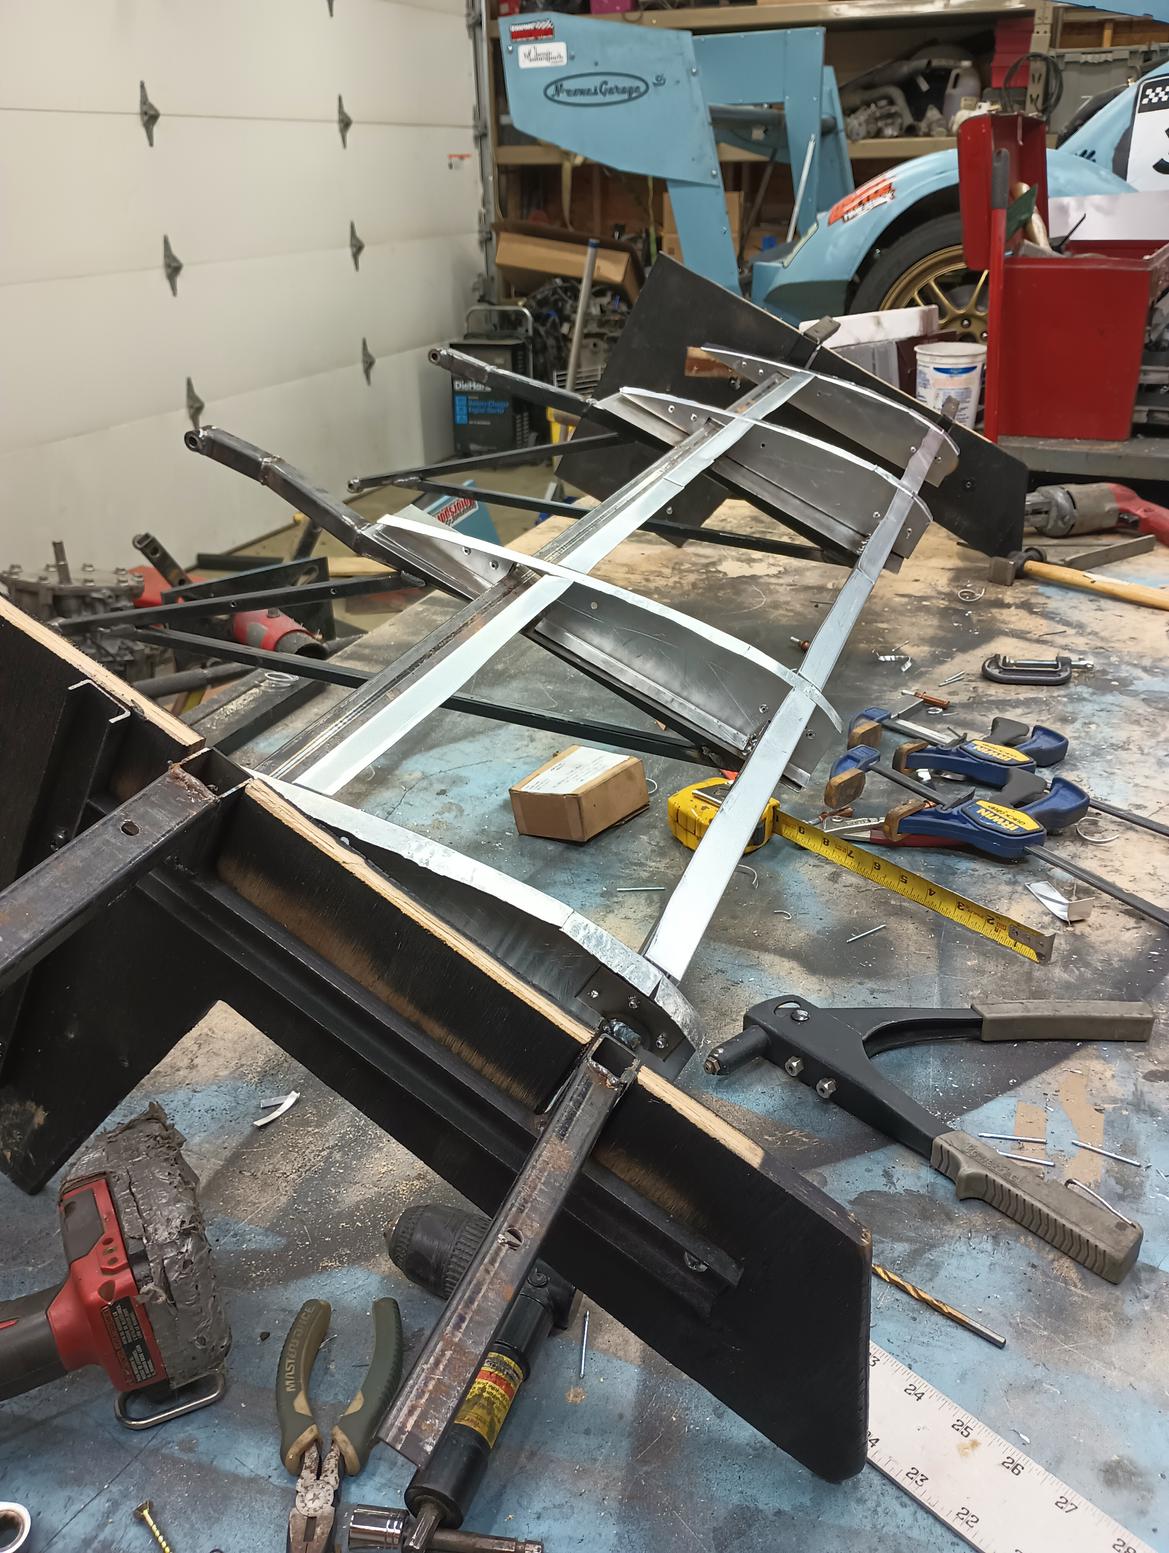
Once the frame and ribs where complete it was time to sheet it. I used 3 strips (More on why in a bit) to do the sheeting in sections. The outsides are entirely 1 piece of .030 aluminum. I put the round on the aluminum by clamping some various diameter tubes to a table sandwiching the metal and then by hand just folded it over. I started with the flat top to get the spacing right and have a nice rear edge. Once it was basically the right shape, I lid it on and then let the ribs create the arc for the bottom. At the back of the wing I marked the part from the top and then bent metal over creating a sharp point. I was able to run a line of rivets down from the top at the trailing edge. The nice thing about this technique is there aren’t exposed rivets on the underside like I have on the rear wing.
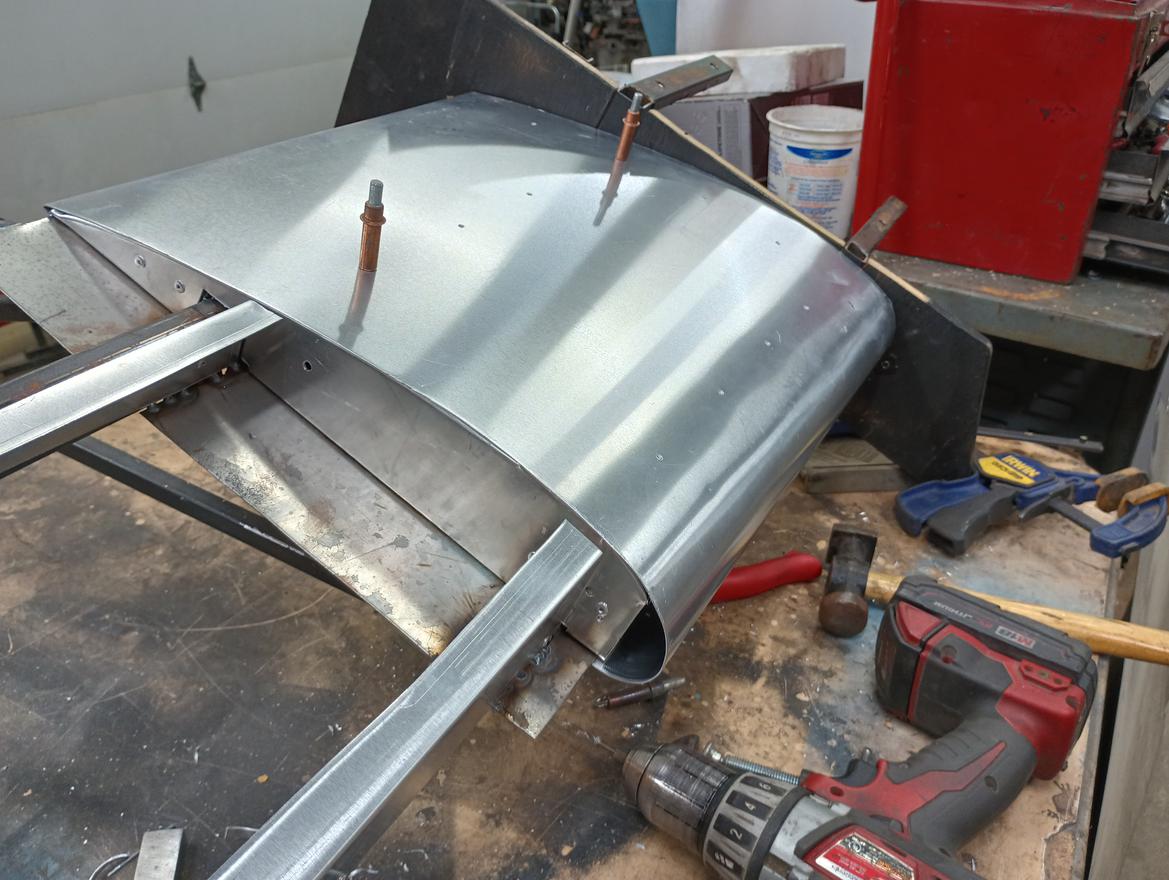
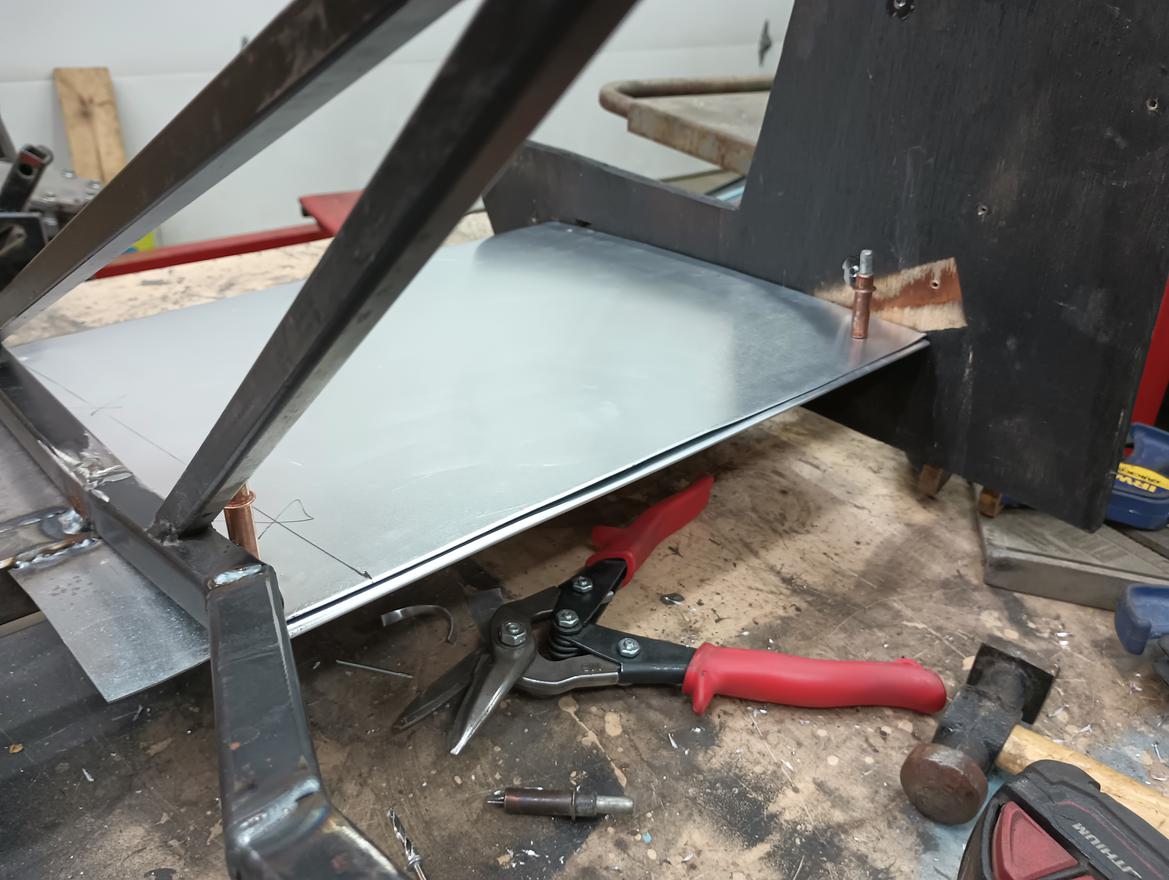
For the middle section I have made a habit of standing on the wing. There are some maintenance items I need to do that require it. The old wing had the durability to walk on but the .030 Aluminum would get pretty bent up doing that. So rather then force myself to be super careful about only standing on the steel tubes, I just put some of the .090 on the center of the wing.
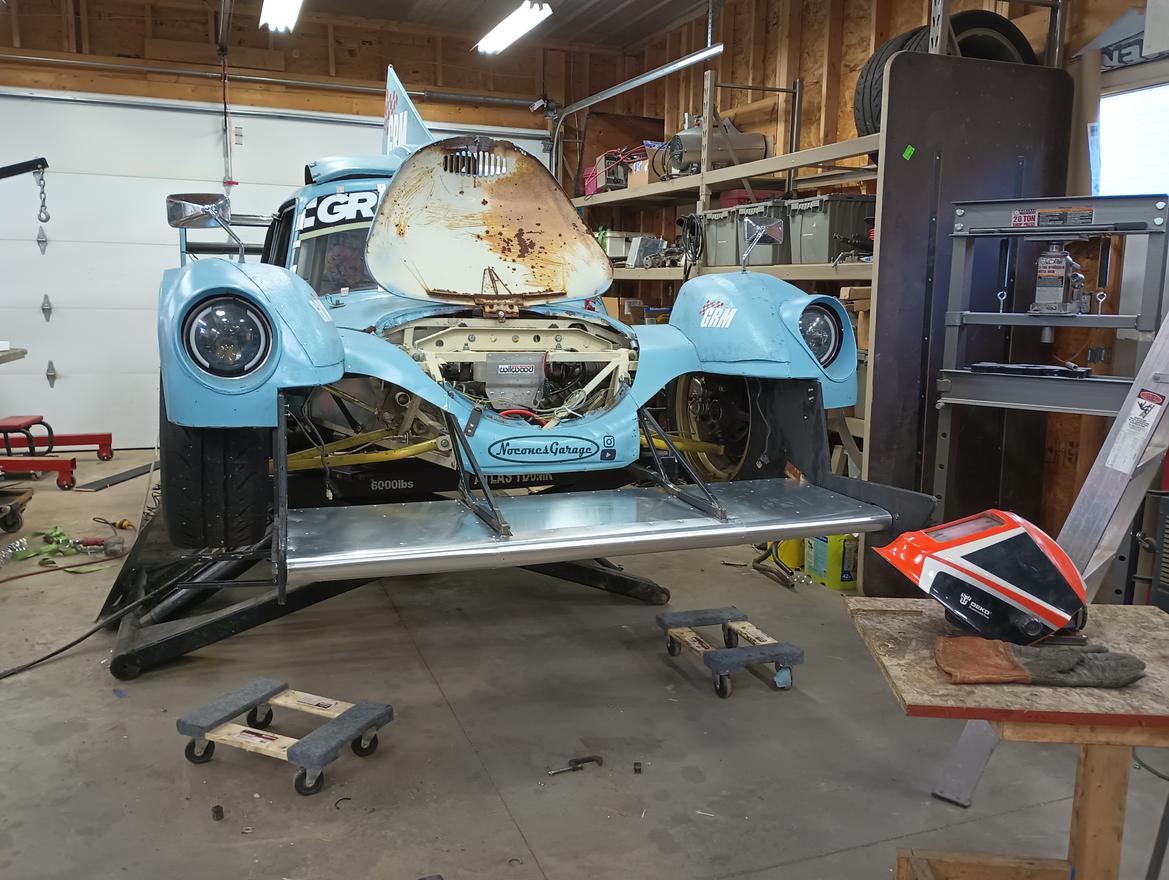
So sheeted and mounted on the car the wing looked like this.
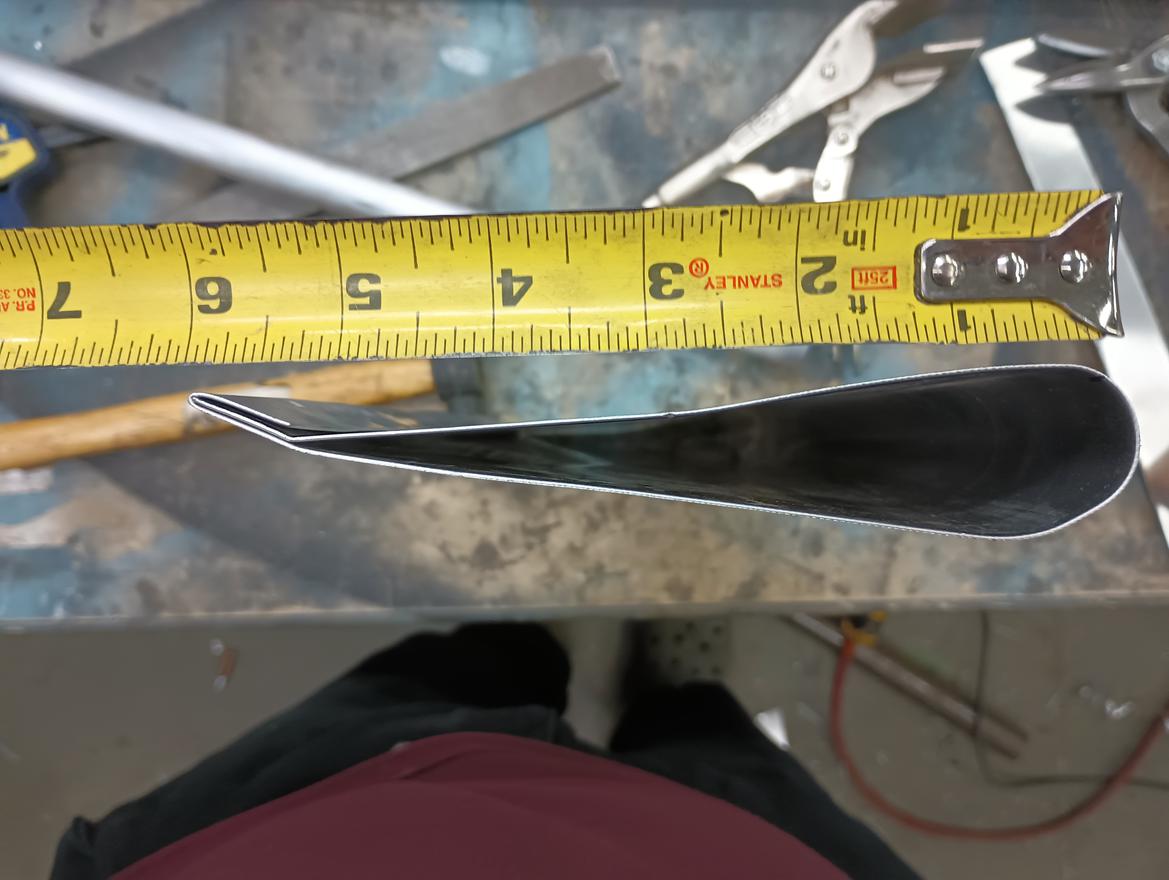
It was time to add the second elements. The second elements are made from .030 that I bent around a 1” tube. For the top I added a ~10 degree bend and then folded over a flange from the underside. That is all there is to them. They are just aluminum, and they are ~14” long, ~6” Chord. The ¼’ plywood ones survived so I think these will also. I re-used my stainless grill door based brackets from the old wing.
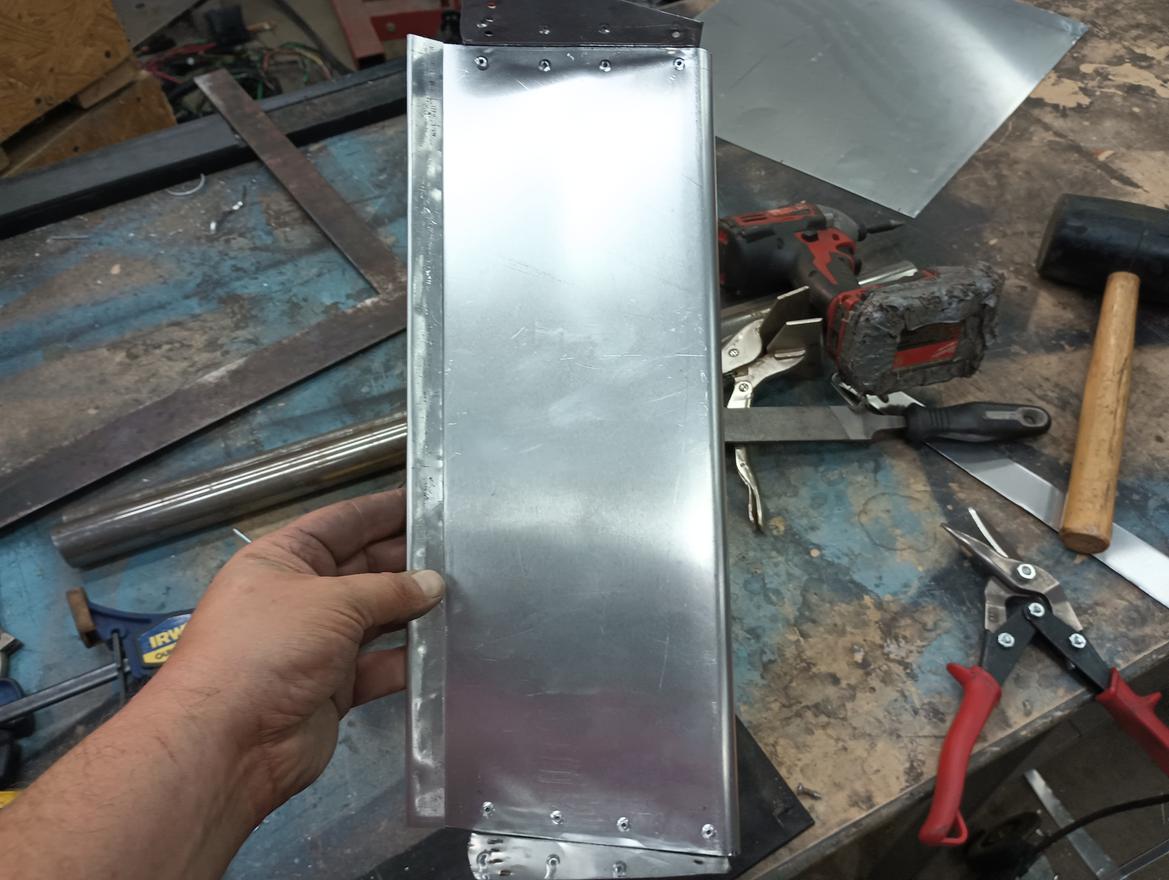
These got bolted onto the supports with 1” gap, and about ¾” overlap viewed from above. I added an inner endplate as well.
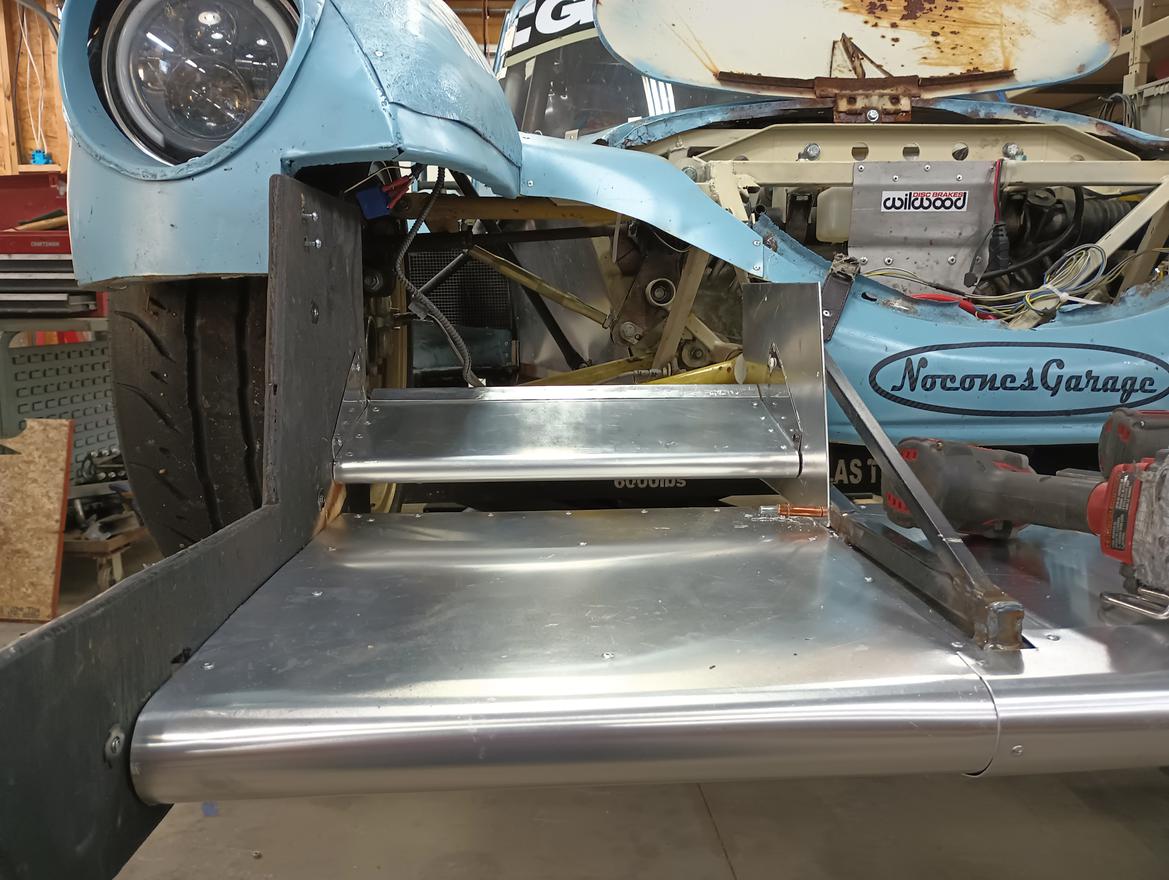
Now I had to deal with the “Middle” of the wing below the body. Originally Sleepyhead had recommended just sealing the top of the wing, but I realized that the floor was ~1” above the wing and discussed with him letting some air through like the 2nd elements do. He said that this would work but I should address the underside of the chassis where it is open.
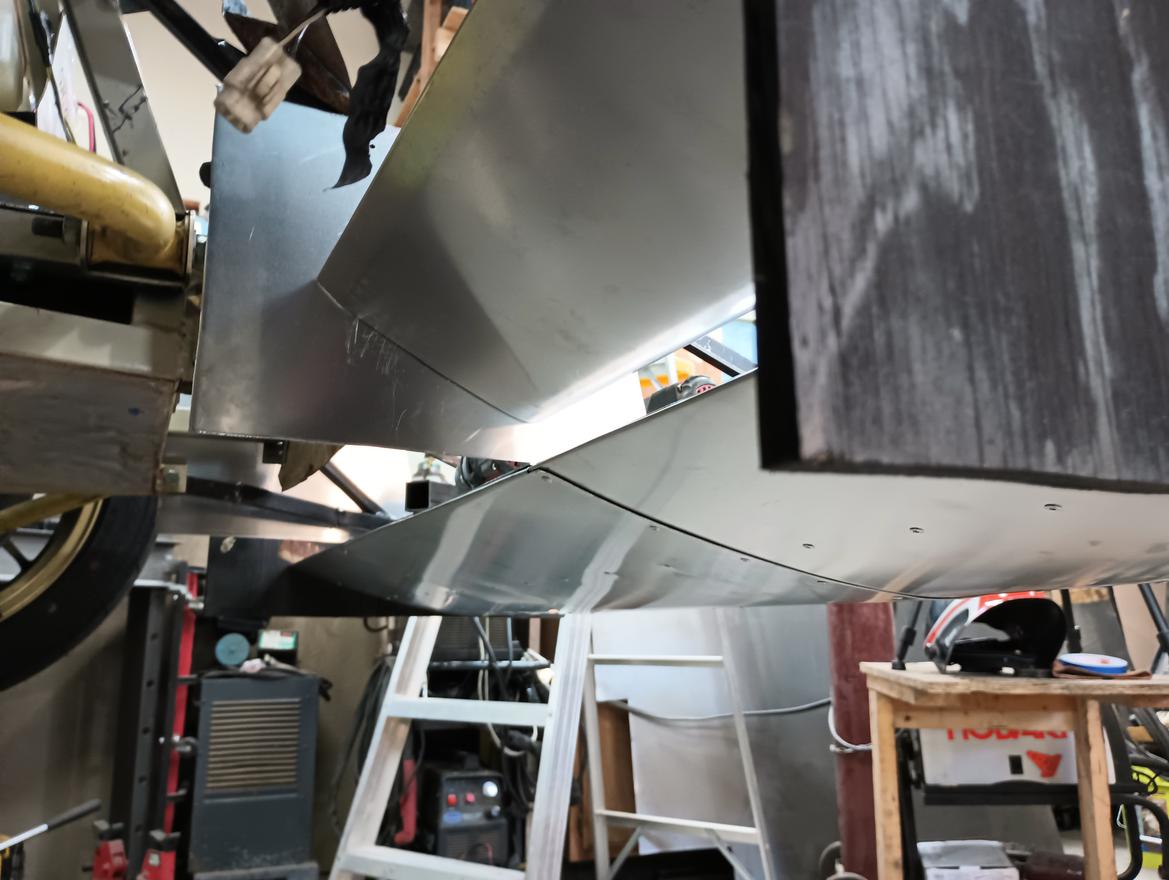
I added a sheet and wrapped the front to the same 1” radius as the 2nd elements. On top of this I just made a finish panel that fits tightly against the body right below the “Nocones Garage”.
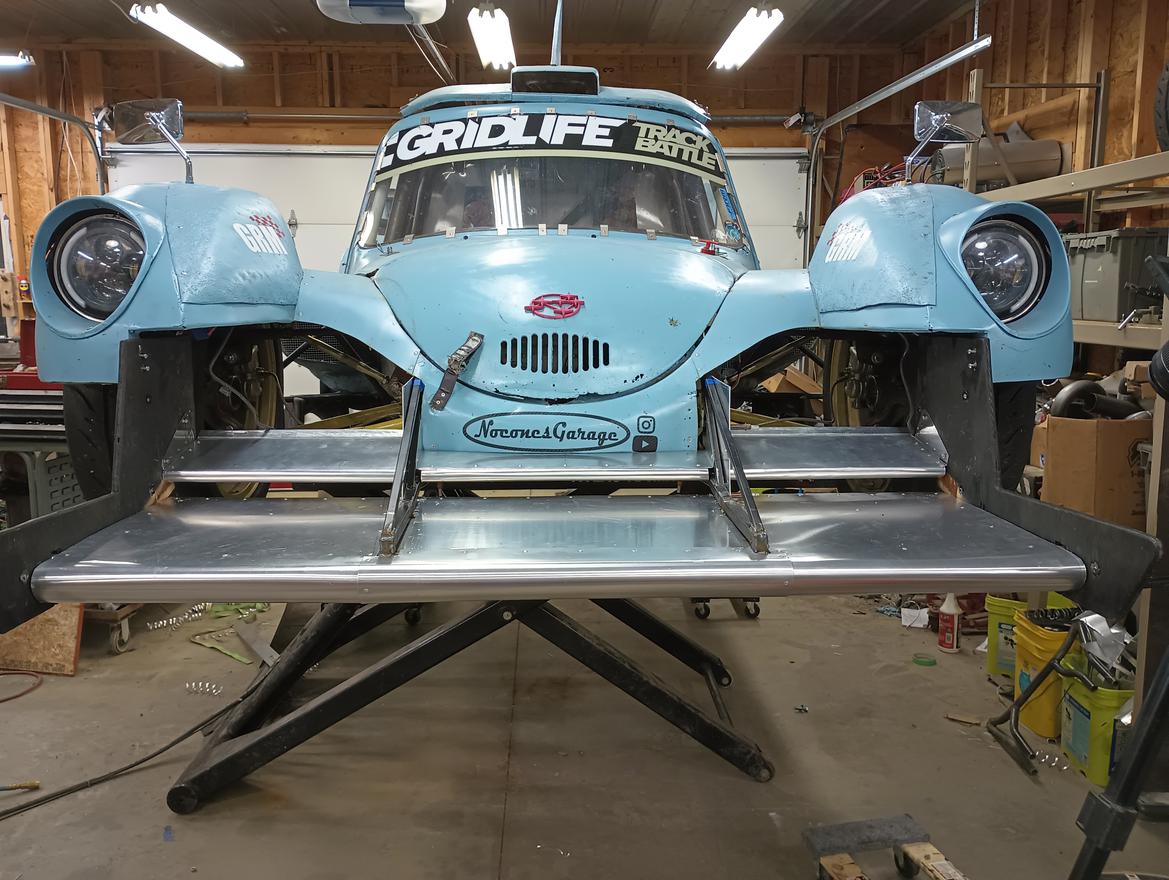
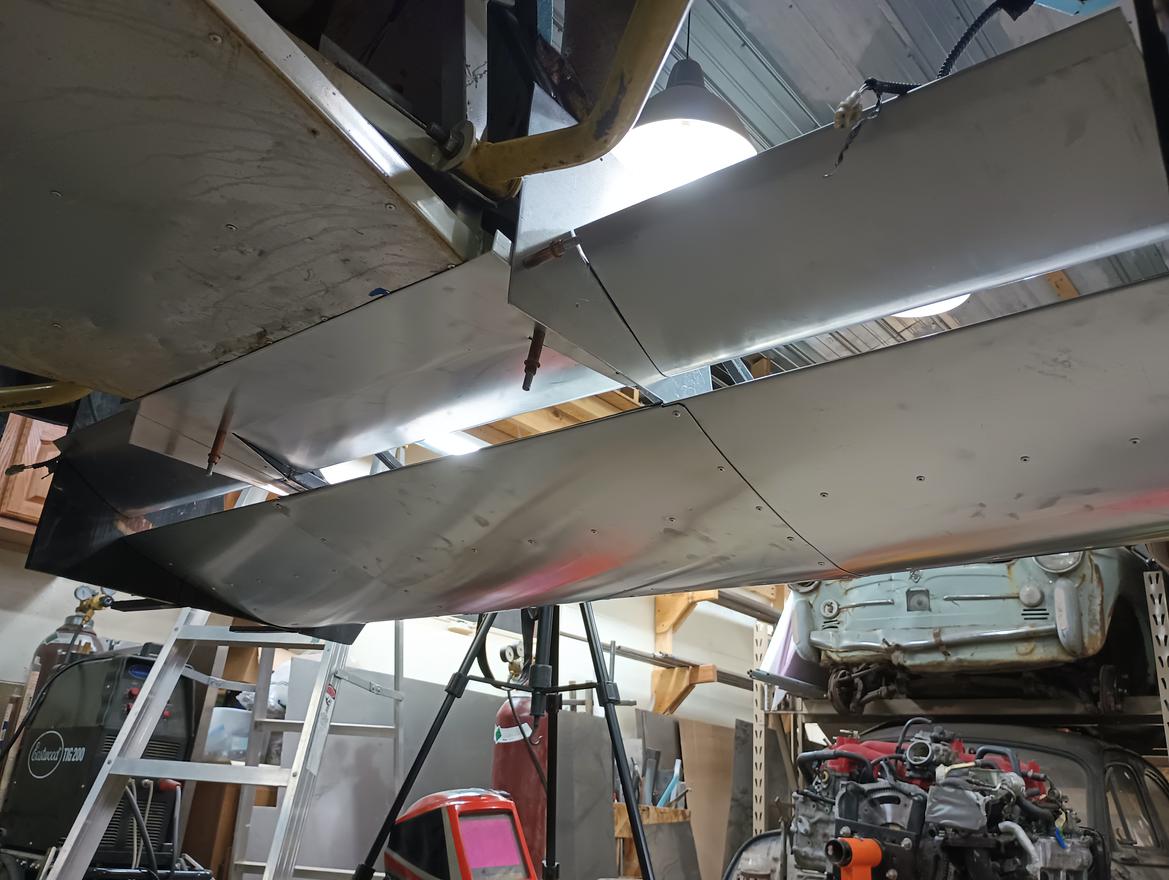
So that is the new “front wing” portion of the front element. In the next post I will document what I did for the outer portions in front of the wheels.


