
Started working on some rust repair. I wanted to start with patching the bottom of the fenders but even if I fixed them the part where they bolt onto the rocker was rusted out. To get to all of the rocker I need to pull the fenders anyway. To get the fenders off I need to remove the wiper cowl. Wiper cowl means I need to pull the wiper arms and those little access doors things by the hood. Then to get to the back part of the rocker I need to remove the dog legs….blah. Fast forward an hour or 2 and I’m finally drilling out spot welds. The front part of the rocker under the fender was the worst. I cut out most of the rust with snips then drilled out the outside edge. The underside in the picture looks a lot worse then it really it. That rust will clean up with a wire wheel and then will be coated with POR-15. I’m just happy I have something to weld to and don’t have to make more patches by hand.

Once that was done I could then focus on the welds along the top and bottom. The harbor freight sport weld cutter actually works pretty well. I didn’t even need to pry the panel apart. I cut the panel just before the dog leg and it came off with a slight pull. Guess I forgot to take more pictures but the underside looked pretty good. Just a little prep for paint and grind down the sport welds and I should be good.
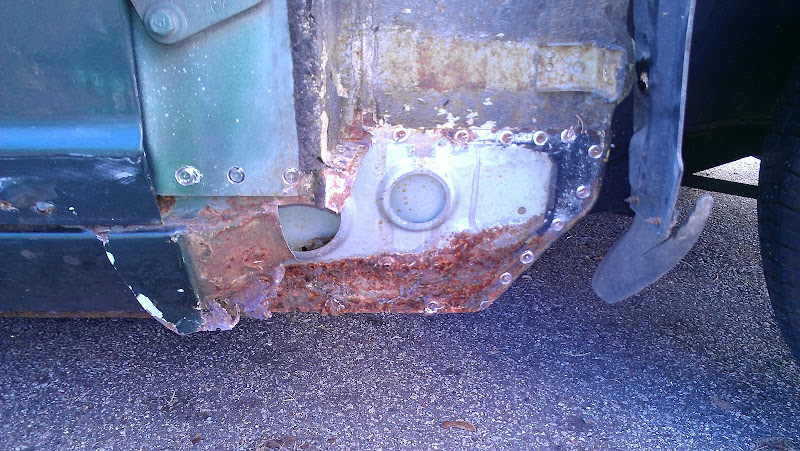
The dog leg was worst part. I went to drill out the spot welds at the bottom but they were covered with ¼” of bondo. I knocked that off and there was still metal under it but from the bottom seam up was all bondo. The rest of that corner was made out of 2 loose pieces of metal stuffed inside the old rust hole then covered with an inch of filler. As bad as the old repair was all the seams and structure I need to weld to were fine.
After finally getting the whole rocker off it was now dark and I was 60 miles from home in NH. I still had to drive the car back so I quickly tossed the fender and cowl back on. Fender now had nothing to bolt to at the bottom so to keep it from flapping around on the ride home I duct taped it to the door! Fender made it back to MA no problem.
Haha nice. You have a garage yet?
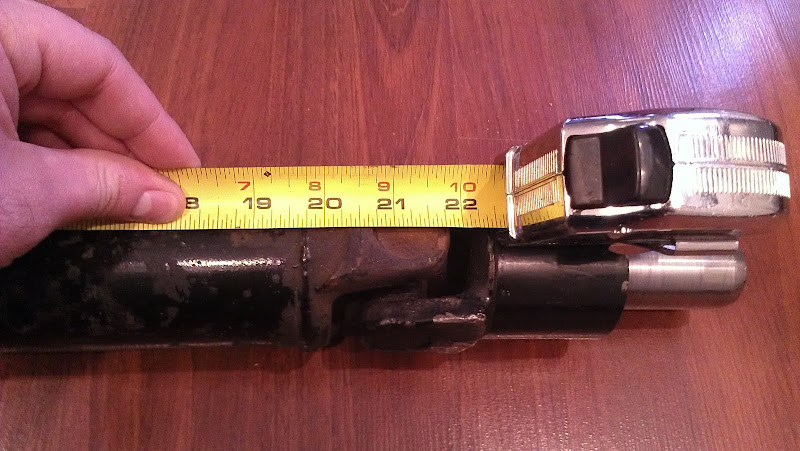
I finally tracked down the correct length drive shaft for my 240sx 5 speed swap. It came out of a series 1 240z and has replaceable u-joints. Progress has been slow since it’s been cold out and I’m kind of loosing interest in the project. Debating on selling it but I’m not really sure what its worth. For now I’m just going to slowly keep chipping away at it. Also sorry all my other pictures disappeared. I use to host them on webshots but they are now gone and I have yet to go back and fix all the links.

Also I patched up all the rust under the rocker, painted everything with Por15, and test fitted it a few times. Just a few more adjustments plus some trimming and it should be ready to weld in.

Keep at it, dont give up - this one needs to be saved from returning to the earth!
PseudoSport wrote:

That looks great. You're doing some nice work.
Looking good! It isn't easy to eradicate the ravages of tin worm, but it is so satisfying once you have a perfectly fitted new panel welded in place!
I was just pondering..will we know the day of the Japanese collectable has finally arrived when someone takes a 280 and builds a 240 "tribute"?
And yeah, nice work PseudoSp. Man, I need to learn to weld. Especially if I want to get into Japanese Nostalgics.
In reply to 2K4Kcsq:
Nice Z! White is one of the top 3 colors I'm thinking about painting mine. This winter has been much colder so I haven't gotten much done. It's never fun to fix rust but even less fun when it's below 20 degrees out.
I finally took the time to re-upload all my pictures and fix the links. I think I got most of them except for the seats. Seats didn't come out as well as I planed anyway.
Based on the photos of this 280Z, I have a "rust free" 240Z for sale on Craigslist Atlanta.My solid Z project
Someone come get this car. I have another project (Code name: Daisy). Thanks.
sweet thanks for fixing the pics. I have never seen the mirror mounting area look so bad.  . . but the rest of the car looks par for the course unless you live in AZ. Mine was a CA/CO car and it strongly resembled yours in many areas when I got it. Stick with it man. . . when its done you wont be able to fill up the tank with out bieng stopped by someone who loves it, had one or knew someone who did.
as for mine, I have never had an official build thread on it. . . not sure why considering it has more work into it than anything else i've had. . . maybe someday I'll post one over here. I did make a low quality slideshow a year ago. . here is the link. lots of rust repair porn inside!
http://www.youtube.com/watch?v=qbosP48gVDY
and maybe one more pic, not trying to thread jack, just a little vain i guess
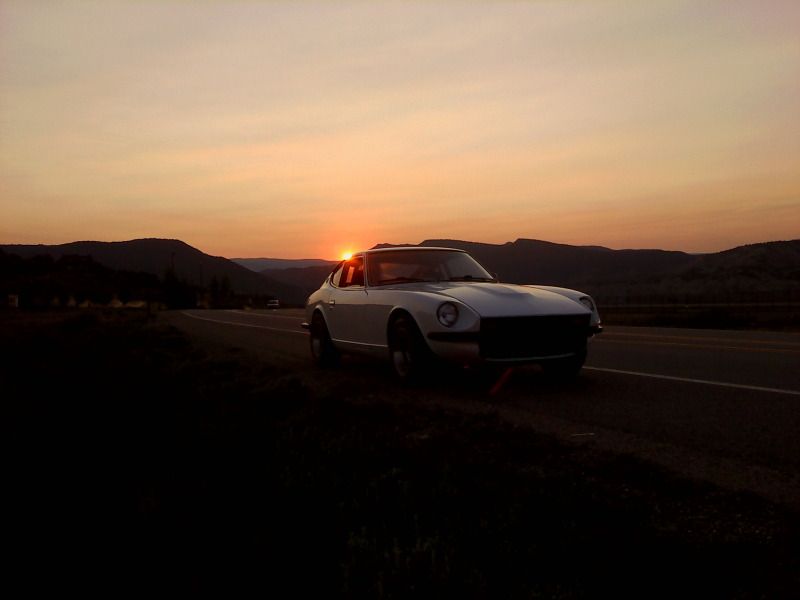
Sadly the 280Z has sat around too long and I’ve completely lost interest in it and have move onto other projects. Not really sure what it’s worth whole since it’s the body is in rough shape but there are a lot of good parts on it. Guess I’ll post it up in the classified section shortly. It would make a decent Challenge or Lemons vehicle

don't do it!! most of the hard work is already done. just finish the rust repair, paint it and don't look back. When I dove into my rust repair I got lazy and the car sat in my garage for almost 5 years. . . once I kicked myself in the ass and finished the bodywork I really regretted letting it sit for so long, the joy of driving it again made all the work worth while. if you do sell it you will regret it every time you see another S30, and you wont be able to find one in much better shape than what you started with. these cars are already gaining ground in the collectable market, soon you wont be able to get in one under 10k unless it's a complete basketcase or too far gone.
I couldn't help but laugh at the comment about being "surprised this car made it that far" I drive the holy living hell out of mine and it never misses a beat. went all the way to southern Arizona and back (12.5 hrs one way)this febuary without a single issue, even driving thru some serious winter storms on the way home. these cars were built quite well for the time, biggest shortcoming would be the cheap thin sheet metal used IMO.
Don't do it man.

Finish it up
In reply to PseudoSport:
If you do end up deciding to ditch the project, I may be interested in some parts!  Let us know what you decide!

So after sitting for a while we decided the Datsun is going to be our teams new Chump Car for an 8 hour endurance race in July so I’ve started to work on it again. Welded on the new rocker on the passenger side along with the quarter patch panel. Rocker went on great but the quarter patch will need some more work since the new panel was a poor fit. I know the car will probably get beat up but I at least want it to look somewhat decent to start with.

I also fixed the coolant temp sensor connector, cleaned up the rotors since its been sitting, bled the brakes, found the blown fuse for the brake lights, and fixed the turn signal wiring. While working in it I noticed the inner tie rods were very sloppy now. They were a little worn when going on the BABE Rally but I didn’t replace them since inners are $100 each and they only make the passenger side. You can use 2 passengers and make it work but a new rack with new inners is about $200 if you can find one. I checked around online and most vendors have discontinued it, try to pass off a 280zx rack as a 280z rack (big difference) or want $300-400 for one. Rock Auto can send out my original to A1 Cardone to refurbished but there is an 80% chance they can do it. Advance had one listed but was out of stock when I tried to order it online. I stopped by the store to see if they had any other means of getting one. Lucky for me they showed one left in a warehouse in NJ from another distributor so I ordered it.
Hopefully I’ll have everything sorted out enough soon enough since I’ve signed it up for the next autocross on April 26.
Turns out the rack from Advance was not in stock. After some searching around online I found another vendor who could get one so after waiting for one to be sourced and remanufactured I finally have one. Goal was to get the car to an autocross this Saturday but since the rack just arrived I won’t have time to put everything back together. While I was waiting I also ordered up the roll cage kit which should be here next week.
Rack is in with new tie rods. Still waiting on the roll cage to ship but I hope to have it by this coming weekend. Next autocross is June 1st so the new goal is to have the cage and seat installed by then.


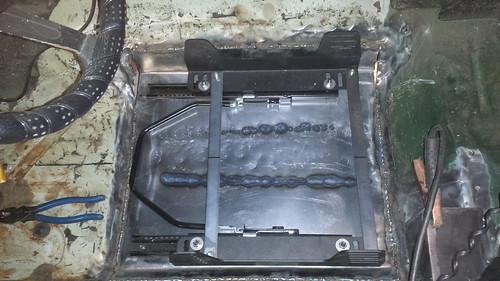
I had last week off from work and was able to get some more work done to the car. We had picked up a race seat a few months ago and now that we order sliders and brackets we could finally test fit it.

Now there were 2 problems with this. First the transmission tunnel was a tight fit compared to the earlier cars since a catalytic converter was an option in California and the floor has a hump in it. Second problem was the floor pan and rear section of the unibody had some rust. Add in some extra holes from drilled out sport welds and the fact the floor was not a nice flat surface to mount the seat it was just easier to make a new section of floor.
With the floor and rusty piece of the frame rail cut out Dave made a new section that extended further back then the original to a stronger part of the floor.

Next I made up a patch that extended into where the converter hump was so the base was wider for the race seat. Also the seat will now be center on the steering wheel which is nice. Once I get the car up in the air I can finish welding the inside of the frame rail.

Next up is the roll cage. None of us have installed a cage before so we’ve been taking our time and trying to get it to fit the best we can. The tough part is the car is small and we have one driver that’s 6”4. We trimmed and dented what we could to get the main hoop and halo bar as high as we could.
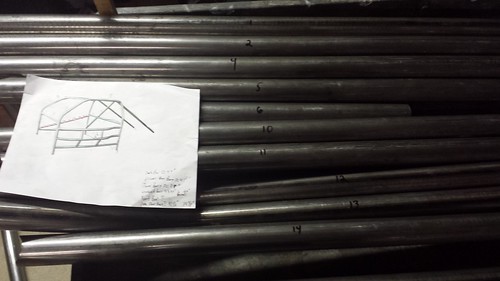
We numbered the bars based on the picture of the kit so we don’t get any mixed up.
We made some crude holes to help us position the main hoop. Now that we know where its going to end up we can actually still install the side windows and the door frame will close without a problem. If we care we might patch up the hole later. Halo bar and some sheet metal still need to be trimmed.
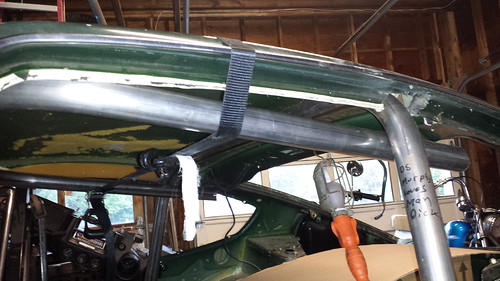
Halo cut and tucked up as high as we could get it.

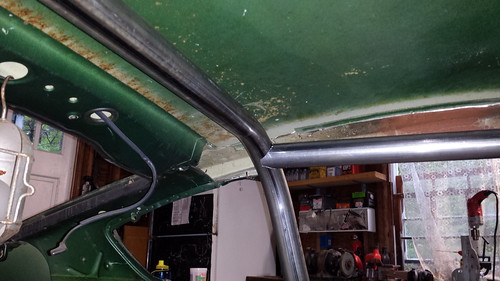
Front down bar was a pain to fit. Windshield is shaped like a trapezoid and I was not able to tuck the bar as close to the A pillar as I would have liked. The metal under the windshield curves around and gets in the way and mounting the bar up on the rocker wouldn’t have helped from what I measured. Maybe angling or bending up a different bar would have helped.
Rough test fit to see what’s in the way.
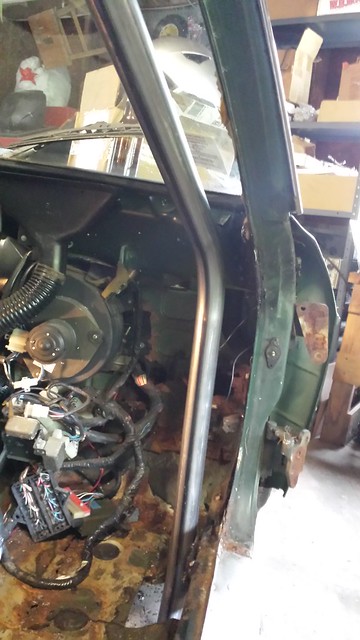
After test fitting it a few dozen times and making small cuts I was able to get it tucked in more at the top. Bottom is still 2” from the A pillar but it looks like most of the Z cages I’ve seen online plus one that was at our local autocross this weekend.
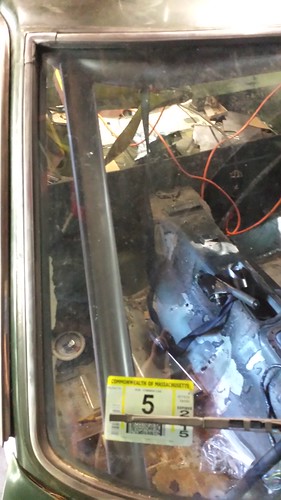
Getting the notch angle and twist was tricky too. Hopefully the other side goes easier.
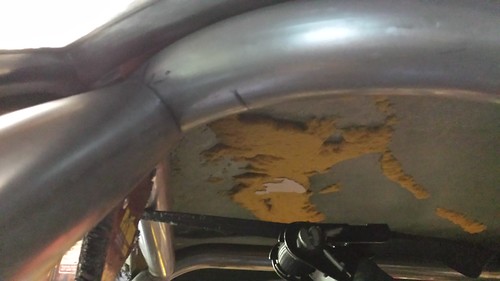
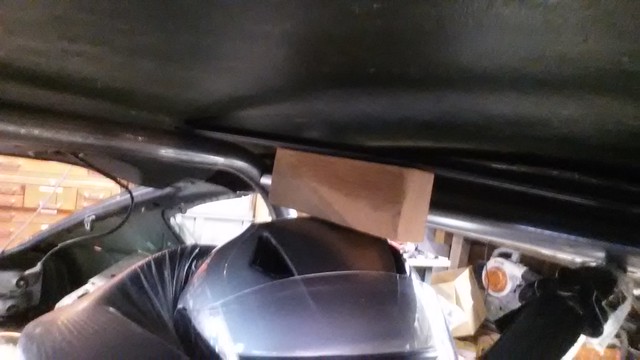
I took this before getting the halo tucked up more but I have about 2.5" from my helmet to the top of the bars. I'm still nervous out tallest teammate might not fit.
Ran into guy at my last local autocross who had a Z. While we were talking he mentioned that he has a fiberglass front clip that he'd give away for free if someone showed up with a truck and got it.
So I borrowed my friend's truck and picked it up this afternoon. It's in rough shape which is why he was giving it away but i'll find a use for it even if it just become wall art. It was held on by 4 pins but i'm not sure what kept the side of the fenders in place. I could use pins again or maybe make a tilt front clip.


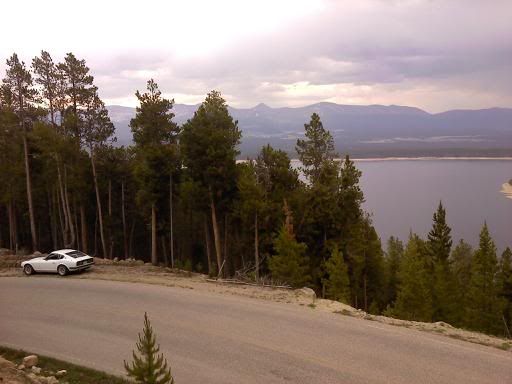 Keep at it!


