one vote for factory.
What is factory finish for those underhood parts? Generally, GM cars weren't satin and weren't gloss, but somewhere in between.
factory had a hair more sheen than satin, but not nearly as much as medium gloss. honestly, john deere blitz black is pretty close.
the core support, inner fenders would have been this not-quite-satin finish, with the underside of the hood and firewall body color. frame would have been a true satin. hood hinges as well.
we all know im not doing anything like a "correct" restoration here.....
but I AM leaning with you guys for factory appearing. ive been taking great pains to make this thing somewhat like a late 80's gm concept car. like GMPP would have done it if they were around back then.
Michael
while working on the grille tonight, I came to the realization that this has become a full blown restoration.
am I the last to figure this out?
Dusterbd13 wrote: while working on the grille tonight, I came to the realization that this has become a full blown restoration. am I the last to figure this out?
Same here man. I was going to swap the rear end five years ago.
I figured we just had different standards for 'beater.'
To me, a beater is something that is at least 50% and at most 90% functional. Its existence is terminated when the wife loses a shoe through a hole in the floorboard at highway speeds.
ssswitch wrote: I figured we just had different standards for 'beater.' To me, a beater is something that is at least 50% and at most 90% functional. Its existence is terminated when the wife loses a shoe through a hole in the floorboard at highway speeds.
Yep. We do have very different definitions. This thing was already that. My definition is something that I can leave parked in wal-mart broken for a couple of days and not worry about scratches or door dings. Something i can leave parked outside for months and notfeel gguilty. Something that I have no concern about hurting or messing up. What most consider a daily is what I consider a beater.
This has definitely snowballed past that point.
The end result I'm looking for is a "pretty good". Stops and handles pretty good. Looks pretty good from 20 feet. Reliable. Clean. Simple. Safe. Runs out pretty good. Gets pretty good gas mileage.
And you have to remember that my concept of beater is influenced by the fact that I make a significant portion of my living working on show cars and corvettes. So everything i own would be considered a beater by those in comparison. The duster does not fit a beater in my world. Depending on how it turns out the elky may not either. The original drivabeater turned into something too nice as well.
o, budget first:
previous total: 7232.91
window tint and lubricant:12.53
headlight adjusters: 14 from ebay
one can of john deere blitz black: 9.87
silicone for headlights: free!
box of stainless oval head screws (50 count) 4.37
new total: 7273.68
so I'm apparently a little dense. as I was disassembling the grille, I realized that I was inadvertently in the middle of a full blown resto on this truck. I don’t want another resto project. I cannot afford the time or money for another resto. yet here I am anyway.....
so, the grille is what really made me realize it. when I brought my headlight bezels inside to work on making a tape mask so I could respray the black on it, my wife called my attention to it.
she is a very understanding woman.
she also has very steady hands, and enjoys painting.
after asking what the hell I was doing with an exacto knife and a giant wad of balled up blue painters tape, she took the bezels from me. using a bottle of black touch up paint I had, she hand painted the black in the bezels. looks really good.
[URL=http://s54.photobucket.com/user/dusterbd13/media/1964%20elcamino/127_zps5fe002cf.jpg.html]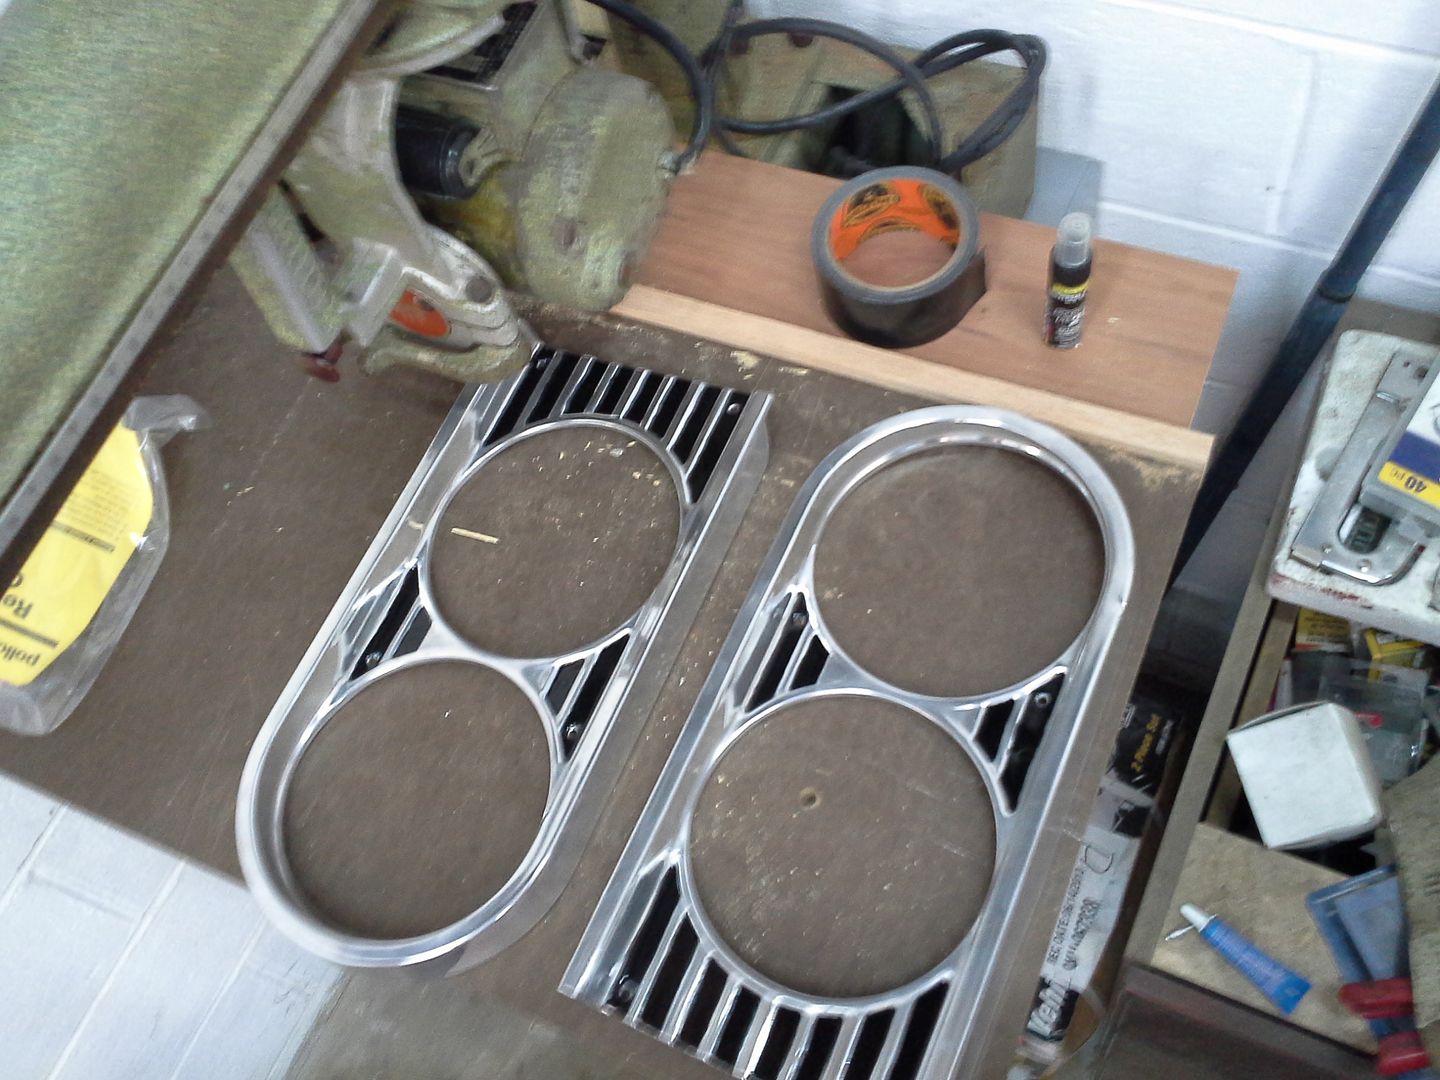 [/URL]
I then disassembled all the rivets from the grille assembly so I could polish the grille. I had no idea it was actually 7 different pieces. the grille itself was the hardest thing I have polished and reworked trim wise to date. it is NOT perfect. looks pretty good from a few feet though, so I'm pleased. especially for what it cost me compared to the reproductions....
[URL=http://s54.photobucket.com/user/dusterbd13/media/1964%20elcamino/117_zps81fd1145.jpg.html]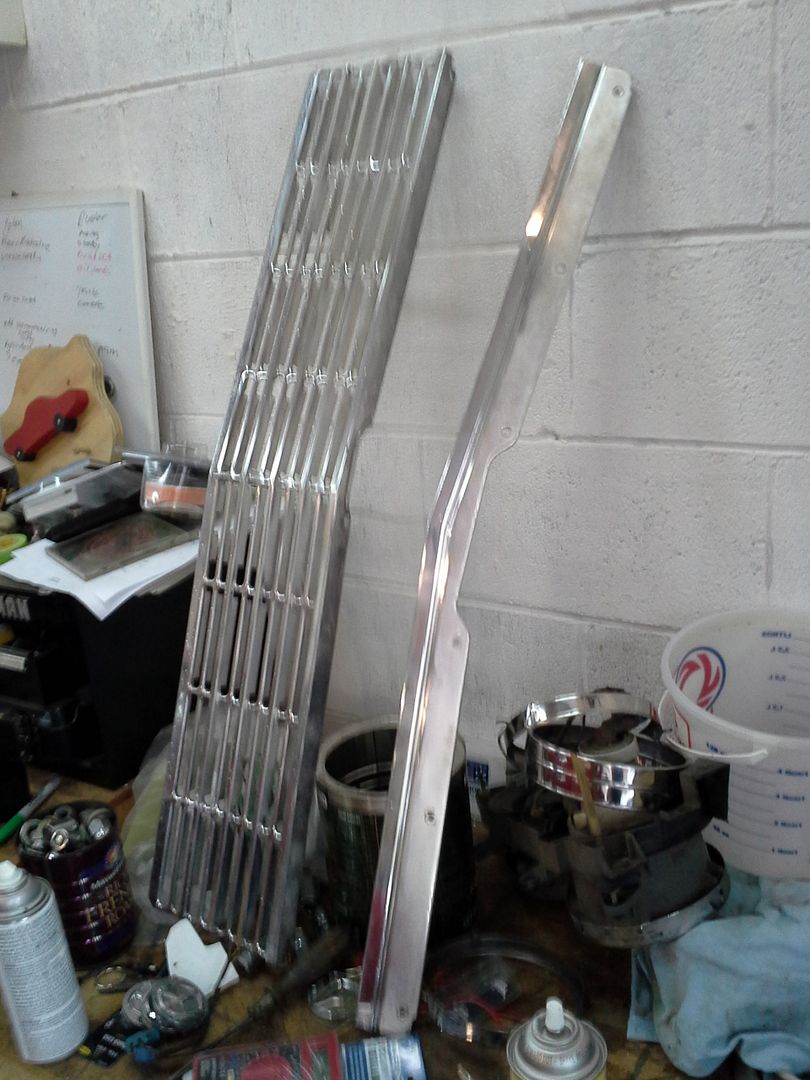 [/URL]
then I got to looking at the rusty pieces that support the bright work.
[URL=http://s54.photobucket.com/user/dusterbd13/media/1964%20elcamino/109_zps786350a6.jpg.html]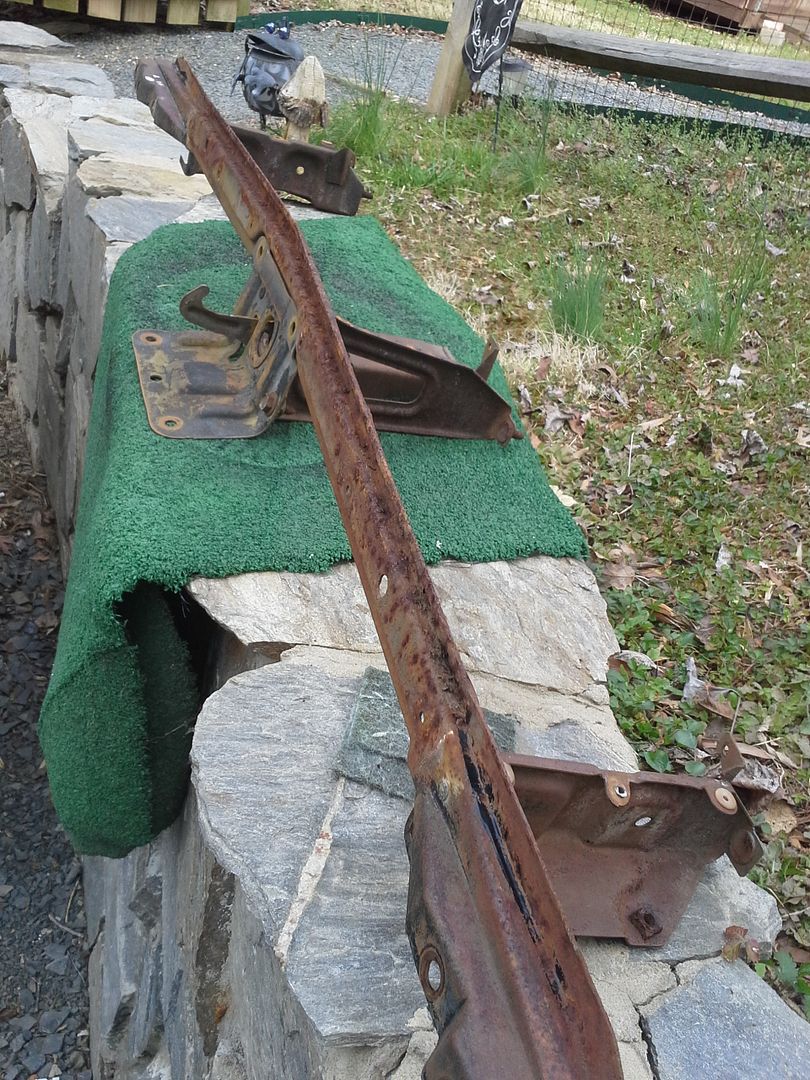 [/URL]
completely unacceptable. broke them down into as small a pieces as I could, and hand sanded the rust off with 80 grit. cleaned them real good, and shot them with the blitz black. not quite a flat, not quite a semigloss. I like the sheen in underhood application, and the stuff takes a beating better than a hammer. just about cant hurt it once its cured.
while the paint was drying on the support pieces, I also cleaned up my surgery to the headlight buckets with a selection of 4 inch grinder, 36 grit zizz wheel, and files. shot them in blitz black was well.
[URL=http://s54.photobucket.com/user/dusterbd13/media/1964%20elcamino/115_zpsd697d595.jpg.html] [/URL]
on a side note, while polishing I discovered that half the upper trim piece for the grille was black at some point. I visualized what that would look like with everything installed, and liked it. so I recreated it with some masking tape and more of the can of blitz black before assembly. additionally, I noticed when washing my headlights of plastic dust that moisture was building up at an alarming rate inside the lenses. turns out the seal from the glass lenses to the body had failed in a couple of spots.
so after some googling, I put them lenses first in a pot of boiling water for a few minutes to separate the lense from the housing for cleaning and resealing. worked like a champ, and my wife was not home to witness it, so it never really happened on her stove.
[URL=http://s54.photobucket.com/user/dusterbd13/media/1964%20elcamino/128_zpsc7ea8861.jpg.html]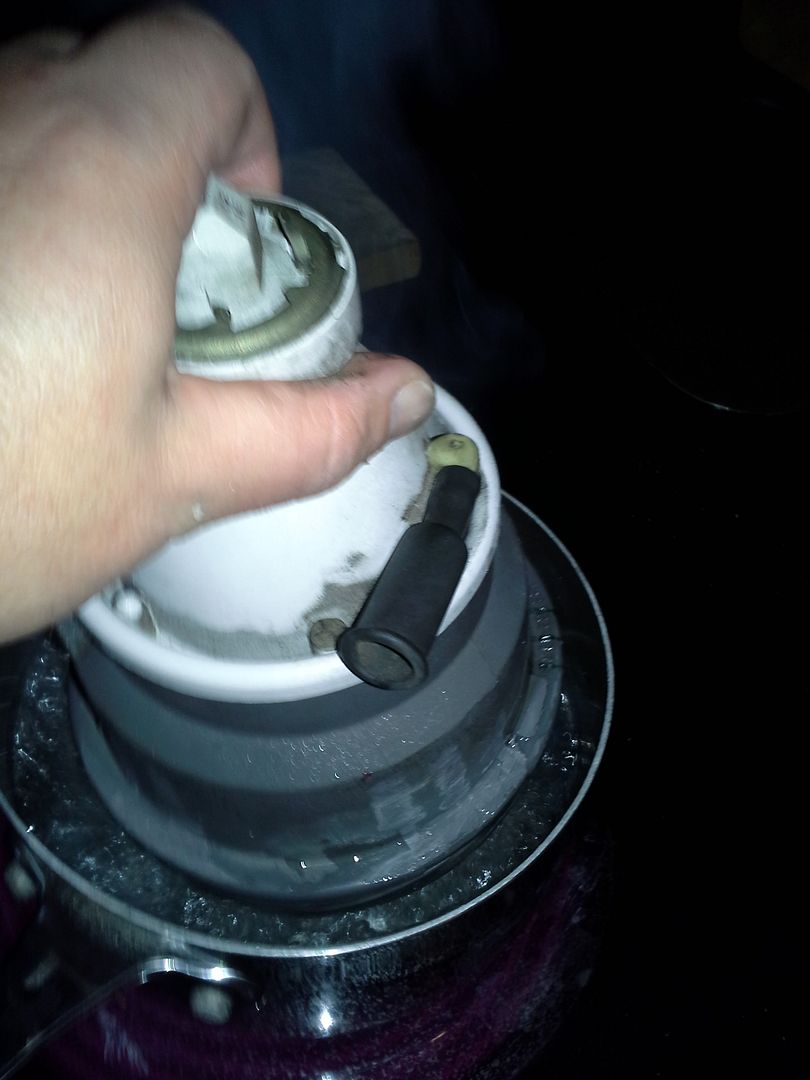 [/URL]
[URL=http://s54.photobucket.com/user/dusterbd13/media/1964%20elcamino/129_zpse1dba6c9.jpg.html] [/URL]
cleaned them up real good with some glass cleaner, cleaned the reflectors, and resealed with clear silicone.
I then proceeded to assemble the grille with the appropriately sized pop rivets and see how it was turning out. I'm pleased. except that I lost the screws that held the headlight bezels in place, hence the box of stainless screws. I know ill need more somewhere on this truck.
[URL=http://s54.photobucket.com/user/dusterbd13/media/1964%20elcamino/140_zps0ccf43ed.jpg.html]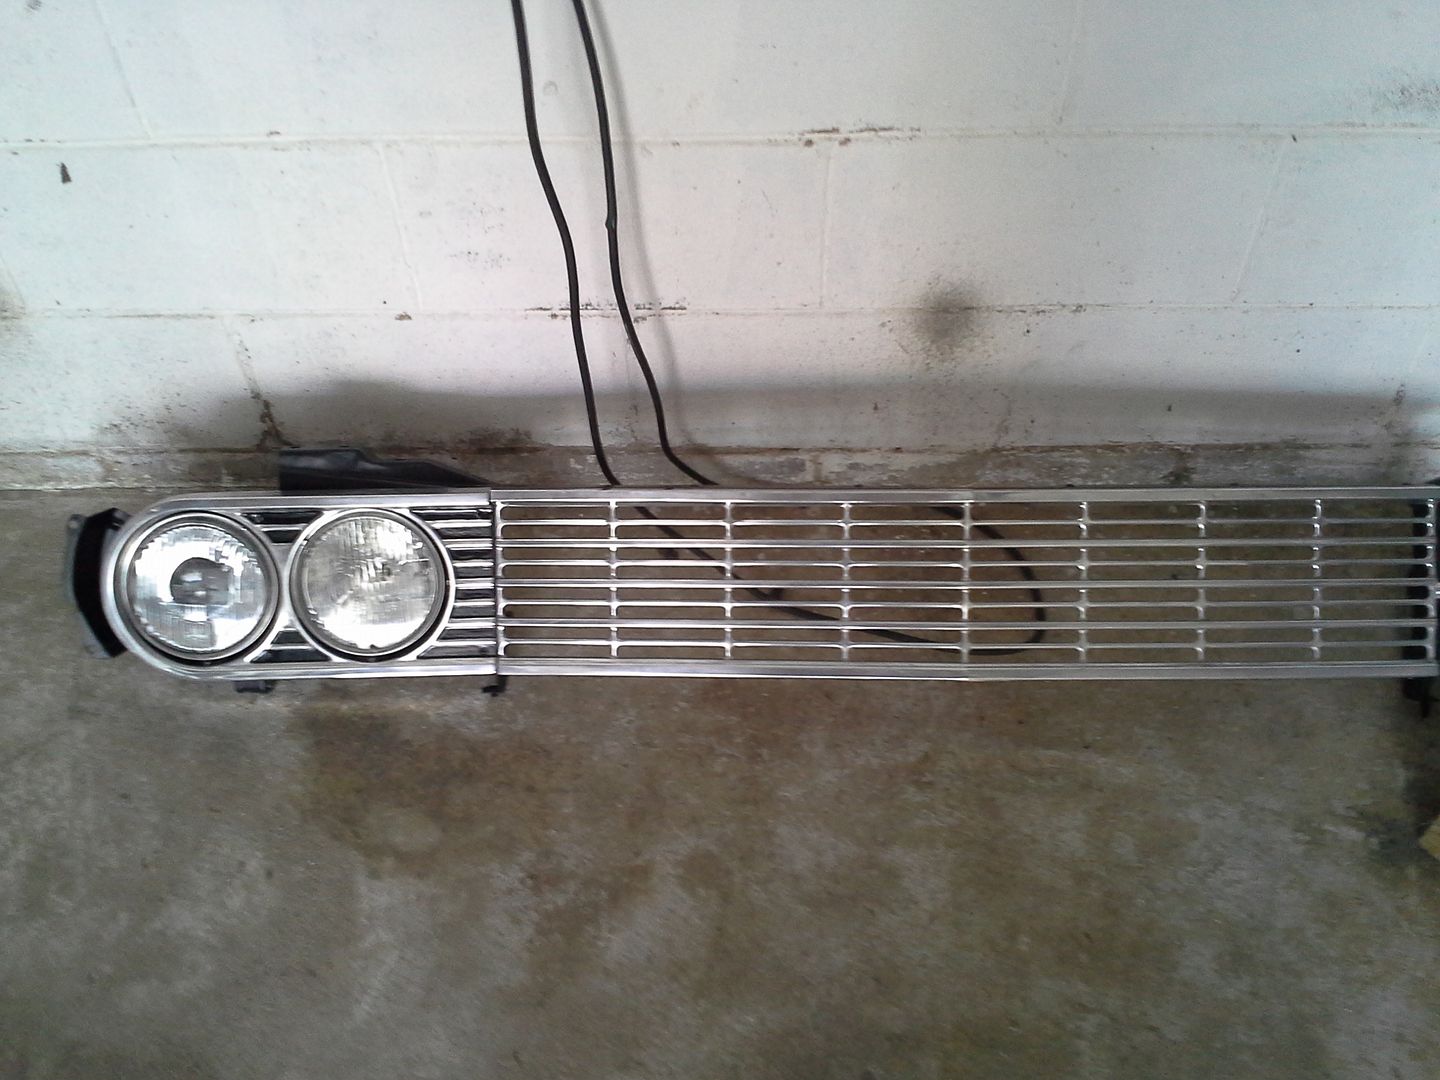 [/URL]
[URL=http://s54.photobucket.com/user/dusterbd13/media/1964%20elcamino/142_zpsff5741e3.jpg.html]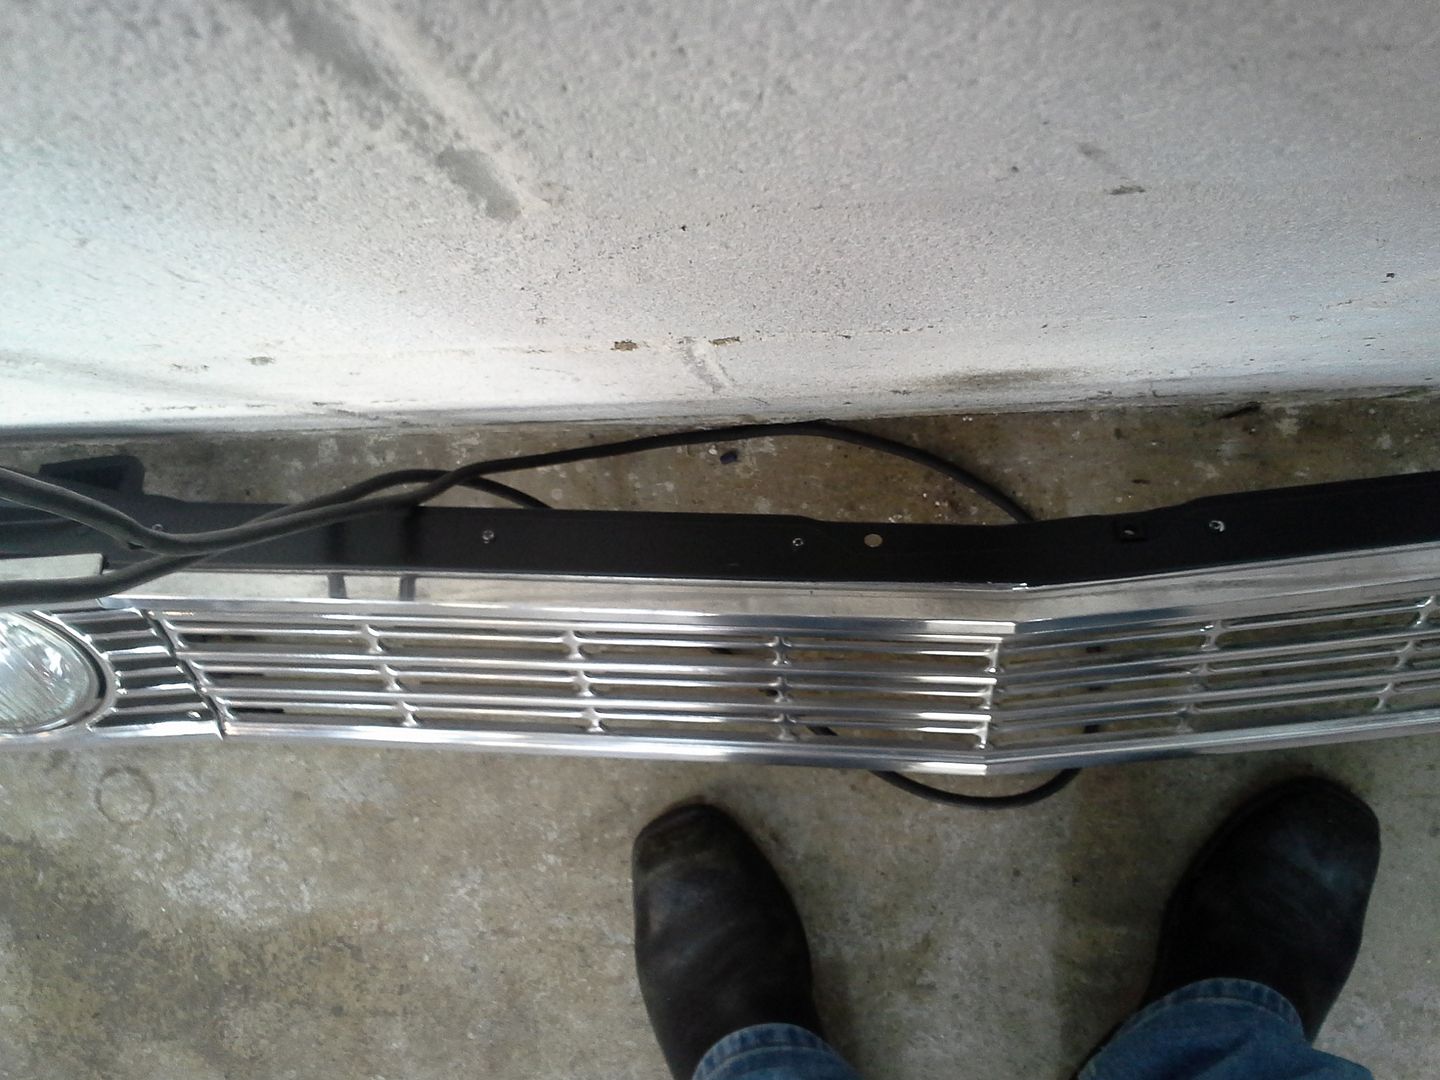 [/URL]
I also, during this process of discovering I'm in a resto, started on the back glass. it was scratched, discolored, and filthy. starting with a straight razor blade I removed most of the overspray, debris, old sealant, etc. I followed that up with paint thinner and lacquer thinner. then, using some fine rubbing compound and my orbital waxer and a wool pad, went from this:
[URL=http://s54.photobucket.com/user/dusterbd13/media/1964%20elcamino/107_zps0acef9c0.jpg.html]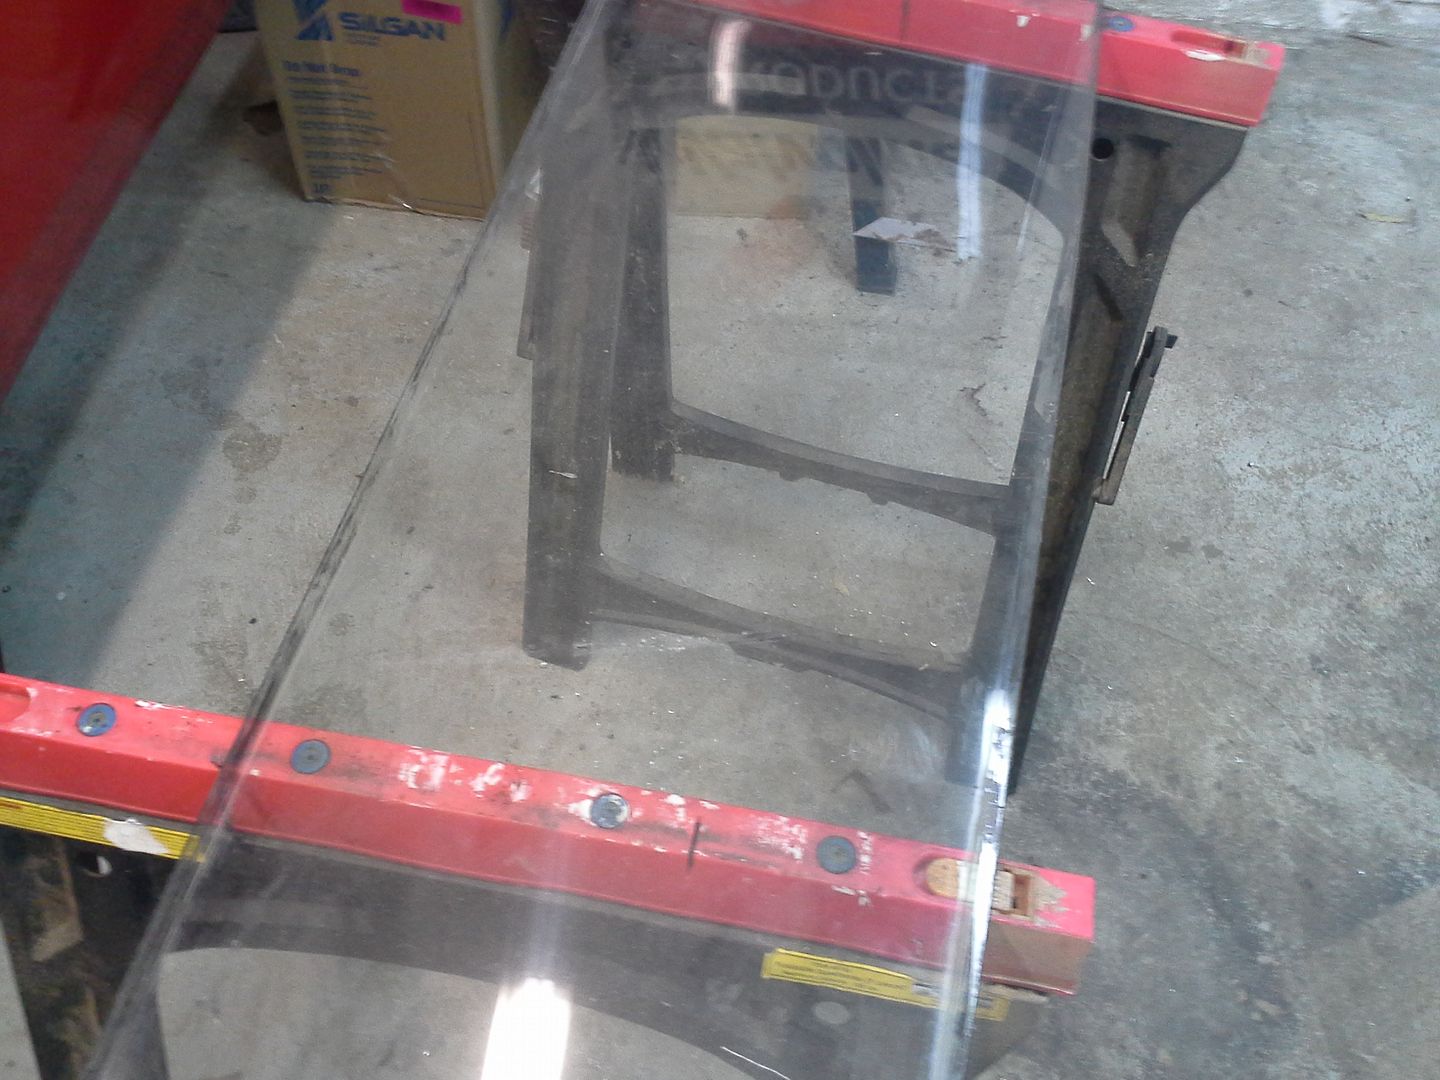 [/URL]
to this:
[URL=http://s54.photobucket.com/user/dusterbd13/media/1964%20elcamino/111_zpsf2923968.jpg.html]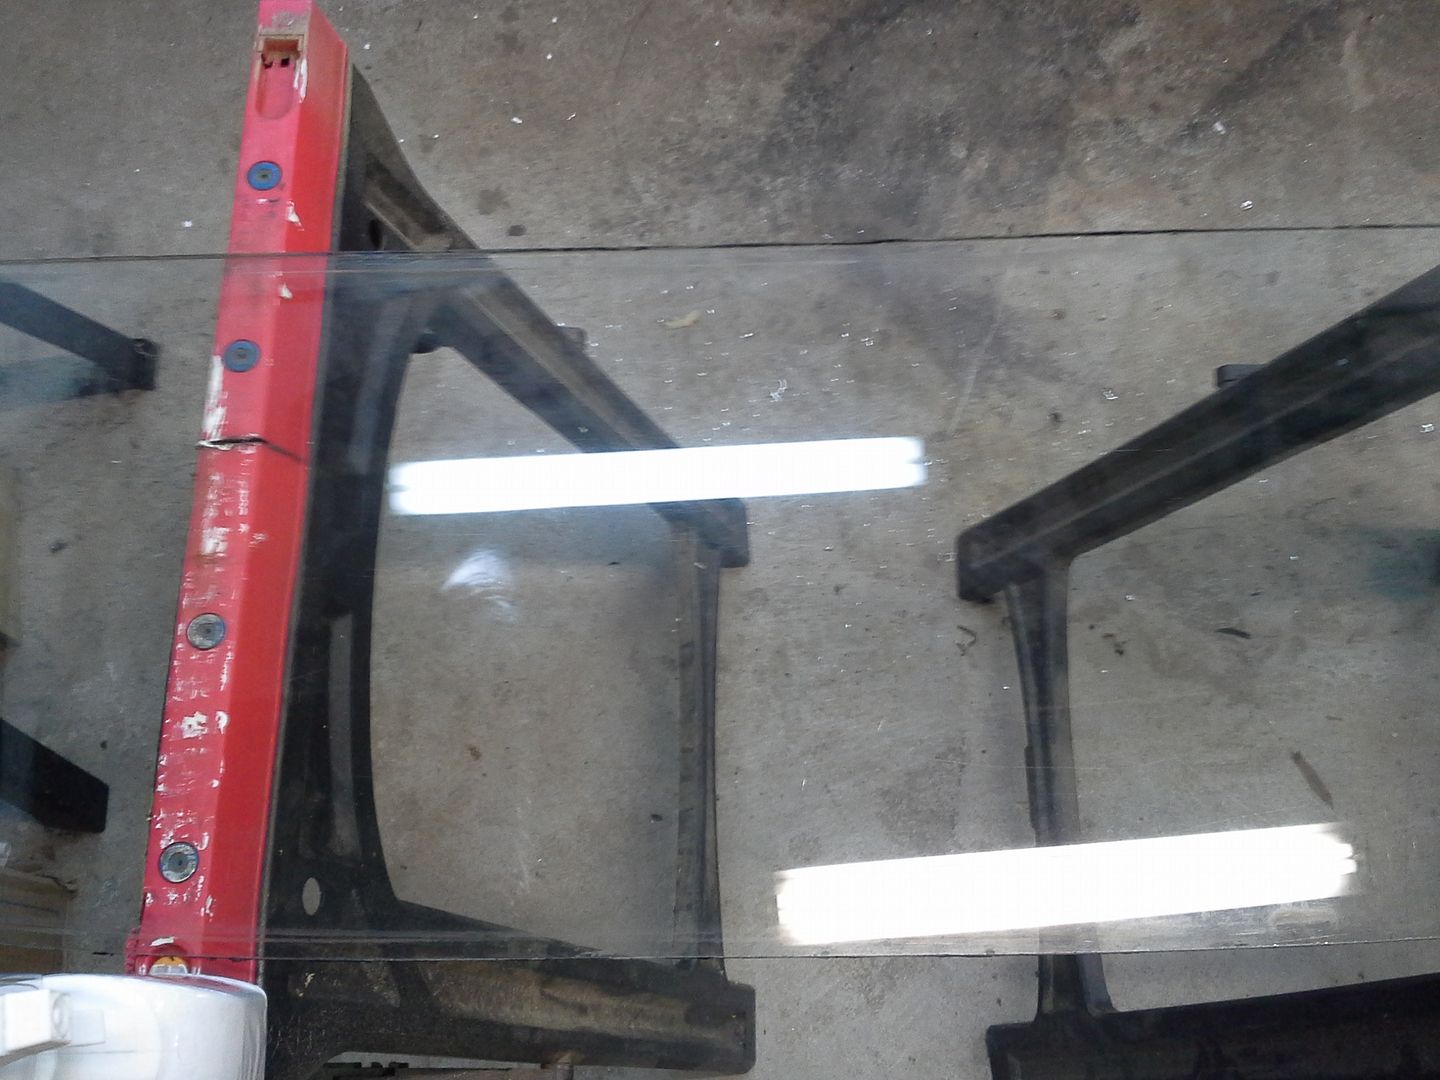 [/URL]
hard to really see the difference in pictures. but its drastic.
I then decided to try my hand at window tinting. what a PITA. this is my first attempt, which is currently peeled off due to missing some trash and air under the tint. its not as hard as I thought it would be, but then again, my first attempt sucked.
[URL=http://s54.photobucket.com/user/dusterbd13/media/1964%20elcamino/120_zps8322c0bb.jpg.html]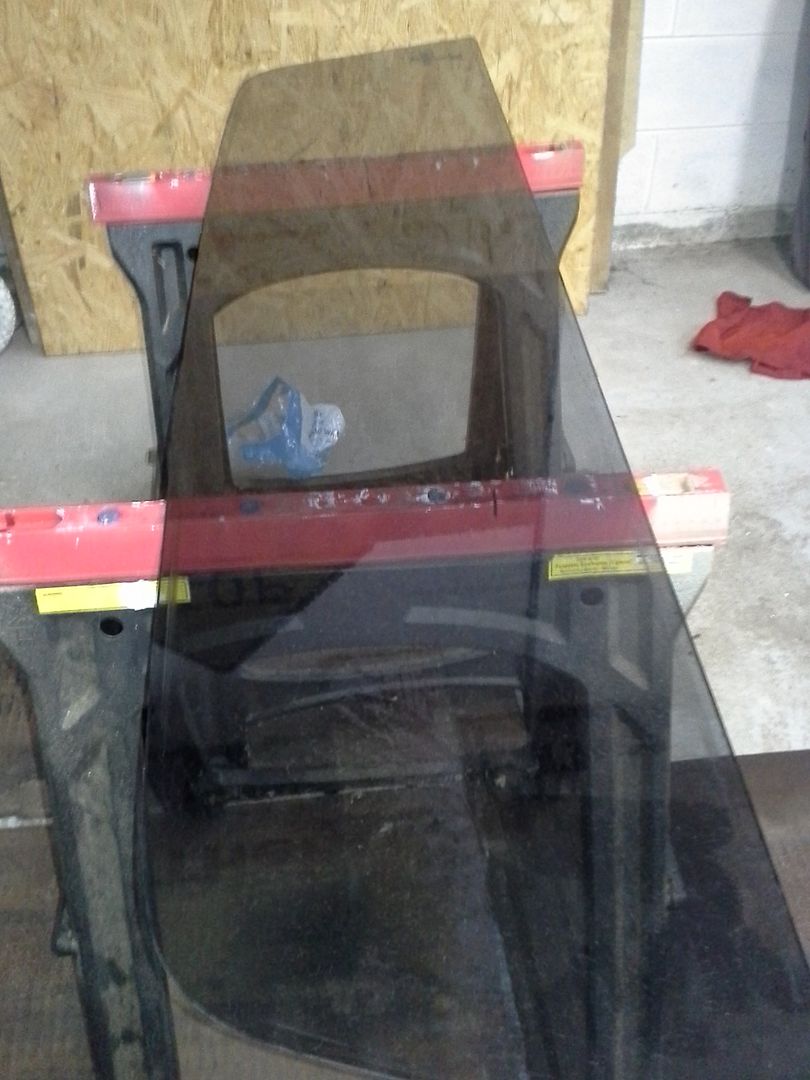 [/URL]
that’s all for now. hopefully my next update will have paint that I payed someone else to apply.
I'm going to refer to this thread a LOT when it's time to attack the wagon. Thanks for documenting it so well.
teaser:
full update sometime....
[URL=http://s54.photobucket.com/user/dusterbd13/media/1964%20elcamino/059_zpsfa4750fc.jpg.html]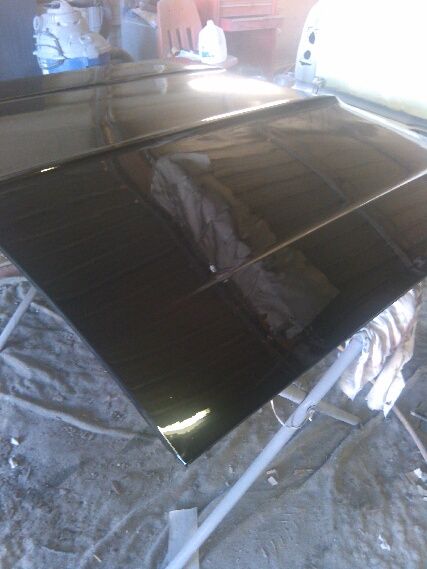 [/URL]
and yes, STUPID excited.
so, budget first:
previous total: 7273.68
no money spent this time.
this update fids us completing more things on my "honey, it’s a beater, not a restoration" project.
grille is complete and test fired. with headlights powered by two old cordless drill batteries. they arent even close to aimed properly. and the light outpit pictures are at something less than 12 volts, in daylight with the doors closed. shop is right ar 40 foot wide, and the assembly was sitting on my workbench along one wall. I think im going to do HID in the low beam projector.
[URL=http://s54.photobucket.com/user/dusterbd13/media/1964%20elcamino/049_zps525ce1e4.jpg.html]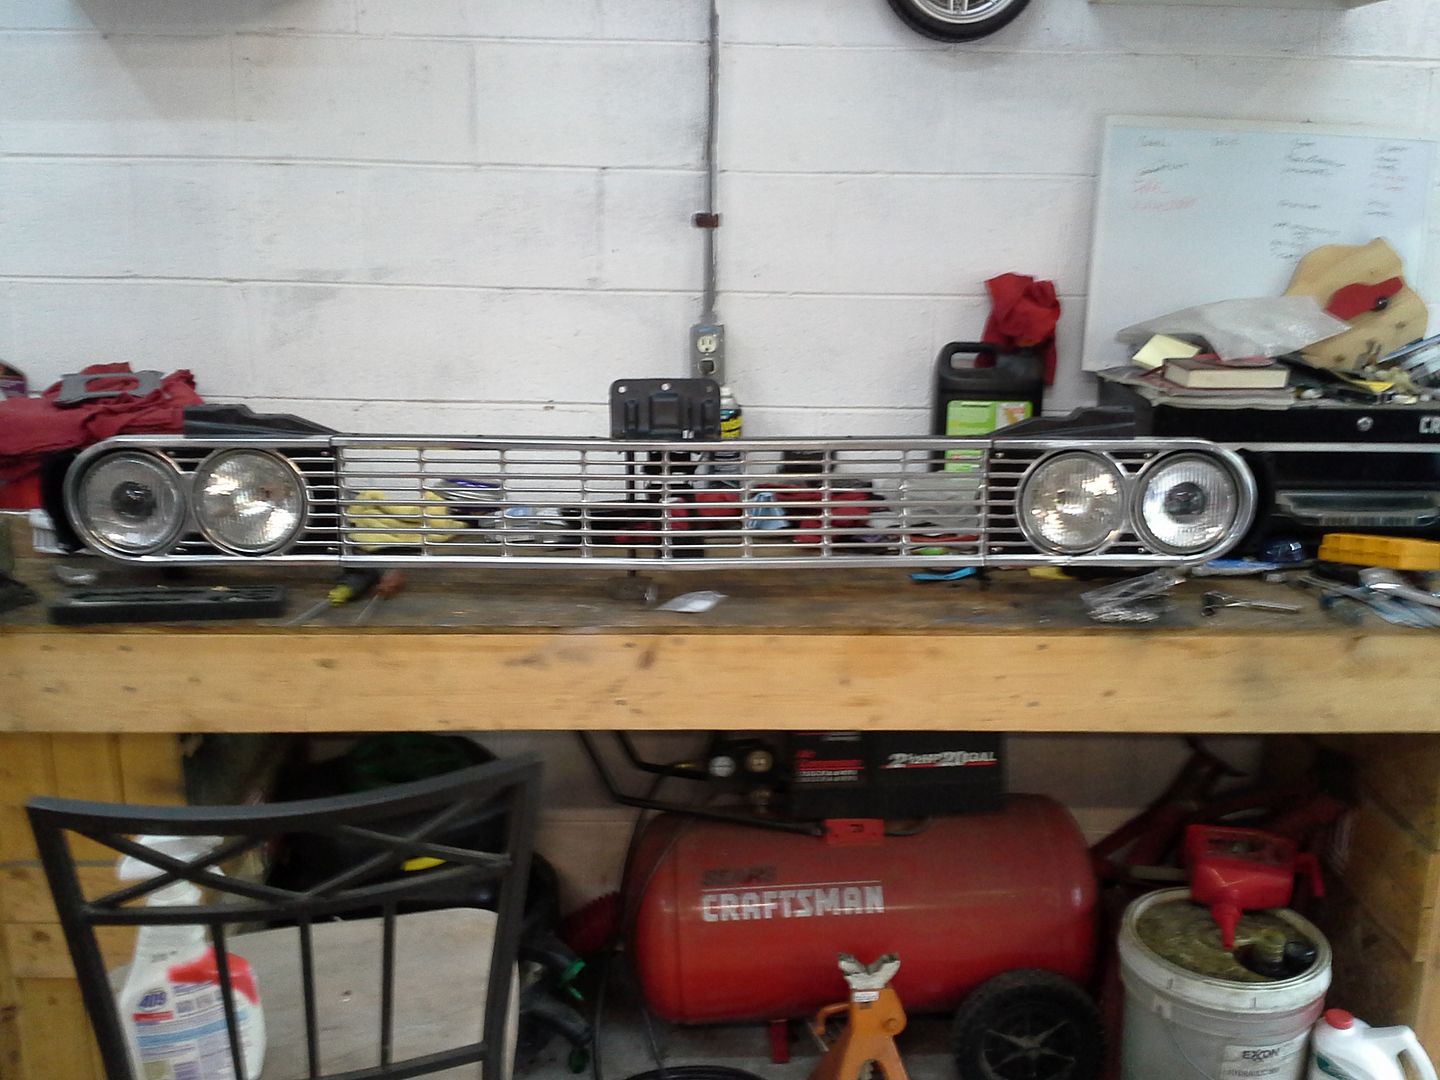 [/URL]
[URL=http://s54.photobucket.com/user/dusterbd13/media/1964%20elcamino/050_zpsf63a1848.jpg.html]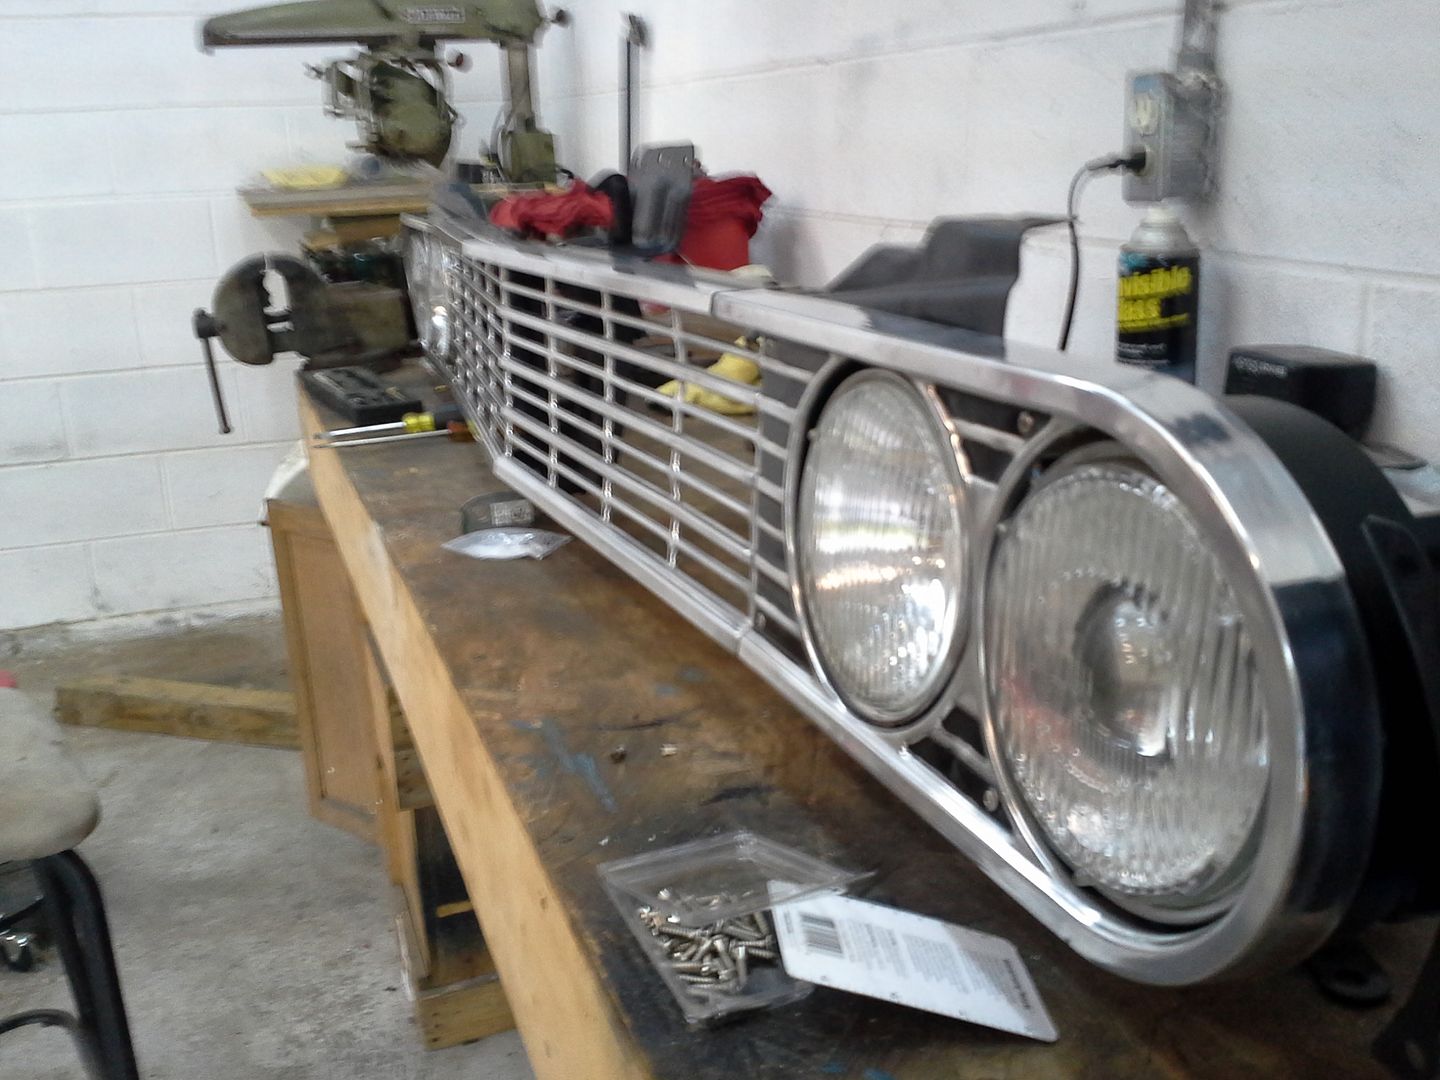 [/URL]
[URL=http://s54.photobucket.com/user/dusterbd13/media/1964%20elcamino/051_zps94ba2de7.jpg.html]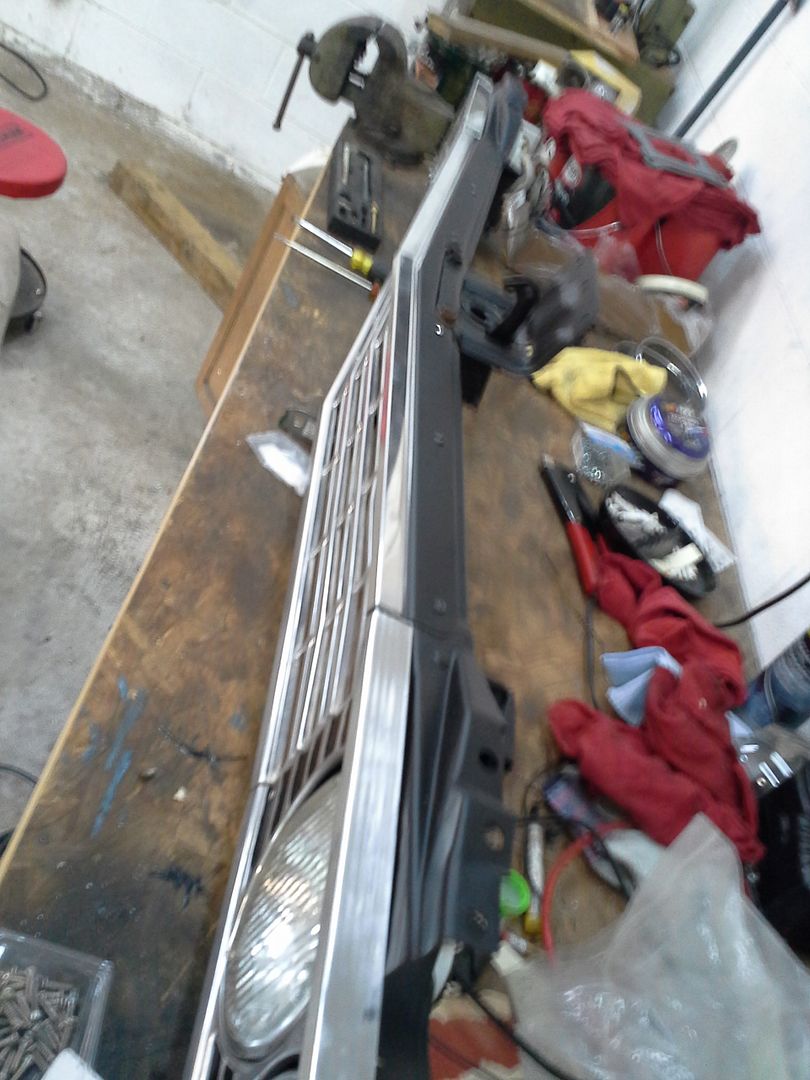 [/URL]
[URL=http://s54.photobucket.com/user/dusterbd13/media/1964%20elcamino/052_zps64fc3edb.jpg.html]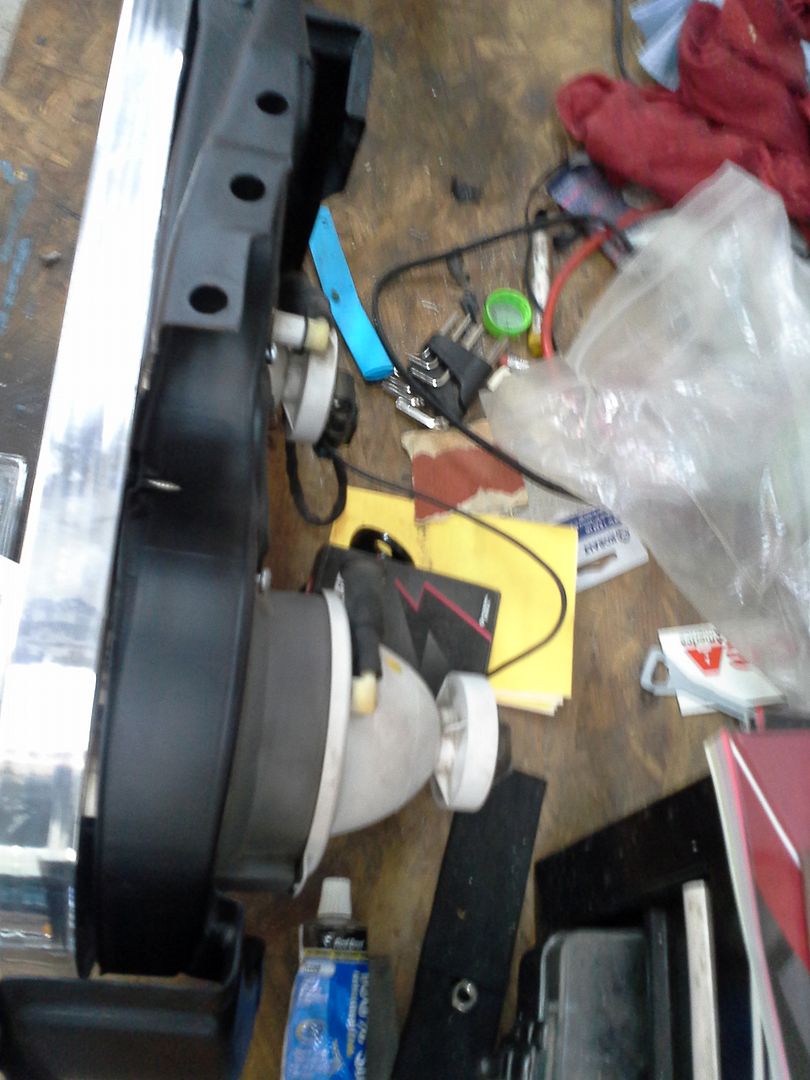 [/URL]
[URL=http://s54.photobucket.com/user/dusterbd13/media/1964%20elcamino/054_zps80ea6541.jpg.html]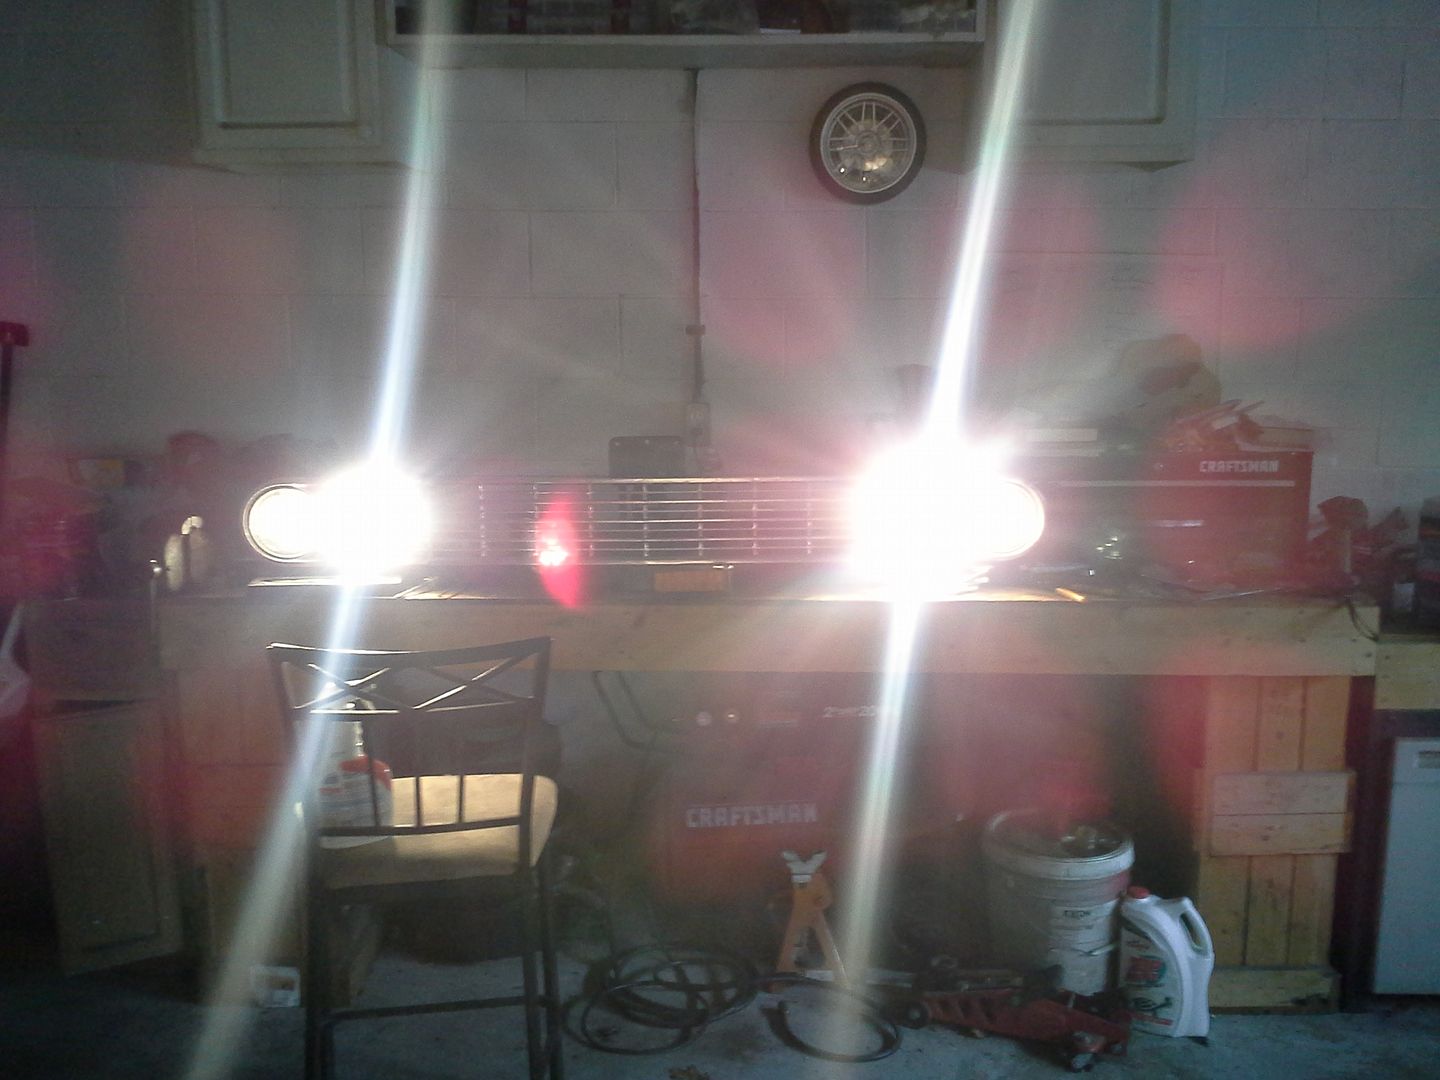 [/URL]
[URL=http://s54.photobucket.com/user/dusterbd13/media/1964%20elcamino/053_zps23e0fe1d.jpg.html]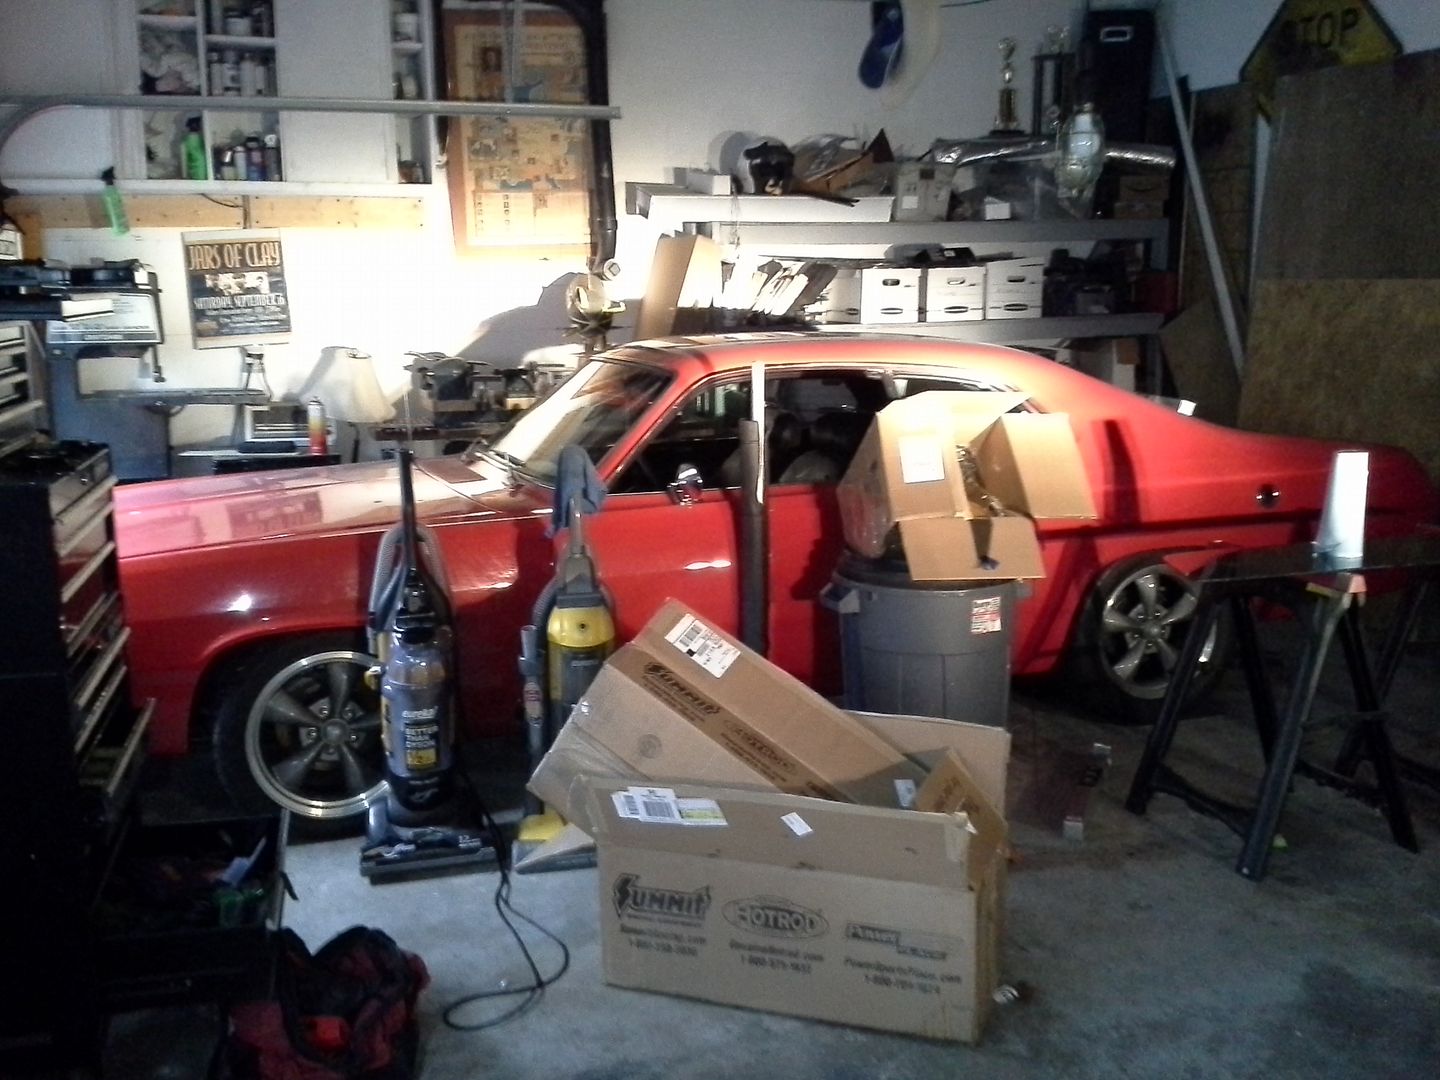 [/URL]
[URL=http://s54.photobucket.com/user/dusterbd13/media/1964%20elcamino/056_zps89ceea60.jpg.html]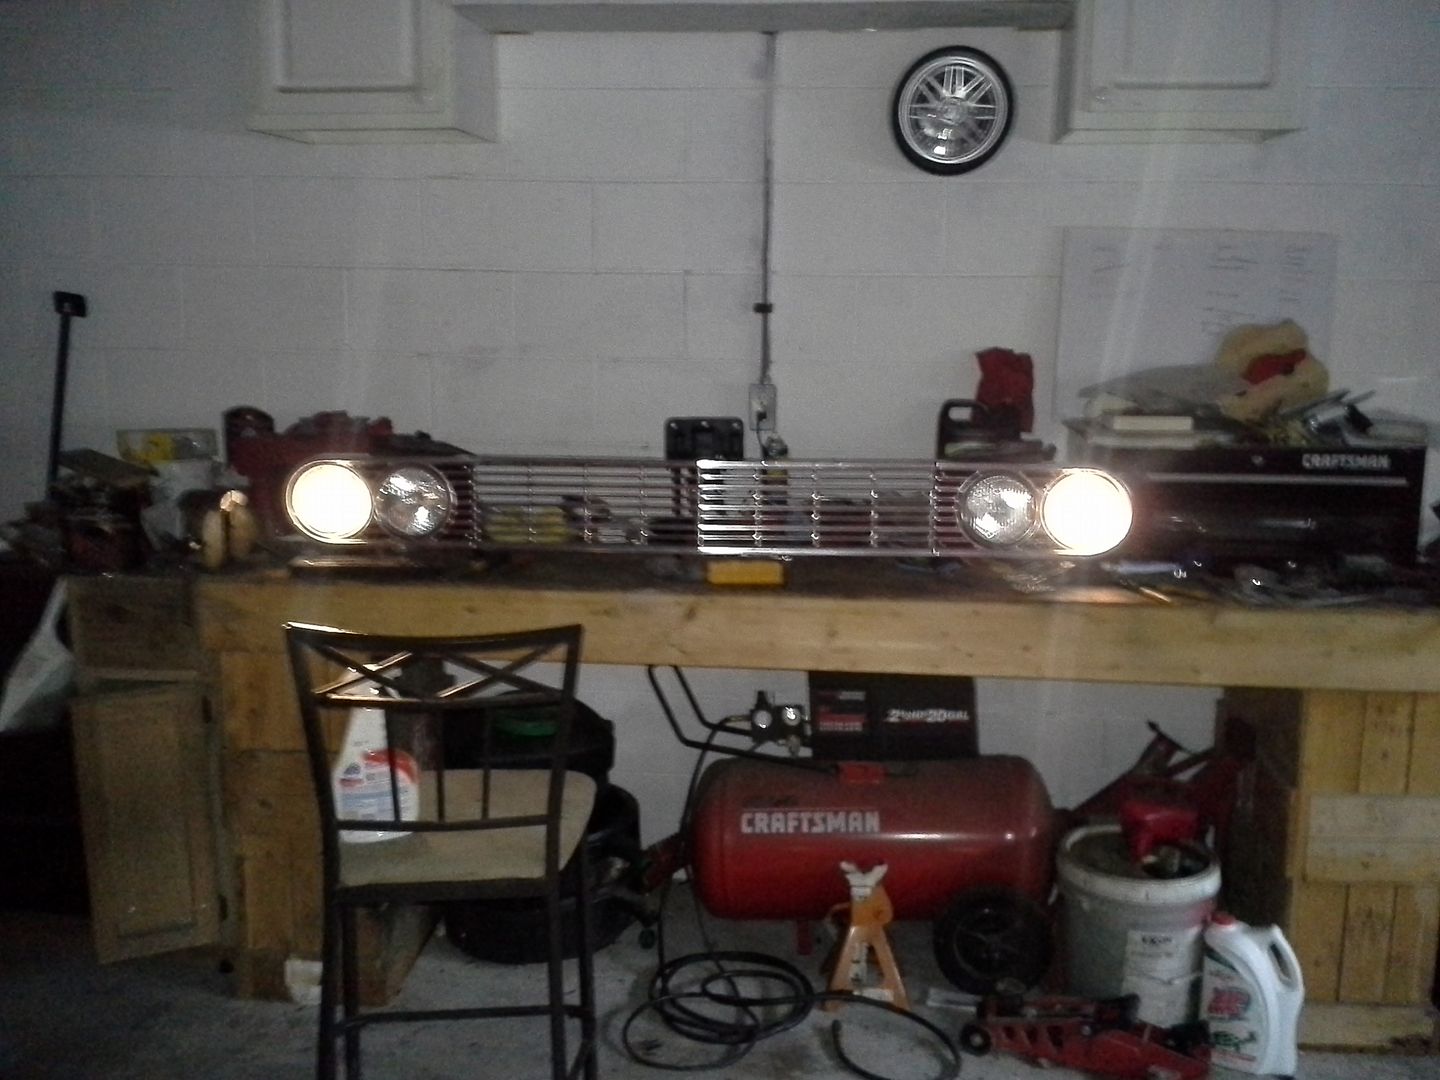 [/URL]
[URL=http://s54.photobucket.com/user/dusterbd13/media/1964%20elcamino/055_zps7309c203.jpg.html]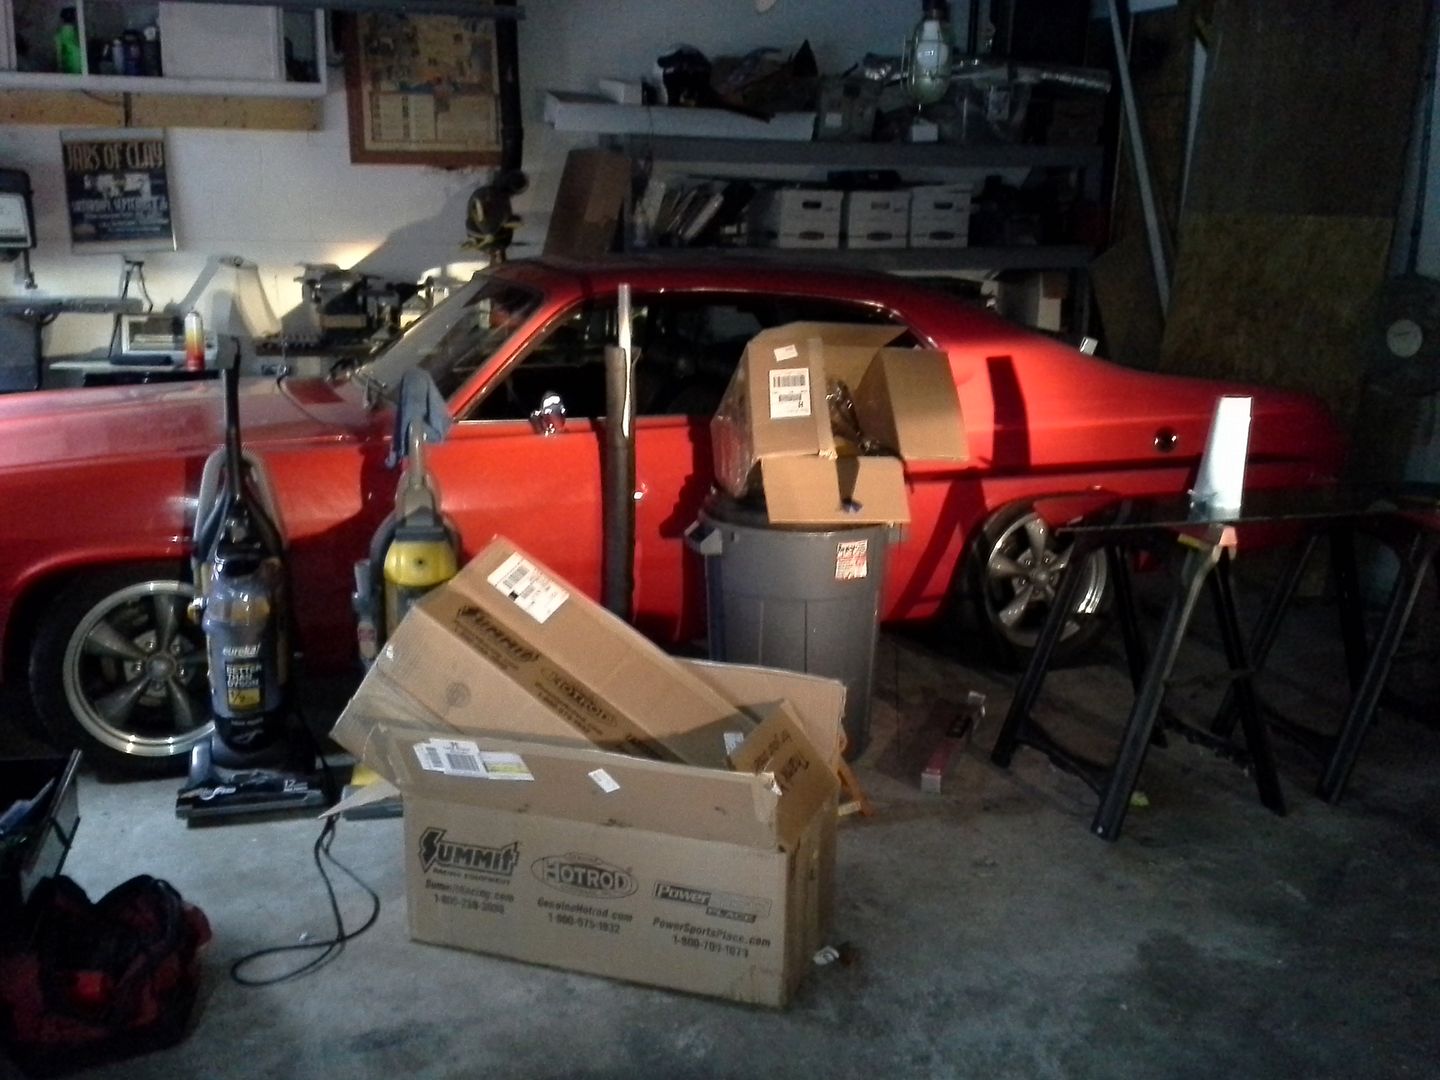 [/URL]
also, im super stoked. body guy FINALLY laid down some paint on the front clip. little trash and orange peel in it, but what do you expect for a guy painting in a metal buildiung with a dirt floor. when the car is all painted and the panels are hung, ill decide wether or not to have it wetsanded and buffed. I know the guy that painted it wont be doing it.
anyway, im happy with the product. and as my dad and best friend both reminded me, I swore id never have another black car.
[URL=http://s54.photobucket.com/user/dusterbd13/media/1964%20elcamino/066_zps6e8aa6bc.jpg.html]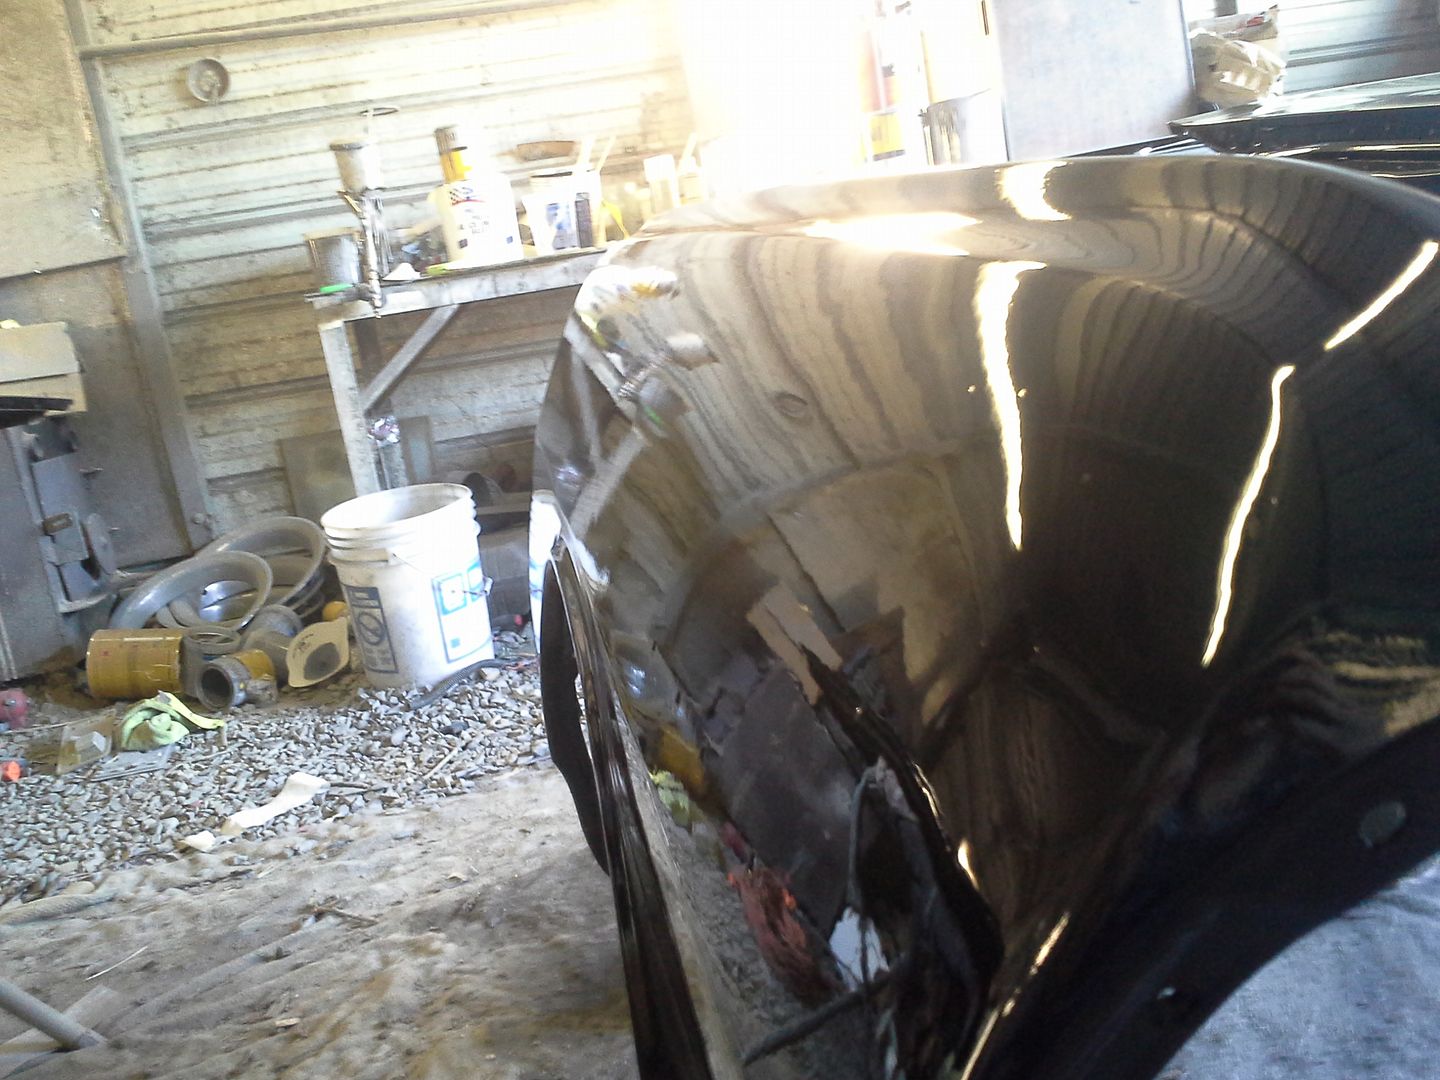 [/URL]
[URL=http://s54.photobucket.com/user/dusterbd13/media/1964%20elcamino/072_zps53971316.jpg.html]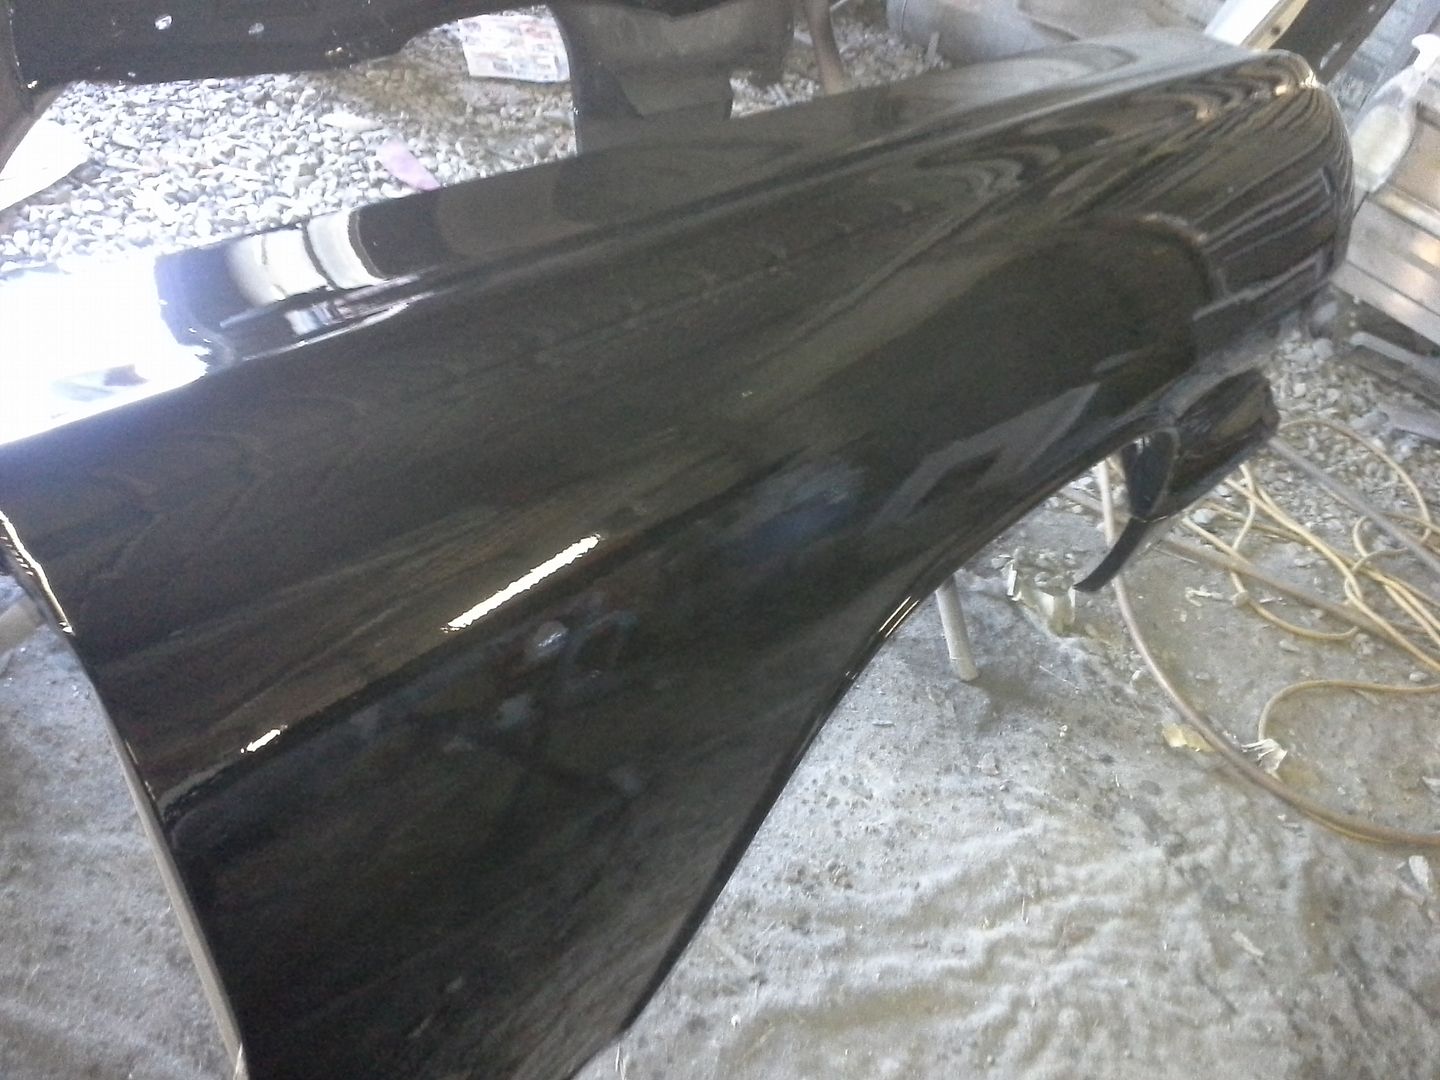 [/URL]
[URL=http://s54.photobucket.com/user/dusterbd13/media/1964%20elcamino/059_zpsfa4750fc.jpg.html] [/URL]
[URL=http://s54.photobucket.com/user/dusterbd13/media/1964%20elcamino/063_zpsff1e8fb6.jpg.html]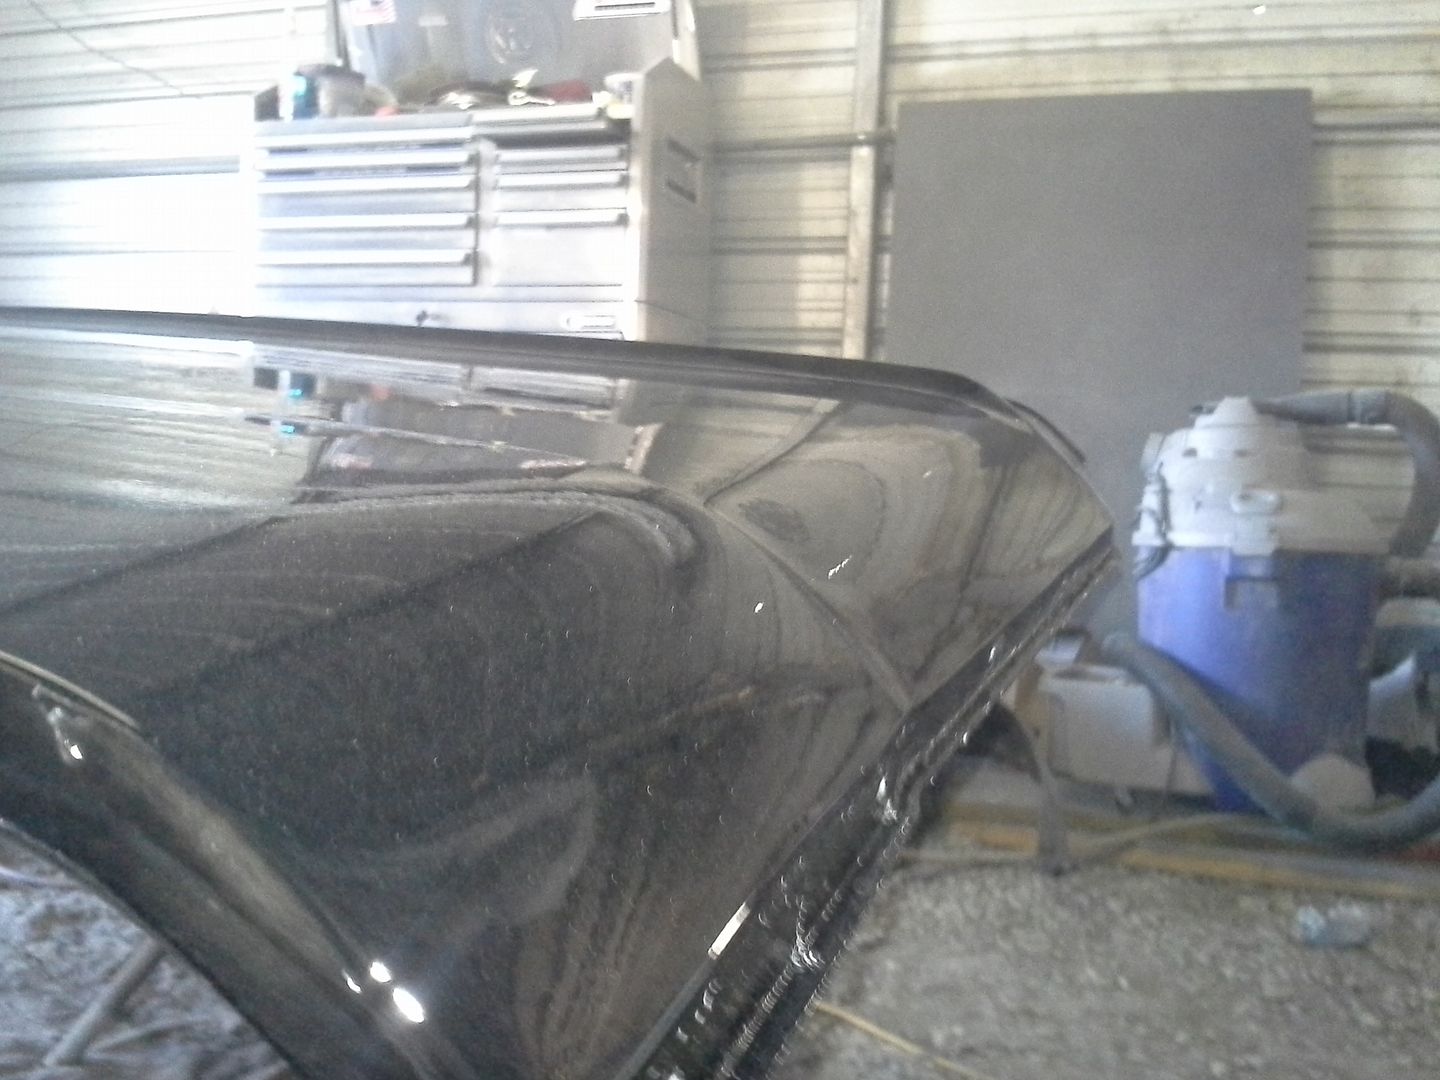 [/URL]
[URL=http://s54.photobucket.com/user/dusterbd13/media/1964%20elcamino/064_zpsb5056624.jpg.html]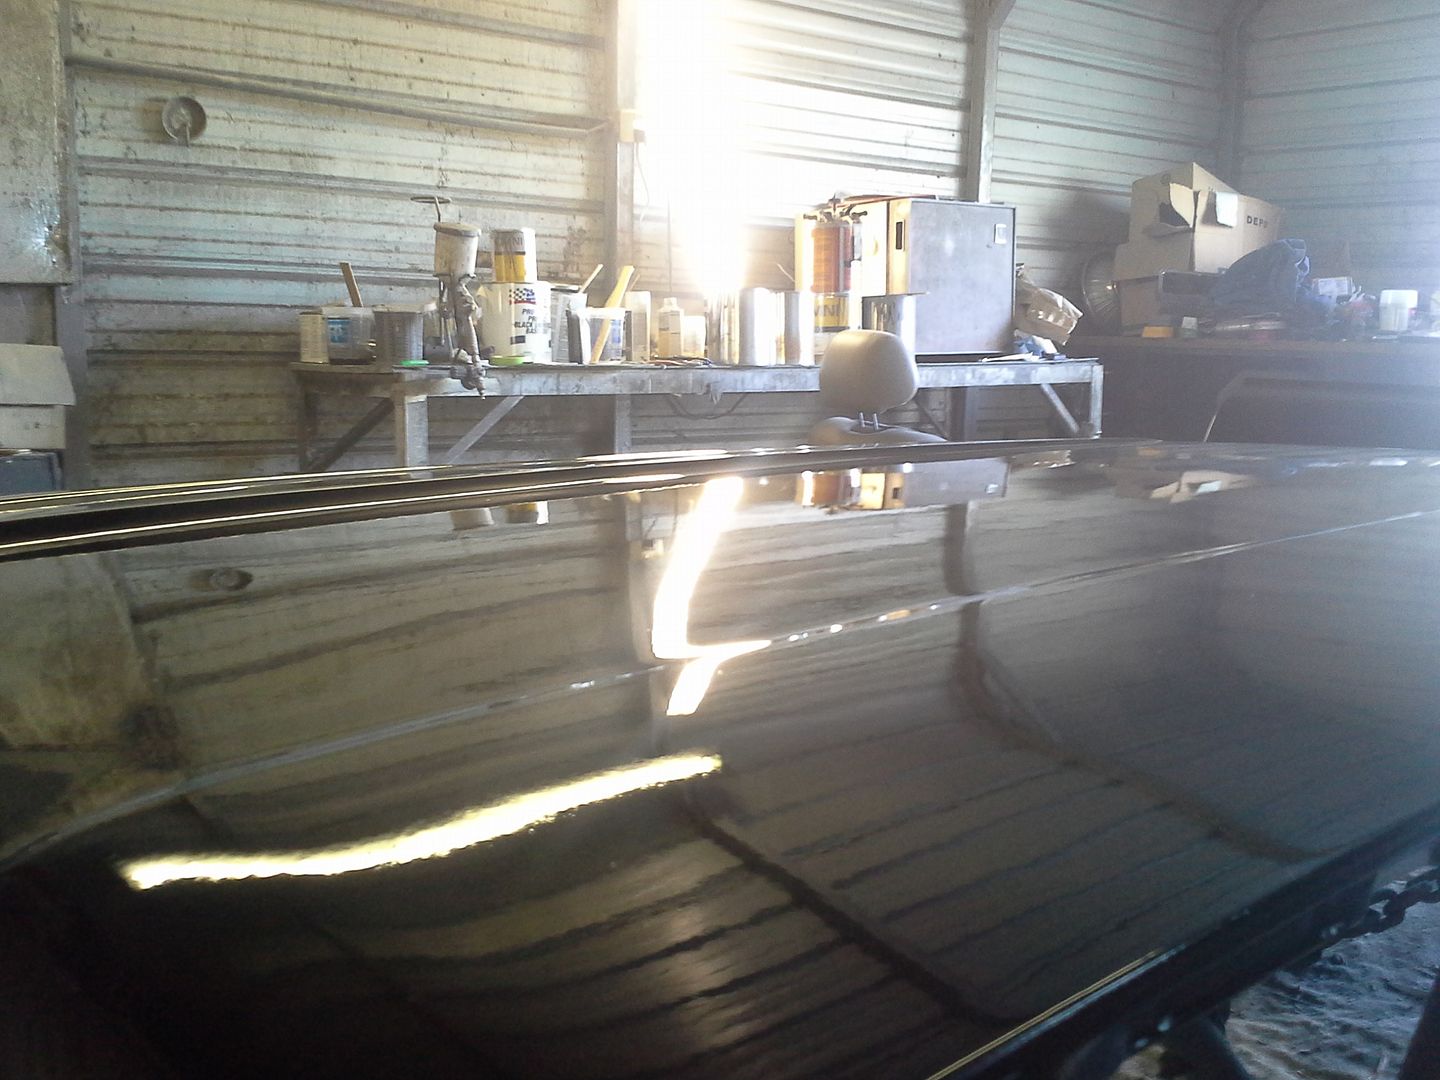 [/URL]
[URL=http://s54.photobucket.com/user/dusterbd13/media/1964%20elcamino/068_zps1d0d4123.jpg.html]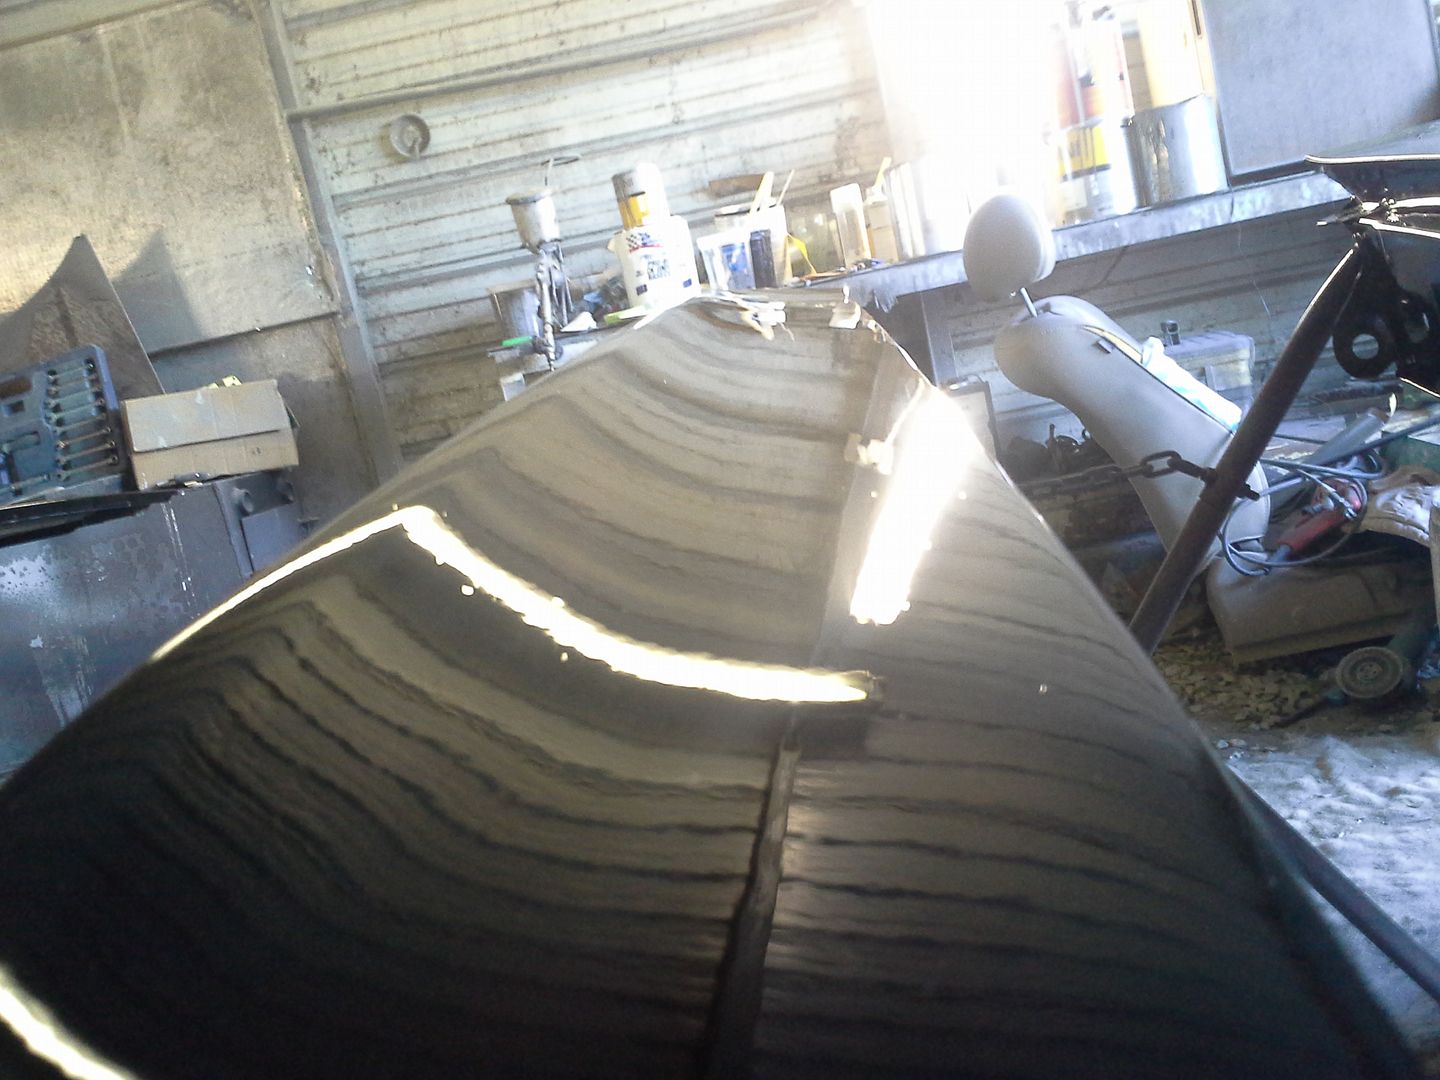 [/URL]
[URL=http://s54.photobucket.com/user/dusterbd13/media/1964%20elcamino/069_zpsecdf7087.jpg.html]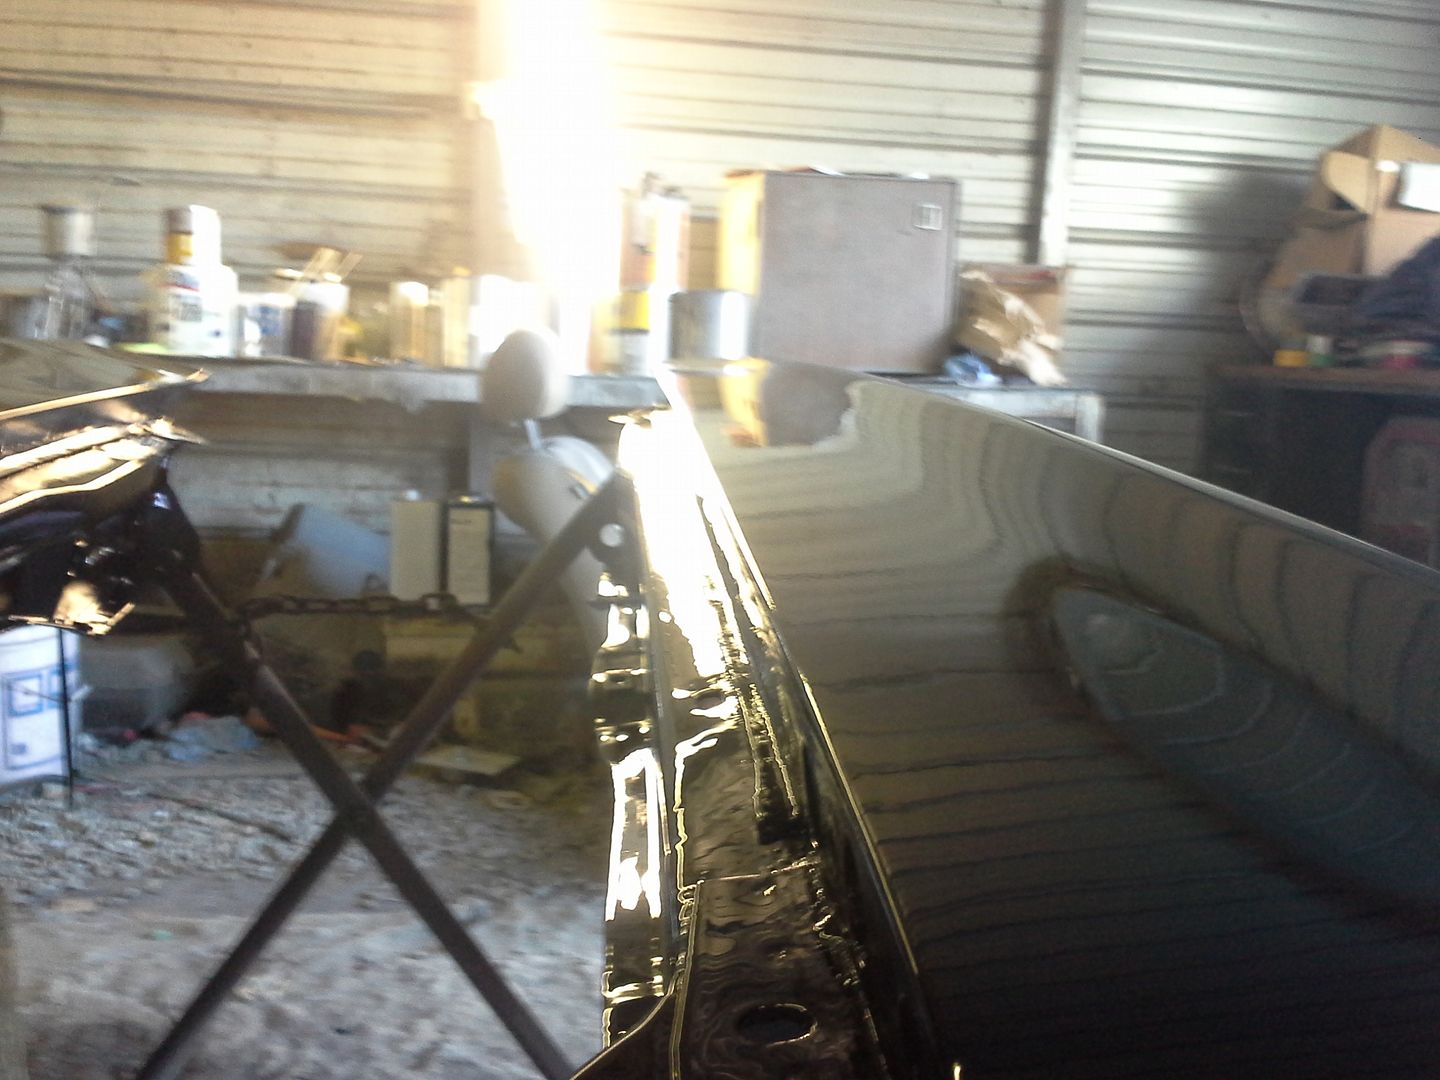 [/URL]
I was honestly nervous about how the fromt would turn out after the tree damage, but it is shockingly straight. a few slight waves, but nothing a little road grime wont hide....
im really, really happy.
now I have to figure out what to do about the underside of the hood and inside of the front fenders. he did not paint these areas. I have to find a way to reattach the hood skin to the underhood bracing, and shoot it, as well as do something with the backsides of the fenders.
heres where im asking for feedback: what would you do on the hood bracing, and what would you do with the fenders? im leaning towards a few balls of JB weld putty for the bracing. im debating using some roll in bedliner on the backsides of the fenders, then shooting gloss black ofer all that. engine baw will be satin except for firewall and front fenders.
so, please give feedback. im really stumped and no good answer/path is coming out of my brain at the moment.
Lots of cars used a type of expanding adhesive to secure underhood bracing. A body supply shop should be able to hook you up.
Thanks for sharing the project. Gonna be fantastic when you're finished with it. Between this project, Tuna's build and the guys at work constantly shopping for Amercian muscle cars I think I want one of my own.
so, budget first:
previous total: 7273.68
bought 4 cans of john deere paint, high gloss, medium gloss, and blitz black at 9.33 a can
bedliner is a leftover
new total: 7311
so when I left off, I hadn't gotten by to pick up my parts yet.
well, they all made it home. then I needed to figure out what to do. decided to reattach the hood bracing with epoxy. then sanded down the underside of the hood and inner part of the front fenders with 220 grit paper, by hand. followed that up with a few coats of high gloss john deere spray paint. this stuff is great. once it cures, its almost indestructible. after the paint cured, I bolted all the hood trim back on, as it was much easier to do while the hood was on sawhorses than in place. this painting took three cans of paint to do a good coverage.
[URL=http://s54.photobucket.com/user/dusterbd13/media/1964%20elcamino/005_zps08be6d83.jpg.html]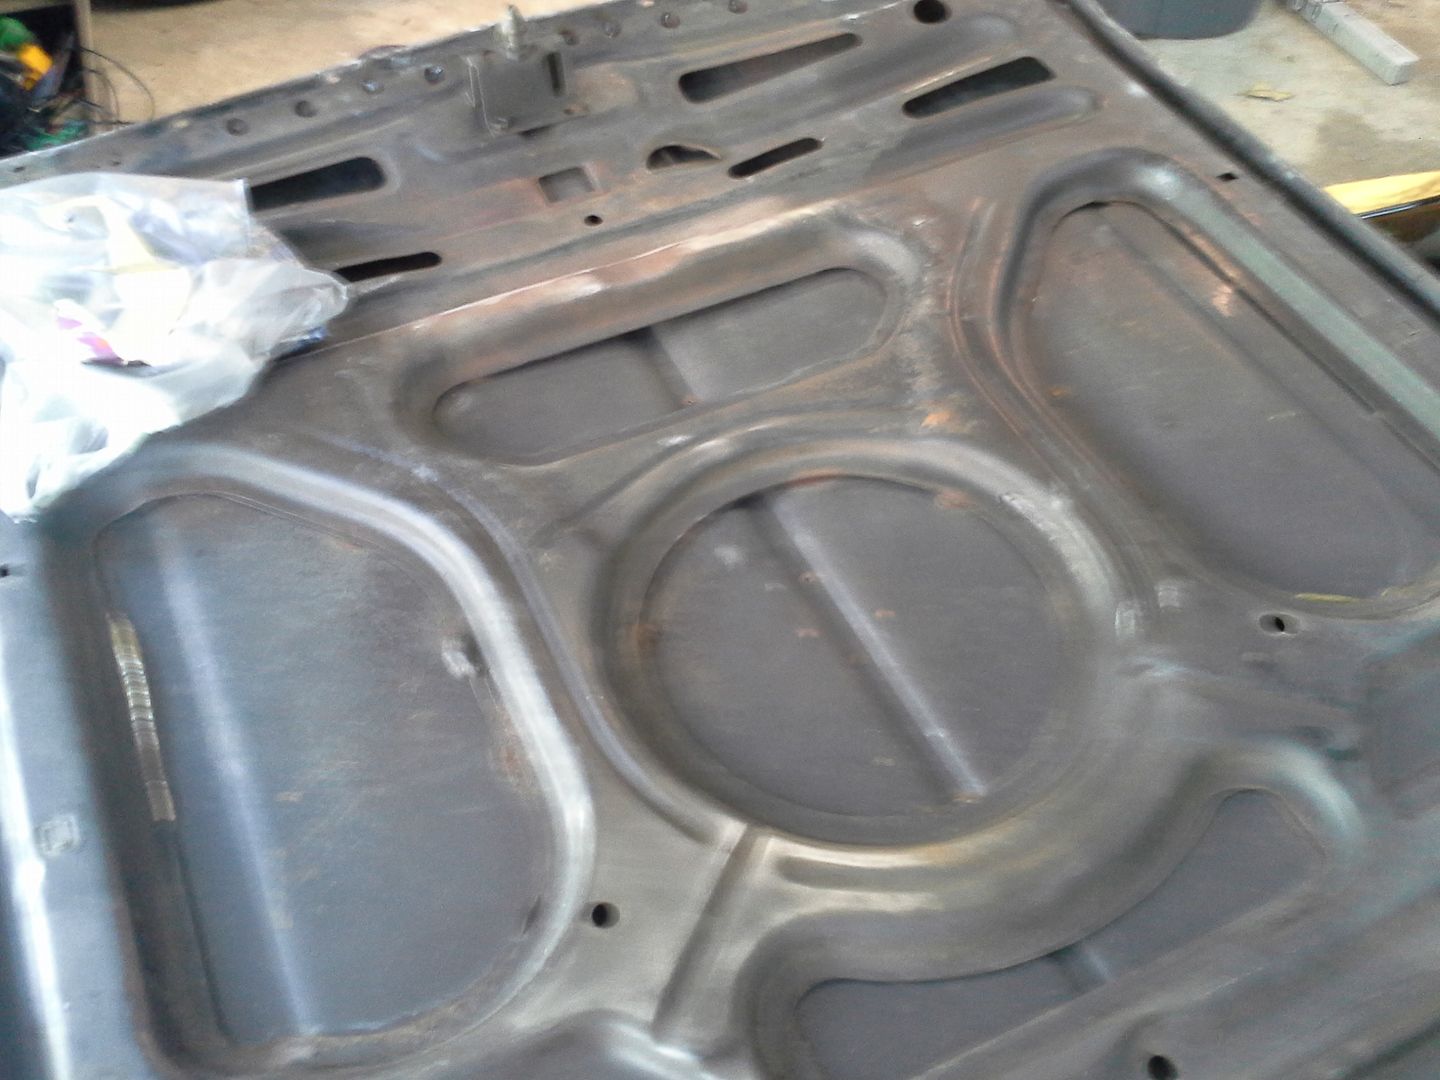 [/URL]
[URL=http://s54.photobucket.com/user/dusterbd13/media/1964%20elcamino/007_zps5220576e.jpg.html]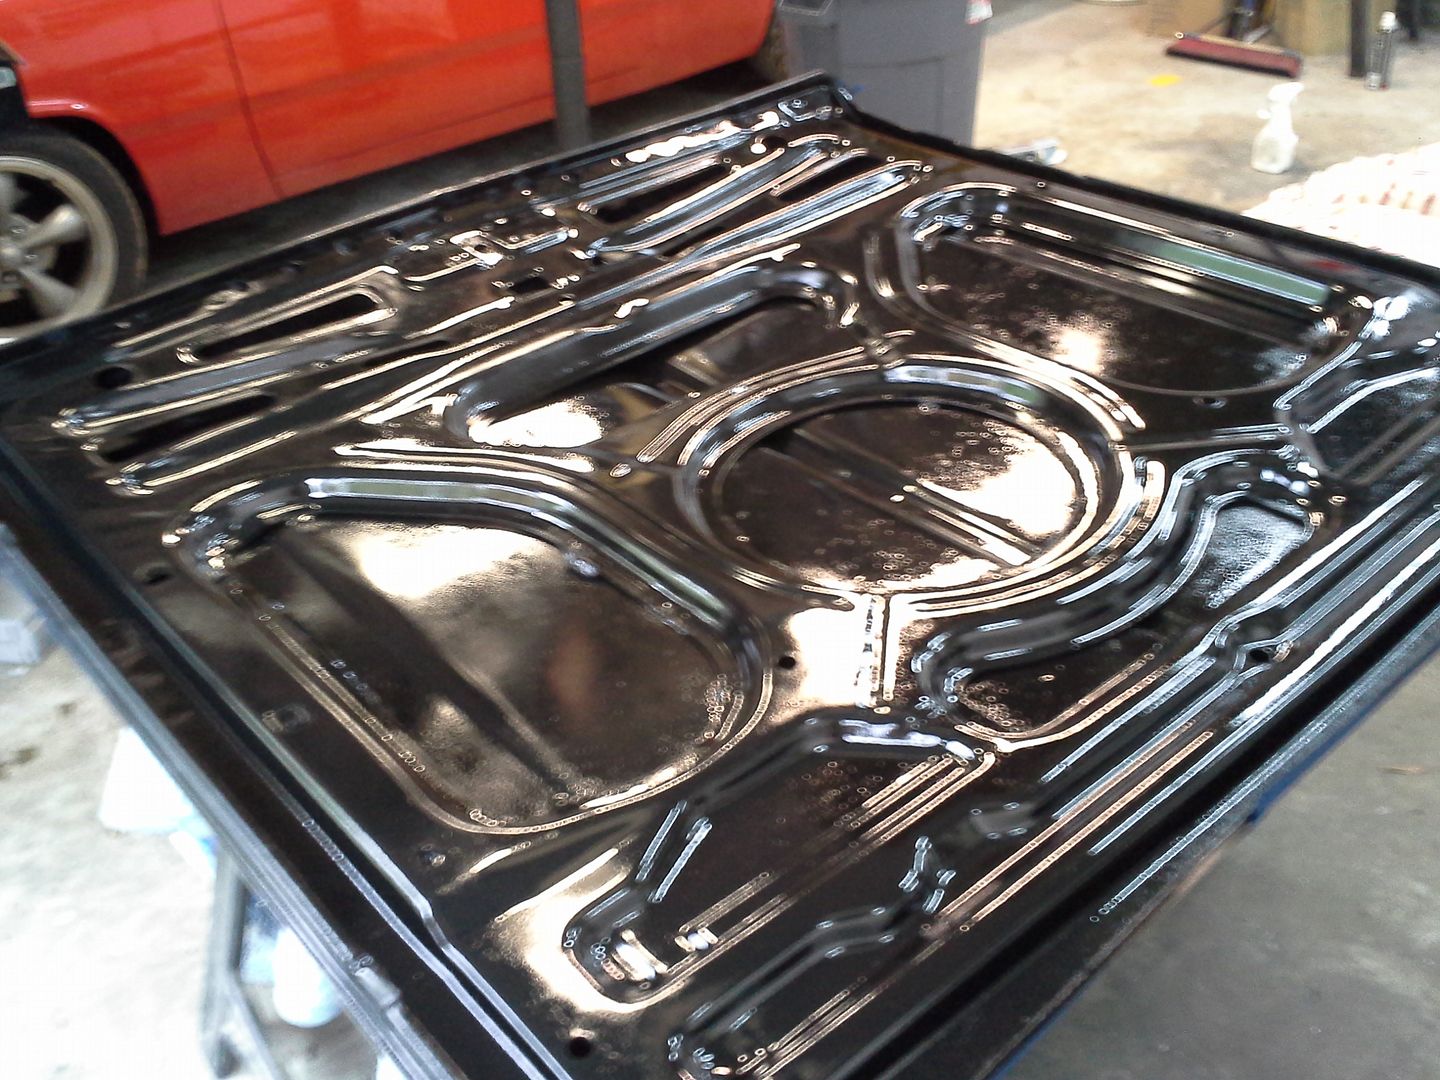 [/URL]
[URL=http://s54.photobucket.com/user/dusterbd13/media/1964%20elcamino/015_zps3b225b4e.jpg.html]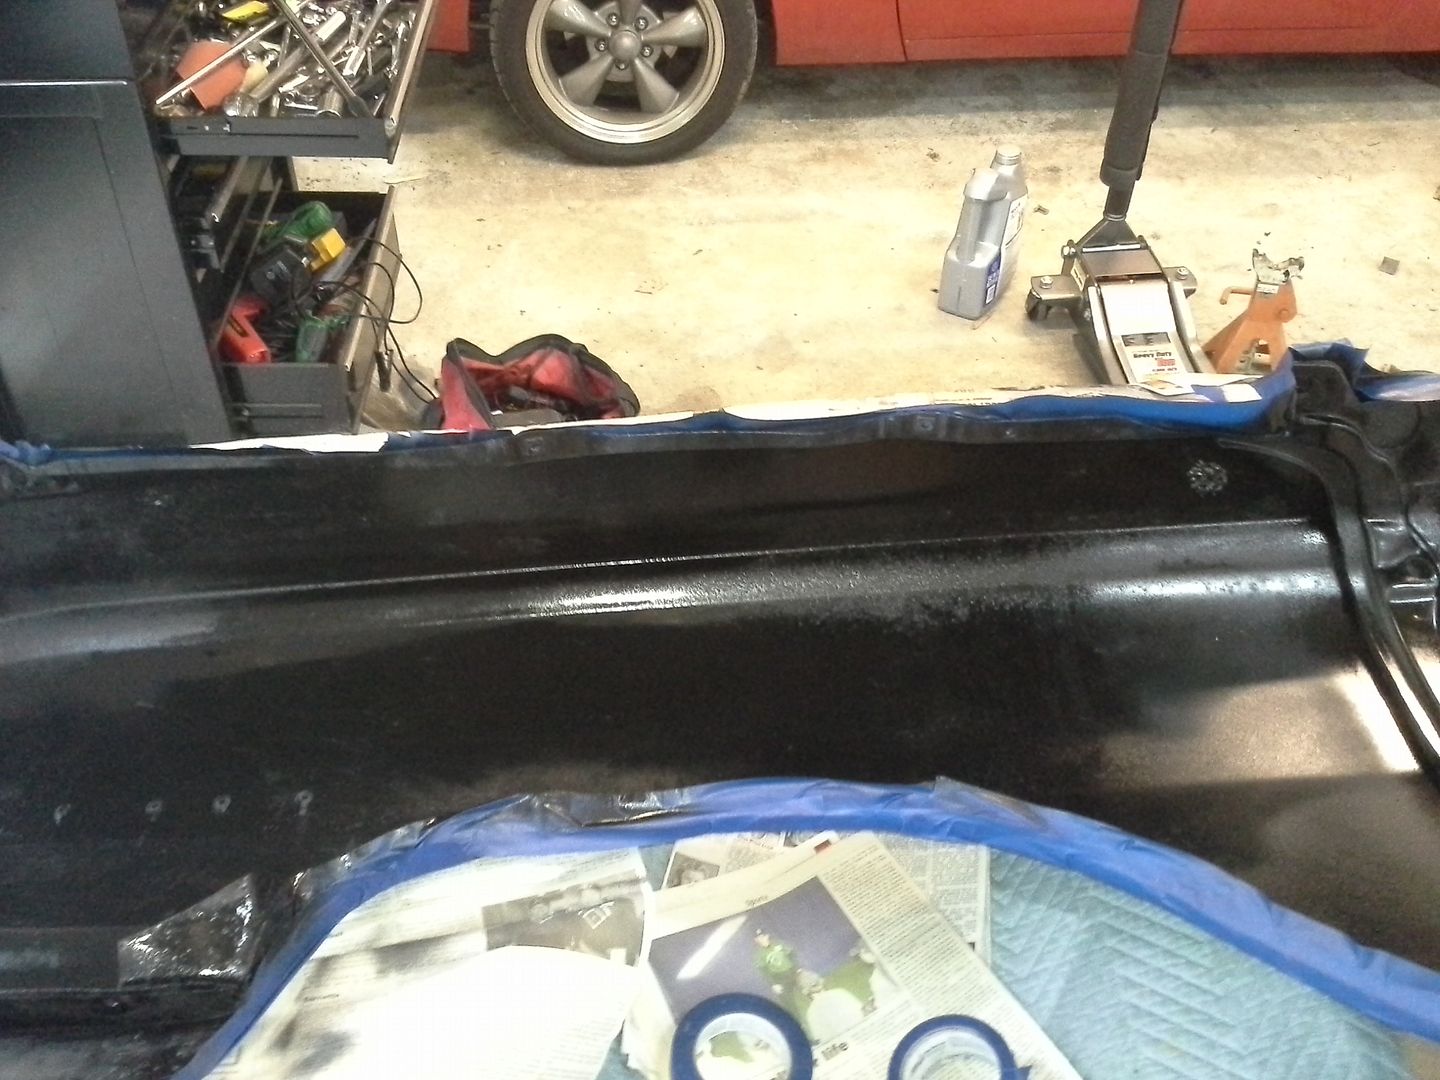 [/URL]
[URL=http://s54.photobucket.com/user/dusterbd13/media/1964%20elcamino/012_zps61cc706e.jpg.html]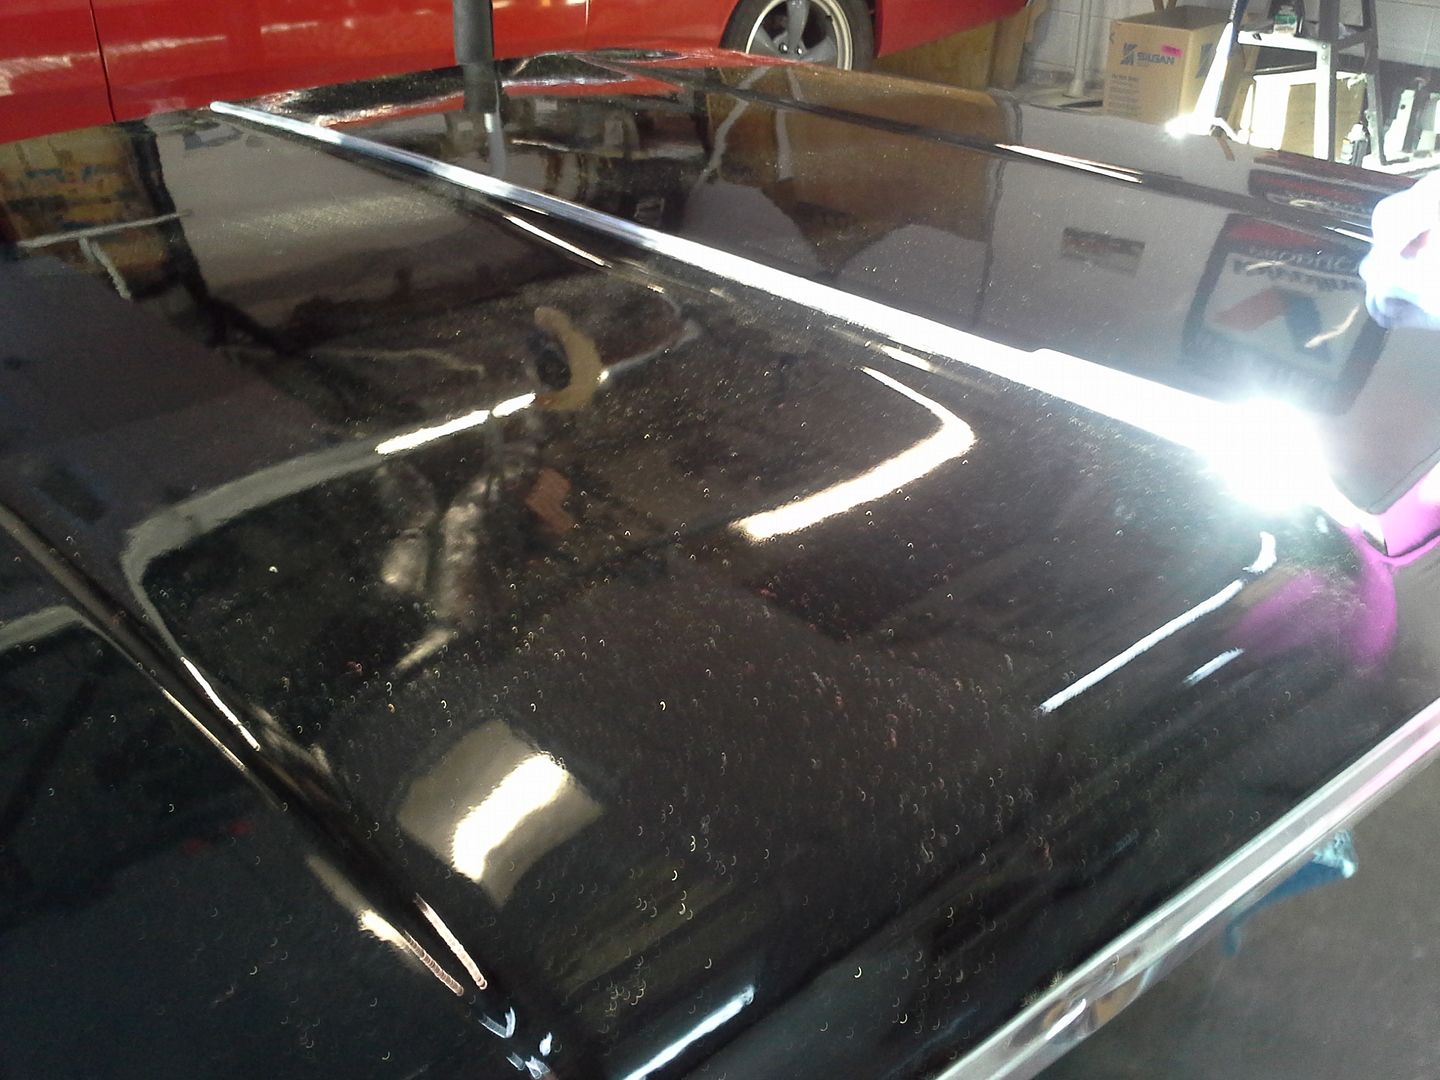 [/URL]
[URL=http://s54.photobucket.com/user/dusterbd13/media/1964%20elcamino/013_zps3eacf87f.jpg.html]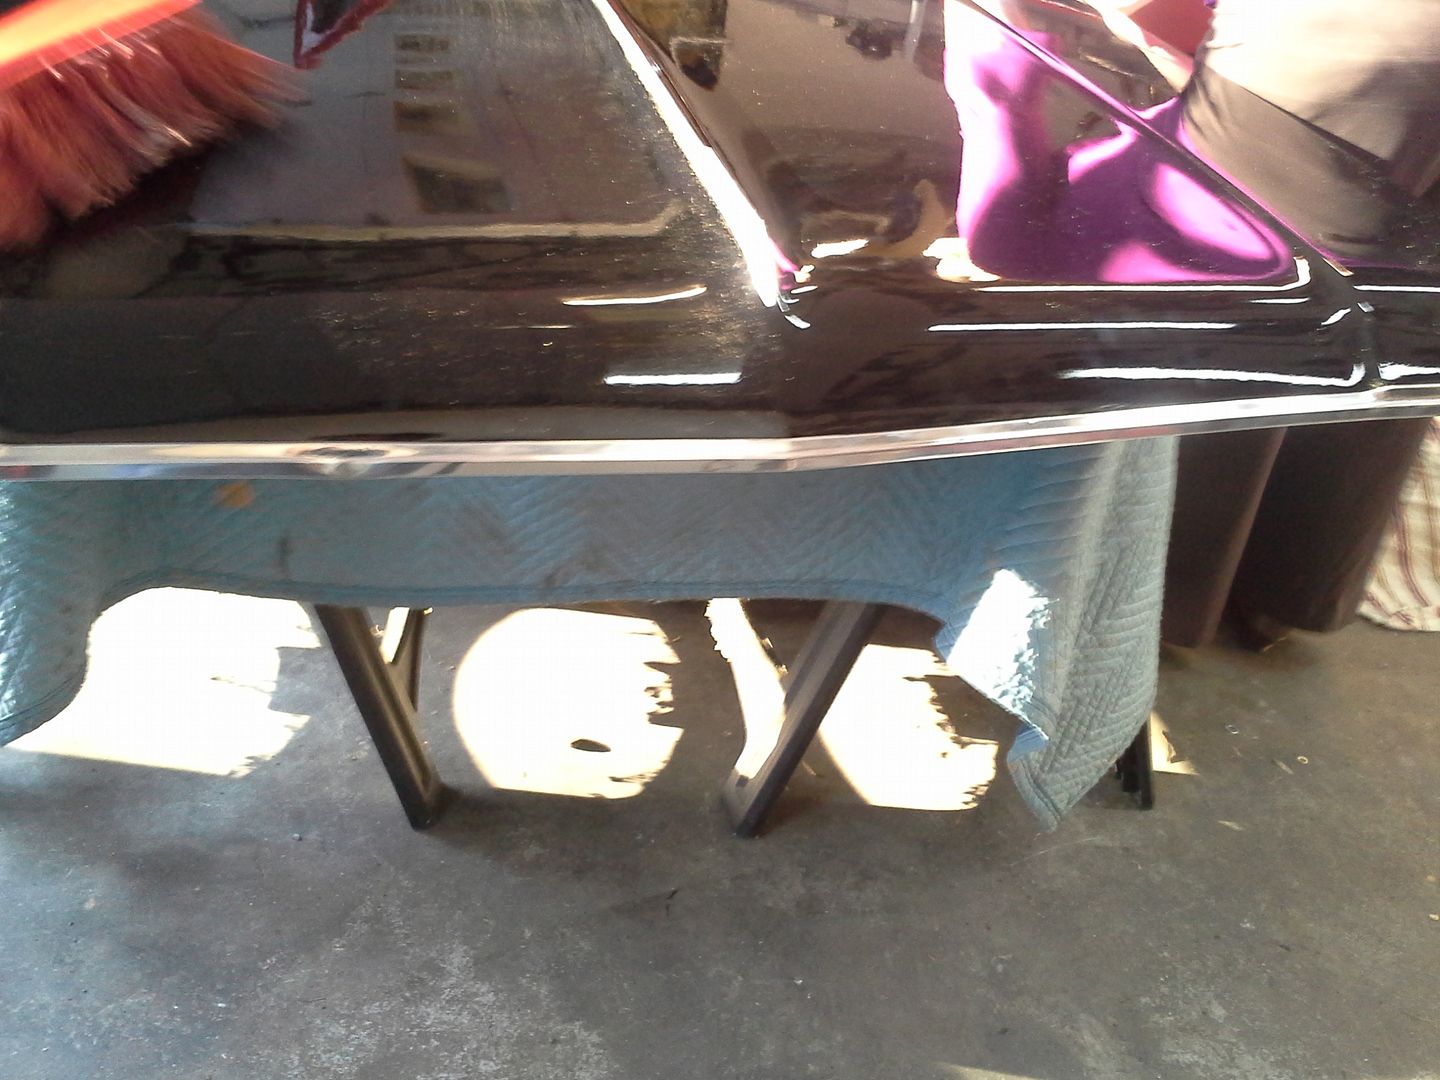 [/URL]
my wife and daughter even got in on helping to clean it all up before putting it in storage.
[URL=http://s54.photobucket.com/user/dusterbd13/media/1964%20elcamino/010_zpsc9f9f86f.jpg.html]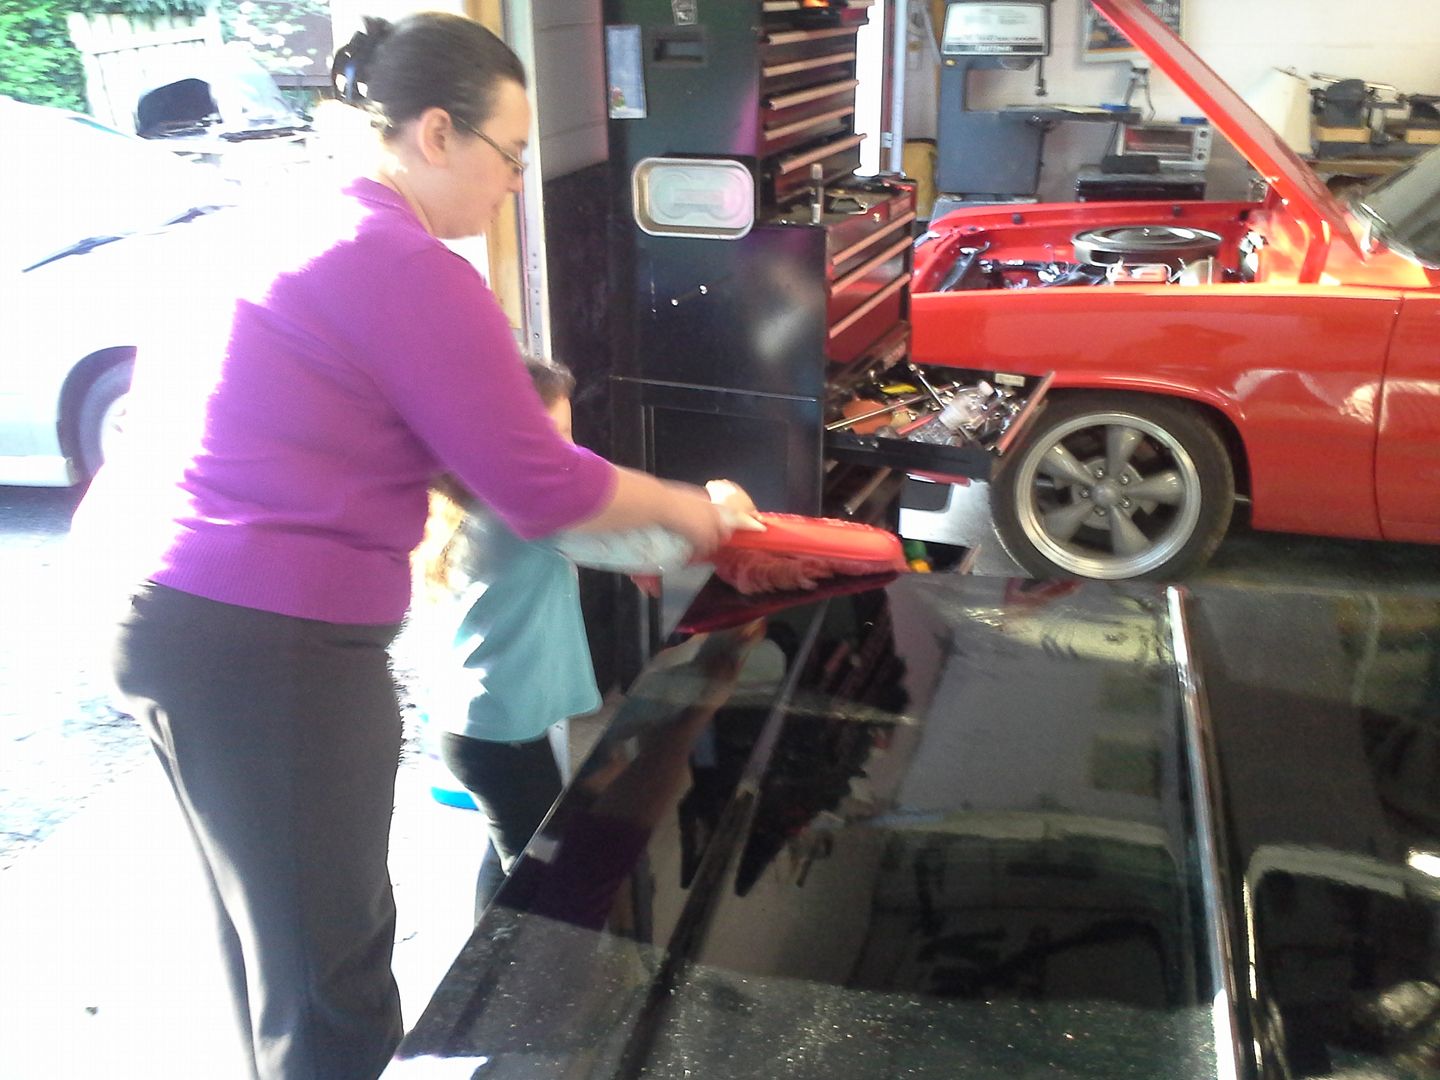 [/URL]
[URL=http://s54.photobucket.com/user/dusterbd13/media/1964%20elcamino/009_zpsc31ea5a1.jpg.html] [/URL]
I then moved onto the inner fenders. well, one of them. I stripped it down to bare metal, shot the wheel side with rattle can bedliner from harbor freight (it was free, I still feel like I paid too much) in about five coats. shot the engine side with john deere blitz black. had most of a can on the shelf that I used, and part of a can I bought.
[URL=http://s54.photobucket.com/user/dusterbd13/media/1964%20elcamino/016_zps23c55902.jpg.html]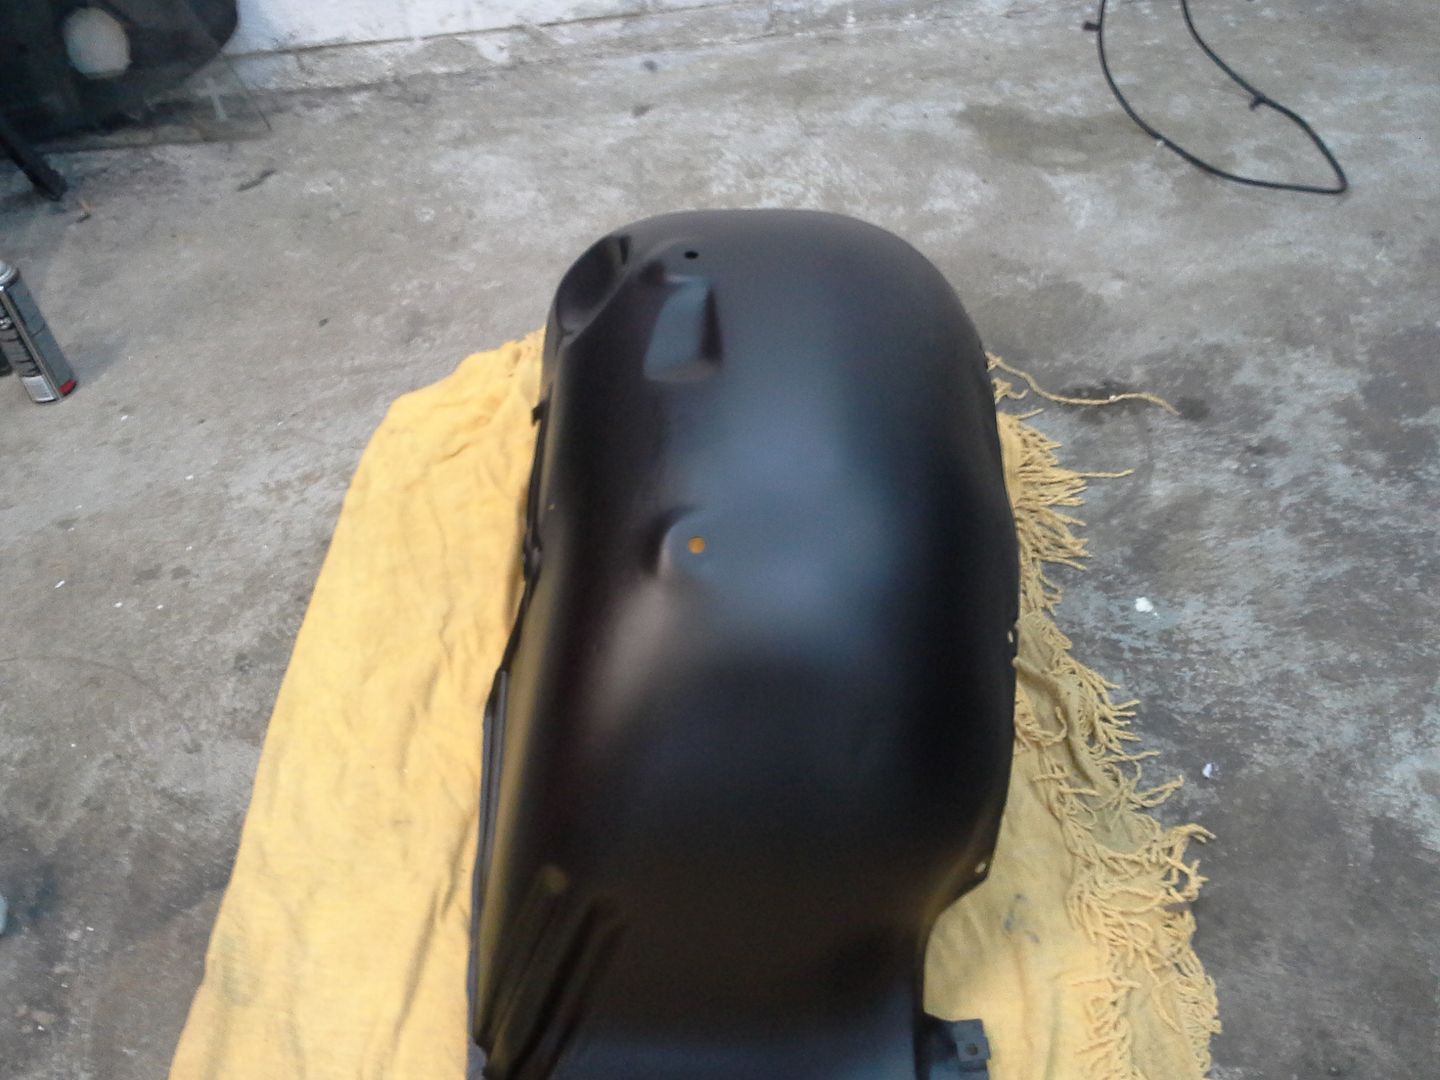 [/URL]
[URL=http://s54.photobucket.com/user/dusterbd13/media/1964%20elcamino/018_zps999d94d5.jpg.html]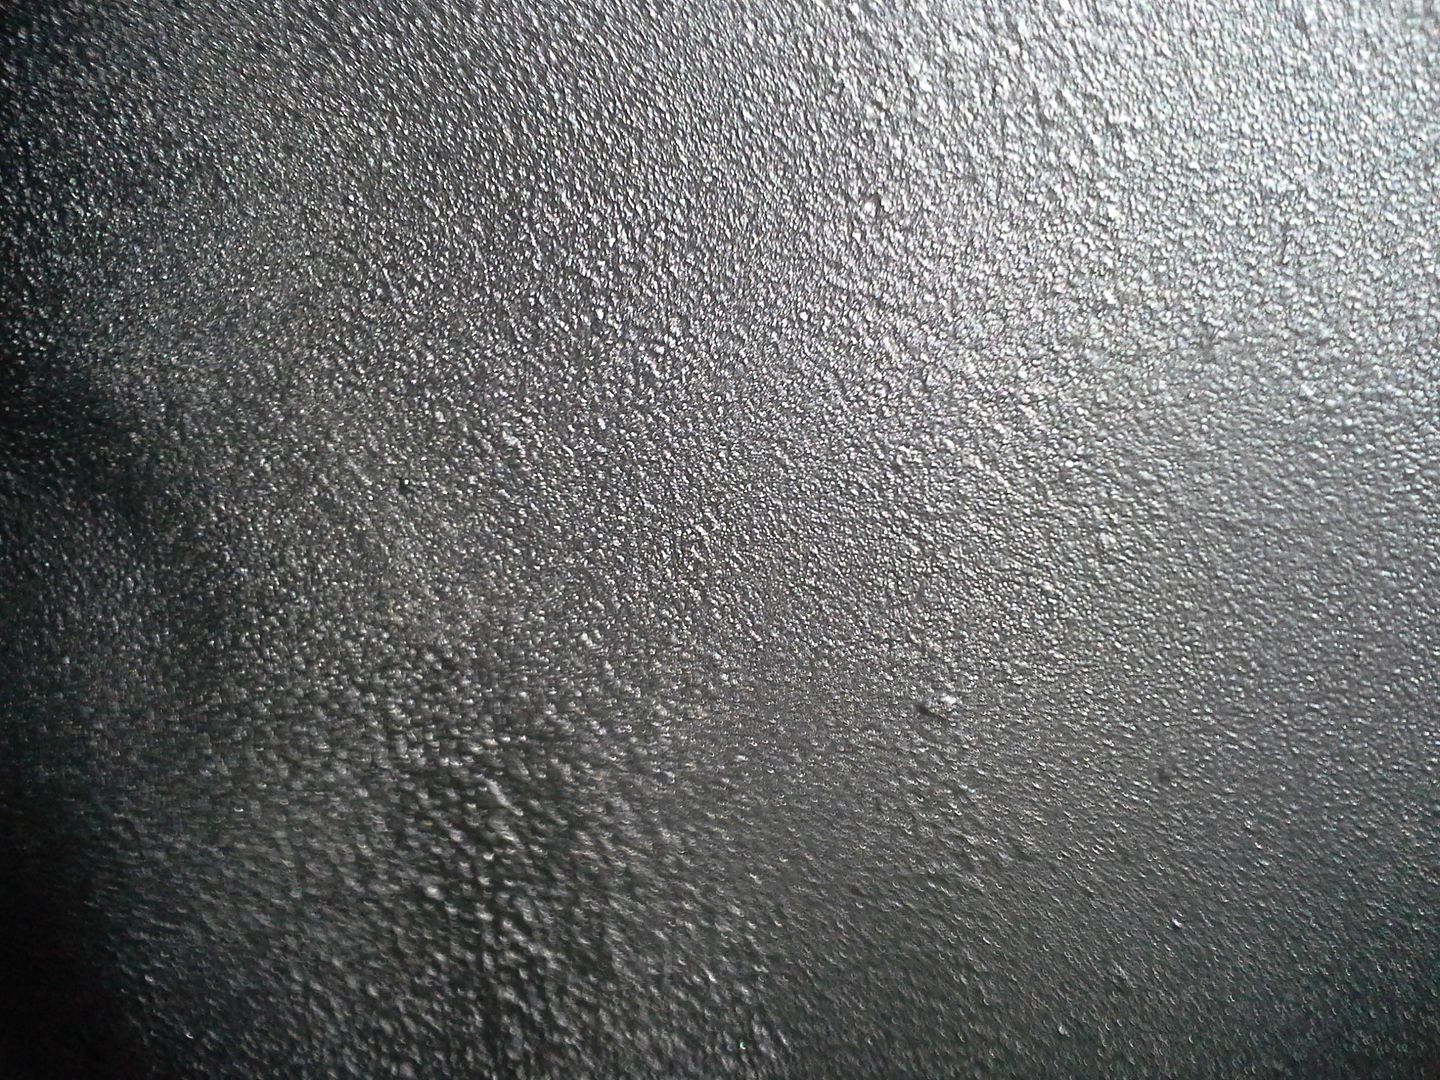 [/URL]
I still need to wet sand and buff the body, but that will wait until its all put together. I'm still shocked by how nicely its coming out though.
[URL=http://s54.photobucket.com/user/dusterbd13/media/1964%20elcamino/021_zps96df5b52.jpg.html]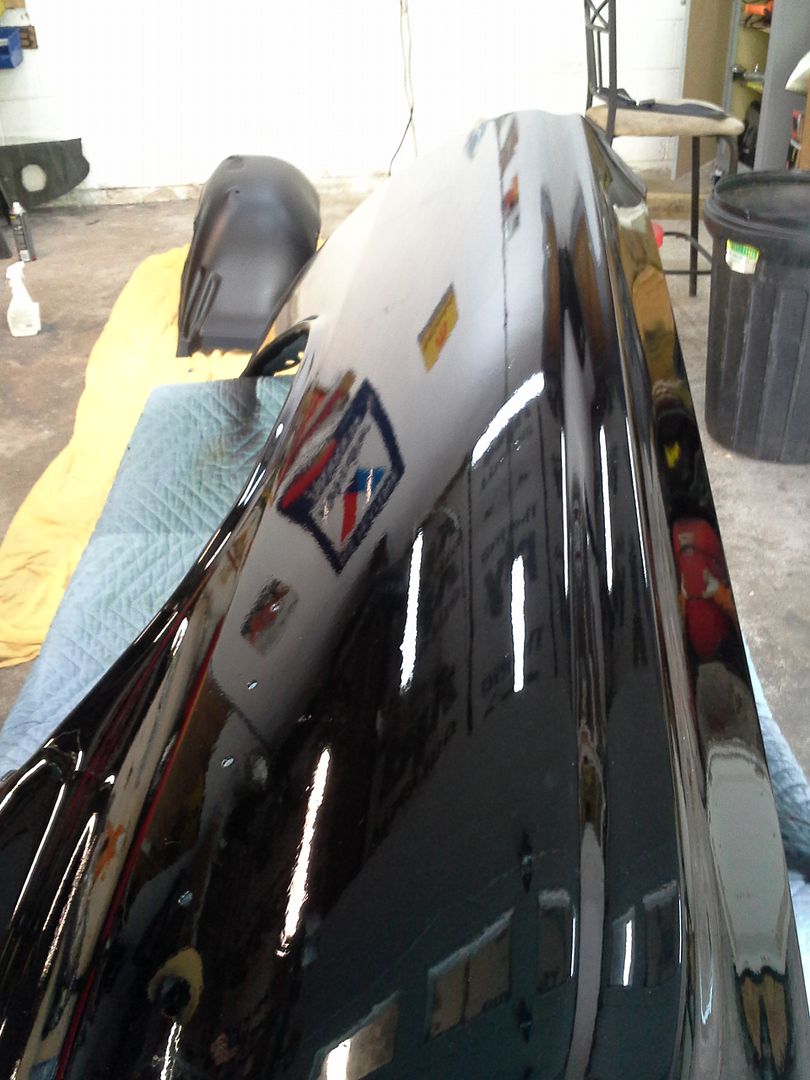 [/URL]
[URL=http://s54.photobucket.com/user/dusterbd13/media/1964%20elcamino/020_zps179e0095.jpg.html]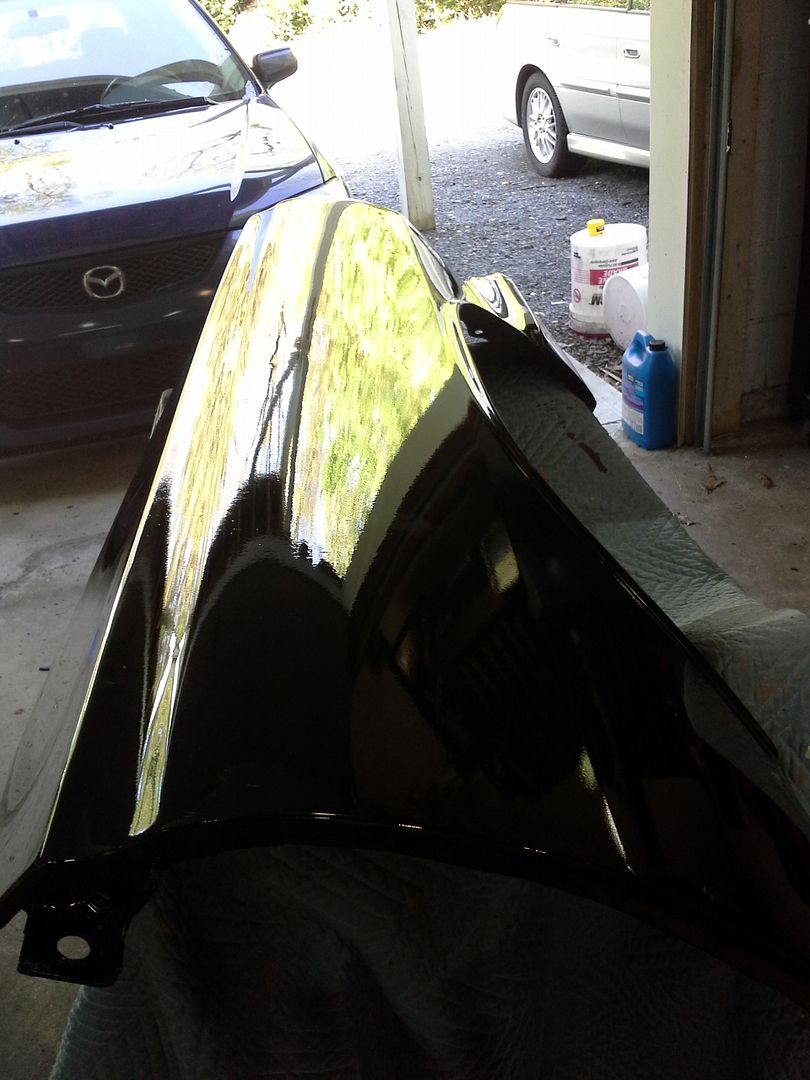 [/URL]
up next I tore down my doors to have the glass professionally tinted. the same guy that did my powder coating also does tint. we decided on 20% to keep with the blackened theme.
[URL=http://s54.photobucket.com/user/dusterbd13/media/1964%20elcamino/024_zps22d4ee76.jpg.html]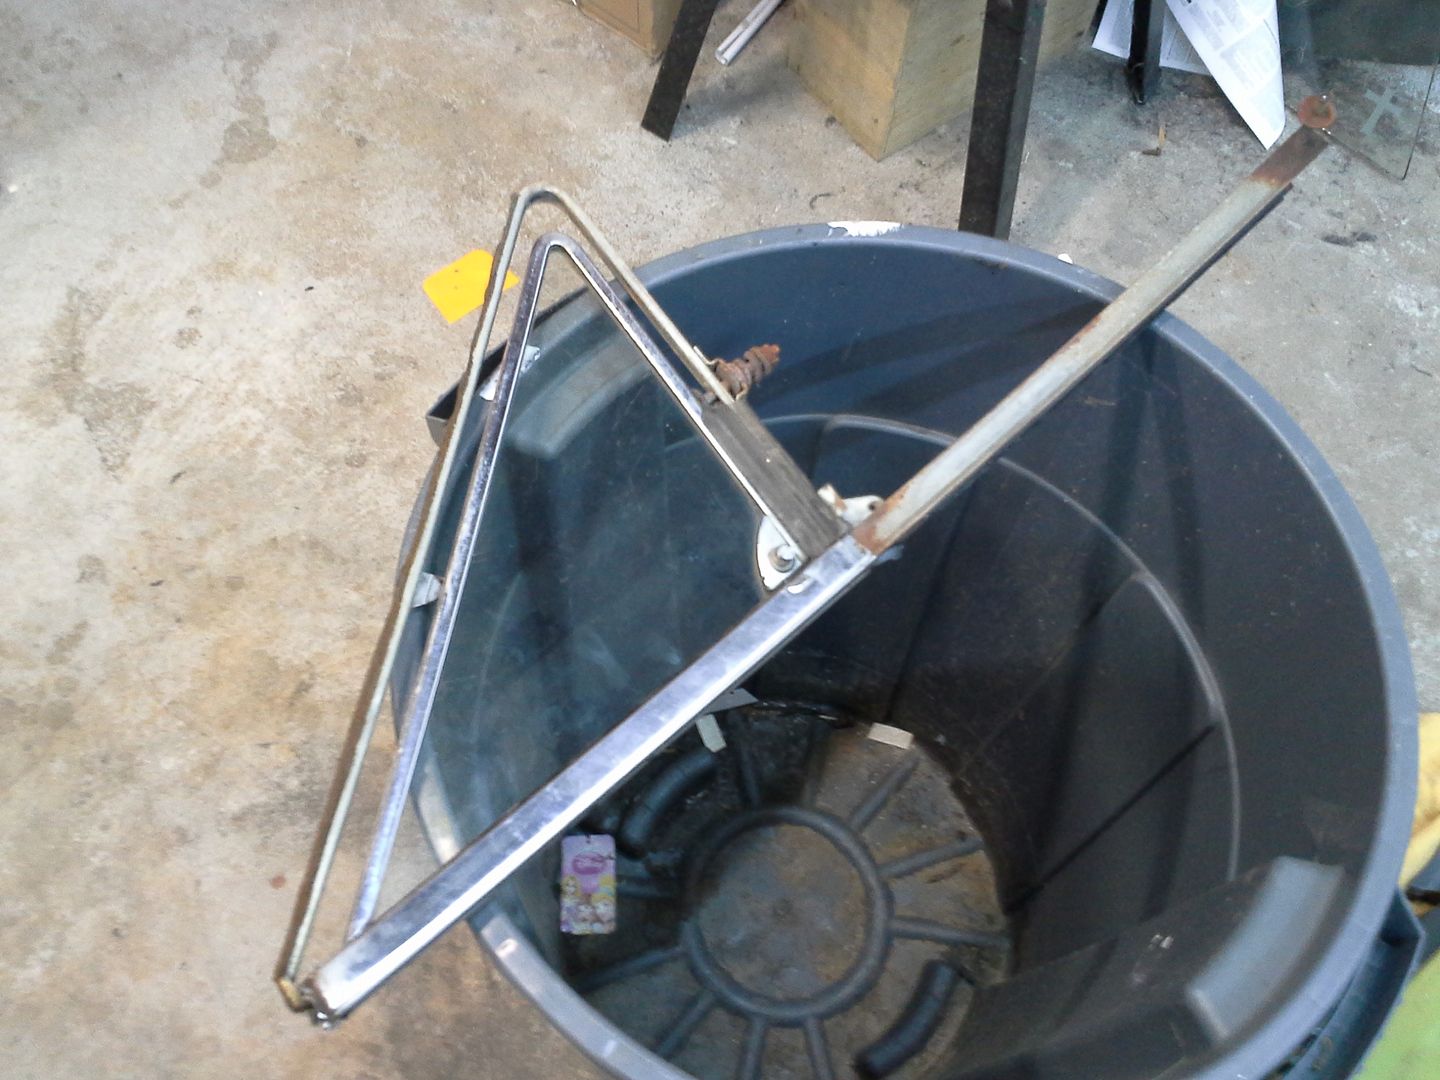 [/URL]
[URL=http://s54.photobucket.com/user/dusterbd13/media/1964%20elcamino/023_zpsb6832787.jpg.html]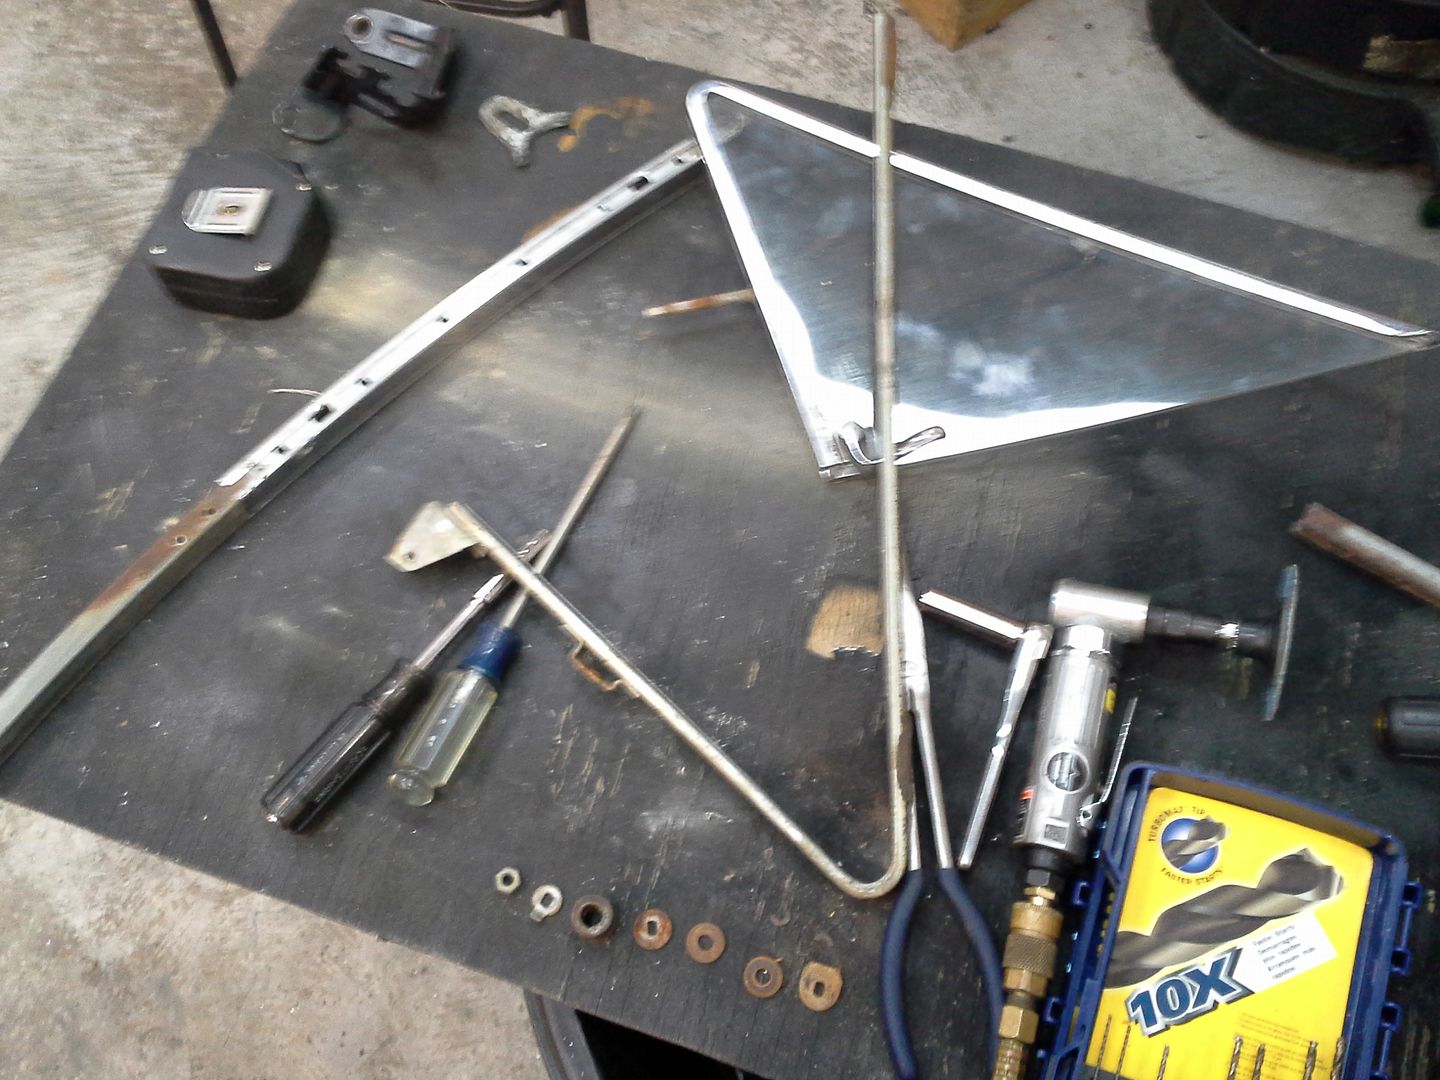 [/URL]
[URL=http://s54.photobucket.com/user/dusterbd13/media/1964%20elcamino/028_zpsb1be30a4.jpg.html]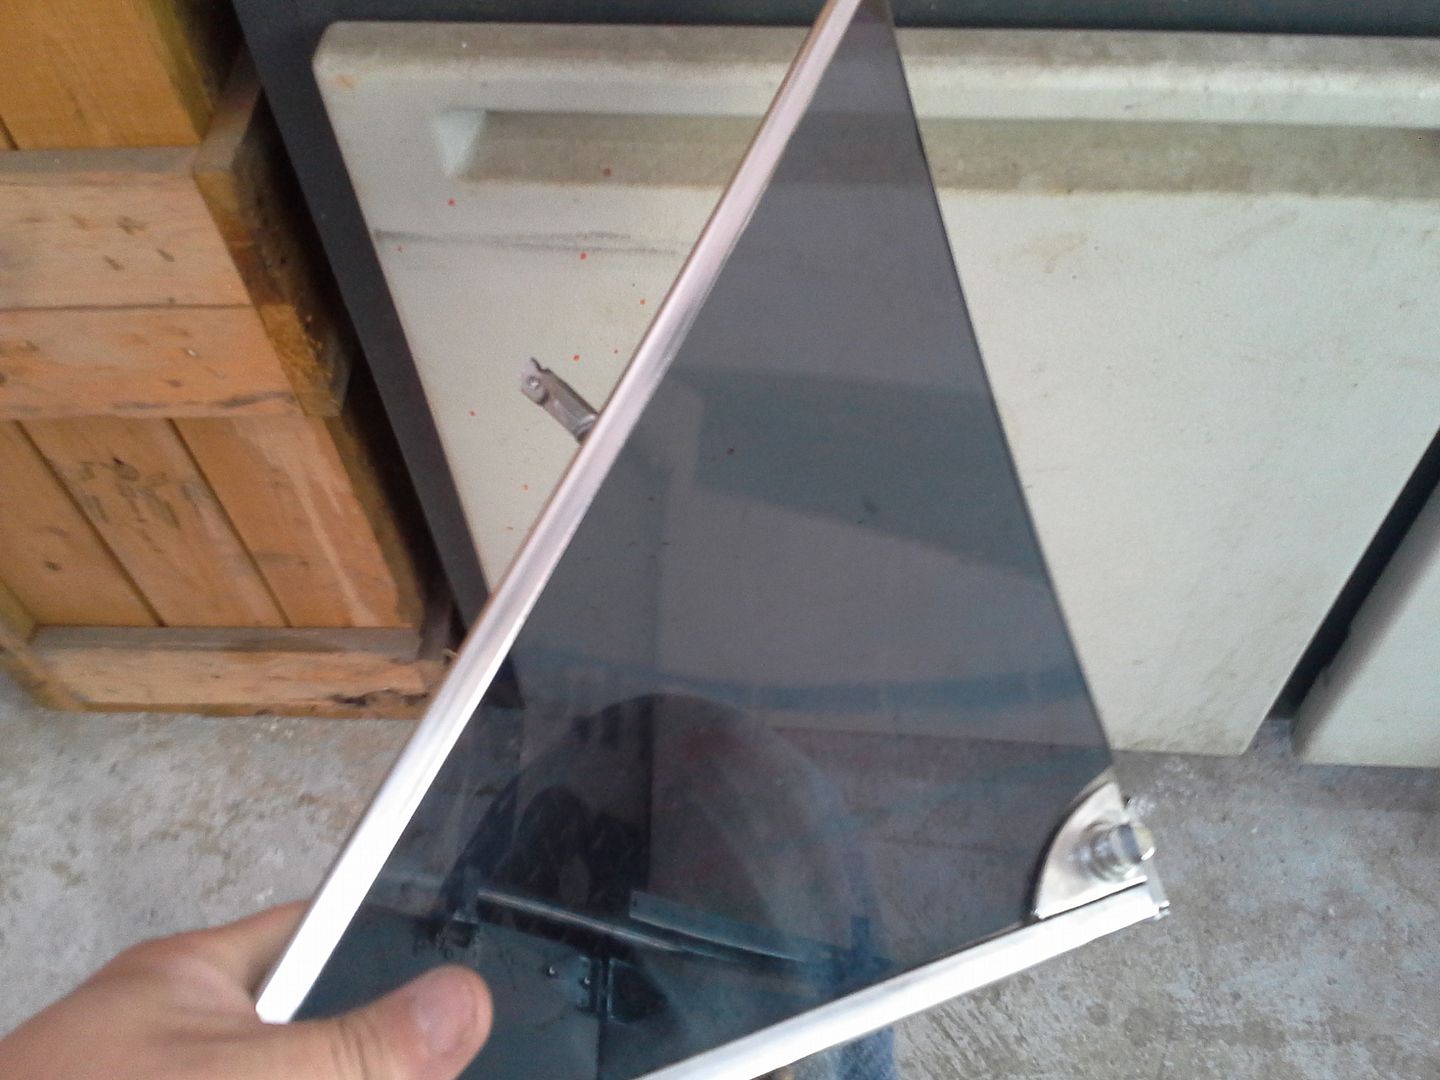 [/URL]
the tint looks as lot better in picture than person on these. so we decided that I am to peel it off, rebuild both of the vent windows, and he will redo them this Sunday. in looking at my chrome, I realized just how bad it is. after driving my friends 84 chevy truck, I looked at his vent windows. black trim, chrome lever. I liked it. so, get my 220 out again, and start scuffing. once I was happy, I masked off the glass, and shot it with john deere medium gloss black, which turns into a sheen very similar to my powder coat.
one knob is broken and the other is missing, so I need to find a pair.
also, as a side note, rebuilding these things is right up the with colonoscopy in levels of pain in the butt. the best advice I have is have a good pop rivet gun with a protruding snout, a lot of time, and plenty of pb blaster to lube up the rubbers before installing them. its done, and the metro vent window seals fit remarkably well on the one I've completed. I still have the other to go, and I am not looking forward to it.
[URL=http://s54.photobucket.com/user/dusterbd13/media/1964%20elcamino/033_zpsda9ca7bc.jpg.html]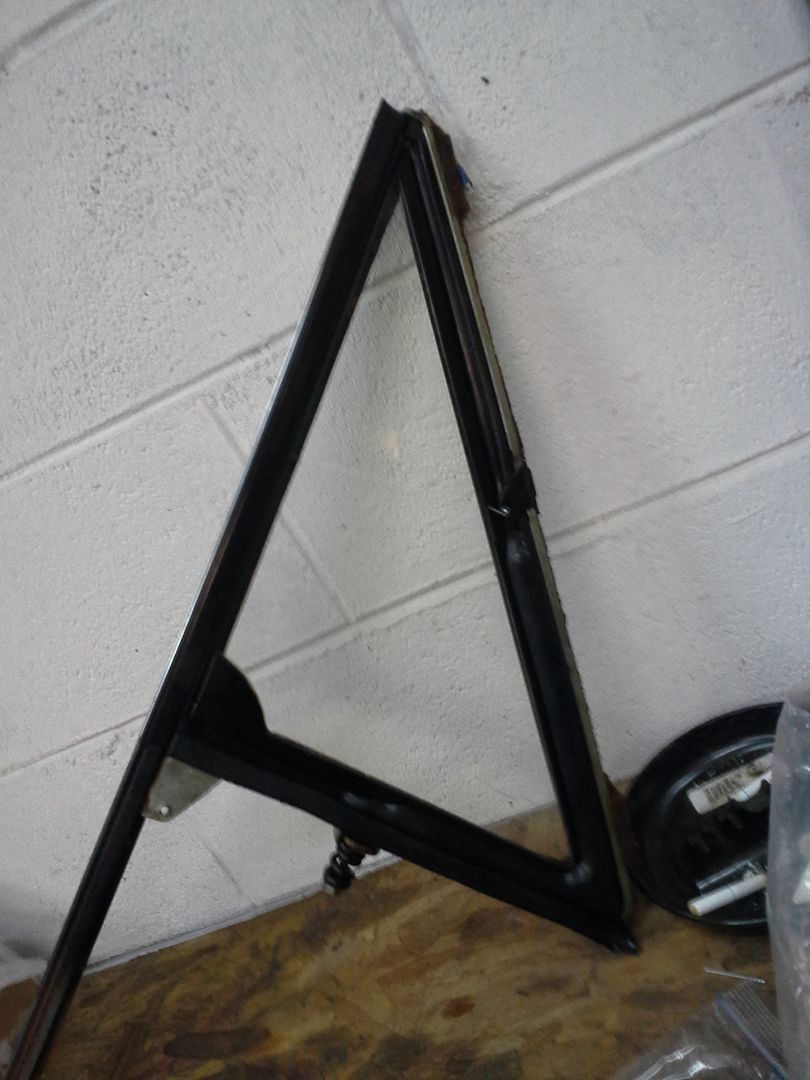 [/URL]
[URL=http://s54.photobucket.com/user/dusterbd13/media/1964%20elcamino/034_zps726c98cd.jpg.html]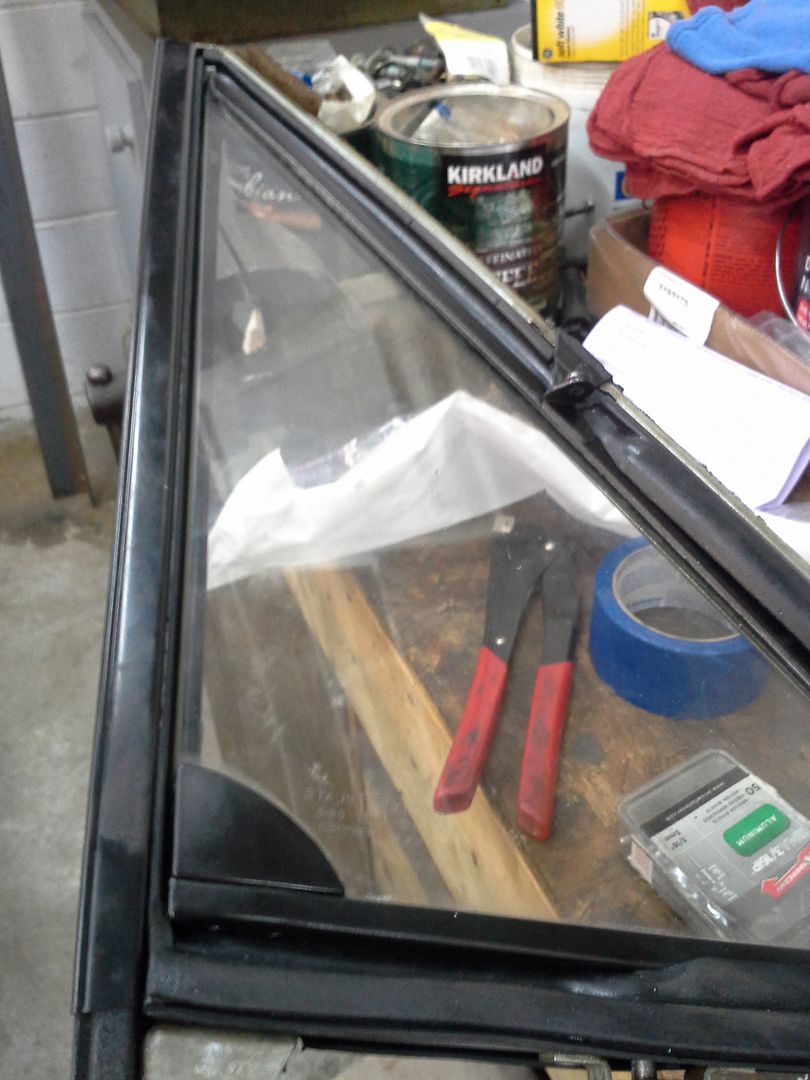 [/URL]
that’s about it for tonight. still have to keep after the body man. he told me my doors would be done last week. I'm pleased with the quality of work he's doing, I just need my truck back. have to have something to drive while I put a motor in the wife's car.
so, budget first:
previous total: 7311
money spent: tons!
450 for paint and body supplies
26.07 for cutoff wheels
16.57 for body gaskets (not pictured)
40 for heater box cover, window lift, and rear window trim
free for Nissan pickup AC system
free for box of misc. c4-c6 corvette parts
new total: 7843.64
at the time of the last update (over a month ago..) the body man was a week overdue on my doors. well, I picked them up tonight after quite a bit of fussing around. we had to custom mix a color for the interior, fix a bunch more rust than we thought, and straighten them more than anticipated. but they're done, and gorgeous!!! I finally added in all the body supplies that I paid for for this job. this also includes a raptor bedliner kit that will be the last thing done before the truck gets loaded on a trailer and brought home.
anyway, here's the doors. remember, all these parts are coming the 20 miles from his shop to mine in the back of my protege5. everything but the hood and bench seat, which I had to borrow a truck to get, since, you know....
[URL=http://s54.photobucket.com/user/dusterbd13/media/1964%20elcamino/014_zpsfa784131.jpg.html]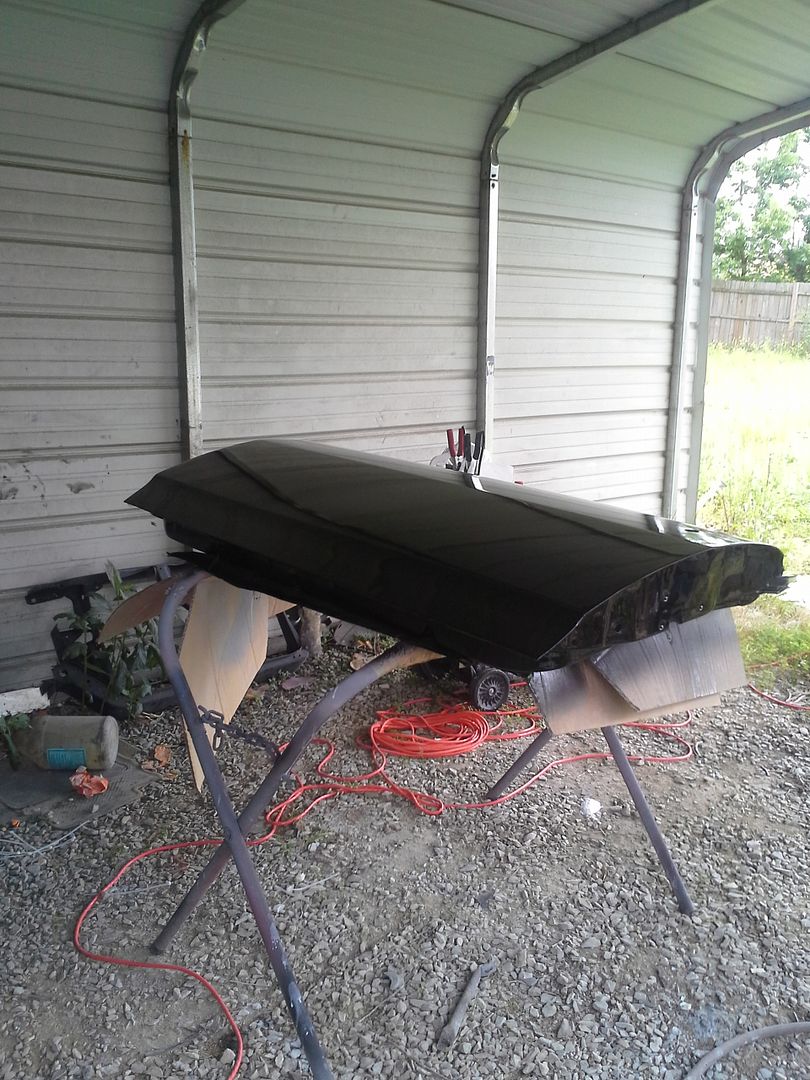 [/URL]
[URL=http://s54.photobucket.com/user/dusterbd13/media/1964%20elcamino/013_zpsa003e141.jpg.html]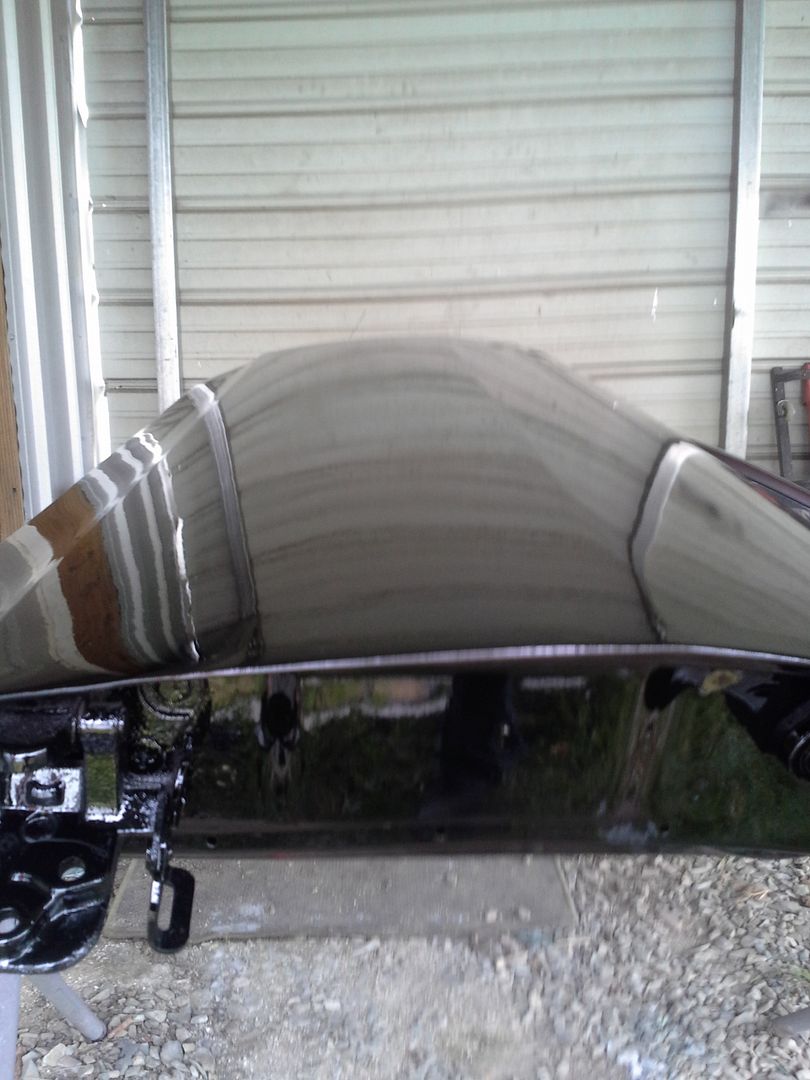 [/URL]
[URL=http://s54.photobucket.com/user/dusterbd13/media/1964%20elcamino/004_zps94461990.jpg.html]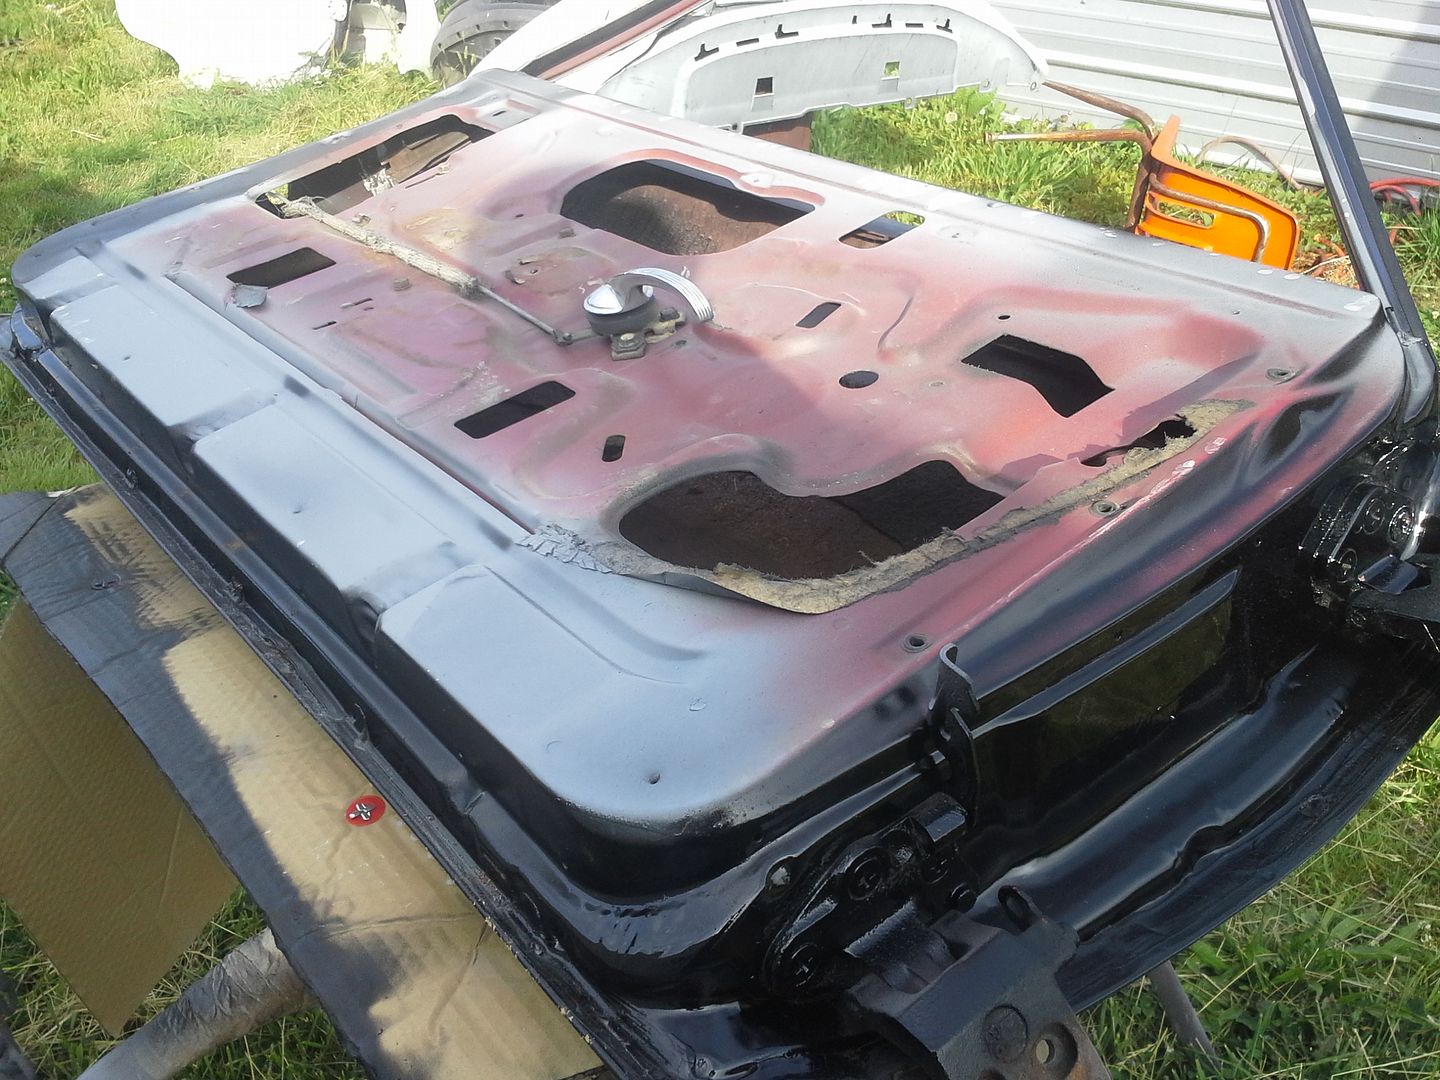 [/URL]
[URL=http://s54.photobucket.com/user/dusterbd13/media/1964%20elcamino/020_zps19beef26.jpg.html]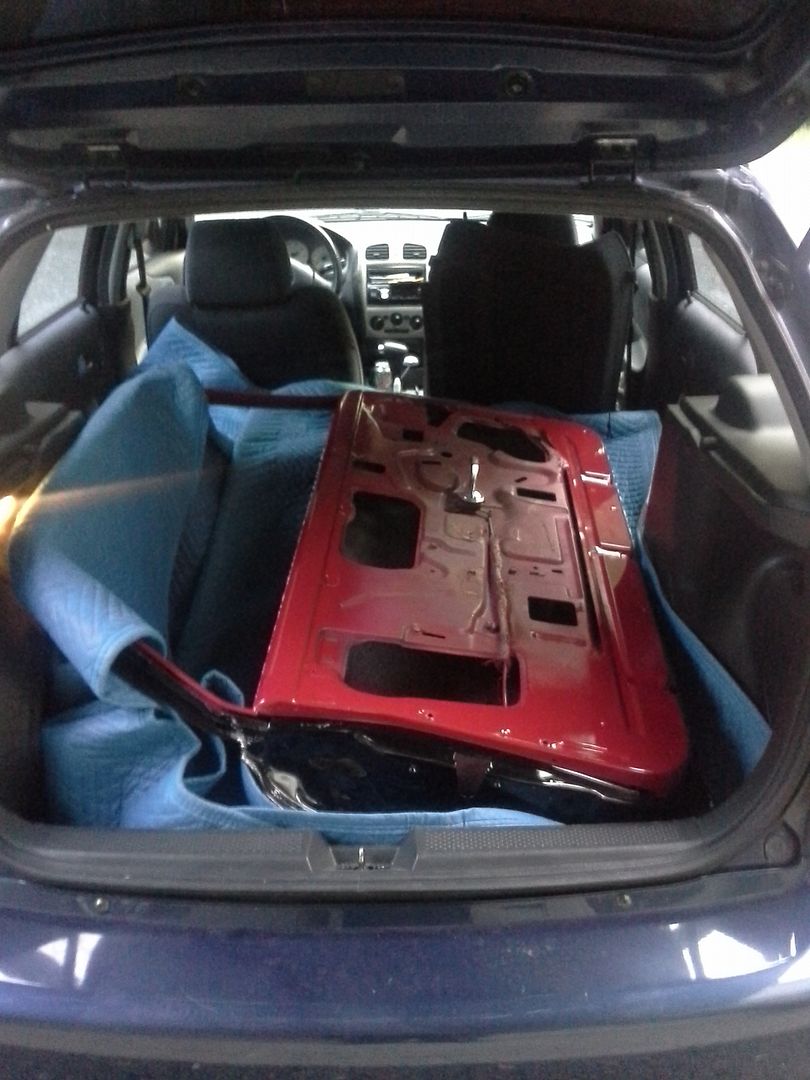 [/URL]
[URL=http://s54.photobucket.com/user/dusterbd13/media/1964%20elcamino/021_zps5a1c16e8.jpg.html]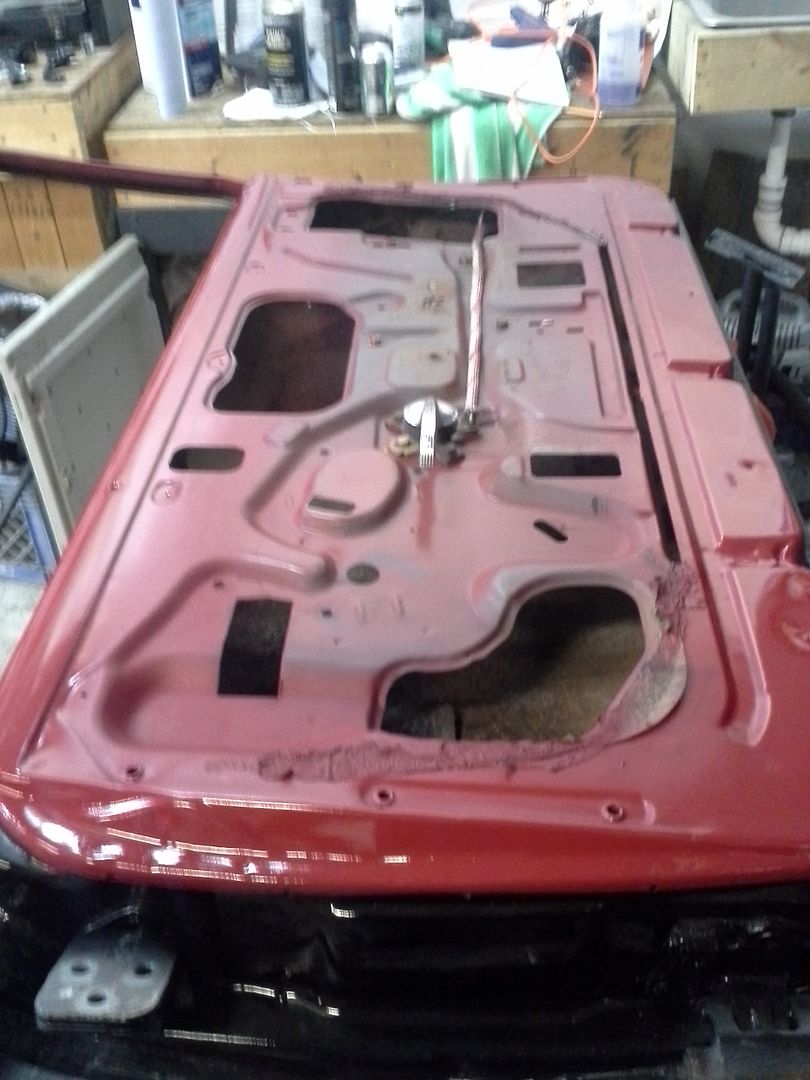 [/URL]
the only parts left to deal with on the doors is the bedliner like material that GM sprayed 1/4 inch thick on the insides. it has cracked and begun to lift in large chunks. I believe I'm going to knock off whatever is loose with a putty knife, POR15 the entire inside cavity of the door, and then apply my normal sound deadening materials to it prior to reassembly. any other ideas? any tips or suggestions?
[URL=http://s54.photobucket.com/user/dusterbd13/media/1964%20elcamino/023_zps13c7ab52.jpg.html]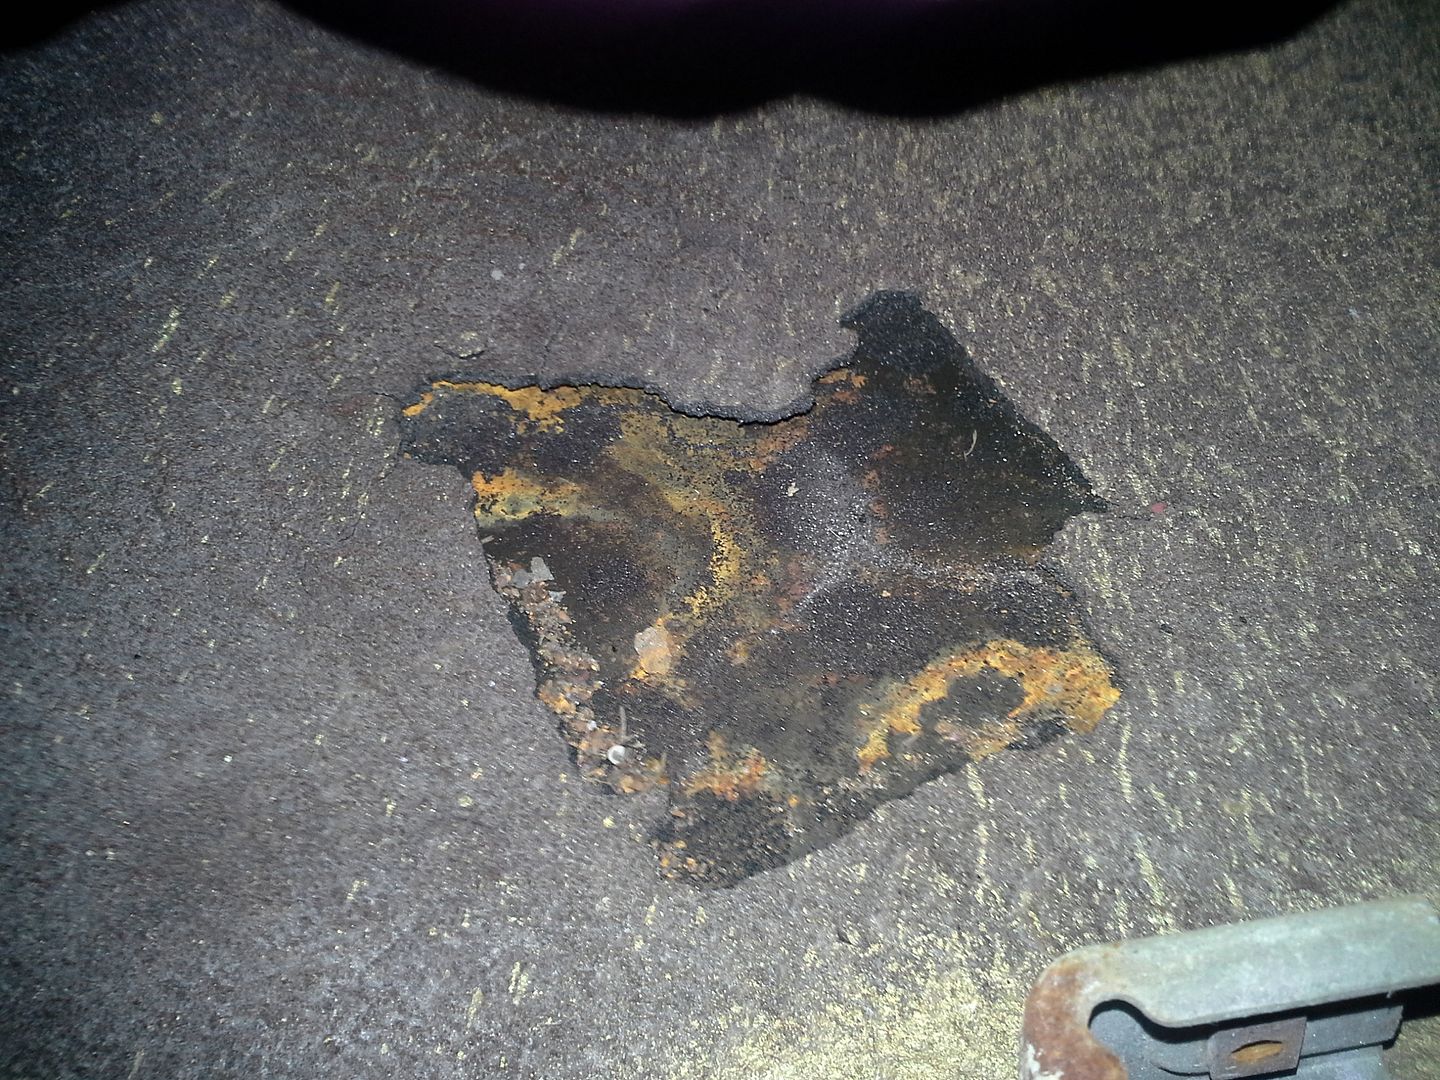 [/URL]
up next, I finally got my outer door handles and lock cylinders powder coated. the door handles were too far gone to save, so I stripped them with some SOS pads on my zizz wheel and coated them. some o-rings from my assortment around the knob, and reassembled. I'm worried that I may have too much black on the outside now, but that’s easy enough to swap out later.
[URL=http://s54.photobucket.com/user/dusterbd13/media/1964%20elcamino/015_zpsa8ae1cd1.jpg.html]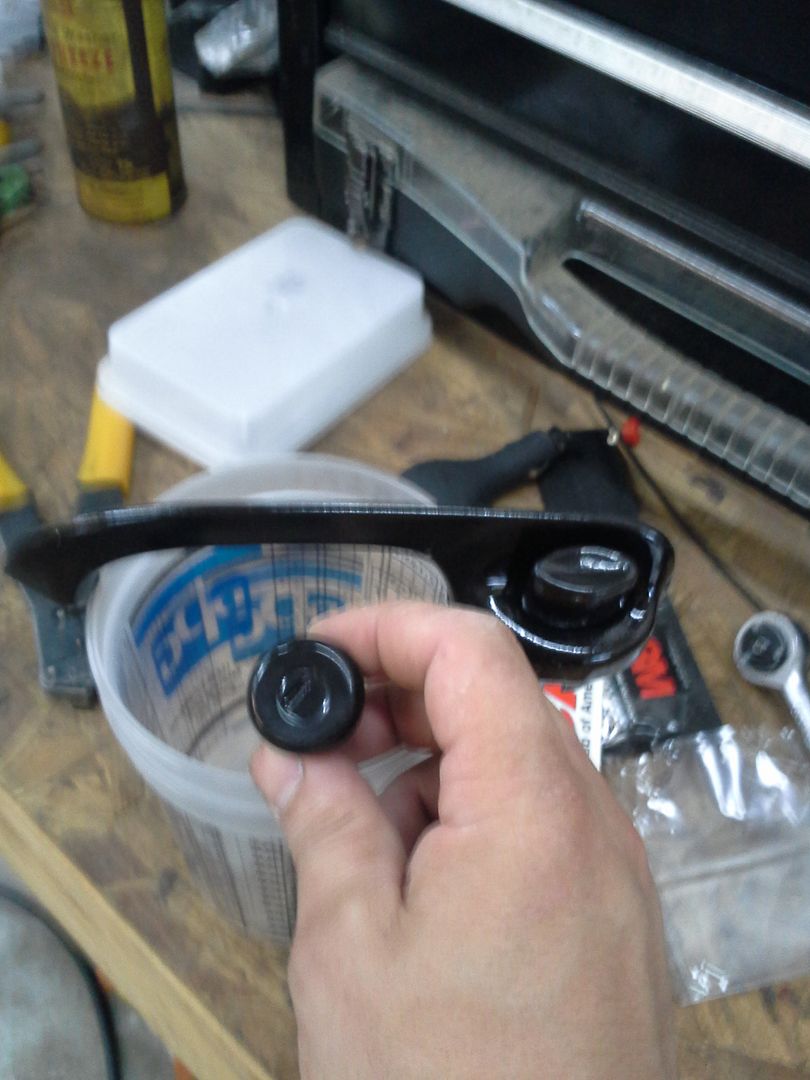 [/URL]
I also finished getting all my vent windows reassembled and the glass all tinted. I went with 20% tint on all the glass but the windshield. I'm concerned that it may be too dark for night driving, but again, time will tell.
[URL=http://s54.photobucket.com/user/dusterbd13/media/1964%20elcamino/003_zps999c6591.jpg.html]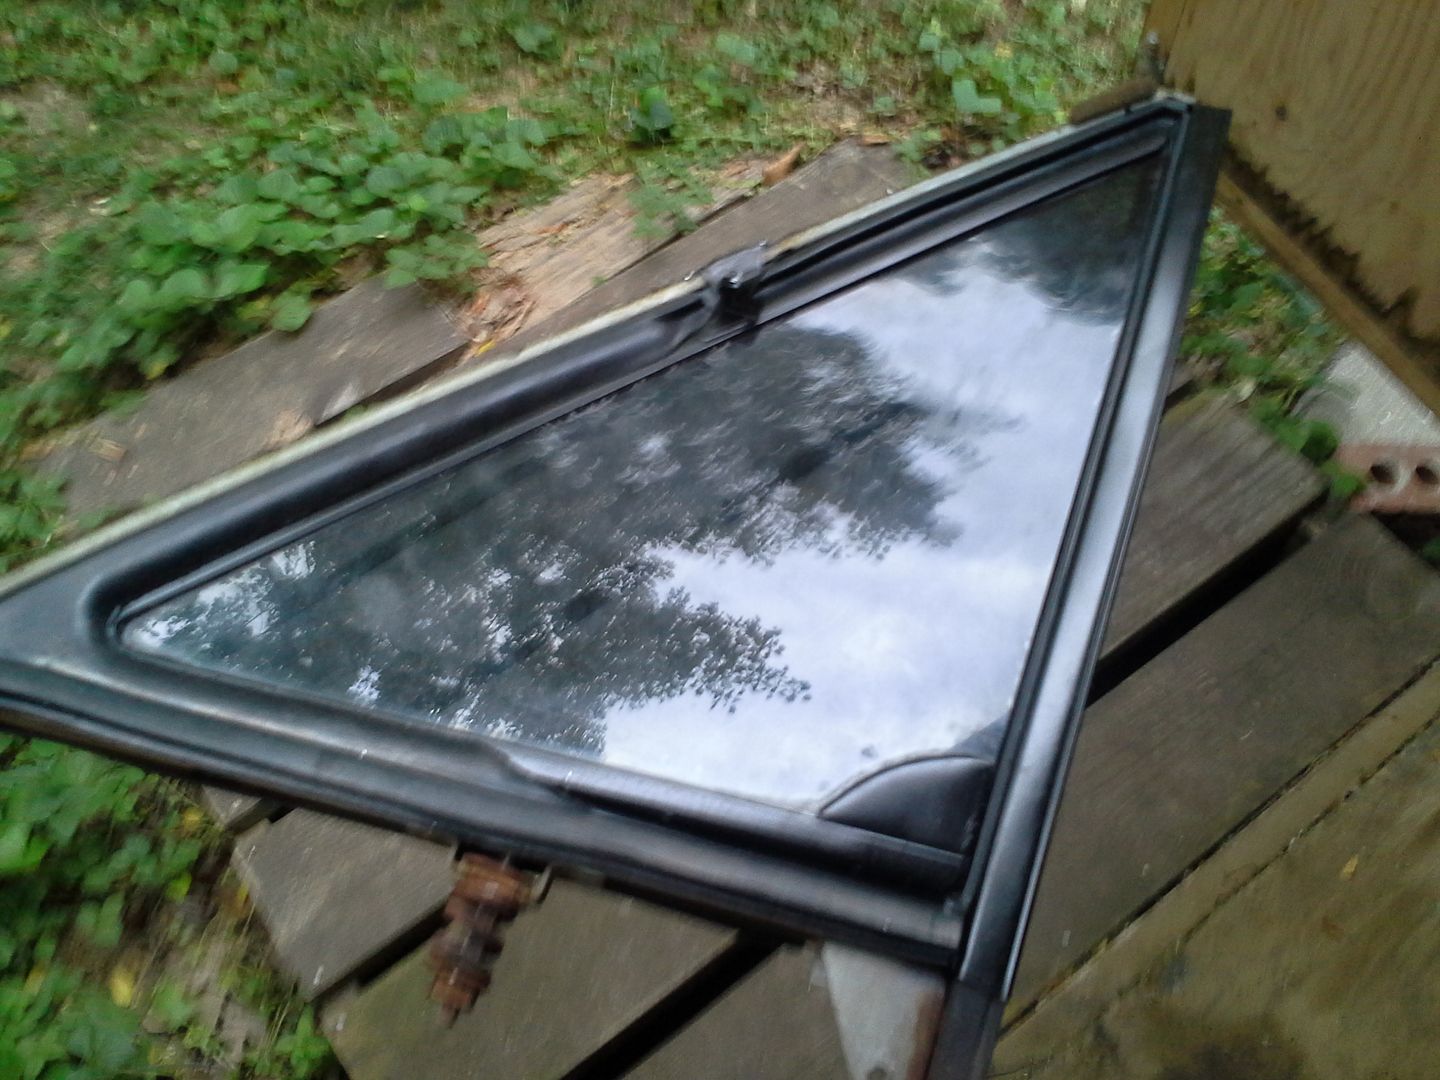 [/URL]
[URL=http://s54.photobucket.com/user/dusterbd13/media/1964%20elcamino/001_zpsa1942fd2.jpg.html]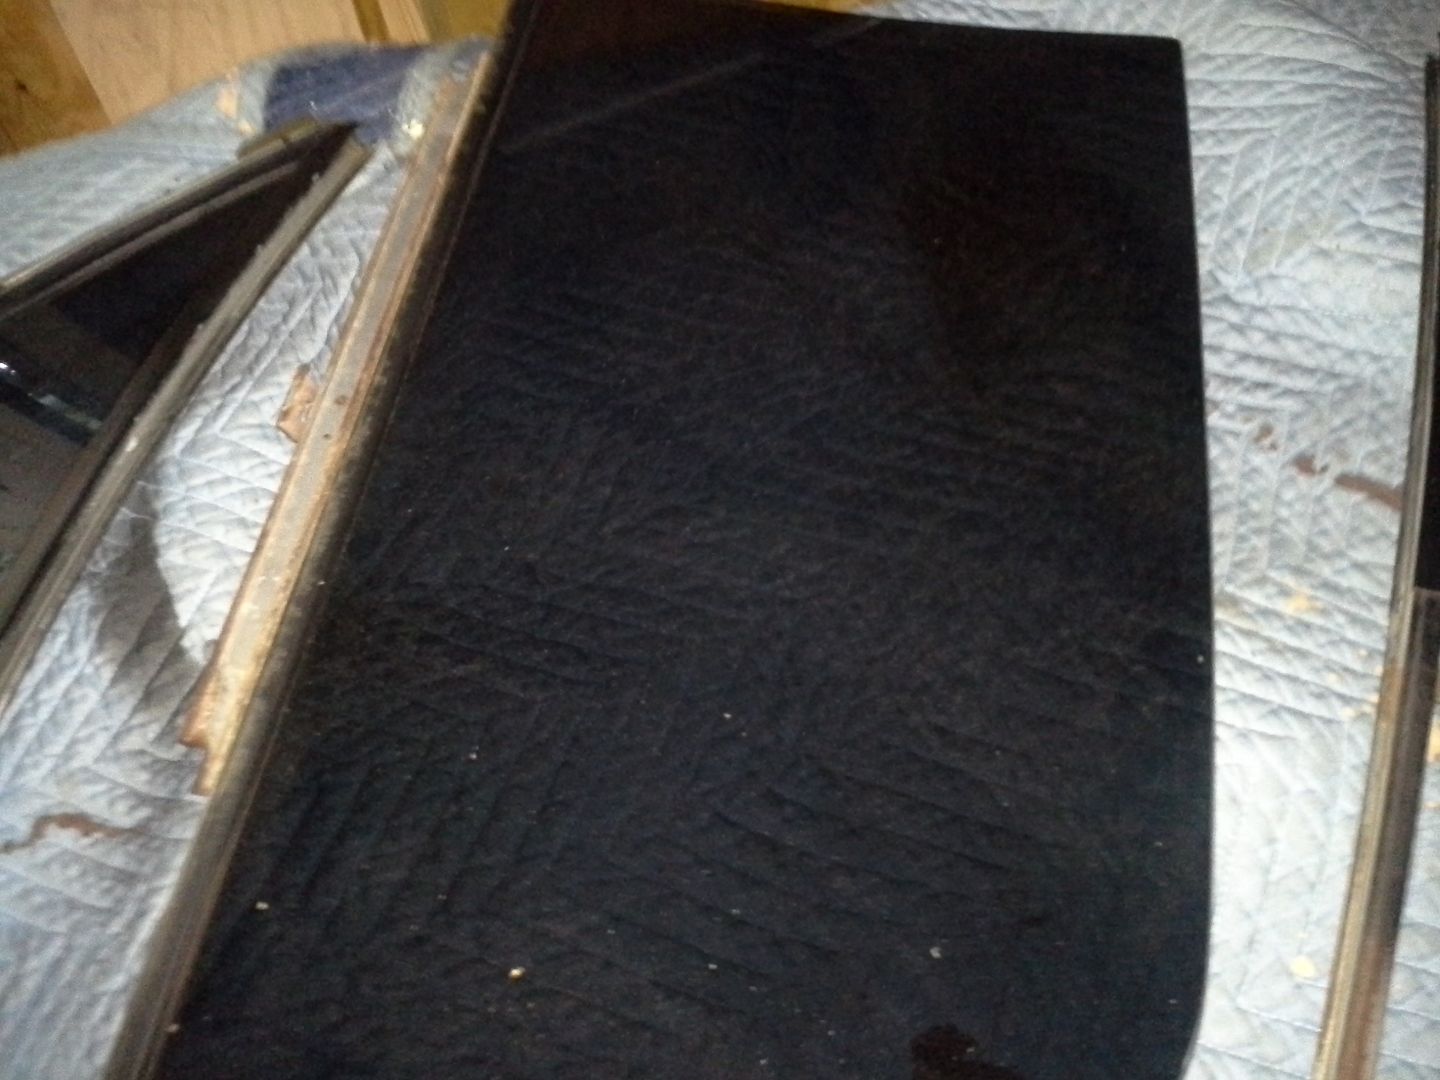 [/URL]
and yes, all the big and fragile parts are currently being stored in the shed. the mower is outside, and im halving a hard time getting to anything else in there, but the parts are at least safe...
[URL=http://s54.photobucket.com/user/dusterbd13/media/1964%20elcamino/004_zps66d3ef5c.jpg.html]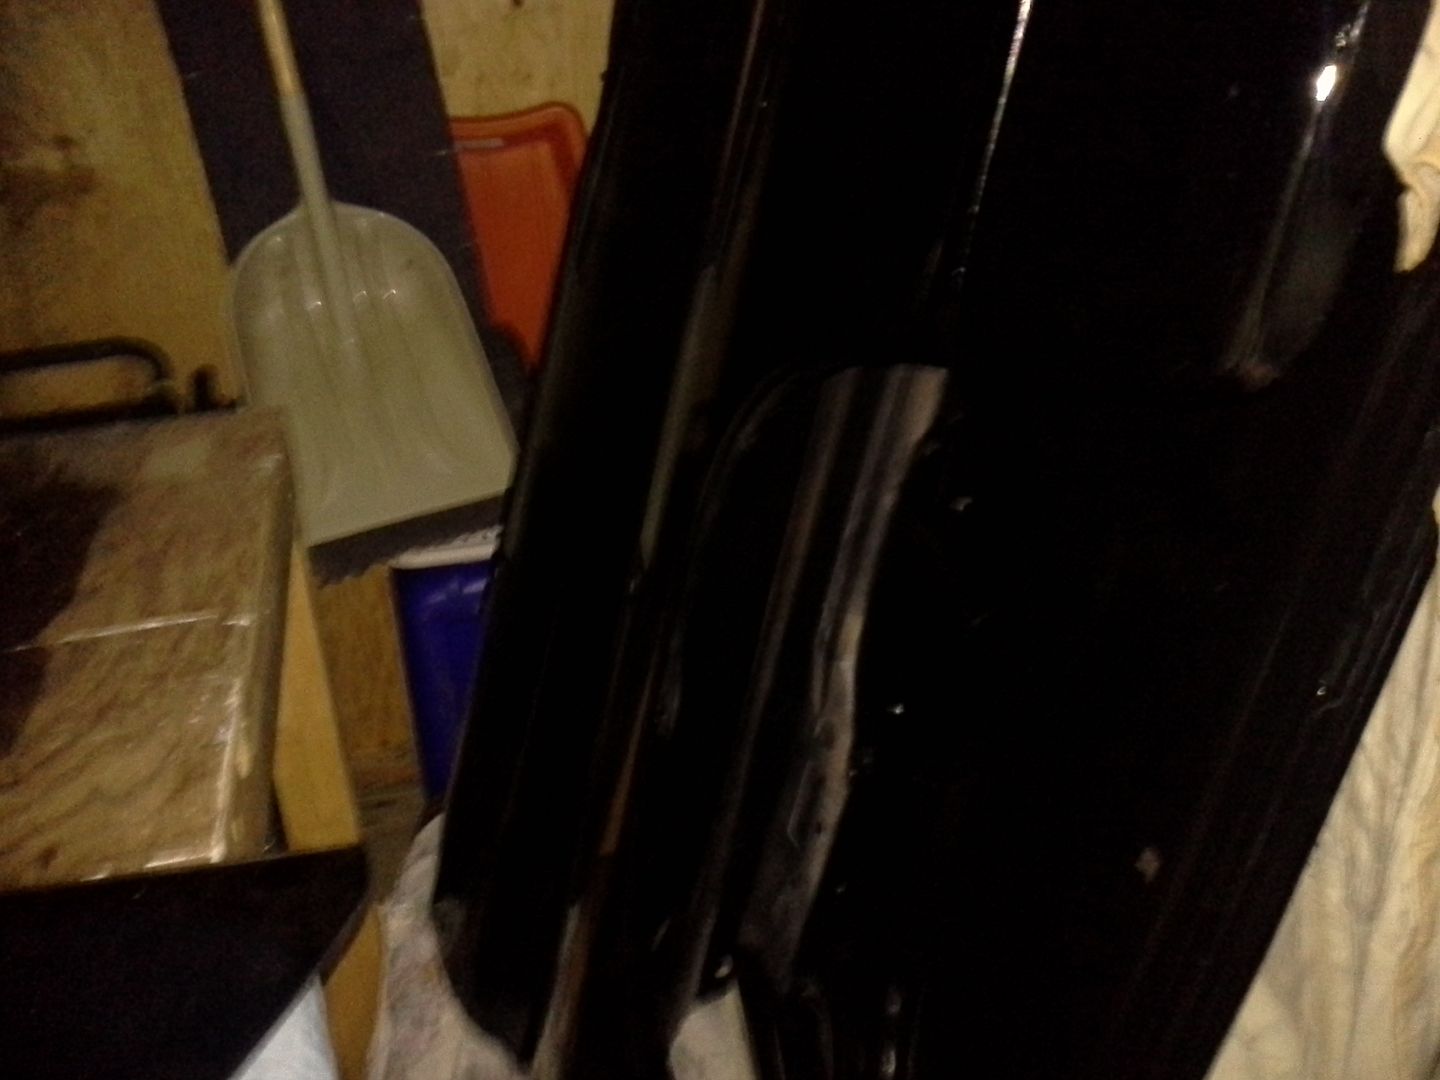 [/URL]
in this pair of incredibly crappy pictures, you can see my free scores, and my junkyard scores. in one shot, you'll see a complete Nissan pickup HVAC system. a forum member named pats55 on hotrodders.com sent it to me due to a thread on retrofitting a "late model" hvac system to a hot rod. he had used another box from a Nissan (he bought two units to make a really nice one) in his Avanti. gave me the other, and wouldn’t even accept shipping reimbursement. it just goes to show that we hot rodders really are good folks. also, the corvette club, queen city corvette, has their annual car care day with us. this year, someone brought a box of free spare parts. at the end of the day, this is what was left when everyone went home. I was told to scrap what was left....
[URL=http://s54.photobucket.com/user/dusterbd13/media/1964%20elcamino/016_zpsac455ef2.jpg.html]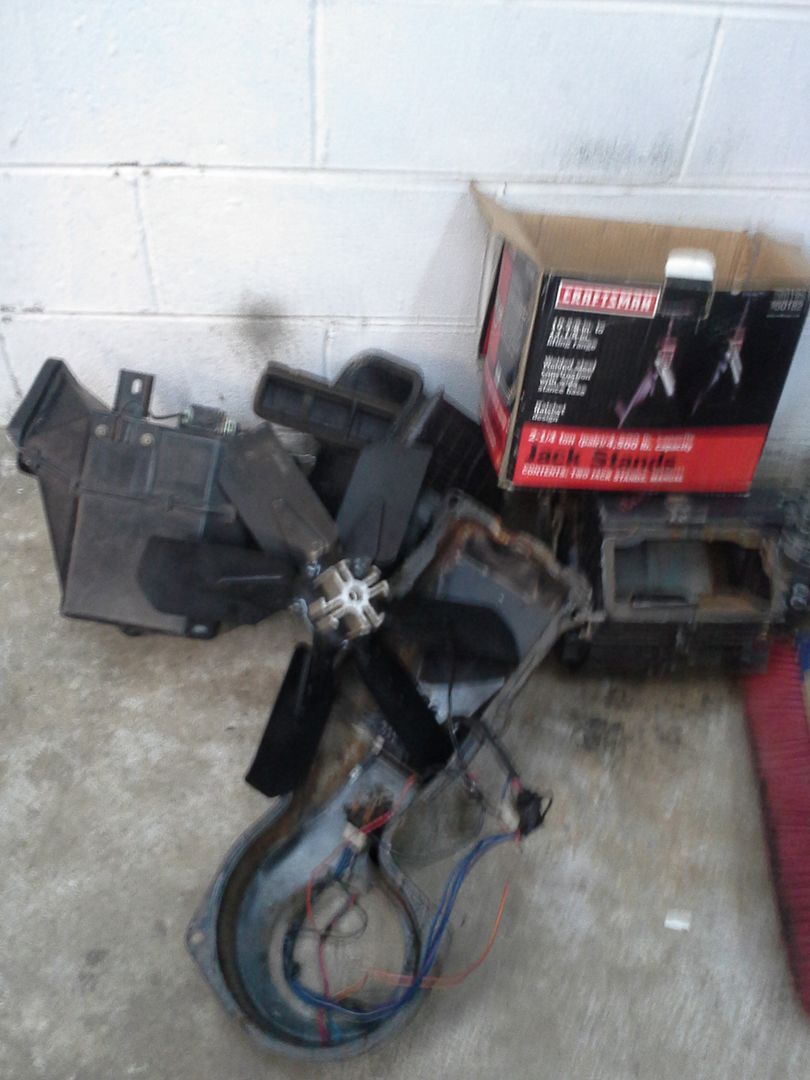 [/URL]
[URL=http://s54.photobucket.com/user/dusterbd13/media/1964%20elcamino/017_zpsc157bf14.jpg.html]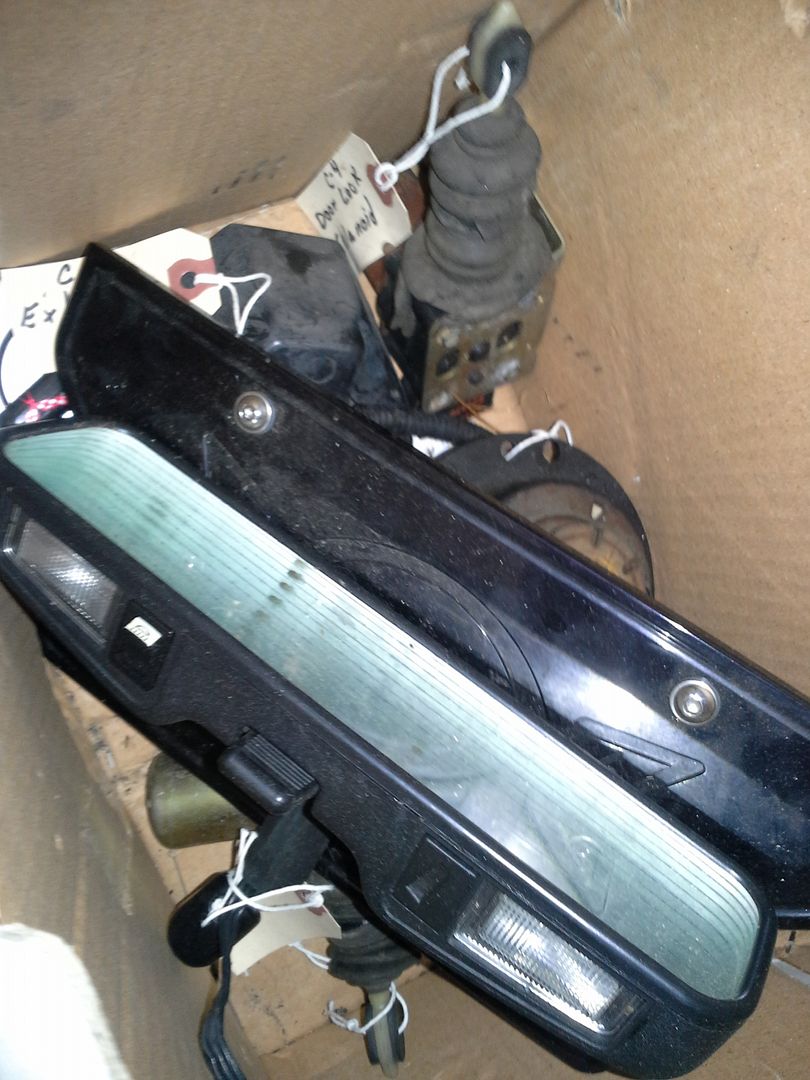 [/URL]
there's some c4 door lock solenoids, a reading map day/night mirror, a heater blower motor, and an aluminum corvette logo plate. the door locks ill use for a keyless entry system, and the logo will replace the elcamino vanity plate on the front bumper.
also in the pile is a rust free heater box cover, passengers side window channel/lift track, and the inside rear plastic window trim from a 66 elcamino over at stanly salvage.
this brings us up top where the bodywork is on the rest of the truck, I do believe. well, last Friday this is where we were at:
[URL=http://s54.photobucket.com/user/dusterbd13/media/1964%20elcamino/001_zps70d31cbe.jpg.html]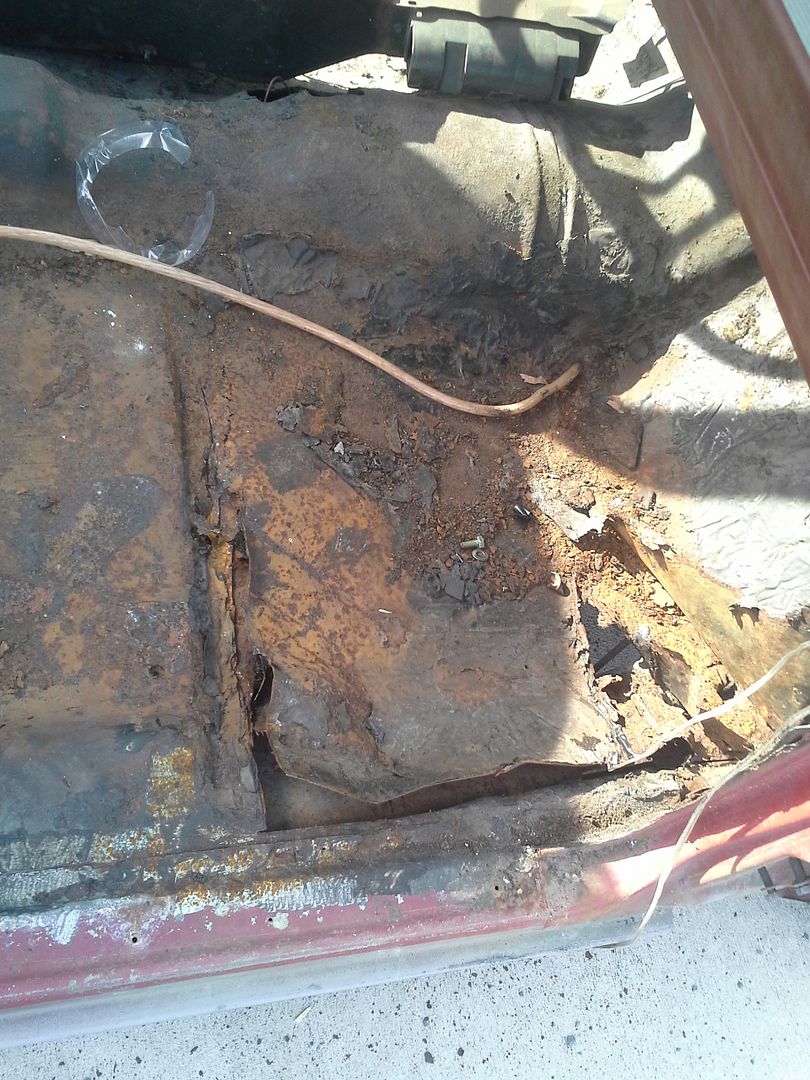 [/URL]
[URL=http://s54.photobucket.com/user/dusterbd13/media/1964%20elcamino/002_zpse1af1f20.jpg.html]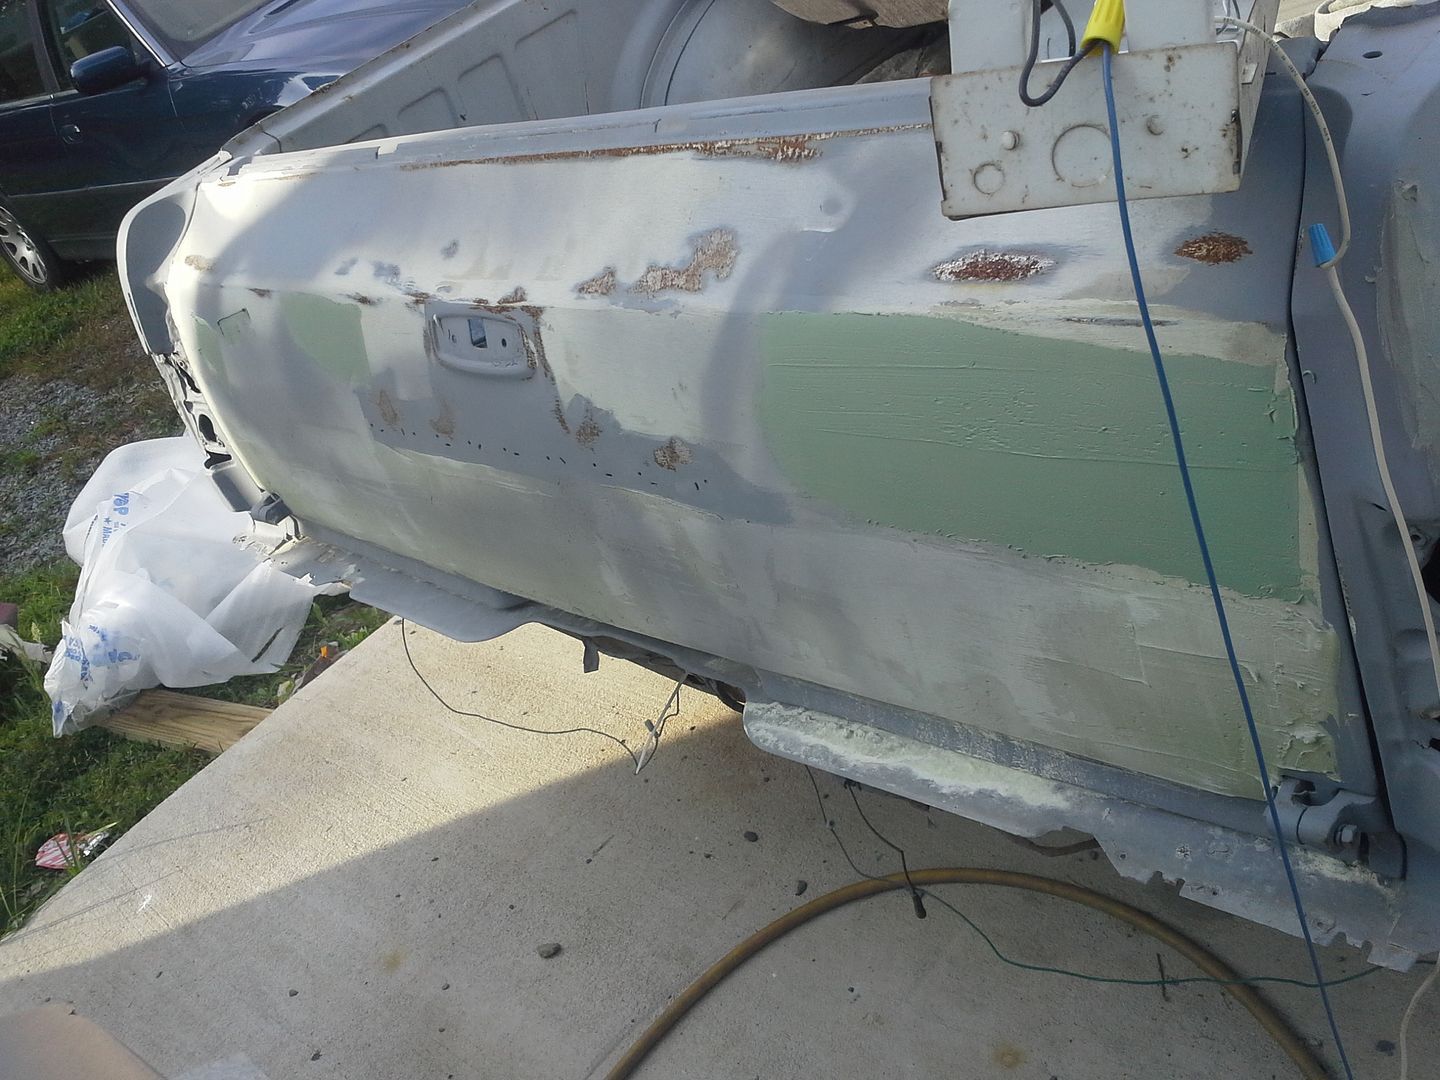 [/URL]
[URL=http://s54.photobucket.com/user/dusterbd13/media/1964%20elcamino/003_zpsda1b6570.jpg.html]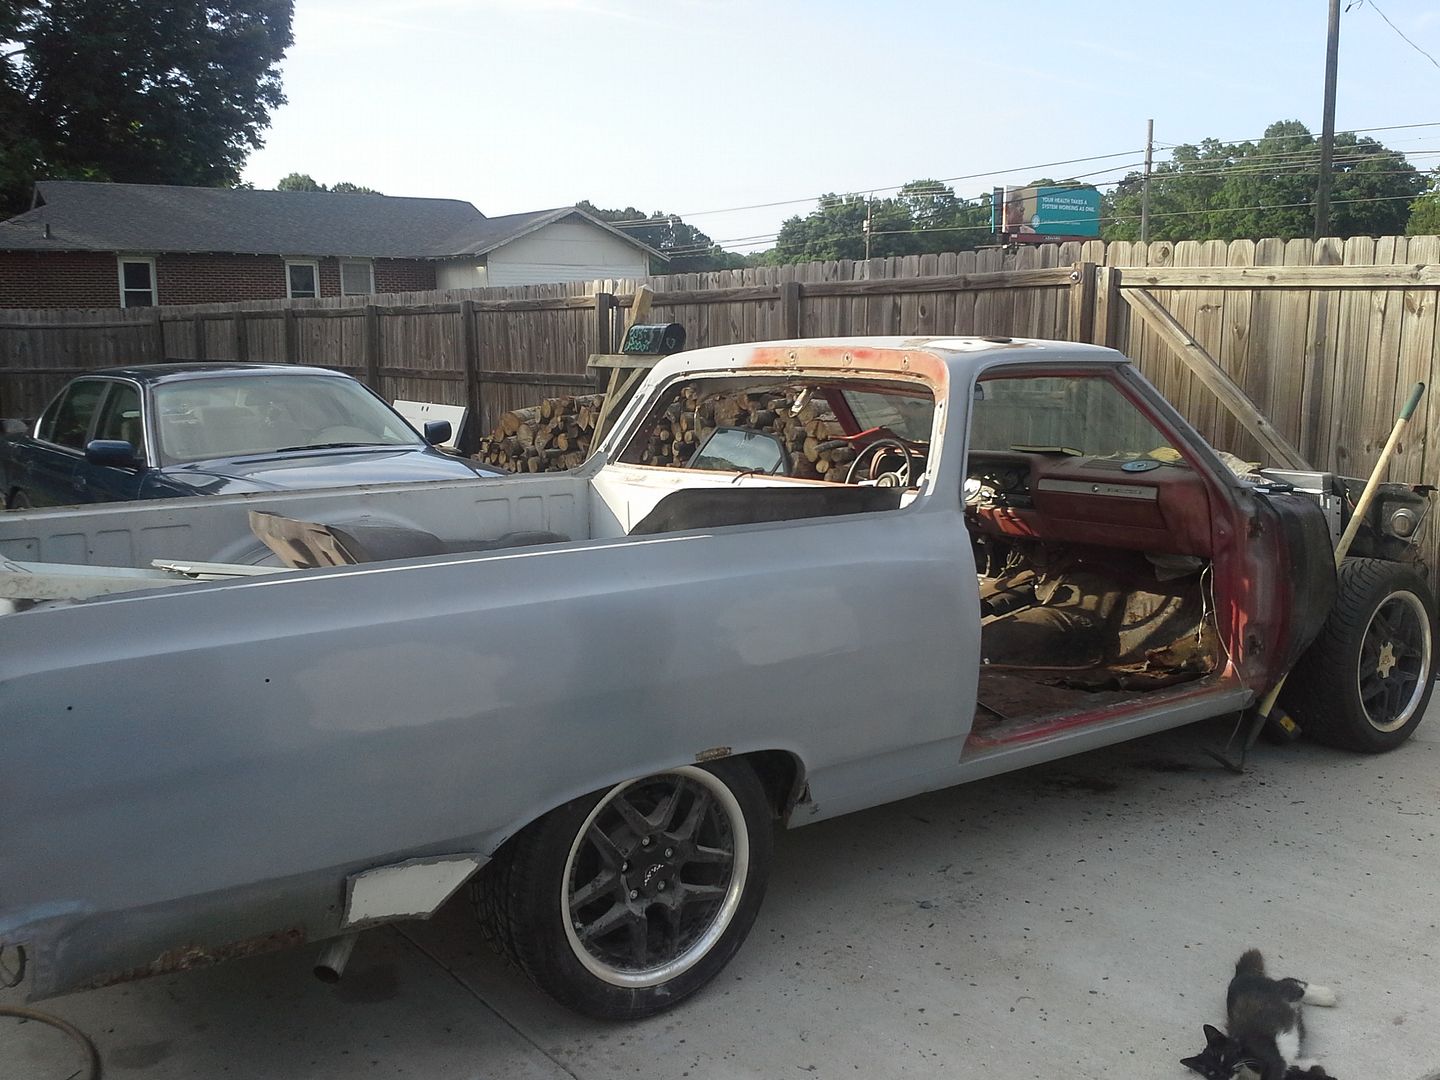 [/URL]
Saturday morning, my dad, the body man and I decided to attack the floor. we found, in the course of this, that there were, in places, 5 separate layers of steel making up the floor from where a patch was patched, etc. also, the floor pan cross members were no longer actually attached in the majority of places. the man you see in a couple of the pictures is my 68 year old father who is the man that taught me how to be a man, bought me (and helped me fix many, many times) my first car, gave me the swift kicks in the ass I've needed, and has taught me how to be a father to my own child. I am truly grateful and blessed to have him in my life.
[URL=http://s54.photobucket.com/user/dusterbd13/media/1964%20elcamino/006_zpsf91d673d.jpg.html]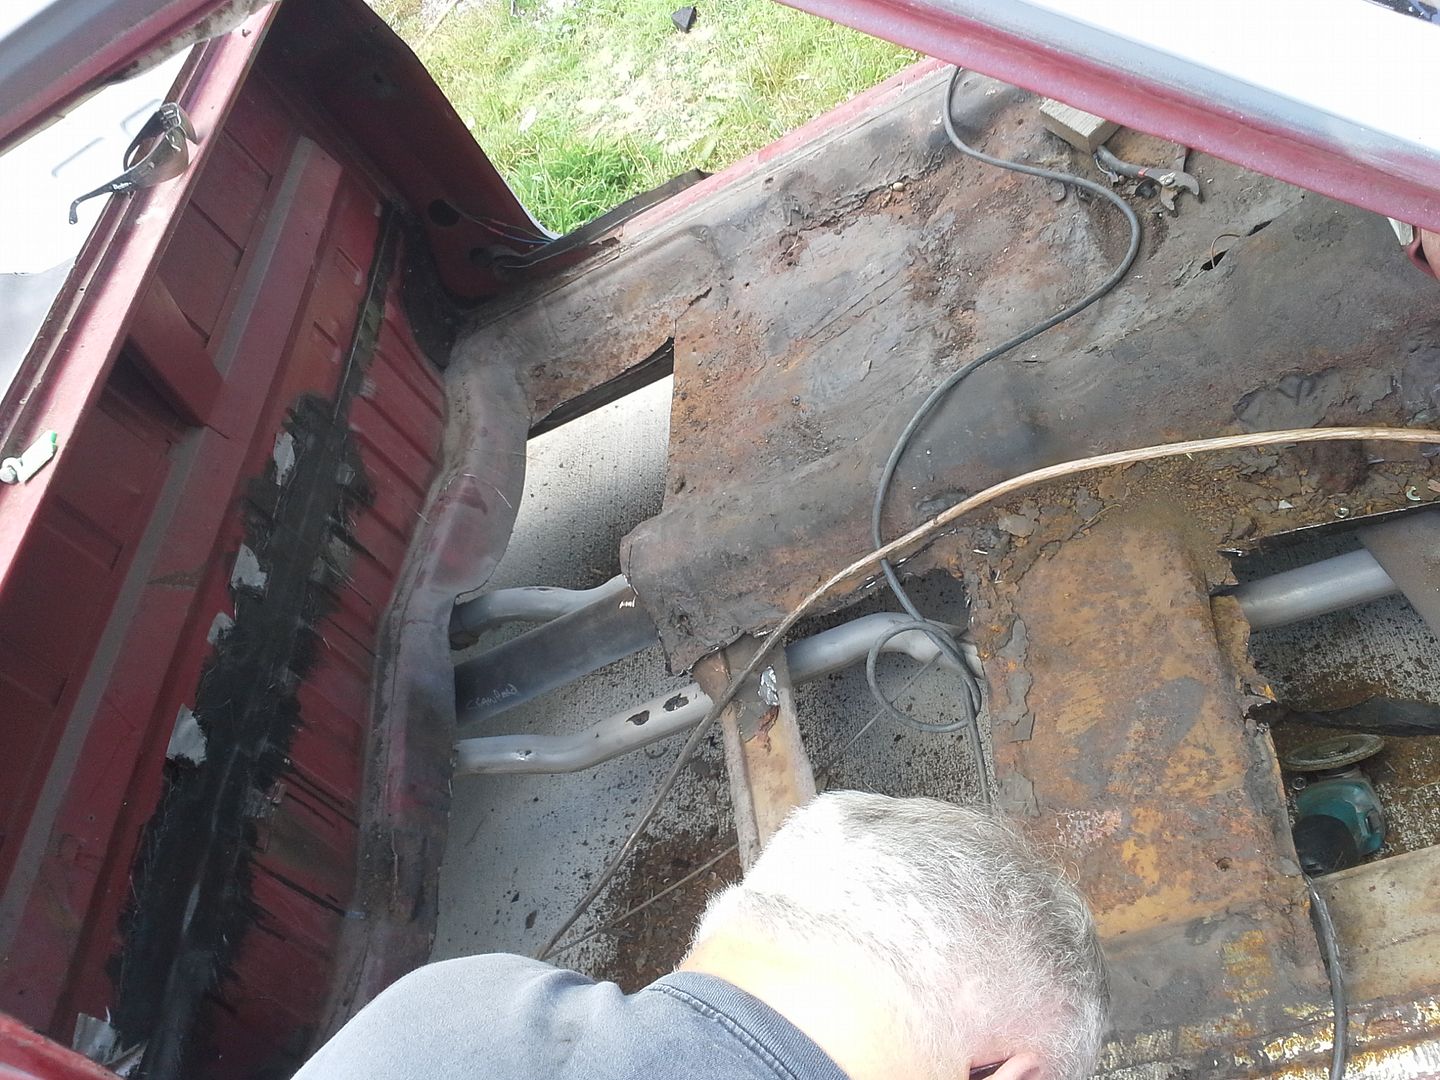 [/URL]
[URL=http://s54.photobucket.com/user/dusterbd13/media/1964%20elcamino/007_zps9356f57b.jpg.html]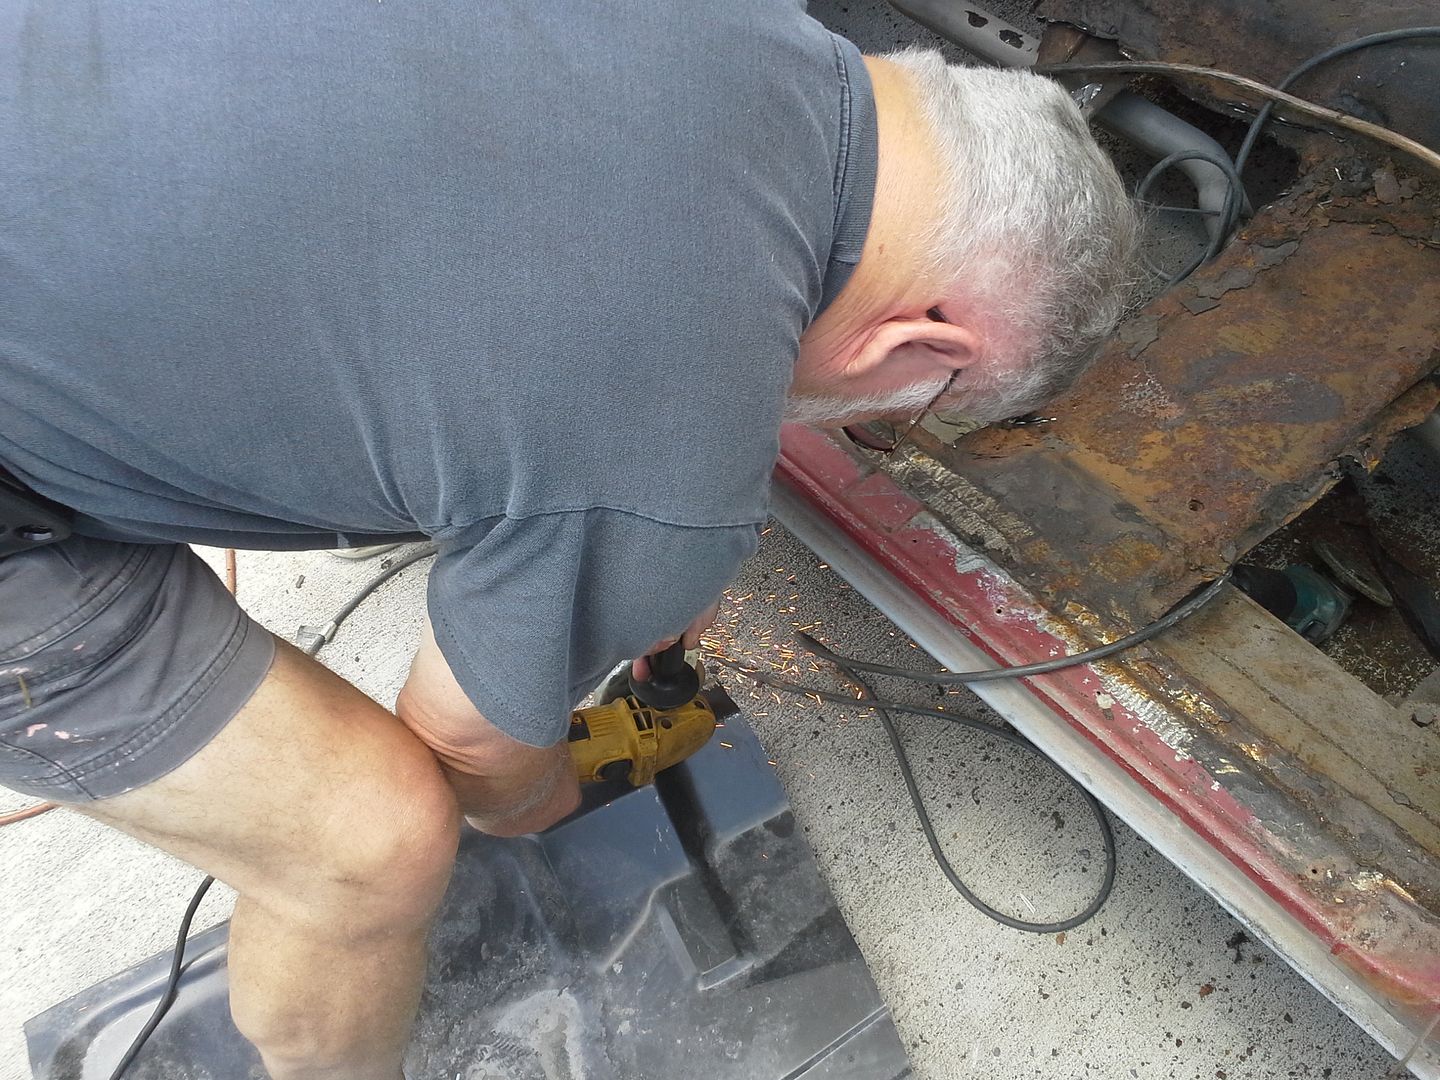 [/URL]
[URL=http://s54.photobucket.com/user/dusterbd13/media/1964%20elcamino/008_zps61d56d2e.jpg.html]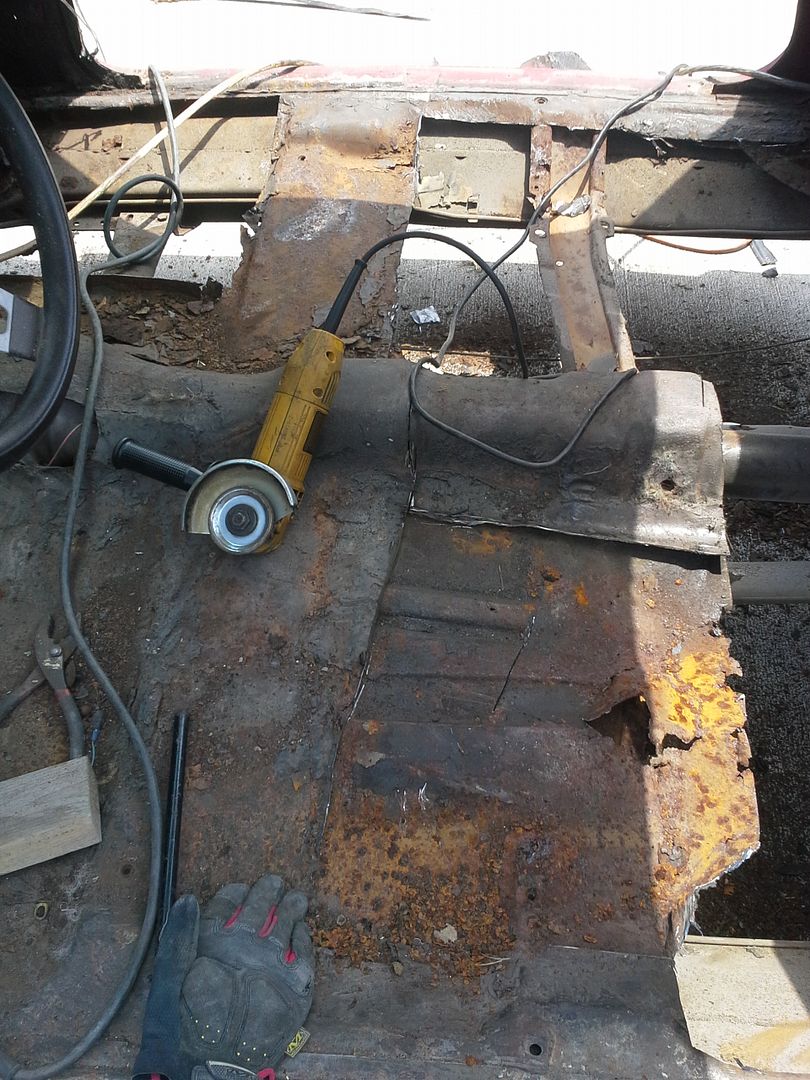 [/URL]
[URL=http://s54.photobucket.com/user/dusterbd13/media/1964%20elcamino/009_zps74a669ee.jpg.html]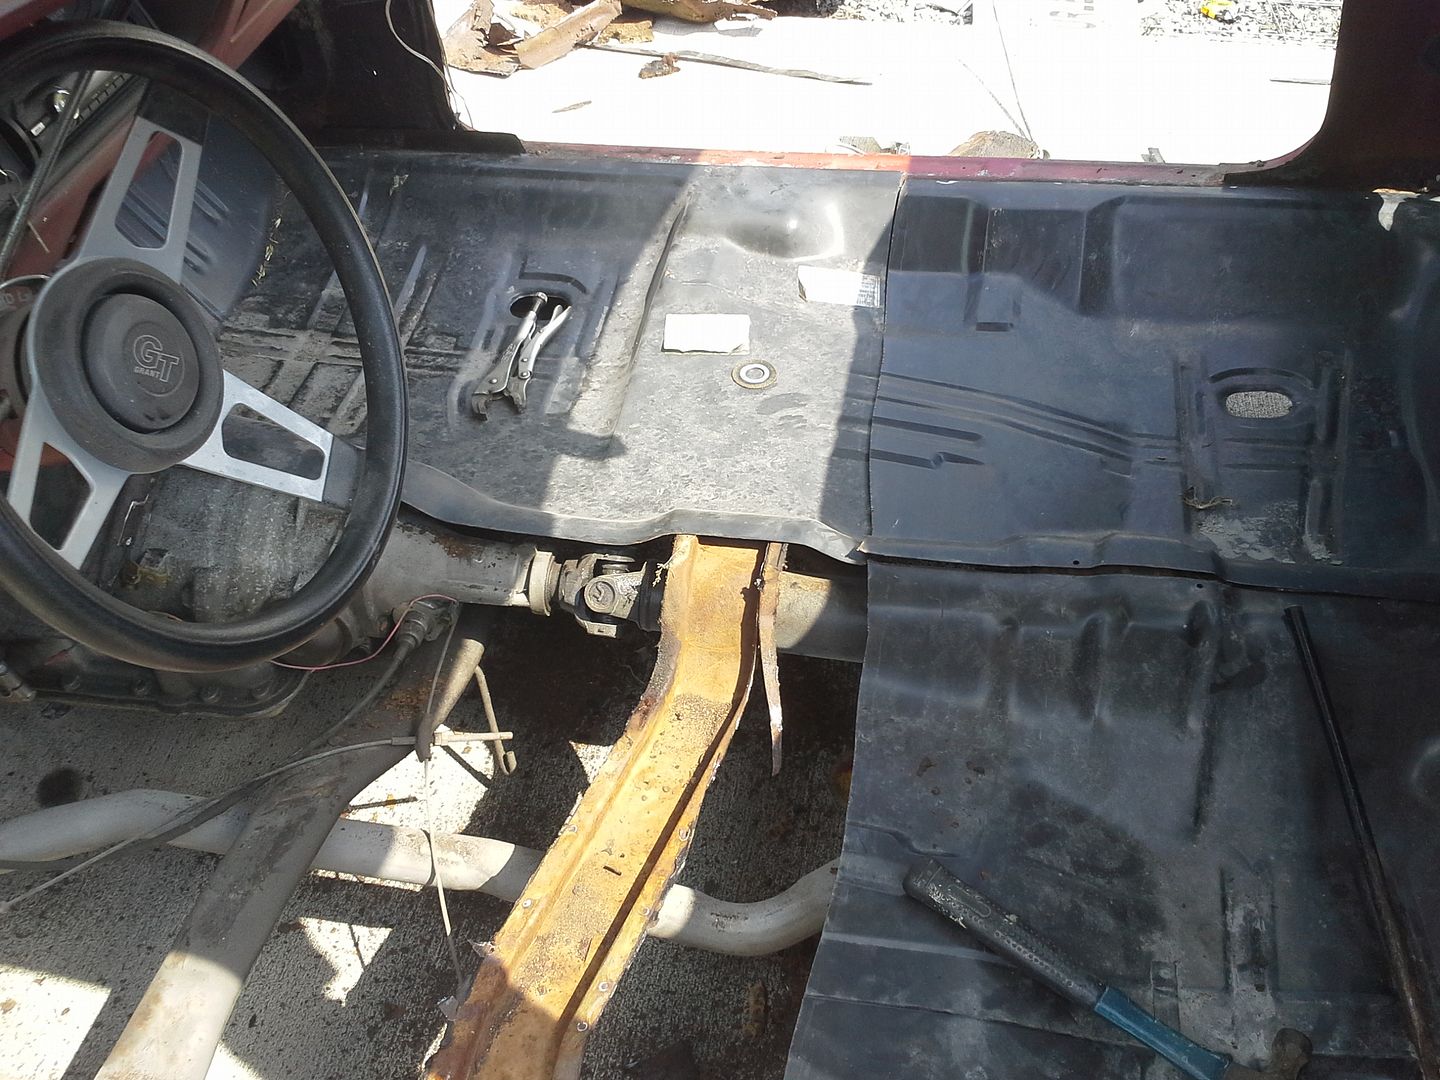 [/URL]
[URL=http://s54.photobucket.com/user/dusterbd13/media/1964%20elcamino/010_zpsdb42b13e.jpg.html]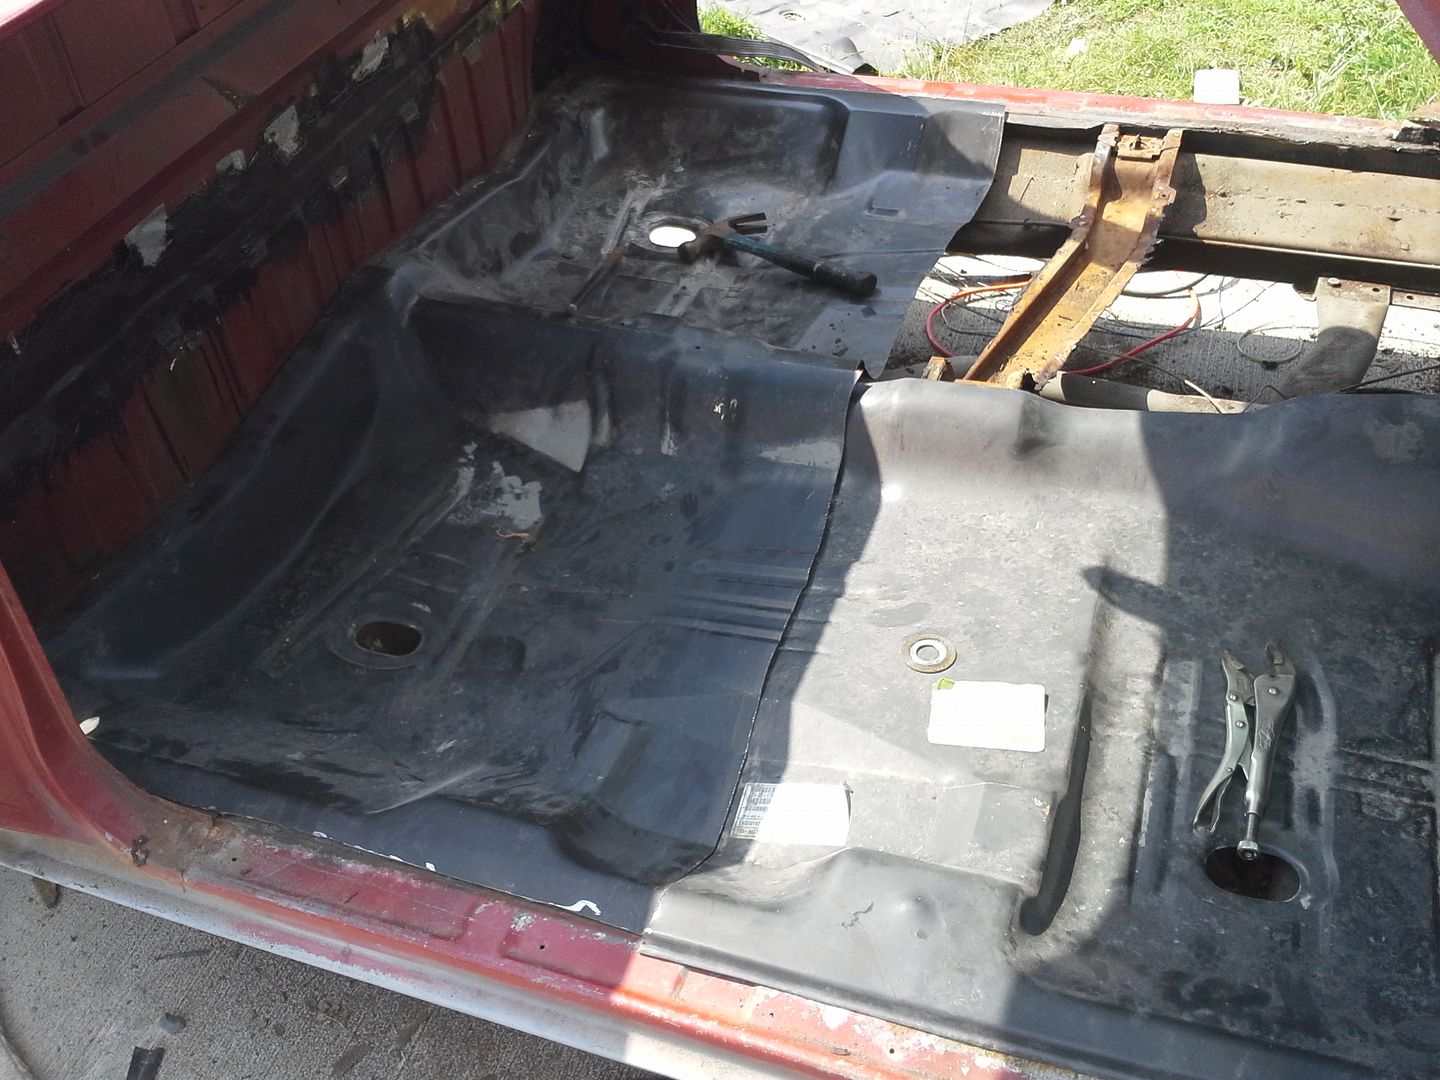 [/URL]
[URL=http://s54.photobucket.com/user/dusterbd13/media/1964%20elcamino/011_zps275120fe.jpg.html]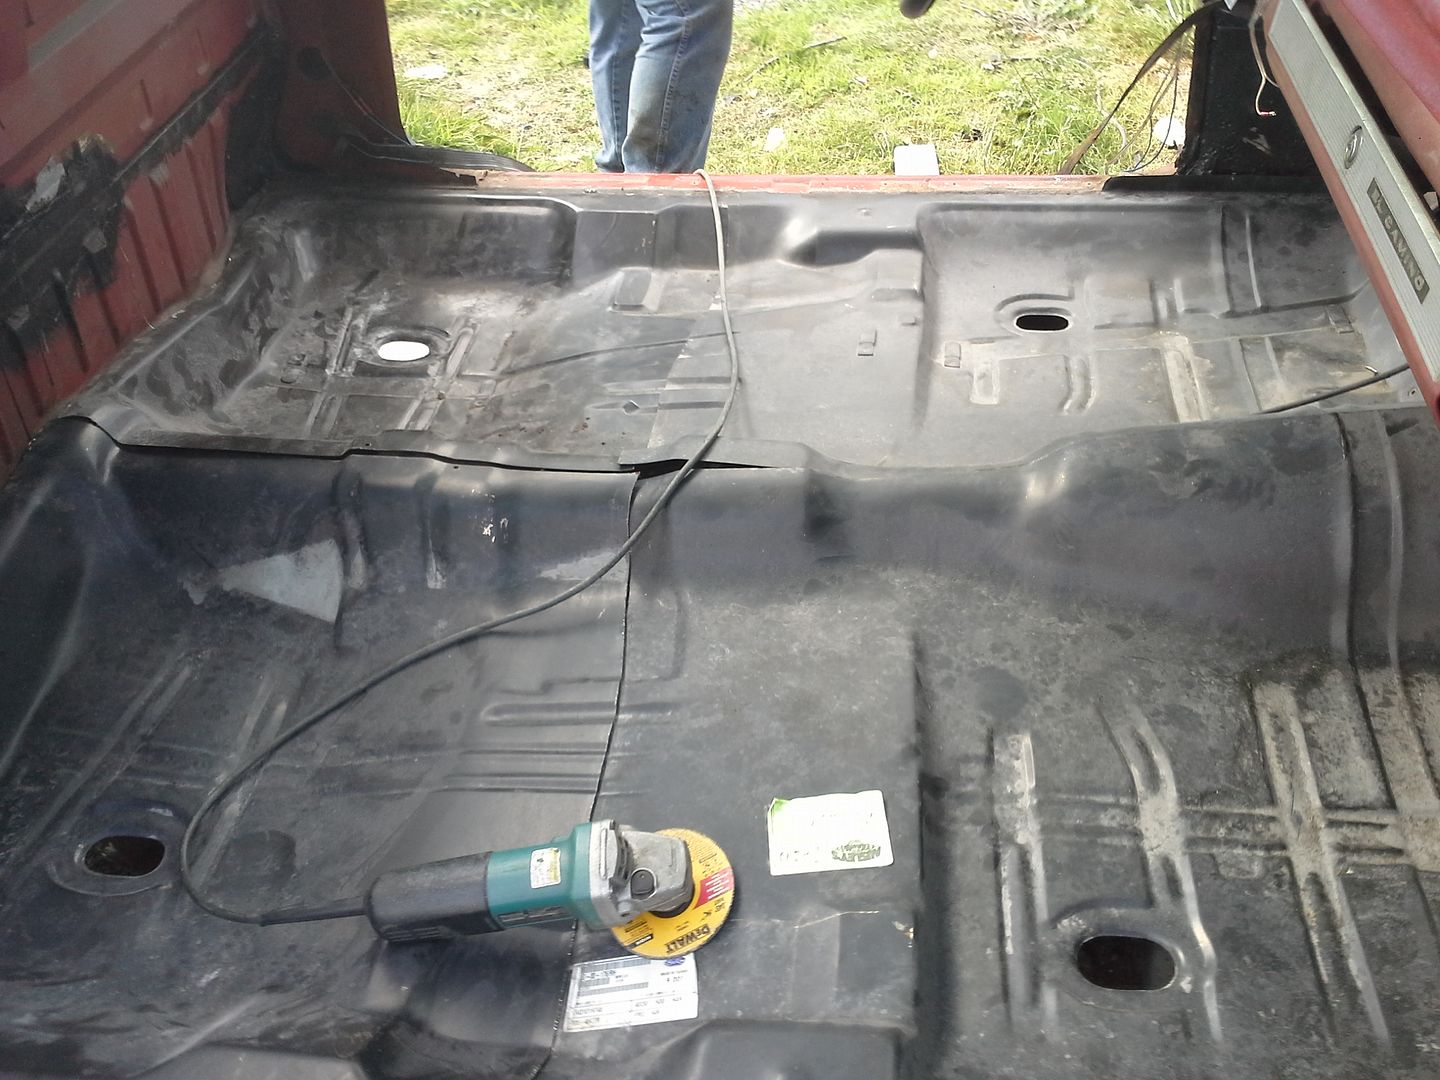 [/URL]
[URL=http://s54.photobucket.com/user/dusterbd13/media/1964%20elcamino/012_zps95c83027.jpg.html]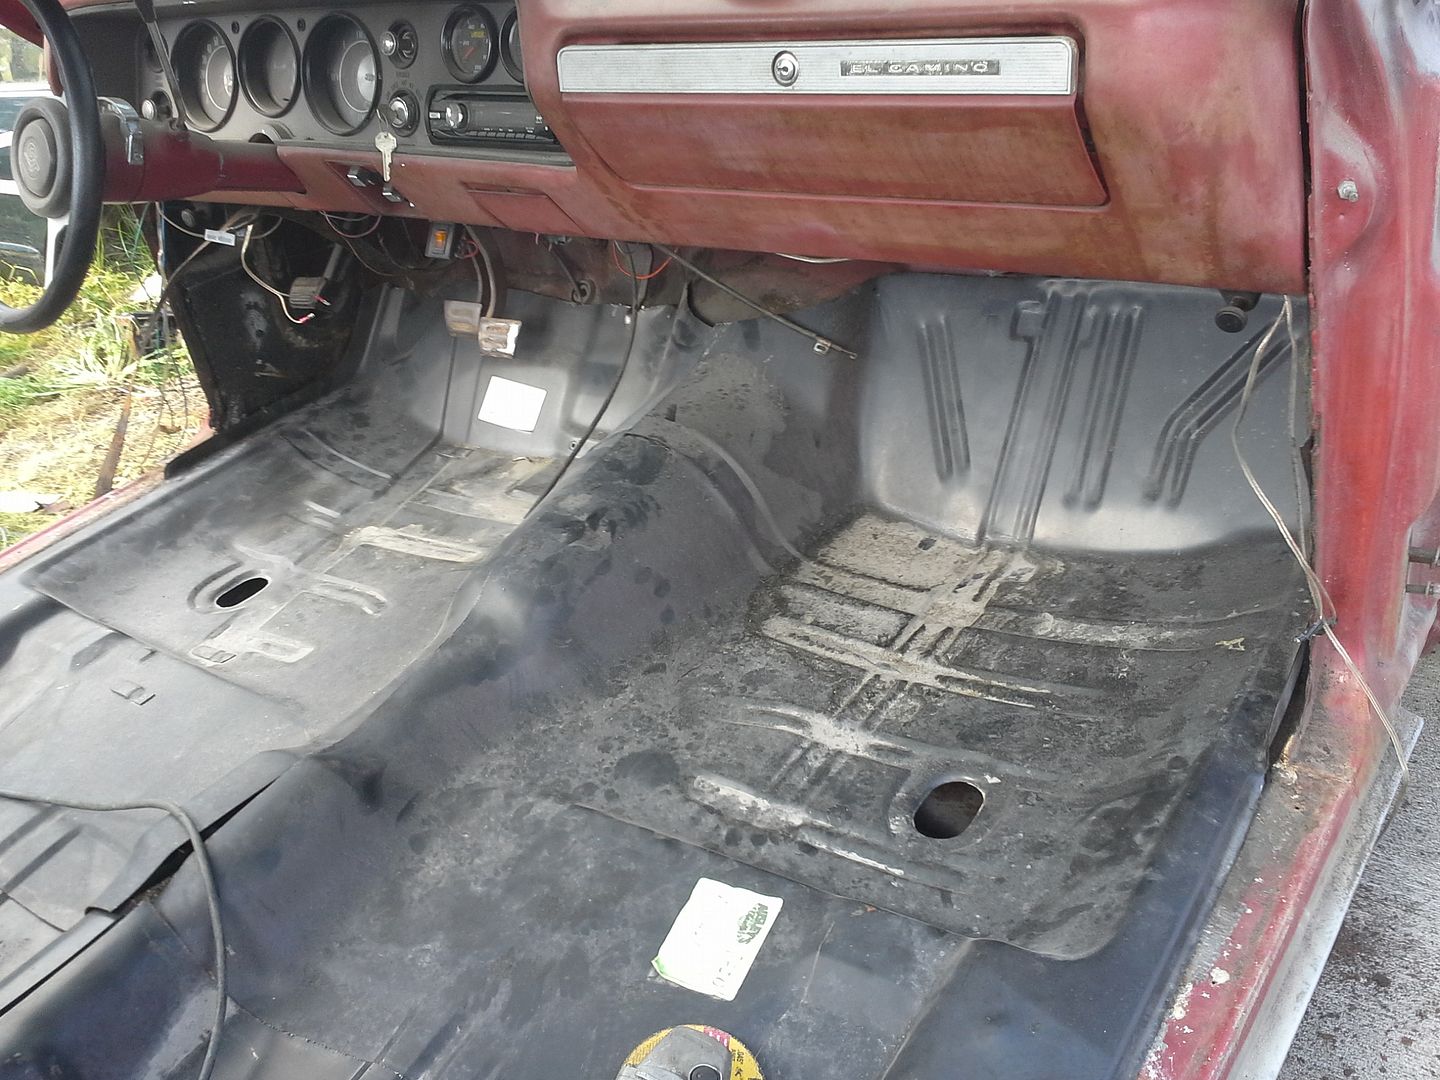 [/URL]
the new pans are mostly fit, but we still have some minor fitting to do, some cleanup on the rails and cross members and such, a ton of holes to drill, and a few hundred feet of welding to perform. we were supposed to get together tomorrow, but my wife has asked me to help out with VBS this year at the last minute (apparently someone bailed) so ill be there all week when I'm not working.
thanks for looking and reading, guys, and as always: feedback is encouraged and thrived upon!
Oh, and yeah, knock that stuff off and POR 15 it... that's what I did with my bedsides and Chassis Saver.
Lot of progress! Looks like you had lots of fun with the floors. No suggestions I can think of, just kudos.
o, budget first:
previous total: 7843.64
1 quart of POR15, two cans portola red sem vynil dye: 73.46 from aj tucker
25 ft roll peel and seal: 18.08
stainless hardware and foam weatherstripping: 12.91
5 yards vinyl, made by heidi, color scarlett, from dale-rey fabrics in Kannapolis: 146.38
new total: 8094.37
so I've been spending a little money on the interior. I'm excited about that. this will be my first non stock/non bolt together interior. I couldn’t find any door panels I liked, and well, you know how that snowballs.....
anyway, before I could do the interior bits, I had to consolidate the pile of parts that used to be my doors. we have windows, weatherstripping, brackets, latches, etc. all taking up space. so I put the passengers side up on the bench first. looking inside, the factory applied sound deadening was cracking and coming apart. additionally, all the sheet metal was a little rusty. solution was to knock all the loose sound deadening off with a putty knife, clean it out real good, and apply a good thick coat of POR15/ should make these things outlive me by a safe margin.
before:
[URL=http://s54.photobucket.com/user/dusterbd13/media/1964%20elcamino/023_zps13c7ab52.jpg.html] [/URL]
after:
[URL=http://s54.photobucket.com/user/dusterbd13/media/1964%20elcamino/014_zps9ed8323a.jpg.html]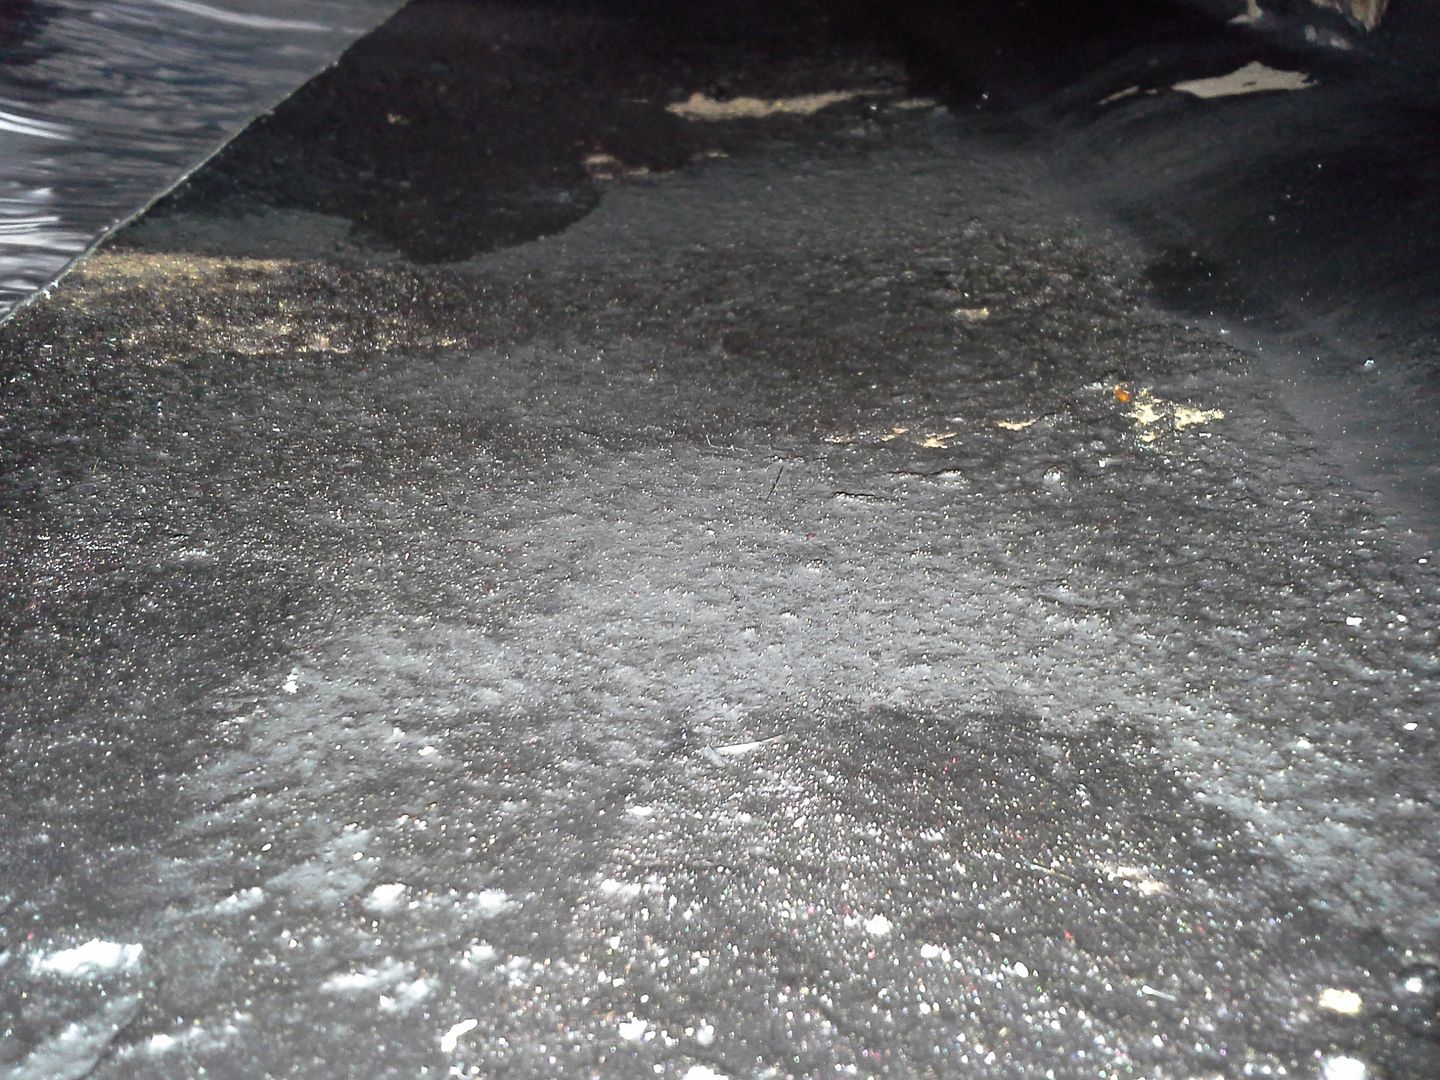 [/URL]
with that out of the way, I decided while the doors were empty it would be the best time to apply sound deadening. I have a bunch of different products I use depending on the application. most recent addition to my arsenal is the aluminum backed peel-n-seal from lowes. this stuff will stick to water, air, and giant holes, let alone anything else. perfect for heavily textured surfaces, surfaces you cant get spotlessly clean, etc. in and of itself, it doesn’t do a great job of deadening the resonance of panels. it just doesn’t have enough mass to it. a 90% area coverage only results in a ~25% resonance reduction. it also does not conform very well to tight radius bends, etc. tough to work with, but perfect for certain applications. its also perfect for a sound deadening primer, which is what I used it for in this application. gives me a great surface to apply my normal hight quality stuff. I wound up using 3/4 of a left over roll of peel-n-seal for the first door, and bought another for the drivers side door.
peel-n-seal applied to 90%
[URL=http://s54.photobucket.com/user/dusterbd13/media/1964%20elcamino/016_zps67a4685d.jpg.html]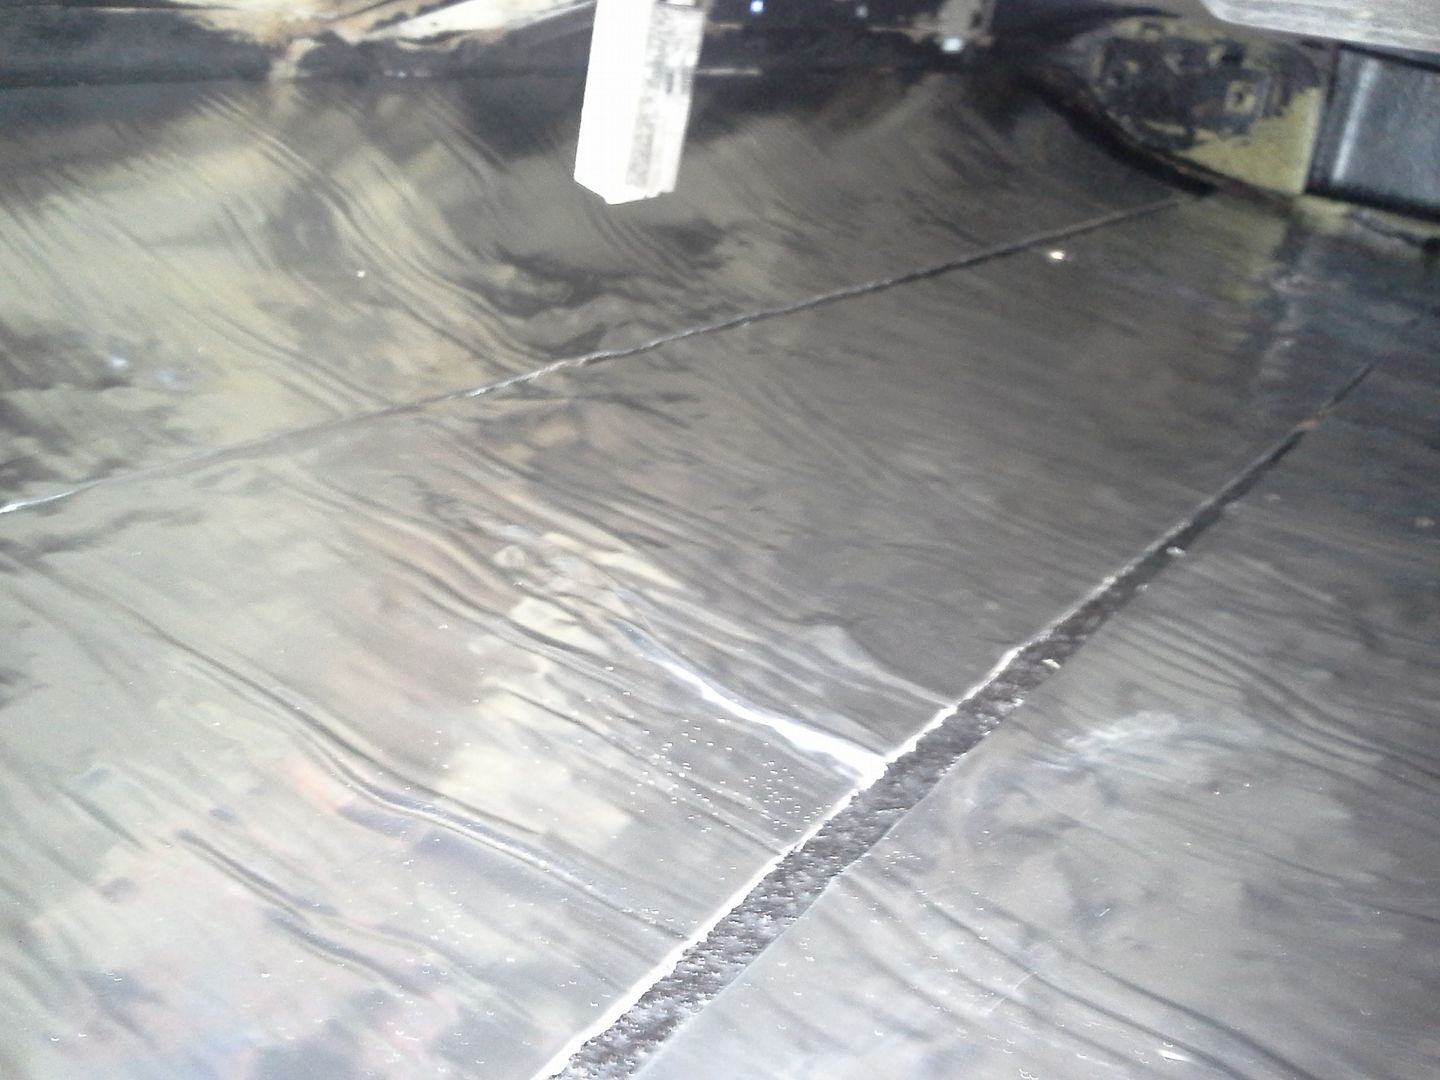 [/URL]
[URL=http://s54.photobucket.com/user/dusterbd13/media/1964%20elcamino/015_zps649c474c.jpg.html]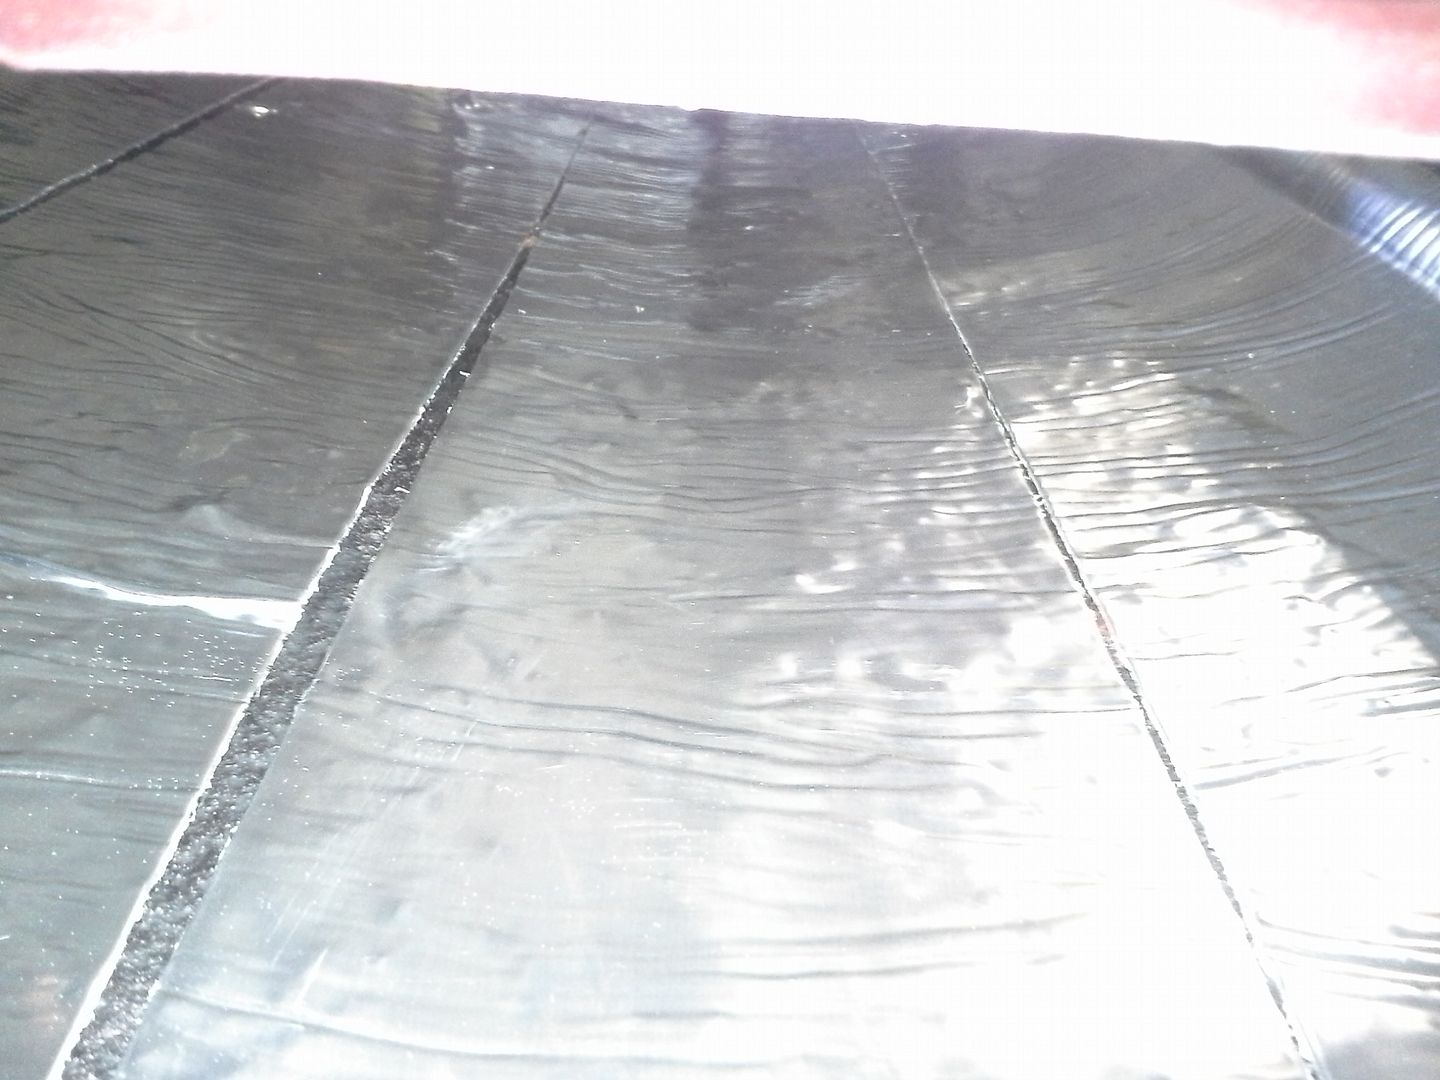 [/URL]
over top of that, I use my normal sound deadening material. this stuff is just like dynamat original, just a little tougher to work with and a hell of a lot cheaper. I still had ~2.25 sheets left from doing a customers corvette. it’s a few years old, but still functions and installs like new. here is a link for you guys playing the at home version of our game show: http://www.mcmaster.com/#sound-and-vibration-damping-sheets/=snjnc1 I use the 10% stuff. I have tried the higher percentage grades, but have found a level of diminishing returns. in an automotive application, there is very little noticeable difference. additionally, there is a level of diminishing returns with the amount to be used of this stuff. 50-75% will net 100% of panel resonance in an automotive application. panel resonance is measured by sound and feel of knocking on different parts of the panel with your knuckle. one the knock becomes a solid thud, resonance has been eliminated and no more material will be useful. on the passengers door, I used 1/3 sheet to do the majority of the center of the panel to eliminate resonance.
installation is simple. lay it in there over a properly prepped surface. heat it a bit with a heat gun, and work it down with a j-roller. let it cool, and you're done.
[URL=http://s54.photobucket.com/user/dusterbd13/media/1964%20elcamino/021_zps3796b75f.jpg.html]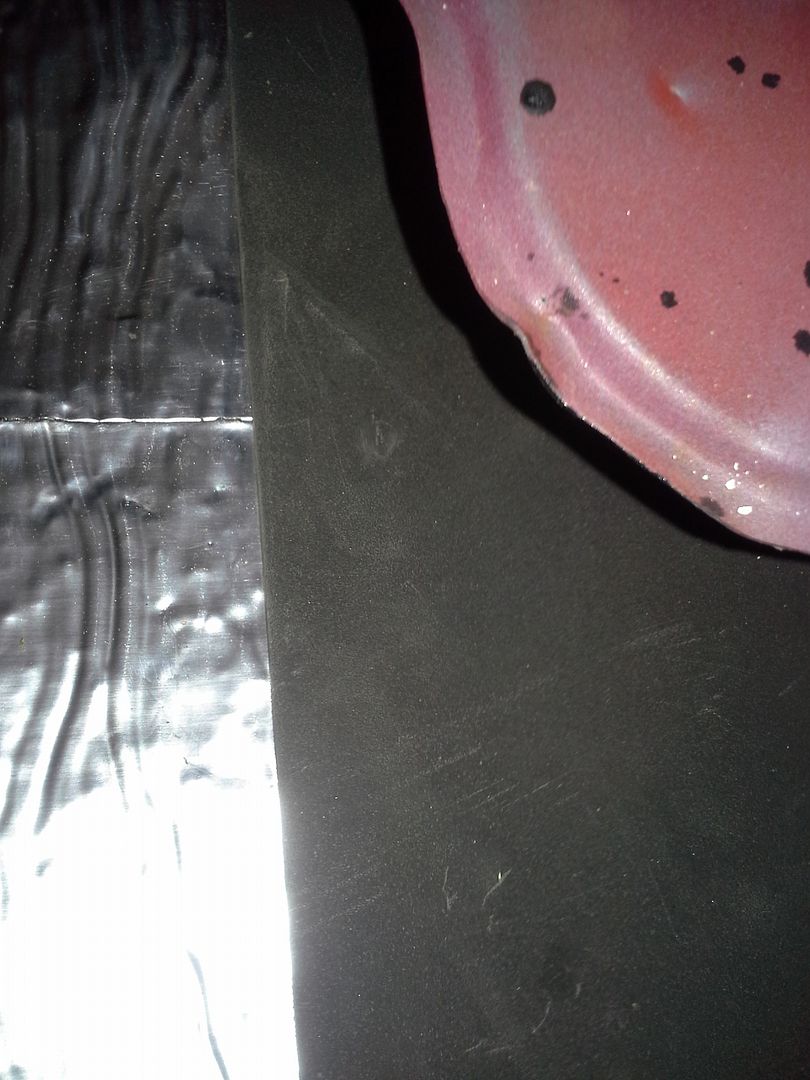 [/URL]
next up, I took all my mechanisms and parts down to dads place one night and threw them in the parts washer. over the last 50 years, whatever grease GM used on the inner door parts has turned to something resembling very brittle concrete. it was no longer lubricant. you could actually kind of chip it off the window regulator with a screwdriver. soaking it in the parts washer overnight loosened all that crap up, and some aggressive brushing/sos padding/spraying got them surprisingly clean. and it was really surprising how much better they worked without any lube whatsoever. after they all dried, I used a LIBERAL (read as messy and lots of)amount of brush on white lithium grease on everything that looked like it could potentially rub, move, touch something else, etc. before doing the door latches, I used what was left in a can of eastwoods tank tone to recolor the visible part of the latch once its installed. after all, the devil is in the details. this can is left over from when I did the duster fuel tank back on 95 or so. its older than my kid. it has moved about 4 times with me. and there's STILL a little left in there...
then came the fun of figuring out how all the weatherstripping and parts go back in. this was not simple, or easy, or quick. it was a pain in the ass. especially when I was not the guy to take it apart, ALL the parts were mislabeled by the bodyman, and I didn’t have, nor could I find, and good info to go off of. so I did it the good old fashioned way: trial, error, and profanity. also, a large rubber hammer may or may not have been involved.
the order in which parts needs to go in is pretty specific. this took me quite a few hours to figure out. first, make sure EVERYTHING is out of the door. then first put in the latch mechanism. I used stainless screws from Lowes to fasten them in place with. they're 1/4 inch threads. coarse, if I remember...
[URL=http://s54.photobucket.com/user/dusterbd13/media/1964%20elcamino/023_zpse56cf9f9.jpg.html]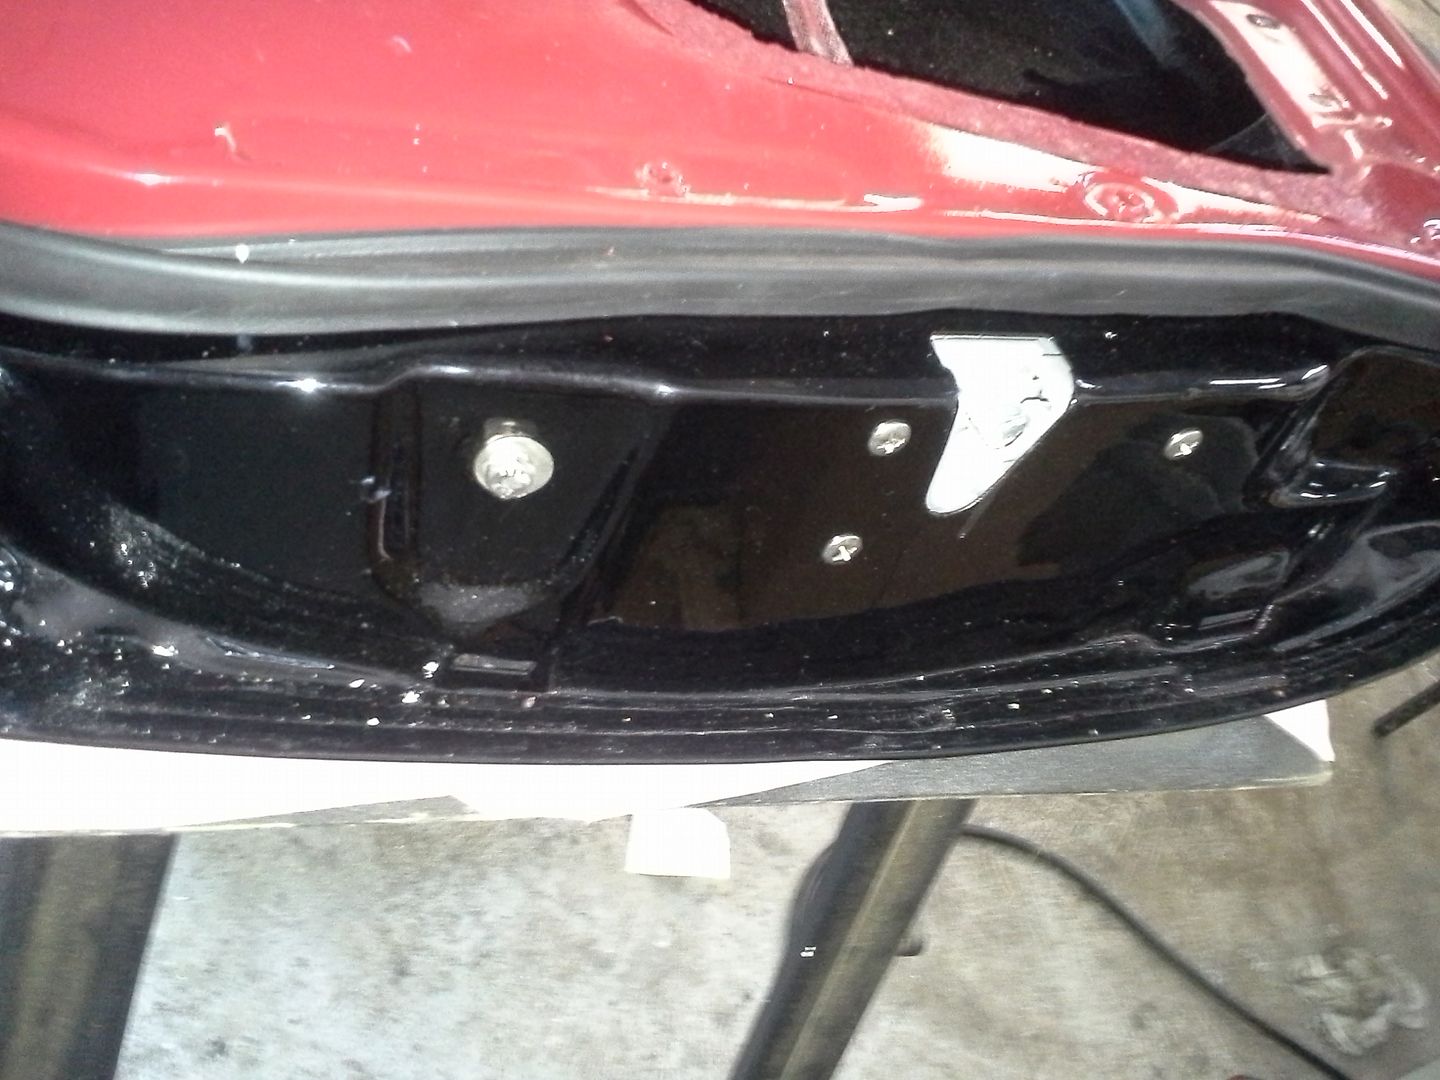 [/URL]
also take this opportunity to put in the outside door handle and lock. you can do it afterwards, but its easier with nothing in the way.
after that, install the regulator, lower built in window channel piece (again, used stainless from Lowes)upper bolt in regulator piece, and inside window wipe thing. I wound up getting a mismade batch from PUI in the kit my mom got me for Christmas. called ausleys, who had me call PUI. they just sent me replacements without question. 7 months later, and I'm not the original purchaser. that’s good customer service. the second set came much closer to fitting. still had one clip on both inside pieces that were about 1/8 inch off of fitting the slots in the door. I removed the offending clip, cleaned all the old butyl off the sills, applied weatherstrip adhesive, and taped them down to make them fit the way I wanted them to. when the glue dried, I was happy with the fit and look.
next, install the run channel up to where the vent window assembly goes in. this stuff just fell right into place. fits really nice, and aint coming out under anything resembling normal use. at this point, slide the window into the door and let it kind of hang out in there and get reacquainted with its familiar surroundings. after that’s hanging out in there, go ahead and fight the vent window assembly into the door. pay close attention to the front lower corner. mine had about 1/4 inch gap that I could see daylight and galvanized frame through. so I removed it, painted the galvanized frame with a brush and black paint, added som 1/2x1/2 foam self adhesive weather-stripping from Lowes to the entire outside edge of the assembly, and went to put it in.
now it didn't fit at all. crap.
after much trial and error, I found that the lower corner, from bottom screw to pivot stud was all I needed to add the foam too. I also invented new strings of profanity.
after this vent window is in place, and you calm down to the point where you can see straight again, you can finish installing the run channel. it should be notched at a 45 degree angle where it meets the wing window, near as I can tell. my passengers side door is not done this way, and there is a very slight gap where the two pieces meet. don’t think it will be a problem, nor do I think anyone will ever notice.
the other thing to do, before bolting the vent window in place comepletely, is grow three arms. with multiple elbows. reason being, you need to line up all the rollers in the tracks, while getting the window in the run channel, and the vent window in place. its easiest to do this with the upper inner track left mostly unbolted, the window in the bottom of the door, and get the rollers in the window part of the track first. then, set the glass tilt with the upper bolt in stubby channel where its level with the door edge at the top. roll it up, put in the lower stop, and step back and admire your handiwork.
then go ahead and install the lock and latch linkages, outer weatherstripping, etc. and do not think about doing the other one for a while....
[URL=http://s54.photobucket.com/user/dusterbd13/media/1964%20elcamino/025_zps2670ae13.jpg.html]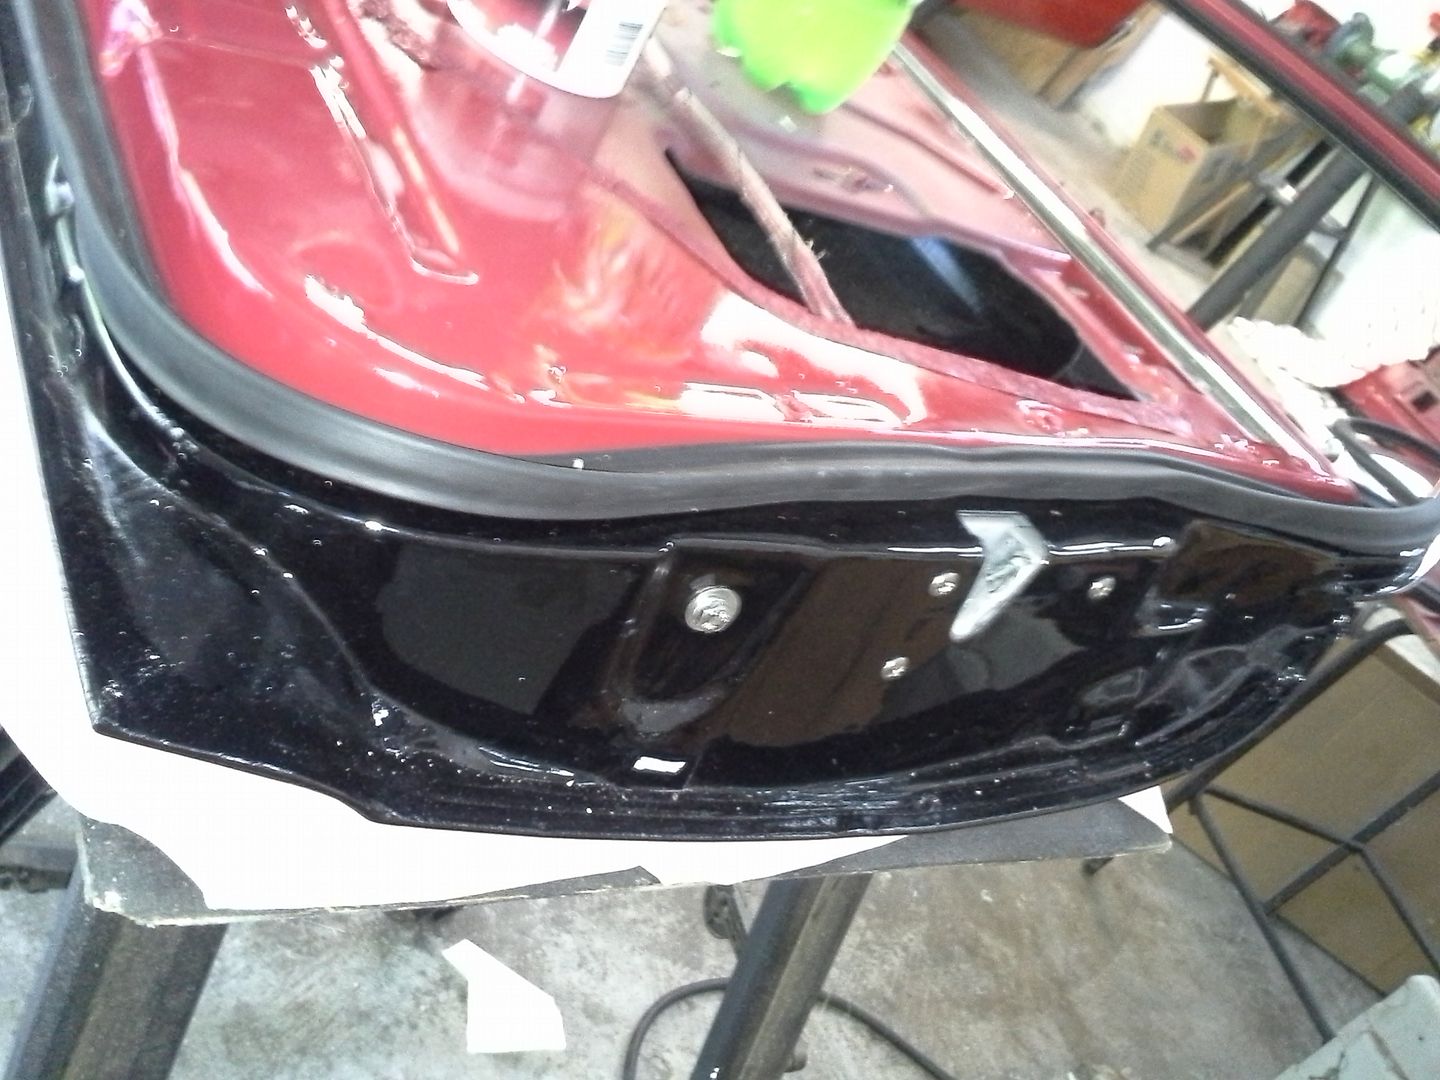 [/URL]
[URL=http://s54.photobucket.com/user/dusterbd13/media/1964%20elcamino/026_zps39897afe.jpg.html]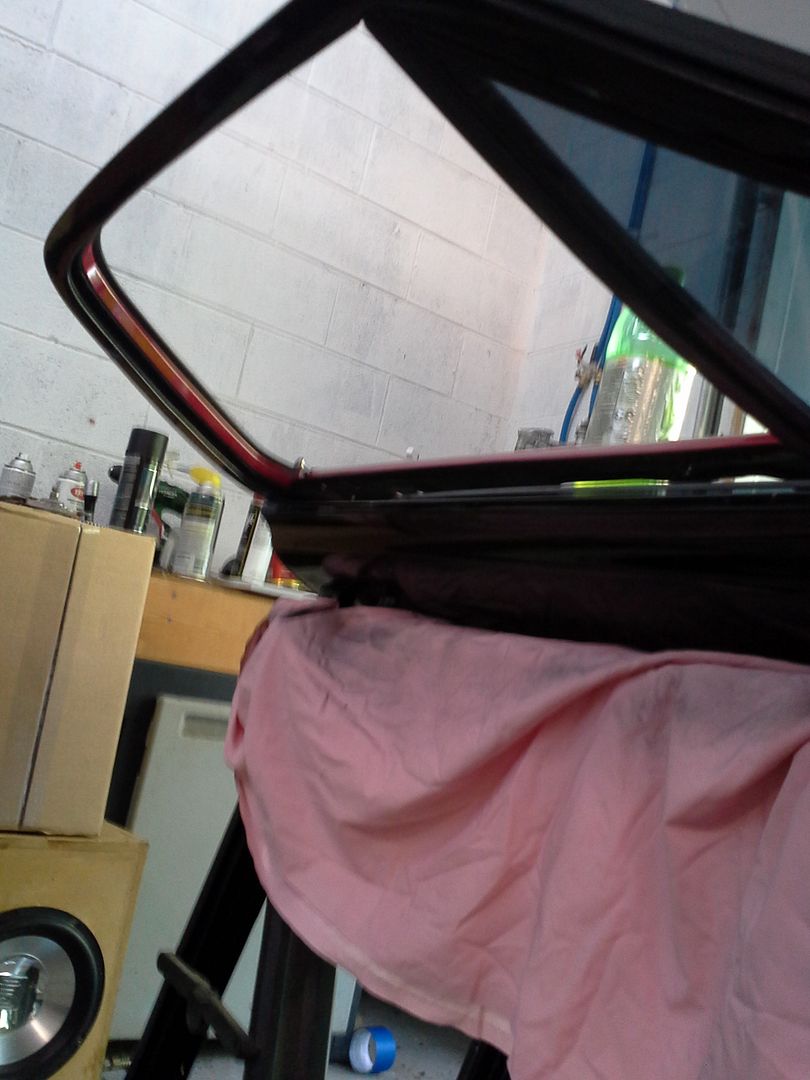 [/URL]
[URL=http://s54.photobucket.com/user/dusterbd13/media/1964%20elcamino/027_zps90231b71.jpg.html]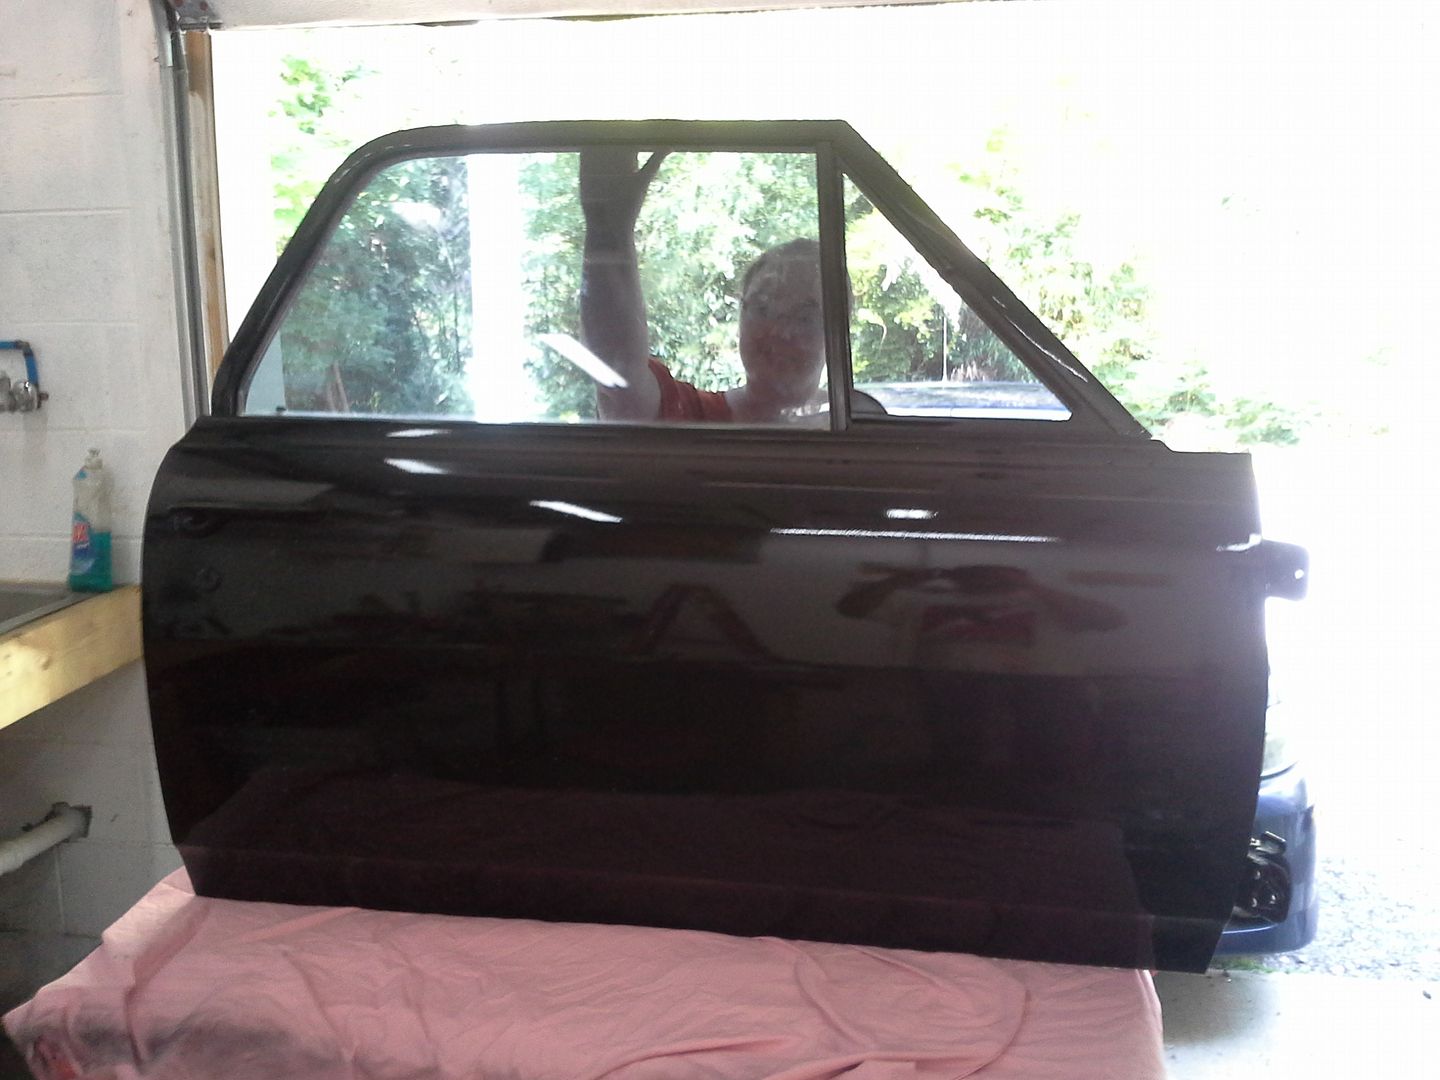 [/URL]
[URL=http://s54.photobucket.com/user/dusterbd13/media/1964%20elcamino/029_zps0dc69615.jpg.html]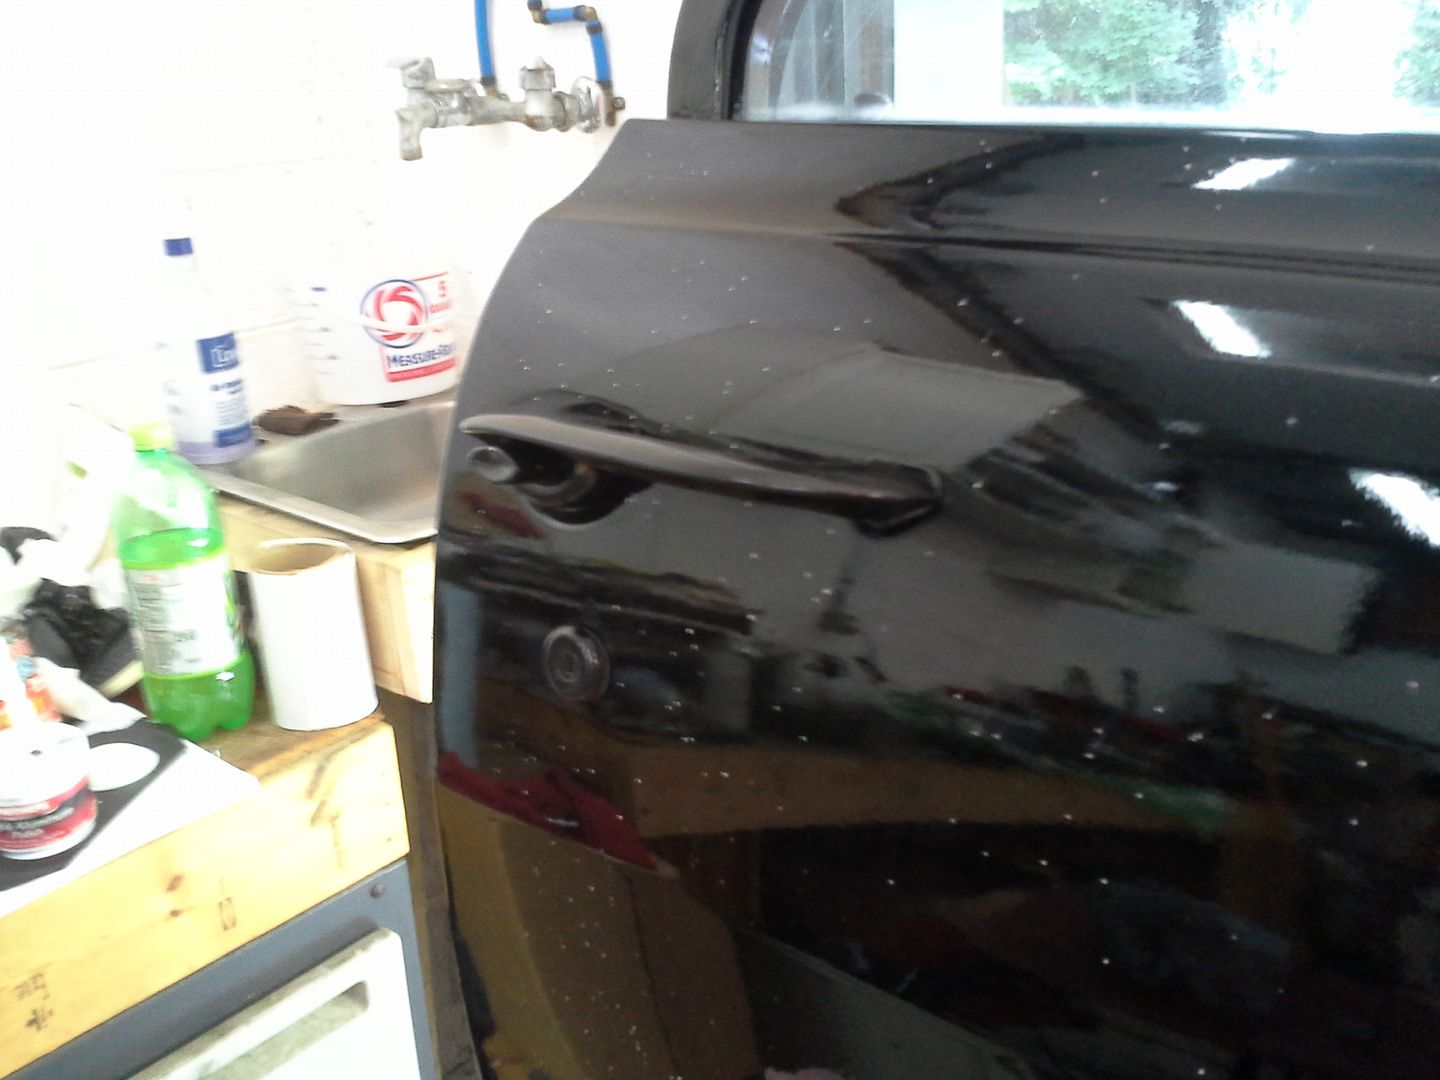 [/URL]
all in all, im very pleased with how this turned out. only concern is my blacked out door handles and locks. im afraid its losing some of the definition of the details with too much black. I wont know for certain till I have it all together though.
up next, I started on the drivers side door. first problem was attaching my new lift/cannel piece to my old glass. too quite a bit of effort, but I got it done. only to find out that the body man had me buy the wrong side. damn...
well, I cannot locate the drivers side version. its apparently made of unobtanium. double damn. so I do what I do, which is take the rotten one, cut the lift plate off of it, take the new one off the window, cut the lift plate off of it, measure twice, and hit that beyotch with a welder.
[URL=http://s54.photobucket.com/user/dusterbd13/media/1964%20elcamino/003_zpsc72be809.jpg.html]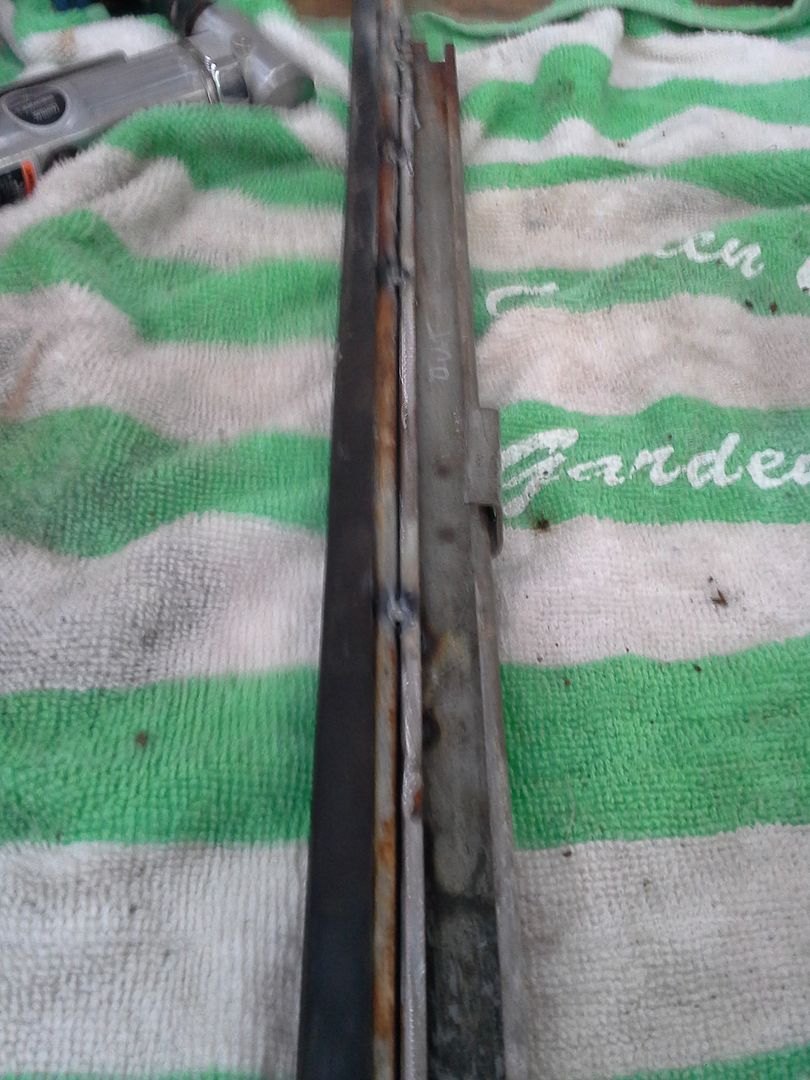 [/URL]
now I've gotta get it back on again....
also, as another tech tip (of which this post is full of!) the flux core wire my harbor freight welder came with is absolute crap. completely useless for anything other than hanging pictures. its somewhere in the woods now. it was so bad I couldn’t even make decent tack welds. the Hobart wire I just put in made that thing a whole different machine. its still a crappy welder, but at least now its a good and consistent crappy welder, which is just fine for my needs. these tack welds are so bad I'm half tempted to cut it all apart and redo it now that I think I've solved my welder problems.
other than that, I'm just working on the drivers side door. same as the passengers, just going much faster and easier now that I know what I'm doing.
on the interior front, I've decided to teach myself something new and expensive. I don’t like any of the currently available reproduction door panels that I've found. they're all a little too flashy for my tastes and visions. I really wanted another set of the original panels that came with the truck, but you know the old saying about hands....
so ive started doing research into making them. doesn't look impossible, just stupid difficult. but doable. so farm I picked up 5 yards of high quality vinyl that perfectly matches the portola red vinyl dye I got for the plastics, and compliments the custom mixed red on the interior metals. this should be enough for me to make both door panels, both rear cab side panels, a custom center console, and a custom rear cab panel. I still have to order foam and adhesive. that’s another 150 or so unless I can find it local. which I've tried all I can think of so far, and struck out. even over in concord, the nearest big town to me.
anyway, here's the picture of the panels I'm mimicking, and the colors laid out next to one another. its not photographing right. the paint looks brighter than it is, the vinyl darker. in the rear world, they are much closer to one another.
[URL=http://s54.photobucket.com/user/dusterbd13/media/1964%20elcamino/007_zps9273e7f5.jpg.html]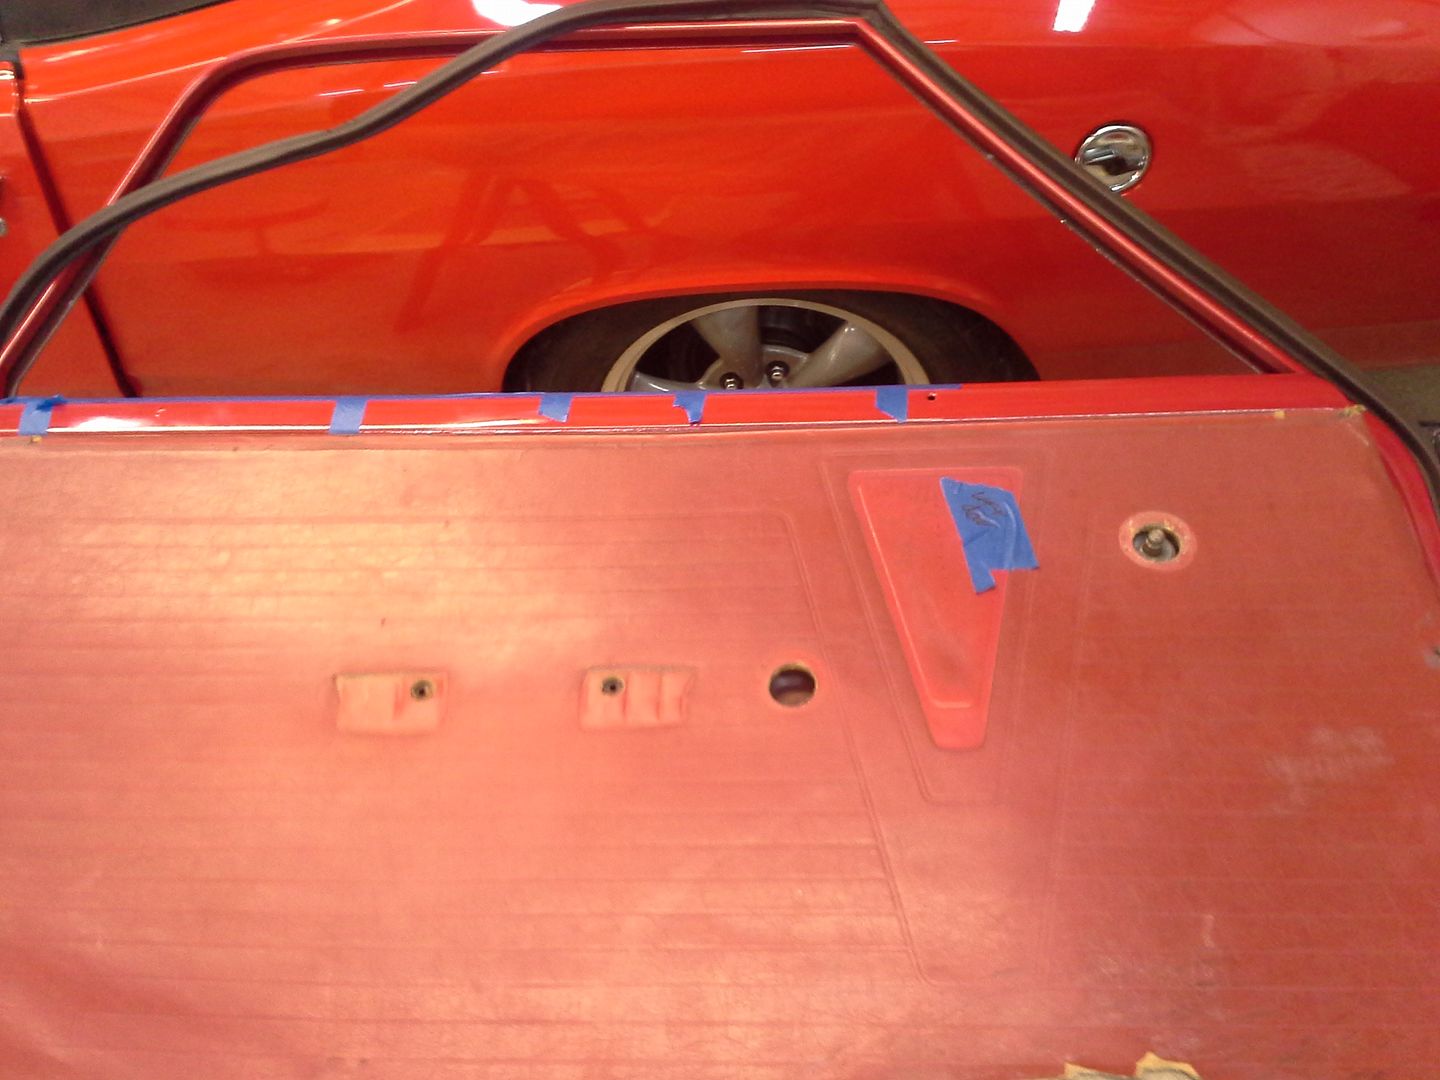 [/URL]
[URL=http://s54.photobucket.com/user/dusterbd13/media/1964%20elcamino/006_zpscf9de398.jpg.html]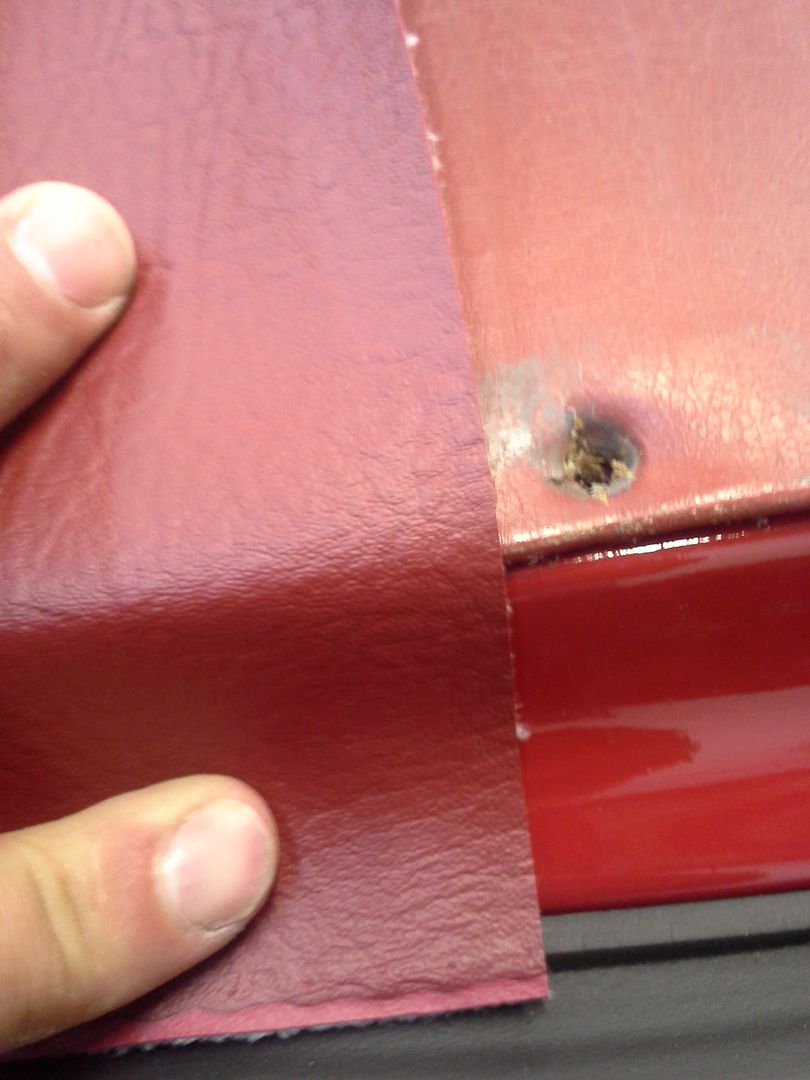 [/URL]
the plan is to do horizontal pleats along the whole door, only making an even surround around the triangle piece. I'm thinking of doing the triangle in polished high gloss black of some fashion, but not vinyl. more like plastic or aluminum. this would be recessed so as to wind up flush with the rest of the panel.
what are y'alls thoughts? bonus points for some fashion of drawing.
You'll need to log in to post.