Major deconstruction. I got exactly that far with my 1970 blazer and parted it out. I am watching with great interest and wish you luck and determination.
Major deconstruction. I got exactly that far with my 1970 blazer and parted it out. I am watching with great interest and wish you luck and determination.
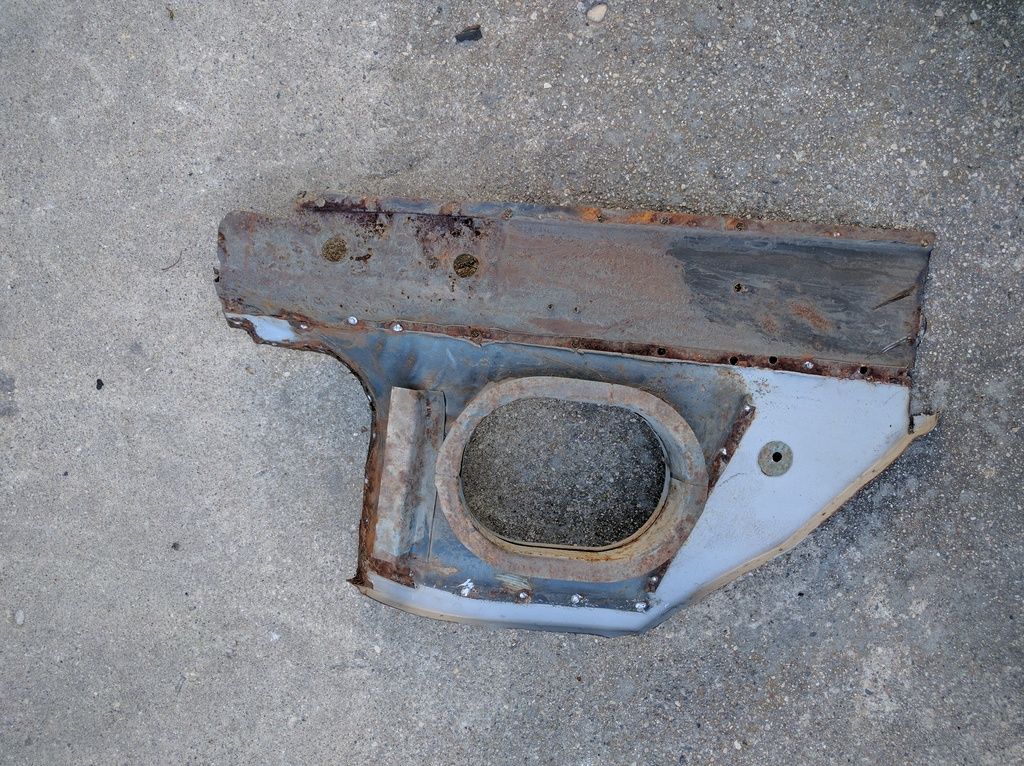
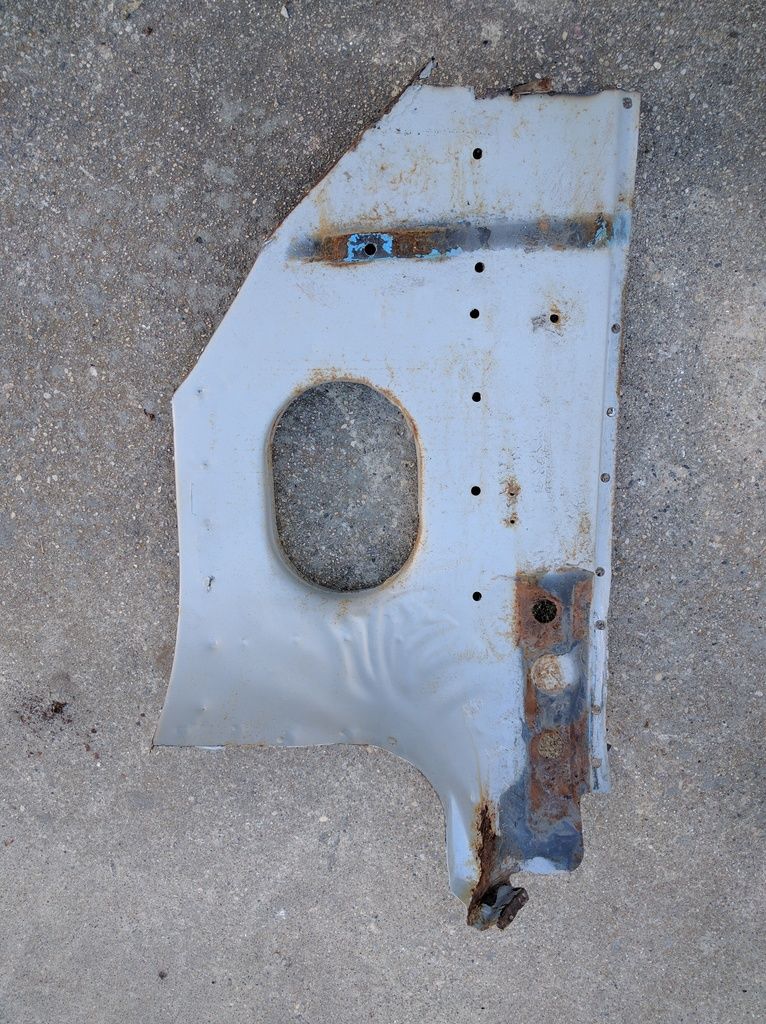
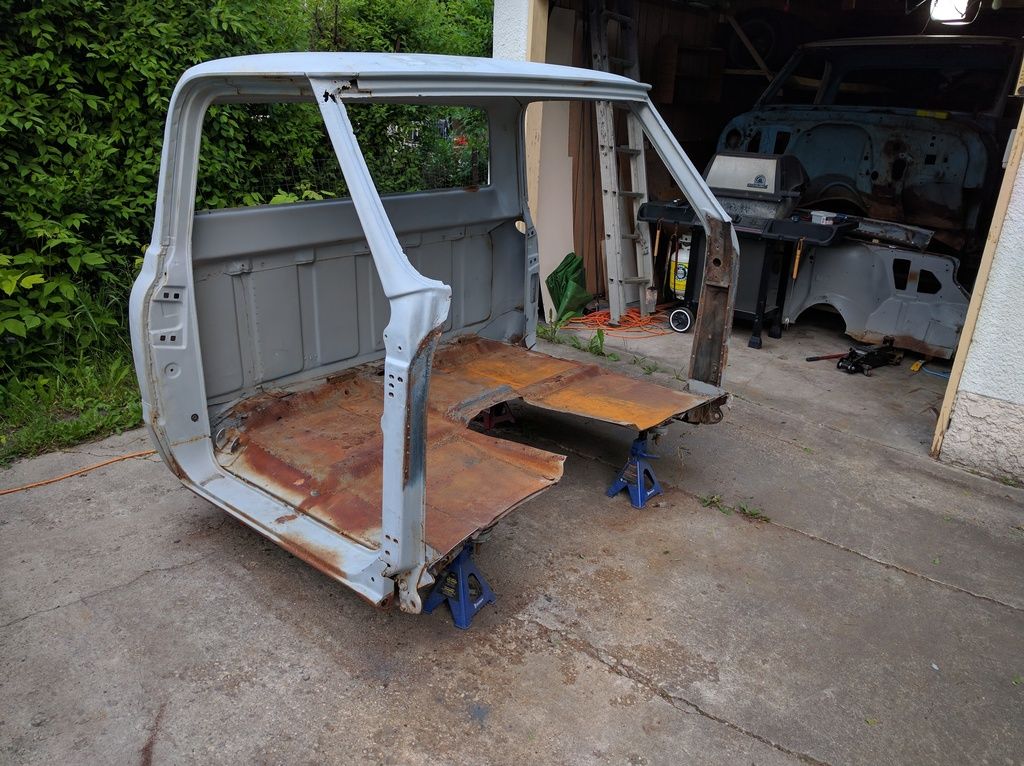
I finished scavenging what I needed from the parts cab. The last wing is out, along with the bracing I'll be re-using for mine. Just need to get some shielding gas for my welder, load some wire and change out the liner and I'll be ready to start bracing.
In reply to AngryCorvair:
I'm not that crazy! ![]() It's going back on top of parts that were meant to be together, not the answer!
It's going back on top of parts that were meant to be together, not the answer!
So I haven't updated in a while, but I've been working on it!
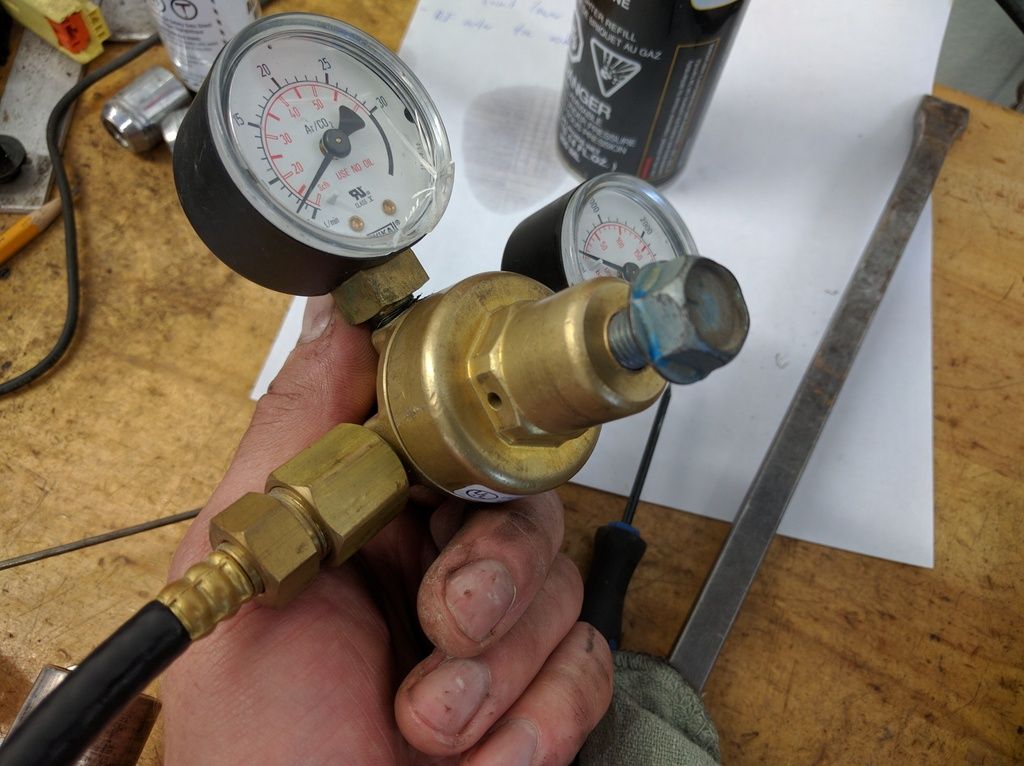
First up was welding in some braces. Got a tank of argon/CO2 mix and converter my welder. Found the regulator was stripped so that was taken care of thanks to motomoron and kb58(thread here)
New threads
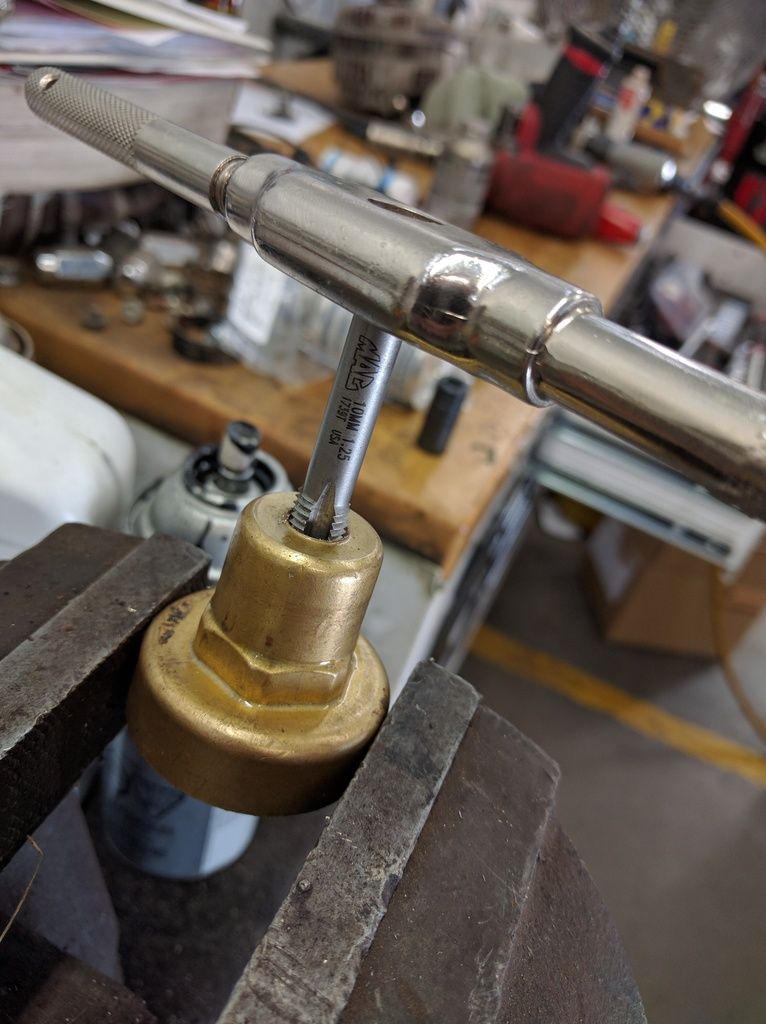
Fixed
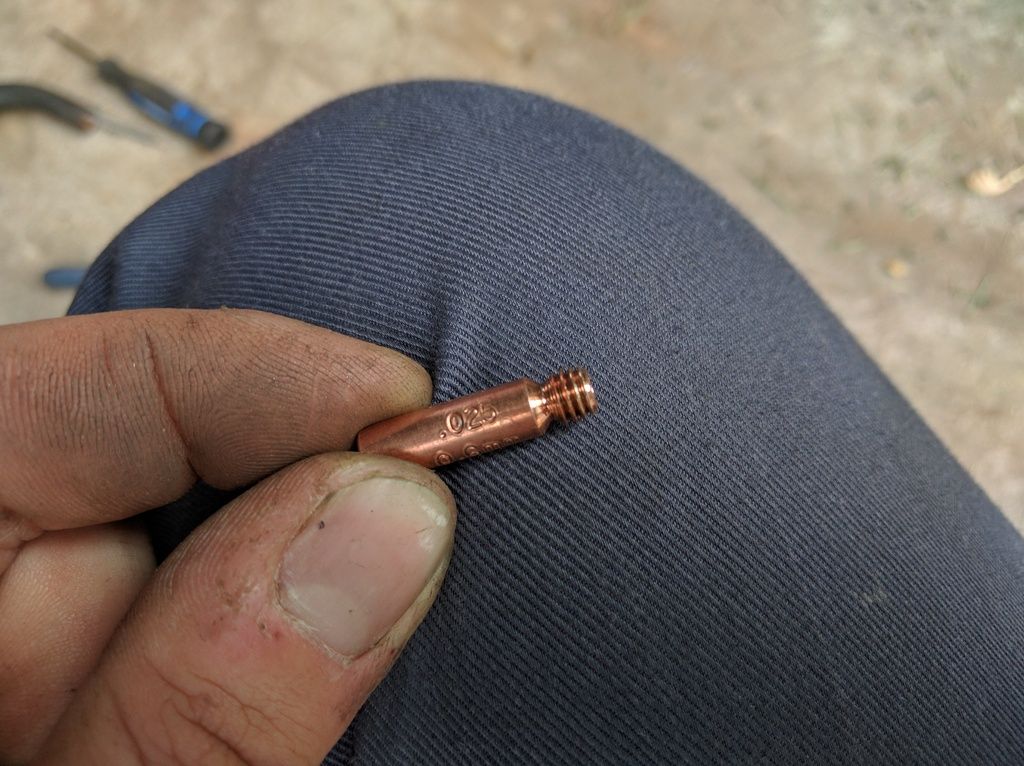
Thought I was losing my marbles when I couldn't thread on the new tip. Turns out I grabbed the one tip in the pack that was machined wrong, no threads just circular ridges.....
Once I figured out I had to flip the wire feed roller and a couple practice I was able to make this:
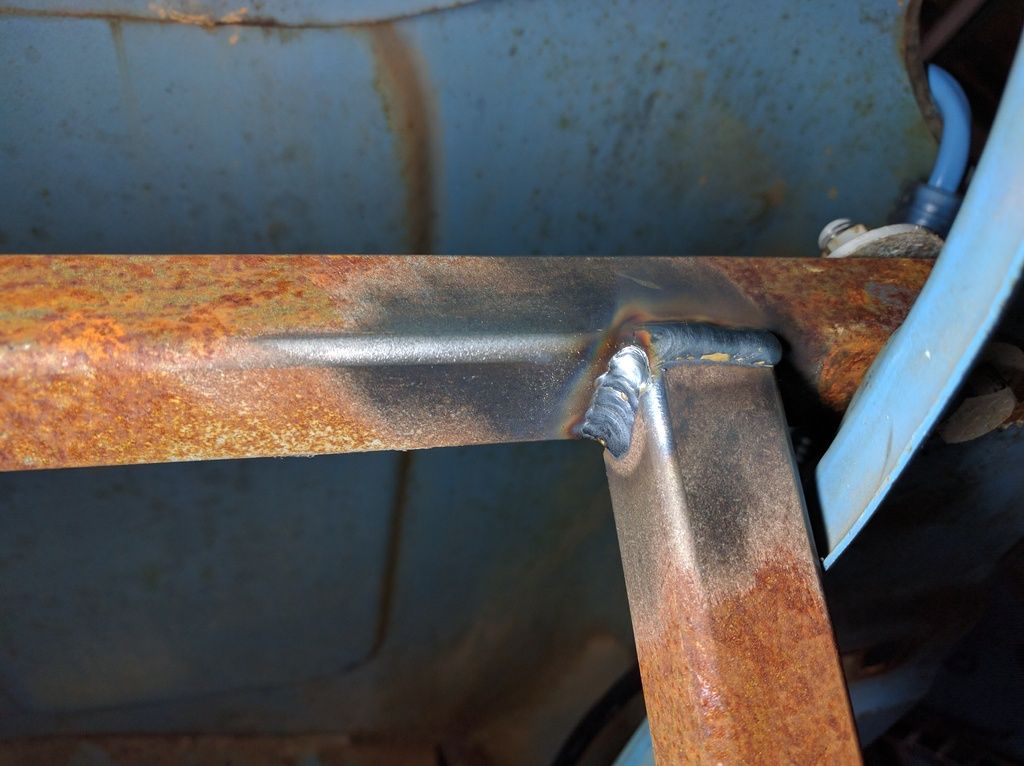 I won't lie, I was very impressed with myself after that. Welding with gas is fantastic! I've never made welds so nice. Remember, I'm a complete beginner....
Put some bracing in
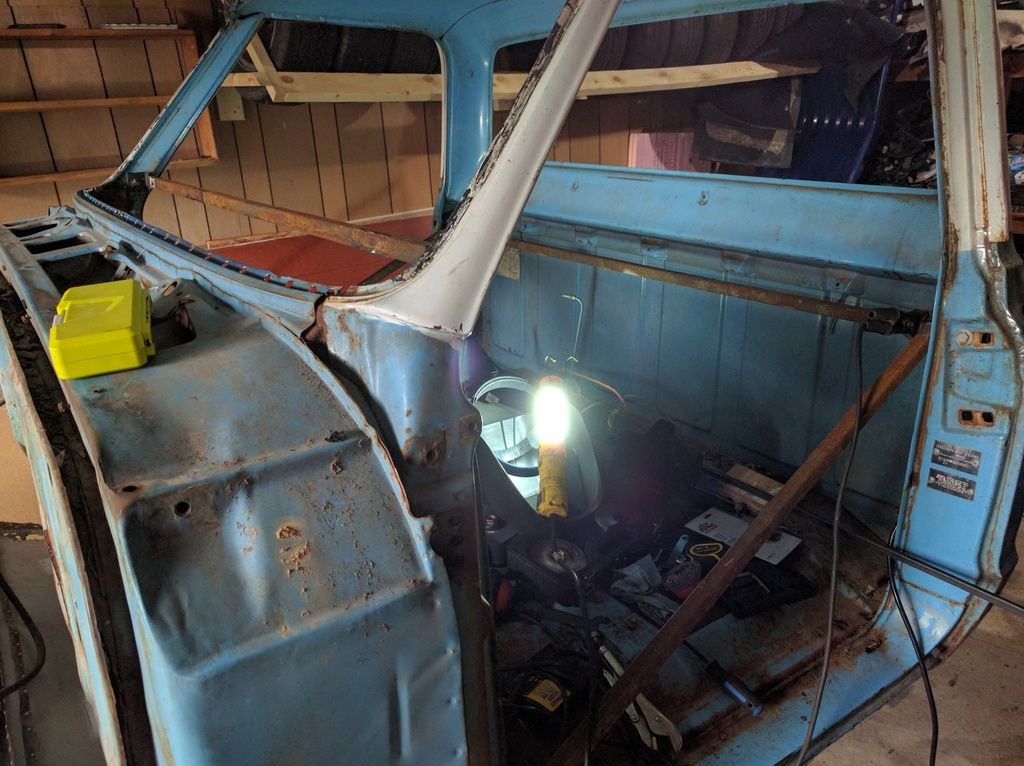
Welder is turned all the way up, wish it went a little hotter for the 1" square tubes
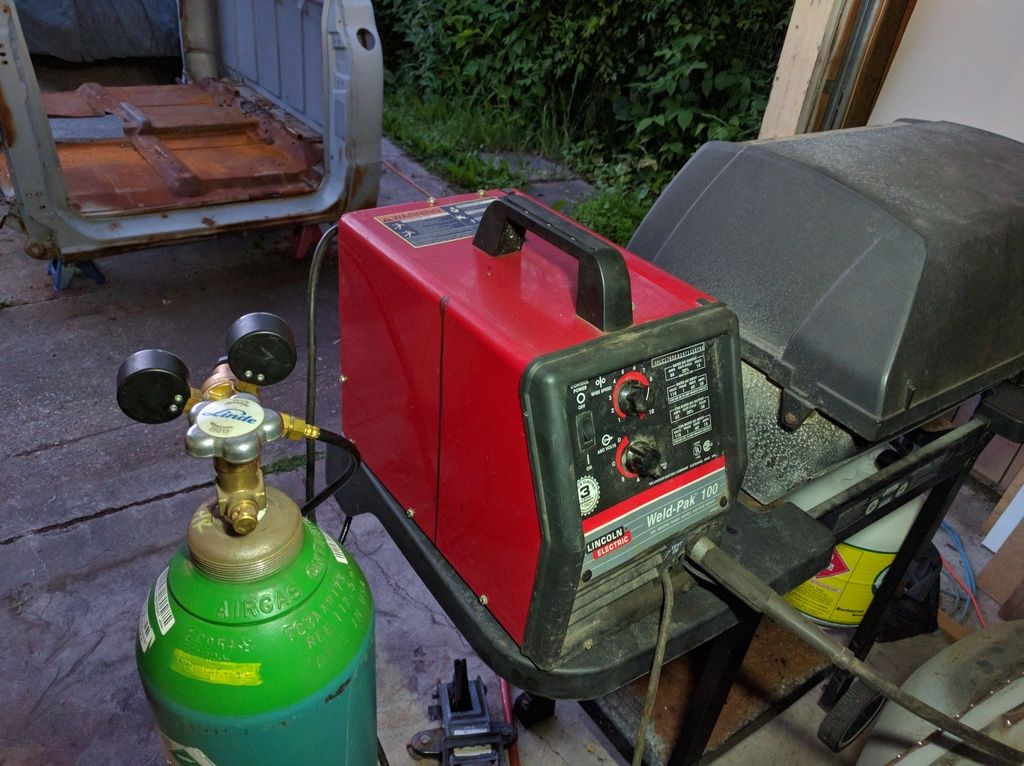
Yikes!
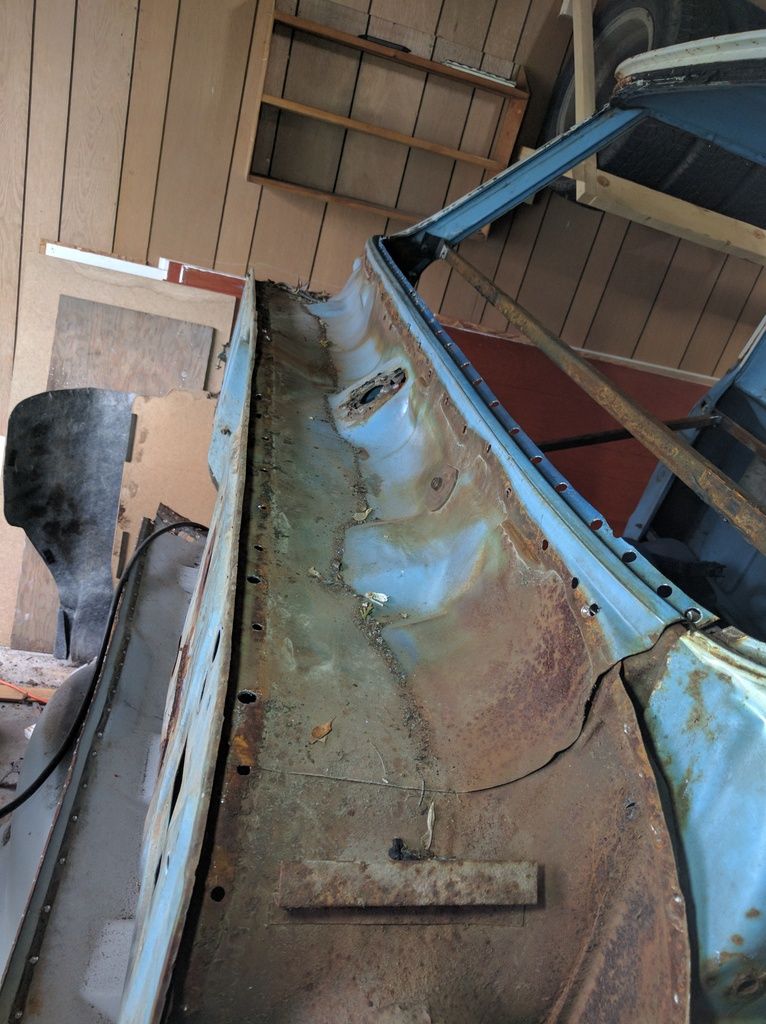
Drilled out the outer cowl
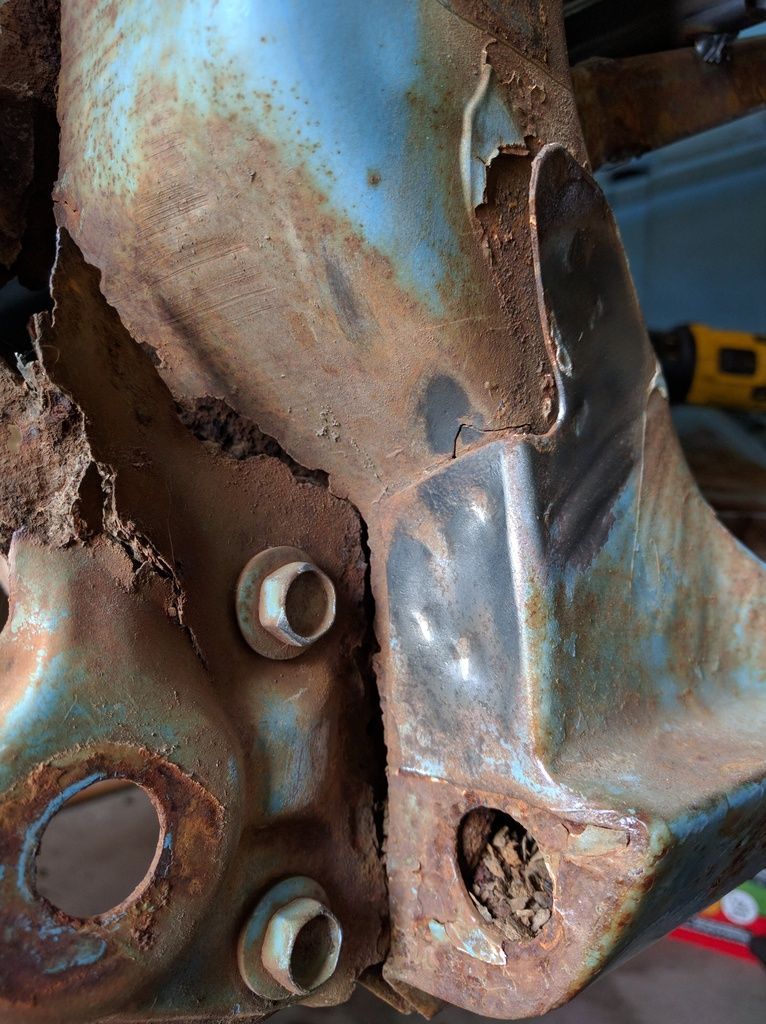
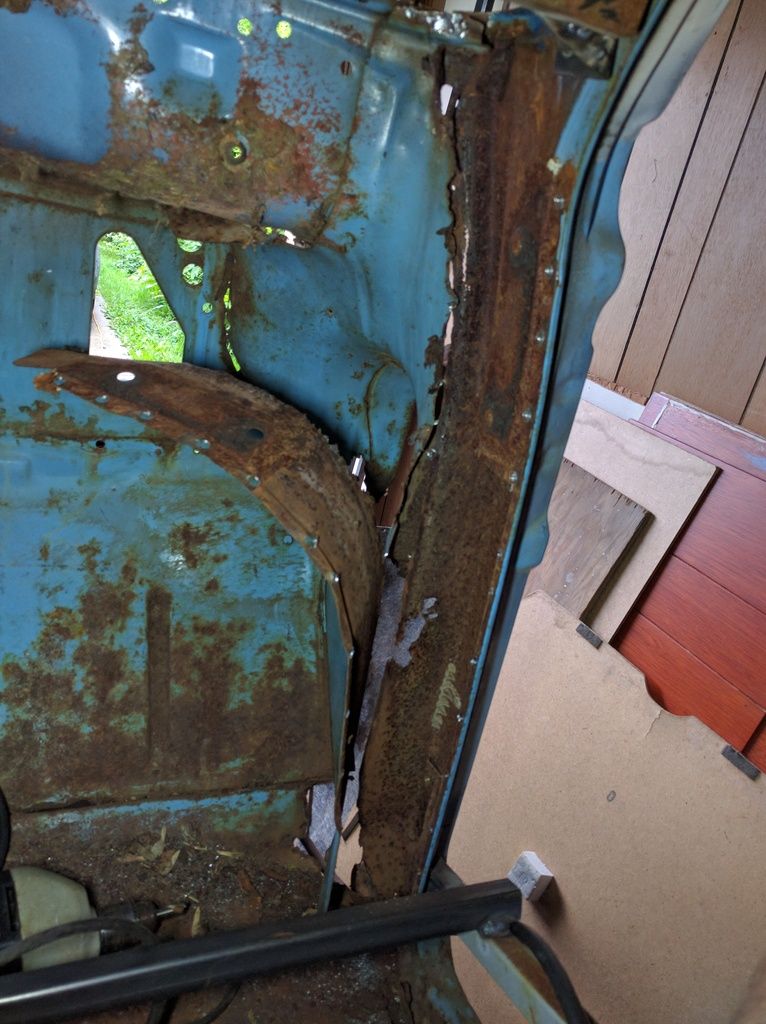
Then the inner wings/kick panels. I'm going to have to graft bits of the A pillars from the parts cab.
Separated completely here
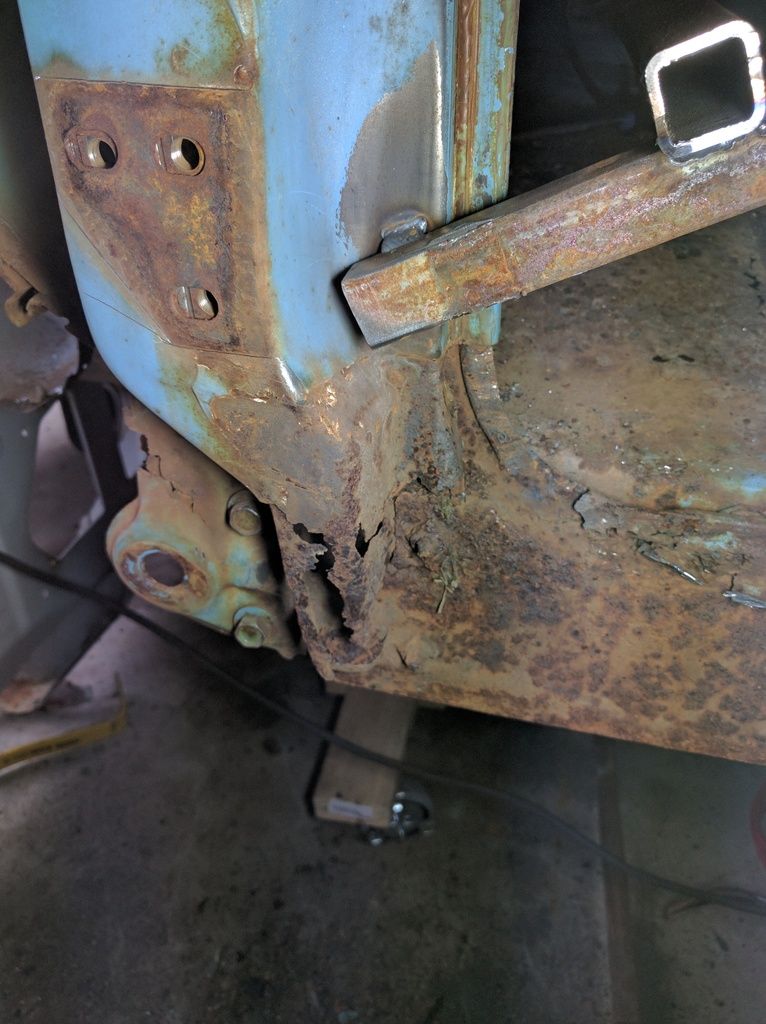
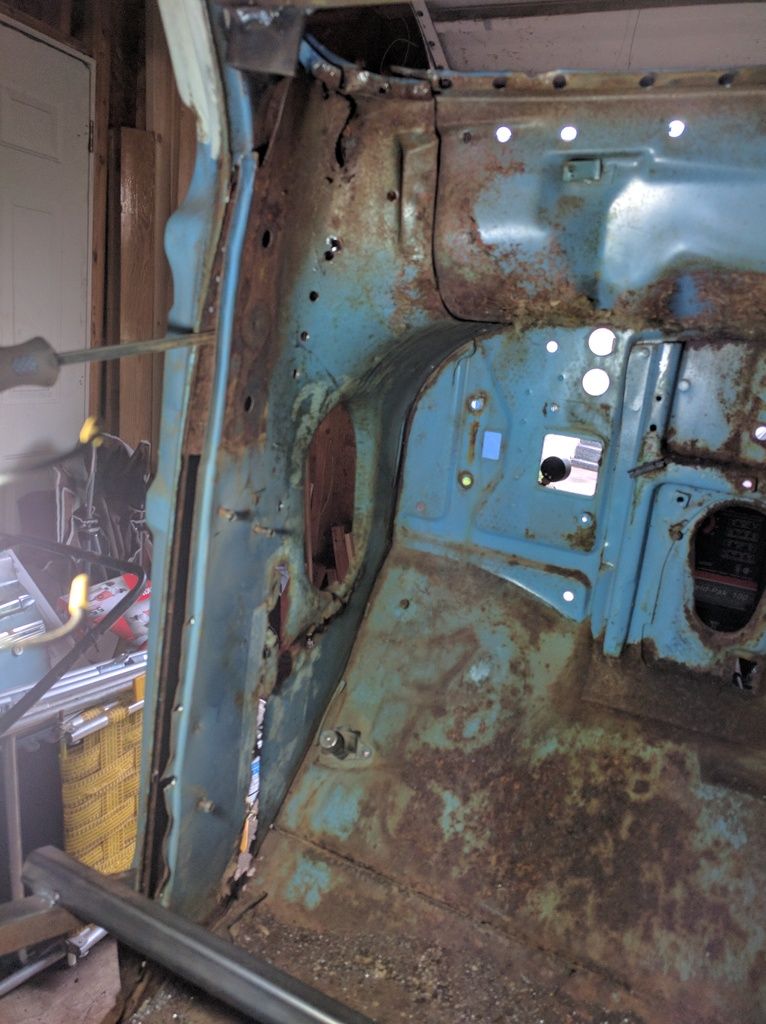
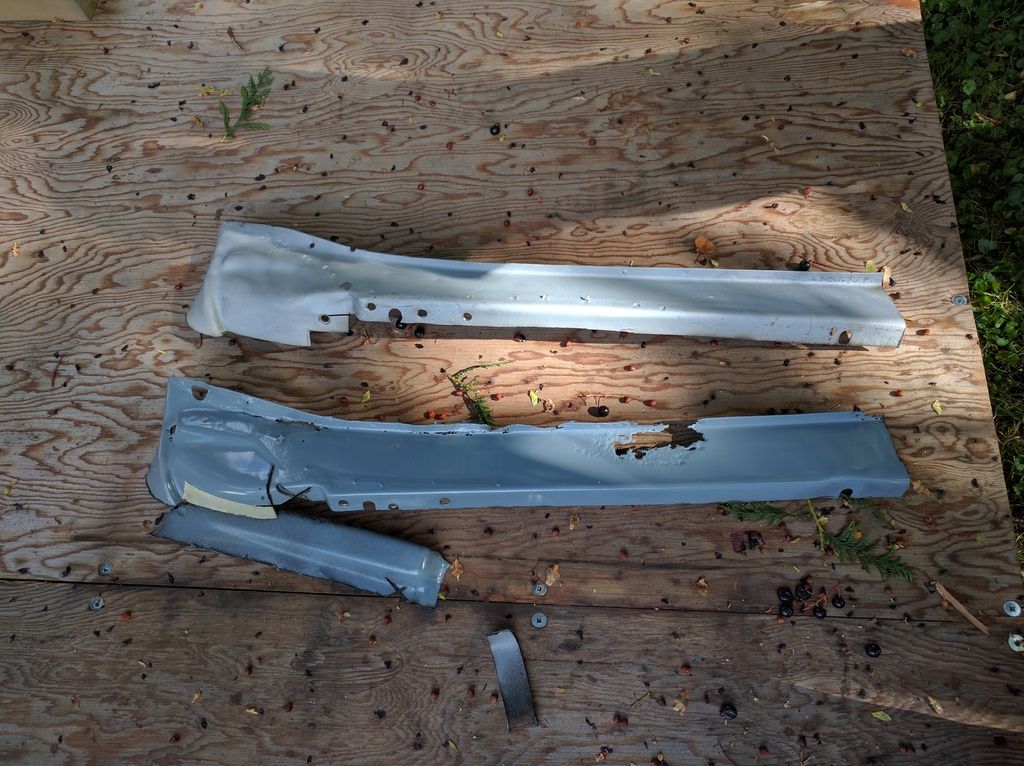
Cut the rockers off
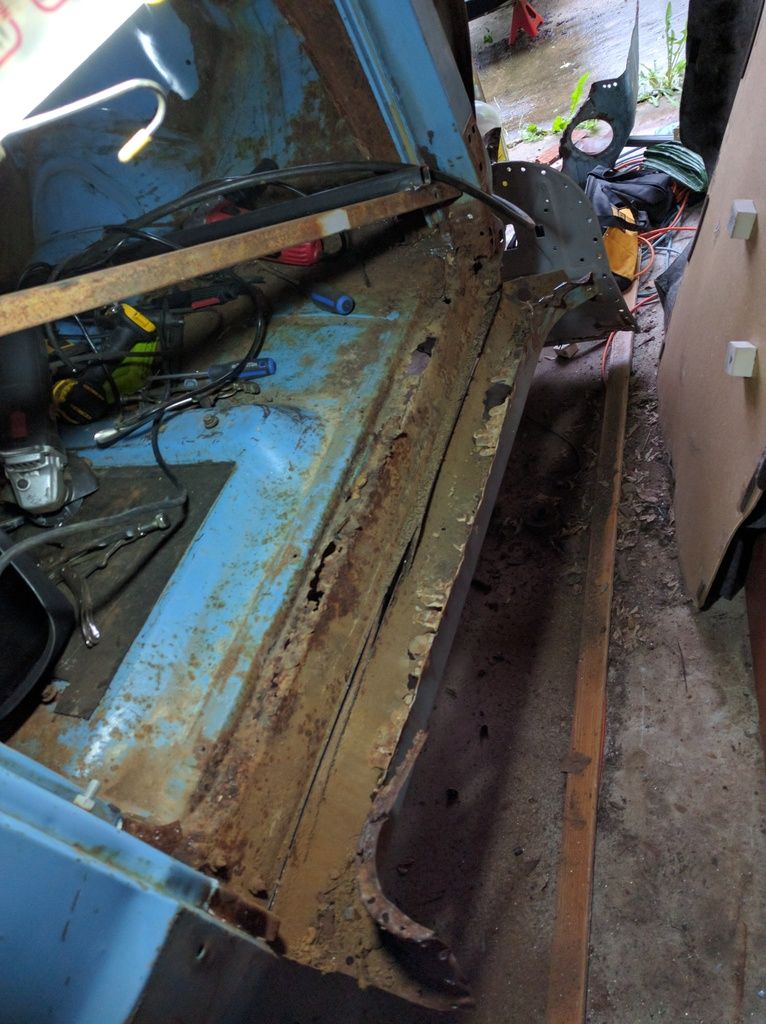
The remains
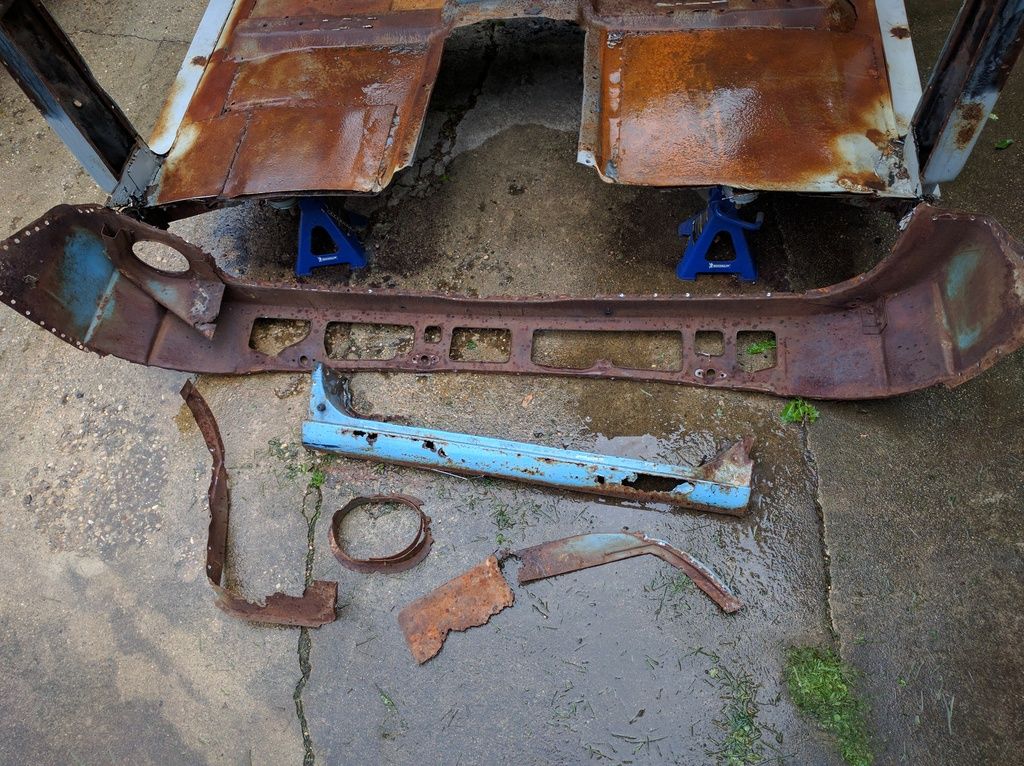
Added some more bracing
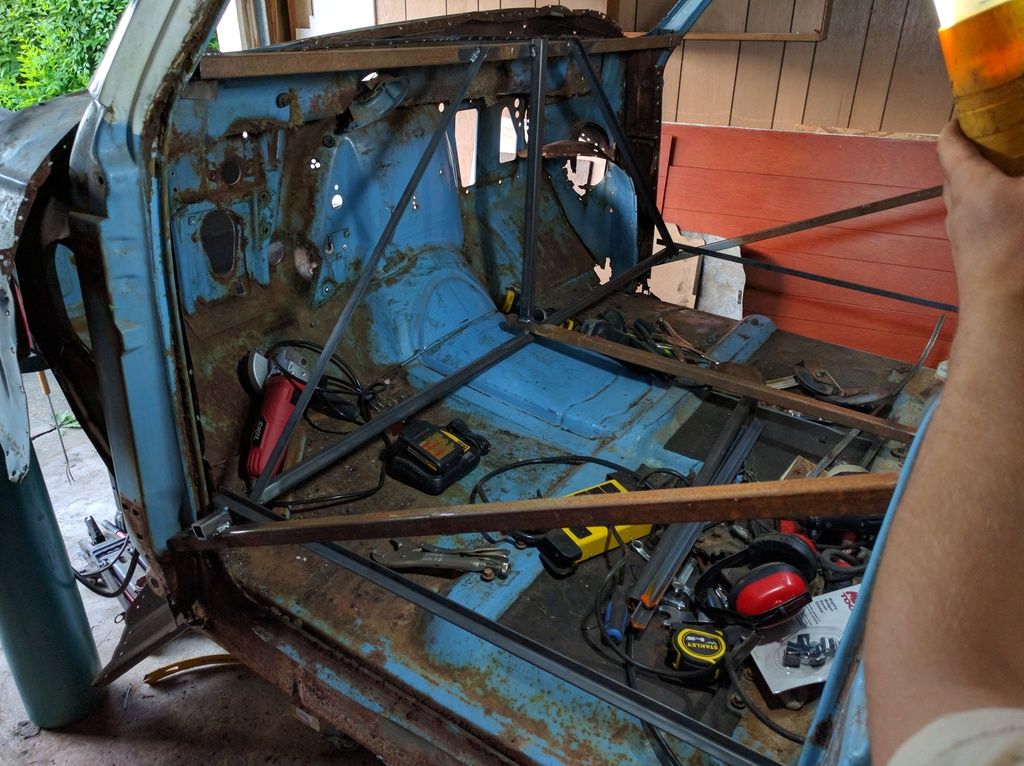
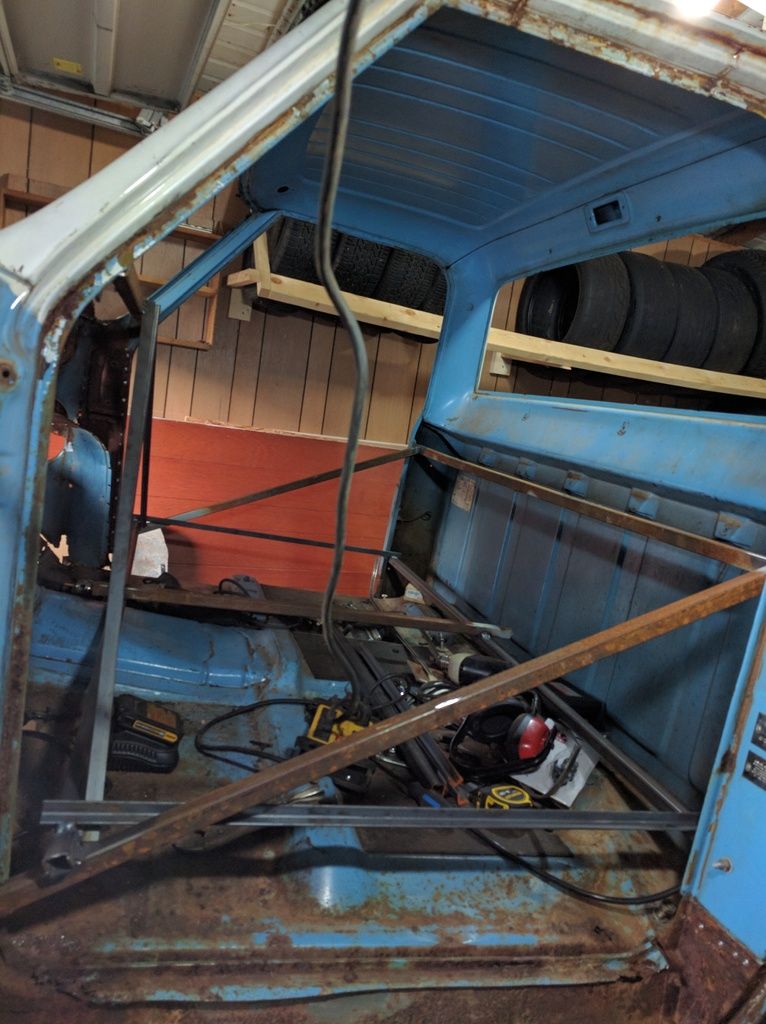
I should have done this before separating the cowl from the A pillars. All that's left to lift the cab off the floor is the spot welds along the back of the cab and the rear bolts. I can lift the front corners up right now, no need to unbolt them as the A pillars have rotted in two.
The plan is to roll the dolly out this weekend and separate them, and maybe buy a little utility trailer so I can tow the cab behind the V6 Sentra to get sandblasted. I also placed an order today for:
-new outer cowl
-new firewall
-complete floor with braces
-outer rockers
-cab corners
-a pillar patches
-kick panel patches
-rad support, cab, and bed mounting kit
-full truck weatherstripping
-a few other odds and ends
It's getting shipped to North Dakota. Once it arrives at the border I'll make the 3hr round trip to go pick everything up.
AngryCorvair wrote: Inspired by NOHOME no doubt!
In reply to AngryCorvair: I'm not that crazy!
As my wife says "Guess you are not totally useless since you can always be counted on to be the bad example".
Nice to know that I have set a standard for crazy![]()
![]()
Drilled out the back wall of the cab
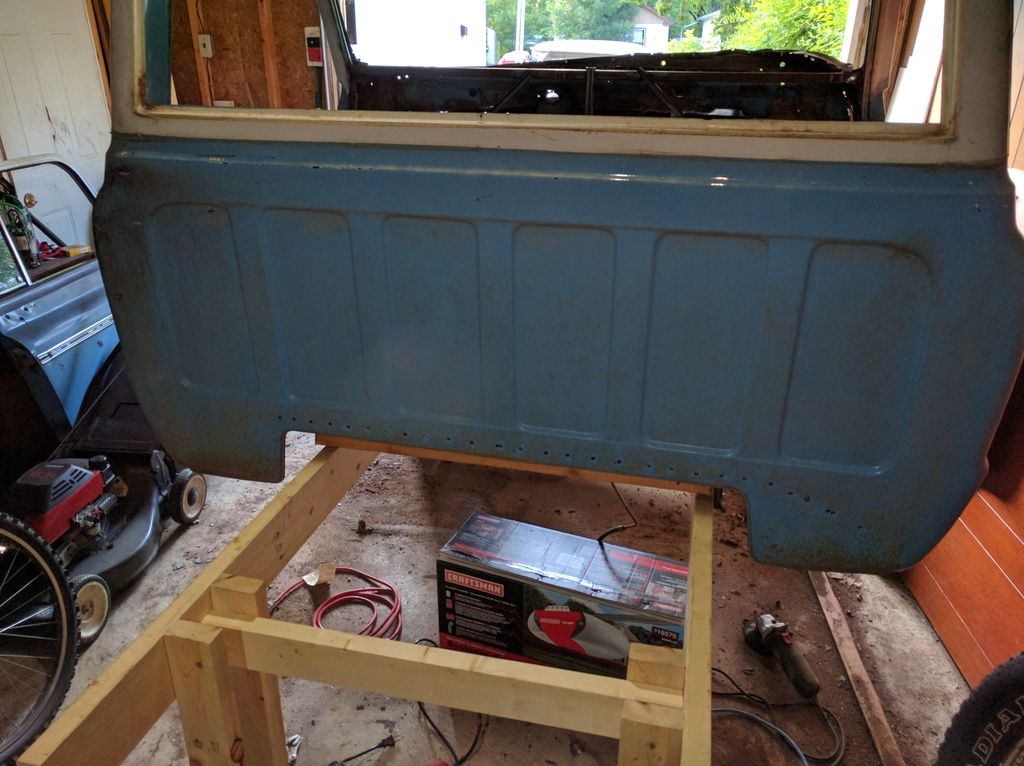
Removed the rear bolts, some fiddling with the car corners and it's free
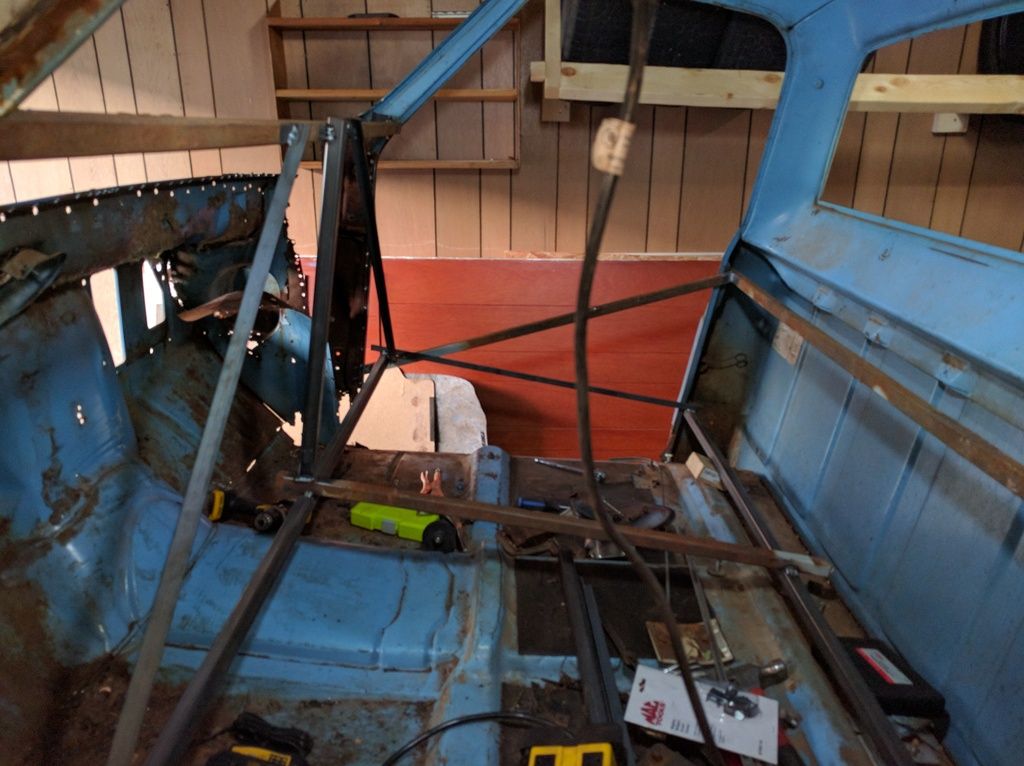
My dad came over this afternoon and helped me lift it off, then back on
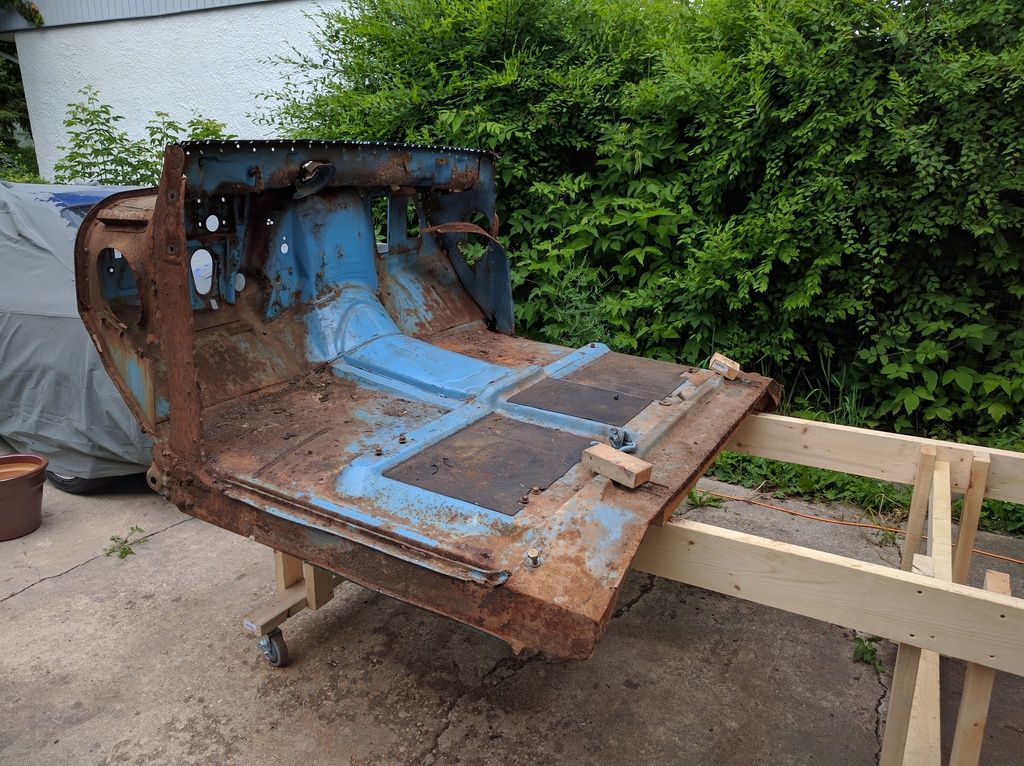
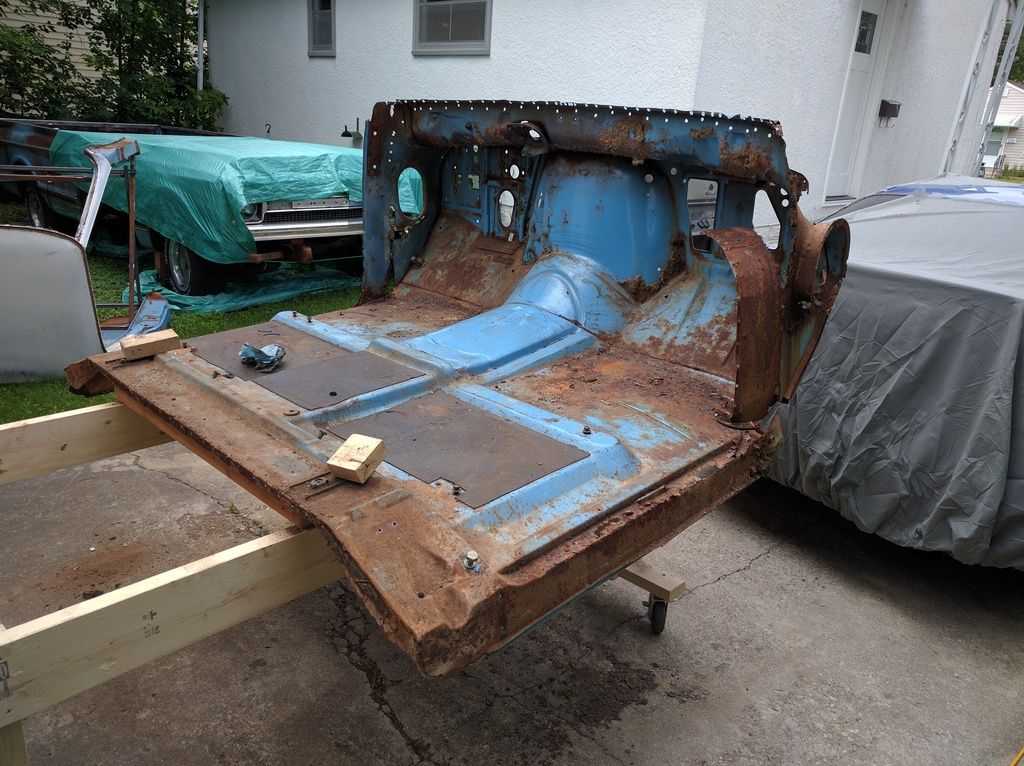
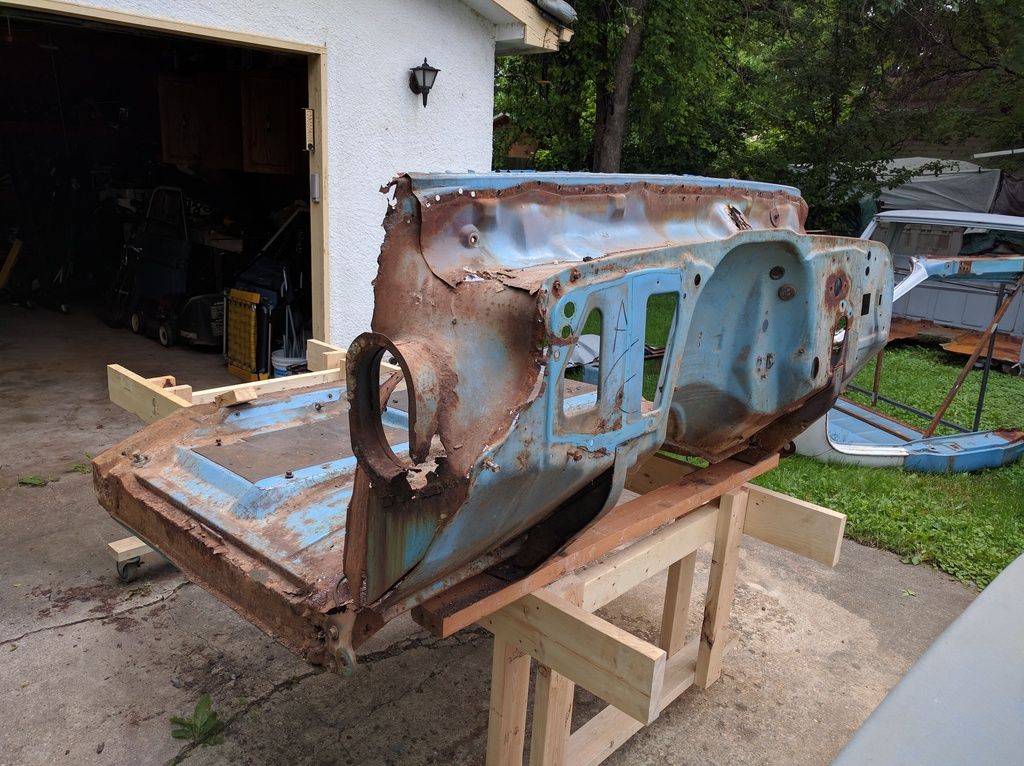
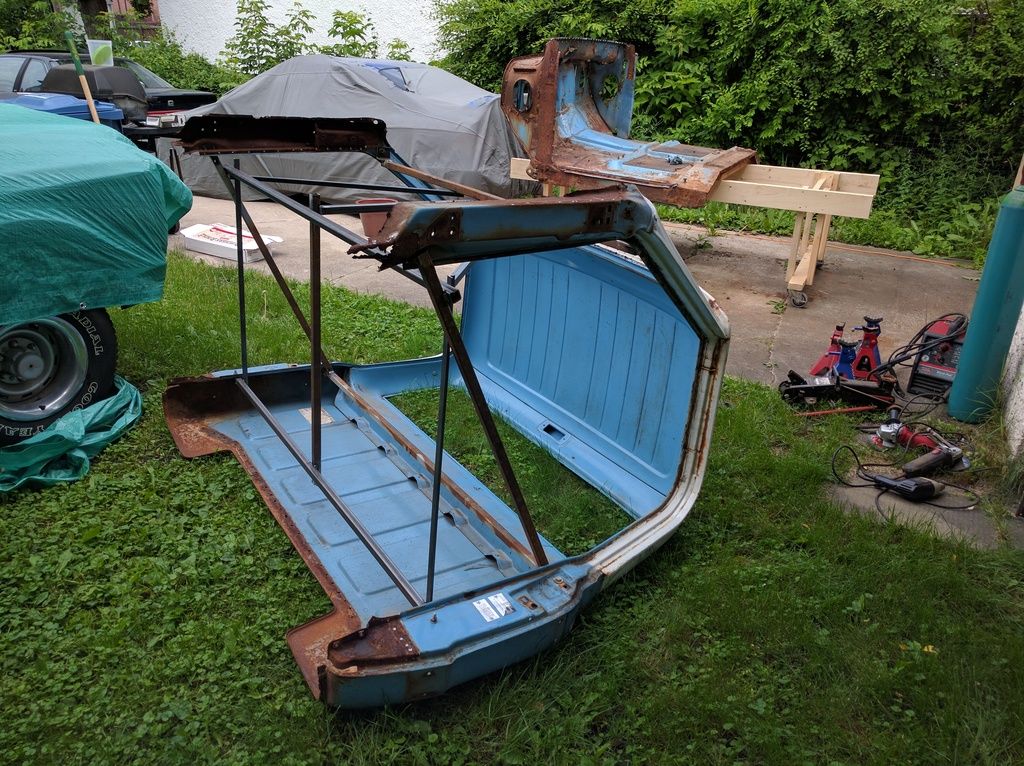
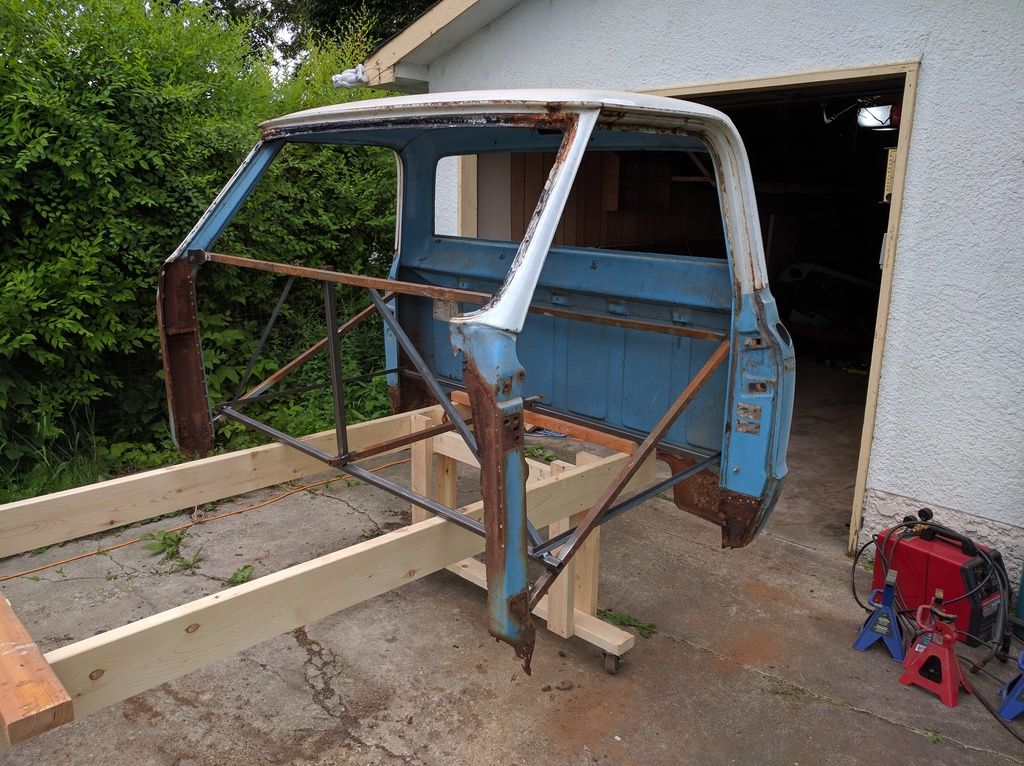
I was concerned with this area before separating the cab
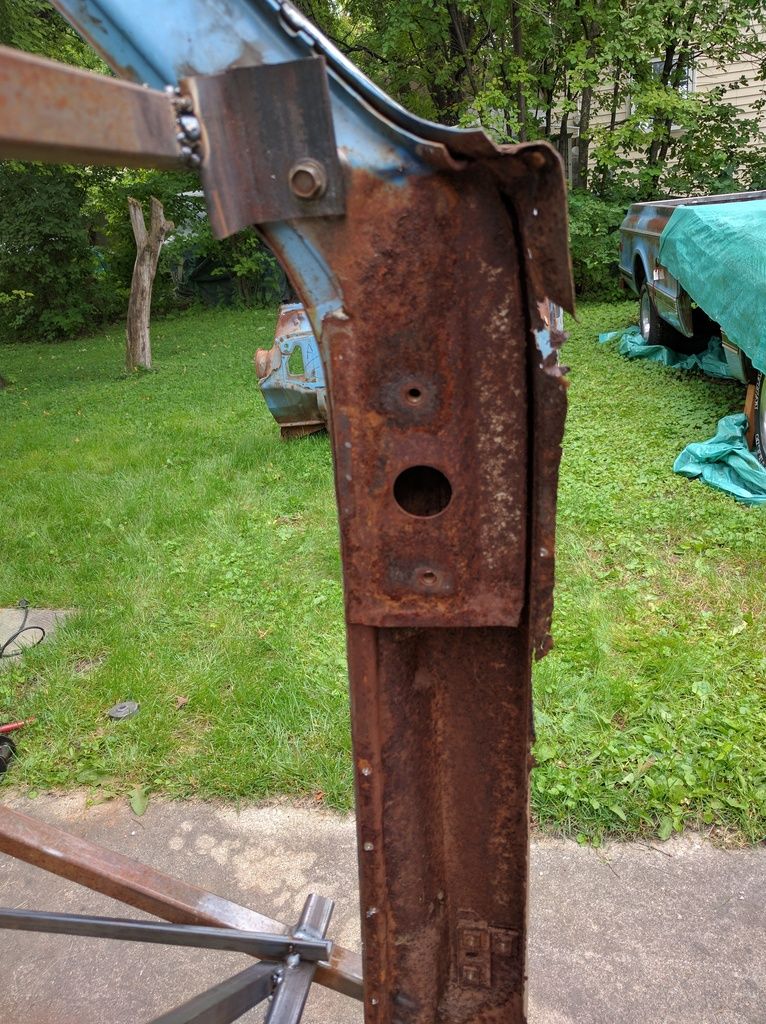
My plan was to cut the A pillar in half and use the front half from the parts cab
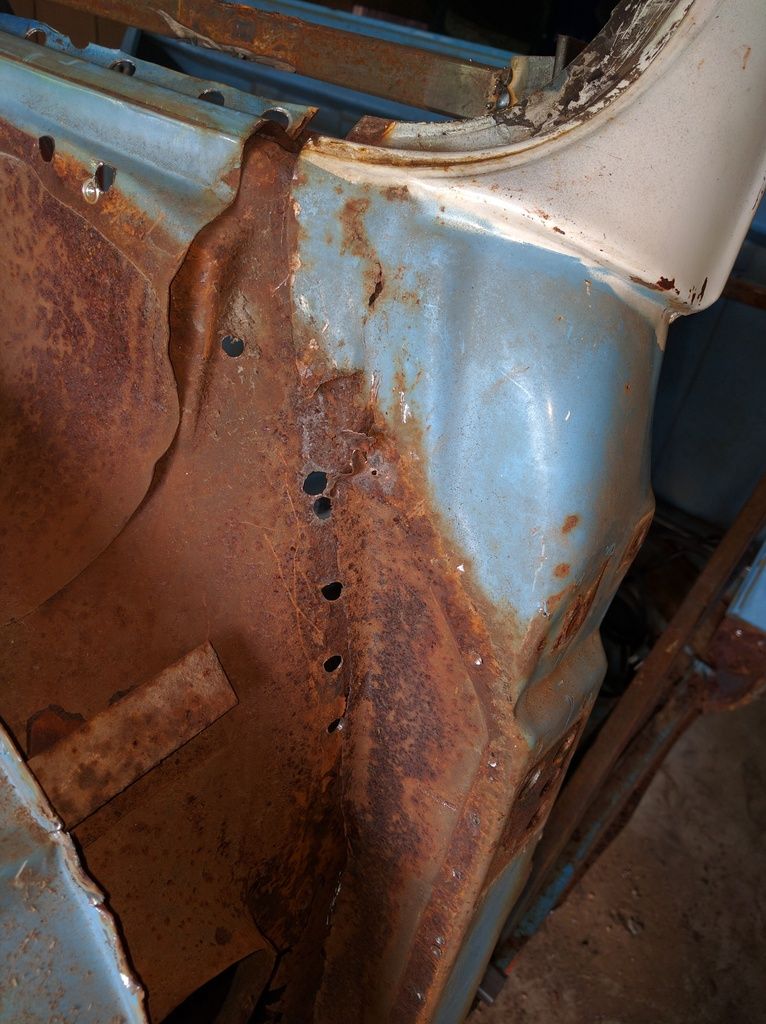
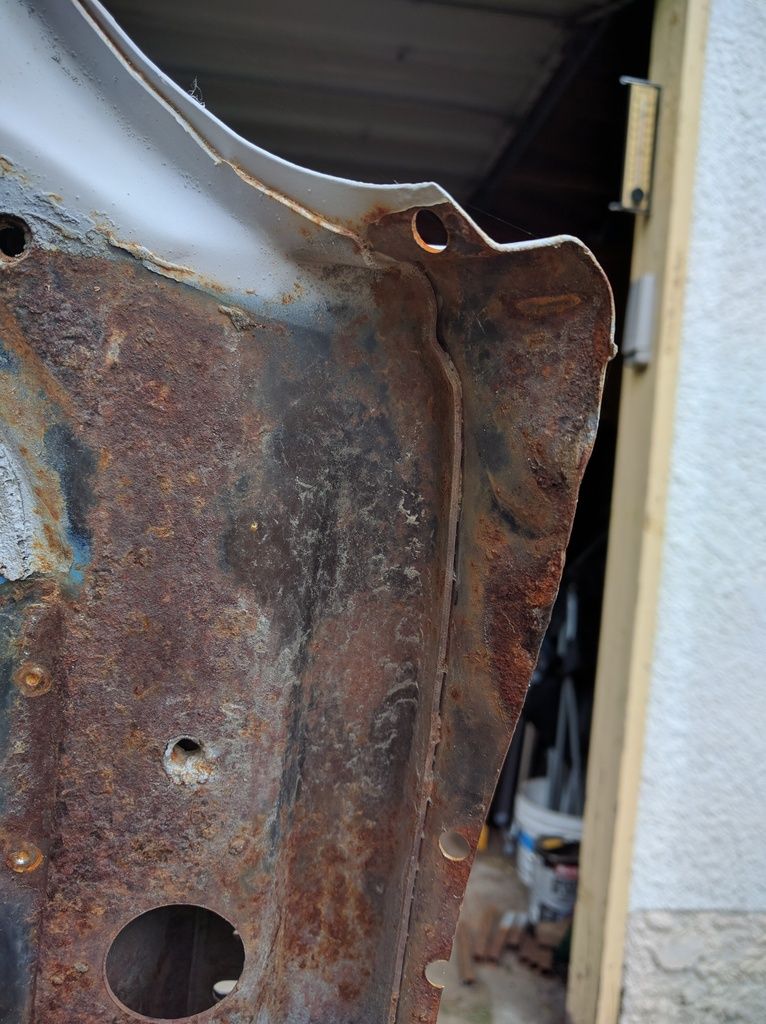
But it's worse than I thought inside. The inner reinforcement has rusted away from the A pillar on both sides.
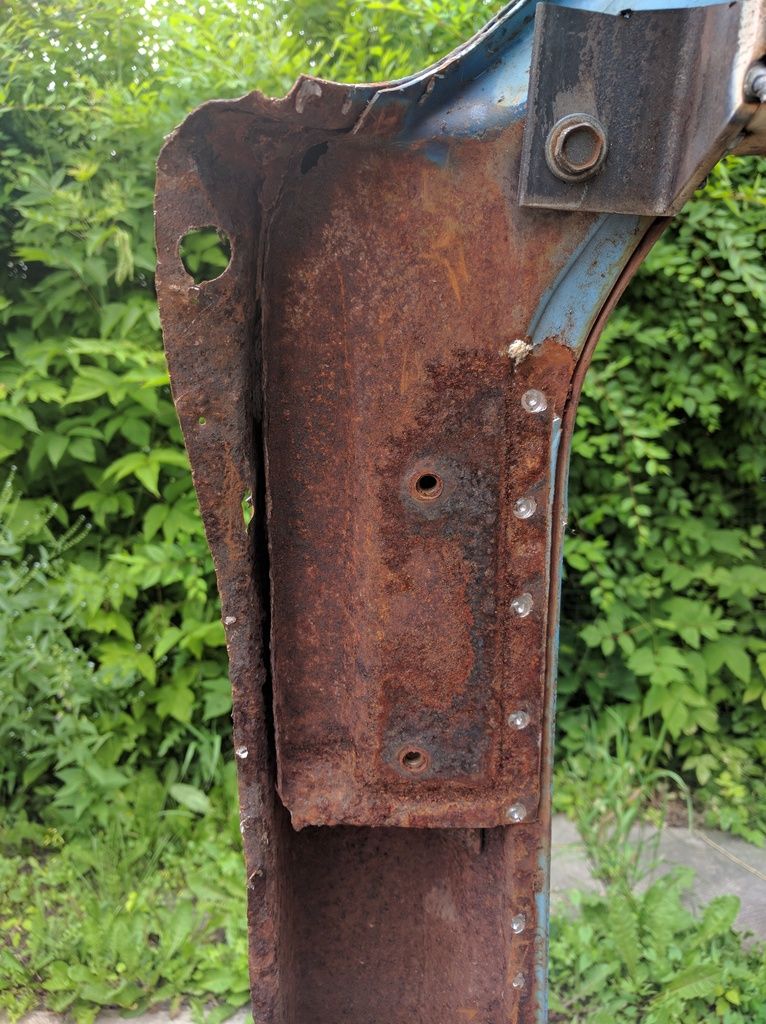
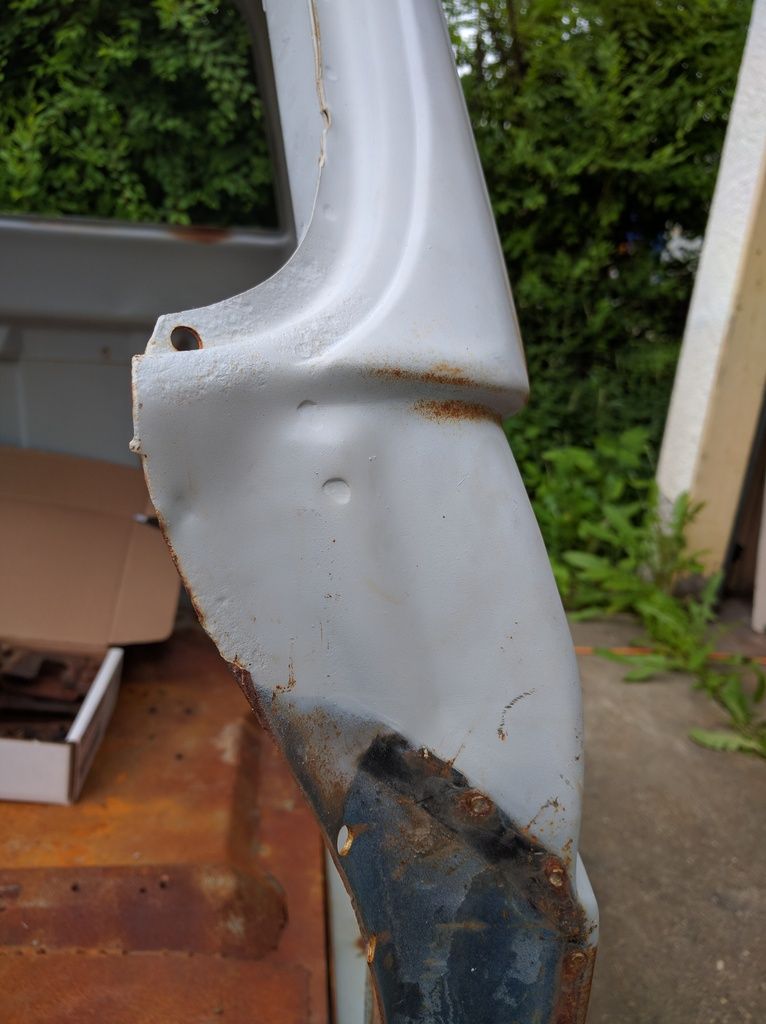
I didn't take a good shot from further back on the parts cab, but this is how it's supposed to look. This is the inside of the driver's A pillar at the base of the windshield.
Cleaned up the garage and pushed it back in to mull over my options.
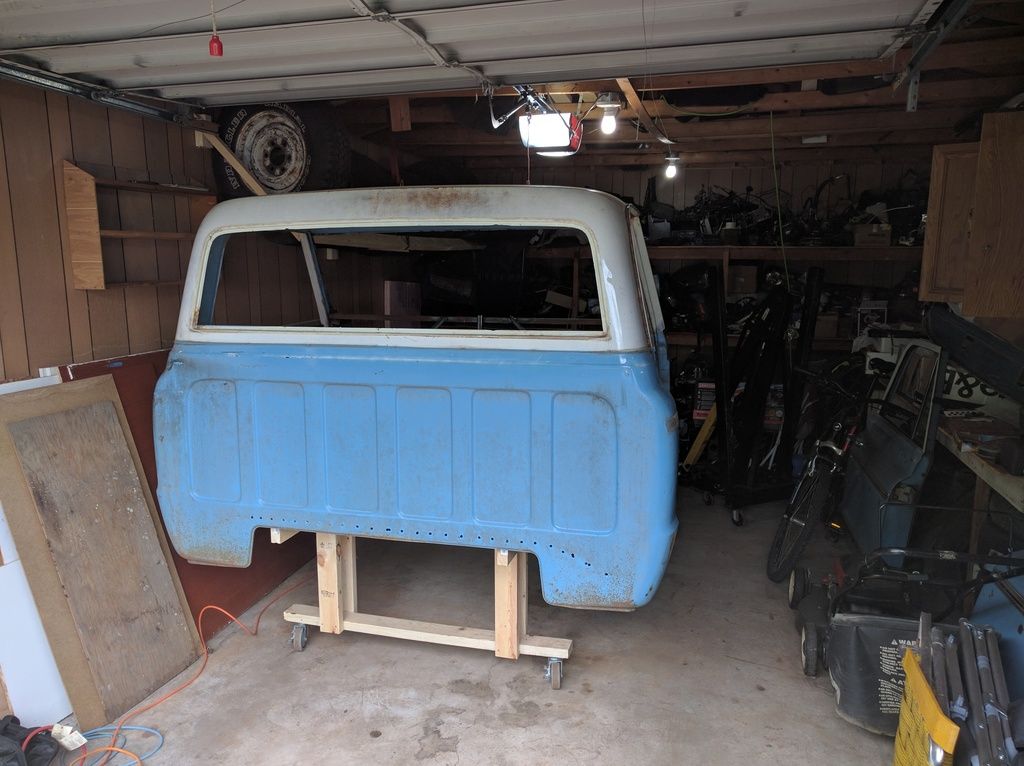
I'd need to have it blasted to know for sure, but I suspect the metal in the A pillar is too thin to be saved. My biggest issue is keeping it all square. If I cut the A pillars off I don't have a good way of properly placing their replacements. Really wishing now I had left the parts cab alone and simply cut the A pillars halfway down the windshield , then grafted the front end onto my cab.
Which brings me to my next thought. Currently, I'm thinking the best plan of action is to:
-blast/wire wheel/treat all the bits of the parts cab I removed removing all rust that wasn't reached when it was blasted all assembled
-re-install the panels back onto the parts cab. I should be able to line up everything pretty easily just by matching the spot welds drill holes.
-cut back the floor of the parts cab where it meets the firewall to allow room for...
-tack new firewall onto parts cab along the cowl and A pillars
-cut the A pillars of the parts cab about halfway down the windshield, and cut the base of the A pillars away from the floor and rockers
-after lots of measuring, tack the assembled front half of the cab on to the remains of my "good" cab
-test fit windshield, hang and test fit doors to confirm measurements
-weld A pillars together in solid with some sort of internal fishplating or sleeve
-fit new floor pan to the cab at the back, slice and dice as needed to join firewall to floor.
Opinions? Hoping someone has a better plan (other than buy another cab...)
I'm so over my head. ![]()
Sorry, I've been looking at all your pictures, and I'm in the "buy another cab" camp. Unless you really, really, have to have THAT cab.
Yeah I suppose. That's not an easy task either. Locally finding just a cab for sale would be difficult, and it would need work too. I'm a little leery of shipping one in as they can be very deceptive looking from pictures, as mine was. Buying from the states is a significant expense both for shipping and clearing customs if it hasa vin plate. That's $250 USD in paperwork alone to import the title with the new rules. Plus I've already invested almost a challenge budget into parts for this cab. I'm sure another cab would use some of them, but probably not all. The easiest way to buy a nice cab is to buy a complete truck, and I don't have the money or space for that right now. My driveway is full, and my garage isn't big enough for one truck let alone two.
I'm rambling/venting, sorry. I know it's the smart choice. Part of me feels like I'm past that point now.
Thanks for reading.![]()
What you ~have~, is fixable. But it will be a LOT of work. And.... you will be developing your skills along the way. Your time/labour is free.
There are other cabs out there, it's just finding one. Lots in the prairies.
Granted, something up from the states will be a better go, but yeah - legal issues and challenges, which means "money."
You might as well chug away at the cab you have, keeping costs down and labour up. But do keep an eye out for another cab.
Handy tip - pick up old dead freezers and fridges for sheet metal. They're usually free, and they sheet metal is good for patches.
Not too much progress.
Threw together a pad to park the truck on so it's off the grass, just paving stones over landscaping fabric.
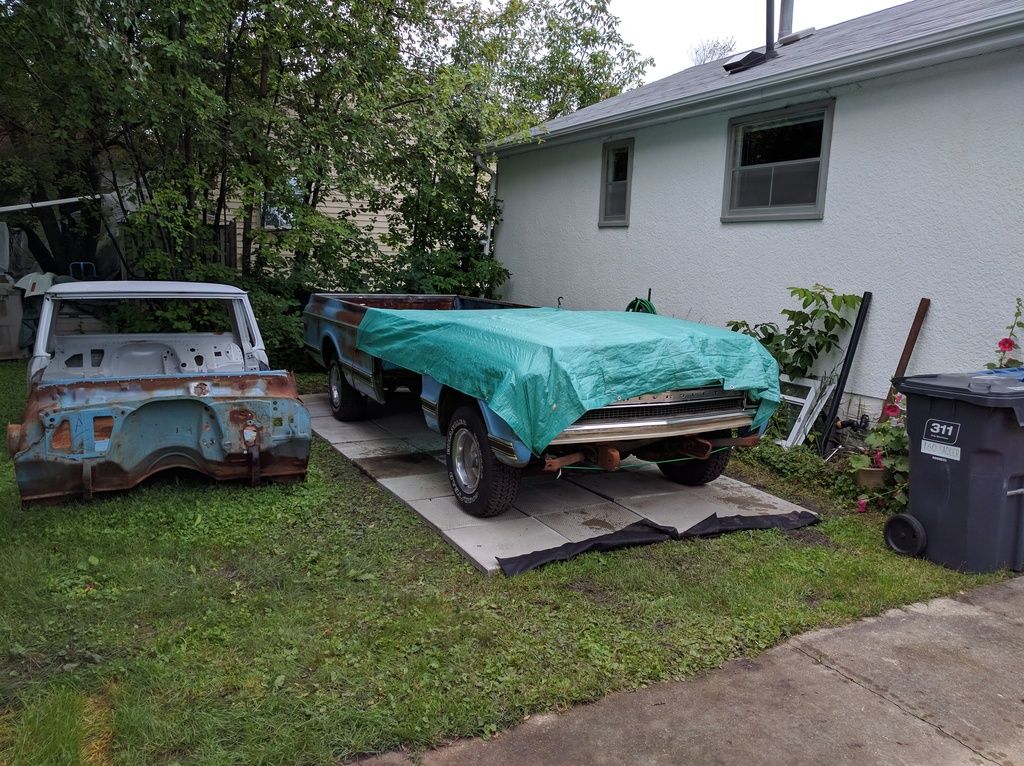
Also bought a small trailer to cart cabs and engines and stuff around.
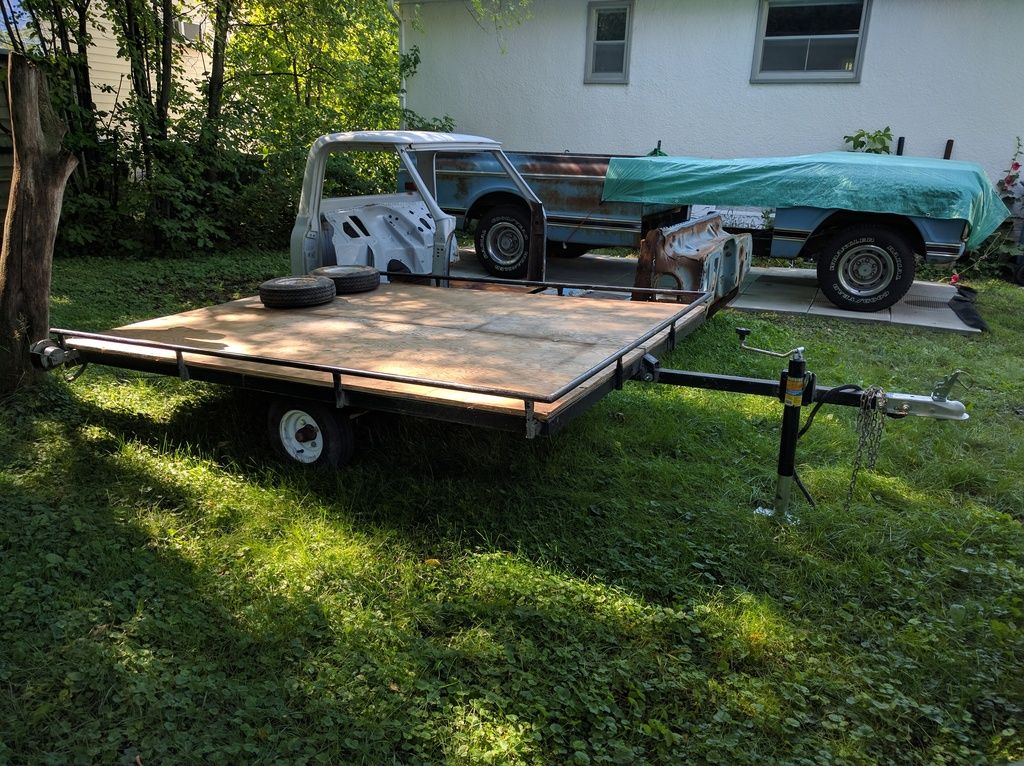
I've also bought a little sandblaster that supposedly only uses 2 cfm at 50psi so I should be able to run it off a tiny little compressor my dad has. Just for spot clean up.
And my sheetmetal has shipped, I may be picking it up next weekend.
Yesterday I went and looked at another cab, seriously thinking about it. I'm thinking use it to get the truck together and running, that will allow me to take my time and fix the "original" one up nice with some custom touches. When it's time to take the next step and clean up the chassis, swap out the 305, etc I would swap the cabs.
I am in a similar situation. I inadvertently made a pretzel. After tons of deliberation, what I came up was this: make a build table. 3/4" thick plate or thereabouts for the top. You should be able to get away with one maybe 4'X6' you can brace to it however you want, center it, and pull measurements from various angles, etc. I'm not saying its a good plan, but just throwing it out there. I believe having the table would help build it in free space, and tweaking would be more readily done. If you try, let me know how it works out.
Not too much going on. Life is busy and it seems like every time I've got a spare couple hours it rains.
Purchased a new cab
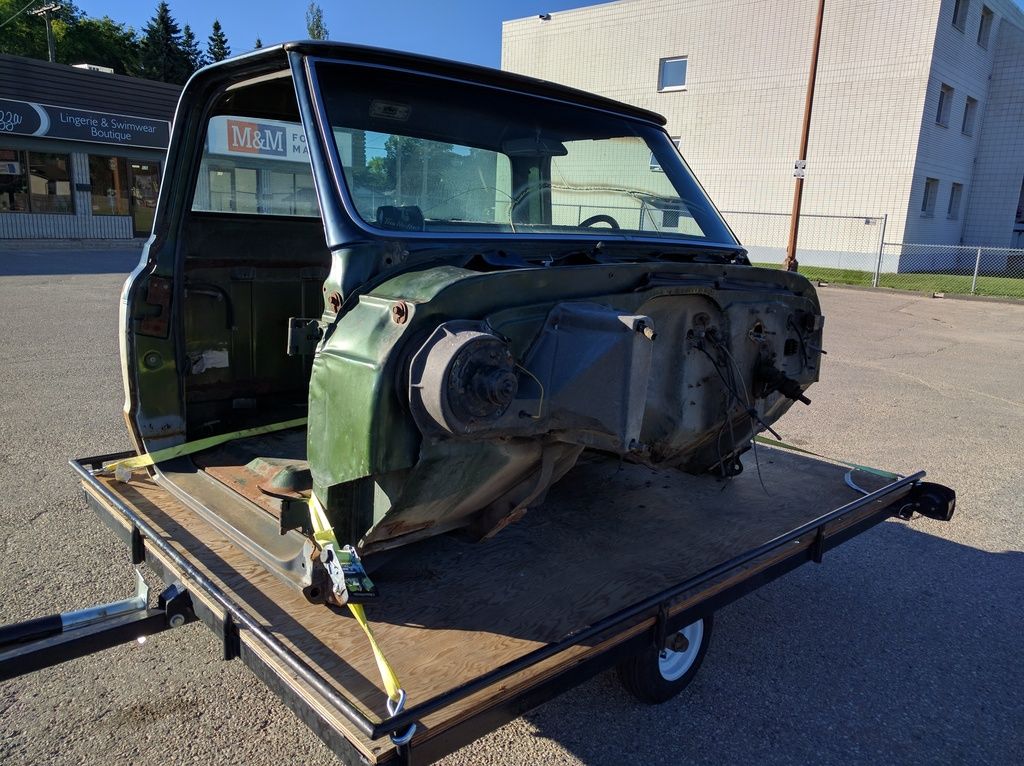
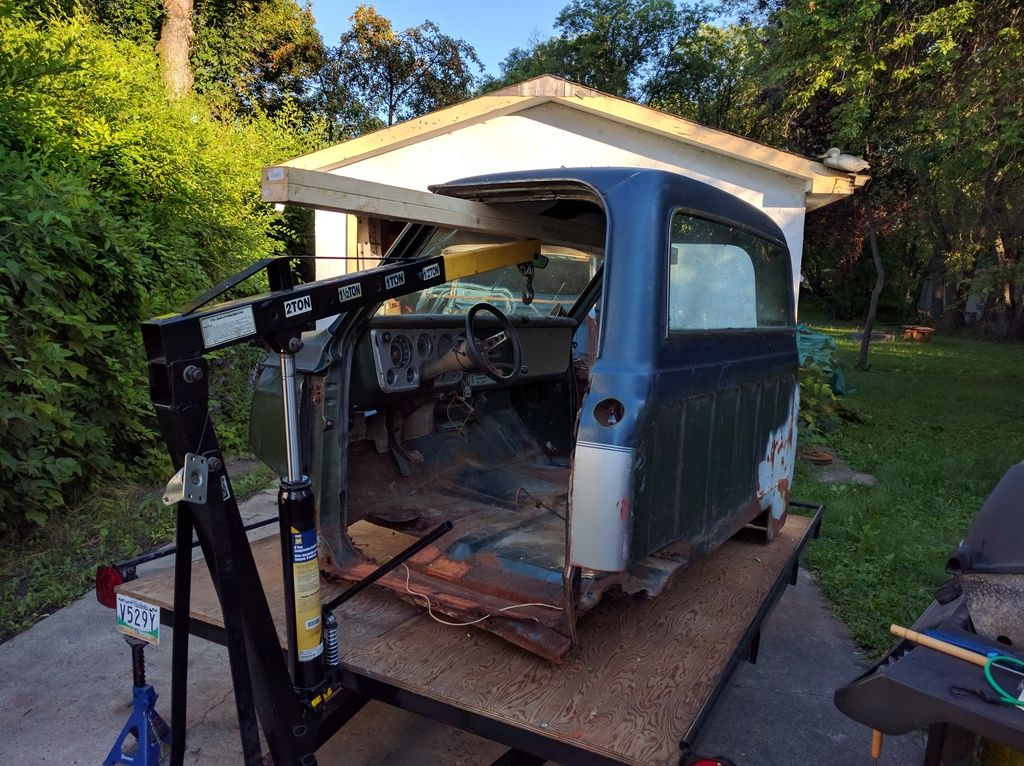
Shuffled it onto the dolly. Juuuust barely enough room for two.
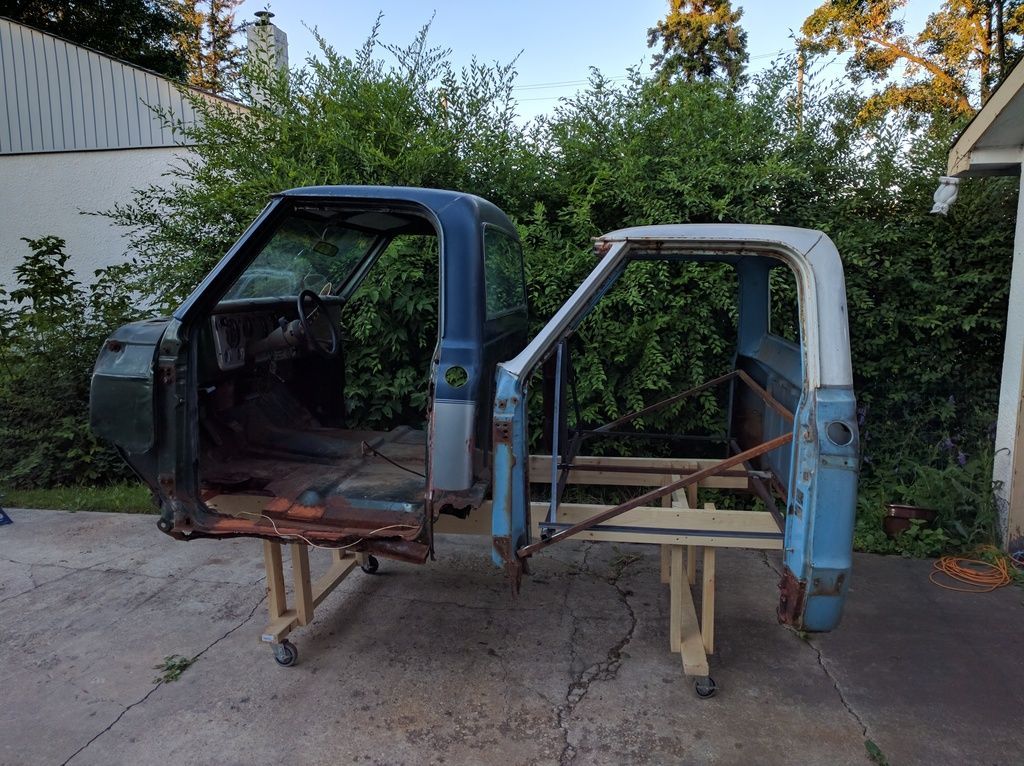
The cab needs floor work, cab corners, rockers, and floor extensions but it otherwise in very nice shape. Someone has already worked on the passenger side.
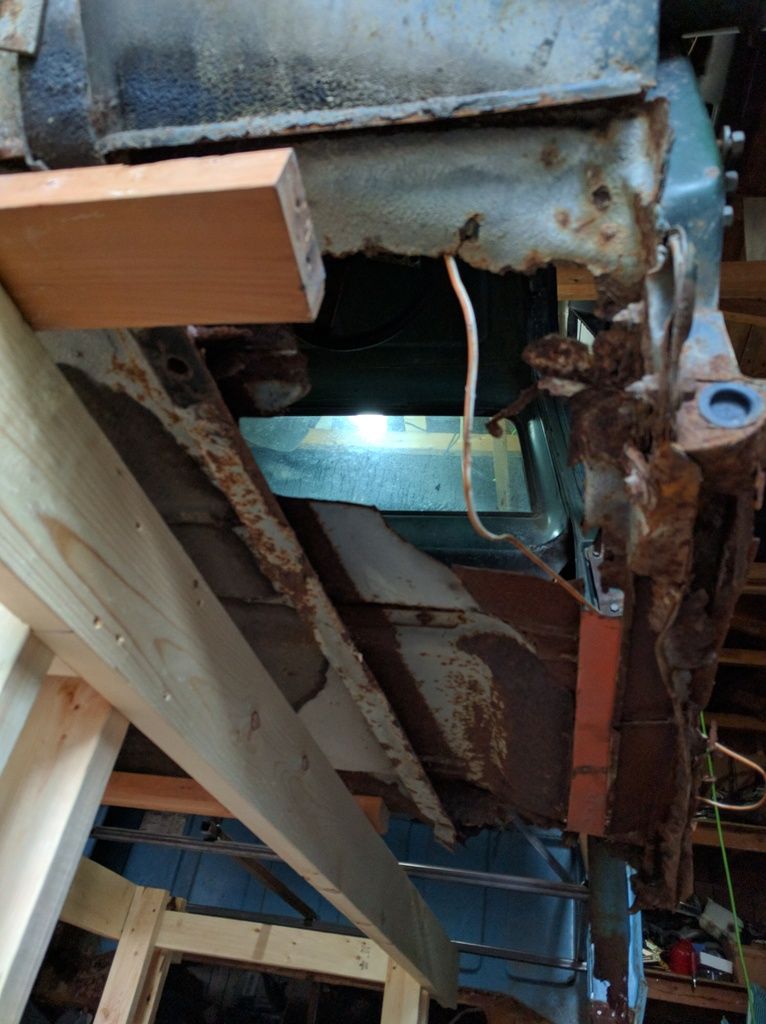
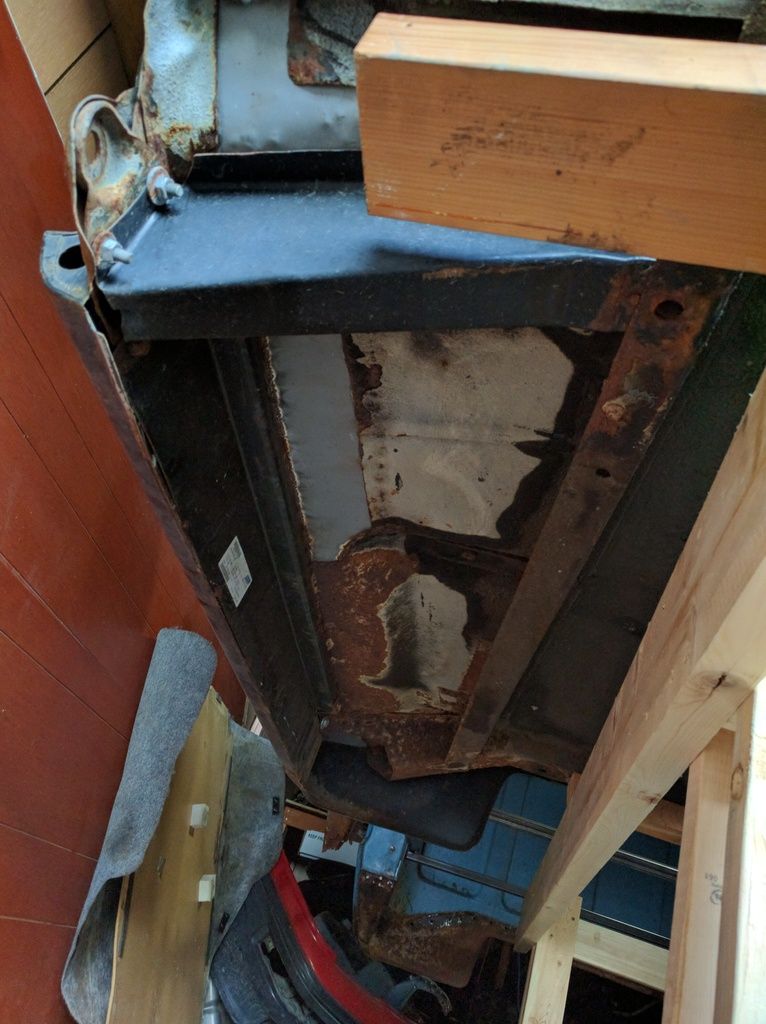
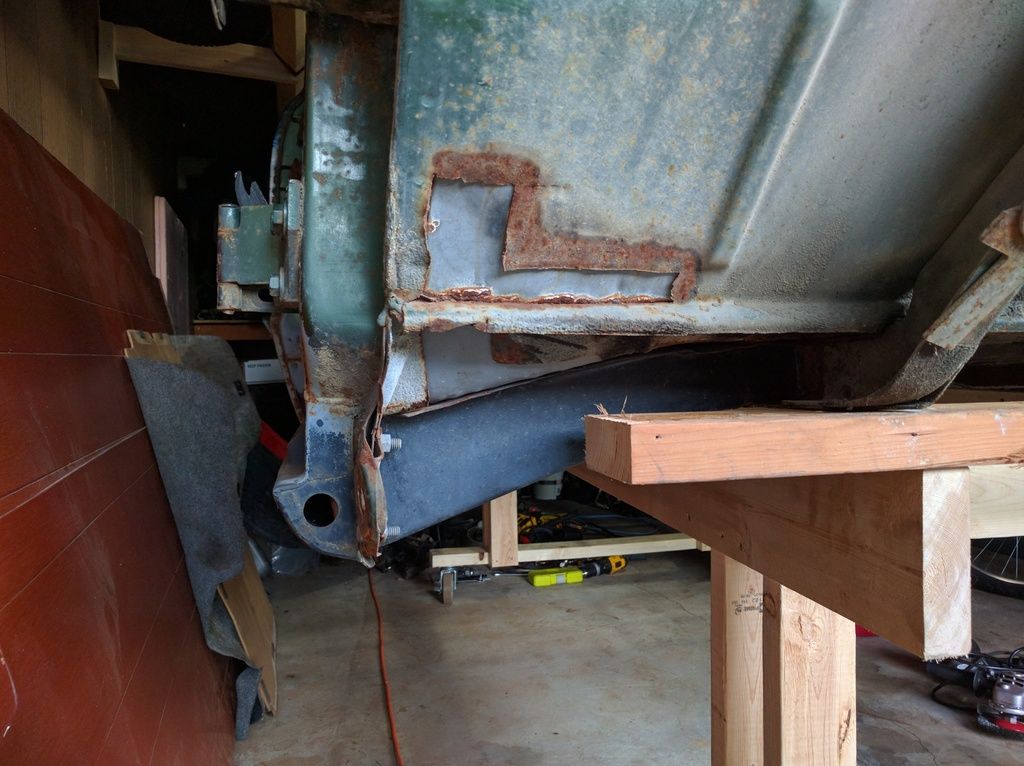
Pretty impressive option list
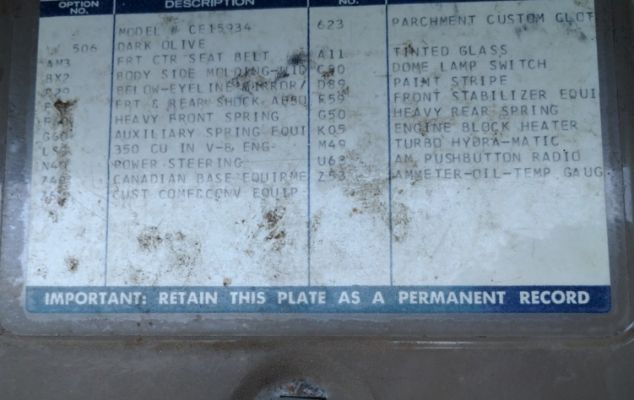
There's some title issues with this cab however so I'm not going to work much on it until I know definitively what's going on with that.
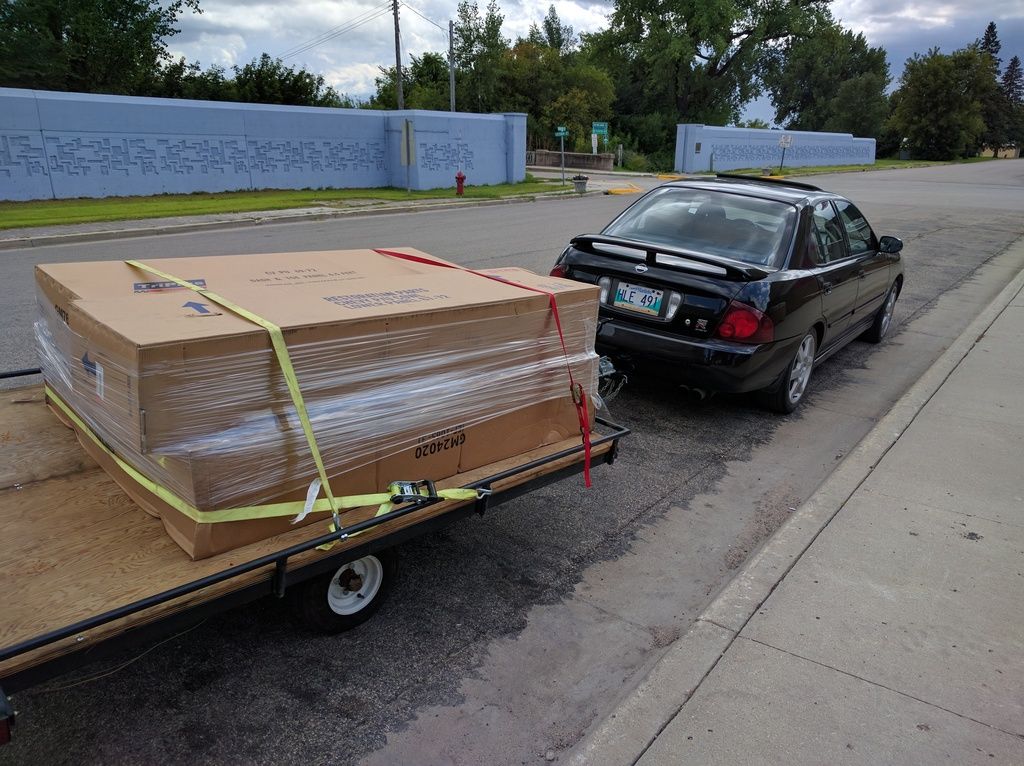
Drove down to the border to pick up my parts. My timing was terrible with border crossing on a long weekend, took about 5 hours round trip. Part of that was repacking the shipment as it was originally packaged like this
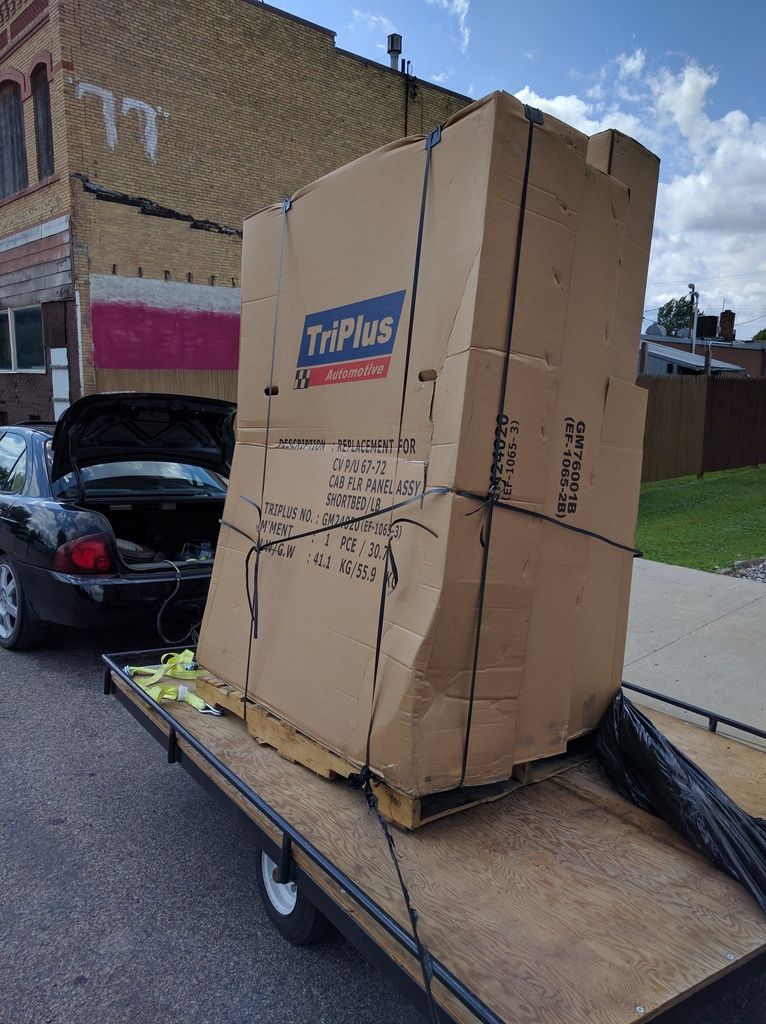
Fits a lot better like this
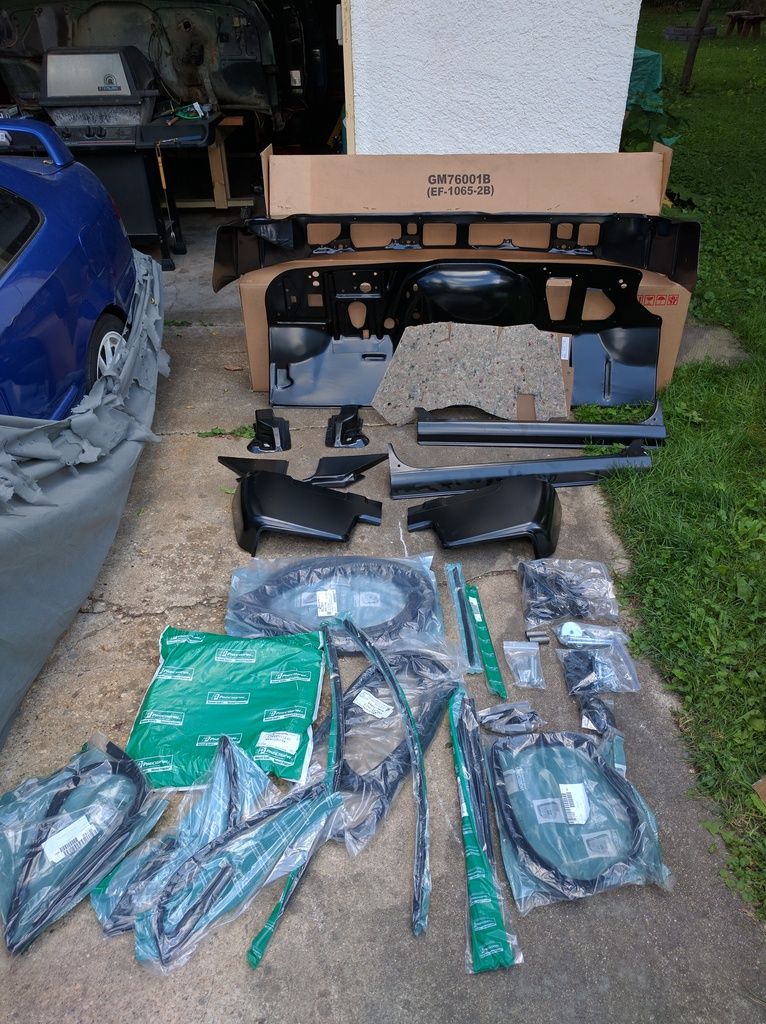
All the goodies layed out. Not pictured is the full floor as it was too heavy to wrestle around by myself.
Bought a cheap sandblaster for $40 and tried it out with my dad's tiny little 2.6 cfm compressor.
Cleaned up the inner A pillars on the parts cab
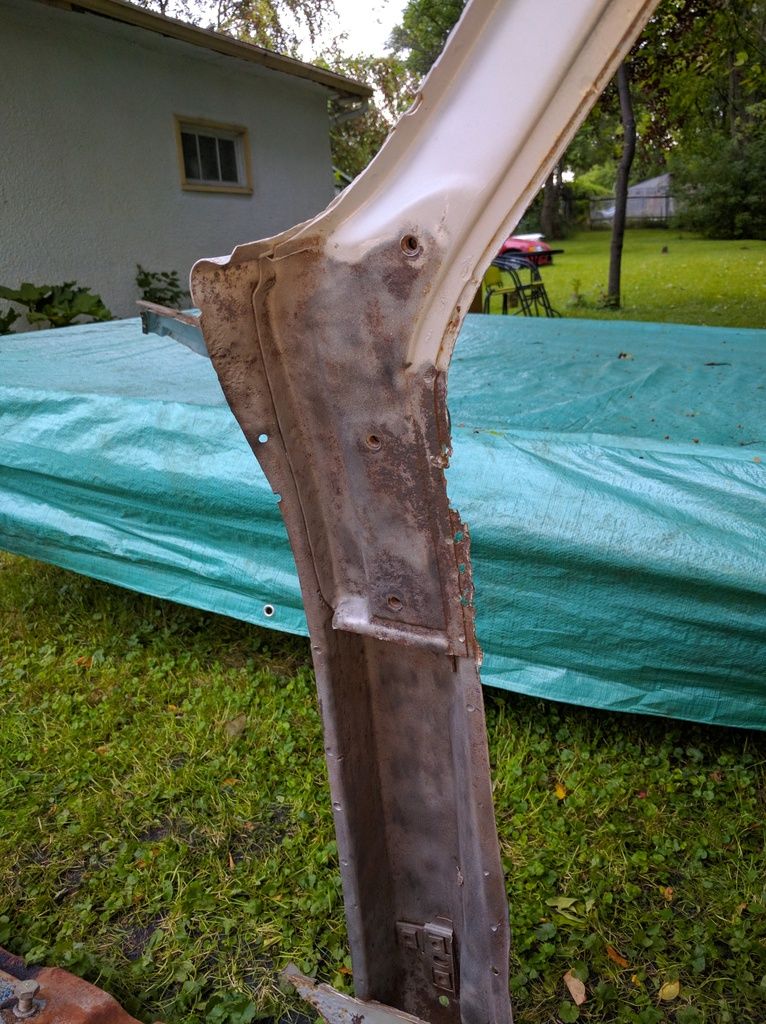
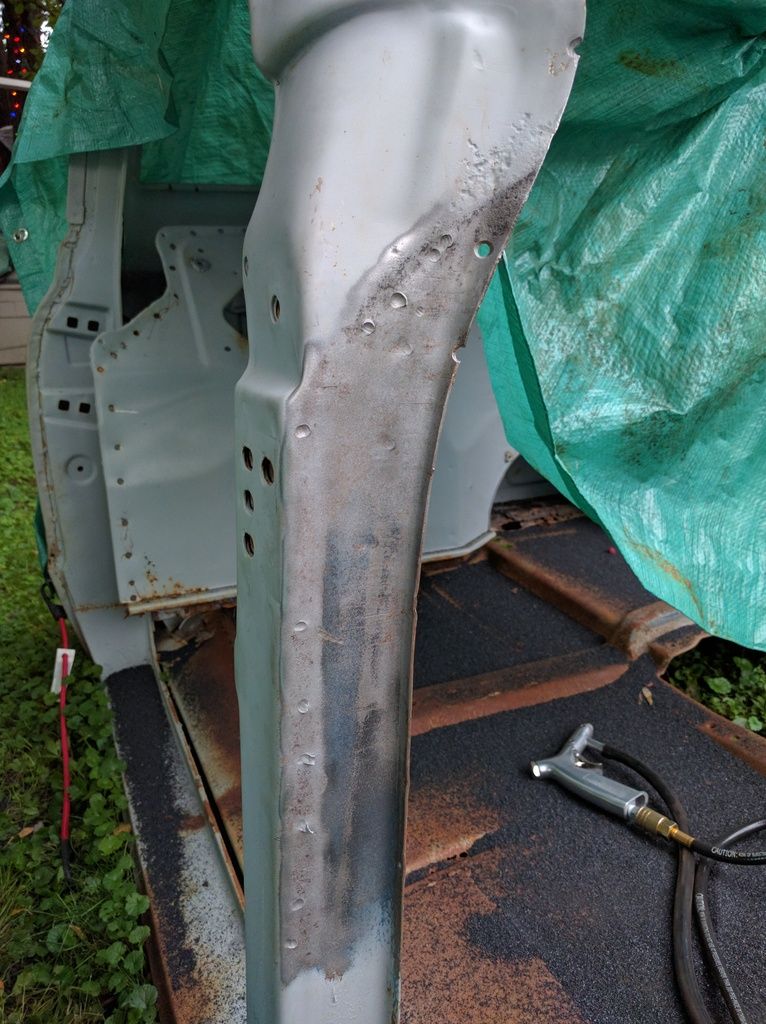
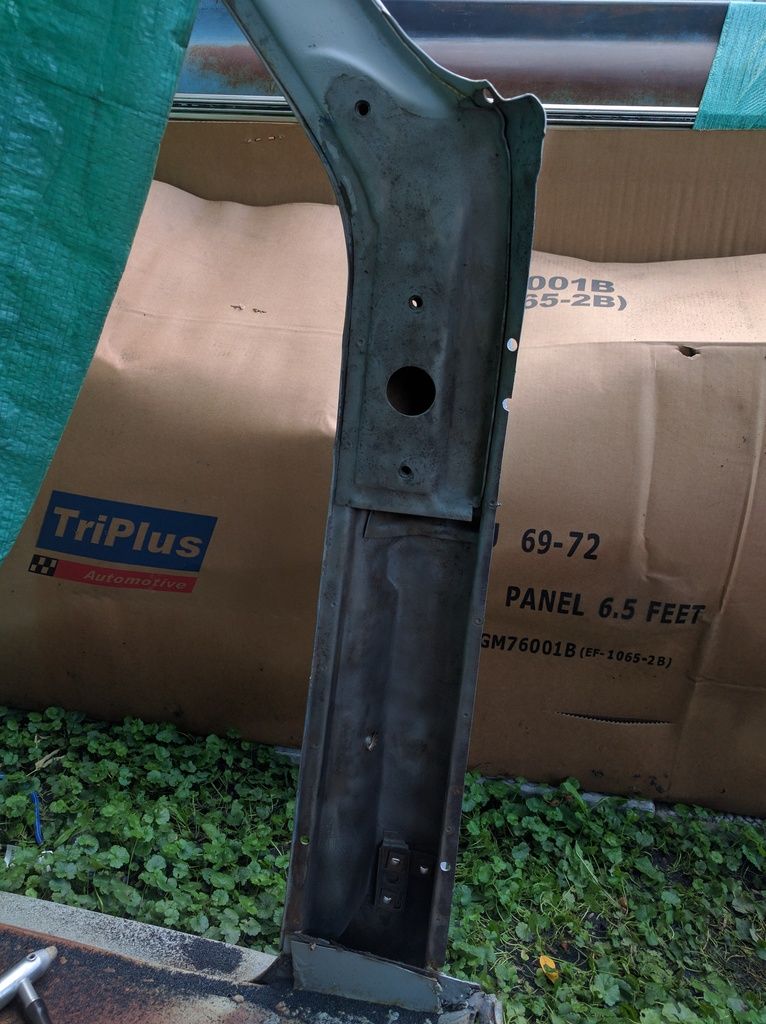
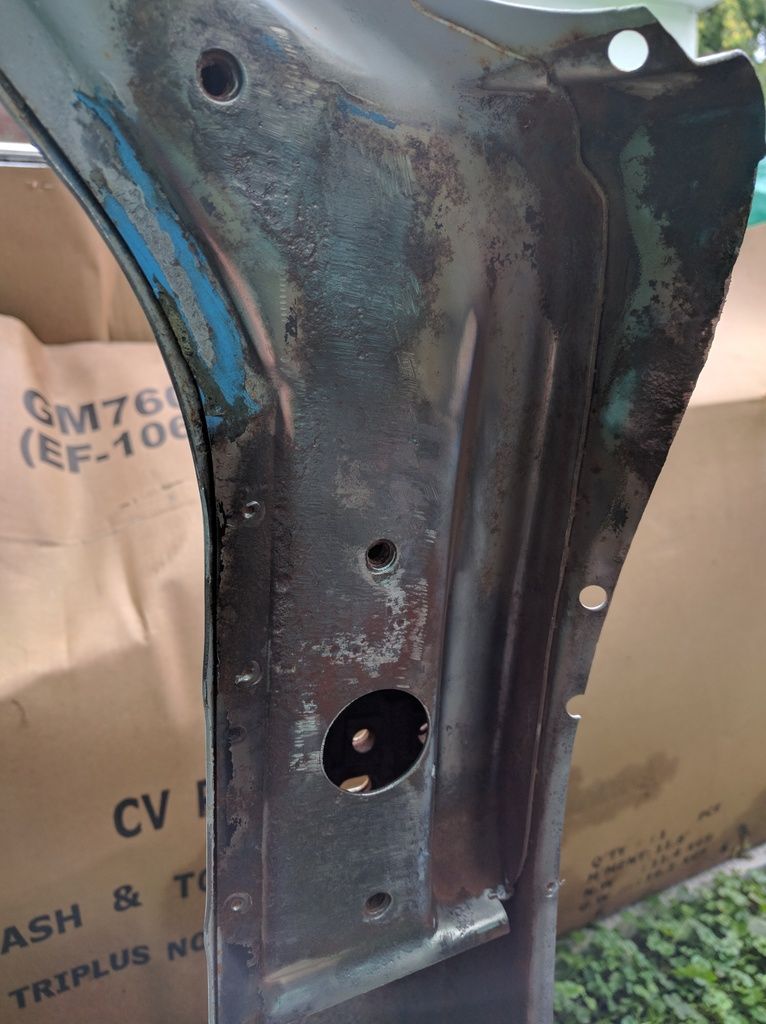
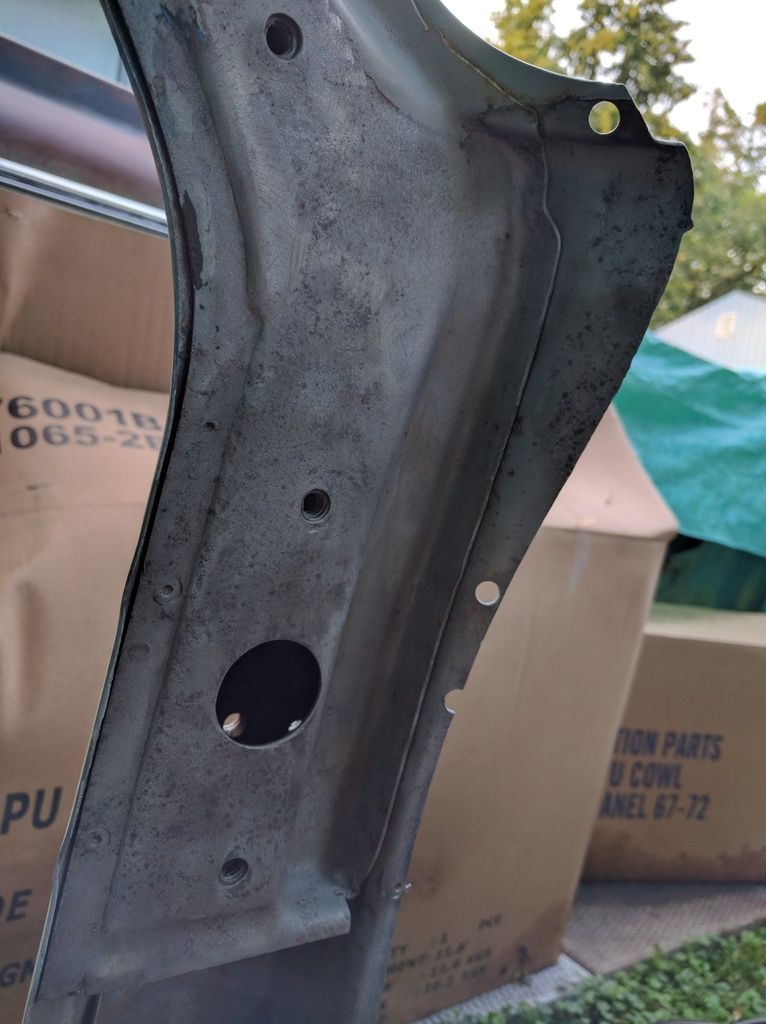
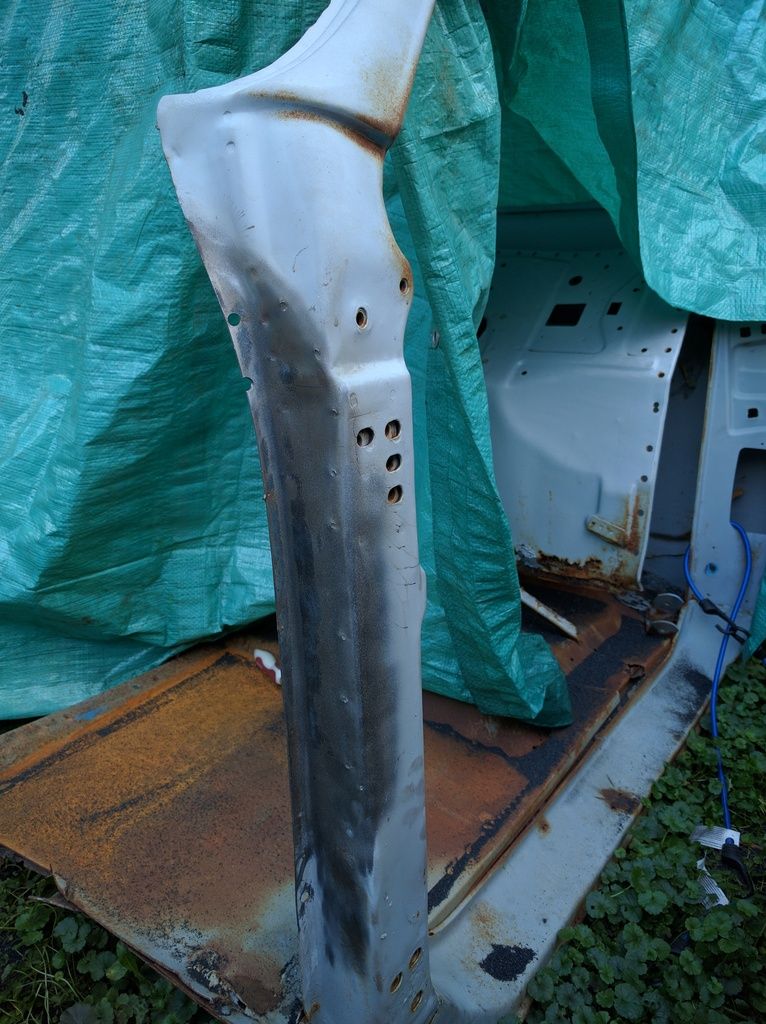
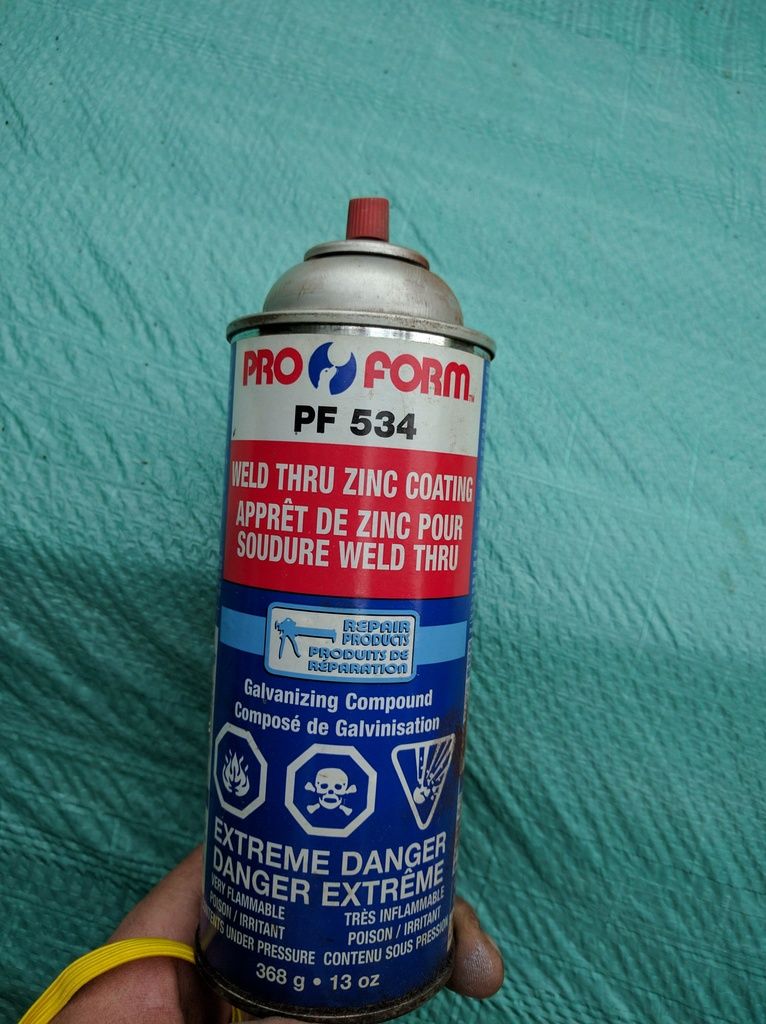
Coated everything with this
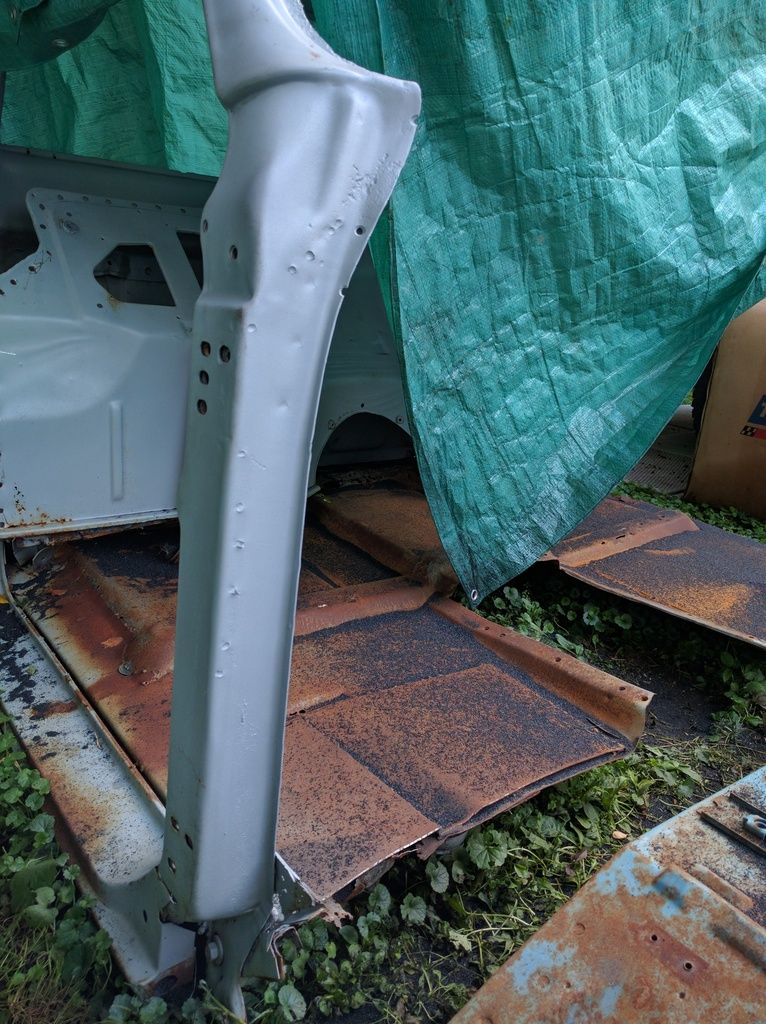
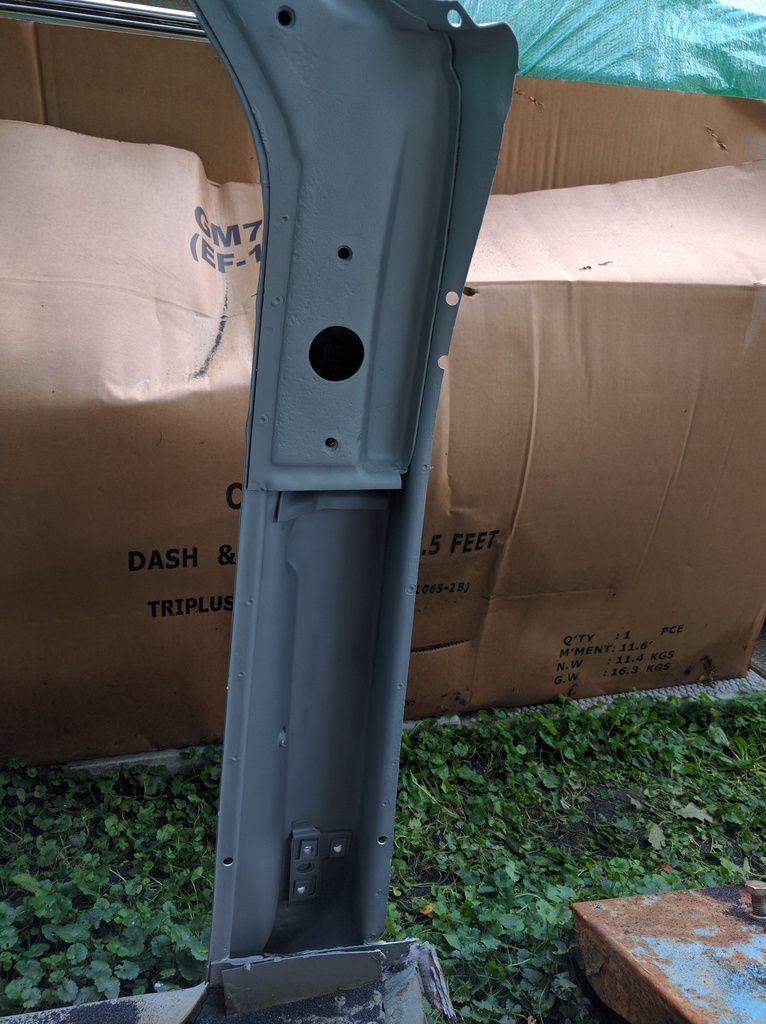
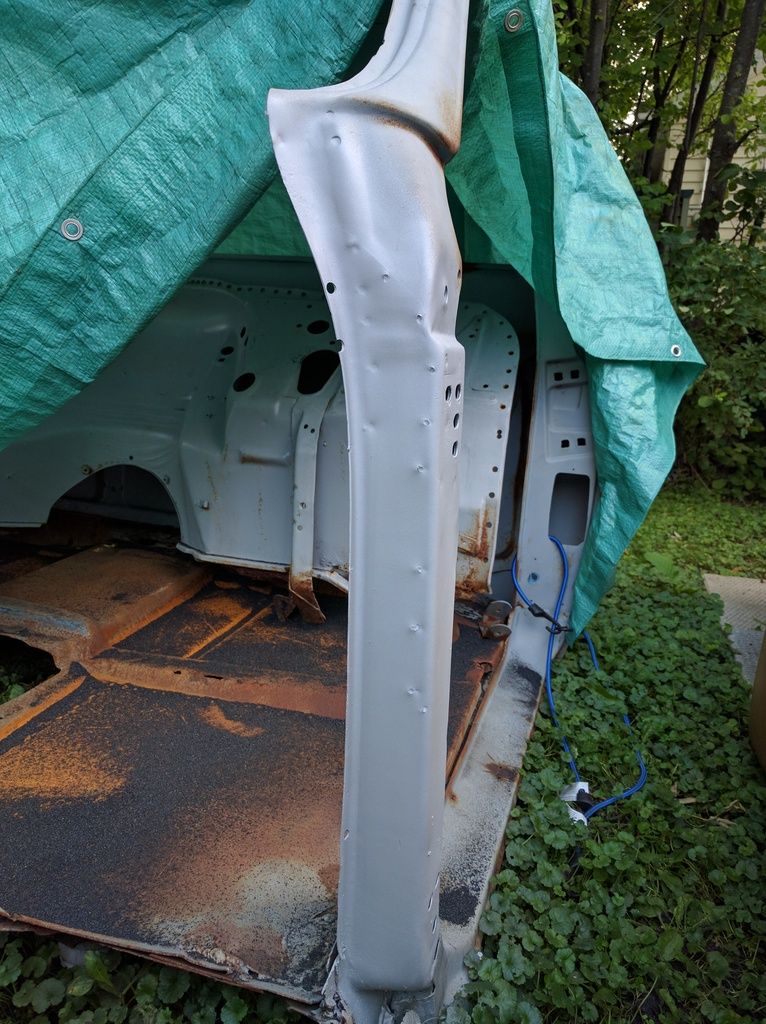
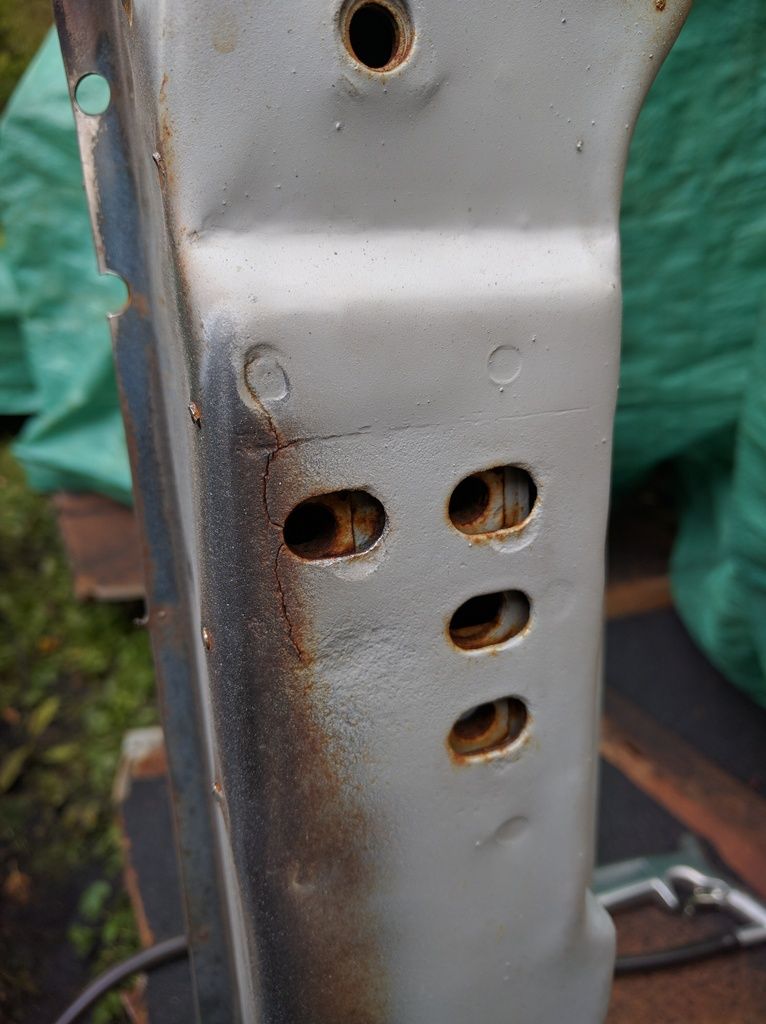
have to fix up this crack before I use the pillar
So I think my next step is to get my original cab blasted to see how bad the roof is. If the roof is done, then I think I'm throwing in the towel with it.
See if you can get that weld-through primer by the gallon, and pick up the cheapest Princess Auto spray gun.
I would, but I don't have a compressor that can handle a paint gun.
Garage only has a 120V/15A service and the panel in the house is completely full.
Ahhh...to have a proper sized shop with proper tools. That's what's really ruining this project for me right now, the feeling of pressure with winter coming.
Today I built a couple risers for the original cab so it can sit on a flat surface without munching the cab corners. Shuffled things around and cleaned up the garage a bit, now I have some room to move. Got the cab lifted onto the trailer, hoping to get it blasted this week.
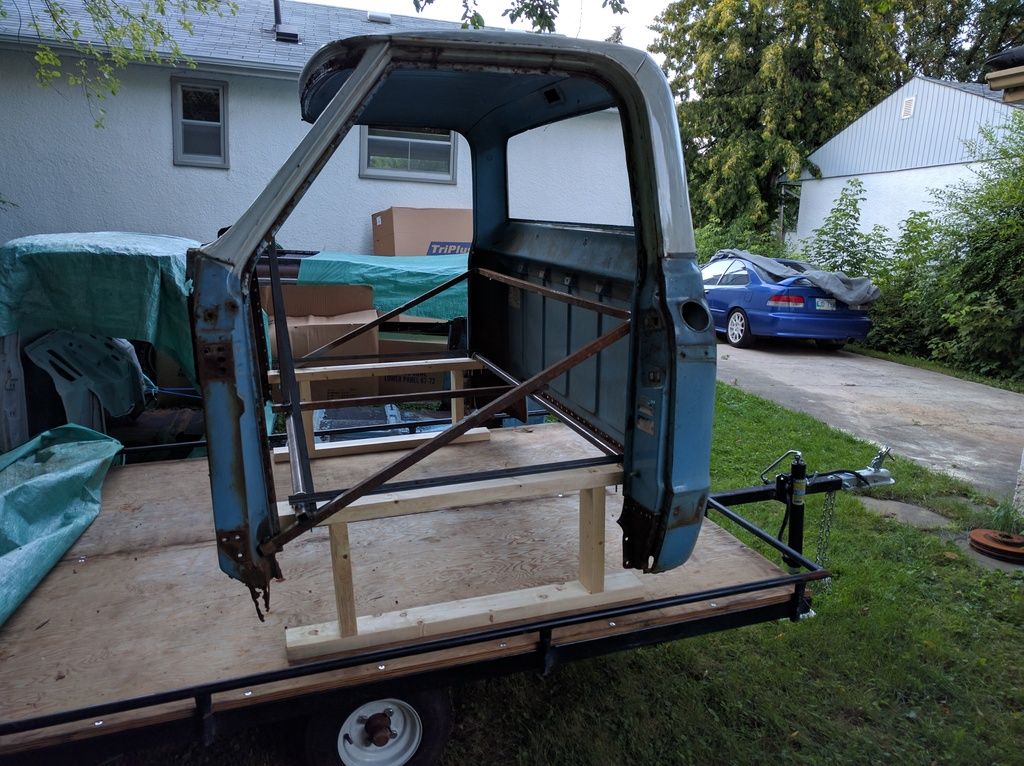
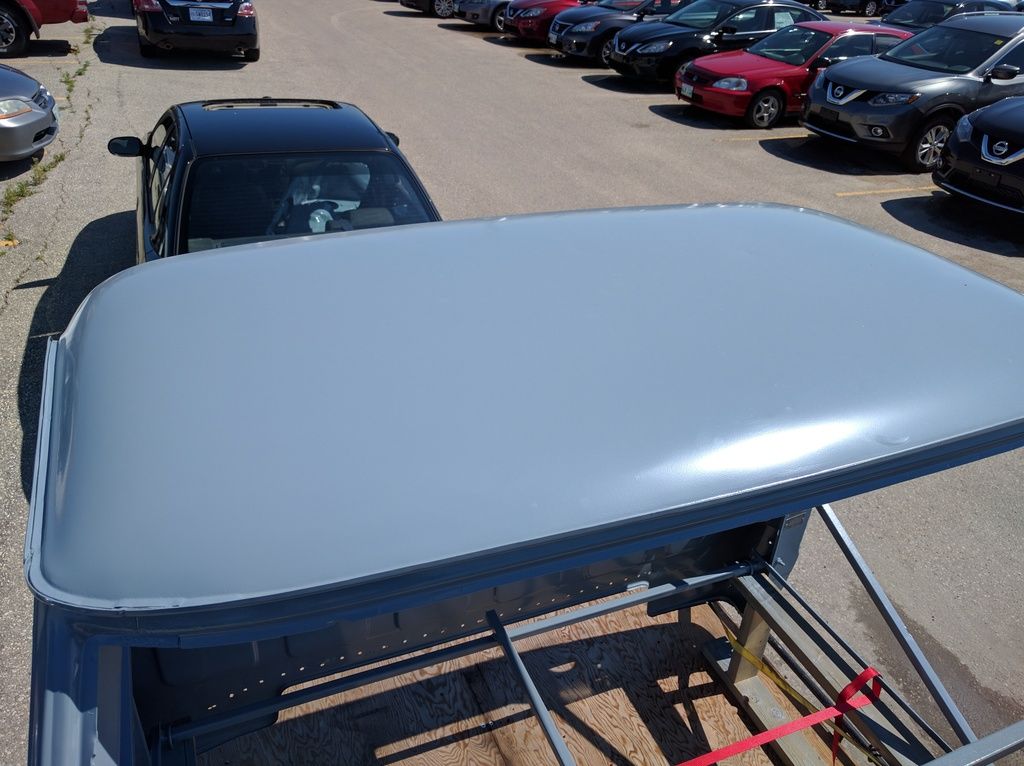
Brought my cab to be sandblasted
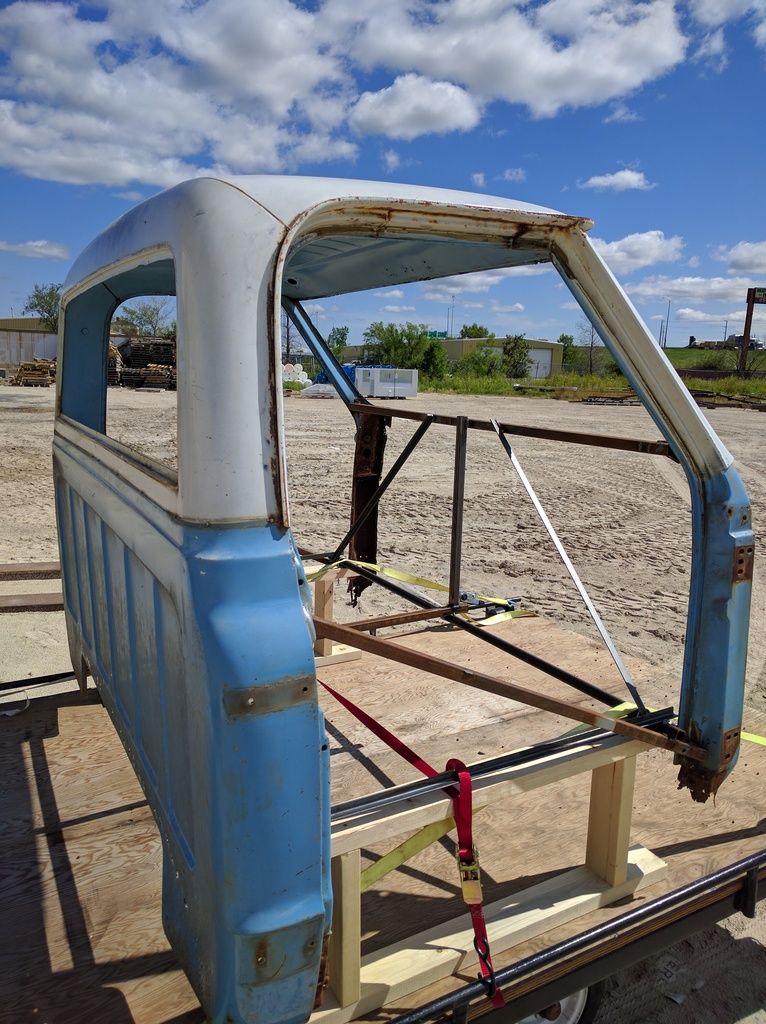
Turned out great! Roof is mint, I was very relieved
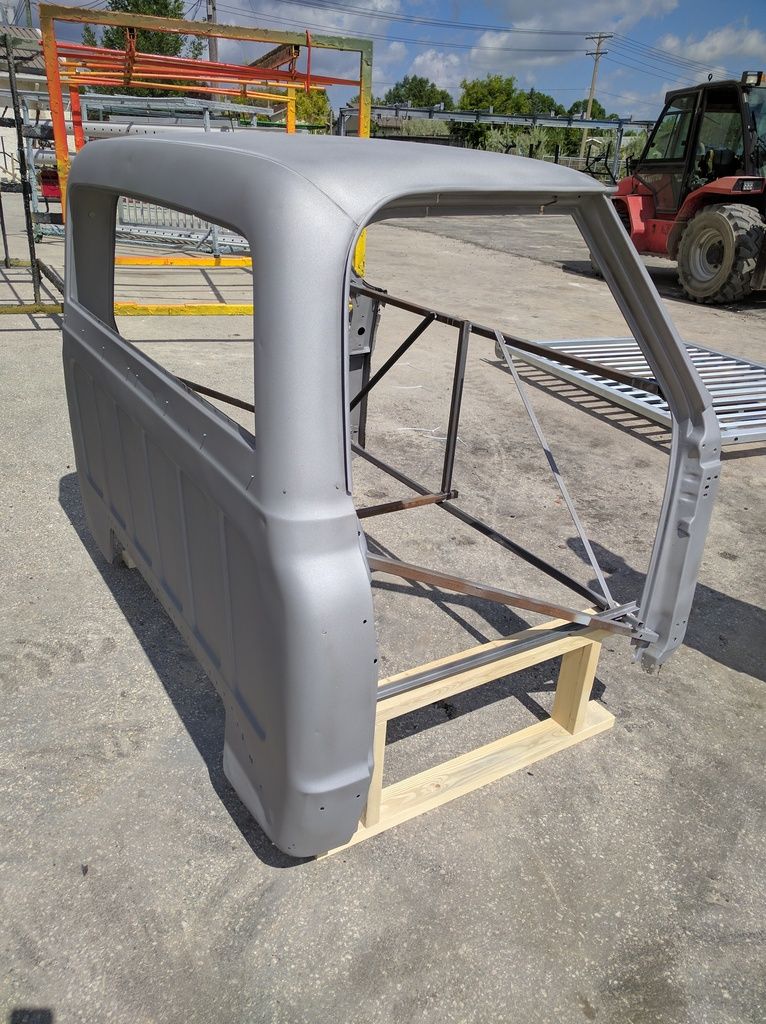
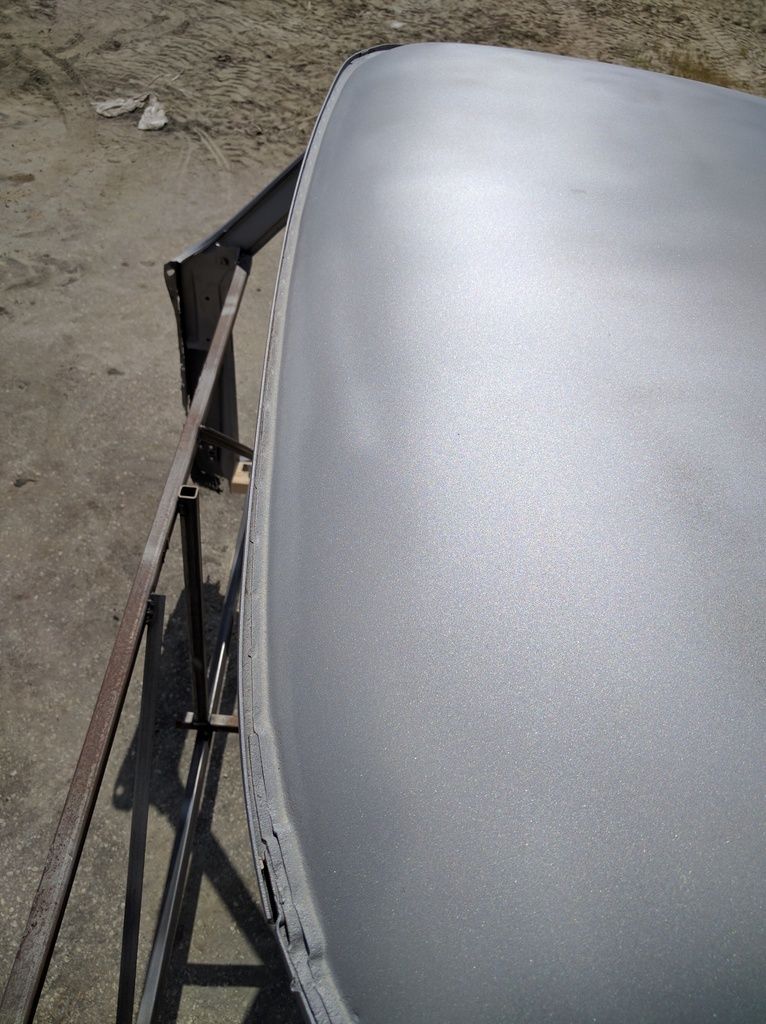
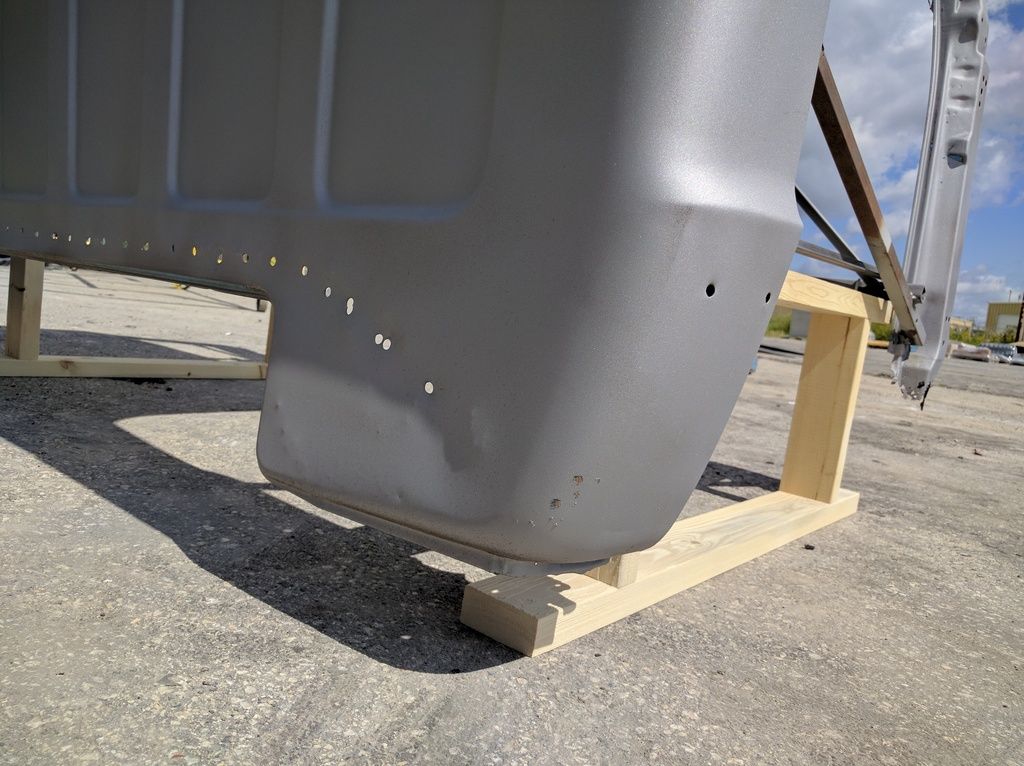
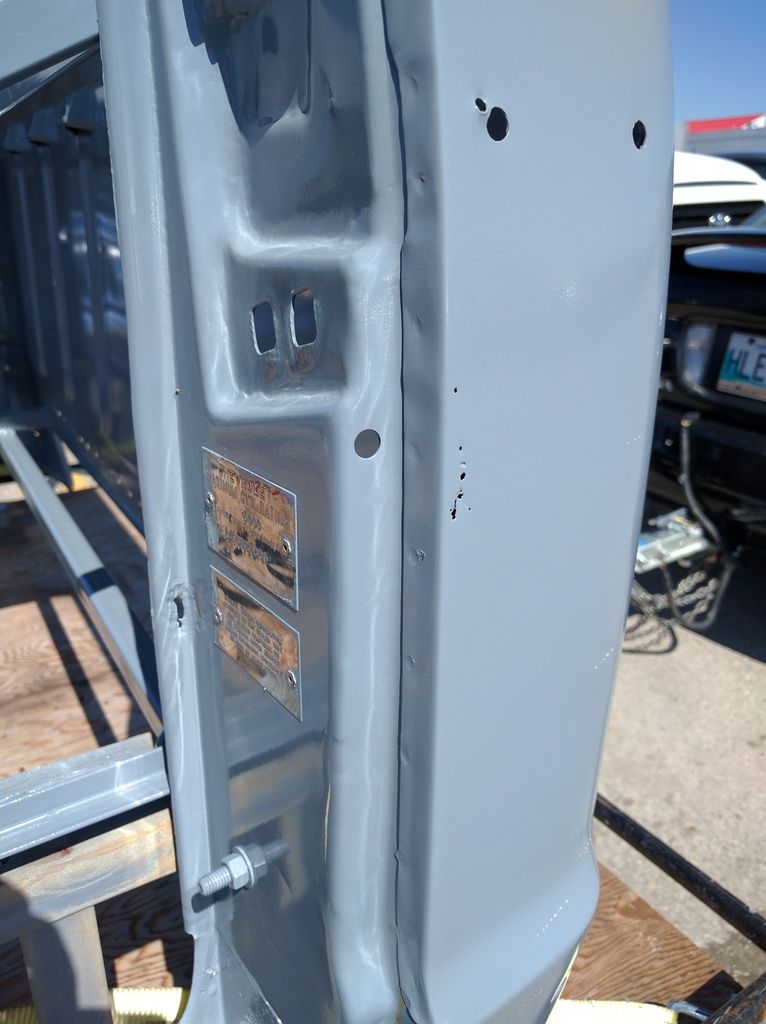
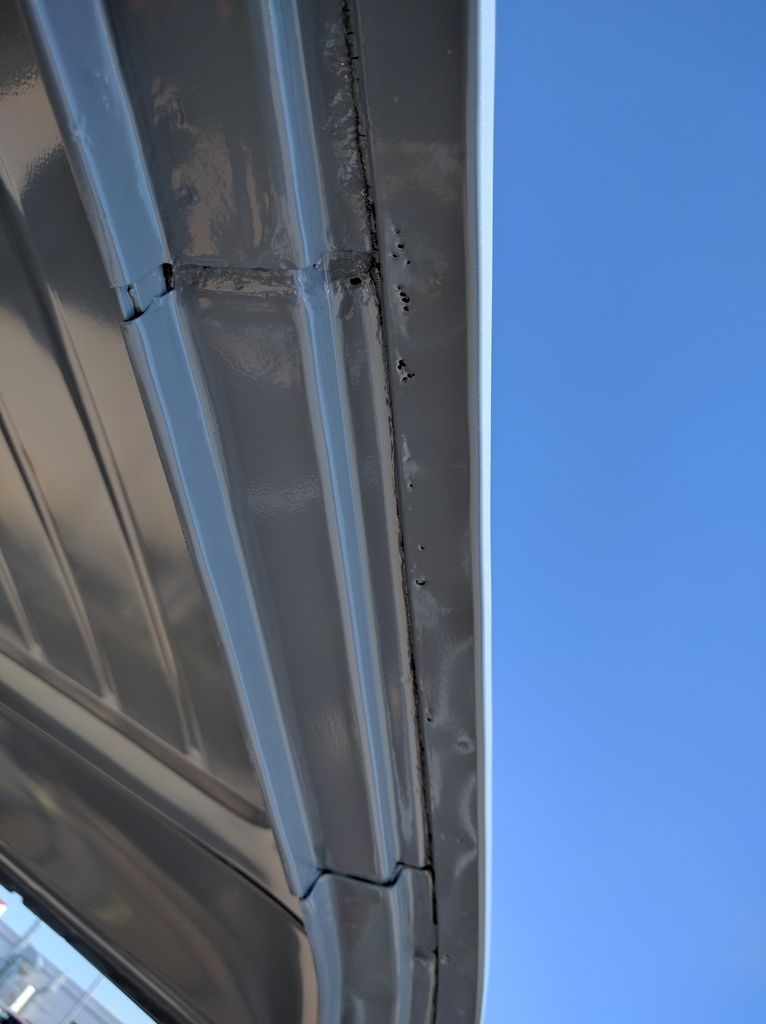
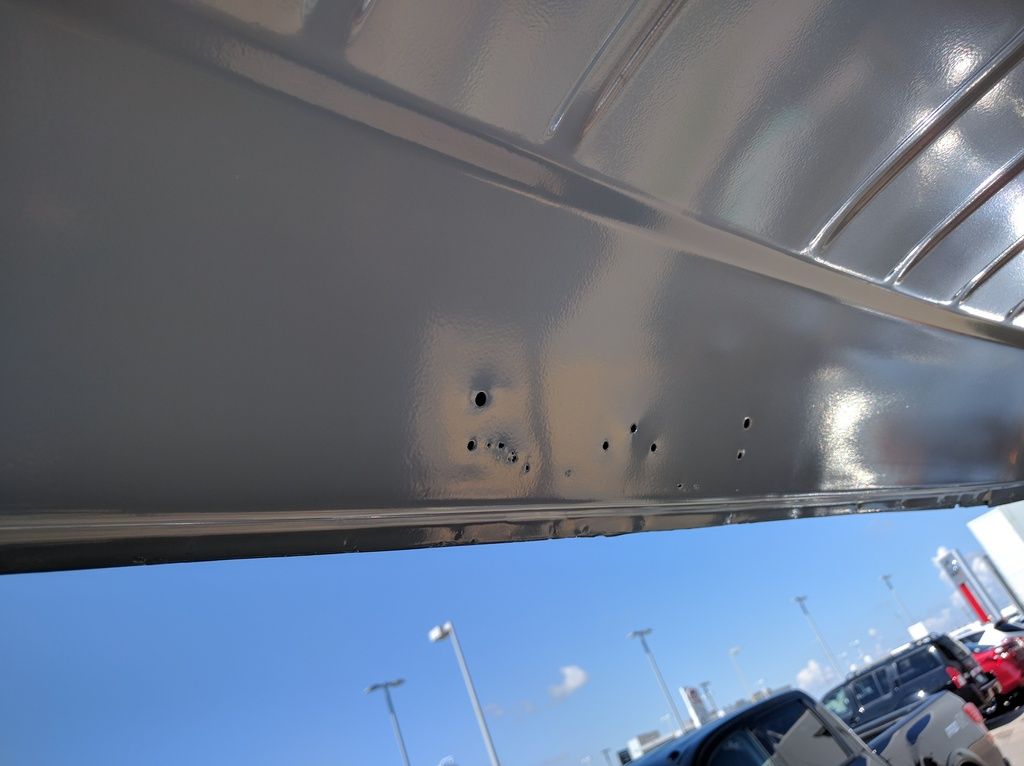
Original cab corners only have a few pinholes
And powdercoated with zinc primer. I also got 6 other pieces done (cowl and side wings), and they cut me a great deal. Just under $300 for everything.
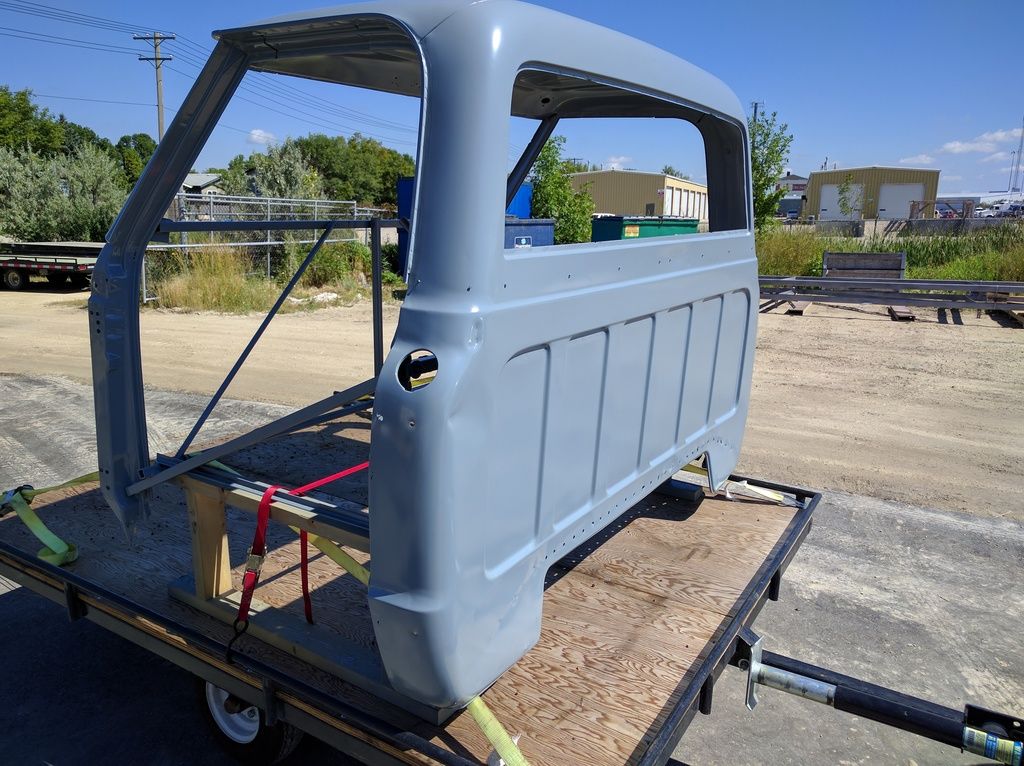
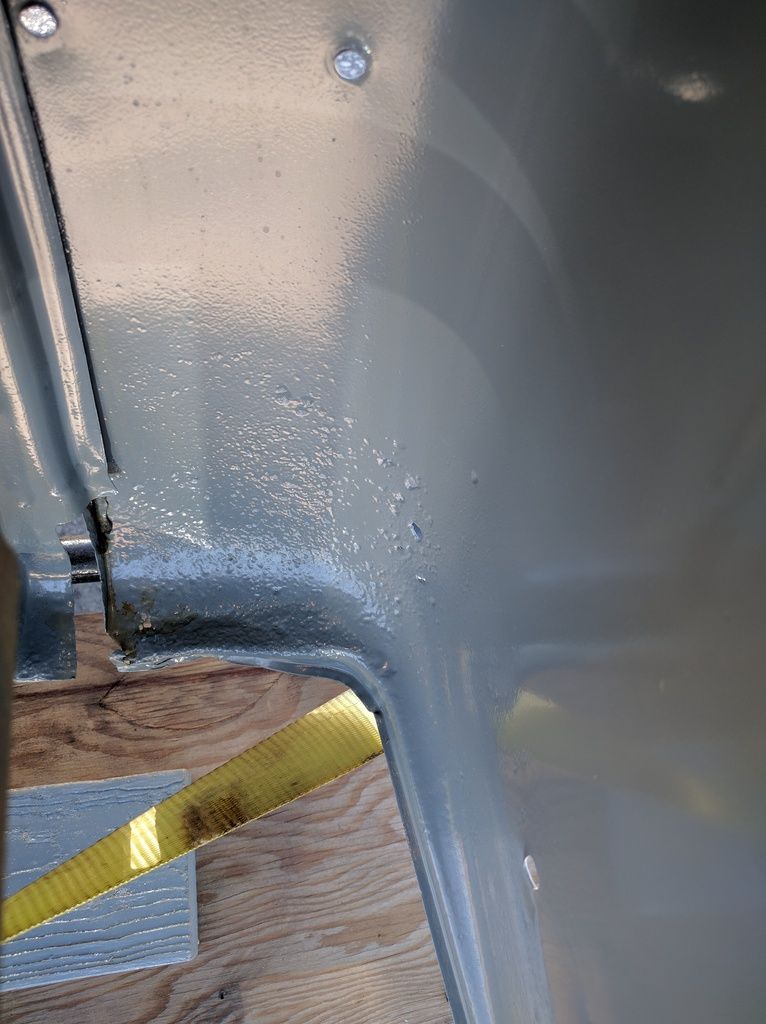
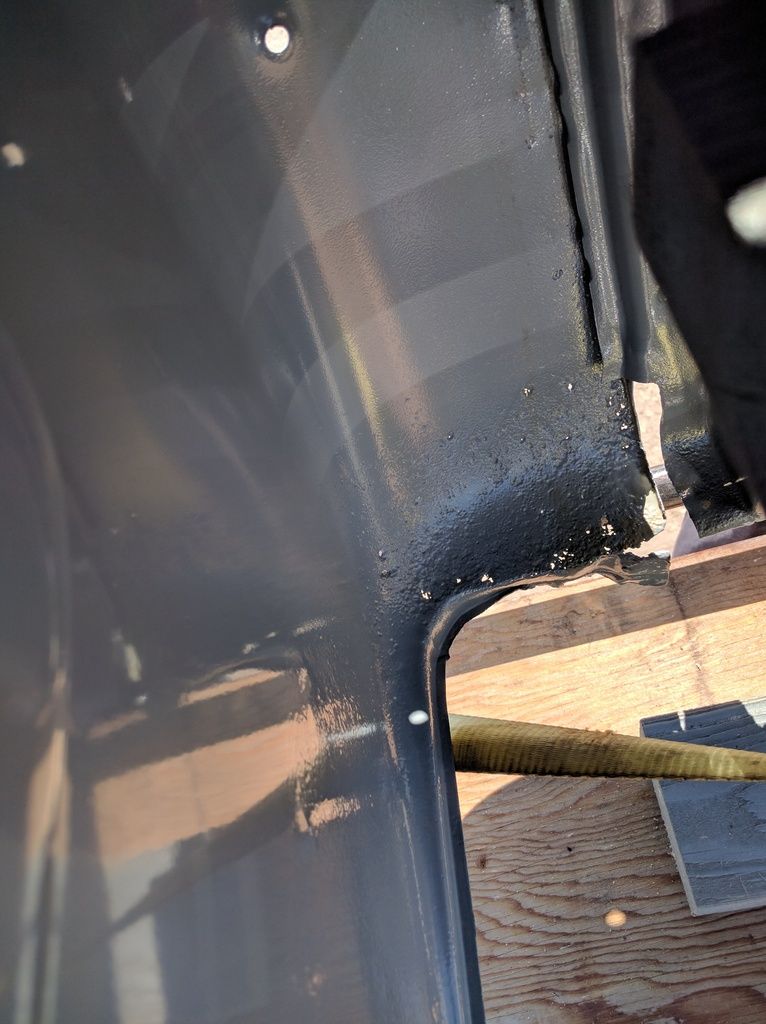
Some holes near the vin plates and by the door
Drip rail on drivers side
Inside the cab
And a small hole on the passenger side door jamb near the A pillar
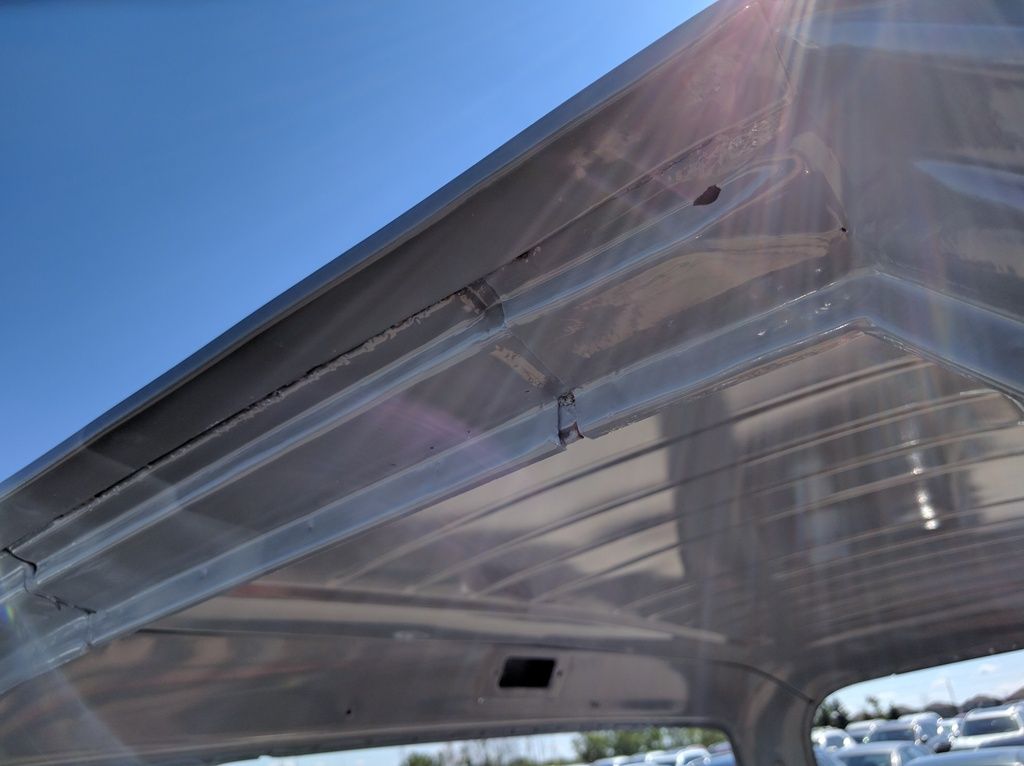
Inside the cab corners
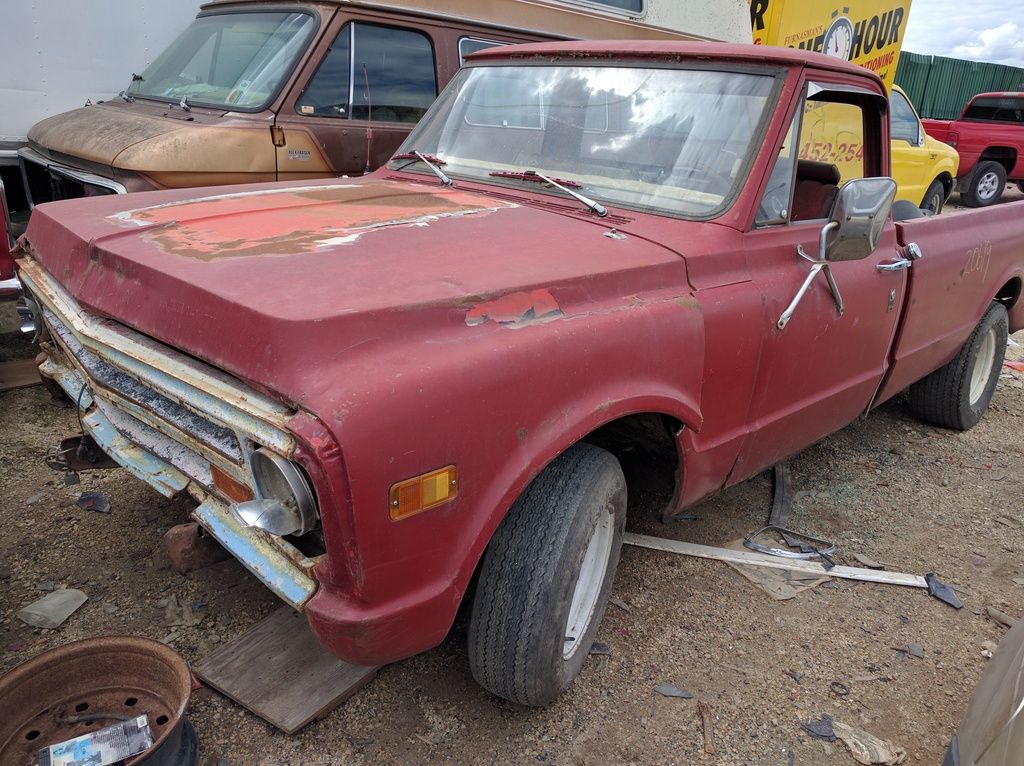
Went to the junkyard and found this truck hanging out front. Not sure what year but it's got 5 lugs, leaf springs, and a flip forward front end with a 69-72 hood but a 67-68 grille. Wierd. Hopefully I can grab a few parts off it one day.
Today I started work on the passenger side A pillar
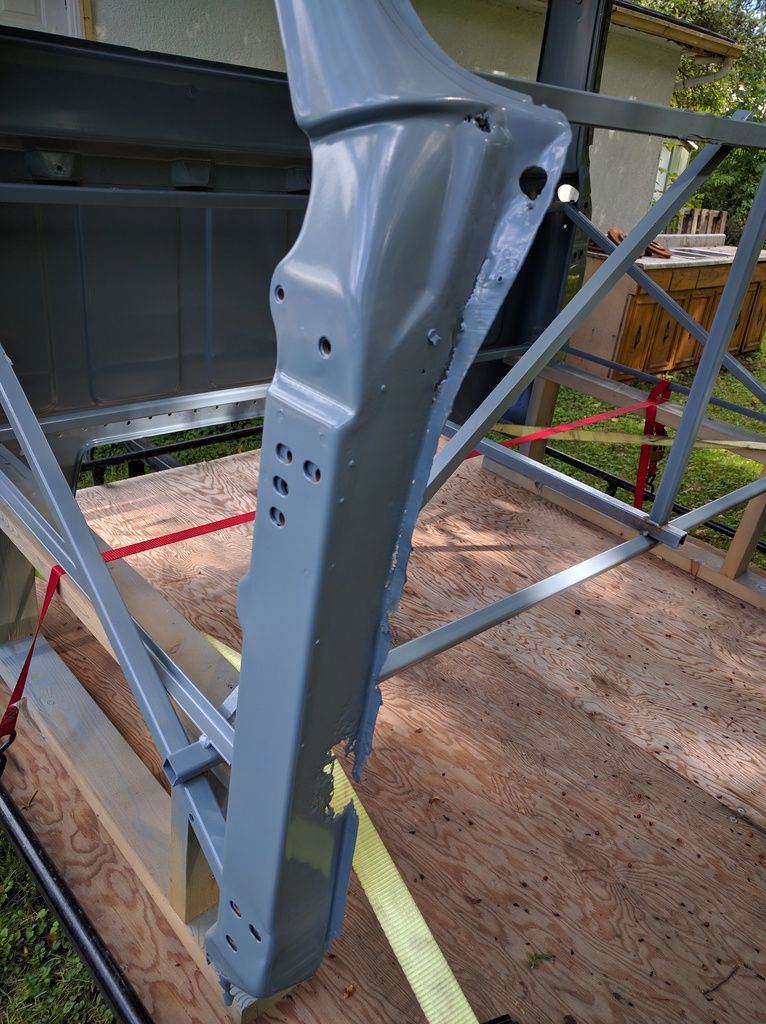
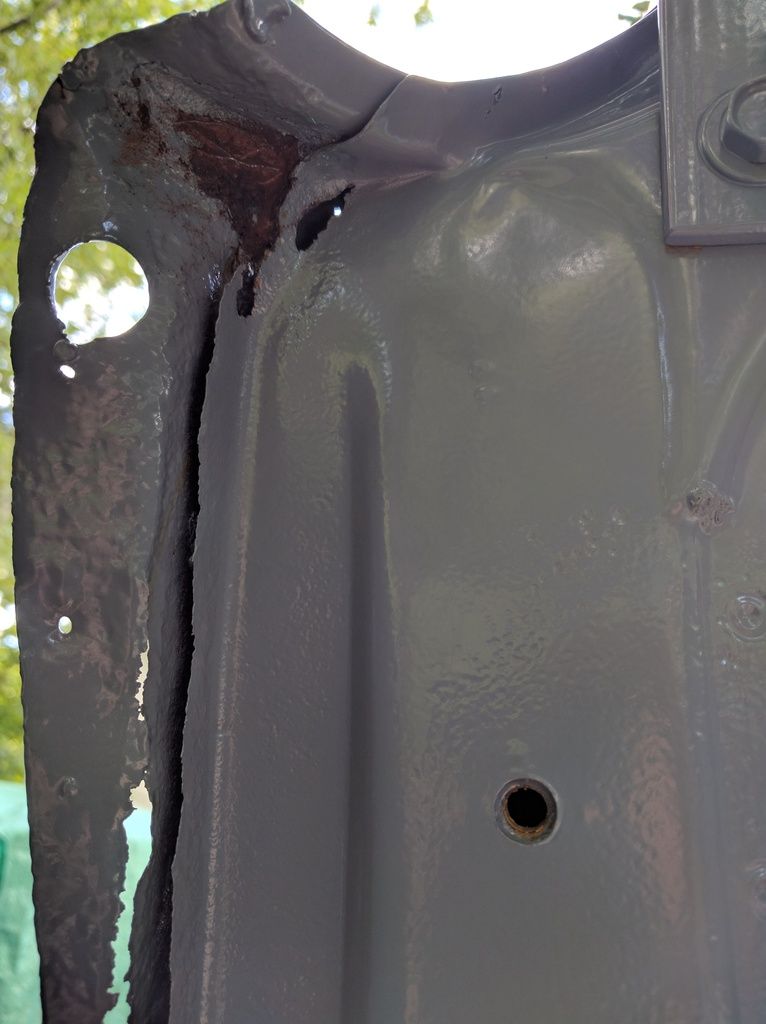
Cut the front half off the parts cab. I later regretted cutting here, but this is my first try at fixing rust...
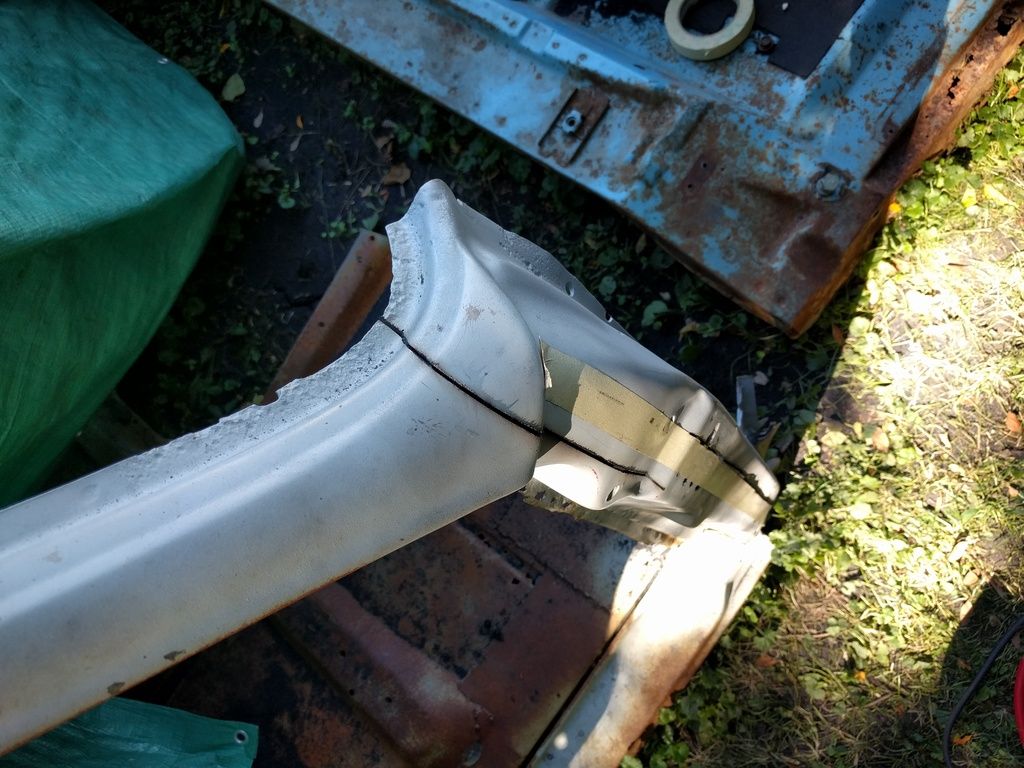
Same thing on my cab
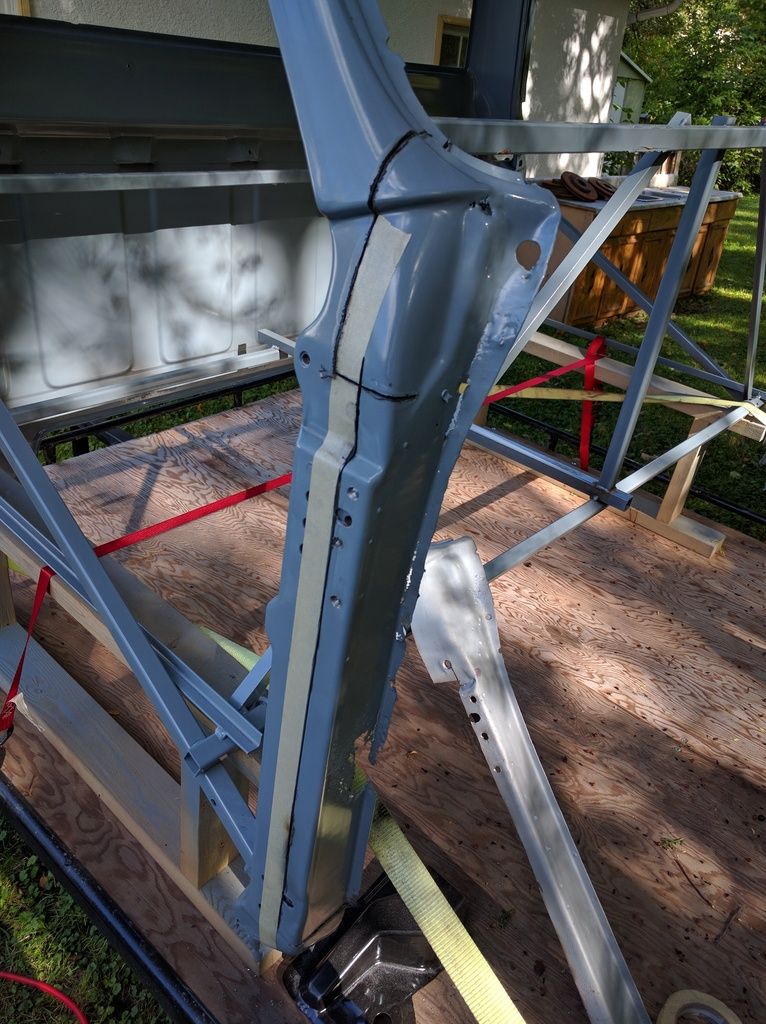
Together
Started with this
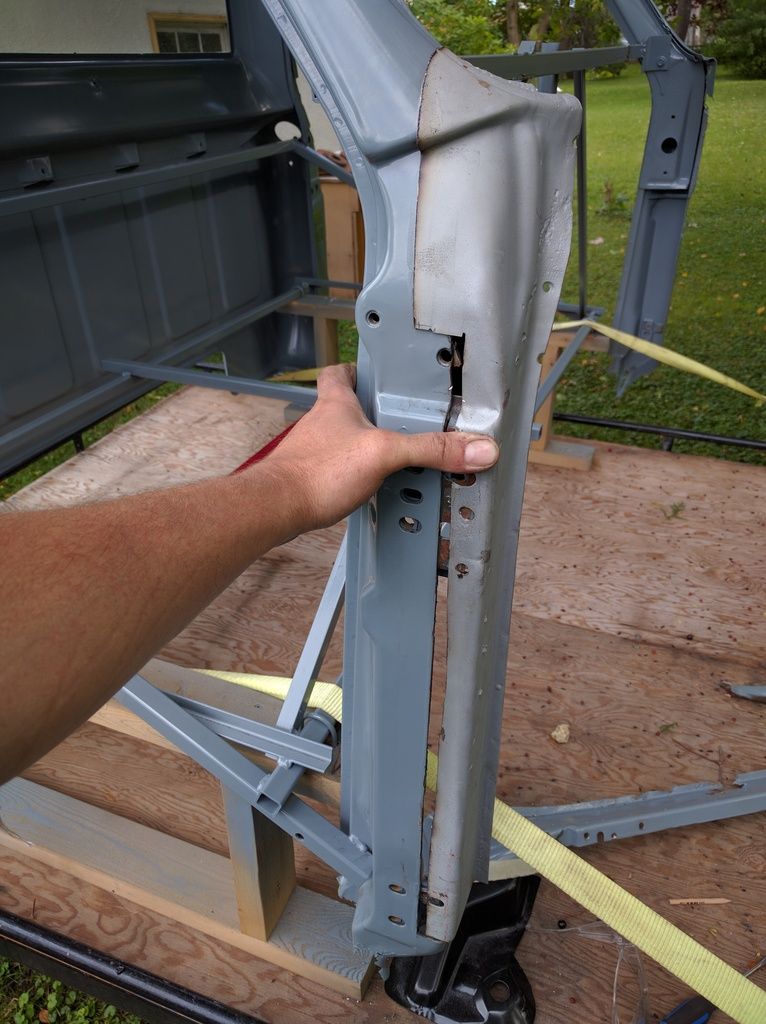
Ended up here
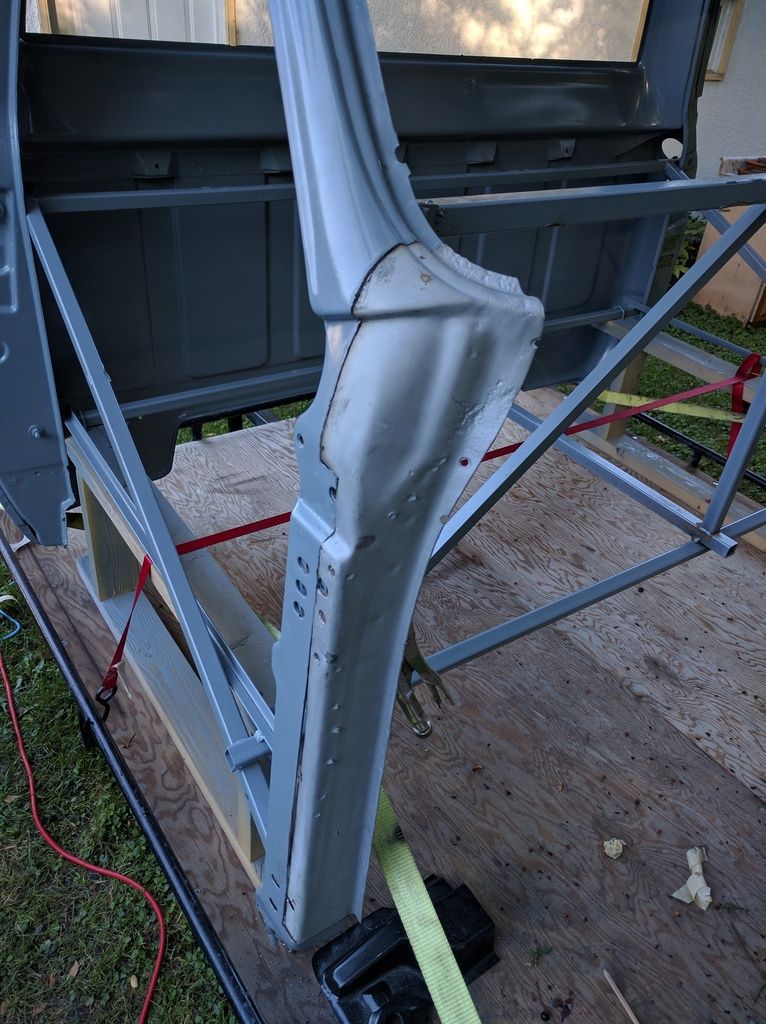
Really regretting cutting across the 4 curved body lines. Proving almost impossible to line up. Not sure if it's my trimming or if the two panels don't have the exact same lines (from different stampings or whatever).
I can get the bottom three to line up like this
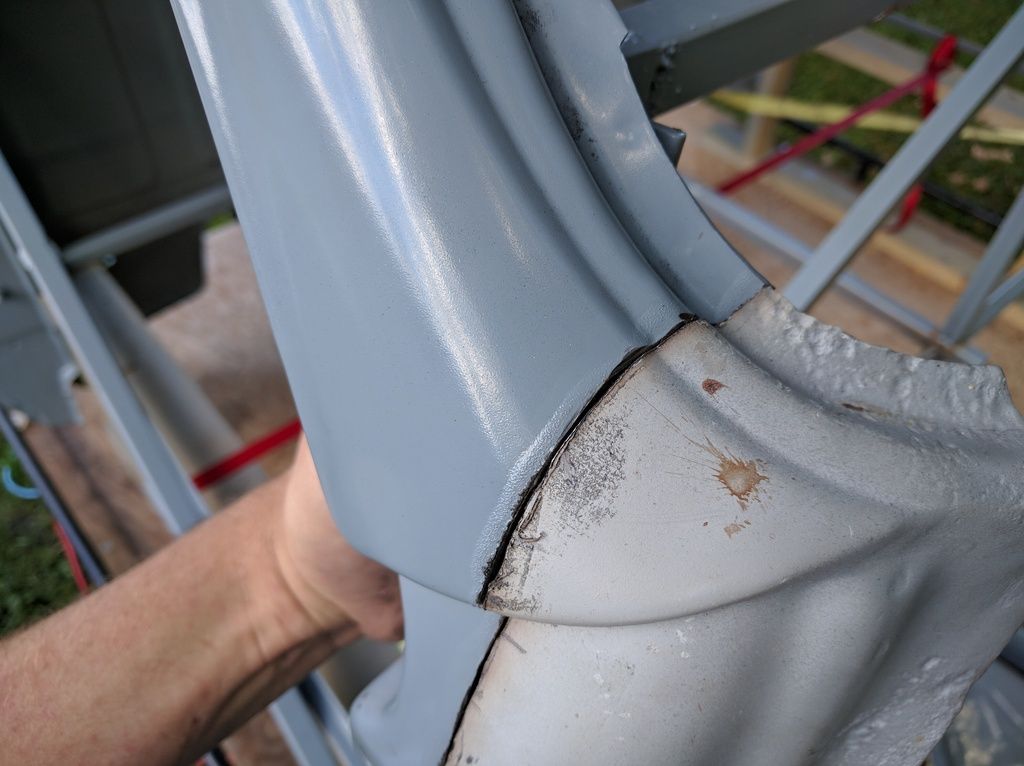
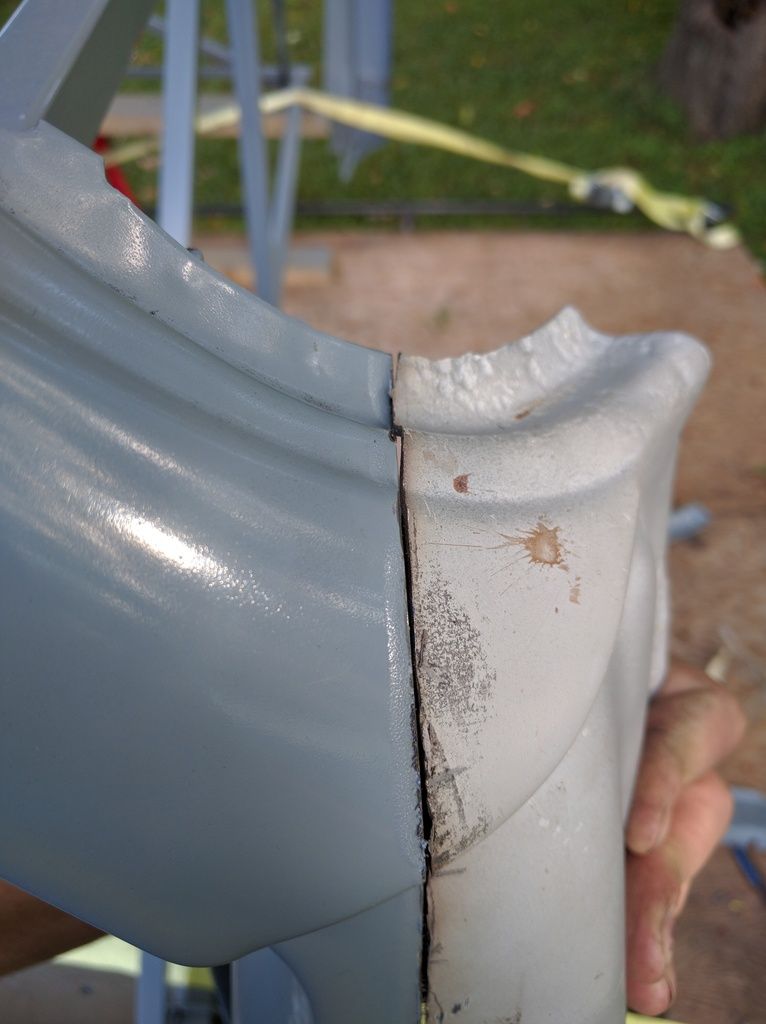
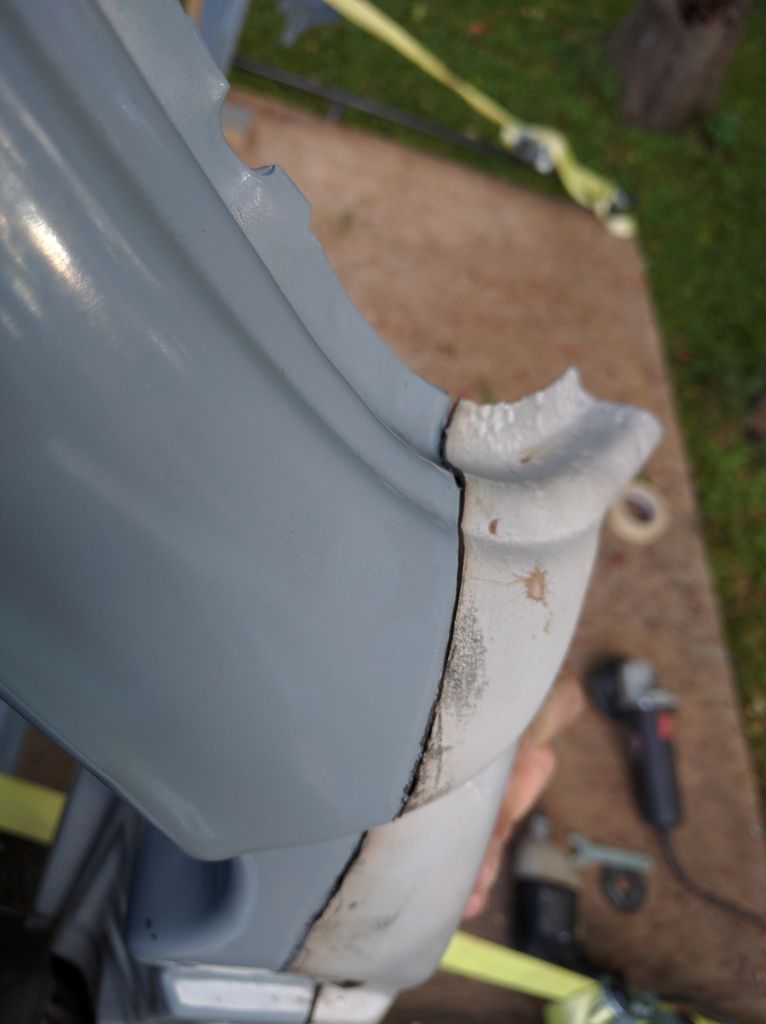
But the top line/lip won't line up if I align the others. If I line up the top, it sucks the panel in and here's what I get
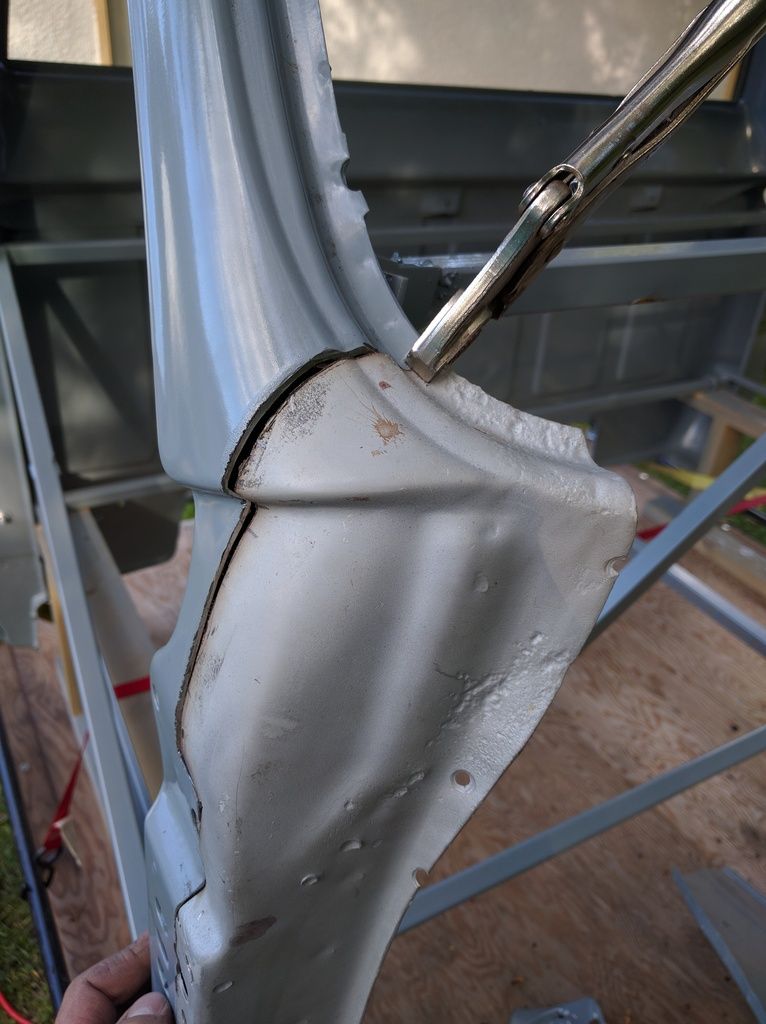
Not sure what I should do next. Might cut off the top lip and use the original chunk up there. Just realized I didn't take a picture of the backside, but that's got a section of panel welded in too that has to line up.
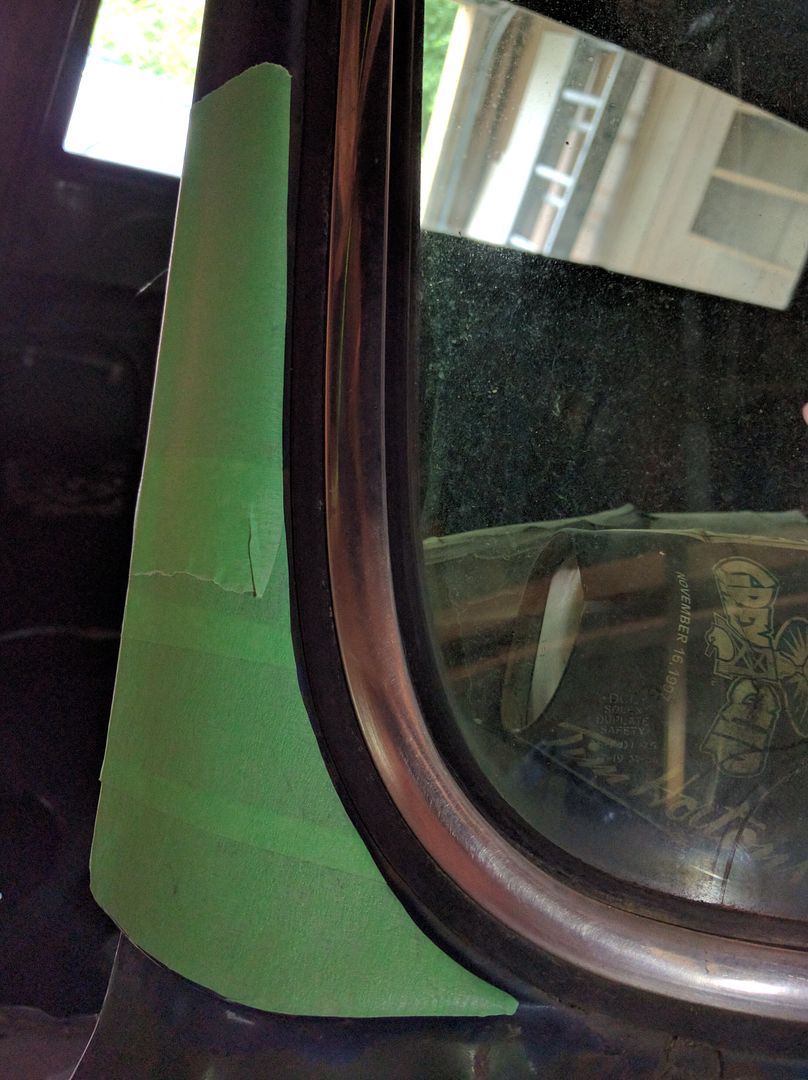
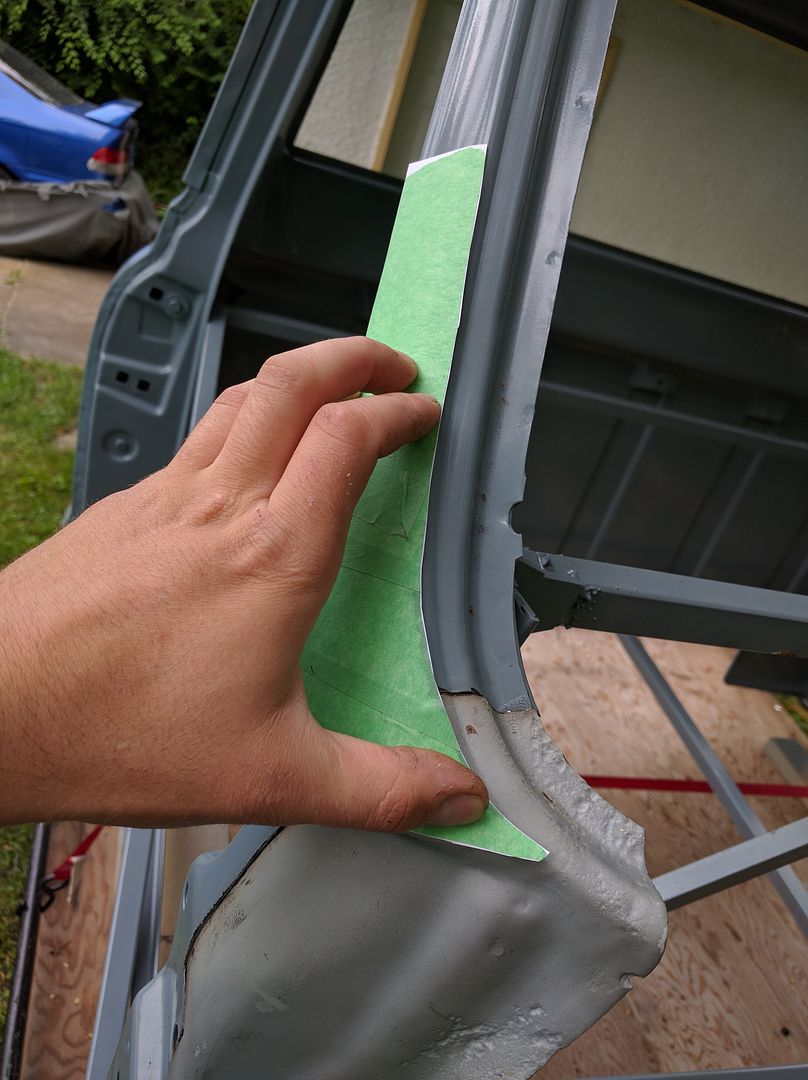
Tried making a template for the passenger pillar. Windsheild is still in the other cab so I couldn't do much other than confirm I'm pretty close.
I decided having the inner section welded together was preventing me from pushing things to where I wanted.
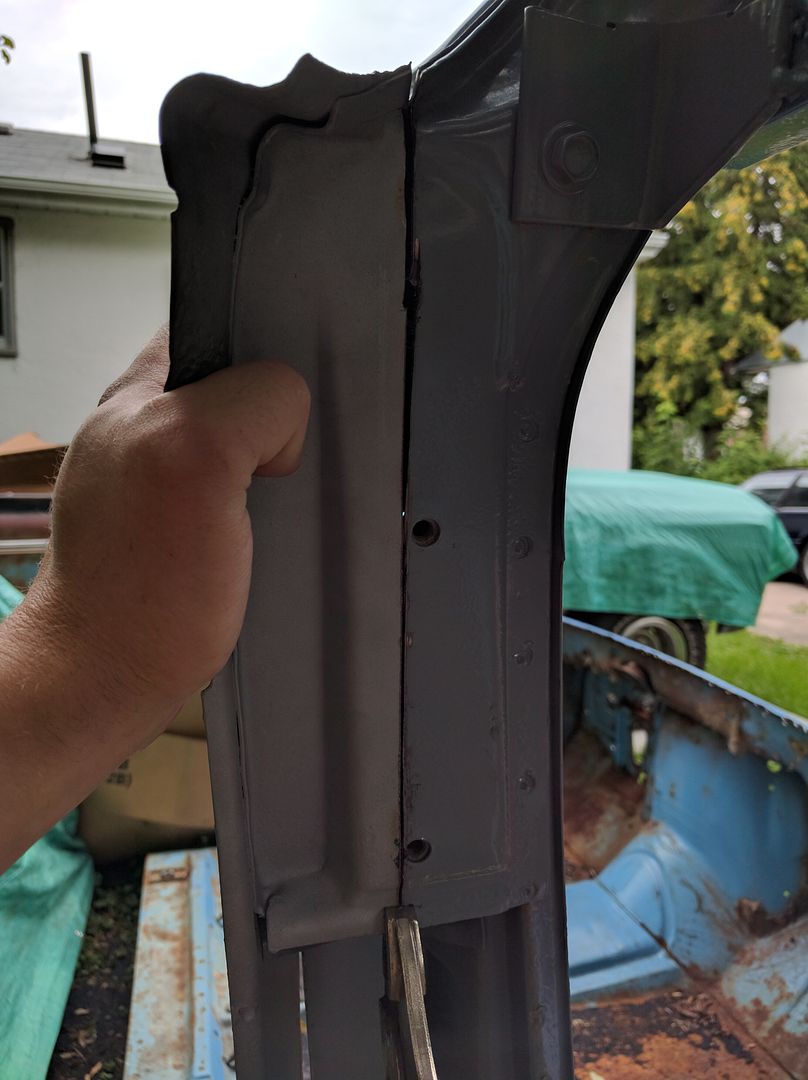
You can see how the original and the replacement are different at the top.
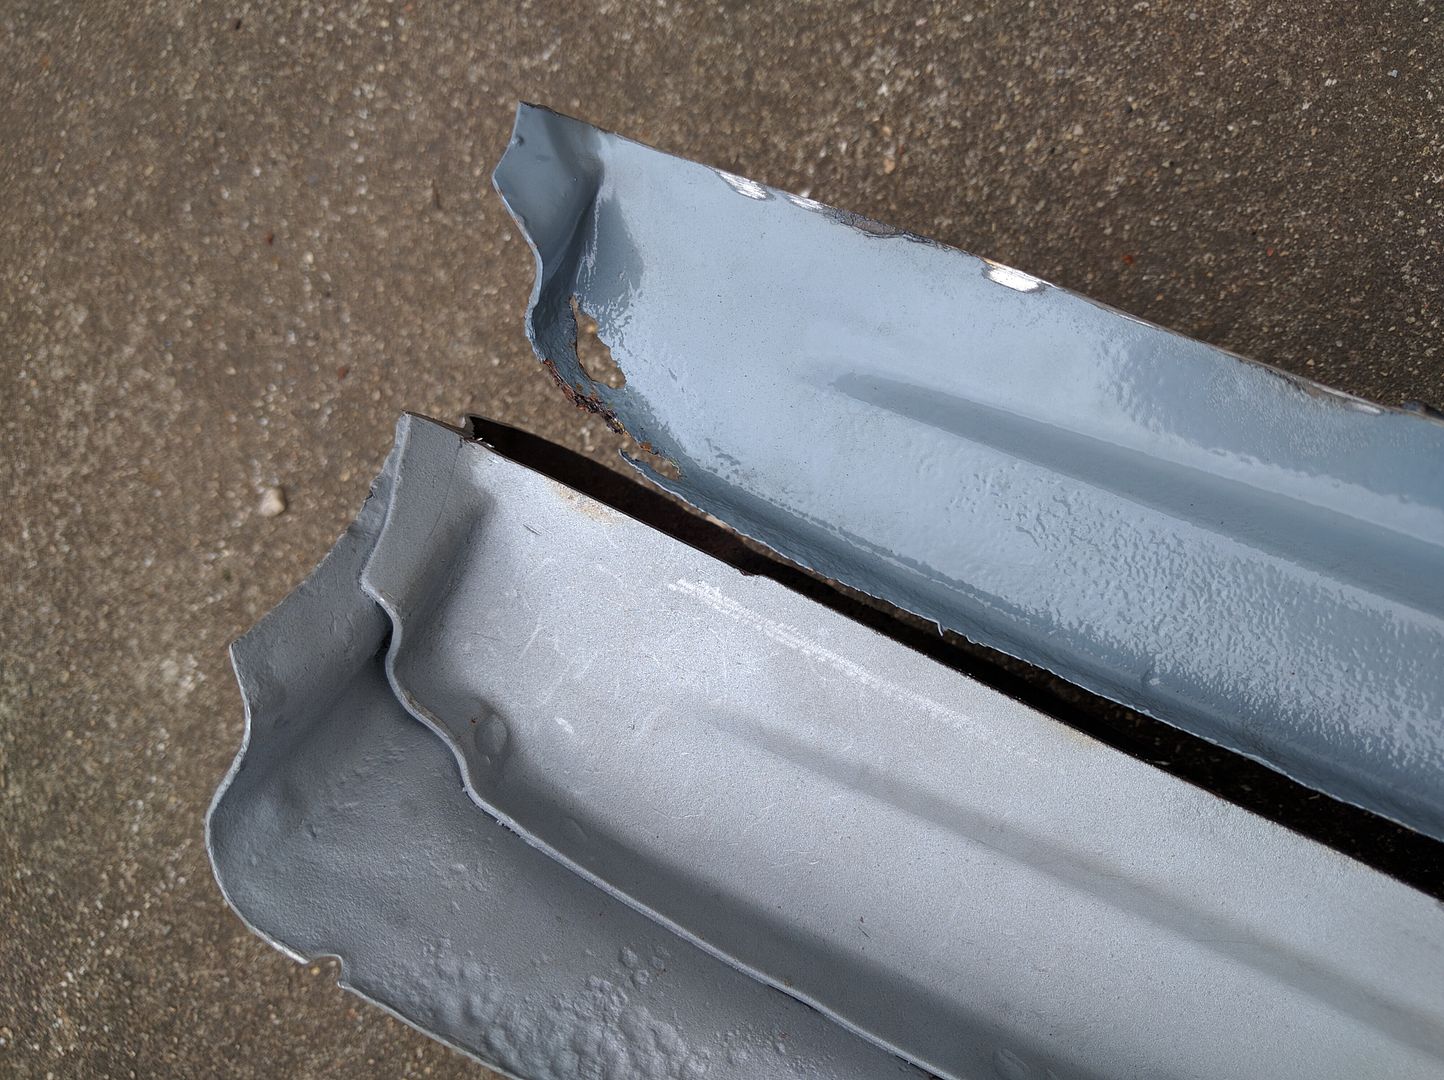
So I drilled it out
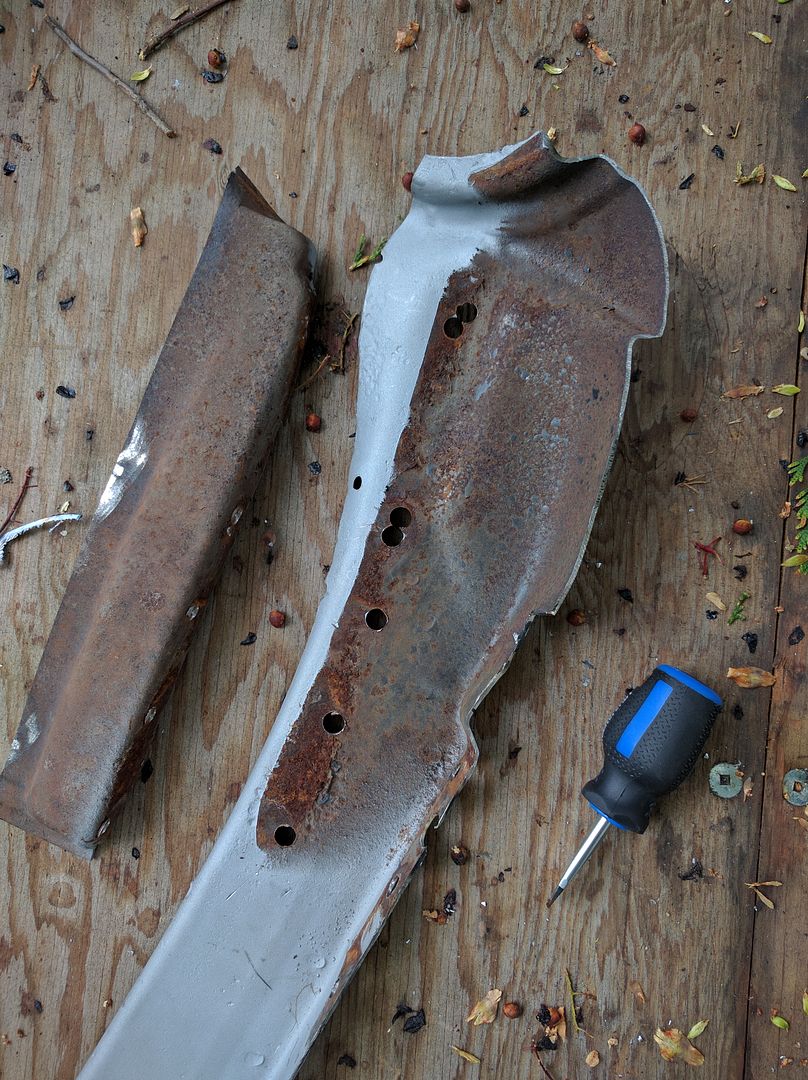
And that was the ticket, it all fits much better now
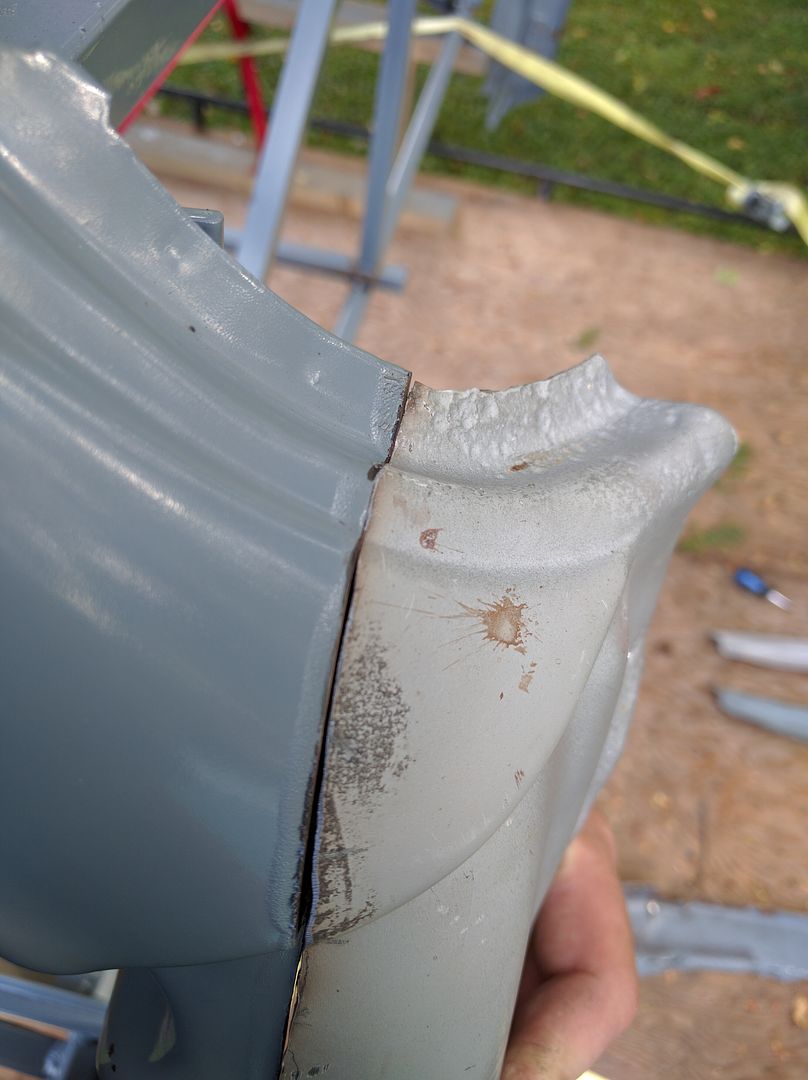
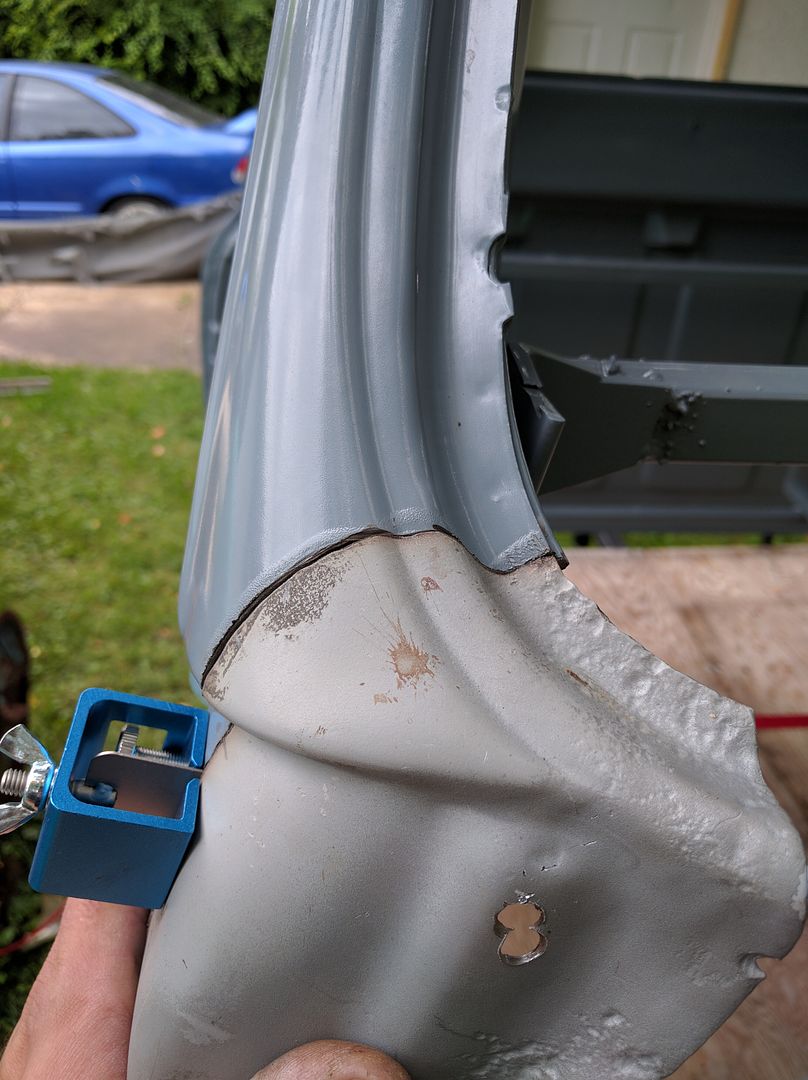
Moving on to the drivers side, I made a cut near the top of the windsheild
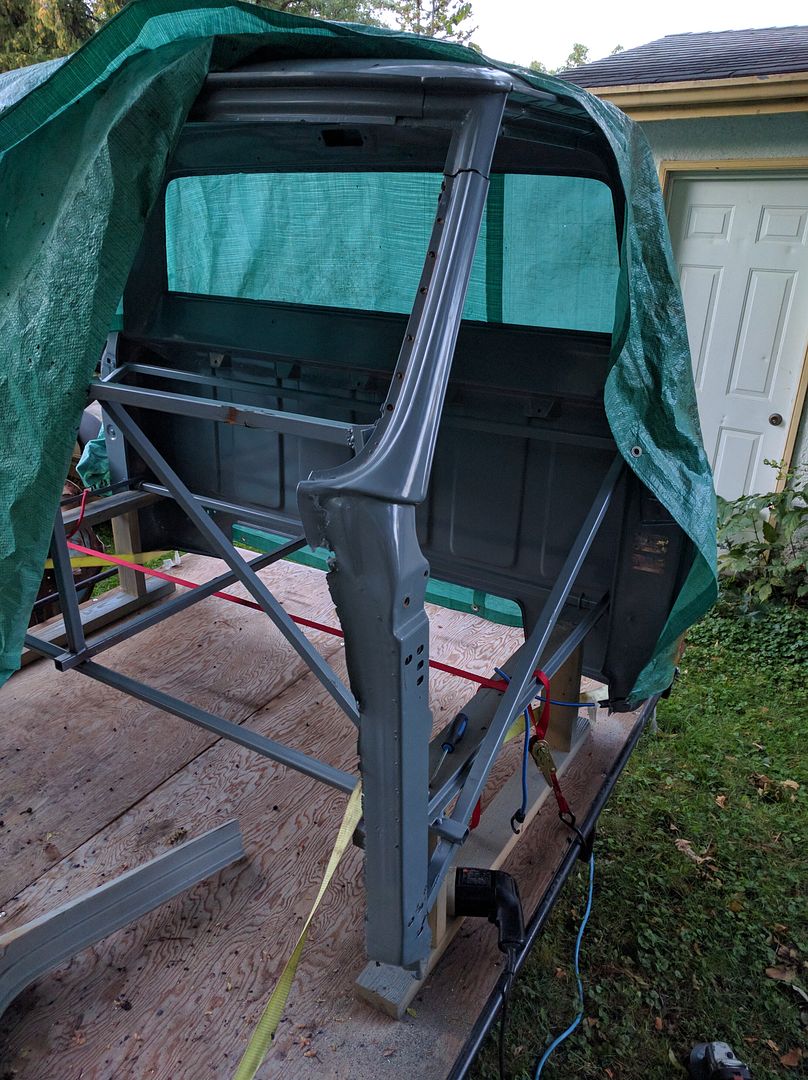
And chopped it off
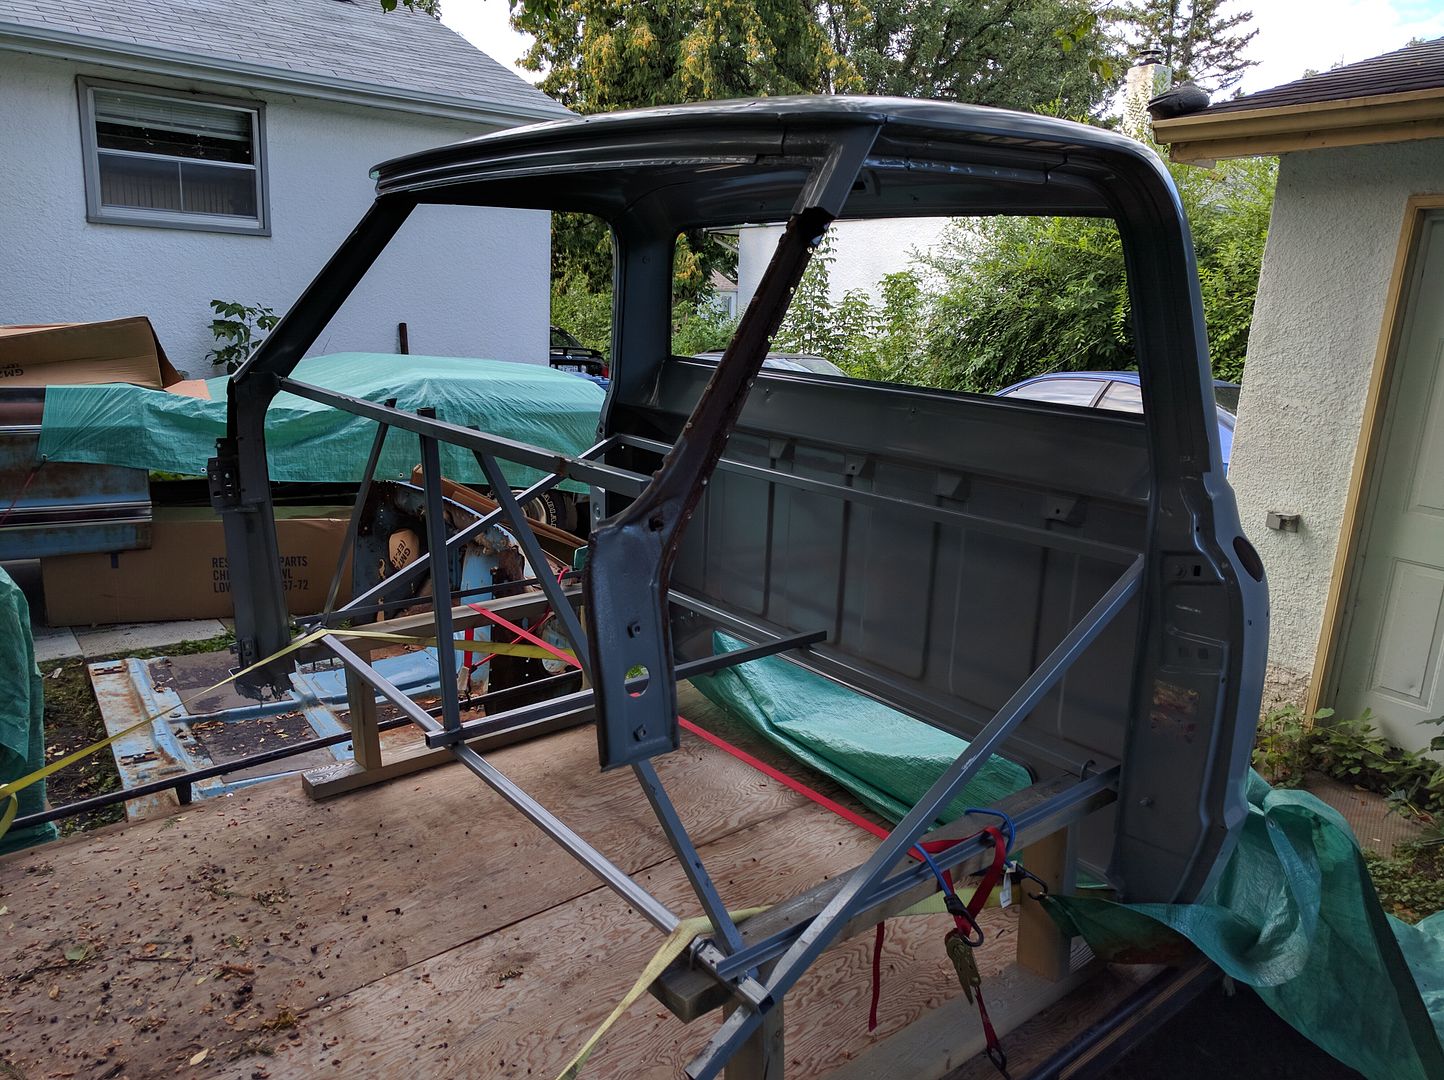
Bit of cutting to fit nice and here's the result with the pillar from the parts cab
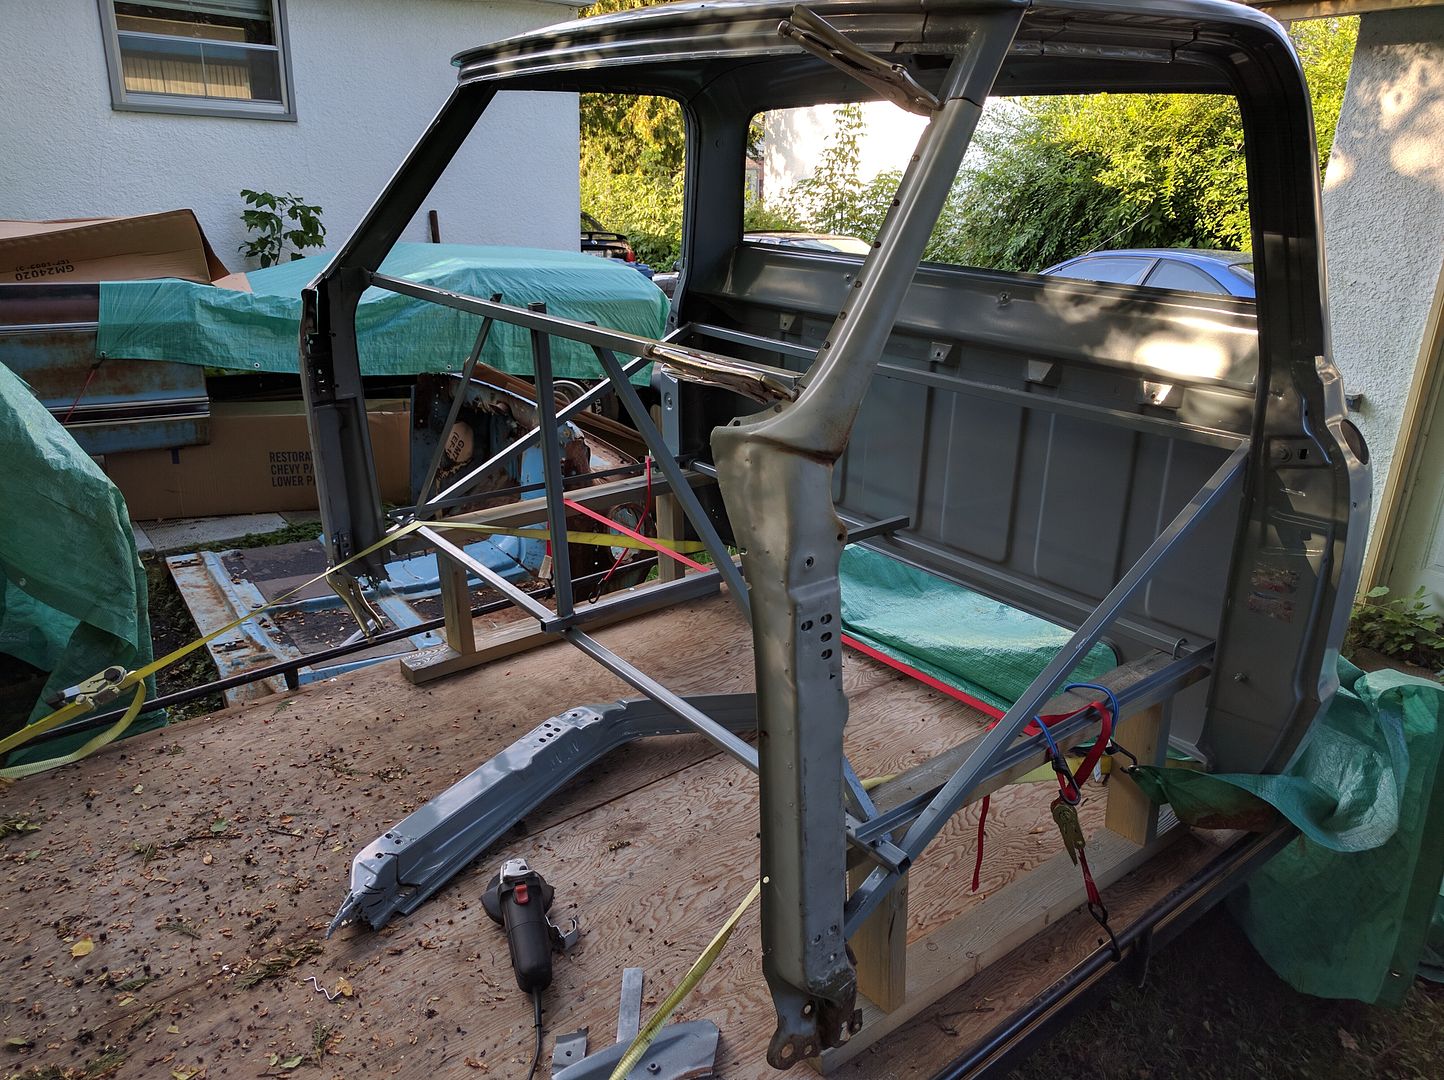
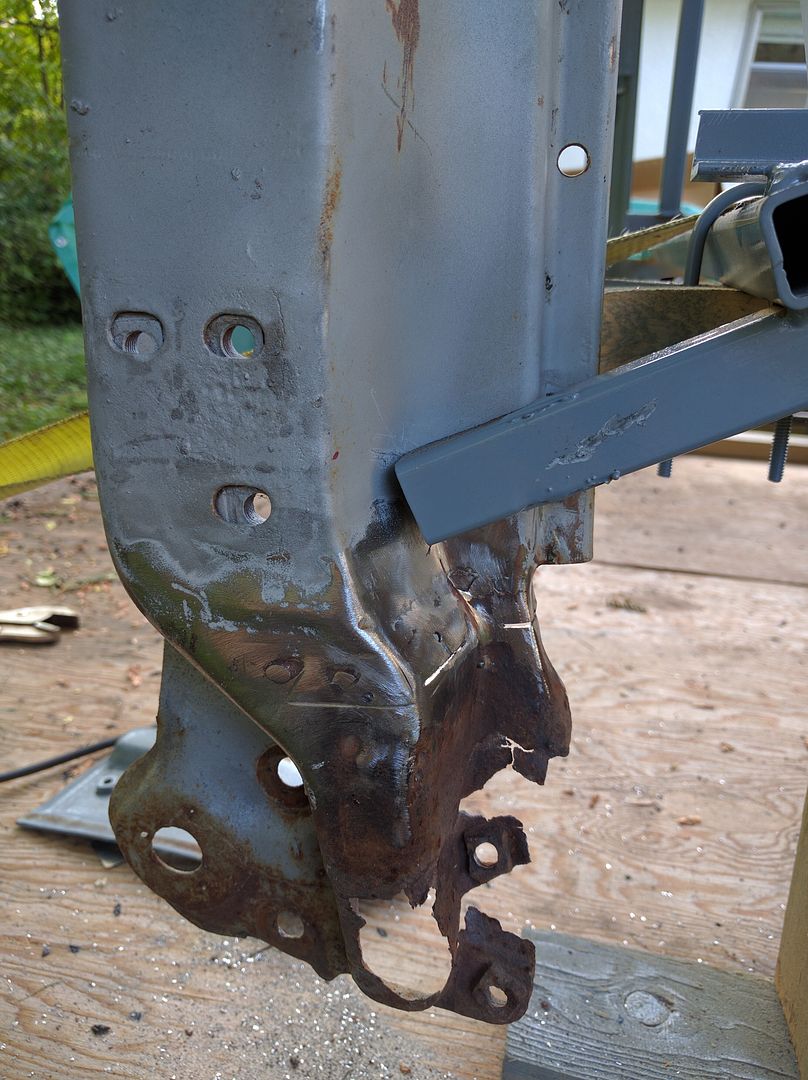
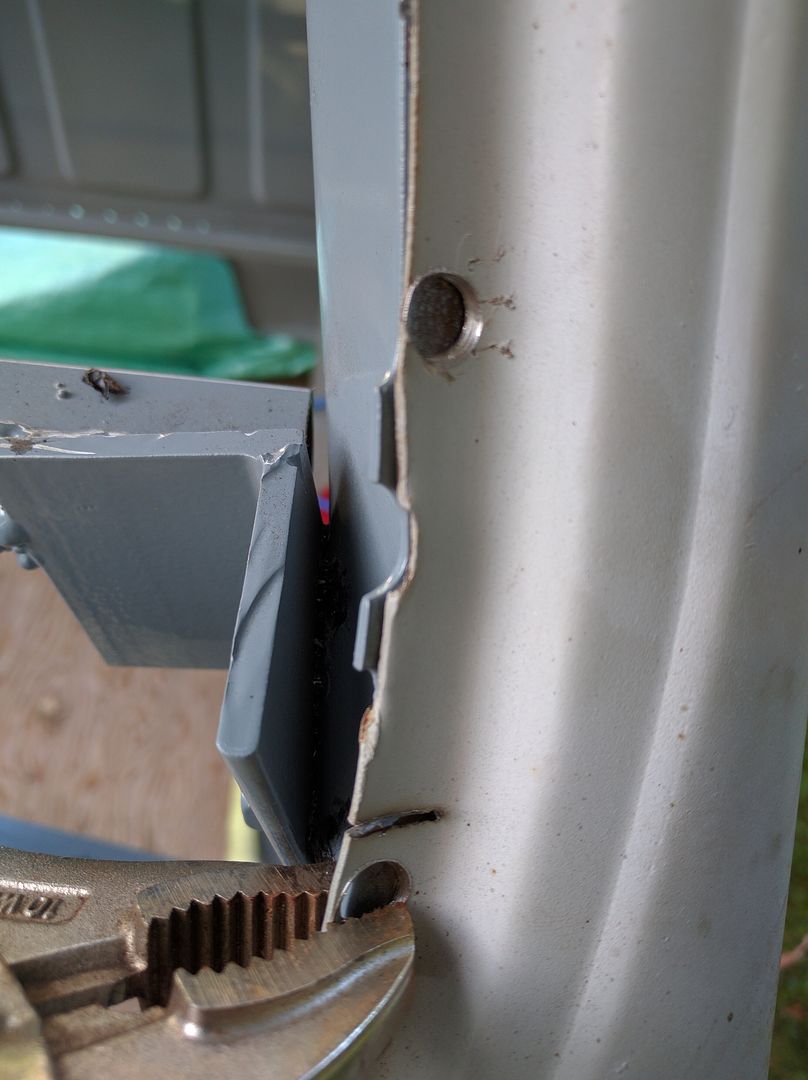
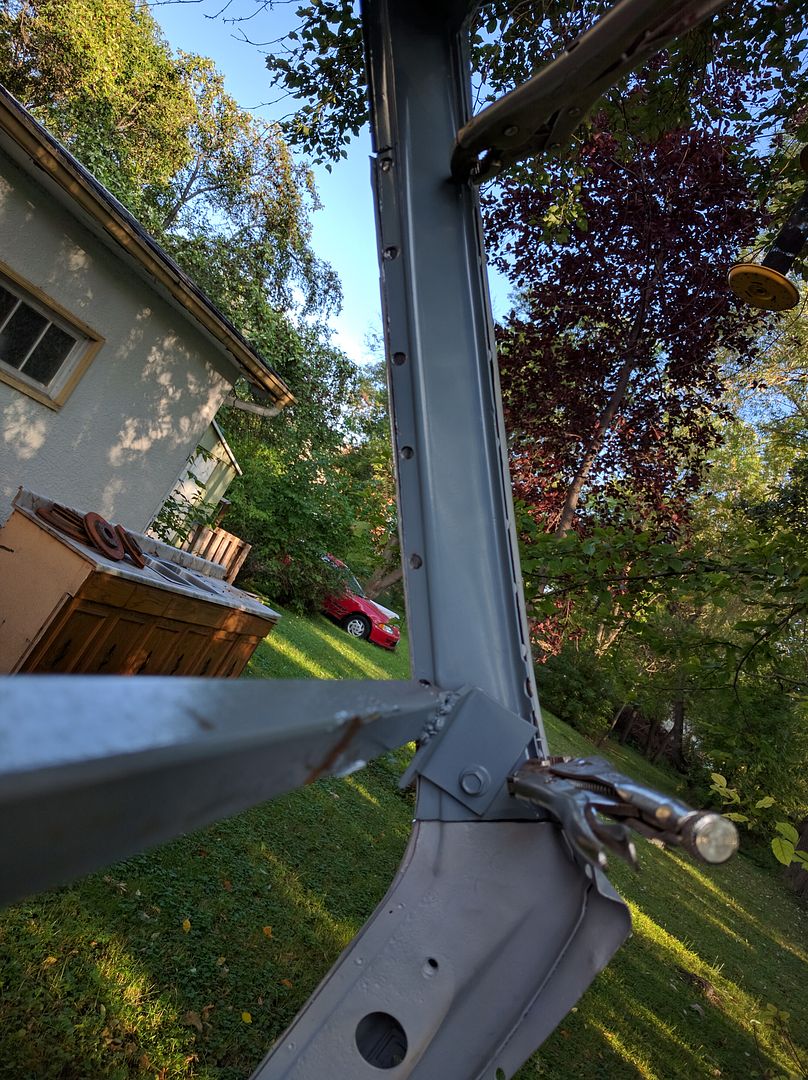
Much easier so far than what I did for the passenger side. i went with doing the full pillar because of the damage found here
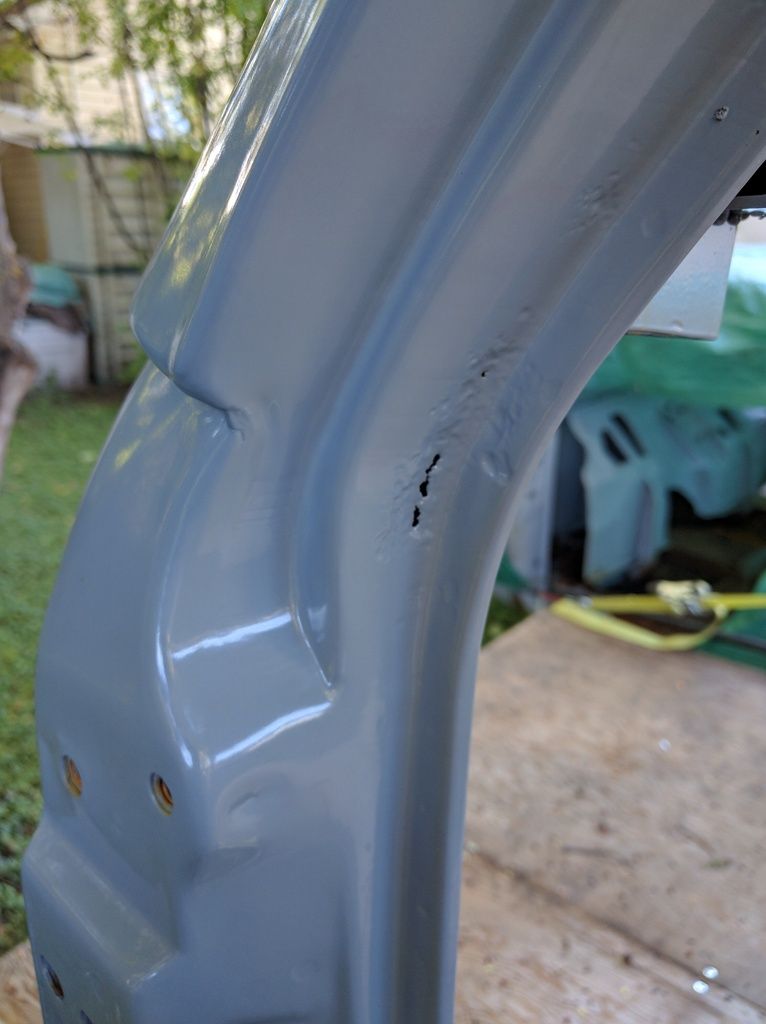
I haven't started welding it in yet as I've been sandblasting the inner sections of all the panels and it's slow going. My blaster doesn't have much power and there are difficult angles to reach.
It has been quite the journey following you from picking up a southern car to avoid this kind of work to having to do it anyways and just digging in.
Based on what I have seen, I have no doubt this will come out very nice in the end.
Thanks NOHOME, those are some very kind words. Can I come watch you work for a couple weeks?
So the panels I took apart had surface rust inside. I've gone this far, might as well take care of it while I can.
Before:
<img src="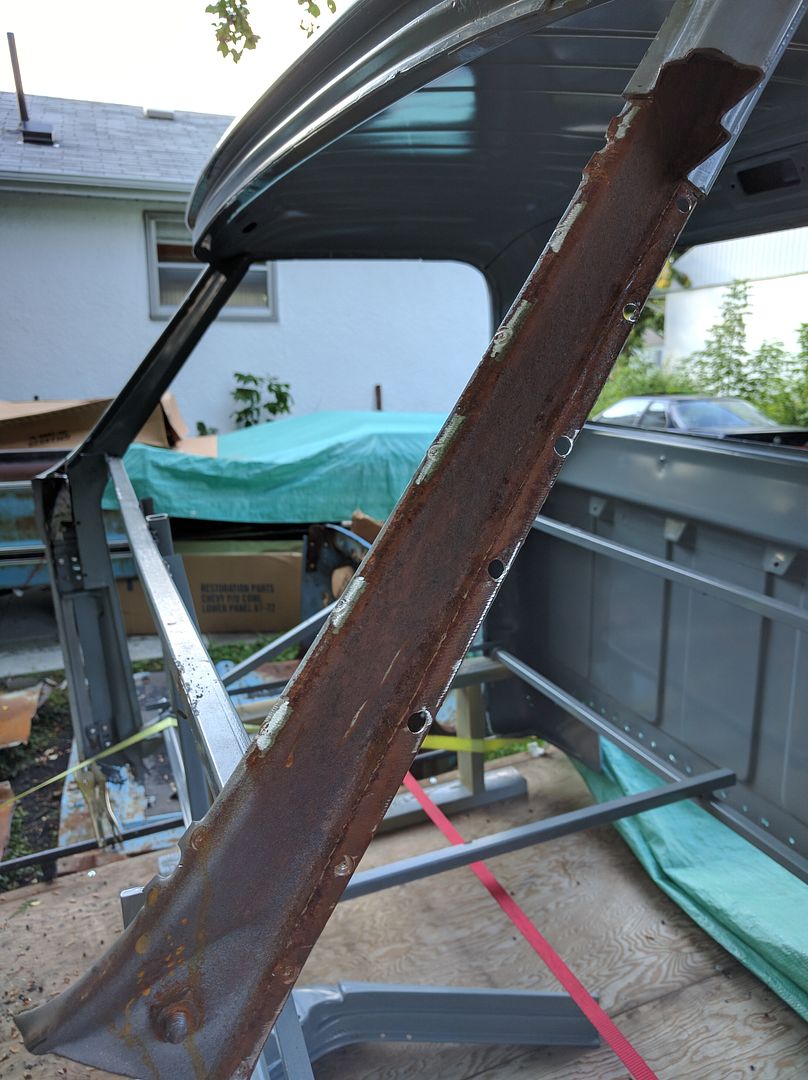
After lots of sandblasting with my dad's tiny compressor bought to run an air nailer.
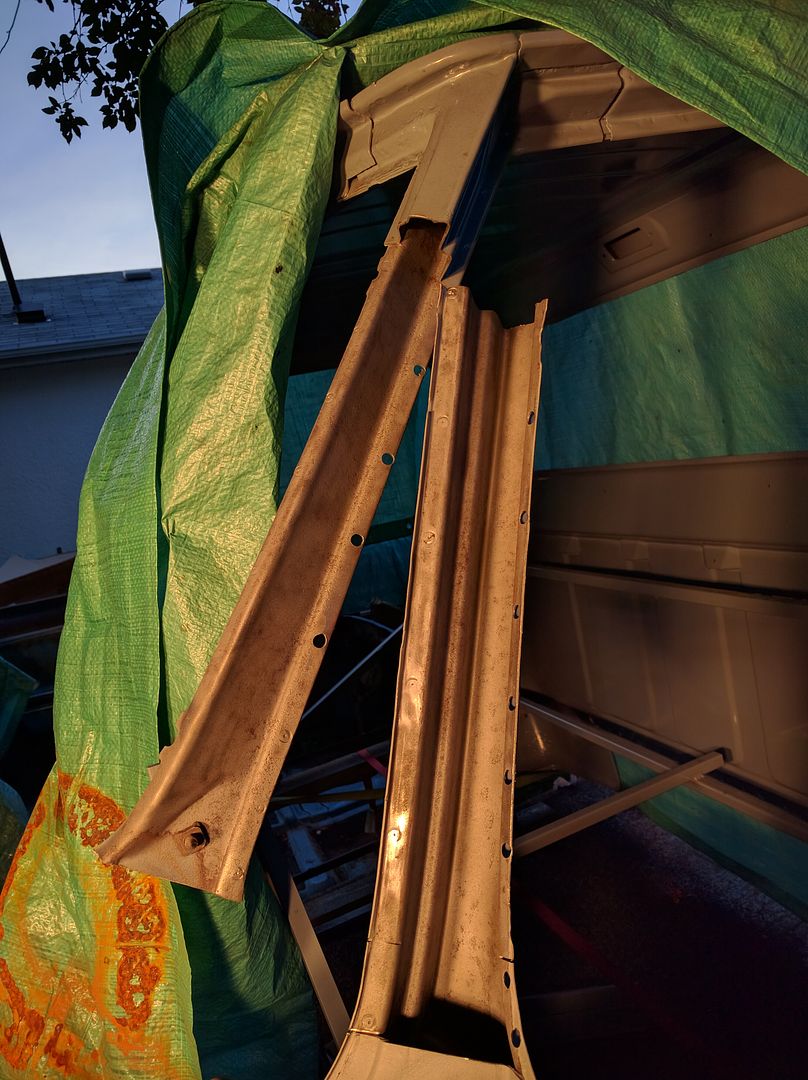
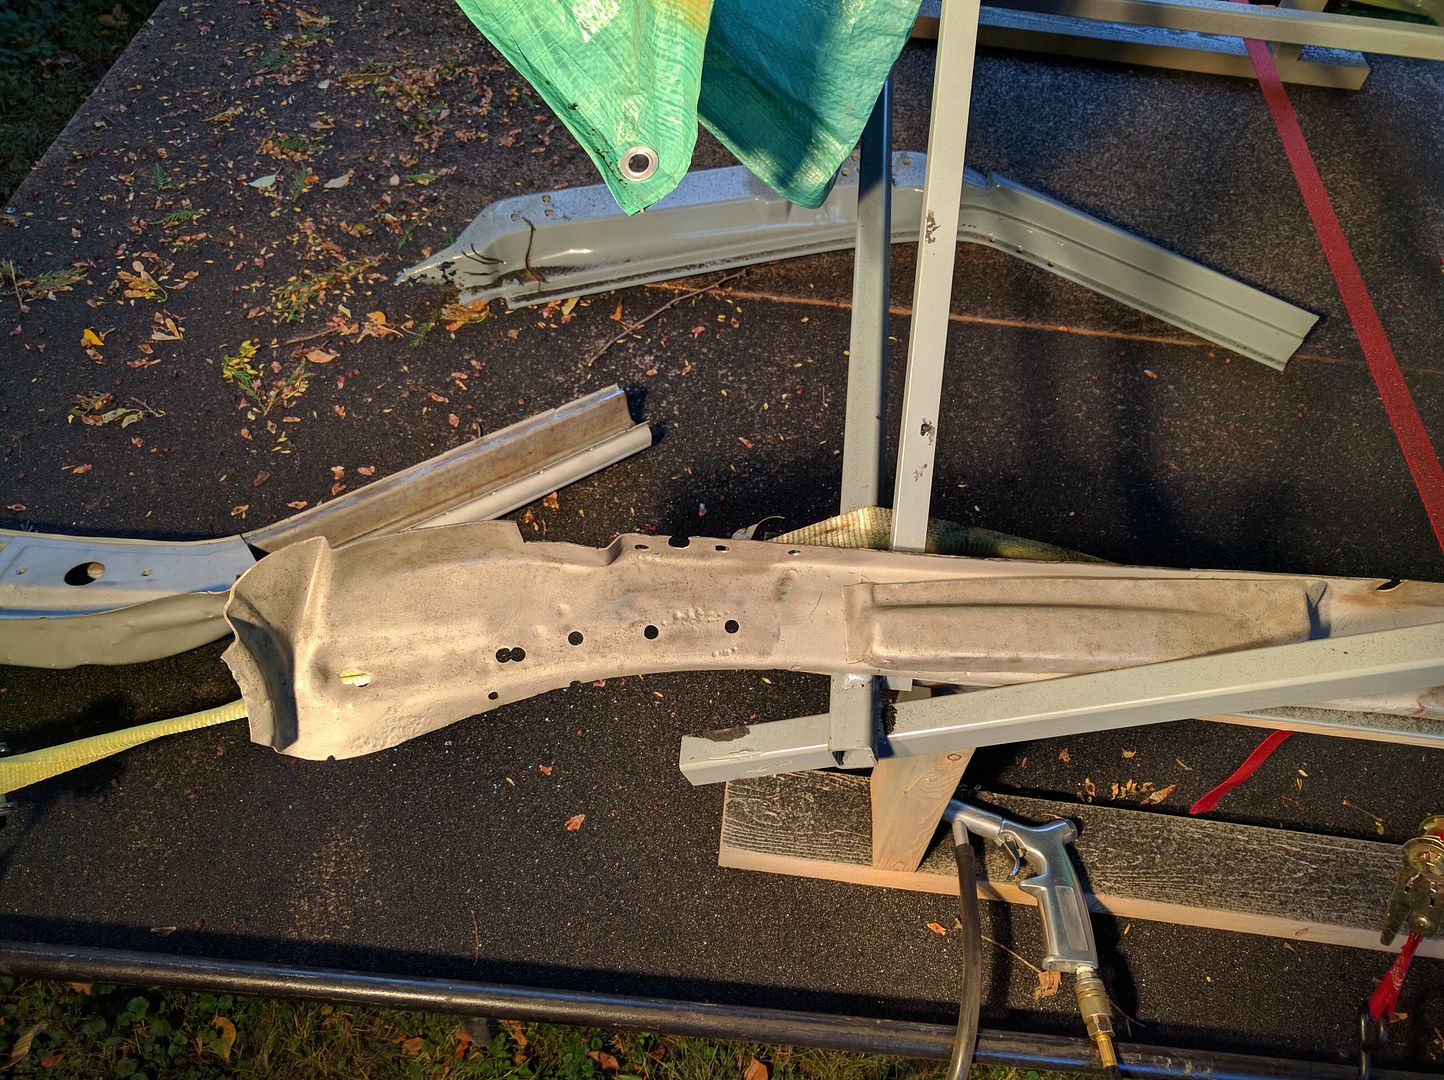 It's not powerfull enough to get the deepest pitting and around the corners where I can't get a good angle, but it'll have to do.
Coated everything in zinc weld though primer
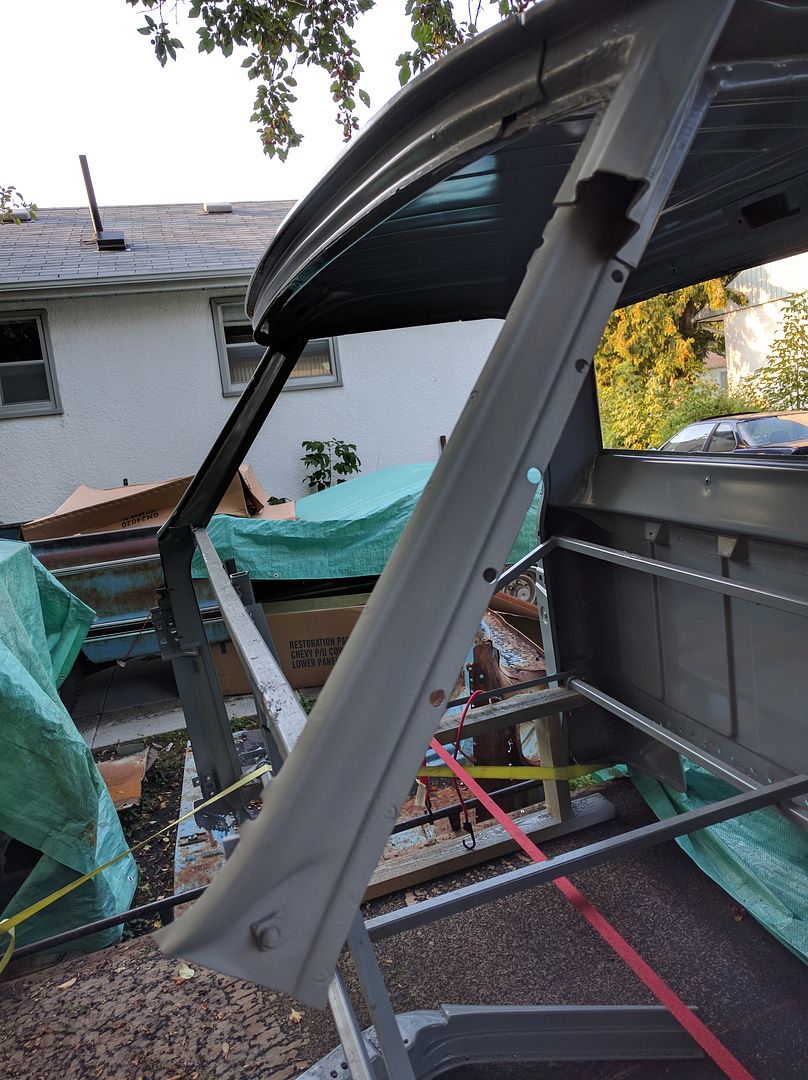
Made the first tack last night
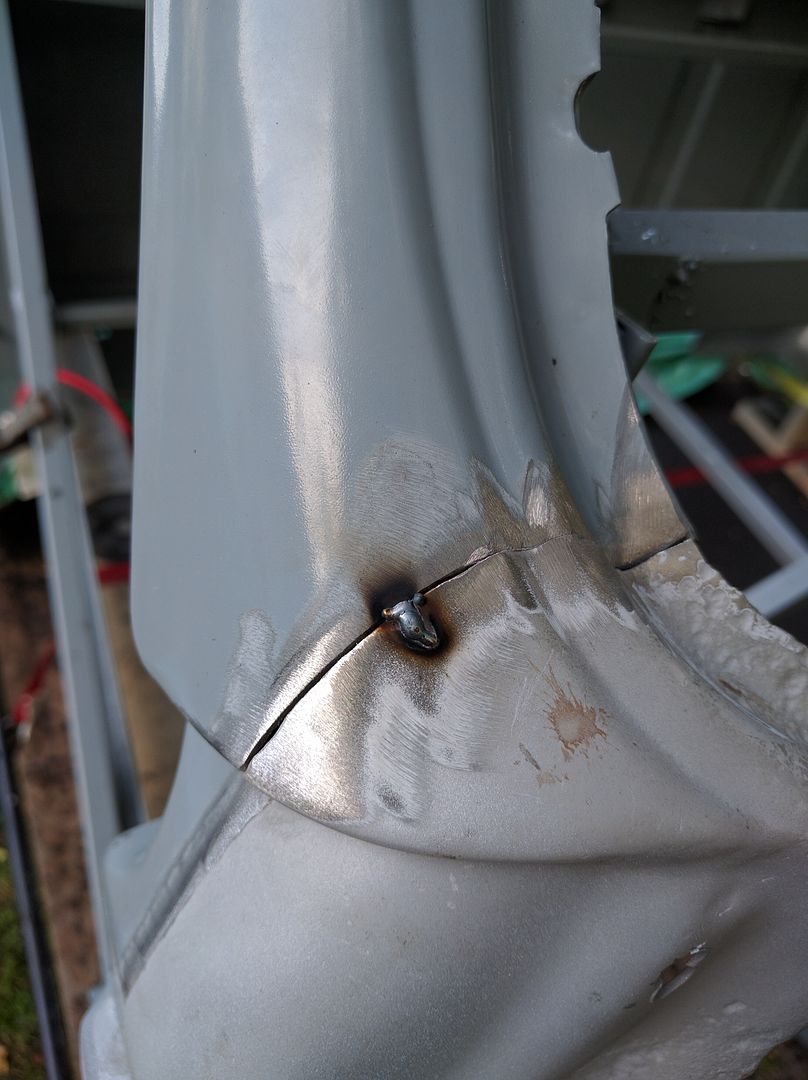
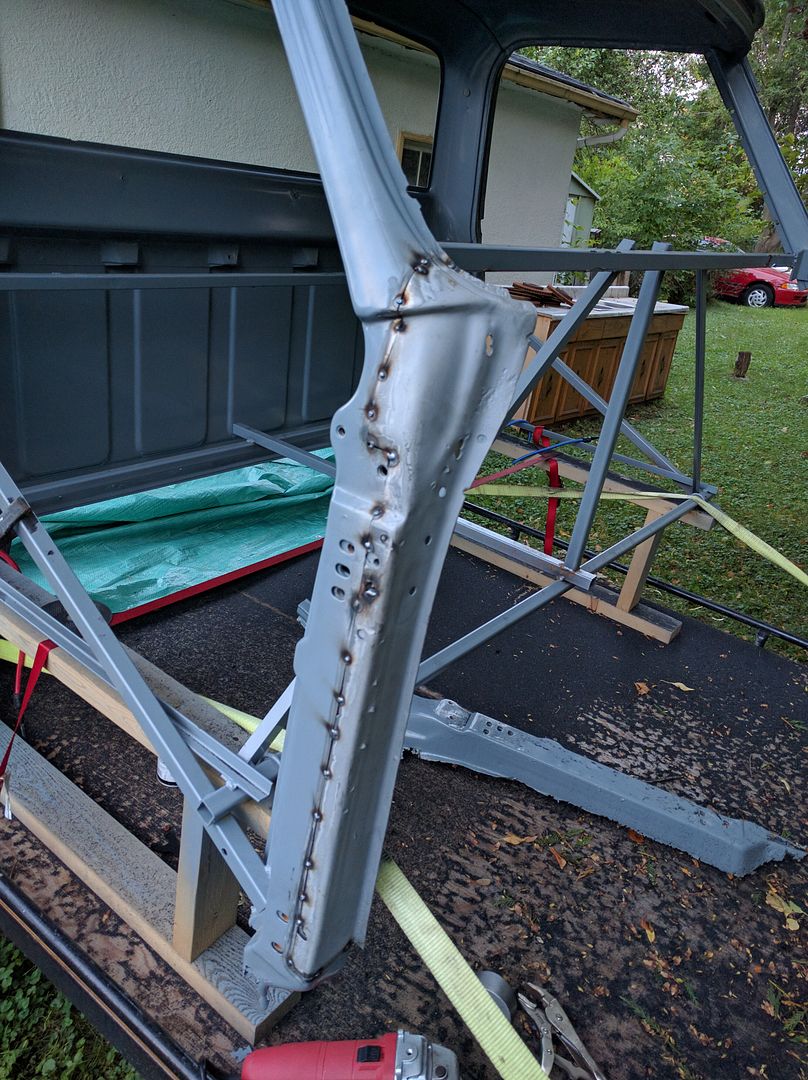 I started from the top and worked my way down. The replacement panel really didn't want to sit flat down here and was pretty twisted.
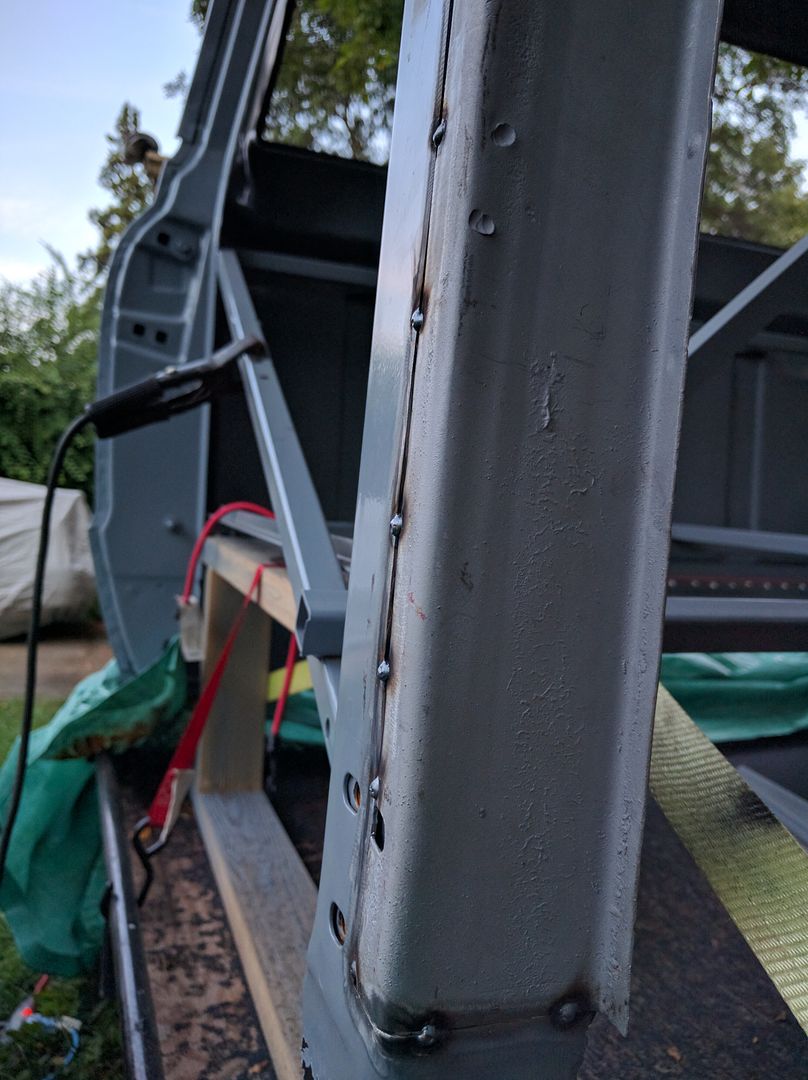
I'm having trouble getting nice welds.
Here's my initial settings that I used all of yesterday
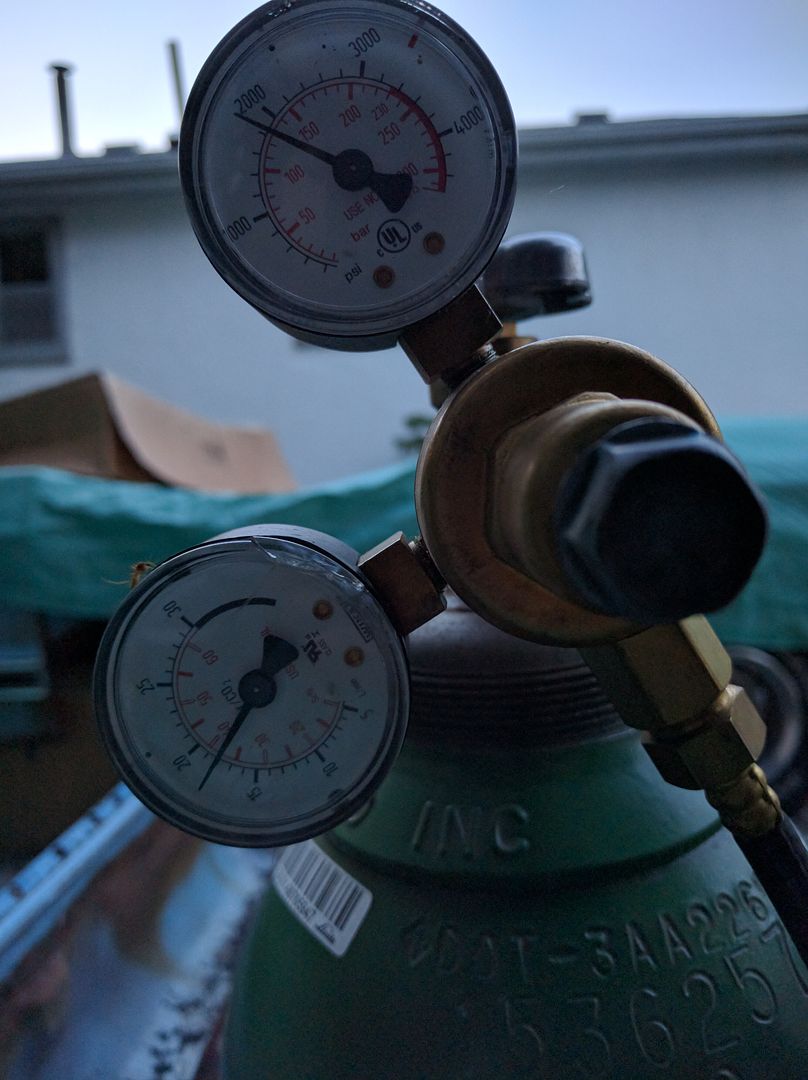
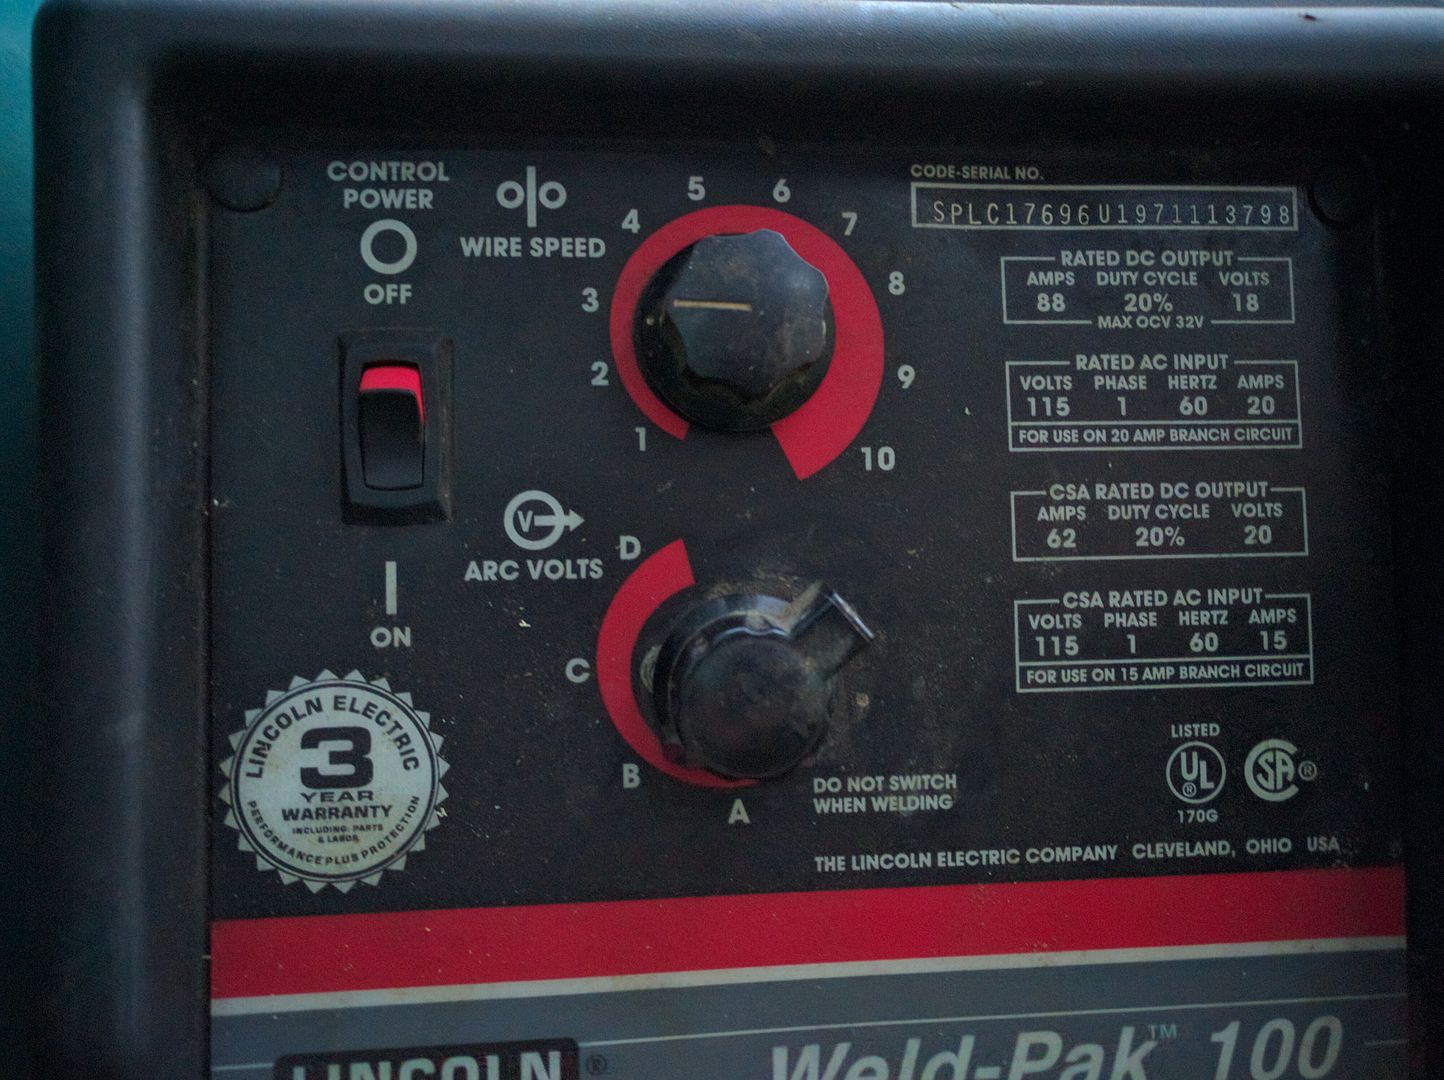
I messed around with the settings today and tried going hotter (setting "C") with just a touch more wire speed but ended up going back. I can't get nice flat welds, it seems to mostly sit on top. Sometimes the wire doesn't even tranfer and makes a little ball at the end of the wire.
I don't remember what setting I had for these, but you can sort of see.
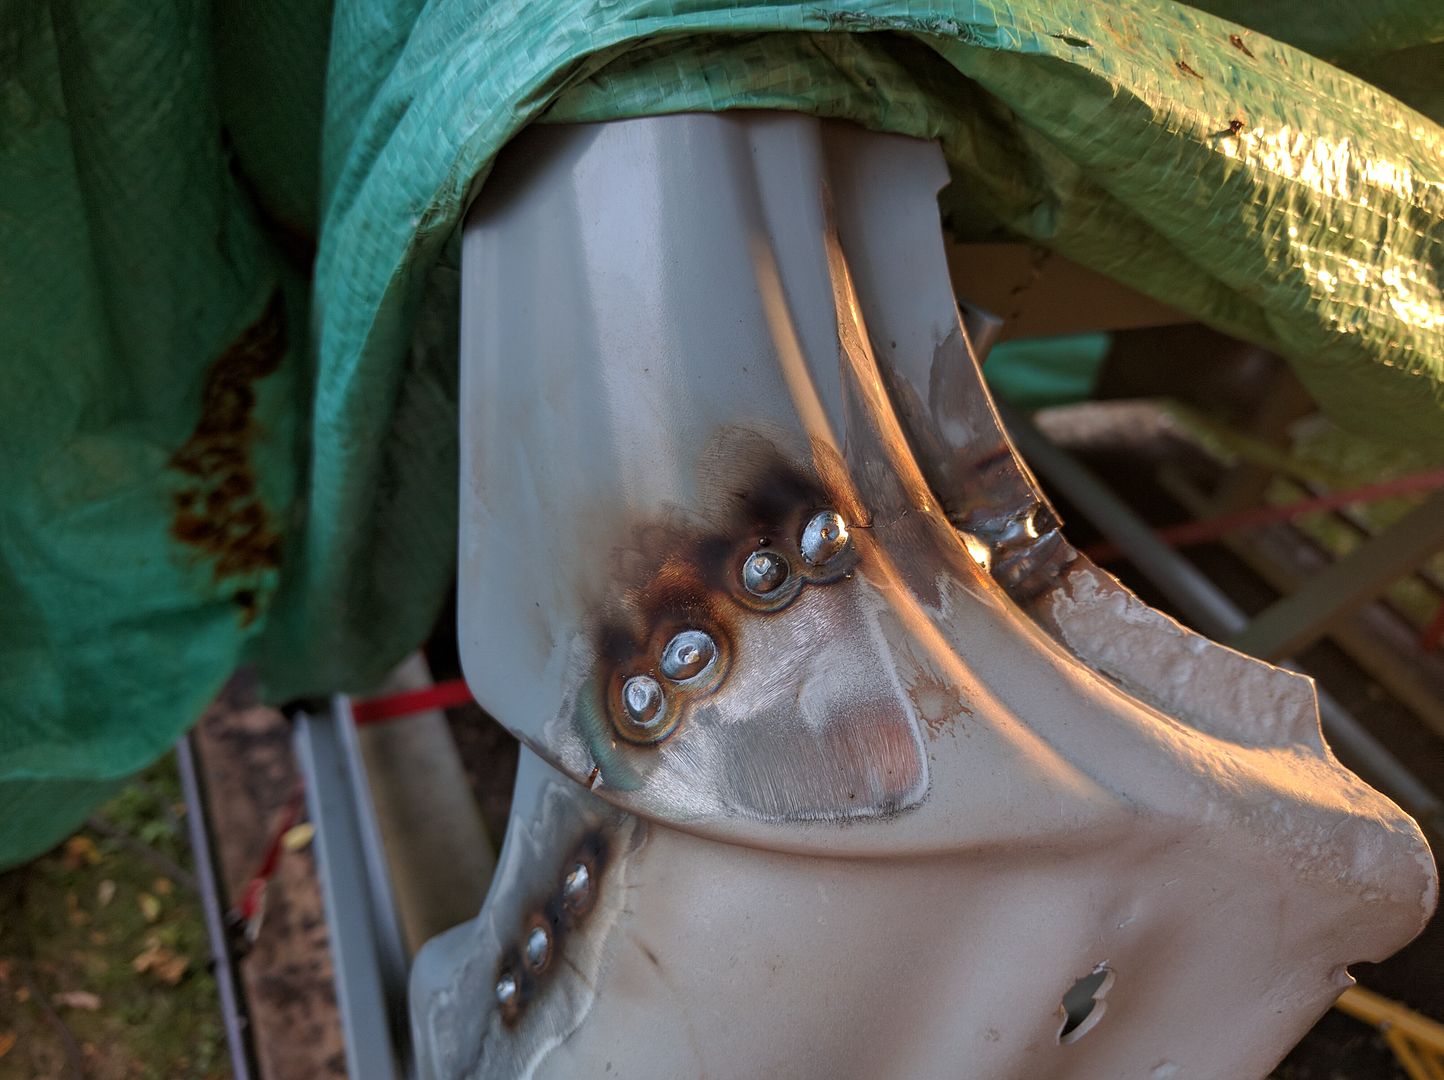 Part of the reason is my gaps are all uneven. I tried doing a little welding on the back side too and that doesn't work so well as I can't get the flap wheel in there to clean the old paint and powercoat. It's really tempting to run short beads, I did a couple and they ended up decent.
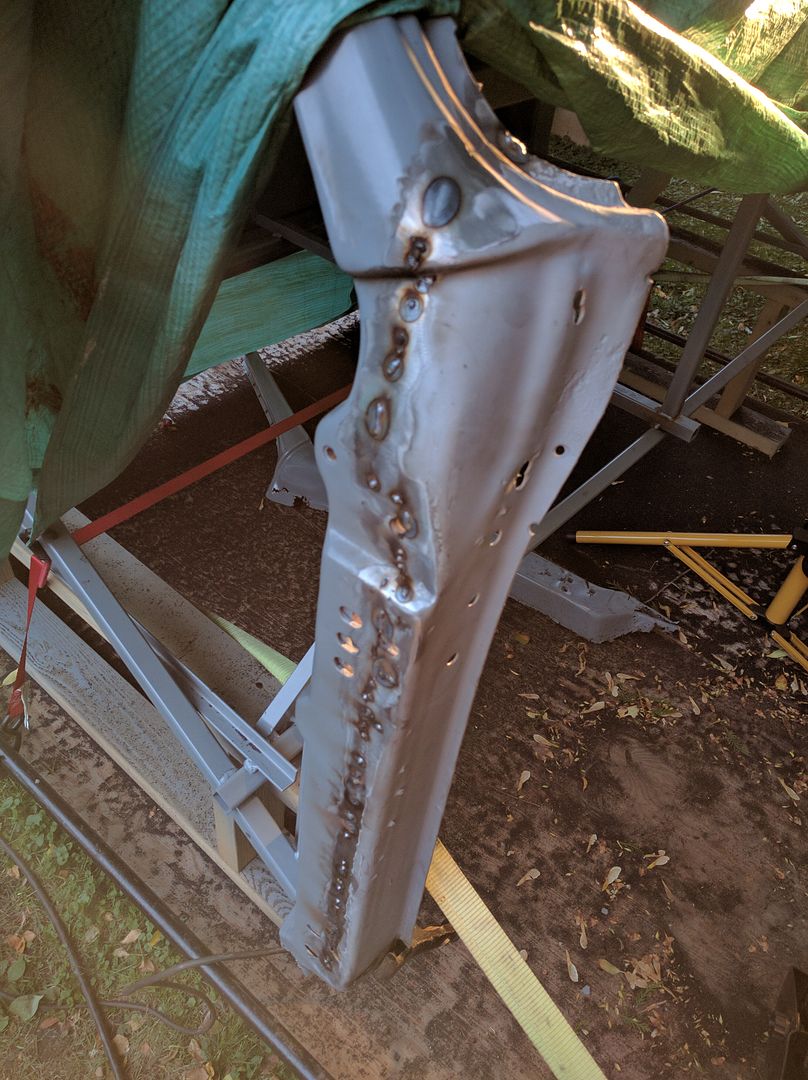 Where I stopped tonight.
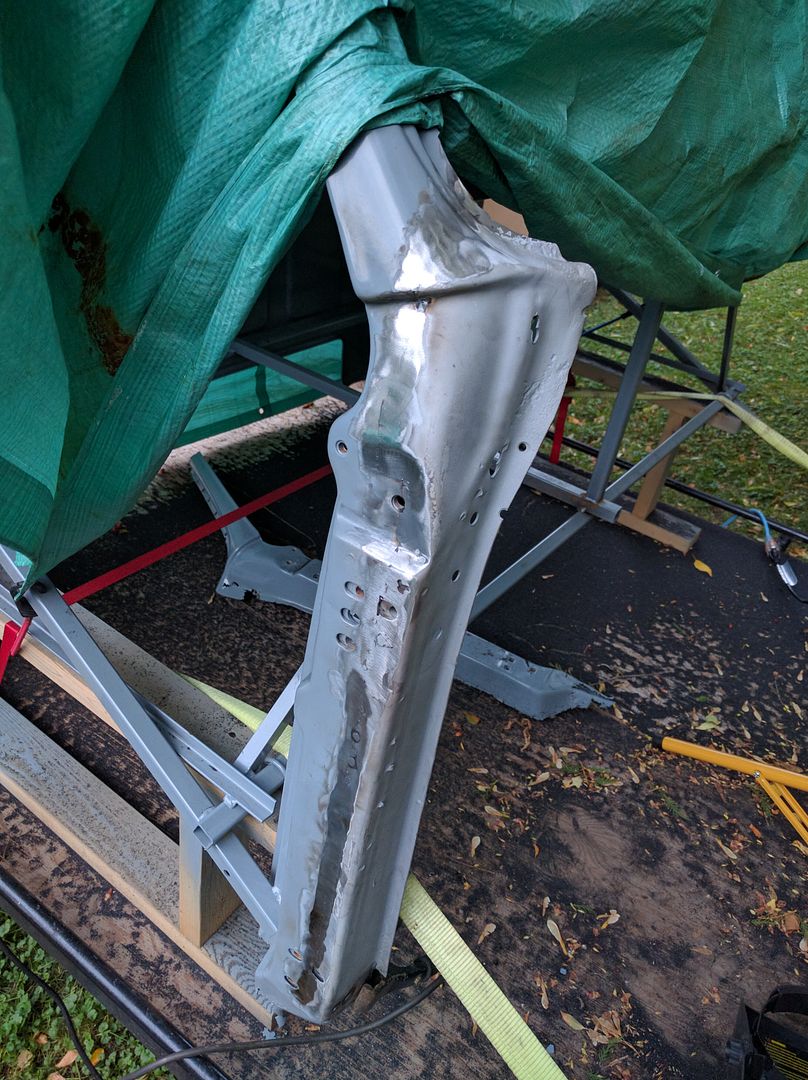
Not happy with the lower part. It's flat here
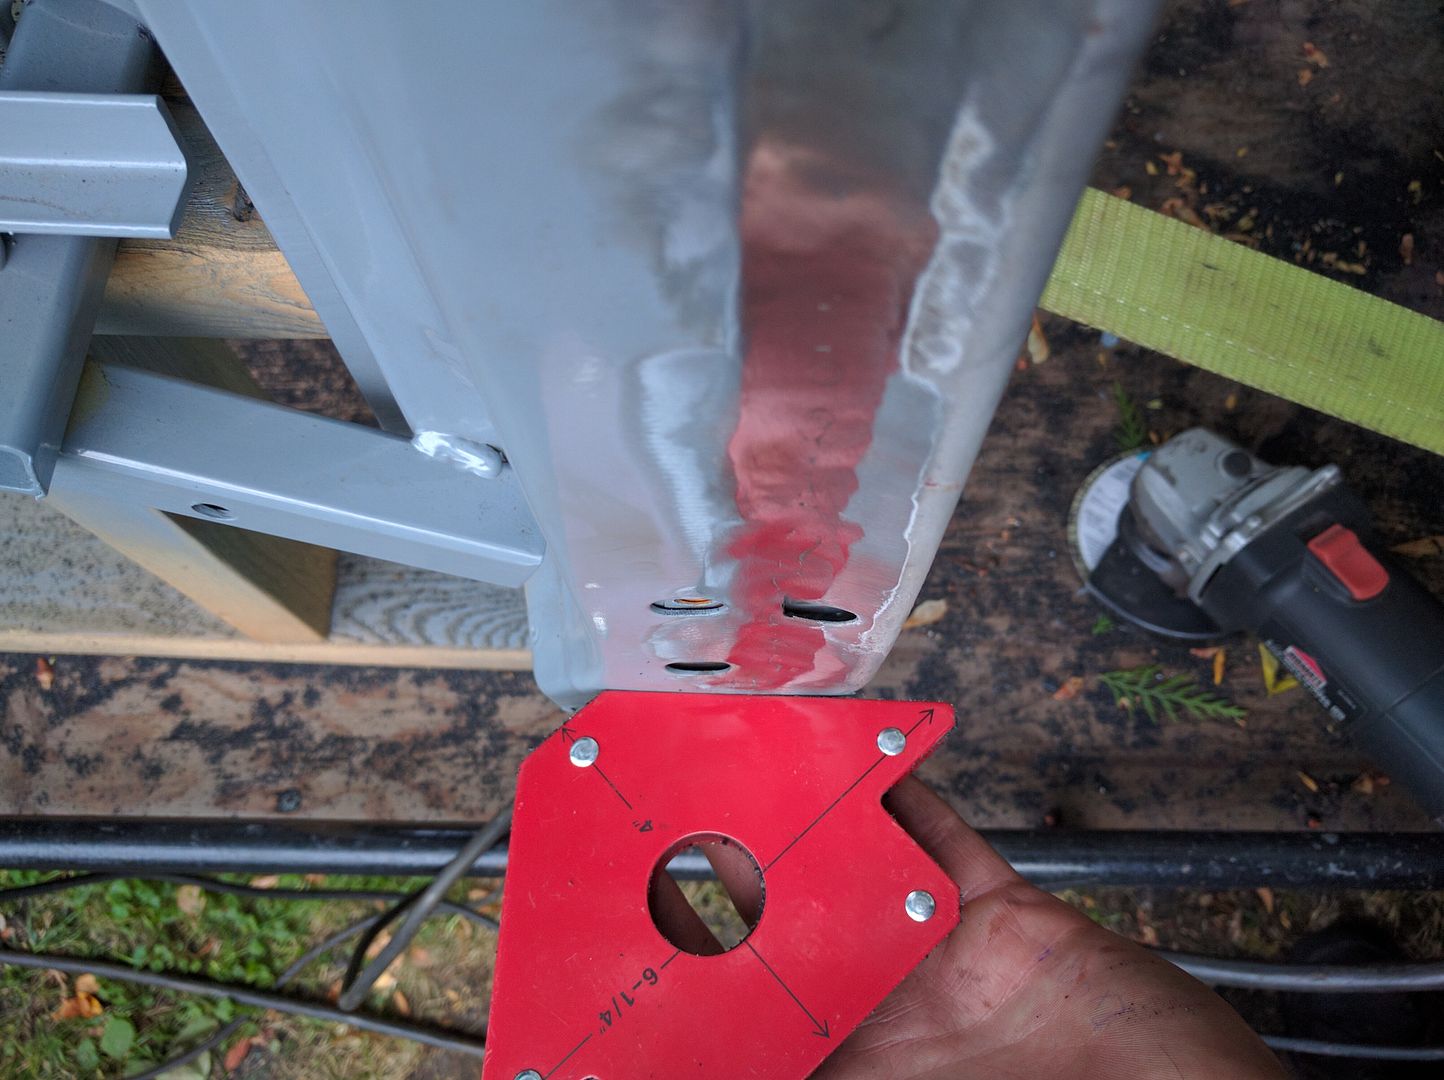 Bowed inwards the worst at the lower door hinge area
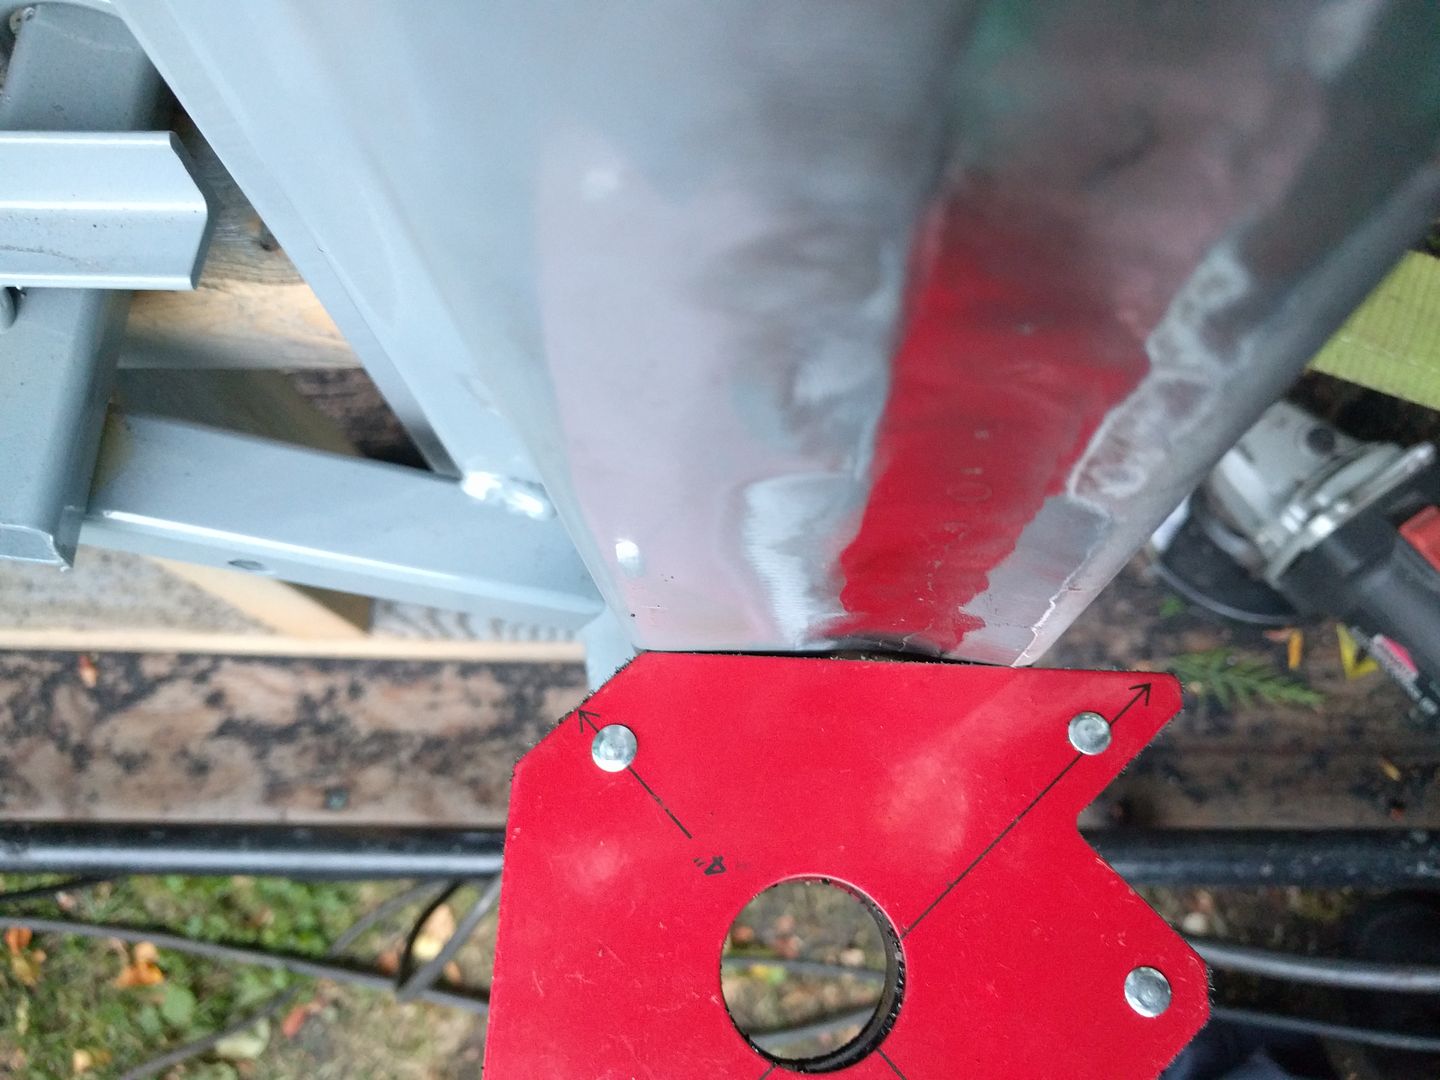
And flat again near the top
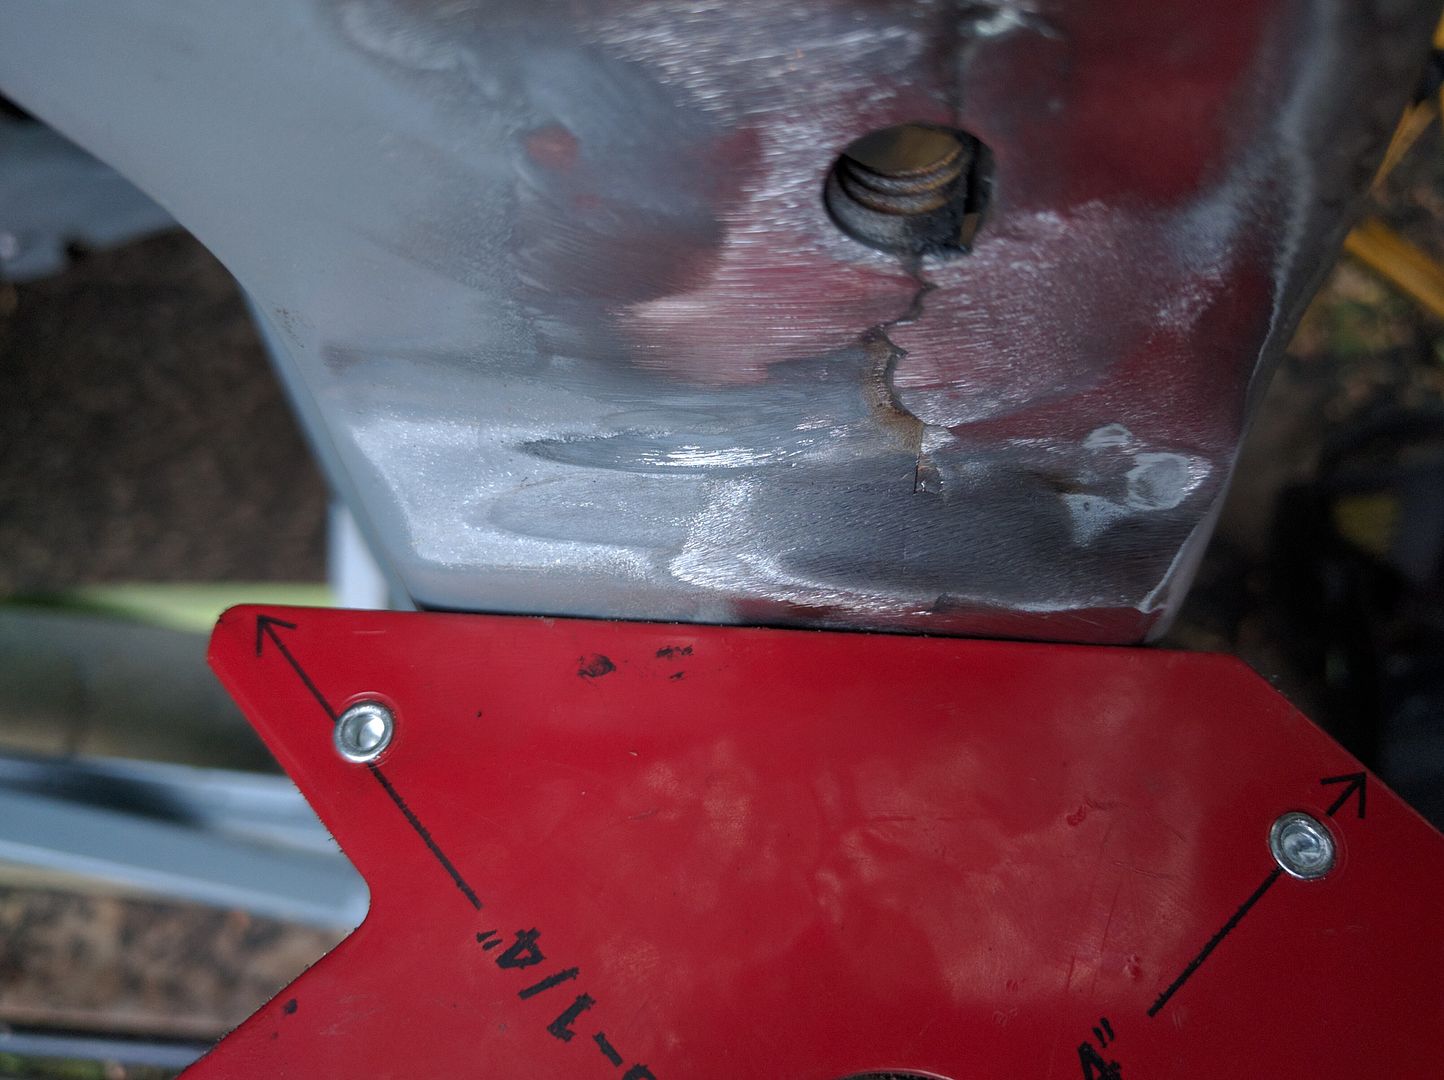 It was bowed in at the bottom a bit when I first tacked it in and got worse as I added heat.
Hoping when I cut the bottom of the A-pillar off to put in the patch panel I can hammer and bend it back straight a little since it'll be a little weaker without the lower bit. Good thing this is the passenger side and I won't see it every time I get into the truck.
You'll need to log in to post.