We did H&R's on the 08 Rio. Even being an auto it was so much better. 185/65/14 Goodyears and it still handled great.
We did H&R's on the 08 Rio. Even being an auto it was so much better. 185/65/14 Goodyears and it still handled great.
First tank with an un-reset trip odometer. Short-shifting as per the indicator on the dash (typically up-shifting by 2500rpm), and very few full throttle runs. Mostly city or combination city/hwy driving.
31mpg US
37mpg Imp
7.6L/100km
This appear to be right where these cars are rated, so that's nice. Theoretically 34mpg highway.
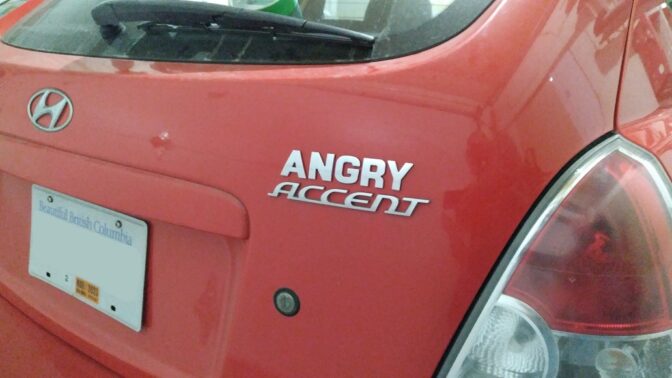
And a co-worker has one as well, so they can't be all bad, can they?
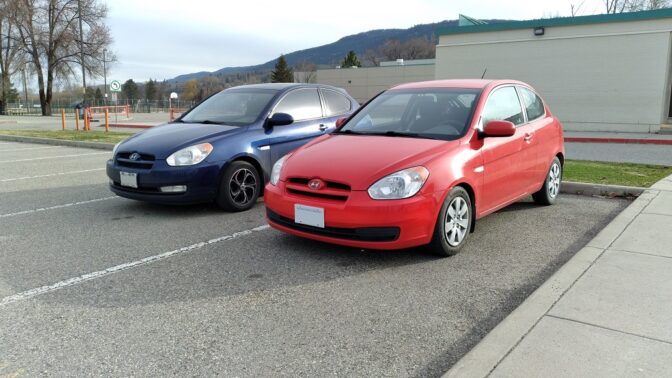
7.6 is exactly where Mrs. P's Sonic is. I thought it should probably be a little better, but all things considered, I guess it's not bad. And for you it's a lot better than a V8 powered Chev truck
That thing need some wheels!
I'll show the setup I used to do this soon.
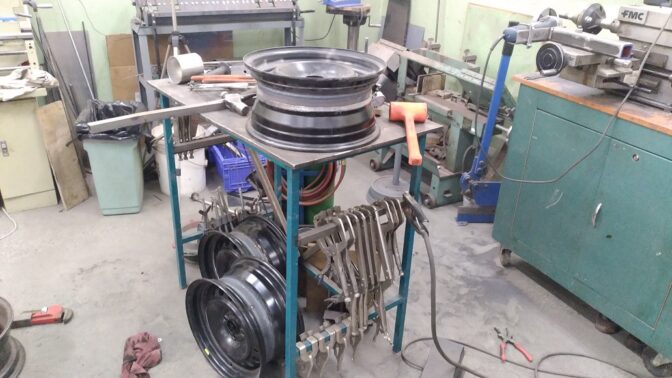
This is just tacked together. 15x6 on left, 15x7 on right:
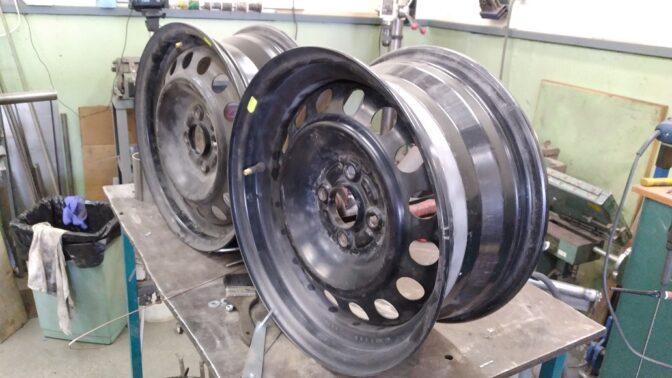
Ok, here it is:
First step, fabricate an angle-grinder mount for your brake lathe. We all have brake lathes, don't we? If you zero the dial once it contacts, the wheel is only 0.105" thick. Takes the guesswork out of how deep to cut. I'm widening the outside, you could do the same and cut the backside off to widen them inboard.
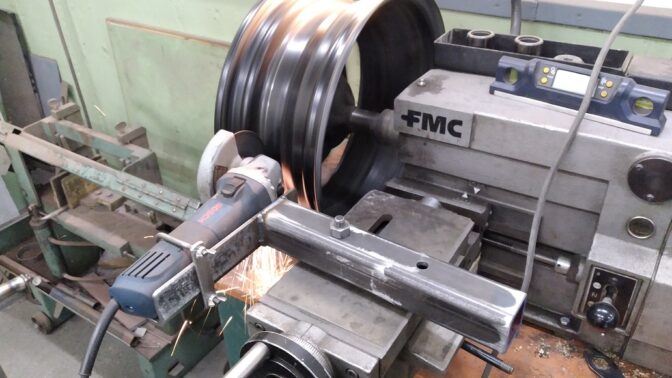
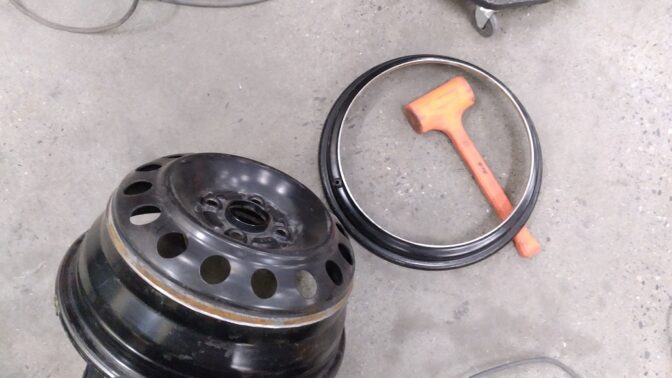
Bash the outer lip off with a hammer.
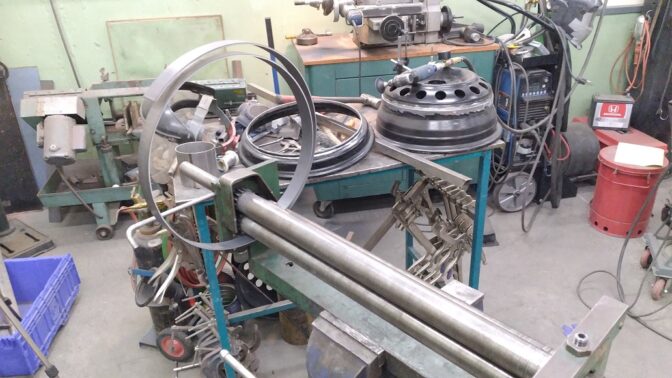
Roll the strips to a decent curve with your handy slip roller. I pinched this one from work. You'll need to cut off any excess. Try not to roll a cone.
Place the new band onto the hoop, tacking in place, matching the curve, making sure everything is perfectly aligned.
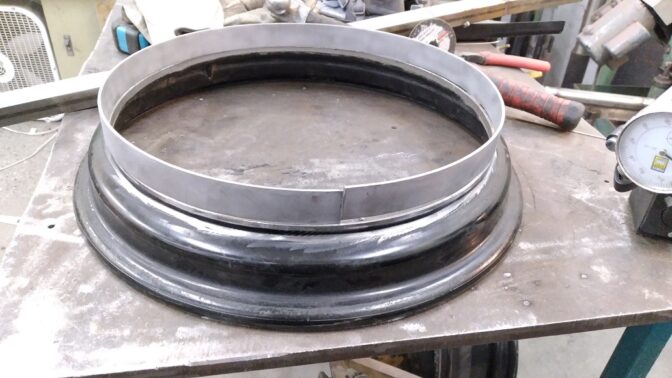
Then check, check, re-check, and check again that the new banded lip sits correctly on the rest of the wheel and doesn't wobble or do anything drunk. You only get one shot at this.
This is just tacked together. Little bit at a time. Check, check and re-check.
15x6 on left, 15x7 on right. Tacked:

Fully TIG welded. 6" in front, 7" in back, same wheel:
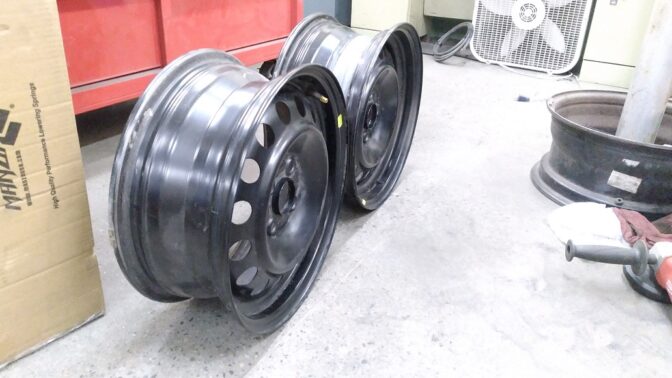
Third one almost done; boy this is a crap load of work:
I fret so much about getting them perfect, and then I spin up an un-cut wheel and think "why am I worrying so much!?" The originals aren't all that great.
In anticipation of wider-rim excitement, I ordered a set of (boring/non-performance) Kumho tires in 195/55R15 for the impending rim awesomeness. Really good pricing, plus a $60 rebate. Yay!
SkinnyG (Forum Supporter) said:boy this is a crap load of work:
Nicely done, they'll look awesome on the car.
But these days I'll just spend a couple hundred bucks on a set of aluminum wheels and call it a day...
I keep seeing really clean ones on the road and wondering, where were they when I was looking? They were out there, but almost all automatic
SkinnyG (Forum Supporter) said:Ok, here it is:
First step, fabricate an angle-grinder mount for your brake lathe. We all have brake lathes, don't we? If you zero the dial once it contacts, the wheel is only 0.105" thick. Takes the guesswork out of how deep to cut. I'm widening the outside, you could do the same and cut the backside off to widen them inboard.
Bash the outer lip off with a hammer.
Roll the strips to a decent curve with your handy slip roller. I pinched this one from work. You'll need to cut off any excess. Try not to roll a cone.
Place the new band onto the hoop, tacking in place, matching the curve, making sure everything is perfectly aligned.
Then check, check, re-check, and check again that the new banded lip sits correctly on the rest of the wheel and doesn't wobble or do anything drunk. You only get one shot at this.
This is just tacked together. Little bit at a time. Check, check and re-check.
15x6 on left, 15x7 on right. Tacked:
Fully TIG welded. 6" in front, 7" in back, same wheel:
A lot of stress work and welding...
My dad's cousin that used to build Oval track cars, in the USA i think you call it dirt circle track and stock cars, and widening his wheels with only one cut and weld joint.
You need to measure the wheels that you need to widen at your cut point, and then go to a scrapyard and look for a wheel of the same diameter, ie 14" or 15", and where the step is the same, either front face or rear barrel, then cut and weld on the set you tend to keep
StripesSA1 said:only one cut and weld.
Yes. I brought that up on the last page. Can it be done this way too? Heck yeah. More work though.
SkinnyG (Forum Supporter) said:StripesSA1 said:only one cut and weld.
Yes. I brought that up on the last page. Can it be done this way too? Heck yeah. More work though.
Might have missed that.
And more leg work as well going to all the scrap yards
SkinnyG (Forum Supporter) said:Thinking black centers, silver hoops. Thoughts?
That was my look for years. When I was poor/cheap I always used black steelies and chrome/SS rings. Later on my race cars, flat black with aluminum paint for the rings.
I'm sure I still have some rings in the back of the shop somewhere
I'm a sucker for widened steelies. Maybe a dark argent silver overall? I'd hate to not see the depth of the lip. Just my opinion.
No colour on the wheels today. Backsides got primered though...
Mean time, enjoy the suspension video!
After following your other builds, I have no clue how I missed your YouTube channel. Just the two videos I've seen on the Accent are very well made and informative. You definitely have a new subscriber, and I hope to see a video of you widening those steelies!
And regarding the ads, if they generate any sort of revenue keep them in. You're entertaining me for free, I'm cool watching some ads to hopefully kick something back to you.
You are too kind (grin).
I keep the ads in the beginning and the end, but I personally HATE ads in the middle of a video.
I also sell a variety of shirts at shop.gwellwood.com, which directly benefits my wallet.
Steelie video will be out once the tires are on and we can see how it looks.
SkinnyG (Forum Supporter) said:And some PPG DelFleet paint:
This project is just making me rediculously happy.
You'll need to log in to post.