1 ... 5 6 7 8 9 10
Keith Tanner
Keith Tanner GRM+ Memberand MegaDork
6/13/18 6:49 p.m.

So this happened today...

I feel as if I have just unlocked a gearhead achievement level. Do I get a badge?

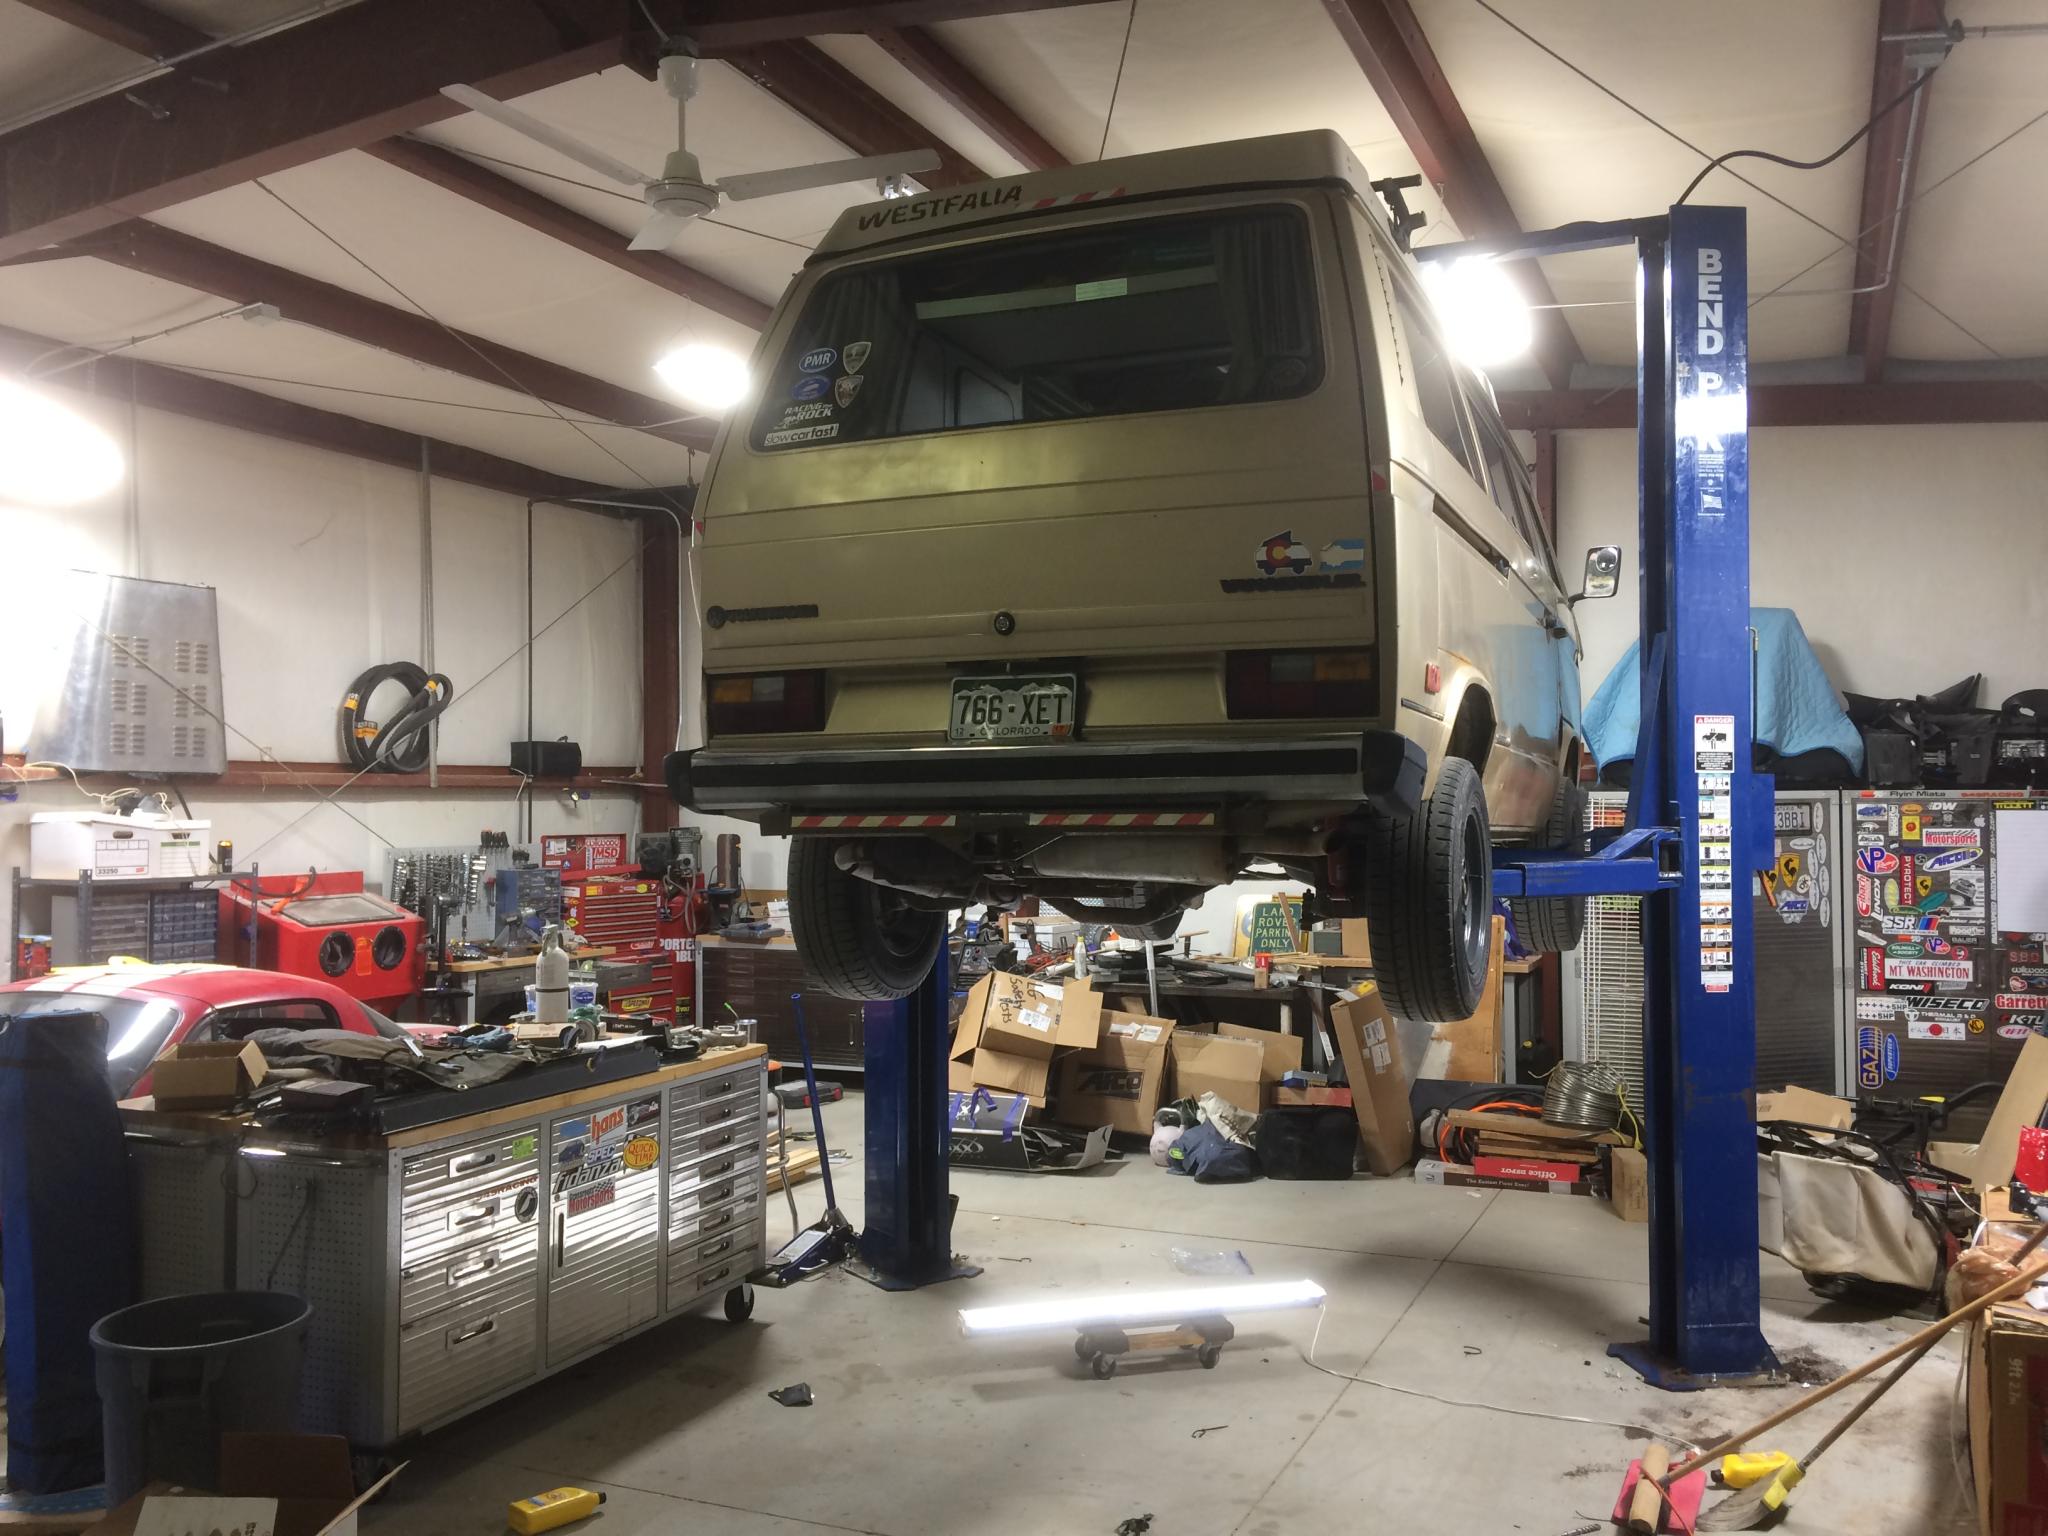
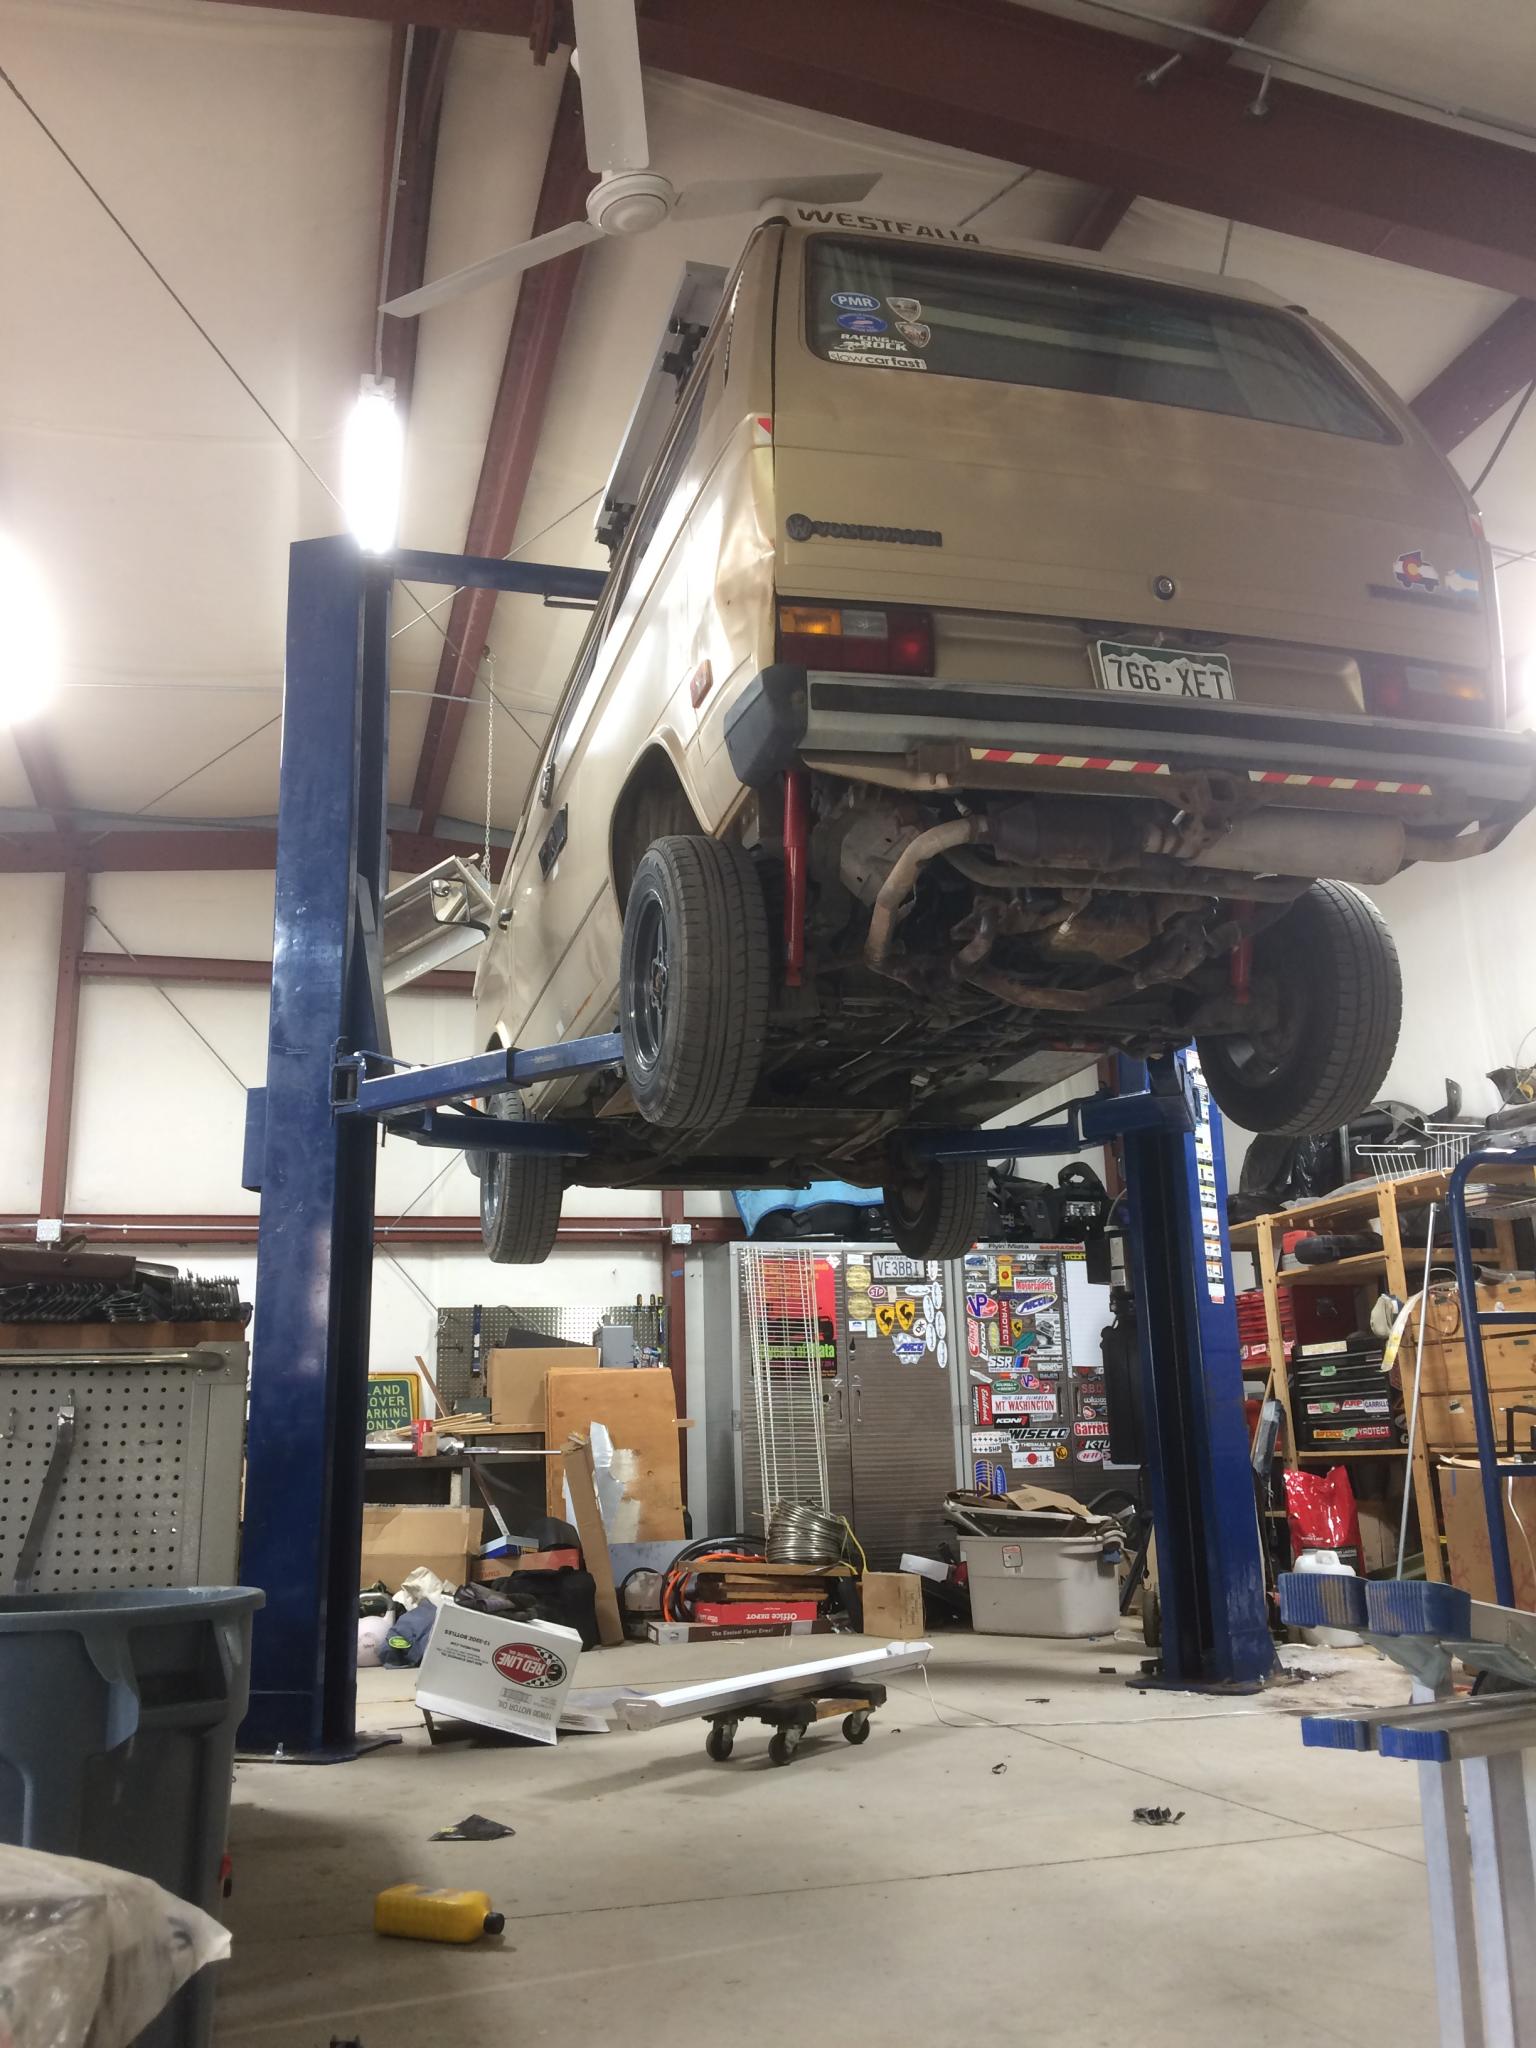
The van on the lift is the worst case scenario in a lot of ways. A basic box that's tall. It's almost but not quite at the limit switch here. Looks low in the picture, but it's high enough that I'm eyeball level with the tailpipe and I can stand up - just - under the floor. That'll work, as all my other vehicles will be able to go higher. The ceiling fan is obstructed, but I'll be sorting that out in a couple of weeks. Not shown here is the shop heater bumping the windshield. I'll have to move it over a little bit.

I also have to break down some boxes, I look like a hoarder. Keep in mind that this is a work in progress. Now that the lift is in, I feel I've turned a corner and I can start to seriously put stuff away. Not sure why, but that's where my mind is.

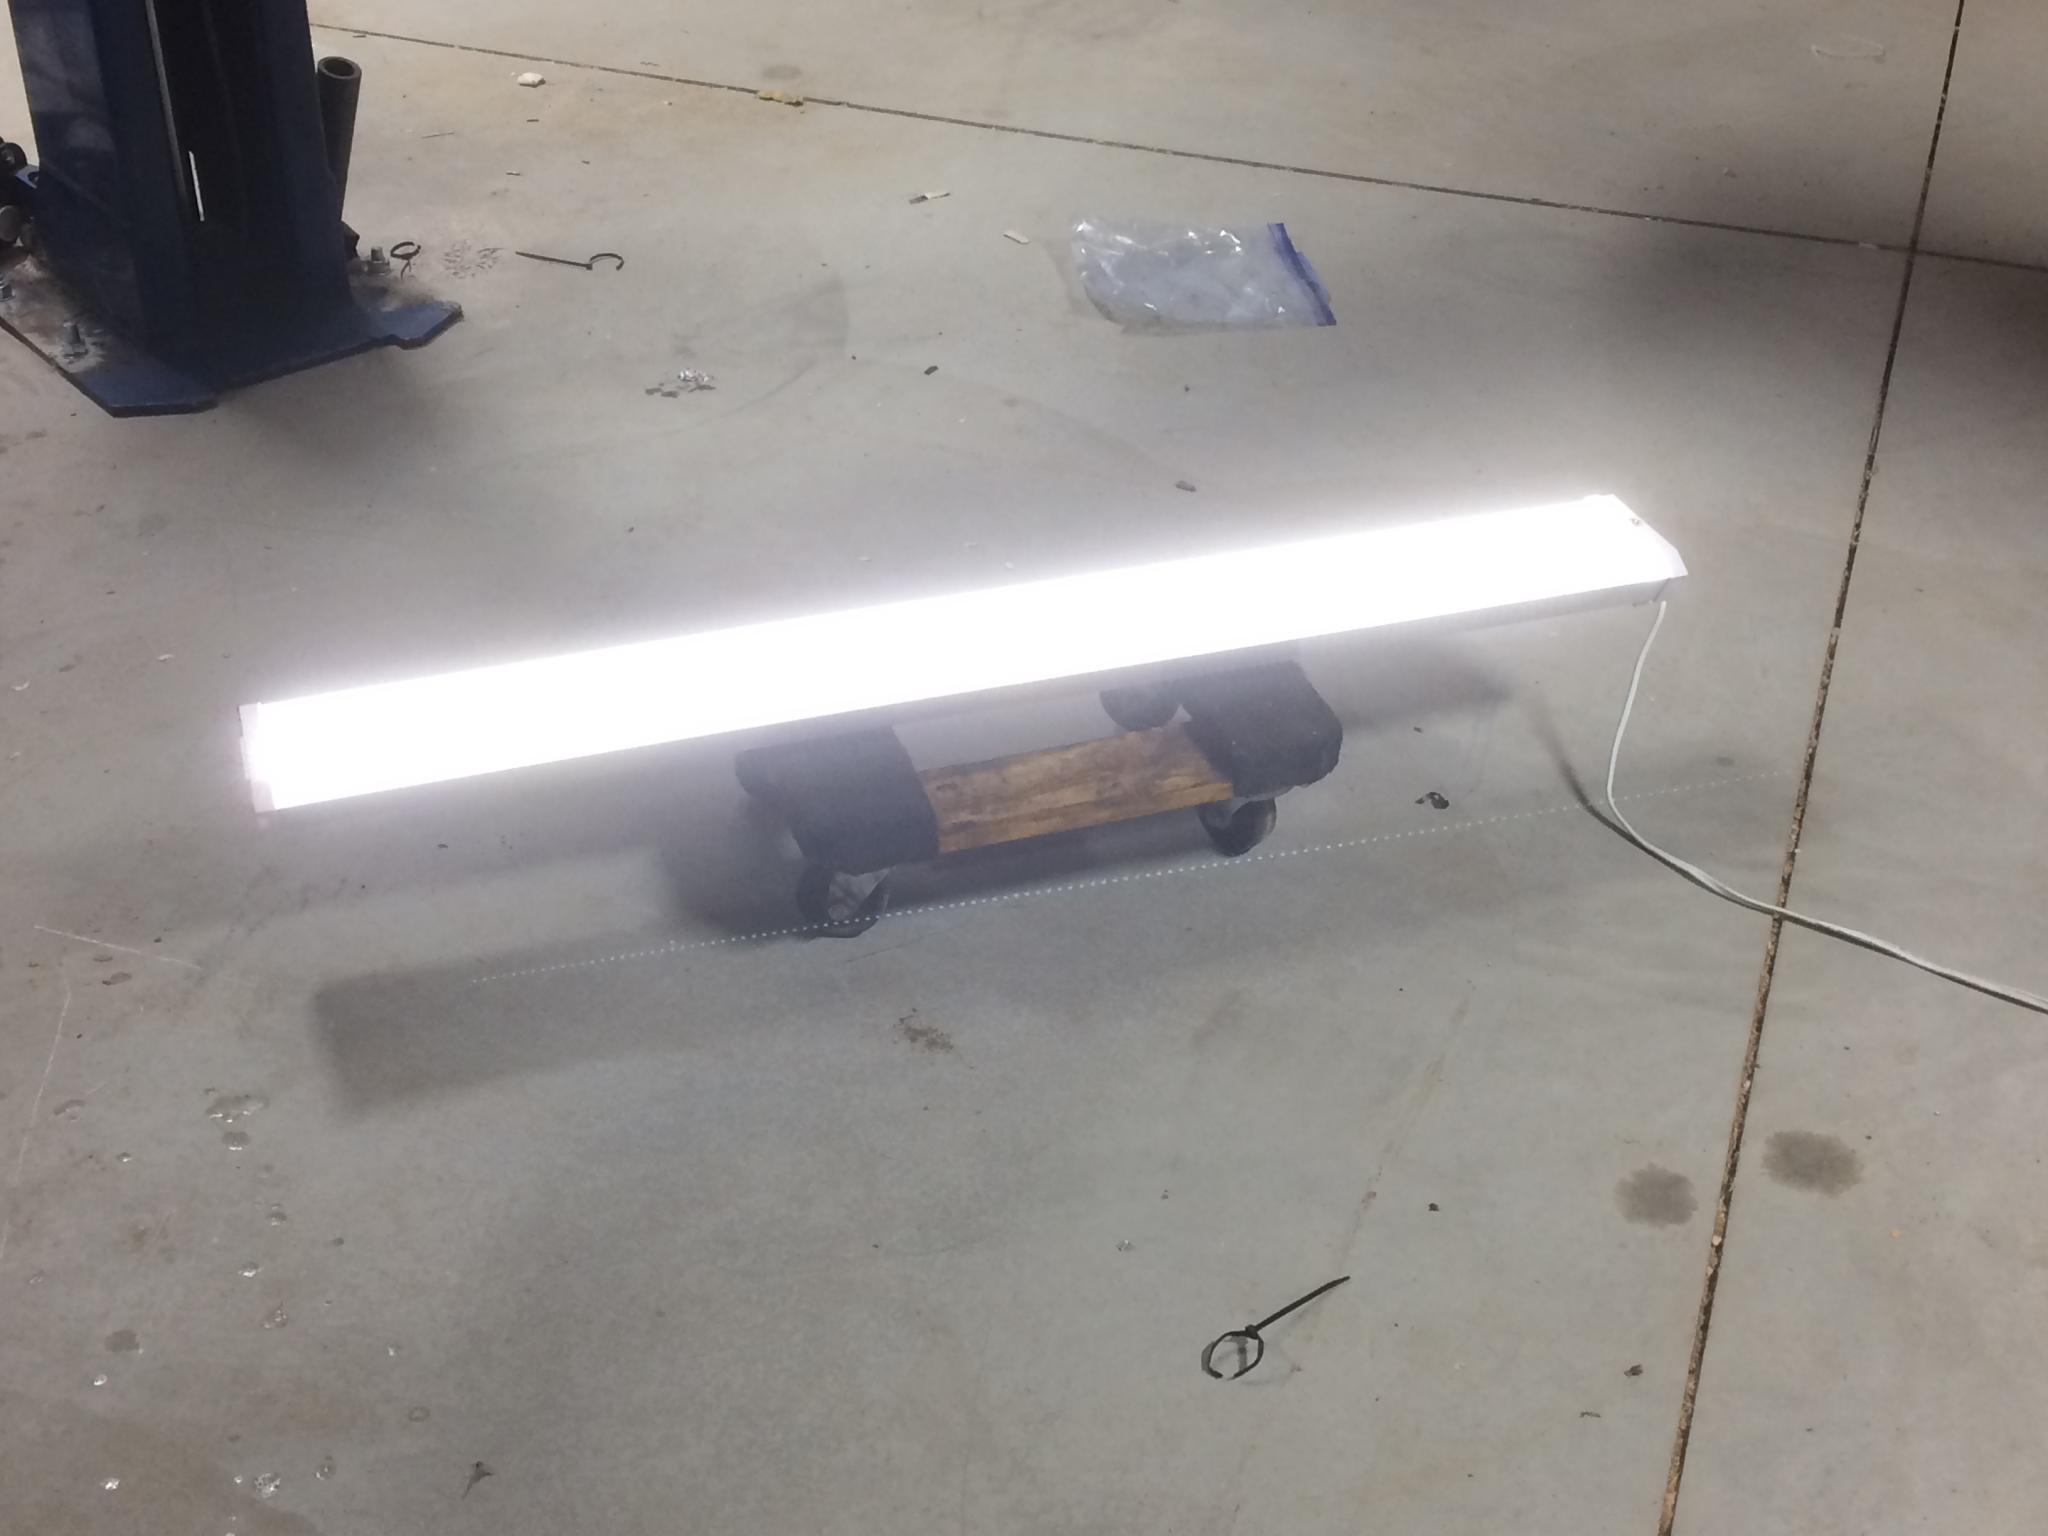
The lighting works well, I've got loads of light everywhere. But you can see in this picture how I'm trying something out, suggested by my electrician friends. It's just a 4' LED shop light sitting on a furniture dolly. If I like the concept, I'll attach it permanently. It lights up the bottom of the car well and you don't get any glare, but there is the "oopsie" potential. I looked at attaching them to the lift posts but then they'd definitely be eyeballing you half the time. Thoughts? Anyone tried this?

Dusterbd13
Dusterbd13 MegaDork
6/13/18 6:53 p.m.

I put a few self-adhesive LED strip lights on the runners of my left. It's a four post however. My personal shop where I work on my back I have some stuck to a chunk of plywood that I just slide under the car. Works good enough for this Old redneck.

Keith Tanner
Keith Tanner GRM+ Memberand MegaDork
6/13/18 7:01 p.m.

Ah, I've got some 12v stickum LEDs. I could try that on the arms. Interesting.

AWSX1686
AWSX1686 GRM+ Memberand Dork
6/14/18 9:41 a.m.

In reply to Keith Tanner :

If you put LED strips on the arms you might even be abe to use a piece of wood trim or bent angle iron to a *45 or so to angle the strip upwards if that makes sense. LED strips have a pretty wide output, but that would direct it more upwards towards the car you're working on vs. into your eyes all the time. 

Keith Tanner
Keith Tanner GRM+ Memberand MegaDork
6/14/18 10:18 a.m.

I'm thinking it would be really hard to get the perfect angle that illuminates the bottom of the car and doesn't nail your eyeballs. The fact that the plane of illumination is so close to the plane of the floor makes them of limited usefulness - think of the difference between roof mounted and bumper mounted driving lights. The scooter light has a lot of promise.

Not that I really need more light due to my excessive lumen output, but it's fun to play with.

For fun, I decided to go for maximum lift on my worst-case vehicle. I lifted it until it tripped the limit switch after checking to make sure that wasn't going to bonk anything useful on the roof. That gets me lots of room underneath, but the ceiling fan wasn't impressed.

No worries, that's a problem I was going to sort out anyhow. With the air temp being 101F yesterday, I am really looking forward to the new fan. I was running the small exhaust fan in the end all day and it was basically a very dry, still sauna. I think I'm going to have to run water down there for a swamp cooler sooner rather than later.

Rufledt
Rufledt UberDork
6/14/18 2:09 p.m.

I use a 4’ florescent light under cars and i love the light it shoots out.  The strip as opposed to point of light cuts down on shadows.  The only way ive found to not get it in the eyes is to have it behind me.  The long light source seems to keep my head from casting too much of a shadow.  Not sure how you will do that with a lift.  I use jack stands and lay on the floor, so i set the light on the floor above/behind my head.

So far ive only smashed one light bulb.

Keith Tanner
Keith Tanner GRM+ Memberand MegaDork
6/16/18 9:49 p.m.

Question for those in the know. 

I'm considering refrigerated air for the shop - i.e., air con that's not an evaporative cooler. There are a lot of advantages to a swamper, but they require me to run water to the shop and there's the maintenance issue. 

So, how do I size the AC unit? A window unit would be easiest to deal with. I don't need to get the shop down to 60F or anything like that, but I do want to take the edge off so I'm comfortable. I've got a Big Ass Fan coming to stir the air around and of course it's dry here. The shop is 30x40x14. The boxes in Home Depot only have floor area, I'm afraid they're assuming an 8" ceiling. Do I multiply by 1.75?

Pete Gossett
Pete Gossett GRM+ Memberand MegaDork
6/16/18 10:12 p.m.

In reply to Keith Tanner :

Ceiling height for a/c shouldn’t matter too much since cold air sinks? We had a 220v window unit(but mounted above head-height) covering about that much space in IL that was sufficient. We had 12’ ceilings there. 

Keith Tanner
Keith Tanner GRM+ Memberand MegaDork
6/17/18 2:56 p.m.

Thanks, that's a good way to look at it.

stuart in mn
stuart in mn UltimaDork
6/17/18 9:05 p.m.

To be sure on the size required you need to run a heat loss calculation.  There are any number of heat loss calculators online, you fill in the blanks (room dimensions, amount of insulation, how many windows and doors, typical high temperature in your area, etc.) and it tells you how many BTU you need.  I can't recommend any particular one, so it's probably best to run the numbers through several of them to see if you get relatively consistent answers.

Keith Tanner
Keith Tanner GRM+ Memberand MegaDork
6/18/18 11:37 a.m.

Thank you. It did become obviously pretty quickly that what I needed was a heat load calculator instead, though wink The fact that I don't have any heat generators of note in the shop and only one person makes the BTU requirement considerably lower. But I'm on the right track to sort out a number. Thanks for getting me going in the right direction.

So this makes me very happy. Here's where I built the Targa Miata - that's it, the first thing moved into my old house.  The MG was built on those same stands.

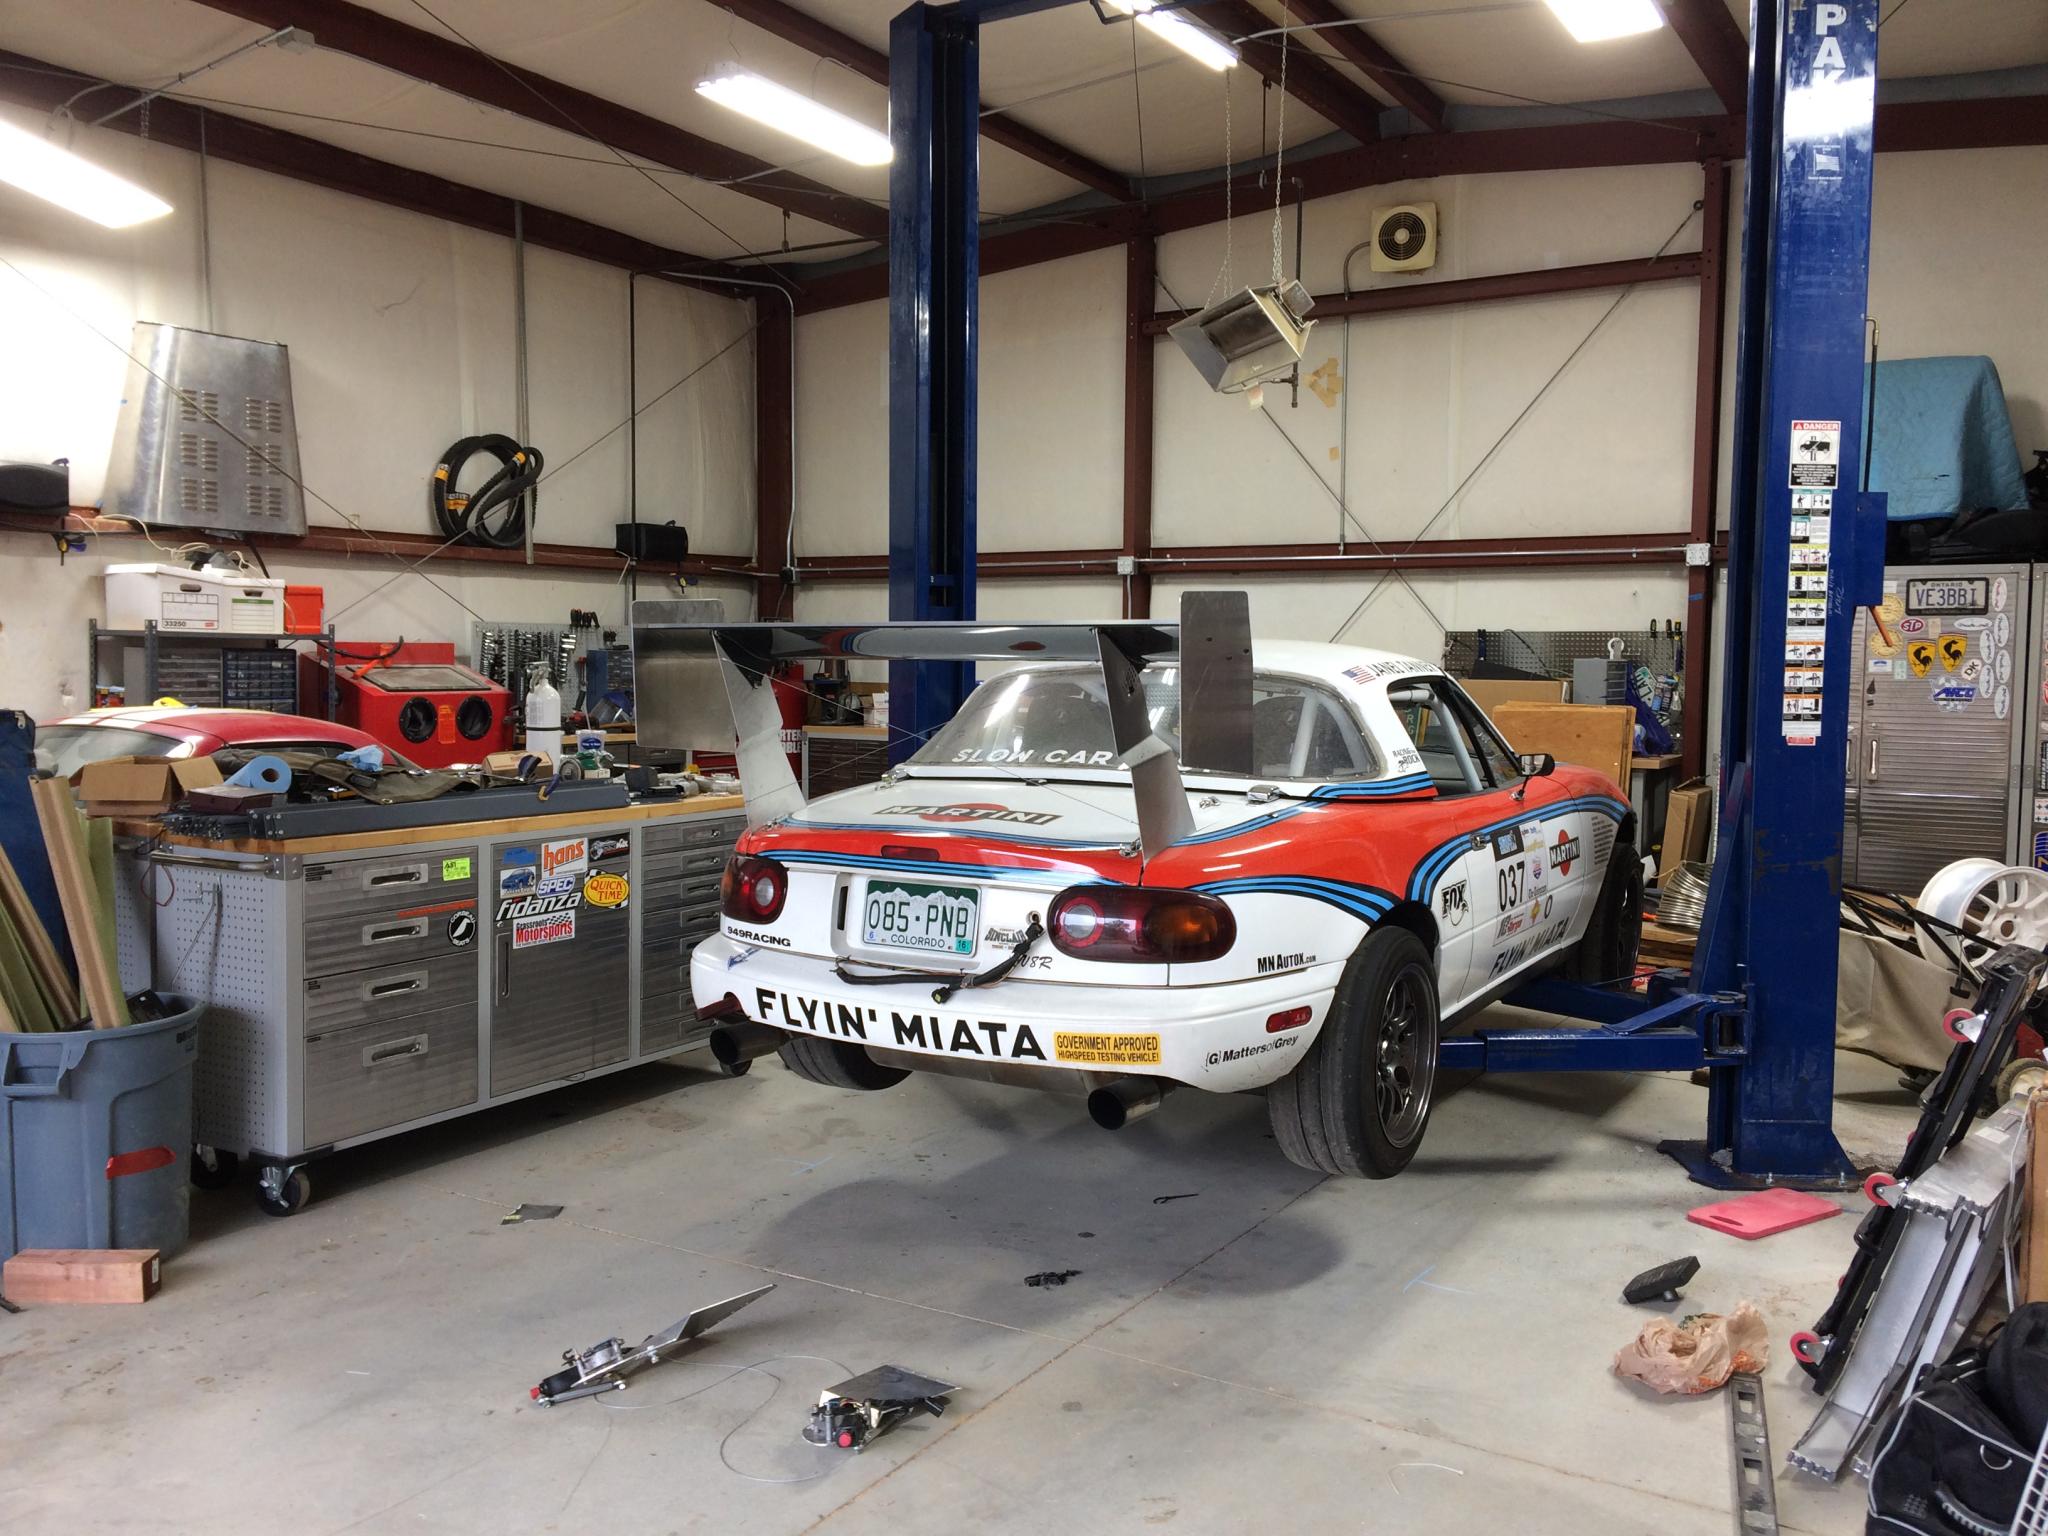
Here's the same car today. Progress in so many ways. This makes me happy. It is entertaining to note that every vehicle that's been on the lift so far has an engine from a different country than the chassis.

I'm going to have to play a little car Tetris, but I may end up shifting the lift over a couple of feet. I want to check lift access with one car still parked in front of it - it's a bit off center from the double door, and it would be convenient if I could move cars on and off the lift after only moving one vehicle. Problem is that moving the lift over creates a larger dead area in front of the passenger corner at the expense of some work area on the driver's side. If I can get Miatas on and off without moving both parked cars, I'll call it good where it is. Having to move both cars for a larger vehicle is okay. I am making this easier by putting the Mini in one of the parking spots in question.

So here's a question for the hive: corraling fabrication metal.

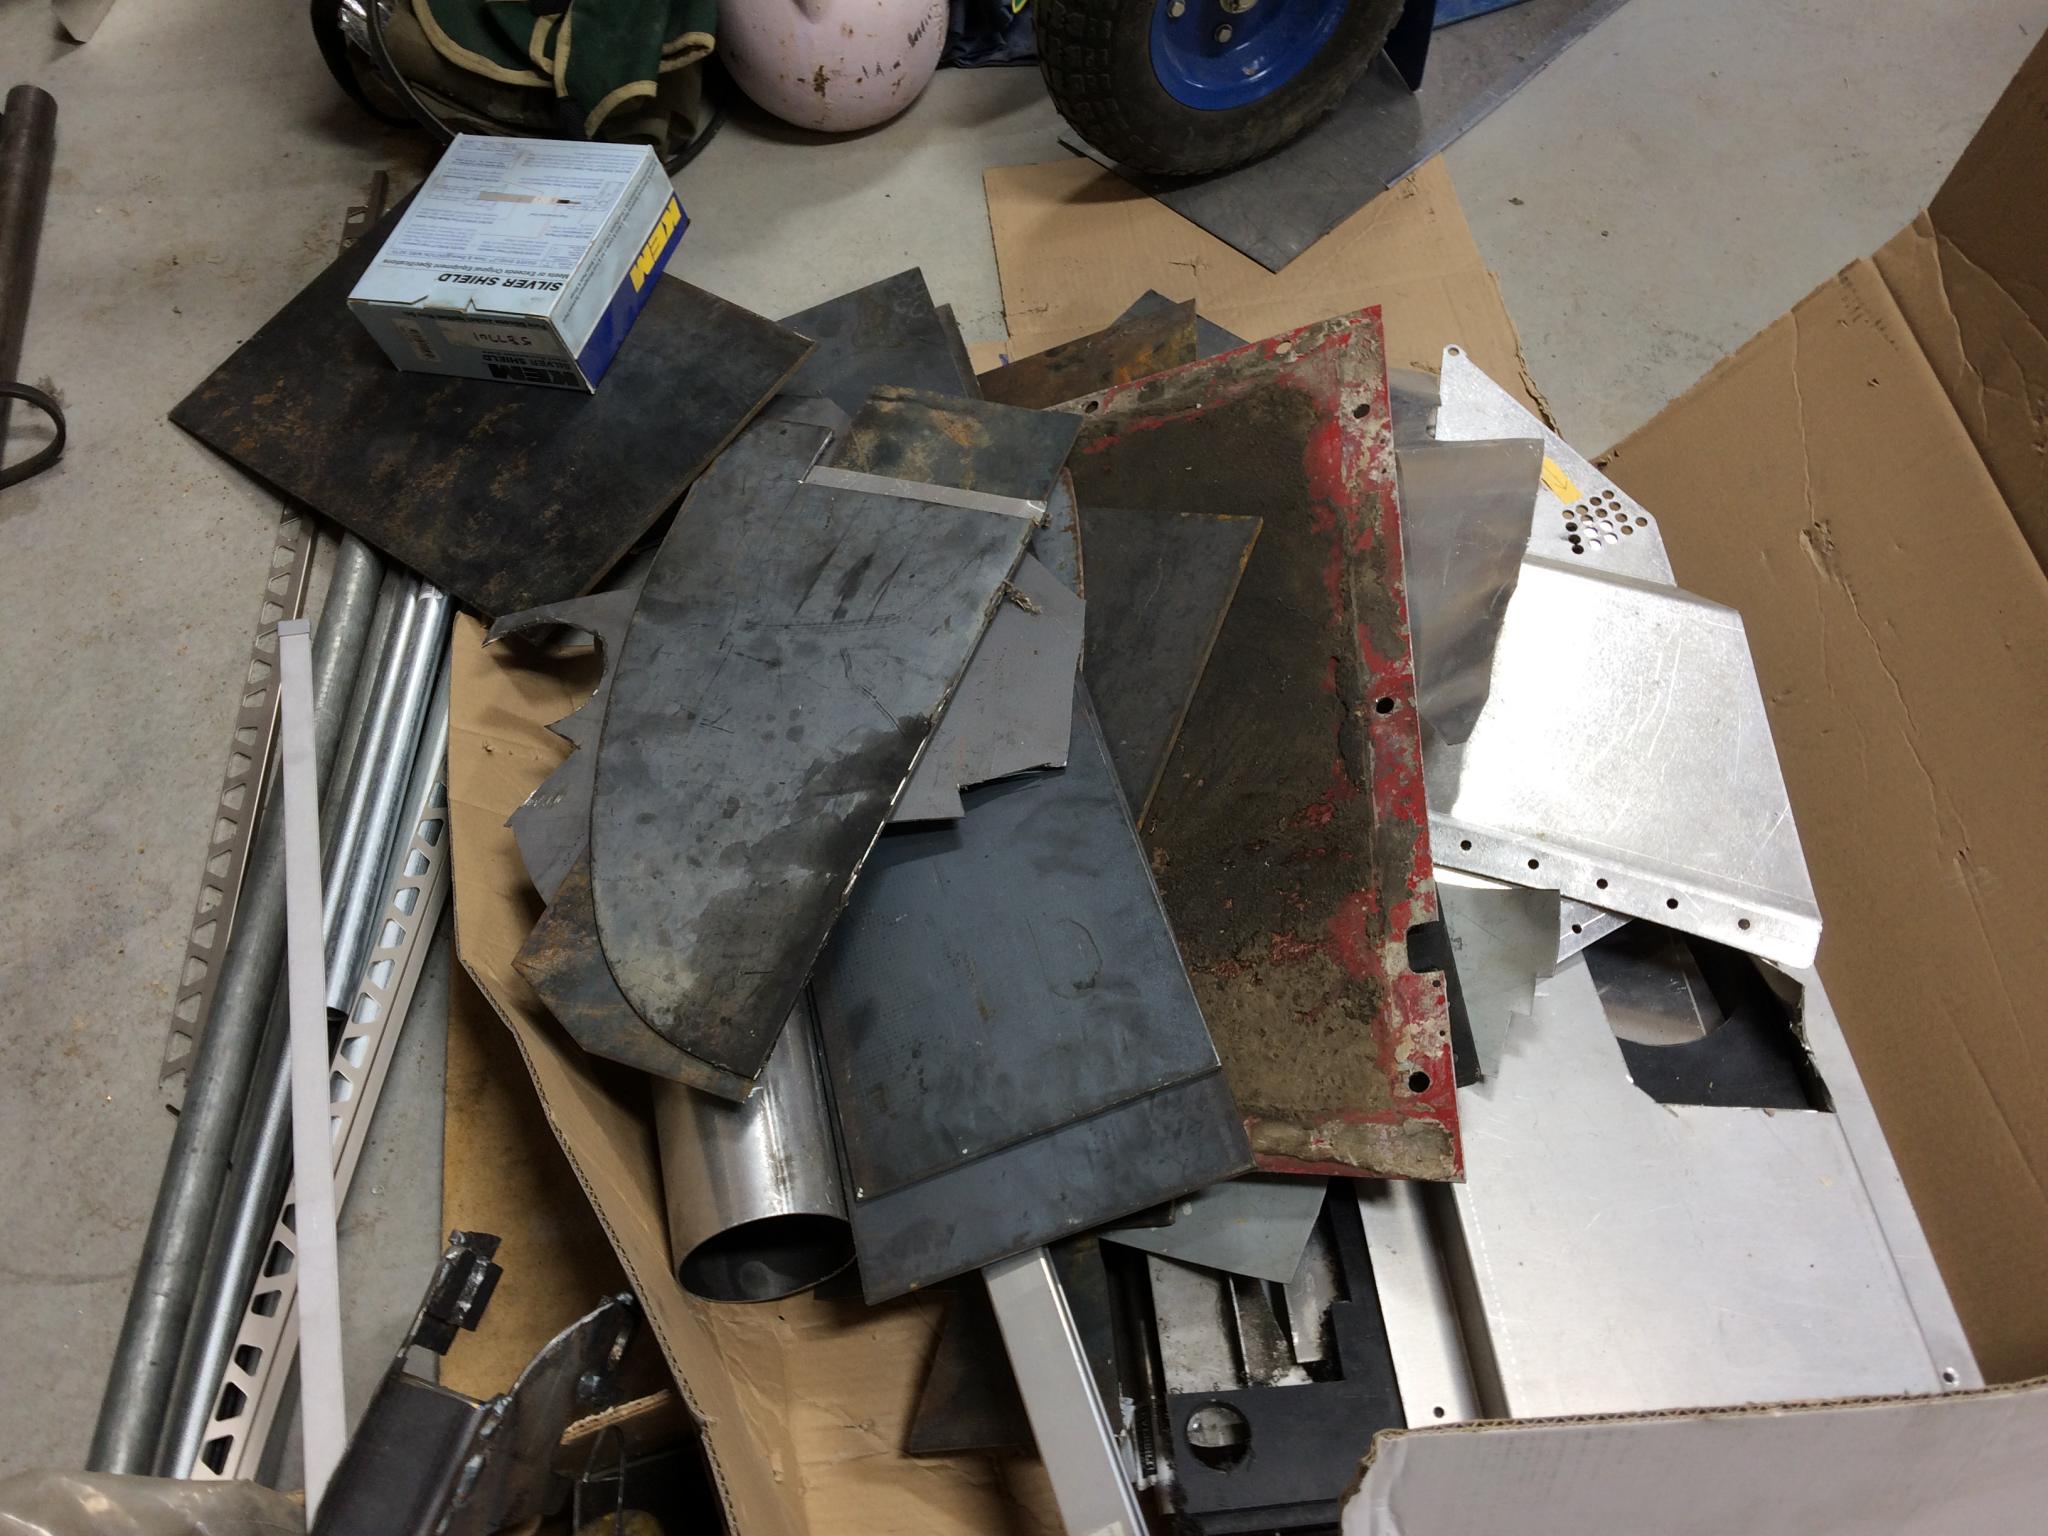
I used to have this pile (not all shown) just leaning against the wall of the old shop and it was a pain. I don't have an appropriate wall to lean it against today even if I wanted. So, suggestions on the best way to store/organize this? I have some buckets pull of pipe and smaller offcuts, sorted via metal type. But the larger sheets want to fight. There's room under the welding bench so I could potentially put them in a crate on wheels.

Who's got a great idea?

AngryCorvair
AngryCorvair GRM+ Memberand MegaDork
6/18/18 12:15 p.m.

In reply to Keith Tanner :

swipe an old-school metal shopping cart from the local grocer?

AngryCorvair
AngryCorvair GRM+ Memberand MegaDork
6/18/18 12:18 p.m.

also for Keith:

yesterday i saw a gold Vanagon Westy, may have been a Syncro, on black steelies, with at least a couple inches of lift, cooking along at about 77 mph on the PA turnpike.   Was getting it done up the hills, must have been swapped.  anyway, made me think of your Westy.

Keith Tanner
Keith Tanner GRM+ Memberand MegaDork
6/18/18 12:34 p.m.
AngryCorvair said:

In reply to Keith Tanner :

swipe an old-school metal shopping cart from the local grocer?

That would just be in the way all the time, but I am thinking that a wooden crate on casters might work.

Ah, something I forgot to add to the "done" list - the big garage door has always had a problem closing. It would always close then reopen, so I had to stop it with the button at just the right place. With the tall ladder and a screwdriver, I figured out it had the "closed" limit set wrong so it was trying to drive the door through the concrete pad. Some fine adjustment solved the problem once and for all. Interestingly, the instruction manual told me to use a handy little electrical switch on the back of the unit which didn't seem to work at all. The adjustment I used wasn't mentioned in the manual at all but some molded-in lettering on the back of the case told the tale. Anyhow, it's good to just press a button and have the door close on its own without supervision.

AngryCorvair
AngryCorvair GRM+ Memberand MegaDork
6/18/18 1:04 p.m.
Keith Tanner said:
AngryCorvair said:

In reply to Keith Tanner :

swipe an old-school metal shopping cart from the local grocer?

That would just be in the way all the time, but I am thinking that a wooden crate on casters might work.


shopping cart is already on casters

Keith Tanner
Keith Tanner GRM+ Memberand MegaDork
6/18/18 1:08 p.m.

But too tall to fit under the bench, so I'd just be pushing it out of the way all the time. I guess  I should have specified that I wanted to get it out of the way somewhat. Currently, it's in a pile on the floor because it's a PITA to move but it is definitely in the way. I could just chuck it under the bench but then I'd never use it.

eastsideTim
eastsideTim UltraDork
6/18/18 1:57 p.m.

In reply to Keith Tanner :

Would it make sense to get a used shopping cart, then cut it down so the basket just sits on the bottom tray?  Should lower it a decent amount, and the wireframe structure means you’re more likely to see if you have a certain size piece of metal without having to dig through it.

I’ve seen industrial carts that are similar to this idea, but I’m betting they’d be a lot more expensive

stuart in mn
stuart in mn UltimaDork
6/18/18 2:04 p.m.

If most of your fabrication metal is flat pieces, something similar to the carts woodworkers use for storing plywood may work.  They're usually taller to accommodate 4x8 sheets of plywood standing on edge, but the same concept could be used for a smaller cart that would fit under a workbench.  Do a google image search on 'sheet goods storage cart' and you can get some ideas.

Keith Tanner
Keith Tanner GRM+ Memberand MegaDork
6/18/18 2:07 p.m.

That could work. The non-flat pieces are sorted out reasonably well, it's the flat stuff that's annoying me. Time to spend some time in the shop looking at potential places for this. maybe combine the two ideas, make the sheet goods storage design but with casters so I can slide it under the bench. I rarely have really big pieces, they tend to get purchased for a specific project and used up. It's all stuff that's a couple of feet on a side.

stafford1500
stafford1500 GRM+ Memberand HalfDork
6/18/18 2:10 p.m.

How about a moving dolly with a few vertical dividers added so you could keep the sheet metal mostly on edge to make getting at the one you want easier. Maybe even sort by material.

Ian F
Ian F MegaDork
6/18/18 2:31 p.m.

Use the extra metal to build a spare metal cart. Kills two birds with one stone. wink

SVreX
SVreX MegaDork
6/19/18 7:08 a.m.

How about a thin storage shelf under the surface of the welding table?  Picture a jumbo pencil drawer. 

If you made a shelf that hung maybe 4” or so under the bench top, you could slide flat stock in from one or more ends. 

Then, you could make a rolling cart for the odd shaped pieces that rolled under the flat storage- all your metal would be in the same place, where you need it by the welding bench. 

Keith Tanner
Keith Tanner GRM+ Memberand MegaDork
6/19/18 3:14 p.m.

Ooo, I like the shelf idea. I'm going to do that. The rolling cart will likely also happen, but I hadn't thought of the shelf. Good one.

My wife Janel is the one who thinks I should put in refrigerated air. She also informed me last night that I need to add a bar fridge and put a TV on the wall with a comfy chair so she can watch F1 races while I work.

Keith Tanner
Keith Tanner GRM+ Memberand MegaDork
6/27/18 11:53 p.m.

Today was very productive! And over 100F, which is an odd combination.  Usually I wilt in the heat like a fragile flower.

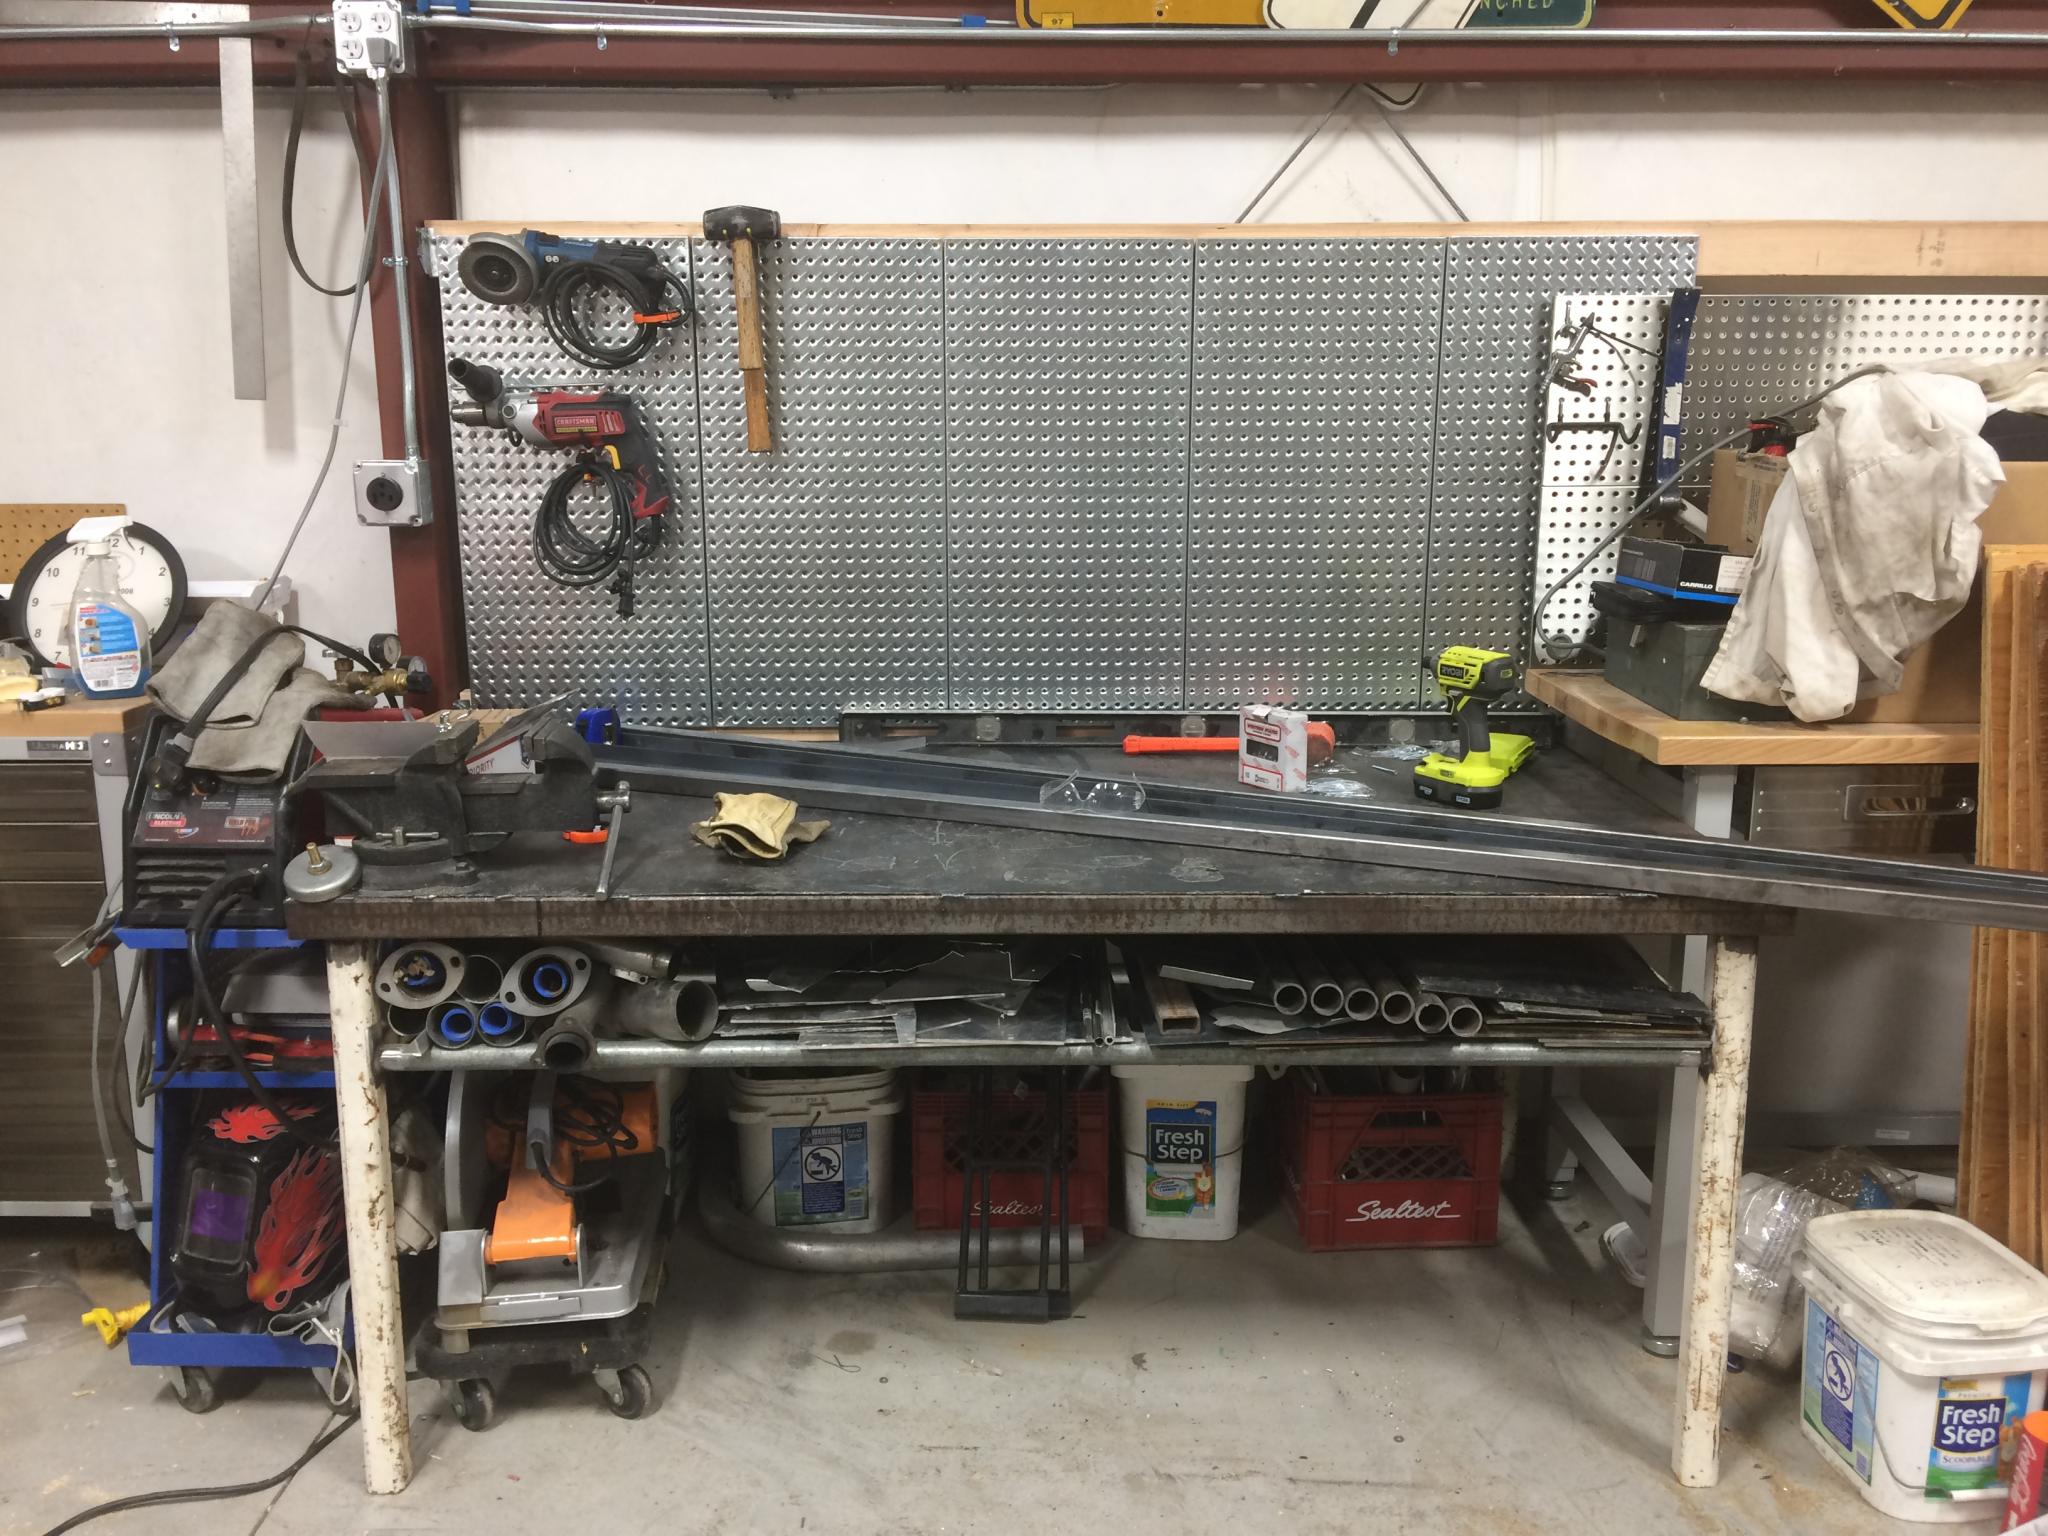
First, I implemented the "shelf under the welding bench" project. Basically, four cross tubes under the bench spaced at about 10" intervals. I used tube instead of square because I figured it would be easier to slide things over it. Also, I had tube.
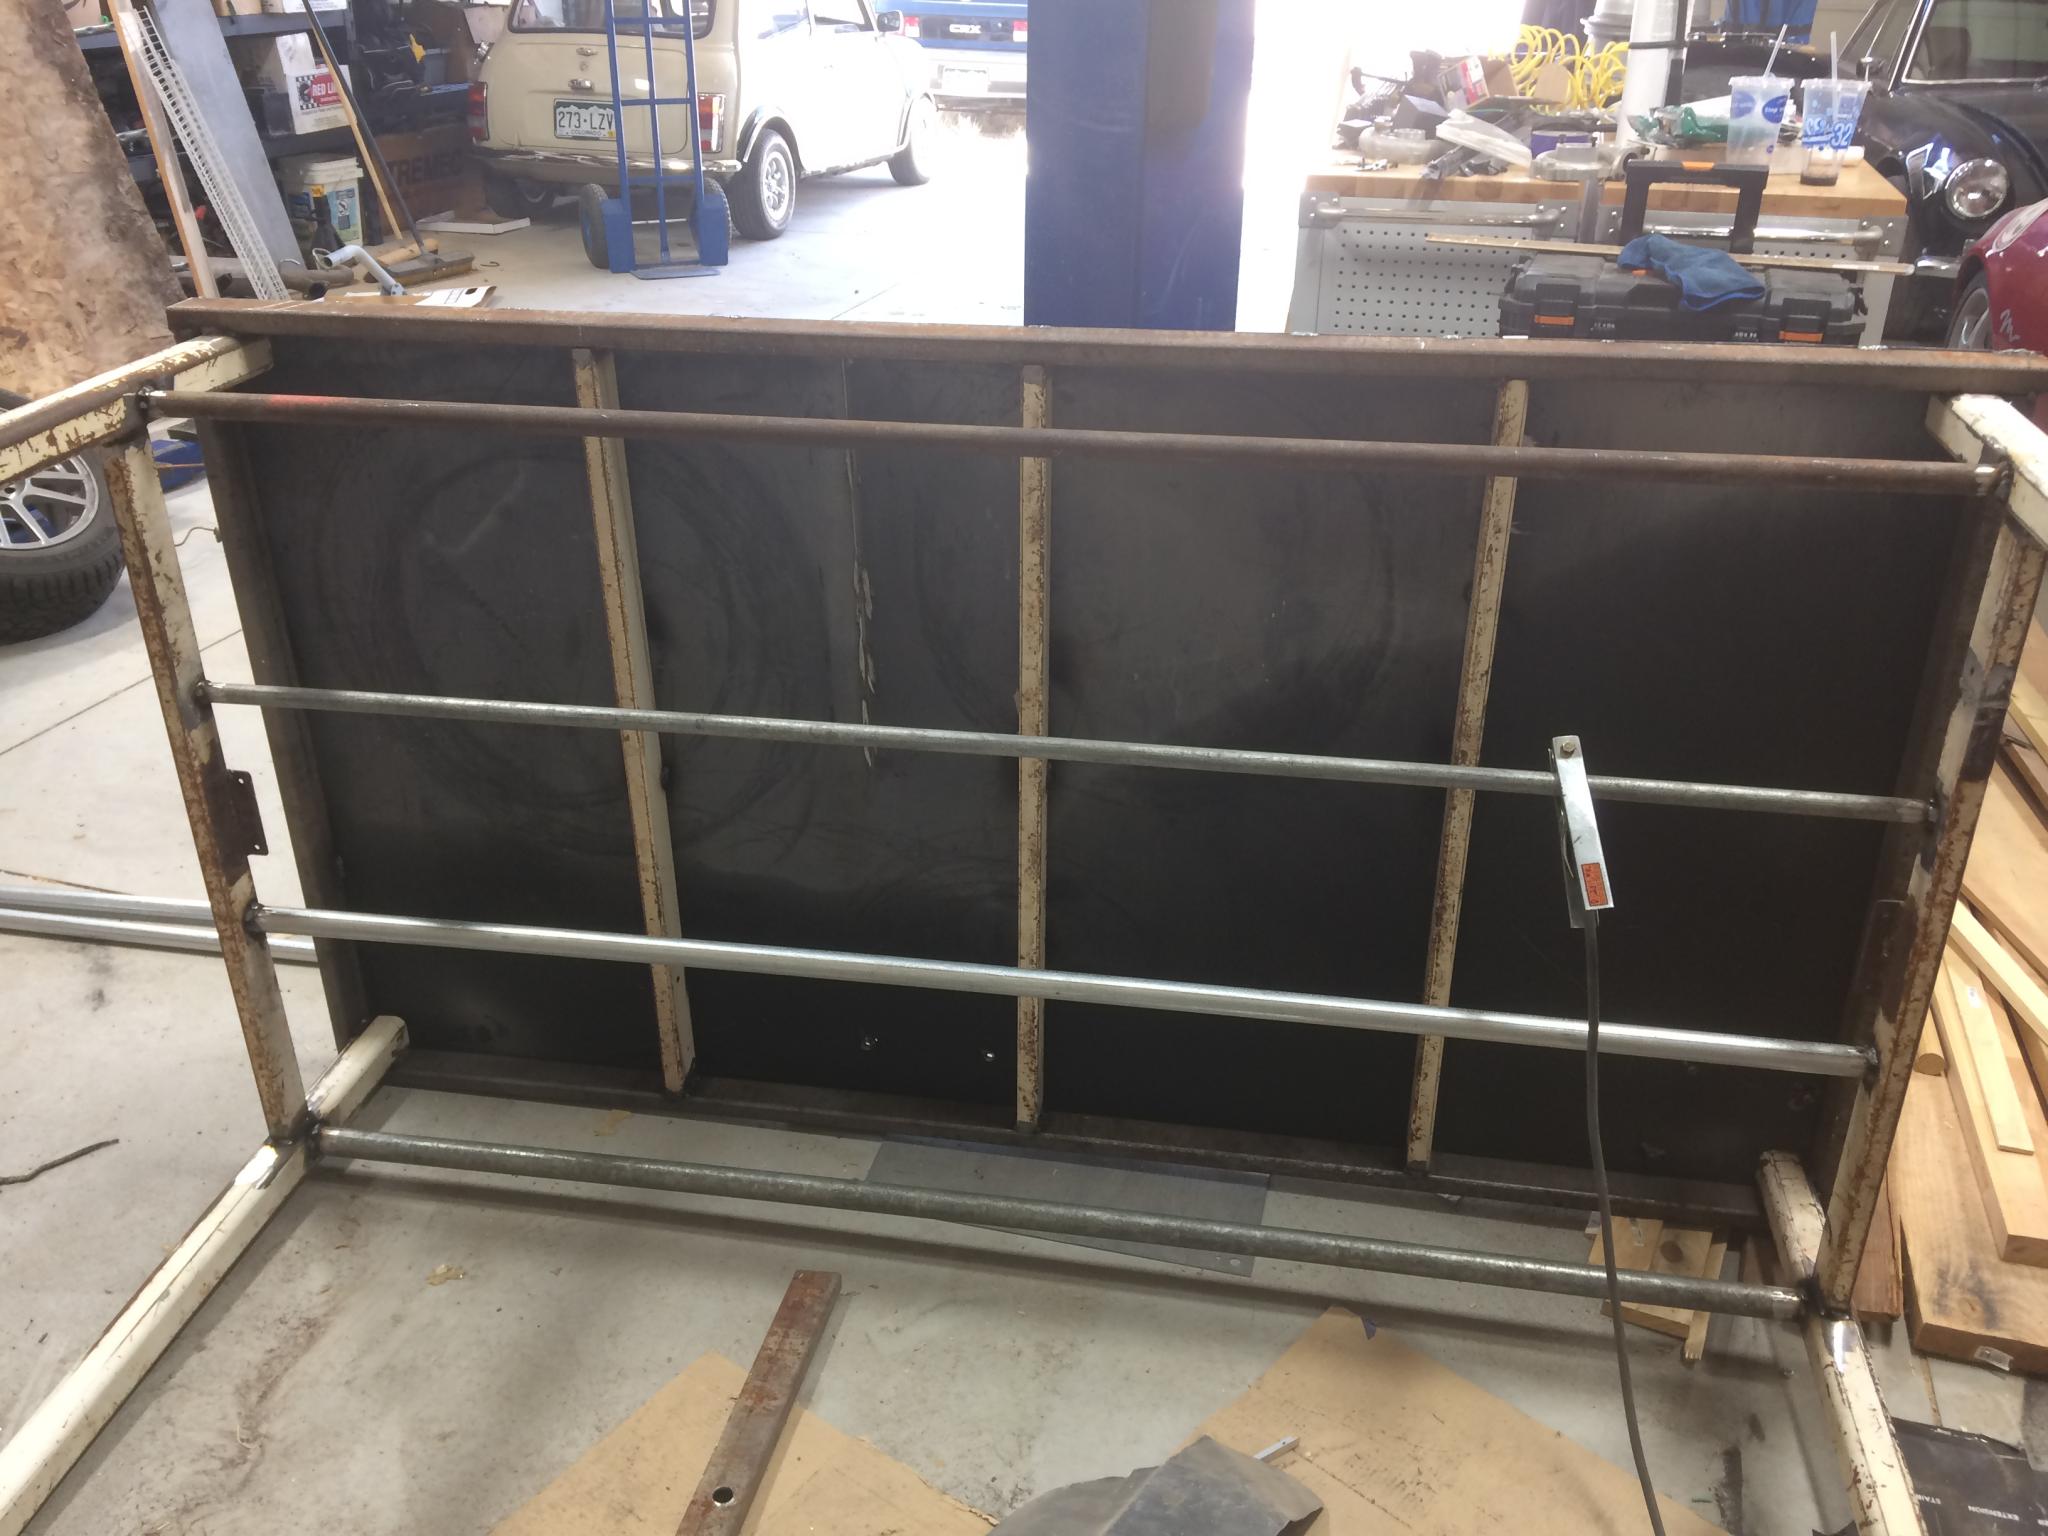
I love my welding bench. It's made of scrap steel. The legs are 2x2x1/4", the bars are 1x2x3/16" or so. It's immensely strong and really heavy. I'm thinking of getting some sort of magnetic clamps to use for holding things in place, but that's for later.

Because I had it away from the wall, I figured I'd mount my steel pegboard behind it. This is partly for convenience so I can hang tools and also to protect the plastic-backed insulation. I headed to Home Depot to pick up supplies.

And when I walked in, I saw an air conditioner sitting just inside the door. "That's funny," I thought, "that's the same model I ordered. Mine's not supposed to be here for a week." I looked closer and my name was on it. It had just arrived. Did I mention it was 100F outside? Woohoo!

A big tip of the hat to RossD for doing the calculations on the amount of cooling I'd need. He figured that a 1.5 ton system would keep the shop at 75F for all but the hottest 5-10 days of the year. Did you know that means the equivalent of 1.5 tons of ice? What an excellent unit of measurement. Anyhow, that means 18,000 BTU or 18 MBH. 21 MBH would be able to handle the worst days. I looked around and saw that most used AC systems were on the sketchy side and either too small or industrial sized, so I popped for a new 22 MBH unit.
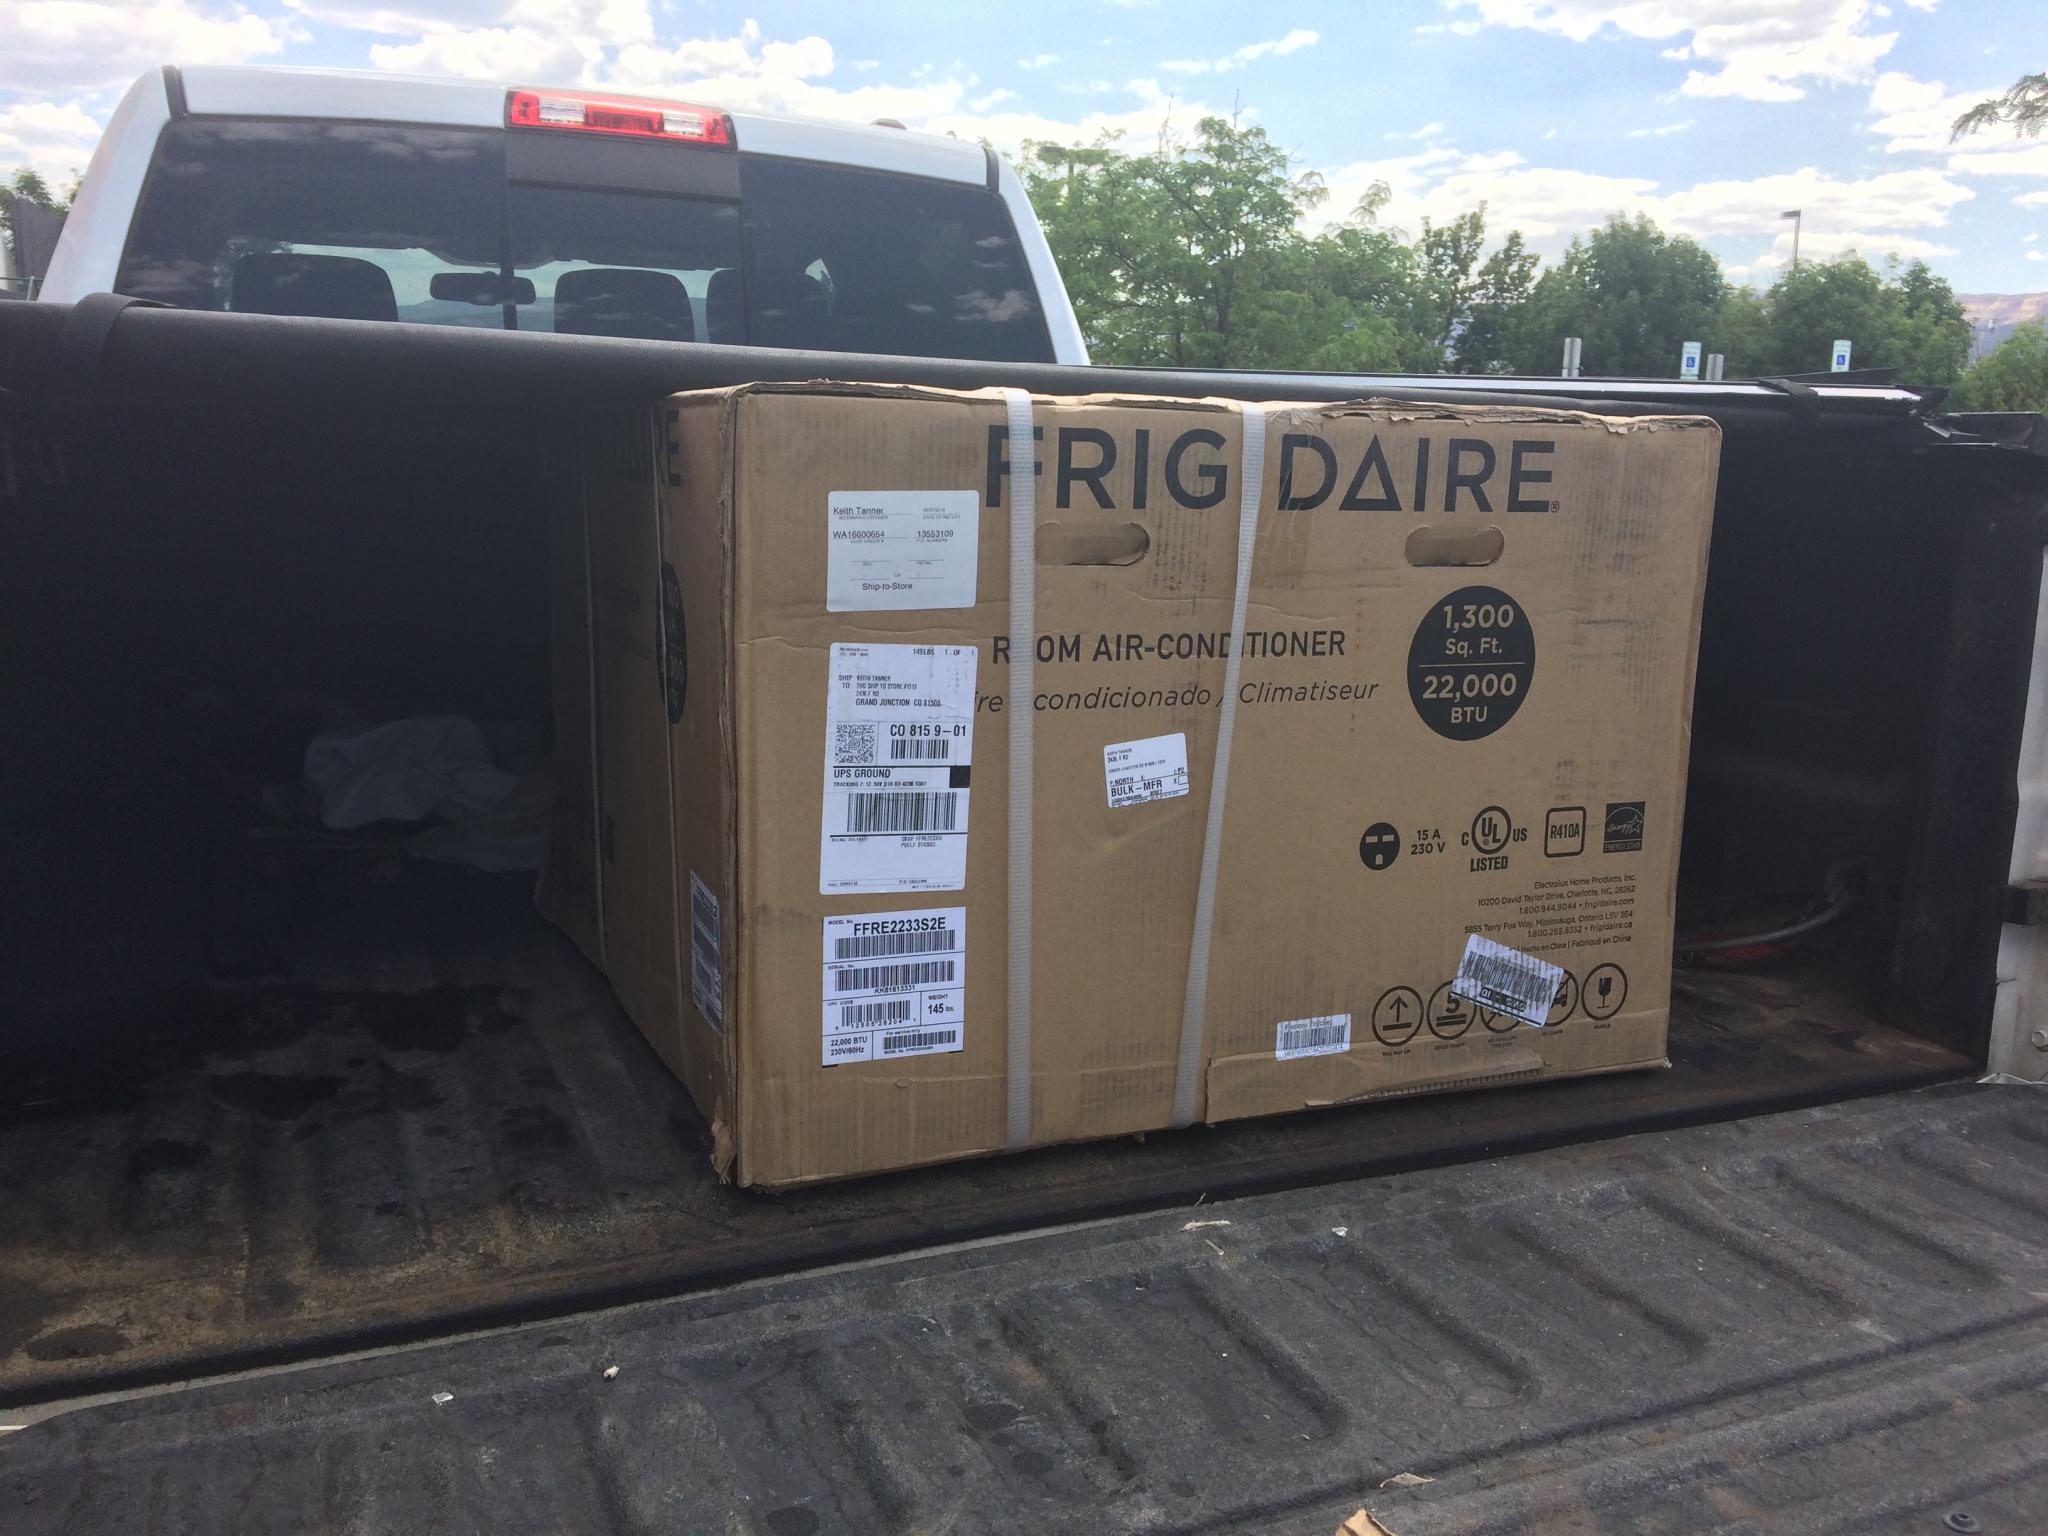
Unfortunately, I was in the middle of a linked series of projects so the sexy new aircon had to wait. Unloading that out of the truck solo required a bit of creativity, by the way. Two 10' 2x4s were used as a ramp and gravity helped out. Anyhow...

To mount the pegboard, I used joist hangers attached to the steel uprights. A couple of 2x4s between them and I was able to start paneling with the steel pegboard. I'd say this was really quick, but it took a surprisingly long time.
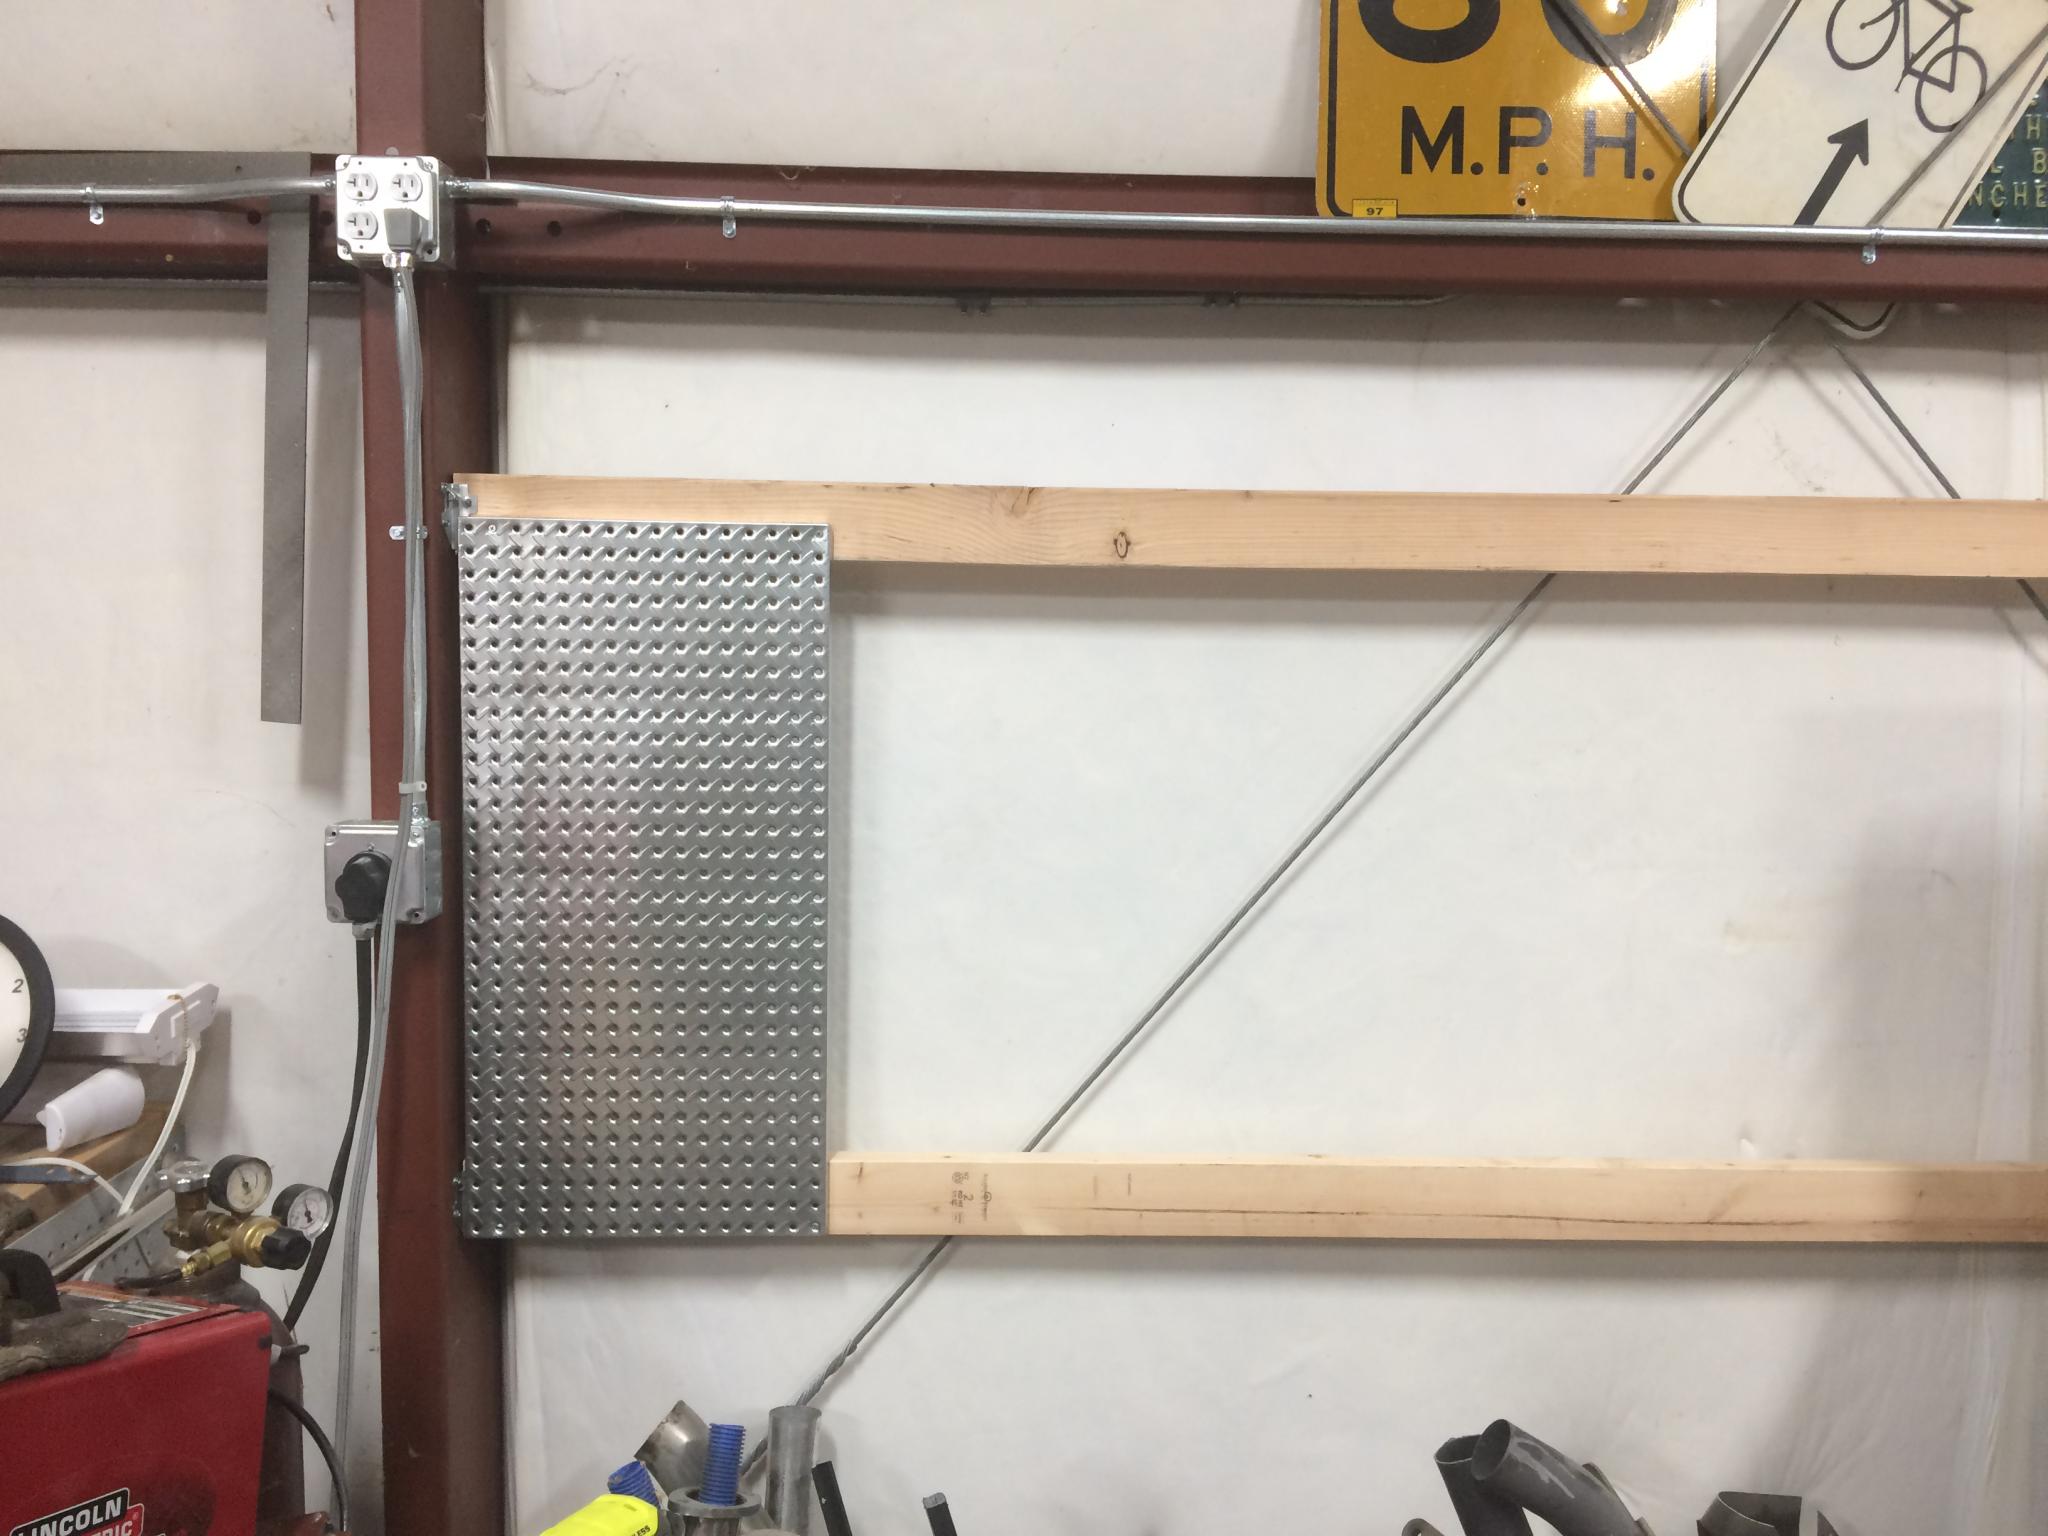
I left some exposed wood at the top in case I decide to screw anything else on there.

Here's the fab station almost fully set up. Look at all that nicely organized metal on the shelf underneath! Thanks for the idea on that one specifically, Paul. I'll be building little trolleys for the other stuff that didn't fit later.
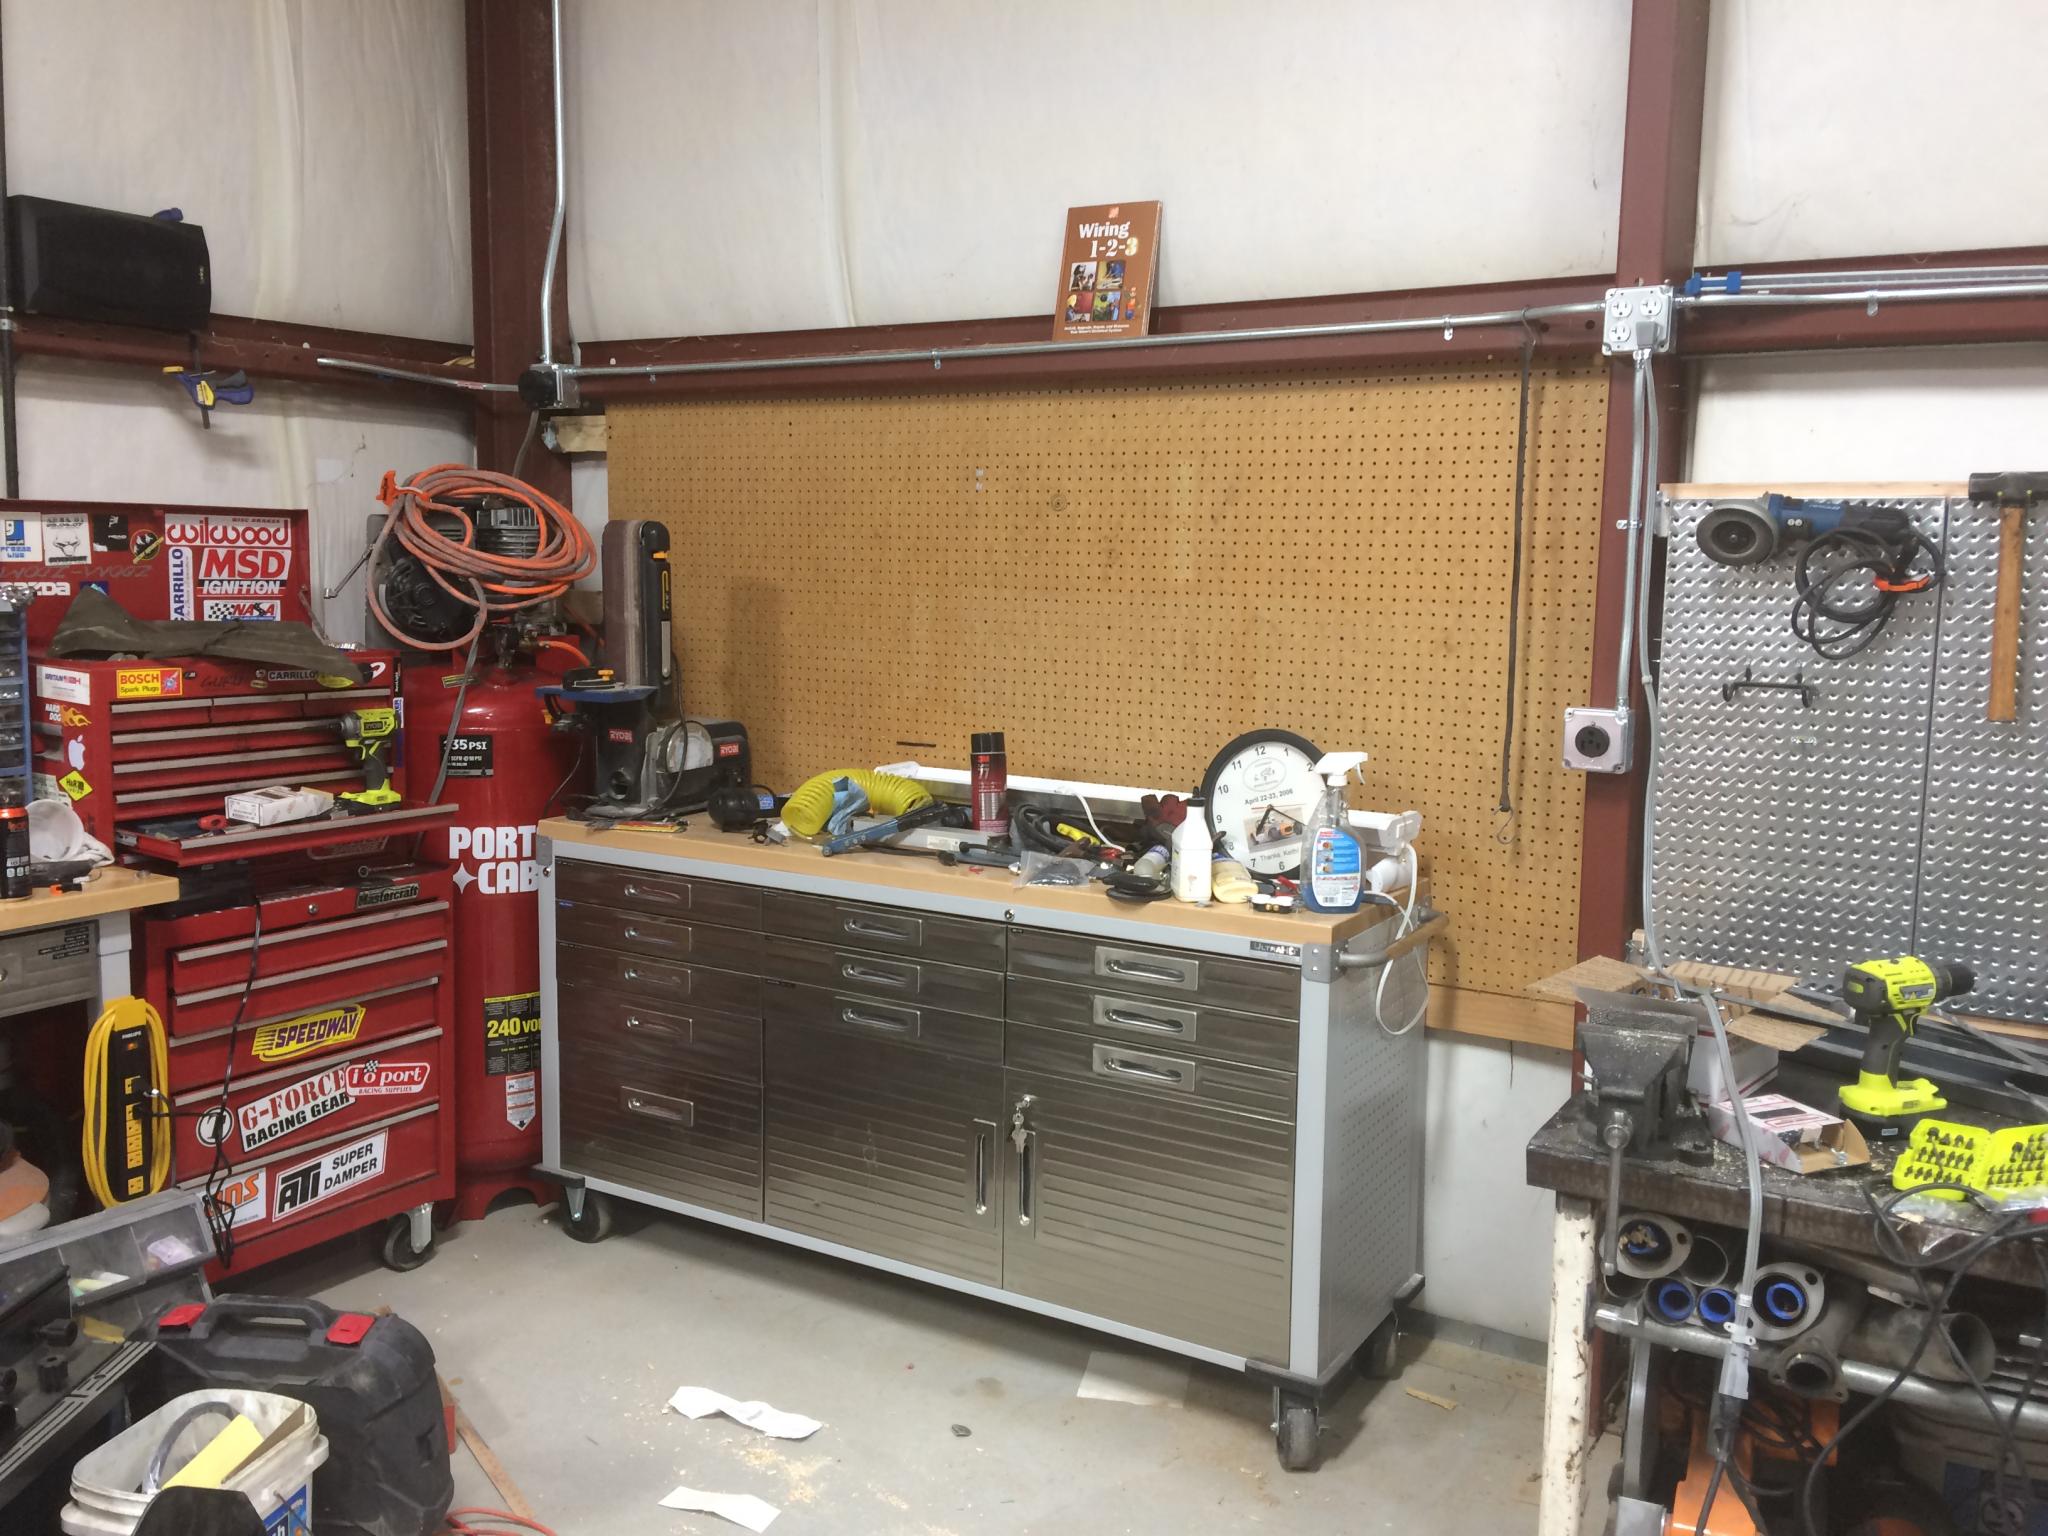
Since I was doing pegboard, I decided to mount the 4x8 sheet that was planned for behind one of my workbenches. For this one, I used one 2x6 as well as two 2x4s because the board is a little less solid. This corner is really coming together, and now I can start to put tools away in their forever homes. In case you're wondering, I have about 50 square feet of pegboard plus pegboard backs on two workbenches. 
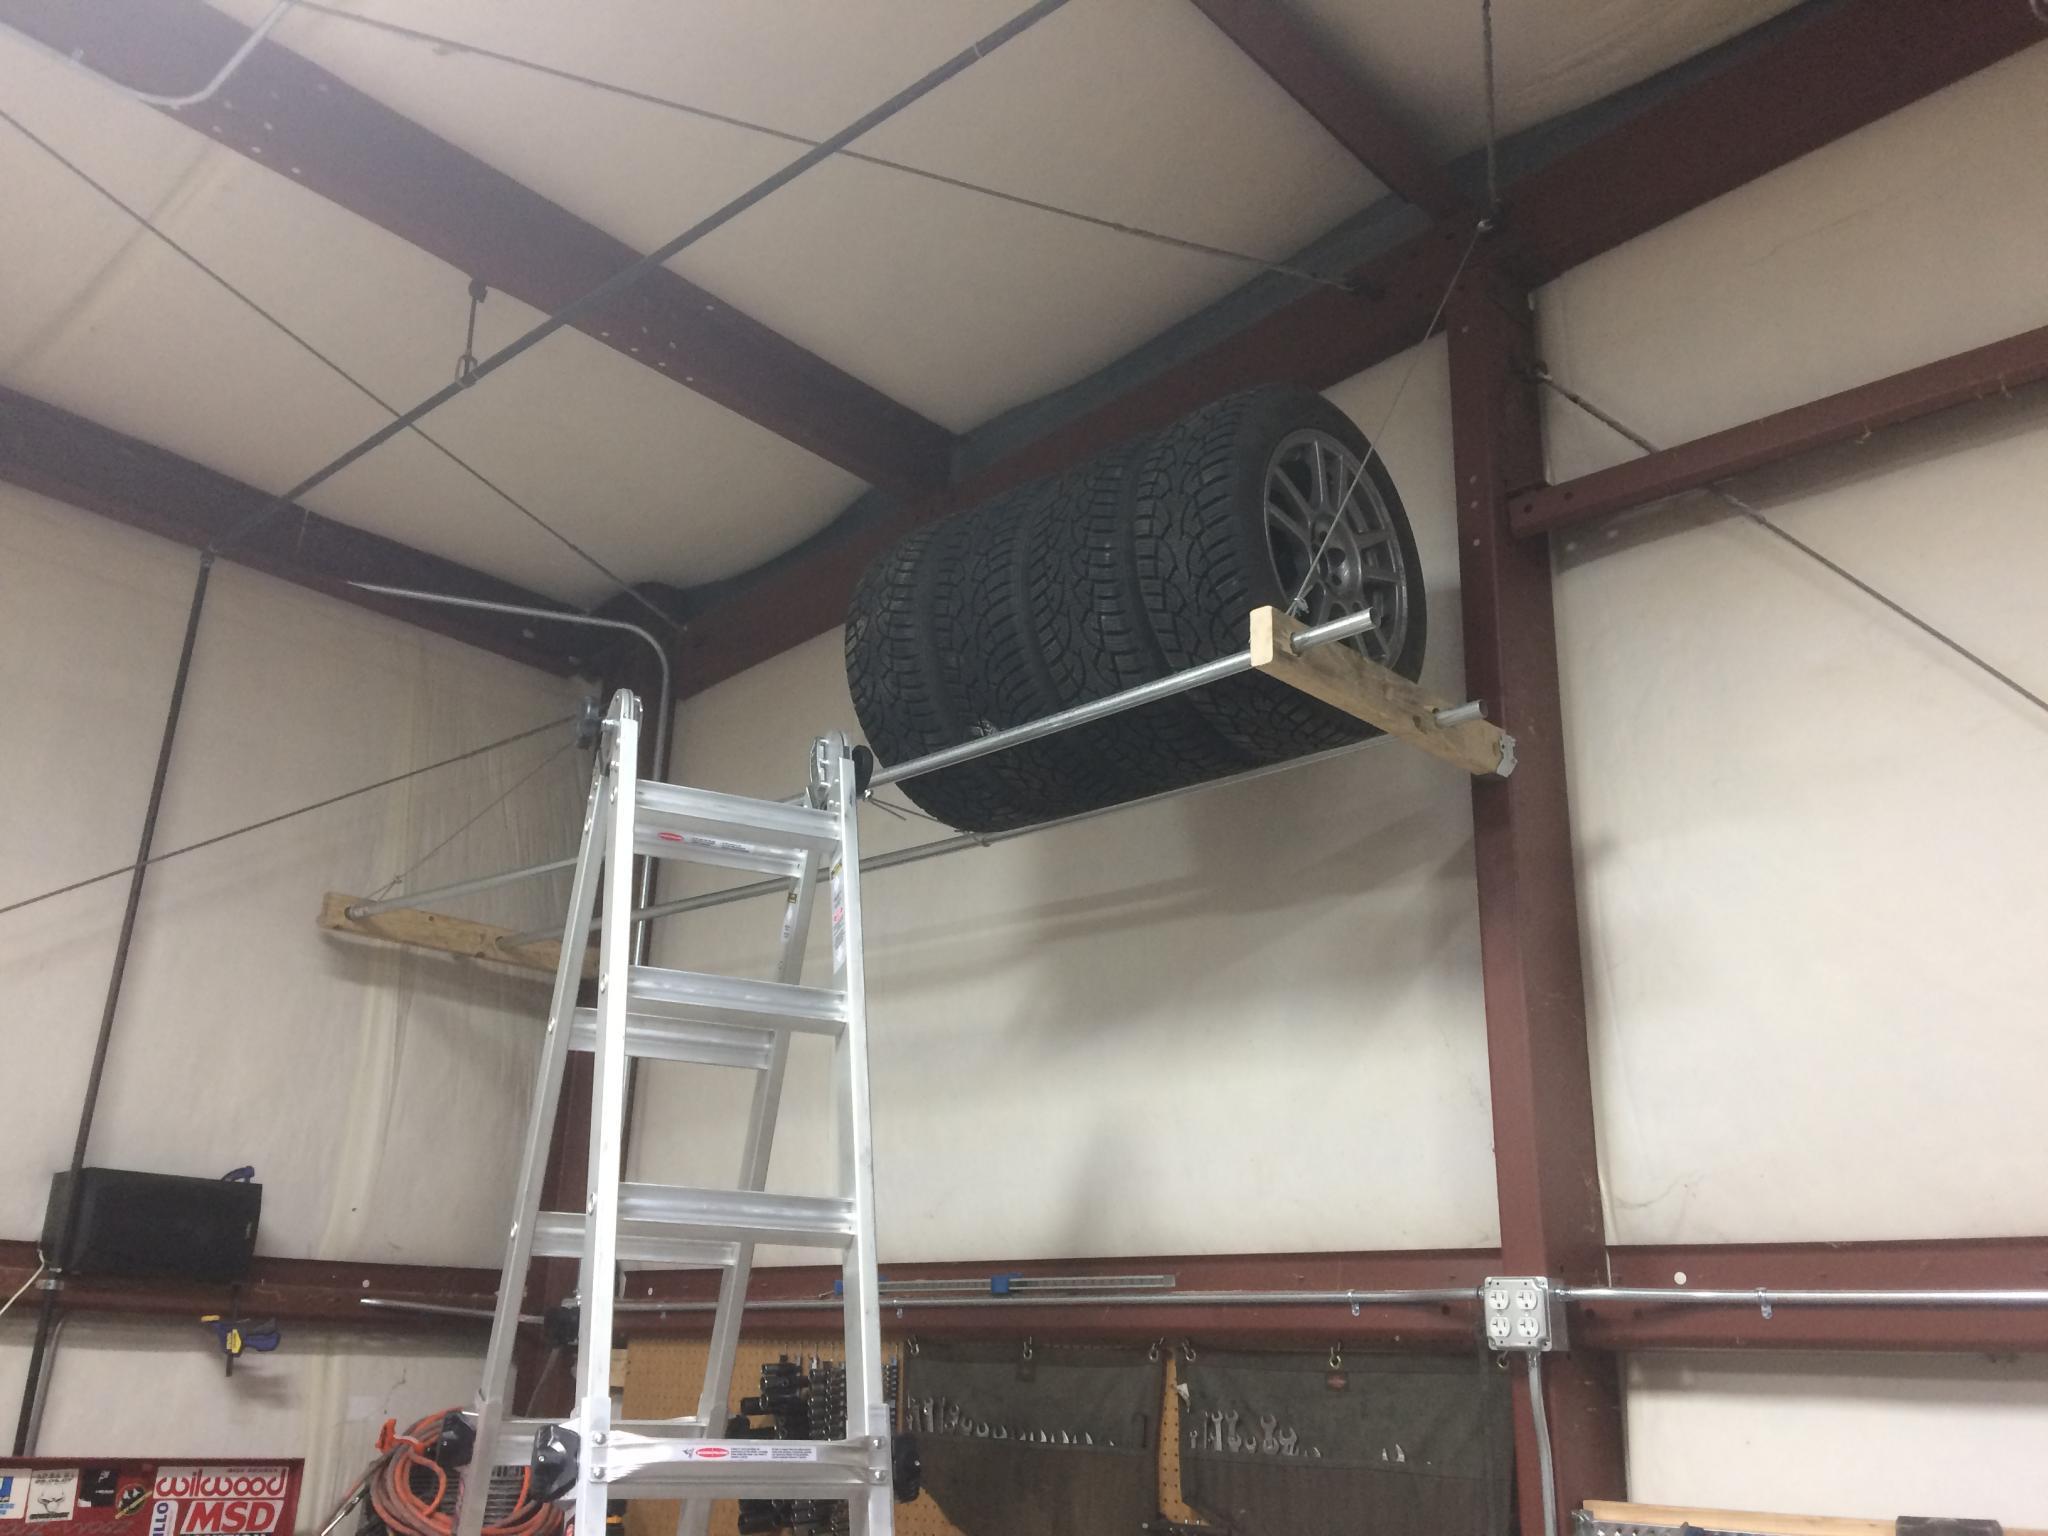
I also built my tire rack to get all the spare wheels and tires out of the way. I'd started this project earlier in the week but all the debris that needed to go in the sheet metal rack was in the way. Everything is connected.

This is super-simple - a couple of 1" pipes stuck through some 2x4s. The 2x4s are in joist hangers and the outer pipe is supported by cables that run up to the eyebolts for the garage cross bracing. This is an experiment. I've learned so far that I need thicker wall pipes as this stuff is bending. I put a strap between the two pipes to keep them from spreading and I could add a third support cable in the middle, but the right answer is really more rigidity. I may build another one of these as this one won't hold all my wheel/tire detritus.
By this point, I was dehydrated and hot and so (ironically) unable to install the AC. Hopefully on Saturday! It was a good day today, I made a couple of major steps that will let me really put things away and clean the place up. Progress!

stylngle2003
stylngle2003 GRM+ Memberand Reader
6/28/18 10:24 a.m.

perhaps you can fill those tubes with something (sand?) to prevent bending and add rigidity?  I think also that redundant cabling to the ceiling rafter may be a good idea?  Altimax Arctics on a miata must be a lot of fun

1 ... 5 6 7 8 9 10

You'll need to log in to post.

Our Preferred Partners
c2YdXmB2aD52w9OdBuqHKBMpMRYCTOBJlzKHjs8dG3LRxk2GgiEi53lwrHuimRmH