In reply to Toyman01:
put an externally adjustable liquid pressure relief valve in the tee to return and it should, well better than a needle flow control valve
In reply to Toyman01:
put an externally adjustable liquid pressure relief valve in the tee to return and it should, well better than a needle flow control valve
If you look over there in the corner next to the lathe and under the blast cabinet, you'll find a complete Miata rack with hoses and a power steering pump. That pump may have a different (more easily adjusted) pressure relief valve.
Don't you be boostin' none of my rack parts, now. Unless you want to convert the RX7 to R&P, that is... yeah, like you need another damn project. ![]()
I'll have to study it.
As far as the RX-7, I'm leaning toward 2nd gen sub-frame or Miata sub-frame, Miata rear suspension, who knows. It changes week to week and probably will until it goes under the knife. That's going to be long term and will include a major re-power at the same time. All aluminum something with a turbocharger. The only thing RX-7 that will survive is the body and maybe not all of it. Only time and a tape measure will tell. ![]()
Toyman01 wrote: I'll have to study it. As far as the RX-7, I'm leaning toward 2nd gen sub-frame or Miata sub-frame, Miata rear suspension, who knows. It changes week to week and probably will until it goes under the knife. That's going to be long term and will include a major re-power at the same time. All aluminum something with a turbocharger. The only thing RX-7 that will survive is the body and maybe not all of it. Only time and a tape measure will tell.
I like. Sounds like a Japanese counterpart to the "ProMod" guys. ![]()
Get ready to do some MAJOR surgery to stick a Miata subframe under either end, says the guy who had a set of Miata subframes and a 1st gen and a tape measure and a Sunday afternoon...![]()
OK, back to the turbine.
I think I've found a oil pump.
Self priming to 6 feet, variable flow to 100gph, variable pressure to 175psi. Cost, $30, surplus on E-Bay. There's one on the way.
I wanted to do this a few years back, even got a turbo for the build (off a mk2 MR2) some cast iron piping for the combustor and started drilling a pipe for a flame holder.
All the parts are still in a box somewhere in my shop. I dont think I will be getting around to it any time soon. (Shop at moms house, now 3 hours away)
My plan was to get it bench operable, then package it in a direct thrust drive onto a watercraft I own (long, skinny, used as a keyword for spam on this forum) with a possible eventual afterburner. Mom's boyfriend has a piece of property in the sticks with a many-acre pond to run it on.
Toyman, what are you going to use for the gas -> drive turbine? Another turbo hotside but cut down? Where are you going to get a trans that can handle the RPM? Those were the things that kept me from wanting to get into a drive engine (as opposed to a thrust engine). I must admit that I never found sources on the drive portion and didnt dig too much on that.
Still not running. I'm waiting on the new oil pump.
I did get a little more done on the control panel. The big gauge is the oil pressure. The top right is combustor temp. The bottom right is exhaust temp for now and will be power turbine temp in the future. Middle top is combustor pressure and middle bottom is oil temp. The black knob on the left is the ignitor.
I've still got to get the tach installed. Unfortunately the one I bought won't accept the signal from the fiber optic switch I'm using. There is another one on the way. I also need to get some kind of throttle valve done. Twisting the knob on the regulator is a pain.
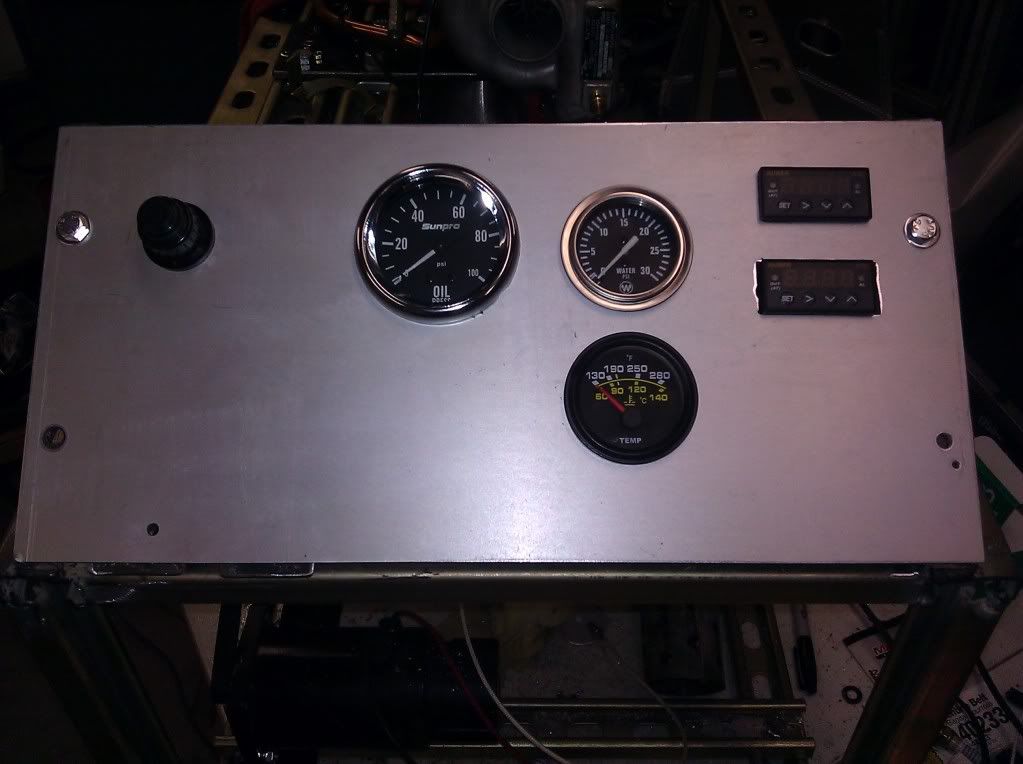
Edited to change the photo for a better one.
Update time again.
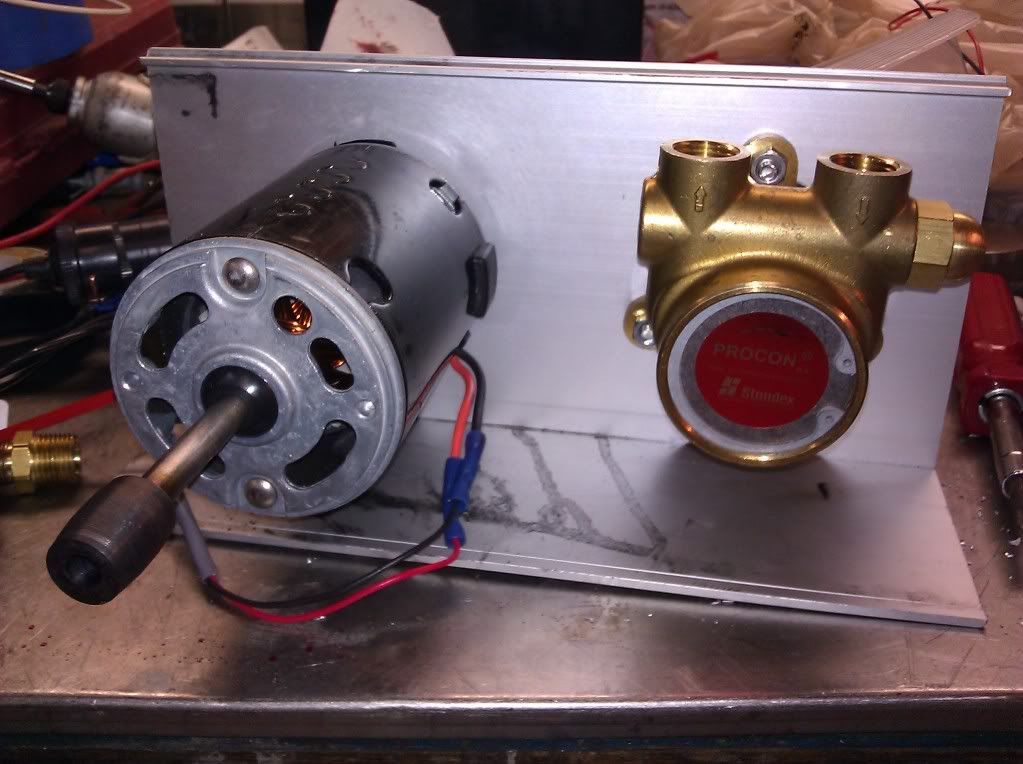
I started off the morning by scrapping the entire oil system and starting over. The new pump showed up, and since it's only rated at 150 degrees I needed to plumb it in after the oil cooler. Originally oil flowed, pump - oil filter - oil cooler - turbocharger - reservoir - back to the pump. Now it's going to run, pump - filter - turbocharger - reservoir - oil cooler - back to the pump. The new pump is self priming to 6' so drawing through the cooler shouldn't be a problem.
New pump meant new pulleys and belt.
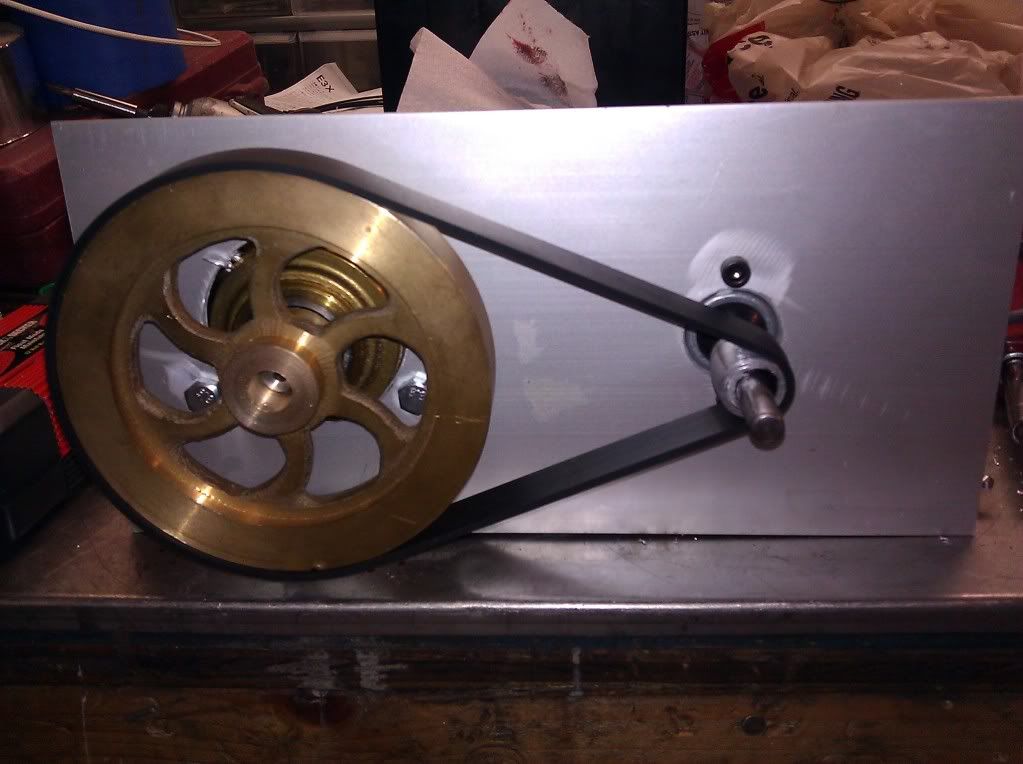
The pump pulley came out of a junk box full of steam engine parts, the motor pulley I turned on the lathe...twice. The first attempt was supposed to be a interference fit on the motor shaft. It interfered so well, it welded itself before I got it all the way on. Scratch one pulley. The next one I made out of aluminum. It worked much better. The belt is a vacuum belt.
The pump and motor are mounted to a piece of aluminum angle that used to be a header cover for an automatic door operator. The black blob on the motor shaft is the first pulley. Heat wouldn't even get it off. Lucky for me it's a double shaft motor.
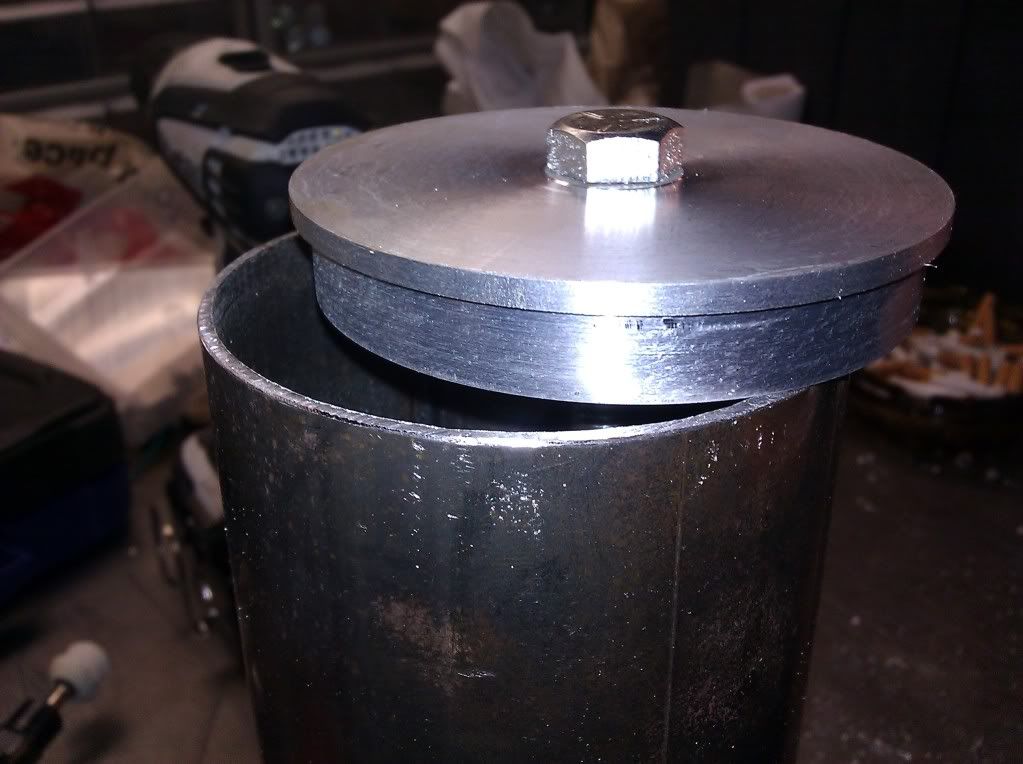
Problem number two was the reservoir. The original was just too tall. I needed to gravity flow from the turbo into the reservoir and then into the cooler. I needed something shorter and wider. With nothing, ready made, to be had, I built one. The body is 3" exhaust tube, the end caps, I turned on the lathe. A little welding and paint, and presto.
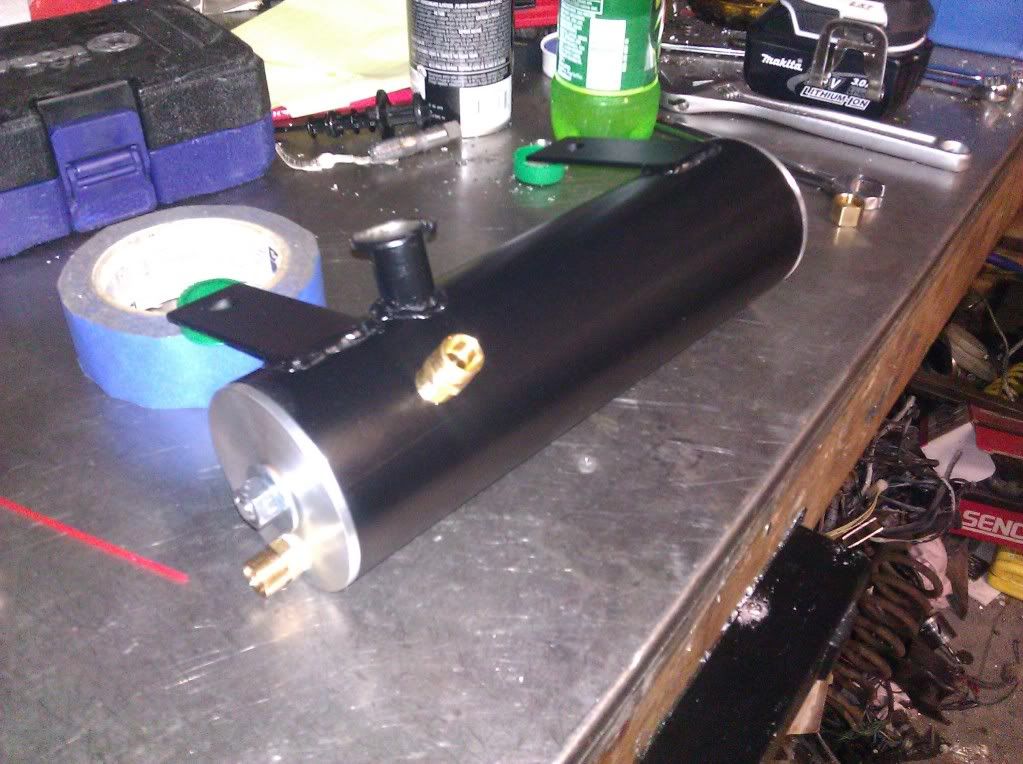
Here are a couple of images showing the construction of the reservoir.
The disks were cut out of a piece of 1/2" plate I had from another project. (Pressure Washer from Hell) The initial cut was with a 3 1/2" hole saw. Then I mounted them on a bolt and chucked them up in the late for machining.
Facing.
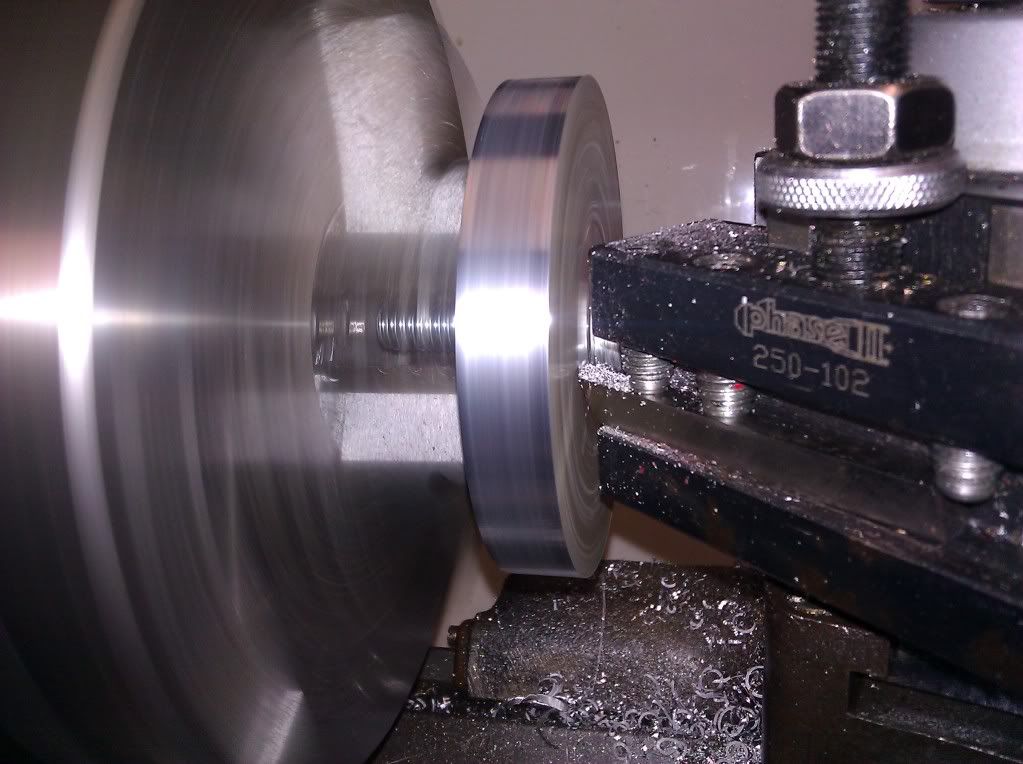
Cutting the step to fit in the tube.
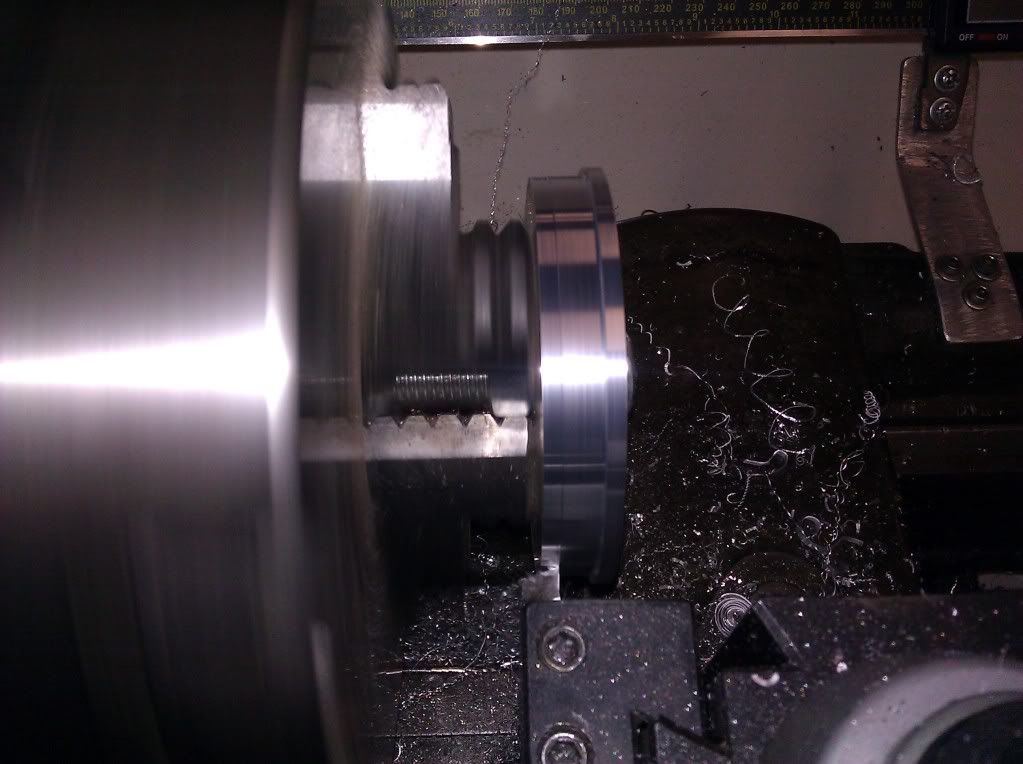
Finished product.
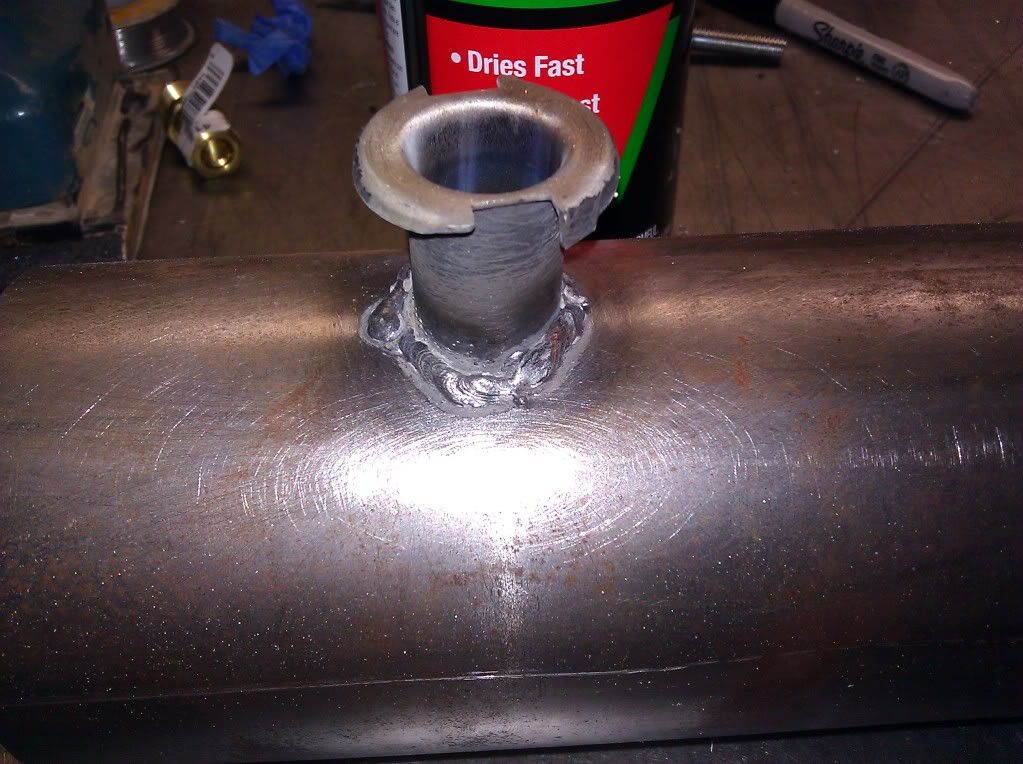
The original reservoir donated the fill neck. Hope my crappy weld doesn't leak.
The oil cooler also had to be remounted. Originally, it was mounted with the fittings on the top. Gravity feeding through it meant they needed to be on the side. New mounts were built and the whole thing moved to the other side of the frame.
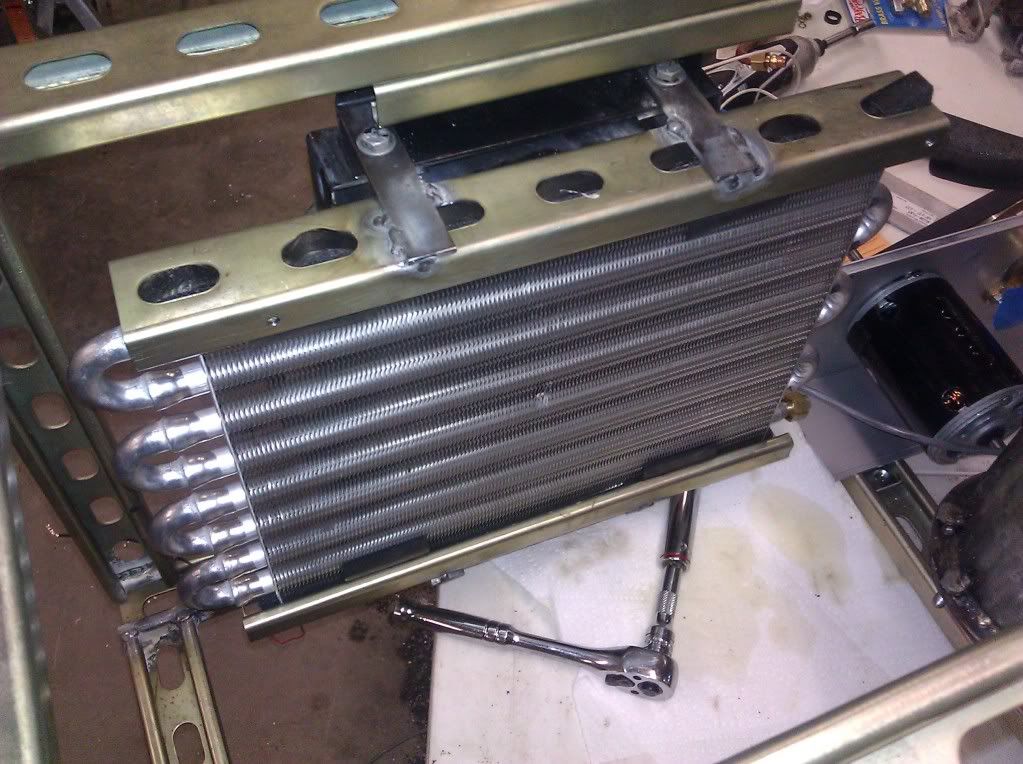
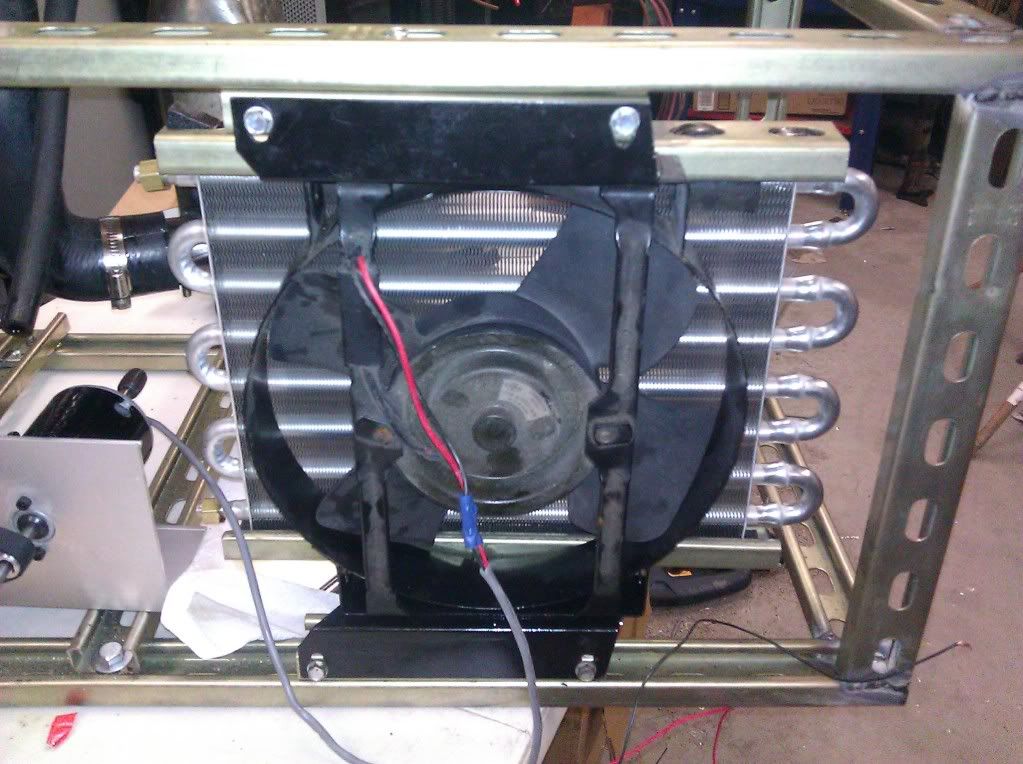
That's it for now, more to come as it happens.
The oil system is done. No leaks, and rock solid at 52psi. The regulator is adjustable from about 20psi all the way to pegging the needle on the gauge. For oil, I'm running 0W20 Mobile One. I figured what it lacked in weight I could make up for in volume and I need the volume to cool the turbine.
Here's a short crappy video of the system.
http://www.youtube.com/watch?v=3Wv8_-GFfnU
Now on to the fuel system. More to come...
Looking good! OBTW: when attaching stuff like that fill neck, I have much better no-leak success with brazing.
In reply to Curmudgeon:
Yeah, me too but the torch was buried and the welder was looking lonely. ![]()
On a side note, I once welded a 6 inch crack in water heater tank with a stick welder. It took some doing, but it didn't leak a drop for two years and only got replaced because we were moving it from the kitchen to the new laundry room.
Well, I got it fired up this afternoon. The oil system worked great other than needing a vent in the tank. The oil temperature never budged off the needle on the gauge. Using my hand as a thermometer, oil coming out of the turbine is in the 140-160 range, uncomfortably hot. Oil coming out of the cooler is in the 110-120 range. Hooray for that.
Now that I could run it longer without burning something up, I did run into another couple of problems.
First, it won't start with the oil pressure above 20psi. The fire will light, but the turbine won't spin up. Too much drag. Once it starts, it runs better at 50-60psi. After start up, if you increase the oil pressure, you can hear the turbine spin up and watch the boost gauge increase. I'm not sure what the problem is. I'm starting to think I might have a combustor problem, which leads me to problem two.
I hooked up a boost gauge. Basically it measures the pressure feeding the combustor. At any pressure it's kind of twitchy, like I'm not getting a consistent burn in the combustor. Time for some more research. I might try modifying the combustor liner some more, but I'm not sure whether it's getting too much air, or not enough. I'm thinking not enough because at low throttle the flame seems to be burning in the turbine.
More to come...
Update time again.
I haven't had a chance to get the combustor problems sorted yet, but I did make progress on the tachometer.
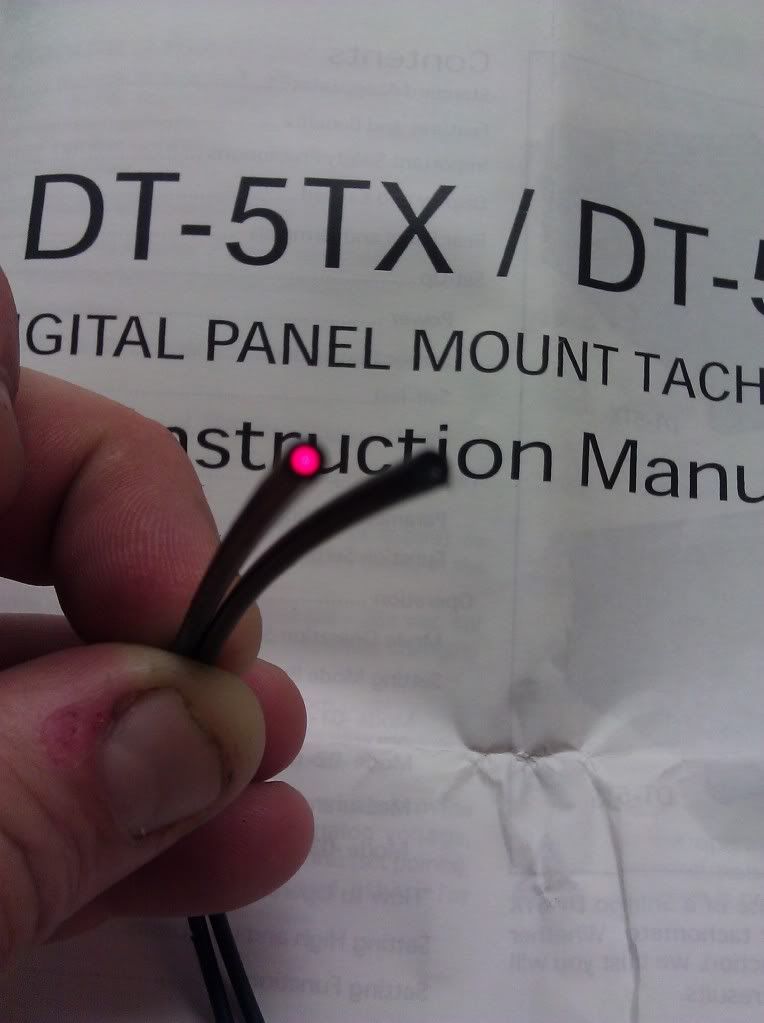
The tach is going to work using a fiber optic switch. The switch is an Omron E3X-A21 off of Ebay. It uses two fiber optic wires, one transmitter, one receiver. The compressor nut will be painted 1/2 white, 1/2 black. The switch will be able to count the revolutions.
Here are the wires.
Here is the switch.
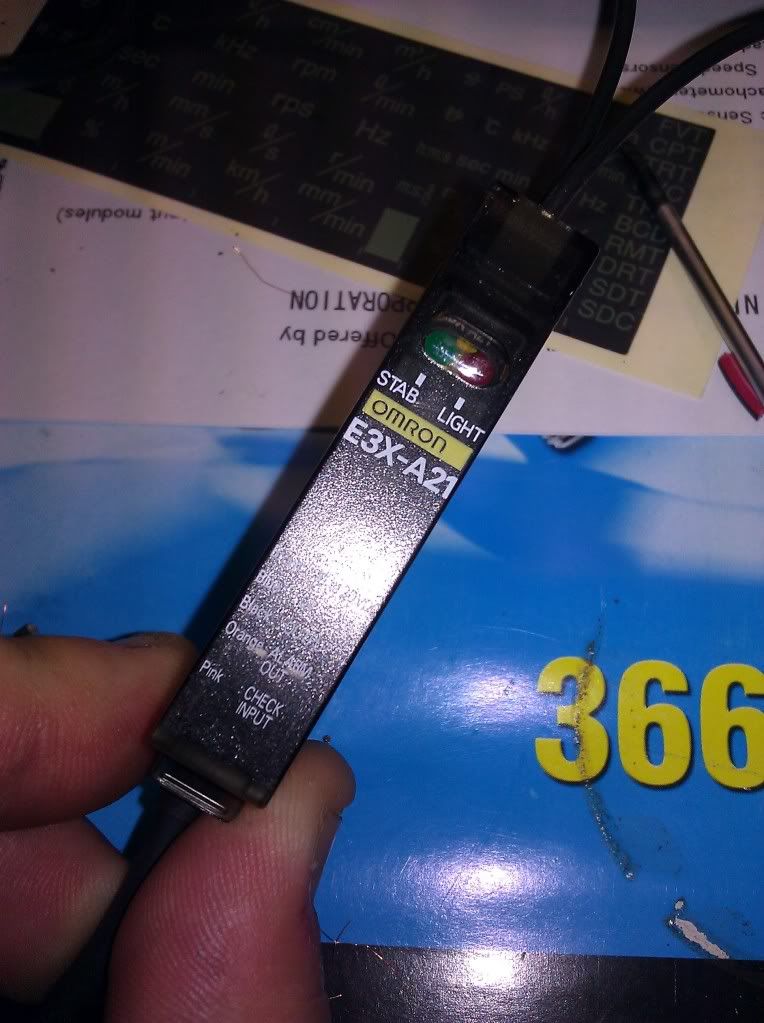
All I needed was some way to read the signals from the switch. The first tach I ordered wasn't compatible with the switch. The switch uses a NPN output. The new one showed up today. A quick test proves it to work, at least to 30000 rpm. It is a Shimpo DT-5TS, also from Ebay.
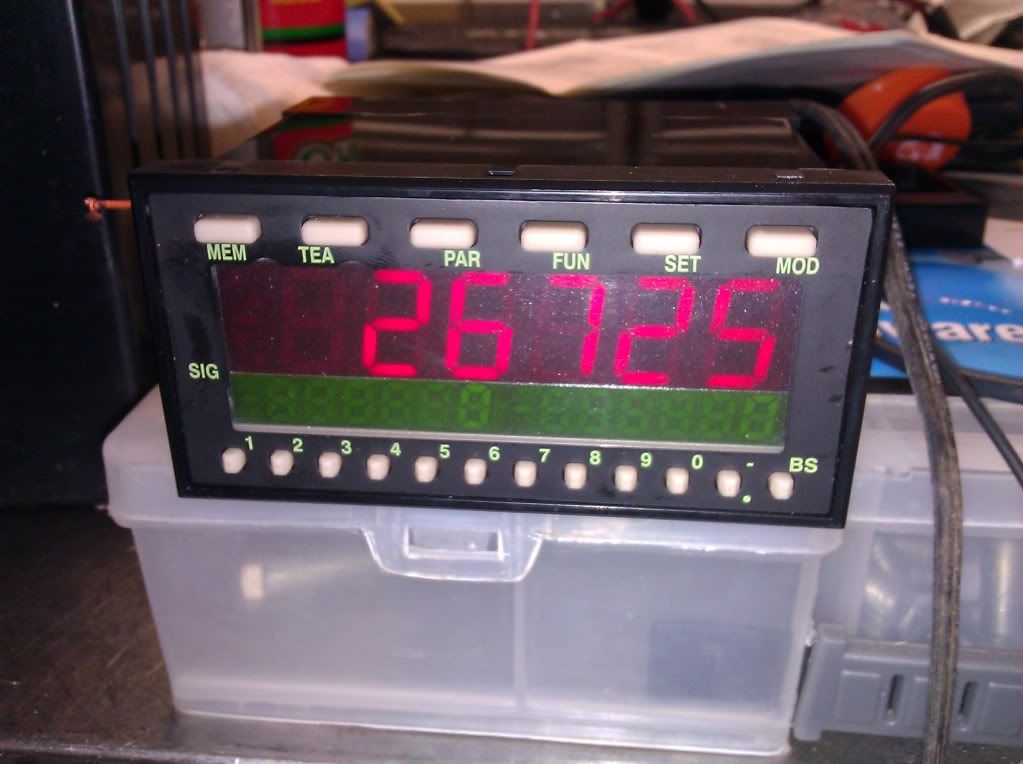
That reading is off of my die grinder.
All I need to do now is rig up a mount to hold the fiber optics in place.
A little more.
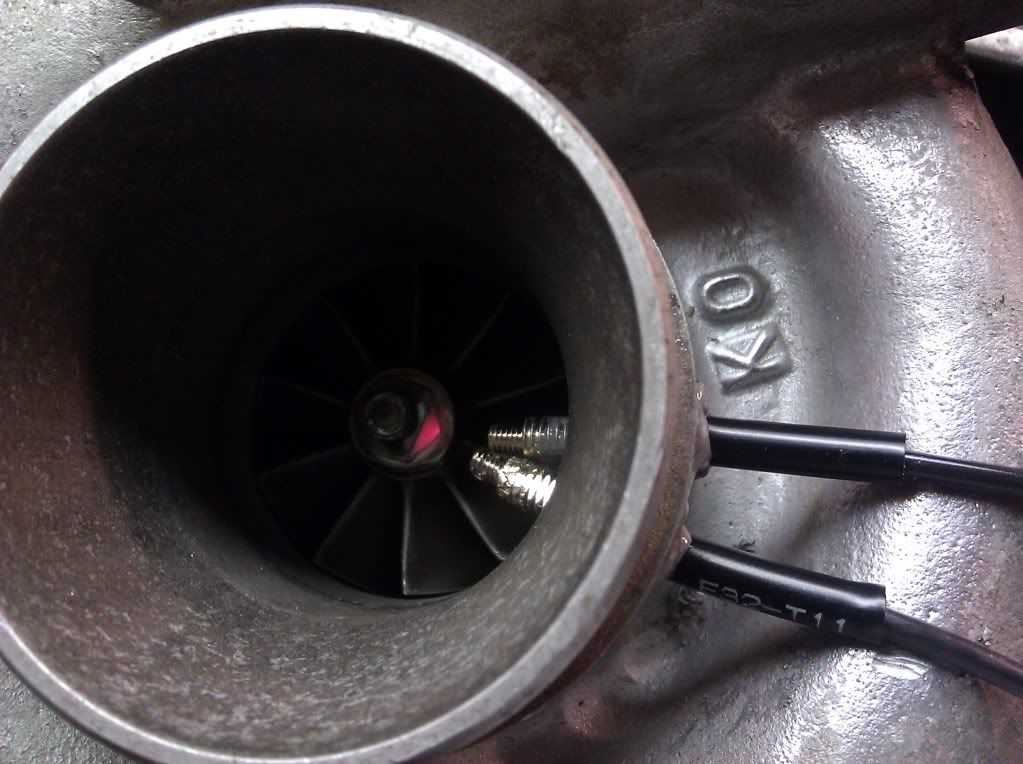
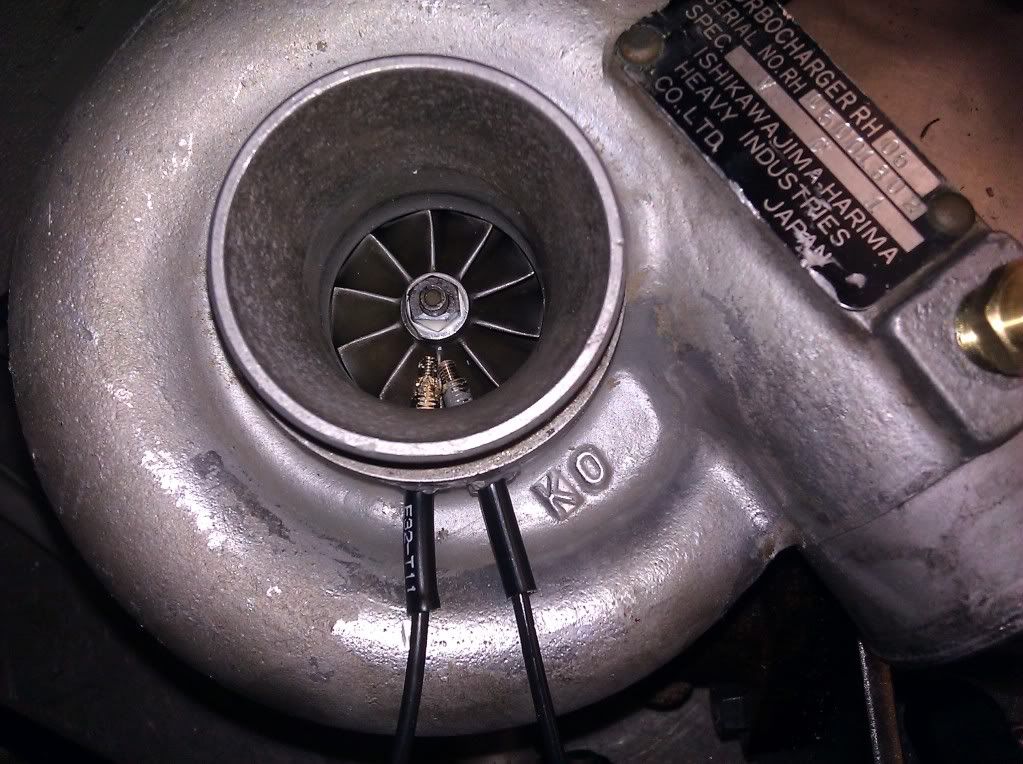
These will be the pickups for the tachometer. I would have preferred for them to not stick so far into the air stream, but any farther out and the pickup is erratic.
Another update. ![]()
Started out the day getting the tachometer cut into the control panel.
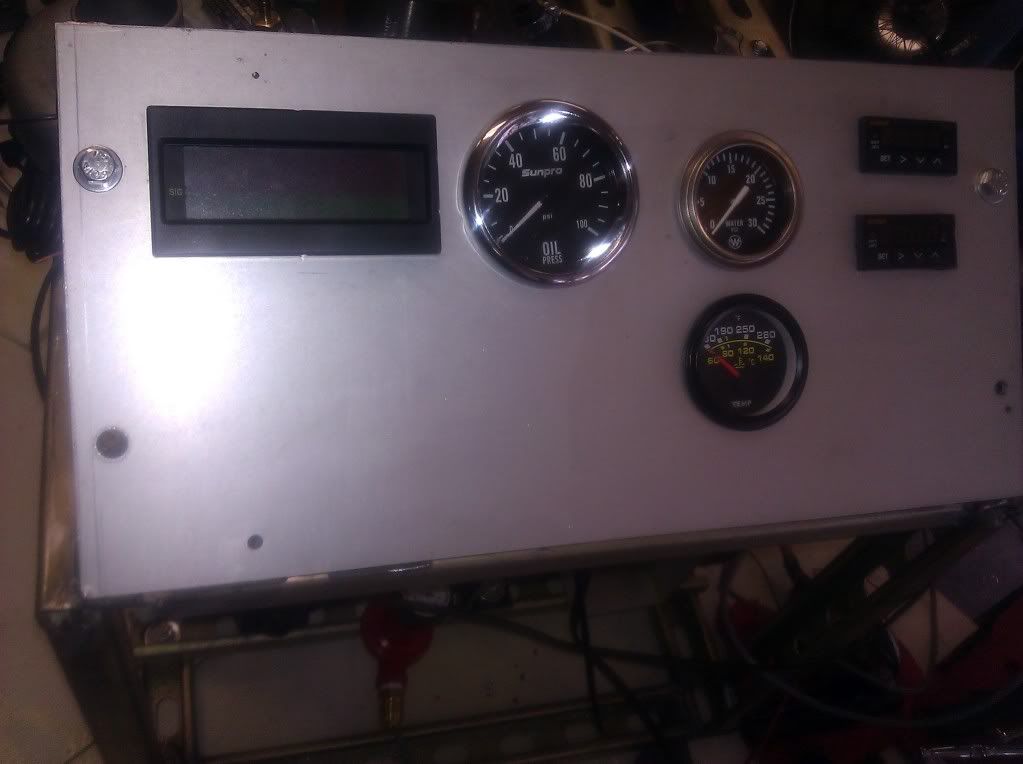
Next it was time to build some kind of exhaust tube. That one took some time to lay out, cut and weld. It didn't turn out too bad.
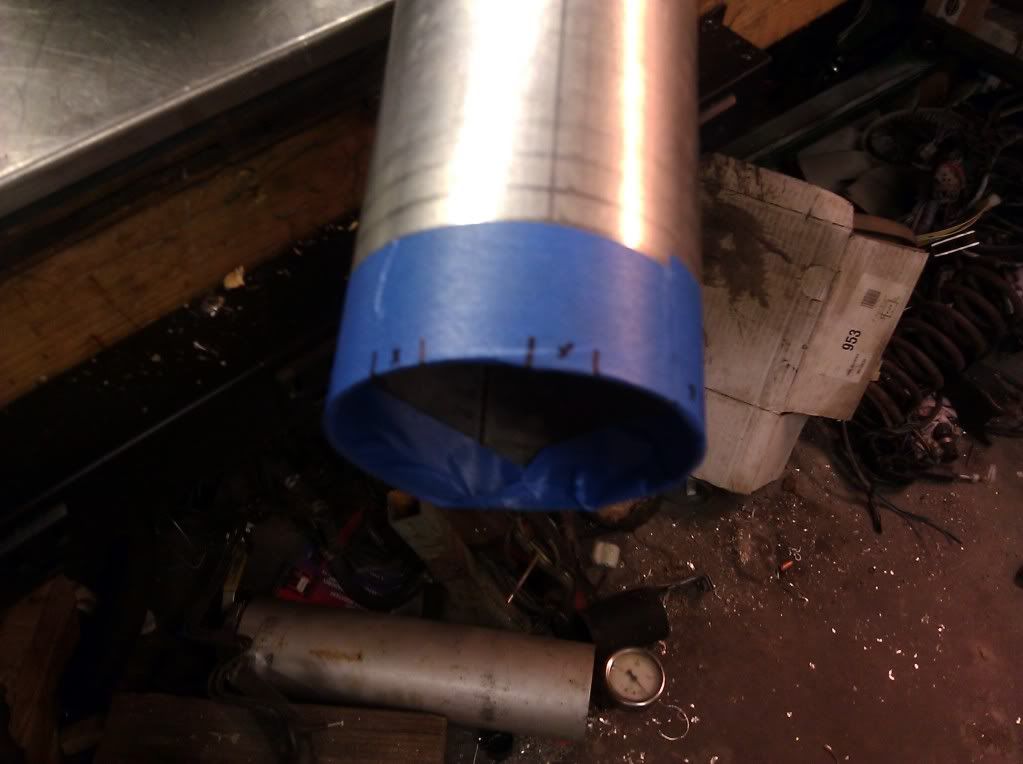
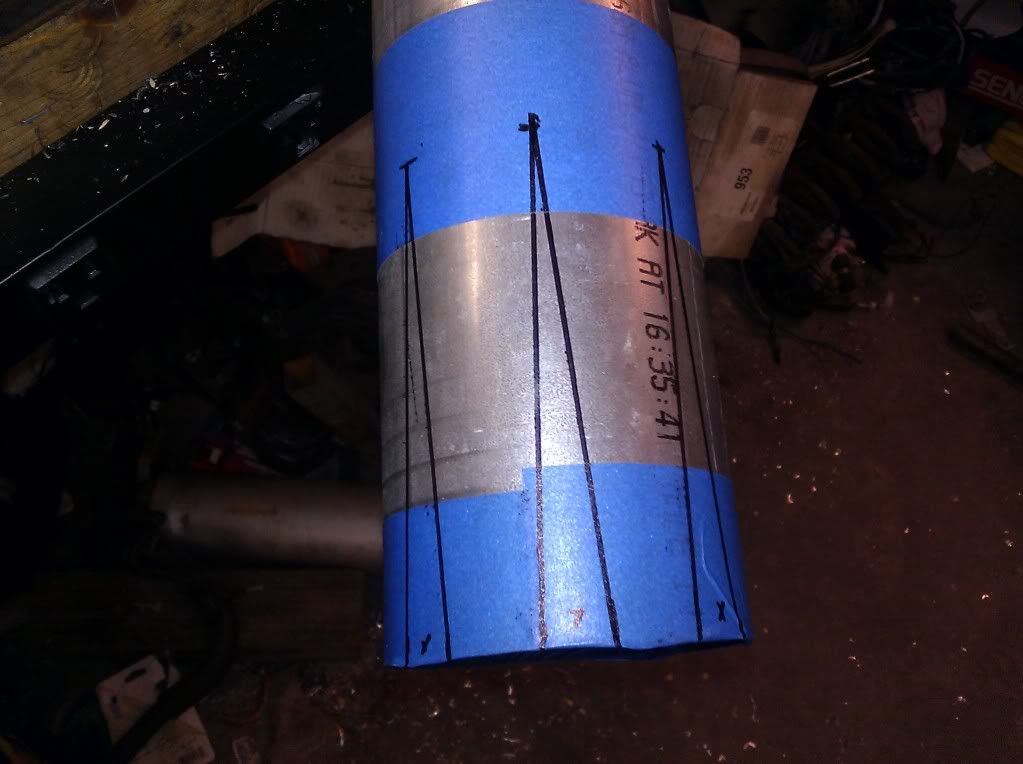
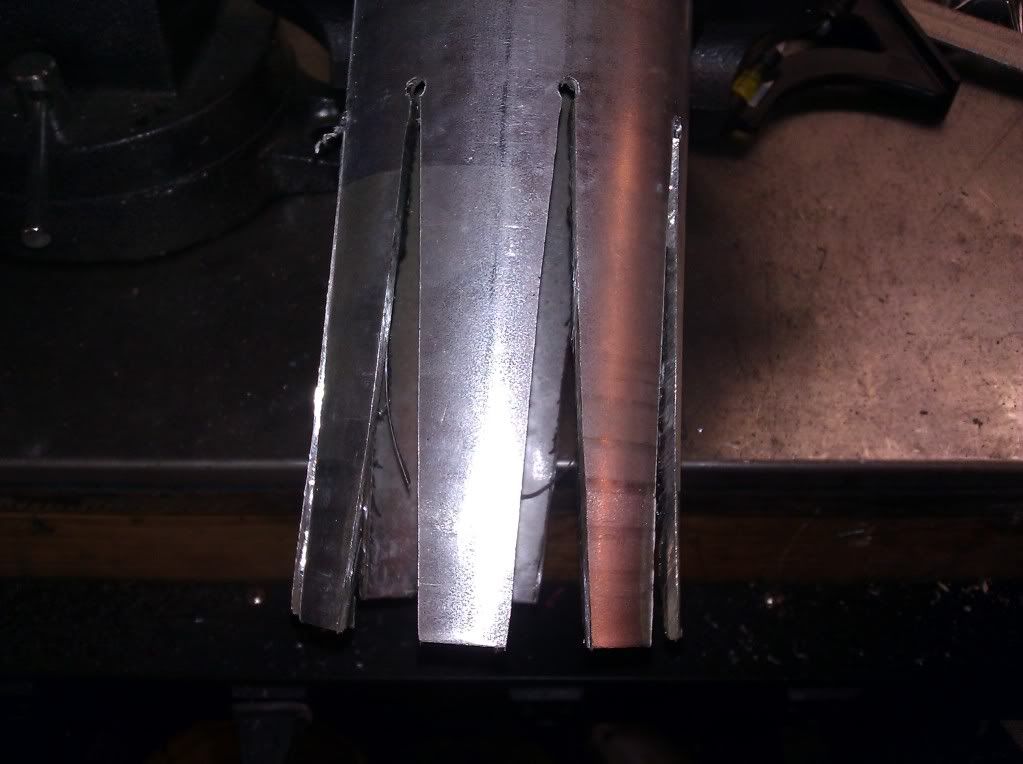
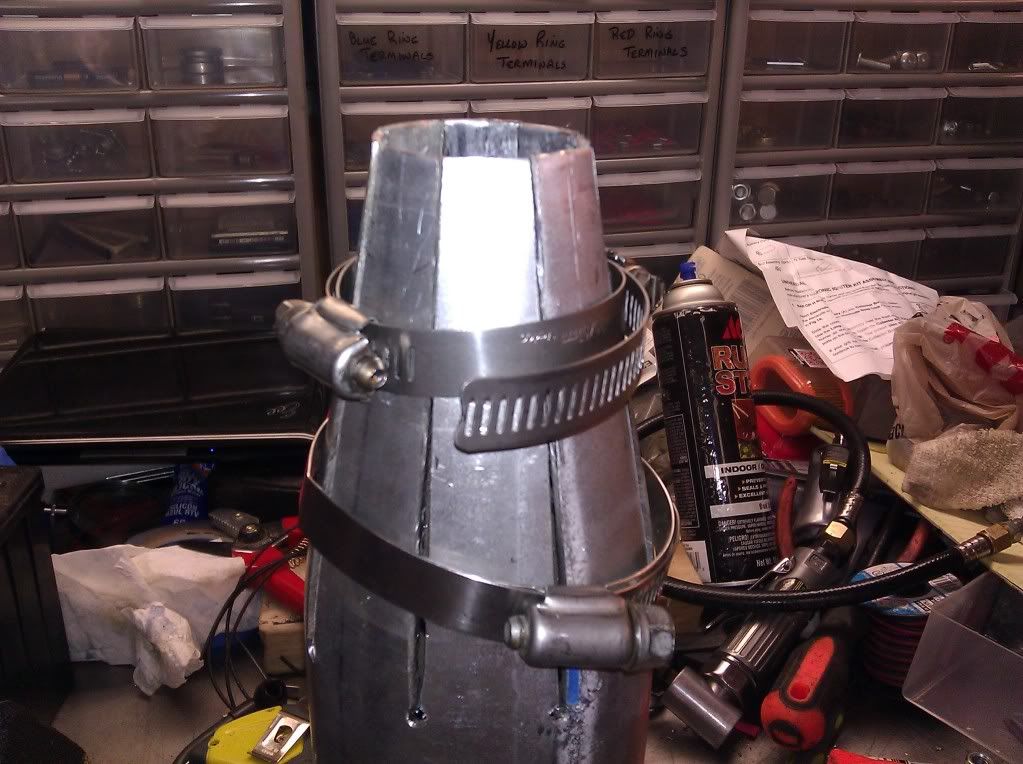
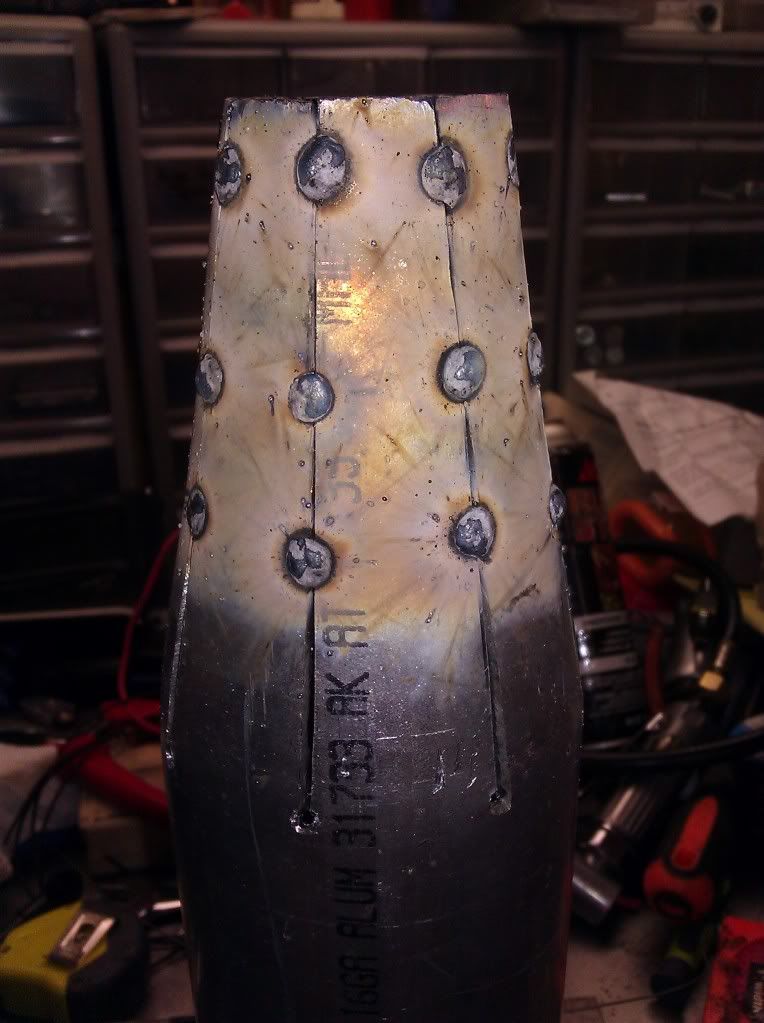
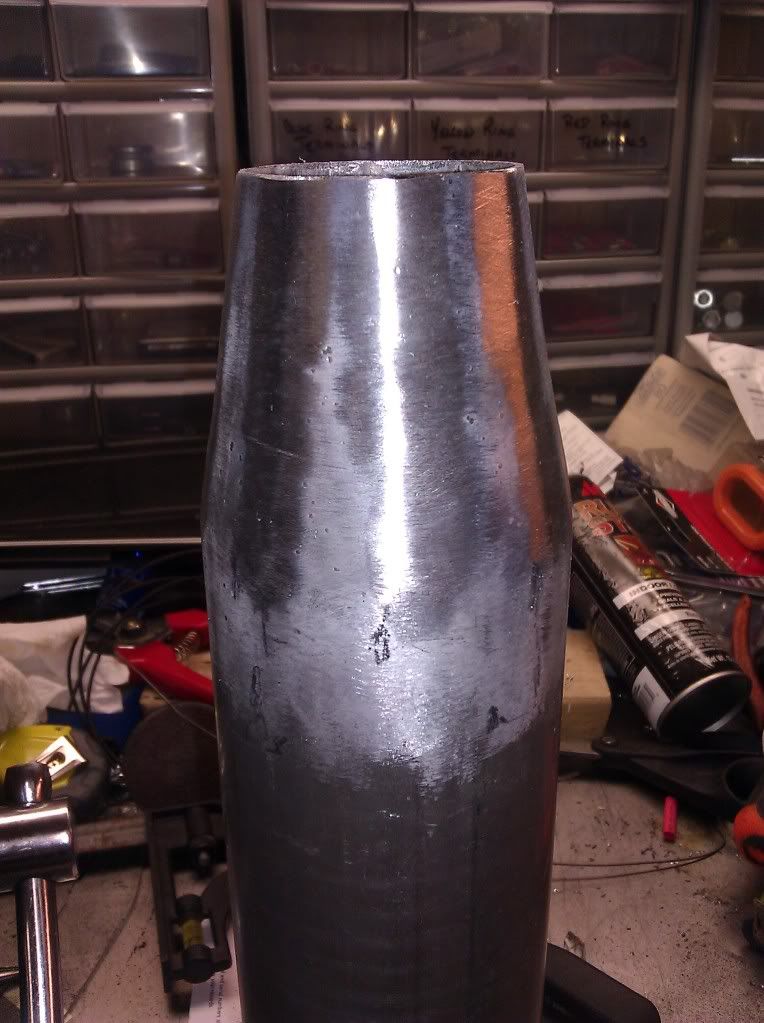
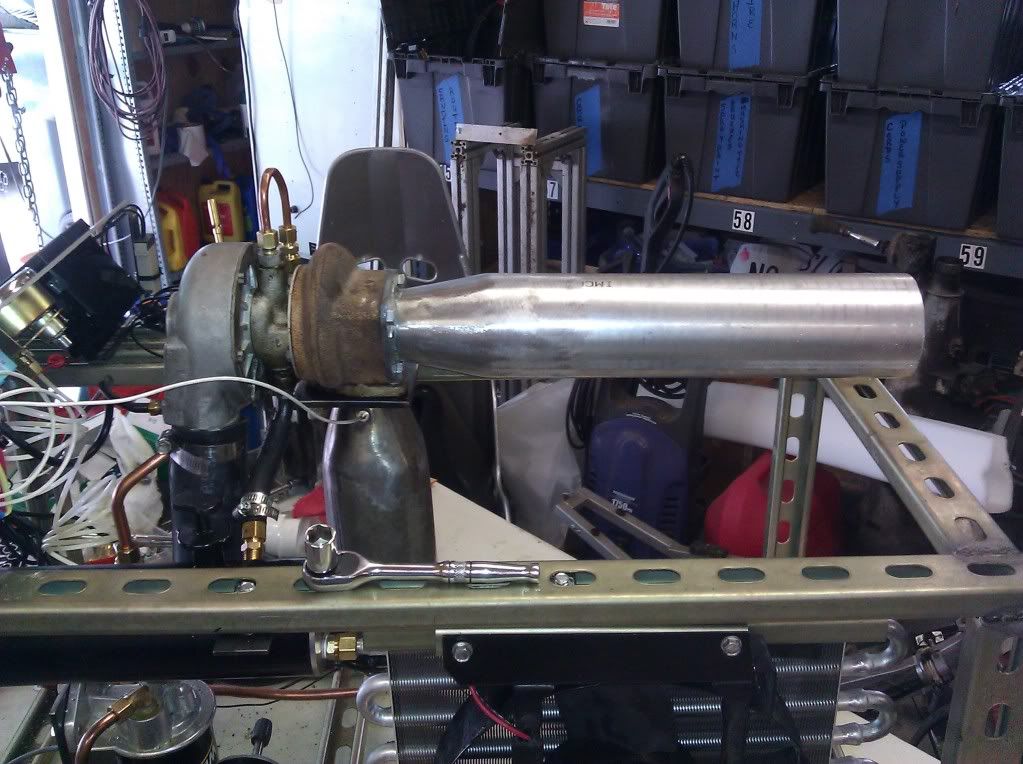
I then modified the flame tube. Thinking I was getting too much air into the combustion chamber I welded some of the holes shut. Sorry, no pictures of that, I forgot to take them.
Time to test run it again...
...and it wouldn't start. The best I could get was 10K rpms on the turbine. Then it started vibrating, bad. ![]() I shut it down, cooled it off and took it back apart to find this.
I shut it down, cooled it off and took it back apart to find this.
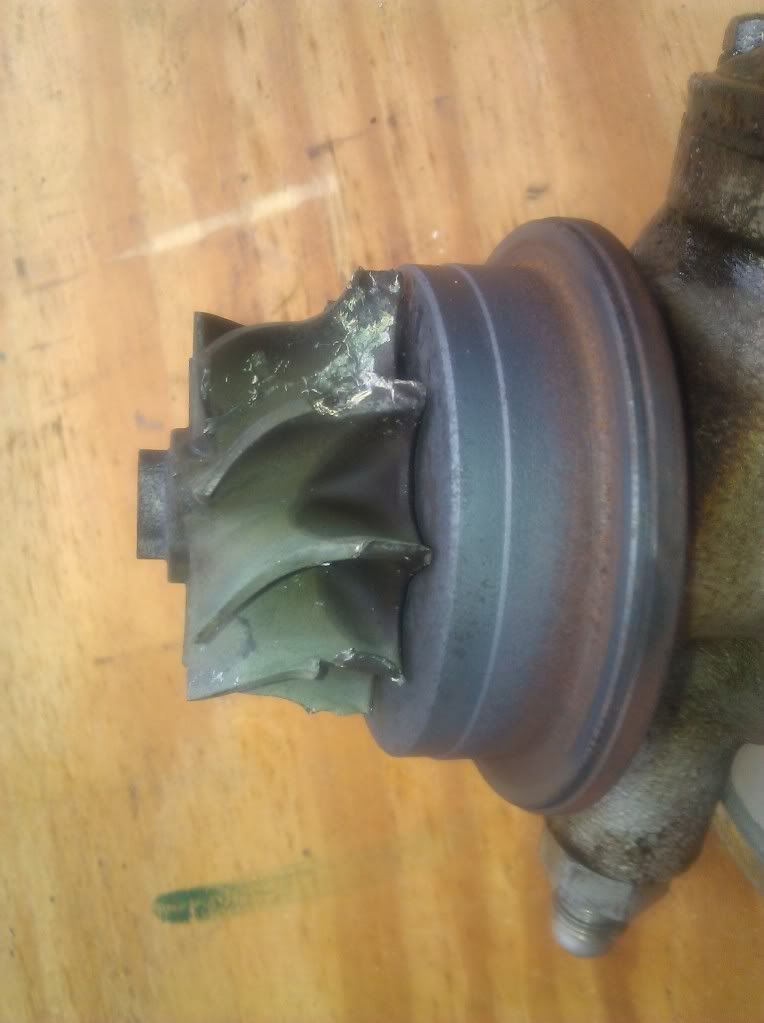
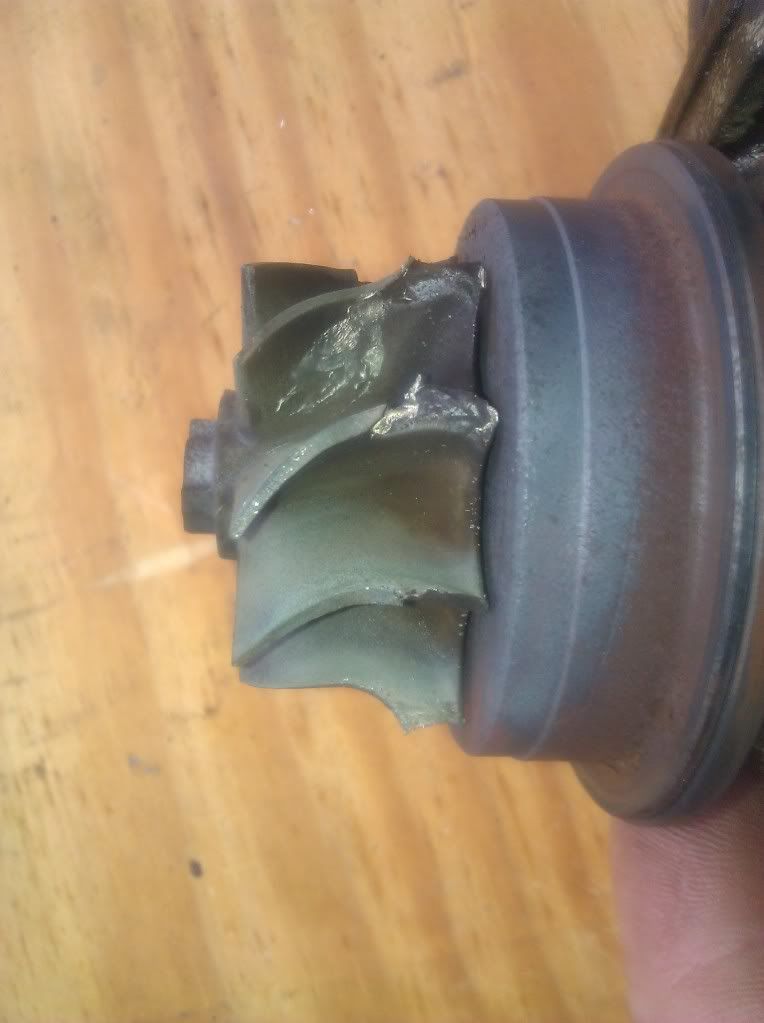
Catastrophic failure. I'm not sure what temperature turbocharger turbine wheels melt, but I apparently exceeded it. I wasn't watching the temp gauge close enough.
That brings me to a screeching halt. I've got to either rebuild this turbo, or find another one. Finding another means rebuilding the combustor. ![]()
Anyone know where to find IHI turbo parts?
More to come, but it might be a while.
I did some more digging and I think I know what happened.
These were found in the narrowest part of the turbine scroll.
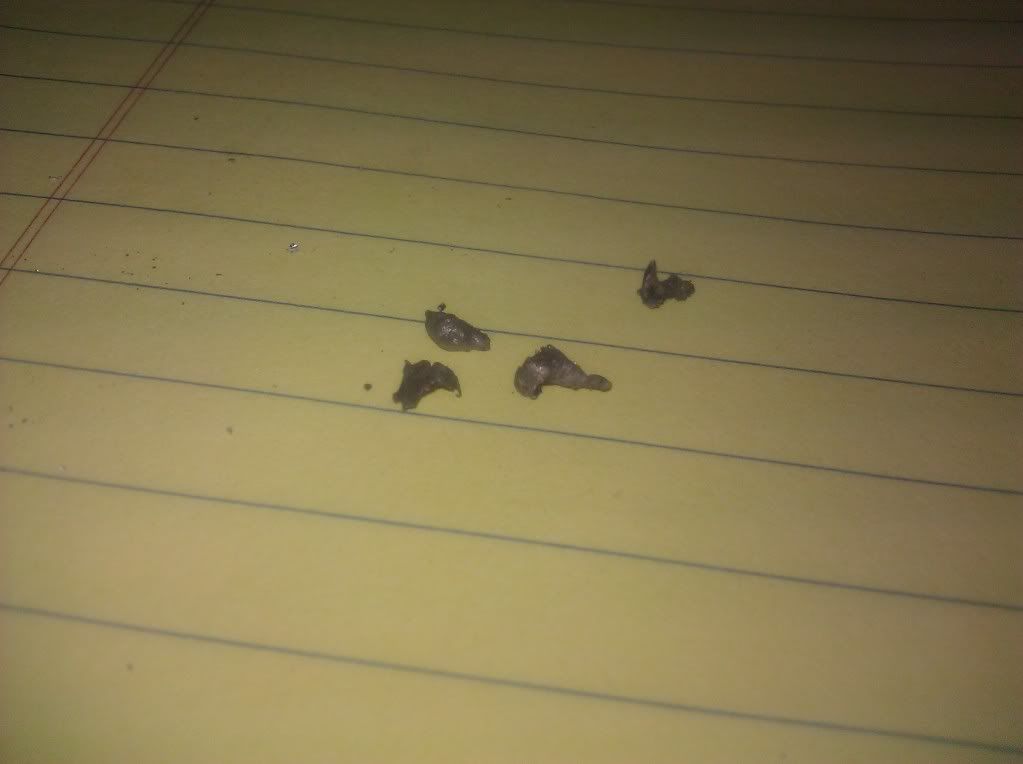
They appear to be welding slag, probably from welding up the holes in the flame tube. I must have not done a very good job of cleaning it. ![]()
I noticed the tachometer going to zero and thought that the pick up had come loose in the optical switch. I fiddled with it and it started working again, so I didn't think anything of it.
I'm guessing a piece of slag stalled the turbine. Hence the melting down of one side of it.
Live and learn I guess. Now I have a good excuse to buy a TIG machine. I sure can't have that happen again. ![]()
I'd switch your turbo over to a more common/cheaply available breed now that you'd have to go through the trouble of rebuilding, although it might require some rework on your setup, just food for thought...
You'll need to log in to post.