The 328 is easier to work on, mostly because I replaced soooo many components on it that I know fairly well what everything is located. Certain rattles and knocks, I know what it likely is because I know what I replaced. I don't know much about this car or my 91 Camaro.
I've driven many different cars since I started autocrossing, and a stock Civic is the definition of boring; It's ok if you like them. I'm a RWD guy, but a limited slip diff and performance shocks will do wonders for a Civic.
Mr_Clutch42 wrote: I'm a RWD guy, but a limited slip diff and performance shocks Will COST 3X WHAT I PAID FOR THIS Civic.
Fixed.
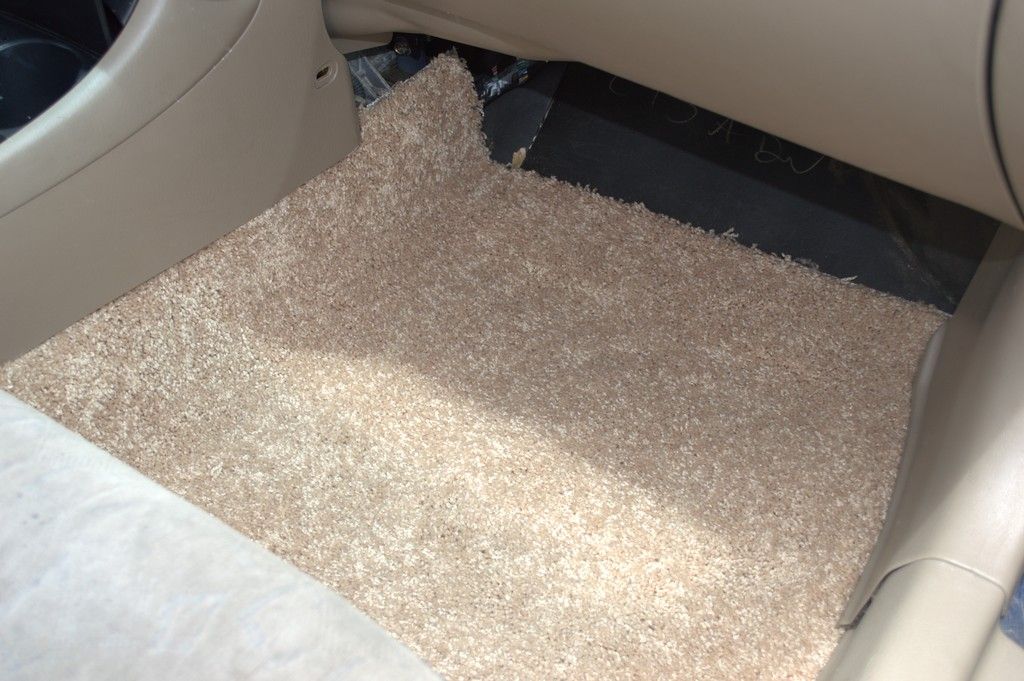
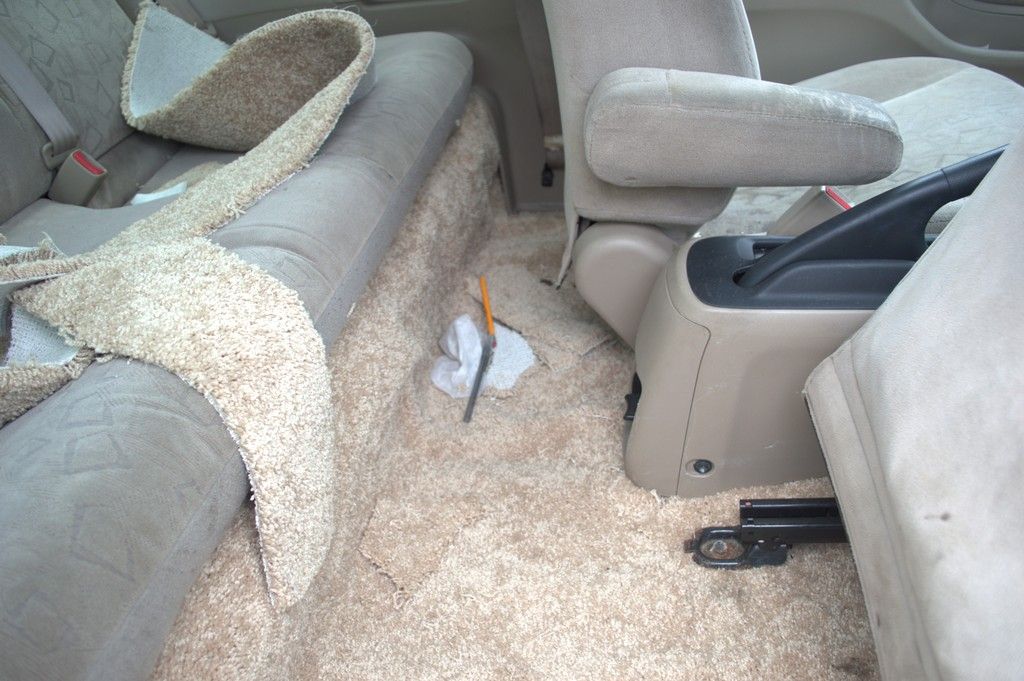
Good job on the renovation
In reply to 2002maniac: If I was a Honda fanboi, it would be worth it. Plus, don't congratulate me yet, it's not finished!
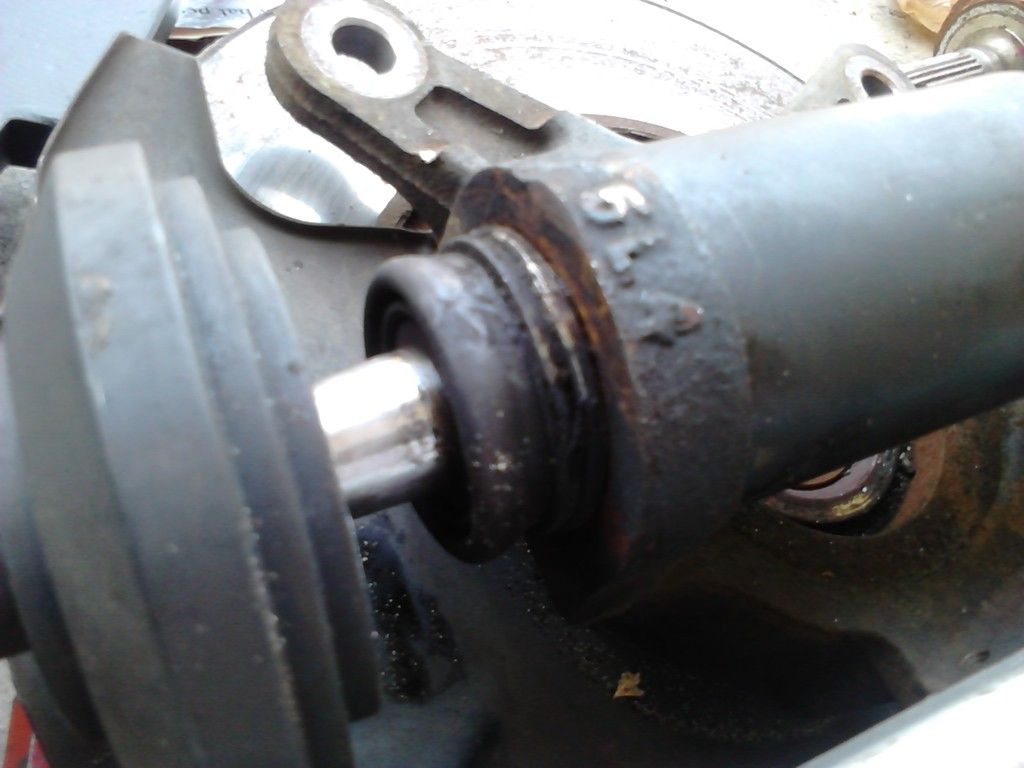
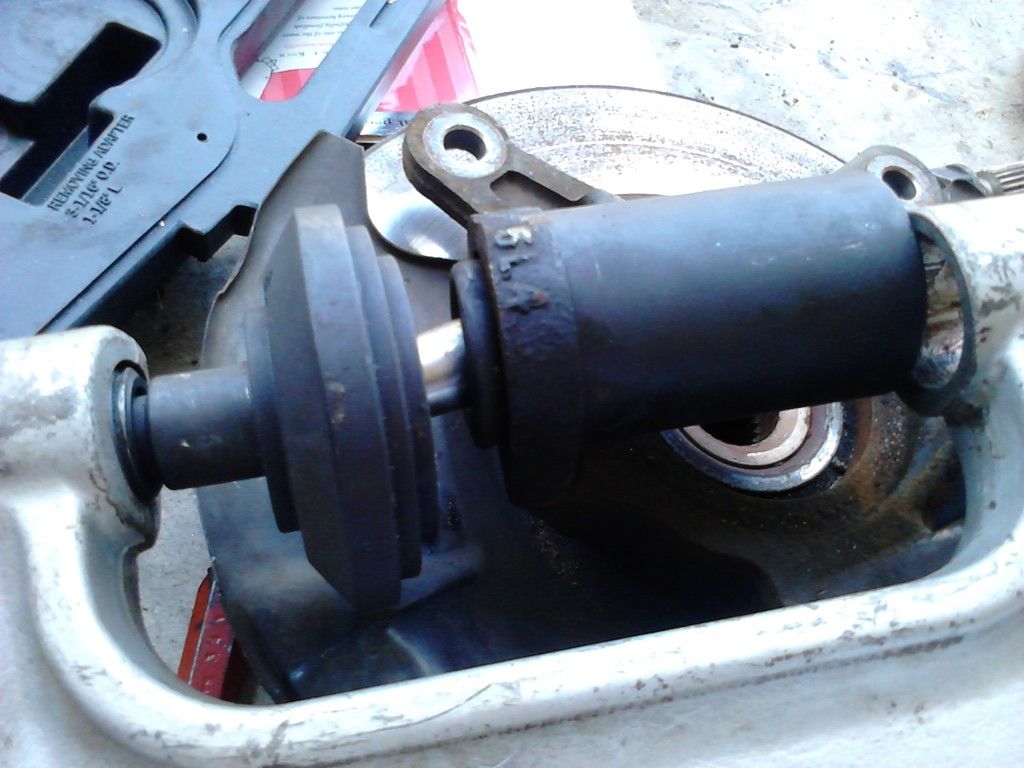
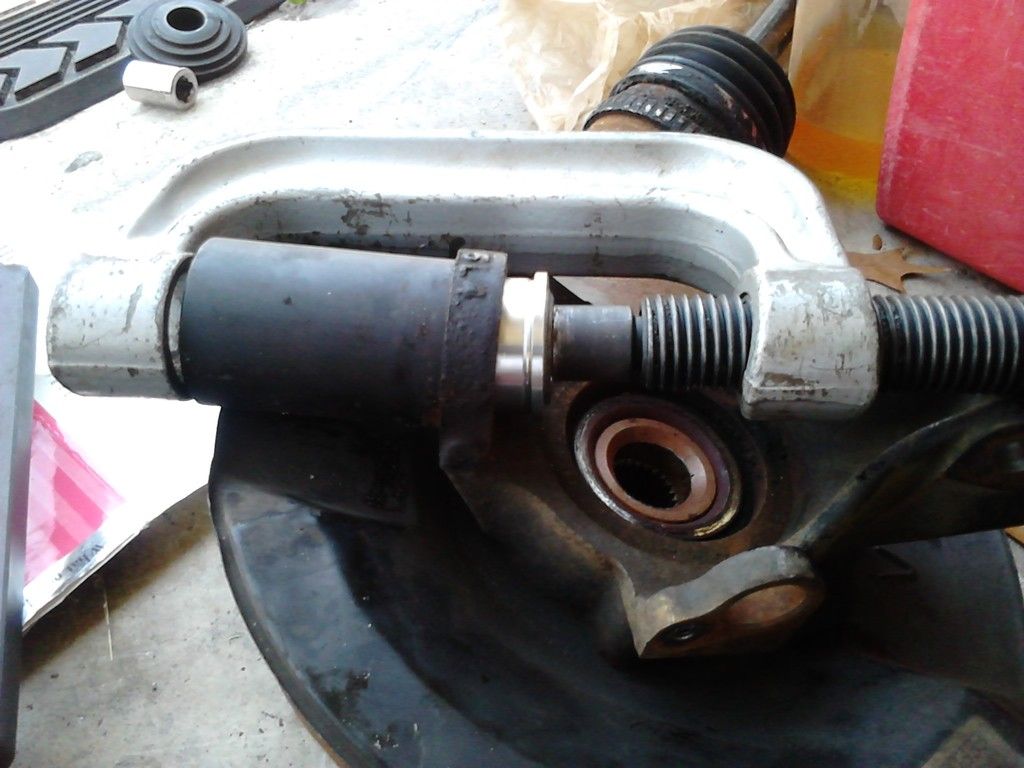
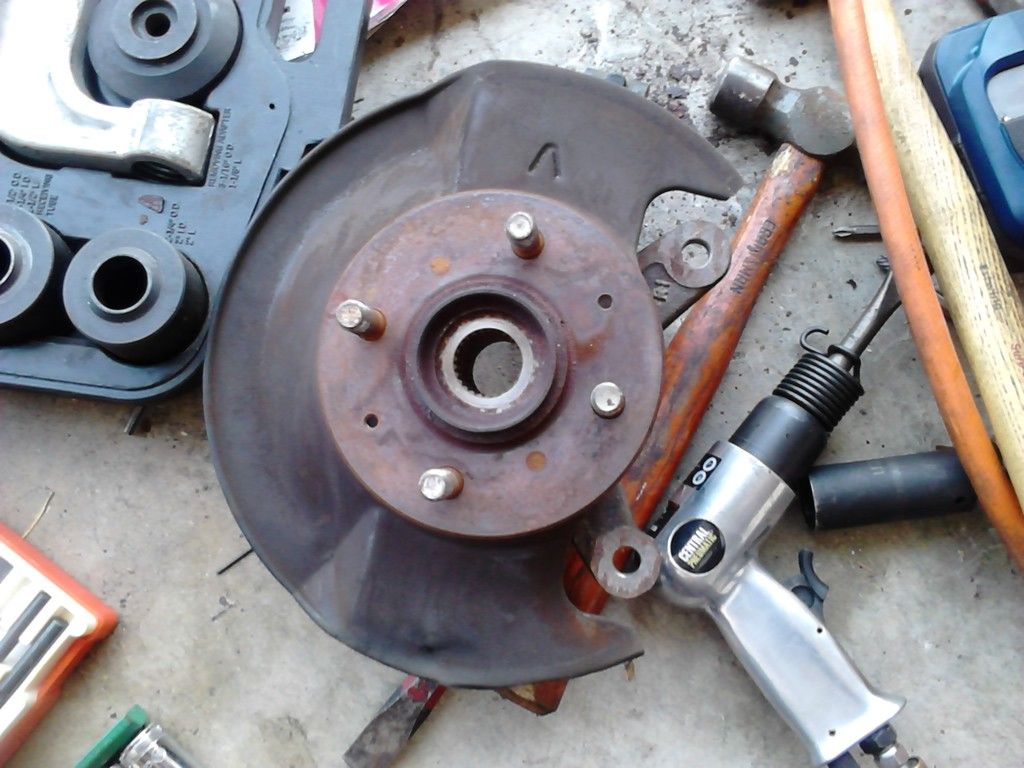
I had to remove a clip to press out the ball joint. I had to take an hour trip to pick up this steering knuckle.
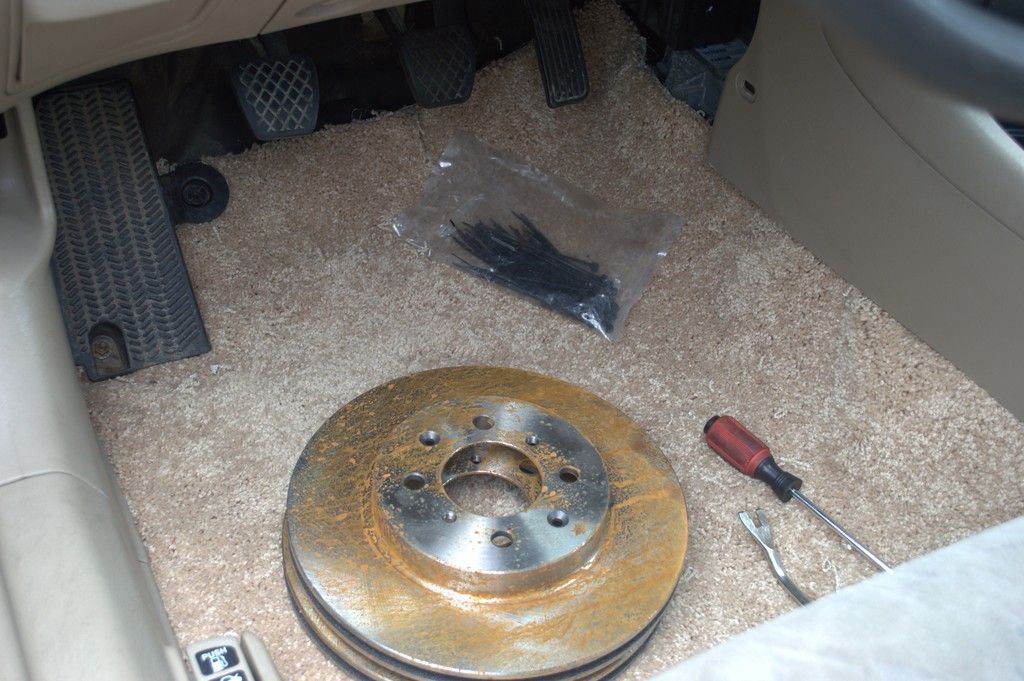
 It got sent to the recycling.
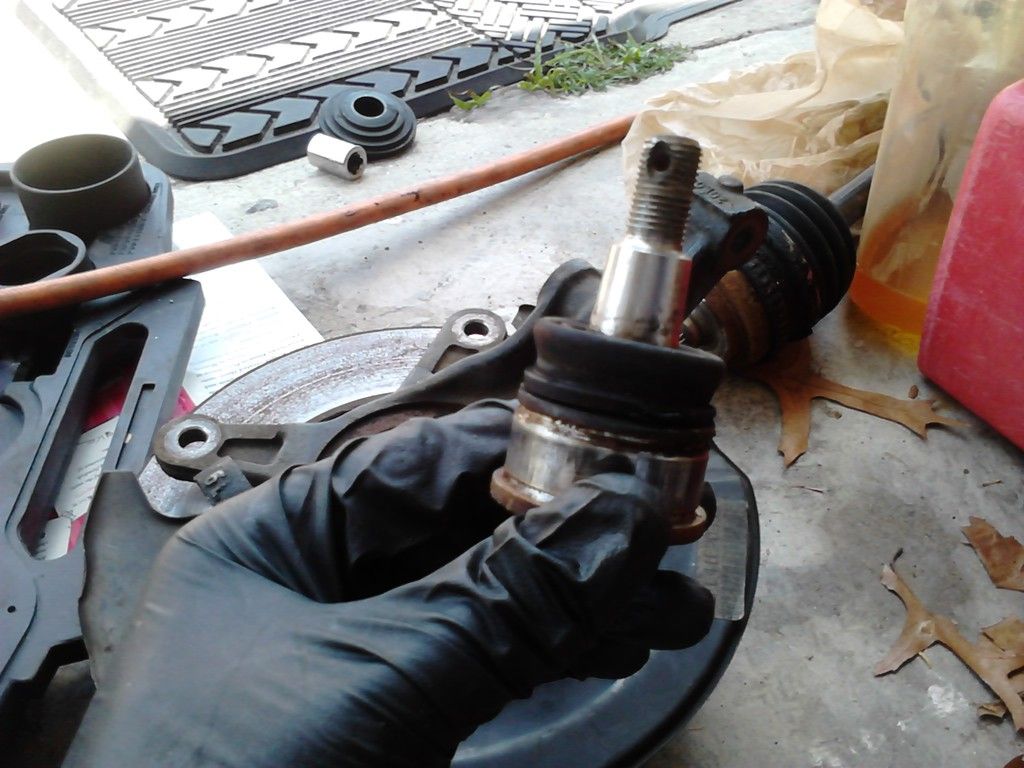
Now to press in the OEM ball joint.
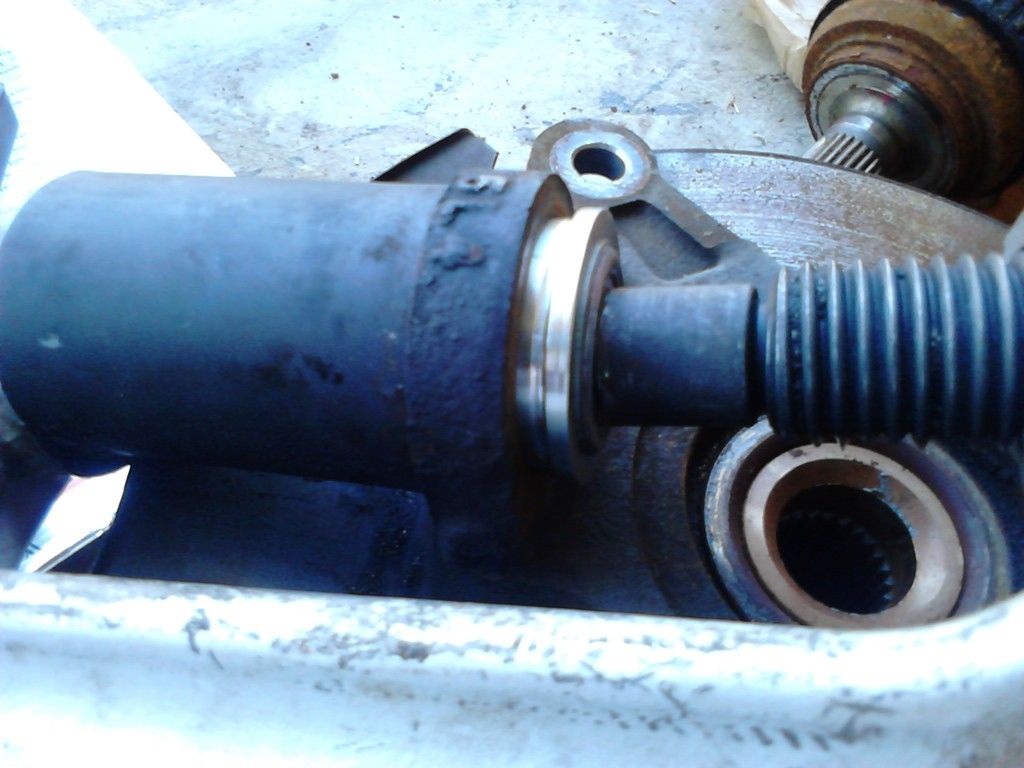 It looks good!

The rotor screws were seized, so I tried the non-Honda ways to remove it to try several methods. They didn't work. 
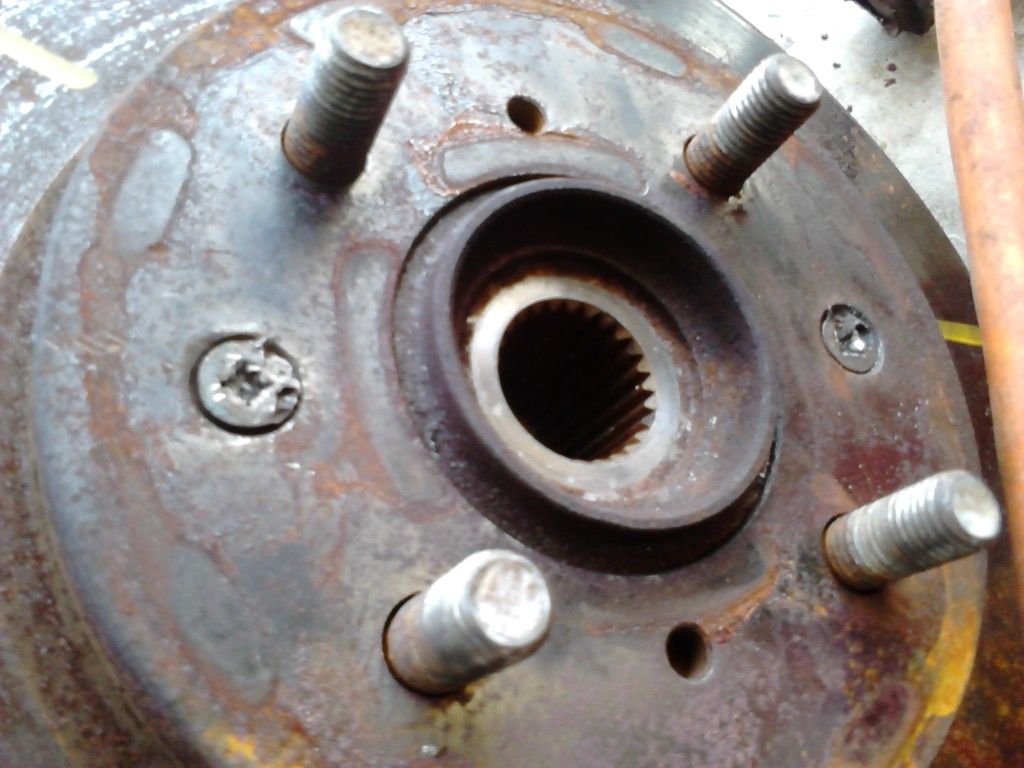
Then, I finally watched an ErictheCarGuy video on removing Honda screws and I used his method.
Use two hammers, and pound on them to loosen them.
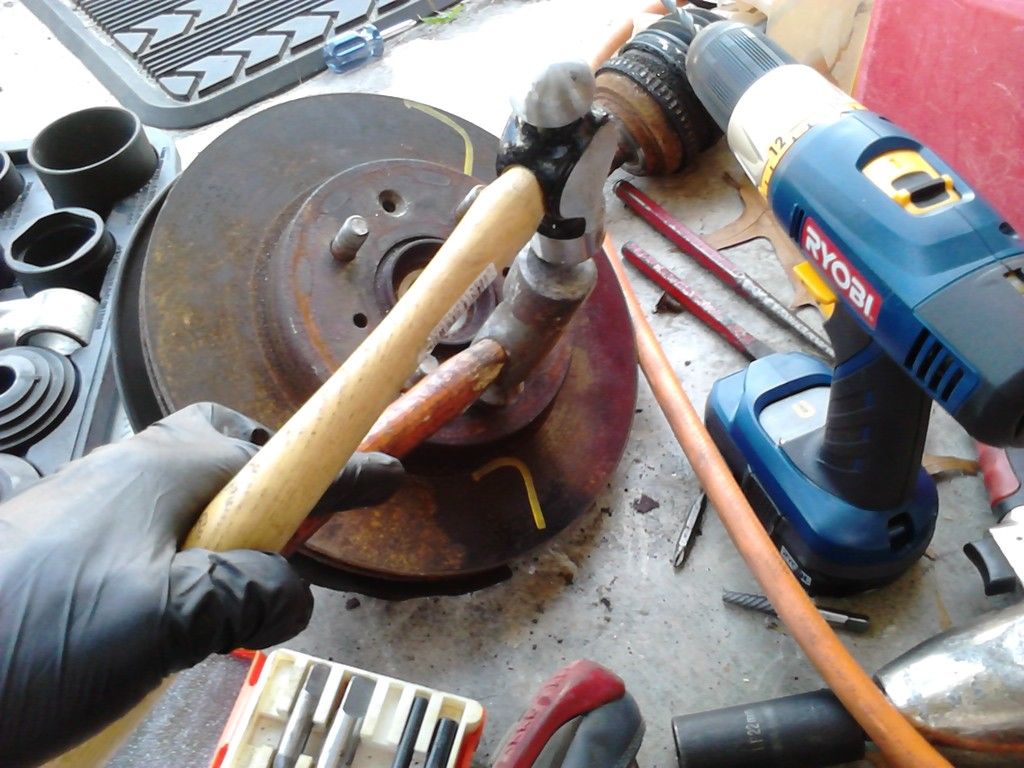
Then, use an air chisel to vibrate the screw out of the threads.
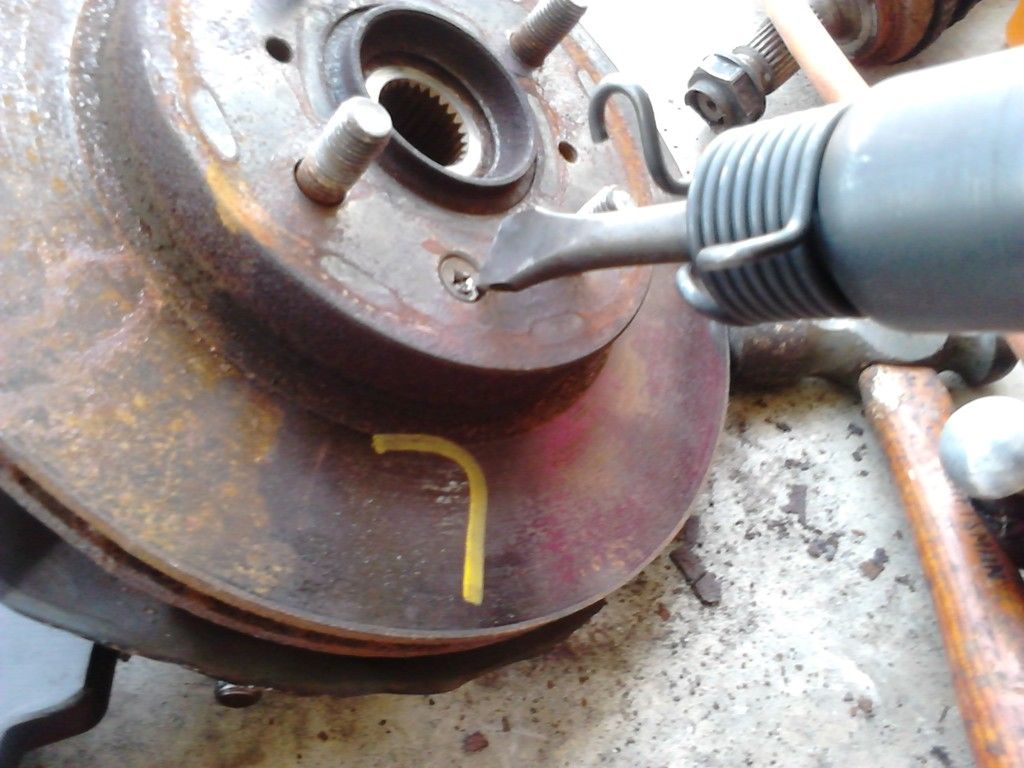
It worked like a charm.
I popped out the new rotors and cleaned them off with brake cleaner, of course. The new rotors look so pretty!
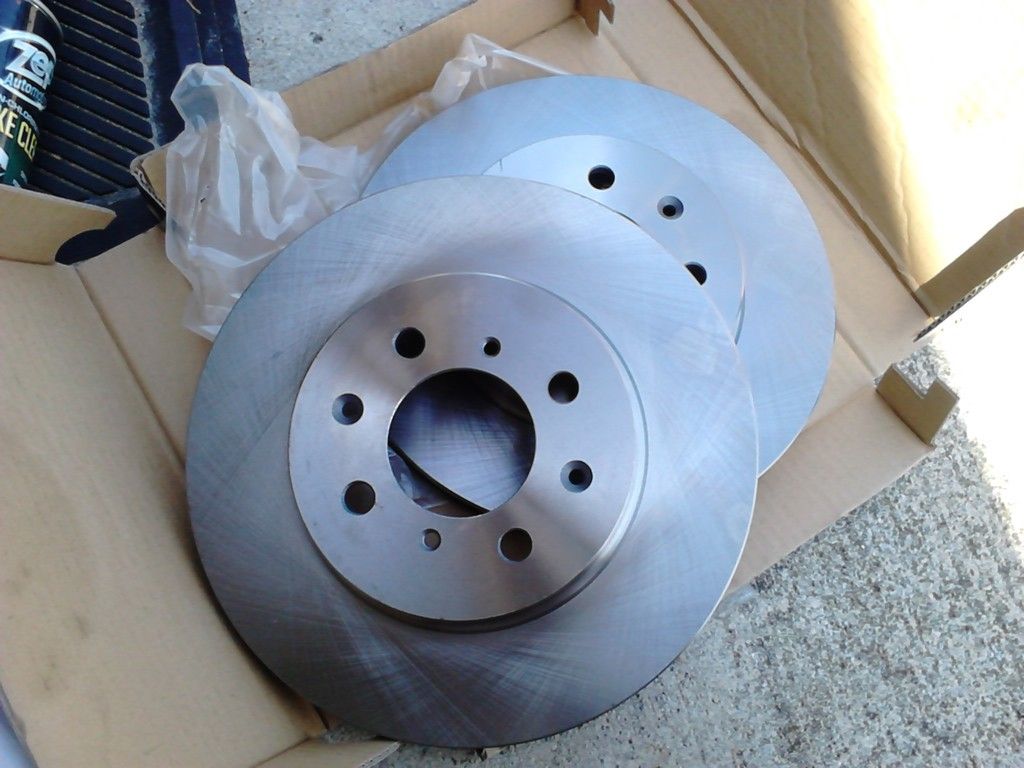
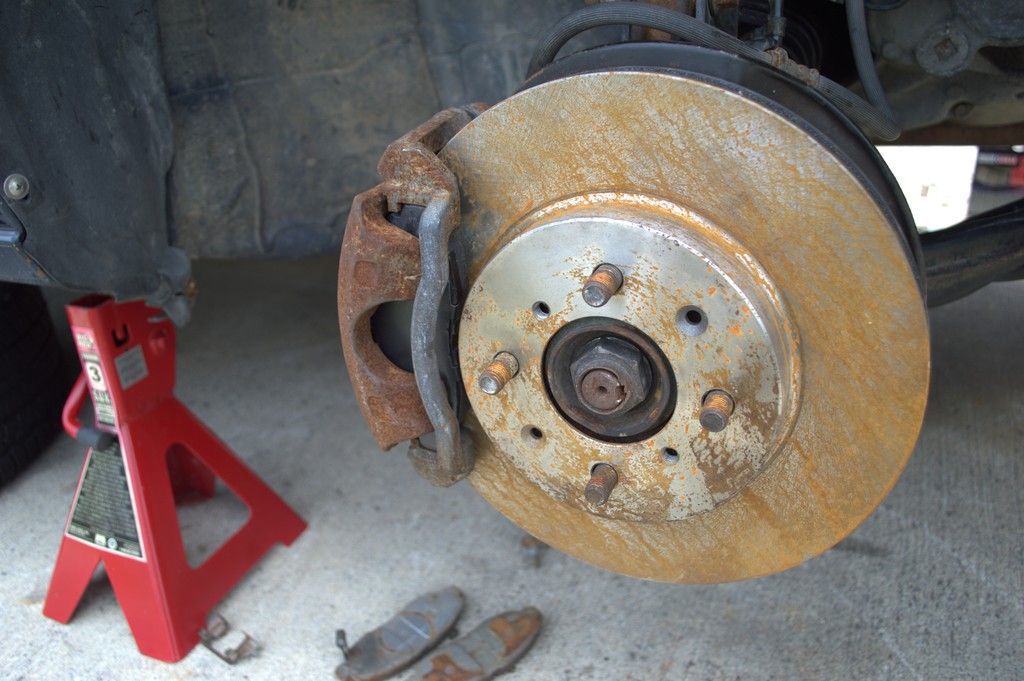
I was going to put the calipers back on with the wheels, but I ordered the wrong pads, so I had to exchange them. I left the rotors on the hubs, and it rained, so they're rusty now. 
for screws like that you have to use an impact screwdriver. http://www.harborfreight.com/impact-screwdriver-set-with-case-37530.html
In reply to Mad_Ratel: I forgot to purchase one of those.
I've been waiting for this day for quite a while. (even more than getting the Civic running) Cue the drum roll please.
https://www.youtube.com/watch?v=mzAfTmC3It0
https://www.youtube.com/watch?v=bjxf-eQWKoo
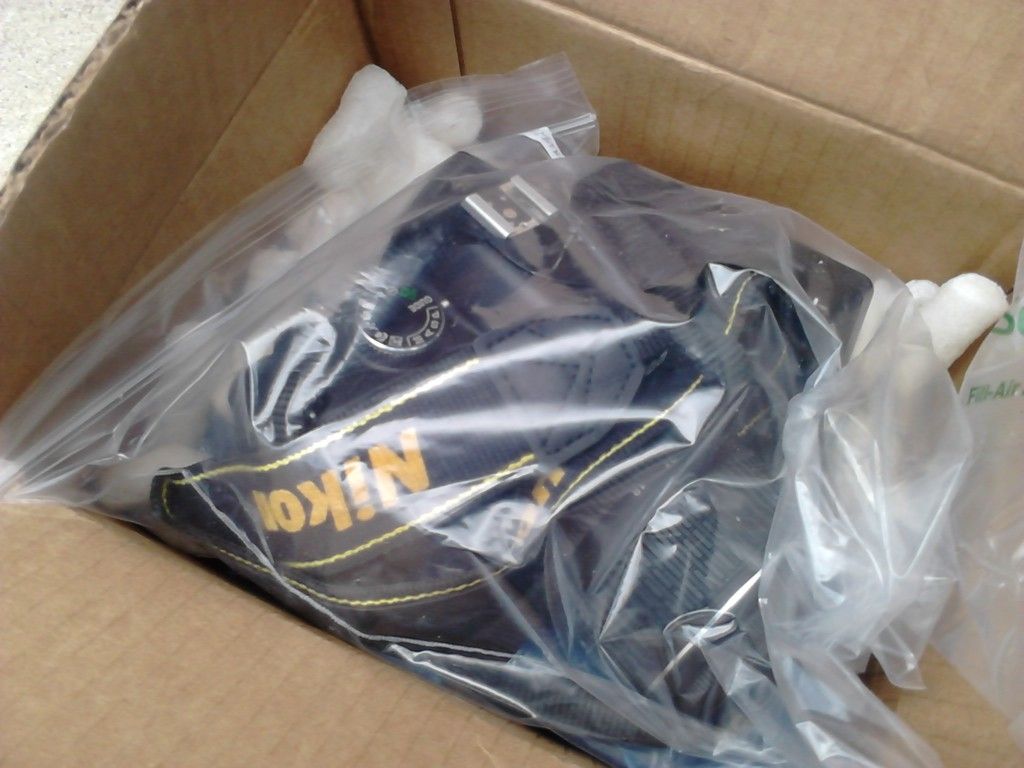
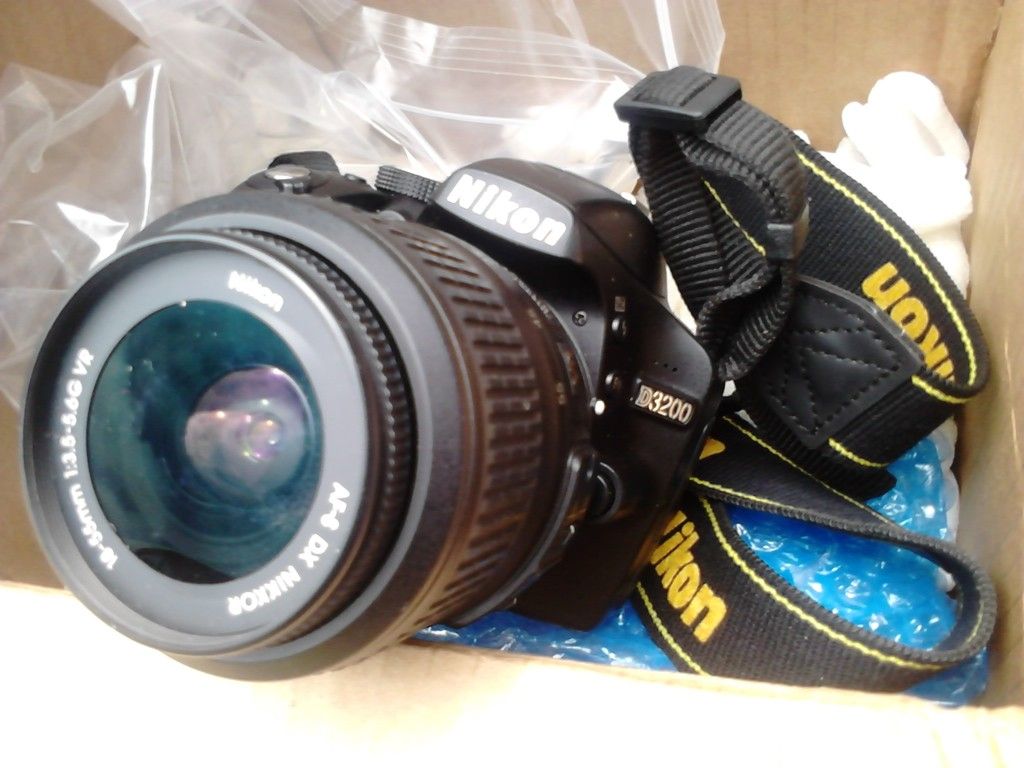
I have HD quality viewing available! It's a Nikon D3200 I bought used.
I only have a small update right now, and some sample retakes.

I was able to take off one of the tie rod ends easily.
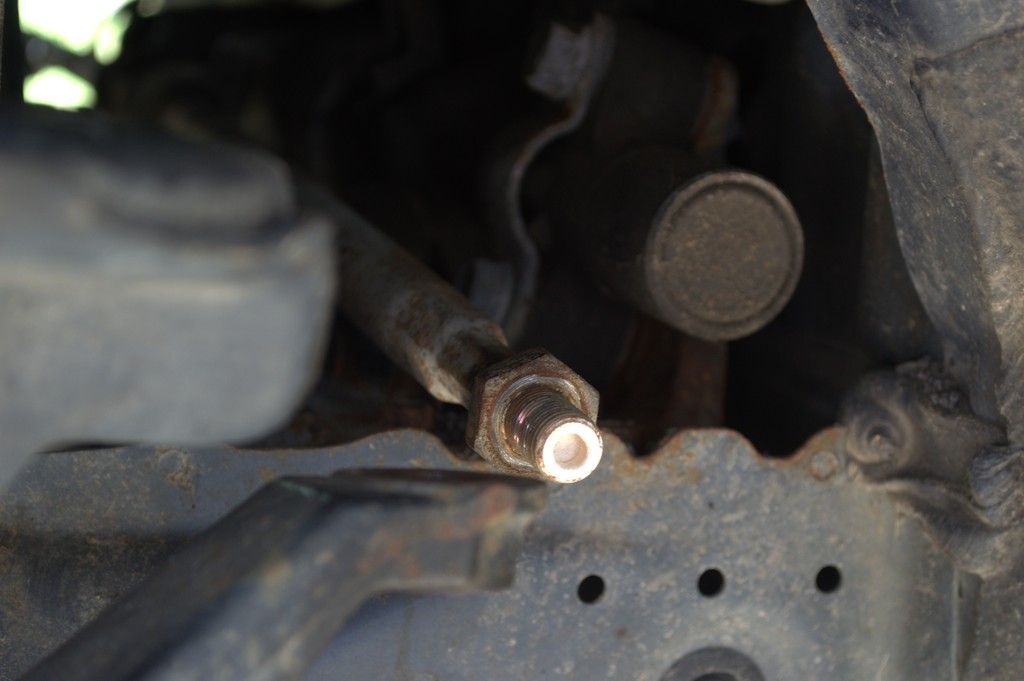
This one, not so much. I did try to take it off with the adjustment nut pushing it off. Do you guys think that's why it's stuck? I also tried pliers and using a torch after loosening the nut from the end.

A while ago, I finally installed the brake rotors and pads.
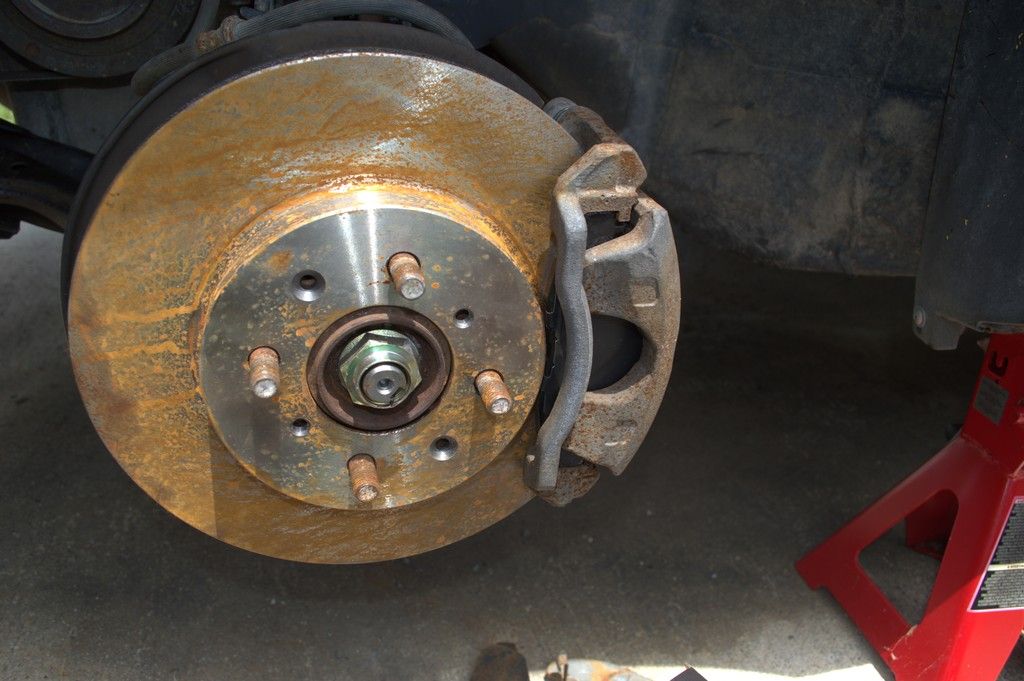
I didn't install the pads with the pad shims; I should have known better. I lost most of them.
My set of lug nuts didn't fit in the holes. Huge disappointment

You can also see how curb rashed they are and how the paint is bubbling up, not a good quality wheel. If I wanted to keep this car for a while, I would probably ditch these wheels for a better quality set of 16" wheels.