Looking around, I found some good fuel tank cleaning techniques involving vinegar, power washers, putting a chain in there and flopping it around, and the POR-15 and Eastwood tank cleaning and sealing kits. But I've also found that I could buy a brand spanking-new tank for about $200. Gotta say, I'm pretty tempted by that....
I've heard good things about the POR kit. What does that cost these days? If it's around $50 or so I'd say that's AL.ost better than a new tank.
Adrian_Thompson wrote:
I've heard good things about the POR kit. What does that cost these days? If it's around $50 or so I'd say that's AL.ost better than a new tank.
It's about $80, but I'm not sure I need it. The tank isn't leaking, it's just full of crud. I'll probably try some vinegar and a couple handfuls of pea gravel first.

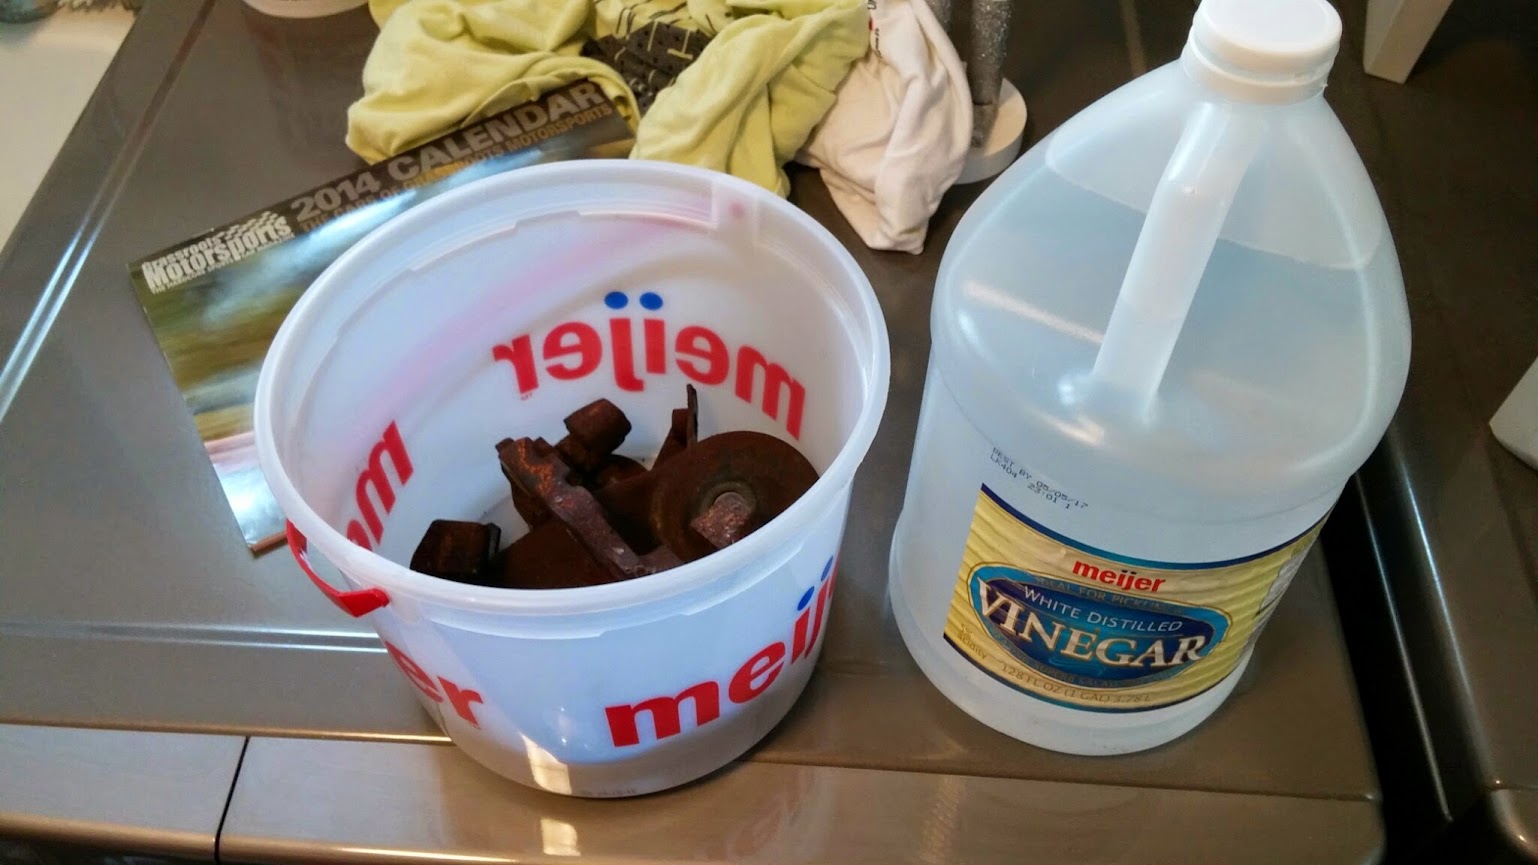
I decided to clean up some of my smaller parts and also have a shot at cleaning the fuel tank.
Dunked the caliper slides, subframe retainer thingys, and a few other small parts and various bolts in vinegar overnight:
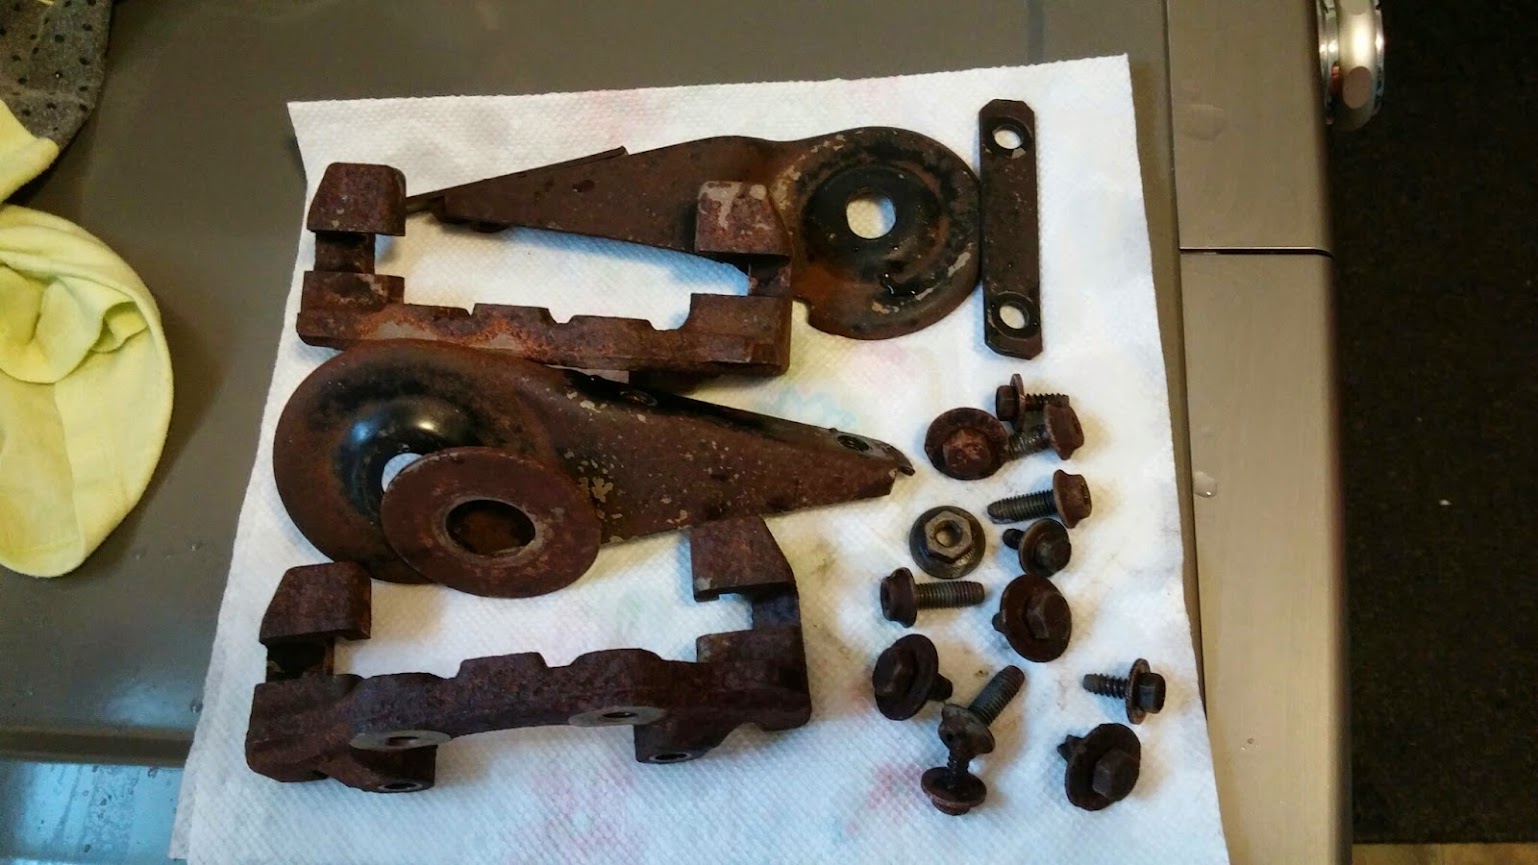
The next day. Improved, not rust-free by any means, but better than they were:
The bucket was nasty afterward:

Overall, the results with the vinegar were meh. It worked, but I'd probably have to leave the stuff in there for quite a while to completely clean the rust off. For now, they are good enough. I then hit them with a quick coat of rusty metal primer to keep flash rust from starting.
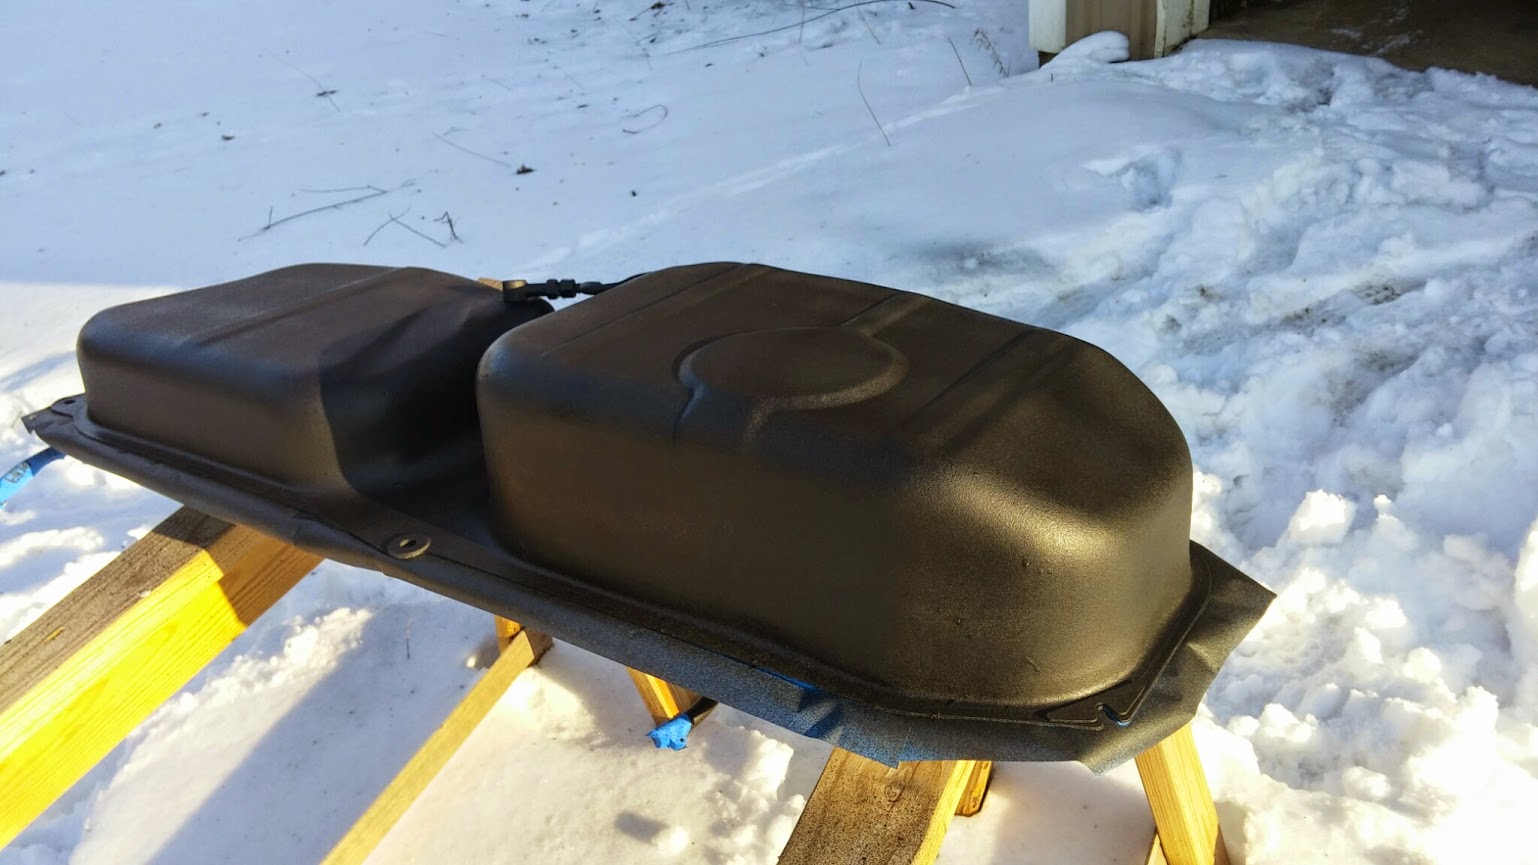
Back to the fuel tank. I decided to at least try cleaning it out. Last weekend I dumped a gallon of acetone and a bunch of old washers into it:

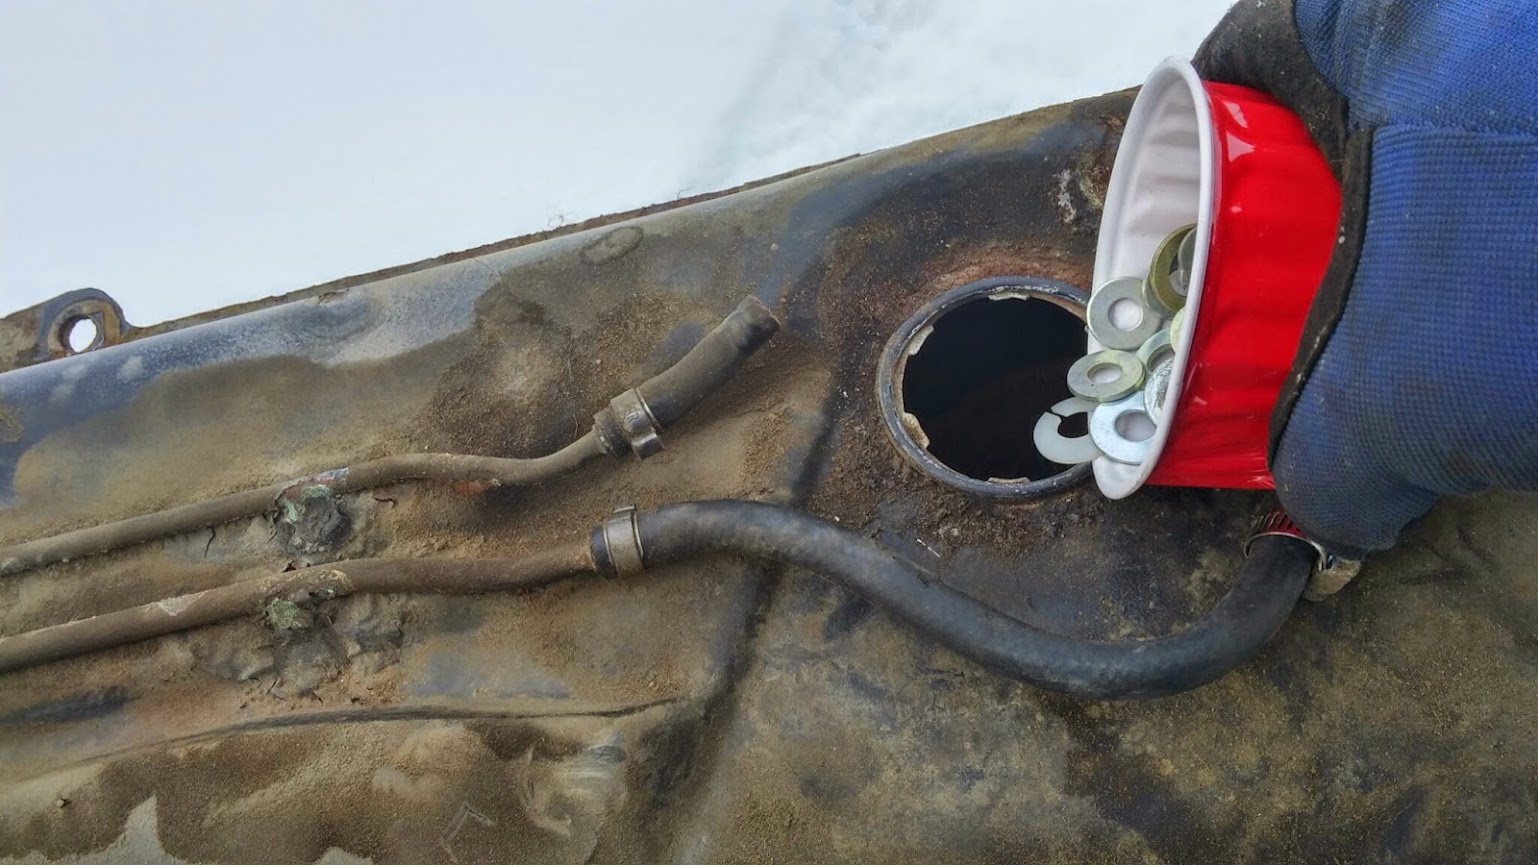
I then sloshed it around as vigorously as I could. Throughout the week, I left it in there and sloshed it around every day. Yesterday I dumped it all out. That took a while. Those last few washers just didn't want to go, I ended up with a flashlight in one hole and a telescoping magnet the other fishing them out one by one. But I got them. Really glad I didn't use something like pea gravel, that never would have come out.
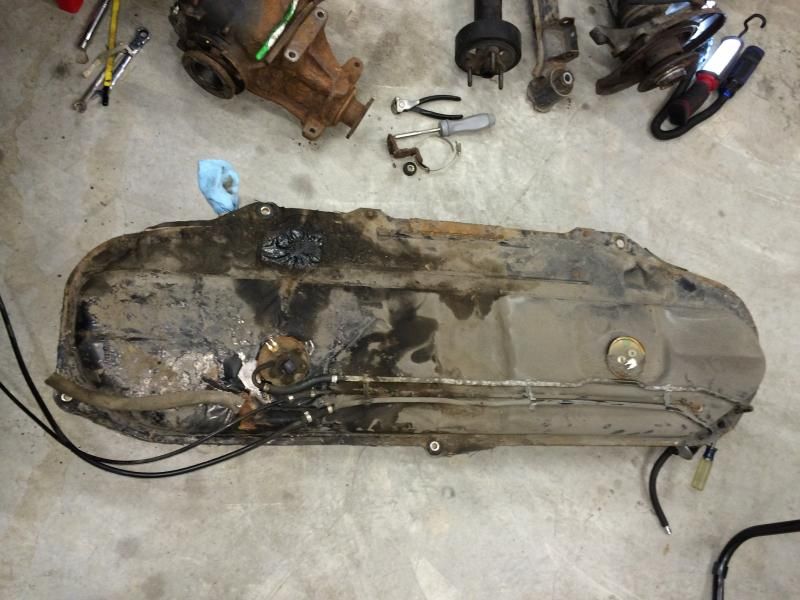
And the verdict? Mixed. The acetone came out VERY brown (forgot to grab a pic). Once it evaporated, I put a couple cans of drygas in to clean it out a bit more and remove any traces of moisture or anything. The drygas came out brown, too. There's just a ton of surface rust inside this tank. I guess I can keep putting solvents in there and sloshing them around until it comes clean, but I'm starting to worry about how much metal will be left once I reach that point. I could do the POR15 sealer kit, but I'm a bit leery of the reports of the sealer stuff peeling off in sheets after a while.
Or I can just get a new tank.
I feel your pain.
I figured the amount of time it would take me at $50/hr (I'm worth at least that much ) to do what you're doing, I could buy this:
Look at this on eBay:
New Fuel Tank Gas 325 3 Series E30 E36 BMW 325i 318i / M M3 325is 16111180175
http://pages.ebay.com/link/?nav=item.view&alt=web&id=230985632132
Oops, yours is an '85.
Look at this on eBay:
http://pages.ebay.com/link/?nav=item.view&alt=web&id=371093866458
Fuel Gas Tank 14.5 Gallon NEW for 84-87 BMW E30 3 Series
Yeah, there's one on Amazon for $175 with free shipping right now, but it was $150 a few days ago, I'll wait for the price to drop again and grab it, I think.
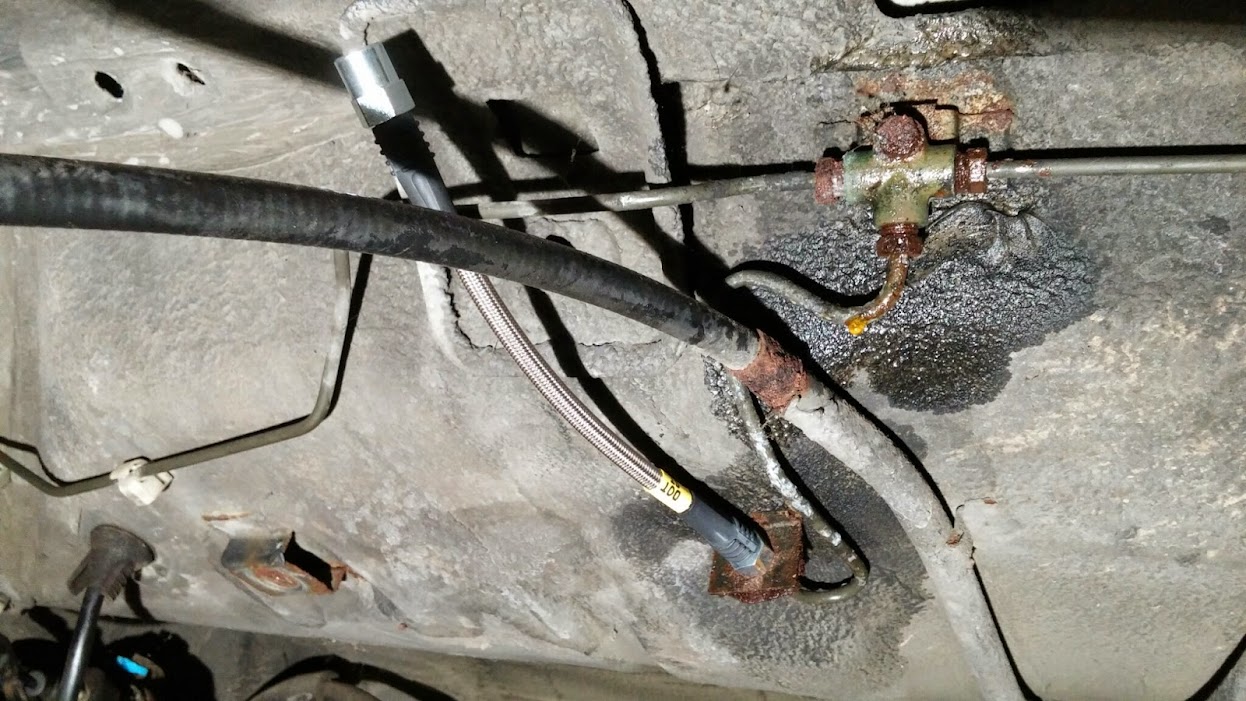
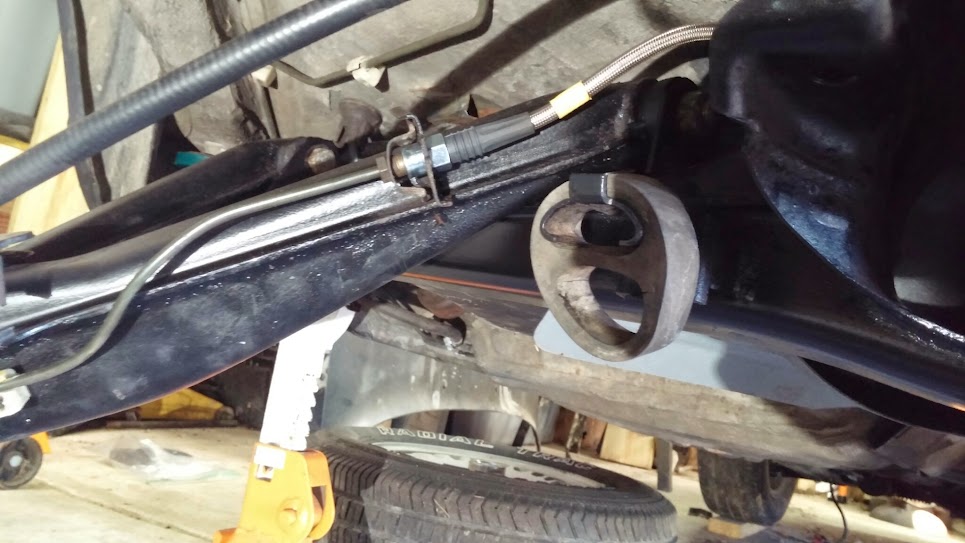
With the tank out, it's easier to replace things like the inner brake flex lines:
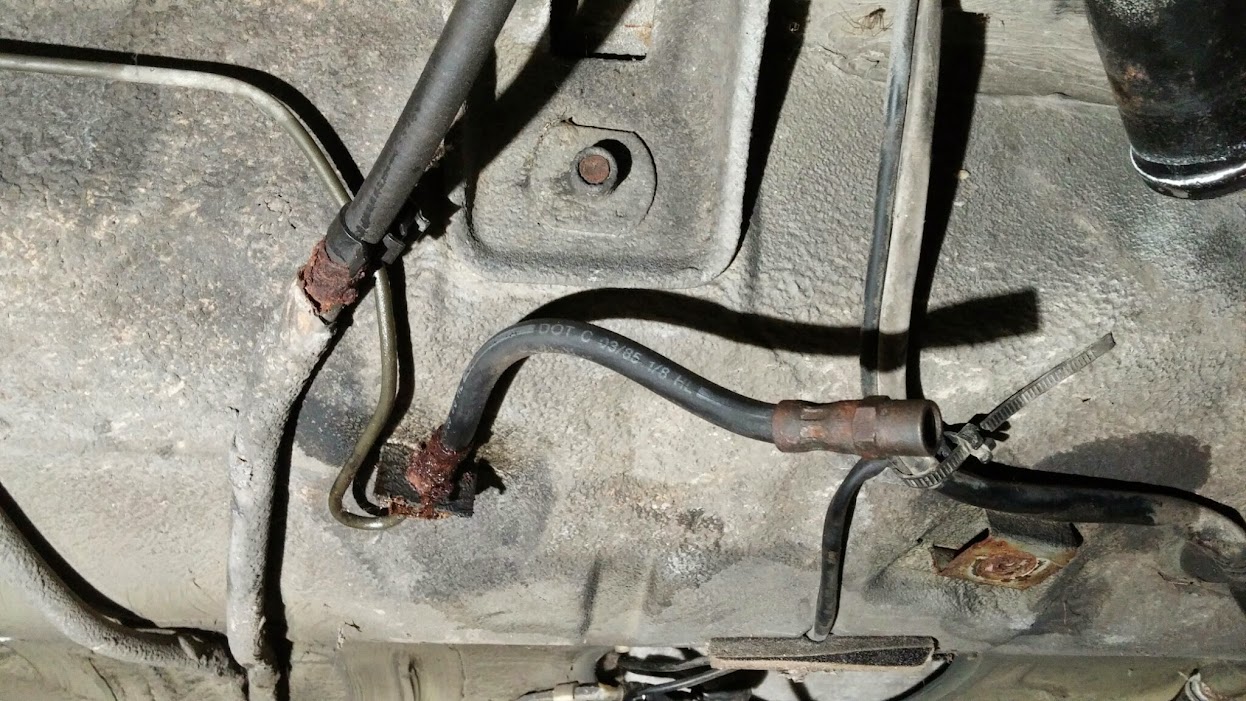
Nice new braided stainless:
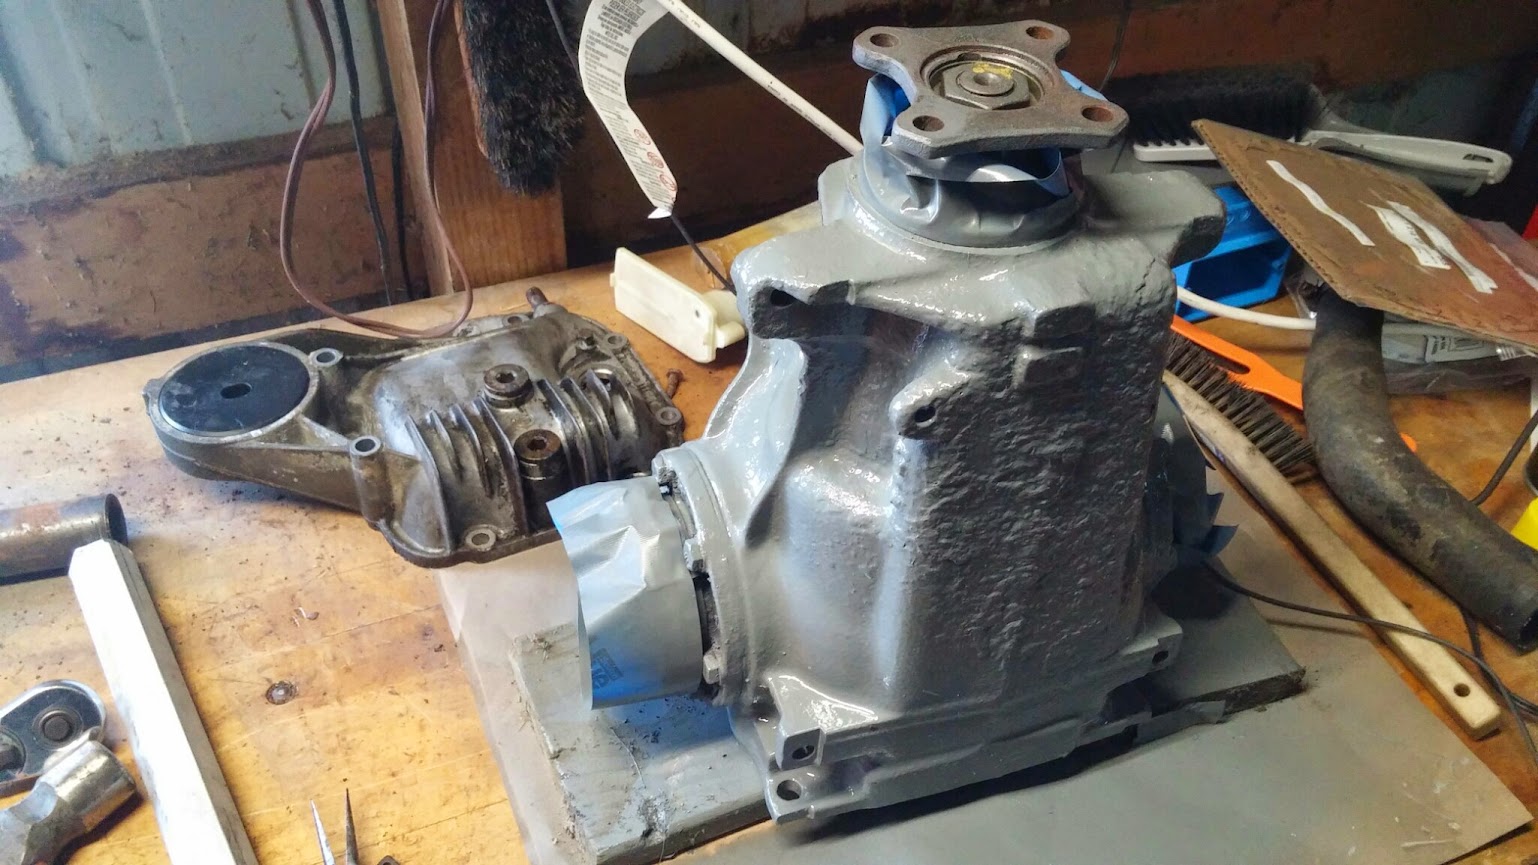
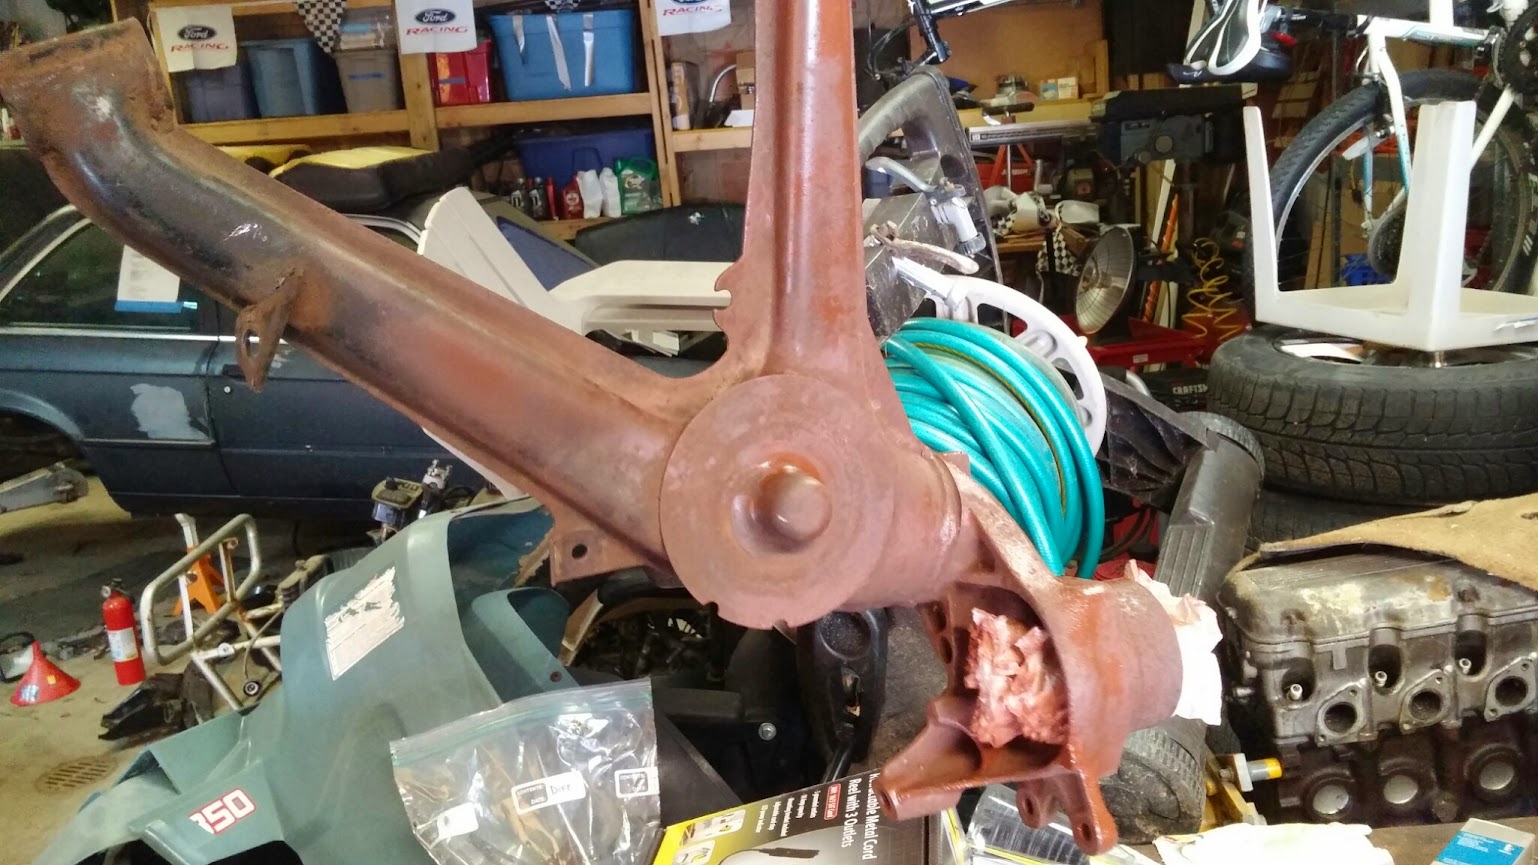
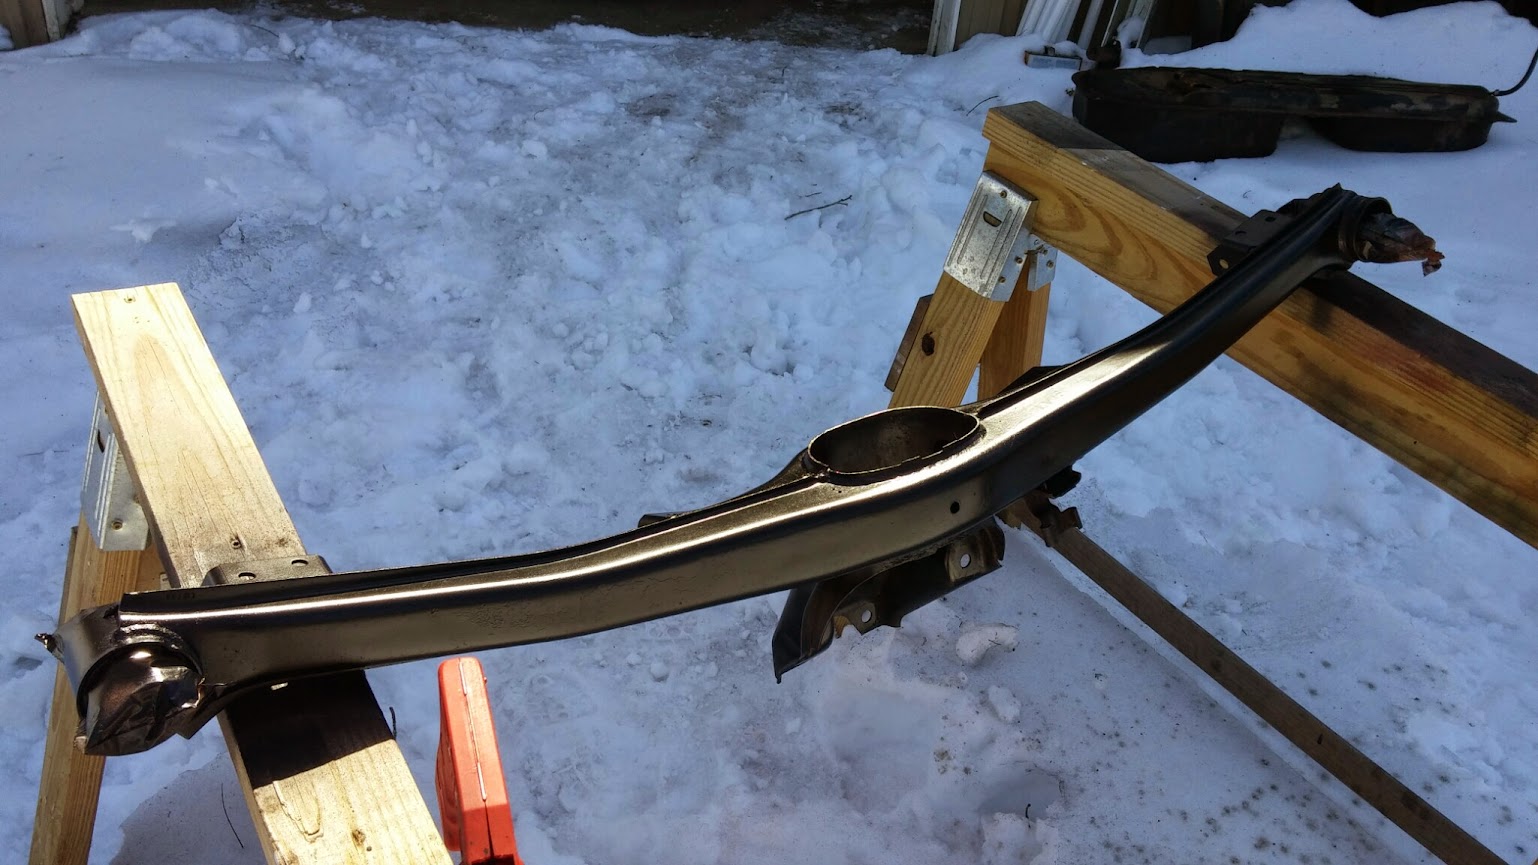
As I previously mentioned, the parts car had a 3.73 LSD rear end, much better than the open 2.91 (?) my Eta car came with. However, it, like the rest of that car, is very rusty. After scrubbing the hell out of it with a wire brush, I hit it with some Rust Bullet:

My plan is to paint it light grey. That should make it easier to spot any leaks.
As for the fuel tank, after trying the above tricks and letting it sit and thinking on it, I decided to just order the new tank from Amazon. I hate to spend the money, but I hate even more the idea that I might have to drop the tank again if I have problems down the road. That's the guiding philosophy for me with all of this suspension stuff. I don't want to have to do it twice. So everything that's hard to get to or worn out after 30 years and 200k miles is getting replaced. I guess that's part of the reason this project is taking so long, I'm trying to do everything right the first time, and that takes time, and more importantly, money.
Evapo-Rust works really well for me on fasteners like the ones you showed with the vinegar. I'm curious if it would be effective on gas tanks or not.
Not like it really matters to you at this point, but you could always find out for science.
Diff is ready to go. Painted with gray high-temp paint. You can see the cover in the background with the new delrin bushing pressed in.
On to the LCAs. These needed the bearings replaced and some surface rust addressed. First thing is to tap the hub out from behind. Having a large variety of big sockets around is crucial to this kind of work:
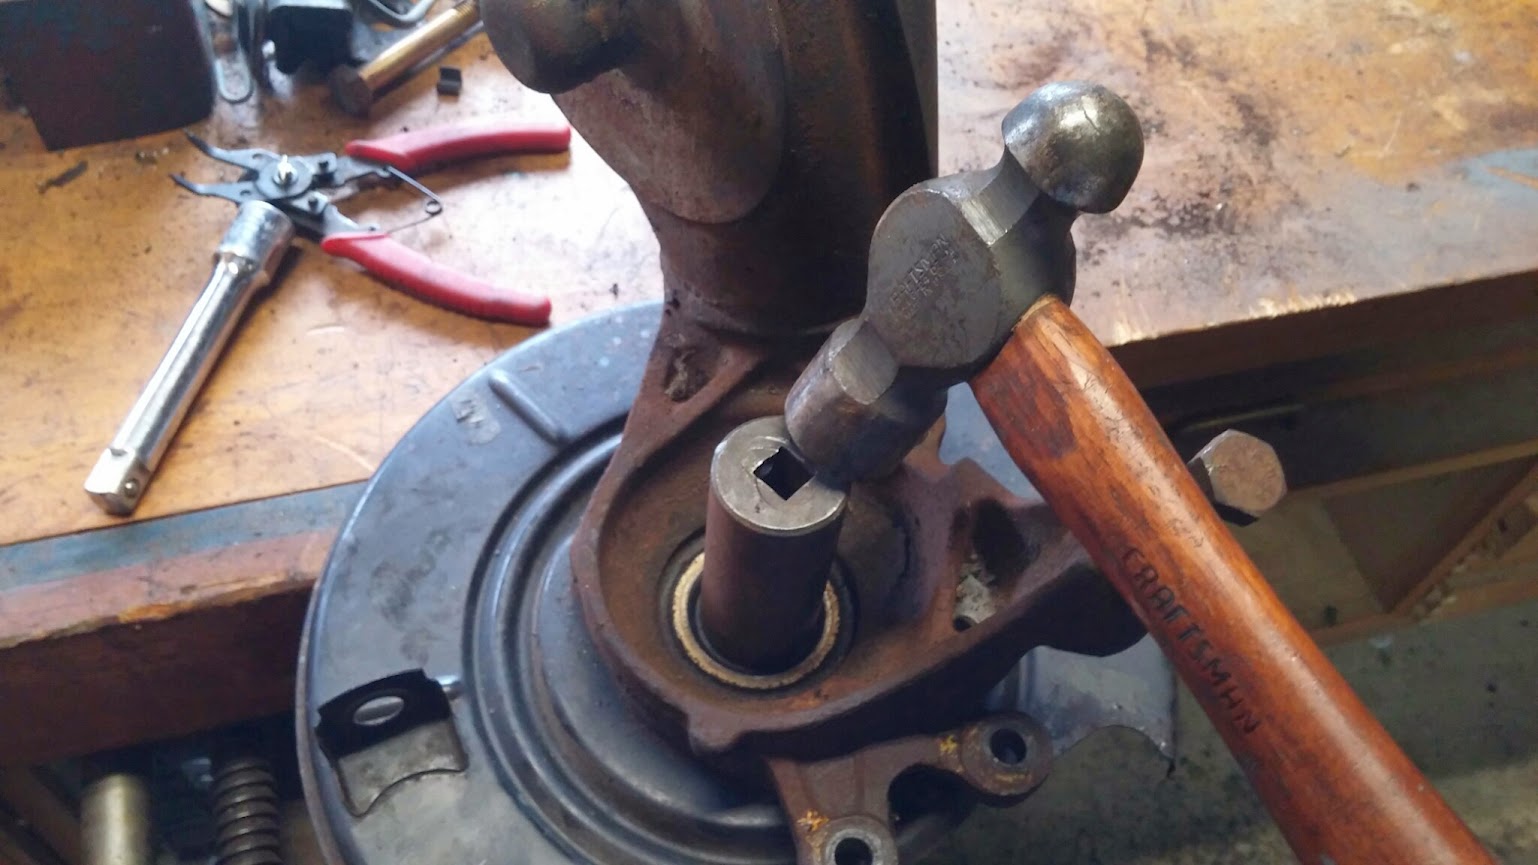
Hub out, pretty easy:
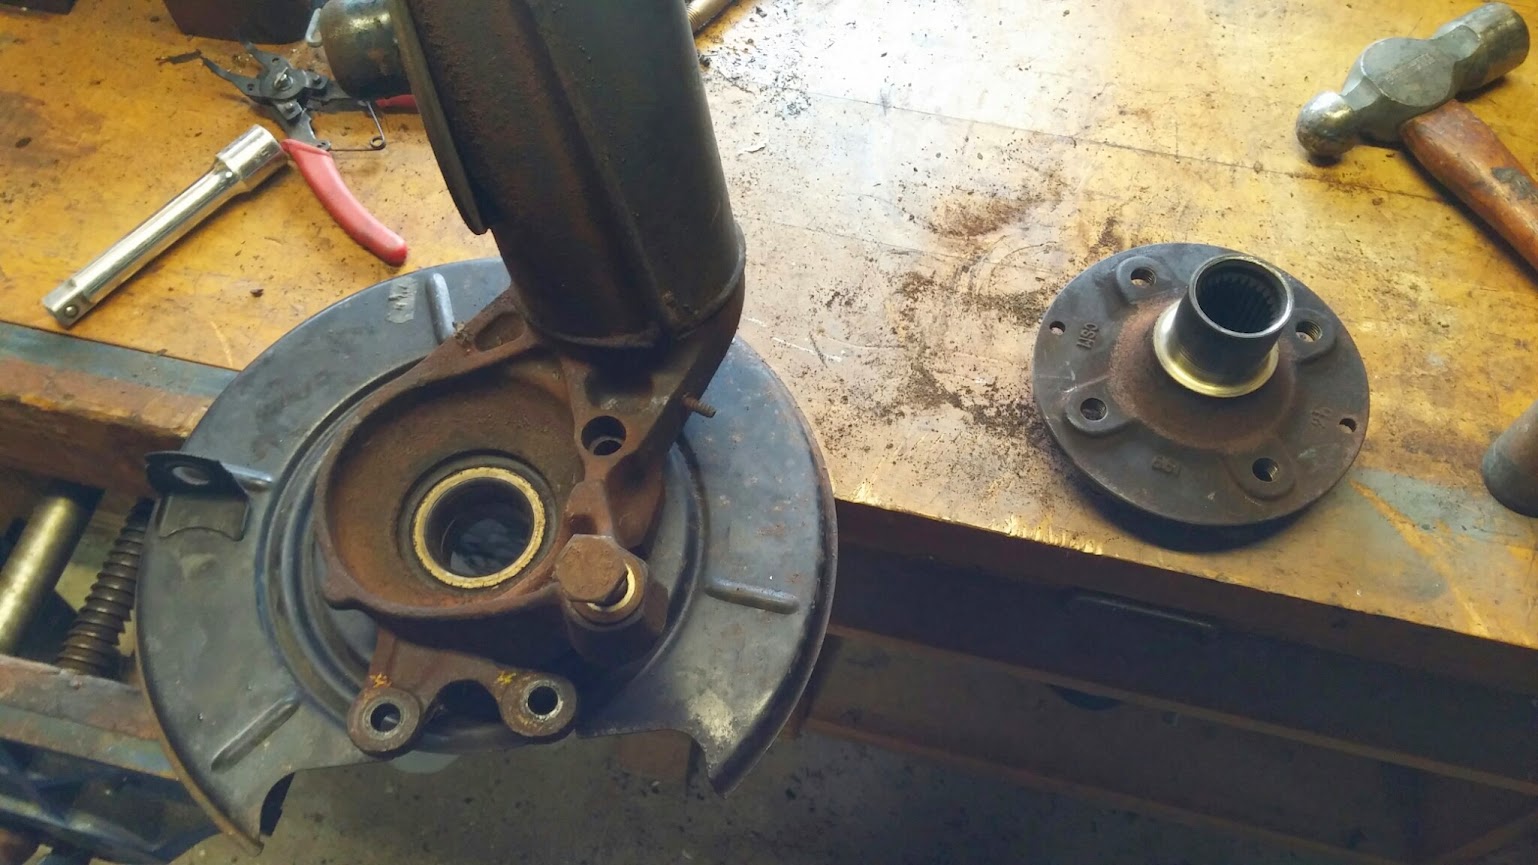
Remove the brake shield so that it can be cleaned up and painted, and also to make the whole assembly easier to deal with:
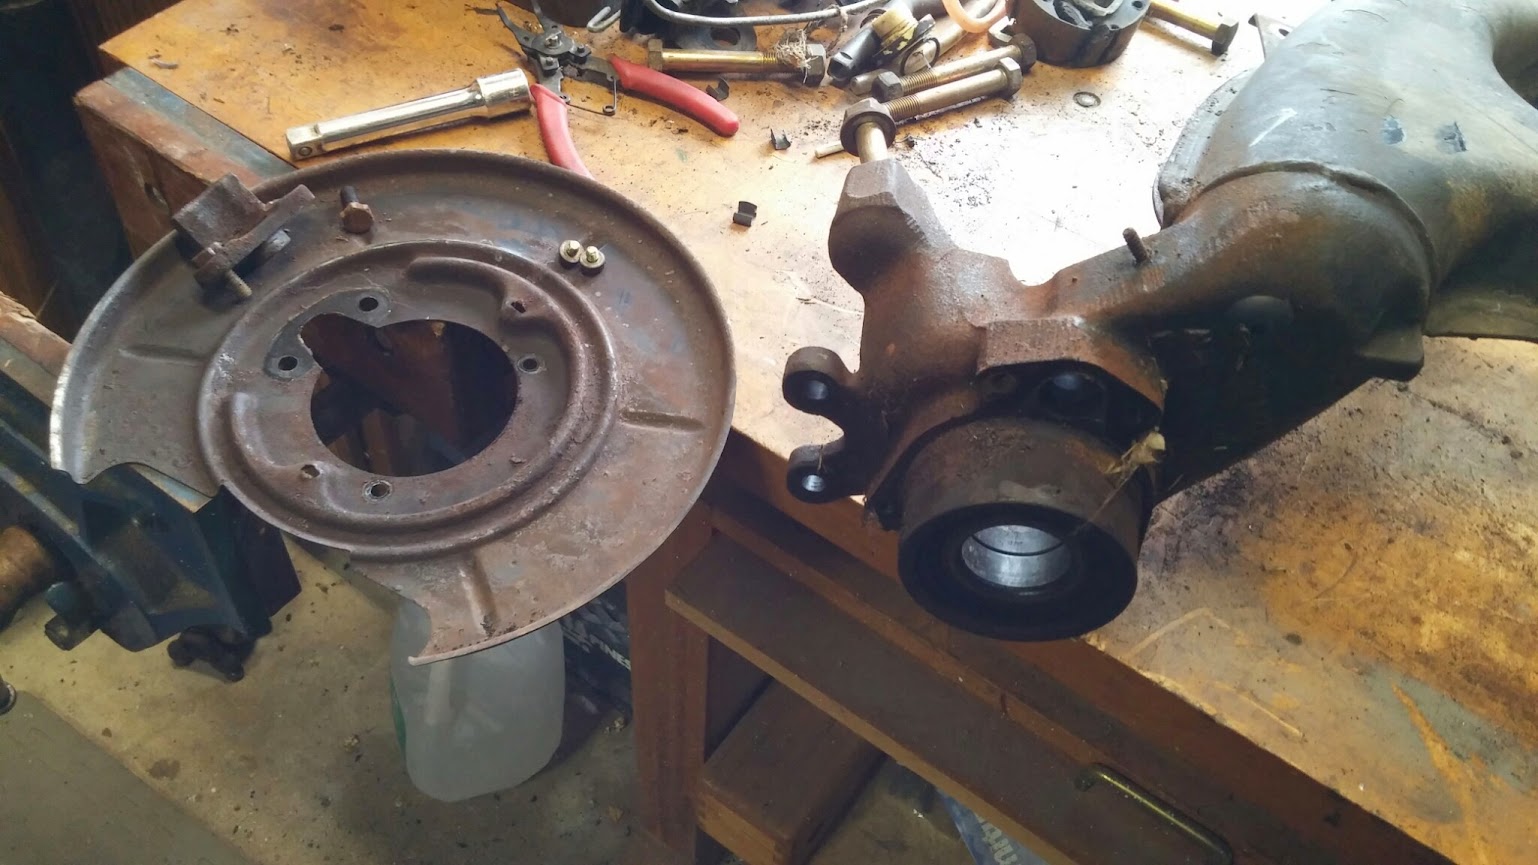
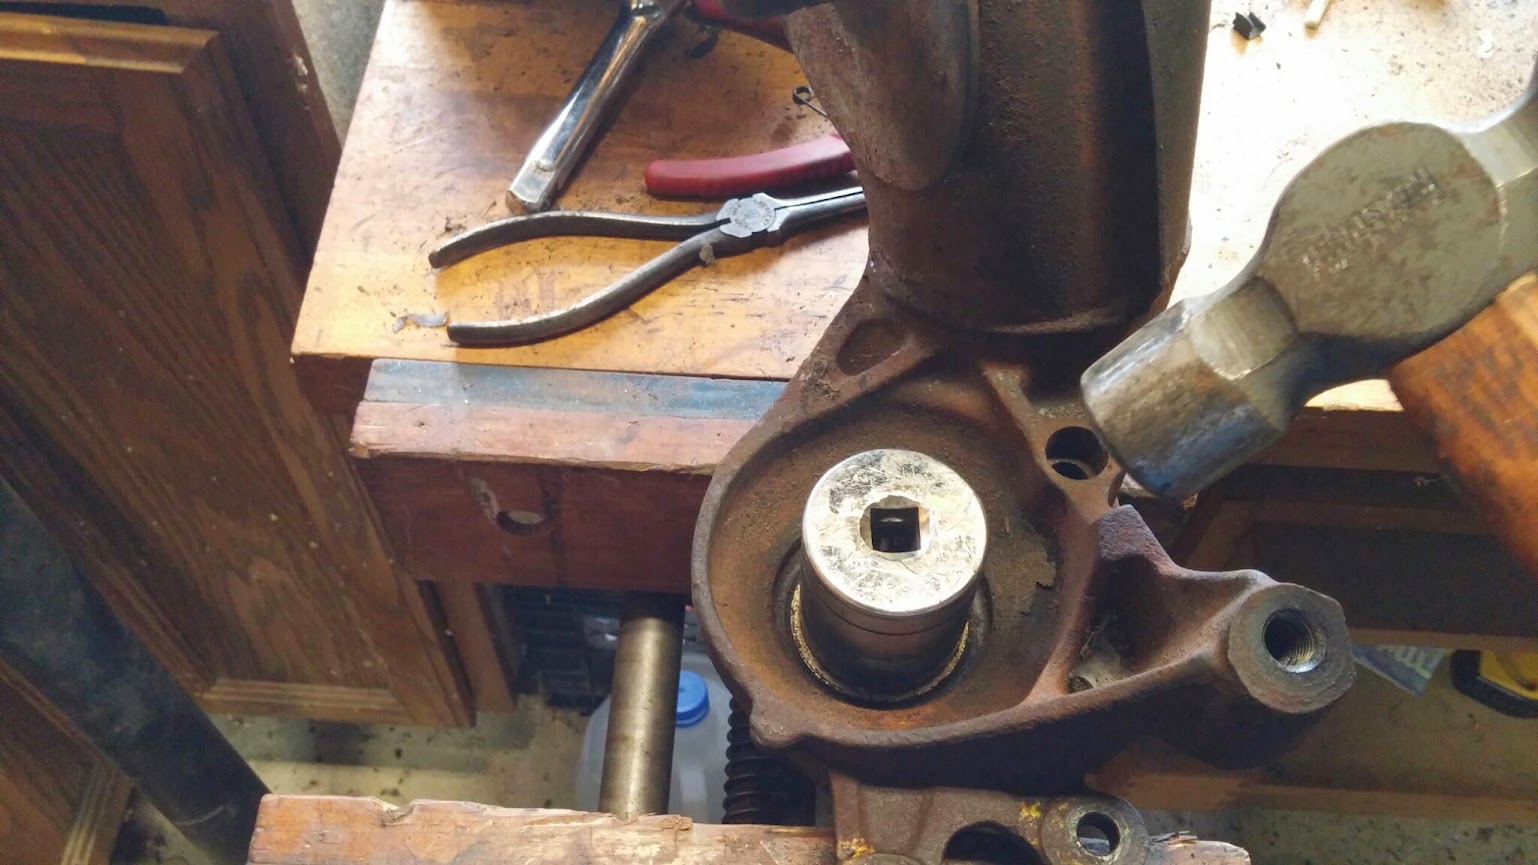
With the hub out, it's time to remove the old wheel bearing. First the C-clip has to come out:

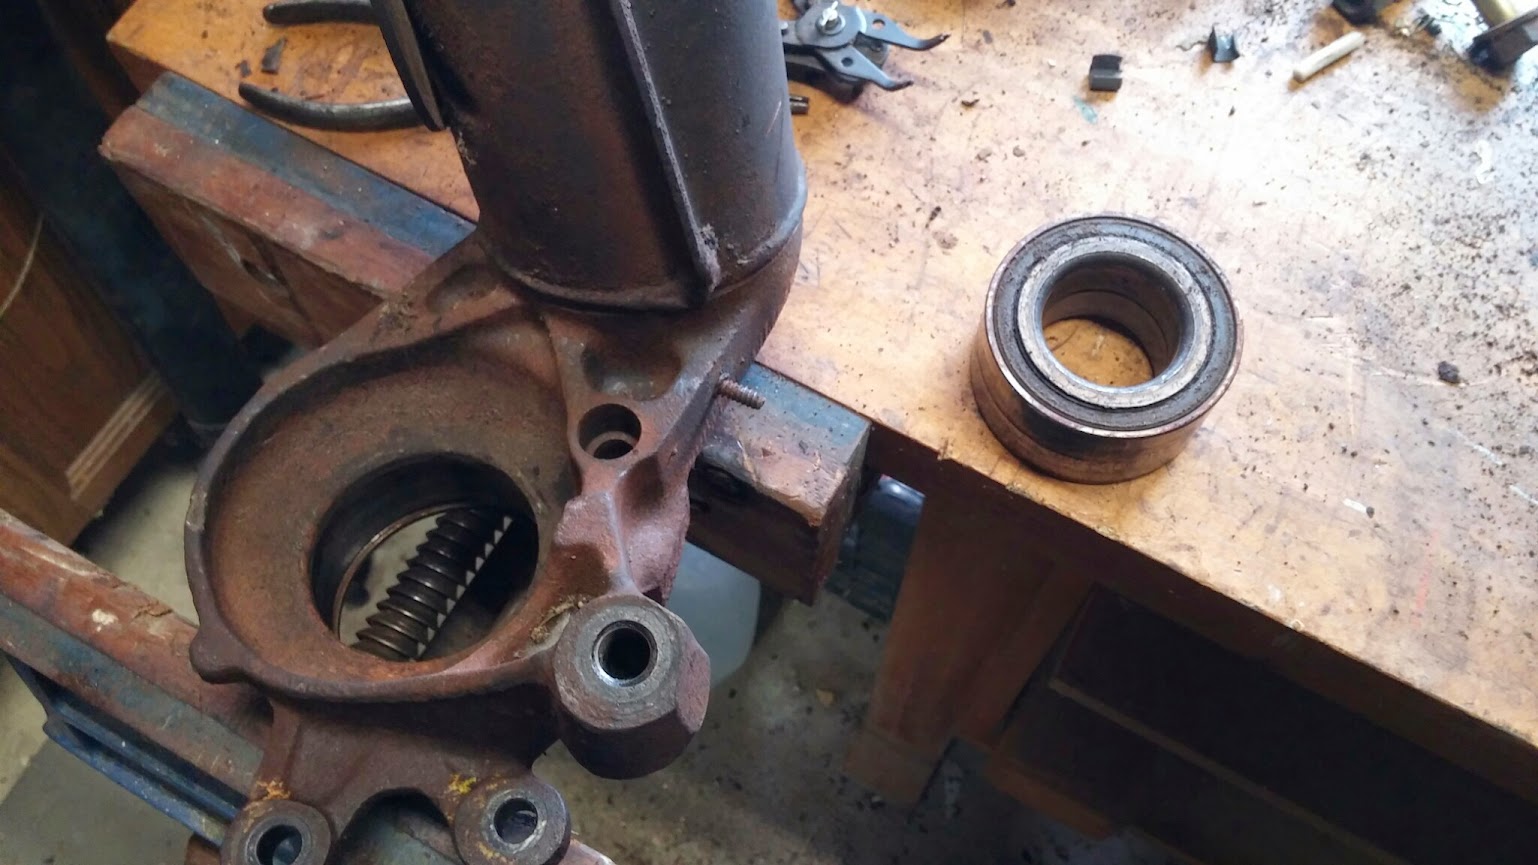
Then, back to the socket and hammer to knock it out from behind:
Fortunately, both of them came out in once piece:
After some quality time with a wire brush, I hung the arms up and painted them. Here's the first one during the priming stage:
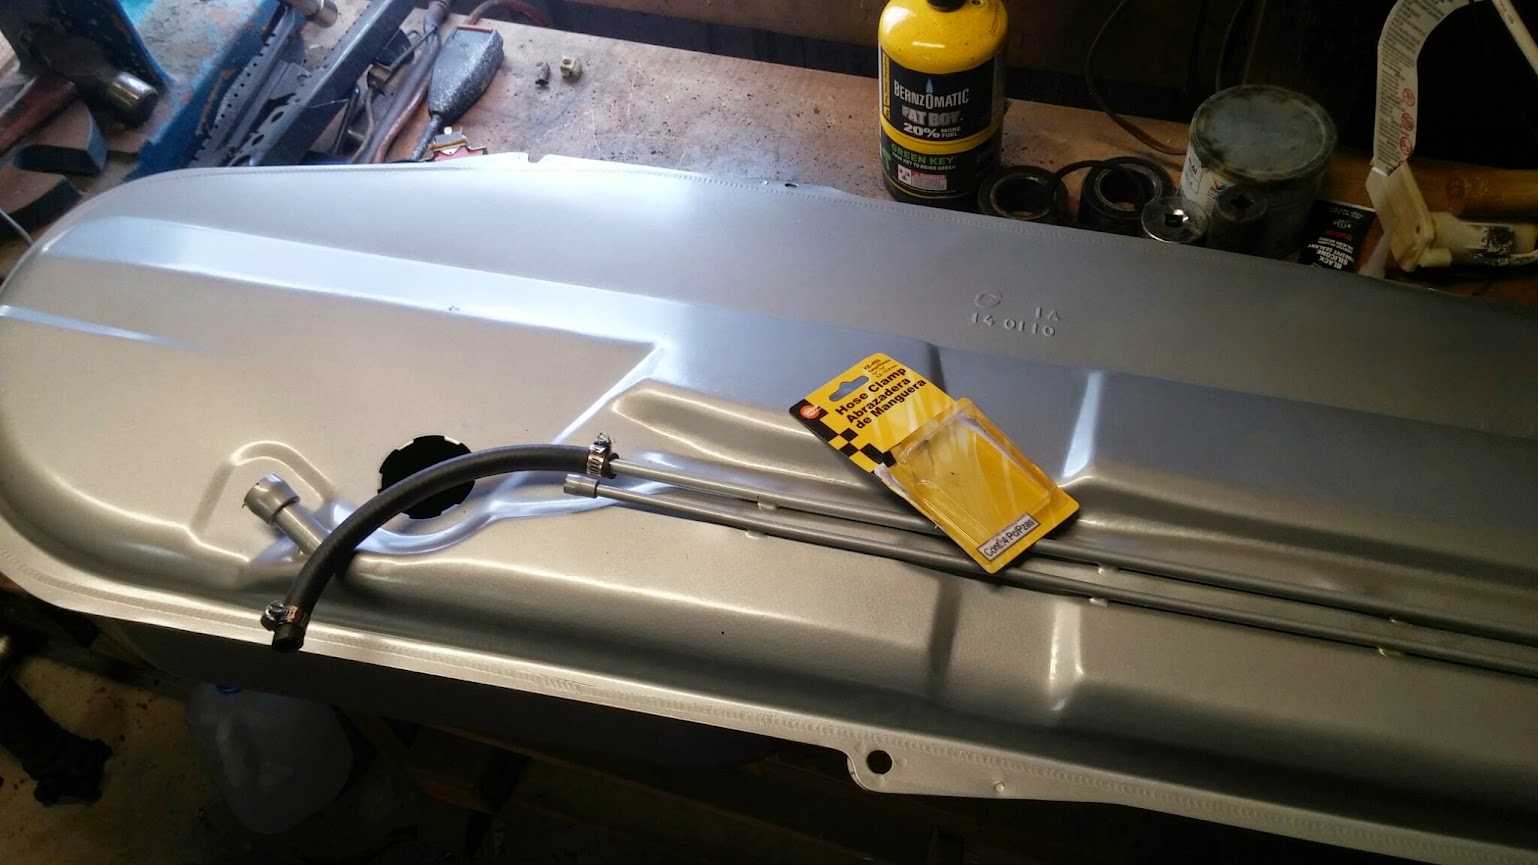
My new fuel tank arrived. I'm not re-using any of the rubber on this car, so it's getting all new hoses and clamps. I still need to pick up some more rubber fuel line to complete this task:
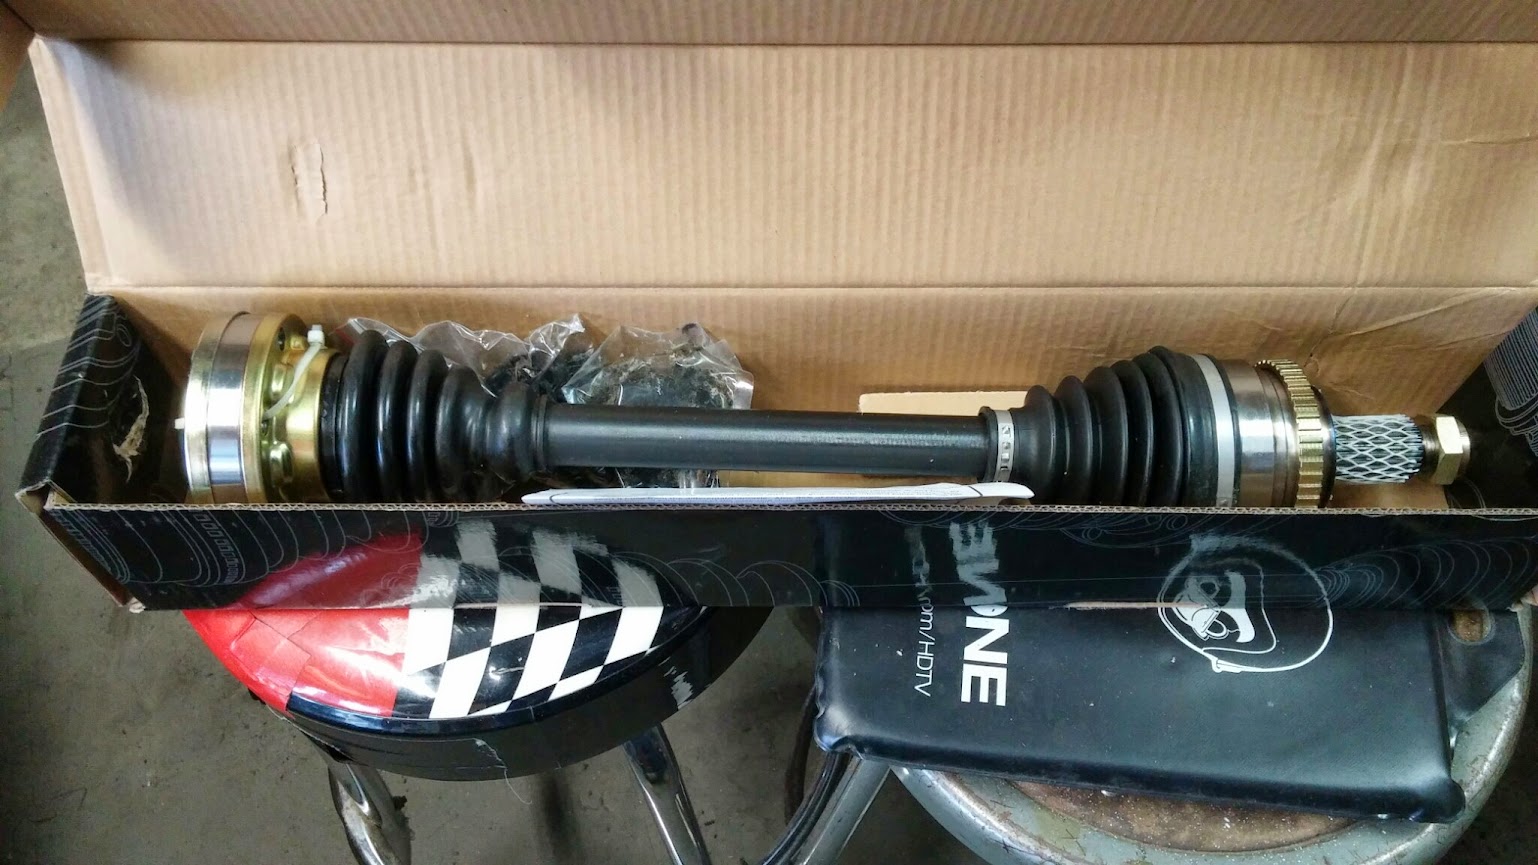
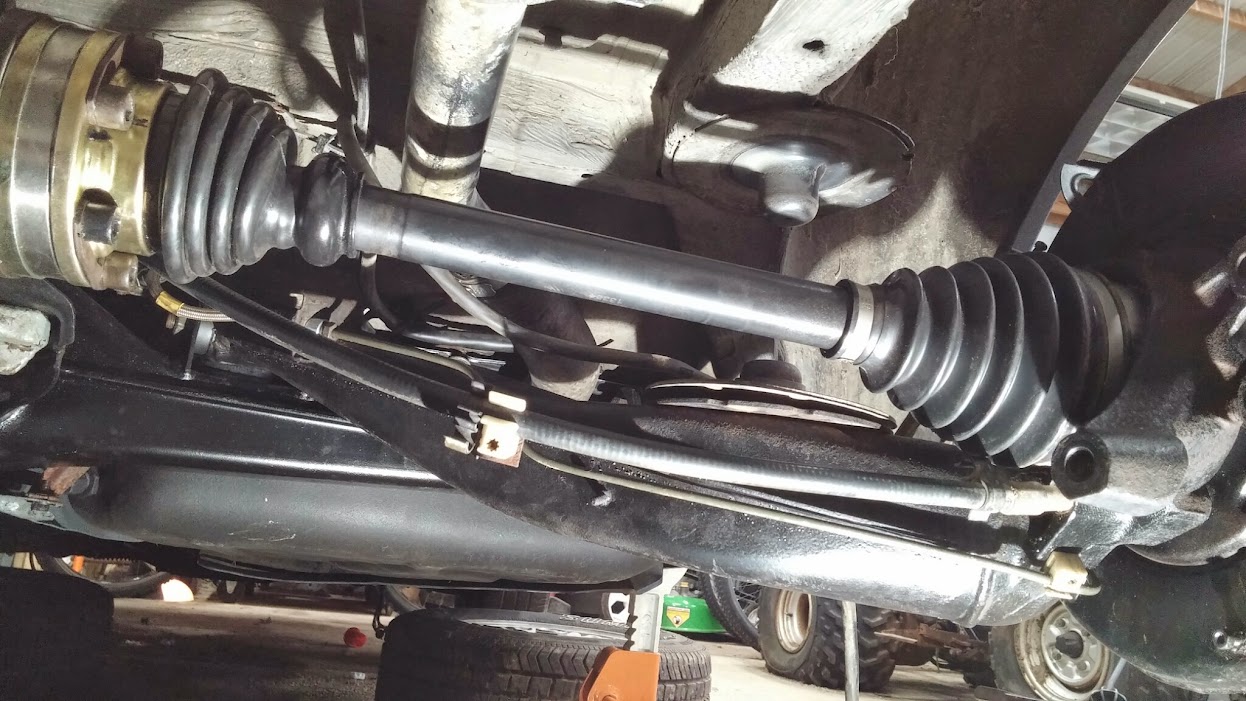
Halfshafts. OK, I know the conventional wisdom is "OEM or nothing" on these, but I just wasn't willing to spend that kind of coin. Mine were shot, the boots were split and there was very little grease left in them. So, after doing some poking around, I ended up buying these:
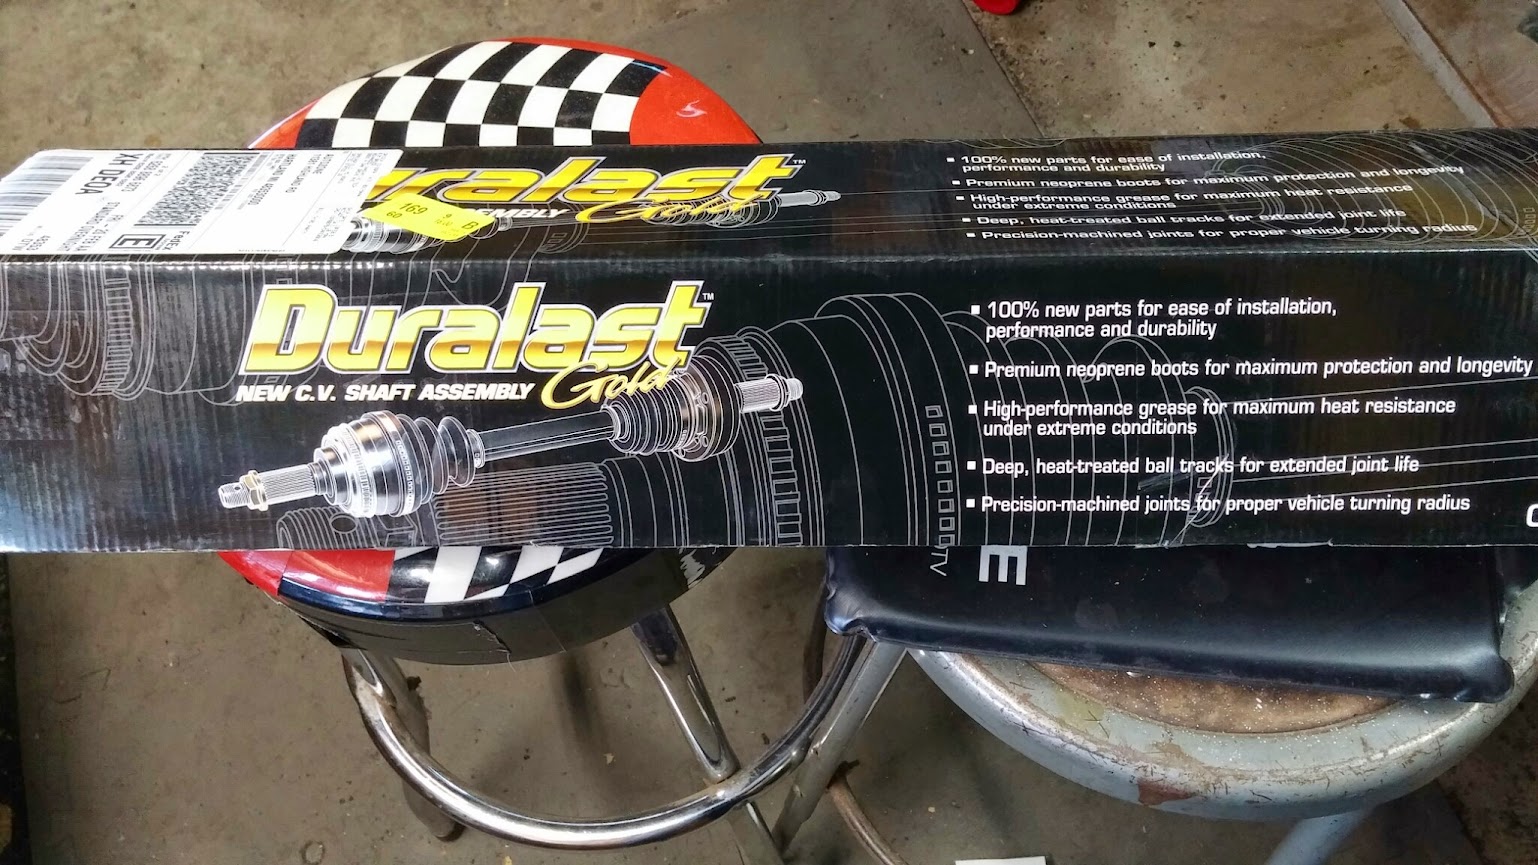
I know, I know. Autozoo parts-store crap. Hear me out. First off, they were $75 each. They are brand-new, not rebuilt. And they have a lifetime warranty. So maybe they aren't the greatest halfshafts on the market, but they are significantly better than what I had, they were cheap, and if they fail, at least I have the warranty. For the savings, it's a chance I'm willing to take. Besides, they don't look that bad:
You are so lucky to find a rust free e30 under a grand in Michigan, I was looking for one for a while but never could find a fairly decent one so I picked up a Volvo 240 instead. Nice build!
Thanks! Though, at this point, I have considerably more than a grand into it..... 
No updates, but plenty of work recently.
I decided to do what I could to protect the underside of my new fuel tank, so I roughed up the surface with a scotchbrite pad and sprayed some rattle-can truck bed liner on it:
I don't know how much good it'll do, but it was cheap and easy, so why not?
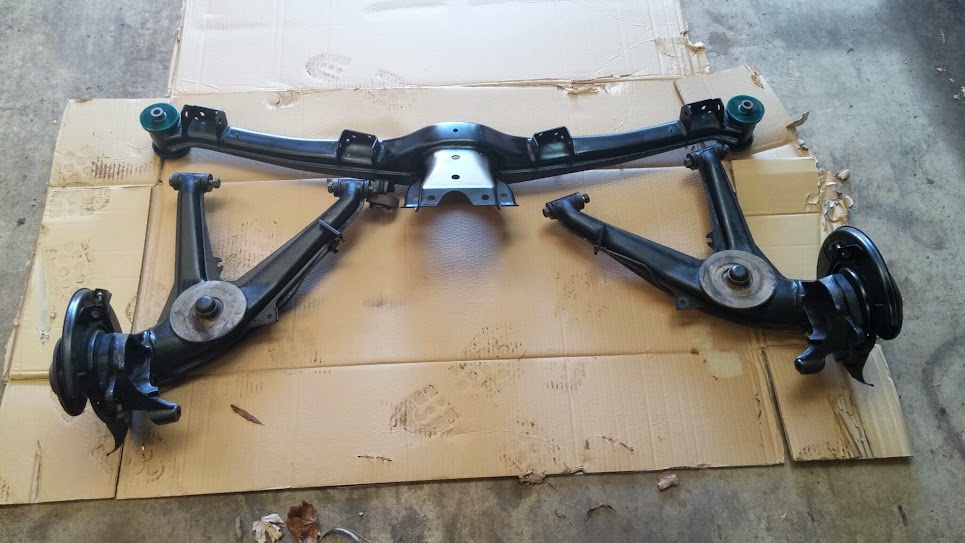
I'm painting everything else, so I might as well put a fresh coat of black on the subframe:
Ireland Engineering poly subframe bushing installed:

Getting ready to assemble trailing arms and subframe:
I put a floor jack under each end of the subframe to raise it into position, with cardboard underneath to keep it from getting scratched up:
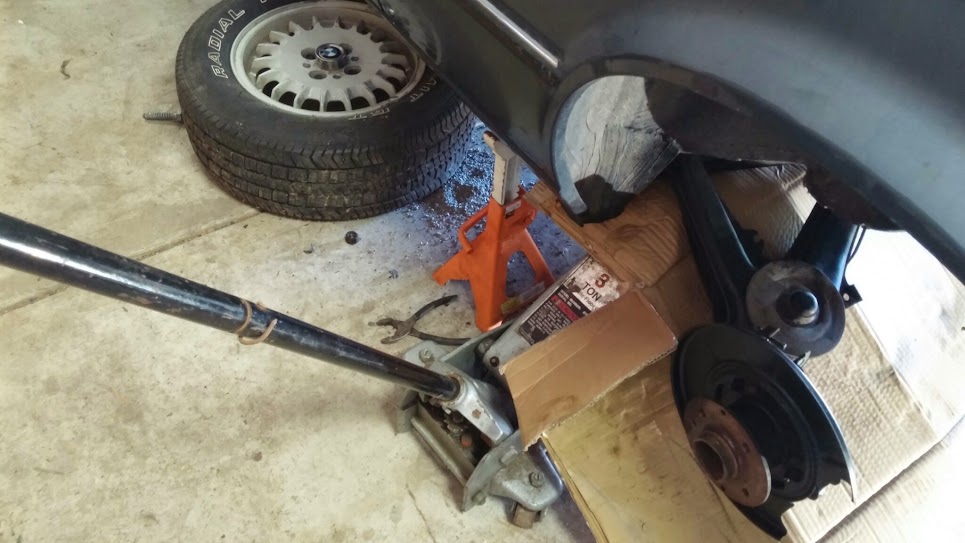
Subframe bolted up, time to connect the stainless brake lines:
Next task is to install the diff and related parts.

bluej
SuperDork
3/14/15 3:01 p.m.
I've heard not great things about any replacement axles vs. rebuilding for e30's. Might be just the cheapest rockauto ones but worth checking.
I've used several "used" OEM axles (a few of which I've repacked) and never had any go bad. The one Autozone one was a PITA to install since the splines had been flattened out a bit. And after that PITA install, it went bad within one year. Replaced with an "as-is" old OEM axle off some junkyard shelf and it's been fine.
Well, for as cheap as they were, I guess I'm willing to be a guinea pig with these.
Diff installed. It was kind of a pain to get that last bolt started once the other 3 were in, but I eventually got it.

Filled it with lube and a bit of LSD friction modifier:

It took me a couple of tries to get the axles fitted right. They came with ABS rings, and my car doesn't have ABS, so they were bottoming out on the inside of the hub. Luckily, the rings popped right off:

All installed:
New Bilstein vs. the original stocker:

Tested at the ring, baby!!! 

All ready to go with new mounts and everything:

Installed with the BavAuto springs:

Next up: Rear sway bar and brakes.
Awesome work! I wish I had the patience to document what I'm doing to my Focus like you are doing. When I finally get in the garage (I have two kids that are 2 and 8 months), I'm just ready to tune everything out and work.
Rear sway bar in. This was actually a moderate PITA, it didn't want to wiggle into place until I unbolted both axle shafts and moved them down a bit. But anyway, it's in there:

New rear drum hardware and shoes ready to go on, and the helpful diagram in Bentley:

I had to fiddle with the adjusters, both inside the car and at the wheels, to get it to all fit together, but it didn't take too long:

Rebuilt caliper with repainted slide and new stainless line, ready to go:

I didn't get a final shot, but the rotors and calipers are installed, the brakes just need to be bled now.
So, I decided to try and start it again. Poured a couple of gallons into the new tank and cranked her over. No dice. Shot a little ether into the intake and it coughs and runs for a second. So it appears that, once again, I have no fuel. Guess I'll go back and do the same troubleshooting I did a couple of years ago when I had this problem.
Fast forward a couple of months, and it turns out I had two dead fuel pumps. Replaced both, and now the car will fire, but it immediately dies. Runs for a second or so. I've triple-checked all my connections, looked for vacuum leaks, and I know I'm getting fuel and spark, so I'm stuck.
Any ideas? ECU?
bluej
SuperDork
7/6/15 4:33 p.m.
Is that second or so decent running or rough? This is an "e" motor, right? If so, try pulling the connector for the cold start injector and see if that keeps it from starting at all. I'm thinking maybe one of the crank sensors is bad.
bluej wrote:
Is that second or so decent running or rough? This is an "e" motor, right? If so, try pulling the connector for the cold start injector and see if that keeps it from starting at all. I'm thinking maybe one of the crank sensors is bad.
I replaced both crank sensors a while back, and before I did that, it wouldn't fire at all. Doesn't mean that one of them hasn't gone bad in the meantime, after all a new fuel pump did. Gotta love the fact that I'm replacing parts twice and I still haven't actually driven this stupid car.... 


