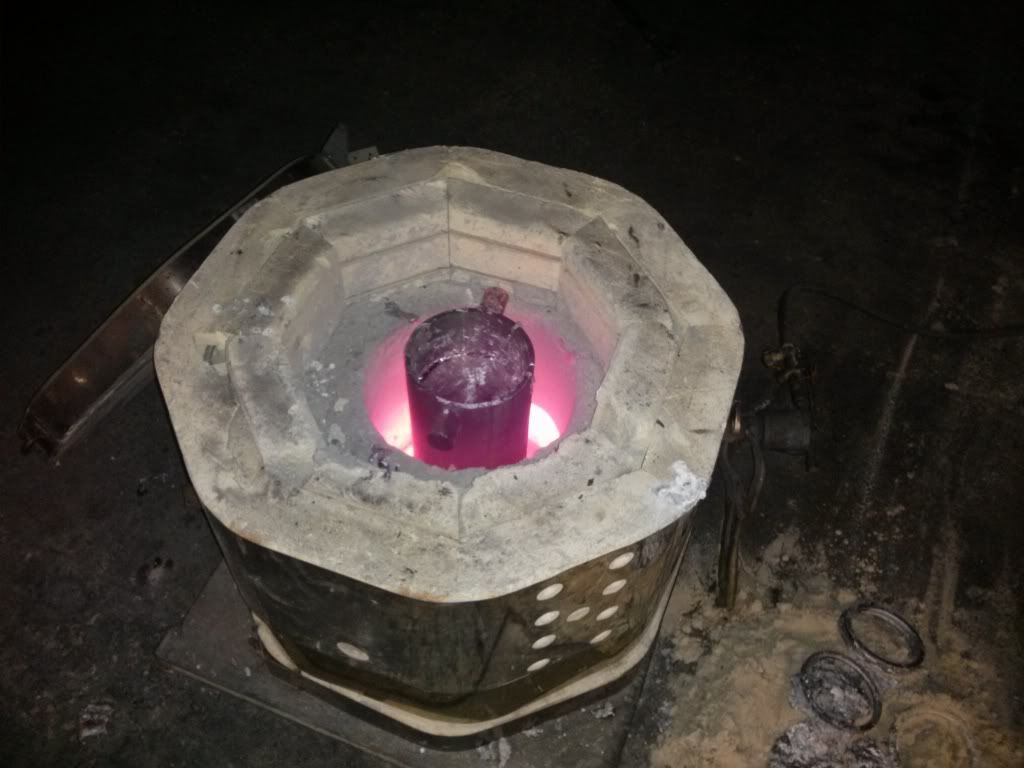
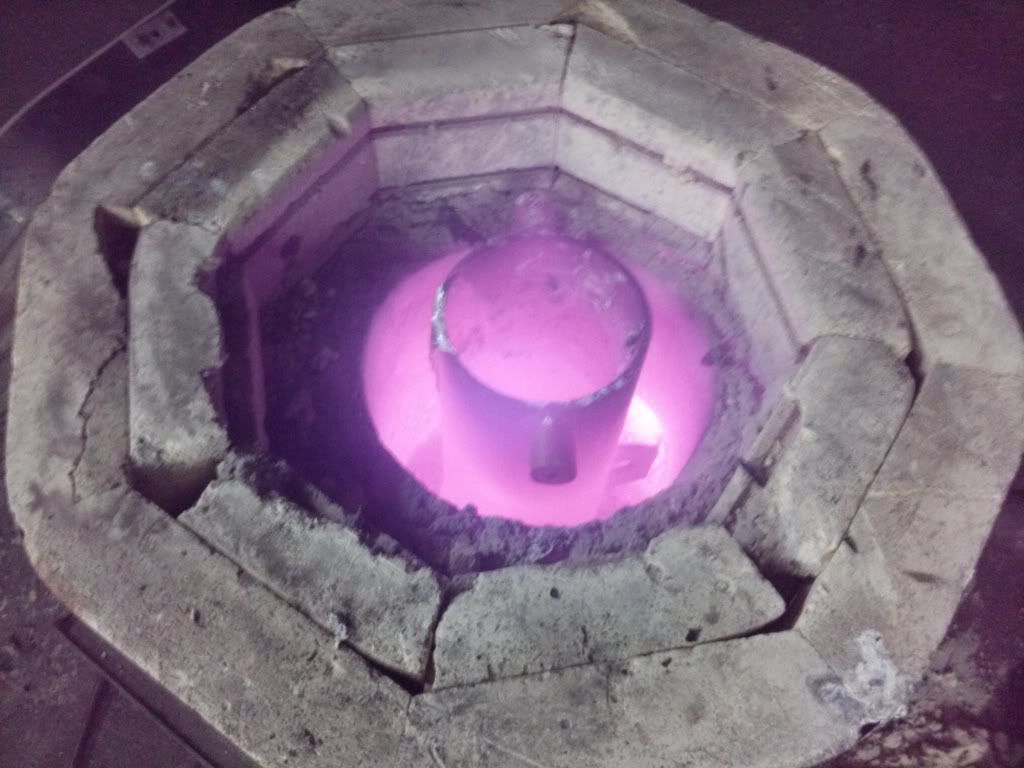
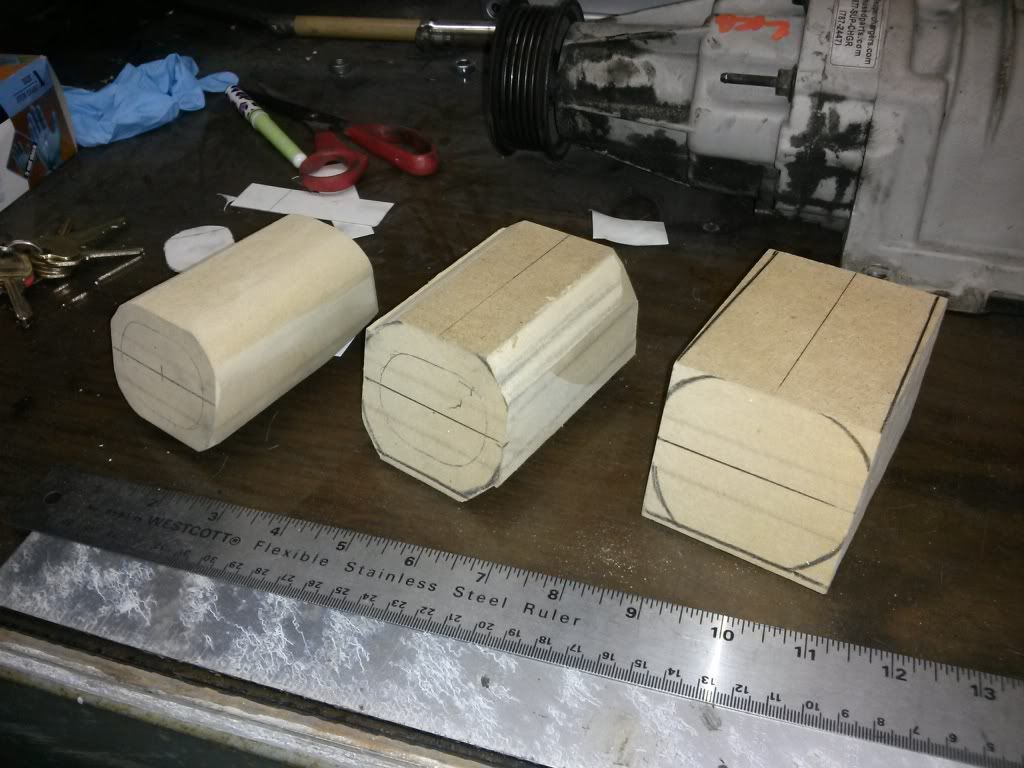
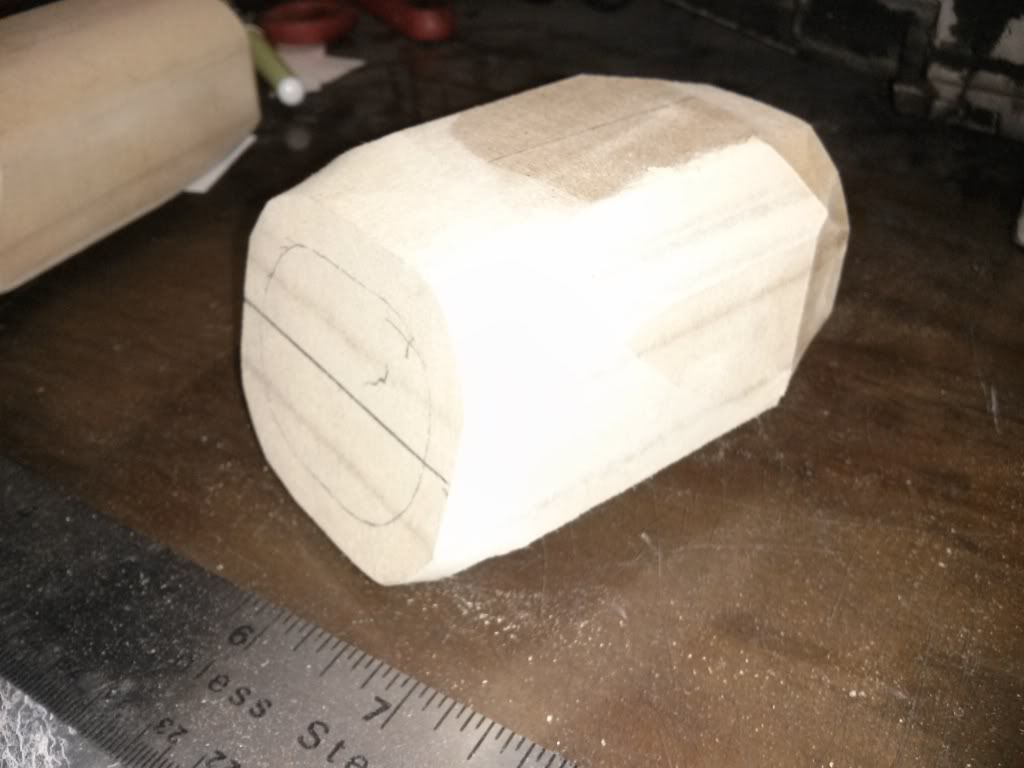
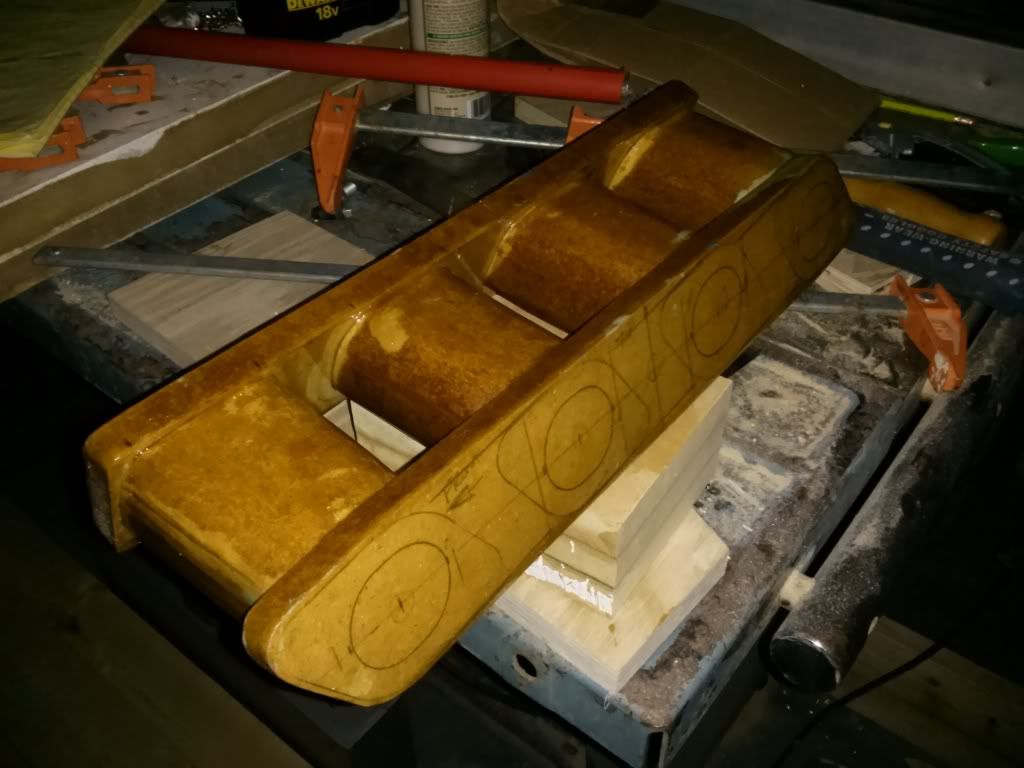
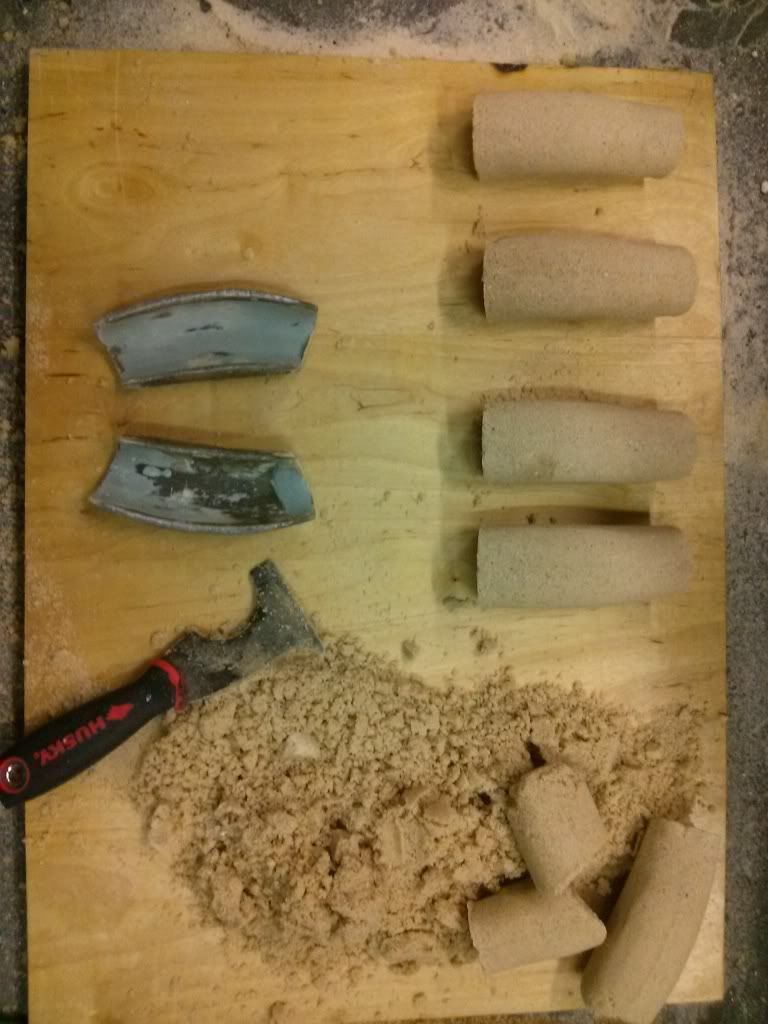
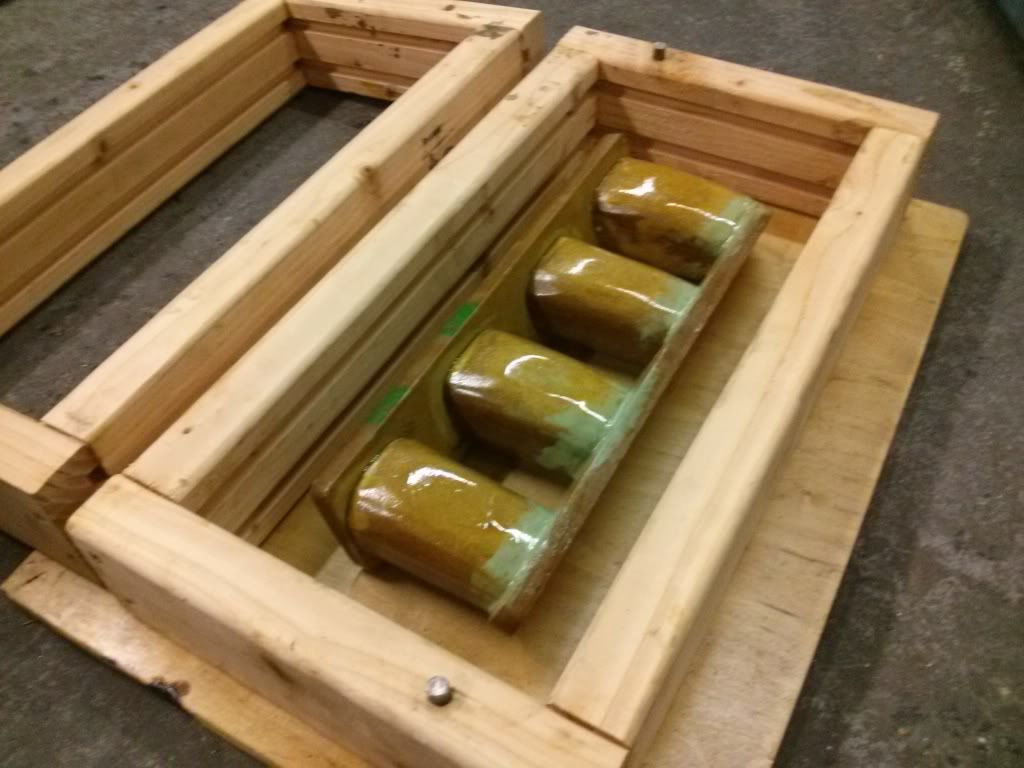
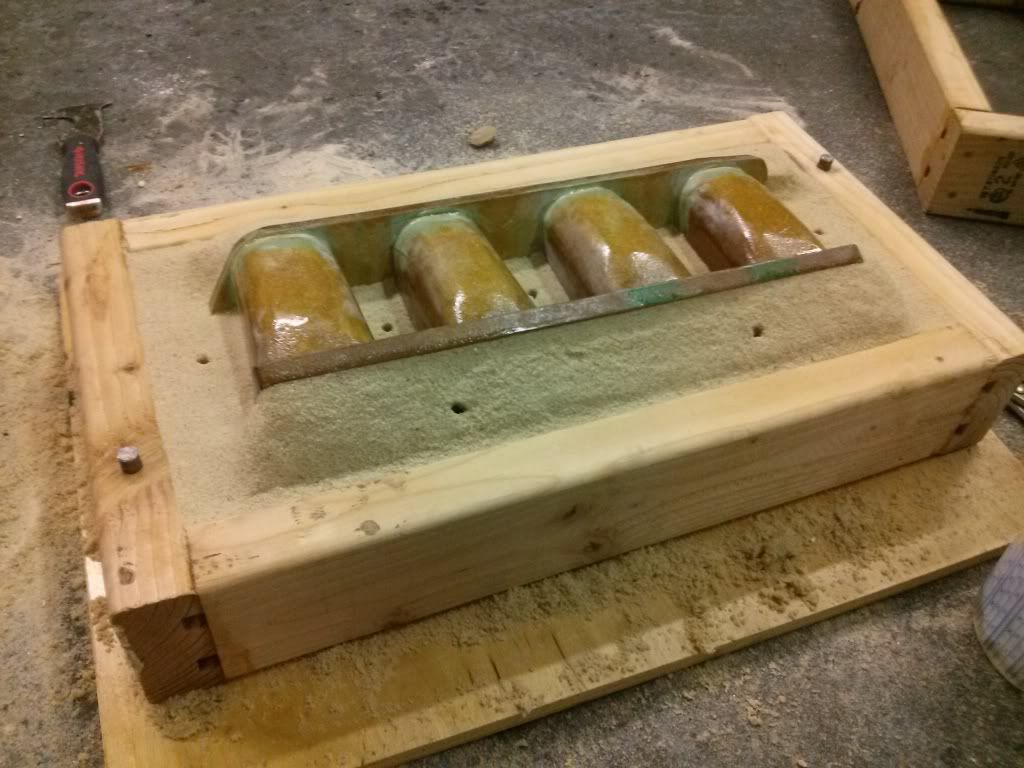
Finally got to play with fire again today. I had spent a bunch of time carving and shaping foam for my motor mount arms over the last week. Its funny how you start to look at things differently when you expand your fabrication skill set. I found myself rummaging through the Sears outlet garbage pile looking for foam packaging parts. I figured I would save a little time starting with foam that was already close to the shape I wanted.

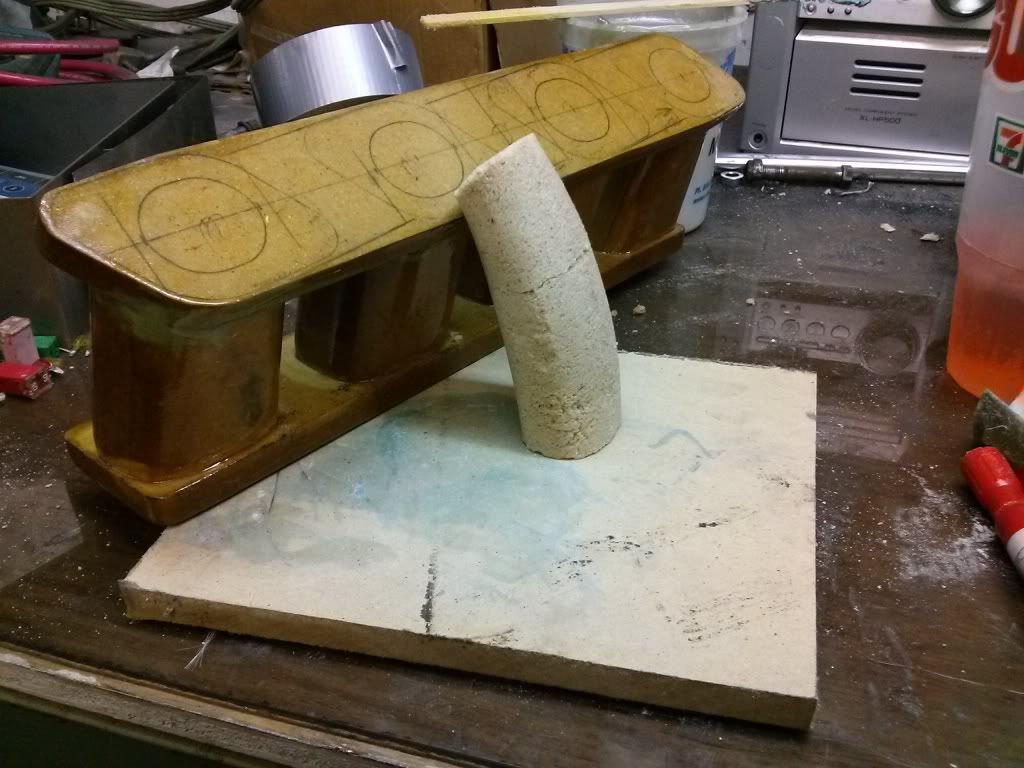
I shaped one mount out of 3/4 thick foam and a block and spent too much time trying to hold them together. Hot glue works but there is about a 2 degree window between not melted glue and melted foam. I then tried Loctite's construction foam adhesive. It didn't melt the foam but it took fore-ev-er to dry and hold.
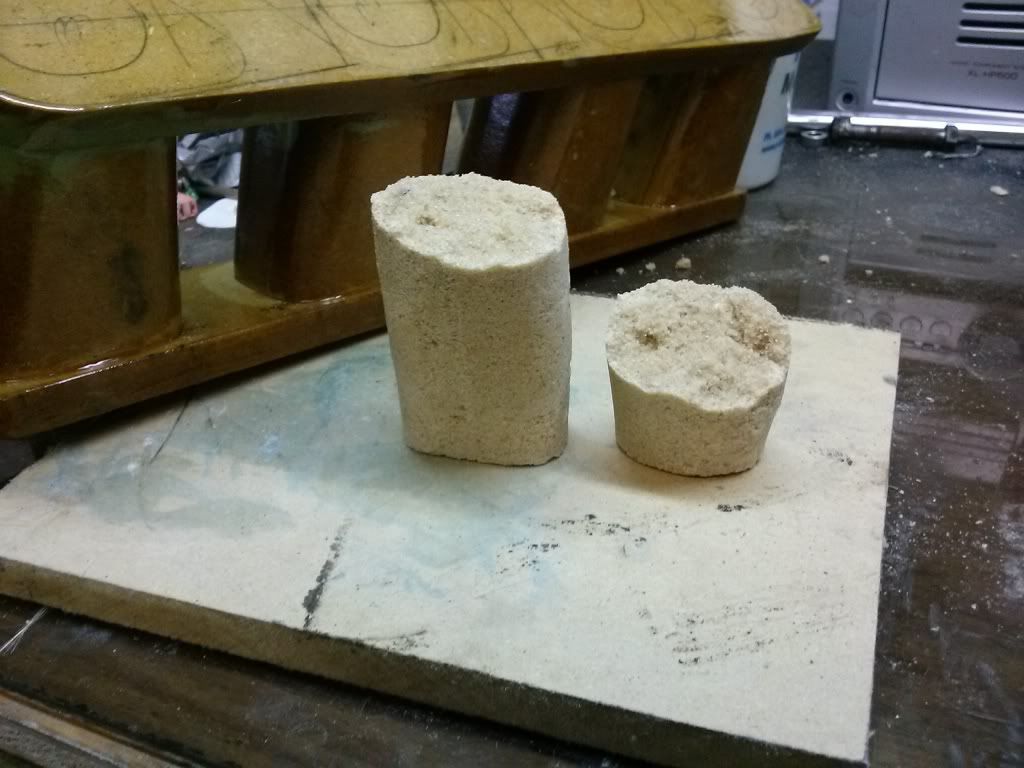
The second mount was carved out of a single piece, I just had to attach the sprue and vents.
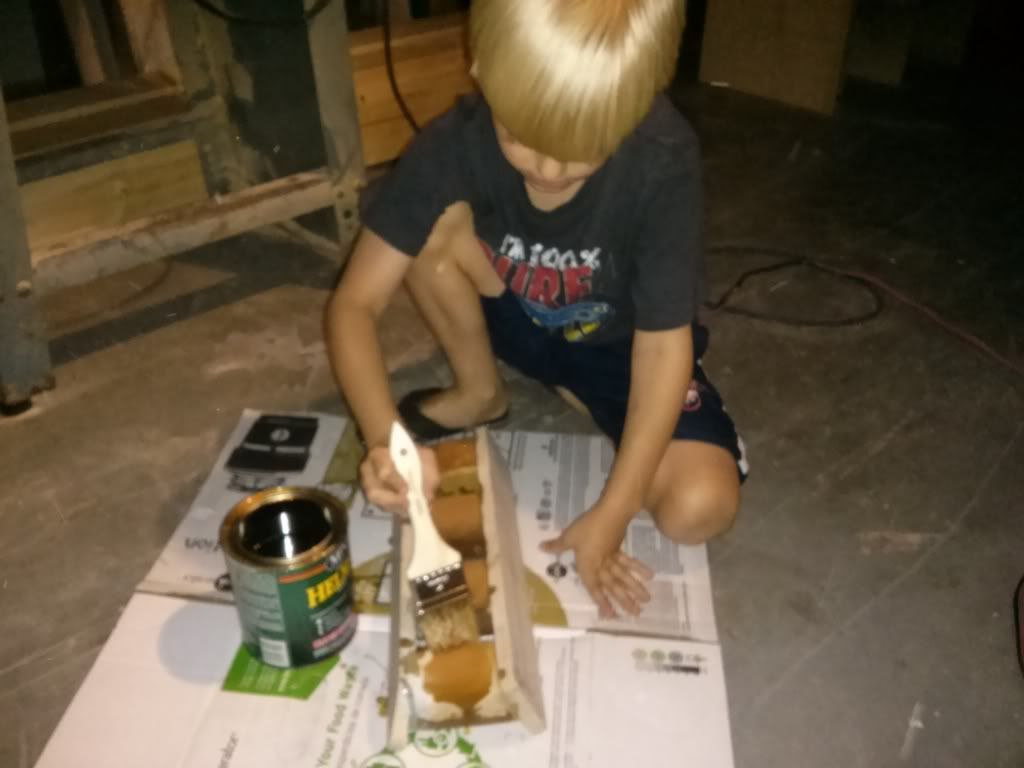
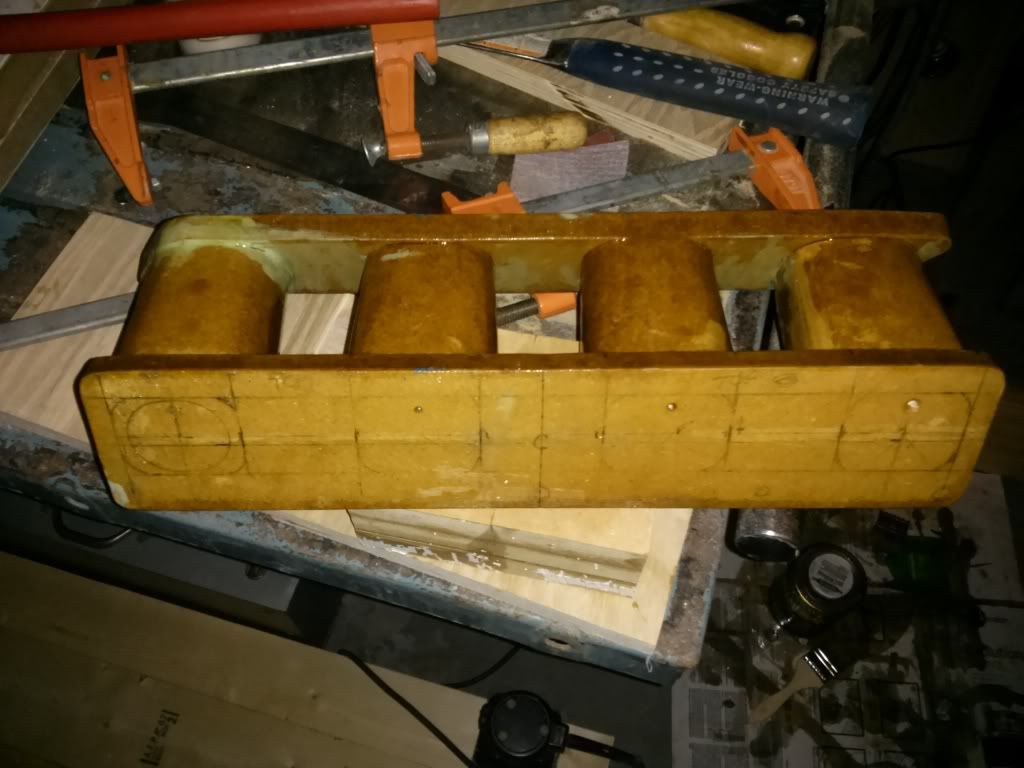
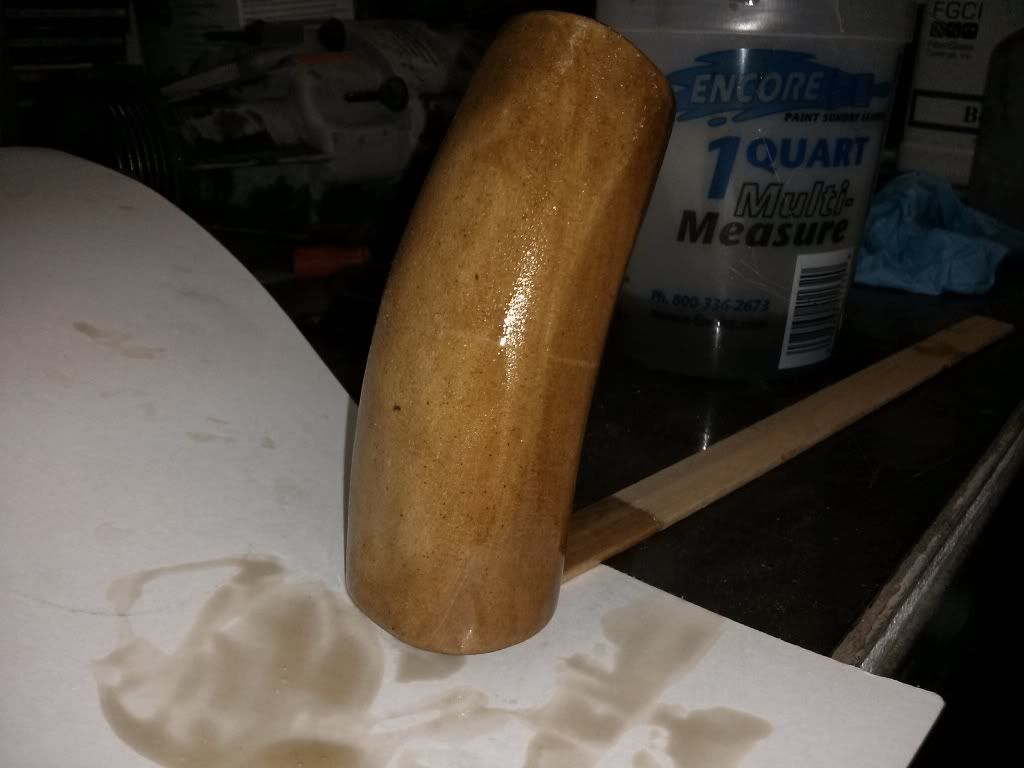
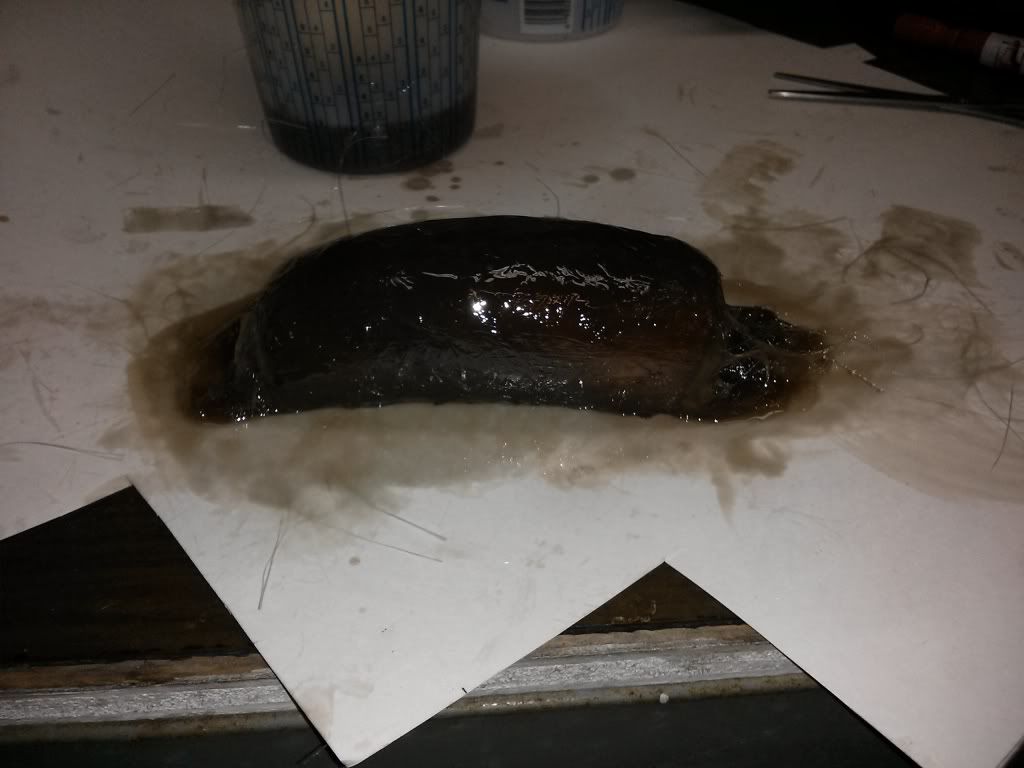
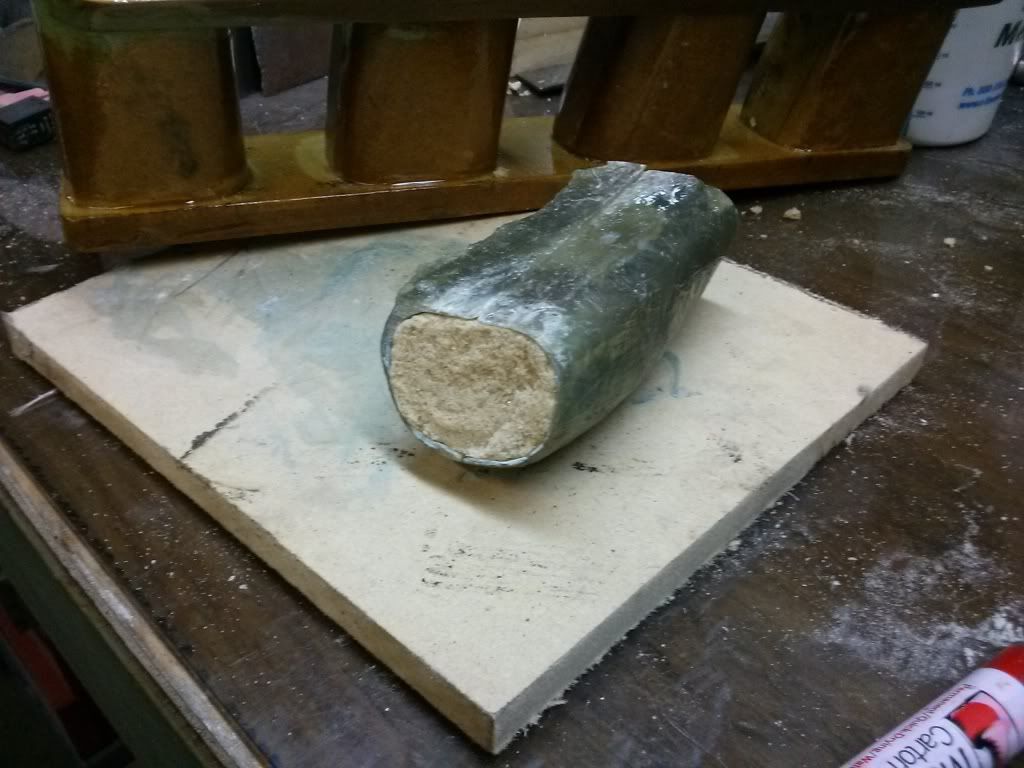
Here are the mounts coated with drywall plaster to help keep the sand back while the foam melts.
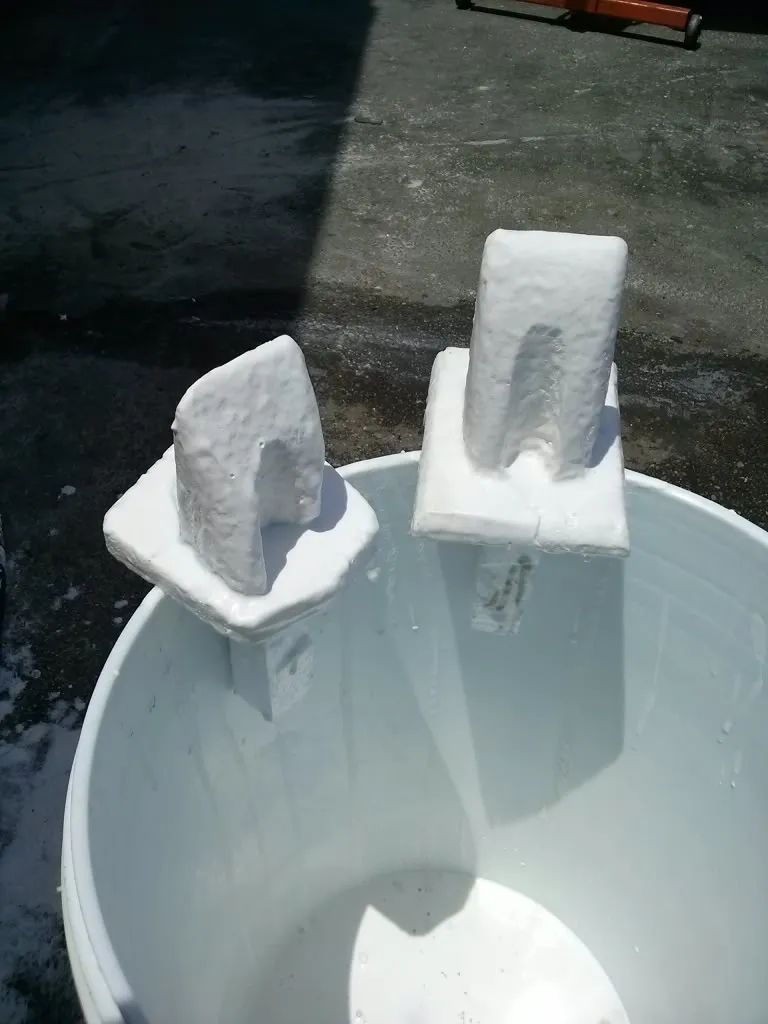
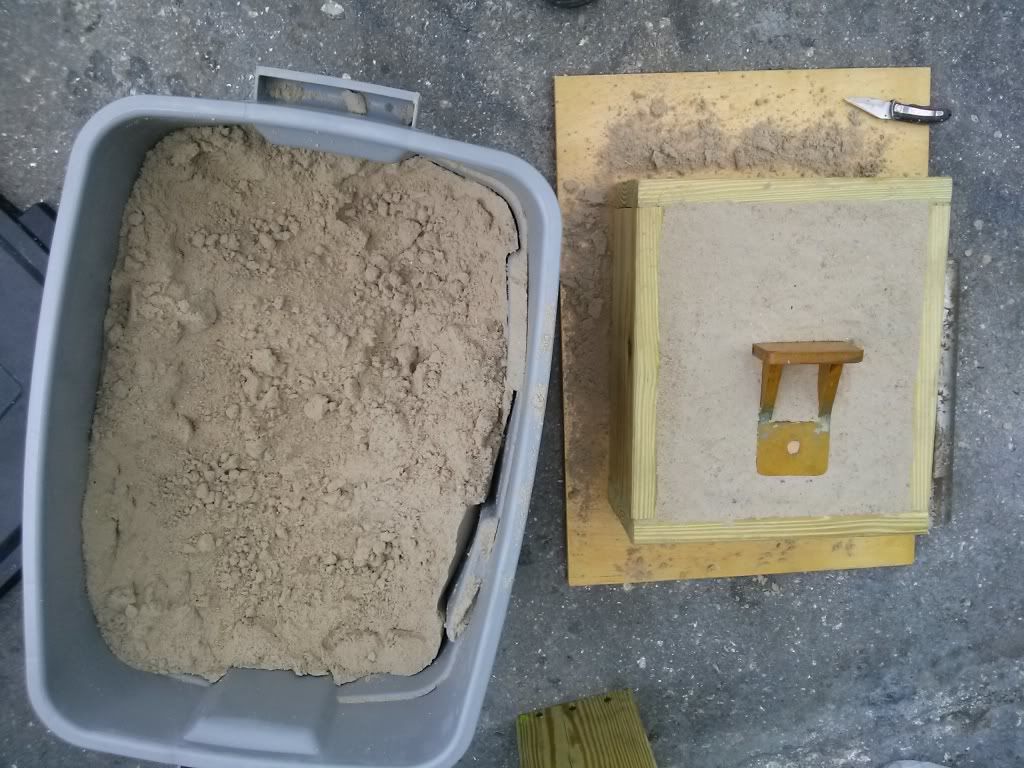
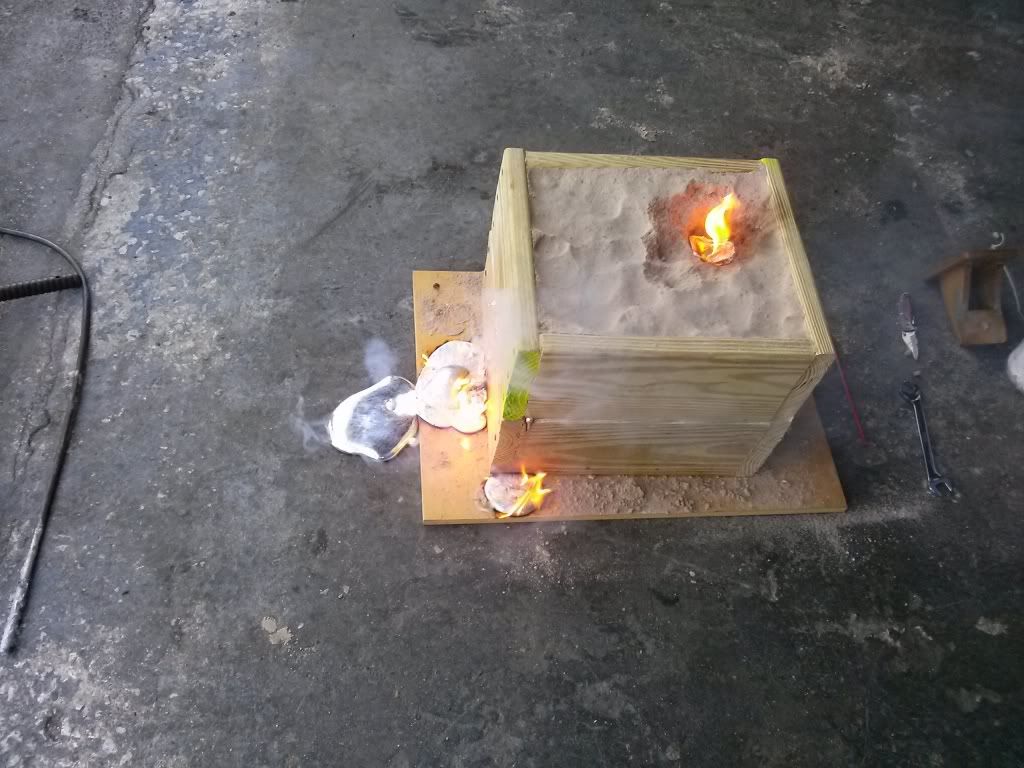
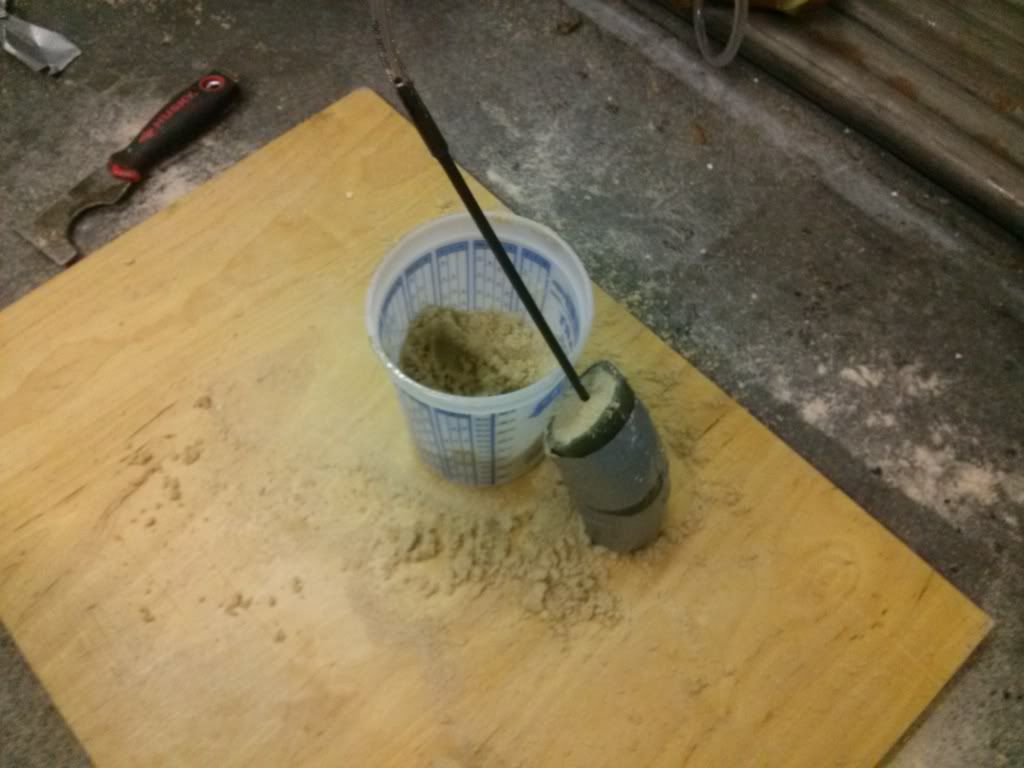
Here they are buried in the sand with head pressure pipes over the sprues. This sand is just plain sand, nothing to make it hold its shape. The foam and plaster do that. Normally the sand is treated with clay and water or oil until it is closer to cookie dough in consistency.
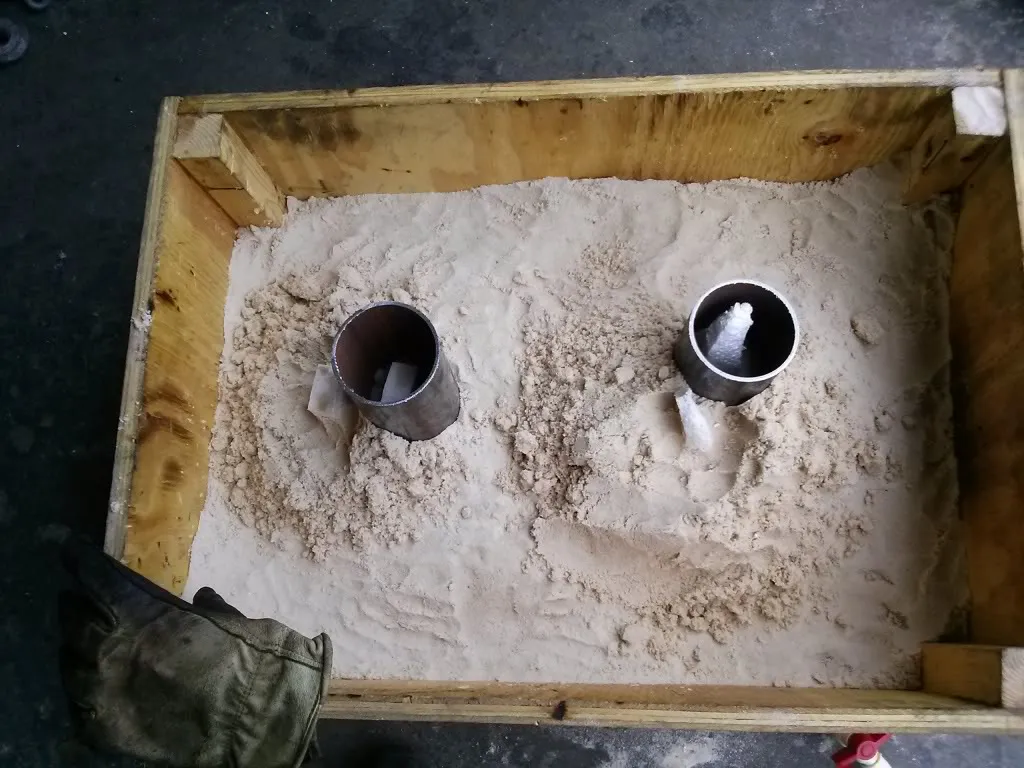
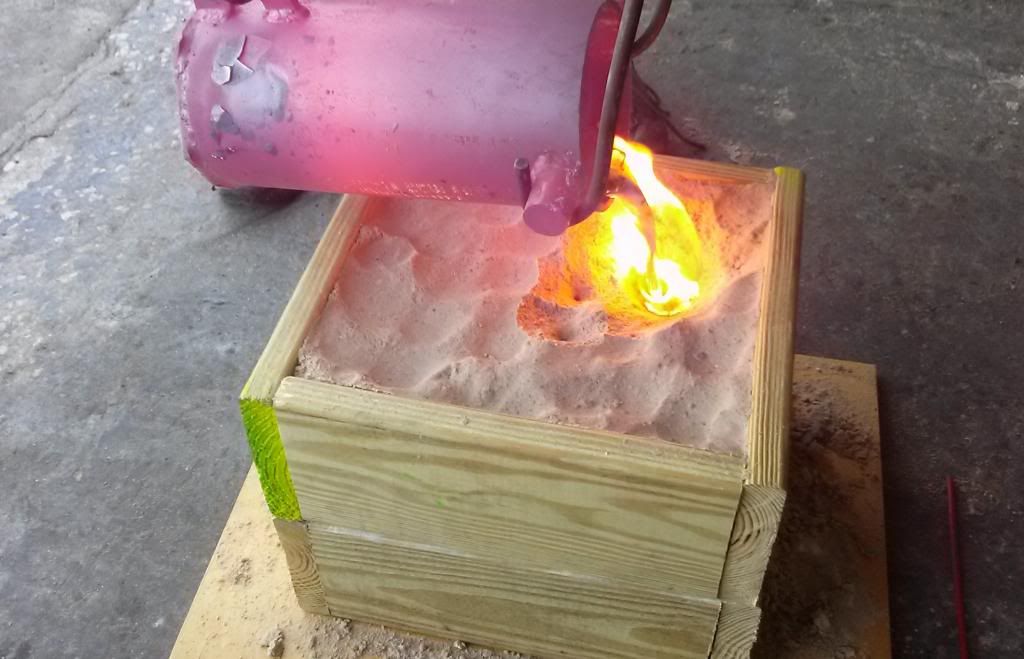
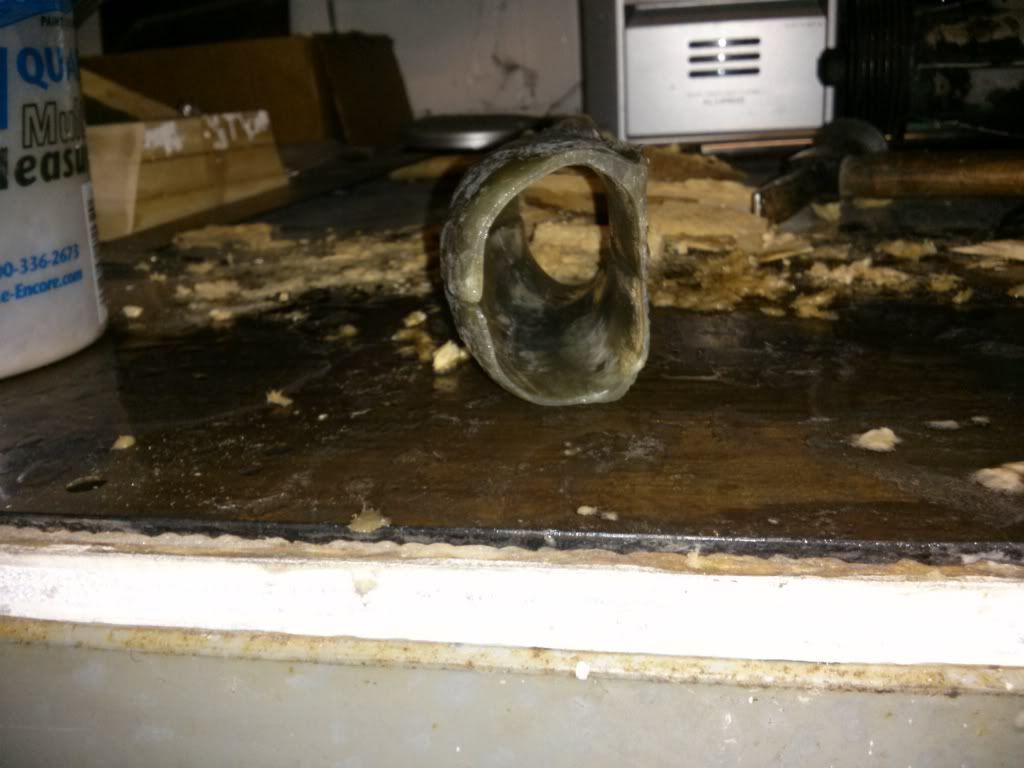
Well, first "Lost Foam" pour didn't go as planned. Remember that loose sand? Well I didn't take into account that the head pressure pipe was going to be sitting on sand that was only a couple inches above a 4"x4"x3/4" pool of molten metal at some point. I put the part in the sand with the surface that would be bolting to the engine facing up. Shortly after the aluminum made it into the foam the sand gave way over the part and the head pressure pipe leaned over. Crap!
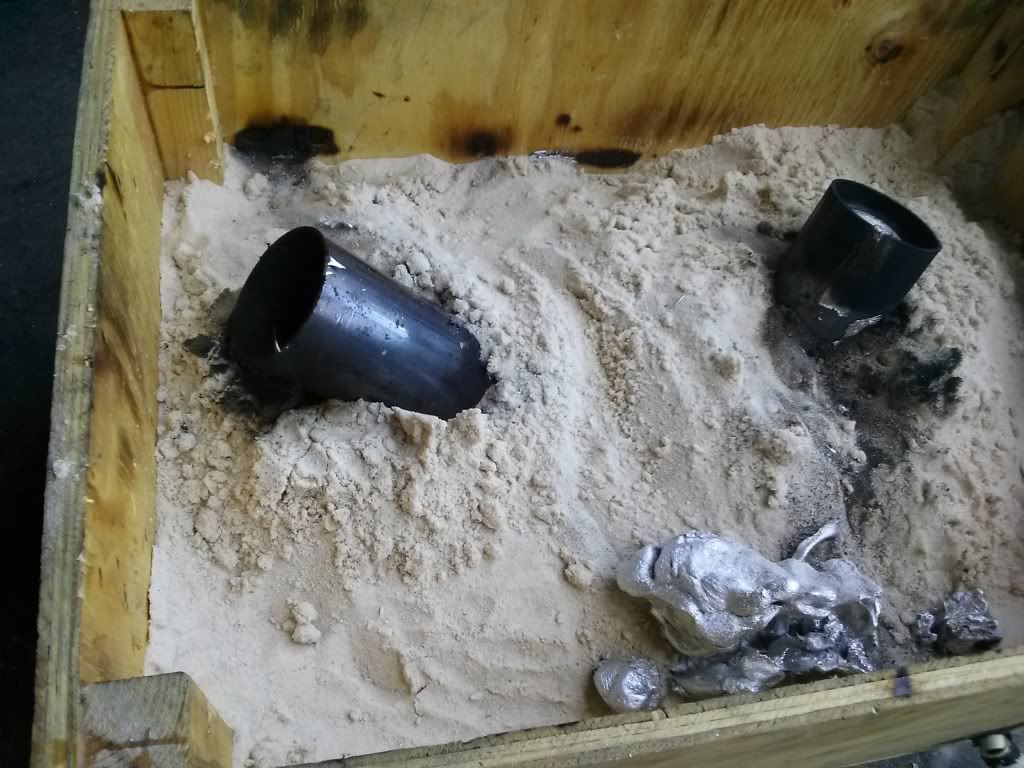
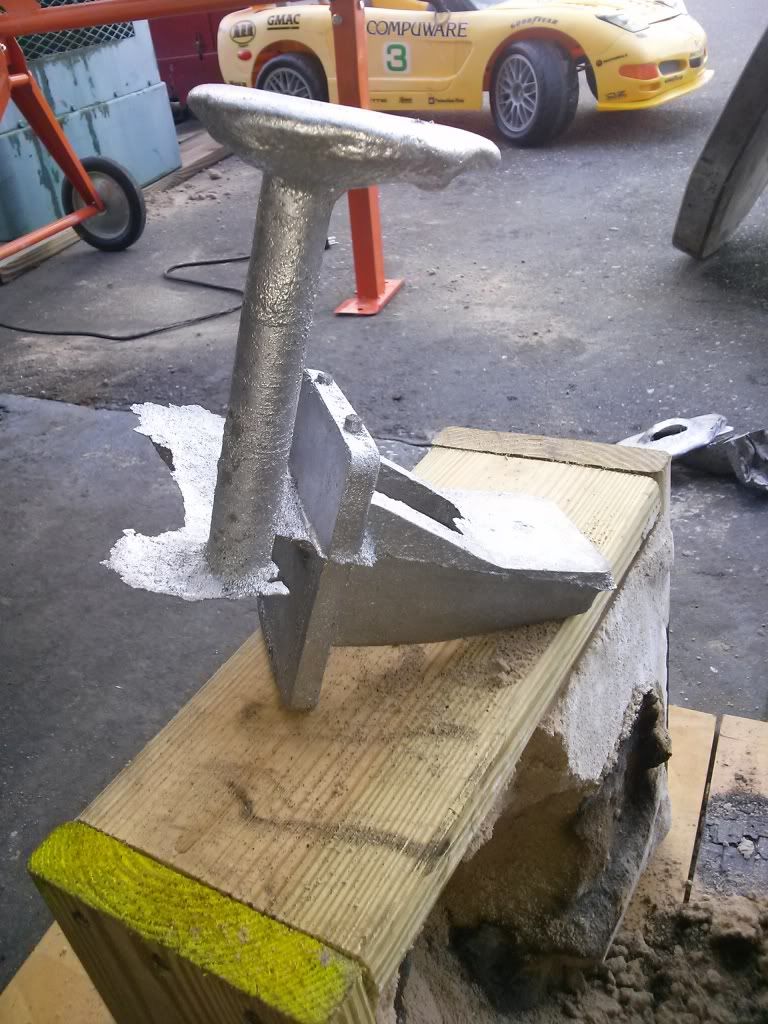
Hoping for the best I waited a few minutes and dug up the parts. I thought maybe they were down low enough in the sand but no such luck.
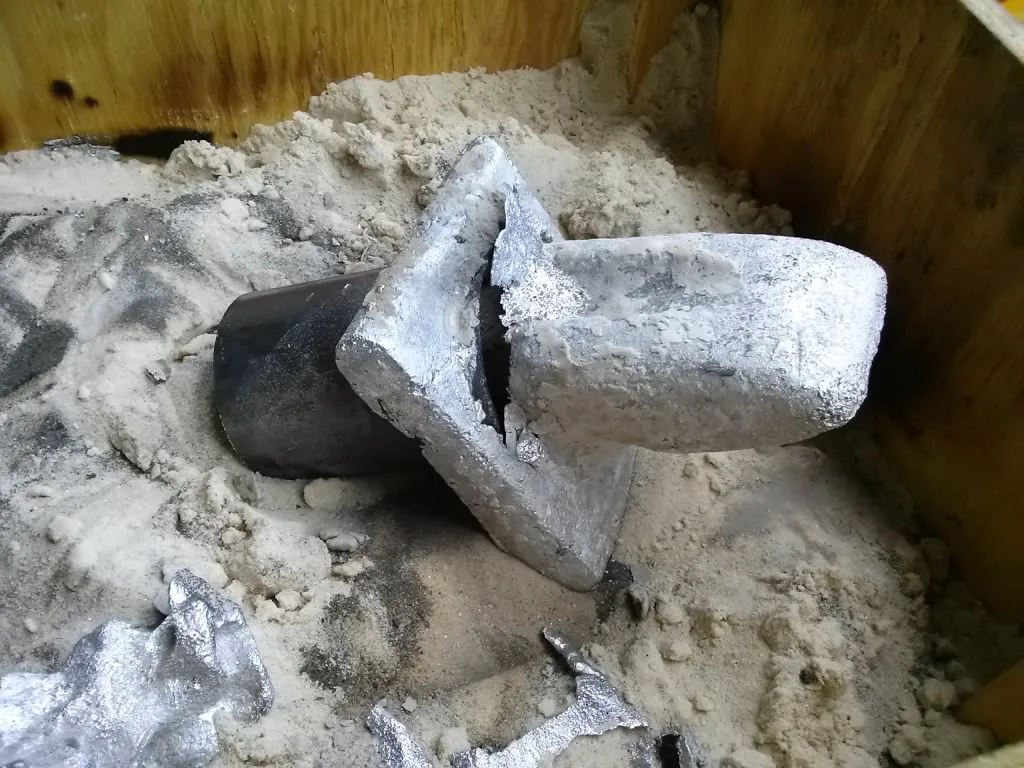
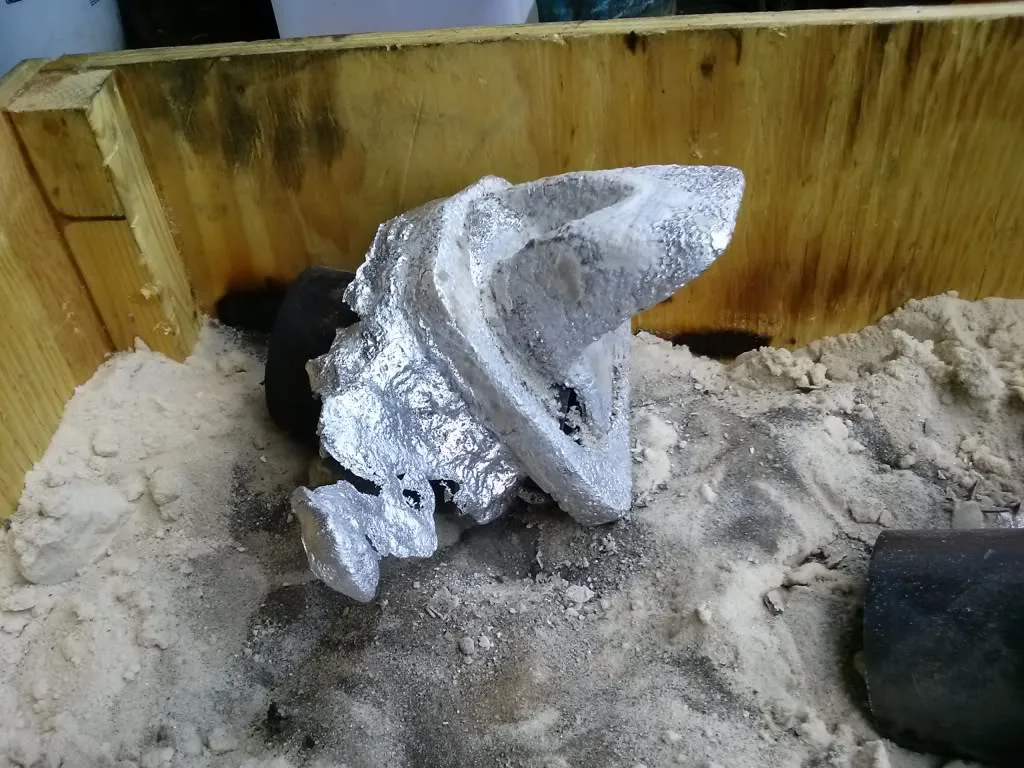
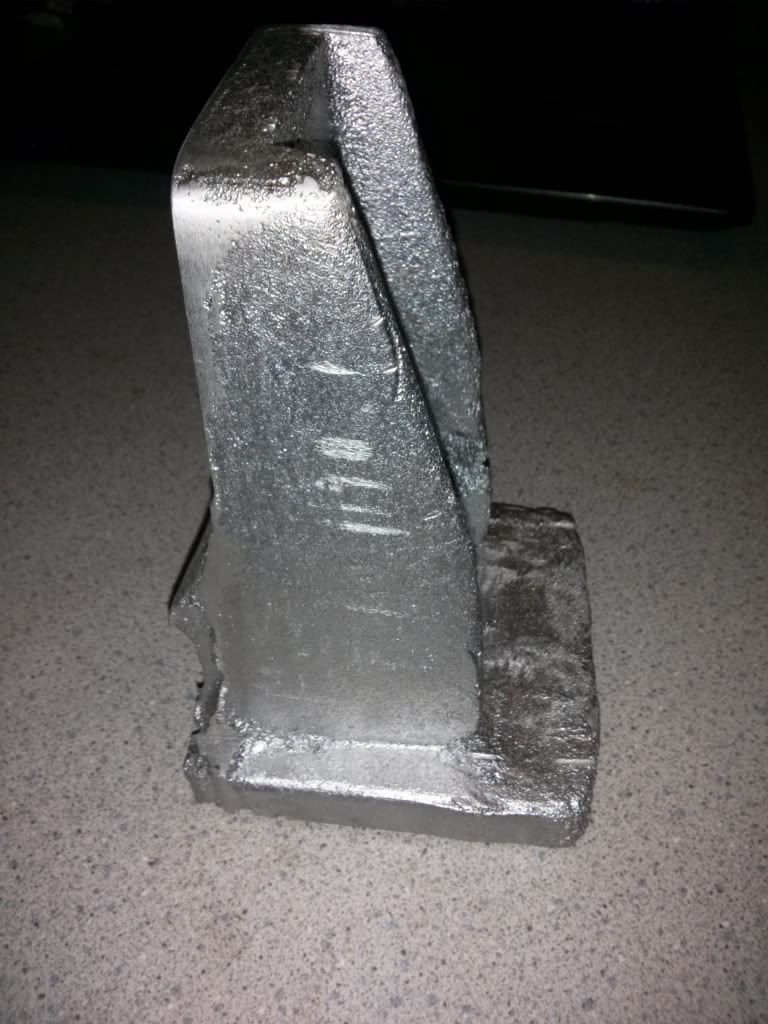
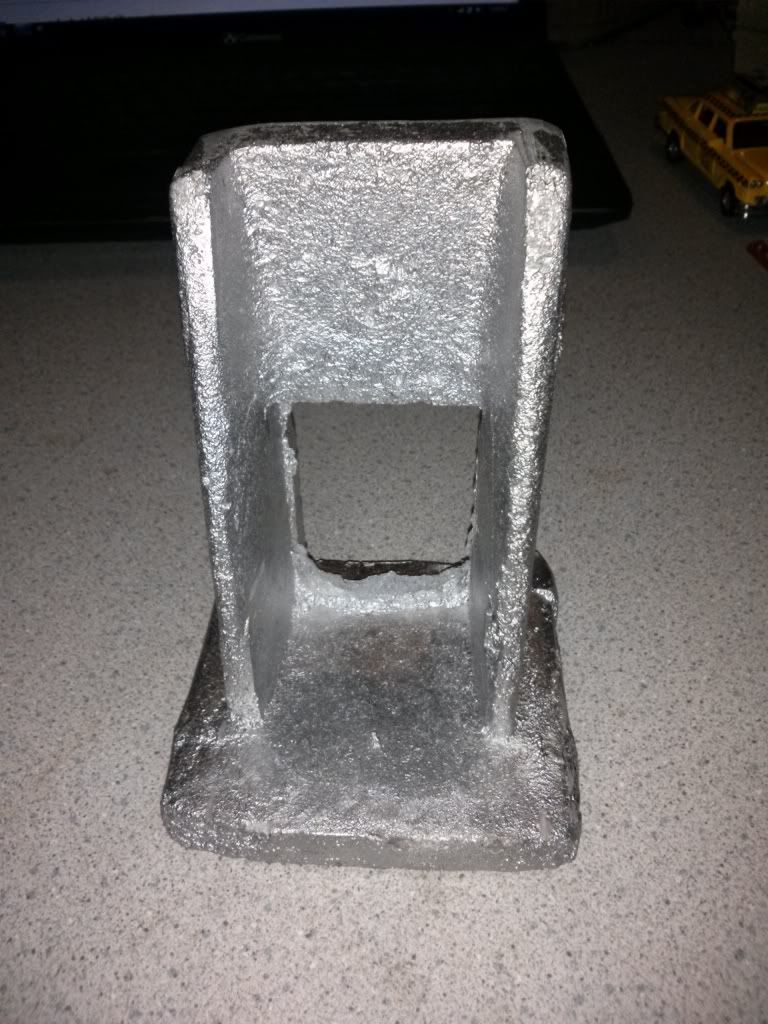
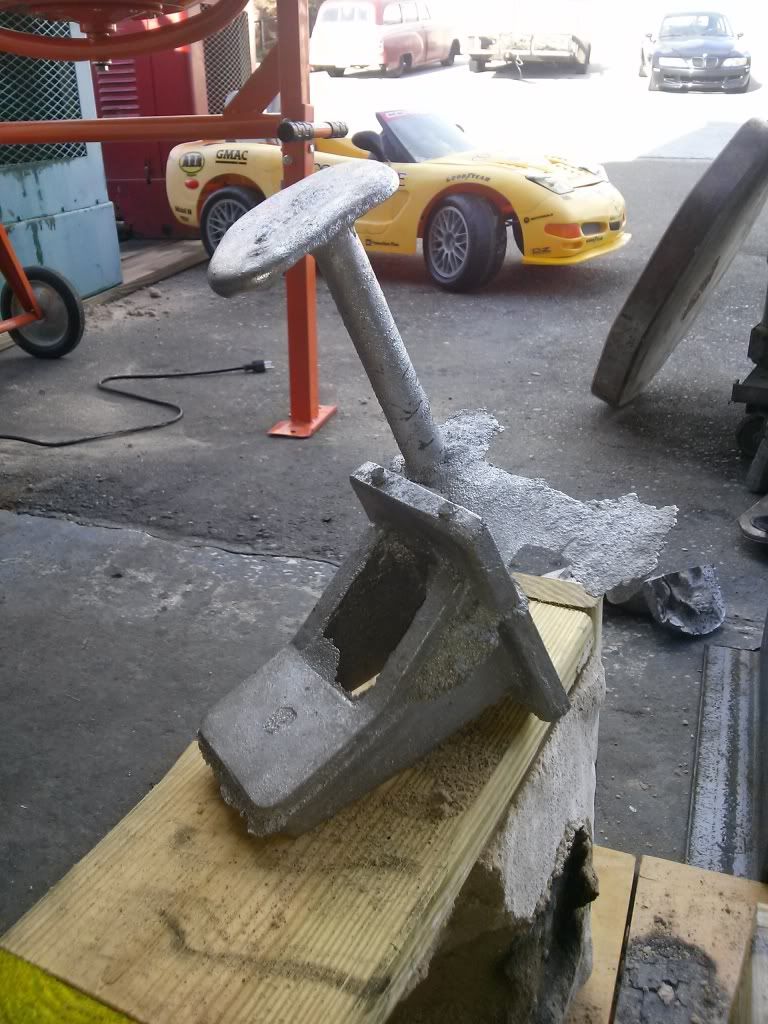
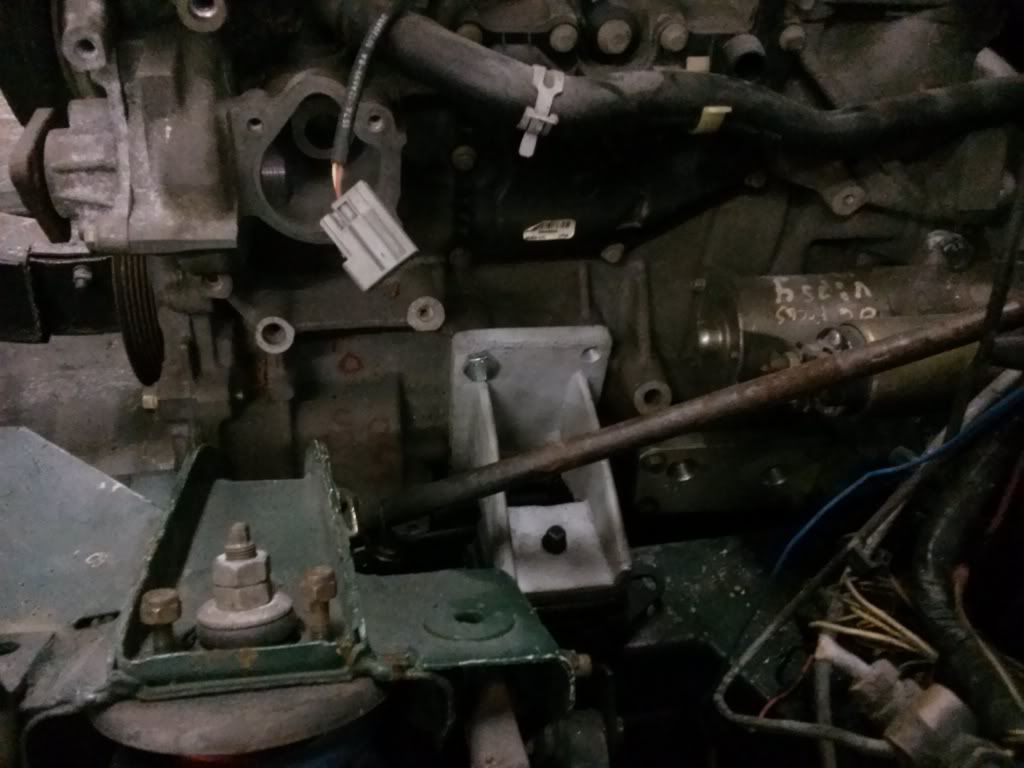
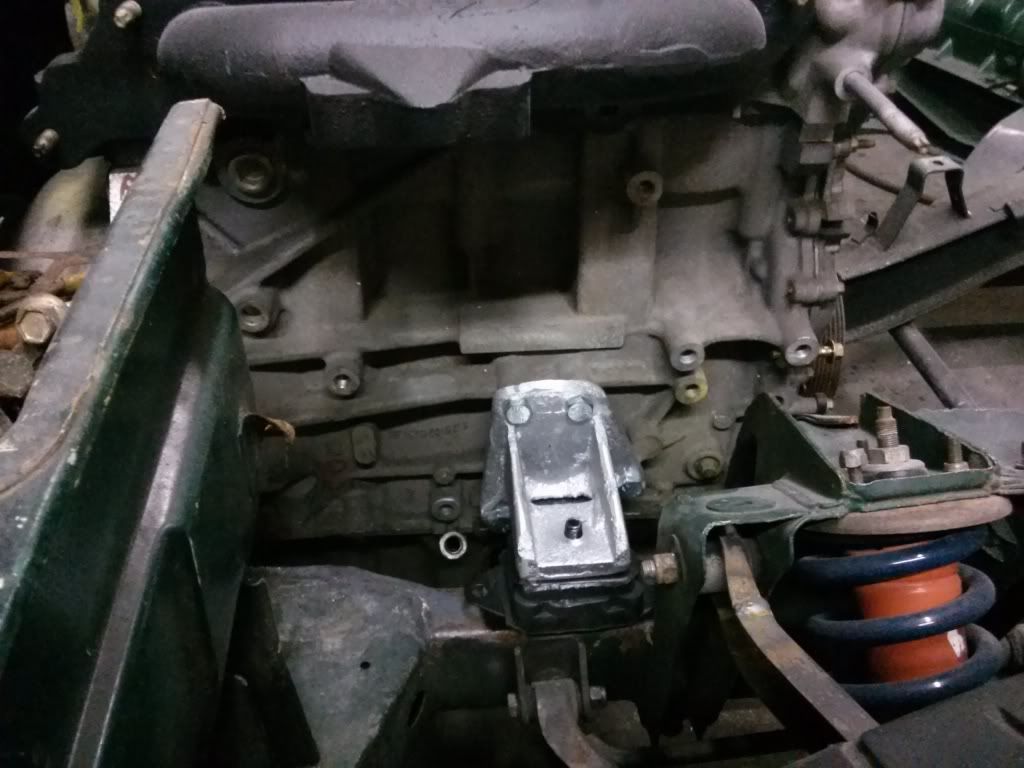
I may have had a couple serviceable parts if it wasn't for that little glitch. I wasn't really happy with the surface but I was going to sand it down and make it pretty later anyway. I planned to mill the mounting surfaces down about 1/4" after cutting the vent and sprue off.
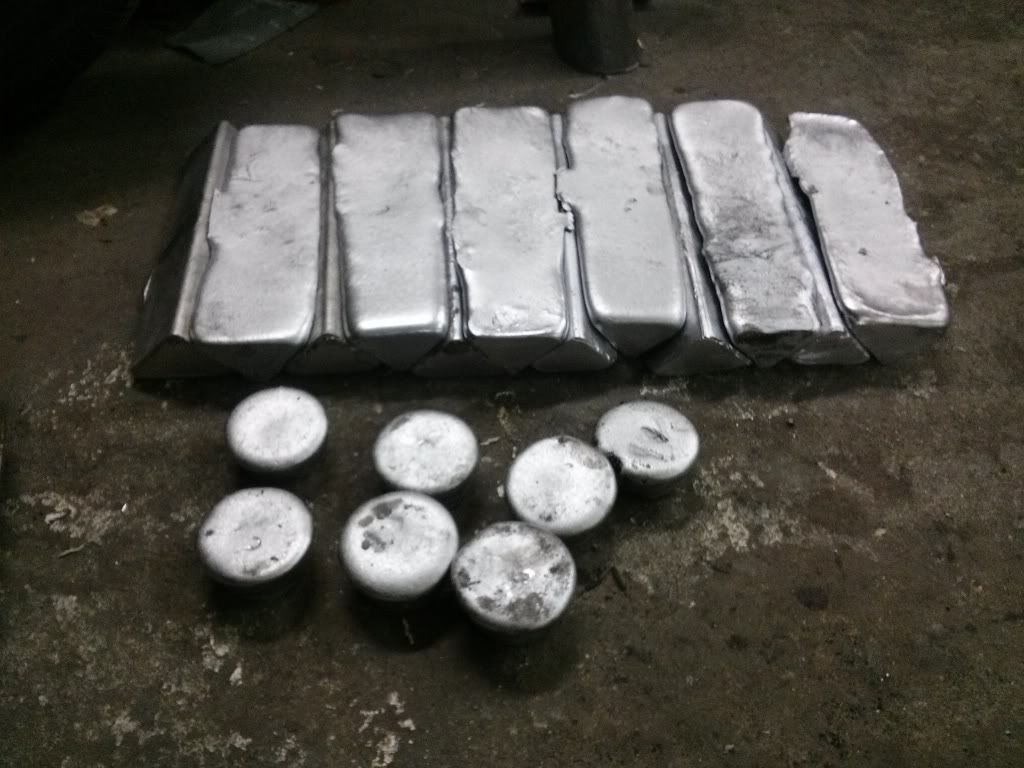
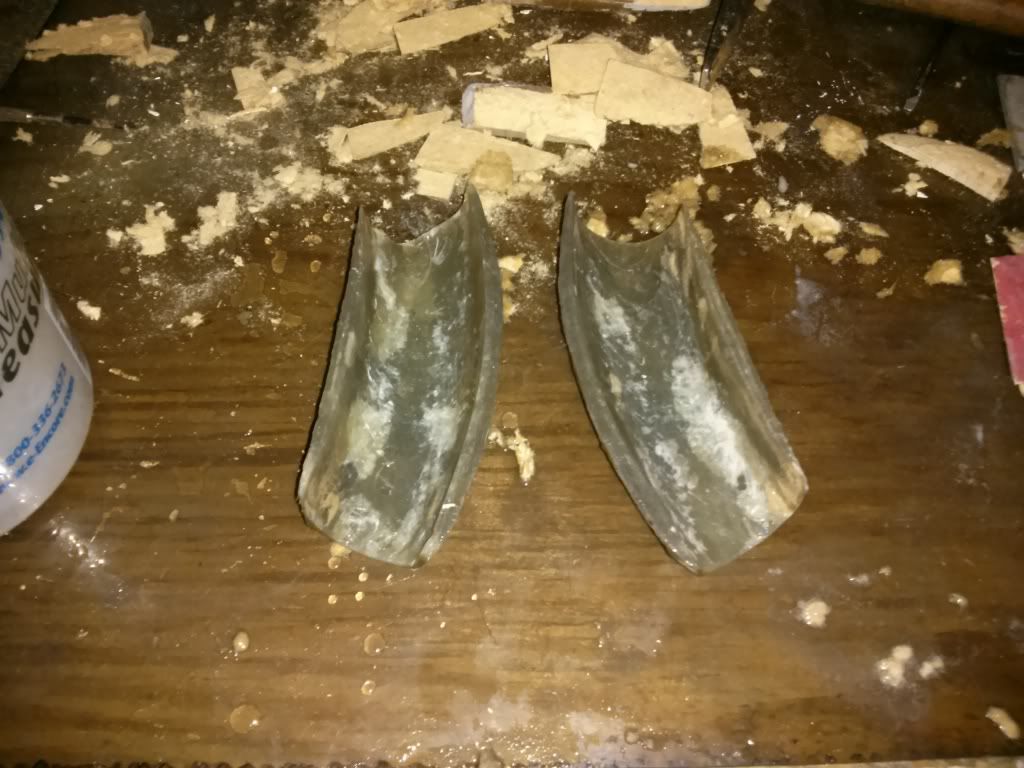
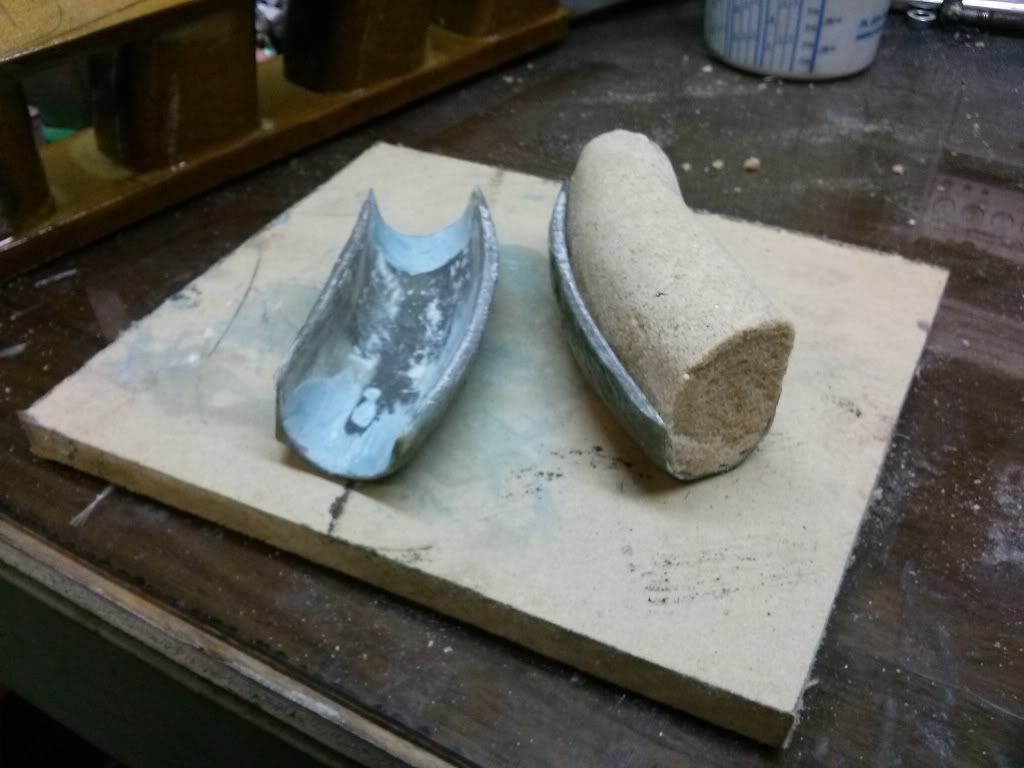
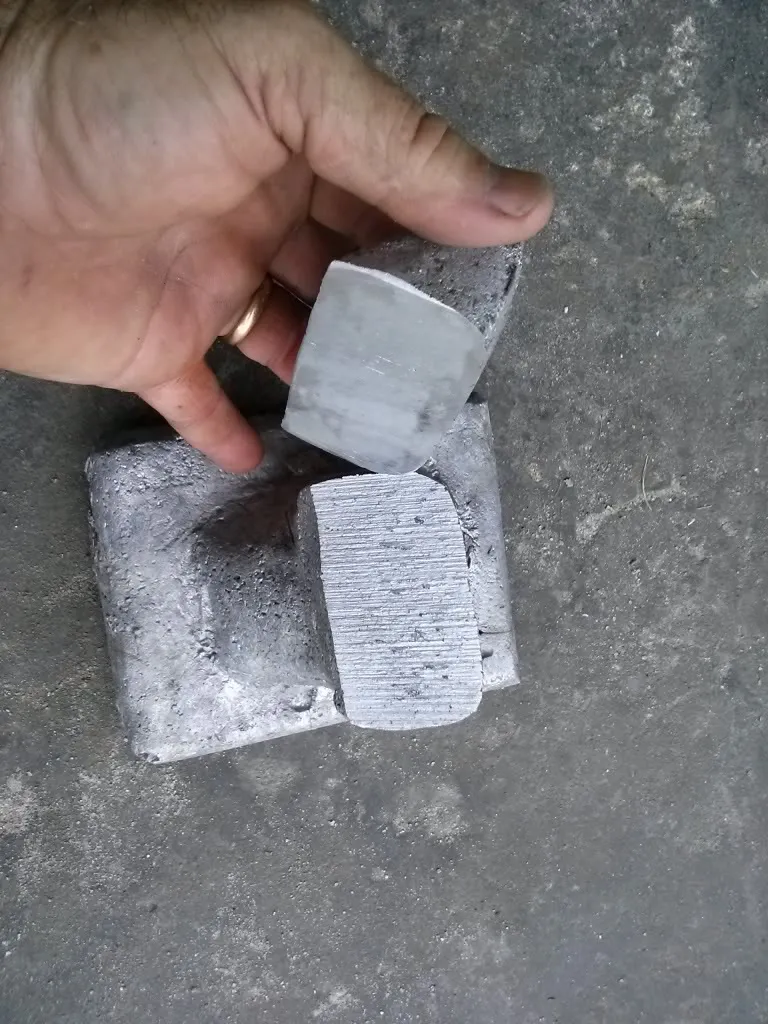
Here I did an autopsy and found the pour was pretty good in general. I hit the one side with the belt sander and it shined up with no voids.
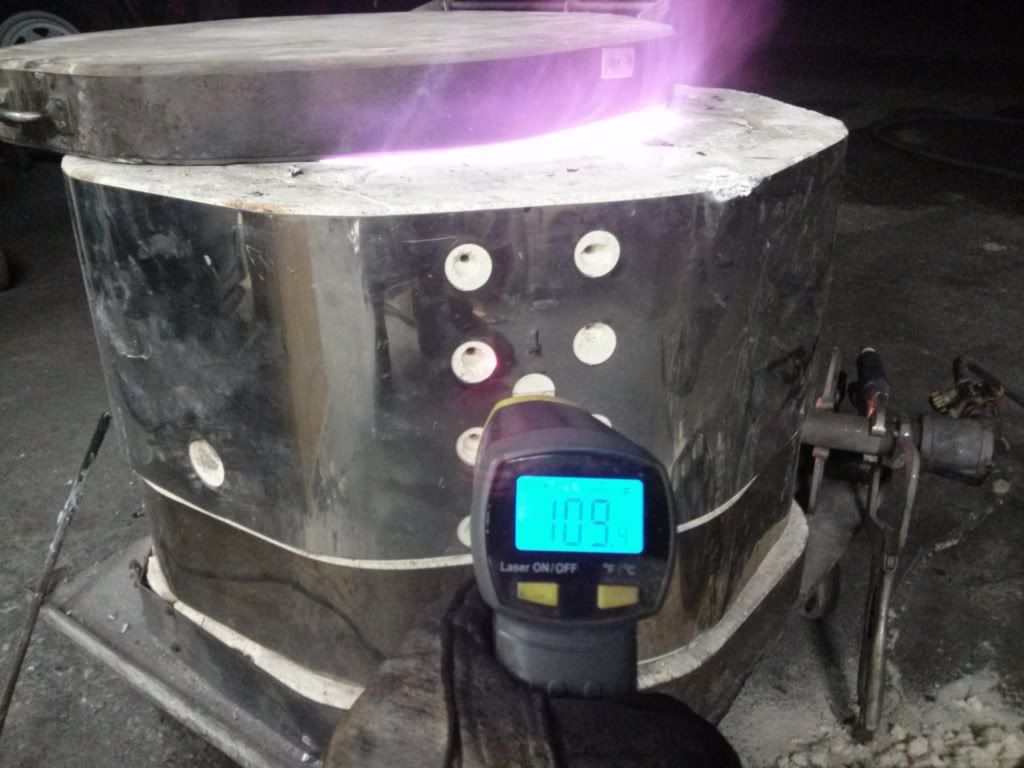
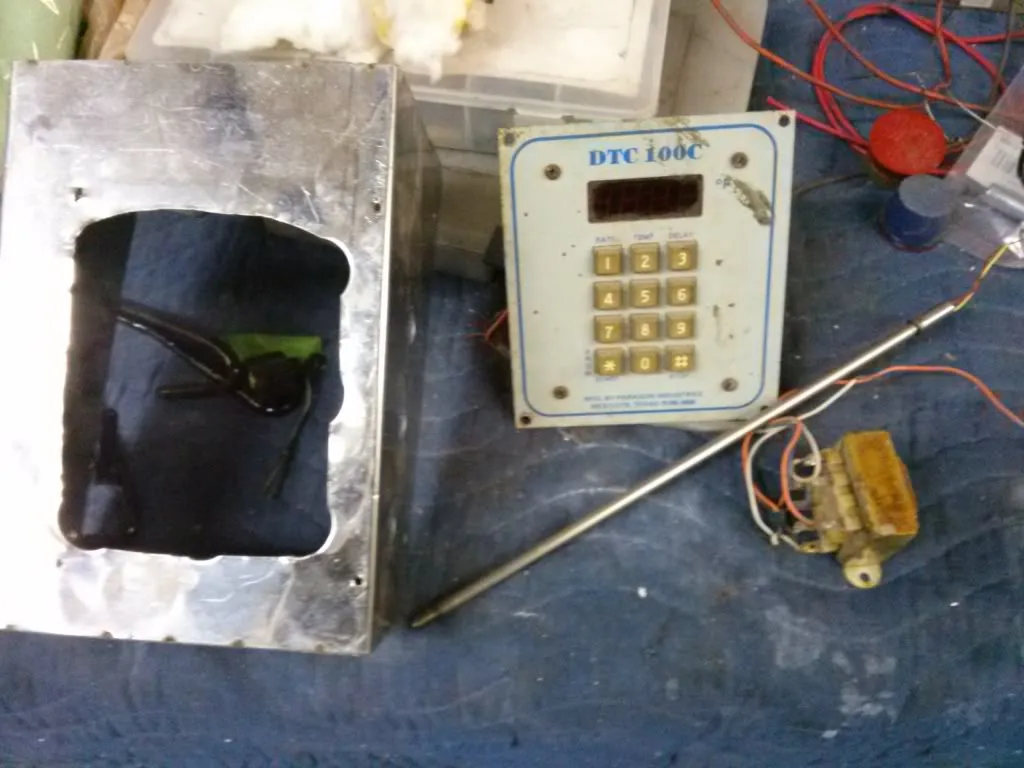
My kiln builder friend came through with pieced together pyrometer. An old kiln controller with a burned out "1000's" digit and an Inconel thermocouple that will handle over 2000F. I just need to remember that 1375F will be "375". It cost me lunch.
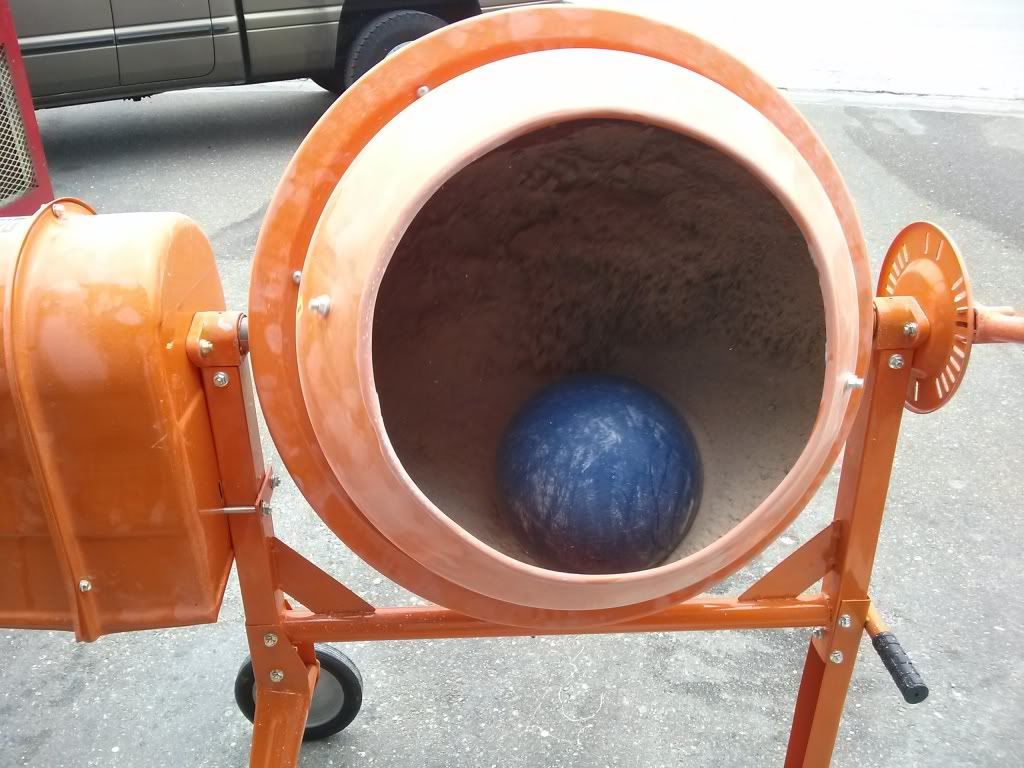
New plan! Tomorrow I'm ordering material to make oil based sand instead of the water based green sand I've used before. I'm going to mix up stuff called "K-Bond" that was developed at Kent State years ago. It takes sand, synthetic two stroke oil, methanol, and bentone clay. I need to get some organo-bentone. I have the oil for my weed wacker, the methanol I buy in drums because I make my own bio-diesel and the sand I have left over from my green sand mix.
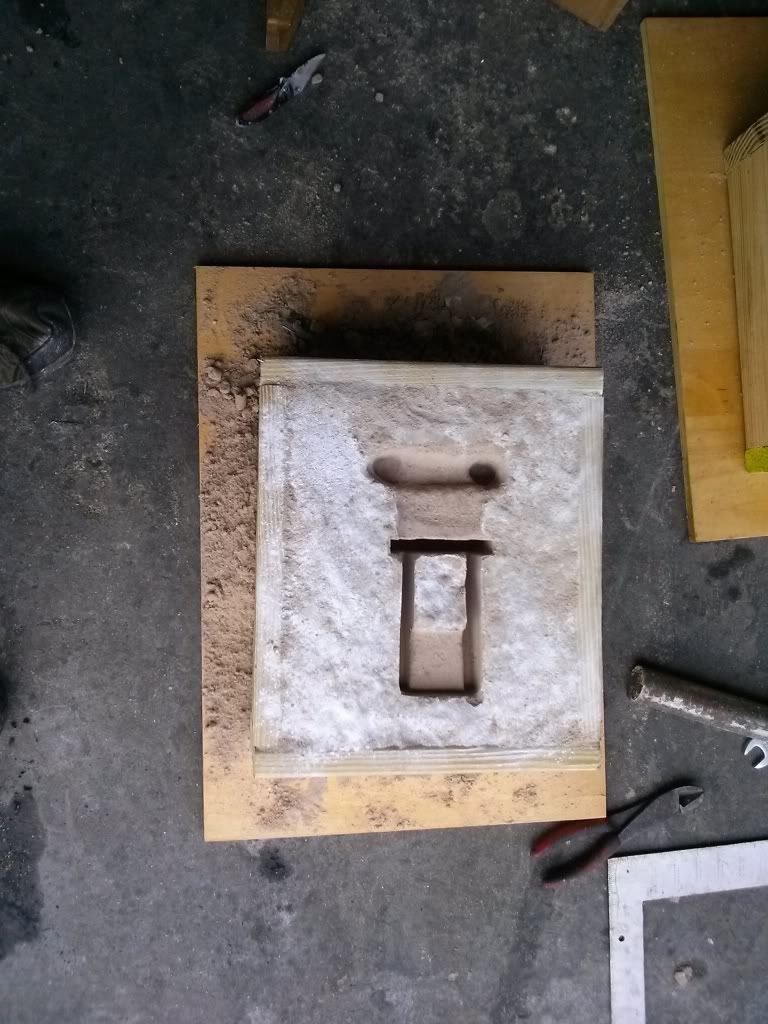
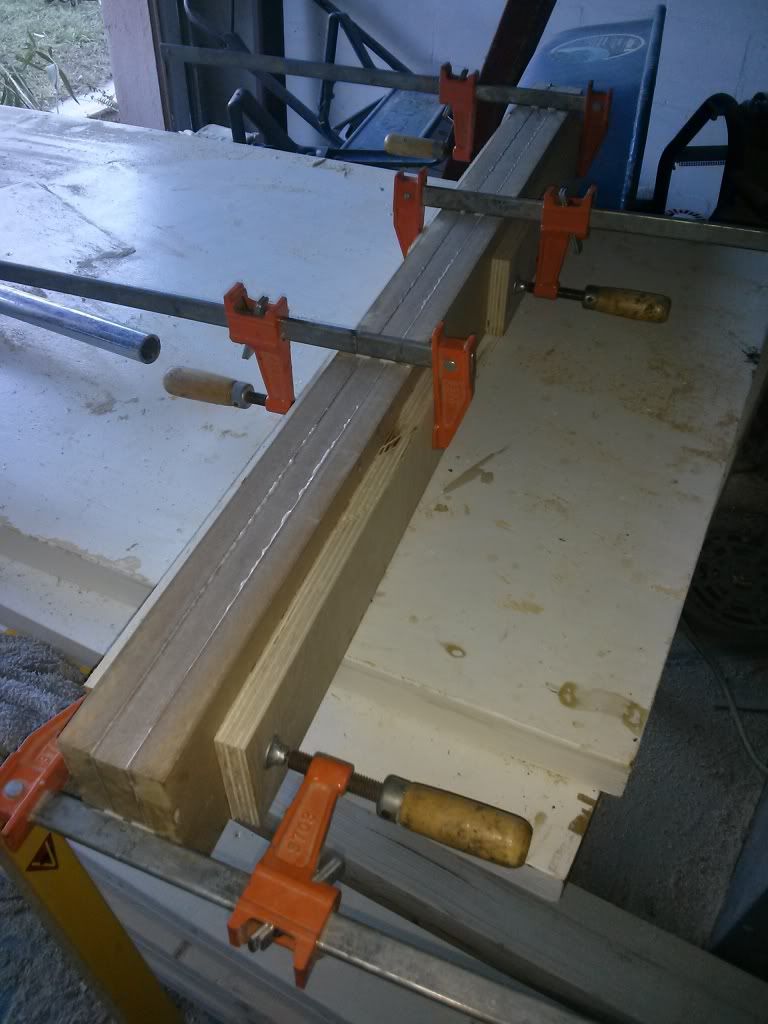
I'm going to go back to the reusable plug for packing sand around too. I figure I can cut, router,sand, and screw together a part out of MDF faster than I worked with the foam. The best part is if the pour fails I can repack my cope and drag and try again in minutes. Live and learn.


