Sorry for the long delay. We've been working hard on shop work in the last couple of weeks.
July 21 - Radiator installed
We ordered a new radiator and fan assembly from ebay. We trimmed the original radiator mounts and welded them to a horizontal tube welded to the main hoop of our car. If we ever need to remove the radiator, we just have to loosen the lower radiator mounts.
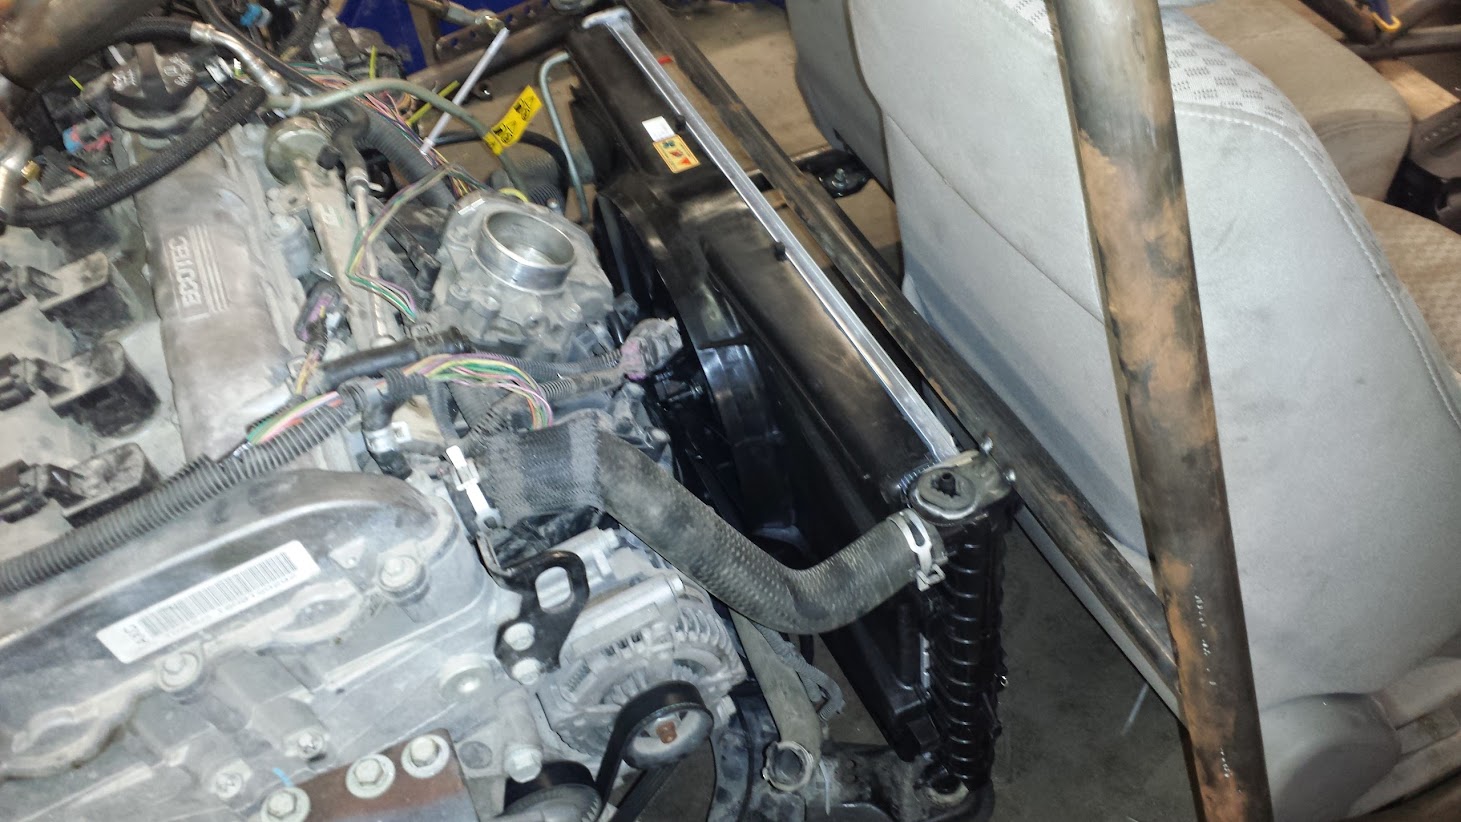
Afterwards, we drove the car around in circles in the parking lot see if the fan would come on. Using the Cobalt information system, we watched the coolant temperature slowly creep up. We assumed the fan would come on at around 190 degrees, but when it cruised by that, we assumed that maybe 200 was the magic number.
We eventually got to 210 before calling the test off, assuming the fan wasn’t working properly. We parked it and checked to see if maybe a fuse had been popped. No luck.
My daily driver is a 2009 Cobalt, so we cranked it up, revved it to 3000 RPM and waited. Sure enough, the temperature climbed to 210 without the fan clicking on. The fan didn’t turn on until it got to 217.
With this new found info, we cranked up the Goblin and brought it up to temp again. Right on 217 the fan clicked on. Very good news.
July 26 - Front spoiler
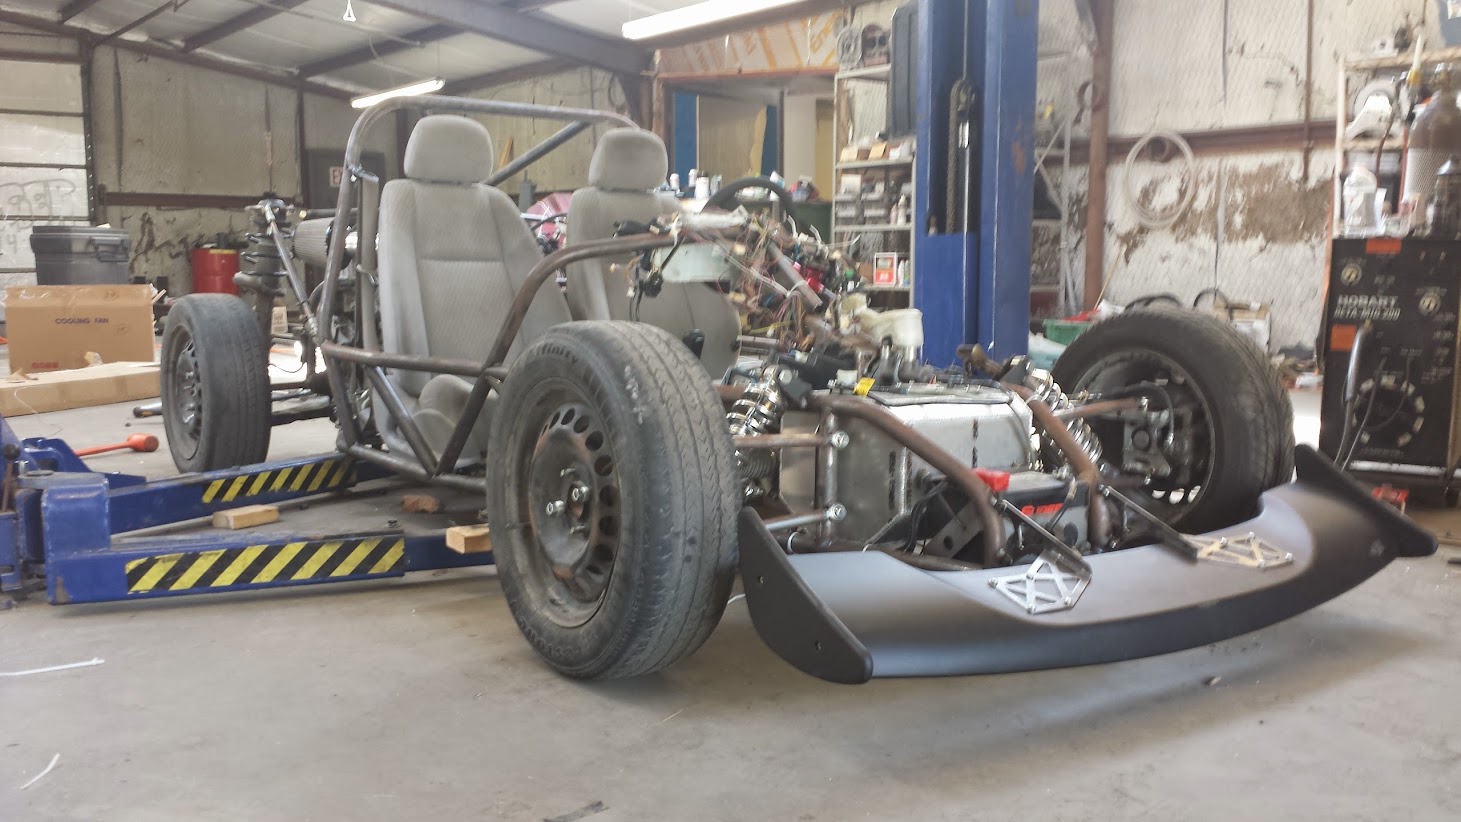
We went to eBay again, this time to order front and rear spoilers. They don’t match our model but we still think they look pretty cool.
To mount the front one, we welded together steel brackets that attach to the threaded inserts pre-installed in the spoiler. The brackets bolt to four tabs we’ve welded to the frame. We can definitely picture ourselves changing out the top tabs with some that have slots rather than holes so that the nose could be adjusted depending on if we are driving around town and want a little more ground clearance.
July 29 - Starting on the wood plug for the fiberglass nose
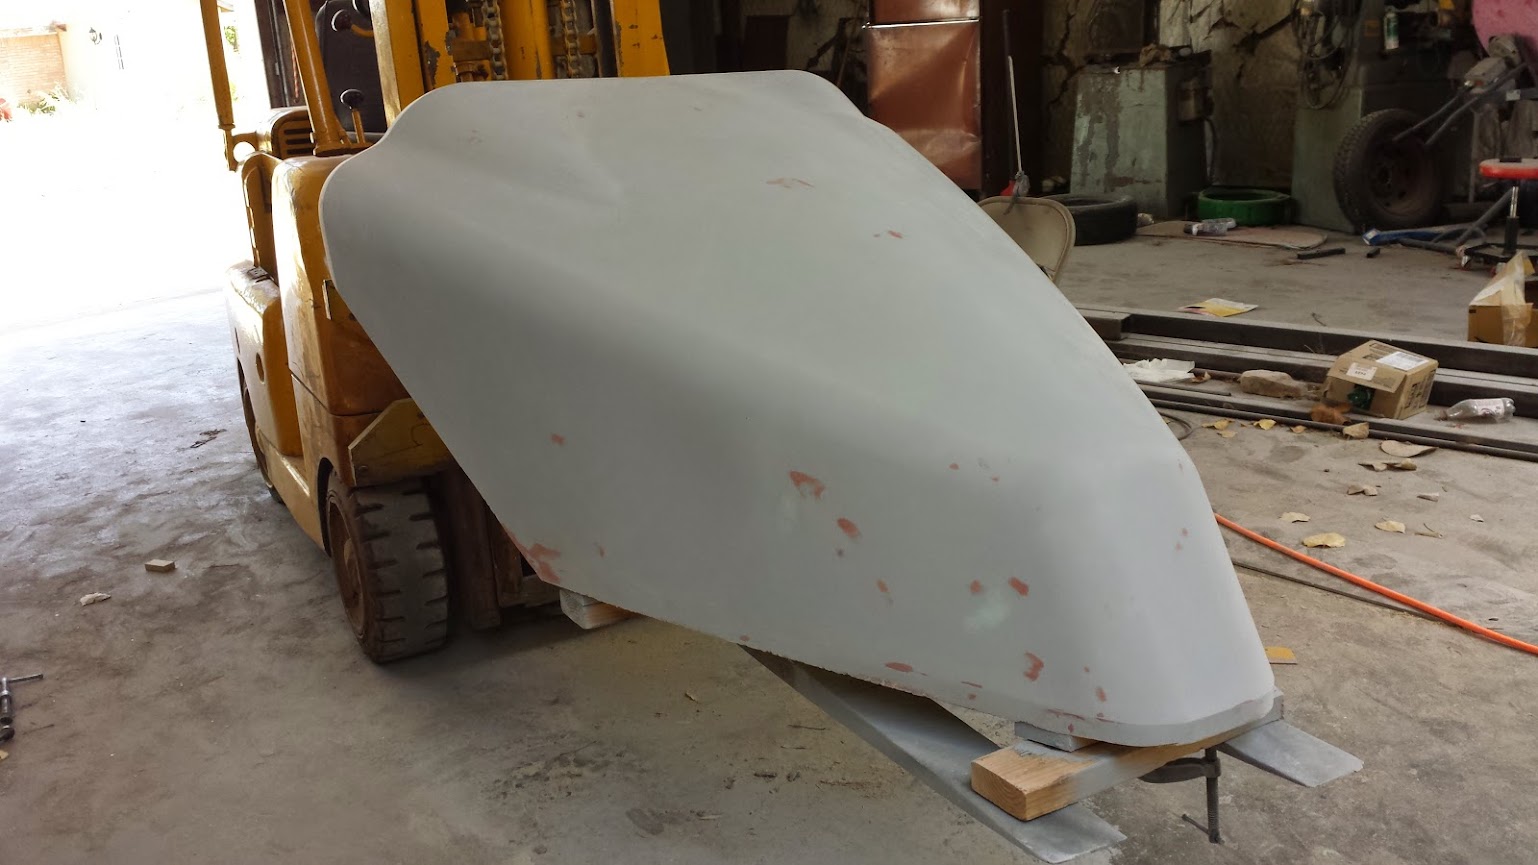
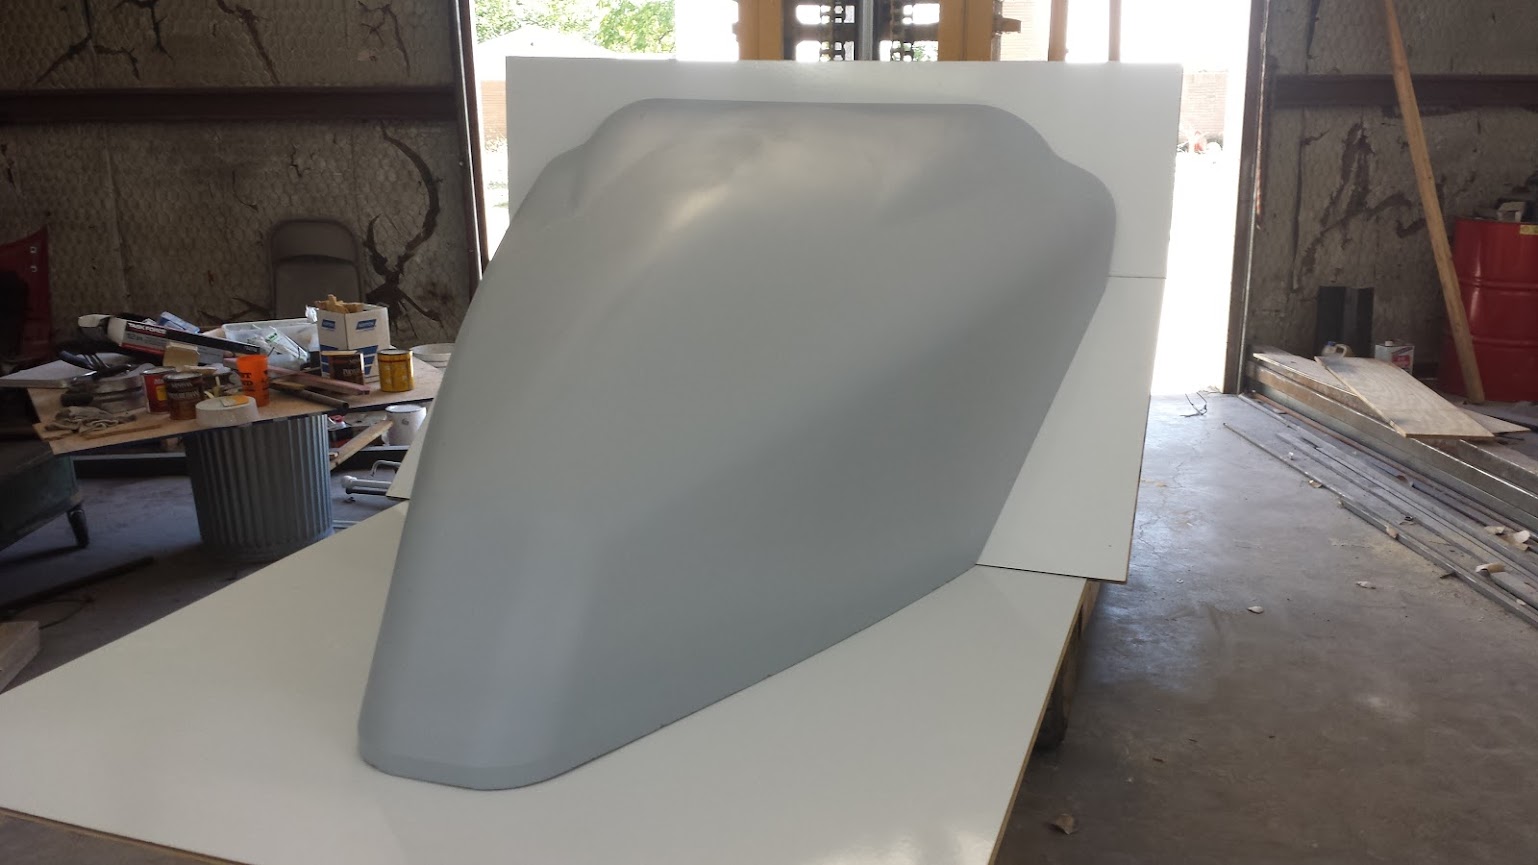
We are going to try to lay up the fiberglass nose of the car ourselves. My dad has some experience working with fiberglass on aircraft parts so we are going to do our best from what he remembers and what I can find online.
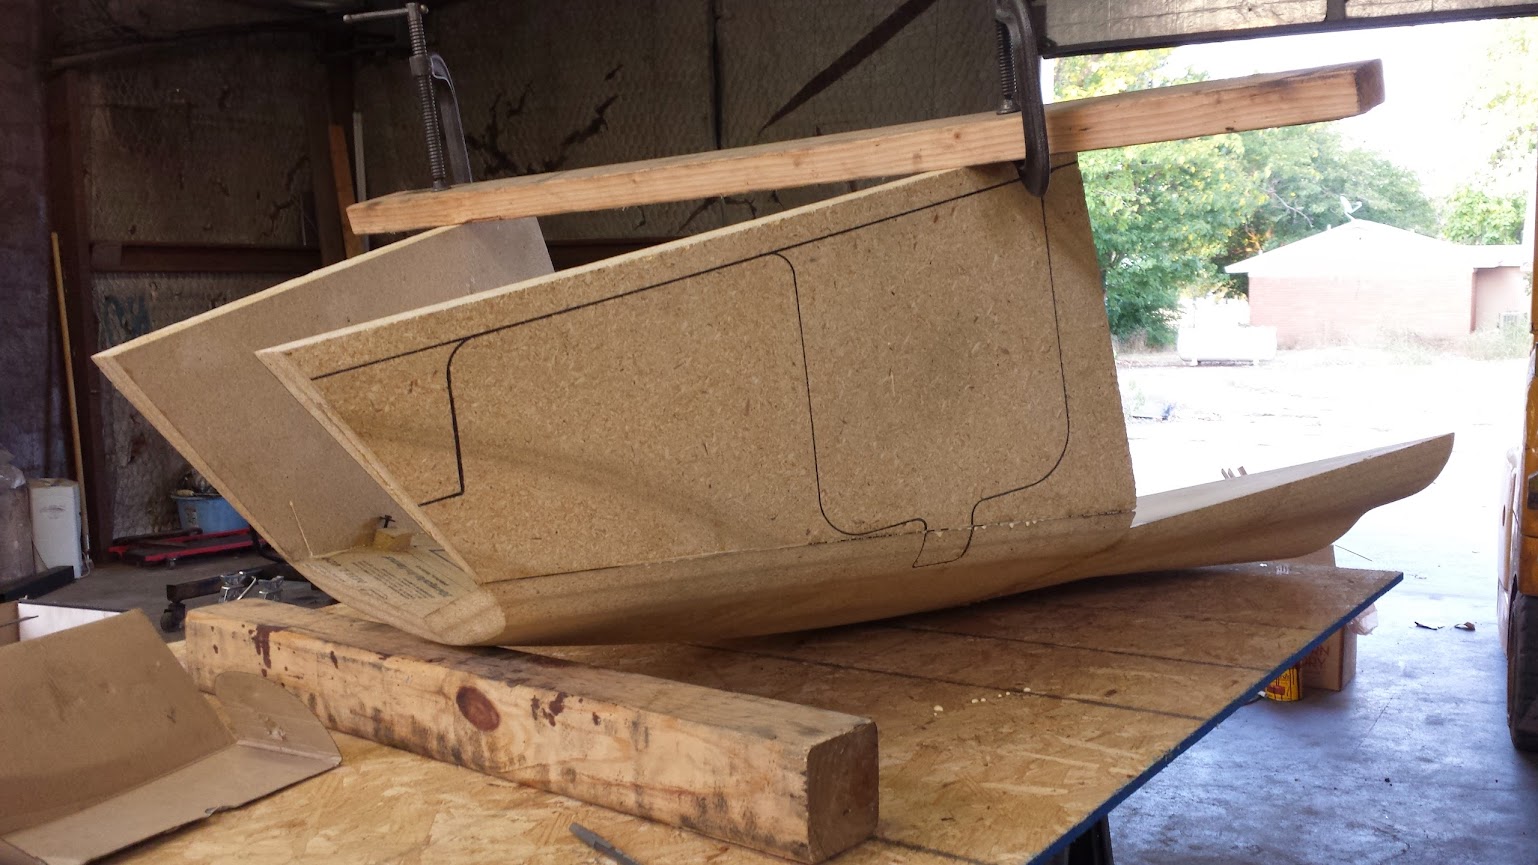
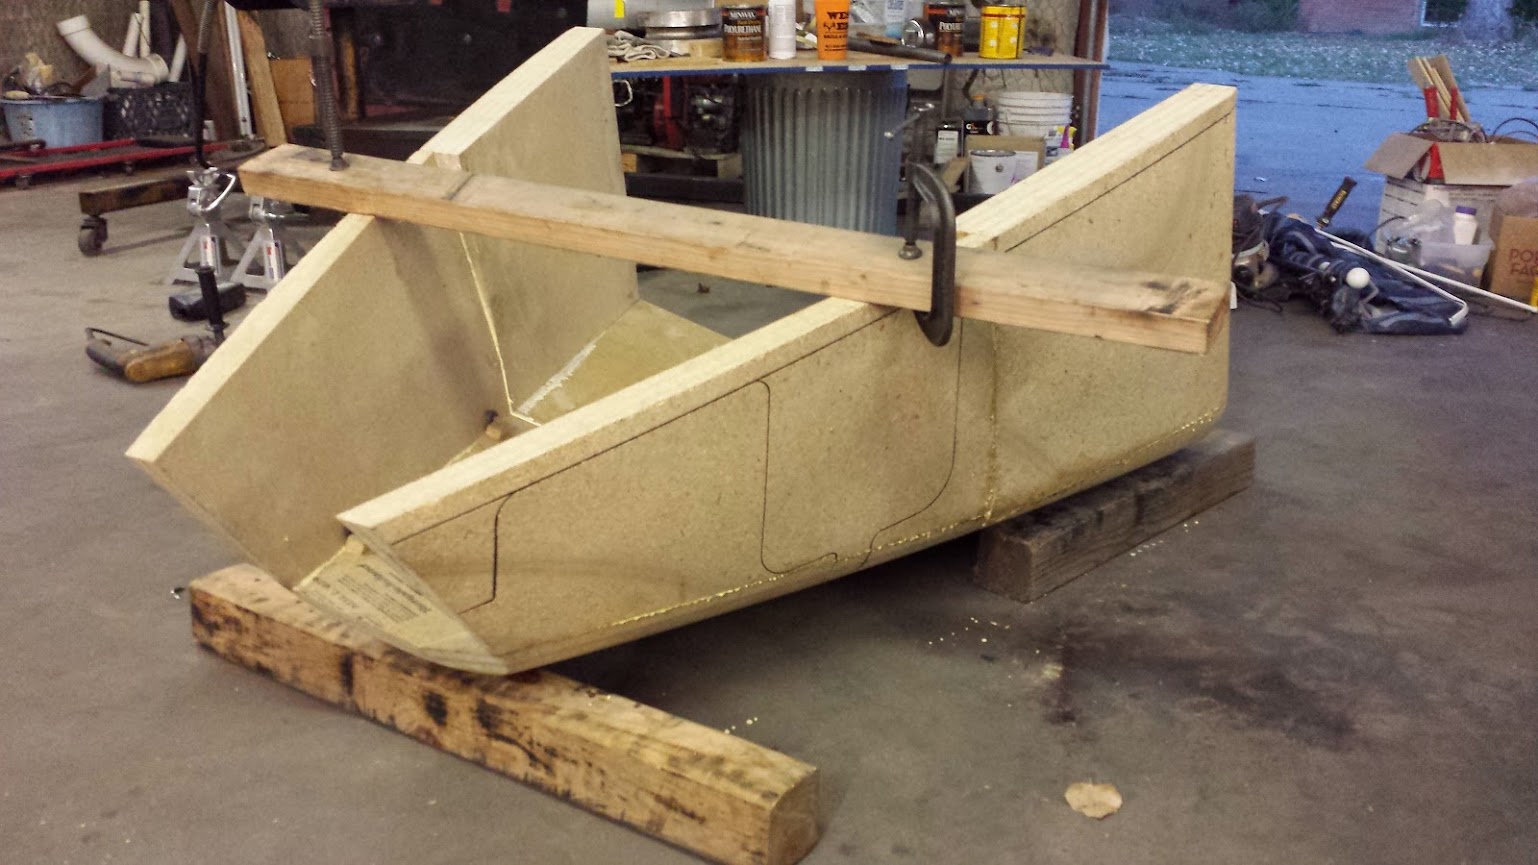
One thing we do feel confident about is making the wooden plug that a fiberglass mold will be made off of.
The first step was to fire up Solidworks and use the outside surfaces of the nose to make a model of the plug. We also split the plug into more manageable pieces. You can see the seams in the model.
Also, so that we wouldn’t have to deal with pieces of wood that were a couple feet thick, we designed the plug as an assembly. This makes very good use of the wood we bought.
Starting with the cap that goes at the tip of the nose (because its the smallest and easiest to work with) we glued together six pieces of 3/4 inch MDF in the approximate shape of the cap. After drying, we clamped it on the CNC mill and started machining.
We’ve been machining a lot of stainless steel at work recently so it was interesting seeing the mill chew through something as easy to cut as wood. It is amazing how big of a bite it can take and how fast it can cut.
Here’s what the cap looked like after we had finished machining:
Two nights later we finished the next two pieces and mocked them up on the machine. These three were kind of the test run and we’d be getting back to cutting wood at a later date.


