
It's the little things that take the most time. I thought I hadn't made a lot of progress but when I looked at all the photos I've taken lately I realise I've done a lot of small things including spending hundreds of Dollars on tiny pipe clips, vacuum hose and aluminium sealing washers! But first...
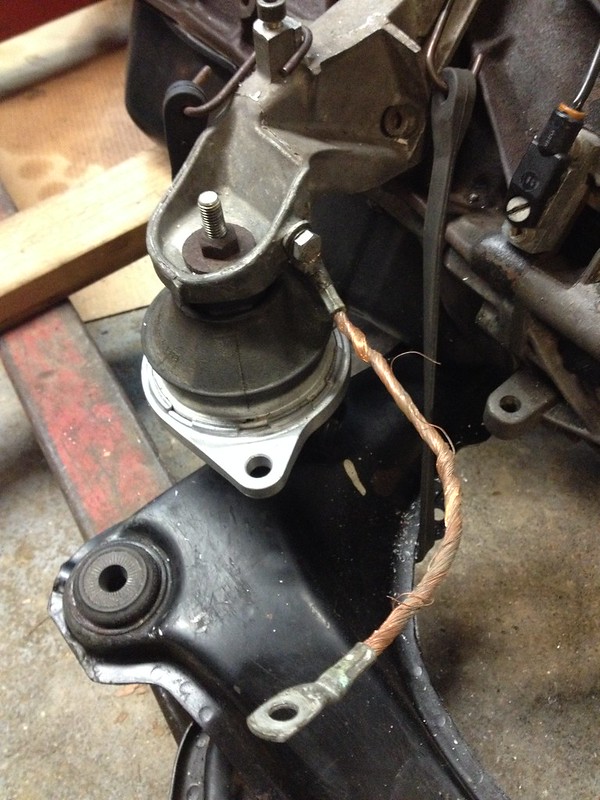
I installed the ground cable after stripping the threads and fixing with a Helicoil

Then went to install the steering rack but found one of the bulkhead plugs (top one of the three) and previously been pierced and bunged up with some sort of putty!
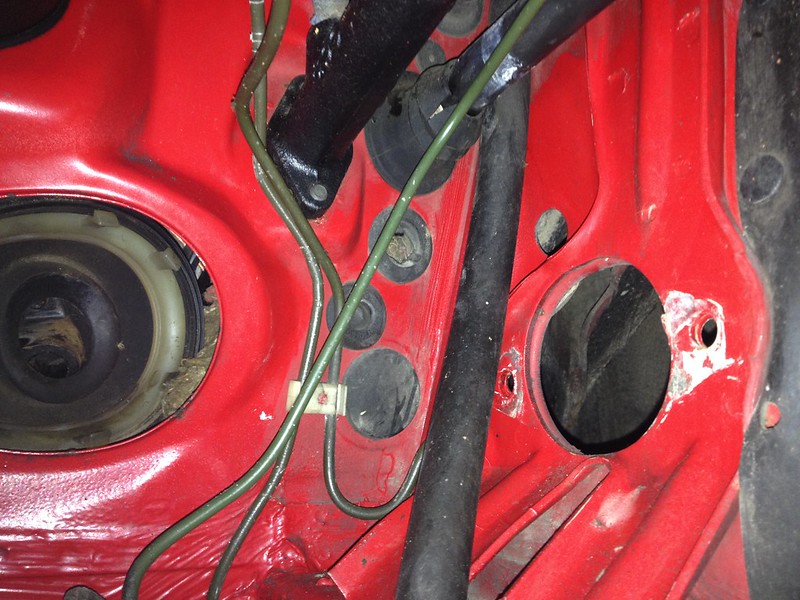

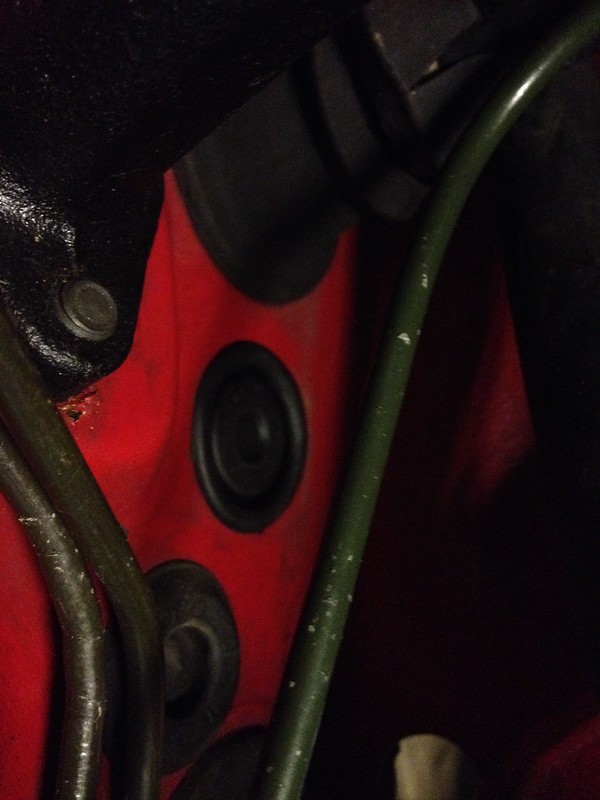
So I had to source a new one. Thankfully they are still available as Audi still use them.
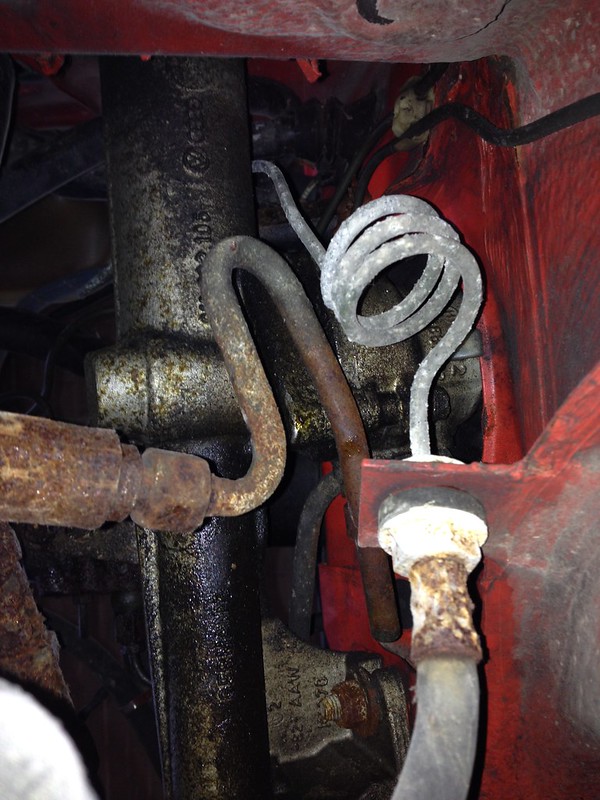
I realized it would be a lot easier to attach the hoses to the steering rack on the bench but how to determine the orientation so they line up later? It helps to have a 83 quattro project in the other bay to reference!

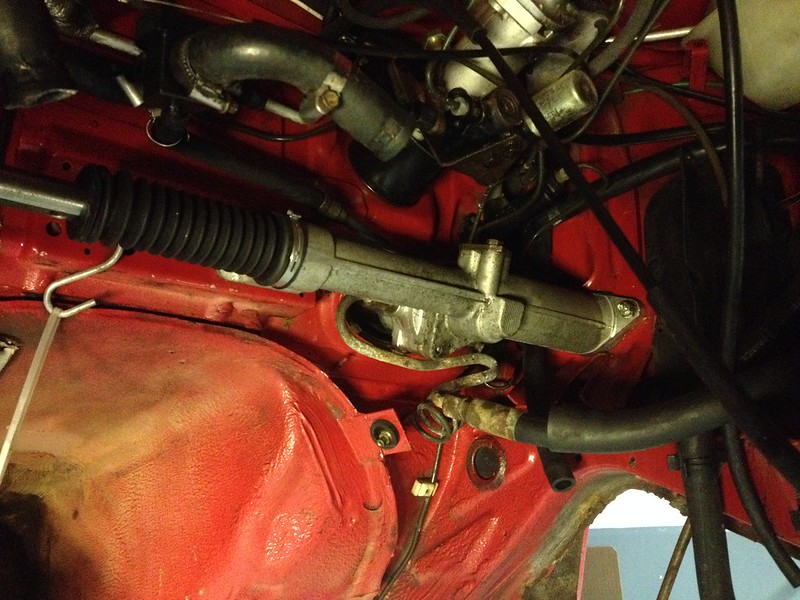
Then hooked up the steering column inside the footwell. I think I may have got the steering wheel 180 degrees off but it was always going to need re-clocking anyway.
I think the next job is to replace all the vacuum hoses and clips but maybe I can find something else to do.
Replacing the vacuum hoses and clips is a PITA so I found something else to do. I replaced the air box mounts.
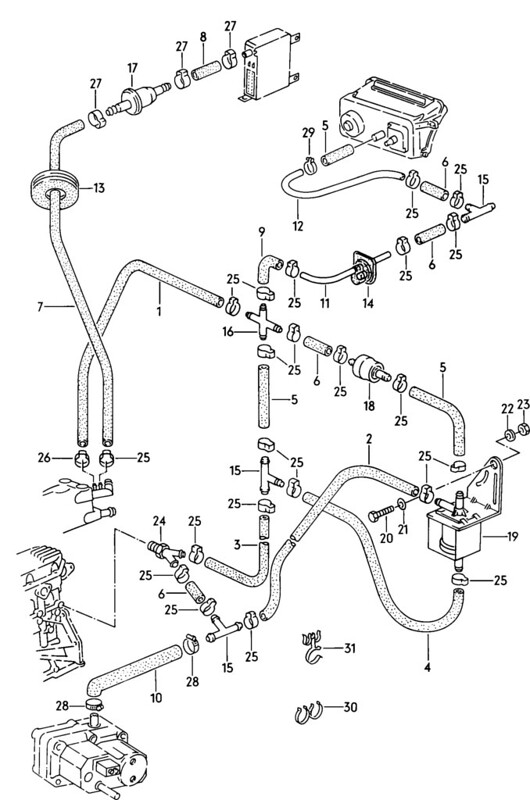
Of course that didn't take very long so it was back to replacing vacuum hoses and clips. Step one, I think. Is to figure what hoses and clips to buy from Audi. Just look at the parts diagrams and the car and figure out what applies. How hard could it be? How about "Bloody impossible!"? OK, not that bad but quite a lot does not match my car. I think I'm going to order as much vacuum line and hose clips as I think I need and just start replacing what physically matches. Of course all of the shaped rubber hose are NLA.
The parts diagrams:
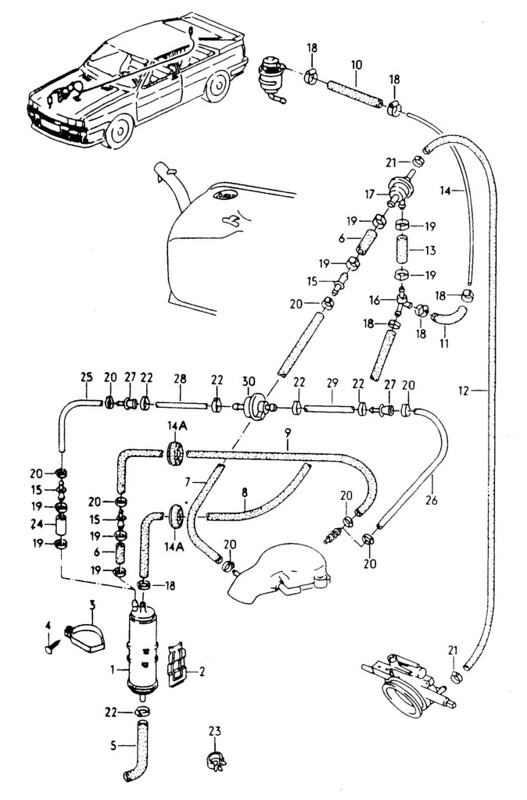

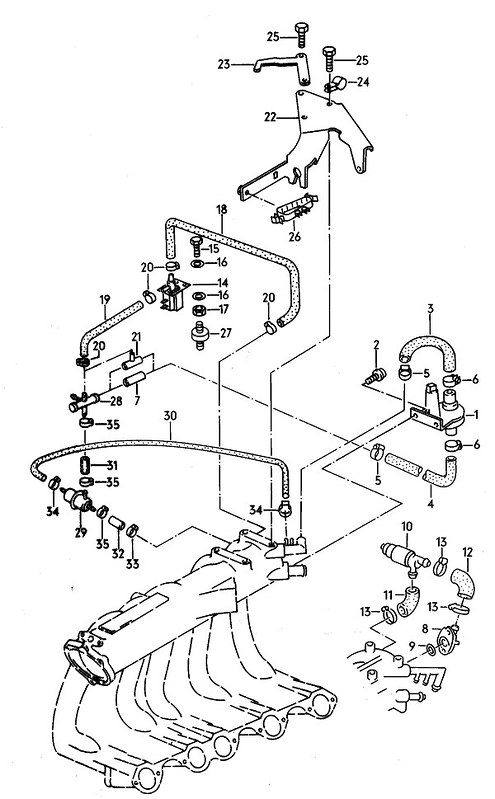
and the car:
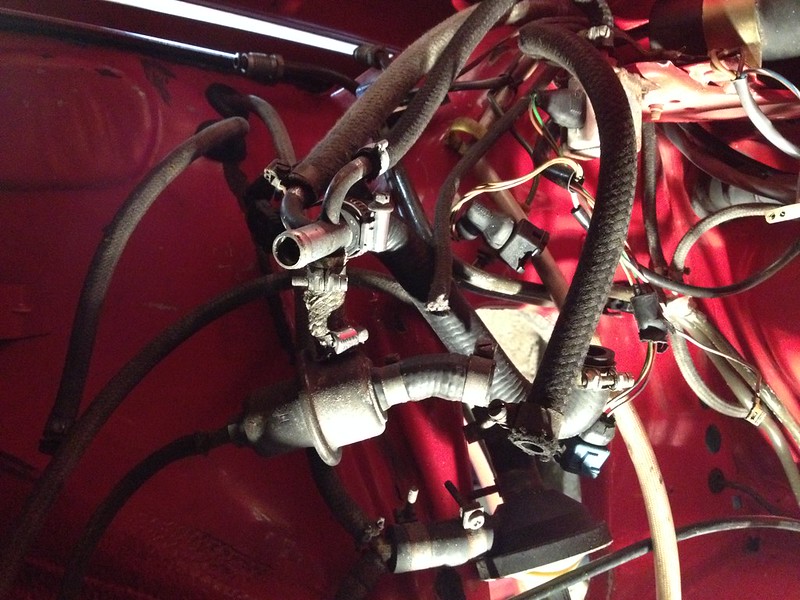

This should be interesting.

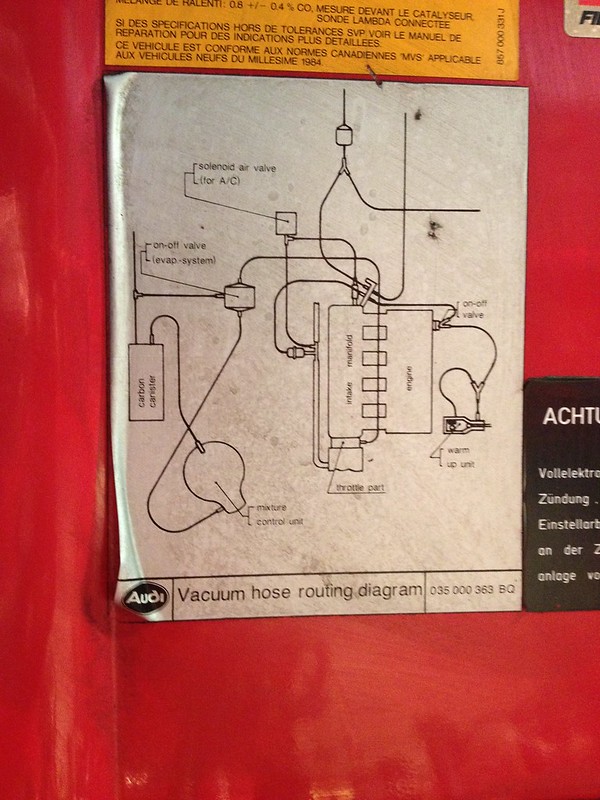
In a moment of inspiration I found this on the underside of the hood. Doesn't help.
I marked up the parts of the diagrams that resemble my car and went for it.

The approach is going to be to reinstate everything that's missing in line with the parts diagrams, replace everything thats still there in line with the diagrams and just replace everything that's not in line with the diagrams with the best guess parts and assume it's right as it worked before.
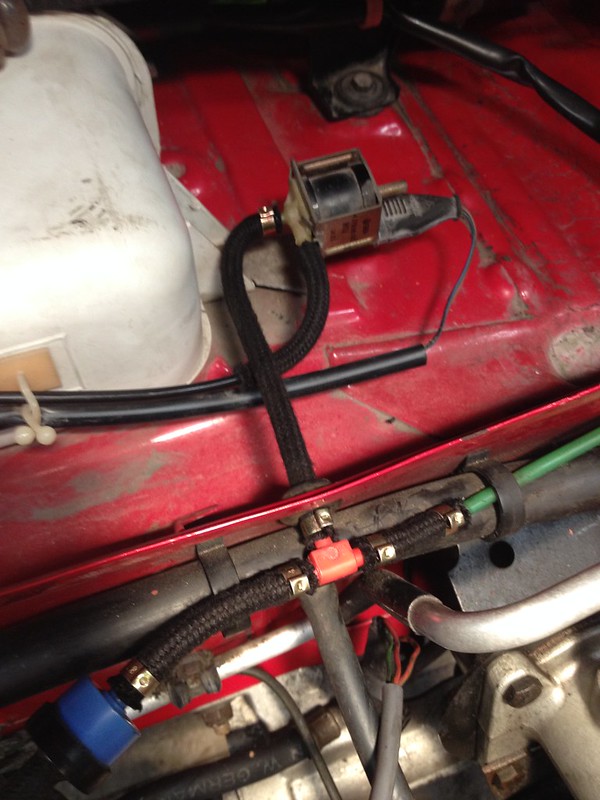
Started with the vent flap as it was the most accessible and matches a diagram. The adjacent lines I tackled next do not match anything. It seems to help disconnecting them if you first cut the old tube along its length to free it from the fragile plastic connectors.

Et voila! Piece of cake.
Inspired by my success and the fact that I appear to only have purchased a fraction of what is needed I decided to tackle the charcoal canister. This appeared to want to be on the bench though so, not wanting to annoy it I obliged.
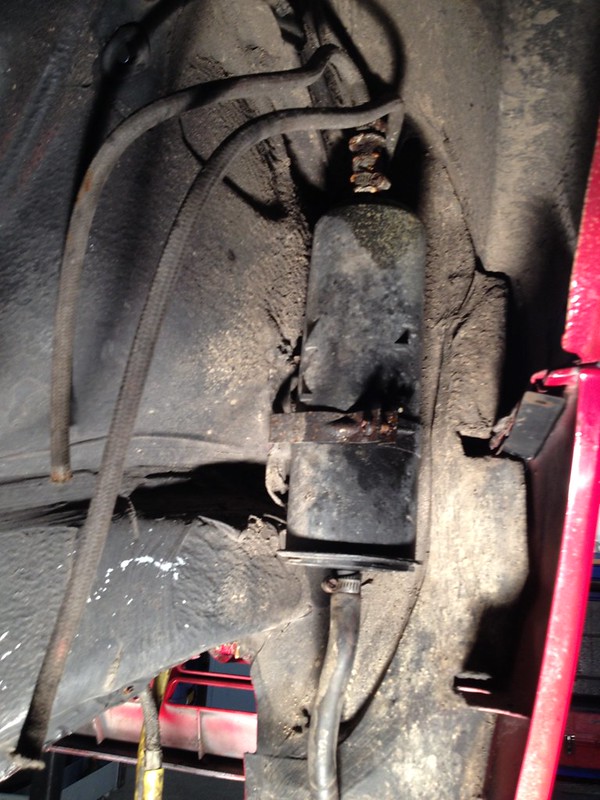
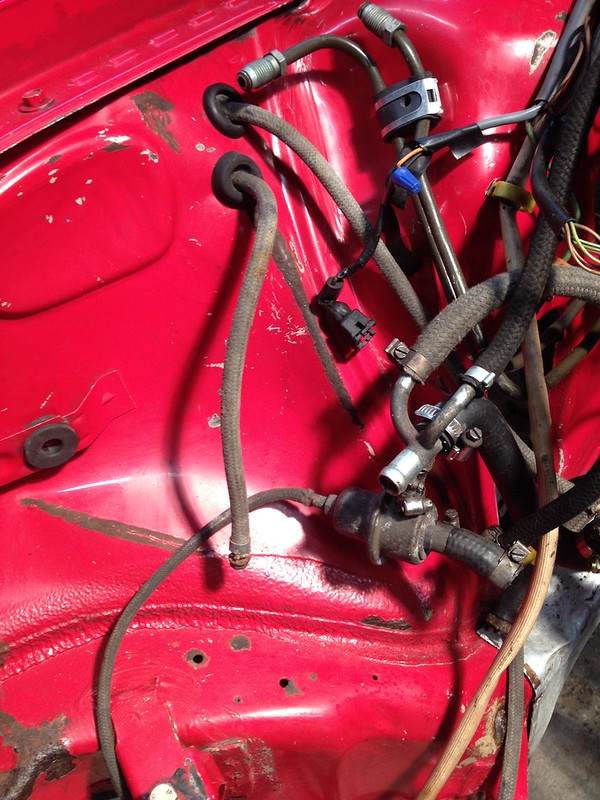
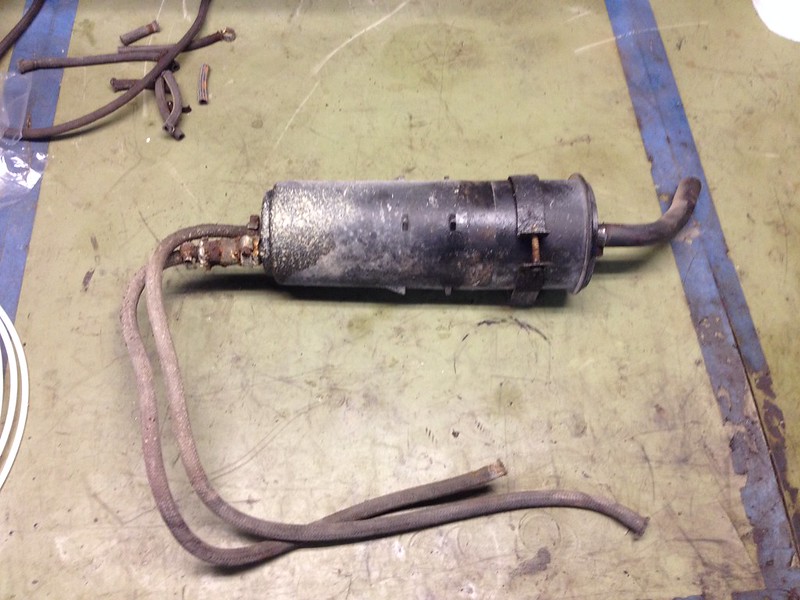
of course I'm missing the clamps so progress has halted, again.
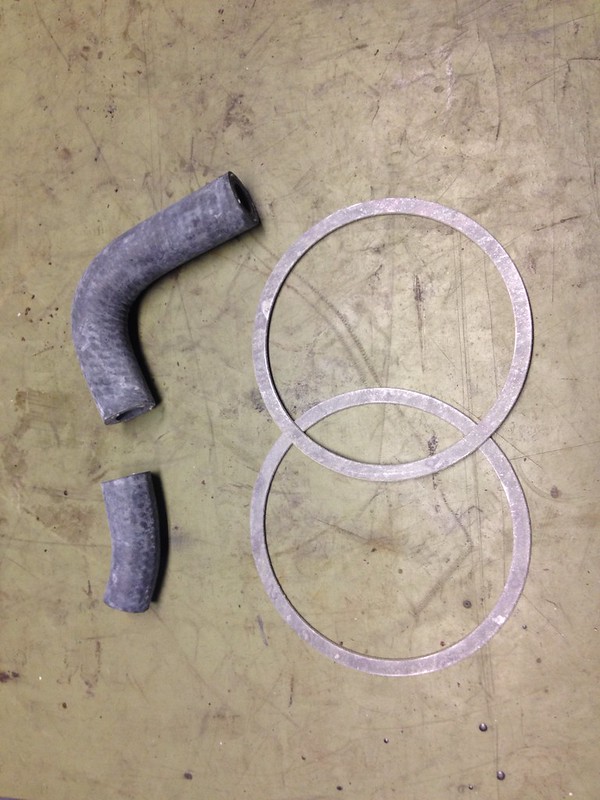
More tubes, more clamps, more money, more time. The four rings of (old) Audi ownership.
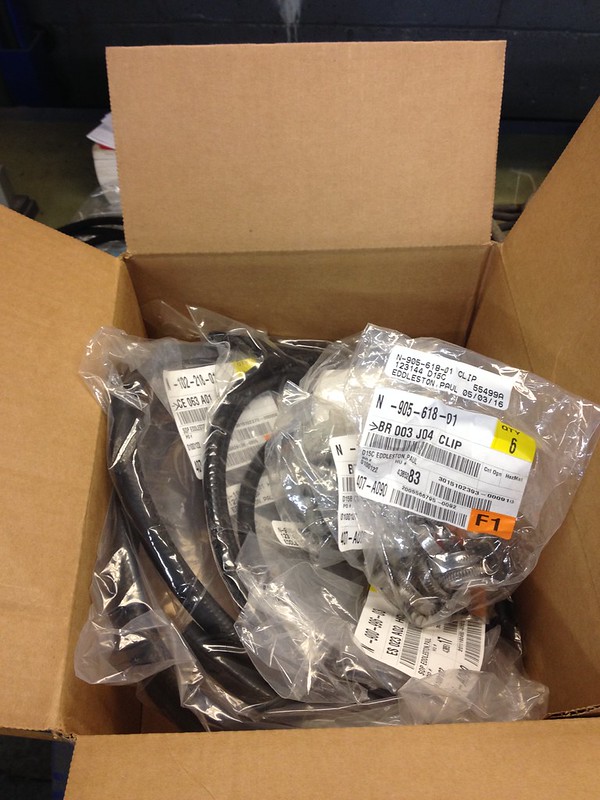
Still, I think we are done with vacuum hoses :)
Charcoal canister is back on/in the car :) and replaced most of this:
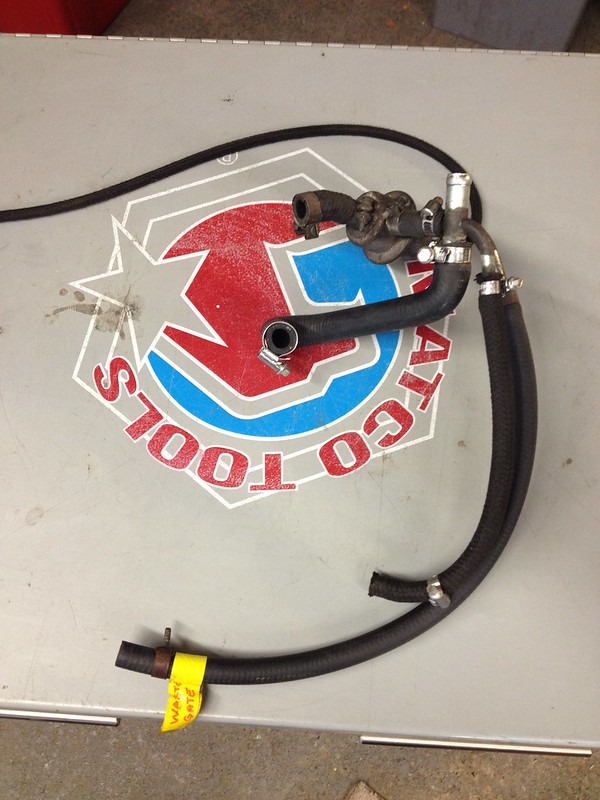
The "S" shaped hose is NLA as is the little stubby that's actually a reducer, so I left those in place.
This section is all done too:

And I finally figured out the arrangement for the warm-up regulator after referring to and stealing some from my 83. Not sure why I didn't think of this before.

What shall we do next; put the engine back in maybe?
Decided to curb my enthusiasm and fix a few more things before impetuously throwing the engine back in. Someone had spliced in a new piece of wire at some point; quite poorly.
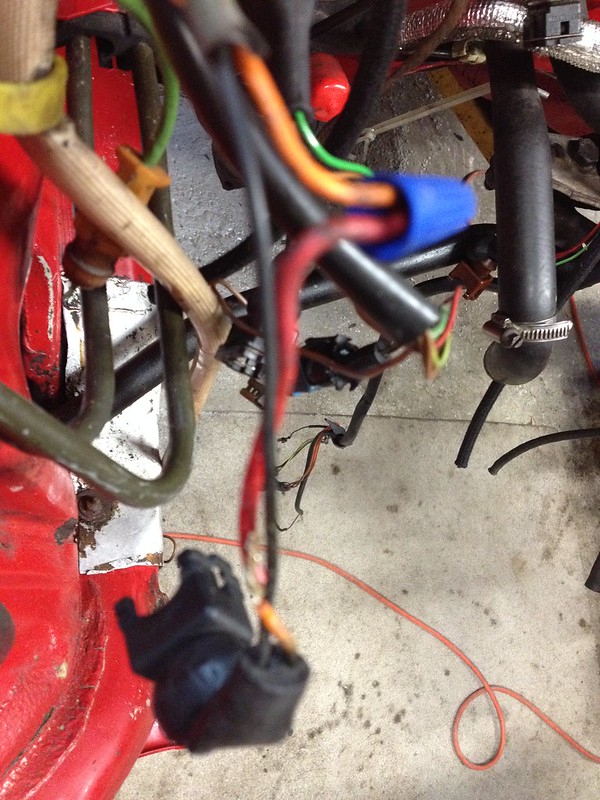
Fixed that.
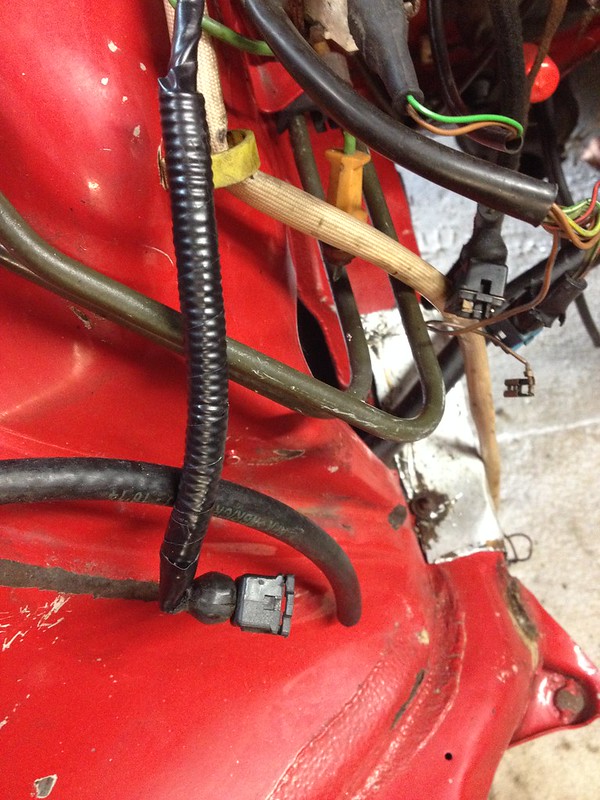
This, however, can wait. It sits on top of the intake which makes it easier to repair in situ.
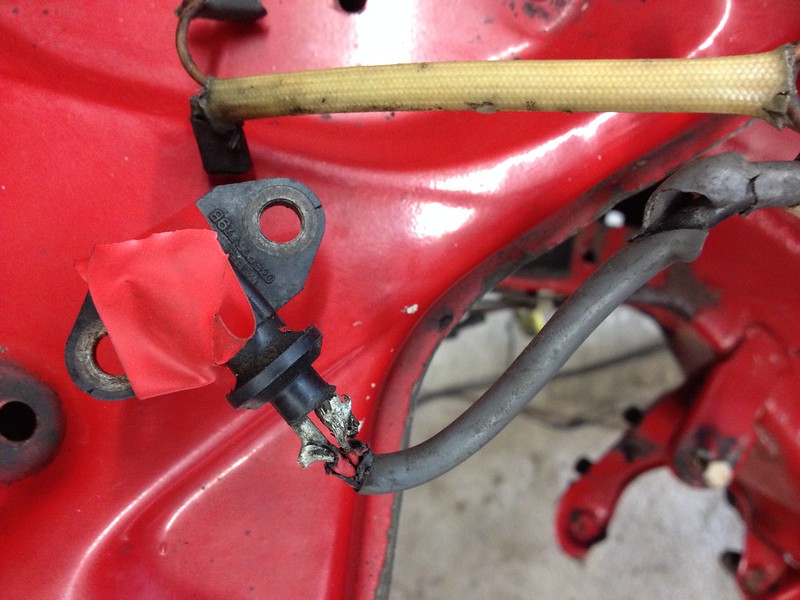
Found we are missing the heat shield over the right engine mount; the one that had failed. Of course its No Longer Available.
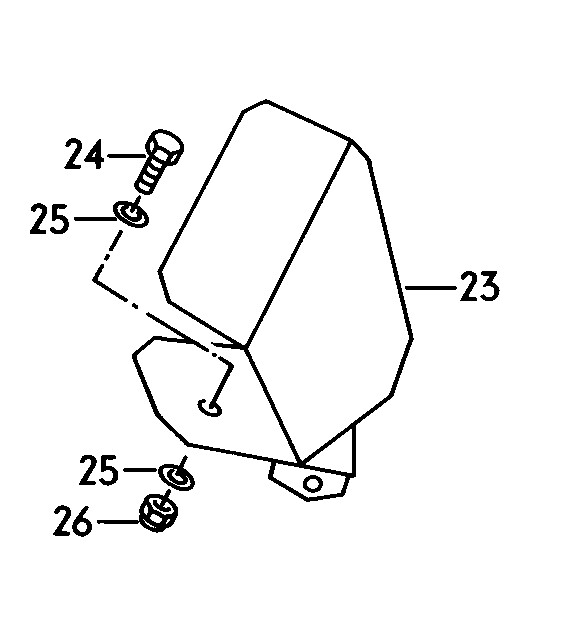
This is what it looks like in the flesh; OK on Google.
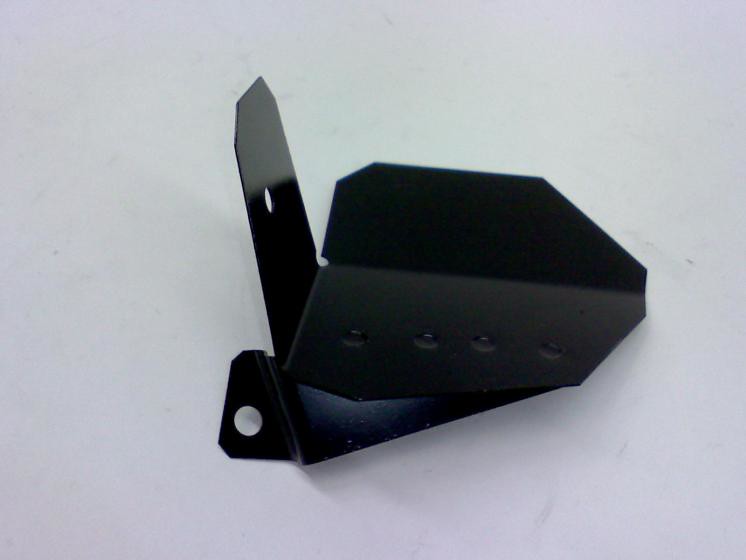
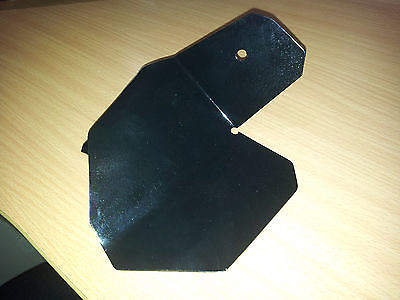
The we had a great idea; let's steal the one off the 83 in the corner. It was impossible to see but we managed to removing the mounting hardware, surprisingly. Even more surprisingly we managed to extract it without having to remove anything else!
Then, even, even more surprisingly it looked like this!


Obviously a cobbled together facsimile. What is odd, beside the strange tube is the fact that what's left of the original is still encased within. Obviously not going to work on the 85. Off to Audi Tradition to get reamed again.
Waiting for parts (drums fingers on desk)
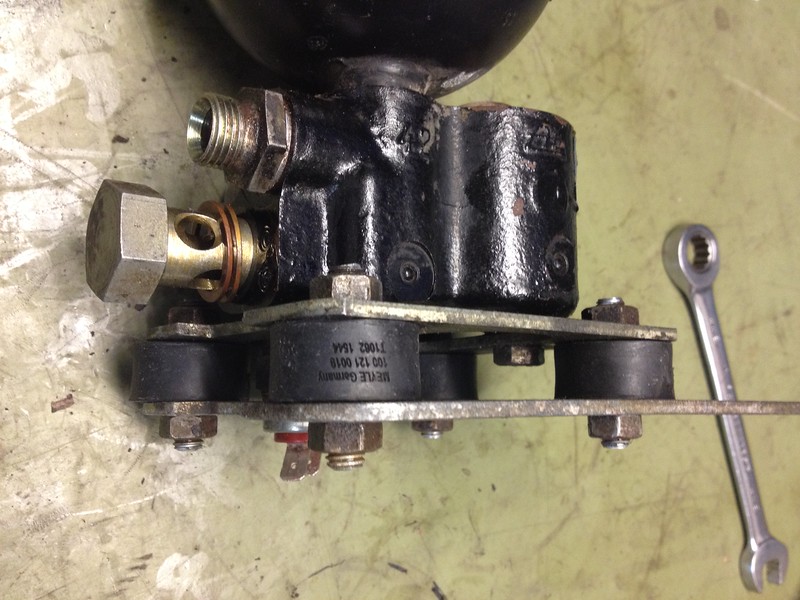
Decided to find some things we will need to do before the car is ready to fire up. Getting ahead so to speak. The hydraulic "bomb" mounts need replacing as the leaking oil has softened them up and they have started to split. Fortunately we bought some new ones a while back. A good time to replace them.
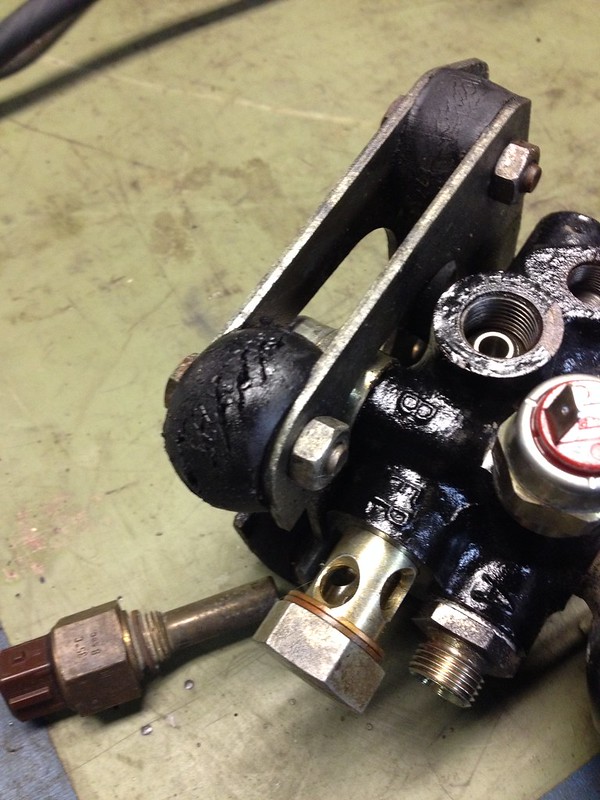
Fortunately the nuts weren't too rusty and didn't put up a fight. Sometimes leaky hydraulics has benefits.
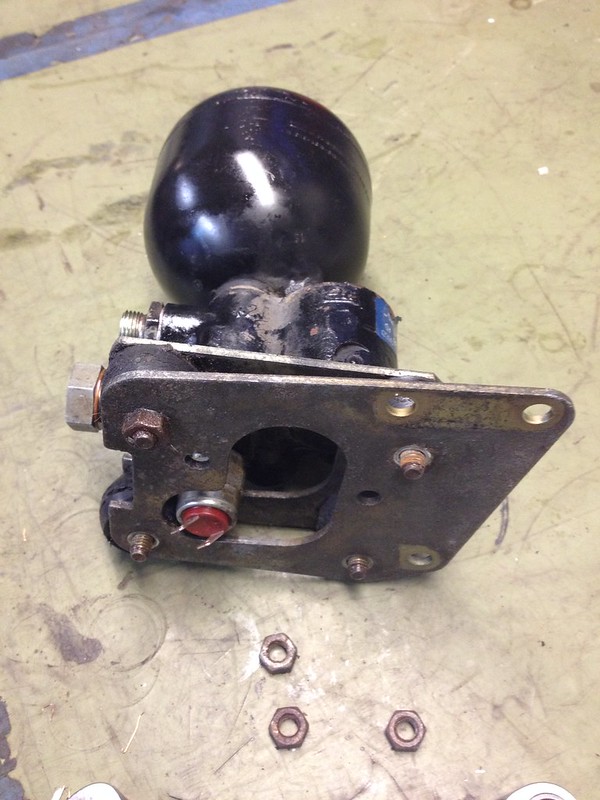
Uh oh! this must have happened in storage DOH. Let's hope they bend back without breaking off. Perhaps we should order a new one anyway.
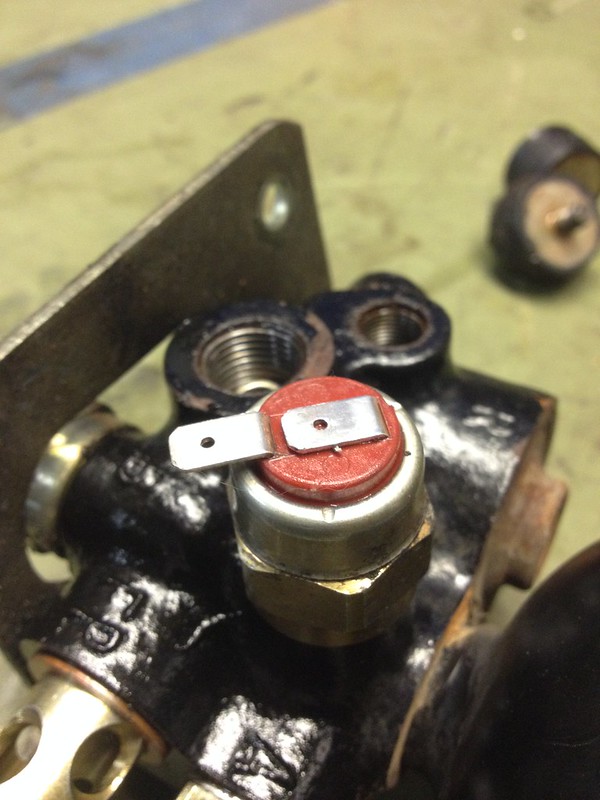
Old vs. new. A couple are still serviceable. We'll keep them for spares.

And back together.
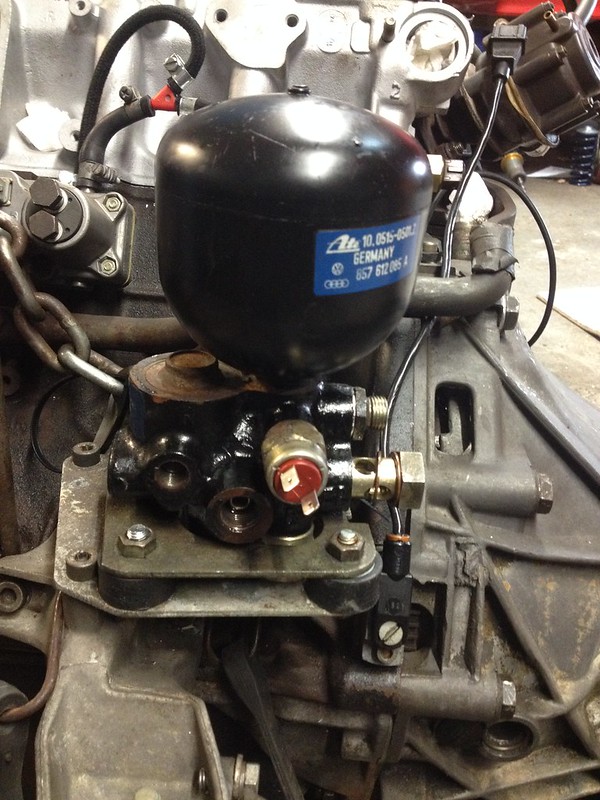
And on the engine. Yes, it surprised us too. Well, we had to put it somewhere and the dodgy spade terminals we bent back into place will be safer here than back in the parts box. It shouldn't hinder engine installation and one more thing done :)
Another update in less than a week. You guys must be feeling rather special now eh?
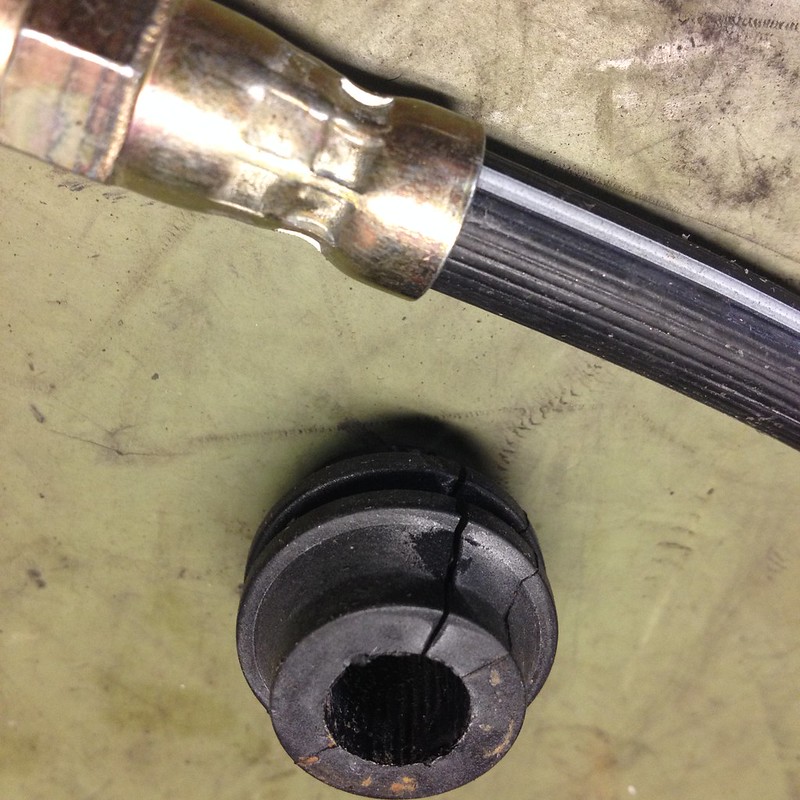
Just trying to find things to do while those damn heat shields arrive from Germany. Rummaged through the parts bins and found the old front brake lines that need replacing. Couldn't find any OE so decided to make these Centric ones look like OE by transferring the rubber rings over. What do they do anyway?

We actually had some we pulled off the 83 car. That one's getting stainless lines so we just cut the old ones which made getting these off quite simple.
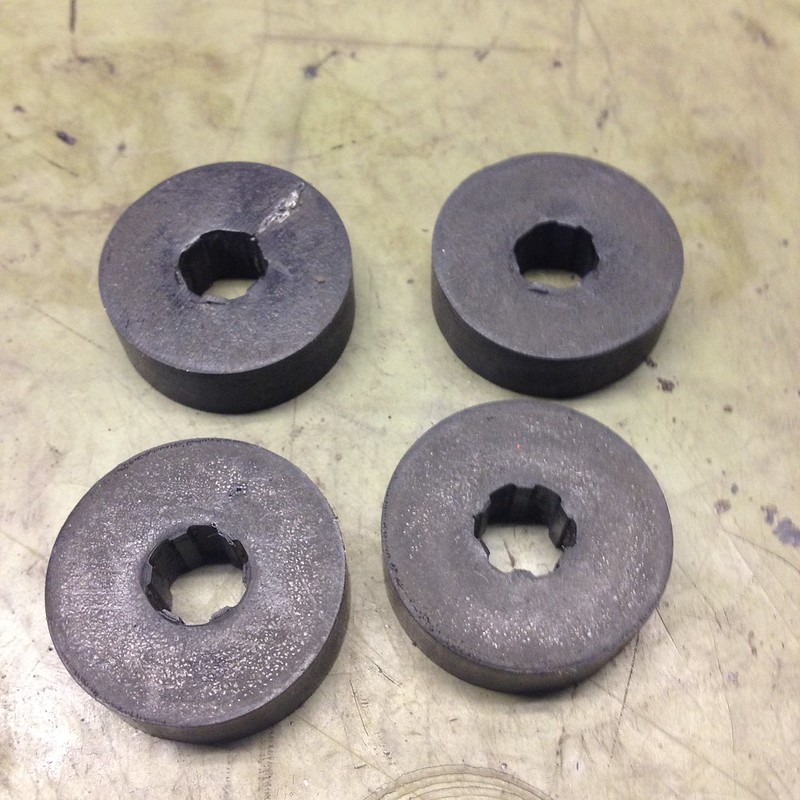
However, getting them on the new lines was not so easy as they didn't want to expand over the fittings. Never mind, nothing a utility knife and some glue can't handle.
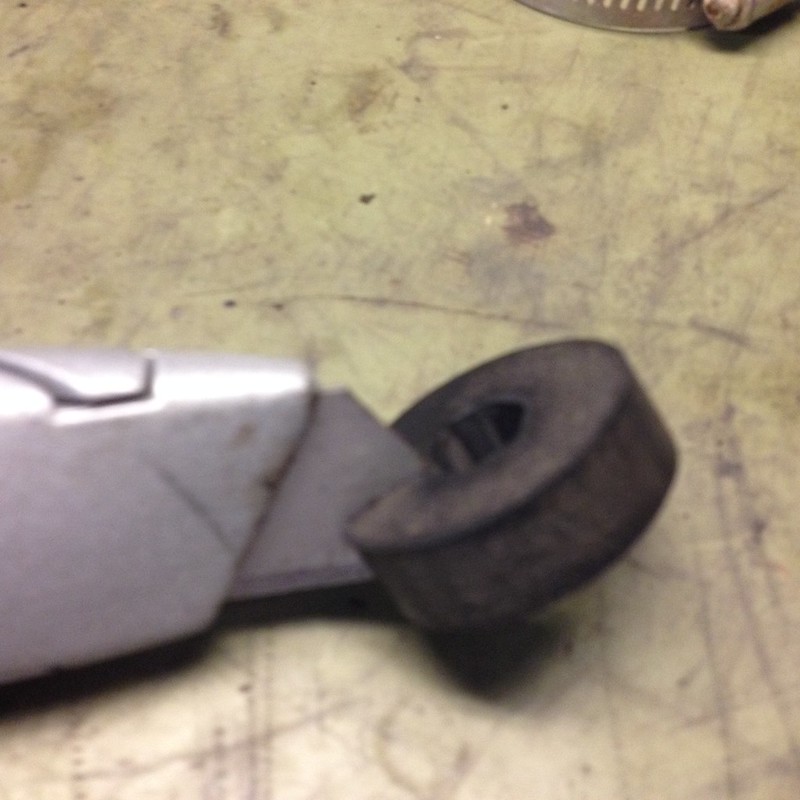
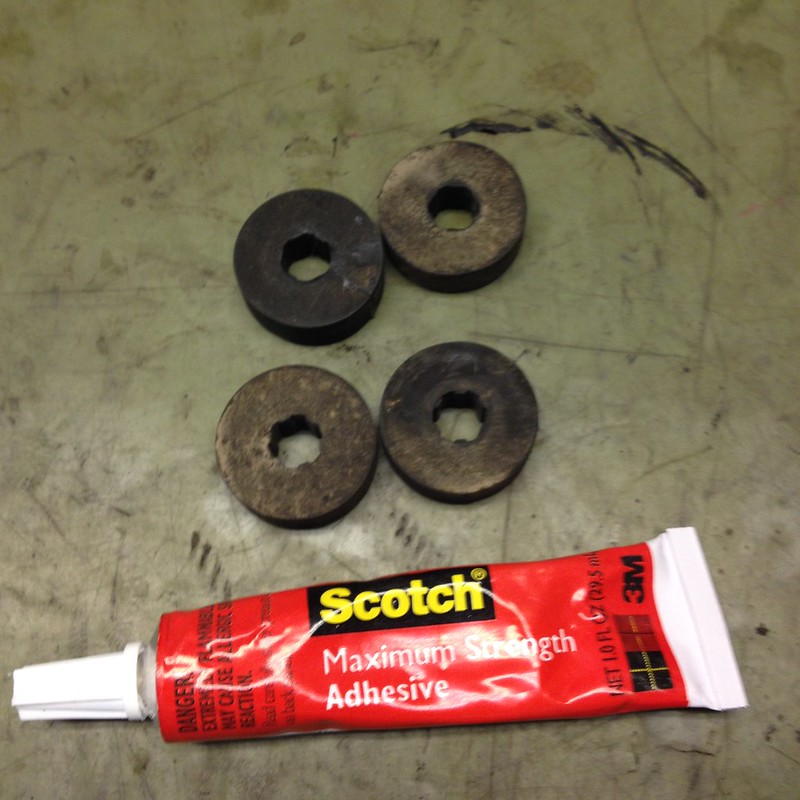
Wheel leave them to cure for a while eh.
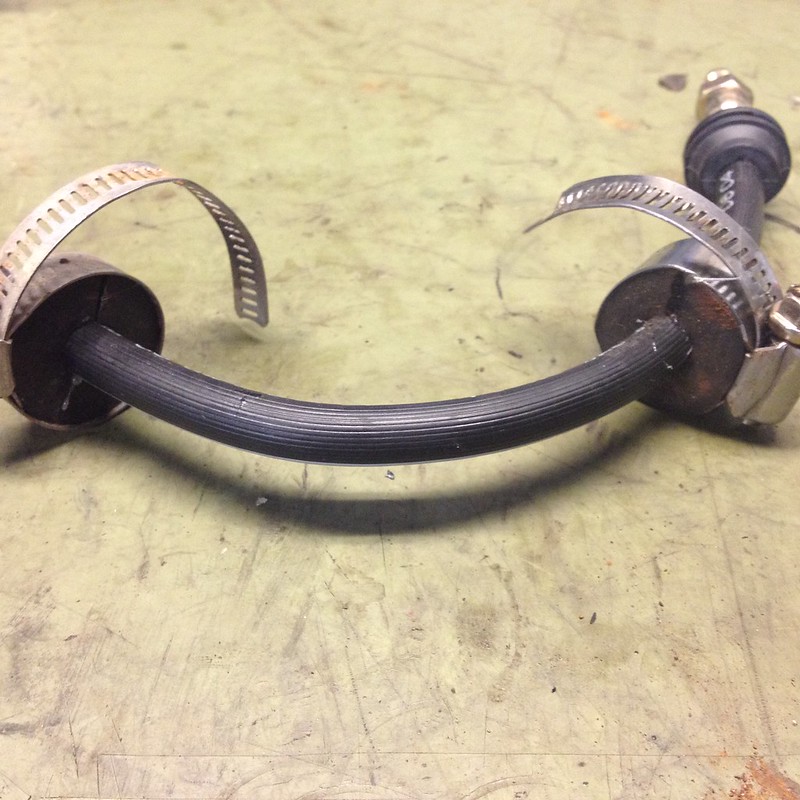
We only need one holder ring so we cut one off. We decided to use the Centric one as our original ones are already falling apart.
Oh, is that the DHL truck?
.

When we last conversed we were finding things to do while we waited for a heat shield to arrive from Germany. Well guess what; it arrived, along with a few other bits and bob. we must say, it looks a lot better than what we pulled out of the 83.
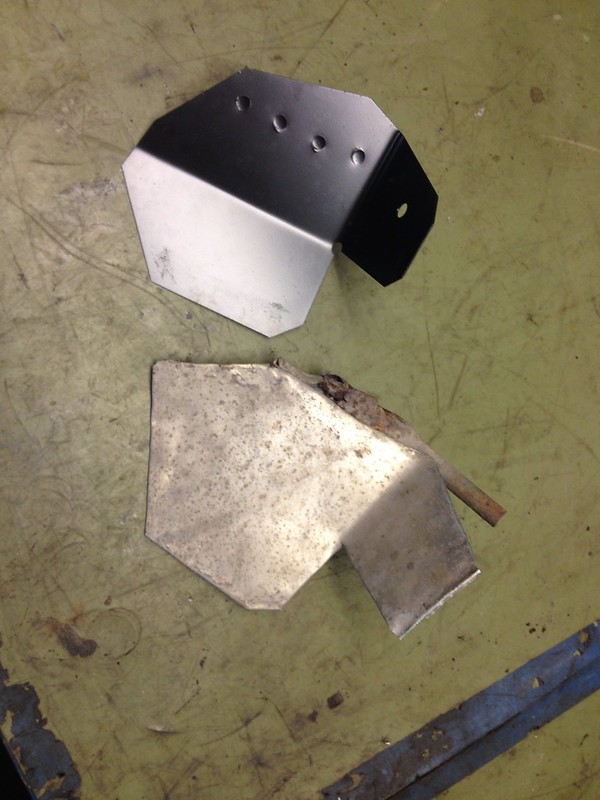
It was quickly installed but as soon as it was on we thought "Uh oh, we might have to take it off to get the engine in" DOH! well, we had no idea what it looked like until it was here so how could we know it might be in the way. Oh well, another month wasted.
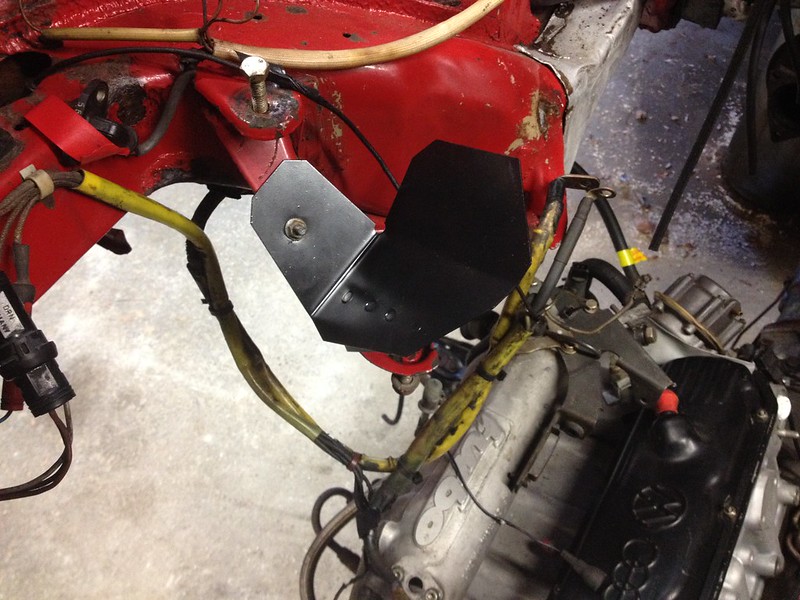
So, not to waste any more time we quickly started to pop the engine back in. It was a little tricky to lift it into place as we had to guide it around a lot of stuff (but not that damn heat shield as we took it off) but eventually it lined up with the engine and subframe mounts and we bolted into place, hand tight for now.
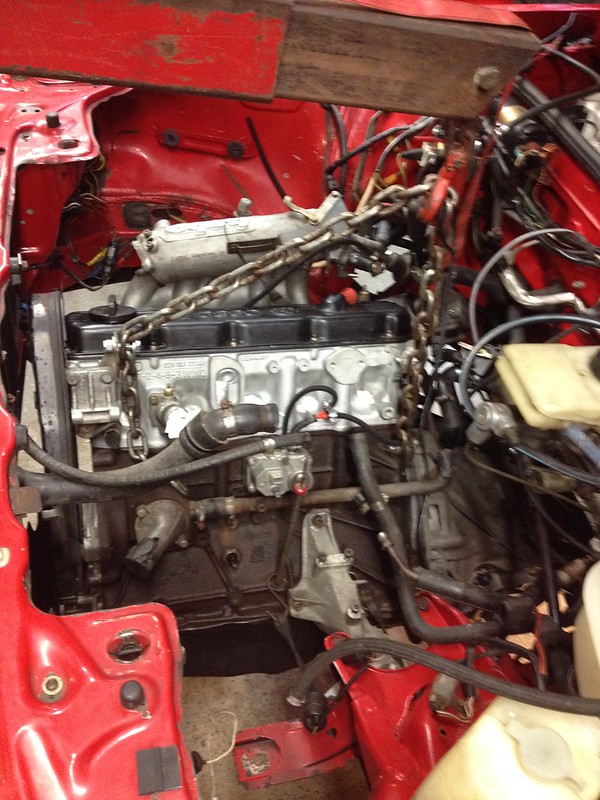
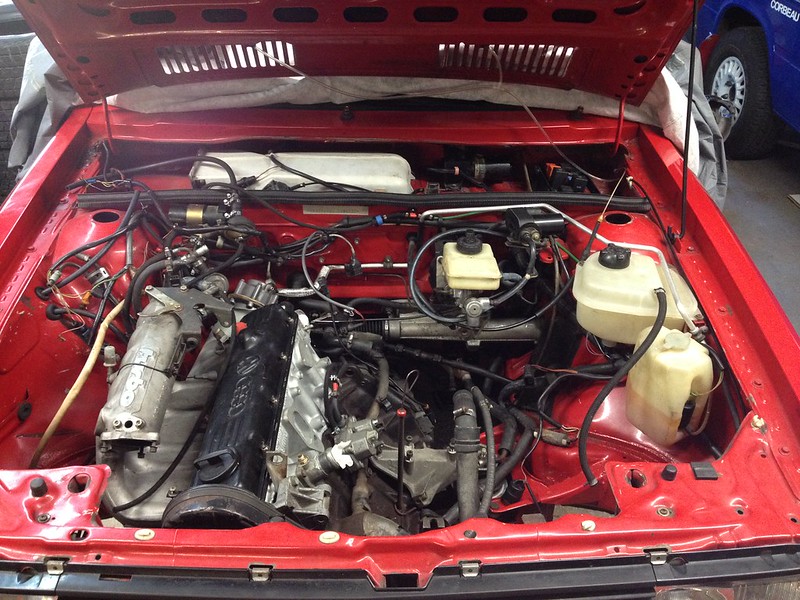
This is the first time it's had an engine in it since February 2015! We have so much more room in the shop now.
What next then? We guess connect as little stuff as necessary to fire it up while refurbishing whatever is necessary. Stay tuned.

Started to put the car car back together yesterday. Unfortunately it's been two years since we last saw where everything went so it's a bit of a challenge. Fortunately we have an 83 in the corner to refer to. Unfortunately, because it's a Quattro you can't see anything LOL.
Still, we press on regardless.
Aligned the engine and torqued all the subframe, engine and transmission bolts. Well, the ones you can get a torque wrench on.
connected the hydraulic pipe to the bomb. This connection does not seem to rotate so we took the bomb off and rotated that instead. This is now the third time we have installed the bomb.

Reconnected the exhaust.
Reconnected the rear drive shaft.
Reconnected the shift linkage. Goes into all the gears but might need adjusting though.
Installed the right engine mount heat shield, again. It wanted to go in front of the oil cooler mounting tab so we mounted that too. I bet we take it off again later.


Installed the right transmission mount heat shield. Yes, we are missing a screw. It's like no other screw on the planet and seems to be NLA. Thanks Audi.
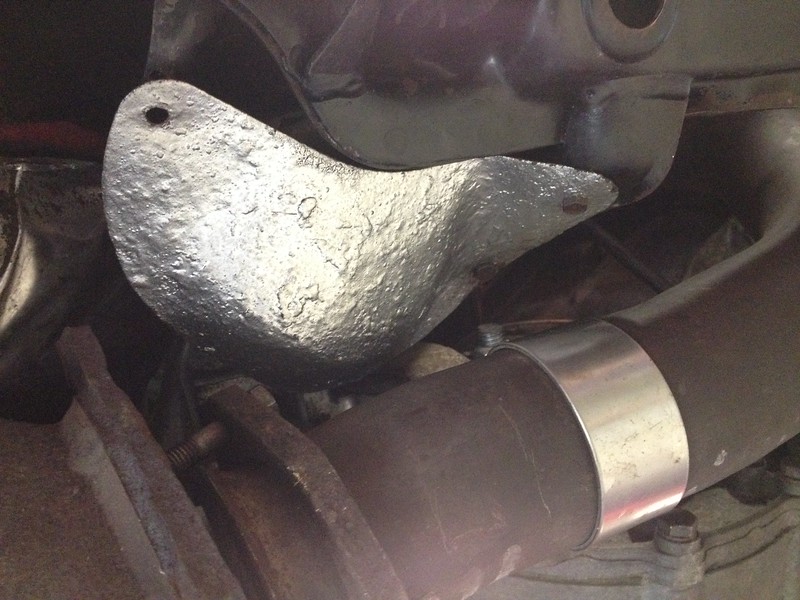
Reconnected the clutch line.

Not sure when we'll get chance to throw some more parts at it. Schedule is a bit full for the foreseeable future and the Tour de France is on TV six hours a day!
Le Tour be dammed; we're working the car! A bit.
Got the oil bollocks, er, we mean oil filters installed.
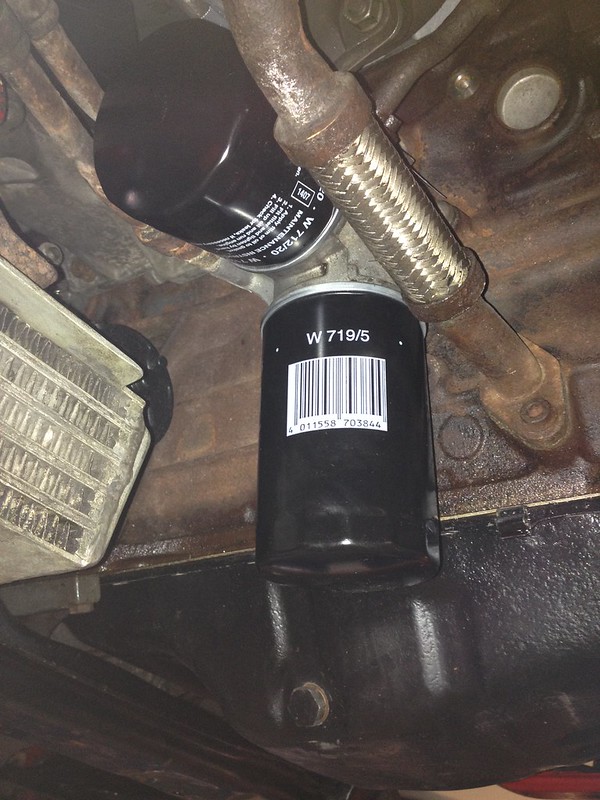
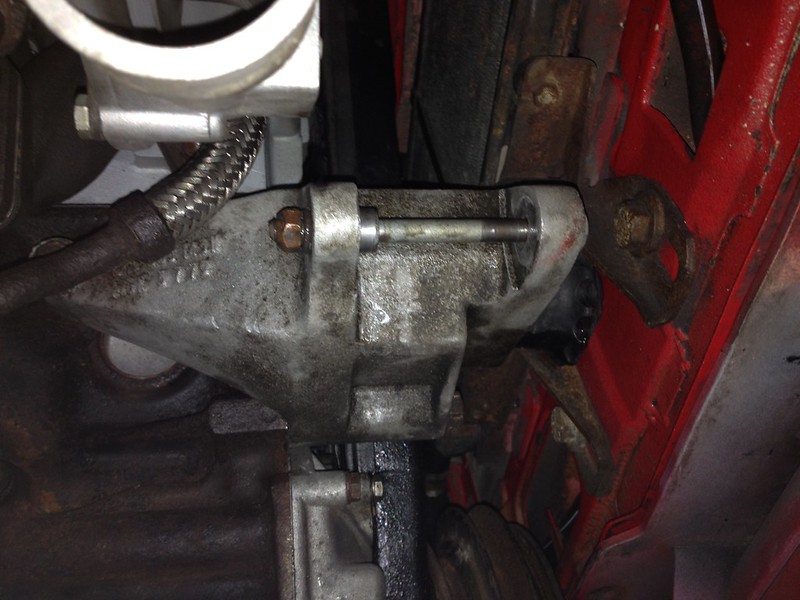
and the front torque support/alternator mount. What does that do anyway?
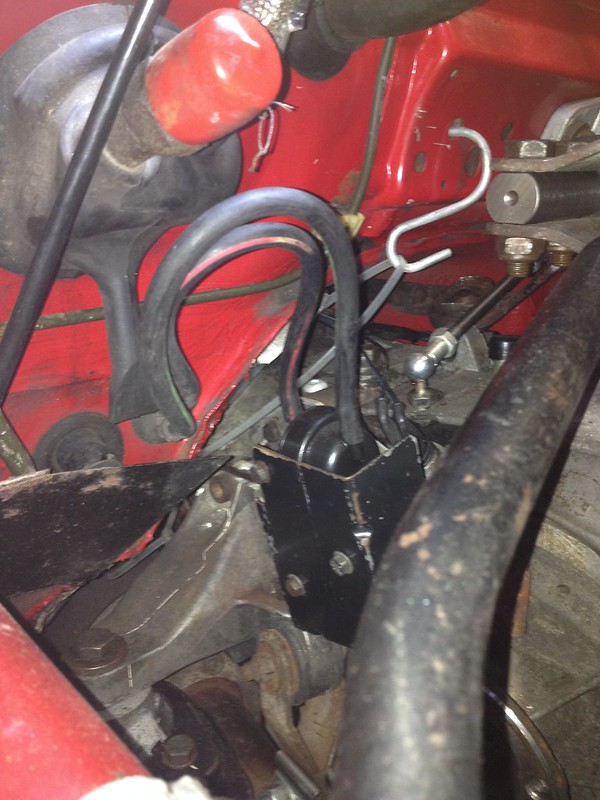
Installed the vacuum lines on the front diff actuator while it is still accessible. Looks like we may have guessed the orientation correctly.
Axle, strut and brakes! Well, on one side at least but still......
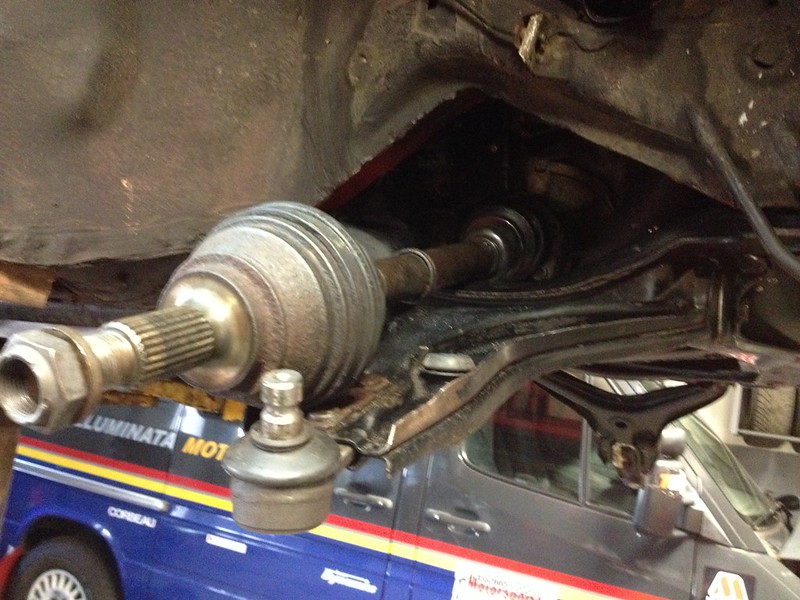

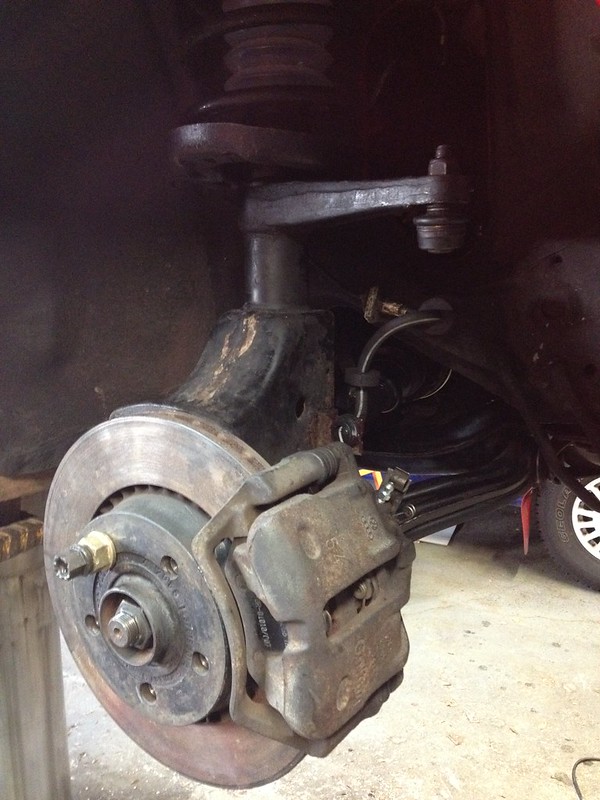
It's starting to look like a car again. Next year we'll install the strut on the other side ;)
More progress. Yes, we know. We are going nuts.
We had to put the other side's front suspension on. We couldn't help ourselves.

The interesting thing now is that we could roll it off the hoist if needed. However, we swore it would only ever drive off. Let's see how that works out.
One exciting (to us) aspect of the suspension reinstall is that we think we may have found a solution for a problem that isn't really a problem. Due to the upper strut bushings compressing even when new, there is always a gap between the strut top and the body. We found some rubber washers in the plumbing isle that fill this gap perfectly and installed them today. Makes us warm and fuzzy inside.
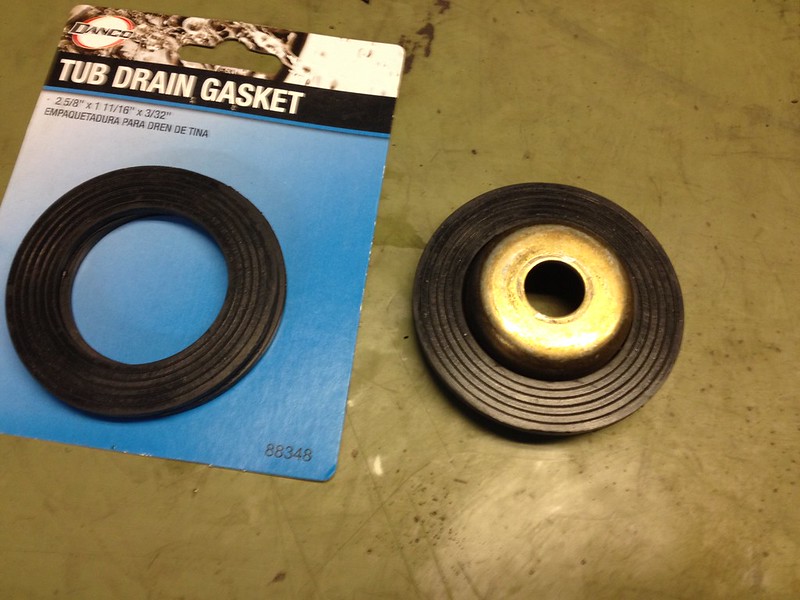
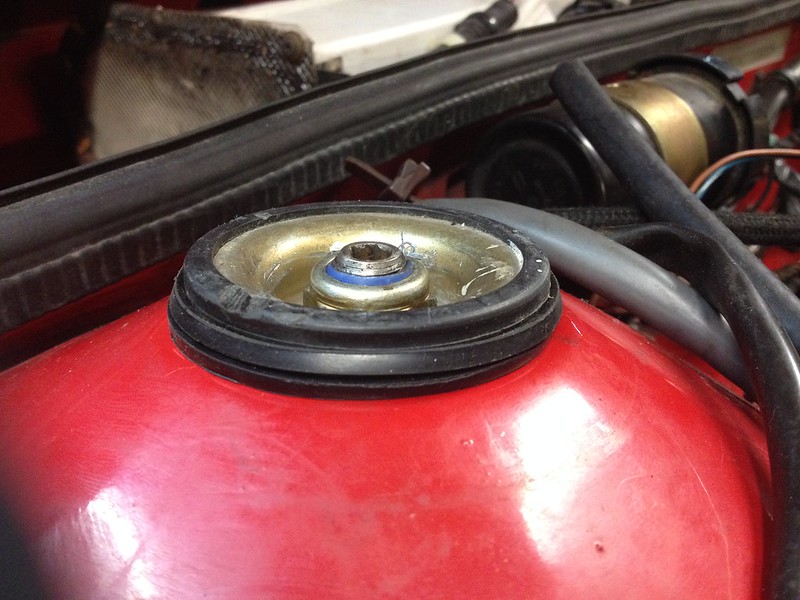
We used two per side. One and a half would have been perfect.
Thankfully Some bright spark pointed out that the strut top has to be loose enough to rotate with the strut shaft so we removed one washer.

Then we reinstalled the inner CV heat shield on the right side.

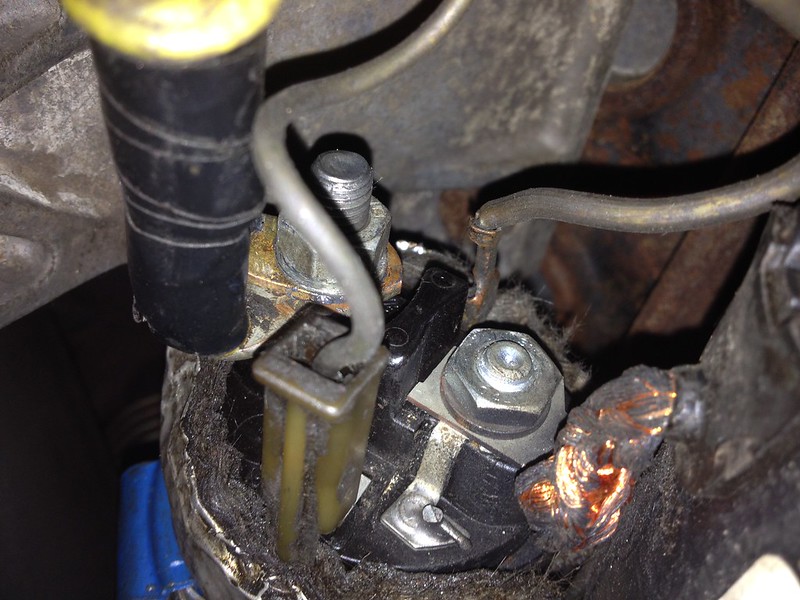
These are the wires which have to find their way onto the starter. We are not sure where the two different style of spade connectors go. Any insight?
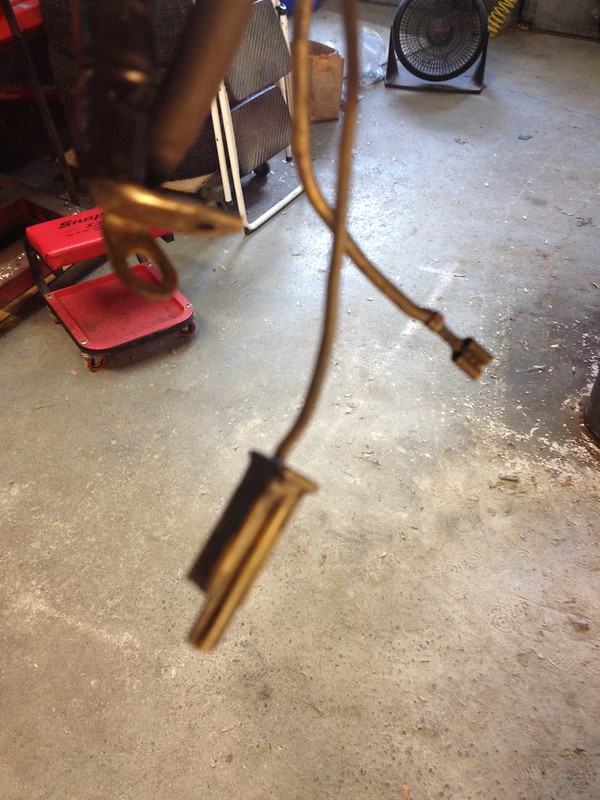
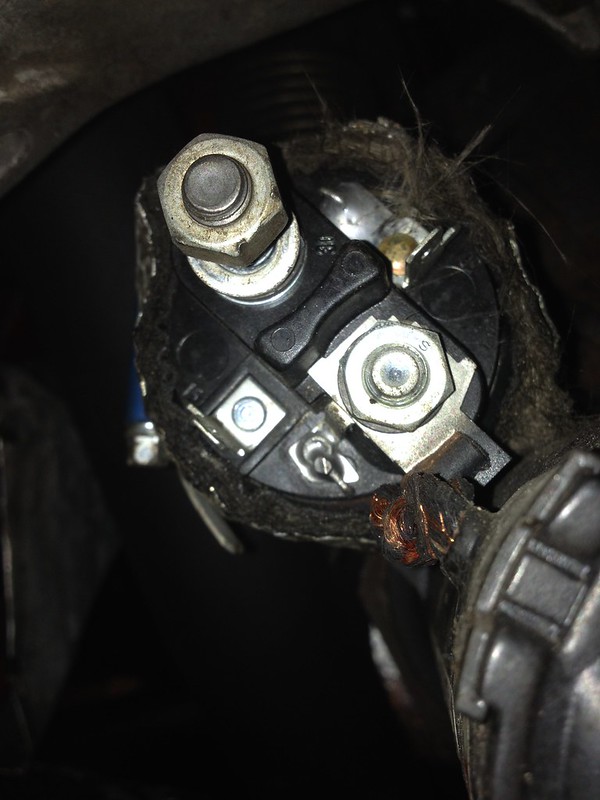
so we took a guess for now. Are we right?
Reinstalled the alternator, intercooler and turbo intake hose.

All that's really left is the radiator, hydraulic system, ignition system, throttle body, injection system and to connect a bunch of wires and vacuum hoses. How hard could it be?

Quite a bit of progress today.
Installed the front anti roll bar. Almost forgot it had one.
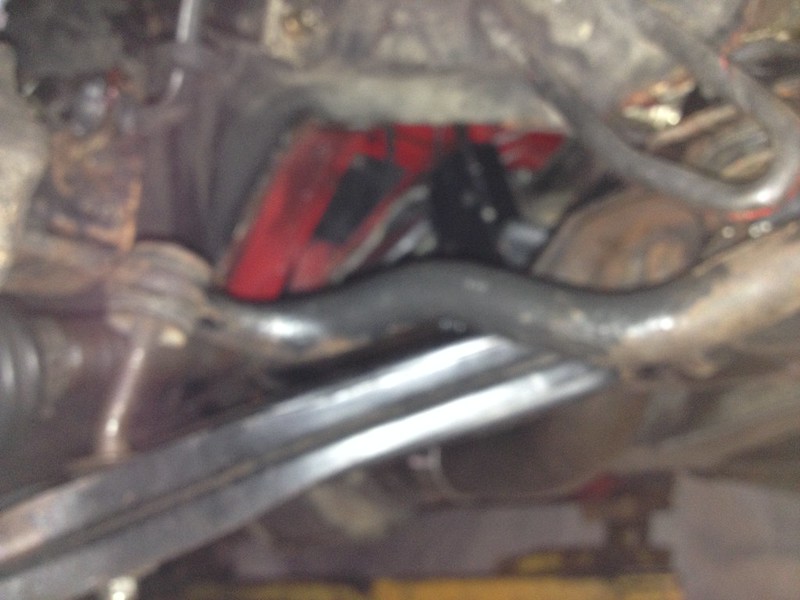
Installed the new hydraulic pump belt. Of course we had to remove the pump to get the belt over the pulleys. Not a lot of room in front.

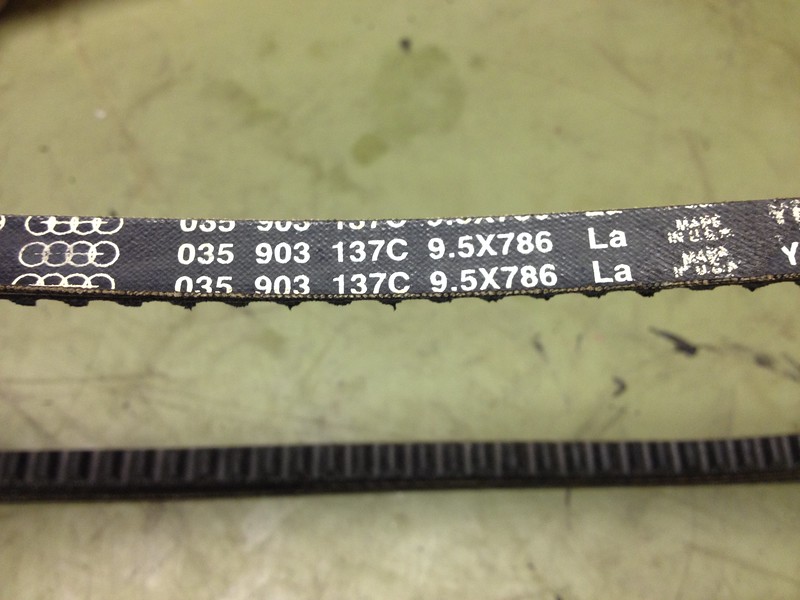
Also installed the alternator belt though we didn't think we had one. Our car (WX) is supposed to use a 9.5x850 v-belt but we only had a 9.5x786 for the WR and GV model. Turned out that was the right one for our WX. Go figure. This one went on a lot easier than the pump belt though tightening the alernator pivot bolt was a challenge.
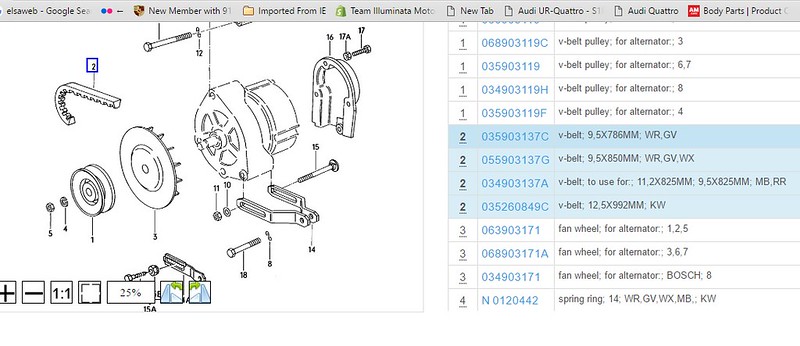
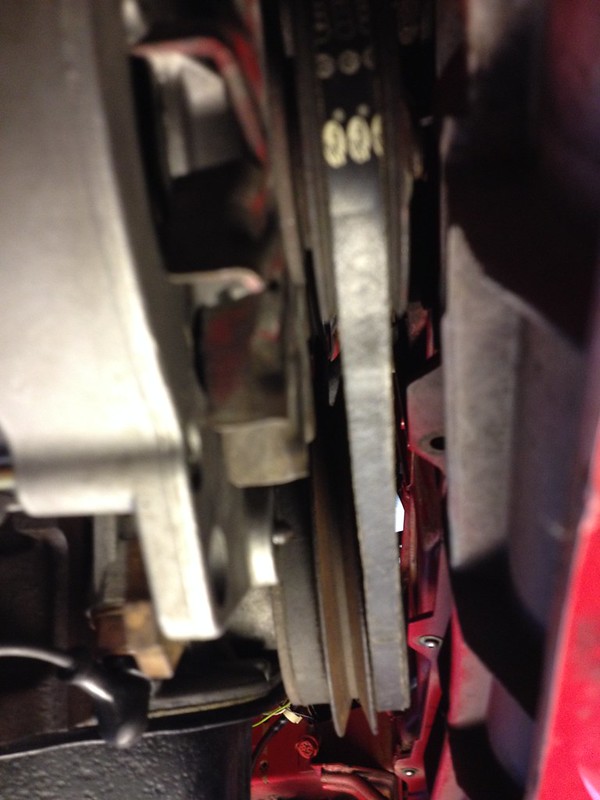
Excited buy our belt success we looked in the parts box to see what else we could throw at the car. We decided to reinstall the hydraulic hoses and reservoir as it all goes on the left side of the engine bay and would be easier now rather than with the radiator in place. But first we had to locate and connect a few wires as these all reside under the hoses. The wiring connectors are beginning to find their own ways home but some are still troubling us. We are hoping those will become obvious soon enough.
First the oil reservoir. We thought we'd dismantle on the bench and see if any of the parts indicated on the parts diagrams needed replacing. However ours was empty inside. Is this right?
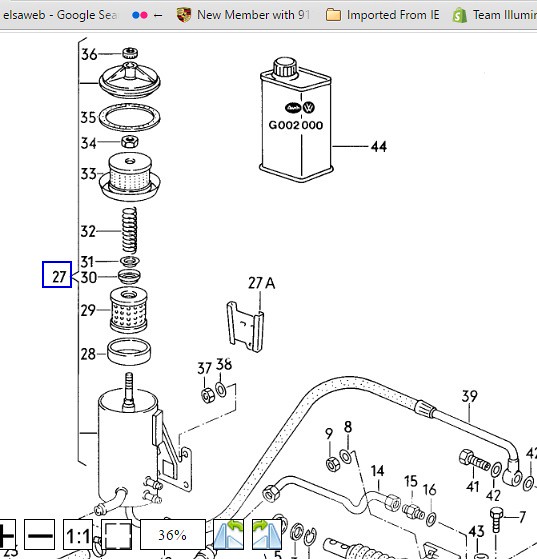
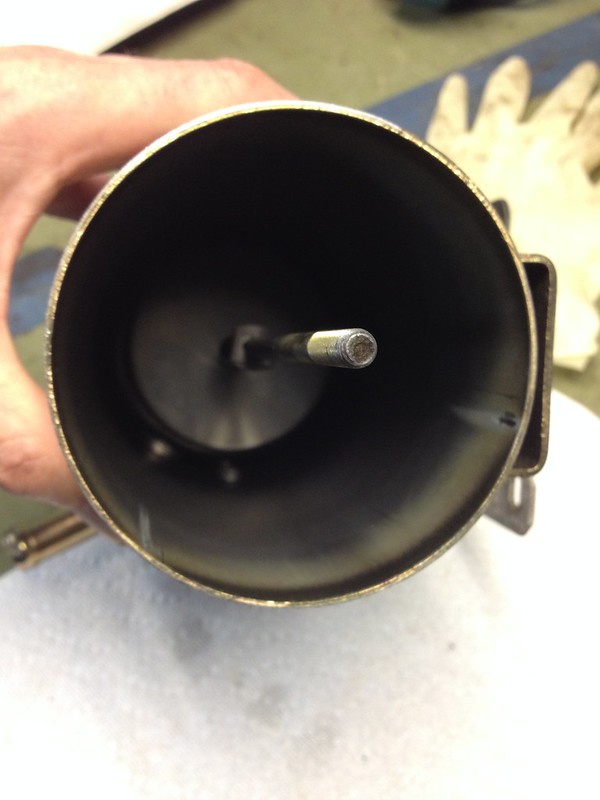
It worked before so we reinstalled it.
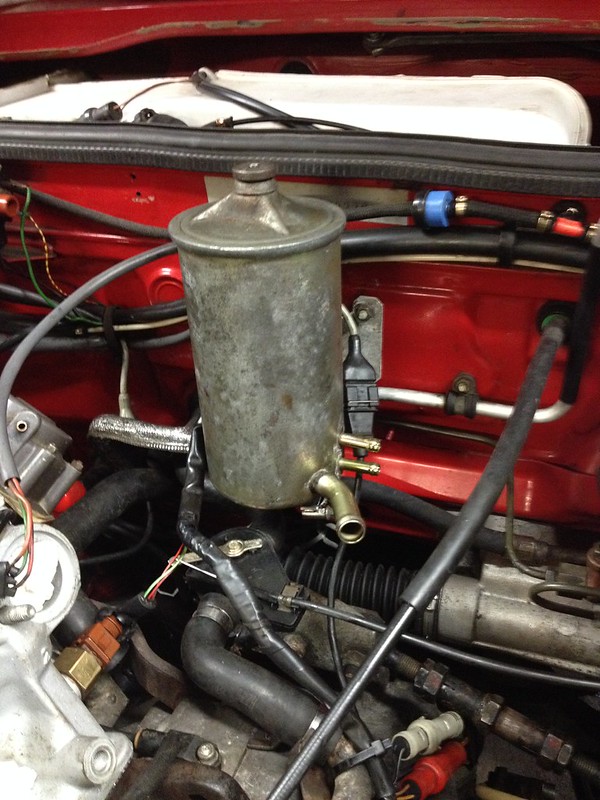
Then we reinstalled all the hydraulic lines.

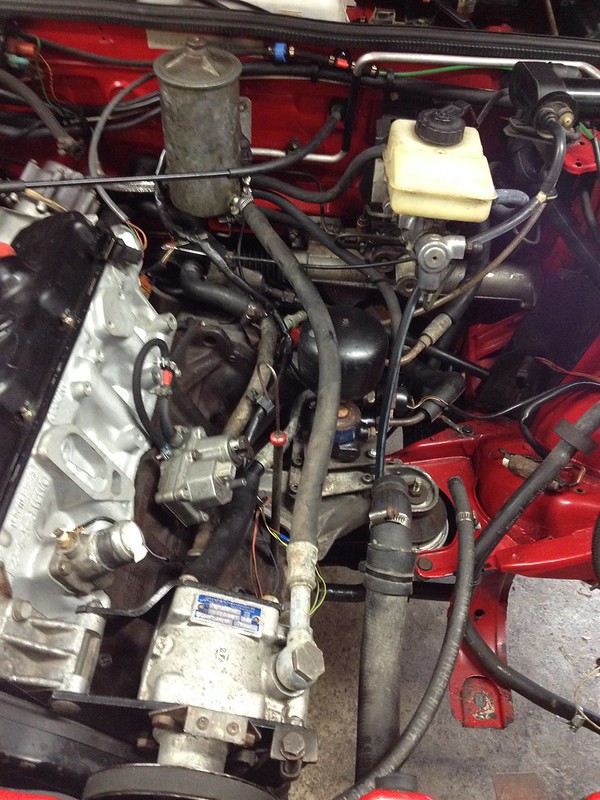
Next time we think we'll put the cooling system back. Hopefully that wont be too long from now.
STAY COOL AND QUATTRO ON.
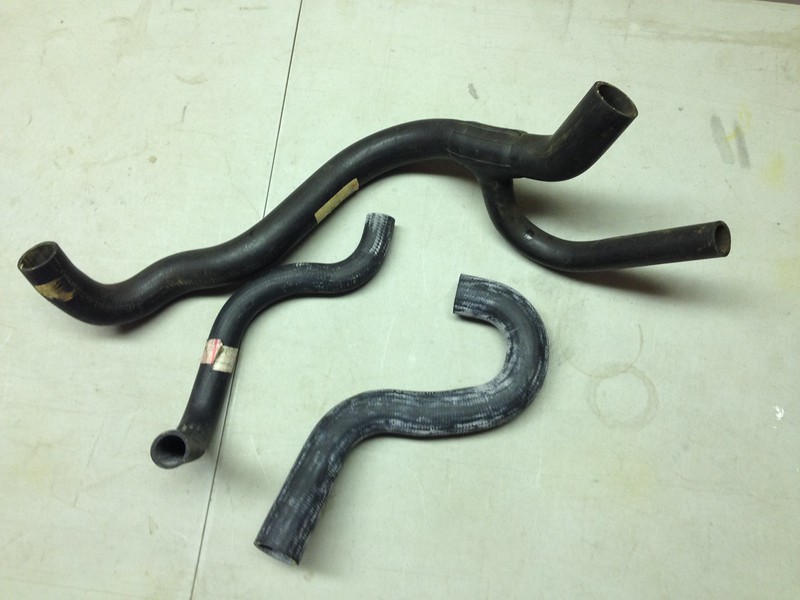
Yes, we put the cooling system back in. Found some new old stock hoses in the parts bin too :)
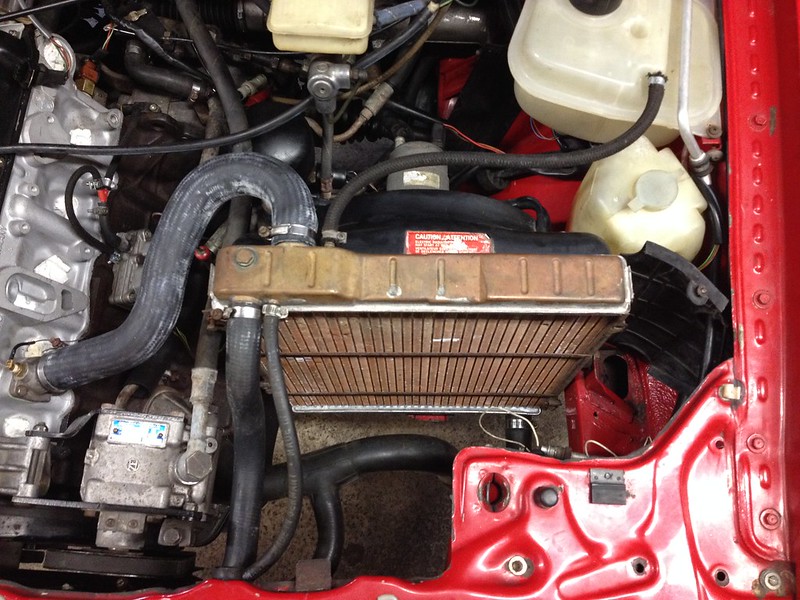
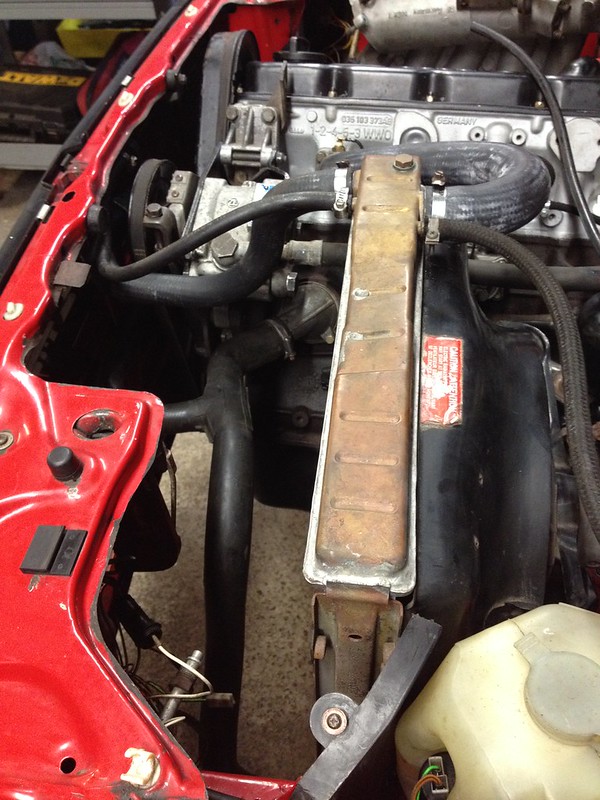
Starting to look together :)
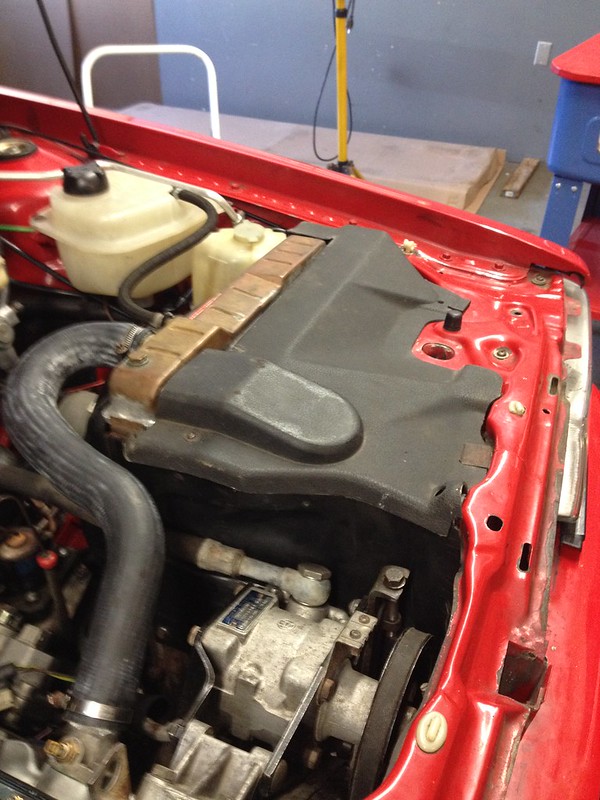
On an unrelated topic does anyone know which one of these two connectors goes to the warm up regulator and where the other one goes to?

Next, the ignition system, perhaps.
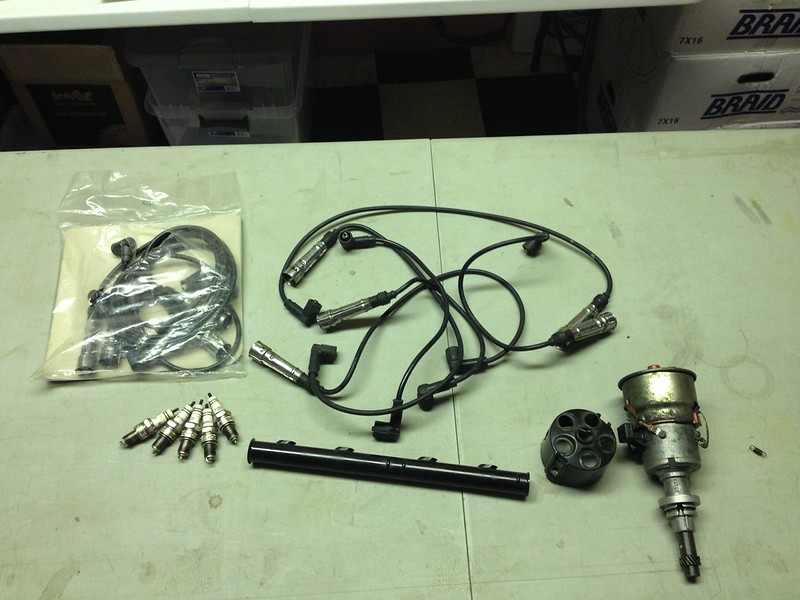
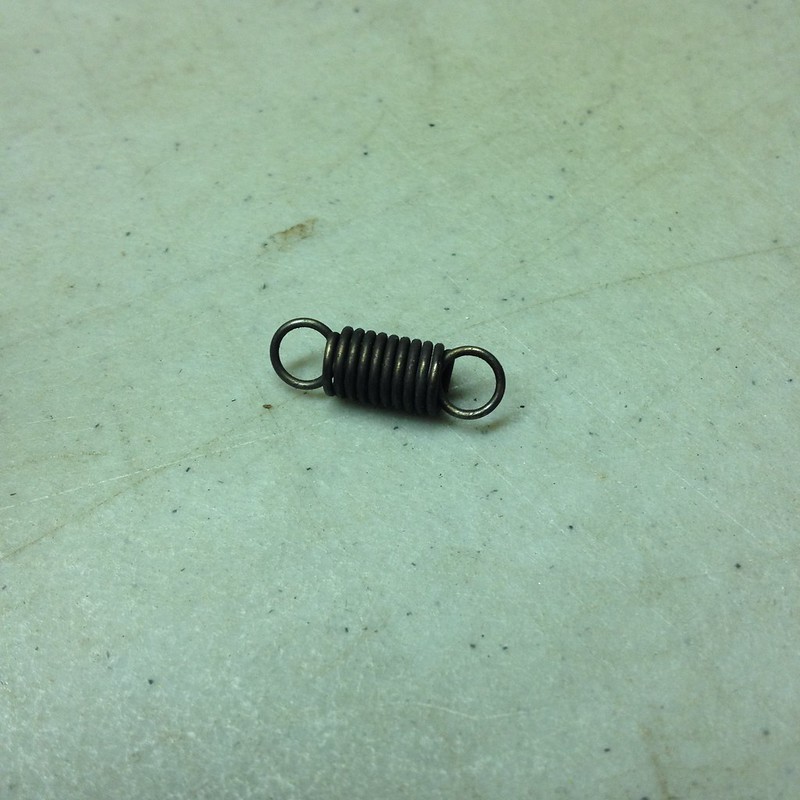
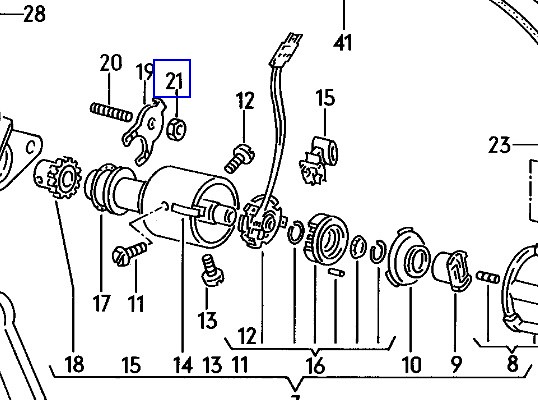
However, this little spring was left over from the distributor refresh. We can't figure out where it came from. It's not shown on the parts diagram. Any ideas?
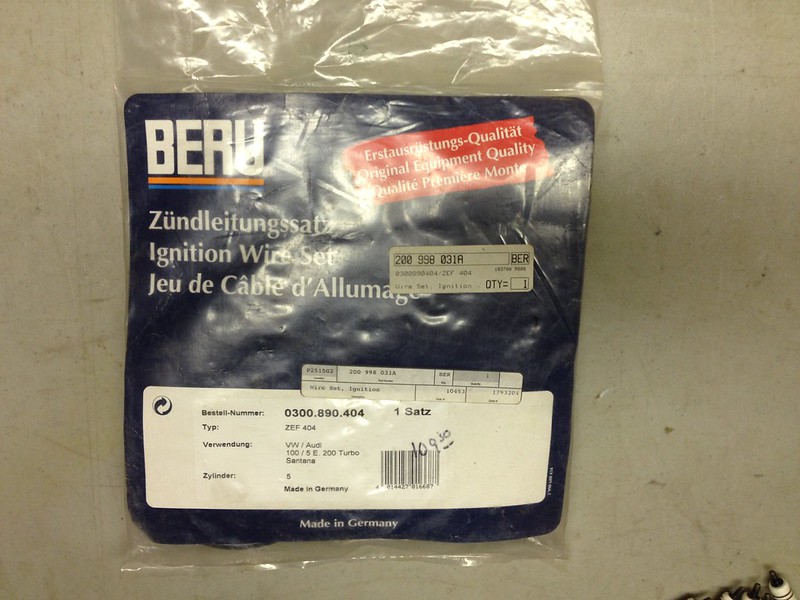
We also found some new ignition leads in the parts bin. 200998031A Right ones?
Not had much time to work on the car lately what with work and domestic activities but here's a little video Winding Road did of the car a few years ago as motivation for us and a teaser for you. Soon be doing this again.
https://www.youtube.com/watch?v=UCaySv1Blok
[video] https://www.youtube.com/watch?v=UCaySv1Blok[/video]
https://www.youtube.com/embed/UCaySv1Blok

When we left you we were trying to figure out where the little spring went in the distributor and contemplating reinstalling the ignition system. Well, just prior to our trip to Pebble Beach for the car events and elsewhere we did just that:
We pulled the distributor from our 83 and it turns out it goes right here:
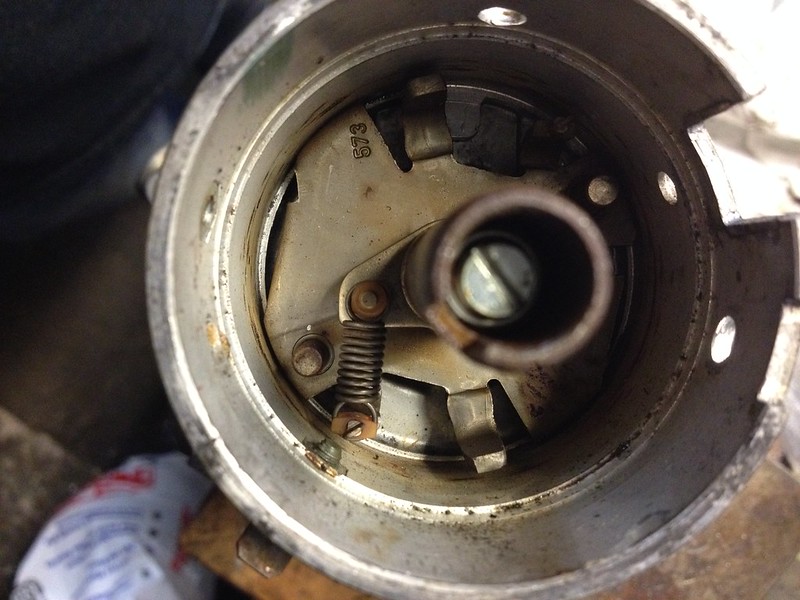
So we popped it in, reassembled the distributor and installed it on the engine. Timimg was still set so it was a doddle to line up at TDC.

Then we turned our attention to the spark plug wires. The car is supposed to have a plastic tube to carry and support the wires but ours never had one. Fortunately we had picked up one in a parts haul a while back and now seemed the time to install it. This meant pulling the ends of each lead and pushing through it's a appropriate hole then reattaching the end. We used our old leads after testing them as the spare ones we showed you earlier proved not to be compatible.
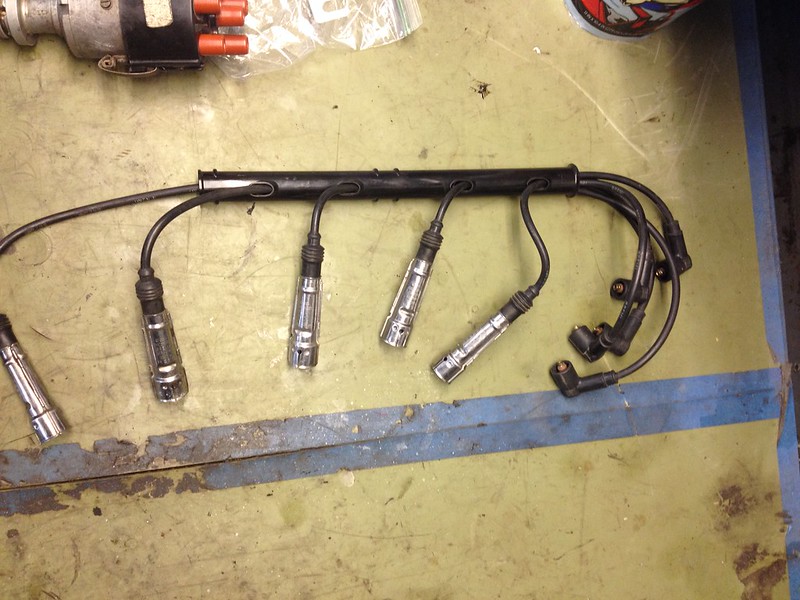
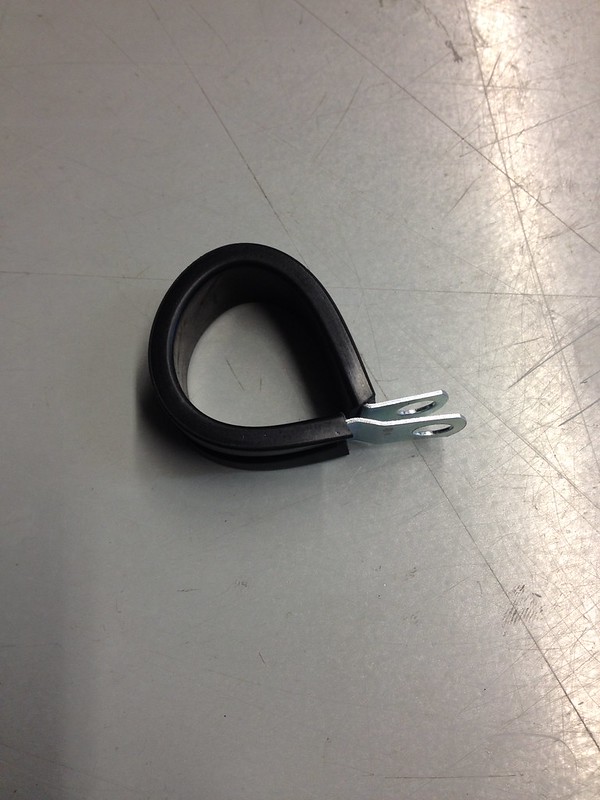
The carrier is attached to the valve cover screws with two plastic-clad metal brackets. We didn't have these and they are NLA but a trip to the hardware store produced something almost identical so we went with those.
So now we have an ignition system:

This week, schedule permitting, we'll start on the fuel inject system. Almost done!
YAY. Our pictures are back!
We had all our early pictures hosted on some servers that went away. Now we have them hosted more securely and have replaced all the broken links. As a bonus you can also see full size images for this and all our other builds here: https://www.flickr.com/photos/team_illuminata/albums

WilD
HalfDork
8/30/16 1:54 p.m.
Thank you for this very detailed thread. It is more interesting than my wife would believe is possible. P.S. I think I saw your 911 on Woodward a couple years ago and snagged a quick pic...

Feels like we are very close. Also feels like winter is approaching. Better get cracking.
Started cleaning the fuel injection system. Decided not to dismantle it and just leave well alone.
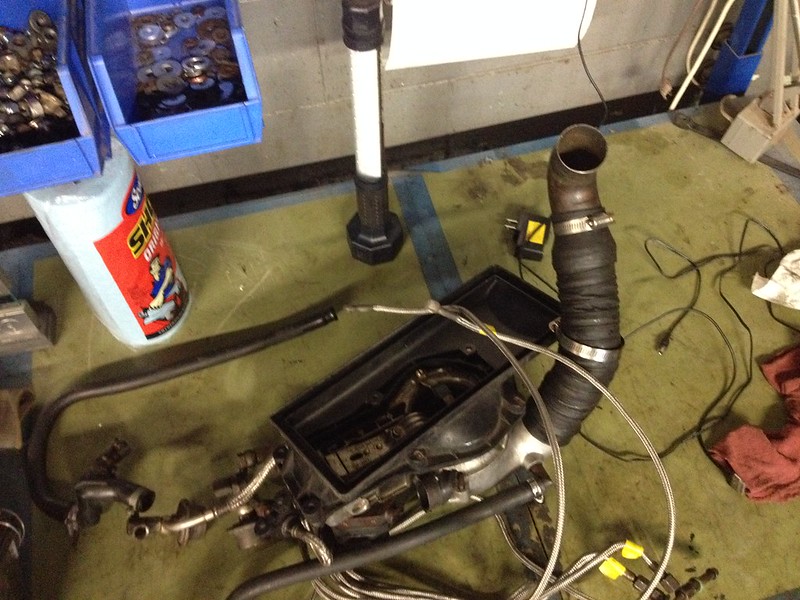
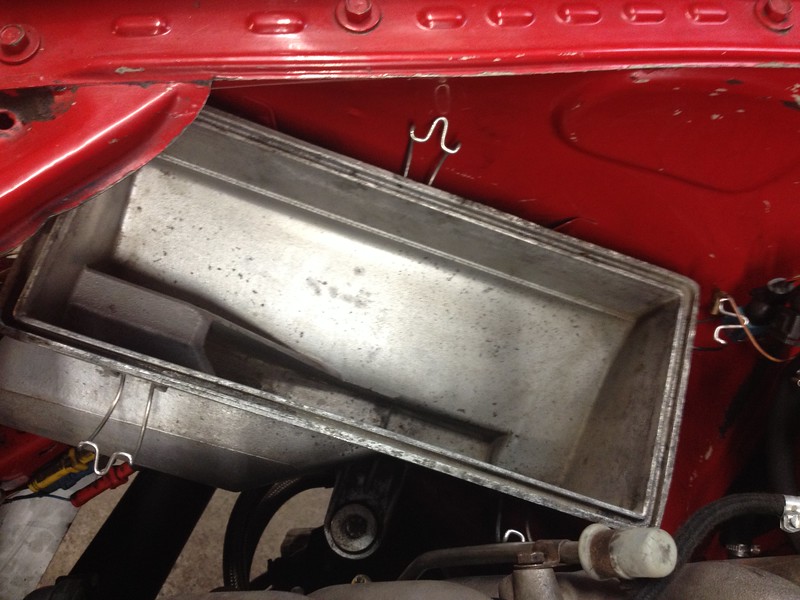
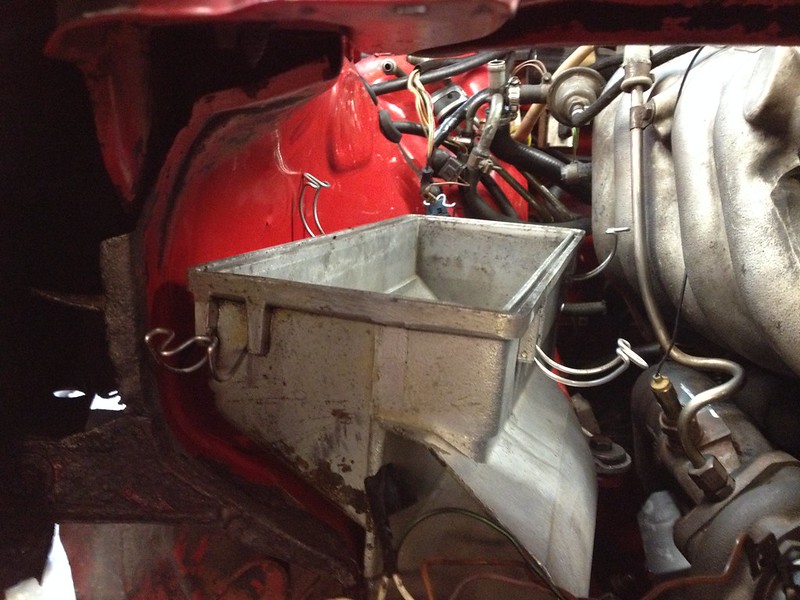
Air filter housing:

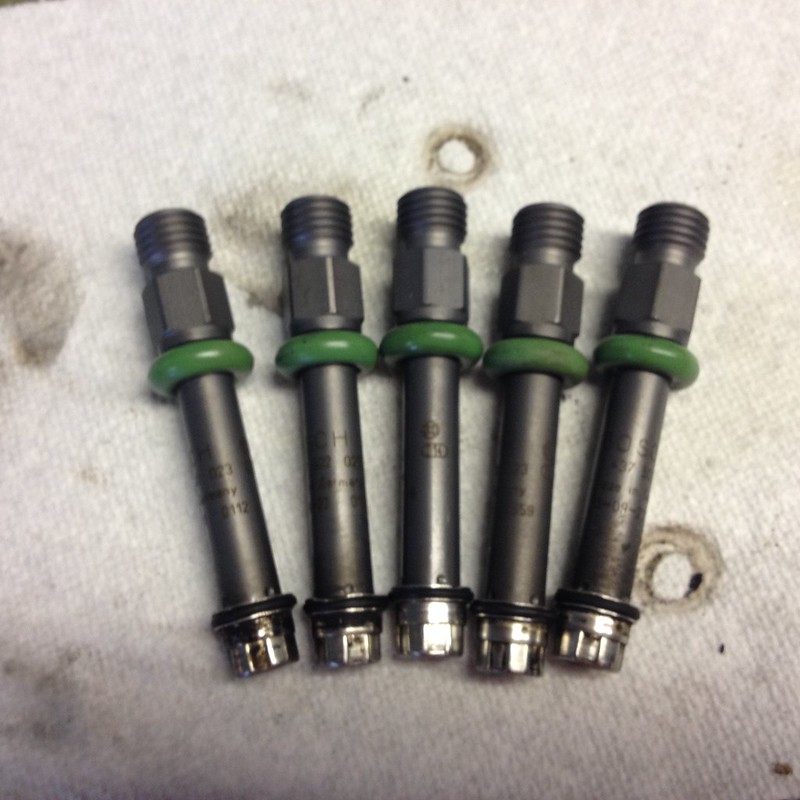
New injectors and seals

Battery!
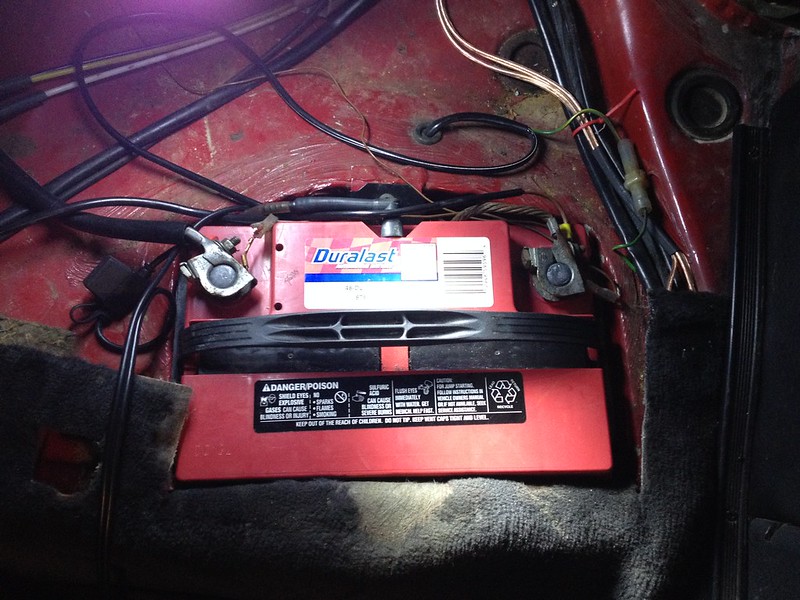
On a roll now :)
Jumped the fuel pump relay to drain some old fuel.
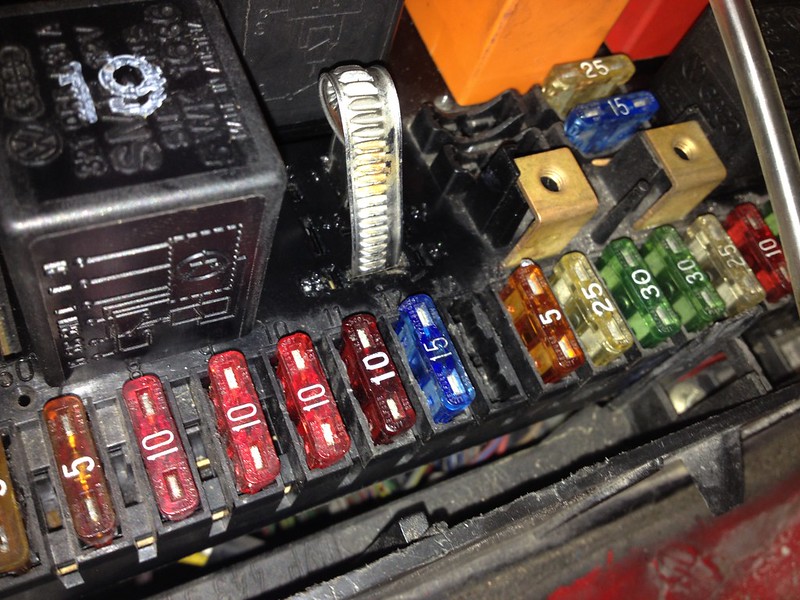
https://c1.staticflickr.com/9/8217/29304225512_ea2faf432a_c.jpg
New filter
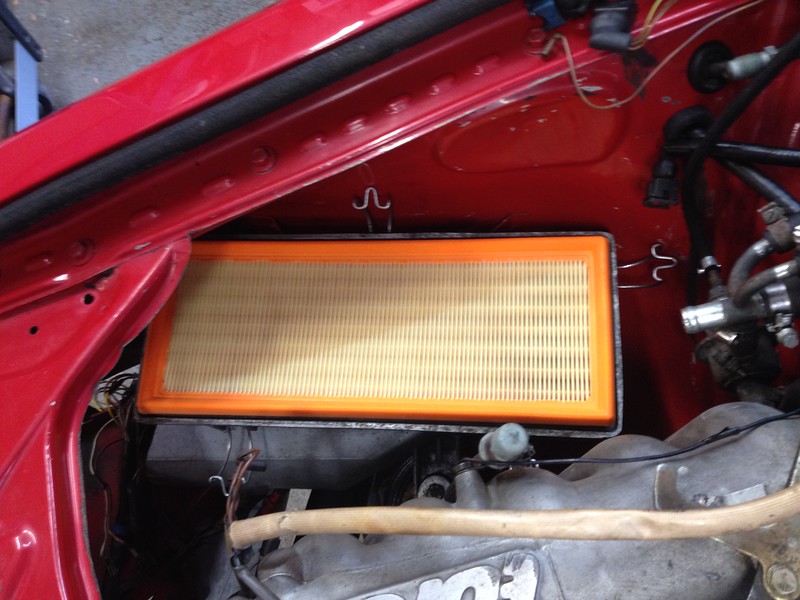
Had to come up with a way to mount this thingy-me-jig as the mounting tabs were long gone.


Turbo inlet. Tight down there.
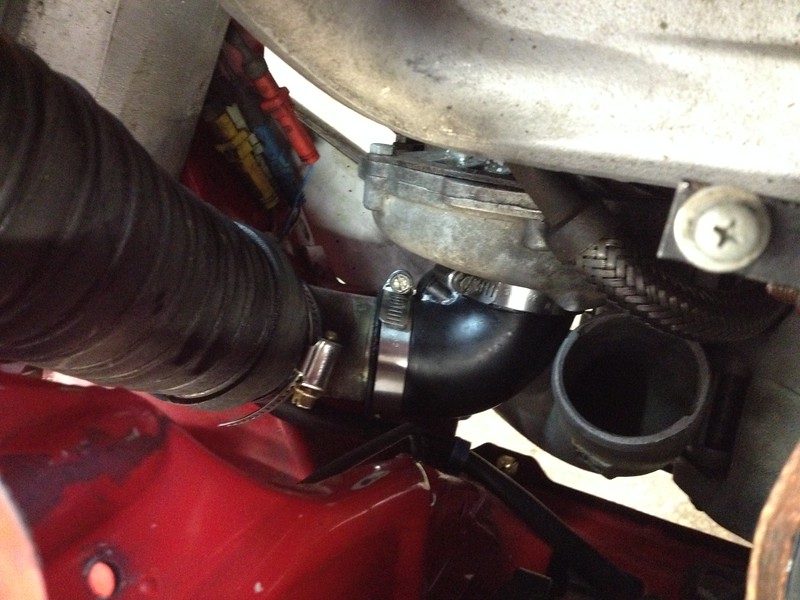
and fuel distributor

Our parts shelf is look quite bare now.
Today's progress. Hopefully not this weekend's progress.
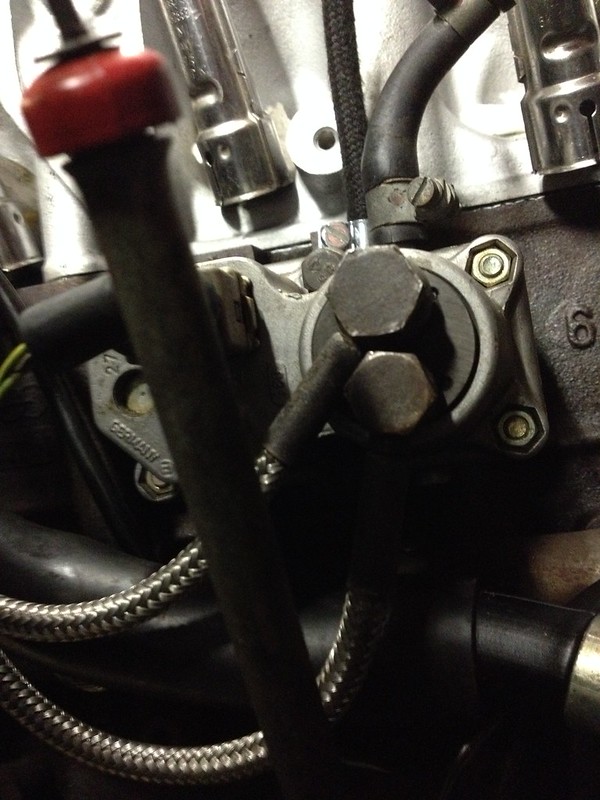
Connected the fuel lines to the warm up regulator.
New fuel filters:
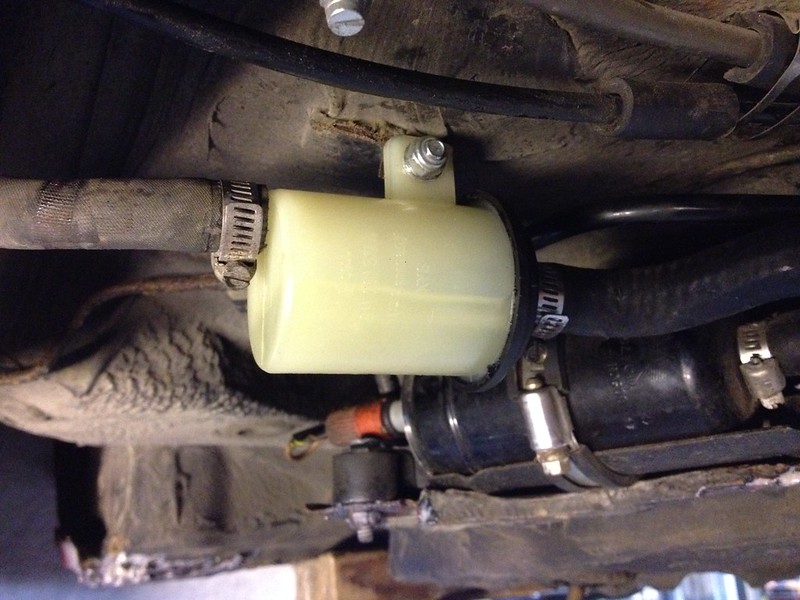
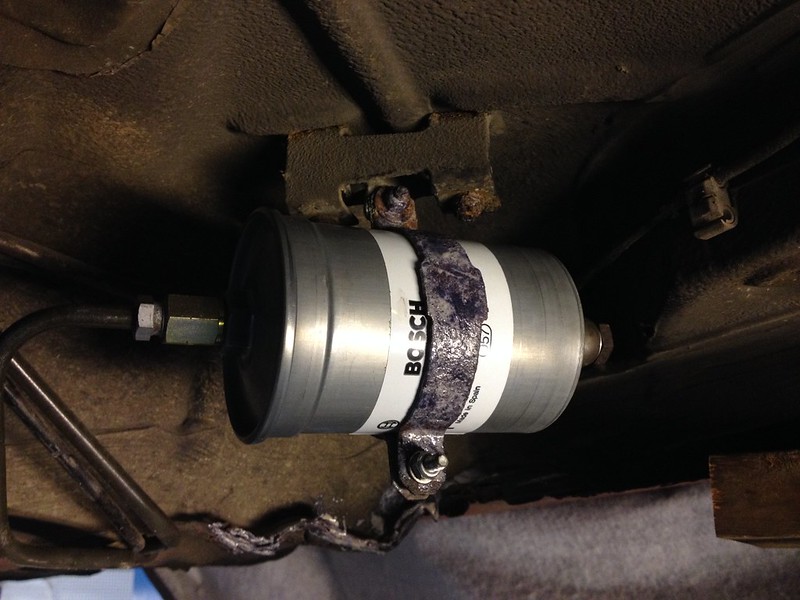
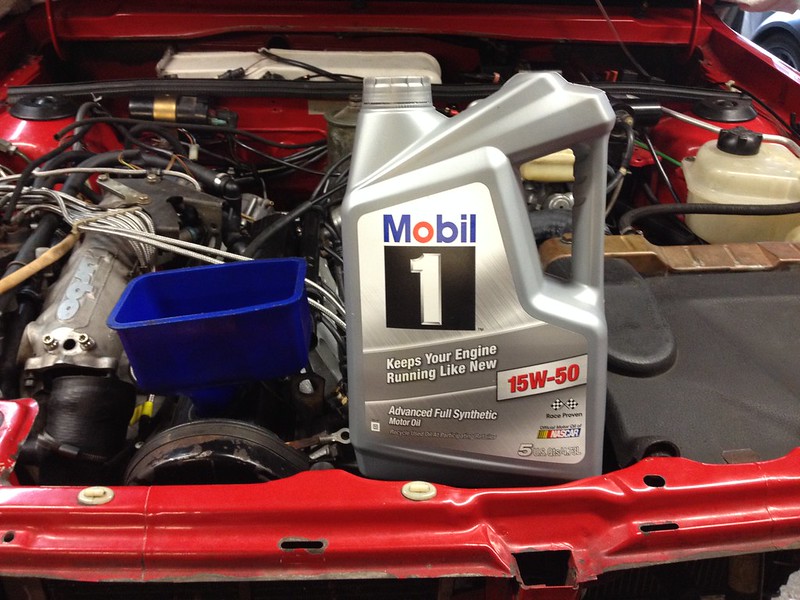
There really isn't much left to do. At least to get it running:
CRANK BOLT
THROTTLE BODY
WIRING ISSUES
SPARK PLUGS
TRANS FLUID
Then once it works:
COOLANT
REAR BRAKE LINE
BLEED BRAKES, CLUTCH
PS STEERING FLUID
WIPERS
BUMPER
HEADLIGHT
INJECTOR BLOWER
TIGHTEN CONTROL ARMS
ADJUST SHIFT LINKAGE
ALIGNMENT
DETAIL
Then we put it away for the winter.
So, assembly continues as we edge nearer to the momentous day when it drives itself off the hoist, hopefully down the road and not into winter storage.
Got the throttle body cleaned, adjusted and back on.
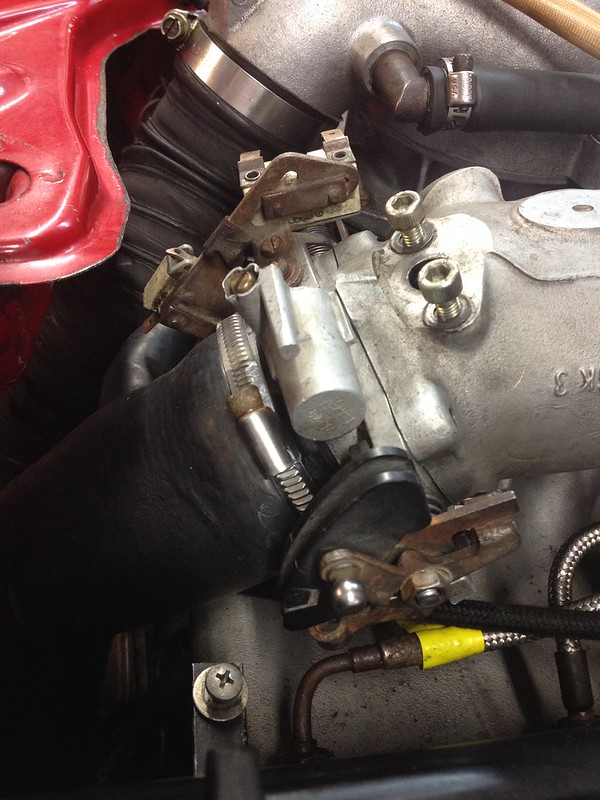
Then had to fix the inlet air temperature sensor.
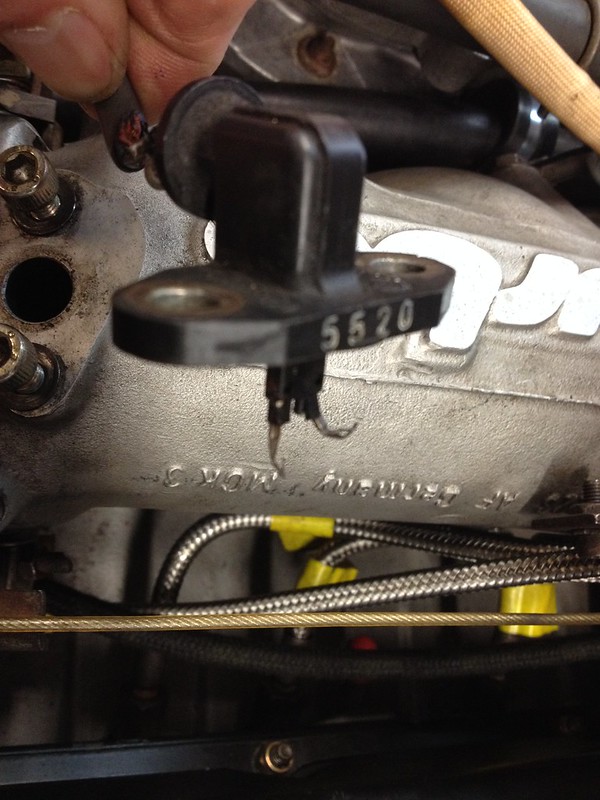
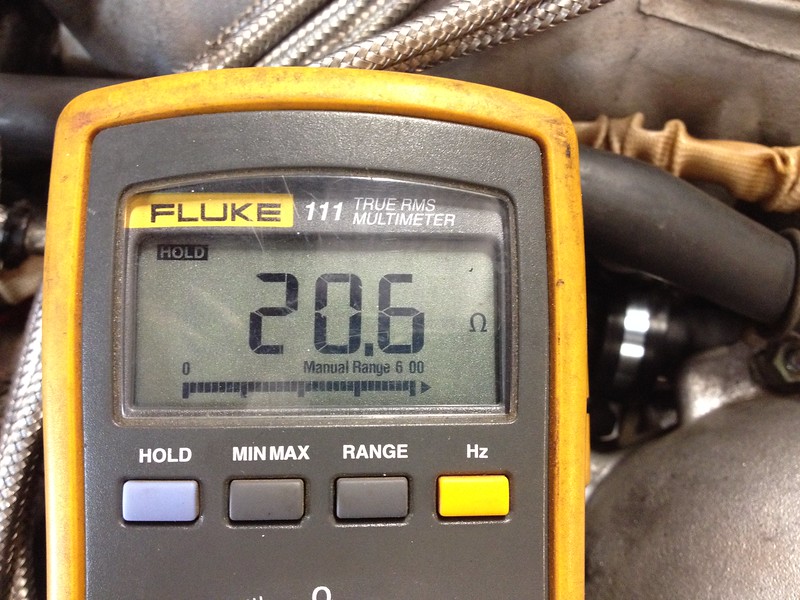
Fortunately our 83 has one that looks like it was a replacement once. Ohms check check out too.

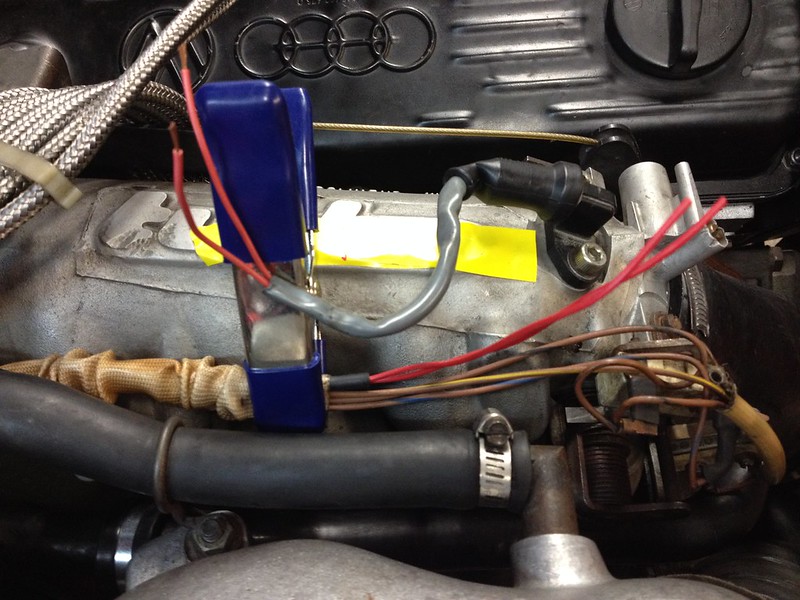
A bit of electrical shenanigans and it's in.
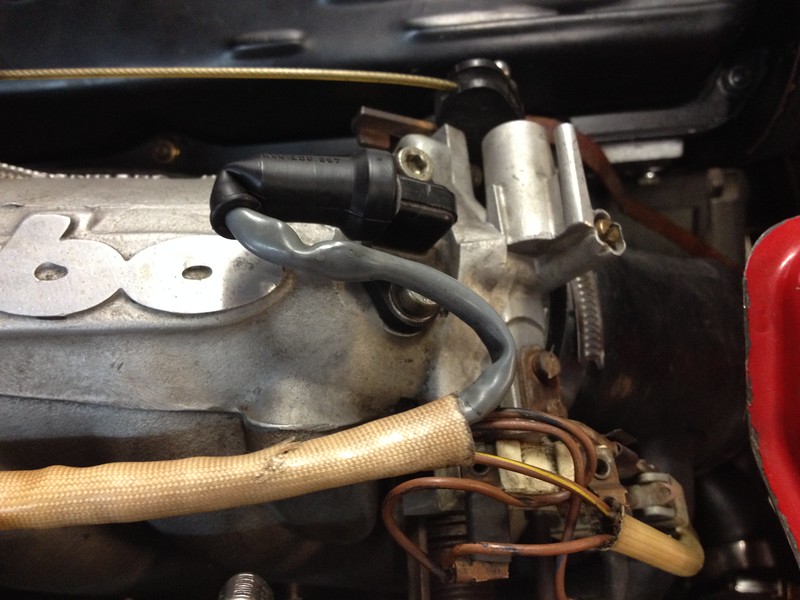
Then there was nothing left to do but call my Audi expert, Werner then fire it up!
https://www.youtube.com/attribution_link?a=NyeANWMZo7U&u=/watch%3Fv%3D_4JomNrdCRo%26feature%3Dem-upload_owner
https://www.youtube.com/embed/_4JomNrdCRo
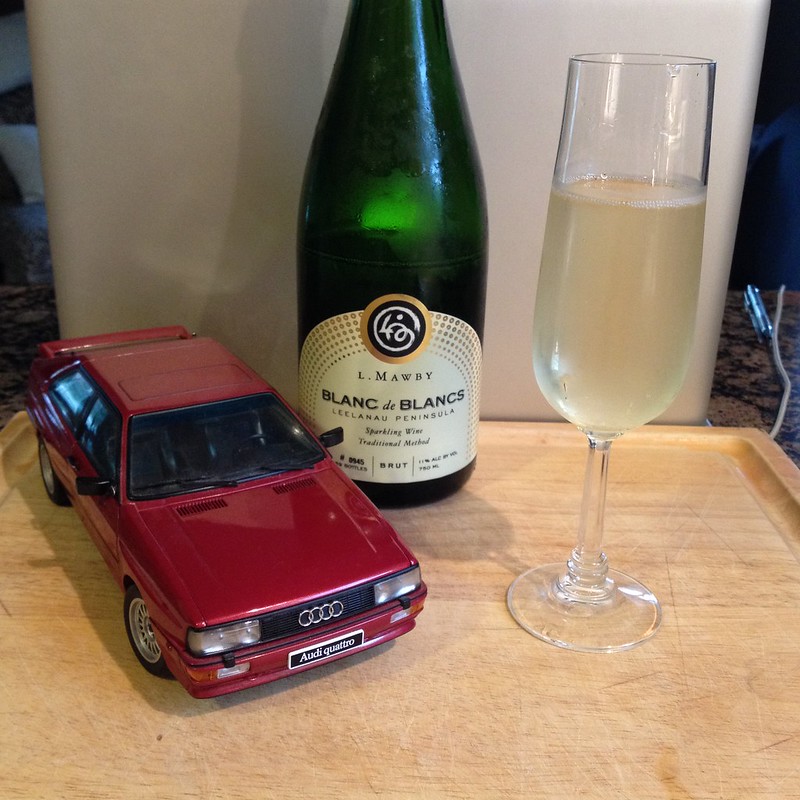
Doesn't idle yet and still needs coolant but we had a little celebration anyway.

de80q
Reader
9/21/16 2:45 p.m.
Nice work! It's always great to hear them sputter to life the first time! Should be driving around in no time now!
As this project is sort of wrapping up we started another one we thought you might like. Introducing the The Audi Quattro Rally Build.


