Thanks. I'll pass.
Mike wrote:How about a Dodge Dart - a '74? Seriously though, my employer had a Quest as a company runabout. It was a pleasant appliance. I always thought it had a nice character line down the side that made it look like a GTP car with too much greenhouse. It's my first choice for a chop top car. Good luck with your search.
Buy the Dart and get G-Body to dress like a Korean dictator.
It arrived today from a shipper found on Uship. I was somewhat more interested in his rig and business than the minivan itself.
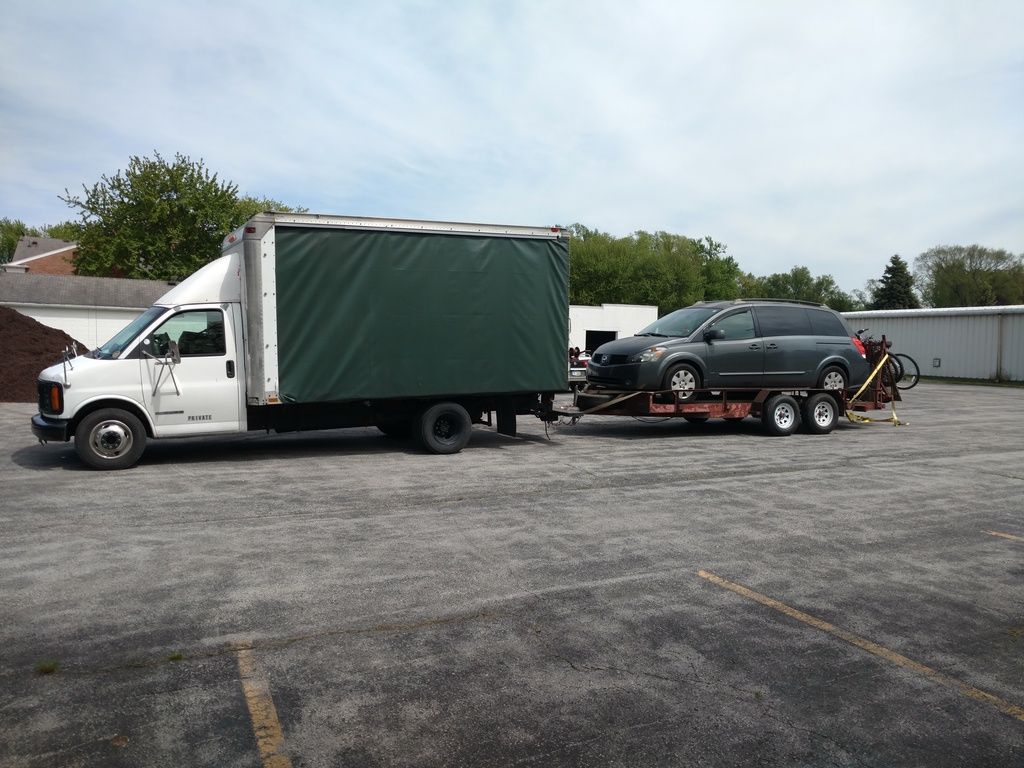
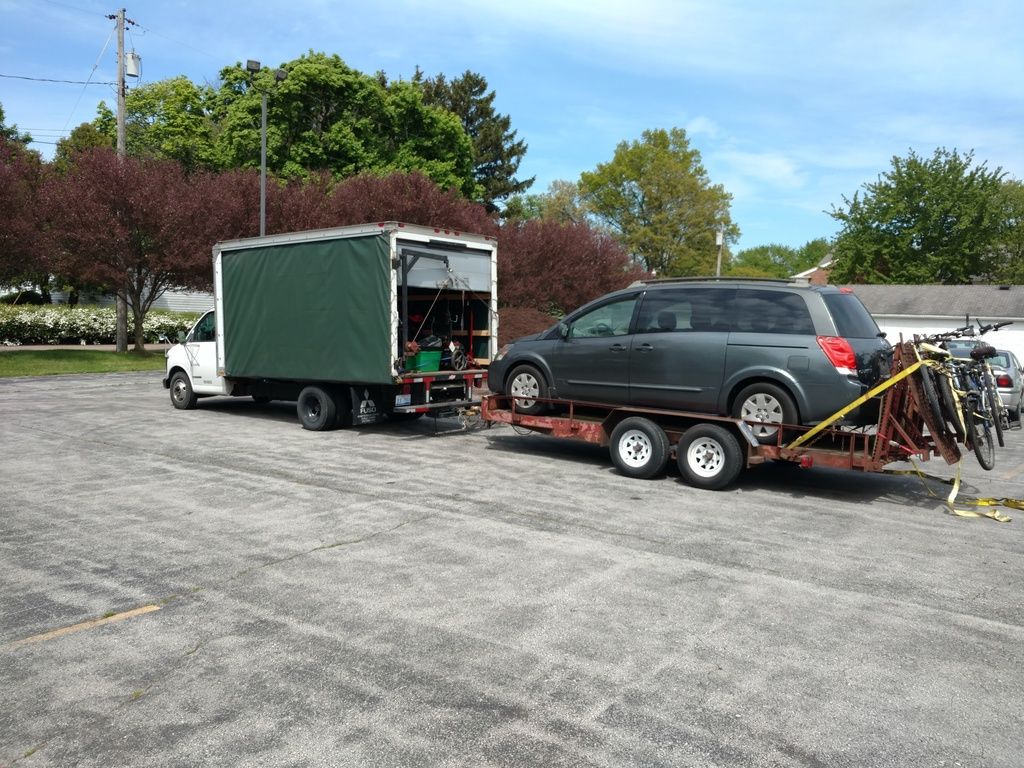
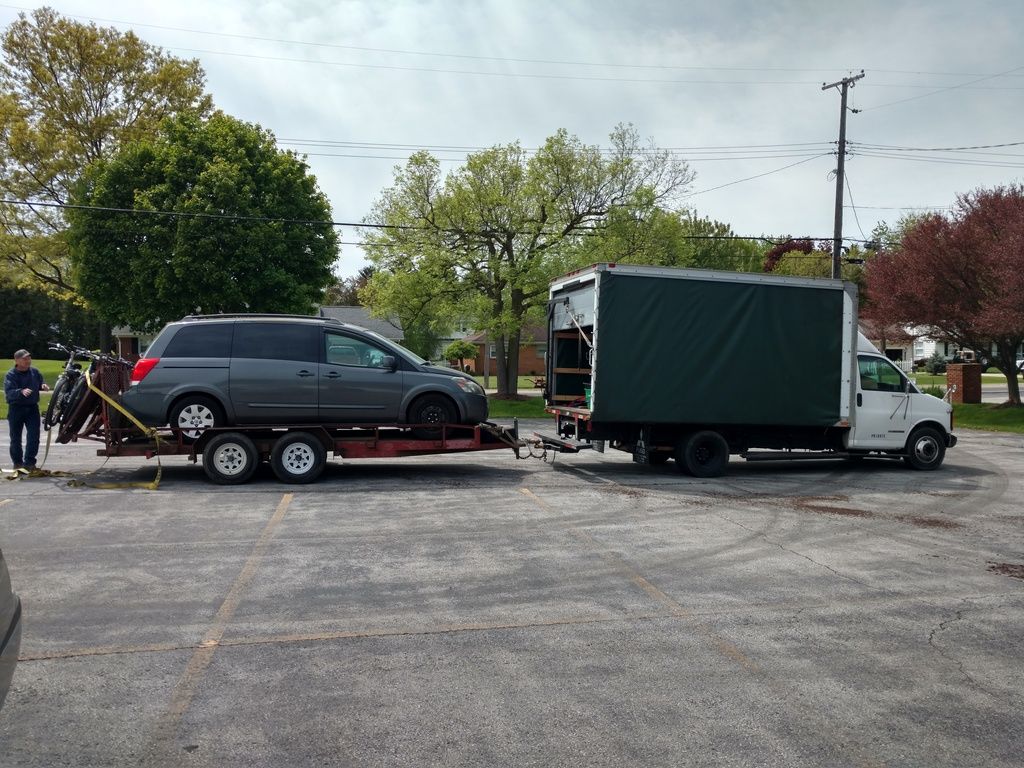
Makes me want to start a shipping business when I'm bored in the winter and want to travel.
Did I miss a list of modifications planned for the van?
Some back story. I found this van on CL in Jacksonville, FL. It turned out to be less than 10 miles from Jeremy's house and he agreed to go look at it for me. This means that I saw the car for the first time today. It is as described and I knew what I was getting into. Though, when you actually see it in person some realities set in.
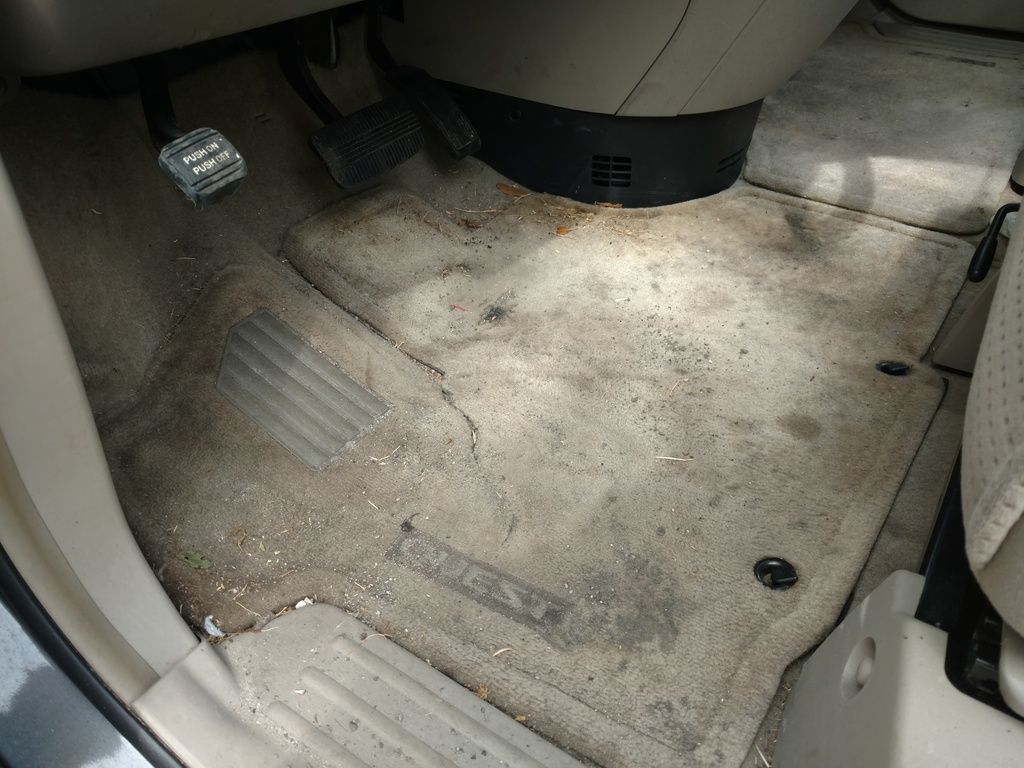
The #1 thing that I can not get over is that this was sold by a private seller yet it seems that absolutely zero attempt was made to "spruce up" the vehicle at all before selling it. I am convinced that with just a simple vacuuming and a bit of time with any kind of wipe down spray cleaner, the seller could have easily asked $500 more.
On the other hand, I have seen the bad condition of some interiors. Maybe this is greatly improved from their typical day.
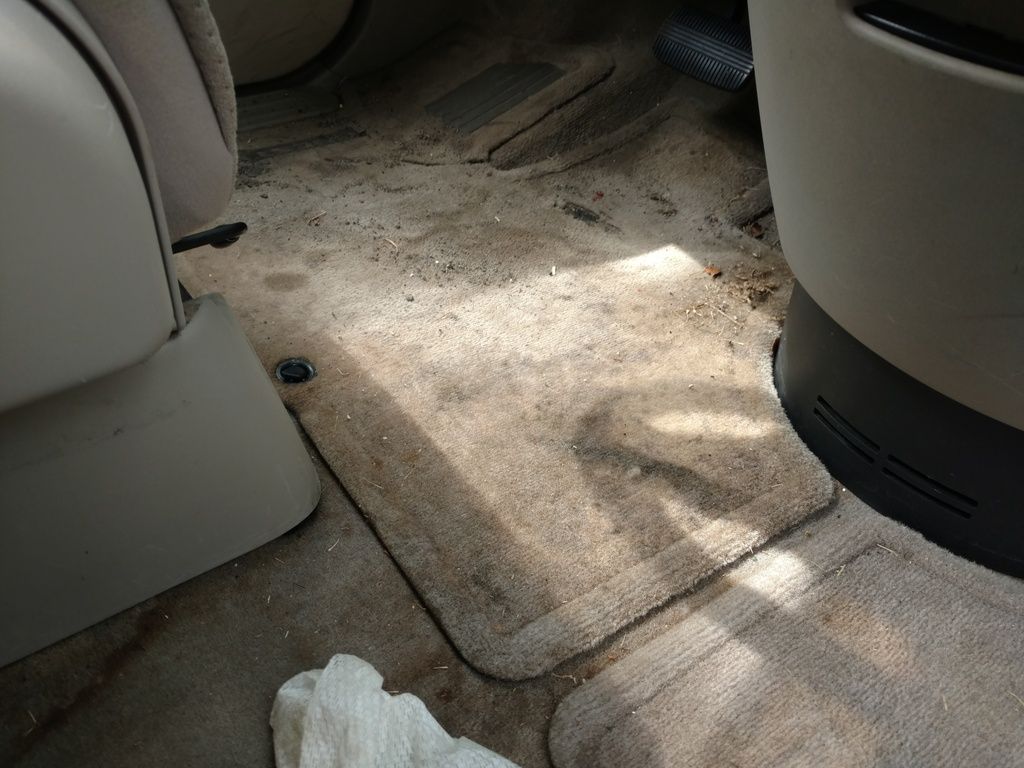
No attempt at all to vacuum the driver's floor.
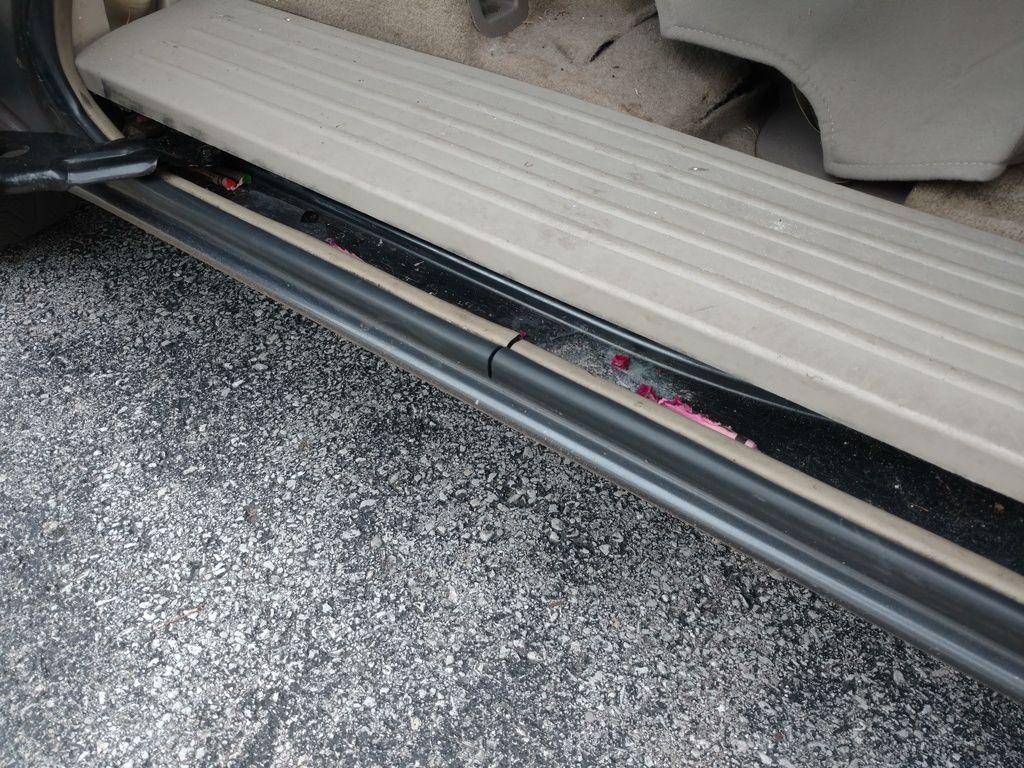
Crushed crayons in the slider tracks.
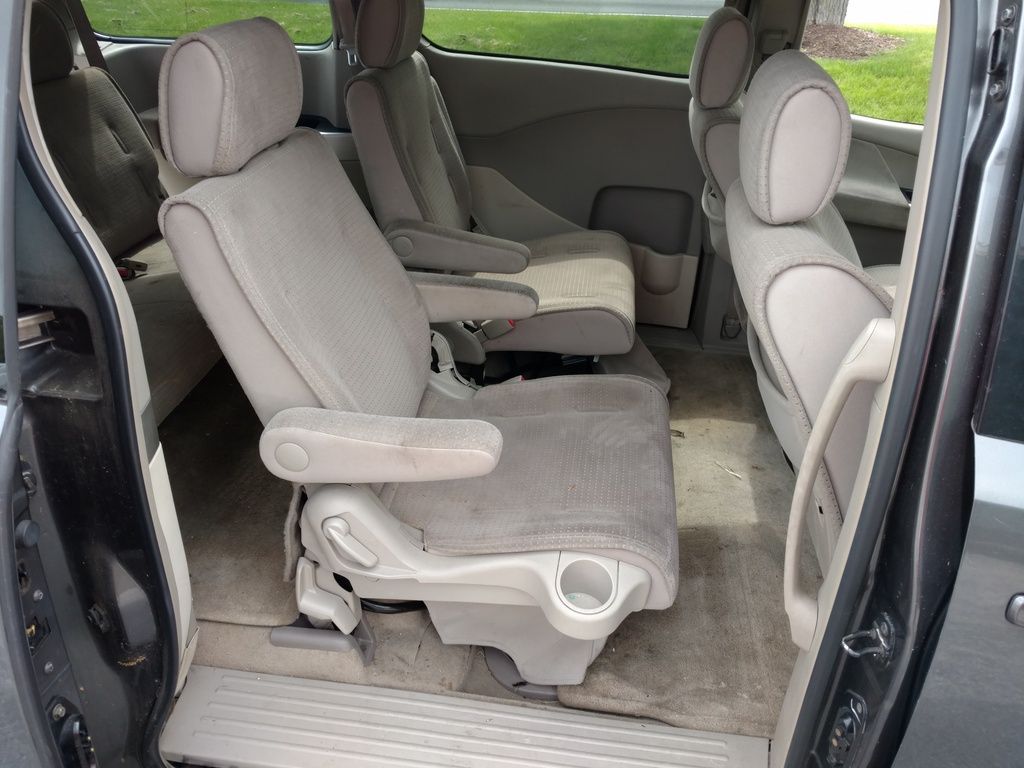
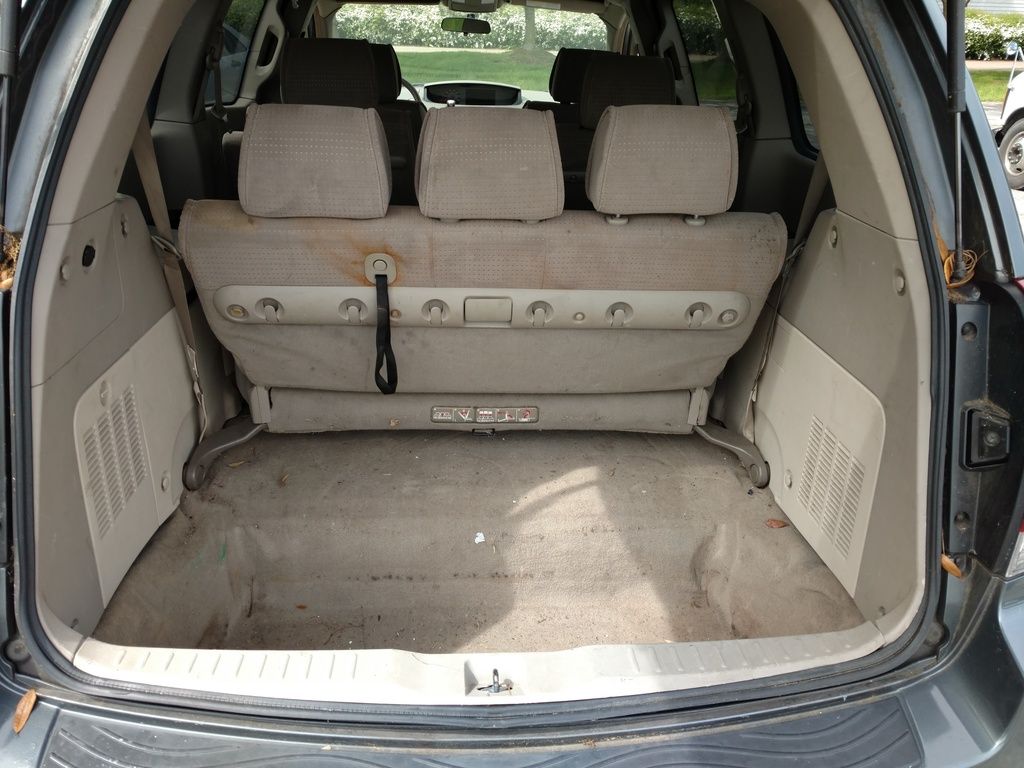
Obligatory "family stickers" included.

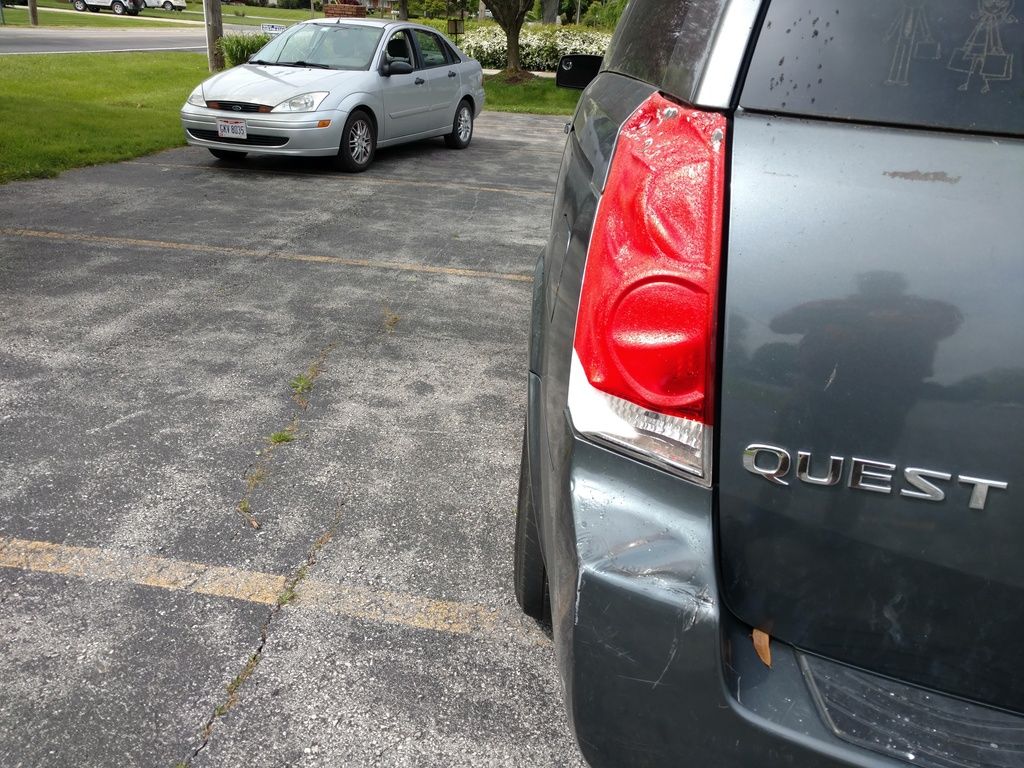
Here is the vans weirdest feature. Somewhere in life, and I suspect not recently, this car was parked way too close to a fire. The seller did not use English as a first language so the language barrier lead to never really getting a good understanding of how this really happened.
This is a melted tail light:
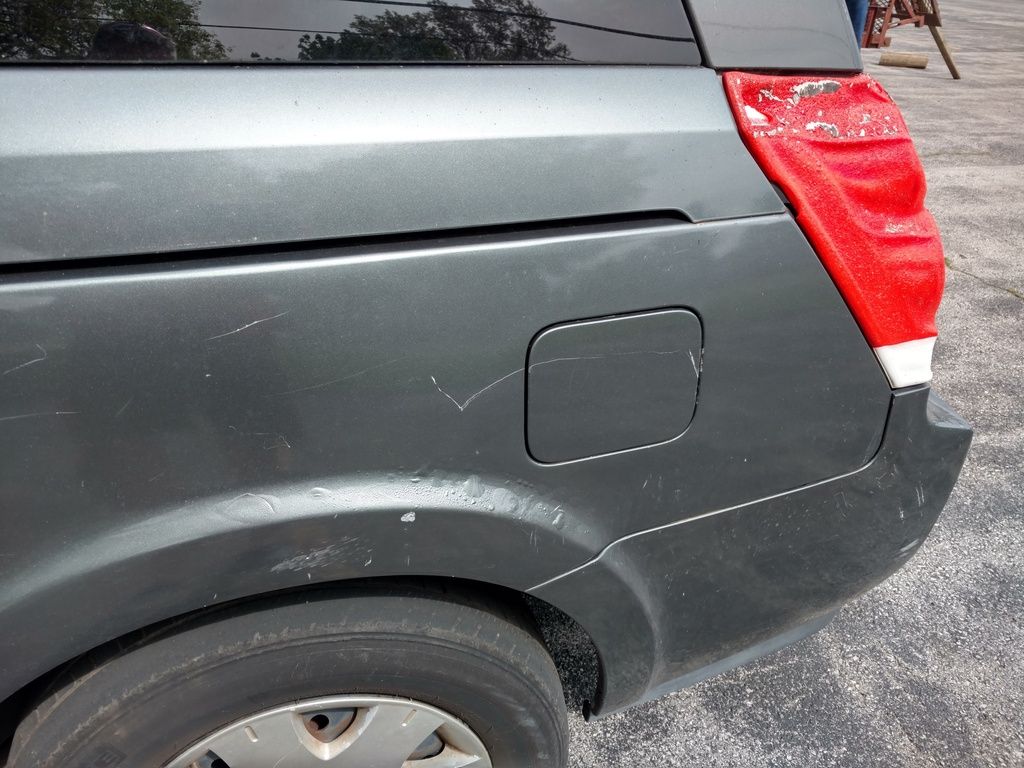
Side view of melted light. Also notice what looks like rust bubbles forming on the wheel well near the gas tank. These are not rust bubbles but rather heat bubbling of the paint. Near the gas cap is an interesting place for intense heat???
If you look real close in this pic you can see the baldness on the outer edge of the rear tires.
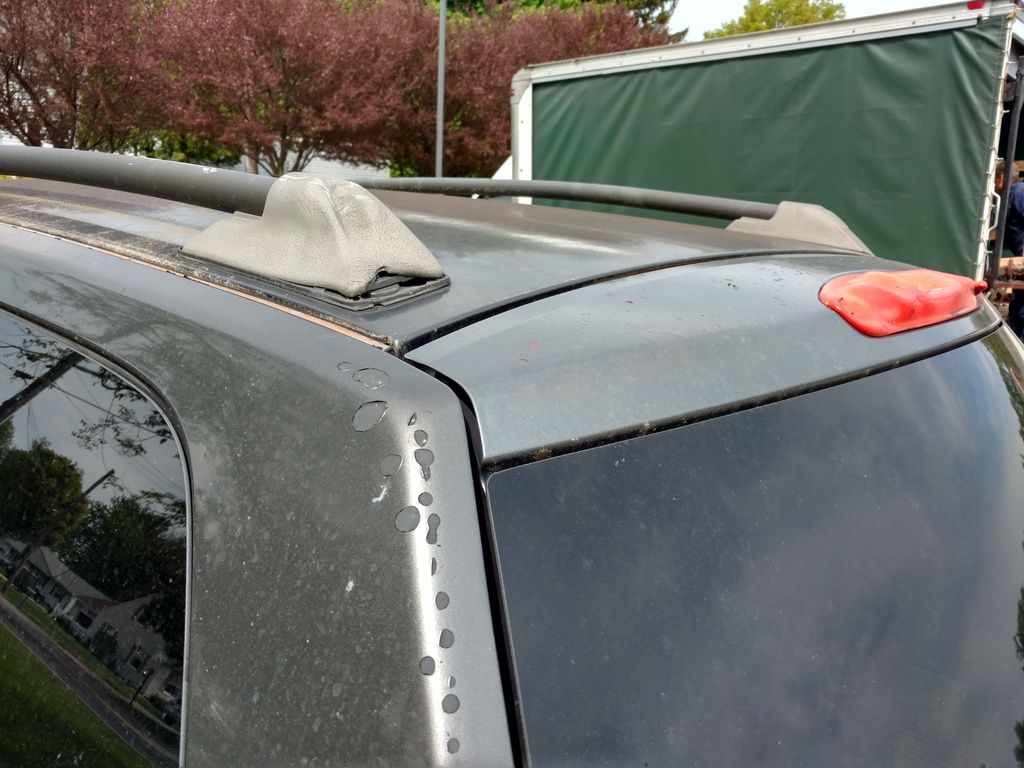
More heat damage to the paint on the pillar. Also notice melted edge of roofrack base and heavily melted 3rd brake light lens.
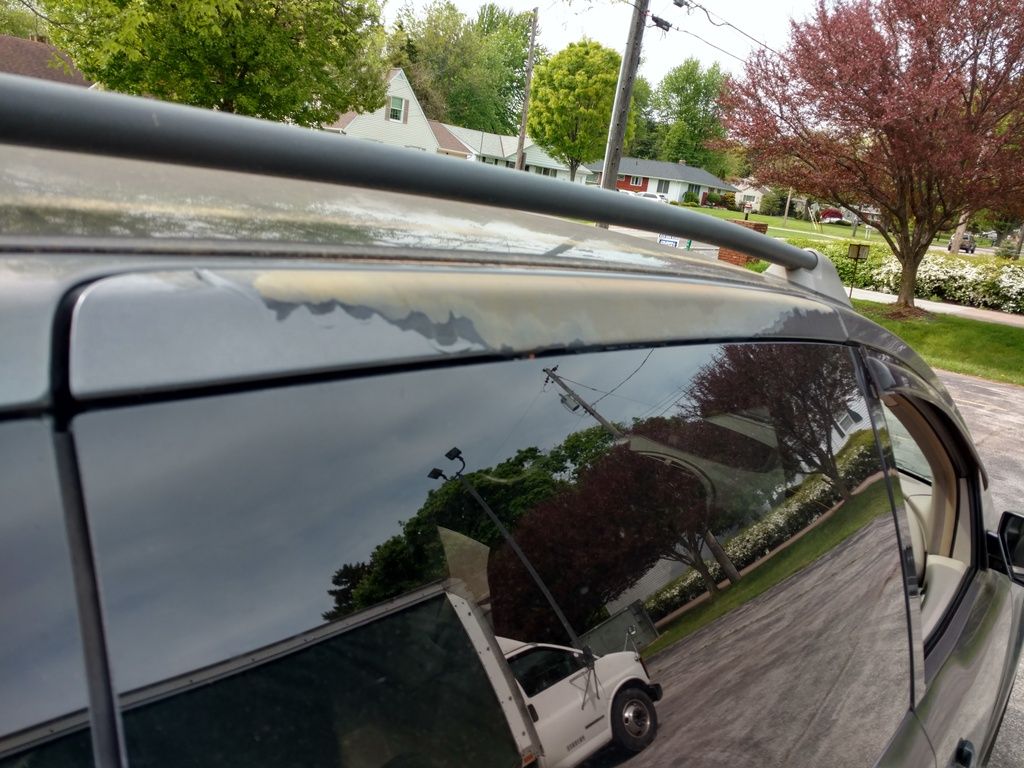
Typical Florida sun damage to side door which seems to go from color through primer and down to fiberglass of plastic door panel. Second picture of significant roof sun damage.
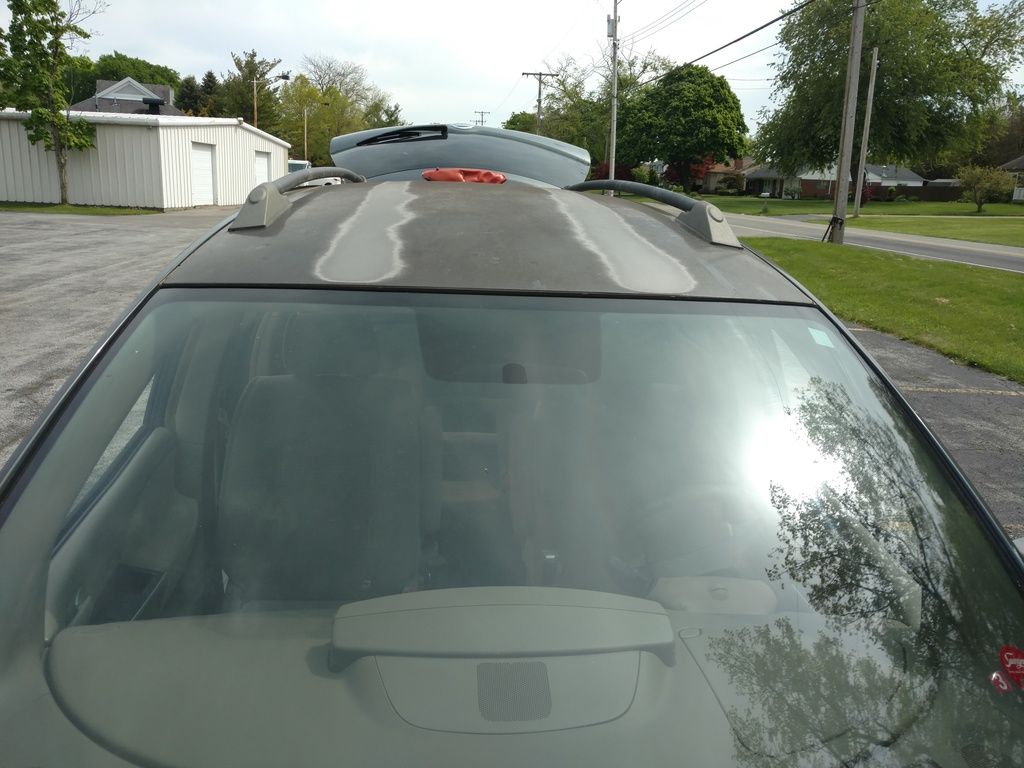
All of these issues are things that I knew of but only saw in pictures. The pictures I saw and I suspect these pictures too do not really show the "oddness" of it all.
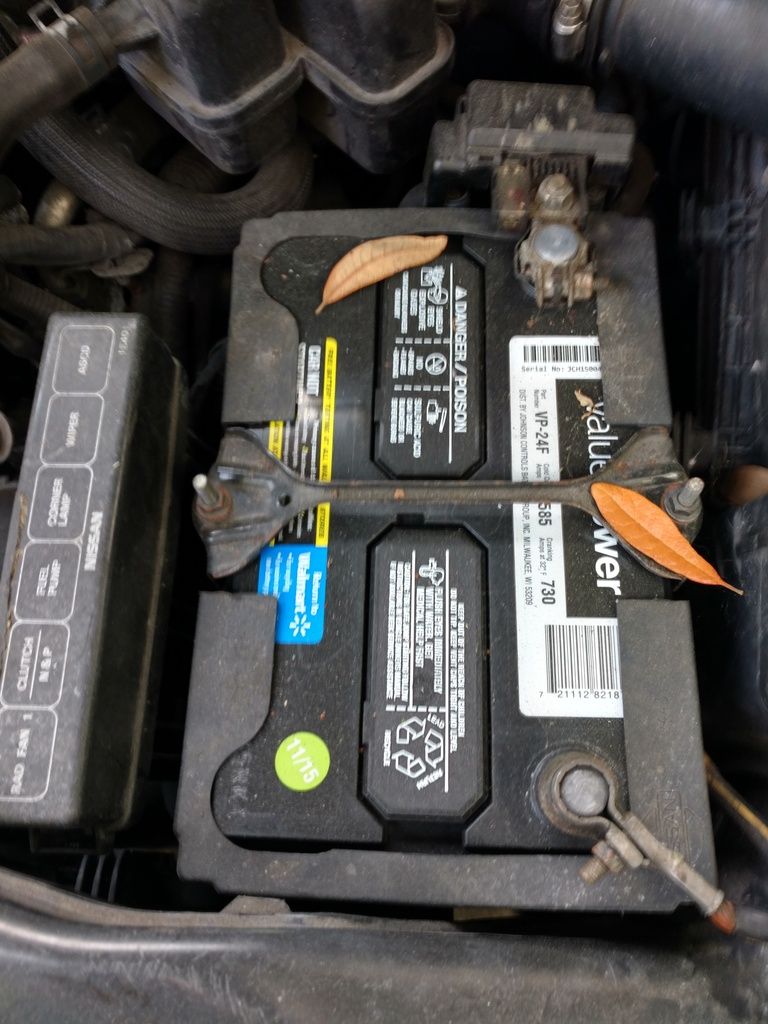
On a positive note, the battery has a lable showing it was new in 11/15 or 6 months ago! Strangely, the ground wire was so loose on the post that I could remove it by hand.
Andy Neuman wrote: Did I miss a list of modifications planned for the van?
Not fully exposed yet.![]()
Step 1 will be to start digging in and sorting. I have not driven the van any farther than just in a the club parking lot. Saturday morning I will head to the DMV for a temp tag. I an eager to get it up on a lift and really snoop around.
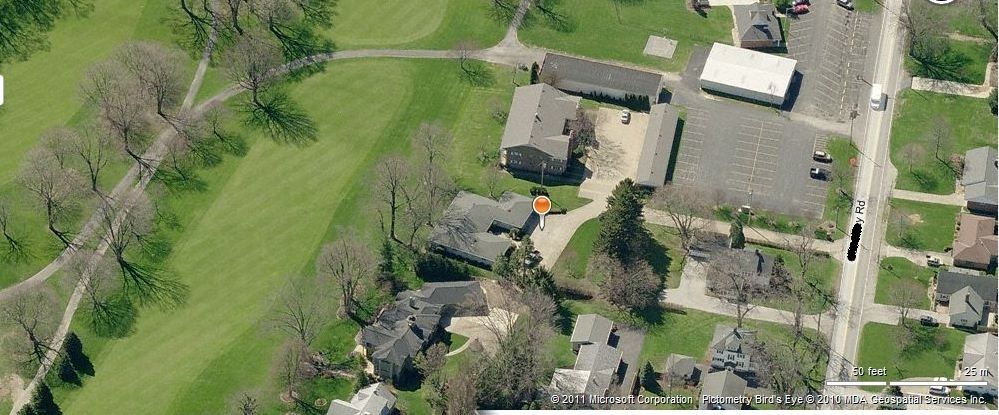
My house is a pretty easy place to get a car delivered to. I happen to live next to a Country Club. Where their parking lot ends, my driveway begins. As such, I live near the most always empty part of the parking lot. In the picture below, right about where the two lone cars are parked in the parking lot is where I took delivery. So, I drove the van for the full length of the long narrow parking lot (barely shown in the picture) but no farther than that.
I vacuumed out the van Saturday. The car has the full version factory floor mats. The mats did a great job of taking brunt of all the damage and leaving the real carpet in darn good shape. The worst spots are where there is no mat like between the seats. Though I still think the Little Green Machine will work well on those spots. I hit much of the front portion of the interior with ammonia spray in all parts and Purple Power in tougher spots. It helped significantly.
Much more to be done.
Liberal Purple Power under the hood and a visit to the spray wash put some shine on the engine bay.
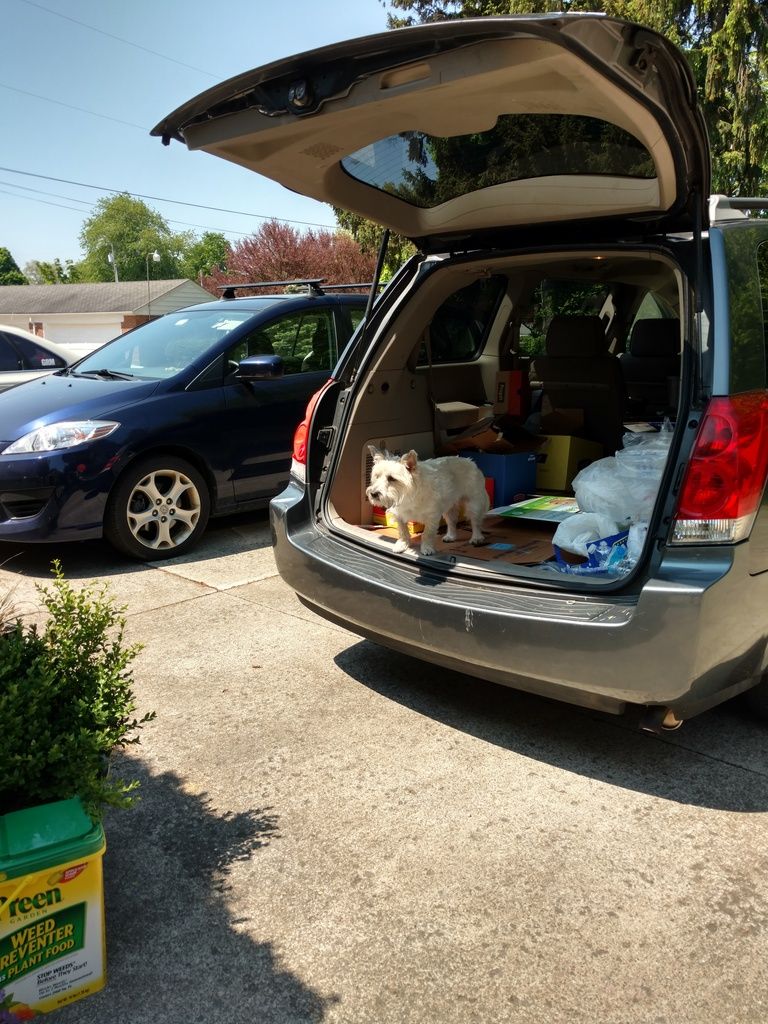
On Sunday, the van started earning it's keep getting loaded up with a run to the municipal recycling center with cardboard, plastic and glass. Also some items dropped off at Goodwill.
Puppy and baby approved.
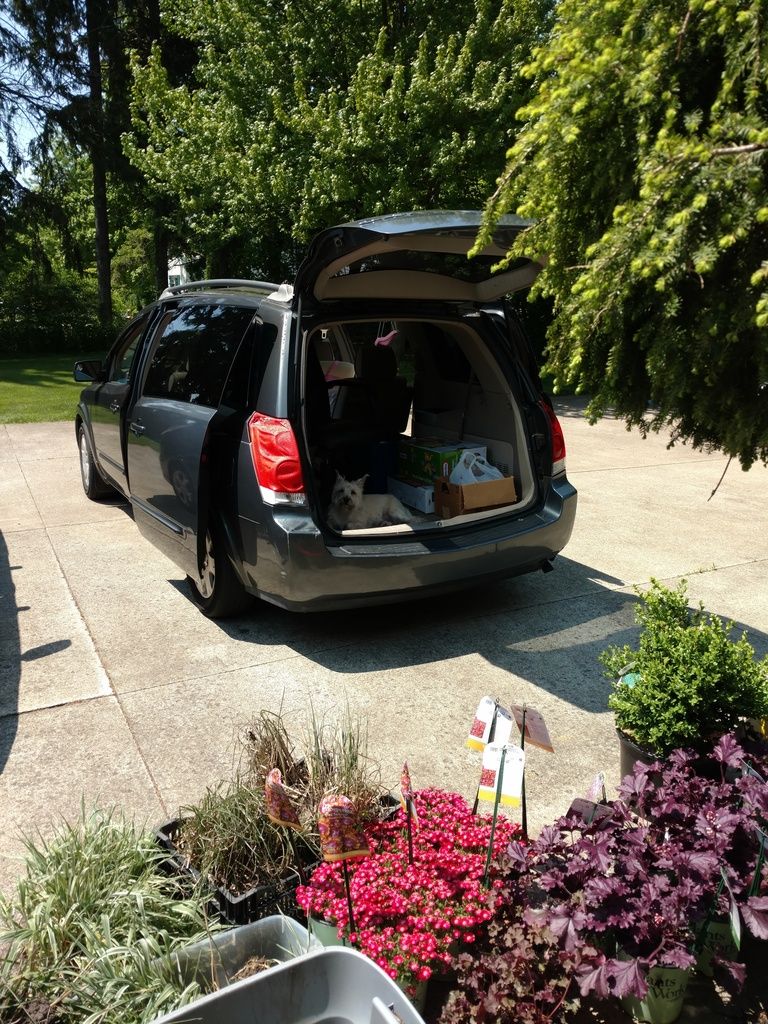


As for drivability, there is some noise out of the driver's front. I suspect sway bar link or ball joint.
The engine has a miss under load. It throws a code for misfire in #5. Of course, in this transverse V6, it looks like it might require dropping the engine to get to the #5 coil. More on that later.
Heck, as it stands, I've driven much worse, much farther.

Pro Tip:
For anyone looking to buy a car cheap or buy something to flip.
What you see above is the replacement LCD ribbon for the bad odomoter on a Nissan Quest. It is pretty well known that the heat degrades the connection of this ribbon to the LCD panel. What you are left with is a readout that looks like this:

Mine actually reads nothing at all for ODO, temp or fuel. The seller thought the van has about 145k but had no good proof. This helped to drive the price down and the fix is $6.50 ($12.99 for a 2-pack)!
In my case the seller bought the car in '09 w/ 55k miles. When I bought it, I left the odo statement blank. In Ohio, I can get a 45 day temp tag without yet having to show the title (bill of sale okay.) In 45 days when I get the real plates and title transferred this the odo statement will need to be completed.
On the Nissan, the brain is still keeping an accurate record of the miles just the LCD panel is not displaying the number. Once the LCD ribbon is fixed, it will once again read the true and accurate mileage.
Here's to hoping I get an odo number I like.
LCD ribbon arrived today. I was eager to get it on and realize I had one hour that I could dedicated to the project. I'd see how far I could get. I went slow and carefully but looking at the time stamp on these photos I had it done in 45 minutes! But, the pointers are a little off so I'll have to go back in but that should only take 10 minutes.
Before
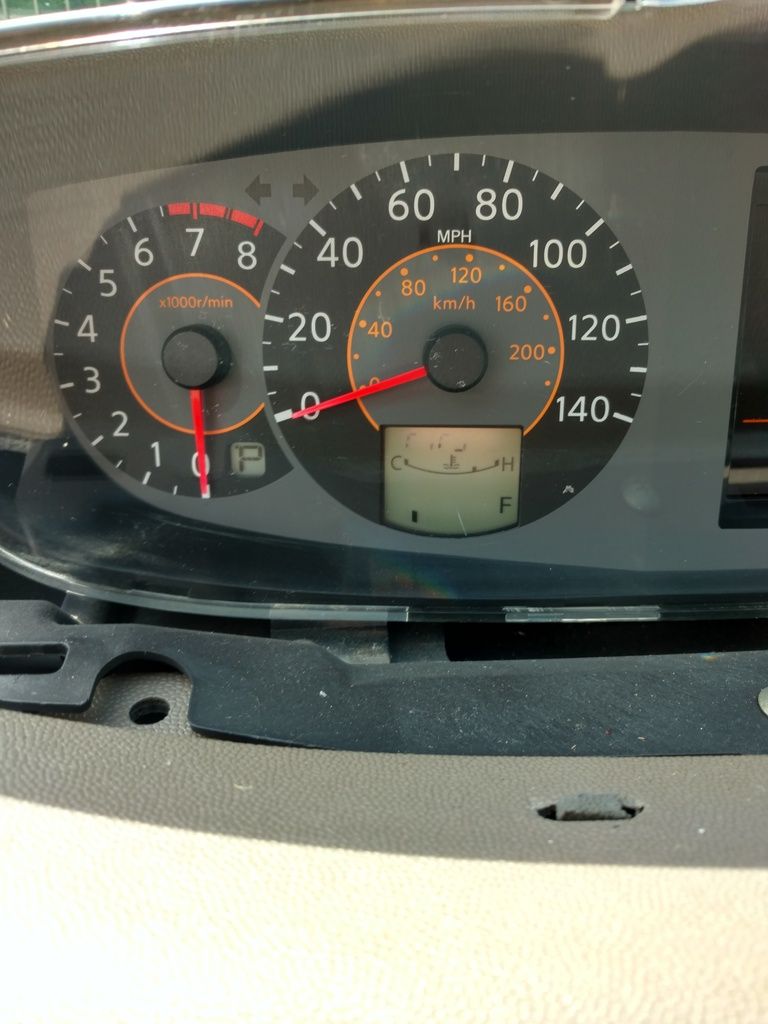
After
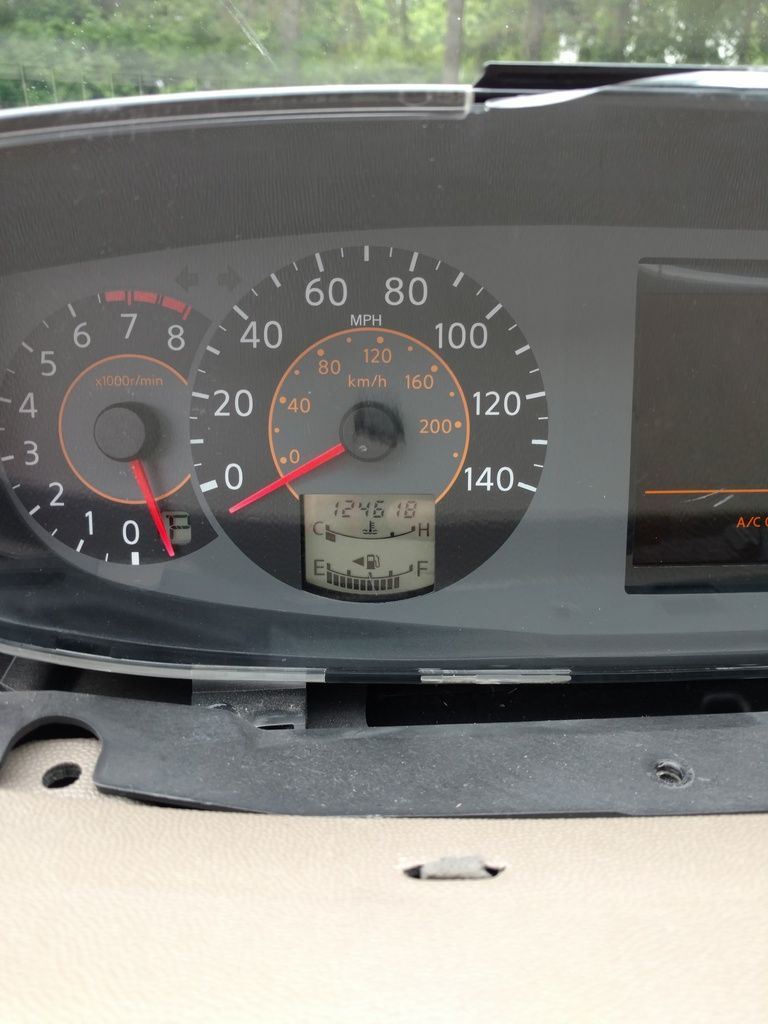
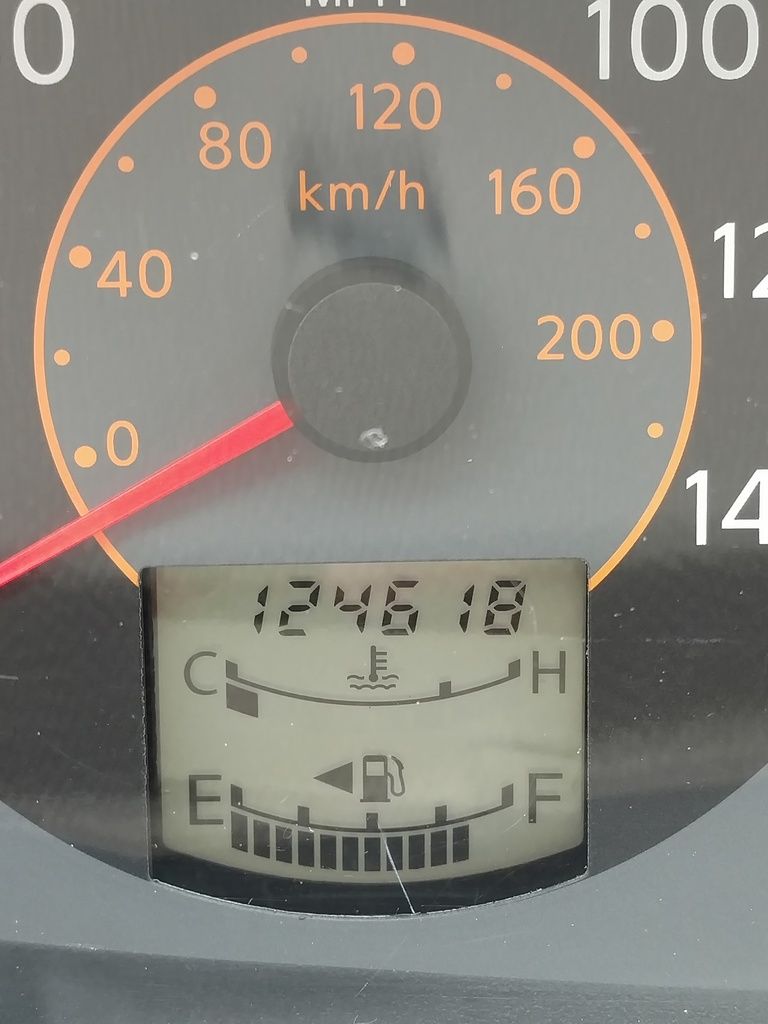
I bought the van being told it had 145k-ish miles. Now here's a number I can live with.
Winning!
Getting to the rear bank of coils requires taking the upper intake manifold off. Should be a 20 minute job
Looks like a good detailing, a couple cans of touch up paint, a few junkyard parts, and a little deferred maintenance, and youll have a surprising clean van. Congrats
So how is this beast getting past the track width/height rule? It looks like you'll need it to be basically sitting on the ground and have utterly massive wheels- which I think we can all agree is a good solution.
In reply to ¯_(ツ)_/¯:
This website shows Quest Specs:
71.9" Height
67.3" Track
4.6" delta
Smaller sidewall tire takes me down .7"
A 2" wheel spacer on each side will make it 4" wider
Result of 4.7" change and needs 4.6 so .1" to the good.
Additionally, lowered springs could reduce height even more.
¯\_(ツ)_/¯ wrote: 2" spacers will still probably mean flares, right? Or will this van be hellaflush?
mad camber yo.

This one is probably what, half way to what you're planning?

Those wheel arches sure look like they would take a flare nicely- I say don't stop until the rear ones interfere with the sliding doors.
You'll need to log in to post.