
snipes
Reader
10/26/09 10:37 a.m.
Okay so I was thinking of ordering something like this for my WRX 911. At $90 its a hell of a lot nicer than the MOTOL brake fluid can I use on the Saab. 
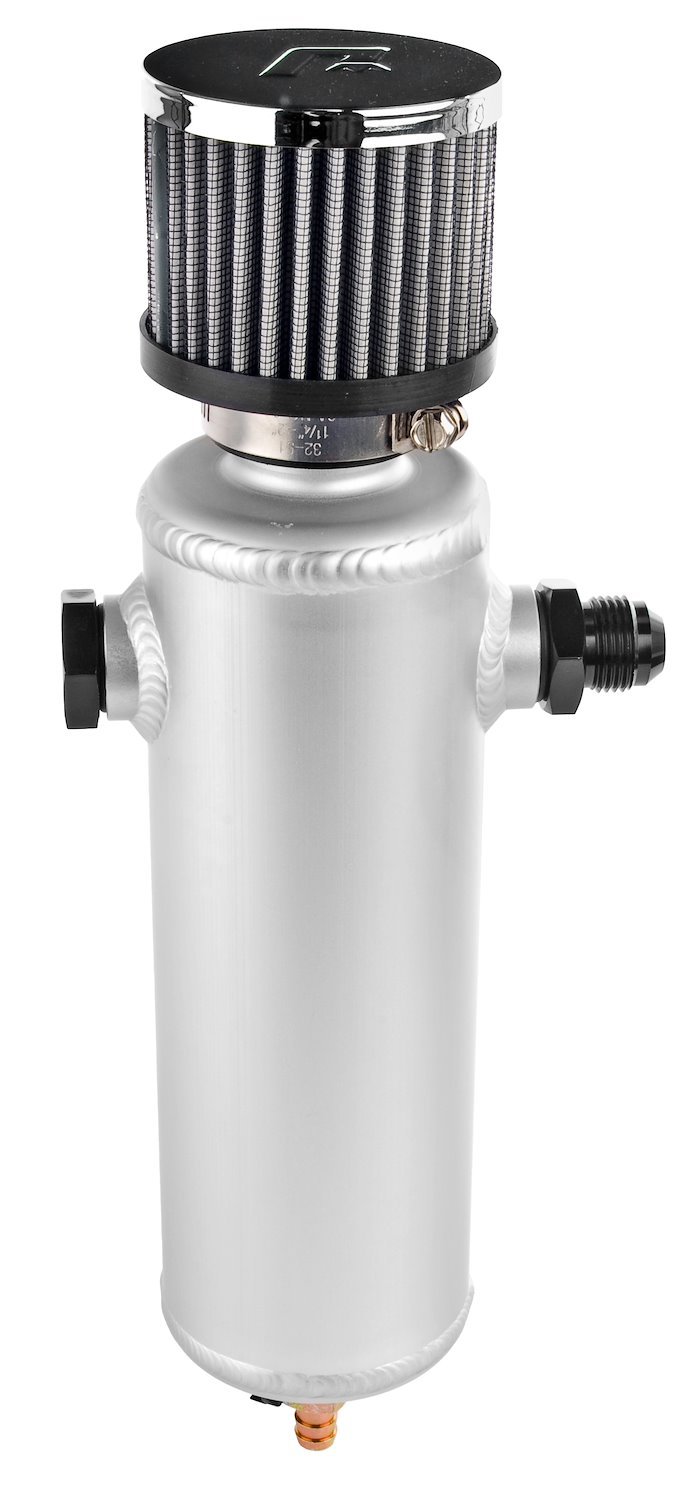
$90 just seem like a lot of money so I did not pull the trigger.
As some of you know I have been working on my welding skills and this could be a great time to show them off. The problem is I still suck and I want my car to look nice when it is done. The other roadblocks include the following. I am out of Argon gas, the weld-in AN fittings are $6 each and I would need the aluminum to make it out of. The good news is I have been hanging out at Welding Tips and Tricks website the last few days. It is a good site with lots of info on TIG welding. The site has given me new confidence to give this project a try.(maybe "false confidence" would be more accurate)welding tips and tricks
So with renewed ambition I headed off to the local Pull A Part where i found an aluminum A/C dryer. Now I had no idea what was inside an A/C dryer, but it was the correct size and shape. And for $6.95 I was going to satisfy my curiosity.
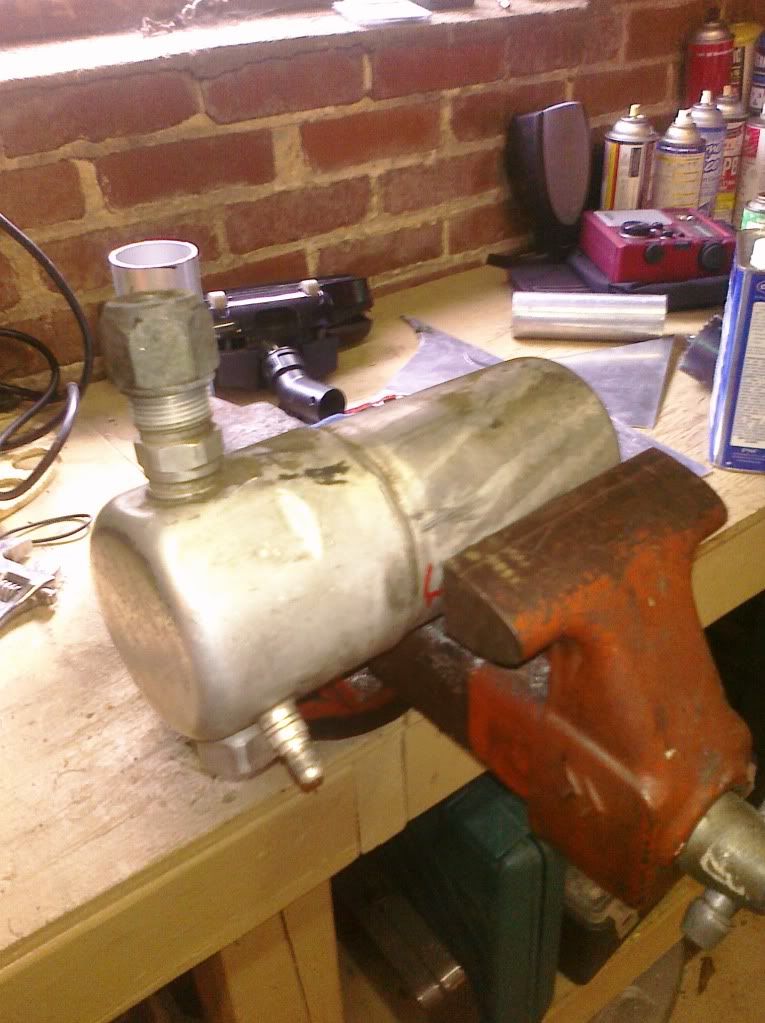
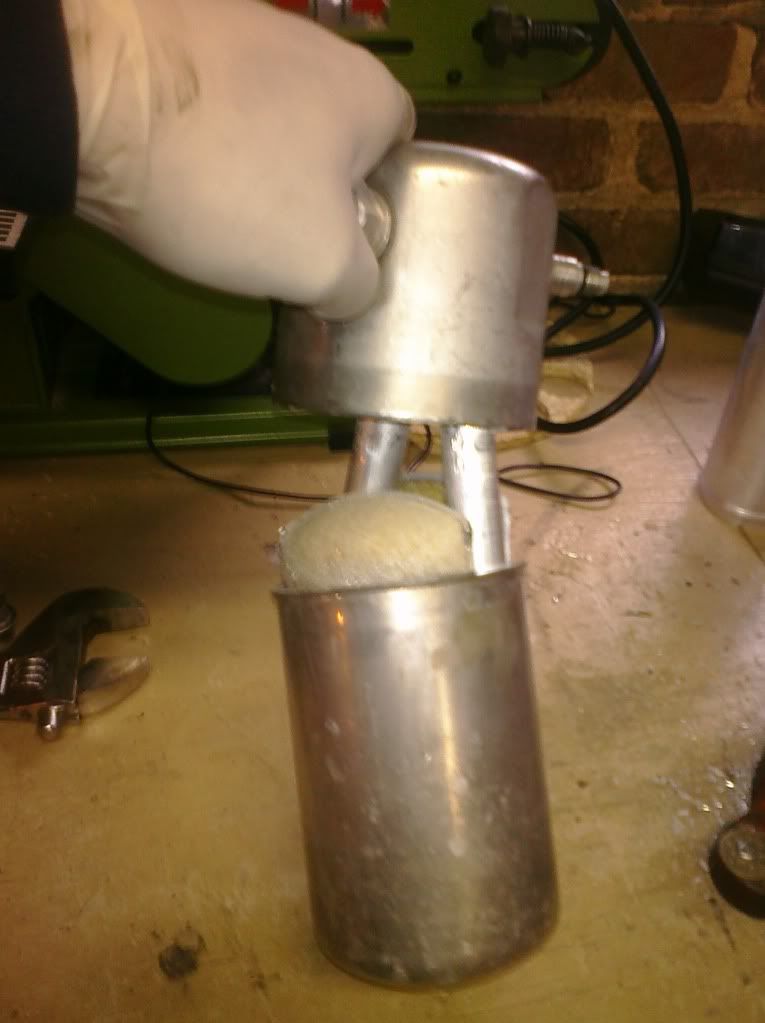
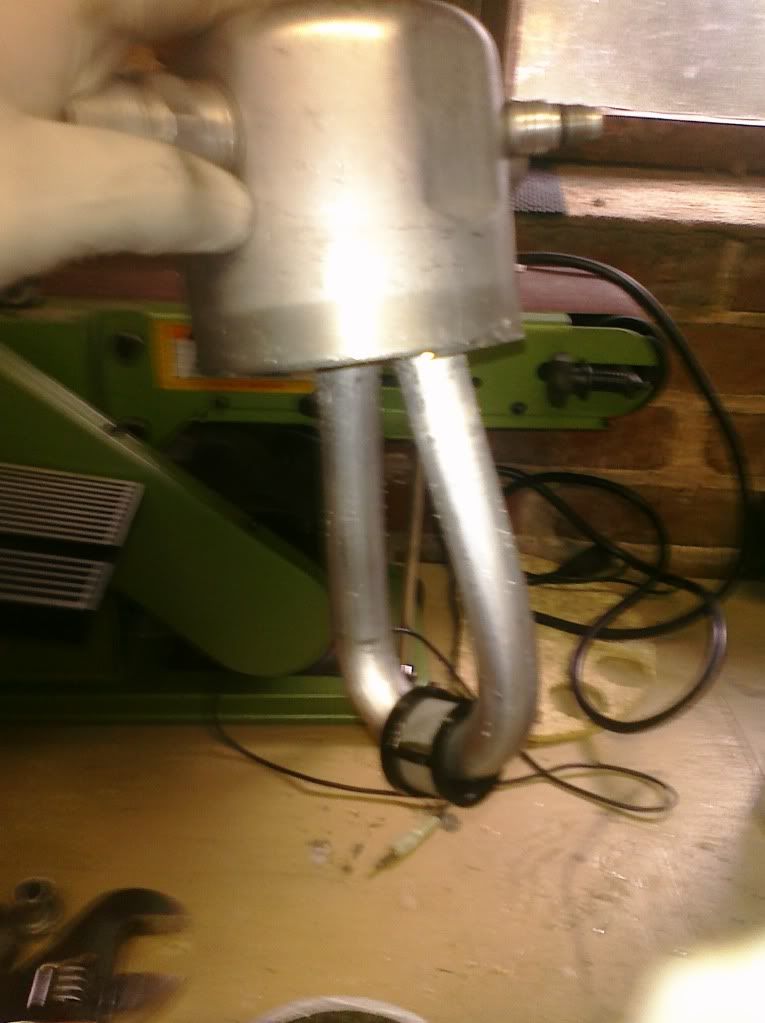
You're trying to make a catch can, right? How much room is in the dryer when its gutted out? And how will you join it back together?

cwh
SuperDork
10/26/09 11:34 a.m.
I think he is going to attemp welding. That or JB weld.

snipes
Reader
10/26/09 1:05 p.m.
The aluminum is very thick on this tank. I think it could made into a ton of useful tanks. It could be a coolant tank with a filler neck welded on. Or maybe an oil tank on a chopper, dry-sump for a car (maybe to small), swirl pot, or header tank.
In reply to mrwillie:
I am going to weld it back together. You can find dryers in all sizes. The big ones are on the large, high-end cars. This one would hold well over a quart. As you can see from the pictures there is very little in the dryer. The freon enters though the left side fitting. It loops down the pipe to a pin hole drain (to trap moister?). Then back up to the top where it is vented. After exiting the pipe at the top, it is directed down where it can find its way out the right hand fitting. The white/cream colored bag takes up the bottom of the tank. It seem to be the same moister absorbent stuff you find in a package of beef jerky.
Pretend you didn't have a welder. Do you see a way to remove the "drip loop" on the inside of the canister and still retain the fittings on the outside of the canister? And a good dry sump system should hold enough to pressurize the system, or to replace what's in the pan? Just curious.............

snipes
Reader
10/26/09 4:10 p.m.
In reply to mrwillie:
Not sure. I think the best thing to do is gut it and then pay a guy at a local shop to weld it up. I am sure I could find someone to weld it up for $10-$15. Or do all the prep and take it to a local school. I will look at is a little closer when I get home.

Tighe
New Reader
10/26/09 6:51 p.m.
Yes, that bag is filled with desiccant crystals. They're there to remove moisture from the A/C system (which shouldn't be there in the first place unless there is a leak or the system was opened for service).

snipes
Reader
11/30/09 12:49 p.m.
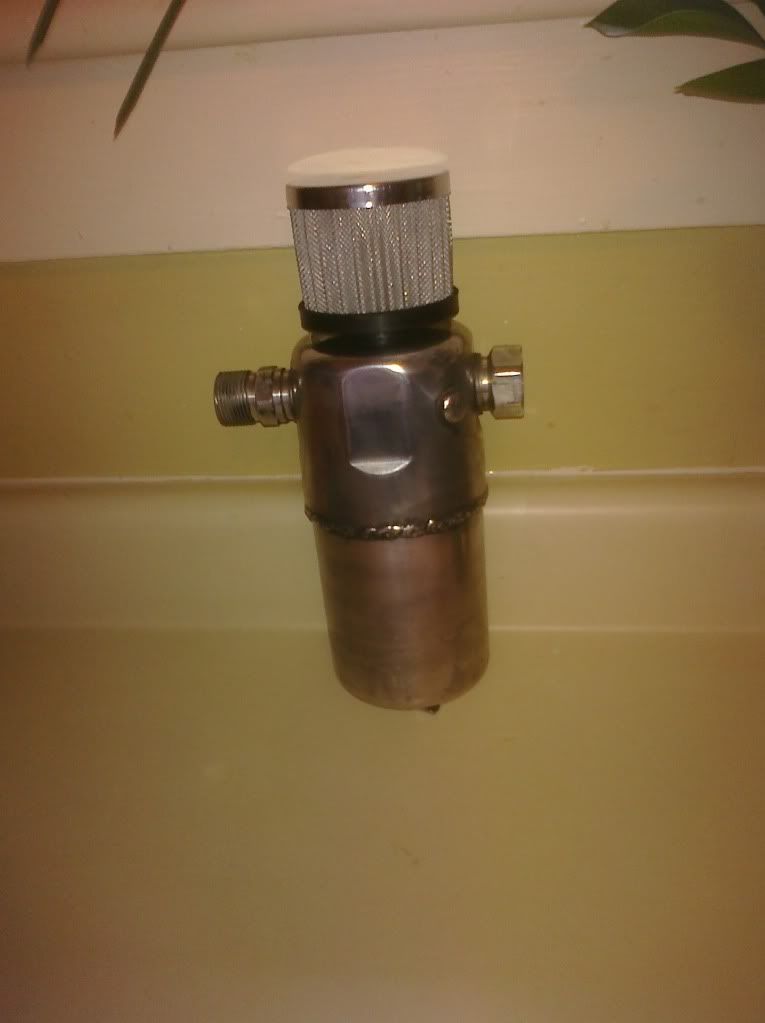
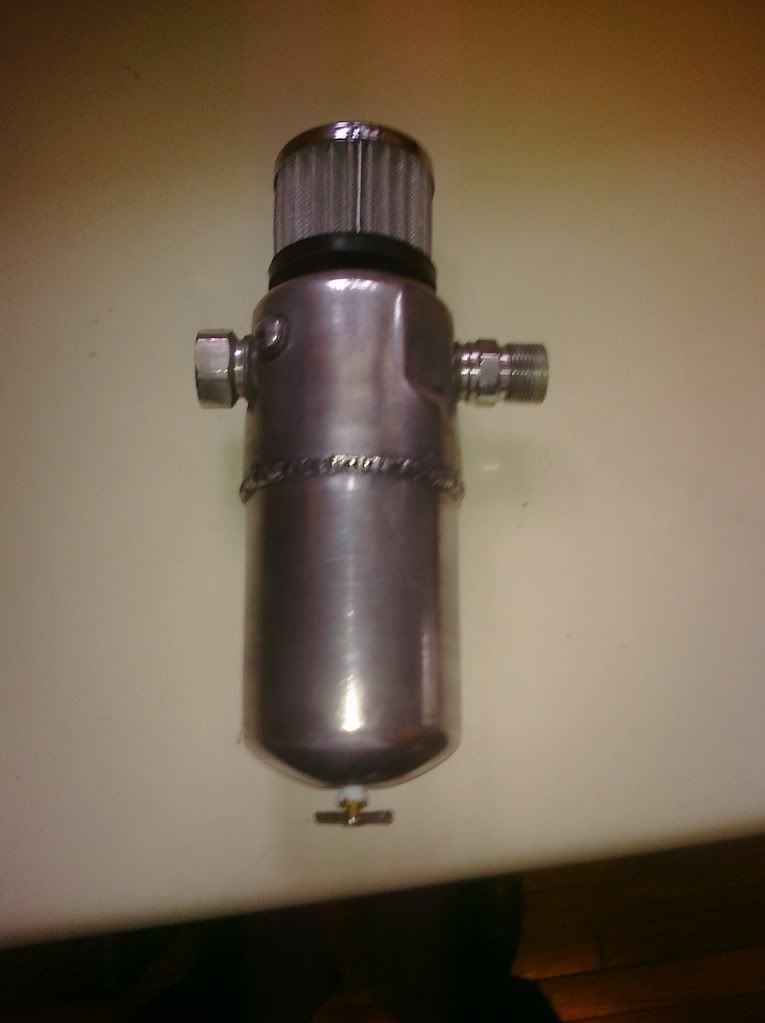
Wow it only took me a month to finish this project. The Filter cost me $15. The drain valve was $3 and the dryer was $6. So at $24 I would have been better off with the $27 plastic unit from Jegs. However I was able to use my new Harbor Freight port-o-band and practice my welding. The welds will look better after I get all the polishing compound off of them. I 'm now one step closer to having a running Porscharu!

TJ
Dork
11/30/09 8:15 p.m.
snipes wrote:
The Filter cost me $15. The drain valve was $3 and the dryer was $6. So at $24 I would have been better off with the $27 plastic unit from Jegs.
You may have spent the same amount of money and way more time and effort than ordering from Jegs, but you did it yourself and that makes it better. Good job.

Kramer
HalfDork
11/30/09 9:32 p.m.
Now sand and buff it. Then sell it for $100 to a hot-rodder and do another for yourself. The second one always turns out nicer, anyway.


