wb, thank you for posting this project. to me, your ability to break the complex project down into easy-to-understand steps and communicate the design and fabrication process is just as impressive as the fab work itself. seeing the alignment bar and pilot rings really helped me grok the whole idea of aligning concentric bores. 
weedburner, have you mentioned what car you have this going into?
(I saw it on BangShift today, the guys here would love it.)
Here's a couple more...
Added a cutout for the mini-starter's drive...
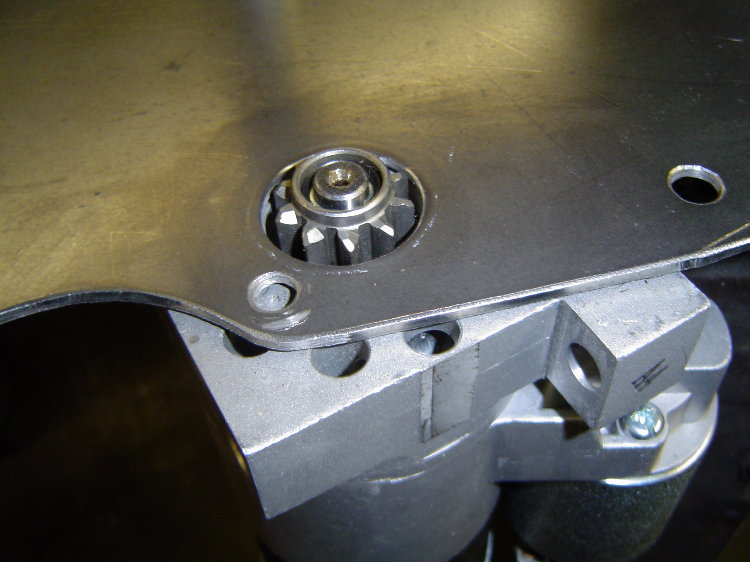
Added a starter pocket to the bell as well...
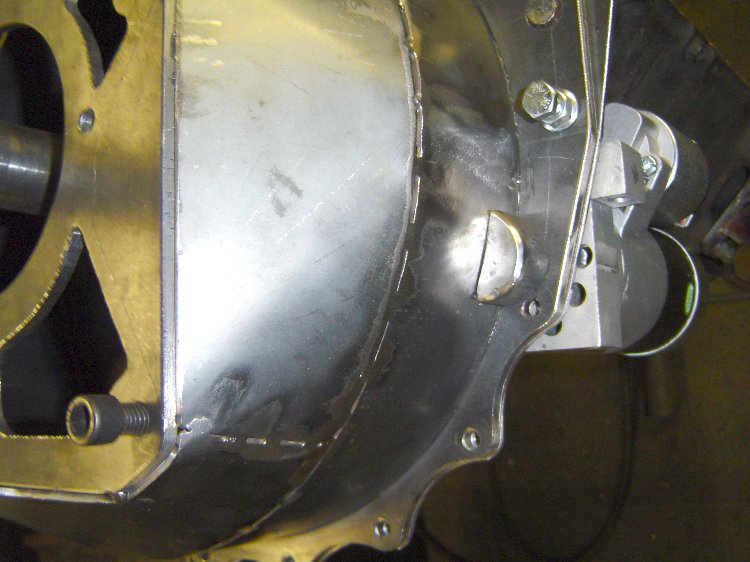
To be continued...
Very cool and thanks for the link to the build. I needed to see the engine setback procedure! :)
Very nice work on this housing too!
Here's the finished product...
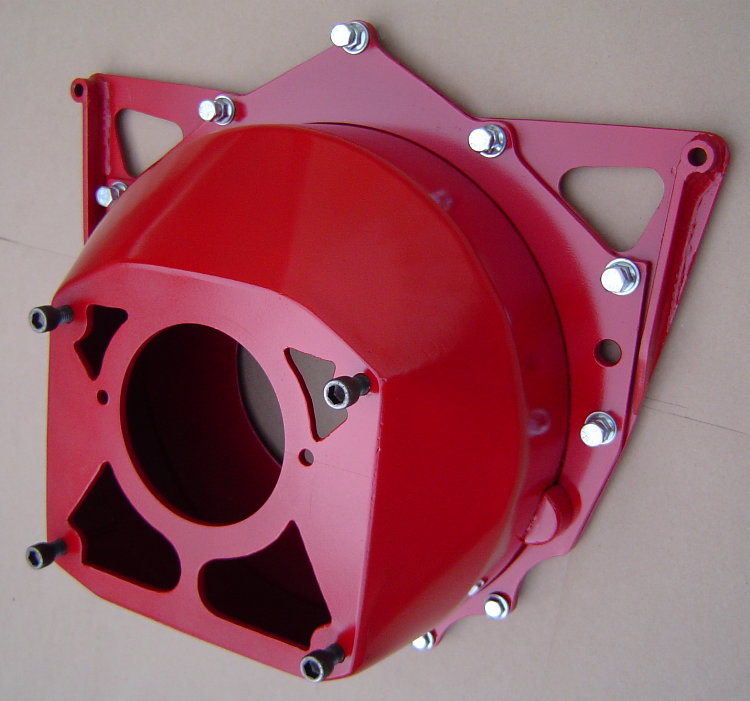
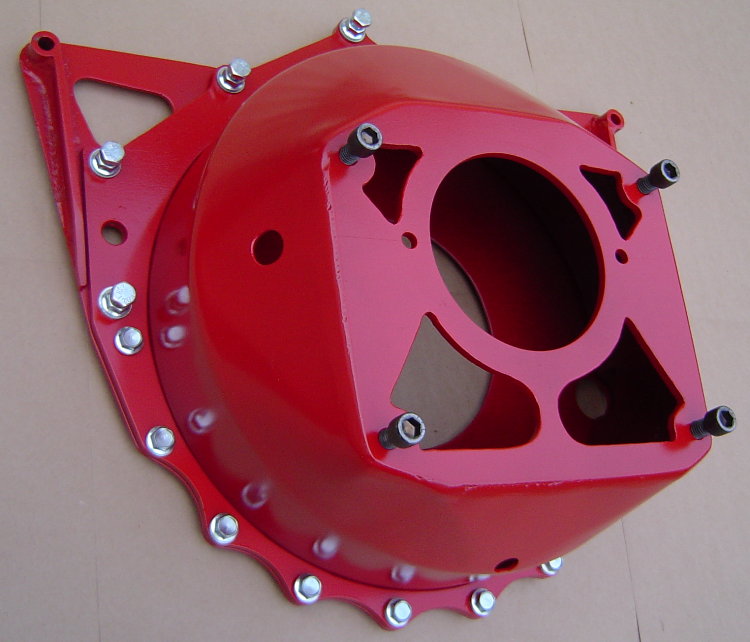
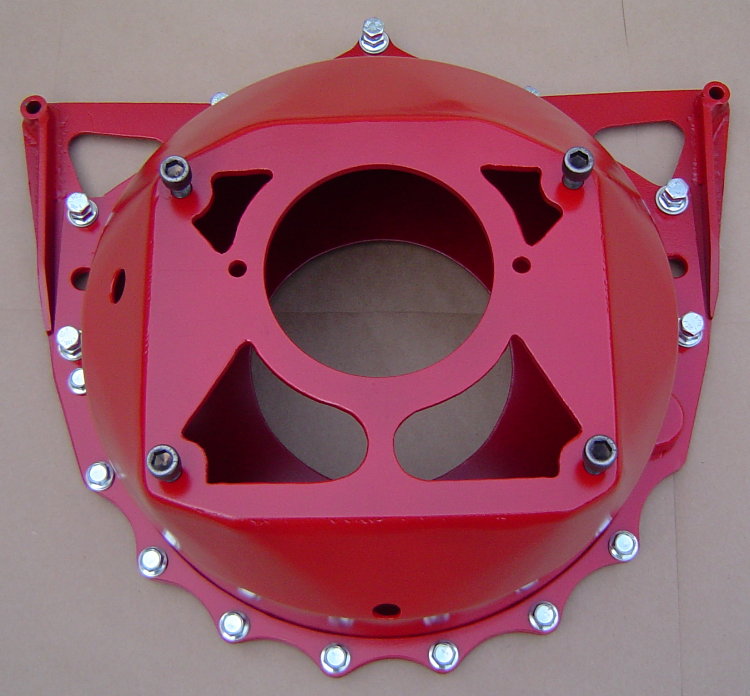
Now i gotta finish the transmission before i can swap it into the car.
Damn. That looks REALLY good. Well done sir.
That is a beautiful piece of hardware.

NOHOME
Reader
2/20/11 9:02 p.m.
Form AND function. You are good.
I tip my hat to you. That is awesome

JThw8
SuperDork
2/21/11 1:01 a.m.
Needs more.....
Nope can't think of any way to finish that sentence, it's pure awesome!
The bell/blockplate assembly is bolted together externally, so it's easy to remove the bell/trans together if there is a trans jack available. This blockplate is designed to stay in the car, which allows R&R'ing the transmission/clutch without blocking up th rear of the engine. The ring gear is about 3/8" away from the rear face of the block, so i had no trouble adding the .120" thick plate.
The block plate's traditional purpose is to keep parts contained in the bell if anything inside should come apart. I'm going to a slipper style clutch with heavy sintered iron pucks on the disc. If a puck should come off, the steel bell should contain it, where a stock cast aluminum bell would probably leave the transmission on the ground 
Compared to you, I'm just a parts changer. 
Well done!

Here's an update...I went to a 3pc style bellhousing...blockplate, midplate, bell/can. Now i can remove the engine from the car with the flywheel and clutch, and leave the bell and transmission mounted in the car. I can also remove the transmission/bell/clutch/flywheel from the car without supporting the rear of the engine. I also added a couple external "ears" to the block plate, which gives me some easy attachment points for lifting the engine...
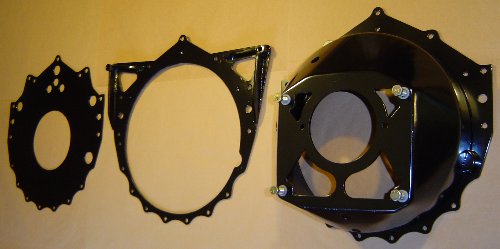
I'll take some pics of the engine lifting fixture i made for it. It plugs into the blockplate's added "ears" and into an "eye" that screws into a hole in the top of the waterpump. It fits over the complete engine with the aircleaner and distributor in place. Before i was always using some type of hokey chains trying to find a perfect balance point without damageing something. Now i have a dedicated fixture that plugs in and makes the job easy. Been thinking about attaching the radiator to the engine just to make choosing between a couple engines that much easier
And I thought I was a badass for making some spacers on the lathe at work. Nice job.

NOHOME
Dork
12/6/12 11:13 a.m.
weedburner wrote:
Believe me, my shop is nothing special. It was cut by hand with a little Hypertherm 350 (1/4" max cap) plasma. I used a magnetic toolholder (like you use on a workbench wall to hold screwdrivers and pliers) as a straightedge for the straight cuts, and held a large washer in place as a guide to cut the scallops. The large center hole was just hand cut by eye along the scribed line.
And I see where you are not what we call shy about using that torch!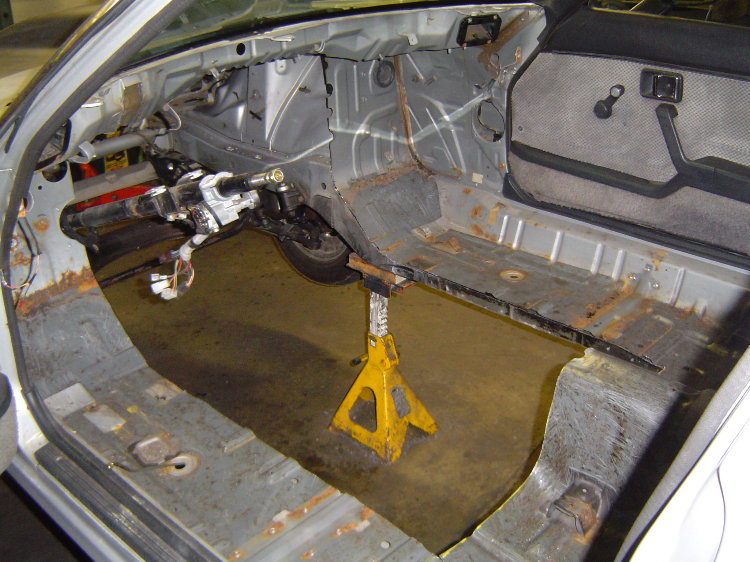
Forgot to mention, the bellhousing itself weighs in at 16.3lbs. The entire 3pc assembly, including the bell/blockplate/midplate/bolts/hardware weighs 26.2lbs.
![]()


