I LOVE previas, they were such strange cars. Does yours have the rear captains seats that spin around and the huge sunroof? My buddy had a previa SC 2 wheel drive and that thing could do huge standing burnouts! haha
I LOVE previas, they were such strange cars. Does yours have the rear captains seats that spin around and the huge sunroof? My buddy had a previa SC 2 wheel drive and that thing could do huge standing burnouts! haha
And here I wasn't aware that I actually actively wanted a Previa. This RULES, keep the updates coming, MrJoshua!
So I have the head back from the machine shop and all the gaskets I need in hand and had a few questions for you guys: What sealants do you recommend? I need some of the typical "put a bead here and here" when replacing the valve cover gasket stuff, and I was wondering what the crews opinion on the head gasket adhesive/treatment stuff that you brush on the gasket before installation. The Fel-Pro instructions say to smear a thin coat of sealer on the metal face of all metal faced gaskets so I think I will probably use something. Any recommendations?
I just found out my 1990 Mitsubishi Van needs a head gasket at well. Seller told me the owner before him did it already. Lies!!!!!! Mine was letting oil into the coolant. Nasty iced coffee like substance!
So far I have torn into it as far as the valve cover in a short amount of time. Doesn't seem too bad so far but I have never done a head gasket ever so it will be interesting. No need to drop the engine so far with mine.
Should there be some sort of mark for the cam gear to line up with? How about the main pulley? Should I do the water pump while I have the timing belt off for replacement as well? Where can I source head bolts for this odd ball? It seems I can get the head gasket, timing belt, water pump, etc through Rock Auto, but can you guys see any reason to get them elsewhere? What is a good brand of head gasket and timing belt?
Good luck with the egg. I love those vans as well. Mine is just a more square cousin of it.
Mazdax605 wrote: Should I do the water pump while I have the timing belt off for replacement as well? Where can I source head bolts for this odd ball? It seems I can get the head gasket, timing belt, water pump, etc through Rock Auto, but can you guys see any reason to get them elsewhere? What is a good brand of head gasket and timing belt?
I use RockAuto exclusively at this point(thanks, GRM!), unless I can't wait for parts. Gates or OEM for a timing belt kit, water pump is up to you(it's already going to be apart, though), Felpro or OEM for headgasket... I haven't looked for head bolts for a Mitsu van, are they not on the 'rock?
EDIT: I made an attempt to be helpful, but now that I've perused RockAuto for '90 Mitsu Van parts, forget pretty much everything I said. ![]()
On a head gasket, I would use Hylomar or Loctite 518. 518 also works well on valve cover gaskets etc. Hylomar will cause those to tear on removal.
But here's a question: the Previa motor has an aluminum head and cast iron block, right? Usually in that situation the head gasket is coated with something similar to graphite so the two parts with different expansion rates can 'slide' against the gasket. If any type of sealer is used, the gasket sticks and over time the expansion/contraction will tear the gasket apart. You also should have the head surfaced really smooth; I do not recall the 'microinches' figure but it should literally look like a mirror.
sobe_death wrote: So, just wondering, what was the transmission interchange with other Toyota models?
IIRC the transmission guts are similar across many 4wd/awd/rwd Toyota vehicles. I couldn't really tell you if the bellhousings are the same across models.
The project has been taking place slooooowly, but it is moving. I will try to catch up to where it stands right now in the next few posts.
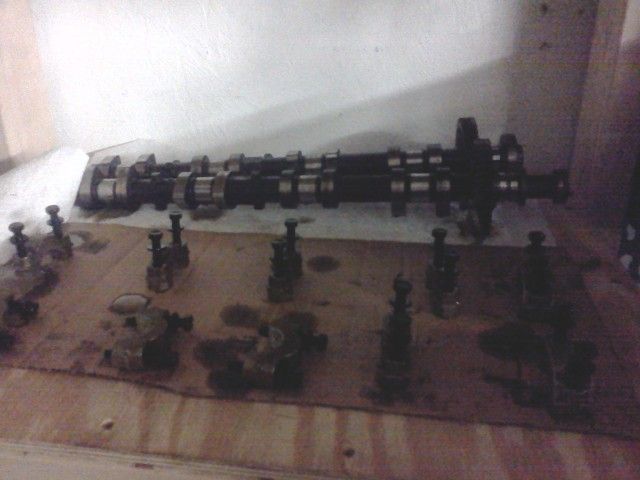
To get the head off you need to remove the cams. Removing the cams isn't that difficult but there are a few things you have to do to make your life easier besides just removing the bolts in the right order. First you have to remove the cam gear. That is simple, it's just a big bolt on the end the cam accessed through a half moon shaped pop out piece on the end of the head. To preserve timing you zip tie the chain to the gear. The next step before removing the cams is to lock the "Split Gear" on the exhaust cam together. That is simple as well-you just thread a small bolt from one part of the gear to the next. I couldn't tell you why the gear is split, but it is and you are supposed to bolt it together-so i did. I will post pics of that later.
So now pics:
Cams and assorted cam stuff:
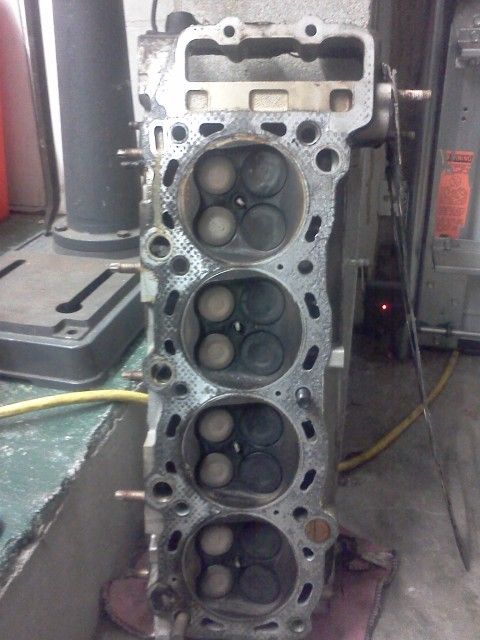
The head free from the van:
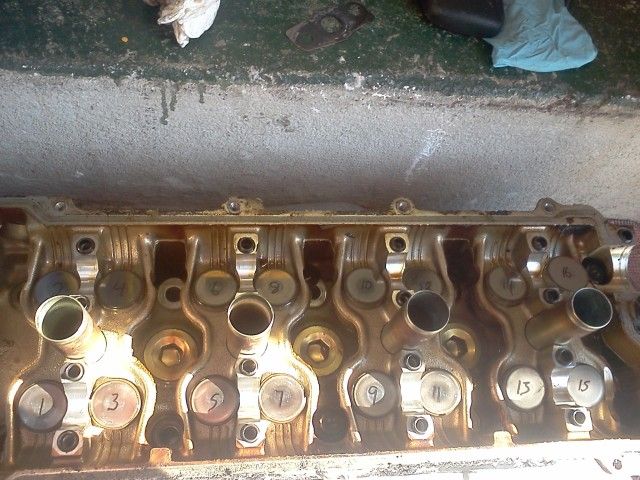
I numbered the lifter/shim buckets with a sharpie and took this pic to remind myself where they go before I took the head to the shop:
Next stop, machine shop!
Gasket match port, shave a few thousanths off the head to up the compression and add moar booooost. AWD Hoonvan? LOL What supercharger did they use? Is it an Eaton style? Bet you could get one from a 2003-2004 Cobra that's been ported. I bet it's larger than the one on there.
Looks like fun! Always liked those things. Saw a glut of them at the junkyard this past weekend, more than usual.
Conquest351 wrote: Gasket match port, shave a few thousanths off the head to up the compression and add moar booooost. AWD Hoonvan? LOL What supercharger did they use? Is it an Eaton style? Bet you could get one from a 2003-2004 Cobra that's been ported. I bet it's larger than the one on there.
I am very tempted to hop it up, but I will probably stick to a basic head gasket swap and stock boost for now. The supercharger is an industrial unit Toyota re-purposed for the Previa. I believe it is known as an SC14 and is used as an upgrade for the SC12 that came on the SC MR2s.
Being a cheap bastard I just had the machine shop deck the head and install the valve stem seals. That left me with a shiny mating surface, but otherwise carbon filled gunky head. I used a bit of lime away alternated with citrus cleaner and scrubbed with a tooth brush to remove the carbon from the combustion chamber.
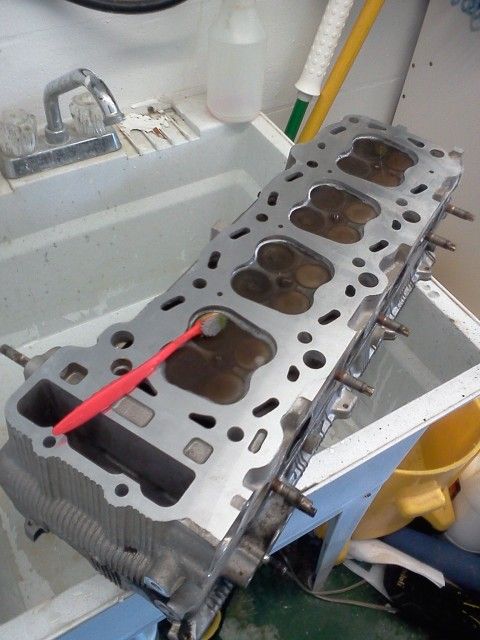
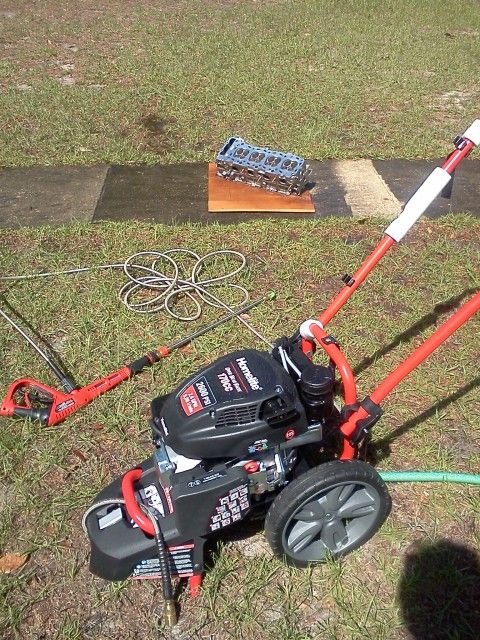
Then a bit of work with the citrus cleaner and tooth brush and finally a session with the pressure washer to get the rest of the grease and gunk off.
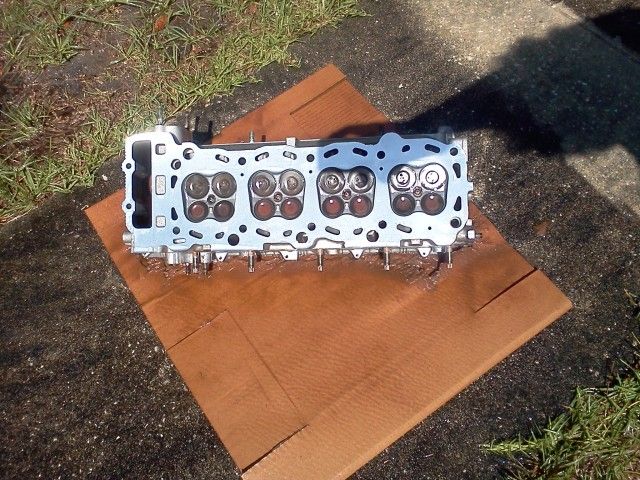
Shiny!
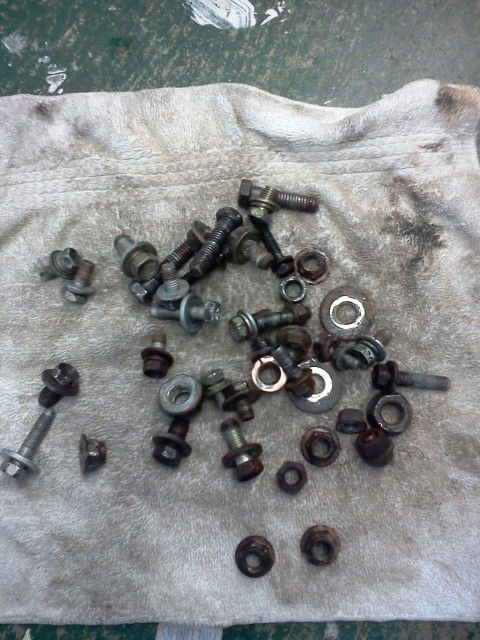
The older I get the less I like being greasy. Every bolt I removed was either greasy, rusty, or just plain dirty.
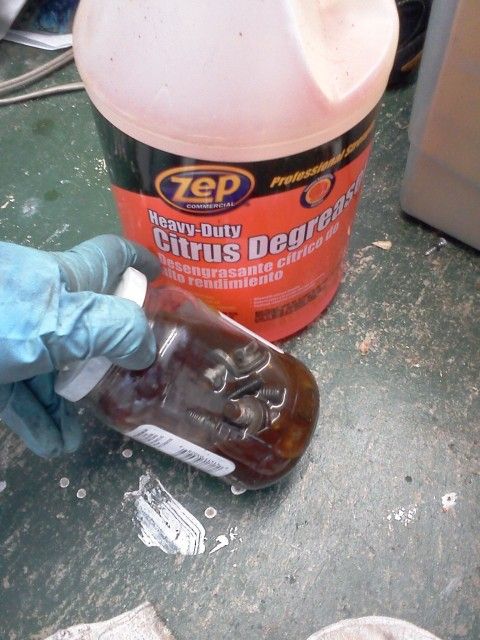
A while back I was restoring an exercise bike for work and found a simple recipe for cleaning bolts. First a degreaser bath:(shake as much as you feel like-don't break your container)
Then a rinse followed by a soak and shake in Lime Away or CLR:
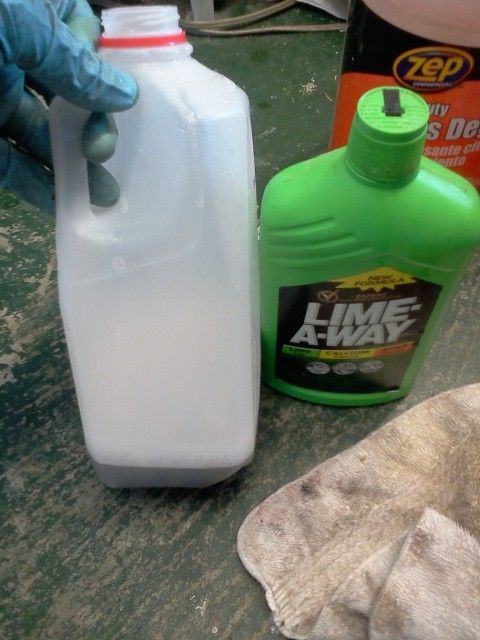
Leave them in overnight and shake every so often.
Here is a before of one of the more crusty bolts:
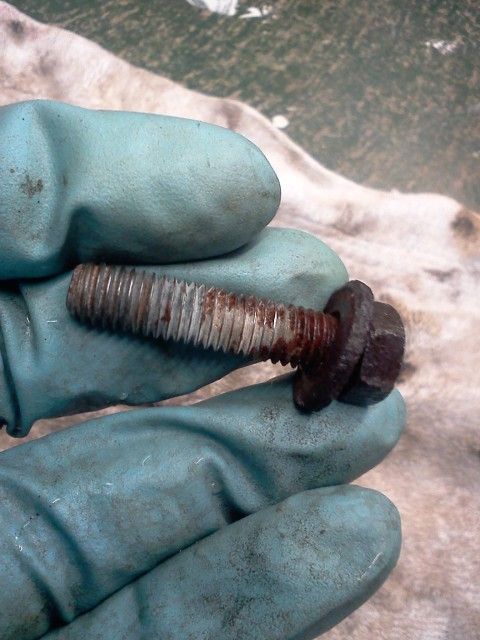
I will edit to add an after when I take them out.
Edit-After pic:
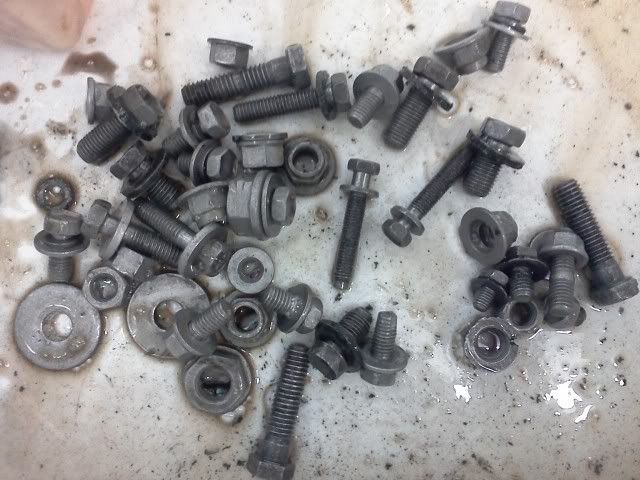
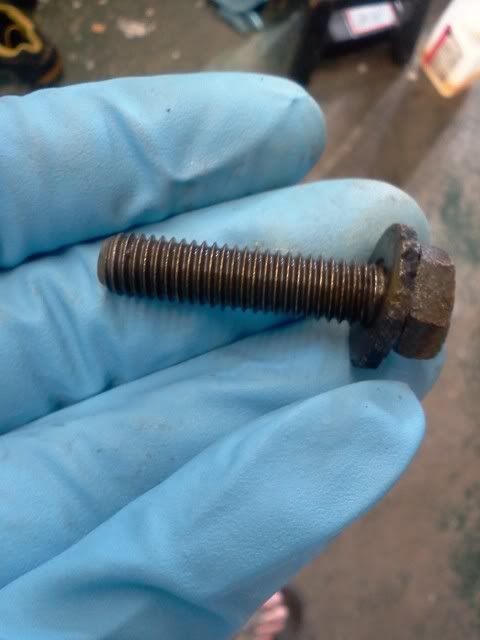
That particular bolt was fairly pitted so the cleaning could only do so much. The rust and grime were gone though.
The question of whether to use sealant was answered when Curmudgeon mentioned iron block/aluminum head engines using a graphite coated head gasket to allow the mating surface to slide slightly when the two metals expand differently. My gasket is definitely coated:
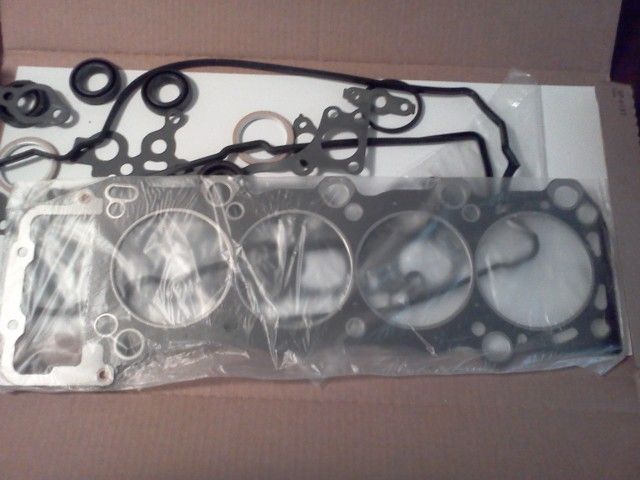
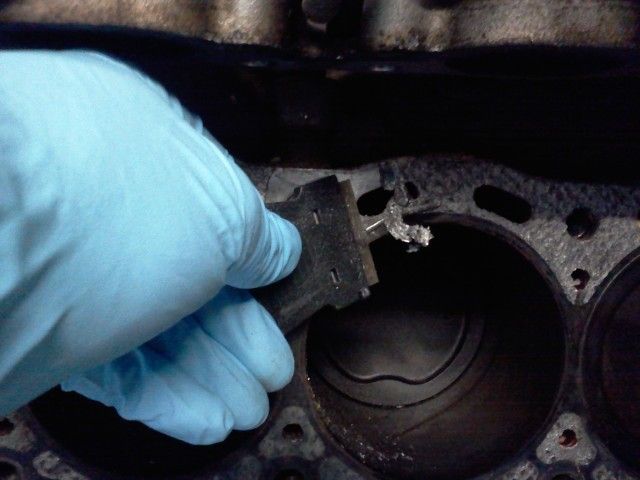
It didn't stop the old one from sticking to the block, but a little work with a razor blade scraper and it came right off and left a nice clean surface:
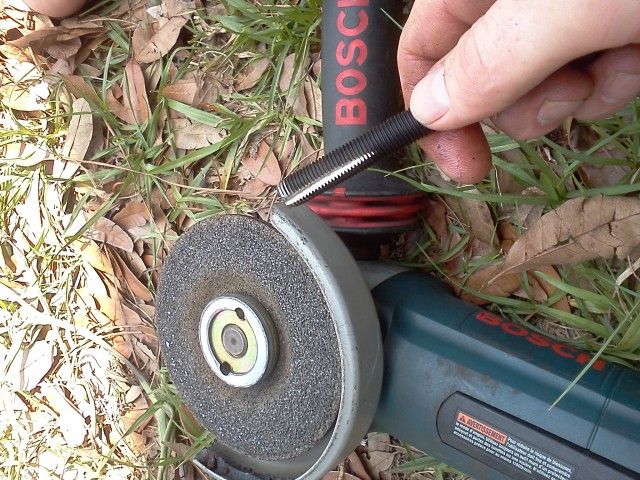
I remember people mentioning how important it is to have clean dry bolt holes to allow you to reach even and accurate torque measurements when torquing down the head. I also remembered Tim mentioning chasing the head bolt holes with a tap to clean the threads in an opening magazine segment many years ago. I headed to my local hardware store to chase down a M11x 1.25 tap and had no luck finding one. Internet memory saved the day and I remembered something right up my alley: If you can't buy a thread cleaning tap, make your own!
Start with an old head bolt:
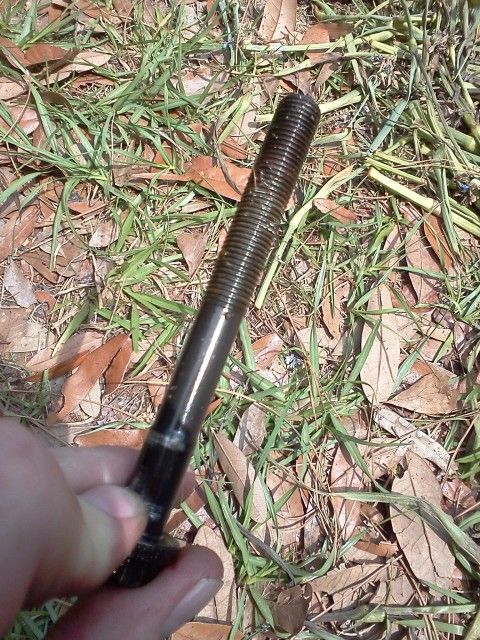
Add an angle grinder and enjoy a little thumb adventure:
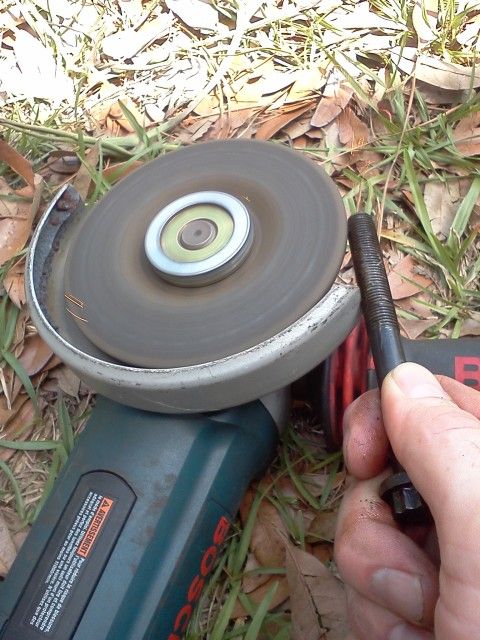
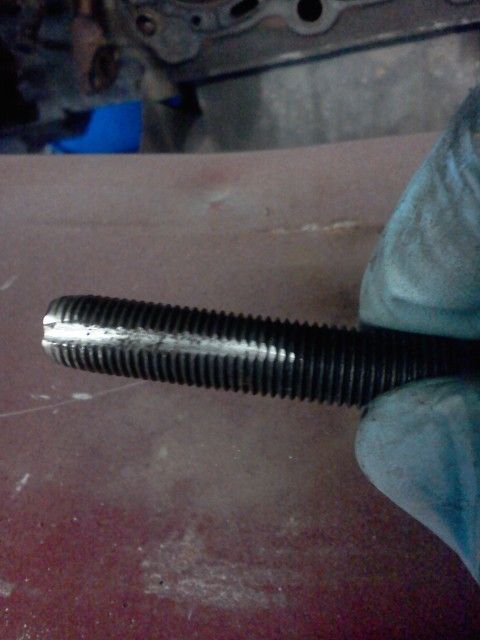
And presto! You have a thread cleaning bolt:
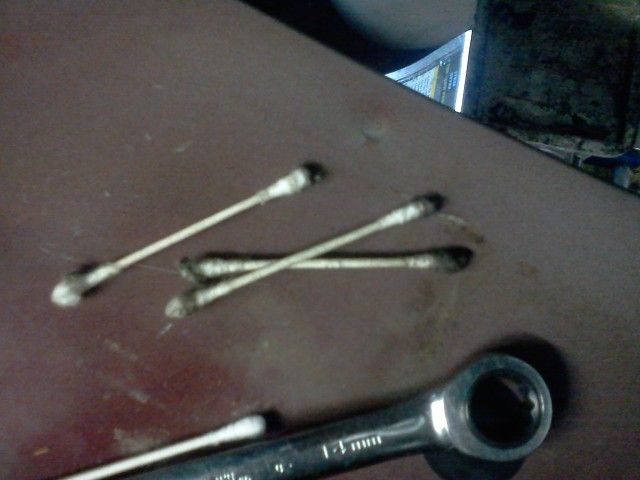
It worked beautifully. The hole went from varying difficulty of bolt tightening to spinning in by hand with little effort. Some came back dry, some came back black, some came back wet, and some came back rusty. The grooved bolt and some drying with q-tips evened out the pressures perfectly.
Gunk:
Ooze:
You'll need to log in to post.